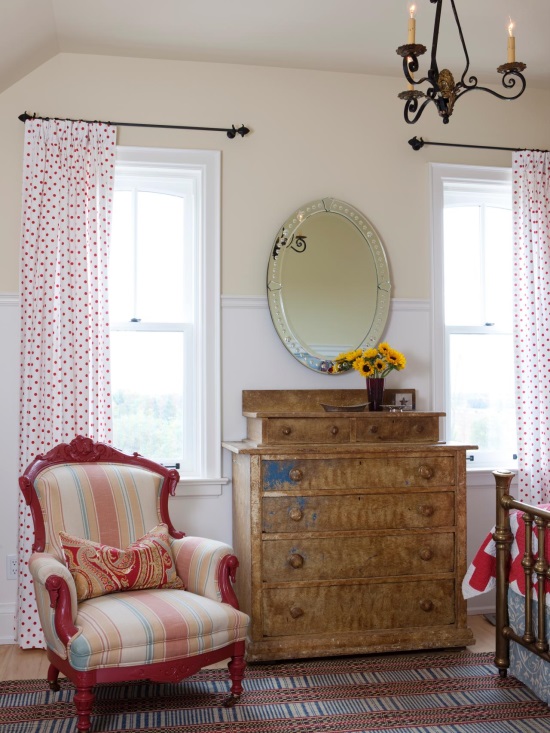
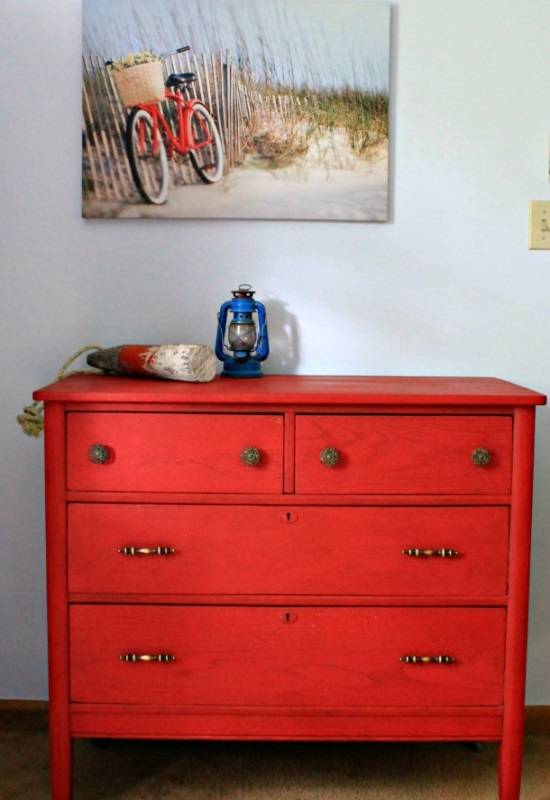
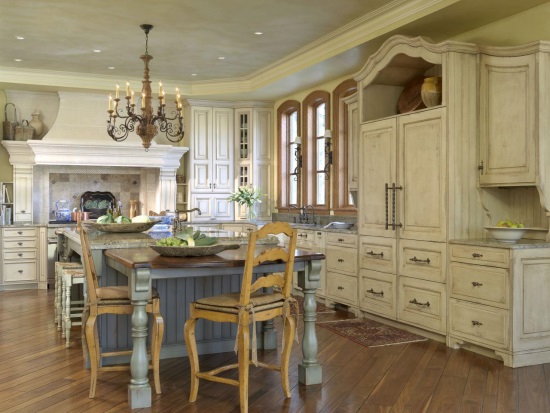
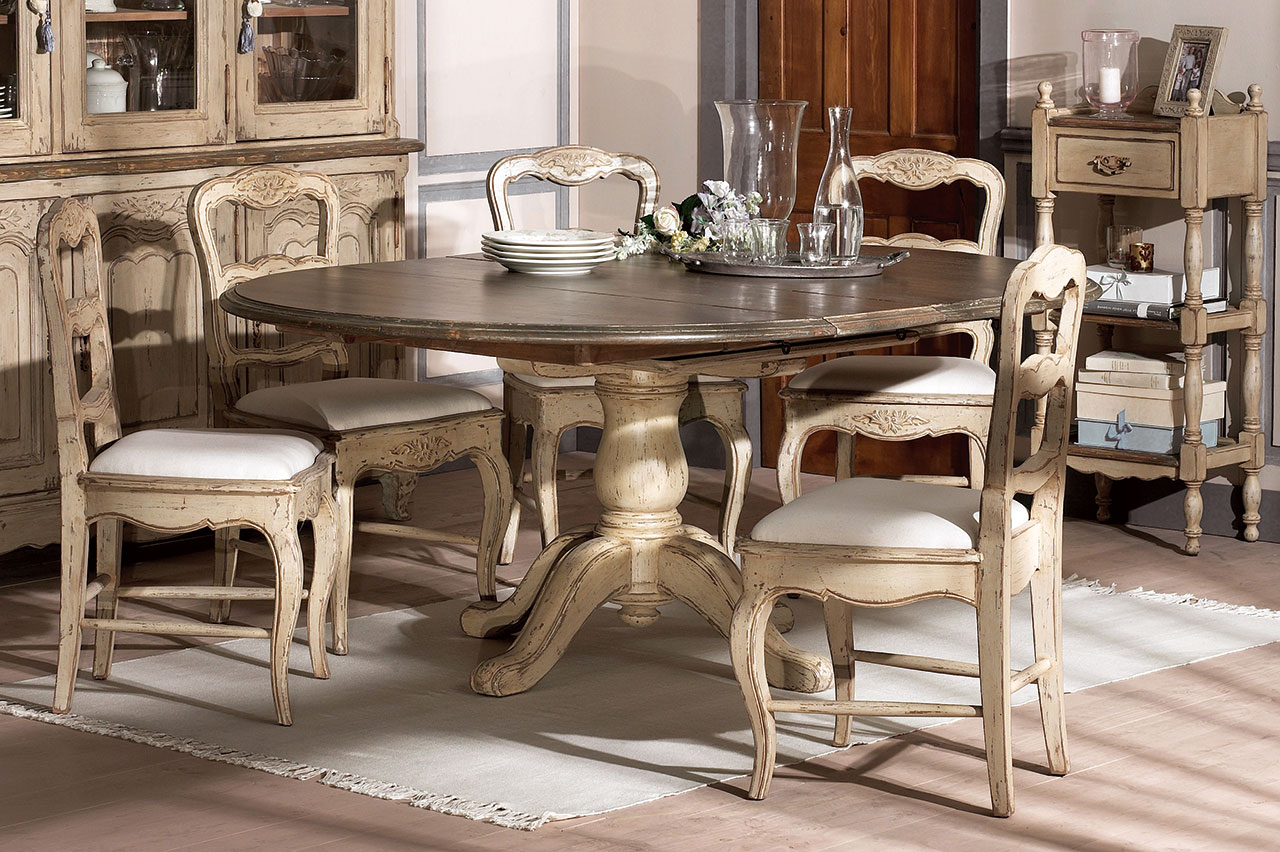
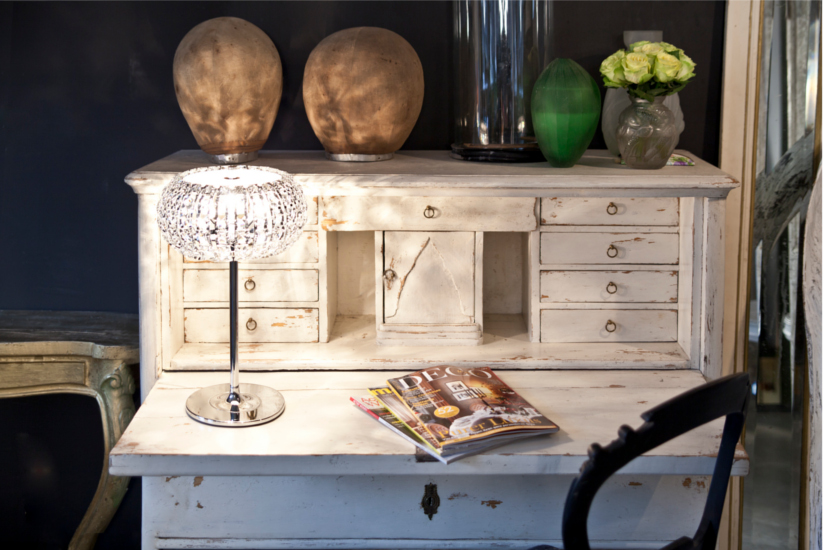
Artificially aged furniture vintage look will bring interesting notes to the design of the interior space of your home. The correct use of this technique will create a reputation for you as a great connoisseur of antiques among your friends and acquaintances, and an inexpensive wardrobe or chest of drawers in the living room will become an object of universal admiration. Find out with us, how to age furniture with your own hands.
Content
You need to prepare for old age
Start the aging process furniture from revision. Wooden parts may have cracks and mechanical damage that is not compatible with operation, fasteners - traces of rust.
- Disassemble and inspect thoroughly furniture.
- Use sandpaper or a hand sander to remove any traces of the old finish.
- Wash all wooden and plywood parts with clean water.
- Dry for 1-2 days.
- If necessary, touch up minor scratches with furniture wax that matches the color. furniture.
- Replace old handles, locks and door hinges if necessary.
IMPORTANT! New fittings also need to be aged – after all, they can give away your trick with furniture.
After assembly, you can begin decorative aging.
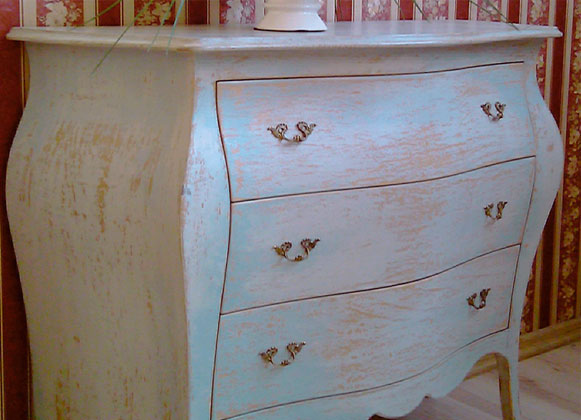
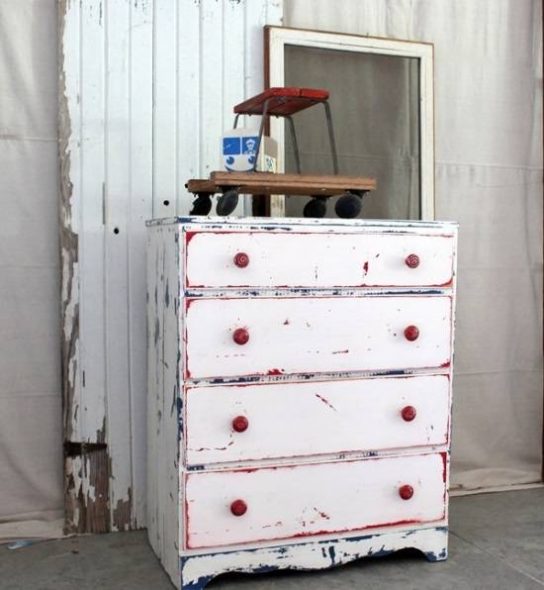
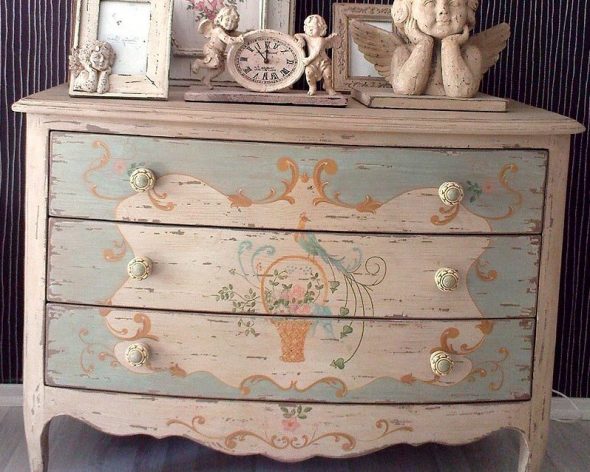
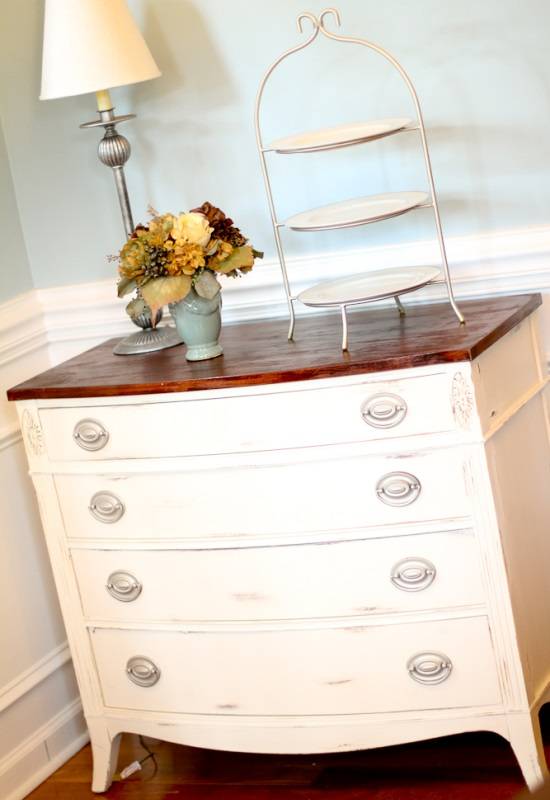
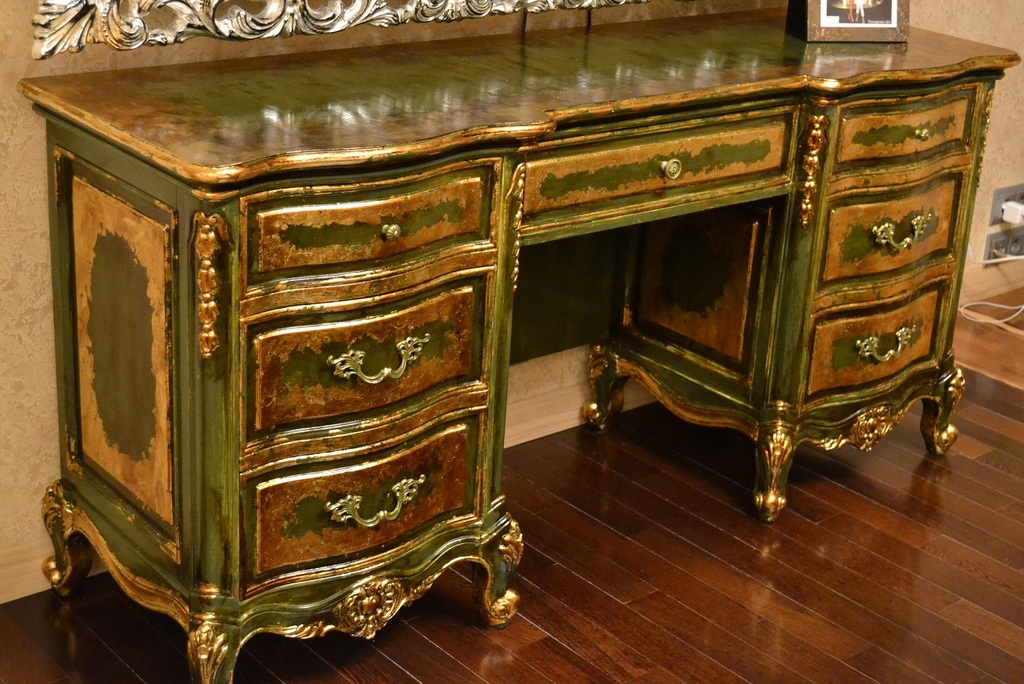
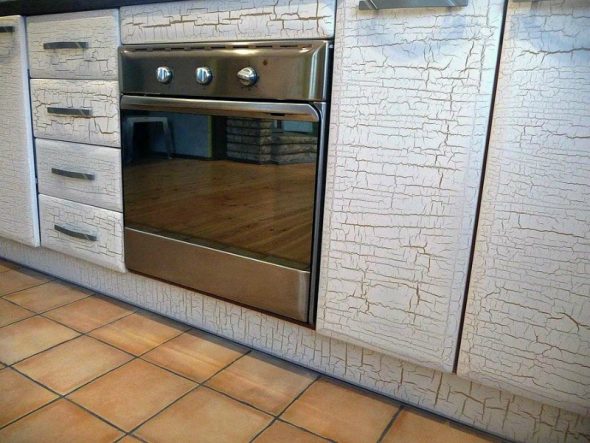
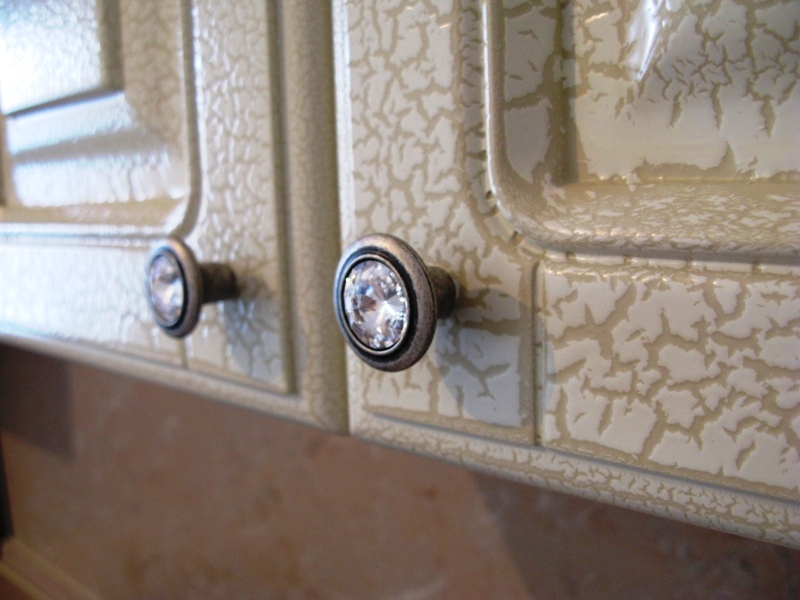
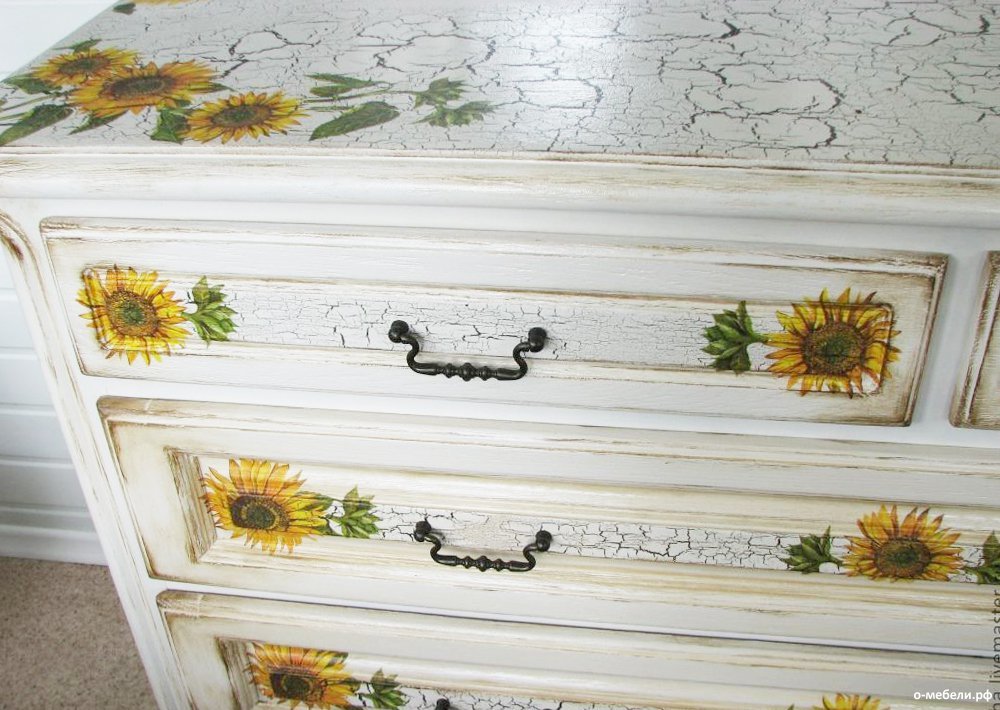
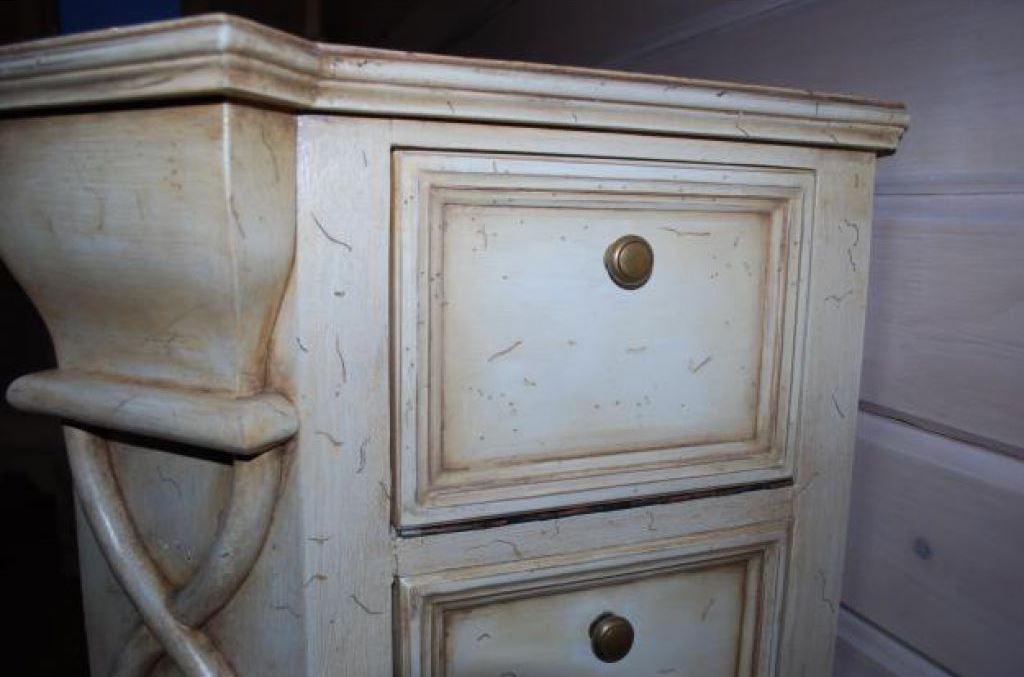
Gorgeous chest of drawers in craquelure
Create an imitation of a web from cracks in the old protective coating of an old sideboard, a carved frame of a hanging mirror, a painting or a dressing table. To do this, you will need:
- Water-based craquelure varnish made from high-quality gum arabic;
- Primer and paints in two colors - a light base and a matte finish that imitates faded old paint.
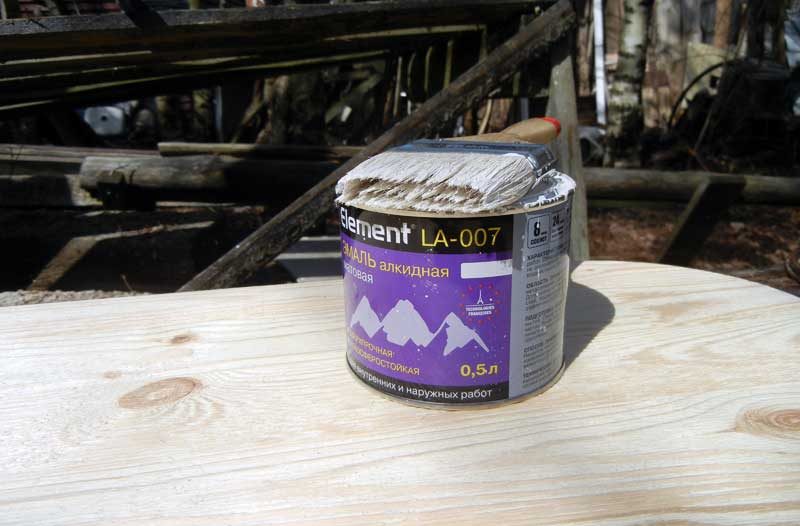
Apply the base coat evenly with a wide paint roller. layer of paint. After drying, apply a crackle layer. Let it thicken and dry slightly.
IMPORTANT! The thicker the layer, the larger the "cracks" will be. They may not appear on a dried layer.
Cover the part with a finishing coat layer of paint matte color, trying not to apply twice to the same place.
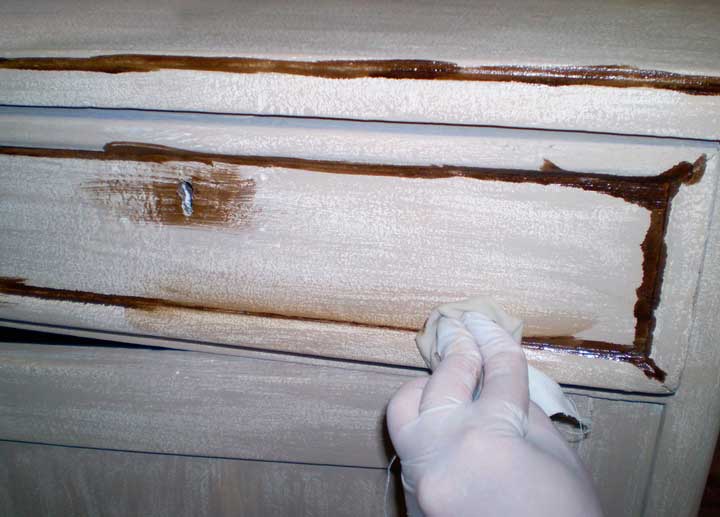
Golden Web Effect
Use it for the two-phase craquelure technique. Purchase the following components:
- Two-phase craquelure varnish;
- Paint for the first layer;
- Powder grout for “gold” copper or bronze;
- Transparent furniture varnish.
NOTE: Shellac is great as a first phase.
To the basic layer of paint Apply a thin layer of the first phase and wait for it to dry. Apply the second phase. When it dries until cracks form, use a sponge to rub the powder into them and cover with furniture varnish.
A similar effect can be achieved using single-phase craquelure.

IMPORTANT! Before starting work, eliminate deep defects (cracks and chips on surfaces) using several layers of putty.
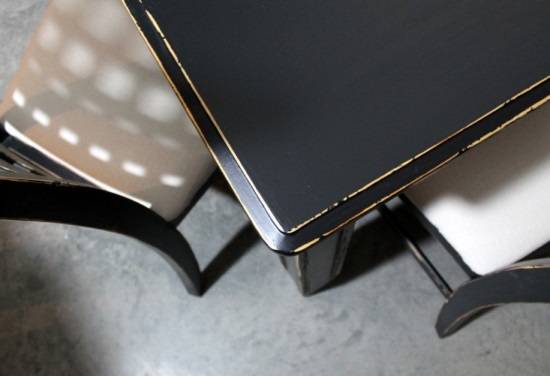
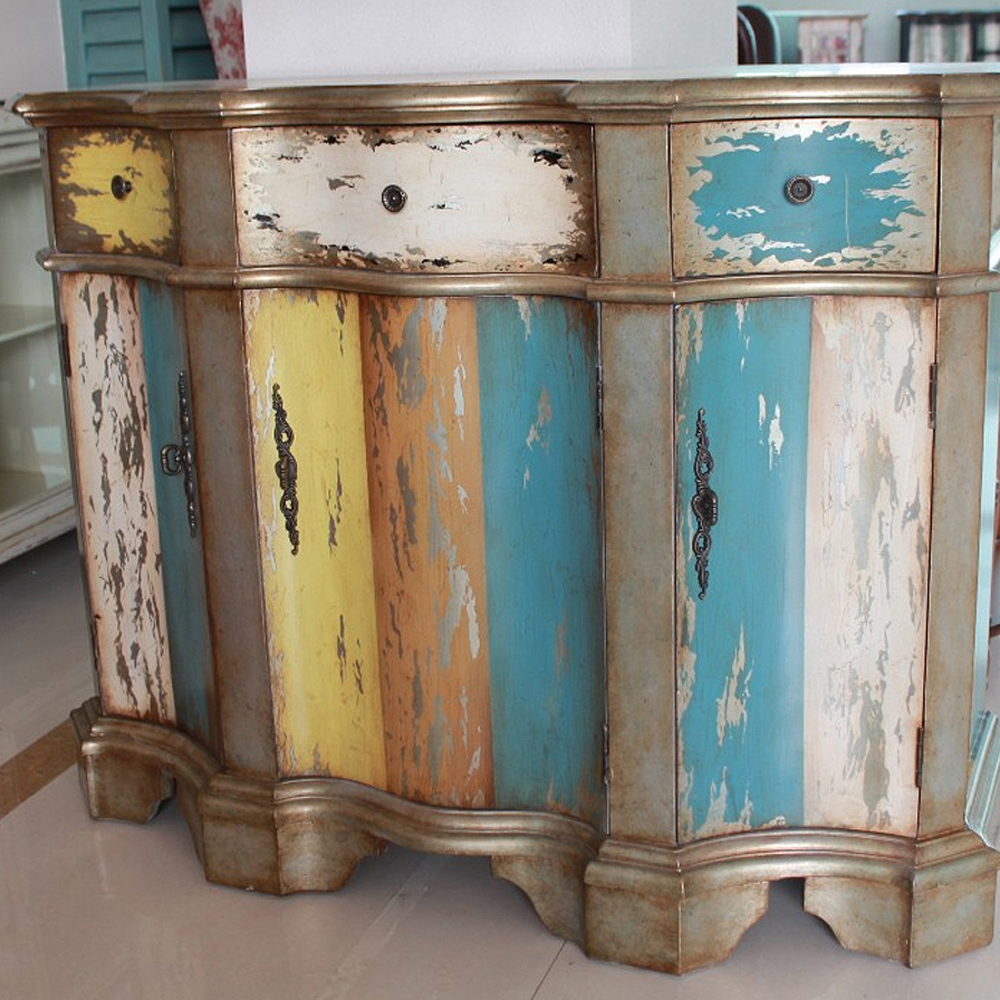
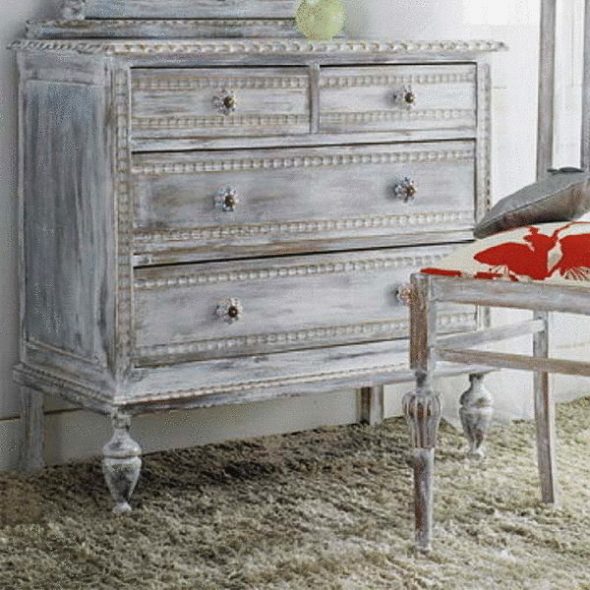
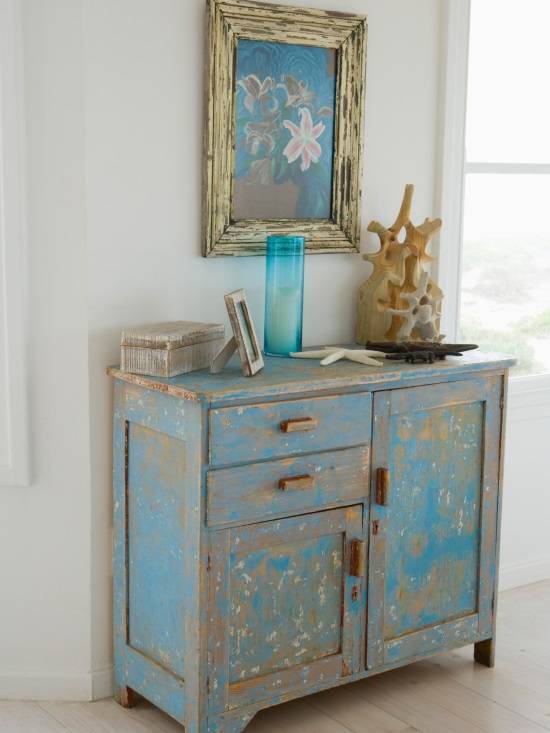
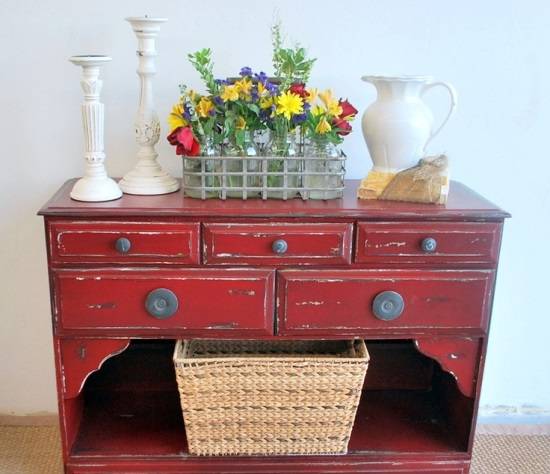
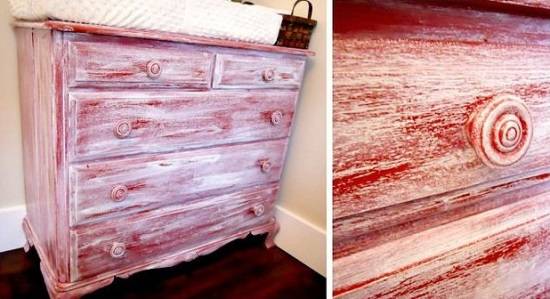
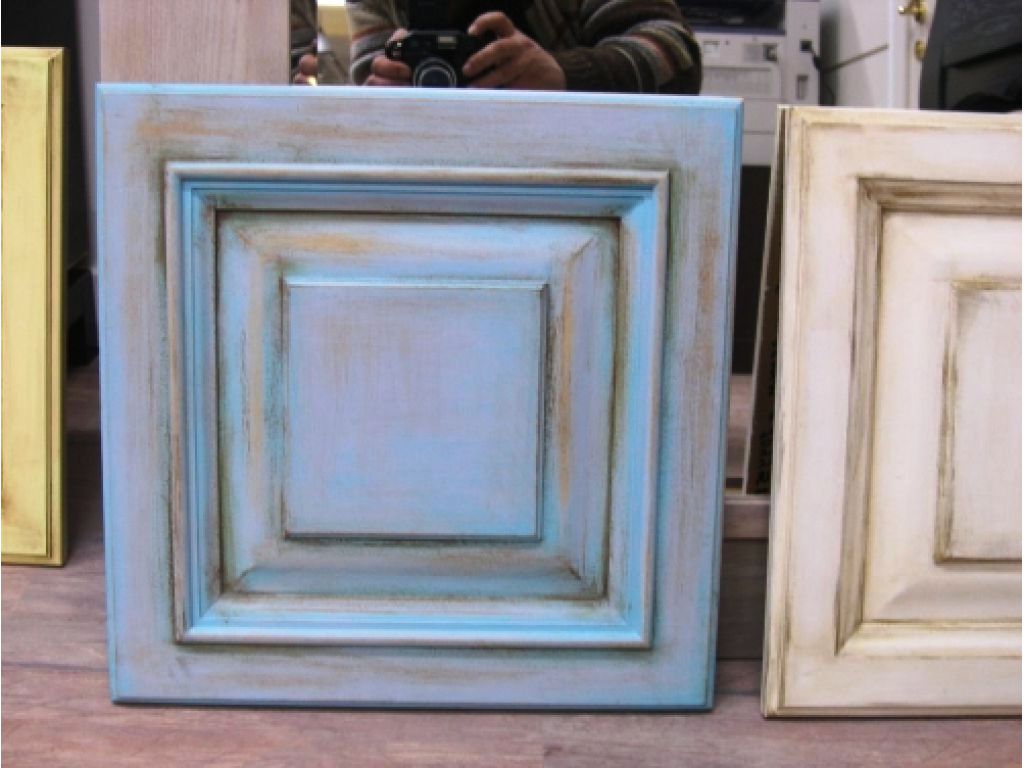
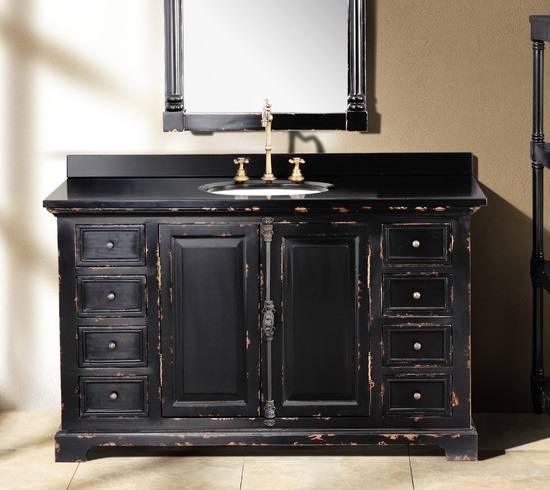
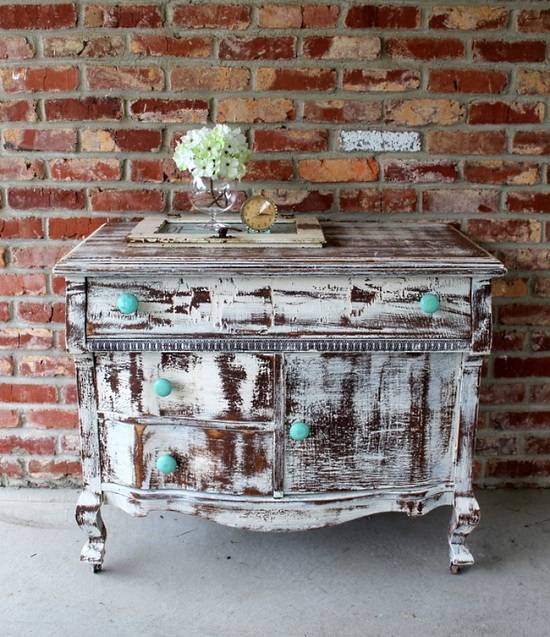
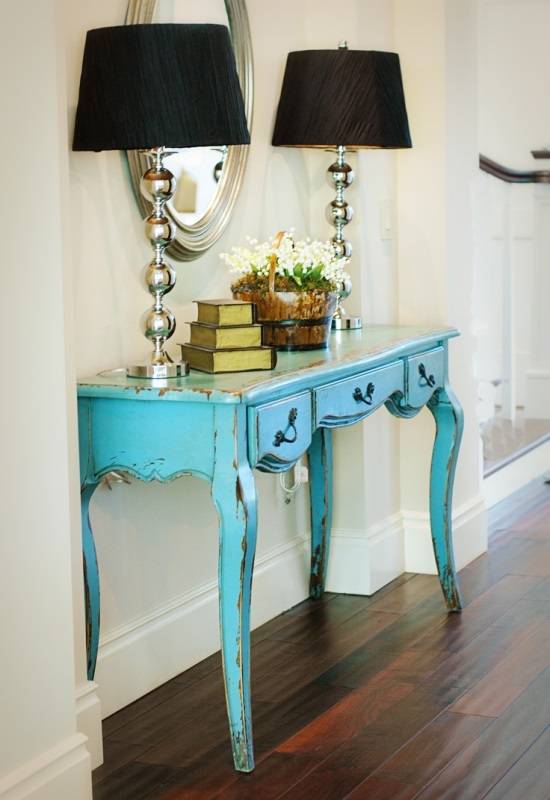
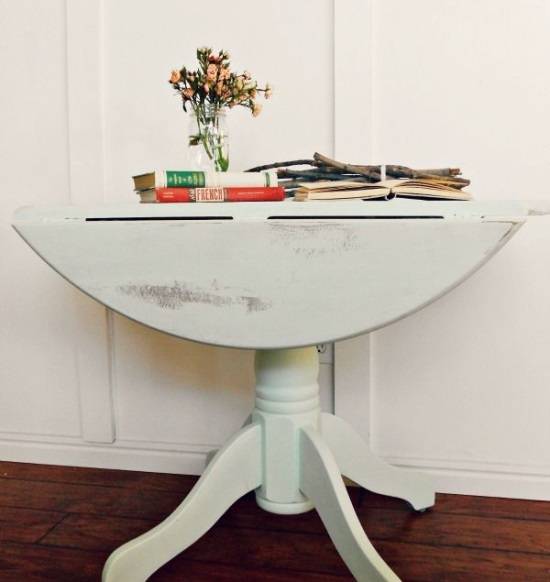
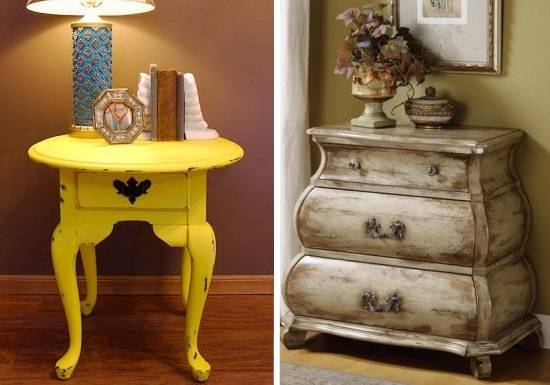
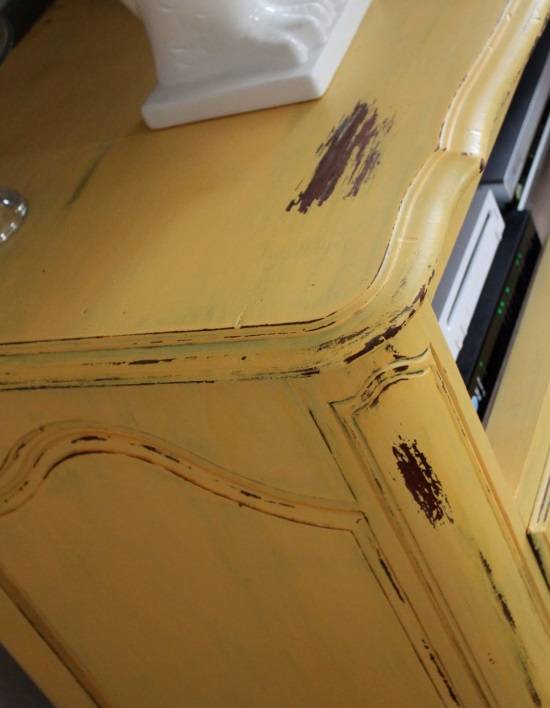
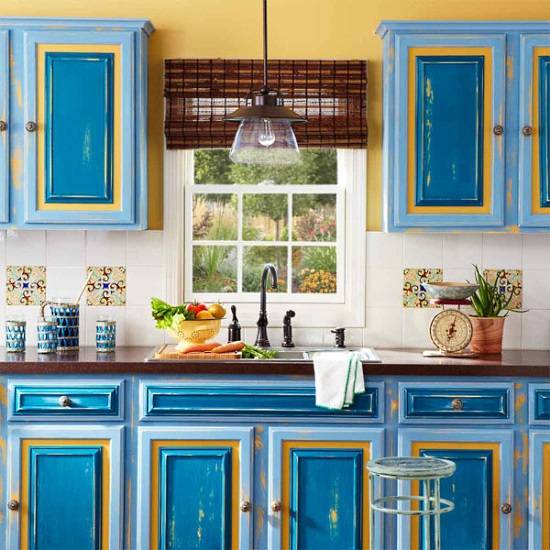
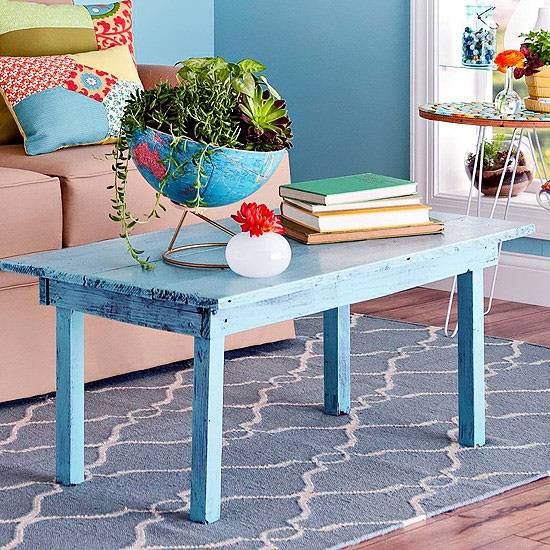
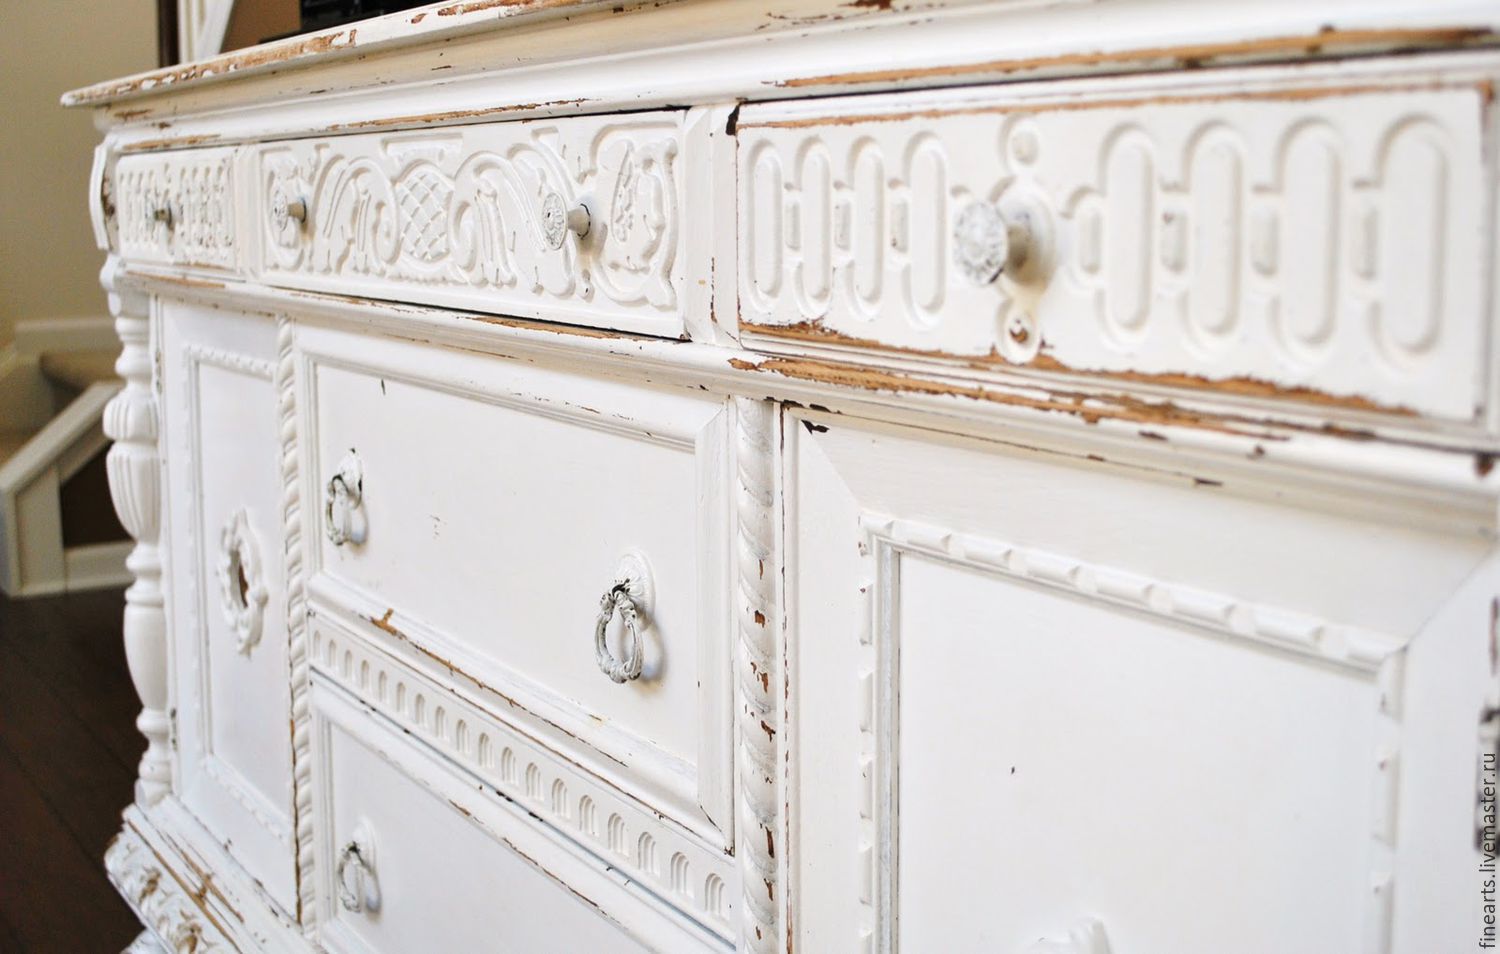
The effect of wear and fading paint on furniture
Gives a cabinet or table the look of a life-beaten but still strong veteran.

You will need:
- Dark acrylic paint or stain for the first coat;
- The same paint in a light shade;
- Furniture wax or paraffin candle.

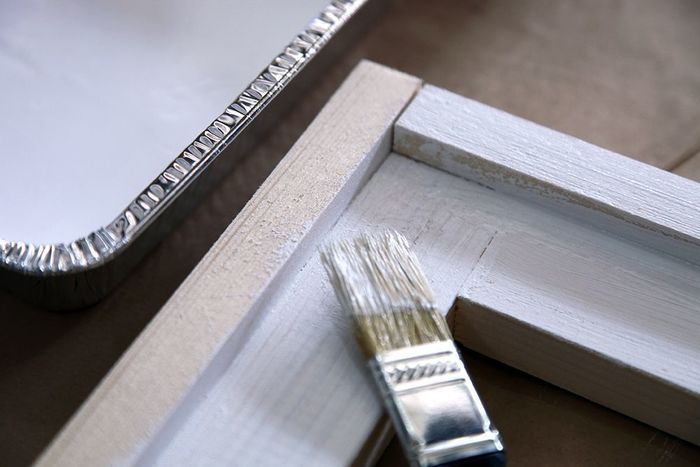
Sand thoroughly surface sandpaper. Use special sticky wipes to remove any fine dust that has formed. Apply dark paint evenly with a wide roller. Wait until it dries. Using sandpaper with a grain size of up to 200, lightly sand areas where abrasions are possible - the edges and corners of the tabletop, doors and the front part of the drawers, wooden handles. Apply wax to them and rub it in well. Cover furniture with light paint.
NOTE! To secure, you can cover these areas with clear furniture varnish.
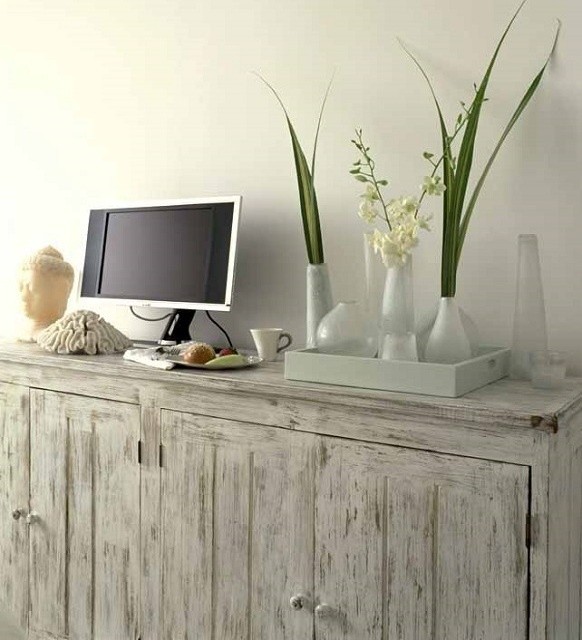
Subtleties of brushing
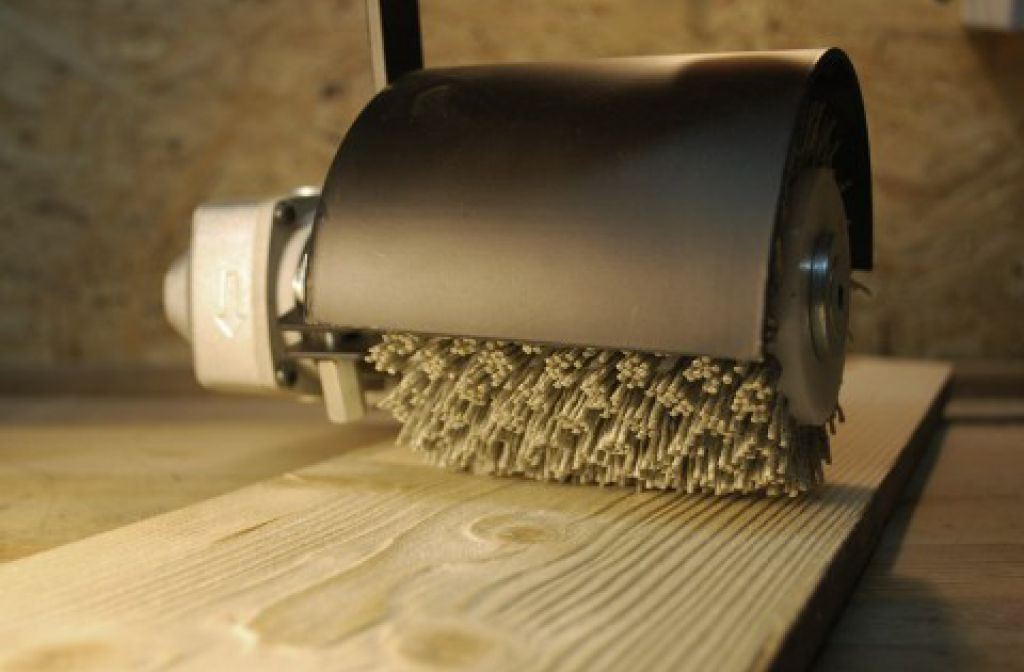
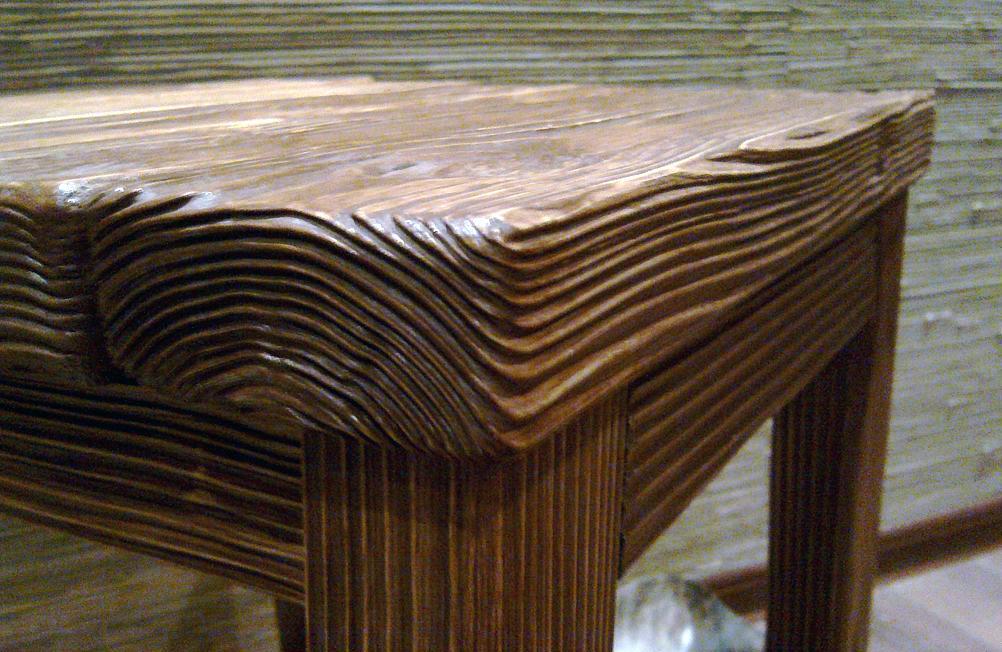
Many admire massive countertops or a cabinet made from planks with an uneven darkened finish. surface, on which the annual rings are visible. It seems surprising that at such a venerable age they have not lost their beautiful appearance and strength.
This technique is the most labor-intensive and complex method of aging. furniture. Truly high-quality wood brushing can only be achieved in industrial production conditions. Special tools and devices are needed - a machine or a milling machine.
IMPORTANT! Larch, walnut and oak are the most suitable for brushing. These species have a clearly defined ring structure and consist of wood with large fibers that are easy to process. We do not recommend using maple, birch, alder or beech.
The classic brushing technology consists of three stages.
| Stage #1 | Combing out soft "spring" fibers with a steel wire attachment |
| Stage #2 | Sanding with a nylon abrasive brush attachment to remove small particles and wood chips |
| Stage #3 | Final polishing with a sisal fiber roller |
IMPORTANT! To reduce the amount of dust, wet the first stage surface water. Don't forget to dry the workpiece before sanding.
To give the appearance of wood darkened by time, use various tricks. You can cover the workpiece with a special composition of varnish and powdered pigment, which gives different shades of gray or even gold. If you want to get a more contrasting pattern on surfaces, apply a thick coat of stain and quickly remove the excess with a sponge.
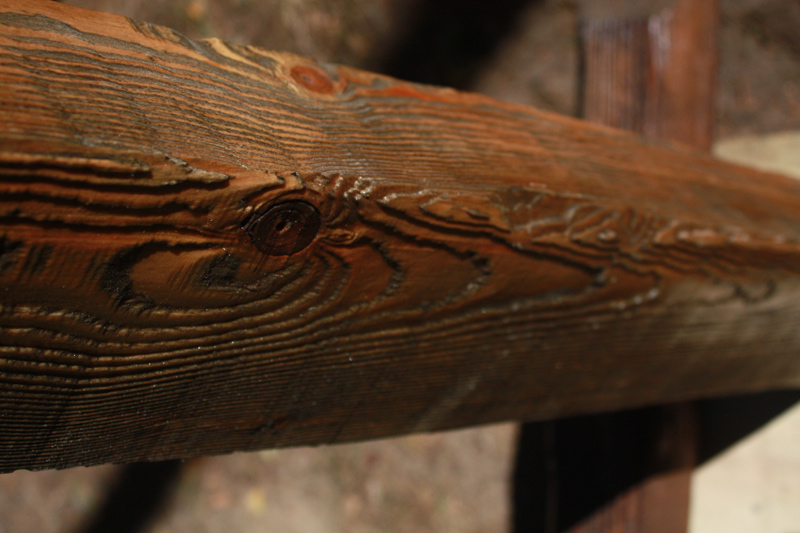
Create artificial abrasions using a grinder and fine-grained sandpaper. Use maximum taste and imagination at this stage to achieve believability.
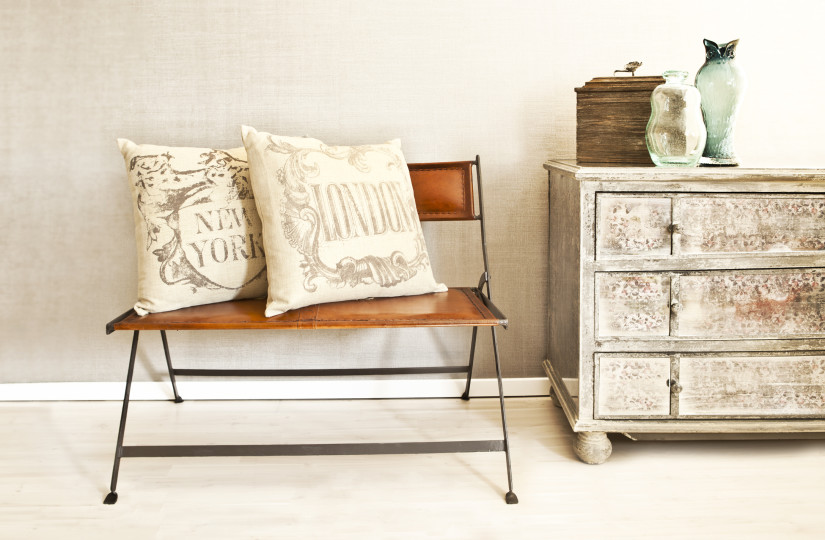
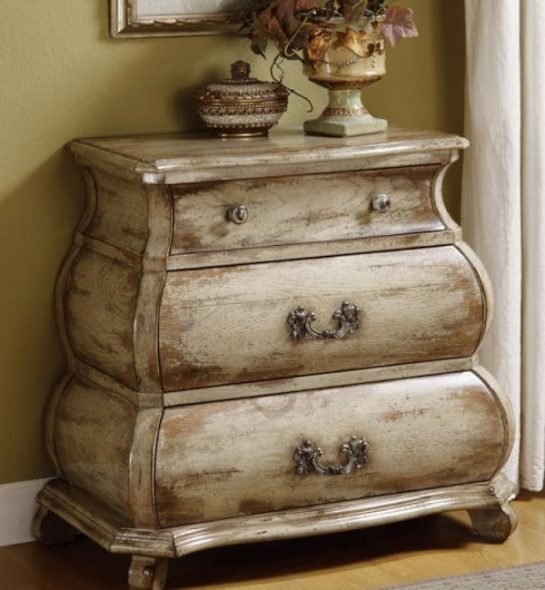
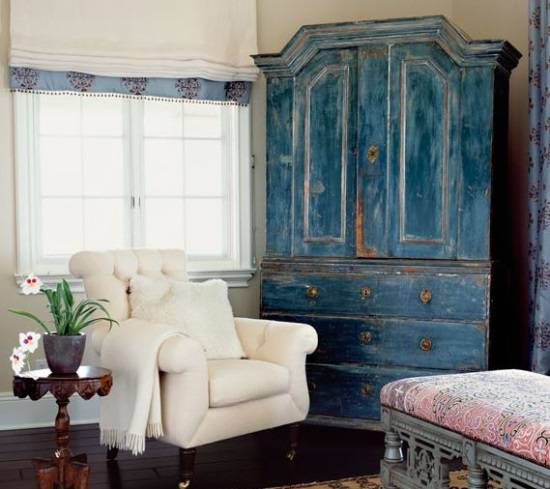
The patina must be noble.
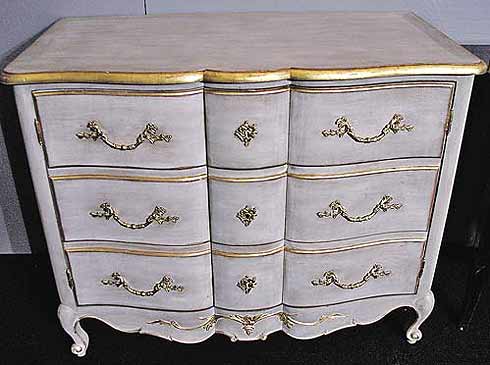
Looking at samples of antiques furniture, you will easily notice that the corners of relief details, carved ornaments, deep elements of metal casting are covered with a thick dark coating. It appears on surfaces as a result of a long-term process of oxidation of paint, varnish or metal and is particularly prized by connoisseurs.
With the help of a few tricks, you can quickly achieve the appearance of a noble patina on surface absolutely new furniture from MDF and glued beams. For this you need:
- Primer for wood;
- Basic acrylic paint;
- Patination composition – antique, gold patina or bitumen varnish;
- Furniture wax;
- Shellac varnish;
- A special sponge (Scotch-Brite), fine-grained sandpaper or an attachment for a grinder or drill;
- Flannel napkin.
Dry the workpiece for 24 hours. Cover the entire piece with patina. surface details. It will dry within ten minutes. Do not skimp on the patination composition for volumetric details, joints and folds of wood - contrasting dark recesses will give them more expressiveness.

IMPORTANT! Rub the patina so that it does not look like an unsightly spot of dirt or poorly removed old paint with clearly defined boundaries.
Apply on surface relief elements wax in small portions, rub it with Scotch-Brite. Remove the remains with a flannel cloth. Use sandpaper to lightly sand the entire part, without touching the recesses. Apply a gold patina to the wax with a thin dry brush.
NOTE! If the base paint or wood is dark, use nitrocellulose varnish. For light wood, use water-based varnish.
Don't despair if you can't afford to buy the antique wardrobe or chest of drawers you like. There are a variety of ways to make one. aged furniture, very diverse. You can use some of them at home. For complex methods, such as brushing, involve experienced specialists - carpenters and restorers furniture. Just don't try to sell your creation as a real antique.
VIDEO: How to age wood with your own hands.
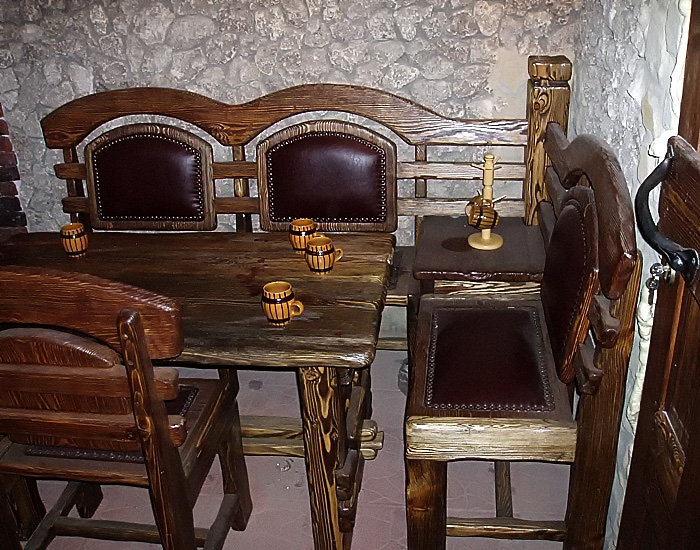
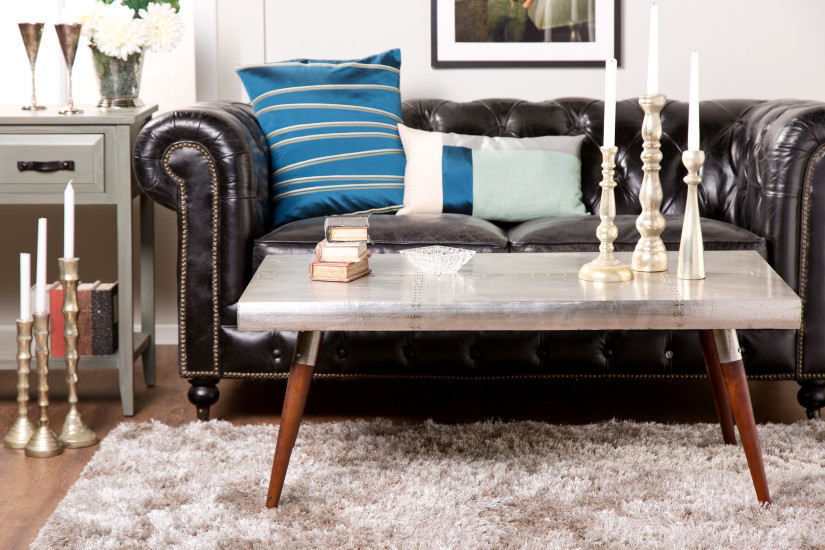
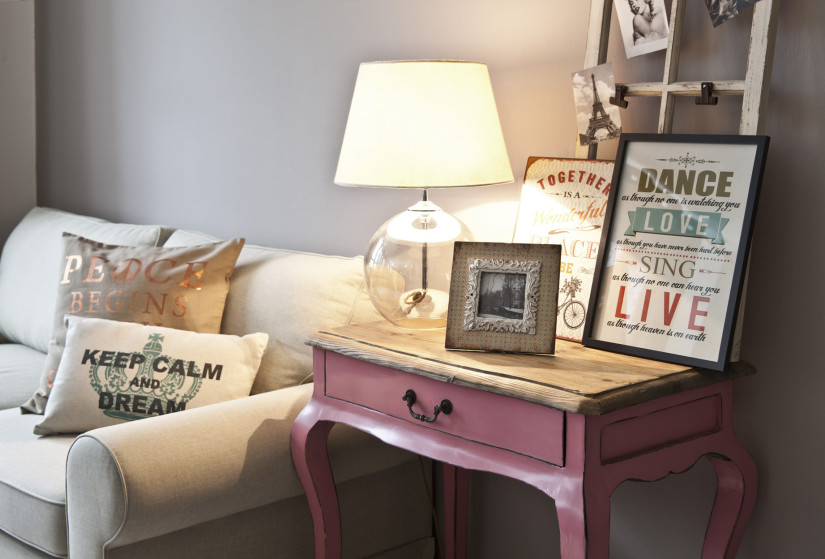
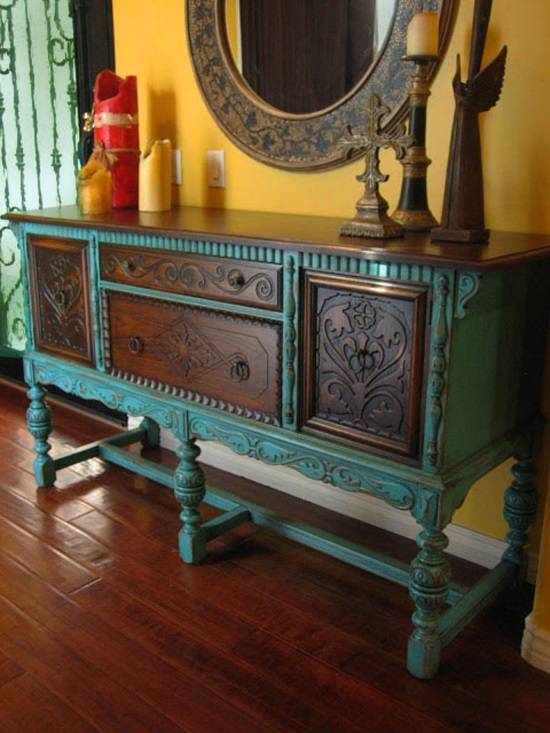
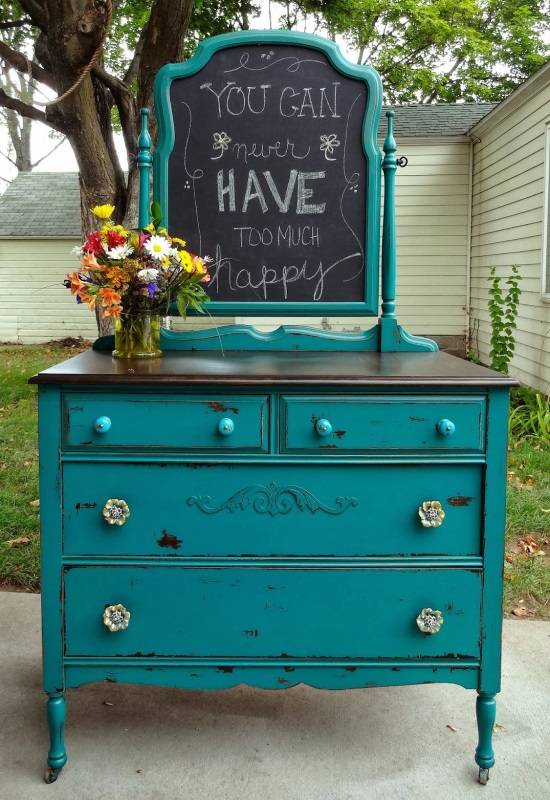
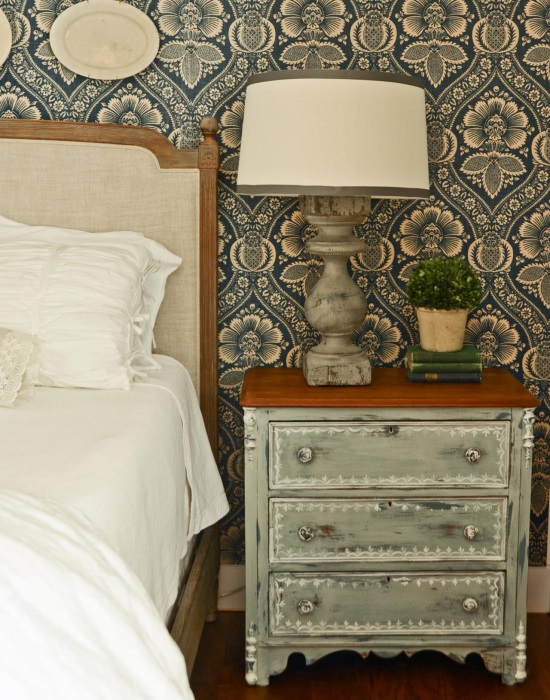
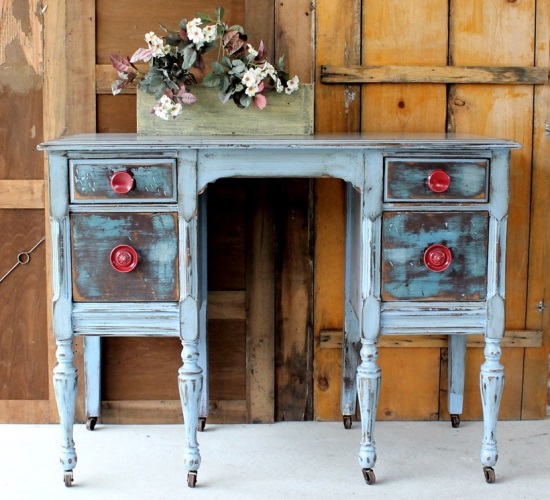
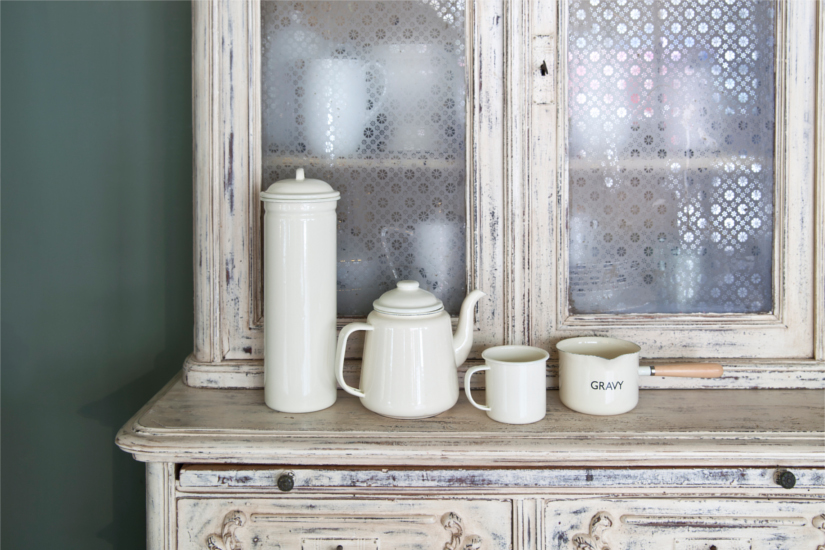
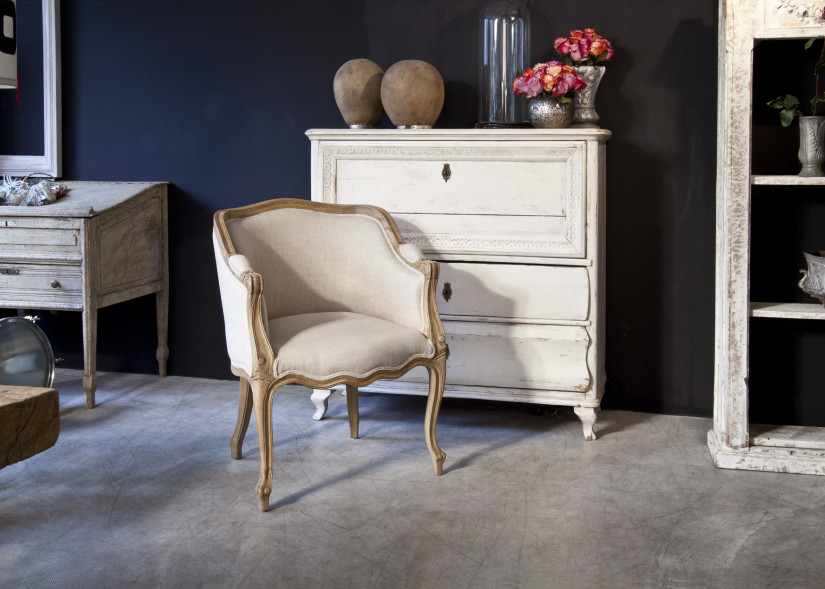
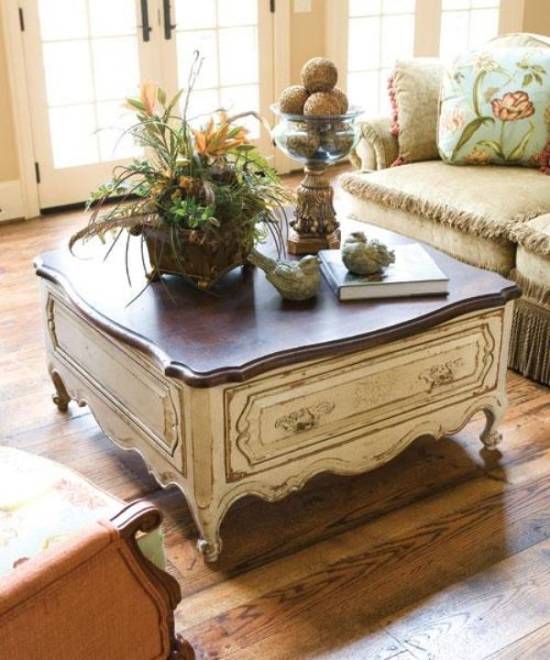
Aged furniture in the interior – 50 photo ideas: