Every day, on the way to work, we dream of long-awaited holidays, weekends, to go to our favorite summer cottage, enjoy spending time with family and friends, and merge with nature.
Today, a cozy, well-equipped dacha should not be an unattainable luxury that requires fabulous expenses. Schemes, drawings, technologies, Internet resources offer hundreds of ideas for creating garden furniture.
Throughout our lives we are surrounded by furniture. Furniture production technology evolves and improves. Garden furniture, designer, author's — It is everywhere, we are surrounded by furniture! It is natural to want to buy a high-quality, practical, stylish thing for the dacha, at an affordable price.
Innovative furniture stores, designer garden furniture shops provide a range of services, sell stylish wooden chairs, for children and adults, with or without armrests, but not every average family can afford this kind of pleasure.
It is not necessary to resort to colossal expenses to purchase a fashionable piece of garden furniture. A product created with your own hands will provide comfort and harmoniously “fit” into the design of your favorite garden. A flight of fantasy, a list of necessary tools – everything you need to make your dream come true in everyday life!
Content
- Terms of use of garden furniture
- A set of standard questions for a self-taught furniture maker
- Preparing for work
- The process of making a chair with your own hands: step-by-step instructions
- Assembling the parts
- DIY Wooden Garden Furniture Design
- VIDEO: How to make a garden chair with your own hands.
- 50 photo ideas of wooden garden furniture:
Terms of use of garden furniture
In order for the furniture you make yourself to serve you for a long time, the design must meet certain parameters.
| Transportability | As a rule, wooden chairs are used for outdoor recreation, under the open sky. In case of sudden weather changes, the chair can be conveniently moved under a canopy if it is transportable. |
| Selection of quality raw materials | One of the important conditions in the manufacture of the chair yourself, plays the role of hardwood. Despite the high pricing policy, the result of the design due to the quality material will be excellent. Such species include: aspen, oak, pine, cedar. |
| Maximum protection from atmospheric influences | Long-term exposure of the chair to direct sunlight or heavy rain leads to deterioration of the external condition. Preparation for protecting the finished chair begins at the earliest stages of construction. High-quality, dry lumber is the key to success. If you initially bought low-quality raw materials, dry the boards during the work. Sand, soak the blanks with an antiseptic, apply hot drying oil. At the final stage, after the finished product has completely dried, it must be varnished. The material is ready to start work. |

A set of standard questions for a self-taught furniture maker
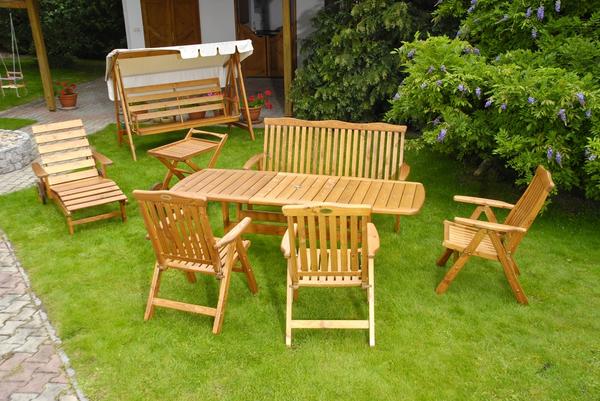
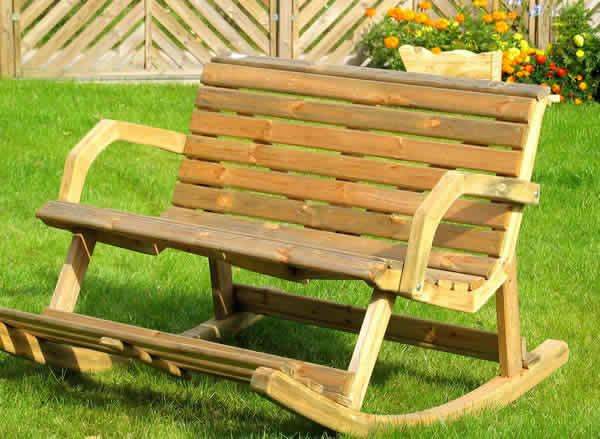
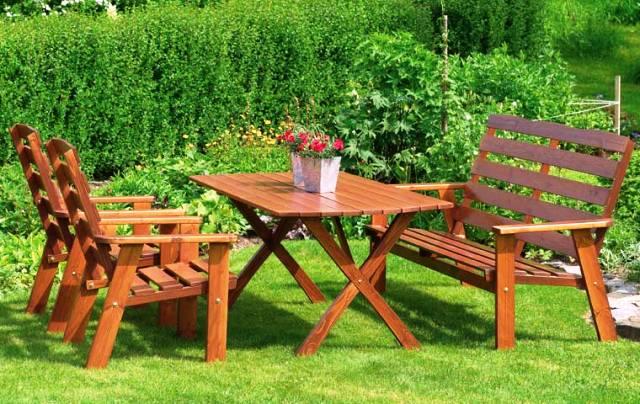
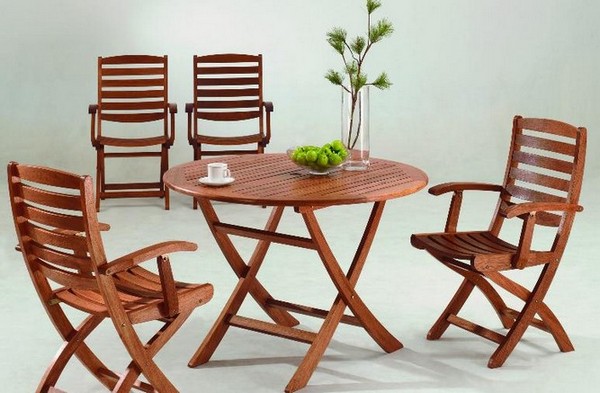
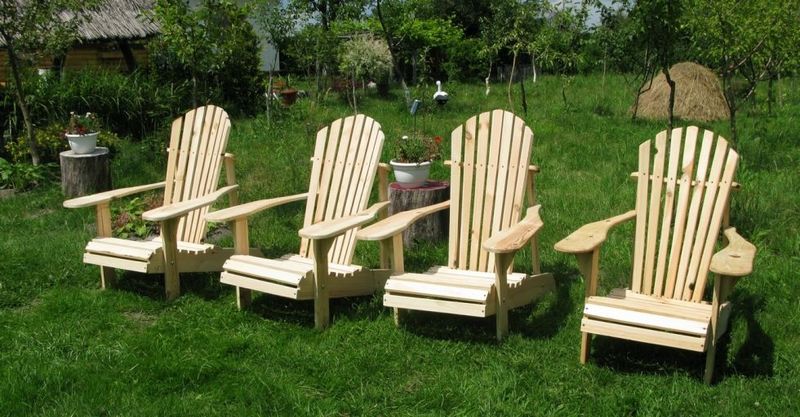
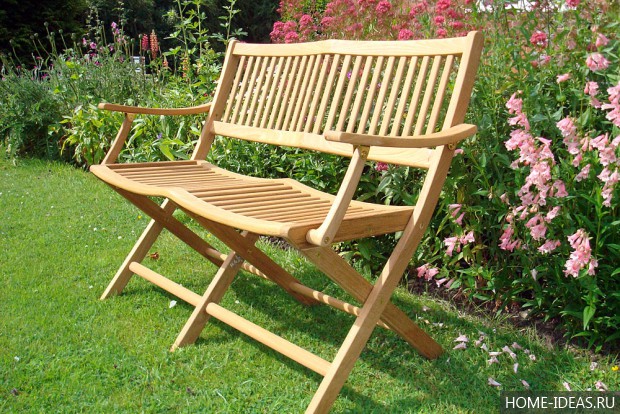
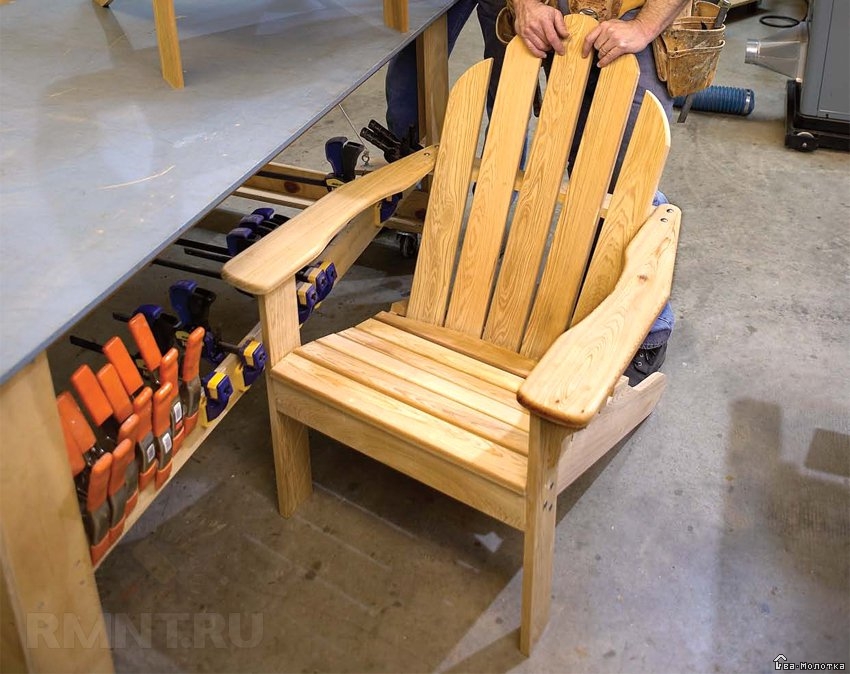
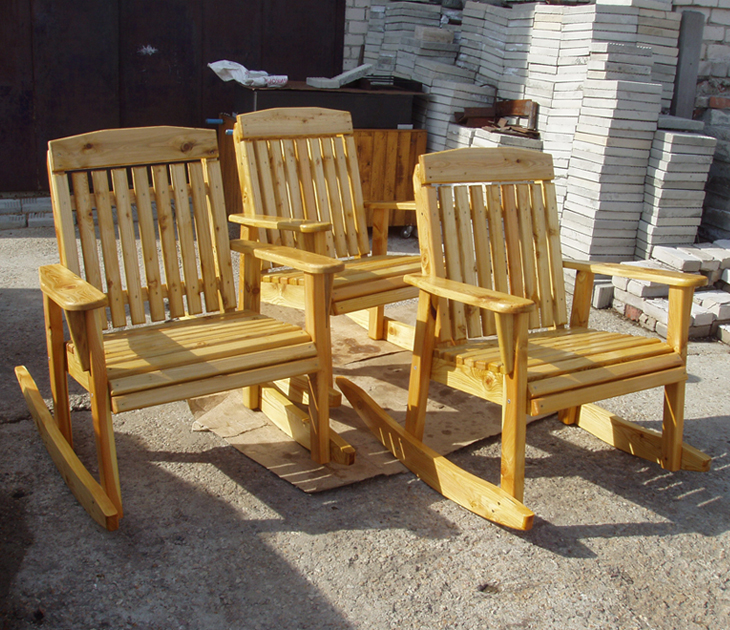
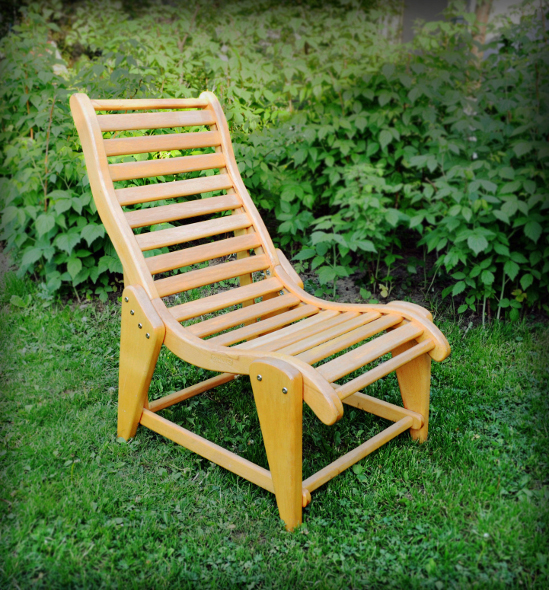
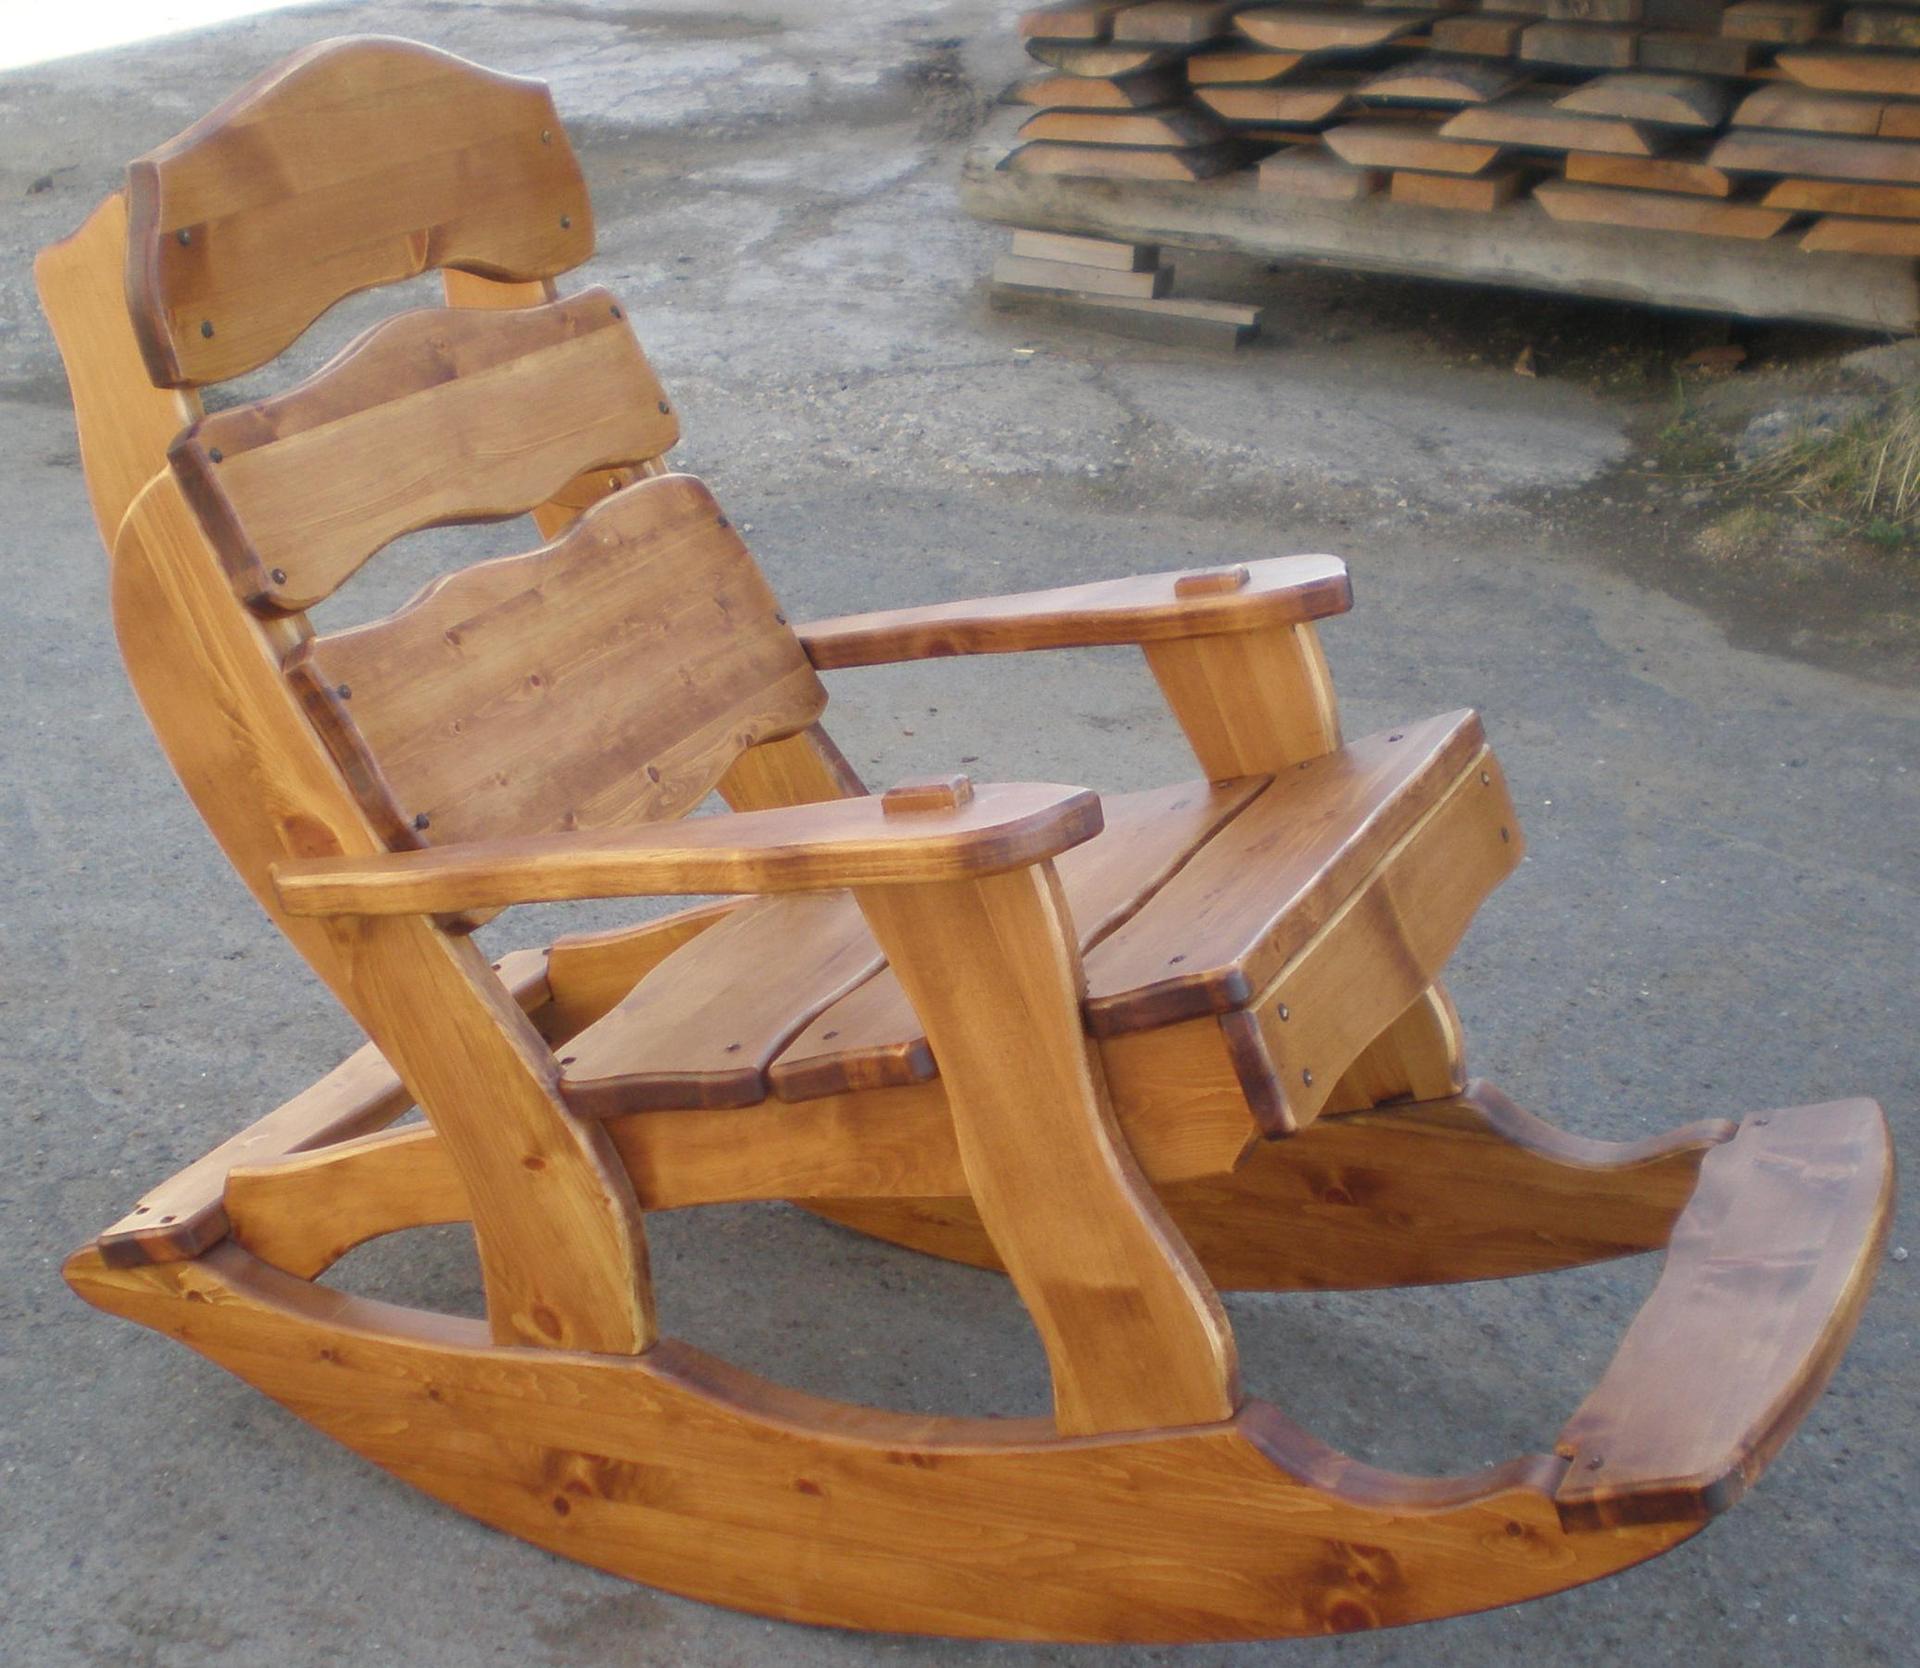
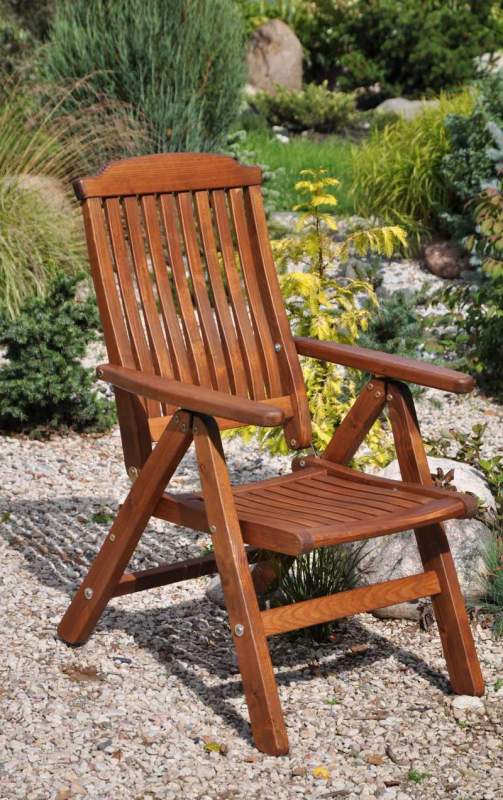
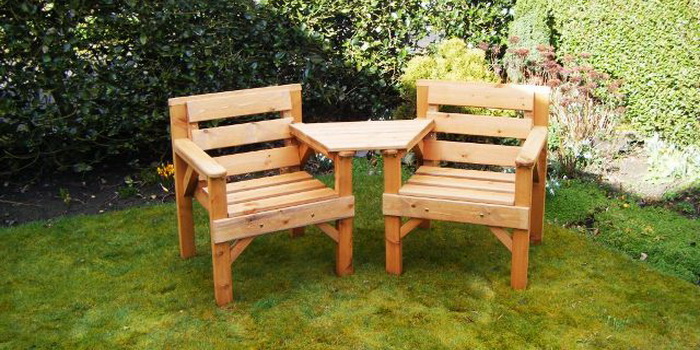
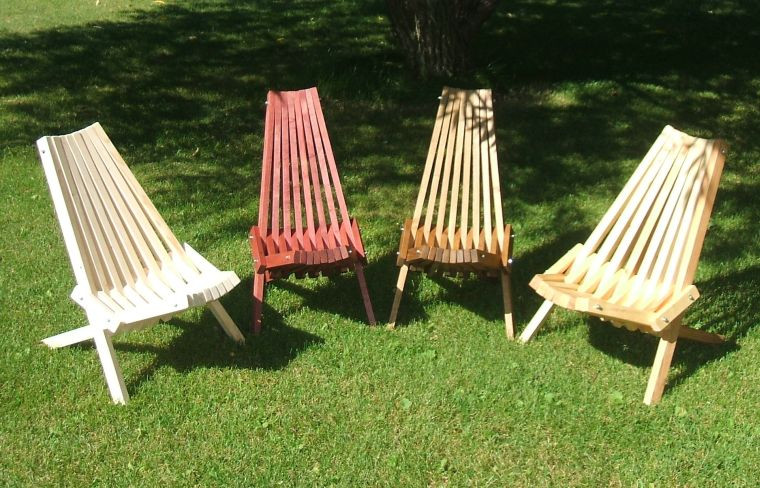
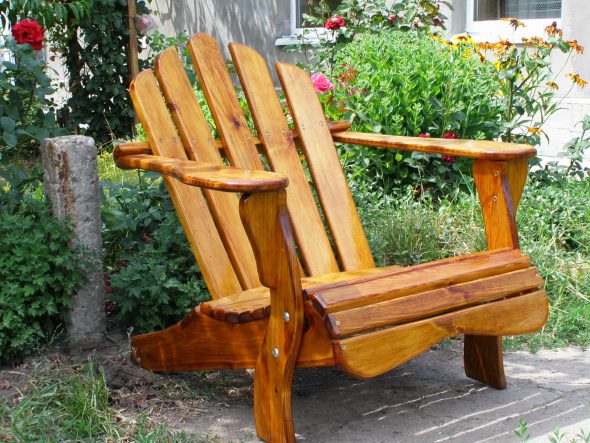
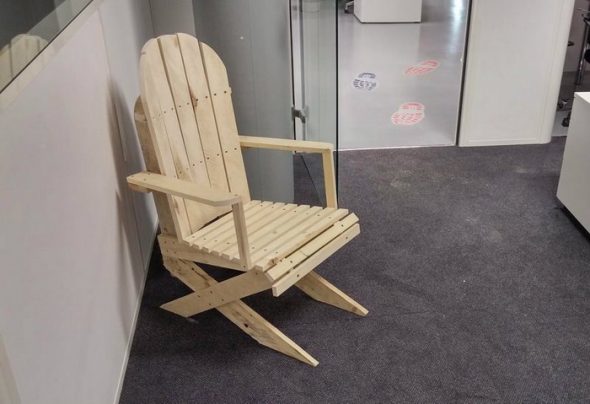
How to make a wooden chair with your own hands? Is it possible to build a garden chair with armrests yourself? How to make a children's chair and where to find correctly drawn up drawings and diagrams? A number of such questions will certainly flash through the mind of a novice home craftsman. There are various models of wooden chairs for summer cottages: folding and standard metal structures, wooden rocking chairs, comfortable chairs designed for two, children's and adults with durable armrests and a comfortable seat.
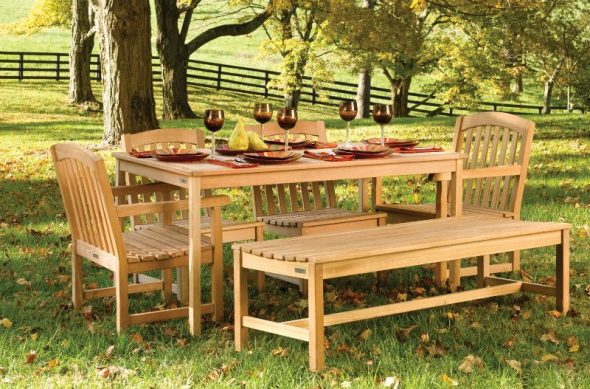
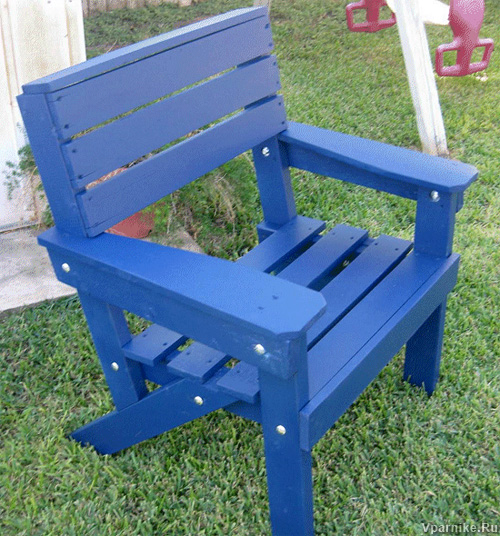
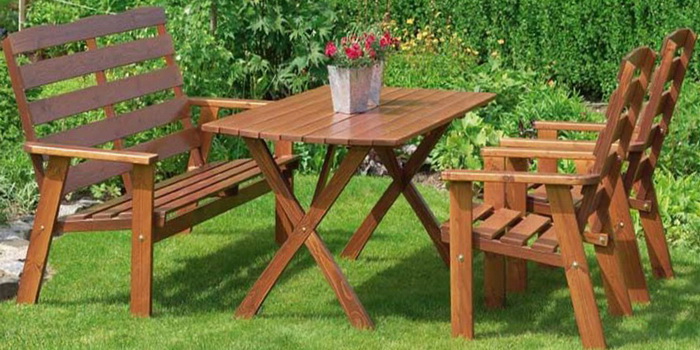
Not always, each of the above-mentioned designs contributes to a full rest. Let's consider the process of making a simple model — wooden garden chair.
Preparing for work
The main component in the preparatory stage is the presence of a list of tools and materials that should be in the master's arsenal.
Materials required:
- "Dowel" (24x60 mm) made of cedar - 30 pcs.;
- Shbrass screws - 4.5x50 mm and 4.5x32 mm, 20 pcs.;
- Nsandpaper;
- TThermostatic adhesive;
- Mfurniture varnish for coatings;
- ABOUTbodice;
- Malar tape;
- TOArton for stencil.

After preparing the materials for the wooden chair, you can begin the direct assembly of the product.
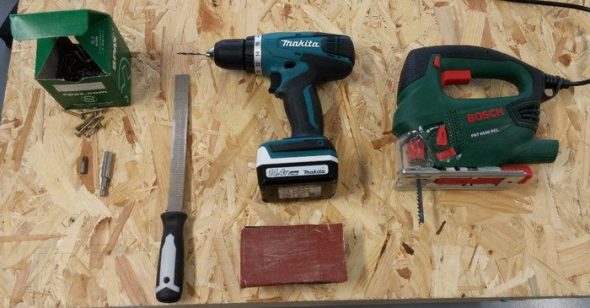
Tools required:
- Psilt (disc);
- Rubanok;
- Rscientific milling cutter;
- Nwood carving;
- Shscrewdriver;
- Drail;
- WITHtubes;
- Lruler, tape measure, pencil.
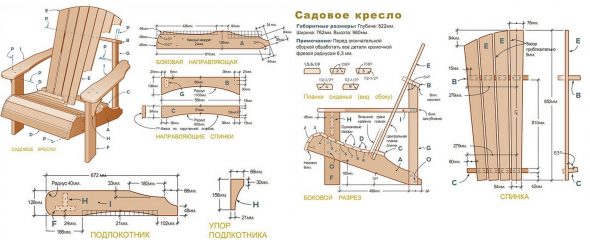
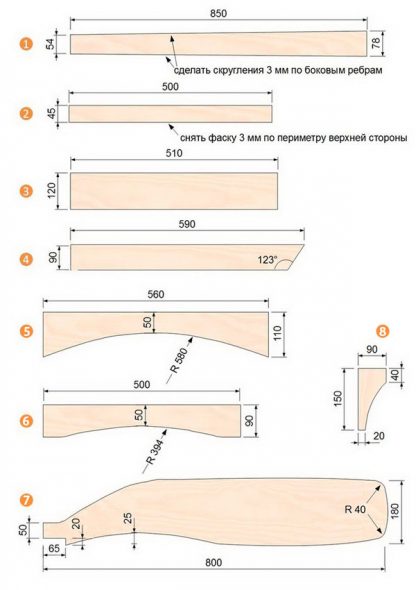
A preliminary calculation of the measurements of the components of a wooden chair made of cedar looks like this. The dimensions are given in millimeters.
- Legs 4 pcs. (rear 2 pcs., front 2 pcs.)
- Two front legs – 20x254x787;
- Two hind legs - 20x76x533.
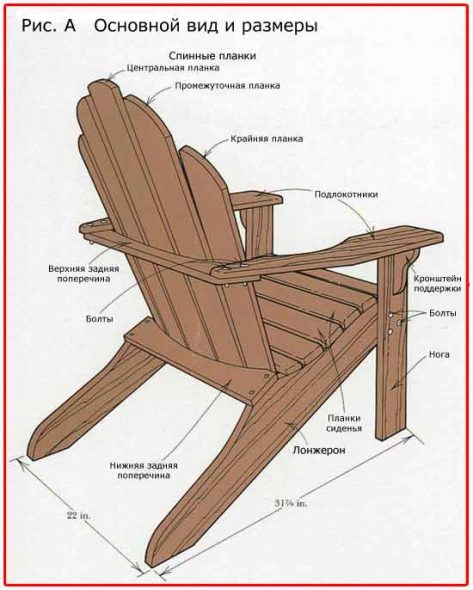
- The back of the chair is 20x279x914.
- Armrest for chair:
- ABOUTpore - 2 pcs., (20x127x406);
- Zrear support – 1 pc., (20x76x610).
- Jumper – 1 pc., (20x51x589).
- Insert strips – 2 pcs., (12x20x254).
The process of making a chair with your own hands: step-by-step instructions
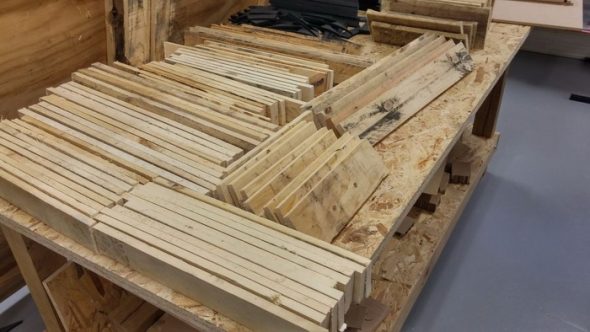
Creating the Basic Parts
As a rule, work begins with a preliminary stage — preparation of the main elements. Having a drawing with detailed tips will facilitate the further process of making a wooden chair with your own hands.
The most difficult and time-consuming process is making the seat side supports. It is necessary to make a full-size template of the side support on cardboard.

1) Draw the first side of the part, lifting the segment on the left, then the next two at the appropriate angle.
2) We mark a perpendicular segment, heading towards point A.
3) Mark point C and draw a cutout under the cross brace.
4) Extend the bottom side with a line, marking an angle of 75 degrees, with the vertex C.
5) Draw an arc, measuring the angle at point D. The radius of the arc is 116 mm. Connect the points with a segment.
6) Using a square grid, draw roundings between points A and B.
7) Place the resulting template on a wooden board. Trace the outline of the part, prepare for cutting.
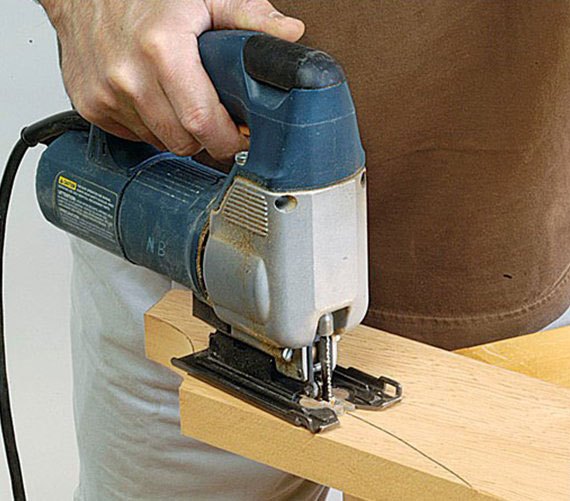
To cut straight sections, you need to use a saw; to cut out curved sections, a jigsaw is perfect.
IMPORTANT! To reduce chipping of the cedar board, the cutting blade of the tool must be moved in the direction of the grain!
After transferring the finished drawing to the board, we will mark out a similar one, according to the first diagram, using the already cut out part.
If you don't have a ready-made armrest template, no problem! The circumference is not important.
1) It is necessary to make wedge-shaped supports for the armrests using a saw, beveling the top edges by 6 degrees.
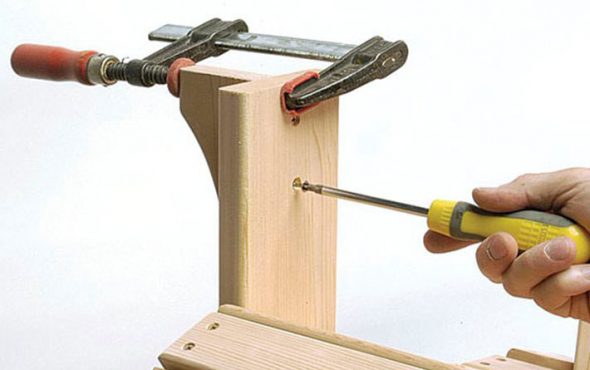
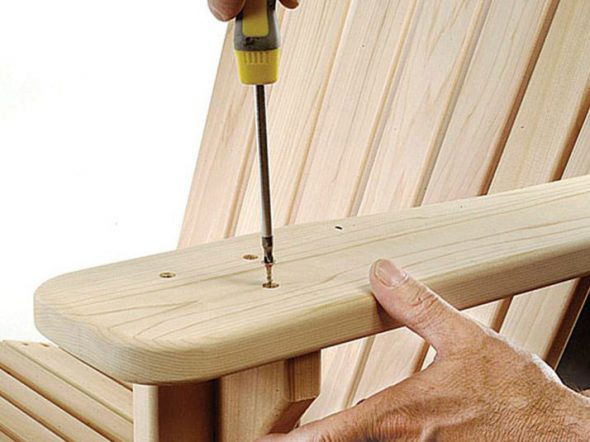
2) Carefully screw the supports to the front legs. Use glue and screws to fasten them together.
3) We cut out the armrests and the back support.
4) Using sandpaper, we clean the ends of the finished part.
5) We cut off the ends of the support.
6) We press the rear support piece to the back.
7) We mill the edges of surfaces.
IMPORTANT! Glue plays an important role when making a garden chair with your own hands. Heat-resistant wood glue, unlike the common and frequently used PVA glue, will not lose its properties under the influence of high temperatures, moisture, will not dry out and will not crumble. For this reason, we recommend using heat-resistant glue to create a wooden product.
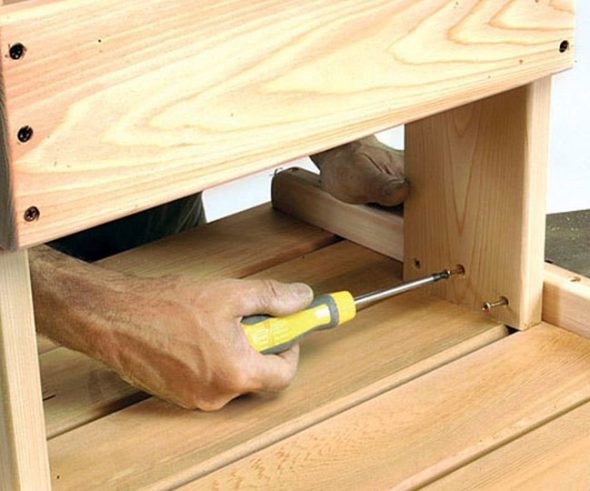
Assembling the parts
Before assembly, each part must be carefully coated with a triple layer of antiseptic to preserve the internal surfaces. After processing the material, you can proceed to the next stages.
- We align the finished parts, having previously marked the drilling points.

We cut out the parts exactly along the marked outline. - We make holes for bolts and aWe carefully fasten the parts.

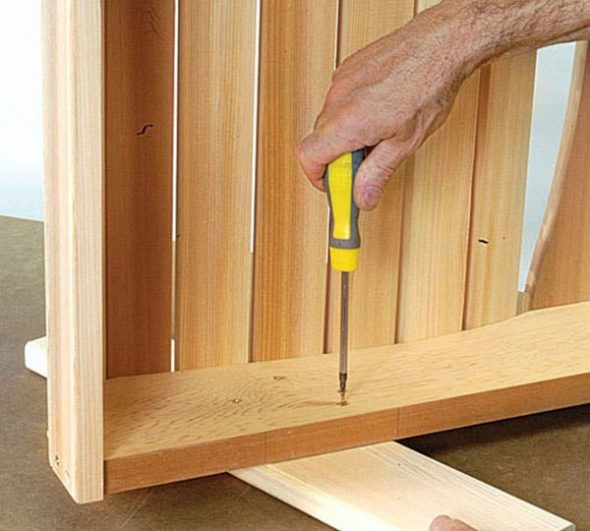
Please note that the strength of the seat will depend on the placement of the boards. - We install the rear leg perpendicular to the bevel of the support (like the first one, we assemble the second side of the frame), withWe connect the side parts of the wooden chair with the lower crossbar of the back and the first seat plank.

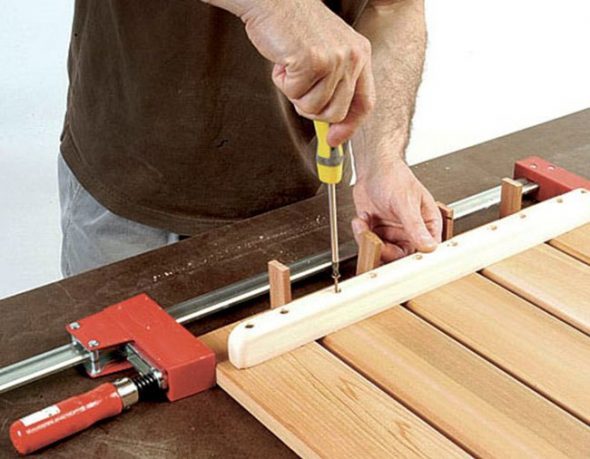
The ends of the planks and the opposite ends of the legs should match, which will indicate the correct position of the back. - We install the supports.We fix the supports with clamps.

The joint will be tight, which is what we need. - We fix the upper guide of the back with screws, trying to align it with the lower crossbar.We draw a line on all the cross boards, as well as on the chair back plate, then drill a guide hole, holding the plate.

Then we secure the top with slats and evenly fix all the planks in turn. - We draw the rounding radius by cutting the planks according to the markings.

Having chosen the correct width of the final strip, we place it in place of the seat. - We carefully sand the edges, upper surfaces of the back and seats.We close the screws with wooden plugs and sand. Using hot drying oil or oil impregnation, we process the finished wooden chair.


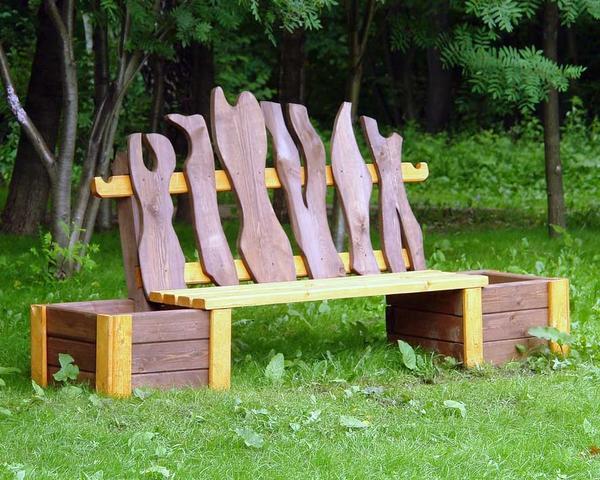
DIY Wooden Garden Furniture Design
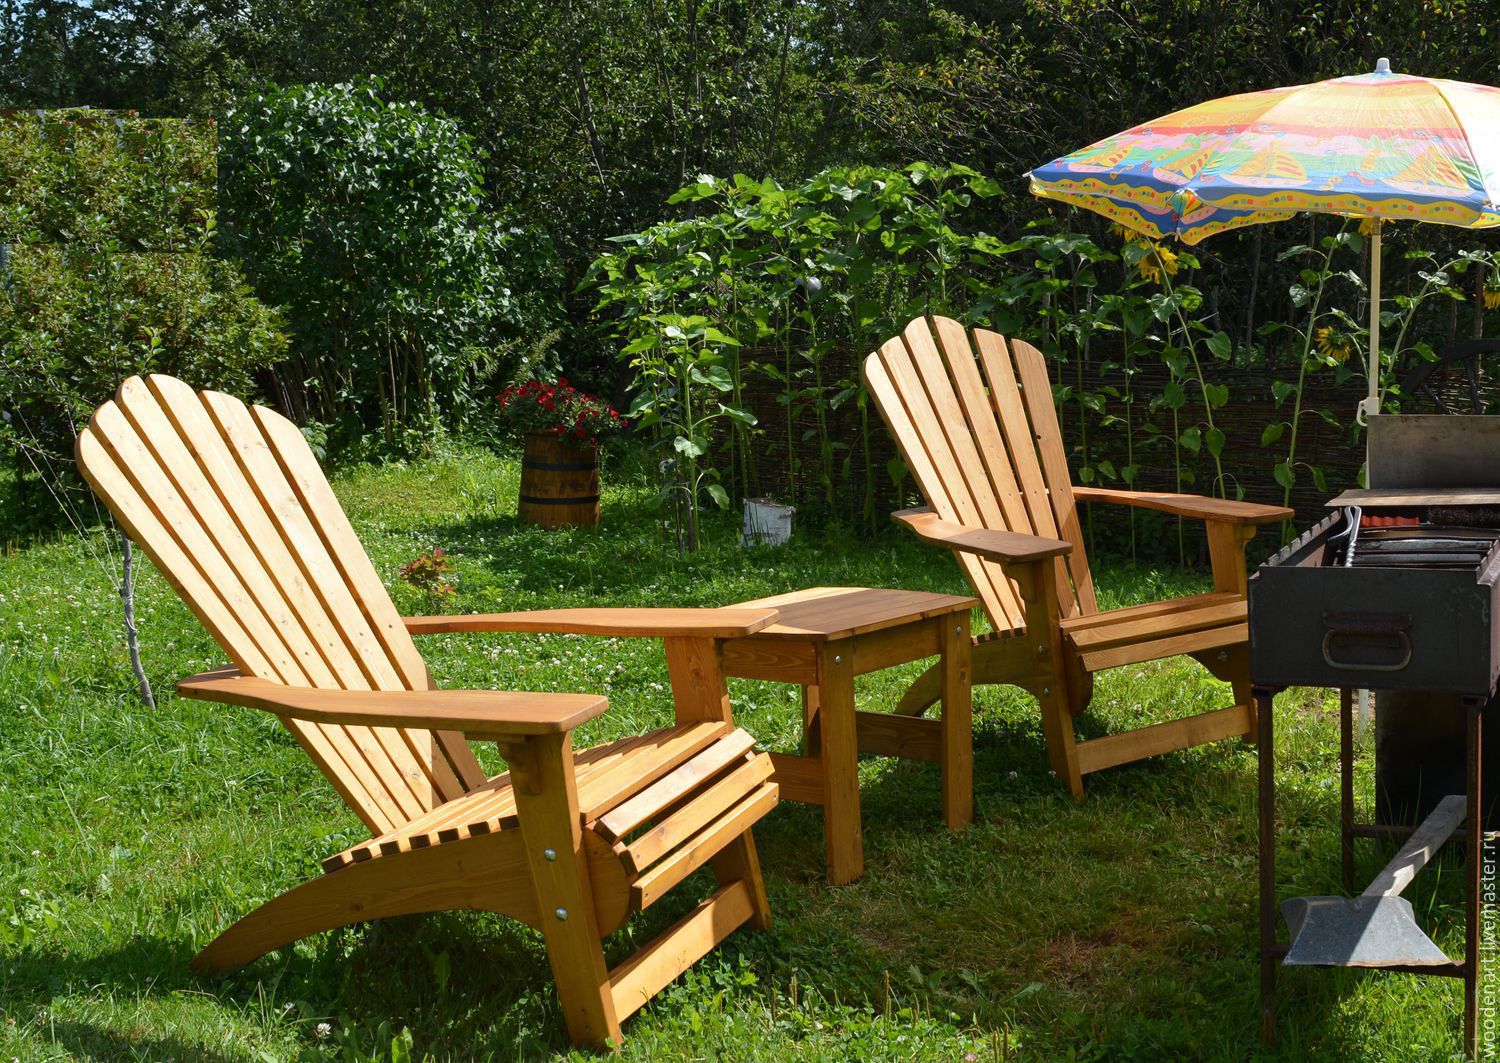
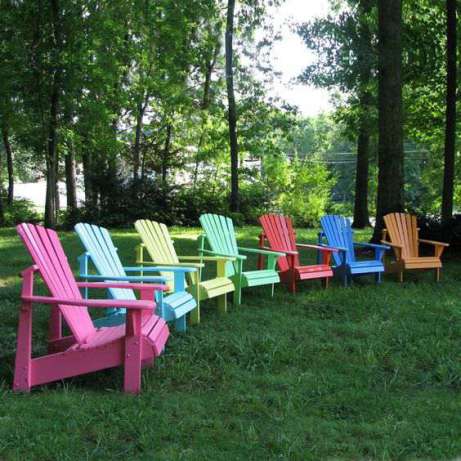
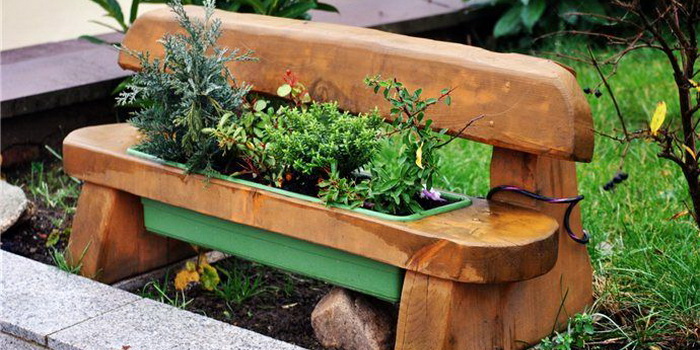
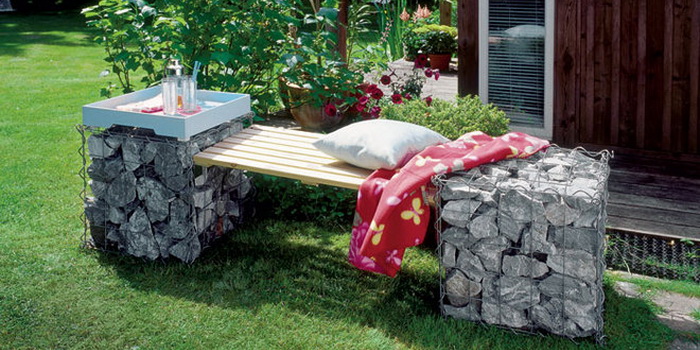
Decor is one of the important components. With the help of unnecessary things, pillows, bright rags, vine branches and painstaking work, you can achieve phenomenal results.

Fantasy, imagination, positive energy, basic knowledge, diagrams and drawings - that's the whole list of necessary components for creating a wooden chair with your own hands. Desire and a little bit of work - that's the key to success!
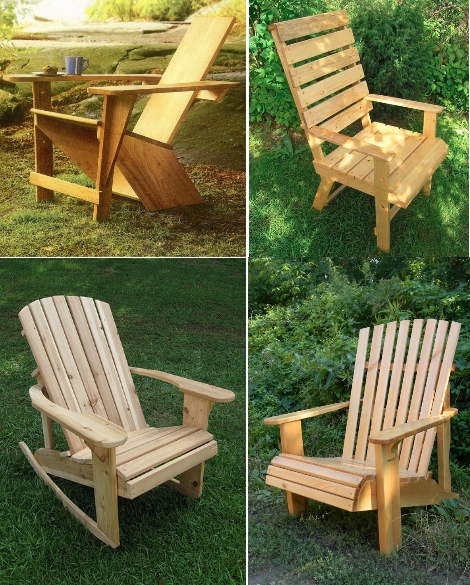
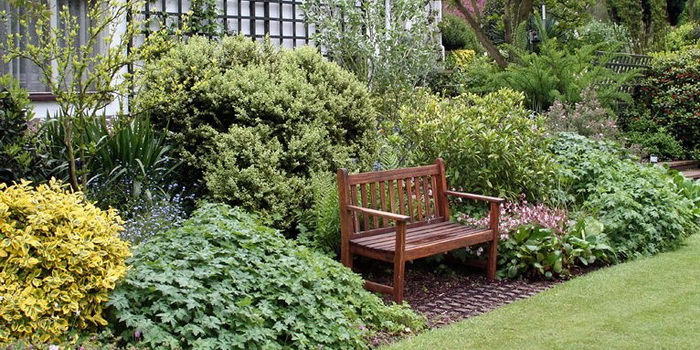
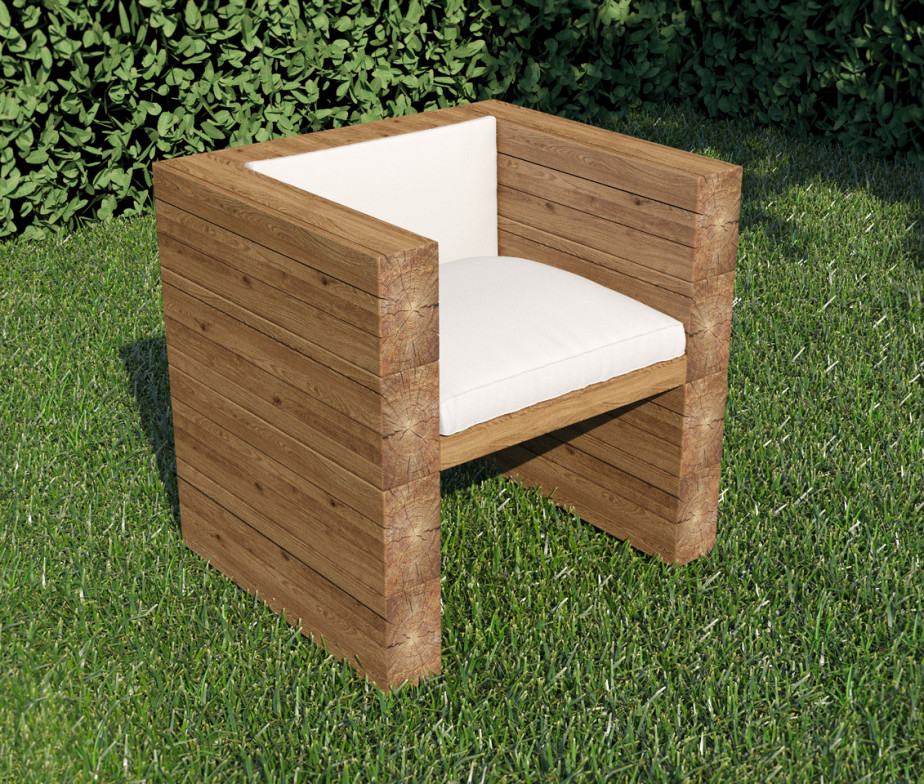
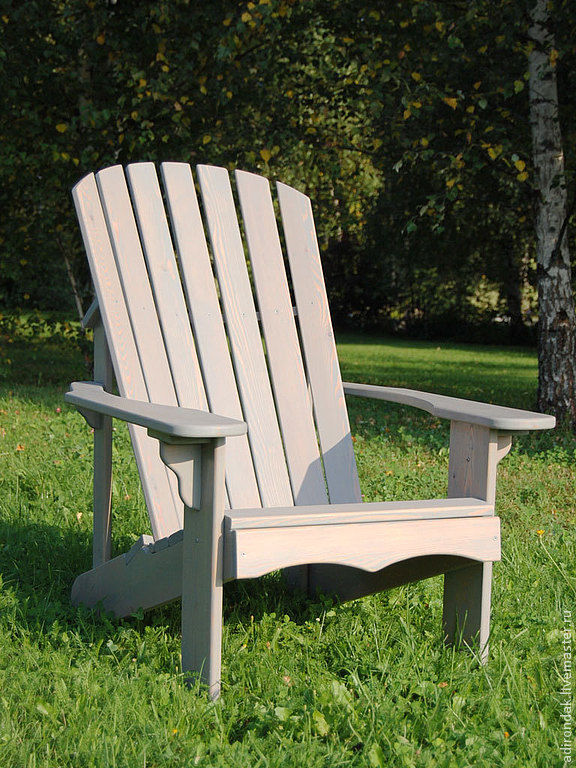
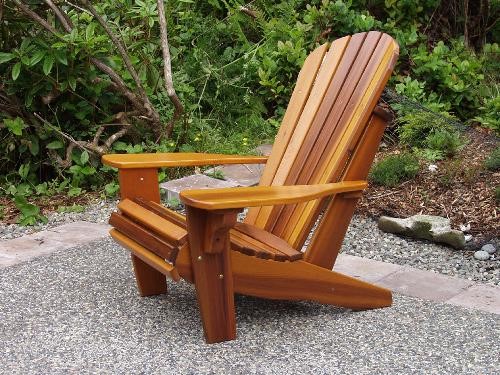
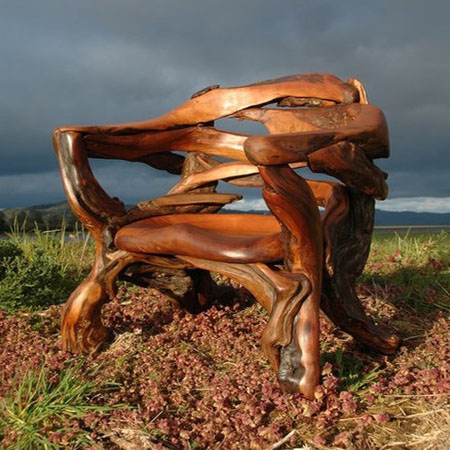
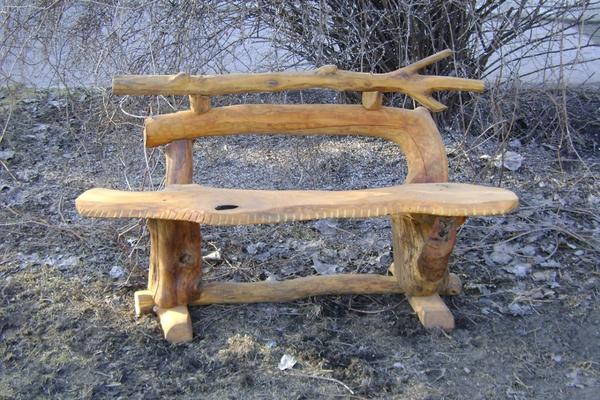
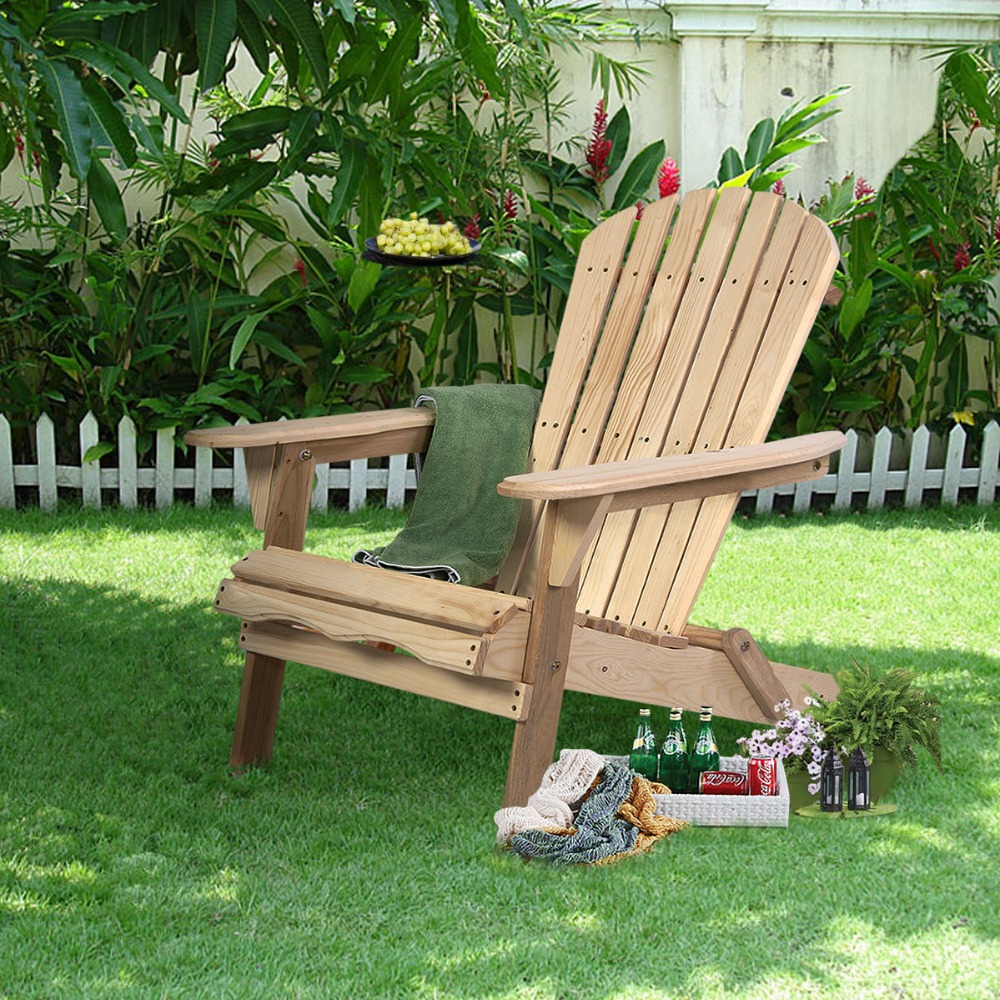
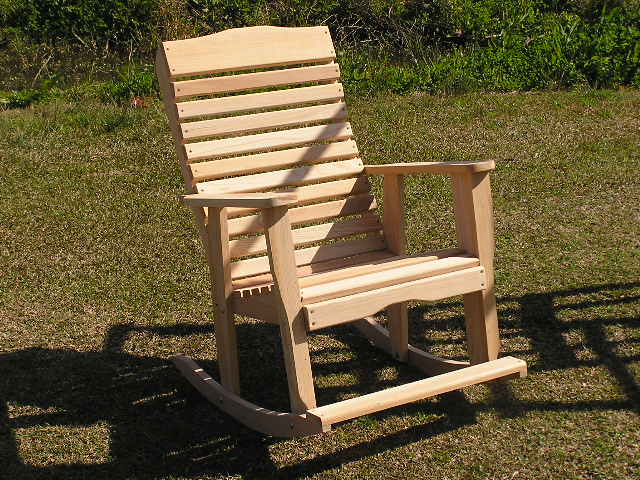
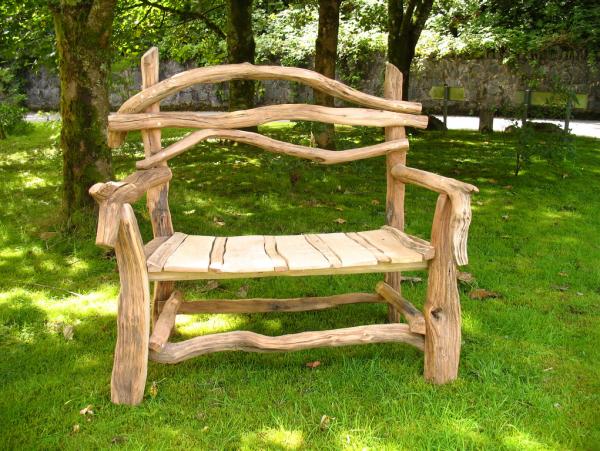
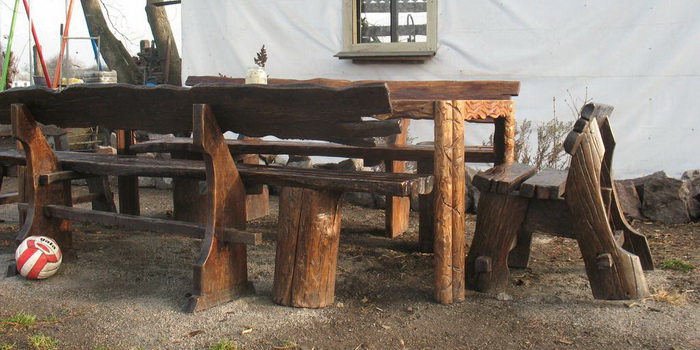
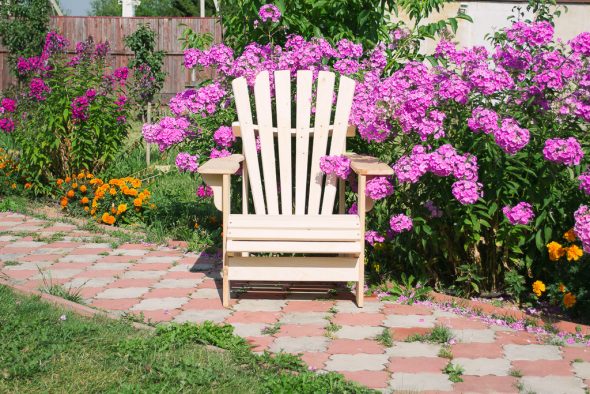
While maintaining its original appearance, such a chair will perfectly “fit” into the natural atmosphere and allow you to enjoy a comfortable rest.
VIDEO: How to make a garden chair with your own hands.
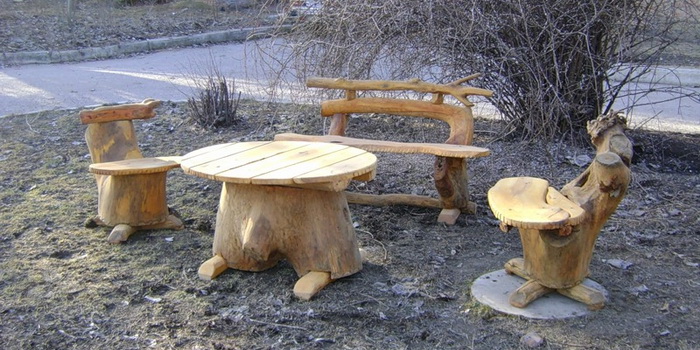
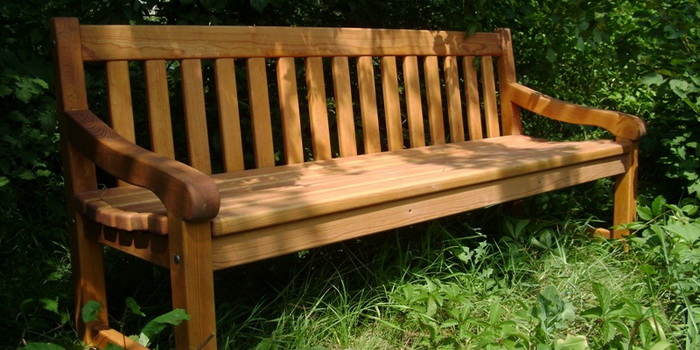
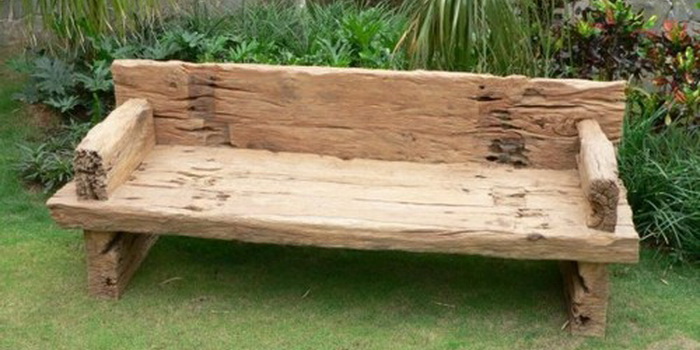
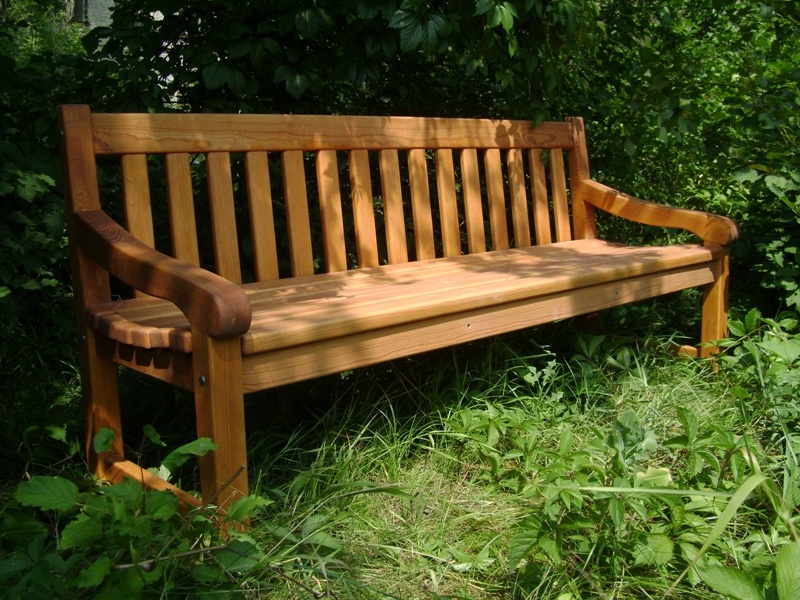
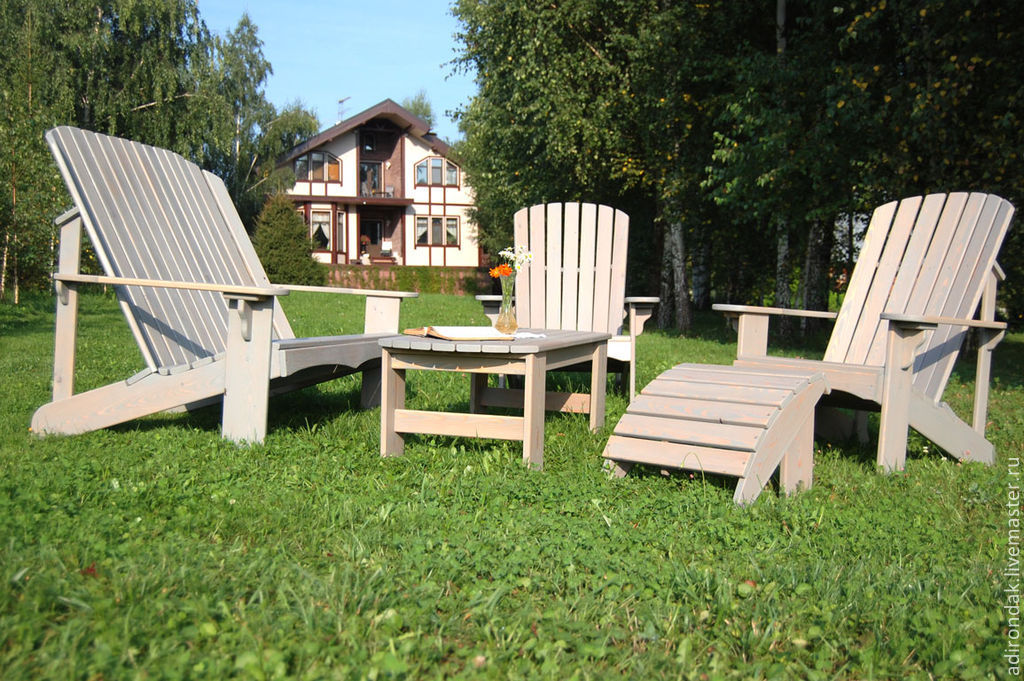
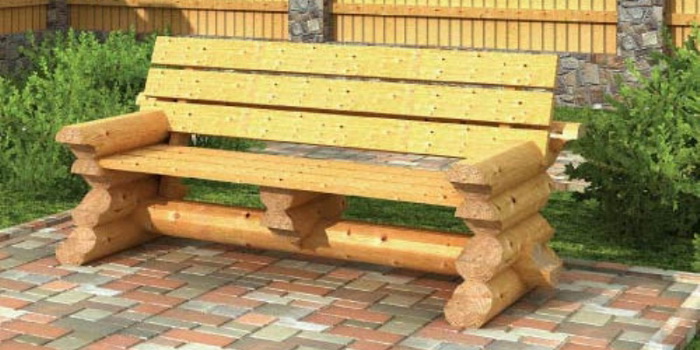
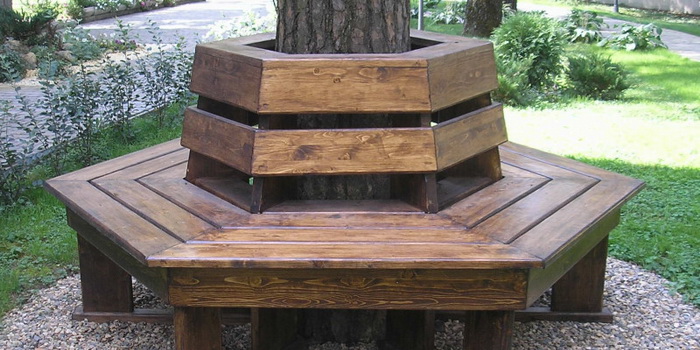
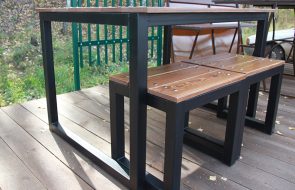
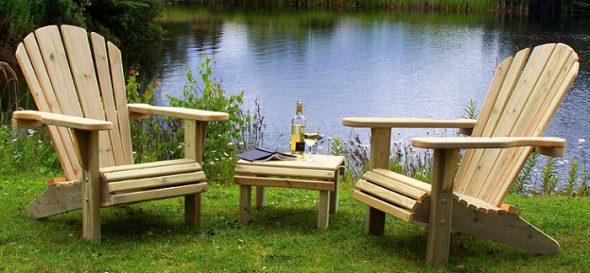
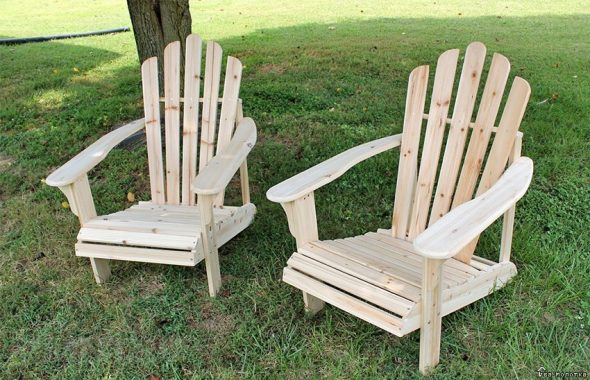
50 photo ideas of wooden garden furniture: