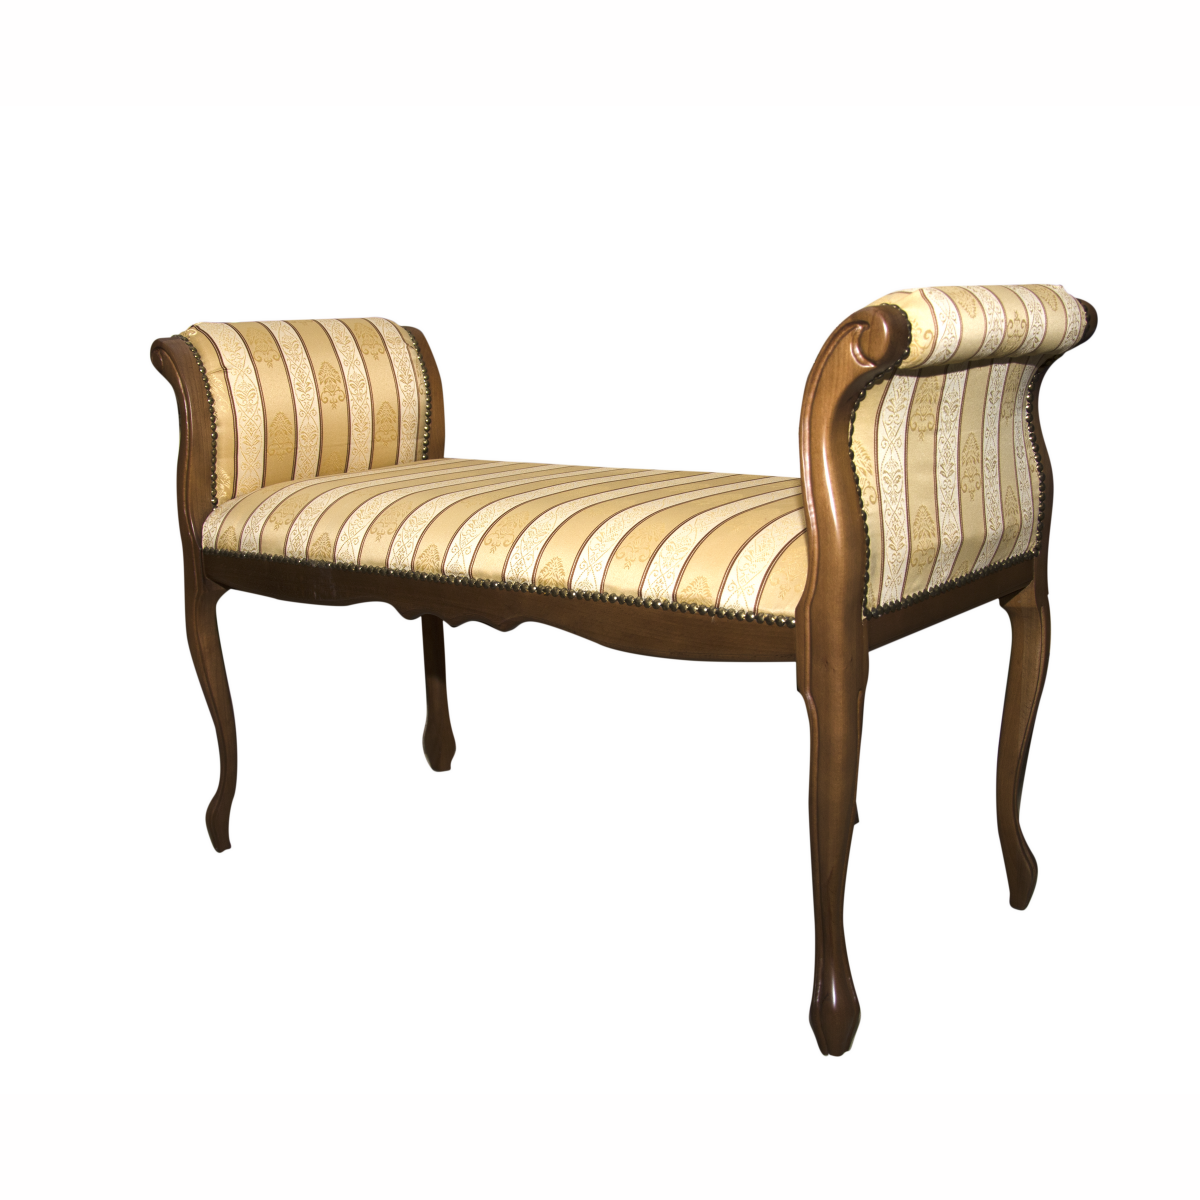
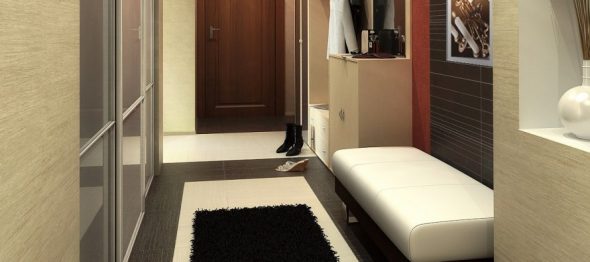
The banquette can be called a popular type of furniture for the hallway. Over time, its design has not undergone any radical changes. It is not only a comfortable pouf on which you can seat guests, but also a stylish piece of furniture, it will look great in the hallway, kitchen, bedroom and living room.
There is a huge selection of these soft poufs in stores: with cabinets, shelves, drawers. Each manufacturer designs the bench at its own discretion. But what to do if you still haven’t found a suitable option for your interior? In this case, the question may arise: how to make a bench with your own hands?
Content
The benefits of a DIY banquette
Anyone with basic carpentry skills and a good handle on a needle can make a bench.


Let's consider the advantages of a homemade pouf.
- Firstly, you can choose the shape, colour and size to your taste. Everything depends only on your imagination. Then you will be able to create a bench that is unlike other factory analogues, which will add originality to your interior.
- Secondly, a pouf made with your own hands will cost you much less than a ready-made one from the store.
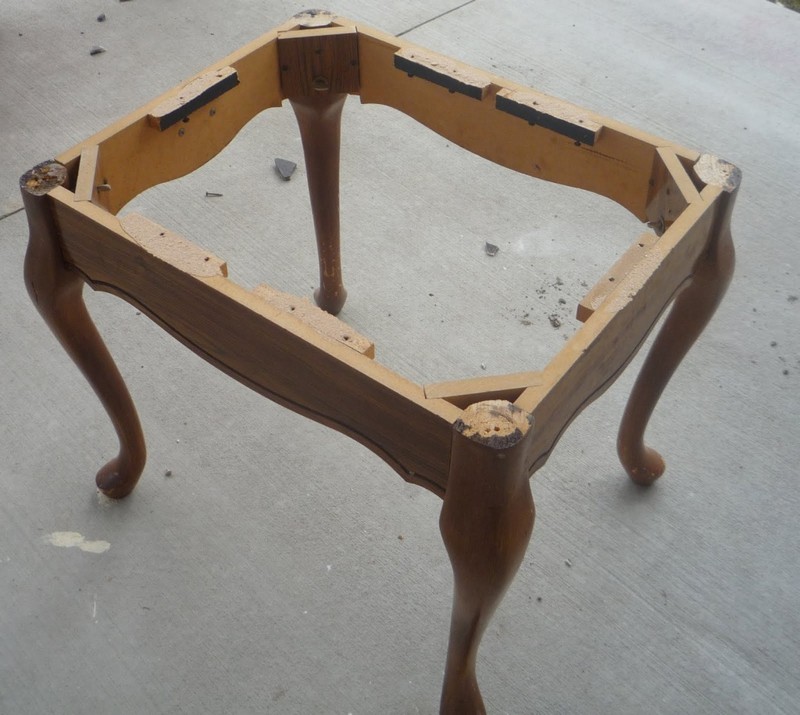
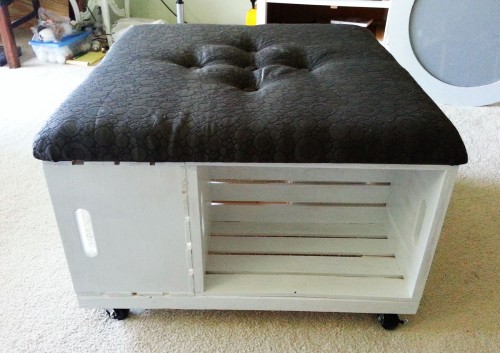
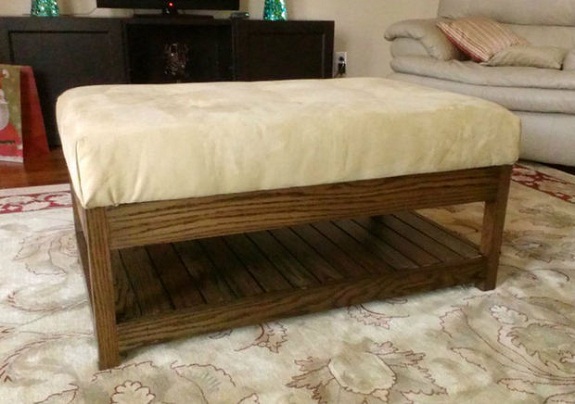
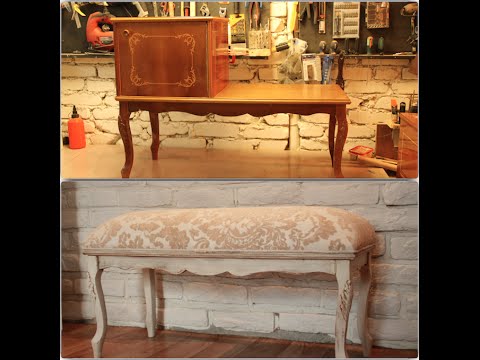
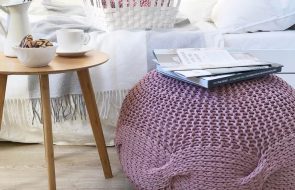
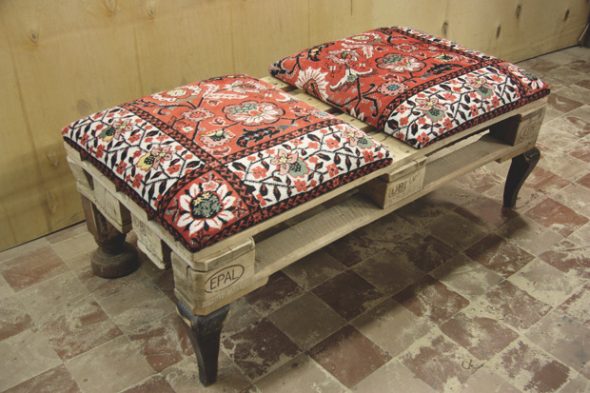
- Thirdly, you can make a bench from old furniture that you were about to throw away (a stool, a coffee table), but in this way you will give it a new life.
- Fourthly, creating something useful and beautiful always brings moral satisfaction to the creator. Having made such a thing yourself, you will be able to present your work to guests and receive many compliments as a reward for your work.
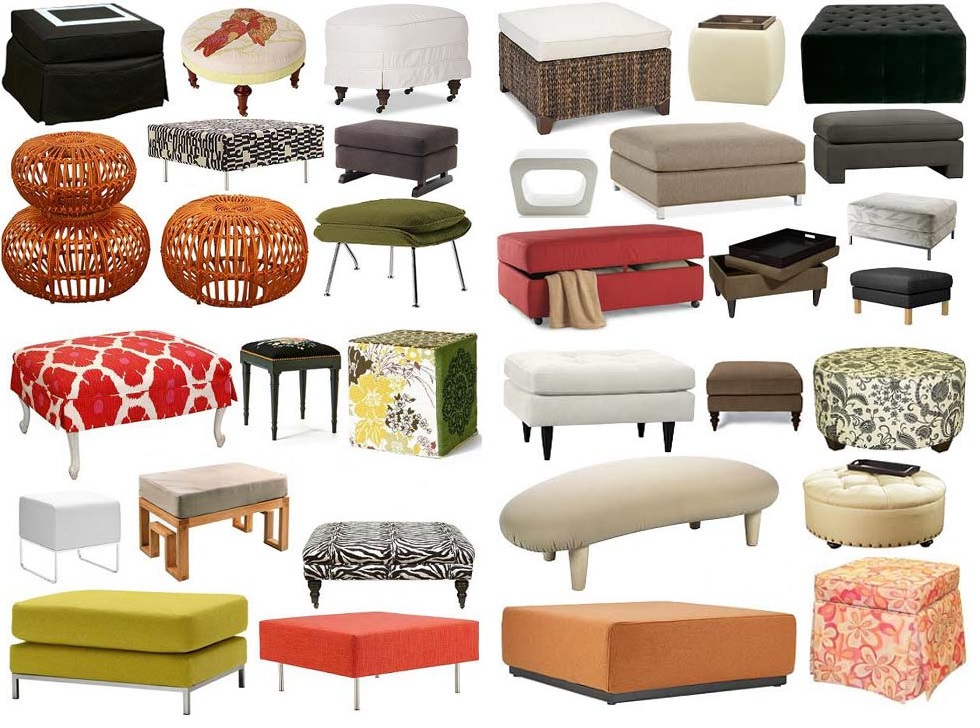
Before starting work, you need to think over the design of the product and see what types there are. You can choose a bench by shape, material and size.
Let's look at the main types.
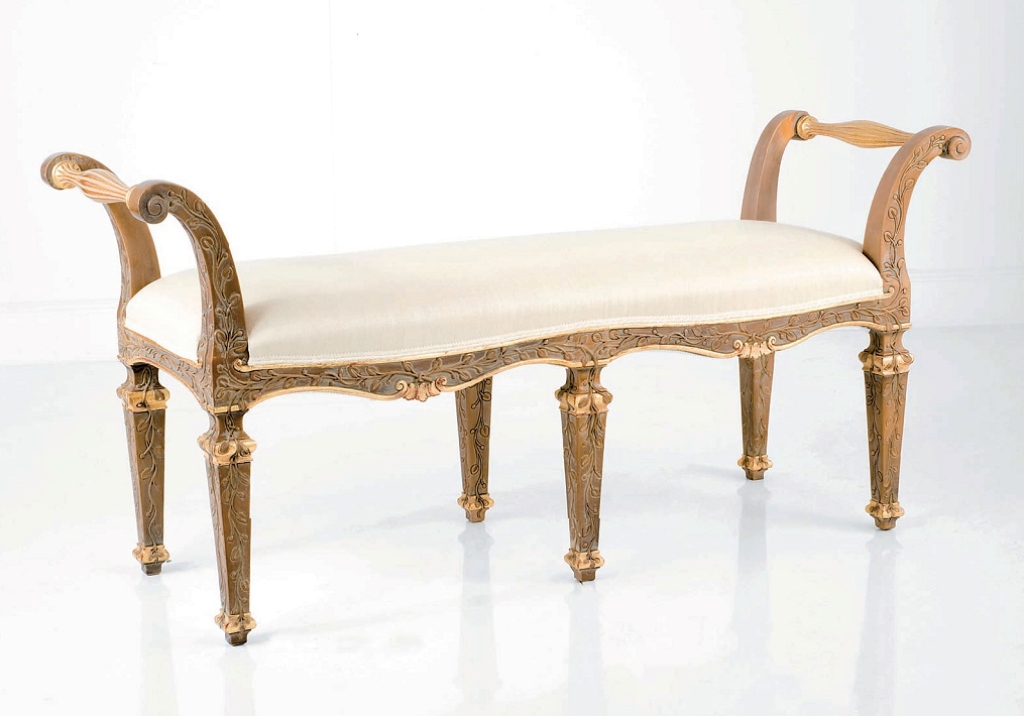
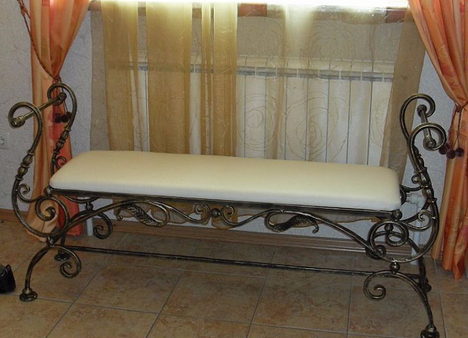
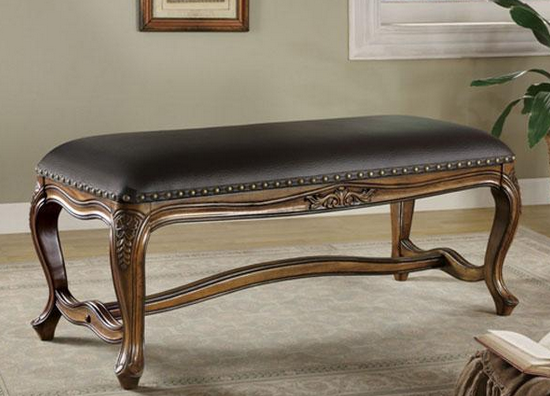
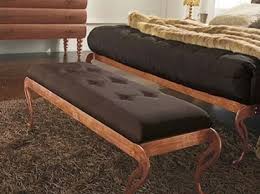
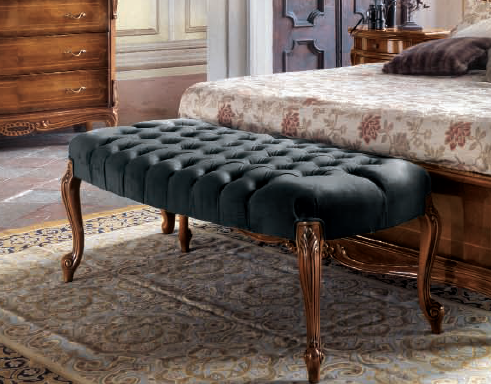
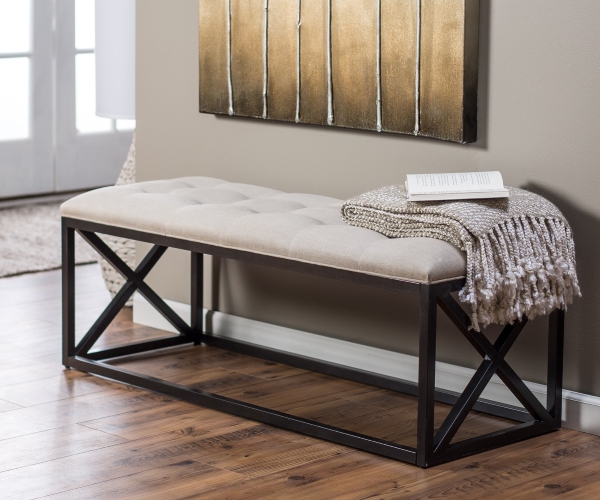
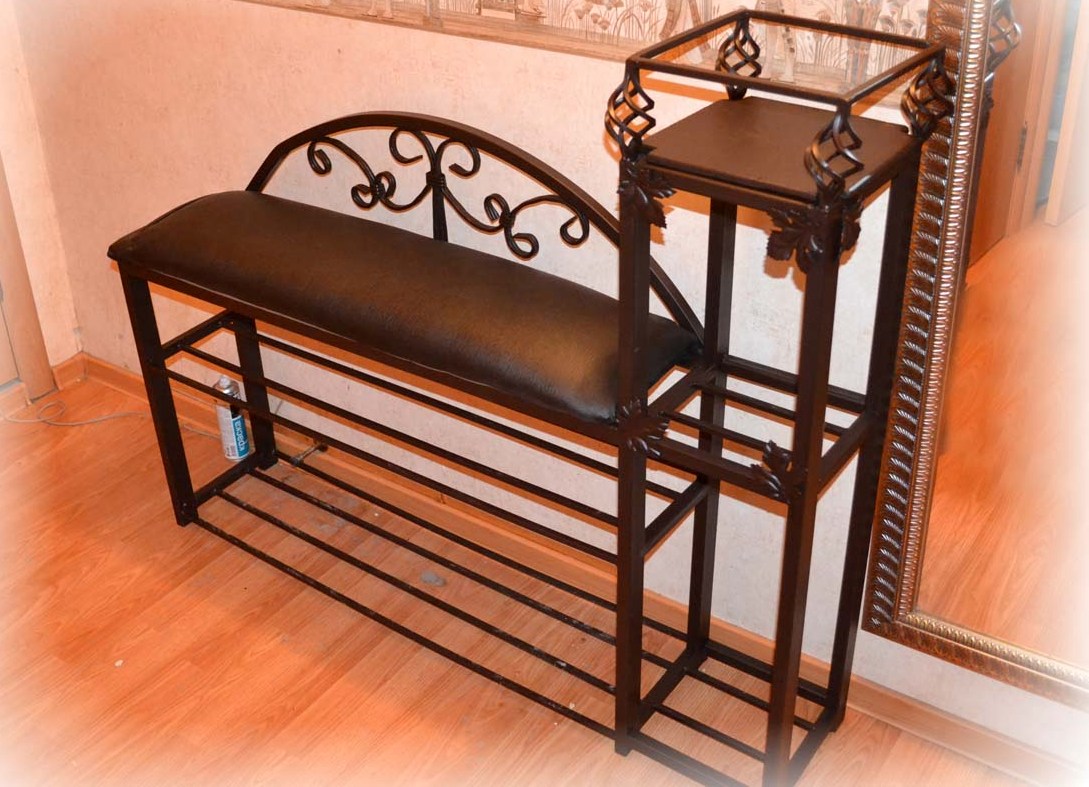
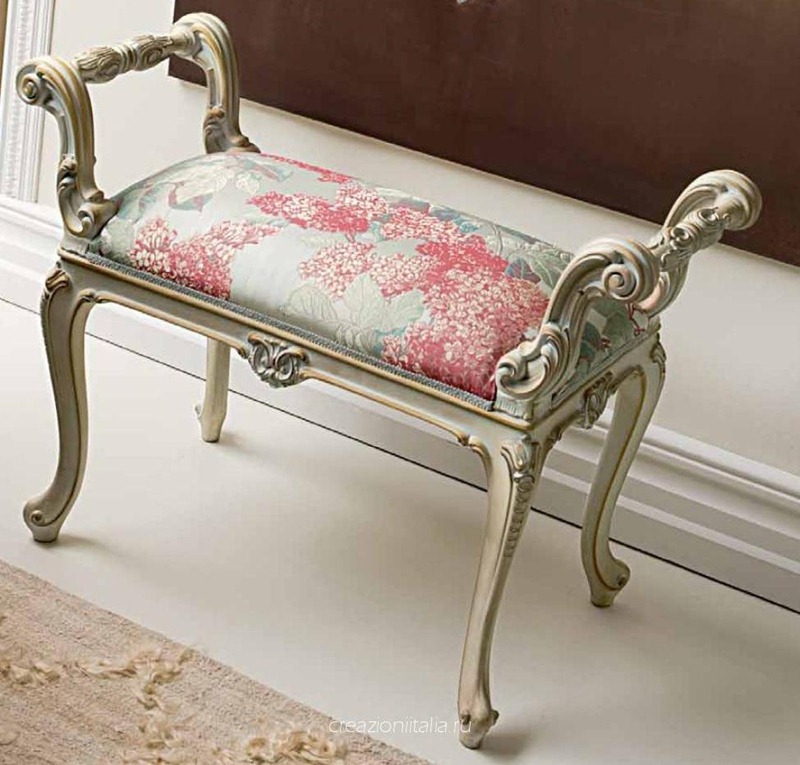
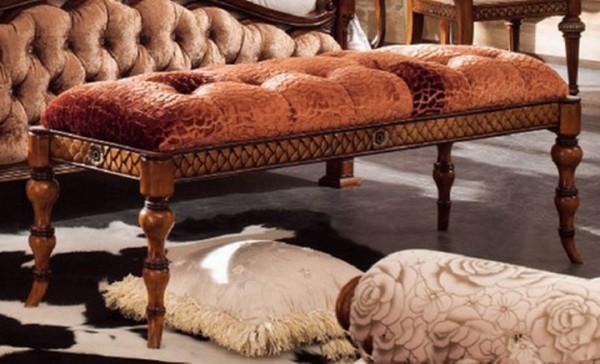
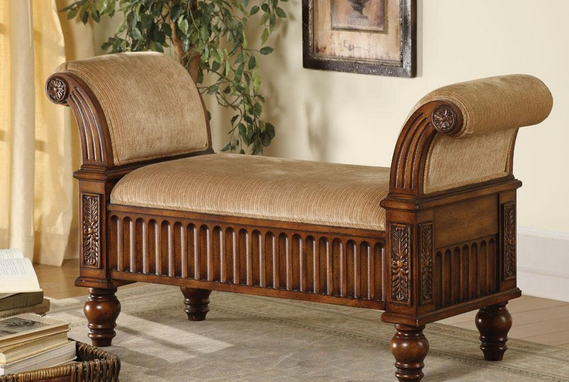
- Forged.
It will suit the interior in the Baroque or Empire style more. The product will have forged, twisted bases. Most often, these items do not have built-in shelves, drawers and cabinets. A pouf made in this style will look best in the hallway.
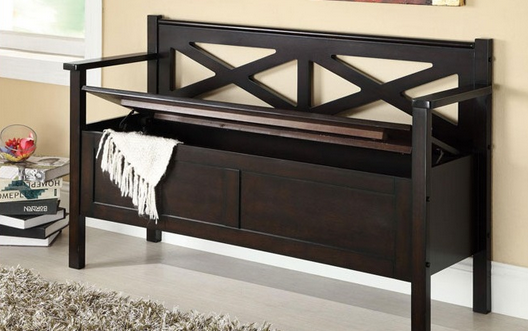
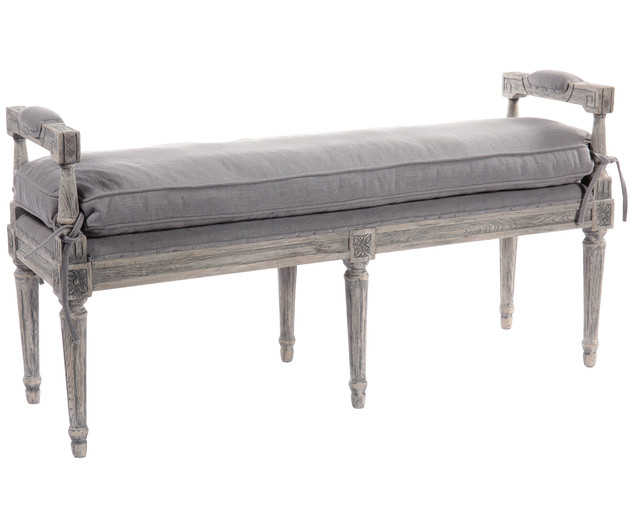
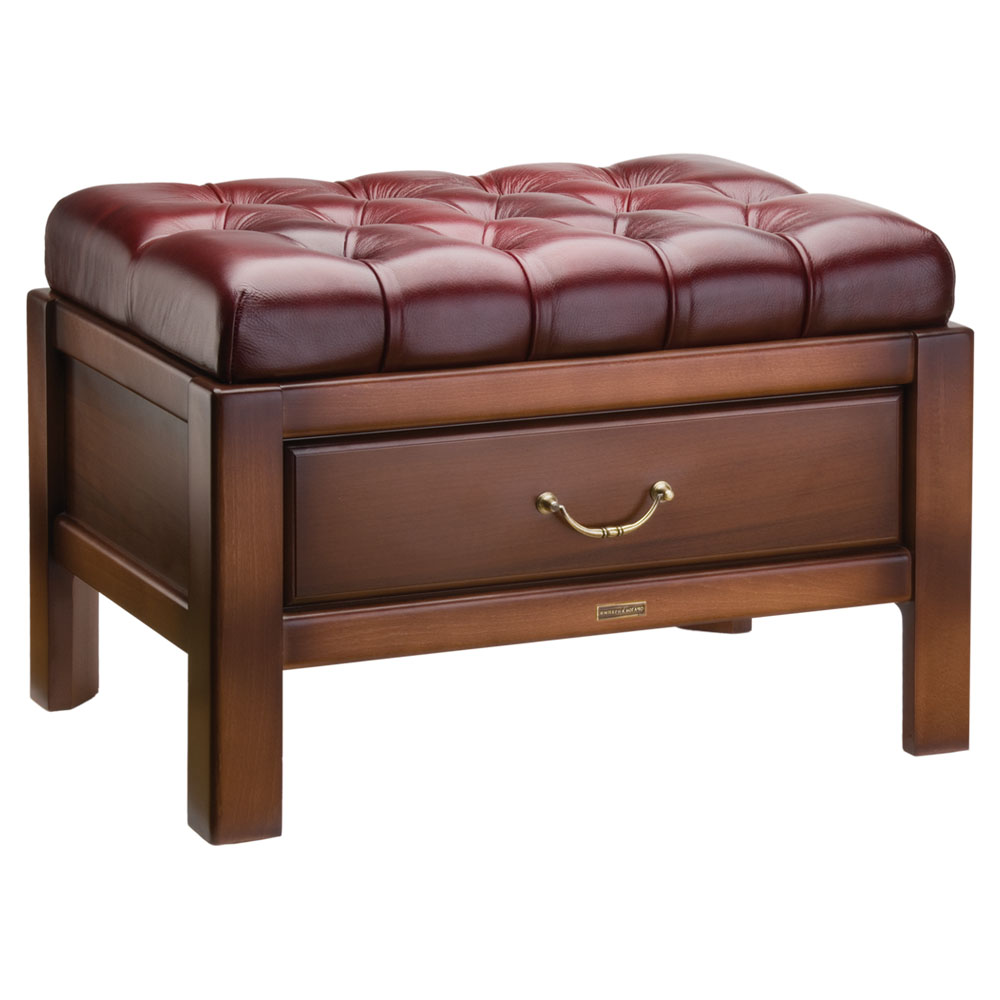
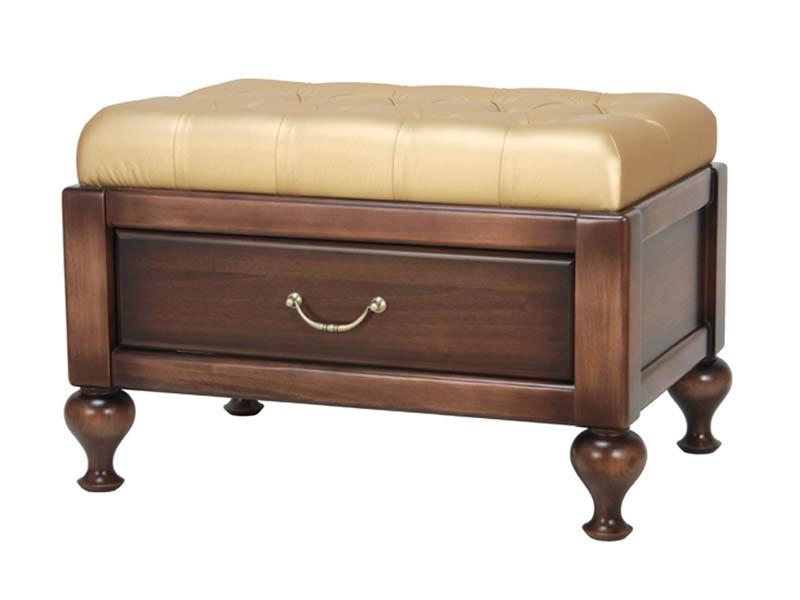
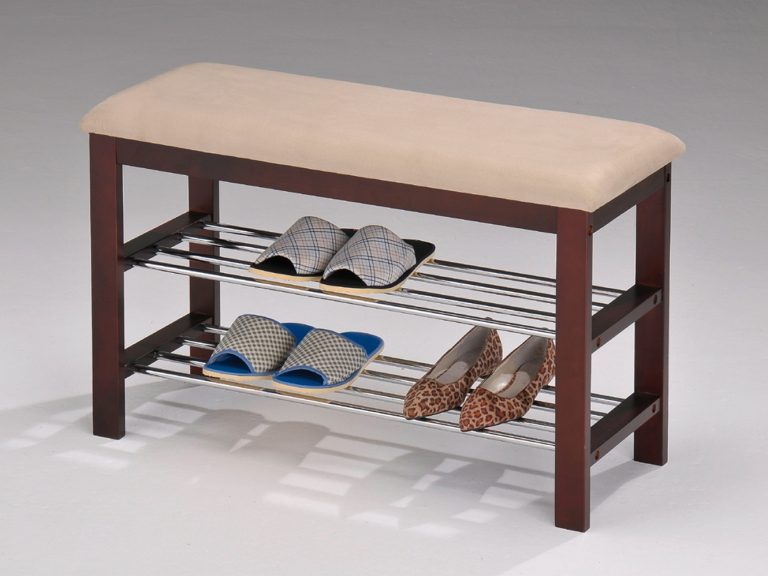
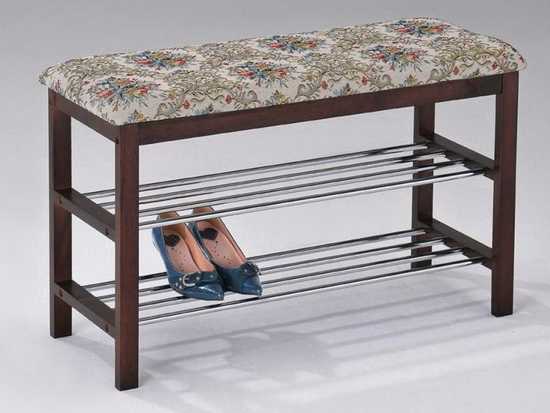
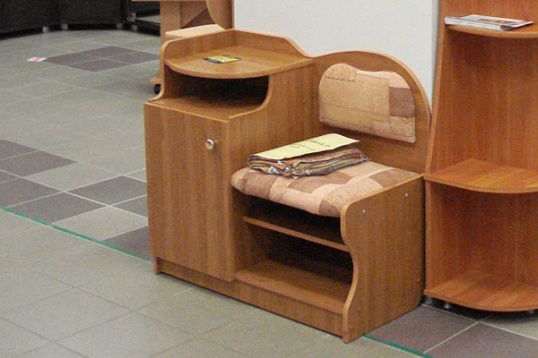
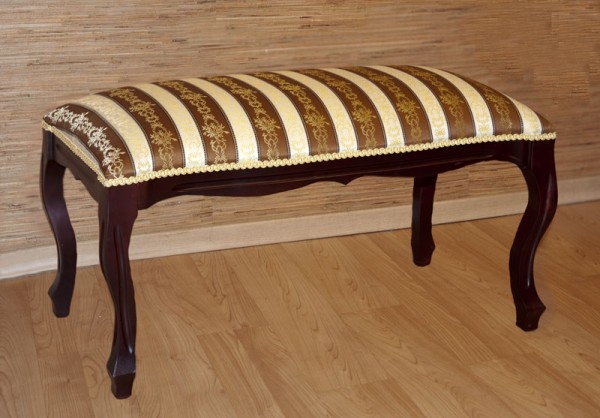
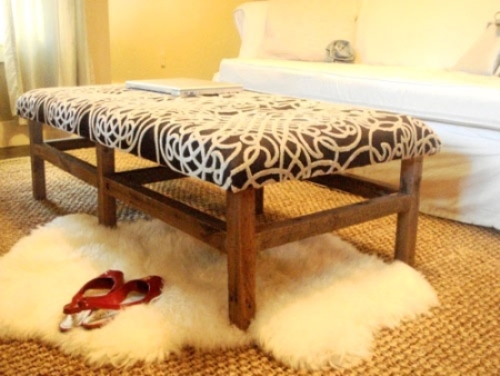
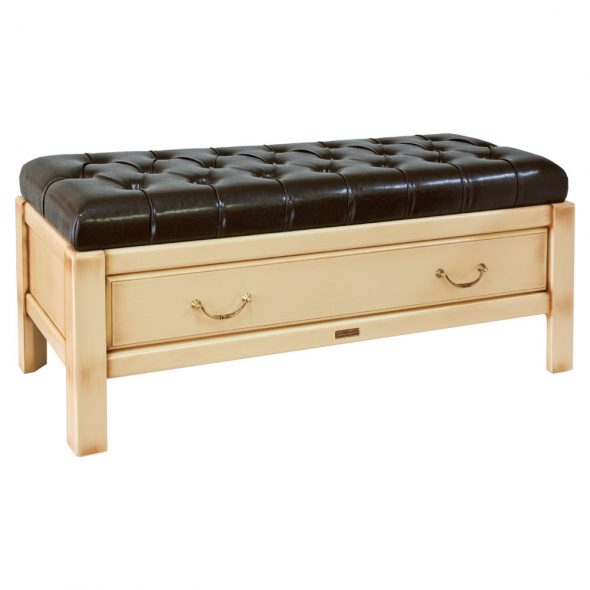
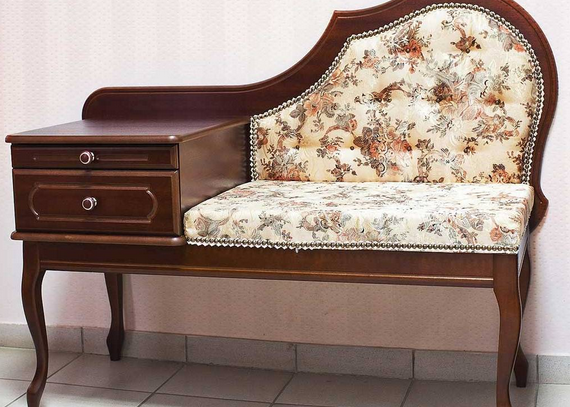
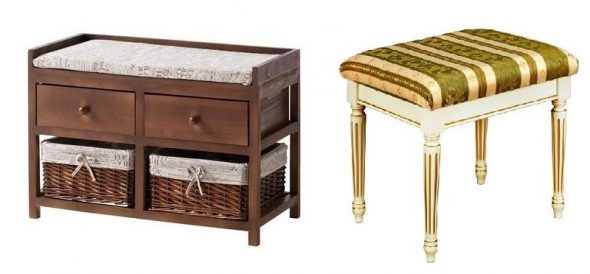
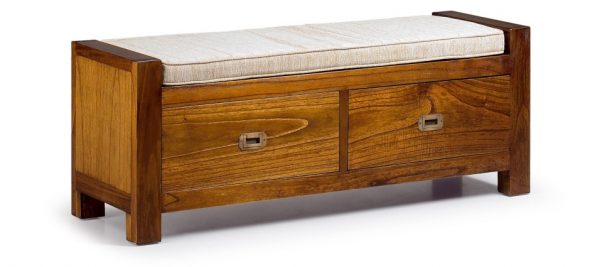
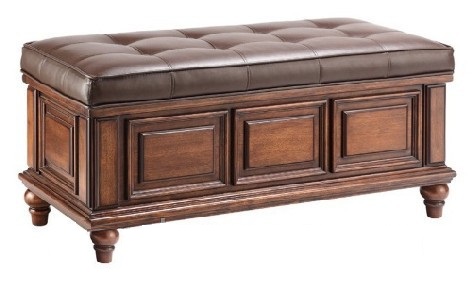
- Made of wood.
These types of products are often very functional: with built-in drawers and cabinets. They will look great in the hallway, kitchen or living room.
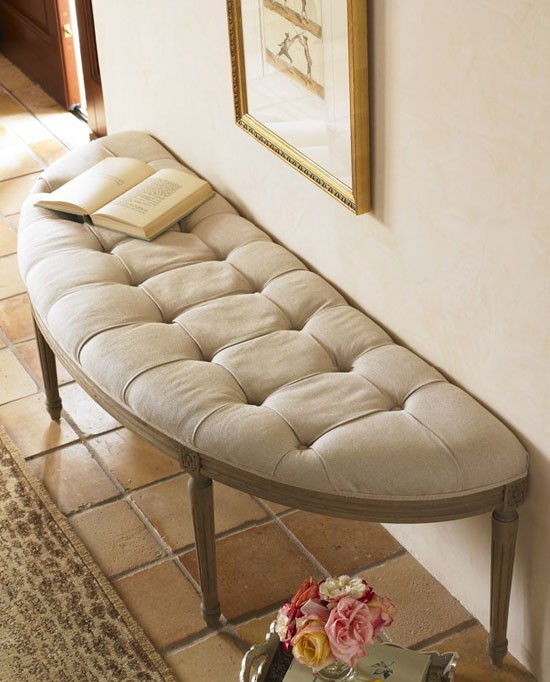
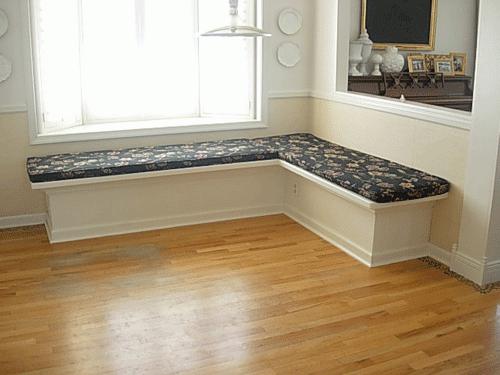
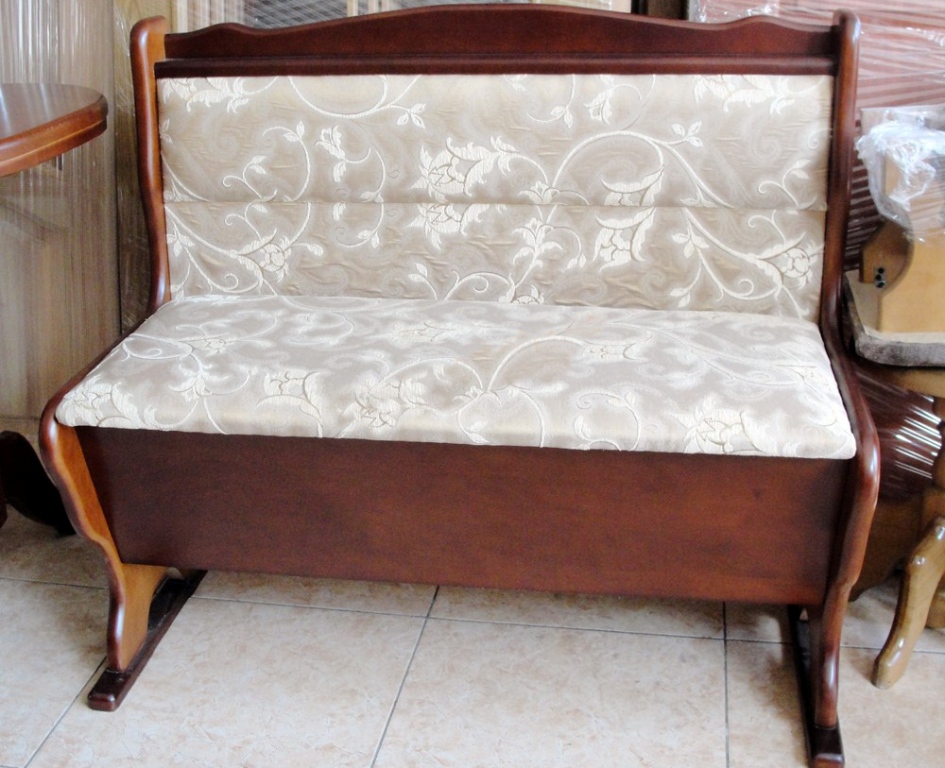
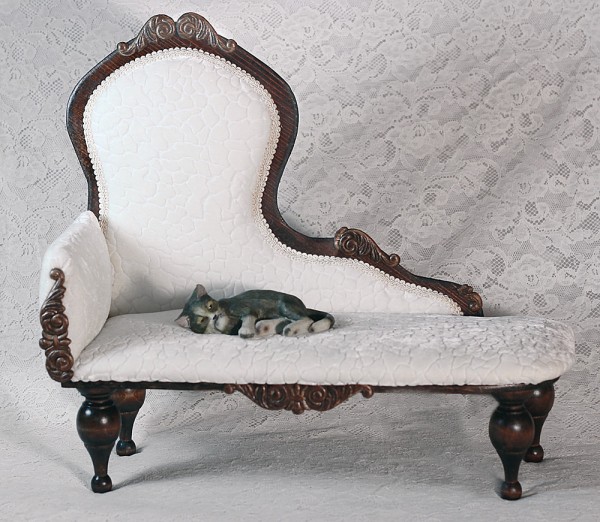
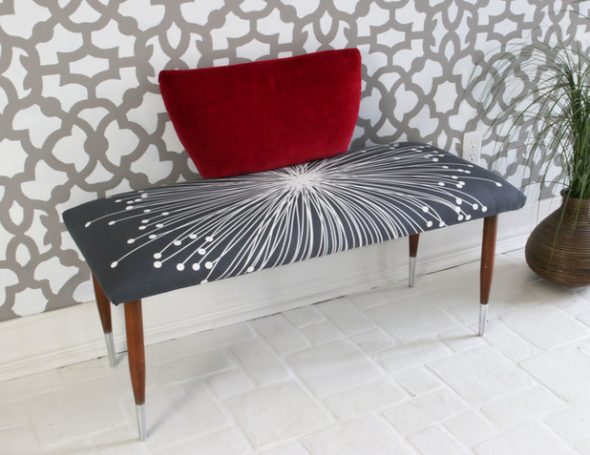
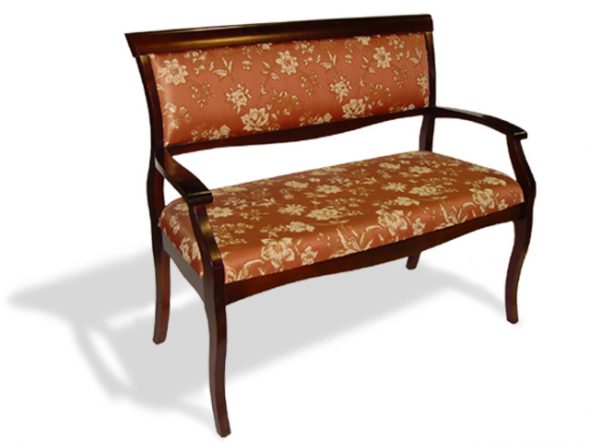
- With back.
This small sofa will immediately create a cozy atmosphere, especially if you decorate it with soft pillows made in the same style. This is the most comfortable and convenient option.
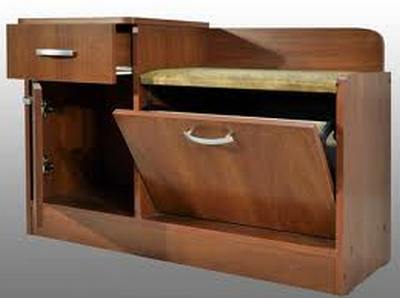
- Disassemblable.
This type is more functional: it can be quickly disassembled. All elements are fixed with bolts. Therefore, for quick disassembly of the product, the design will be ordinary and not bearing decorative functions.
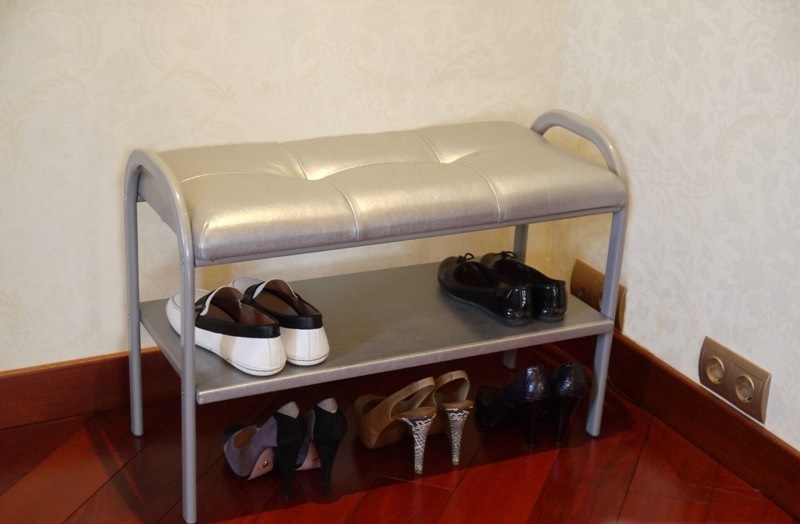
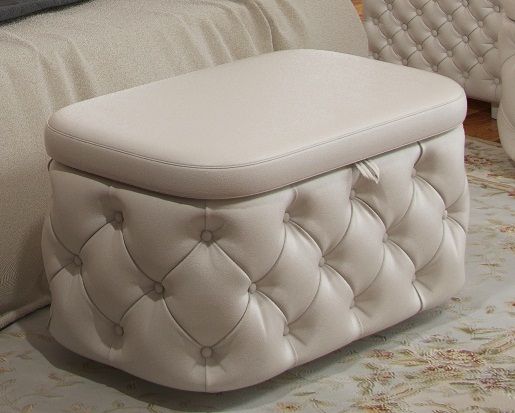
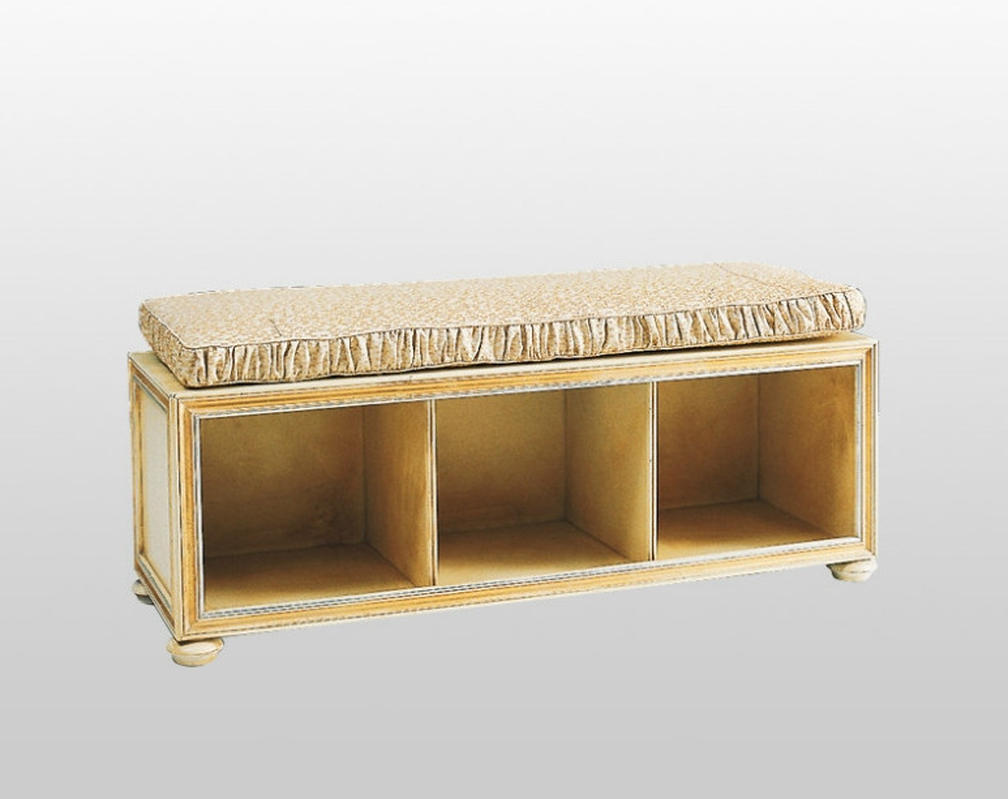
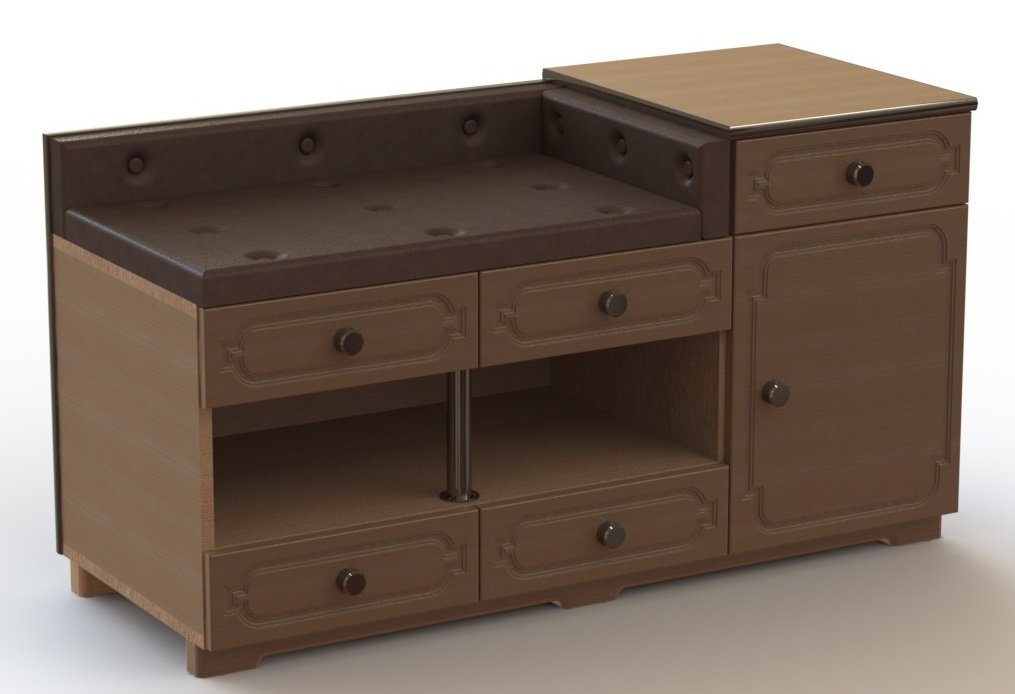
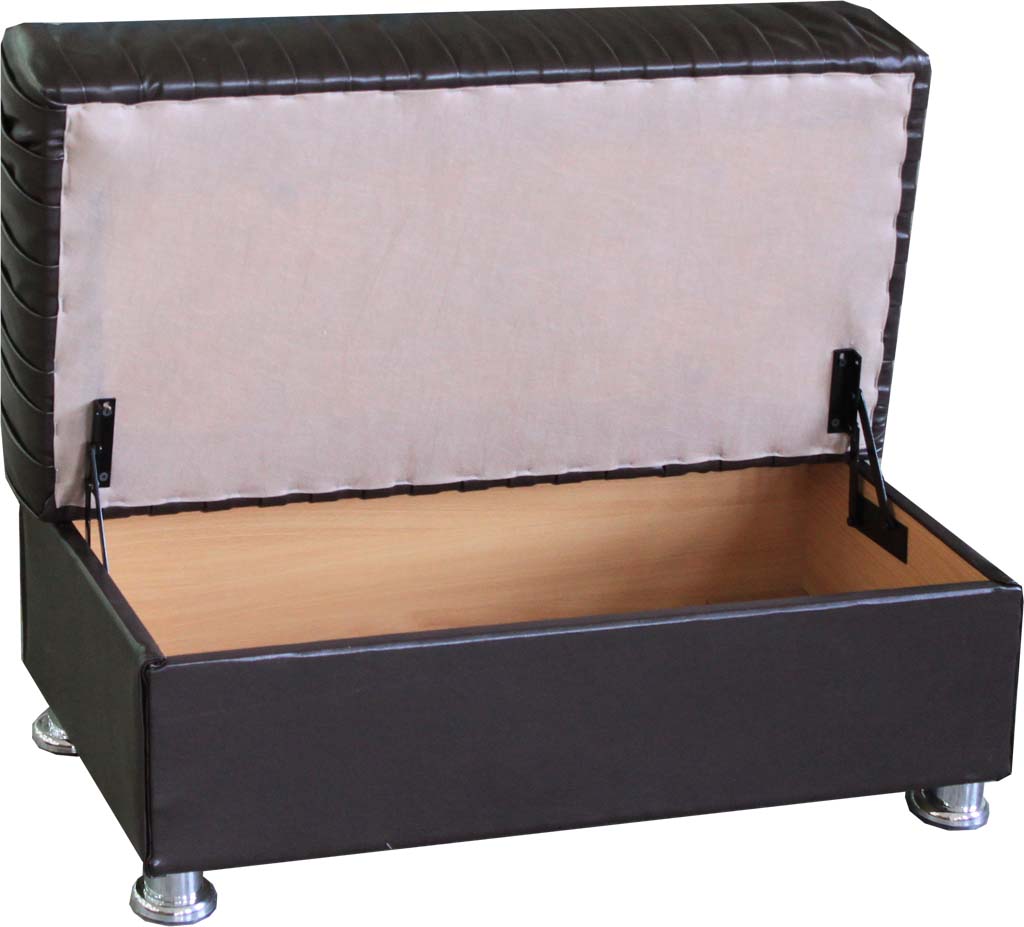
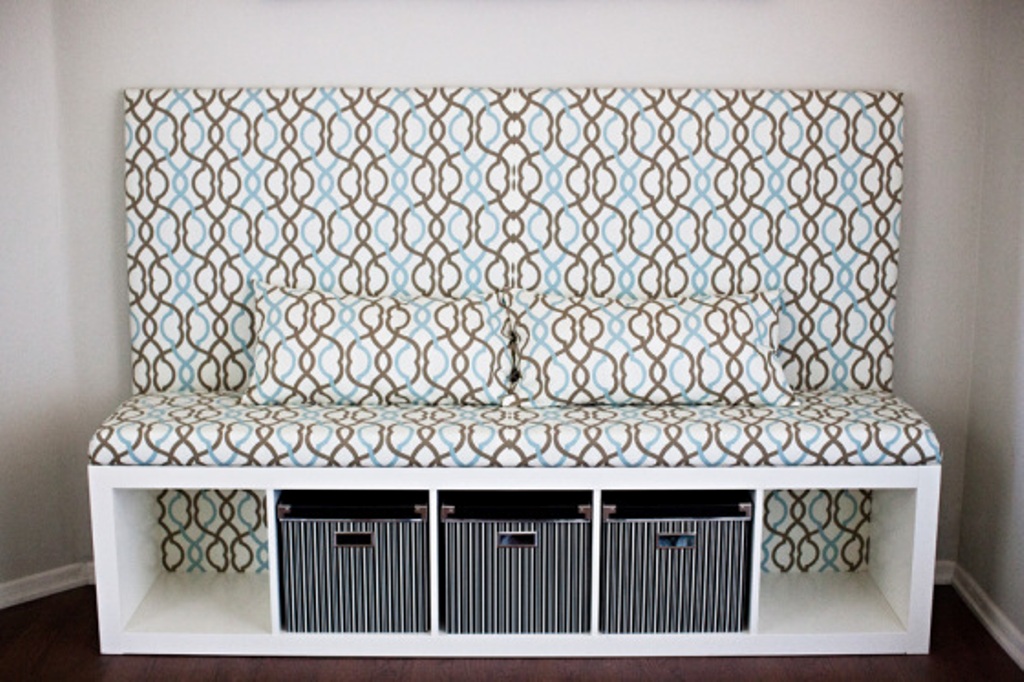
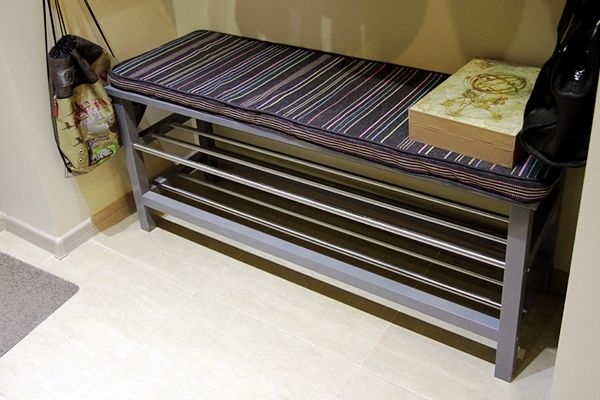
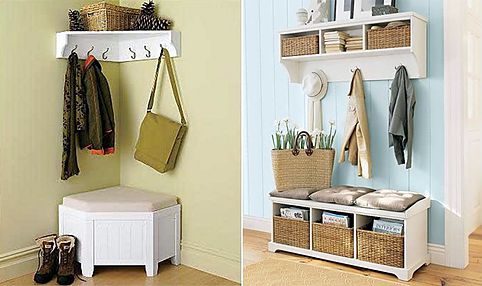
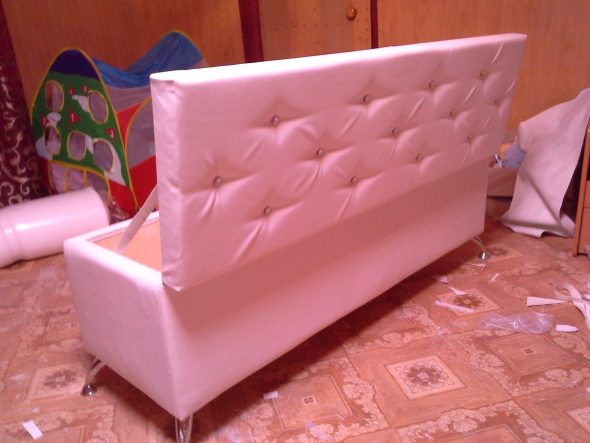
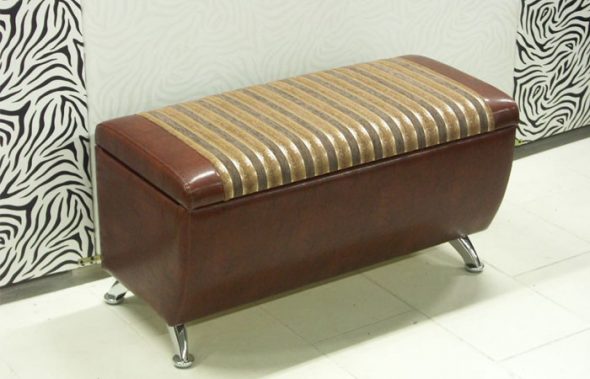
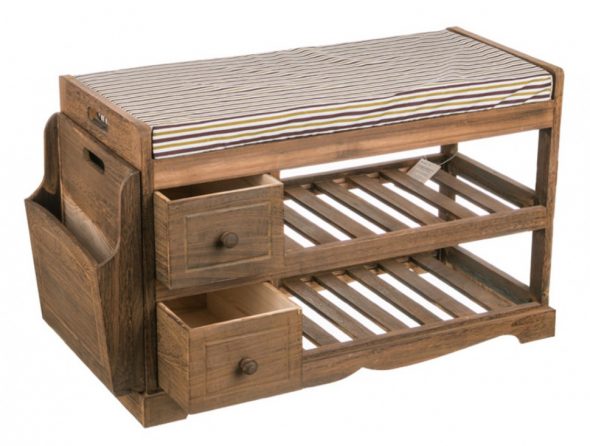
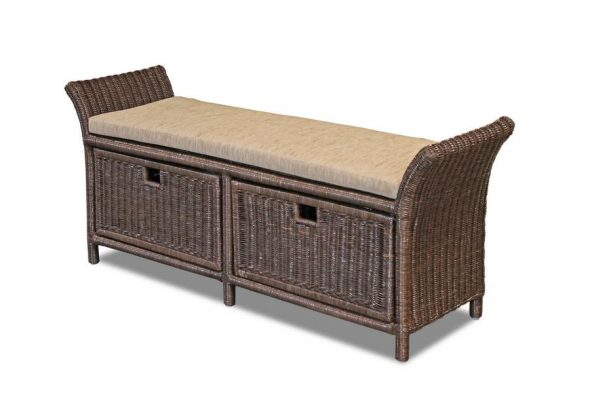
- With boxes.
A very useful item for the hallway, which will save space.
To make a bench, you also need to familiarize yourself with the types of upholstery that can be used in the work.
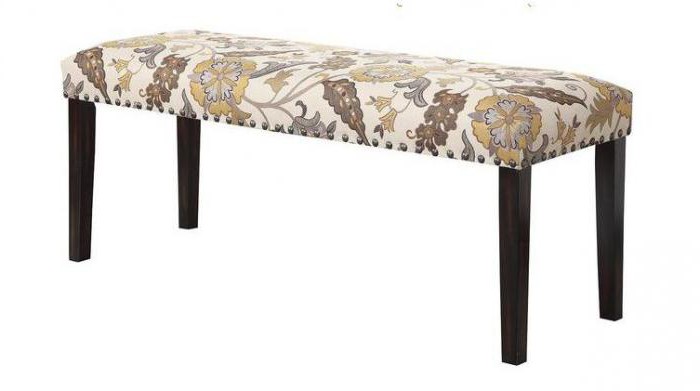
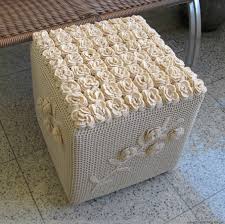
- Textile.
The bench can be covered with silk, cotton, linen fabric. Textile poufs are easy to care for. The variety of shades is an advantage of such upholstery.
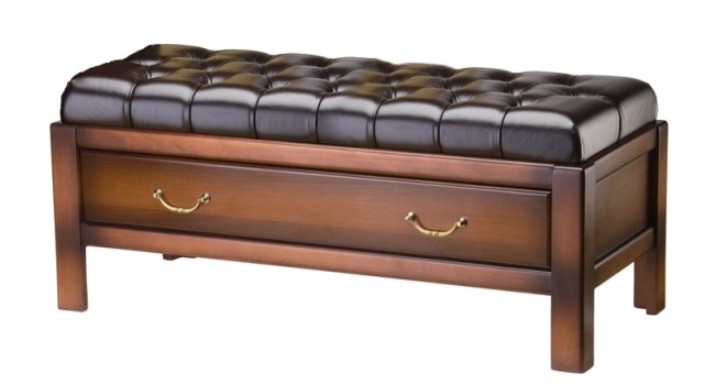
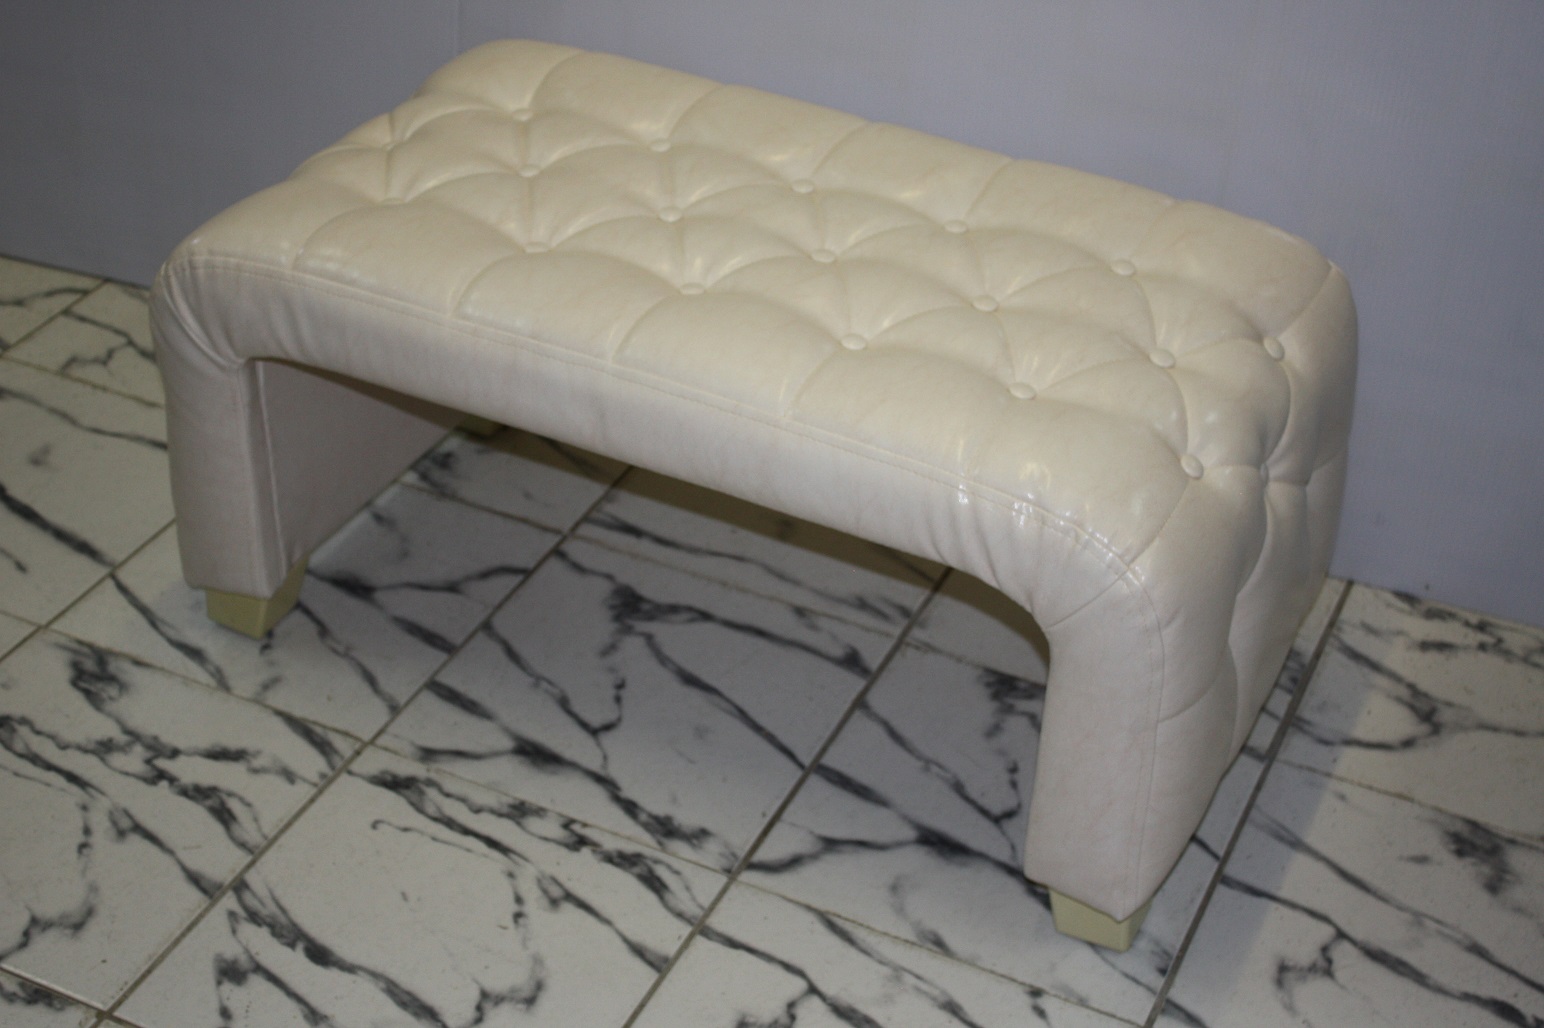
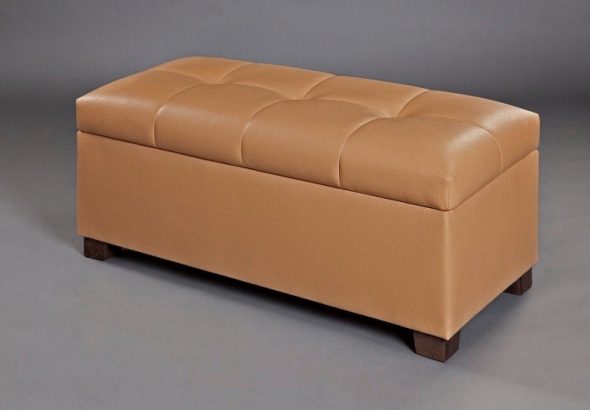
- Leather.
This material is not suitable for every interior, but it will look very expensive and elegant. Among the disadvantages are the high price and difficult maintenance.
- Artificial leather.
This option is cheaper than the previous one. It will look as noble as a pouf made of genuine leather. At the same time, leatherette is not capricious in care. Although its service life is significantly shorter than that of its natural "brother".
It is easiest to make a bench from old furniture or wood, since forged models and those with an iron frame will require more serious skills and experience from the craftsman.

Necessary materials
To work you need to have the following materials.
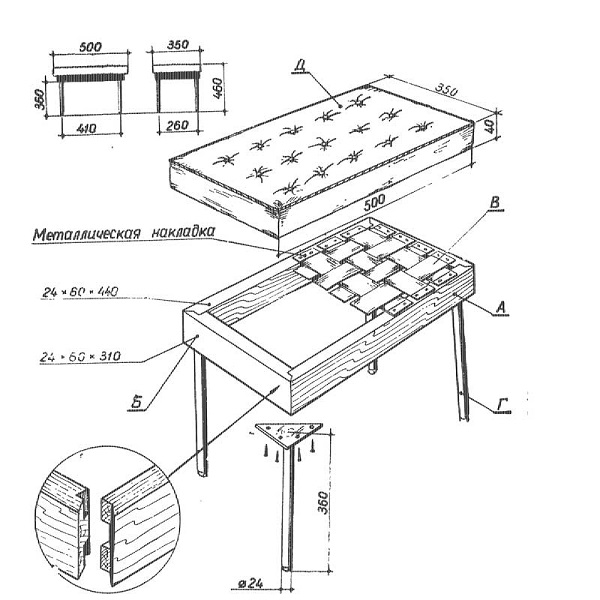
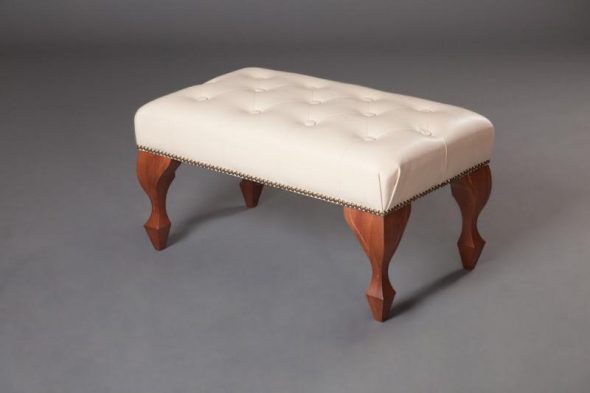
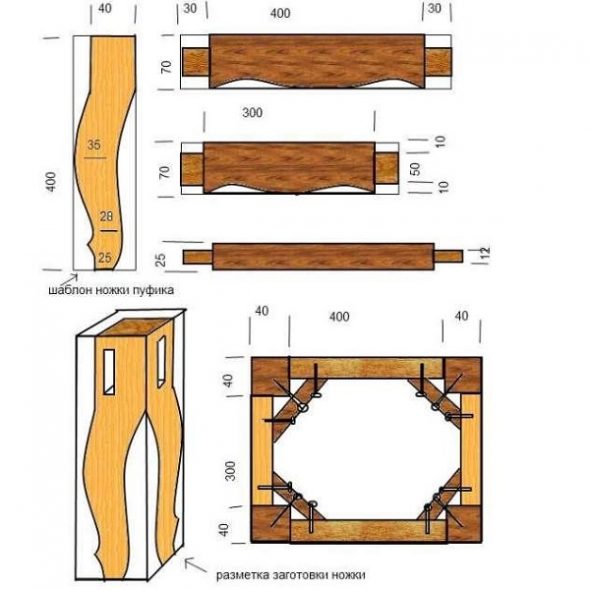
- For a pouf with legs you will need a wooden beam - 30*40, 30*50 mm. or, if available, you can use old screw-in legs from a stool, table or bench.
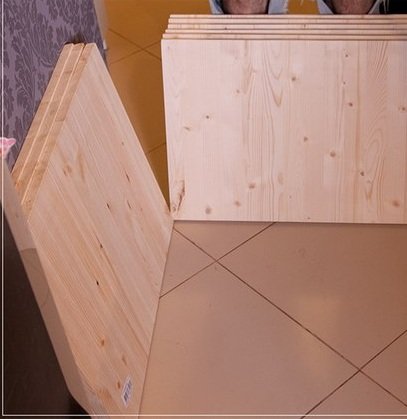
- Plywood.
- Fasteners: staples, self-tapping screws.
- Varnish, stain or paint.
- High foam rubber.
- Fabric or leather for upholstery.
- Fabric for finishing the invisible side of the seat.
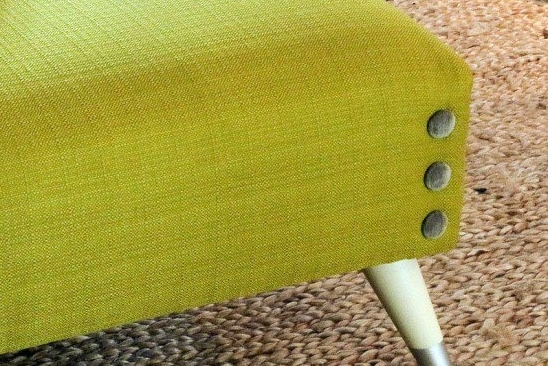
- Buttons.
- Fabric for the cover (if required).
Necessary tools
To work you need to have the following tools:
- drill, screwdriver;
- screwdrivers;
- hammer;
- construction stapler;
- sandpaper of varying degrees of hardness;
- hand router (if the base of the pouf is made of timber);
- level;
- thick threads and a large needle;
- scissors;
- roulette;
- chalk;
- sewing machine (if you need to sew a cover).

If you do not have sufficient experience in furniture making, it is better to split the whole process into several days so that each detail is given due attention.
Step 1: Finishing the Legs
If you already have ready-made screw-in legs, then they need to be restored. Sand the surface with sandpaper. Then apply new paint or varnish and stain. It is better to apply in two layers.
If you don't have ready-made legs, you need to make them from a bar. They will be attached to the seat using screws and corners. If possible, it is better to process the bar using a hand milling cutter. Such a tool can make non-standard protrusions, and the product will turn out more interesting. We also cover the bar with stain or paint.
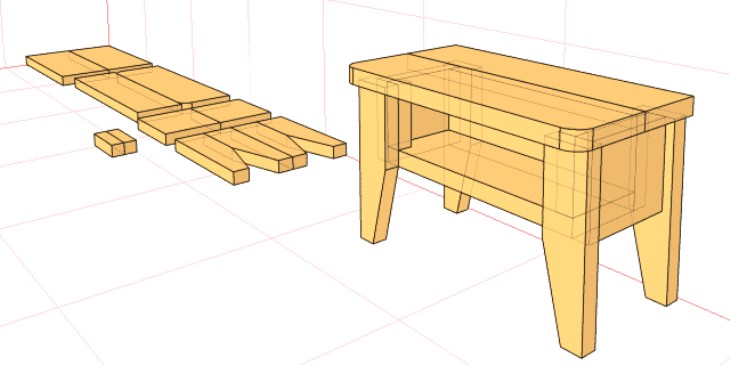
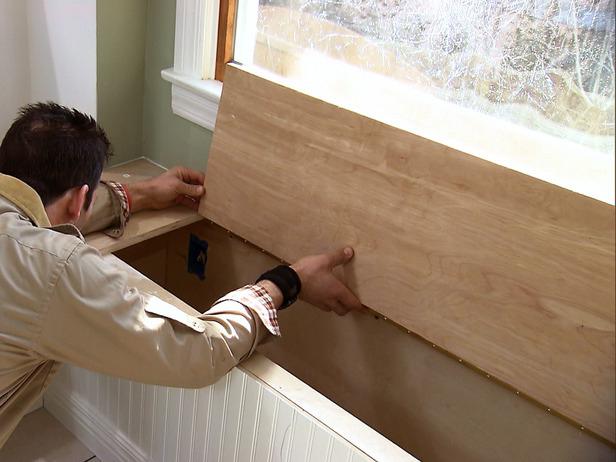
Step 2: Plywood and Foam
It is necessary to cut the foam rubber of the required size around the plywood. It should protrude by 2-3 cm on each side. We select the sizes individually.
Step 3: Mark the plywood
Glue the foam rubber to the plywood, placing the glue closer to the edges. Using a tape measure and chalk, draw a mark along which we will sew the buttons later. Make several holes in the plywood at the same distance. Try not to touch the foam rubber.
Step 4: Assemble the product, cover with fabric or leather
Cut out a square or rectangle from leather or fabric according to the shape of the product. It is necessary to carefully calculate the dimensions of the upholstery and adjust them to the seat, leaving a reserve of 2-3 cm on each side.
Next, you need to carefully wrap the fabric and secure it with a stapler.
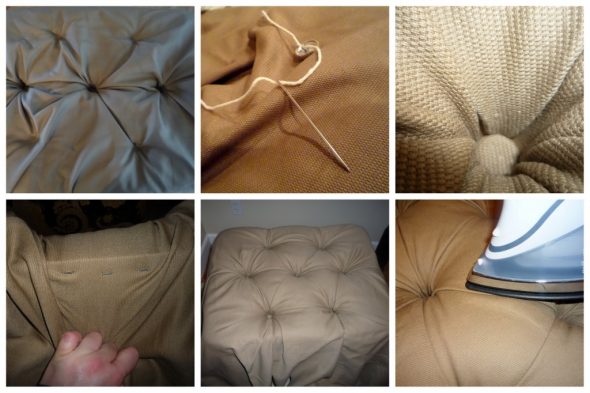
You can start installing the buttons. Using a needle, thread the button first, and then bring it out into the hole in the plywood under the seat. For better fixation, you can secure the thread with staples.
You need to cover the rough trim on the back of the seat with a textile cloth. Sew the cut out piece along the edge of the lower part.
If the legs were from another product, then we choose a place for their placement, fasten their bases with screws and screw them in. We fasten the timber legs to the seat with screws and corners.

Decorating
It is better to choose buttons to match the color of the upholstery. The number depends only on personal preferences. You can diversify the bench with a decorative cover, which you can also sew yourself. You only need the skill of working with a sewing machine.
If you do not have cutting skills, it is better to use a ready-made pattern for the product found on the Internet or watch a master class on how to make it yourself.
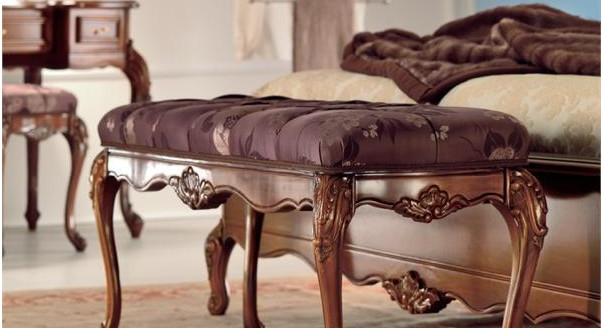
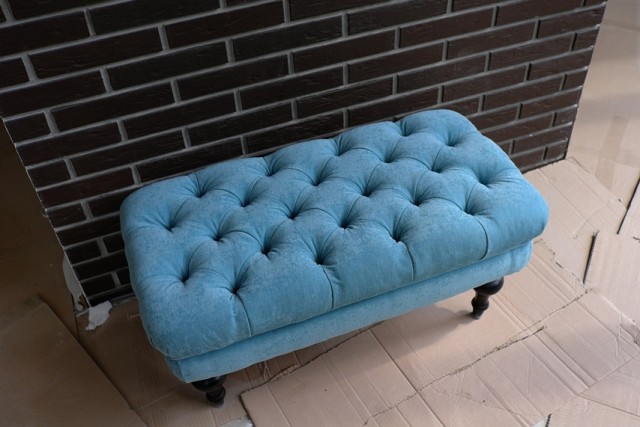
For an interior in the Empire or Baroque style, you can make a carriage coupler. This model looks very interesting and presentable.
So you have learned that it is quite possible to make a bench yourself, having minimal carpentry skills. The main thing is not to rush and pay due attention to each stage. Then the product will turn out neat and beautiful. This type of furniture will not only be useful in terms of comfort and space saving, but will also become a stylish and original addition to the interior.
VIDEO: Making a bench at home
50 photo ideas on how to make a bench with your own hands