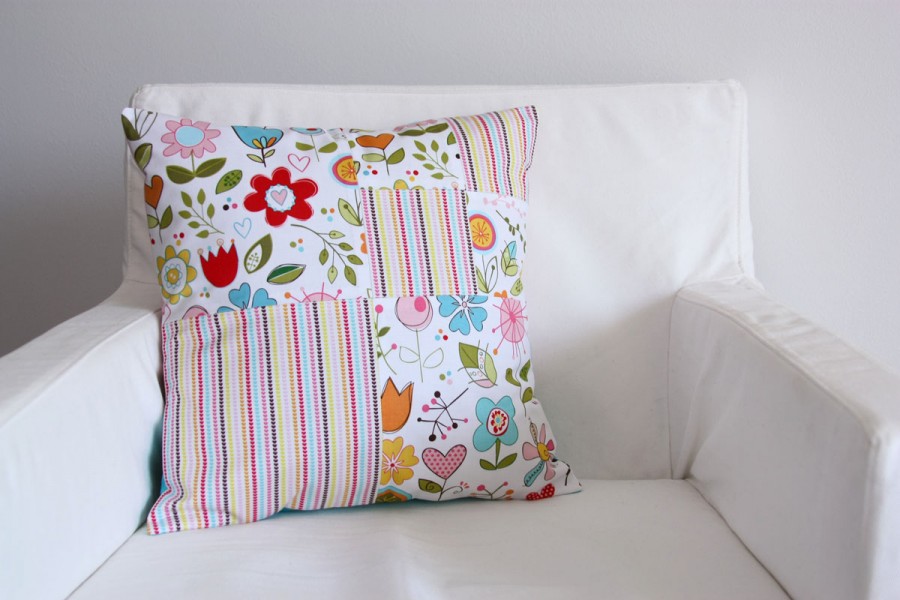
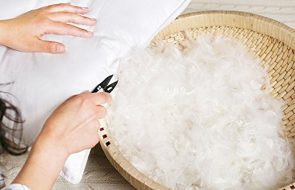
Gone are the same type of massive pillows with feather fillings, which our grandmothers carefully shook and carefully placed on the beds. Today, smaller pillows have become fashionable, and various artificial and natural fibers can serve as fillers. And although the procedure for caring for them has remained the same, the pillowcases for them have acquired new, improved elements, one of which is a zipper.
Content
How to neatly sew in a zipper – a master class on pillowcases
The shelves of modern stores are filled with a variety of bed linen. When choosing the right one, buyers simply run their eyes. But you can sew a pillowcase with a zipper yourself, at home. How to do this - you can find out from the article. So, a master class on sewing a pillowcase with a hidden clasp.
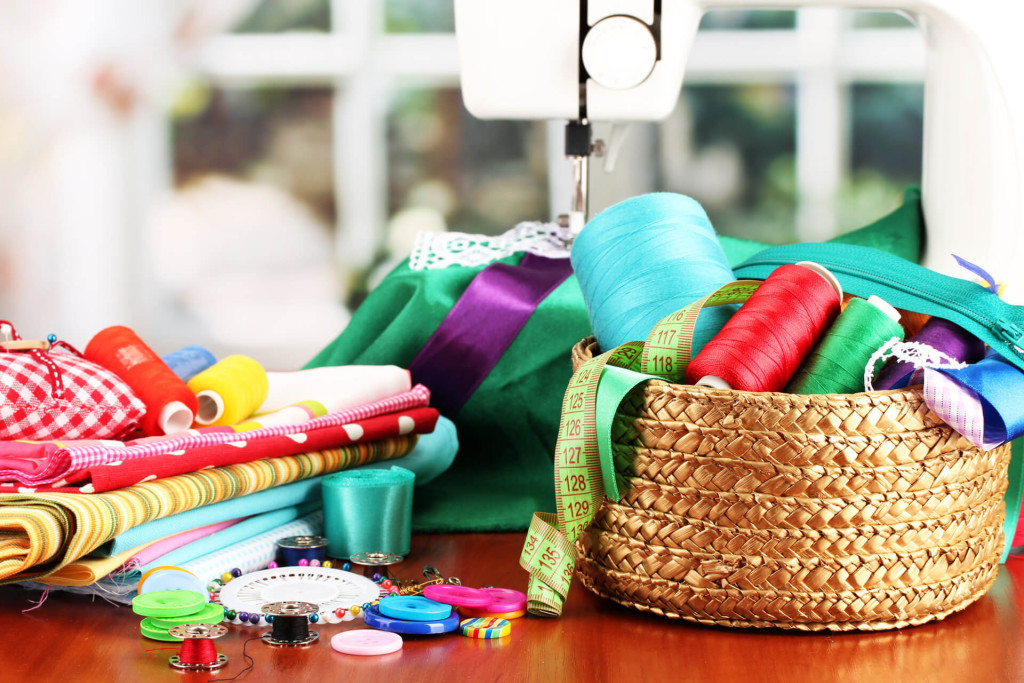
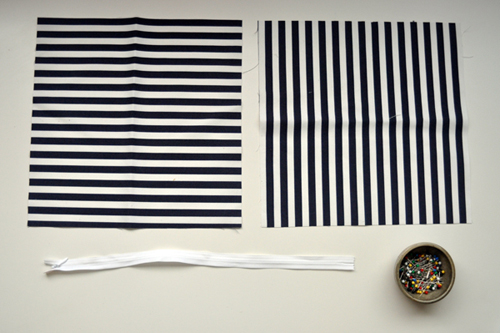
First, prepare all the necessary materials:
- Textile.
- The zipper is the length of the shorter side of the pillowcase.
- Threads in the color of the fabric.
- Scissors.
- Pins.
- Needles.
- Sewing machine.
Important! If you are going to use new fabric to sew the pillowcase, you should wash it in room temperature water before cutting. The fabric will shrink after washing, which will prevent a possible unpleasant situation when the finished pillowcase shrinks after the first wash.
Let's get to work.
- Lay the fabric out on the work table.

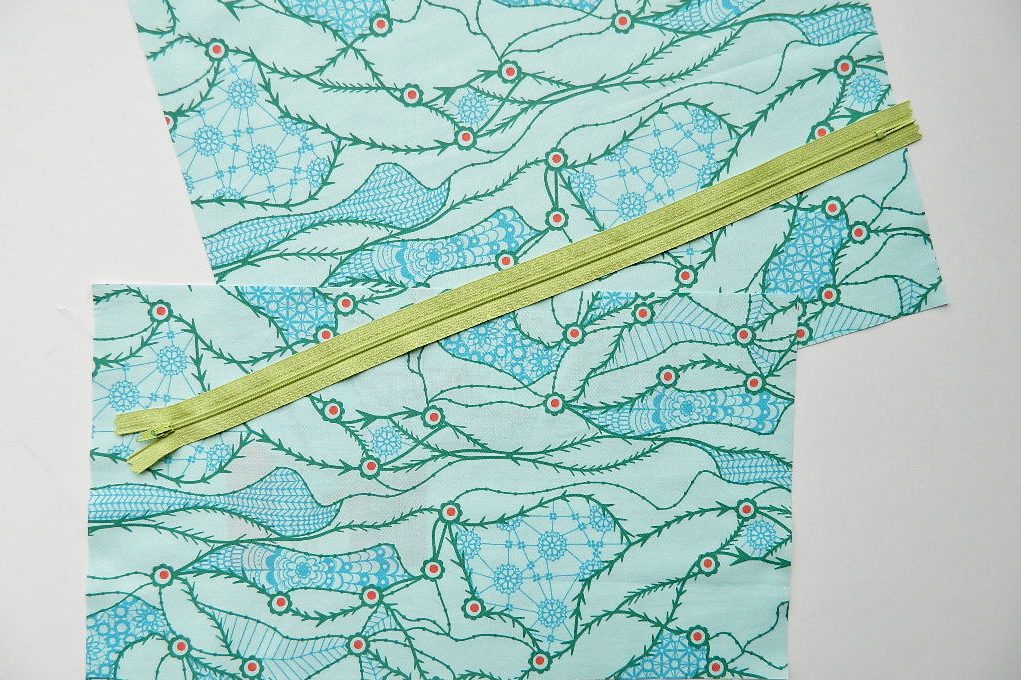
From the fabric, cut 1 rectangle that is 9″ x 16″, and 1 rectangle that is 12″ x 16″. - Measure the length and height of the pillow.
- Transfer the dimensions onto the fabric and mark with chalk.

Take the 9x16 rectangle (top part) and mark a line on the long side. - Cut two pieces of fabric - for the front and back of the pillow, leaving a 2 cm seam allowance.

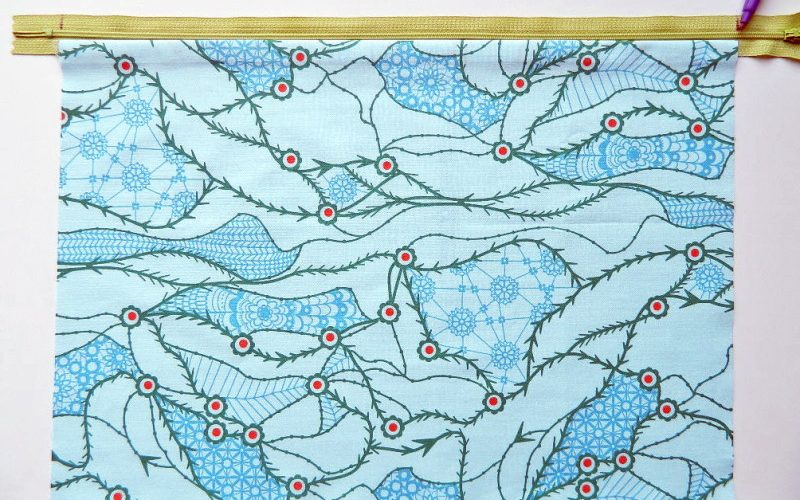
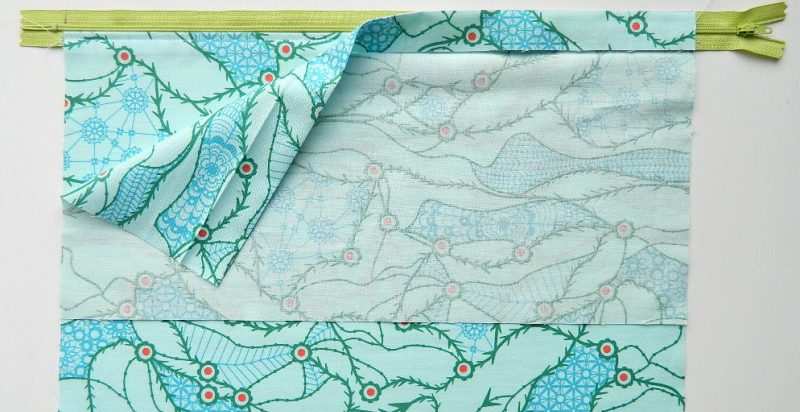
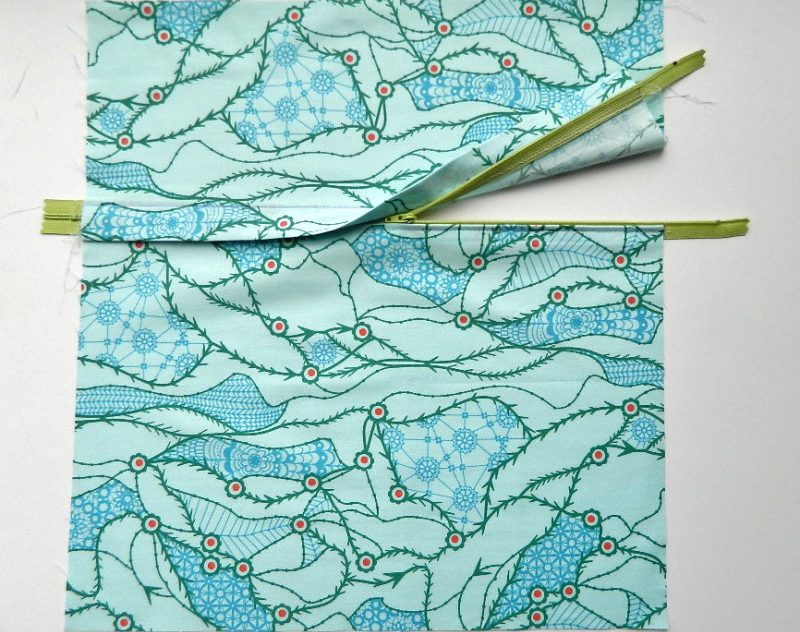
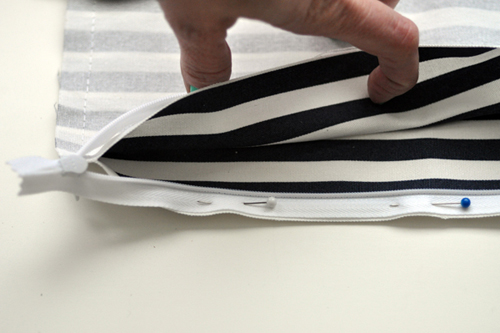
Place the fabric on the ironing board, fold along the line drawn in the previous step and iron. - Place the zipper along the edge of the fabric, mark it with chalk and pin it in place.

Mark the points where the lightning starts and ends. 
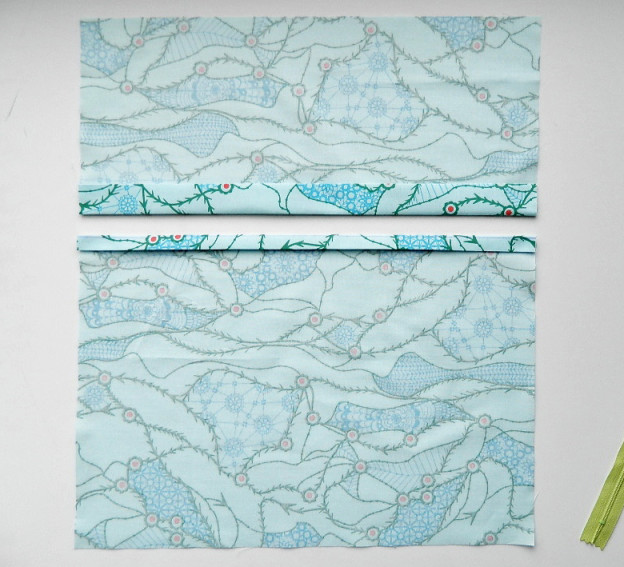
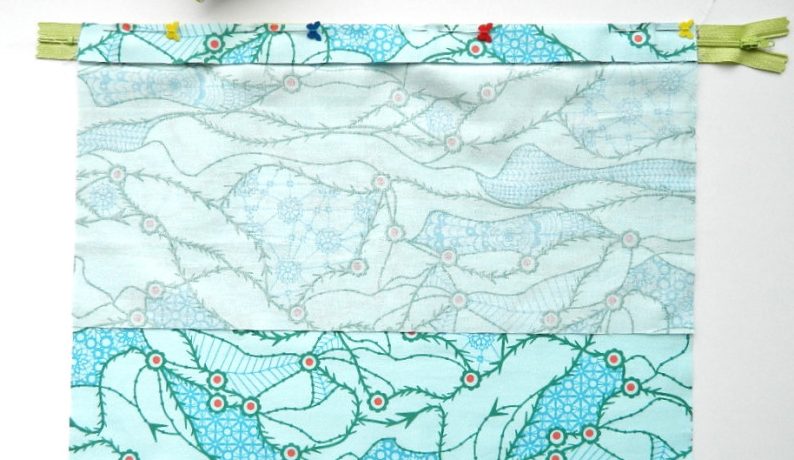
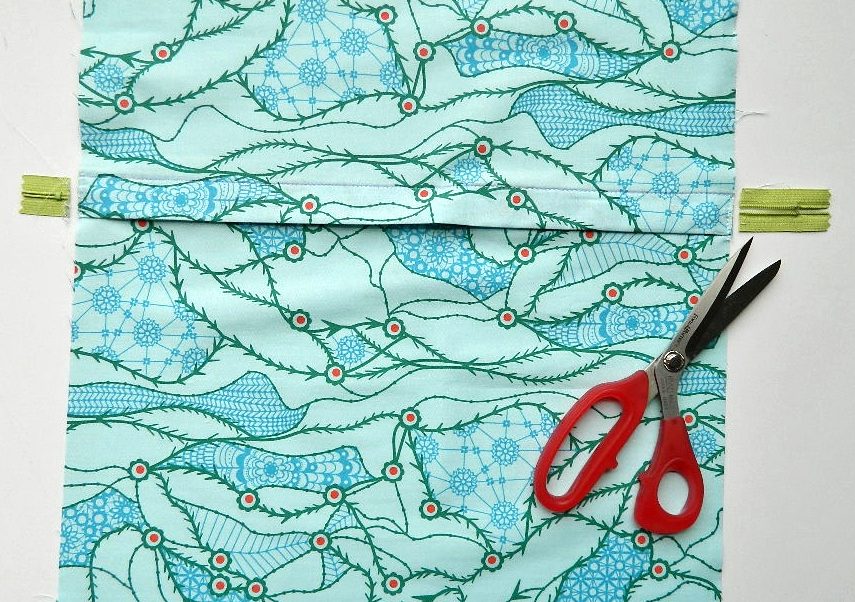
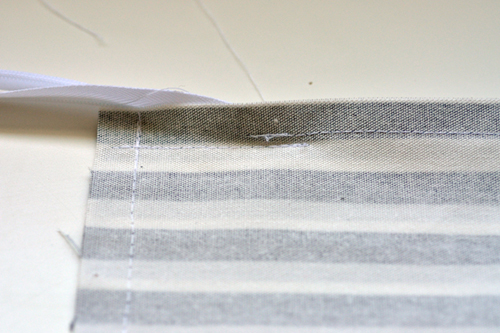
This is what the seam will look like. - Sew the bottom edge and sew the space between the pins with a wide or zigzag stitch.

This is what the fabric will look like after ironing. 
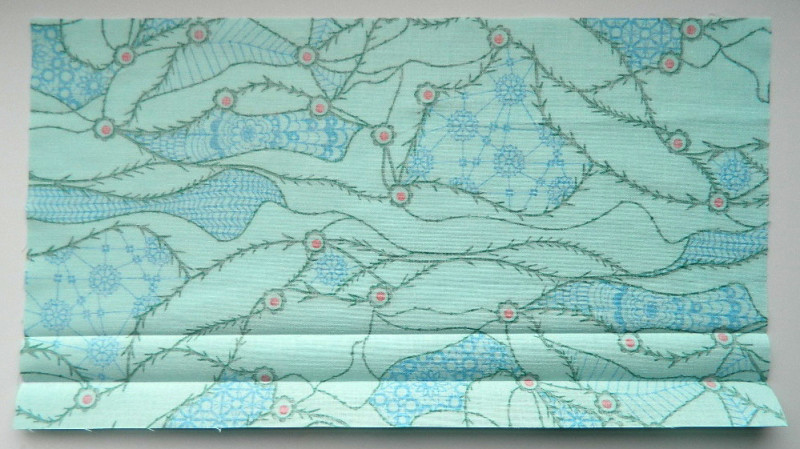
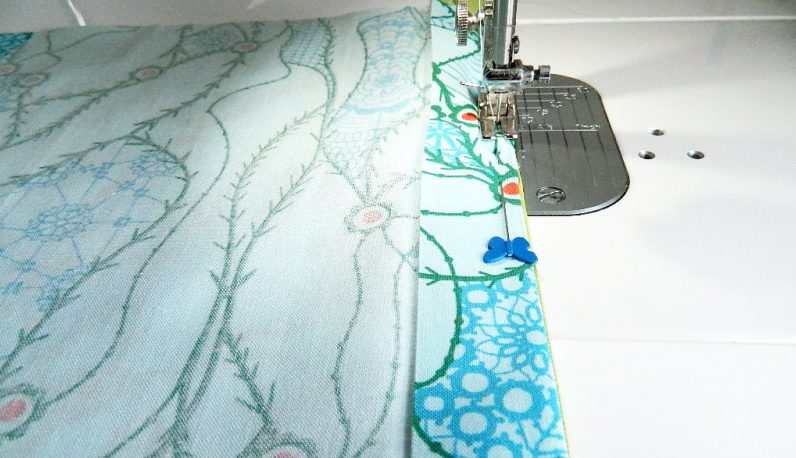
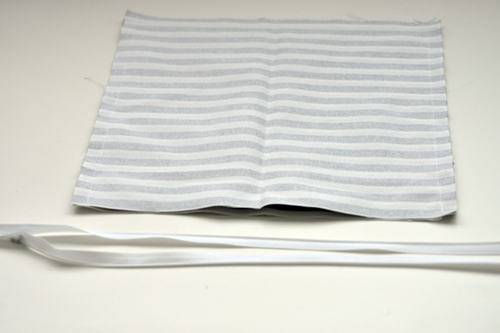
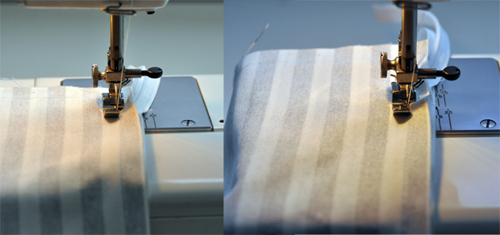
Make sure the stitching is straight. - Iron the fresh seam and place the zipper face down on it. Secure with pins.

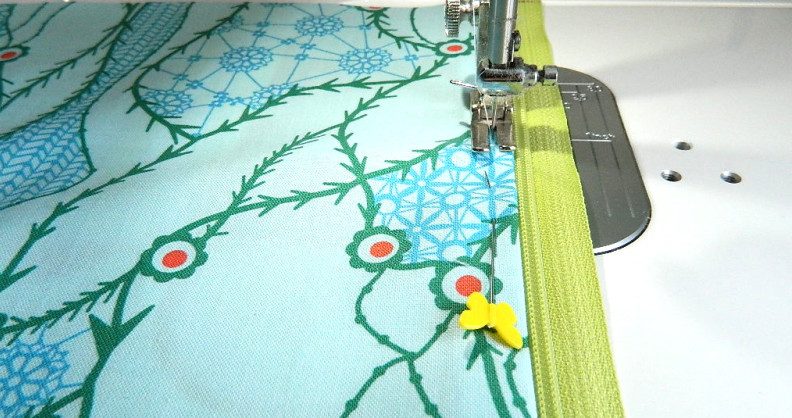
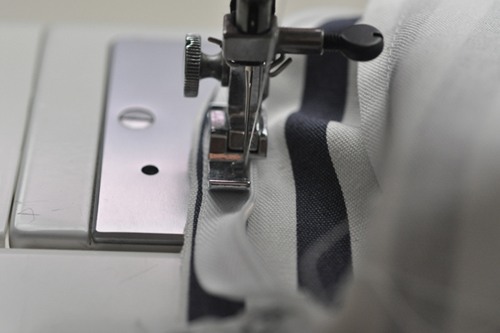
Pay attention to the marks to align the top and bottom. - Sew the edges of the zipper as close to the teeth as possible using a regular stitch.

Sew with a nice, even stitch. 
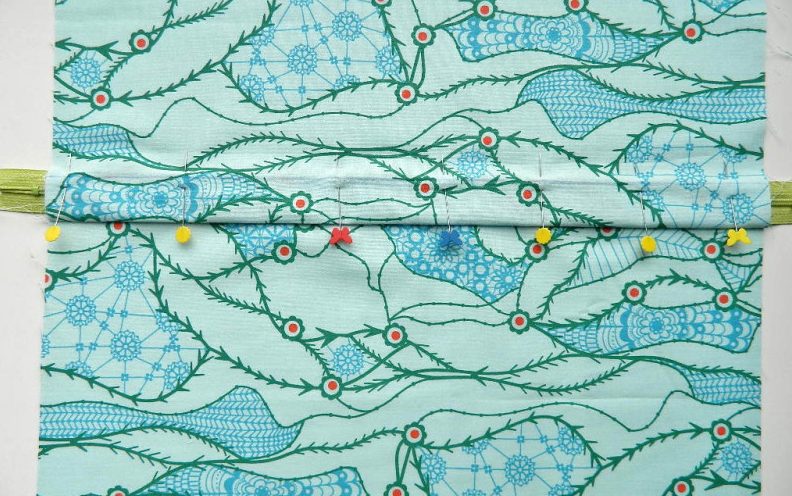
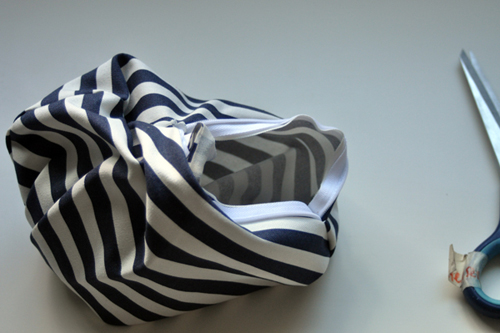
Make sure the zipper opens easily. - Remove the temporary stitch that was used to sew the fabrics together in step 6.

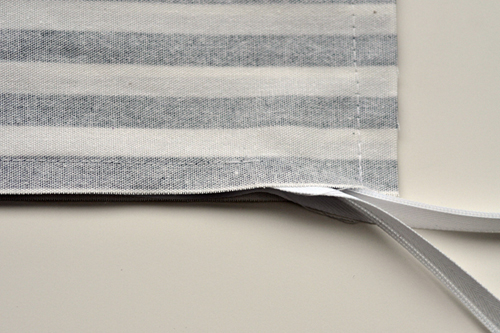
Secure the edges where the top meets the bottom. - Unzip and carefully sew the remaining sides of the pillowcase, leaving 1 cm from the edge.

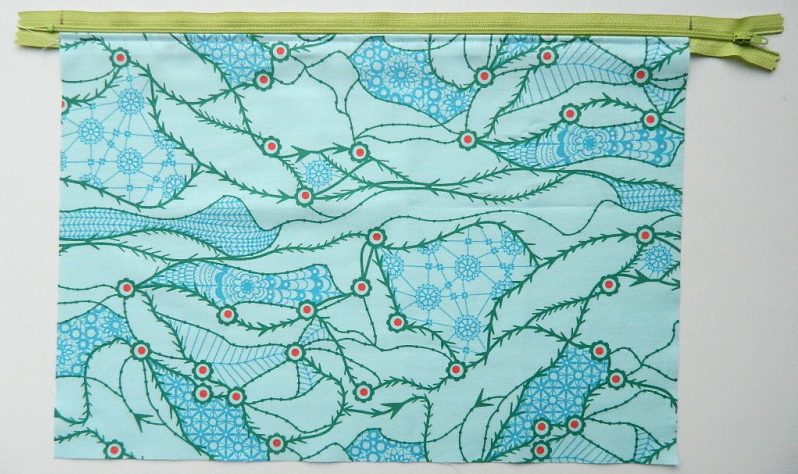
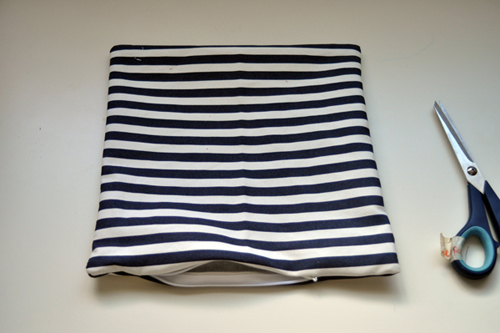
You should get everything as in the photo. 
Cut off the excess zipper on both sides. - Process the free edges with an overlock machine.

How to Sew a Zipper into a Pillow Case
In order to keep the fabric of the pillowcase of your favorite pillow clean and to protect it from dirt as much as possible, resourceful housewives try to put a pillowcase cover on it. Today, such covers can already be purchased in any store, in the "bedding" department. But there is nothing easier than sewing a cover with a zipper for a sofa cushion with your own hands.
The sewing procedure itself is much simpler. If you need to use an overlock to sew a pillowcase, then you don’t have to process the cover.
An exception is a cover that will be sewn from different pieces of fabric. Especially if such a cover is intended for large sofa cushions.
Important! Be sure to iron all seams with a steam iron before sewing all edges on the product. You can also secure the seams with a finishing stitch at 0.6 - 0.8 cm.
By choosing two different fabrics for a sofa cushion cover, in terms of color and texture, you can achieve uniquely beautiful results.
You should not sew in a metal zipper or a "tractor" zipper. For the cover, it is better to choose a non-separable twisted zipper, which can be shortened if necessary.
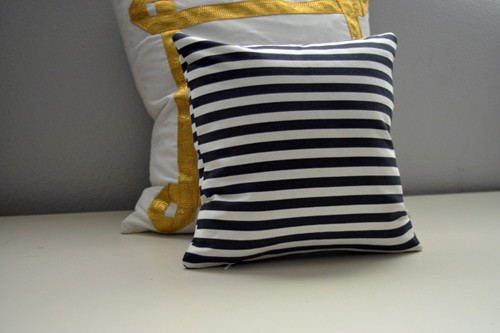
At the final stage of sewing, be sure to iron all the seams again, straighten it out carefully and put it on the sofa cushion.
Conclusions
Knowing all the secrets of how to properly sew a zipper into a pillowcase or pillow case, every housewife will be able to cope with this work independently. Turning on your design fantasy, you can easily sew uniquely interesting types of pillowcases from fabrics of different textures, coming up with various design elements. And the zipper on the products will make the pillow not only more attractive and neat, but also convenient to use. Choose high-quality zippers up to 70 cm long. Cut off the excess piece of the zipper at the final stage of sewing.
There is no information on whether to sew the zipper on the weft or on the grain. This is the most important information. If you do not take this into account, the product will be skewed. A non-professional wrote
I can answer you, Olga, as a professional. Lightning can be embroidered both on the grain edge and on the weft, there will be no distortions if you cut out the pillow parts evenly, and the main thing is that the fabric itself does not have a production distortion.
Thank you. It seems to me that your version is the best of those that I found and looked at on the Internet. I'll try it this way.