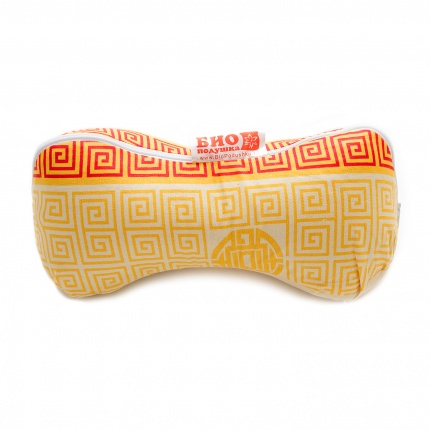
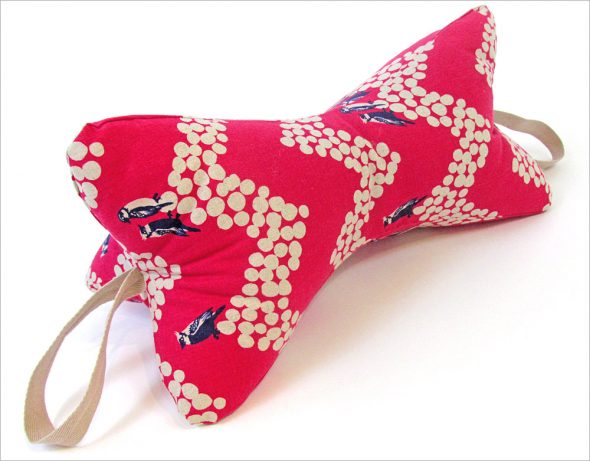
Every person travels during their life, and since the invention of the wheel, they have strived to make this process as comfortable as possible, improving and creating new products, one of which is an orthopedic travel pillow in the form of a bone.
This article provides an example of making an orthopedic bone pillow, from a sketch and pattern to a finished product, which has positive reviews from people who have tried it. Indispensable on the road and does not take up much space, comfortable and cozy.
Content
Where to start?
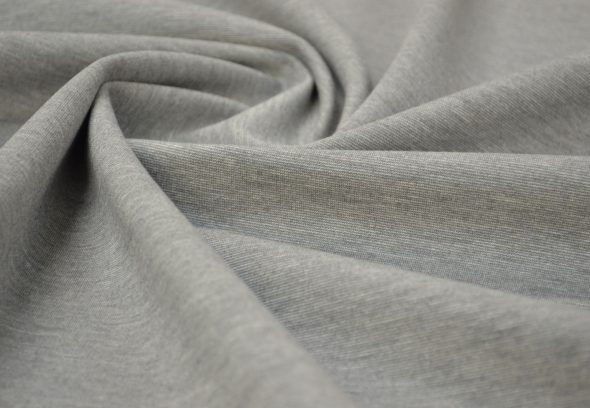
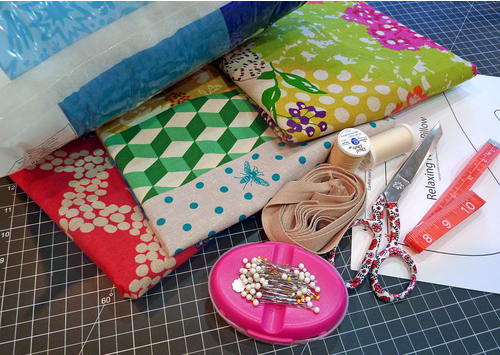
The manufacture of an orthopedic bone pillow should begin with the selection of fabric, material, in which it is planned to place the filler. In this matter, it is recommended to use:
- makhru

Soft and fluffy terry cloth for products - fleece

Lightweight and hypoallergenic synthetic fabric - fleece - thick knitwear.

High quality dense knitwear

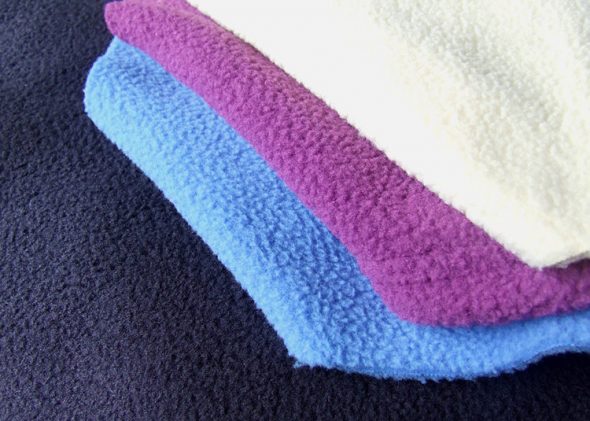
Although you shouldn't rush to the store and choose the fabric you like without reading this article. Fabric from an unused bathrobe or towel may well do. Silk and even genuine leather pillows can be found on the World Wide Web.
In addition, you will need: thread, a needle, scissors, thick cardboard, a ruler, a pencil and a little patience.
Orthopedic pillow pattern
First of all, it is necessary to make a pattern, on the basis of which the entire further process of making a travel pillow will be built.
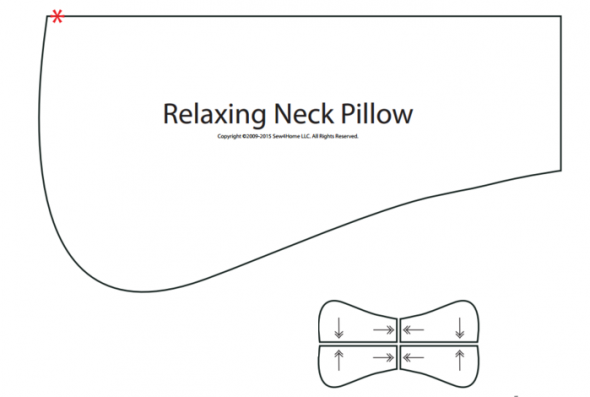
To do this, it is proposed to perform the following steps step by step.
- On a thick sheet of cardboard, no less than 40x20 cm in size, draw a vertical axis dividing the cardboard sheet into two equal rectangles.
- Mark the center exactly in the middle of the vertical line and draw a horizontal line through it. You should get four equal rectangles.
- Measure 18 cm from the center in both directions along the vertical axis. Make two marks.
- Measure 5.5 cm from the center in both directions along the horizontal axis. Also mark them. This is the narrowest part of the bone.
- From the marked point at 18 cm along the vertical axis, step back 3 cm towards the center, make a mark. Repeat the operation in mirror image on the other part of the drawing.
- Draw a horizontal line 9.5 cm long through the resulting point in both directions. Make a mark. This is the widest part of the bone.
- From the 18 cm point, step back 1.5 cm in the direction from the center and draw a horizontal line.
- Check that all marks are symmetrical relative to the axes; there should be a mirror image.
- Connect all the resulting marks along the contour in the form of a bone.
- Using sharp paper scissors, cut out the pattern along the resulting outline.
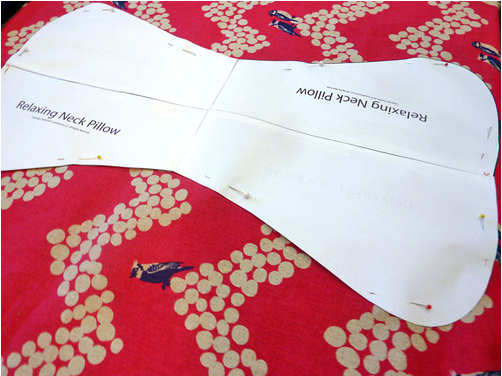
Unfolding a travel pillow
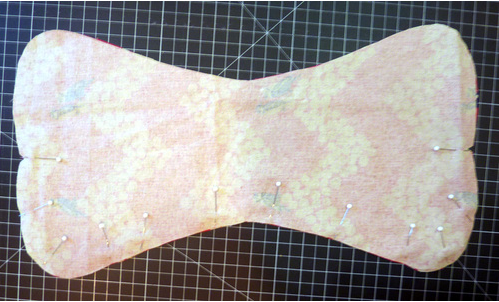
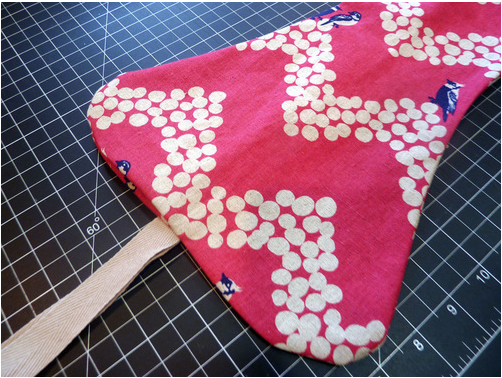
The resulting pattern of the future product must be applied to the inner side of the previously selected material and a continuous line must be drawn along the contour. Using sharp scissors, cut out the product blank along the contour. There is no need to make a reserve for the seam.
To make an orthopedic travel pillow, you will need three of these blanks according to the pattern.
Sewing a bone pillow
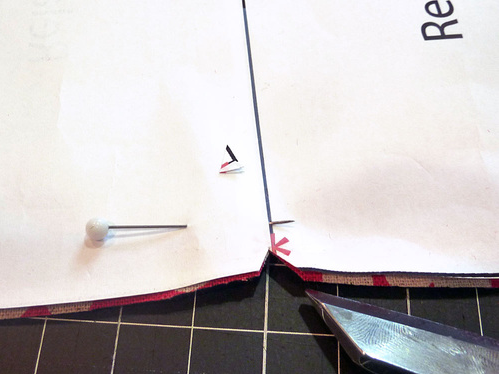
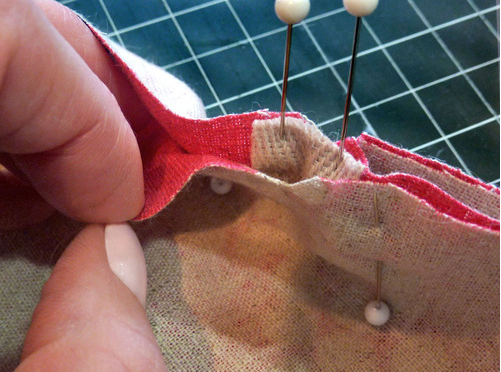
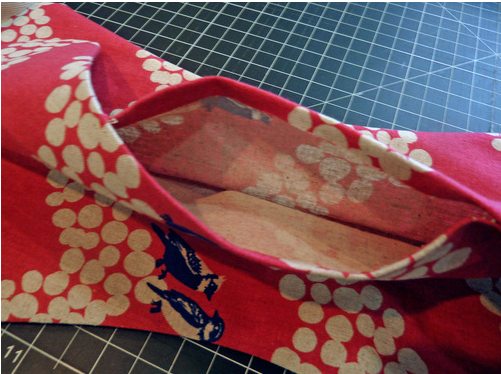
Sewing the product begins with correctly folding all three pieces to create a three-dimensional bone shape.
The seam starts from the narrowest part of the bone, from the inside of the material, then around the perimeter and ends in the same place. In total, there should be three seams.
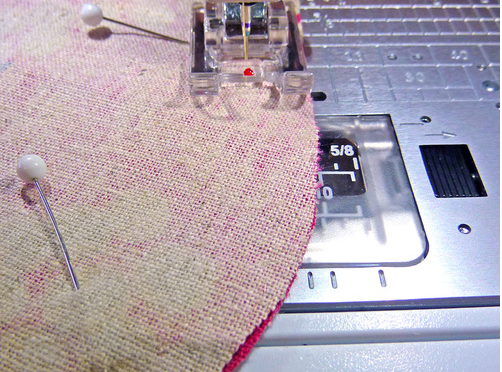
When sewing the product, it is recommended to use a sewing machine, however, if you do not have one, you can use a needle and thread, although this will be more labor-intensive.
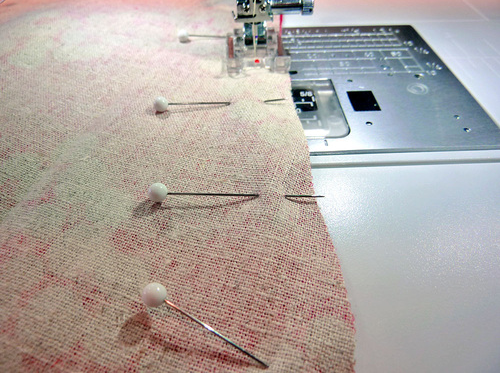
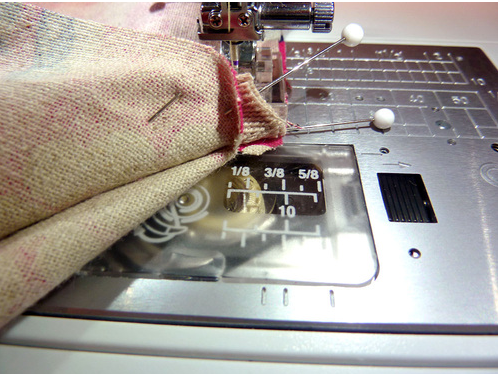
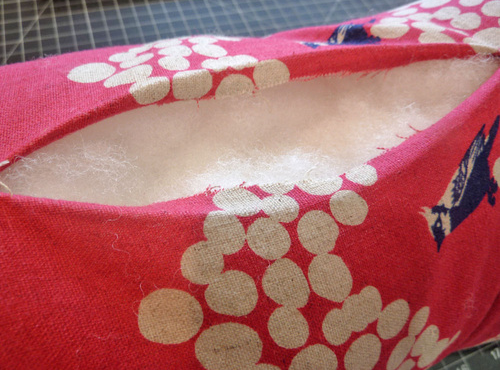
It is necessary to leave an unstitched space of 15-17 cm, intended for turning the product inside out with the front side of the material.
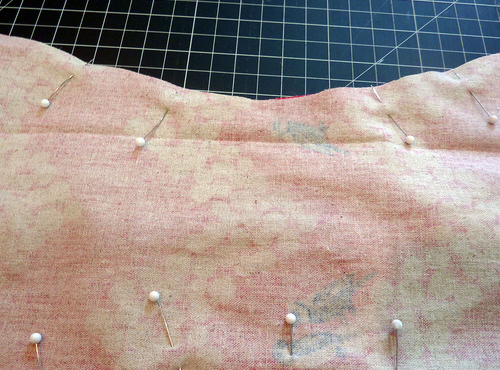
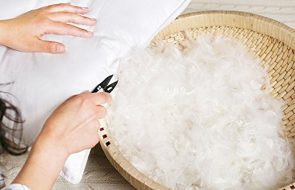
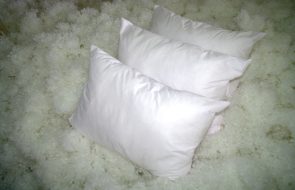
The piece sewn according to the pattern must be filled with filler, for which the following is well suited:
- foam rubber scraps, 2-3 cm in diameter;

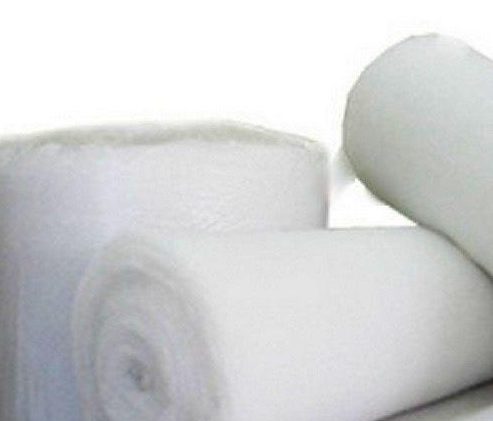
Pieces of foam rubber are suitable for filling our pillow - synthetic padding;

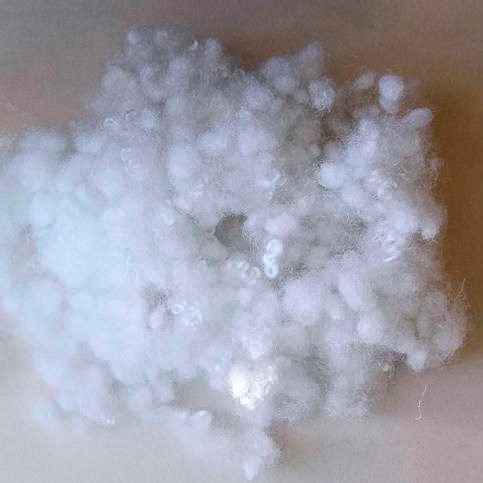
Furniture and textile filler - synthetic padding - holofiber.

Holofiber balls are an elastic filler that retains its shape and elasticity

It is not recommended to stuff an orthopedic pillow too tightly; it should be moderately soft and dense, and generally comfortable.
The last seam remains and the product, in the form of an orthopedic travel pillow for bones, is ready!
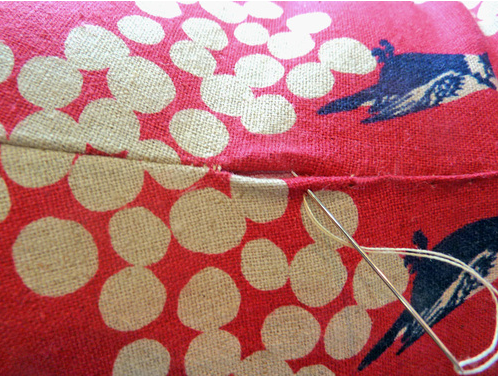
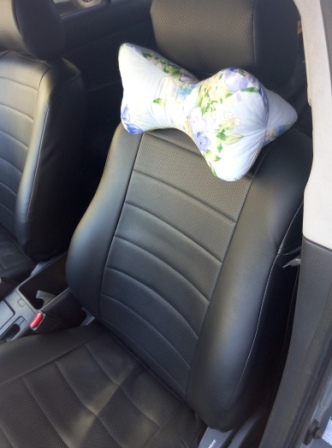
The whole procedure takes no more than an hour, and the result, as they say, is “on the face”, or rather on the neck. Which will thank you more than once for the opportunity to use such a wonderful product.
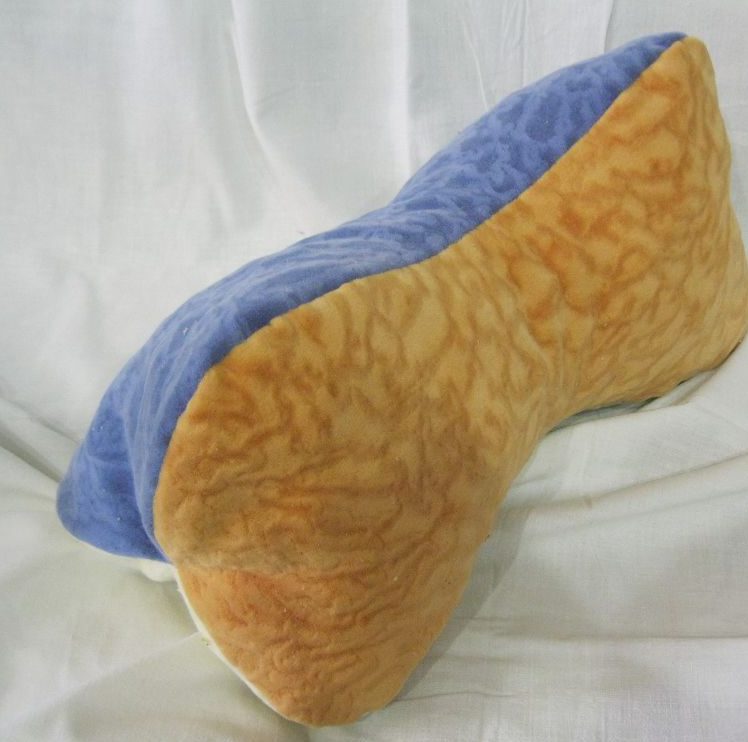
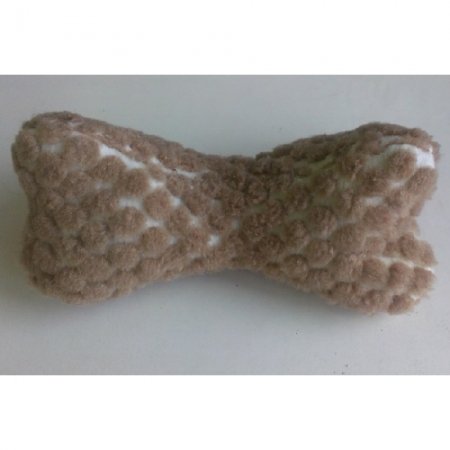
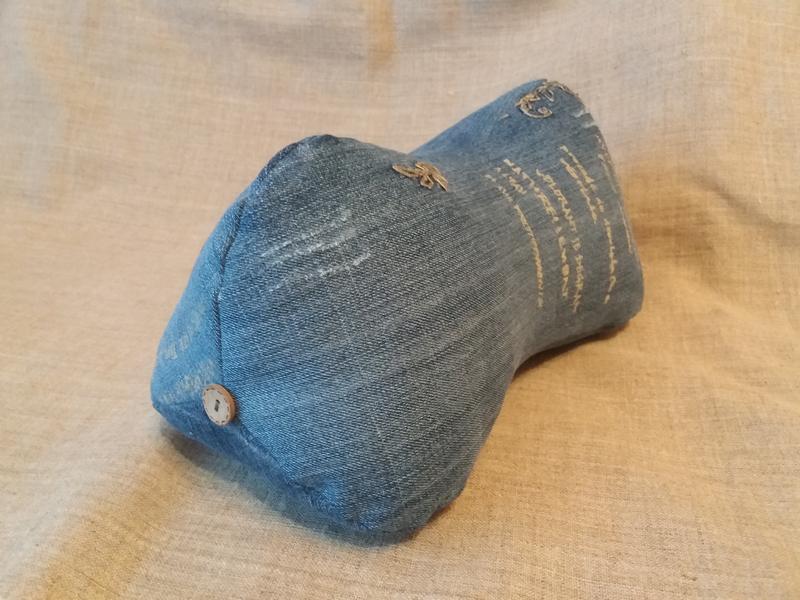
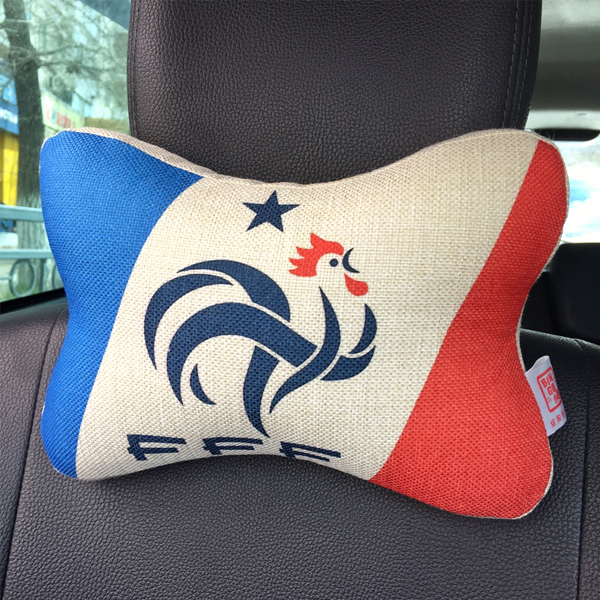
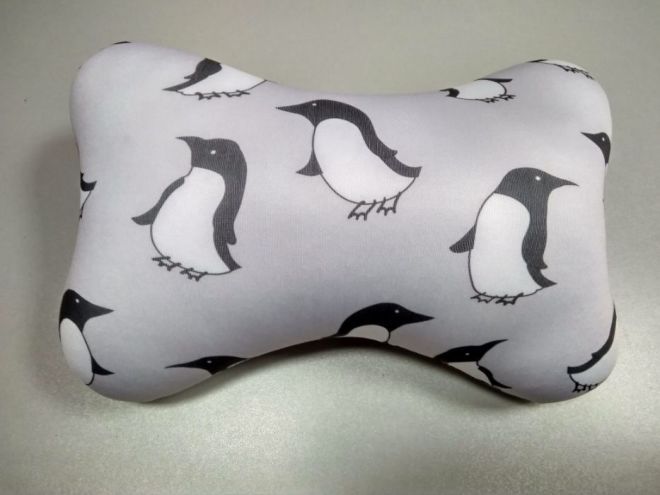
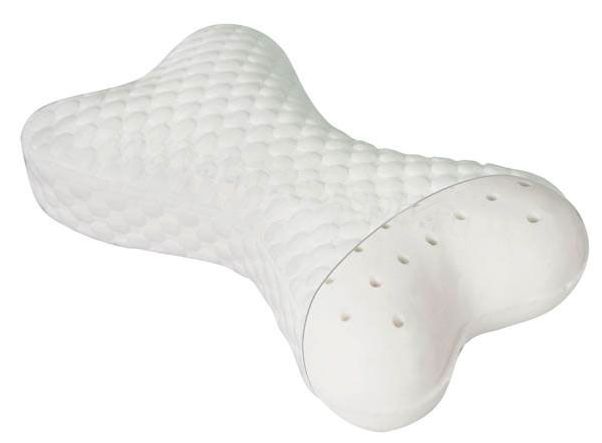
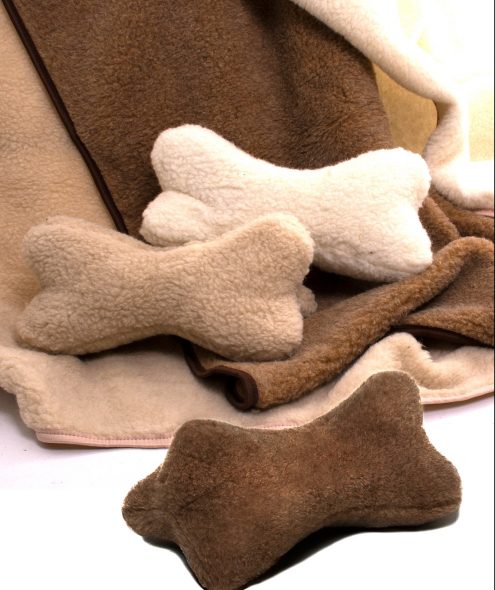
Today, almost every person uses such orthopedic travel pillows, no one will be surprised by this. But now there is an opportunity to make a pillow with an individual style with your own hands, you just have to experiment with the choice of material and filler.
Video: Sew an orthopedic bone pillow
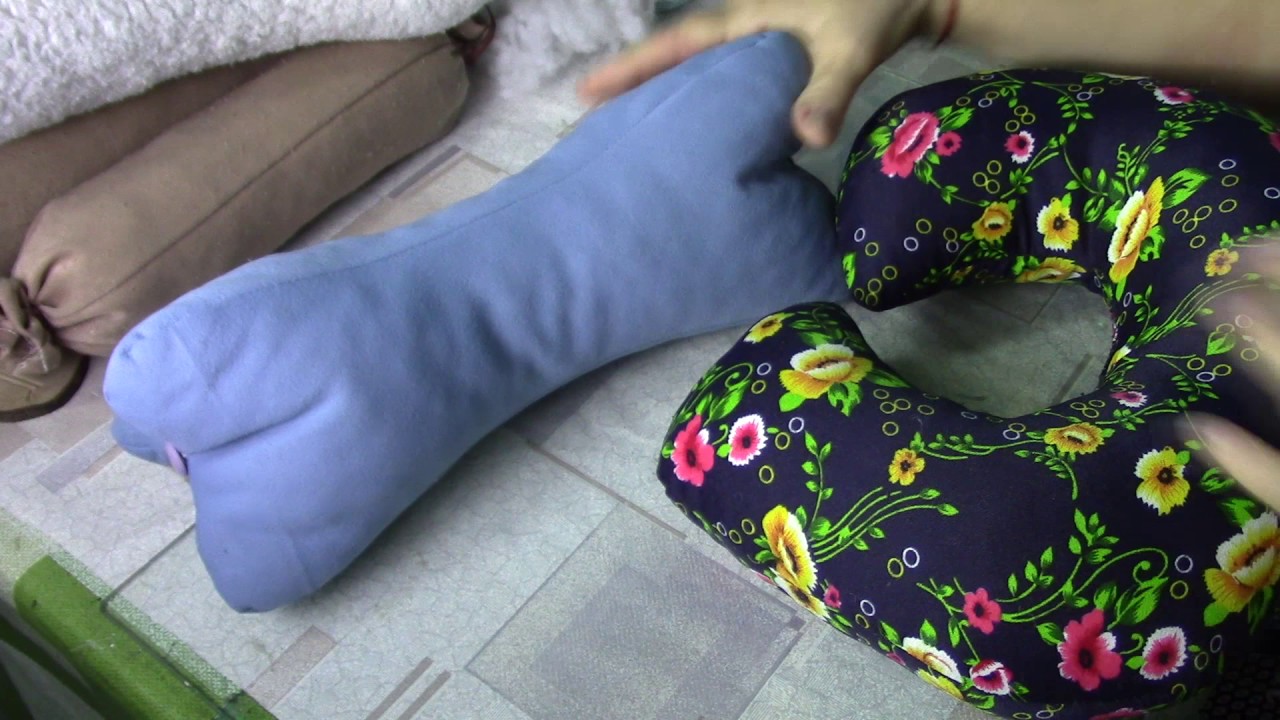
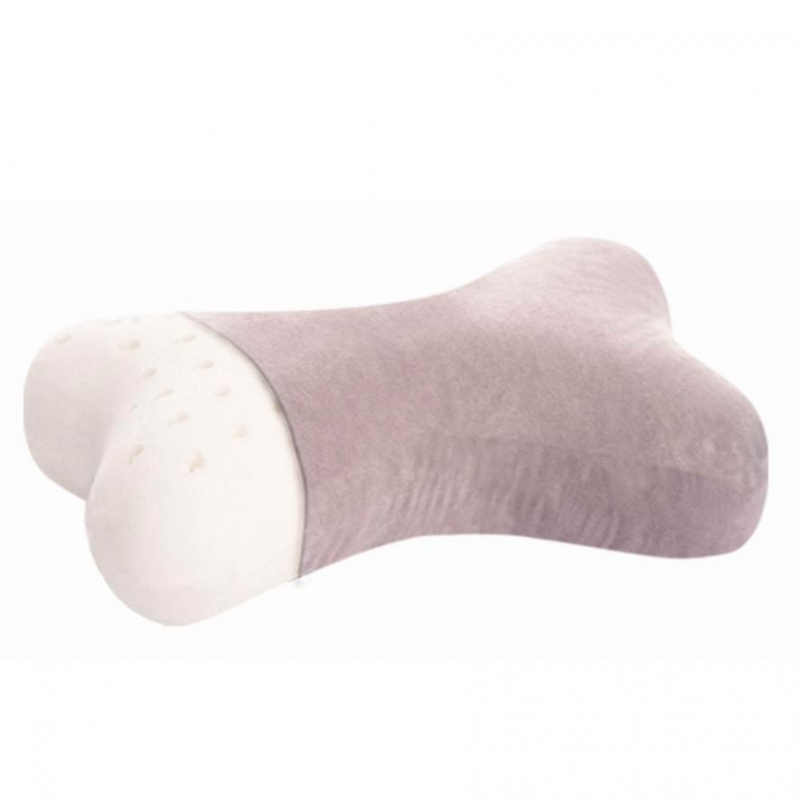
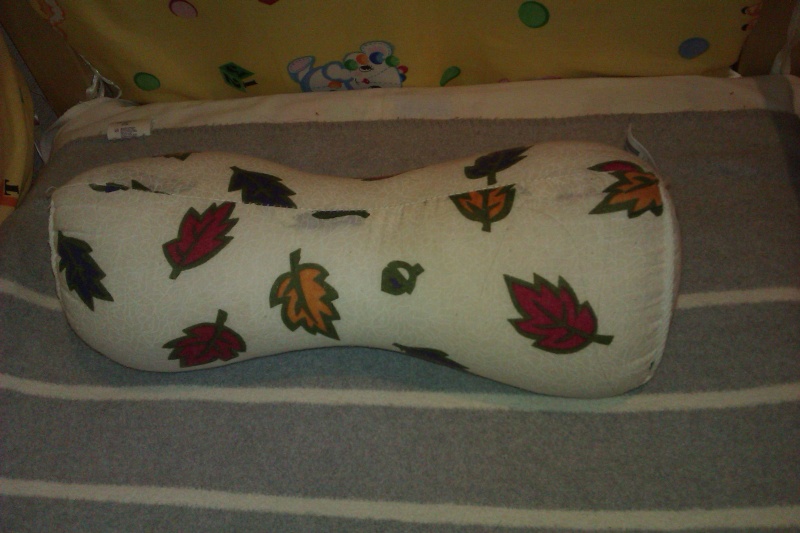
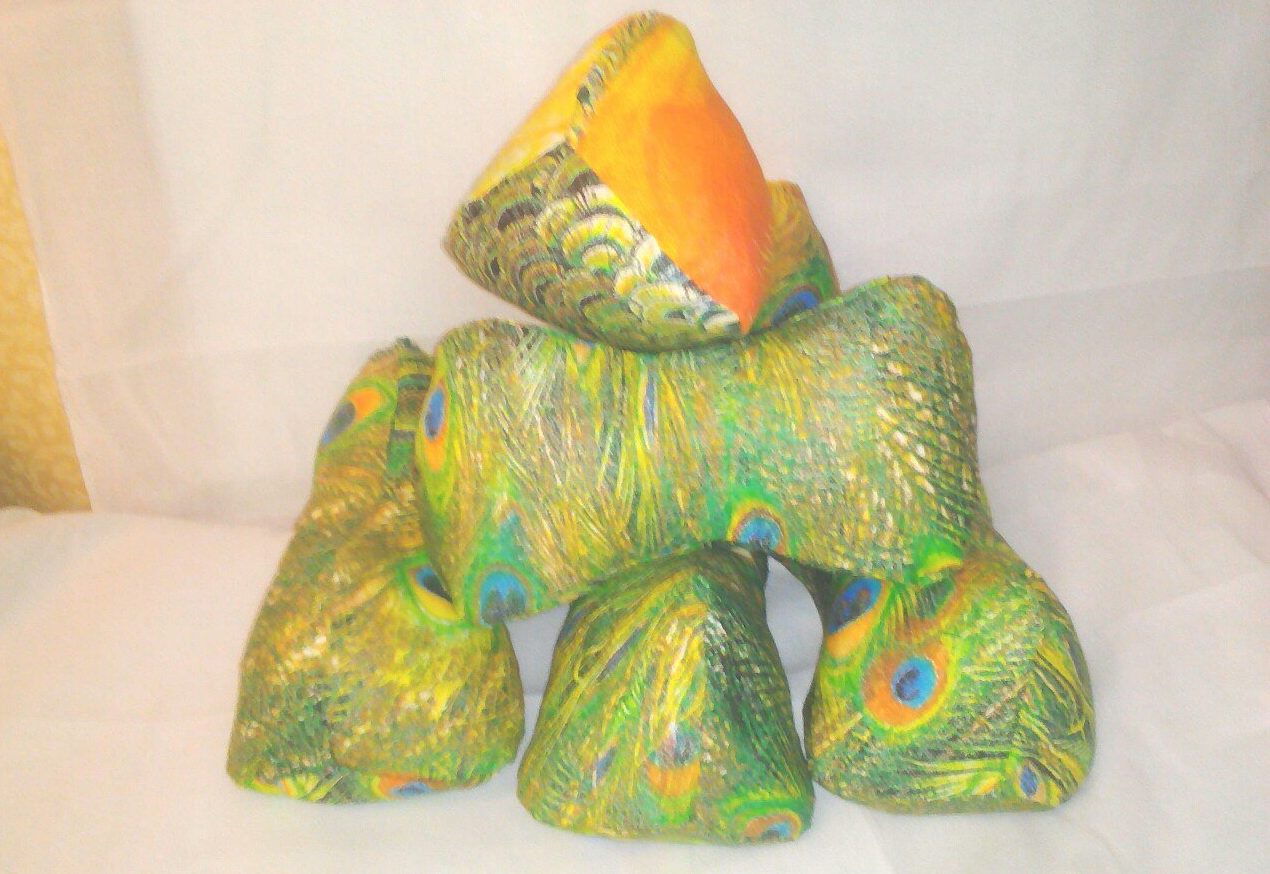
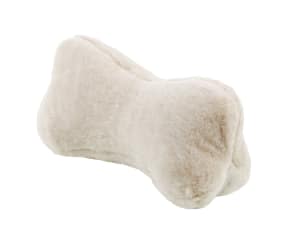
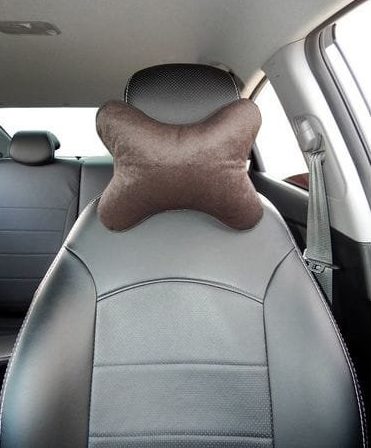
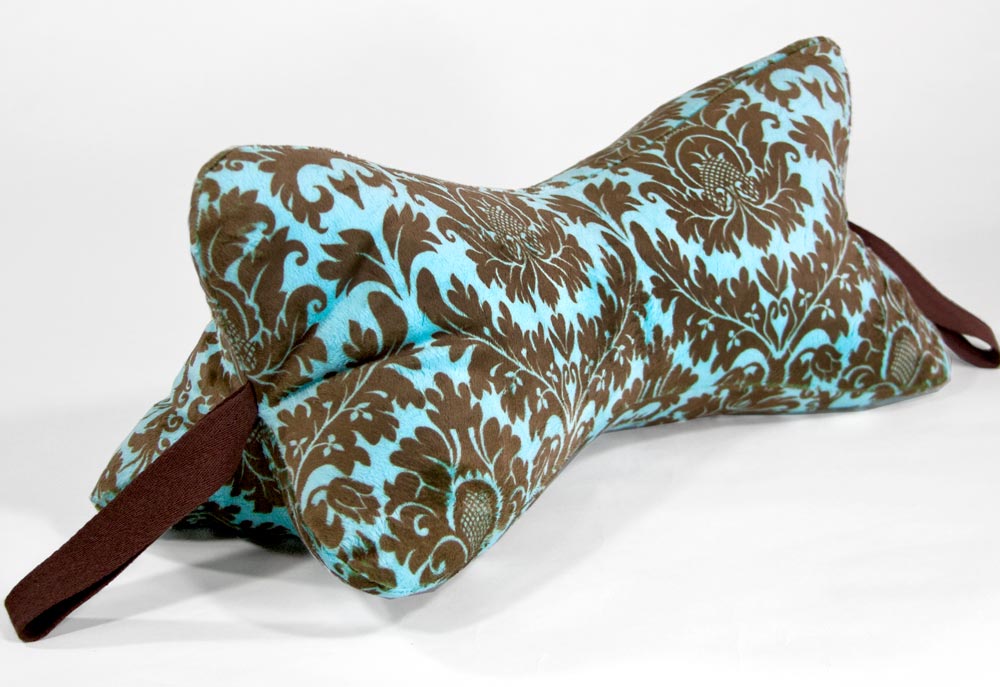
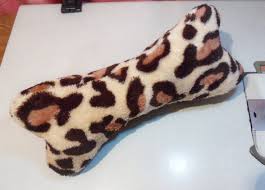
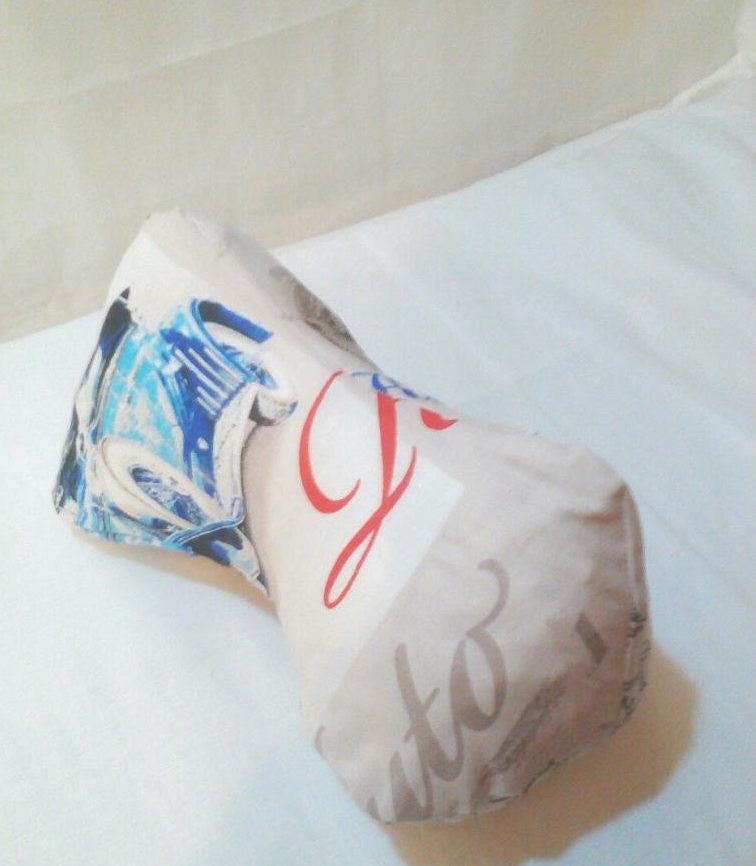
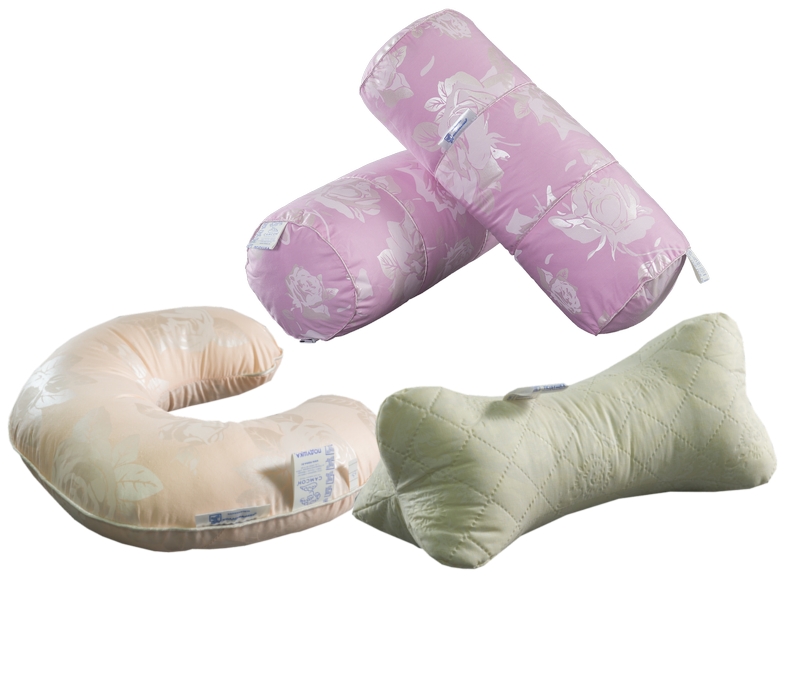
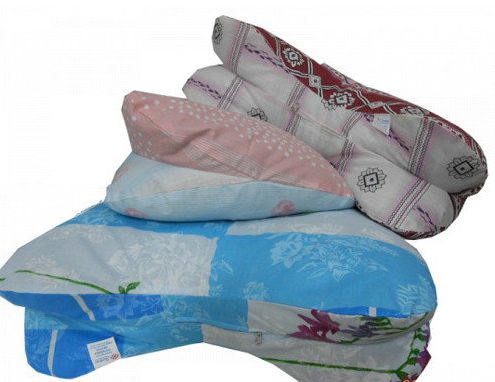
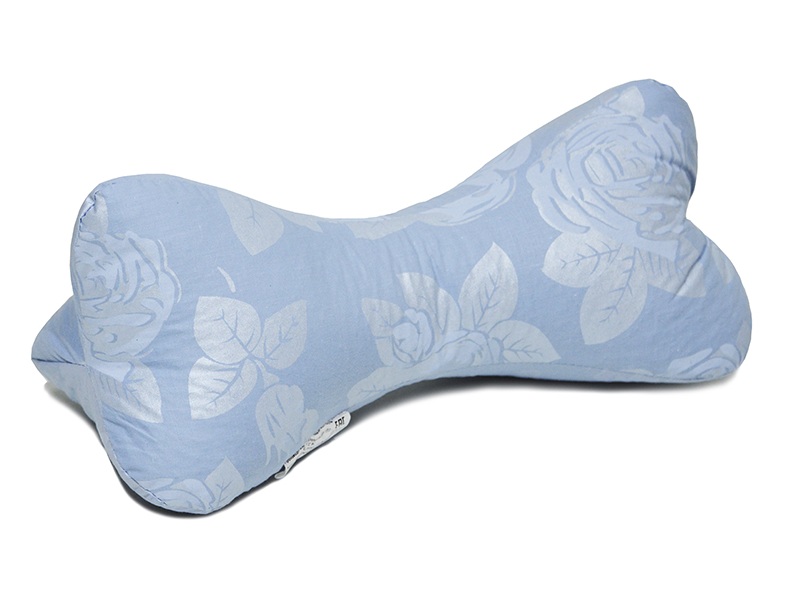
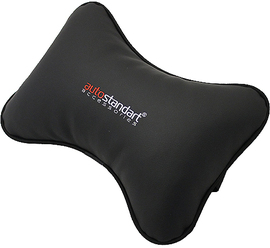
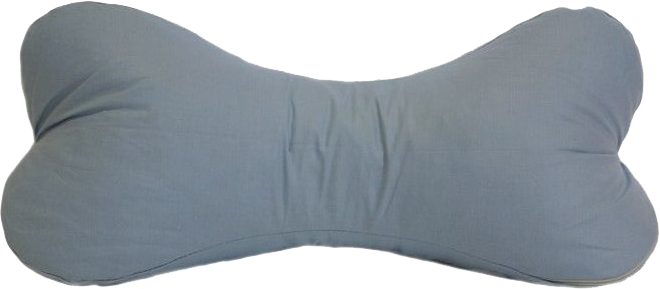
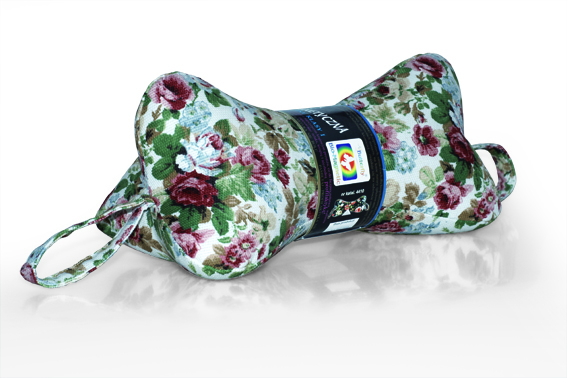
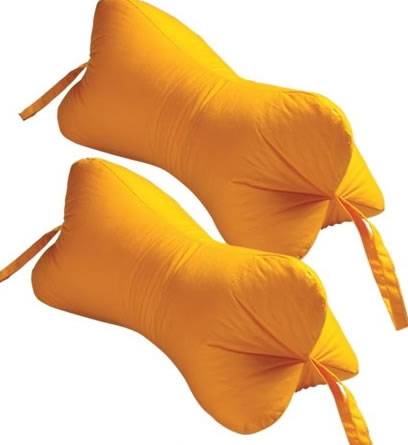
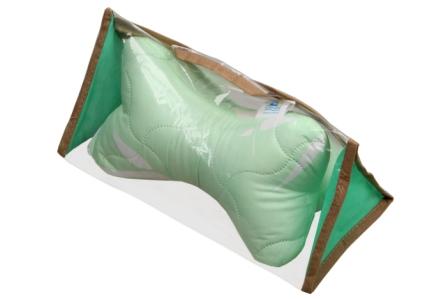
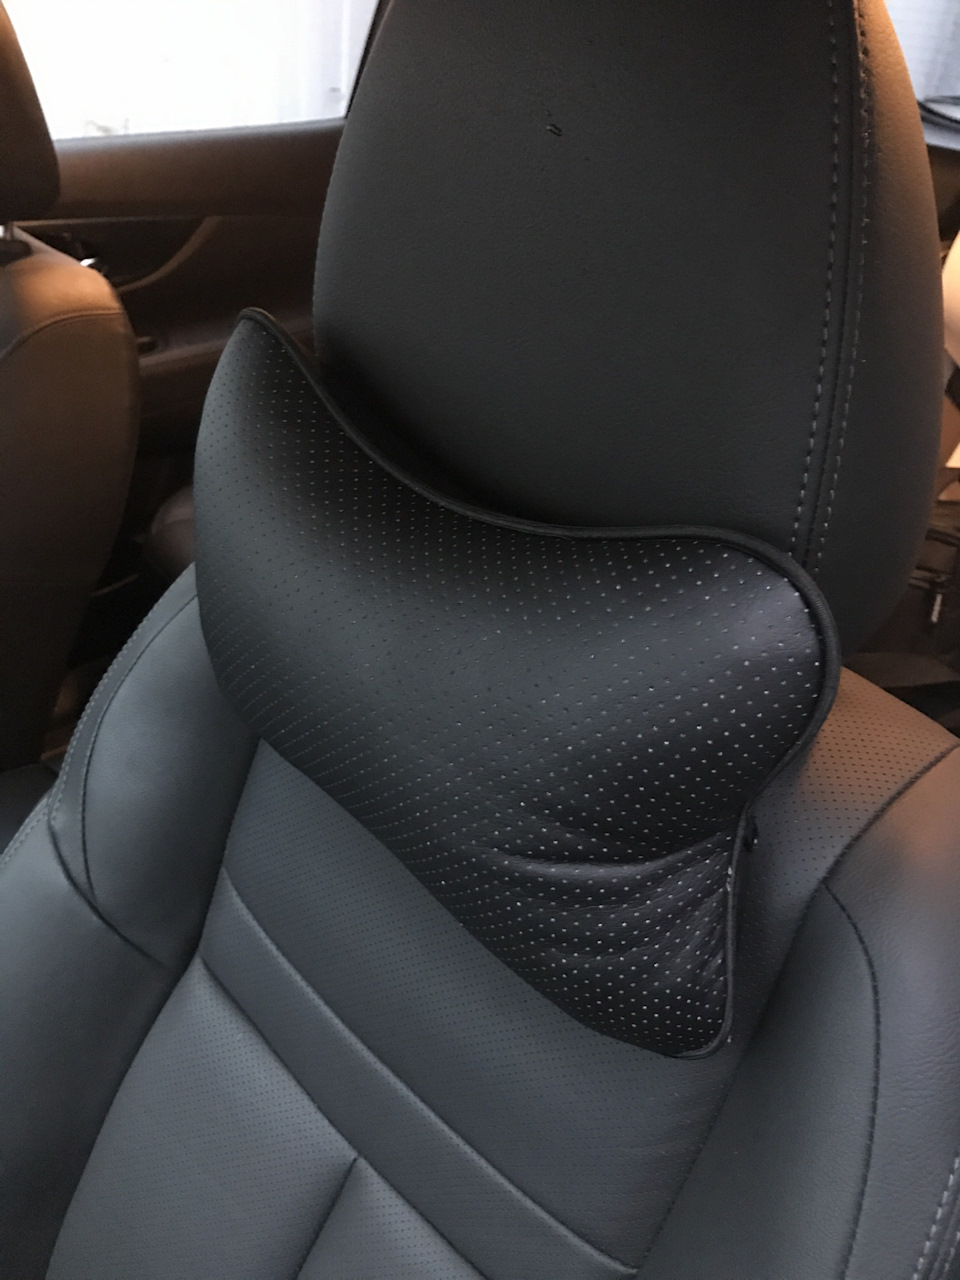
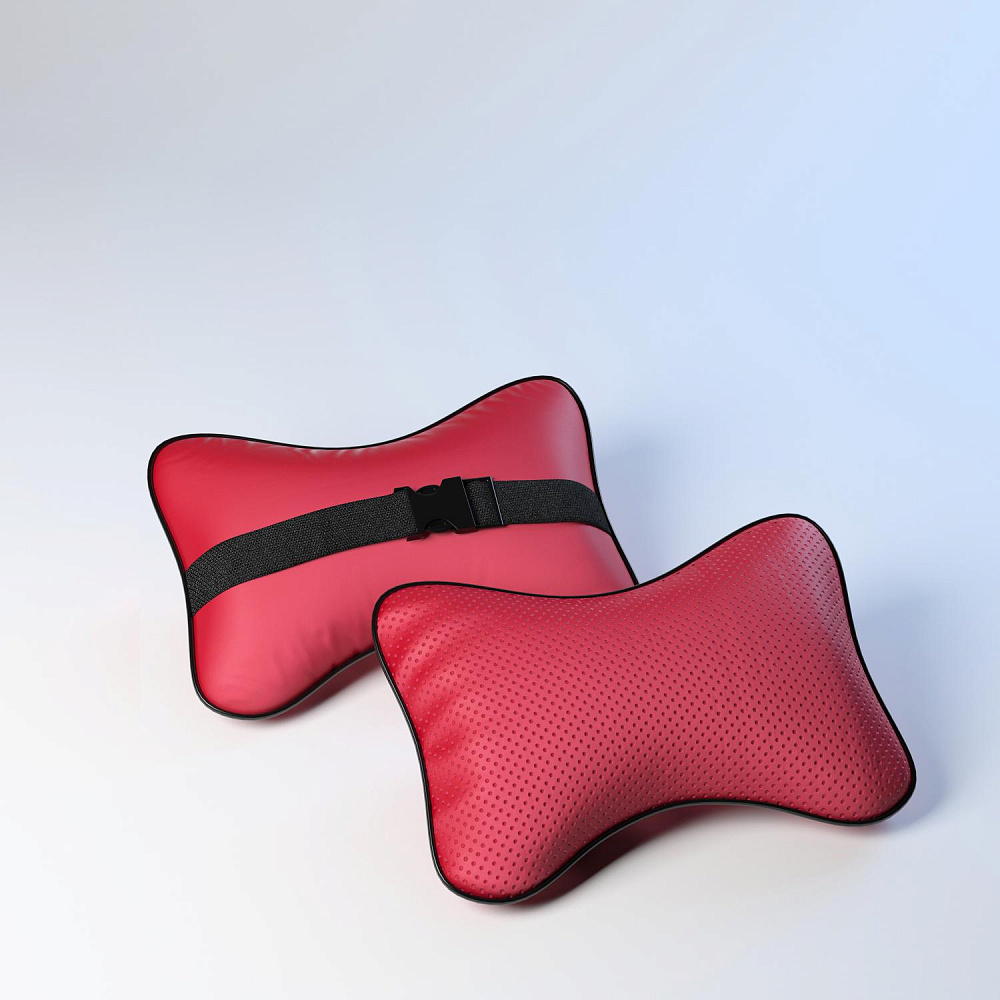
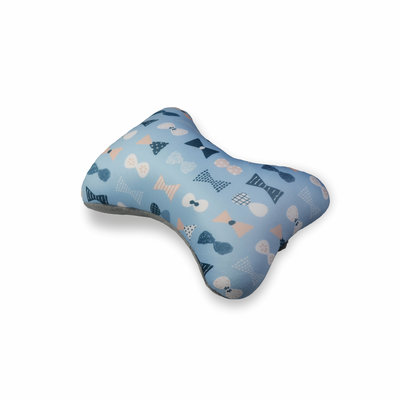
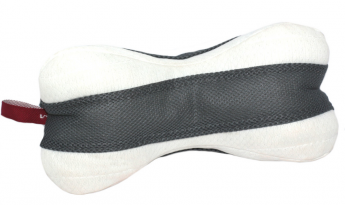
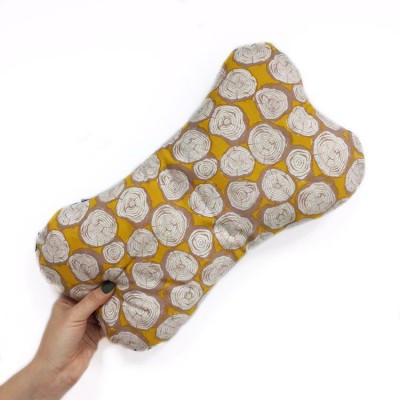
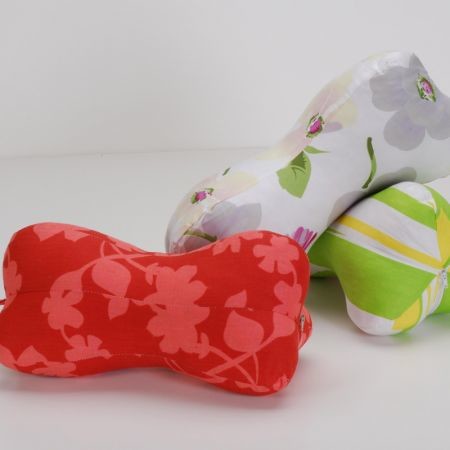
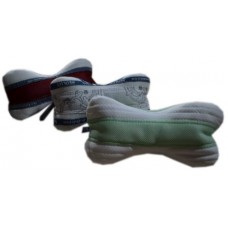
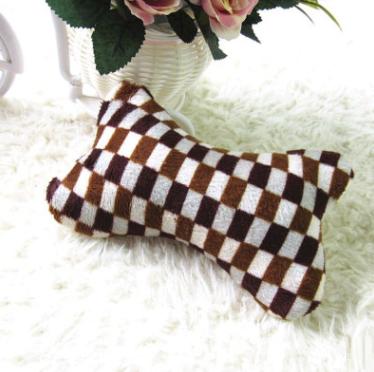
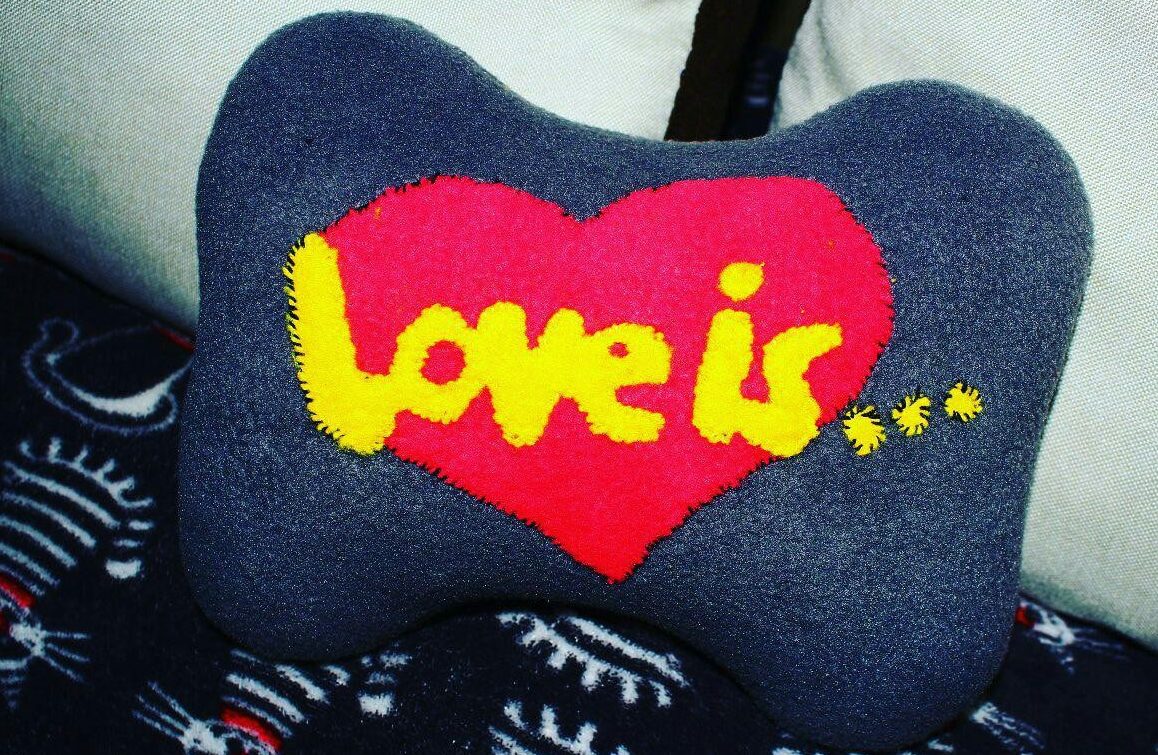
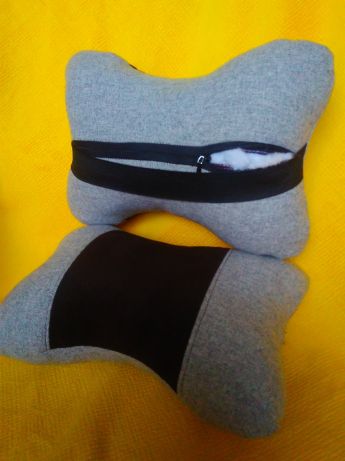
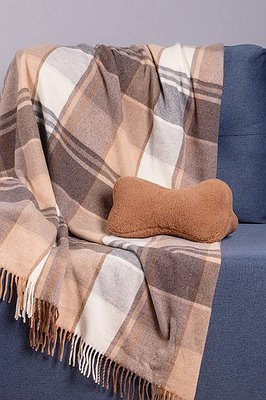
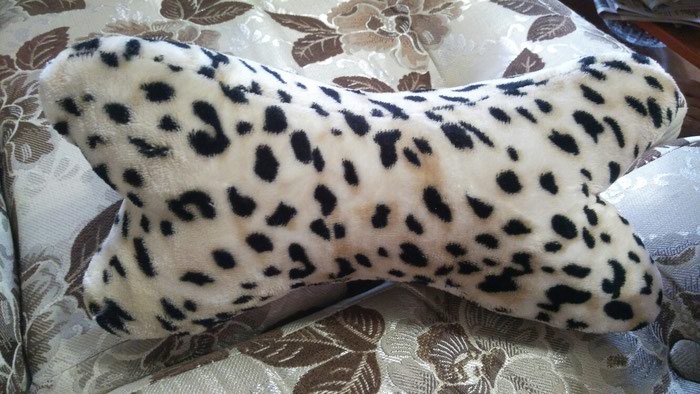
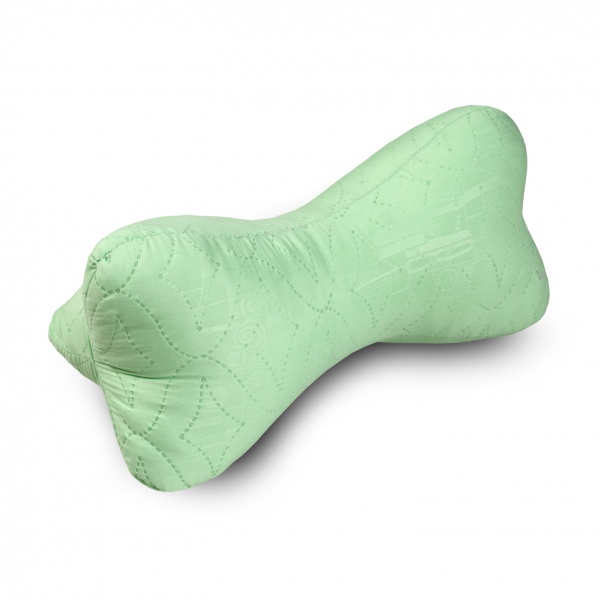
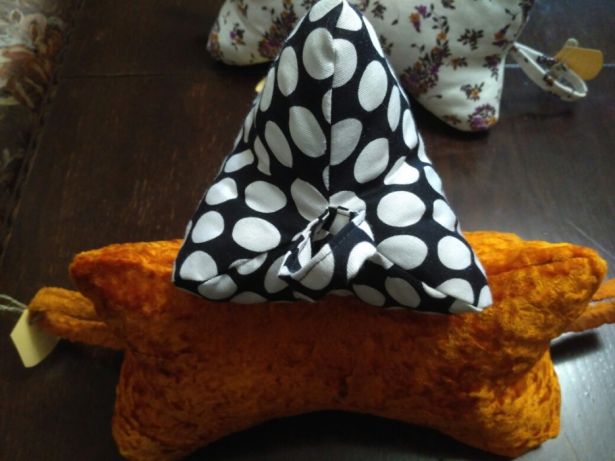
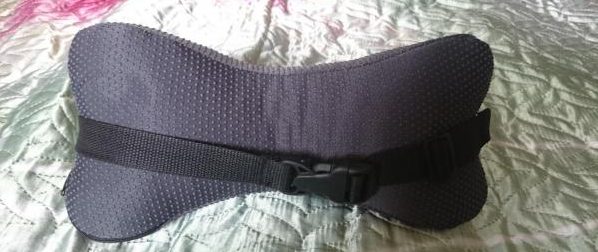
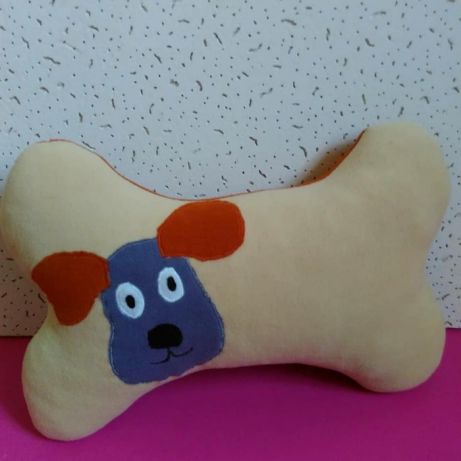
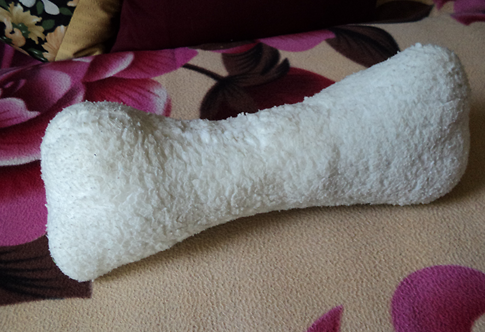
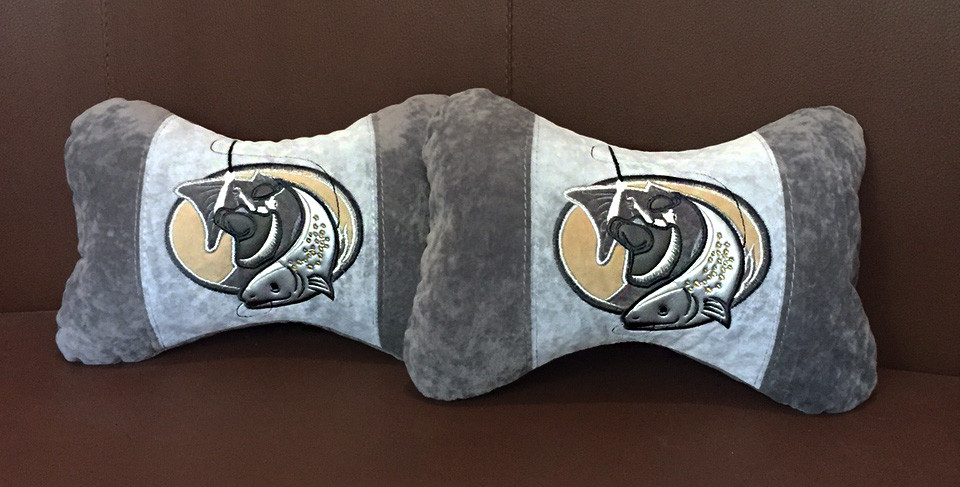
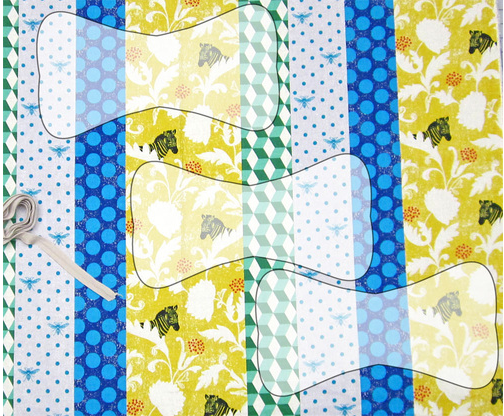
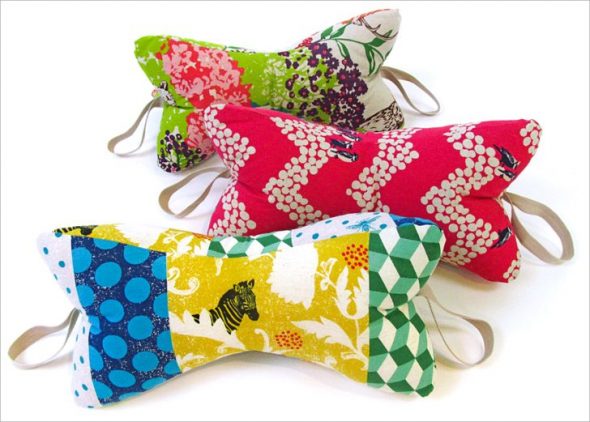
Photo gallery of beautiful and comfortable bone pillows made from different materials: