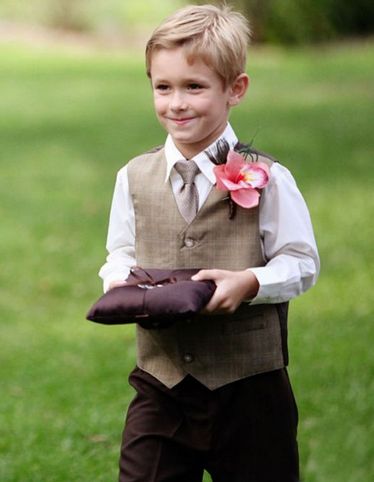
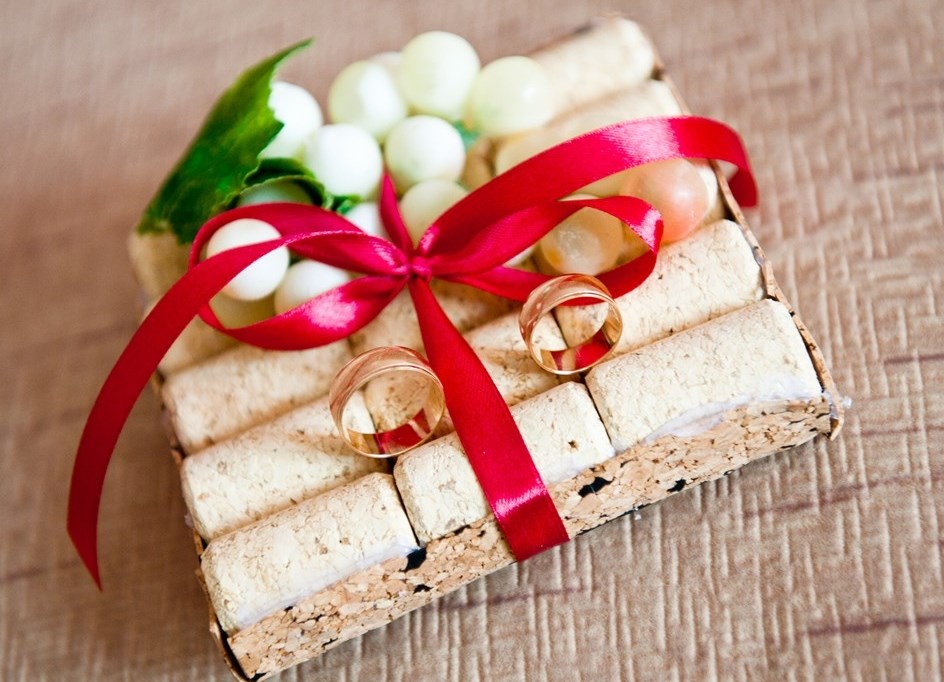
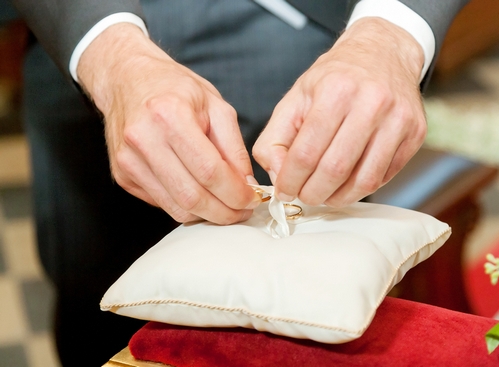
Today, a wedding pillow is as necessary as air for a wedding ceremony at the registry office. The newlyweds give their positive consent to the marriage and exchange rings placed on a special soft stand. A homemade wedding ring pillow will help to add uniqueness and solemnity to the moment of entering into marriage. This tradition came to us from European countries. And it quickly became popular.

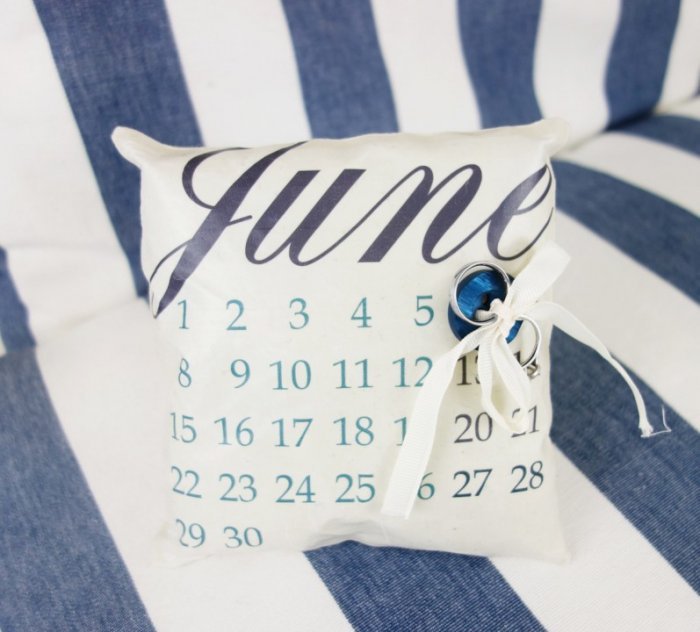
The range of options to choose from is the most diverse, from a simple standard wedding product to an unconventional, exclusive item. How to make a wedding ring pillow with your own hands? It can be made by parents, friends of the newlyweds or close relatives who know the psychological character of the couple more deeply. A favorite hobby, a favorite color of the material or the place of the first date - these aspects can form the basis and prompt the creation of a purely individual holiday accessory.
Content
- Wedding Ring Pillows: Materials and Decor
- Types of Wedding Ring Pillows
- Square Wedding Ring Pillow with Satin Ribbon Pillowcase
- Round Wedding Ring Pillow
- Wedding Heart Shaped Ring Pillow
- Ring mount
- Video: DIY Heart Pillow for Rings / Video Master Class
- A selection of photos for choosing and making a ring pillow with your own hands:
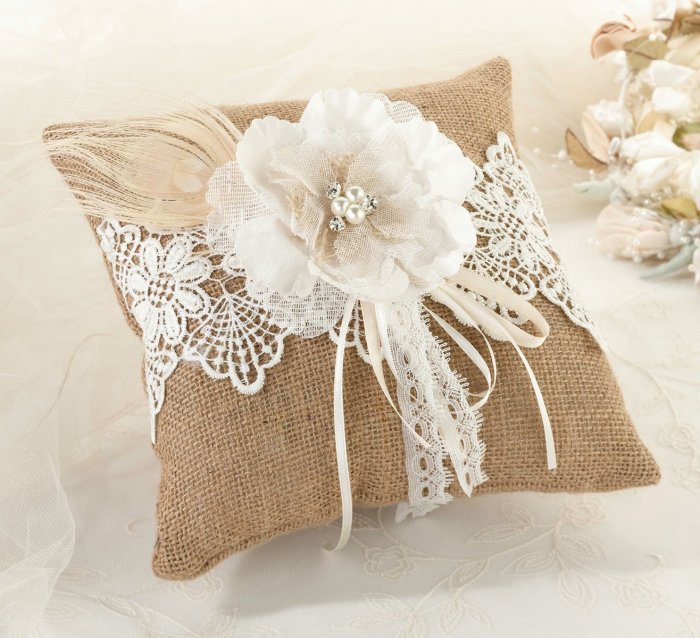
Wedding Ring Pillows: Materials and Decor
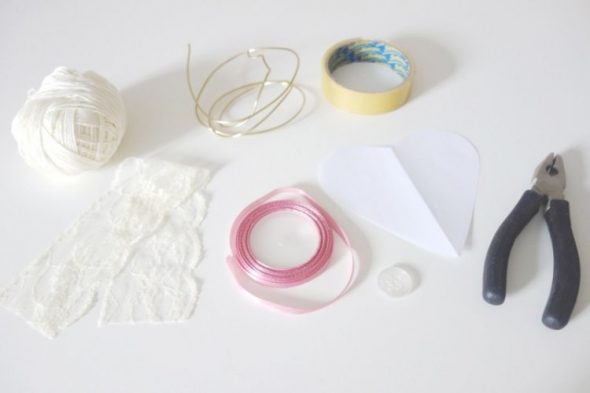
- A piece of small fabric, 0.2*0.2 meters in size.
- Stuffing material.
- Materials for decoration: lace, beads, ribbons, rhinestones, seed beads, white feathers.
- Hand needle or sewing machine.
- Threads, scissors, glue gun.
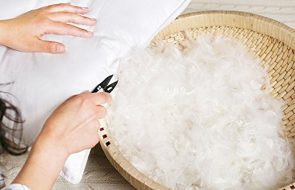
The choice of fabric for the pillow should be approached thoughtfully. After all, wedding rings are imprinted on it - a symbol of the unity of two hearts. It is best to fill the pillow with synthetic padding or holofiber. A specialized department in a children's world or a sewing store will do just fine. Buying a couple of linear meters is enough to ensure that the wedding pillow for rings is not empty.
Types of Wedding Ring Pillows
Wedding pillows made with a sewing machine and their varieties
If you have a foot and electric machine at home, then making an accessory for the newlyweds’ rings is quite simple.
What is needed for this:
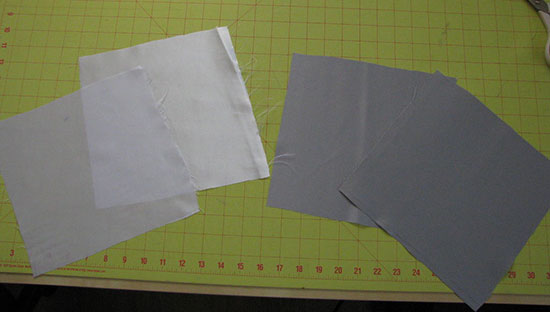
- Choose the fabric you like.
- On the back side of the workpiece, use chalk or a special pencil to mark out a square with a side of 20 cm. This is the standard size of the ring cushion.

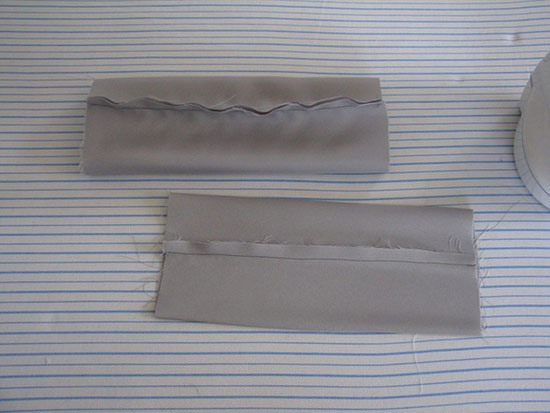
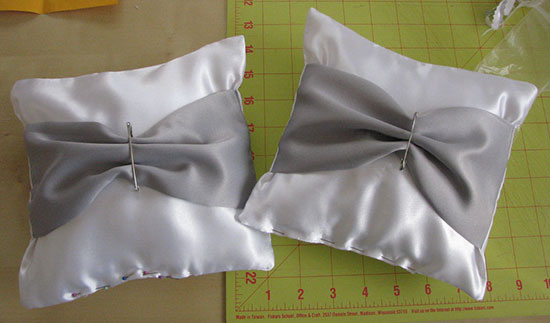
Cut out two squares from white satin and two squares from colored satin. - Using scissors, cut out two squares.

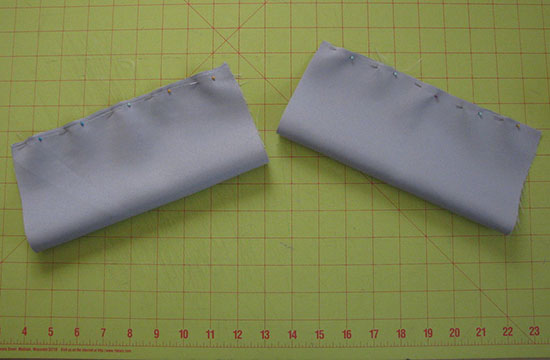
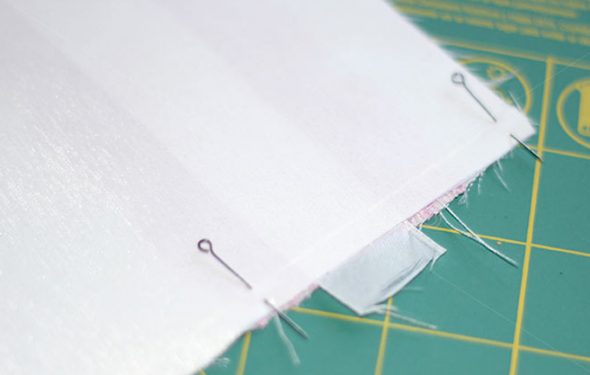
Fold the colored squares in half (with the right side facing inward) and secure the edges with pins 
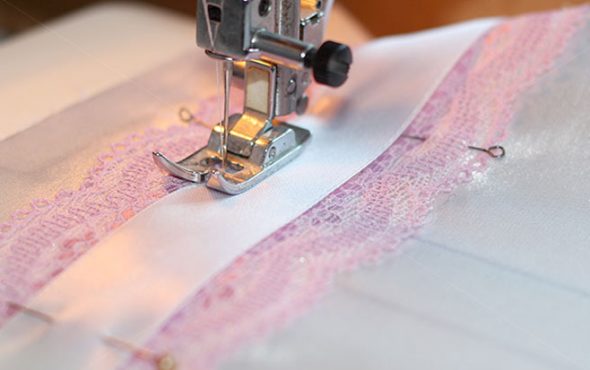
We sew up the squares, lay out the sewn up squares so that the seam is in the middle - On the main front side of one of the squares, manually, using a needle, fix all the decorative elements: lace, beads, ribbons, rhinestones, beads, white feathers.
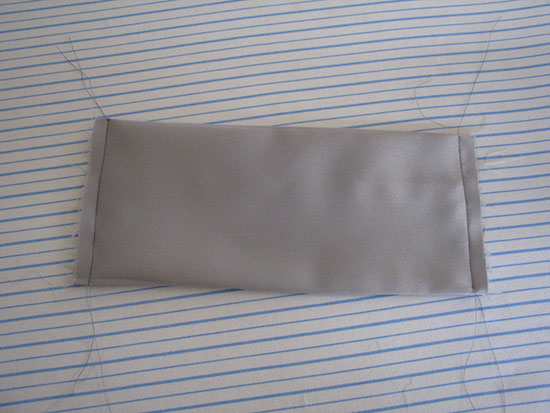
Turn the resulting pocket right side out so that the seam is in the middle 
We baste the unsewn edges, stepping back from the edge by 0.5 cm - Sew the wedding ring pillow along the three geometric guides from the wrong side of the material.

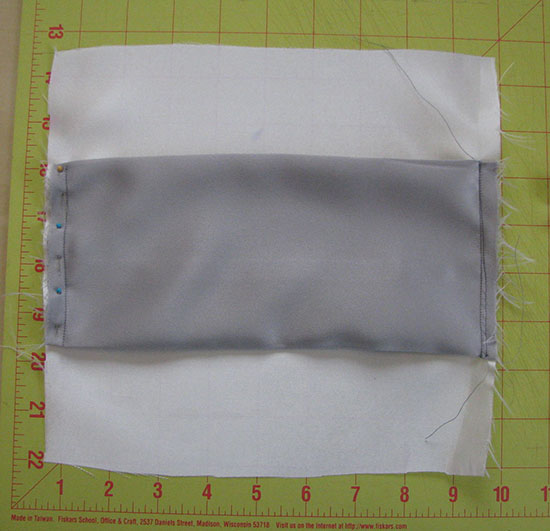
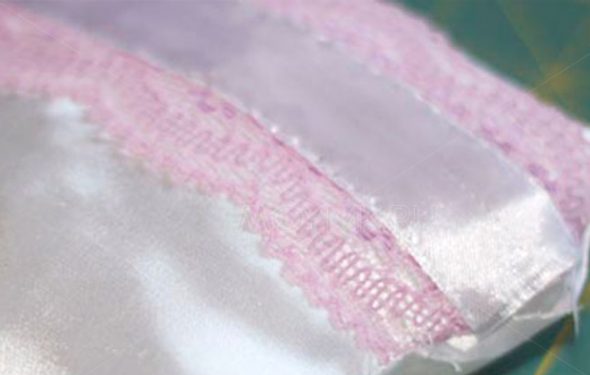
Sew two white squares together, folding them with the colored stripes inward, and turn them right side out - Turn the pillow blank inside out from the fourth, free side.
- Stuff the festive accessory with cotton wool or synthetic padding.

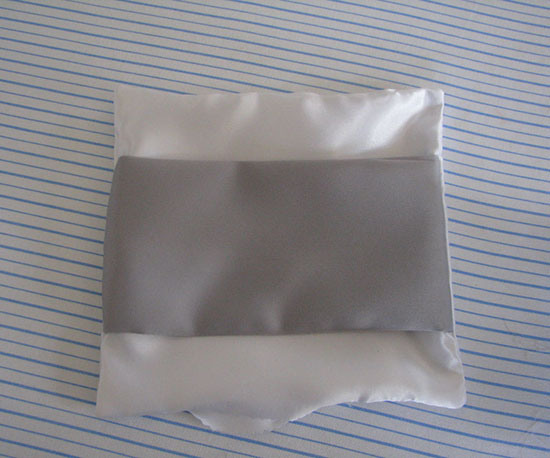
We stuff the pillow with stuffing, secure the unsewn edge with pins, carefully sew it by hand, and secure the strip of fabric with a pin. - Overcast the edge of the fourth side or carefully fold it inward, stitch the last section of the product.

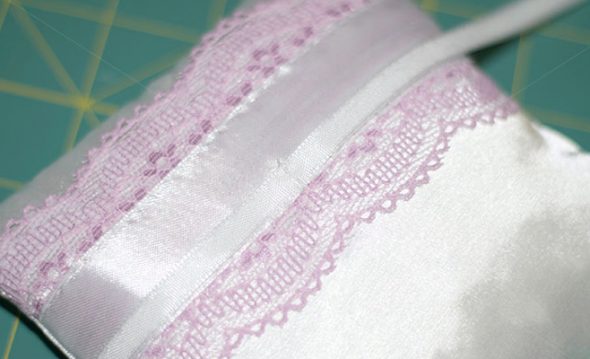
We tie a knot with a thread on the gray strip in the center, decorate it with a sparkling brooch Using a satin ribbon in the same color as the bow, we tie the wedding rings - Apply the intended decorative elements using a glue gun.
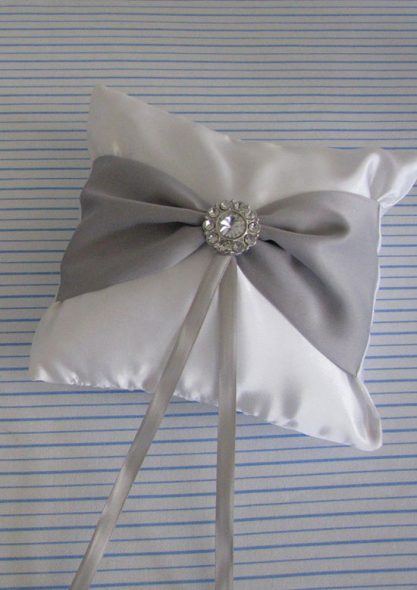
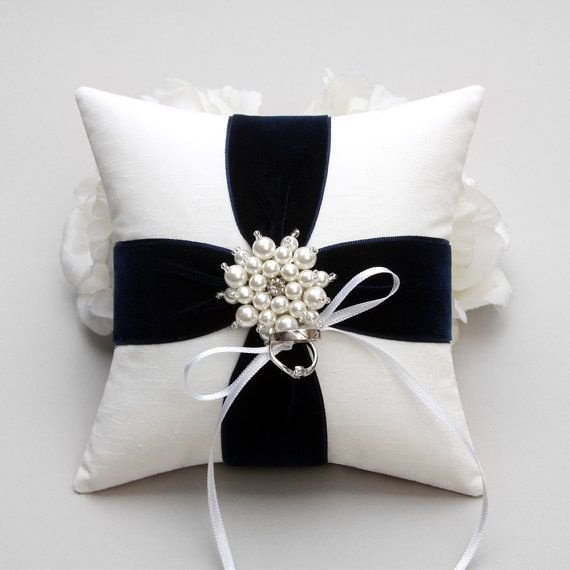
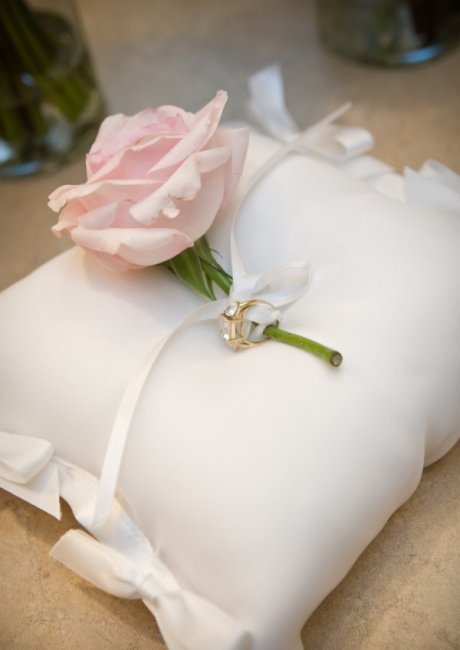
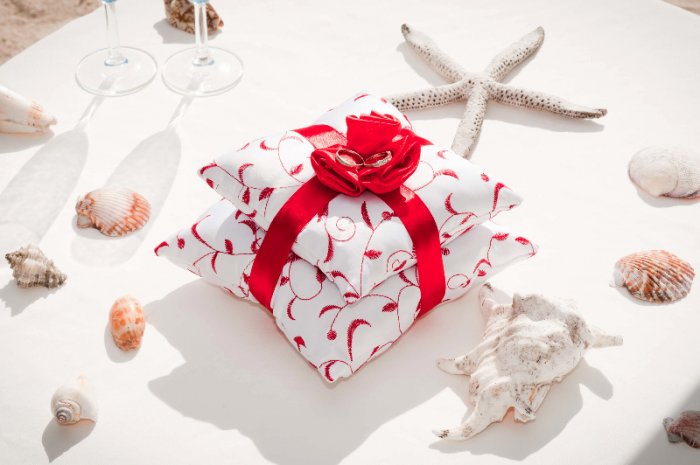
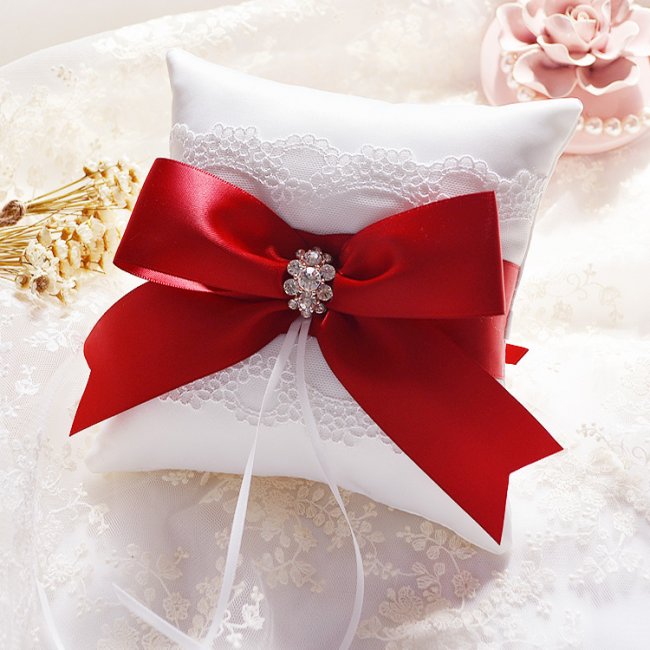
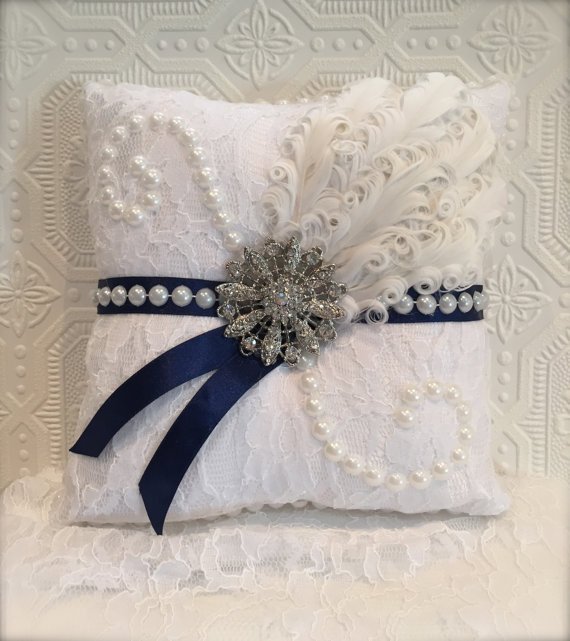
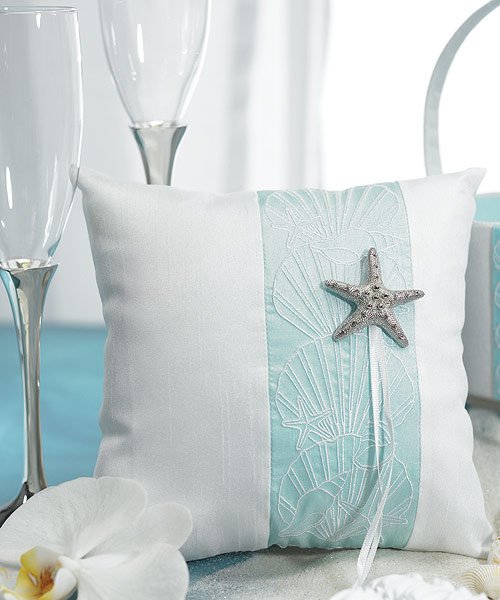
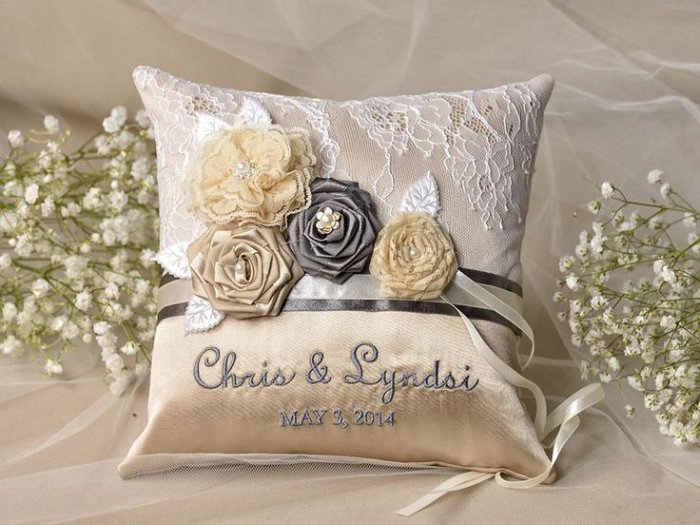
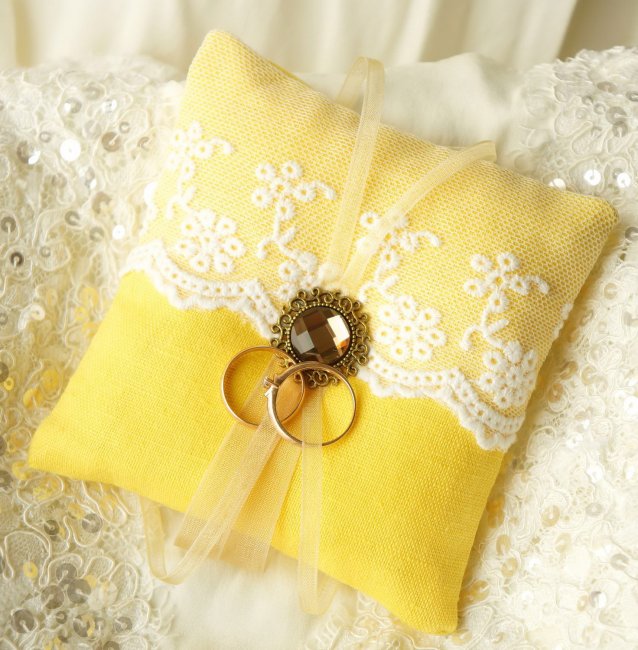
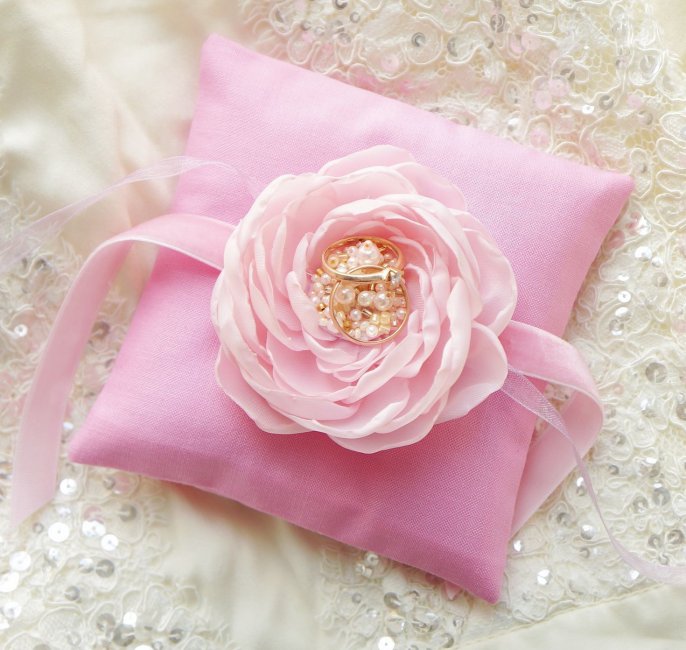
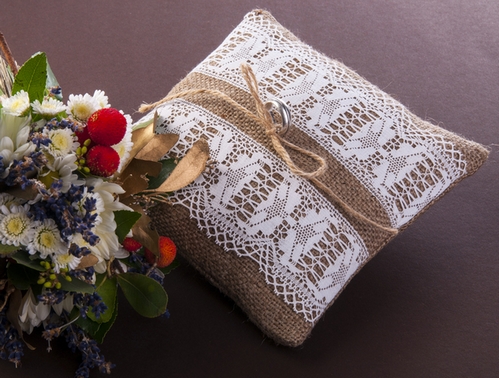
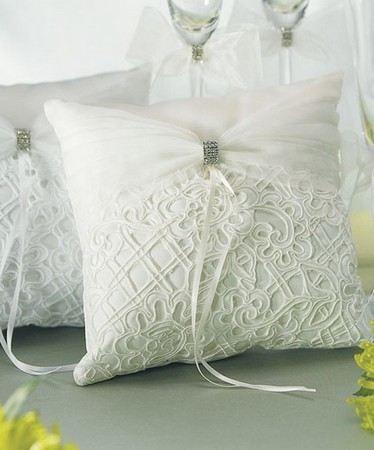
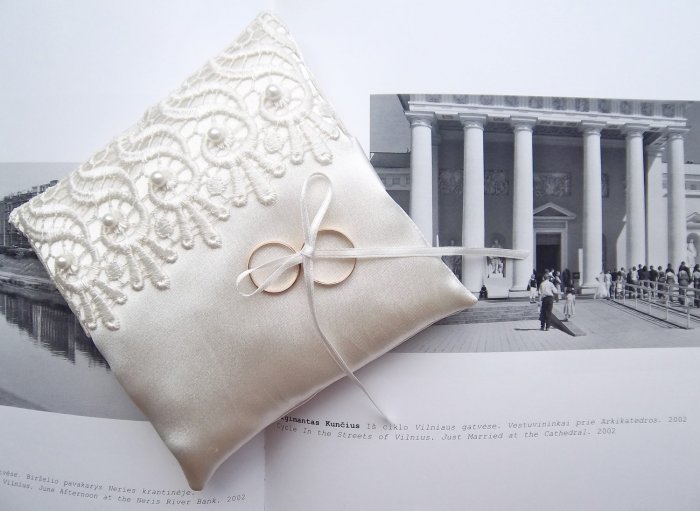
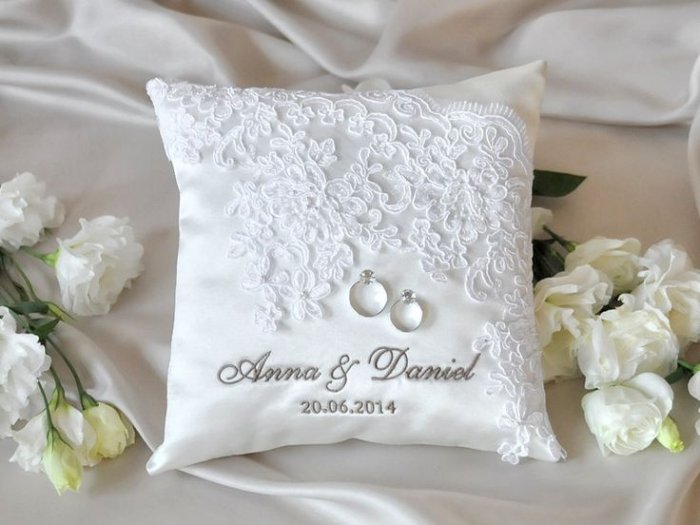
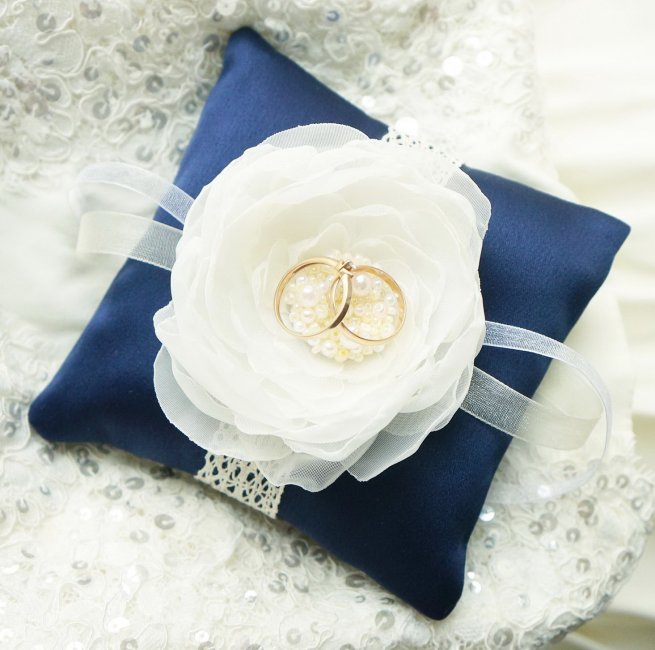
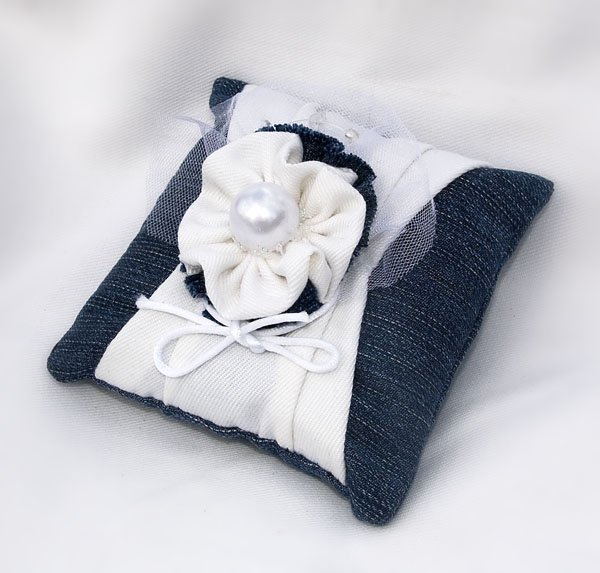
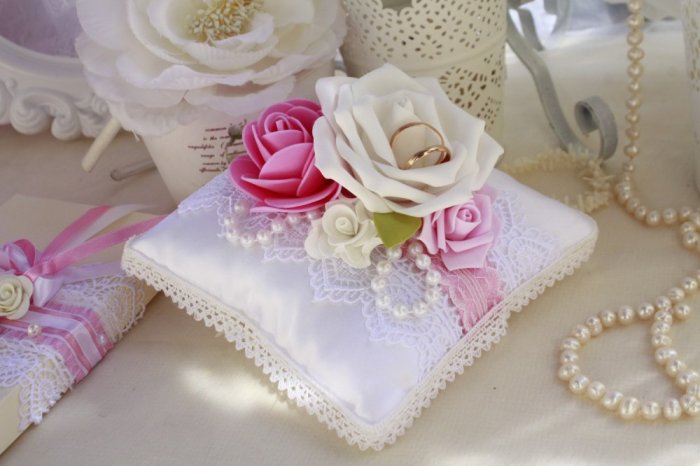
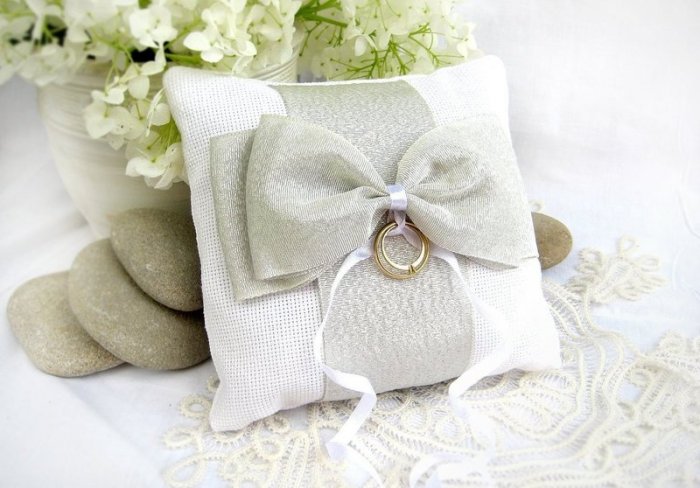
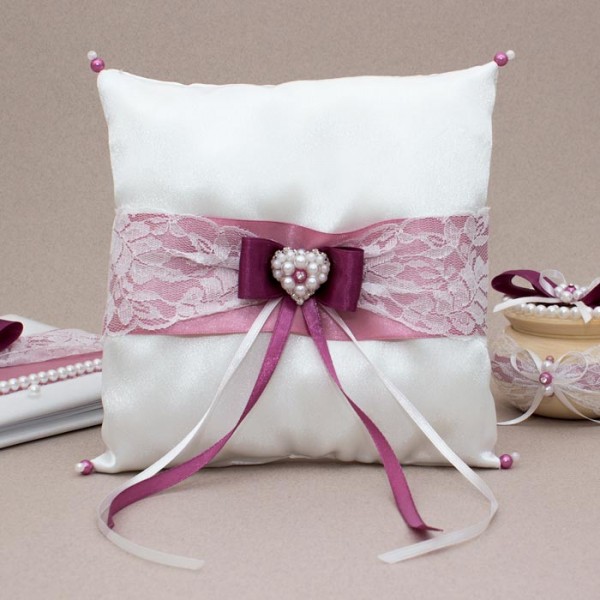
Square Wedding Ring Pillow with Satin Ribbon Pillowcase
An effective accessory for attaching rings. Wide ribbons for weaving consist of a satin border, sold in a store or sewing studio. Choose the ribbons you like by color and size. Lay out the future pillowcase in the form of a square on the work table.

We alternately pull each horizontal strip through the vertical guide. We fix the ends of the product with safety pins.
When all the strips are woven to the end, we perform the sewing operation along the perimeter of the pillow. The second, back side of the pillowcase is made of satin fabric of the same color without decor. We sew cut-off lace elements into the sides. Then we proceed to the final sewing operation.
The next step is to apply the decorative elements to the front of the ring pillow. Using glue, we fix the thin ribbon.
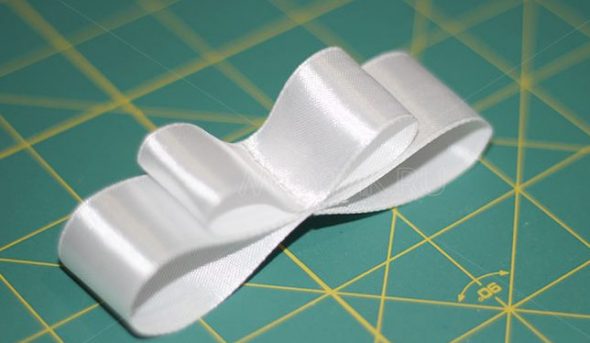
The decorations for the newlyweds will be placed on it. The final touch will be a decorative buckle or a large bow.
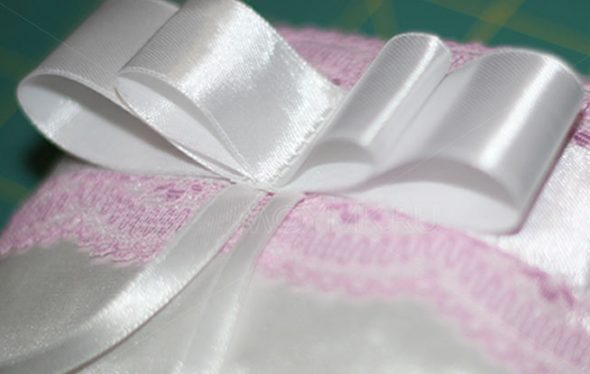
That's it. The gorgeous satin ribbon wedding ring pillow is ready.
Wedding pillows made with a needle and thread, glue and their varieties
A wonderful individual specimen. Just a few operations and the pillow is ready!
- Select the material.
- Draw and cut out two squares measuring 20*20 cm using scissors.
- Draw a straight dotted line where your glue gun will go.
- Using a neat stitch, go through three sides of the product, and leave the fourth side untouched for the time being.
- Turn the working material right side out.
- Fill the resulting square blank with hollow fiber, cotton wool or synthetic padding.
- Process the free edge on the fourth side of the pillow so that the fabric does not fray, and fold it inside the product.
- Sew a blind stitch on the last side or glue it in place.
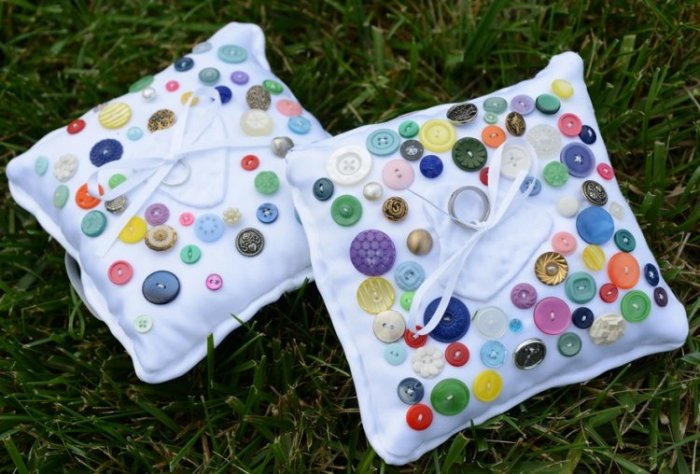
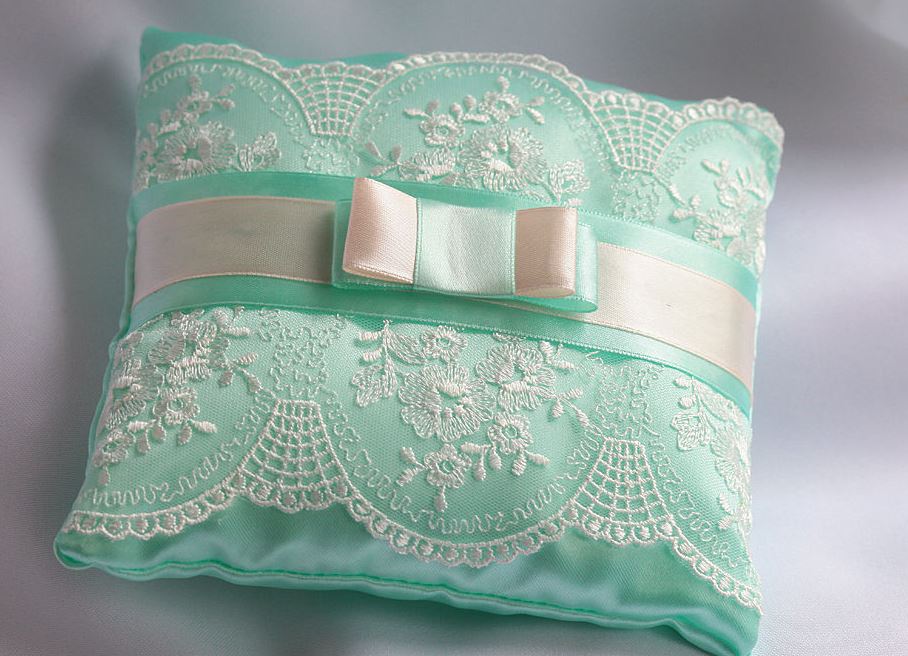
- Decorate the front with decorative elements and lace on the sides.
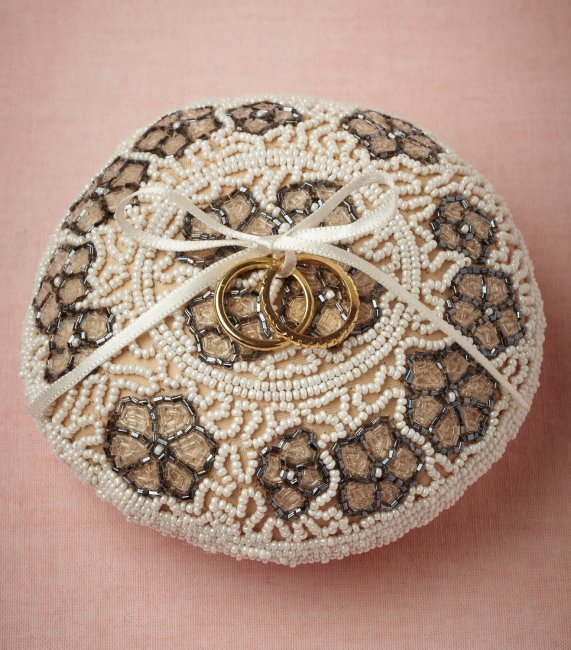
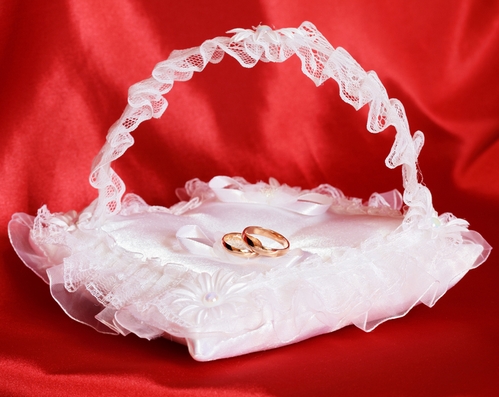
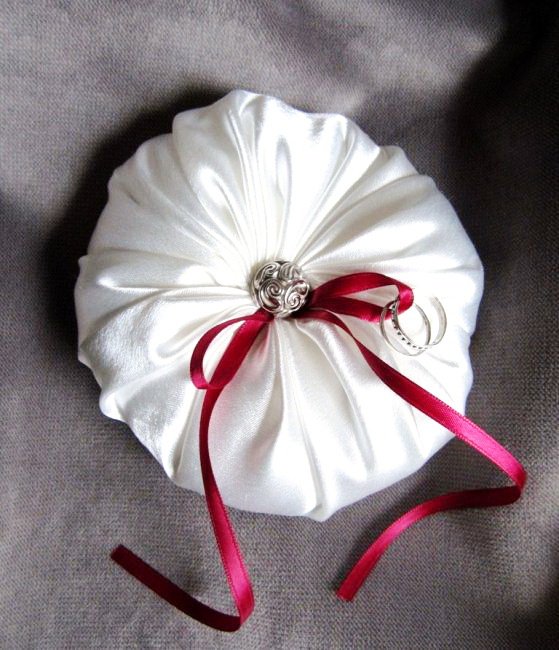
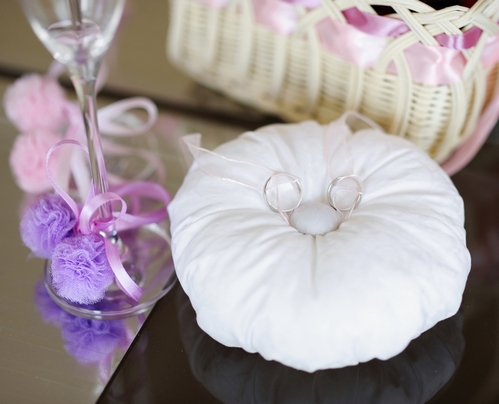
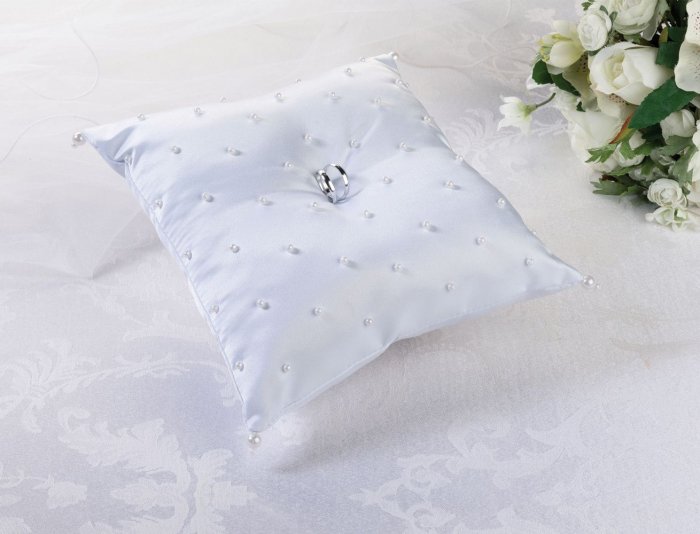
Round Wedding Ring Pillow
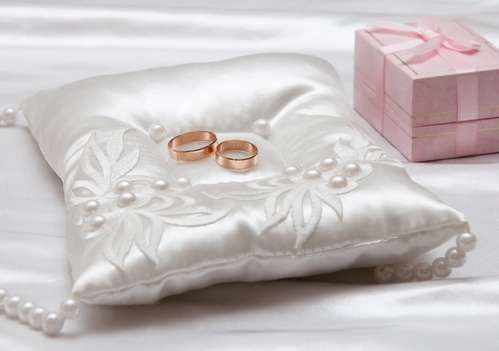
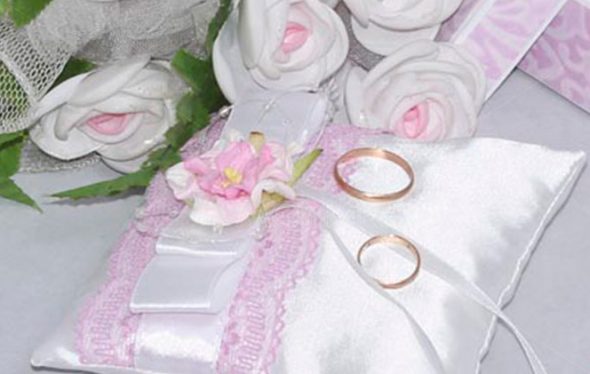
For a stylish round shape that goes well with the fine work of a jeweler, a dense material is best. Two pieces of crepe de chine or satin will be just right. We design a line along which the pillow will be glued. Do not forget to design tucks in the upholstery in two or three places and lace elements on the sides. Using a glue gun, glue the sections of the working material. Remember about the free area for turning the festive accessory inside out. It is not easy for a non-professional to make an even round seam. Using glue instead of threads will give the product an ideal shape. Synthetic padding or artificial cotton wool is perfect for the filler. For decorative elements, you can buy a lace ribbon and thin white ribbons. They are fixed separately for each ring or tied together. A similar, round, original shape with rings in the center is an ideal option for a wedding.
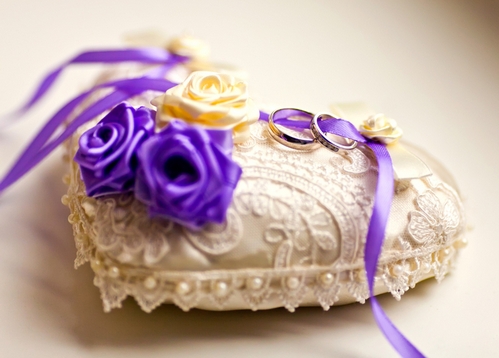
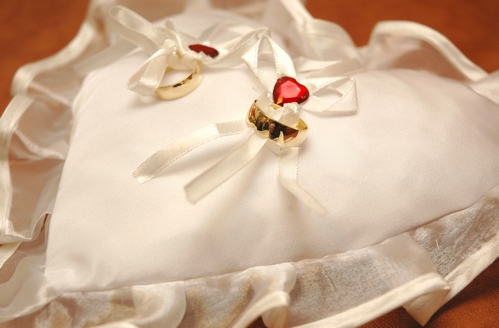
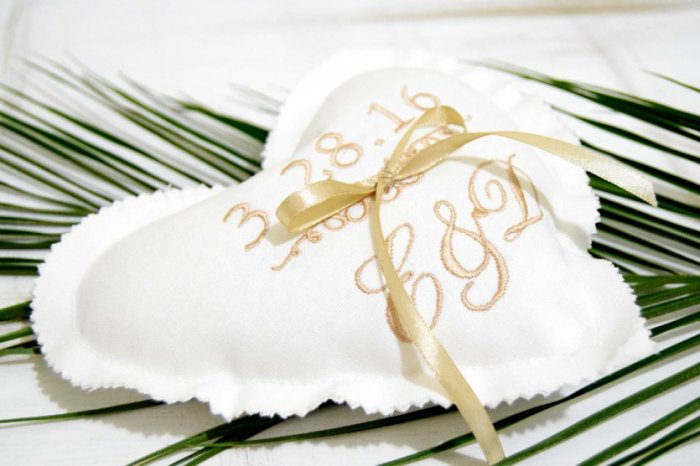
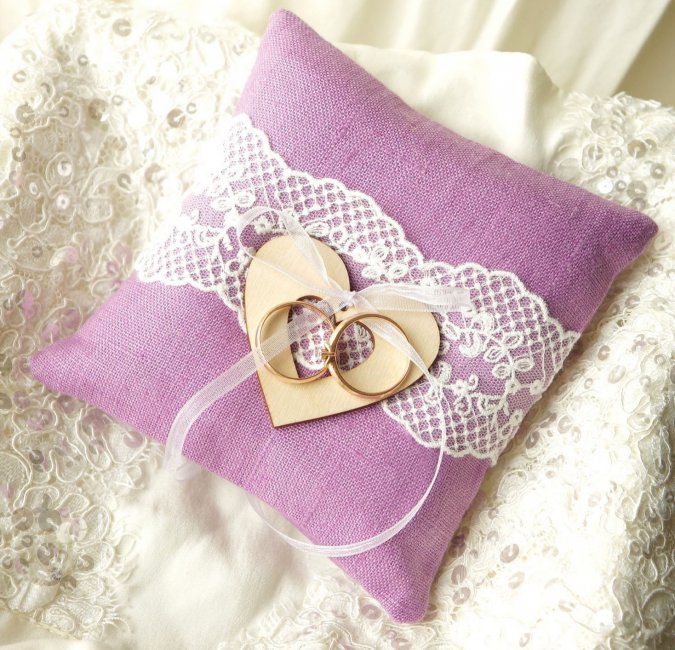
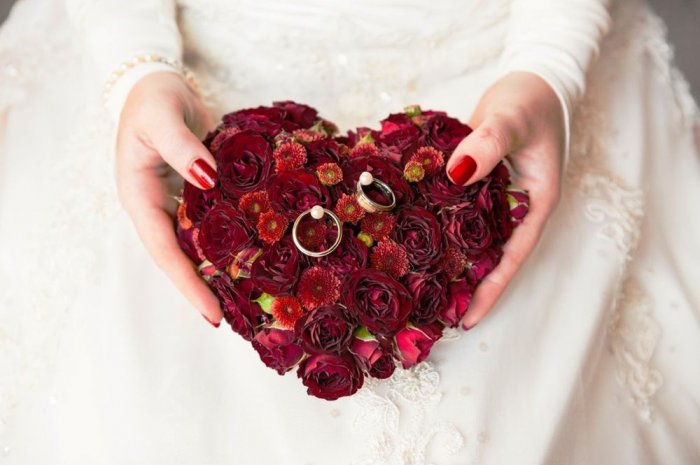
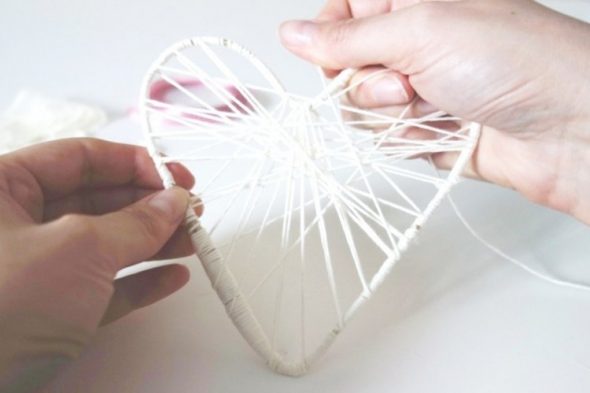
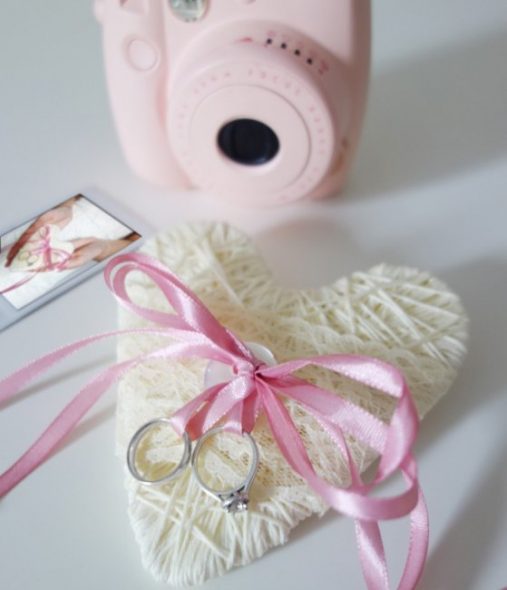
Wedding Heart Shaped Ring Pillow
To make an original wedding ring pillow with your own hands, you need to decide on your thoughts and dreams in advance. The main form of expression of love is the human heart. Therefore, the design of a heart-shaped pillow is the most classic and suitable option.
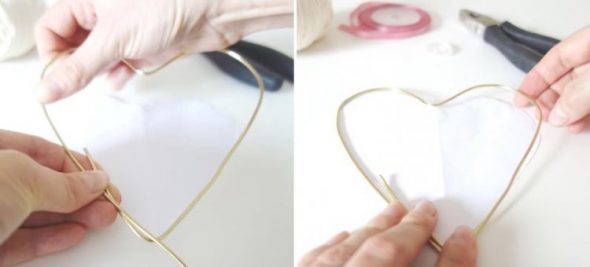
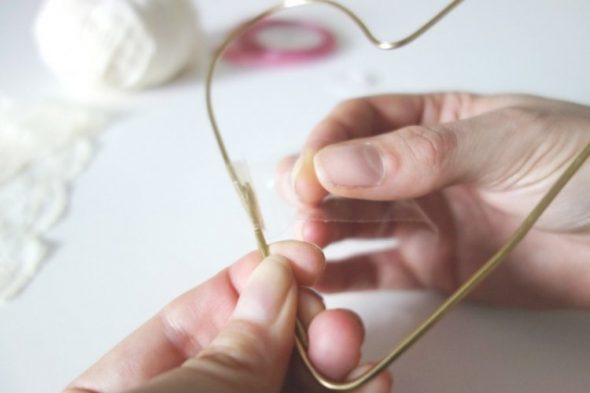
This shape can be achieved either with a glue gun or with a machine, if you are a professional seamstress who knows how to make seams evenly and neatly.
To avoid defects and mistakes, you need to make a heart stencil on paper. Then cut it out with scissors and place it on the working surface of the festive fabric. Use chalk to mark the edges of the future pillow for the rings. Cut out two more hearts, remembering to leave a fabric allowance for the seam.
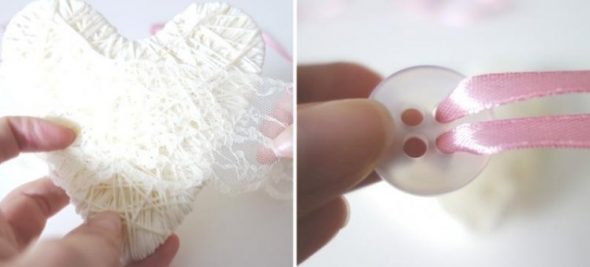
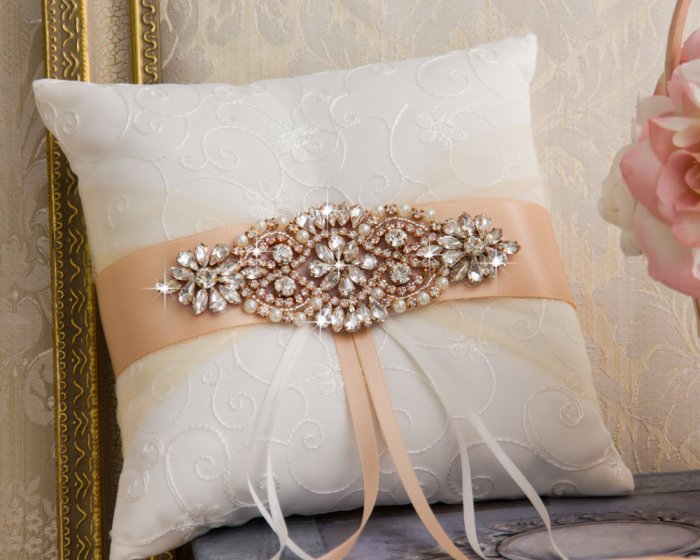
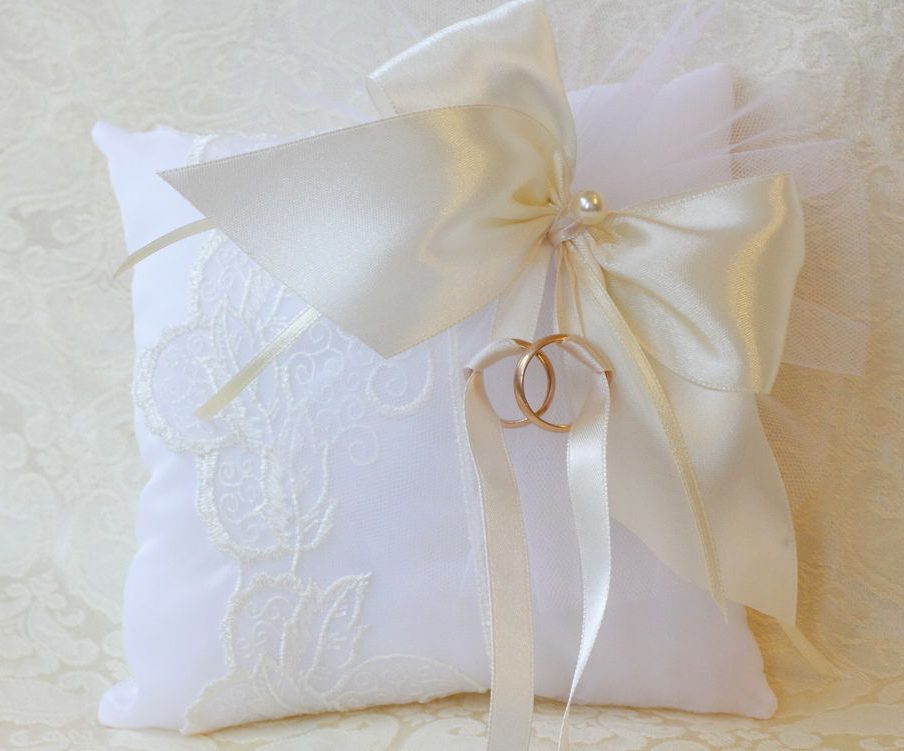
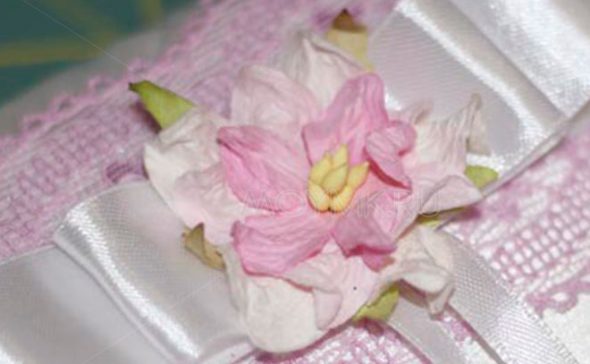
It is best to decorate the finished front side of the ring pillow with a wide ribbon and a bow with a wide bead. The wedding rings will take place just along the perimeter of the bow. The color scheme is any of your choice. Of course, you should avoid dark tones.
Ring mount
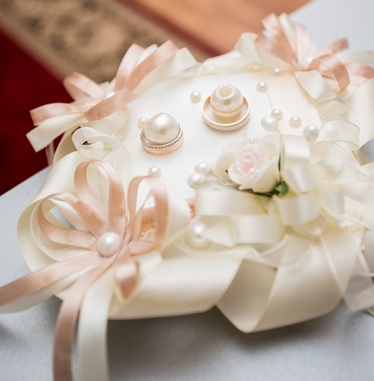
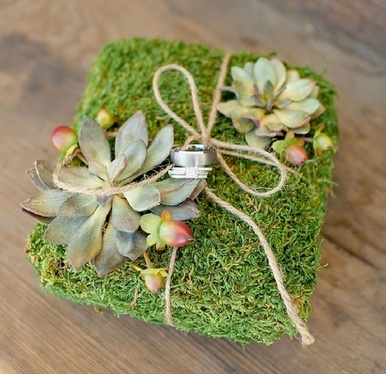
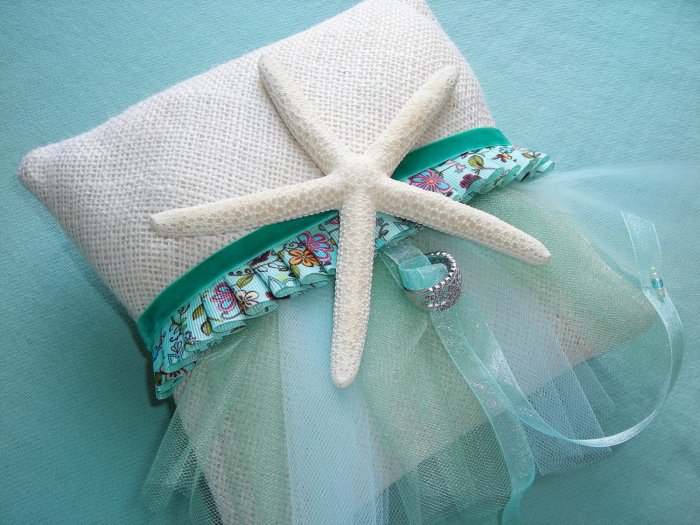
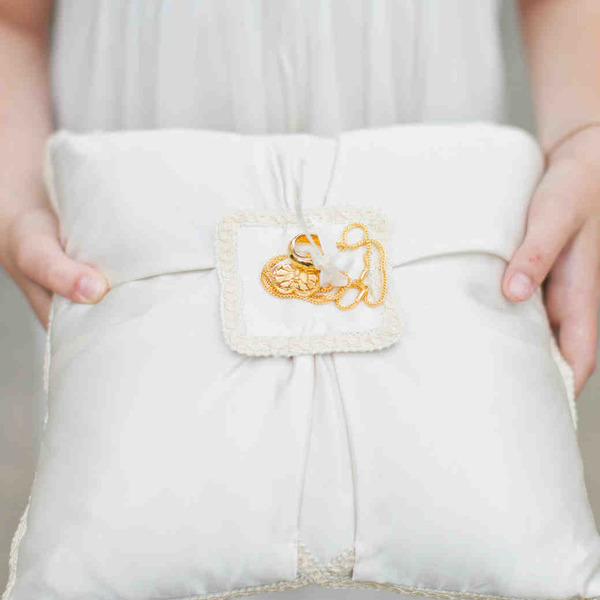
There are various options for attaching rings. You can use your own ingenuity and add individual details.
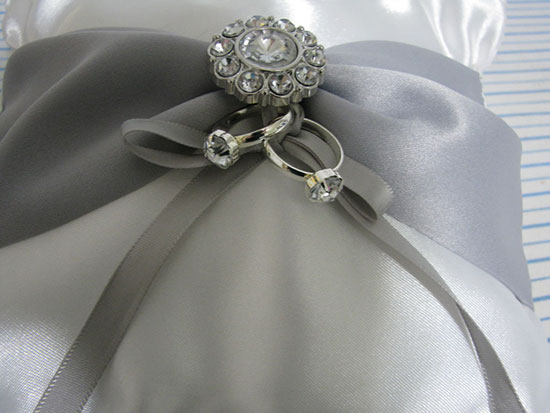
- First, choose the auxiliary materials such as velvet and pearls. Use a glue gun to fix two large pearls and several small beads. The wedding rings will not fall off if you attach them to this fascinating combination.
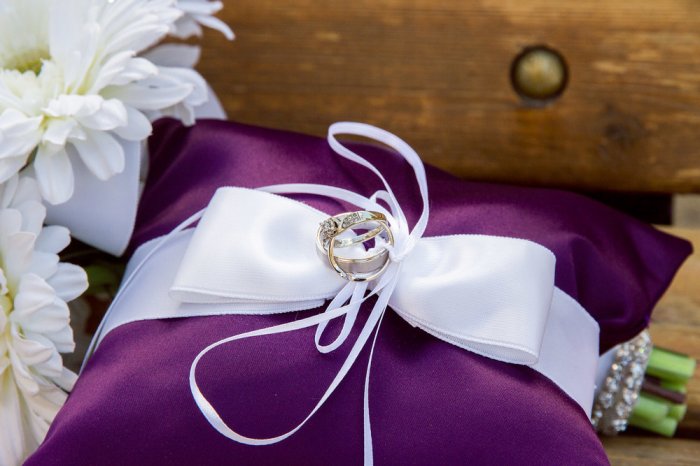
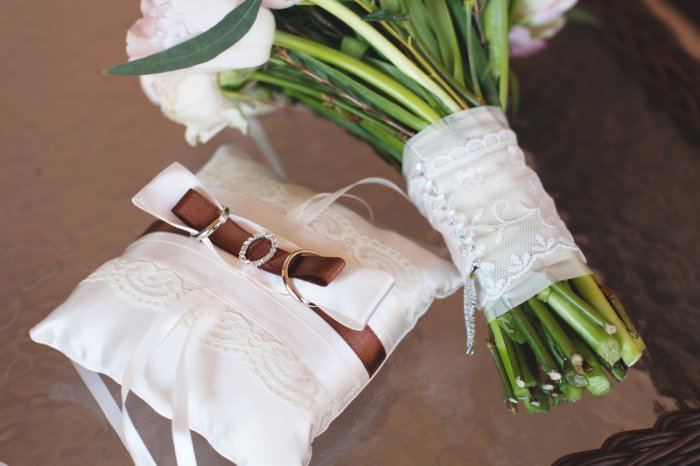
- Secondly, use satin ribbons as a ring holder. Tie two bows in an original way and attach them to the pillow with drops of glue. Put two rings on top of the bows. This fastening mechanism will provide reliability of the structure and impeccability, originality of the appearance.
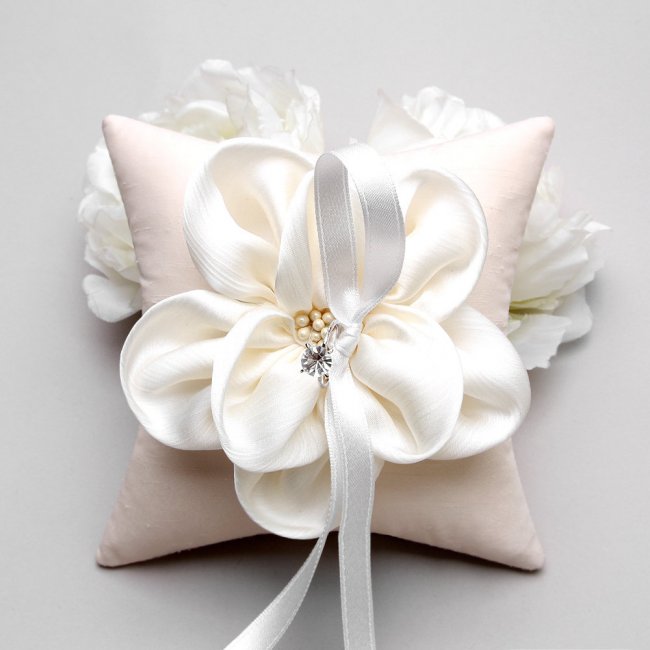
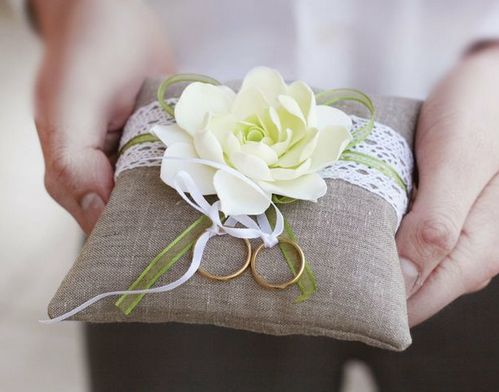
- Thirdly, ribbon, fabric flowers can be an excellent solution. They can be folded from various colored, satin ribbons. A master class on their production can be completed in 10-15 minutes. Secure and tuck the end of the ribbon, and make satin flowers with circular movements, placing one edge on the other. Ready-made fabric bouquets with several beads threaded through rings will firmly hold the entire original composition.
Thus, a wedding is an exciting, touching event in the life of every young person. In order not to spoil the mood, you need to carefully think through all the events in advance. The decoration of the hall, champagne, glass decor and a pillow for rings. Everything should be in the same style. There are many options. There are no comrades in color and taste. The choice of the shape and method of making the pillow for rings is up to you, dear newlyweds, and respected parents.
Video: DIY Heart Pillow for Rings / Video Master Class
A selection of photos for choosing and making a ring pillow with your own hands: