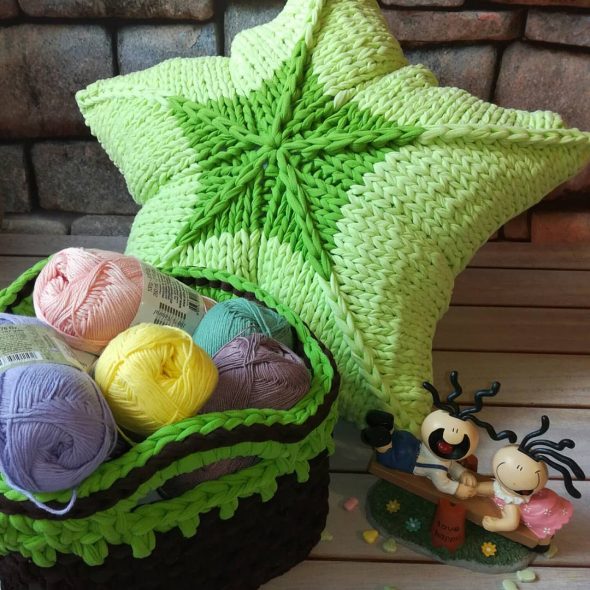
Everyone likes soft pillows without exception. Compact knitted items are especially popular.
You can take such a pillow with you on a trip or a picnic. You can lie down on the lawn to rest or read an interesting fiction book in a hammock under a tree, armed with a soft assistant.
What if you knit the product yourself? Try making a pattern with which you will get a wonderful star pillow. Difficult, you say? It's worth it. Read on and be amazed.
To make such a wonderful accessory, you will need some knitting skills, a knitting kit consisting of:
- set of knitting needles size 10;
- special knitting thread;
- large knitting needles;
- knitting patterns and rapports.
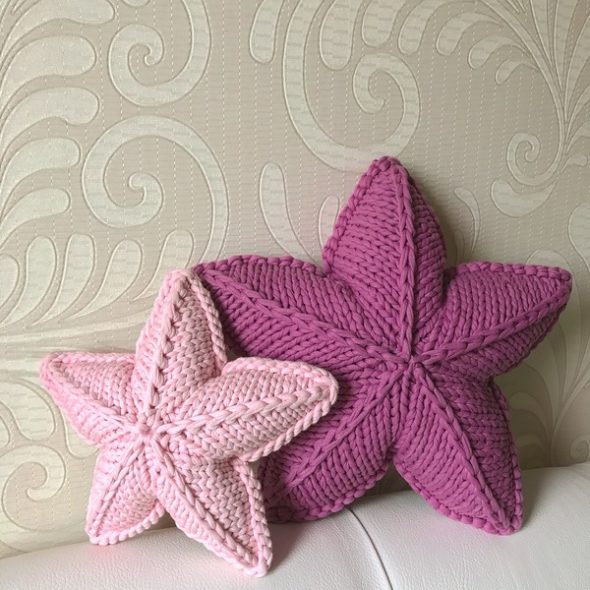
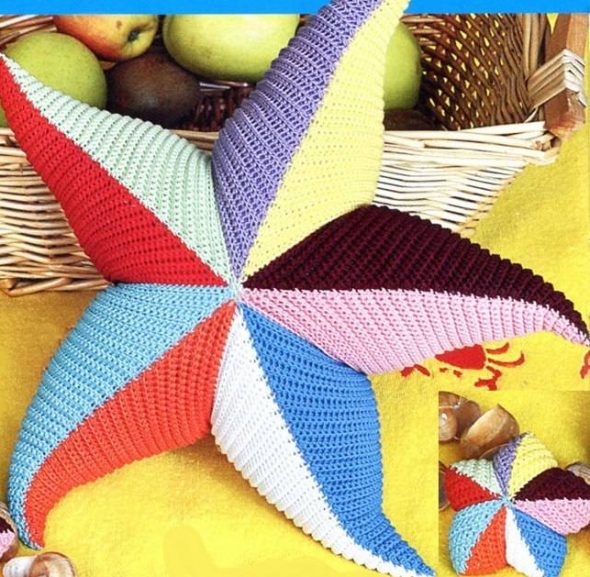
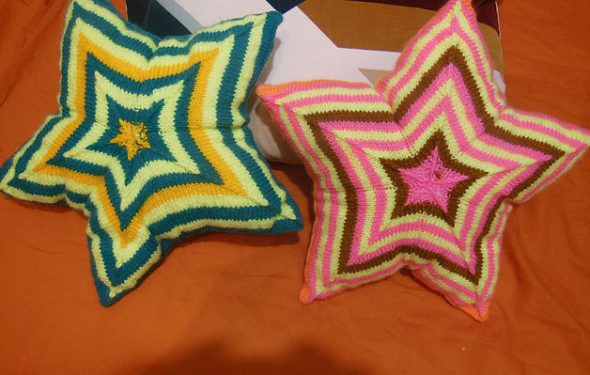
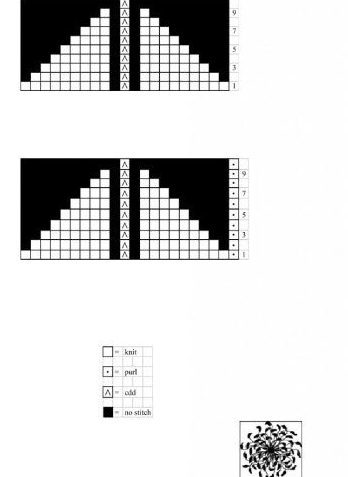
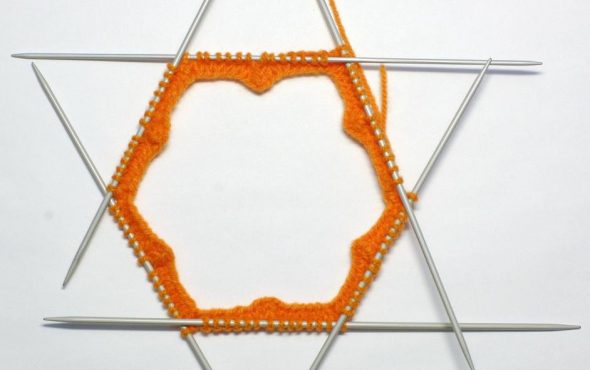
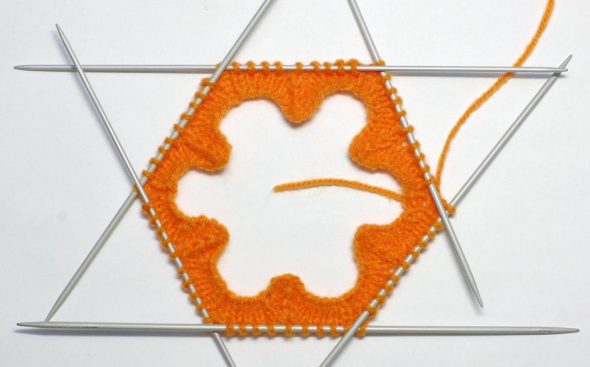
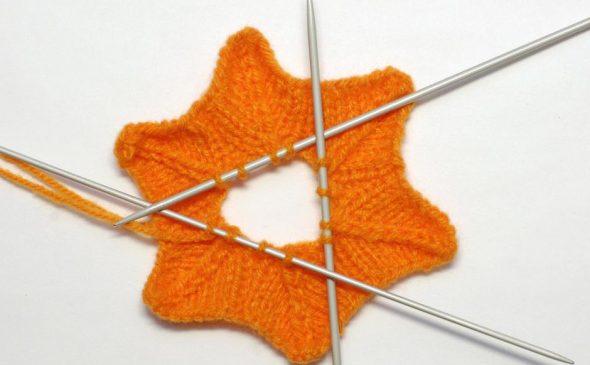
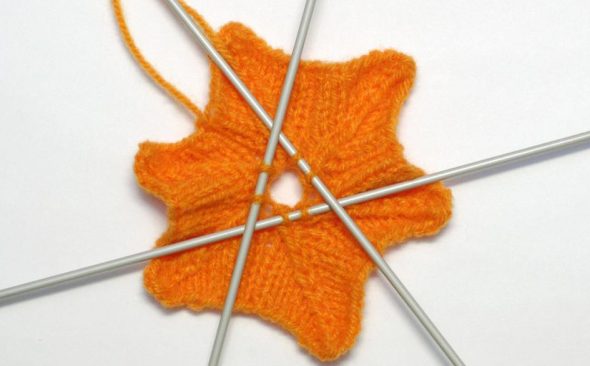
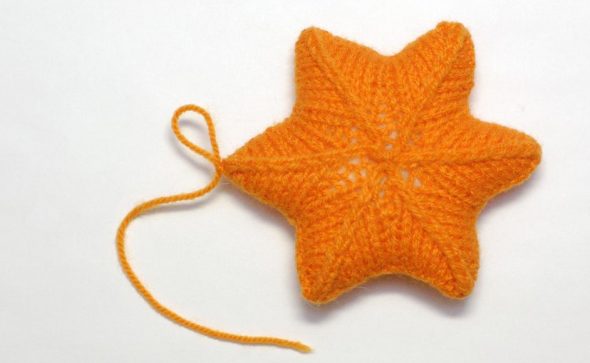
If the first three attributes are clear, then the last point can bring a note of uncertainty to an inexperienced layman. Look at the photos below to see what the asterisk knitting pattern looks like.
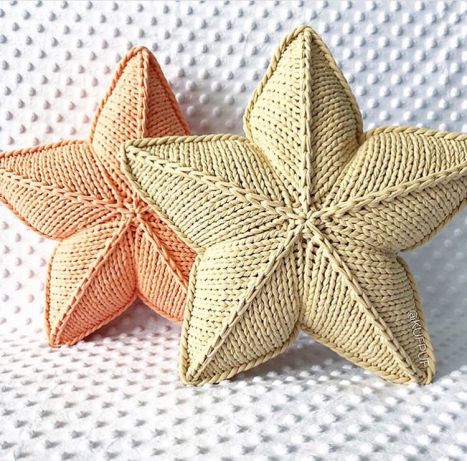
Here are the 5 main parts you will need to knit. Repeat the action twice, separately from each other, to get the finished product.
Rapport technique
The rapport is a knitting pattern for each individual element. Here you can see how the number of stitches decreases with each row. This is necessary to obtain the star shape.
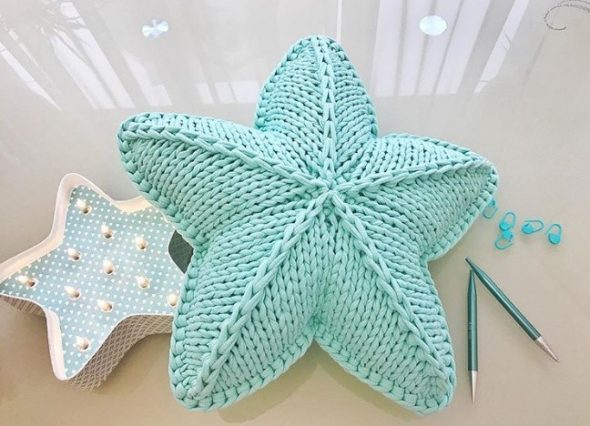
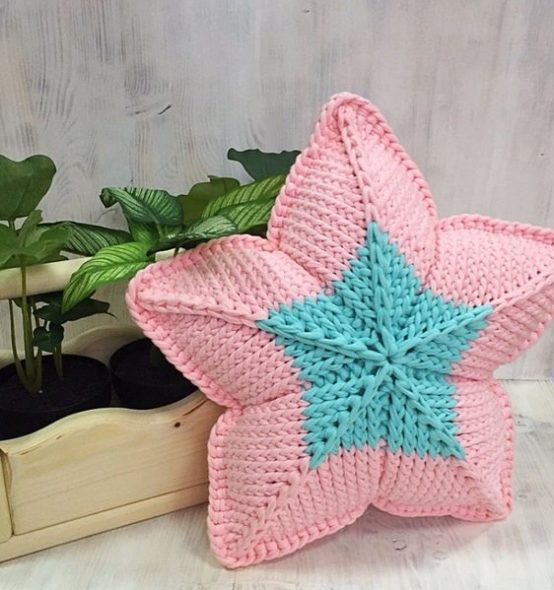
Let's get back to the pattern. The standard size that will be embodied today is 30x30 centimeters. You will get such a star pillow upon completion of the work. To do this, you will need to knit 5 elements.
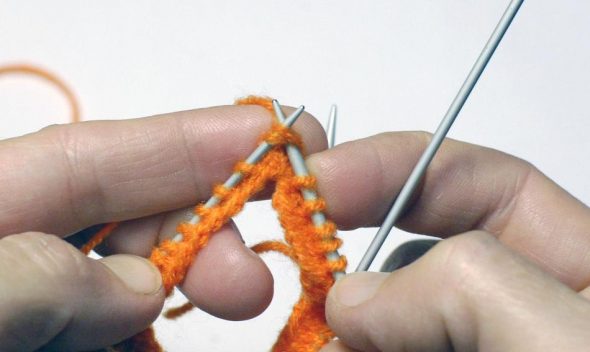
To begin, you will need to cast on 110 knit stitches on the knitting needle. These stitches will make up the 5 tips of our star. Once you have the number 110, you need to connect the two ends together.
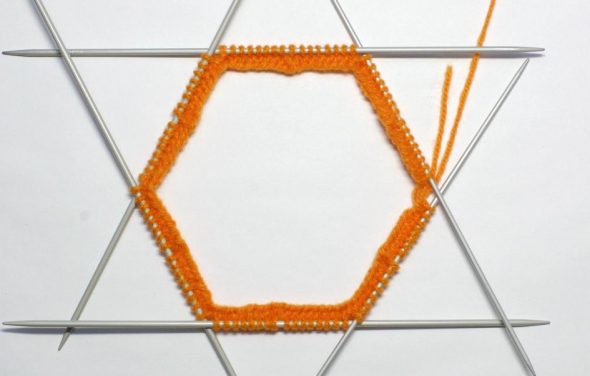
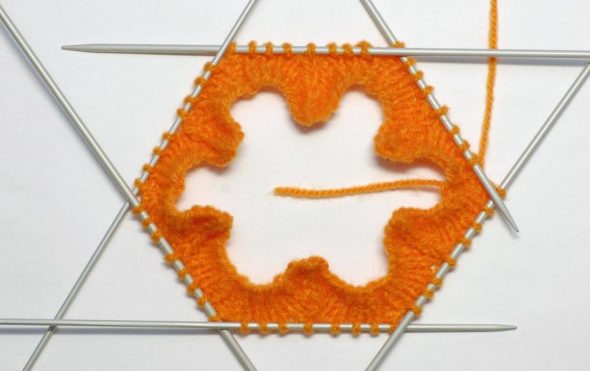
After this, we start knitting with a purl loop, after which we make 10 front loops, plus 1 front loop at the top of the star. Next, we need to put another 10 front loops.
You can watch the video included in the article to learn how to knit front and back knots.
Now let's move on to the rapport. The rapport is a diagram that shows the number of purl and face loops in each row. With each row, the number of face knots decreases, and there is always one purl. Our star has 5 rapports, that is, 5 components of one side.
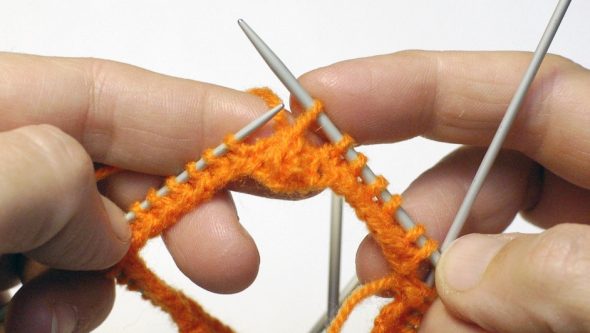
When connecting 110 loops, pay attention to the fact that there are no distortions anywhere and everything is even.
After you have cast on 110 stitches, proceed to the knitting process. Start with a purl stitch. Then 10 knit stitches, the 11th stitch needs to be marked, as it is needed later for decreasing to the center. Mark it with a piece of thread of a different color. Simply thread the knot through the thread, secure it.
Then the process continues. You need to put 1 wrong side and again 10 front knots. In total, you get 21 faces and 1 wrong side. In this way, we repeat the process 4 more times to get 5 parts. Do not forget to mark every 11th front loop for further decrease.
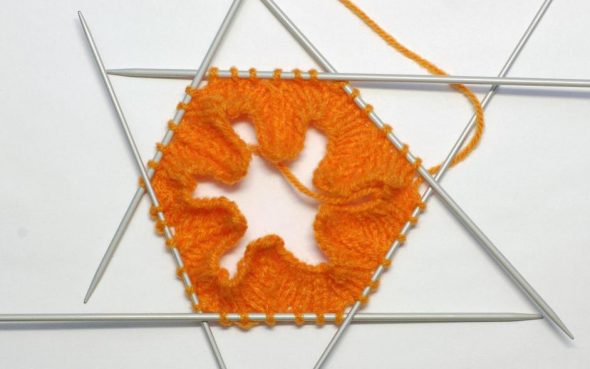
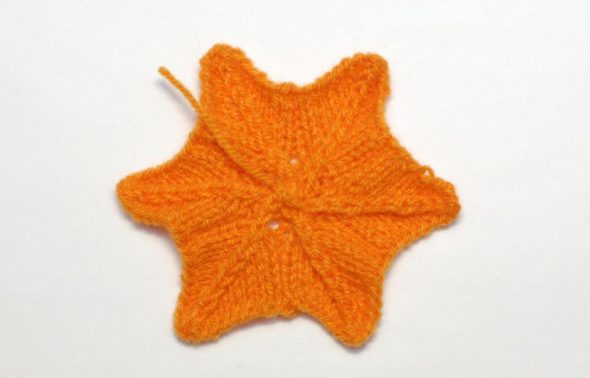
The decrease starts from the second row, that is, there will be not 10, but 9 knots. When you come to the last row in the center, there should be only 5 front and 5 back knots left. As you can see, out of 21 "faces" there are only 5 left. But the backs, as 5, remained when you started knitting. So everything is correct. Let's move on.
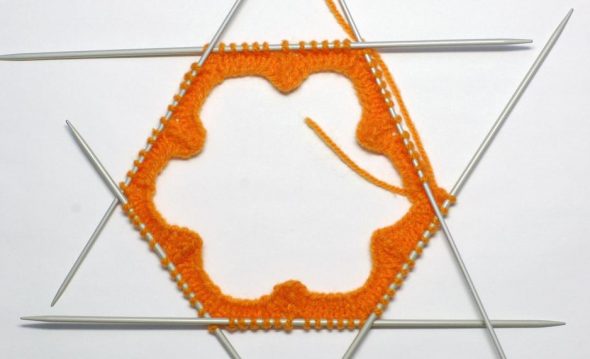
To secure the loops of the ring, the remaining thread is threaded through all 10 knots. The action can be repeated twice, after which everything is tightened well. We continue knitting the pillow with knitting needles.
To secure the loops of the ring, the remaining thread is threaded through all 10 knots. The action can be repeated twice, after which everything is tightened well. We continue knitting the pillow with knitting needles.
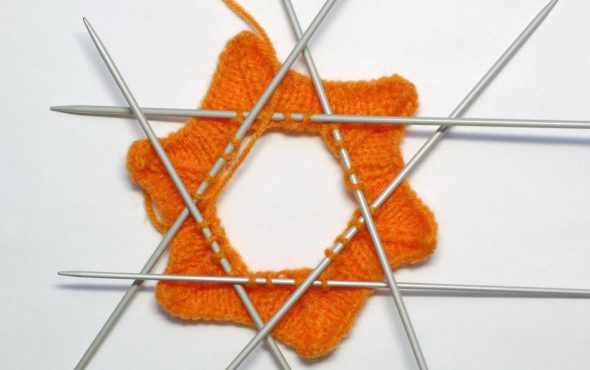
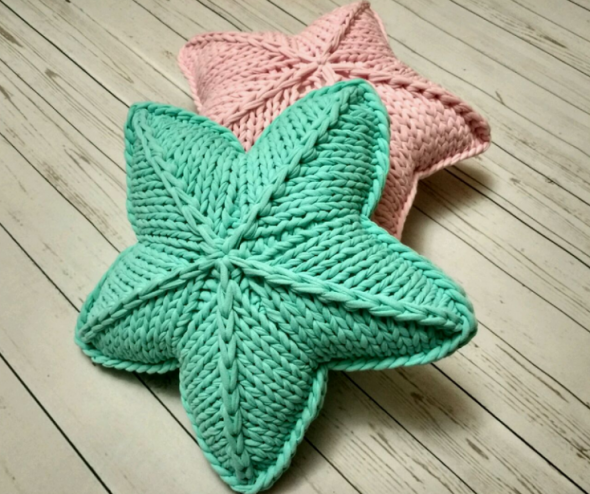
When one part is ready, make the second half using the same technology. After that, both parts need to be sewn together, having previously secured them with purl knots.
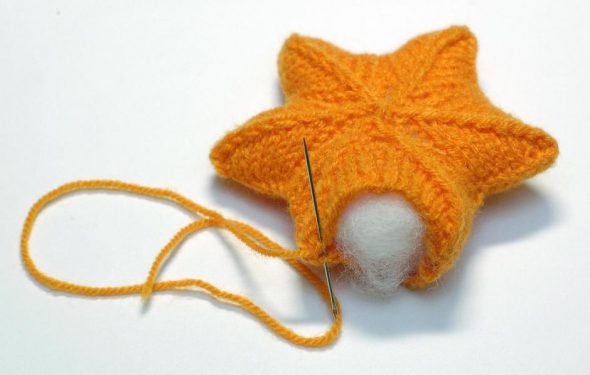
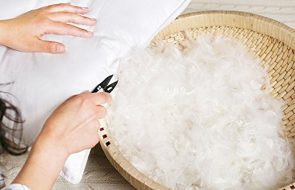
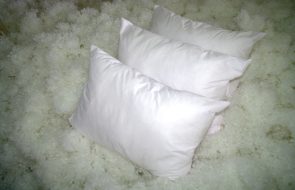
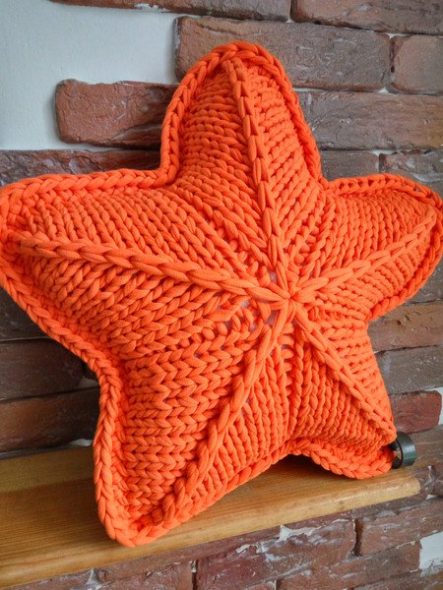
The same thread is used to stitch each part along the edge, the remaining tail is tied with a knot. There is no need to finish stitching. Leave some space for the filler. When the filler is inserted, you can completely stitch the pillow with knitting needles.
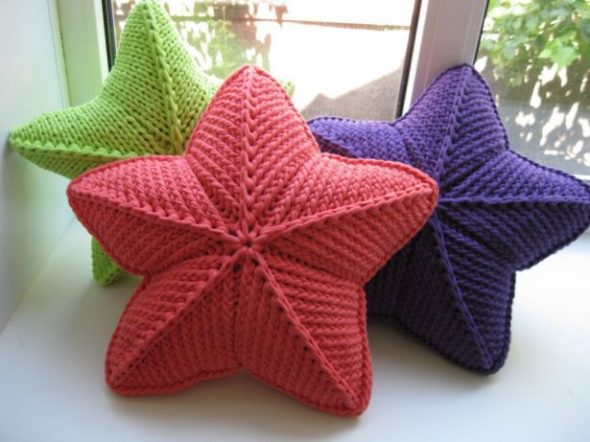
As you can see, making a star-shaped pillow with knitting needles is not that difficult.
To consolidate the material, watch the video below.