What a great variety of shoes in stores and markets! The female half cannot resist buying another pair of shoes to go with a new dress. For men, there is a choice of practical shoes and there are also many of them. How many inconveniences do shoes in the hallway cause? Where to store all this at home?
Some people have a small apartment and a narrow small hallway, while others have a spacious house. Some live with adult children and grandchildren, while others live alone. Hallways, like families, are different, so standard pieces of furniture do not always fit a particular room. A convenient shoe rack, created with your own hands, will help solve the problem of choice.
Content
Types of shoe racks
How to choose what you need? First, let's get acquainted with the types of furniture such as a shoe rack.
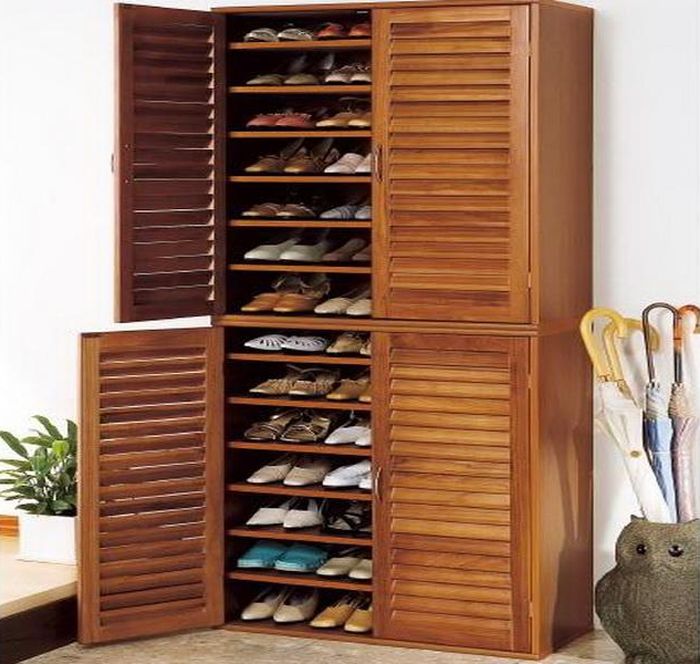
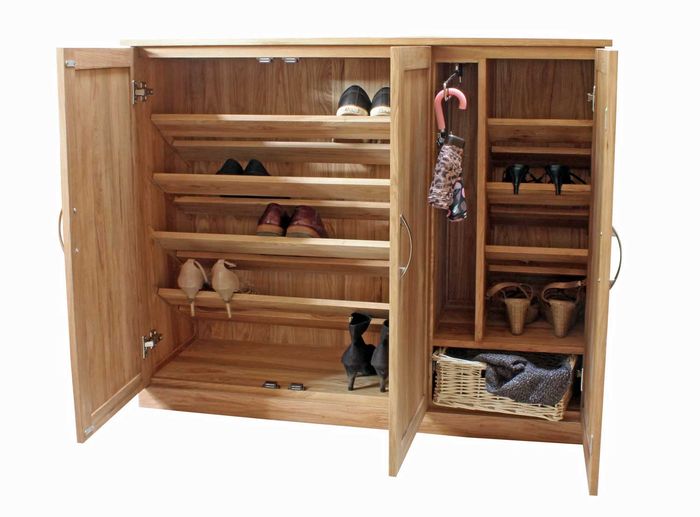
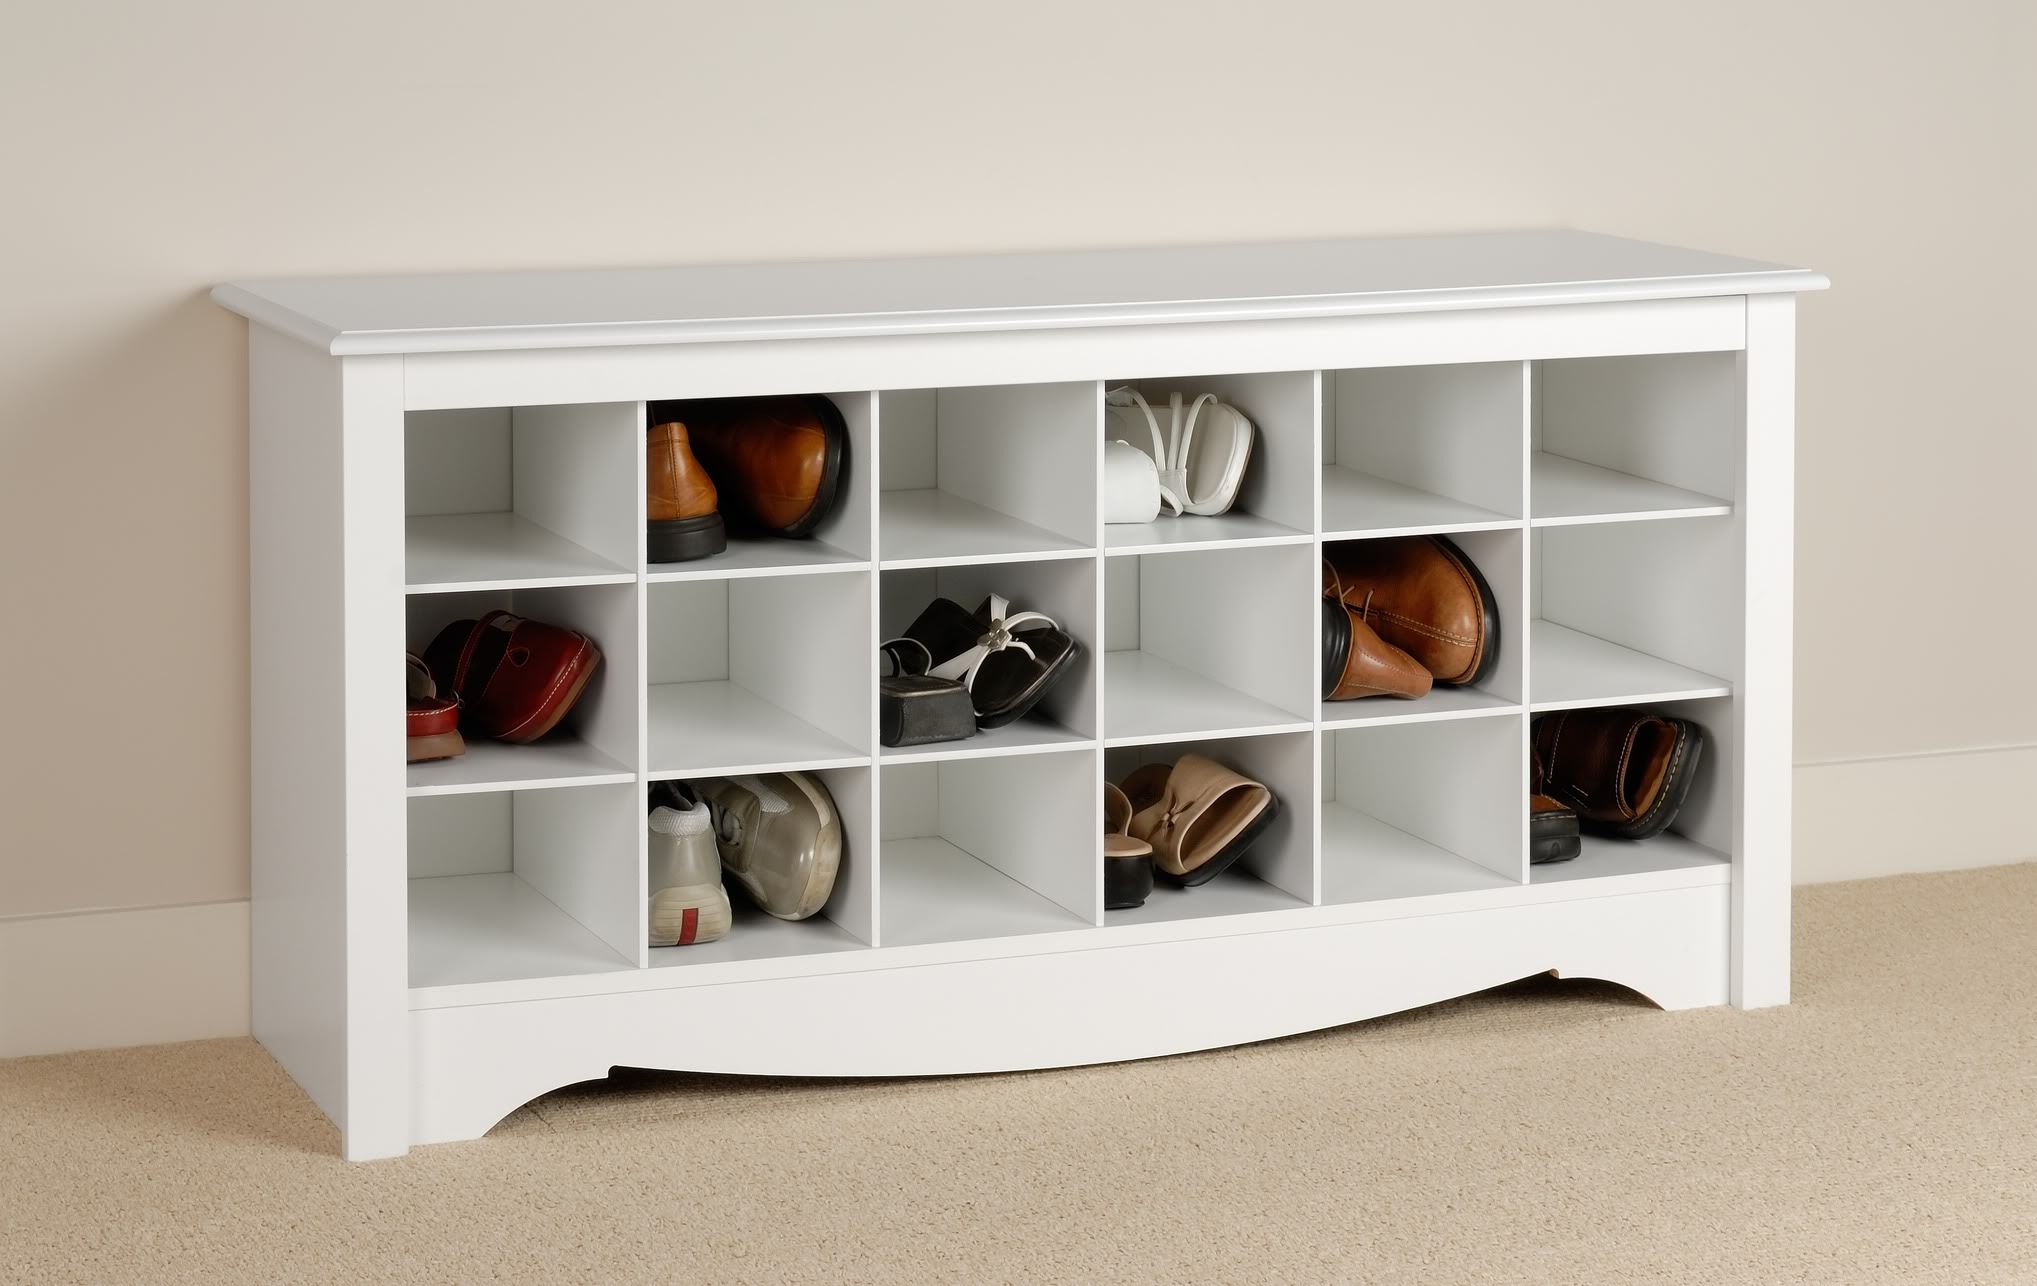
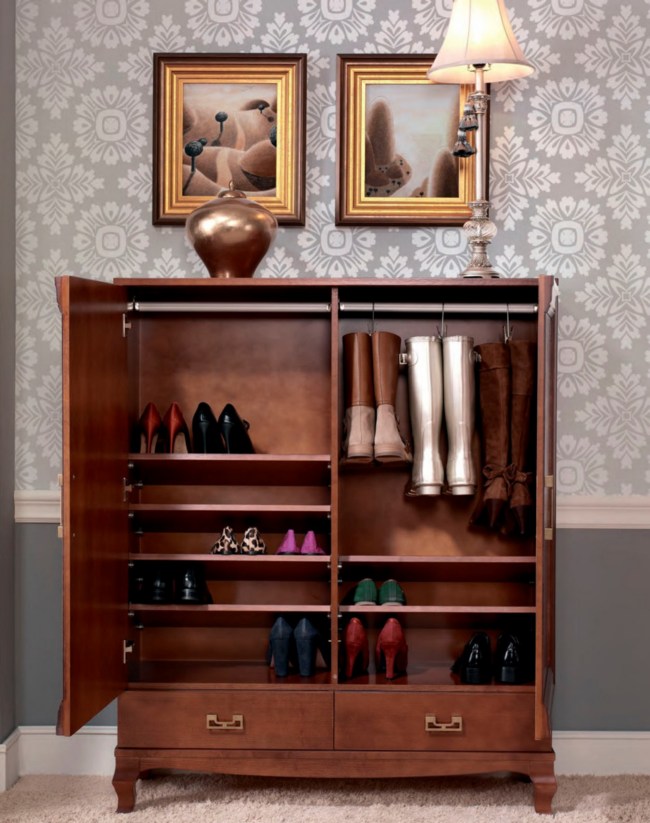
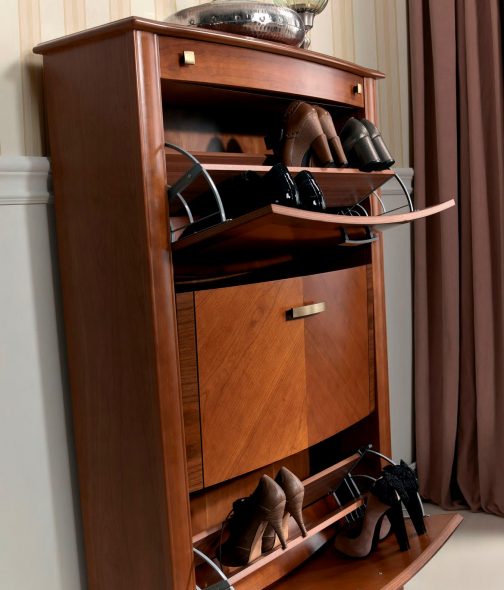
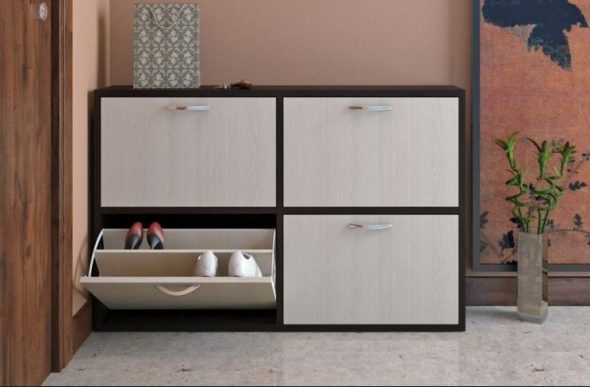
- Shoe wardrobe.
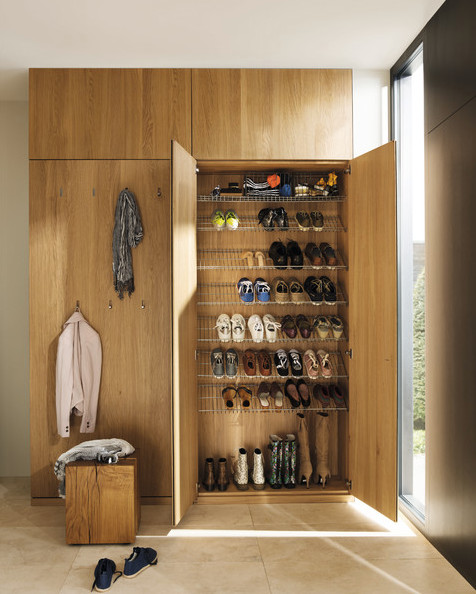
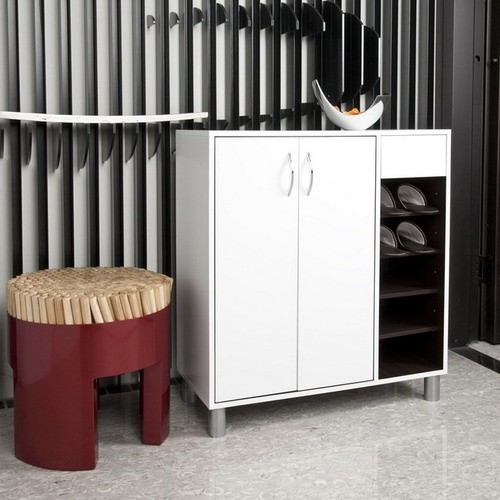
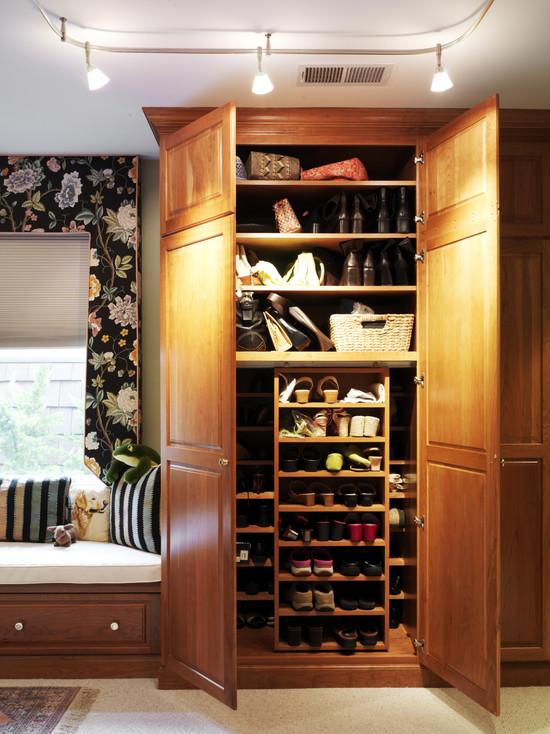
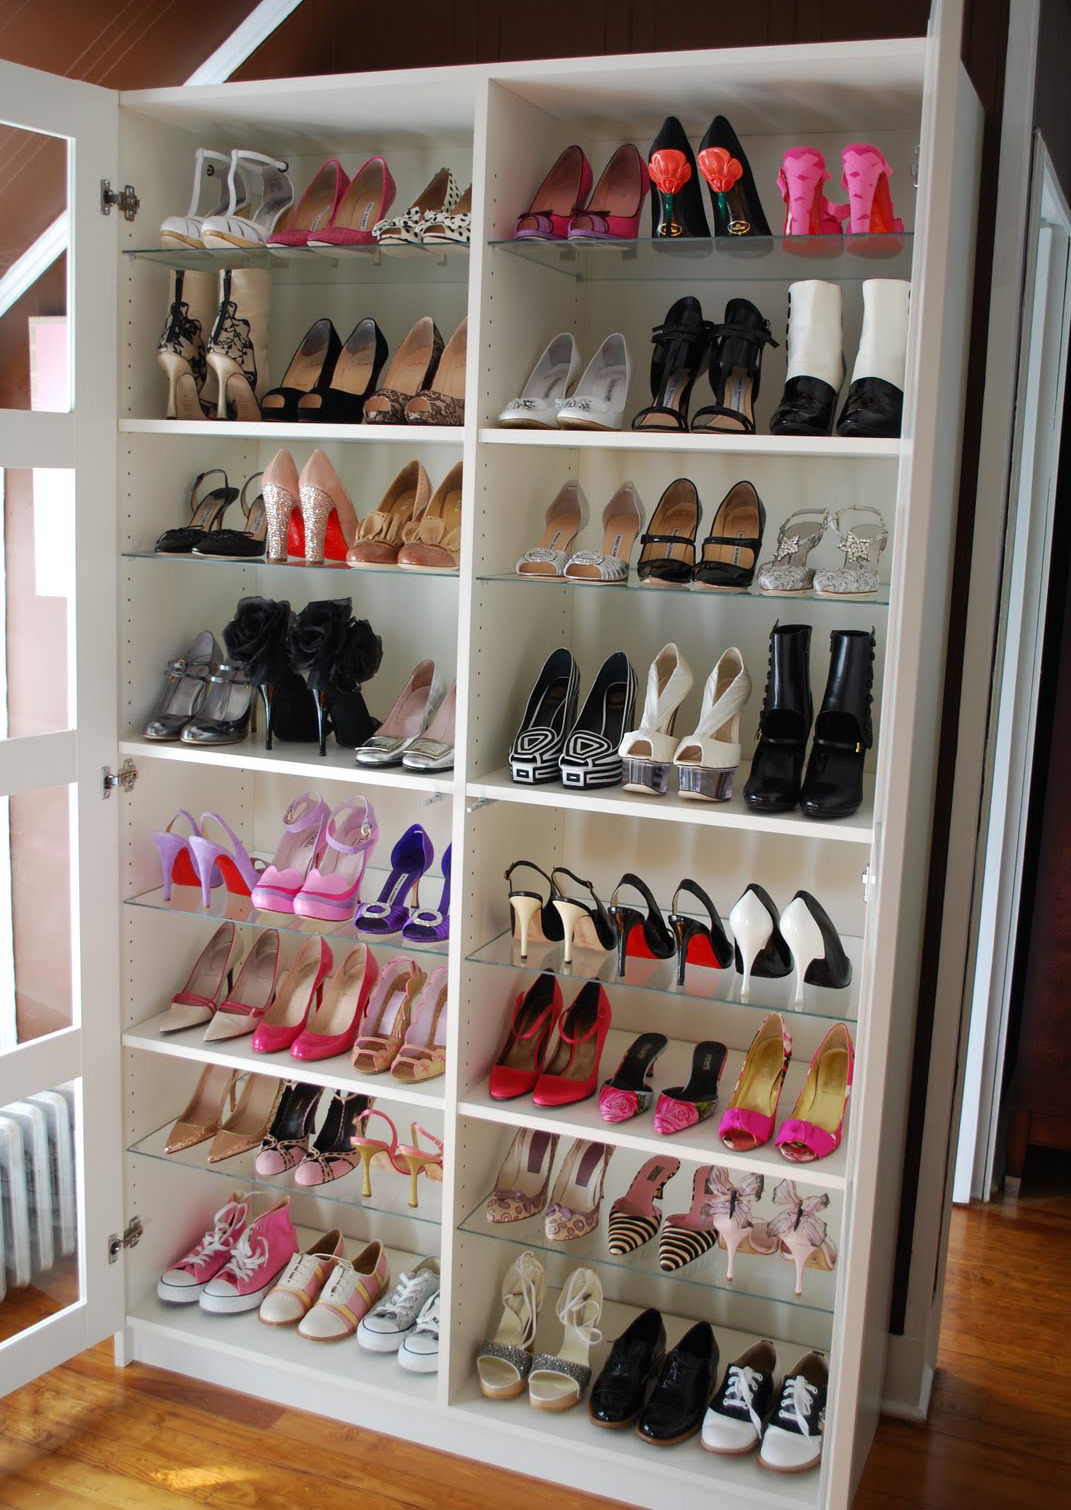
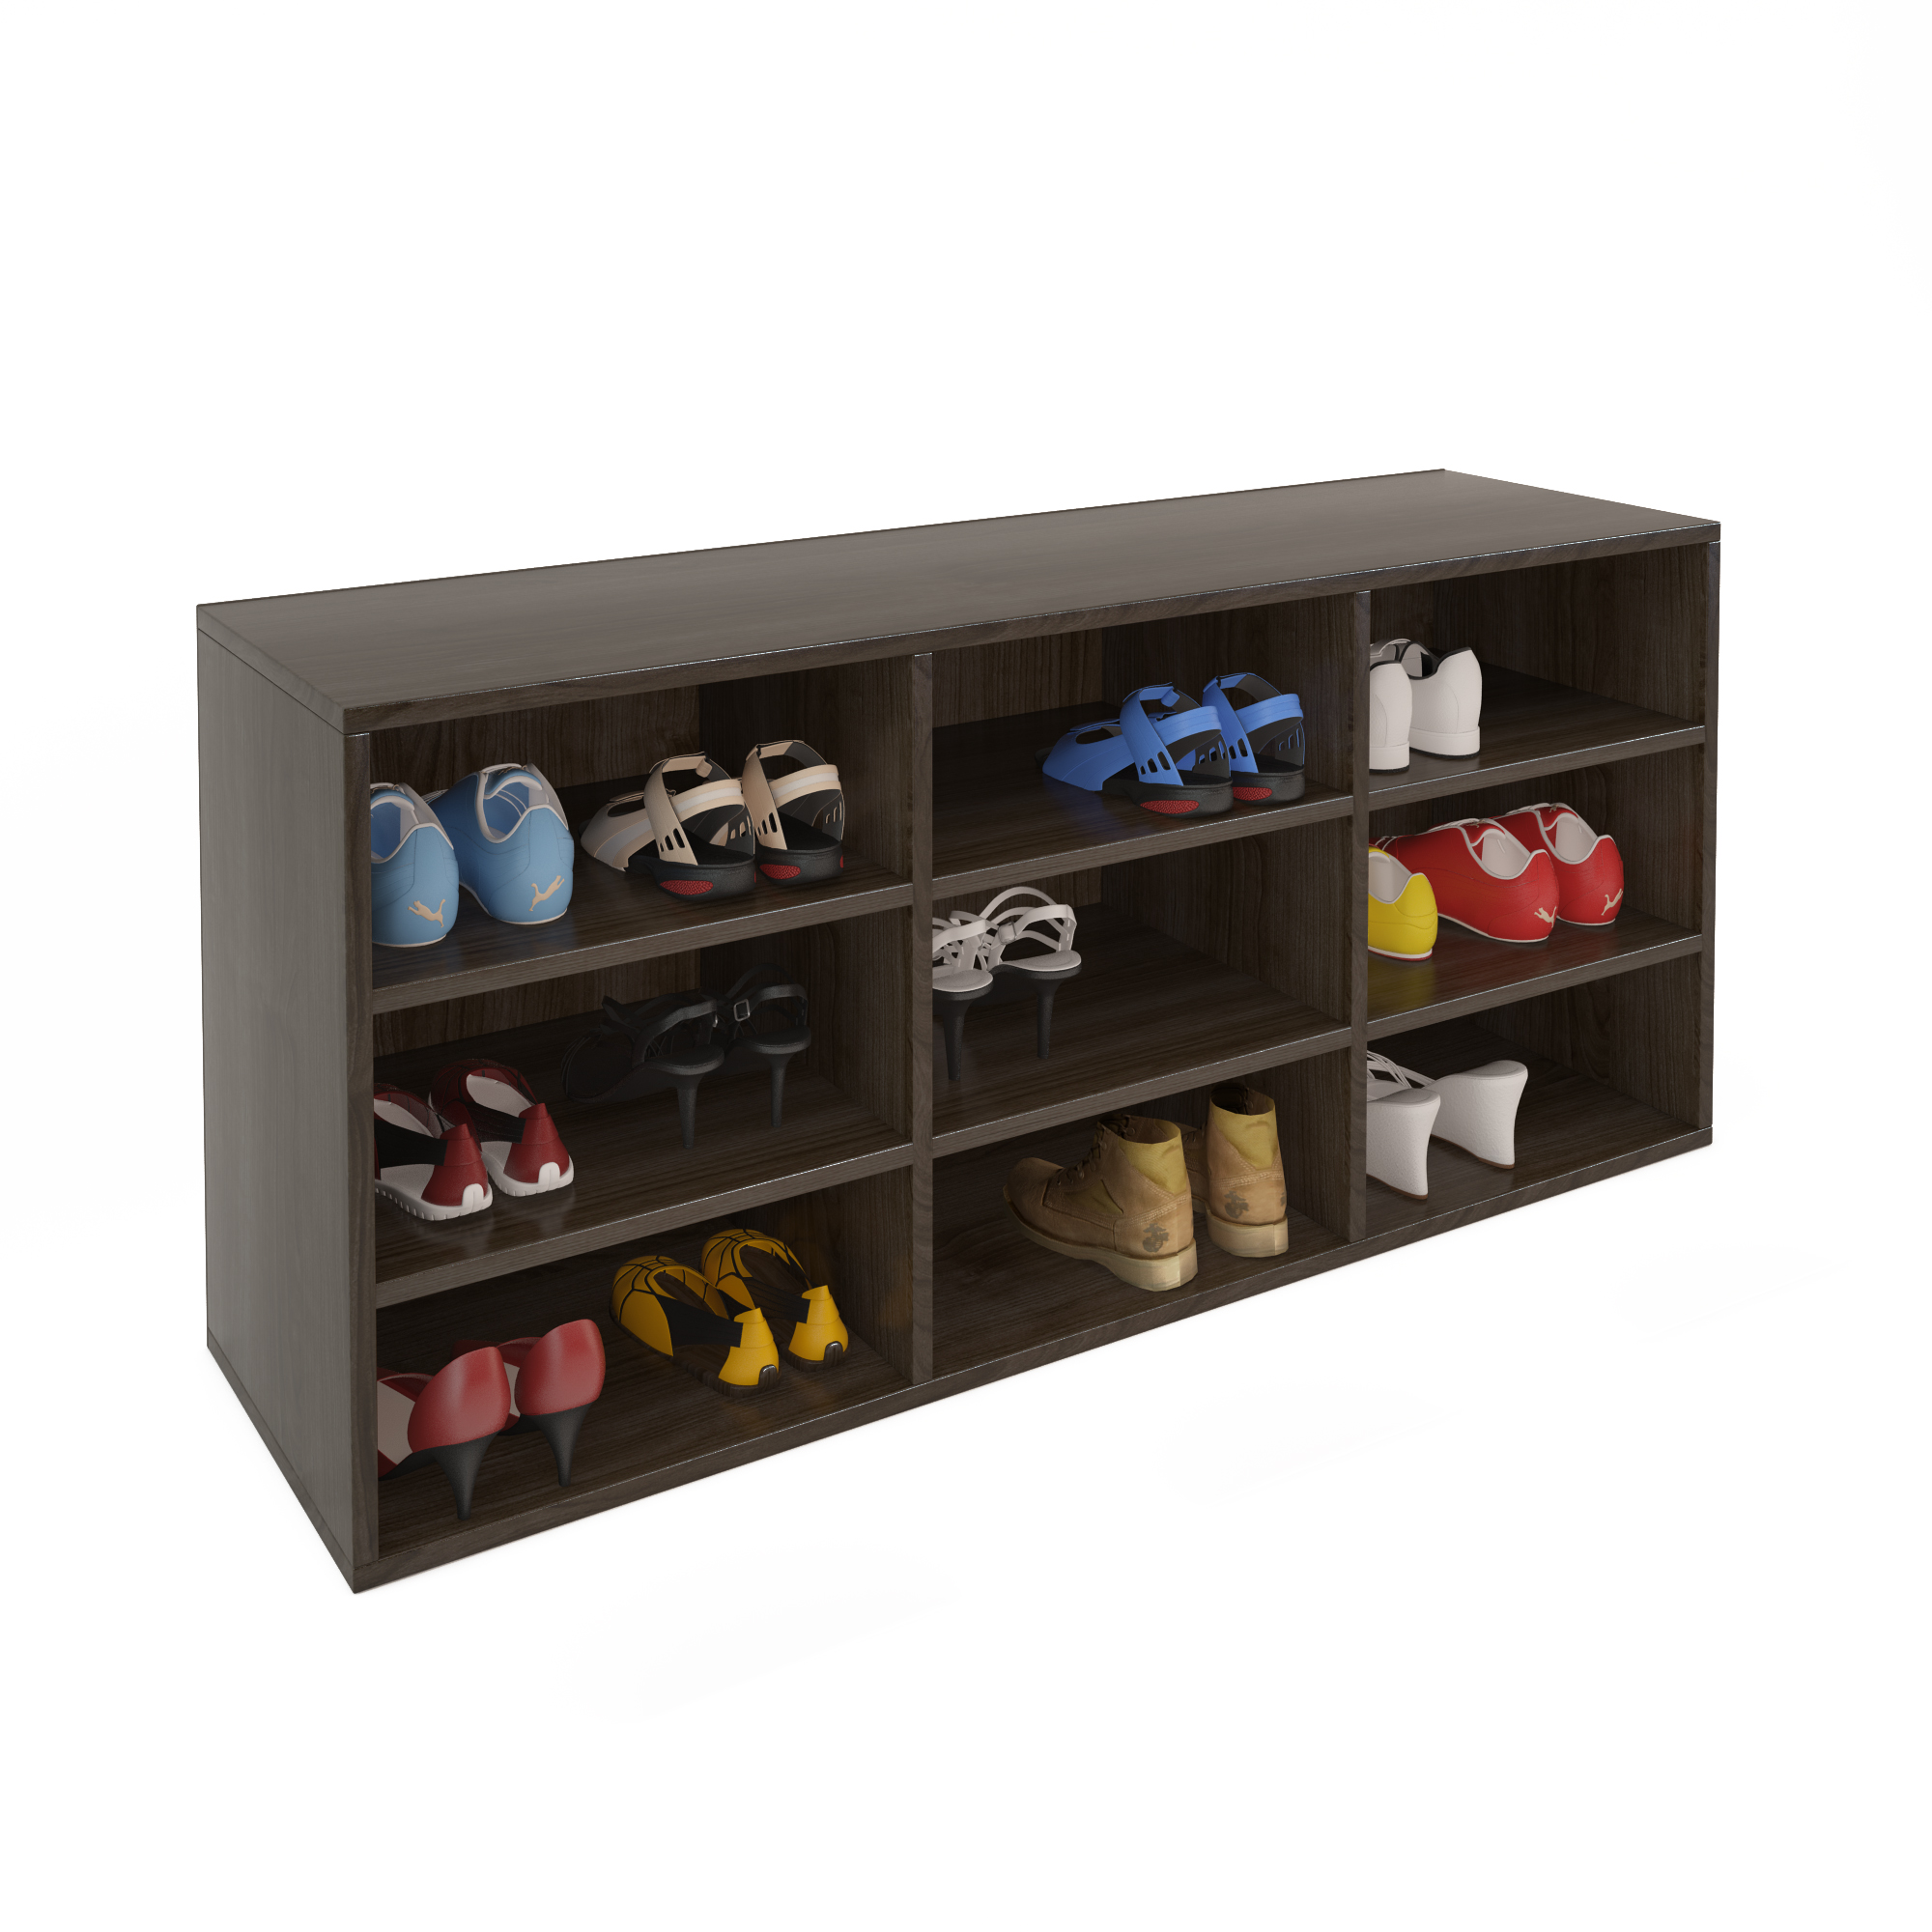
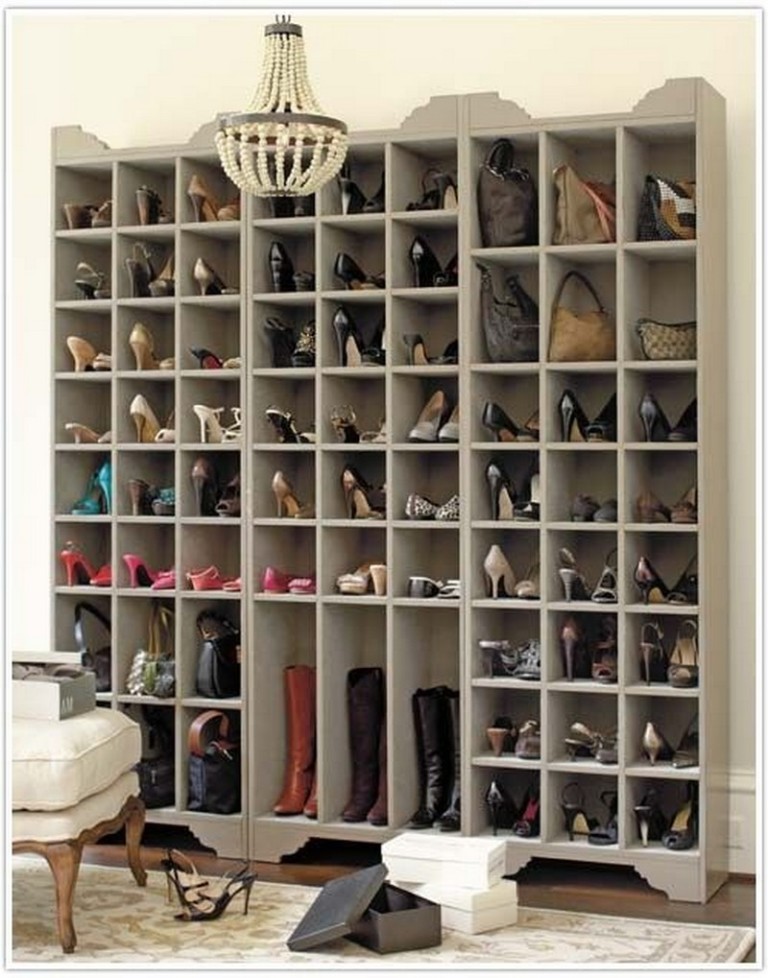
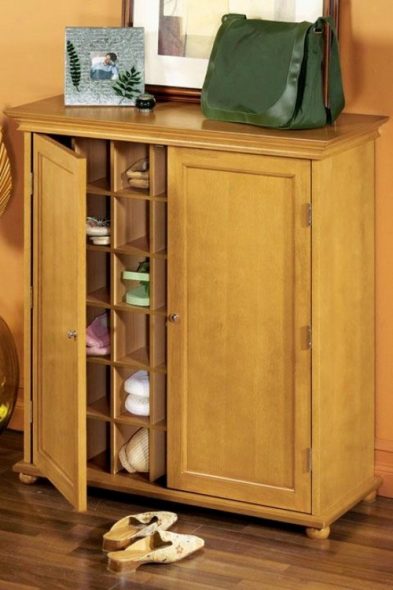
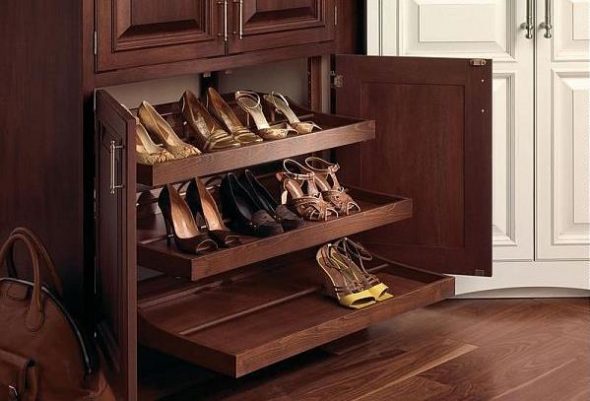
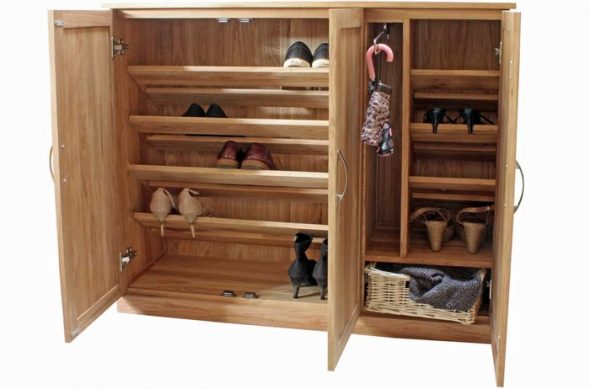
- Display case with doors.
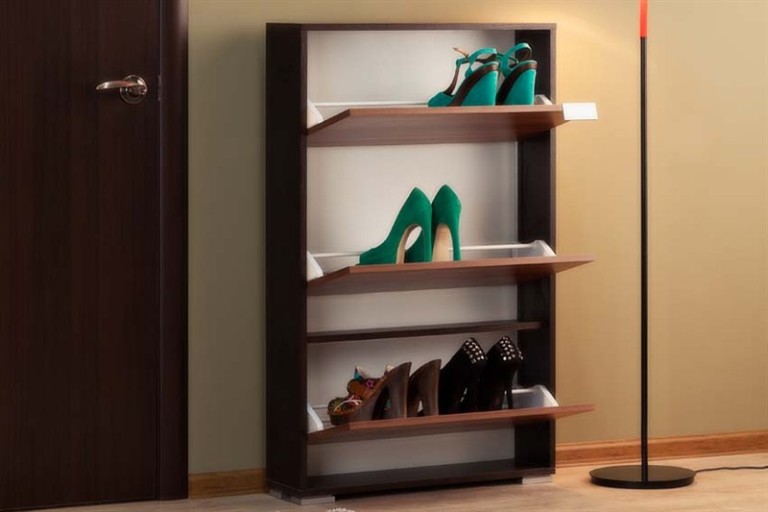
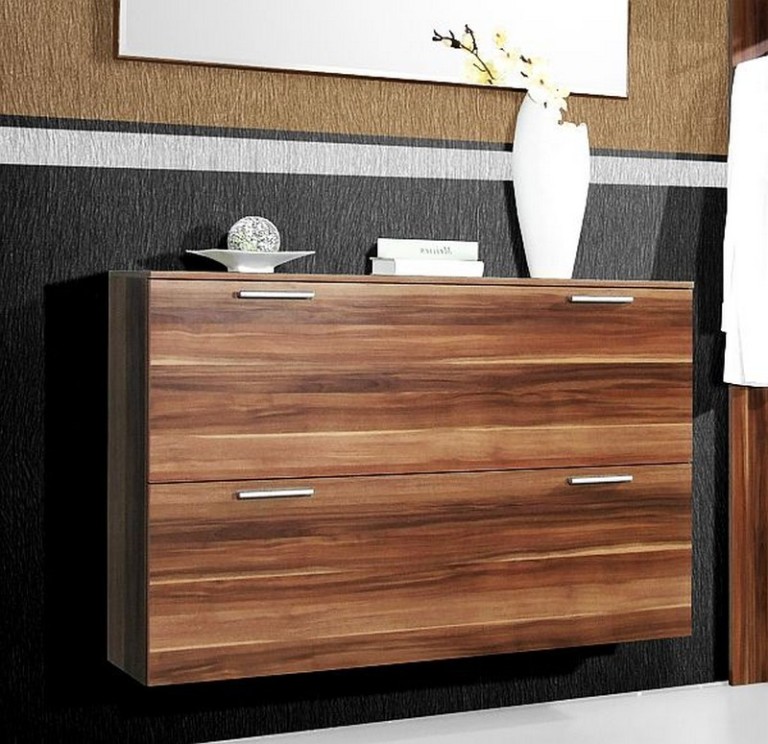
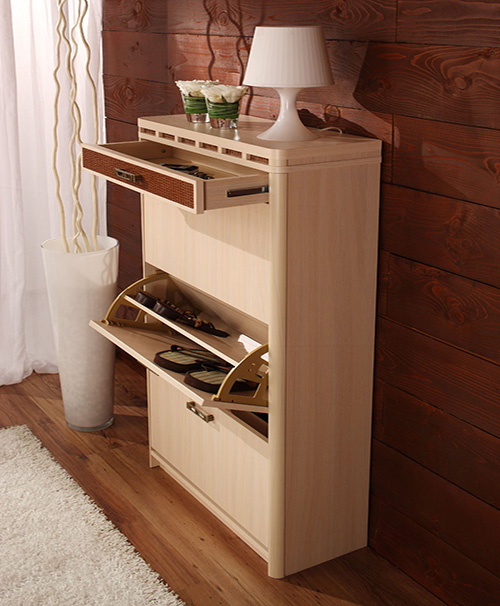
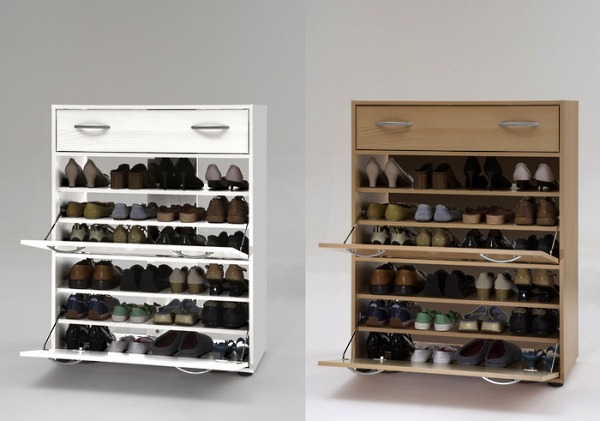
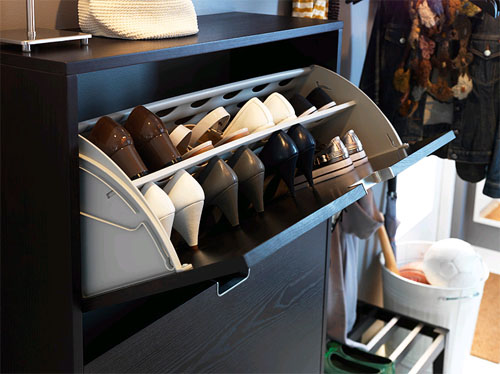
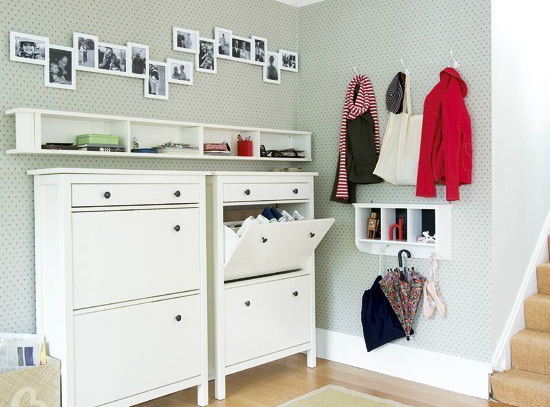
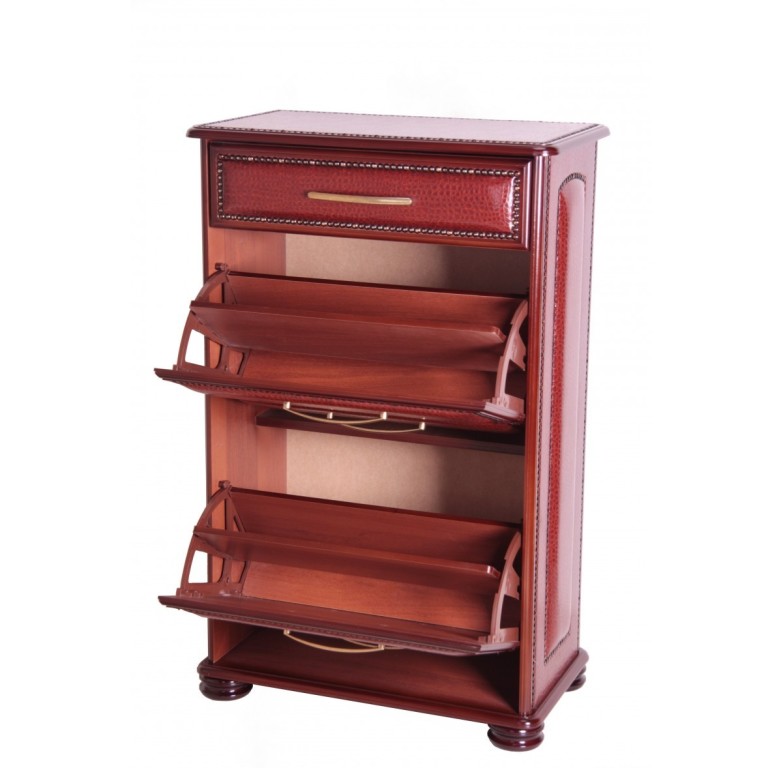
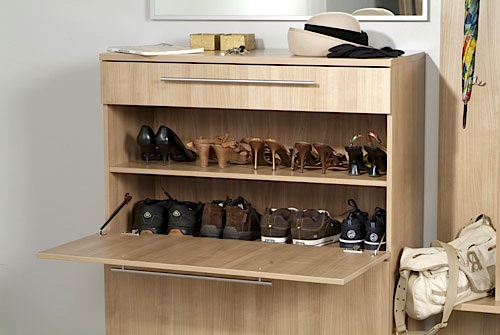
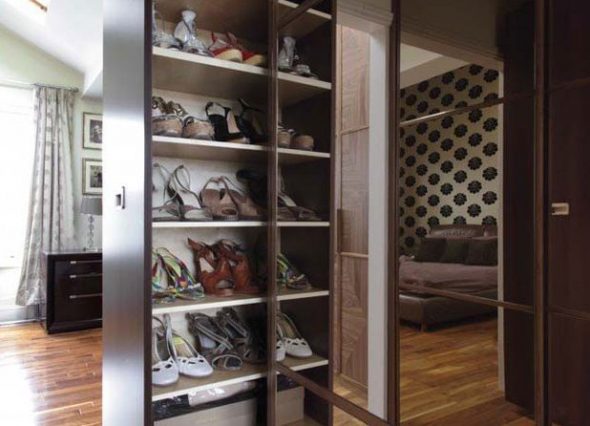
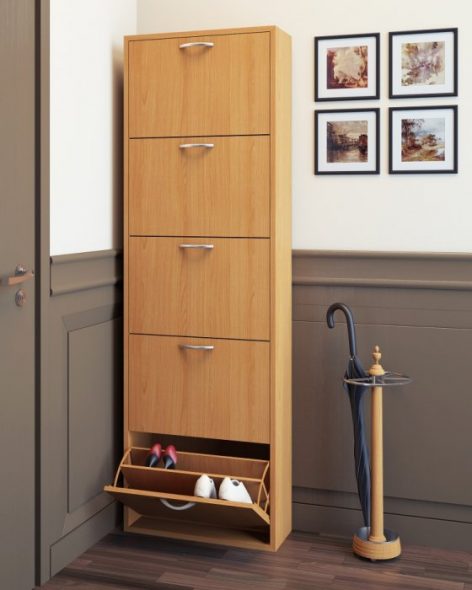
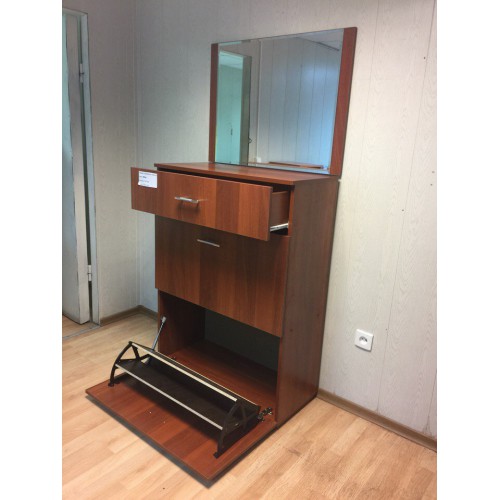
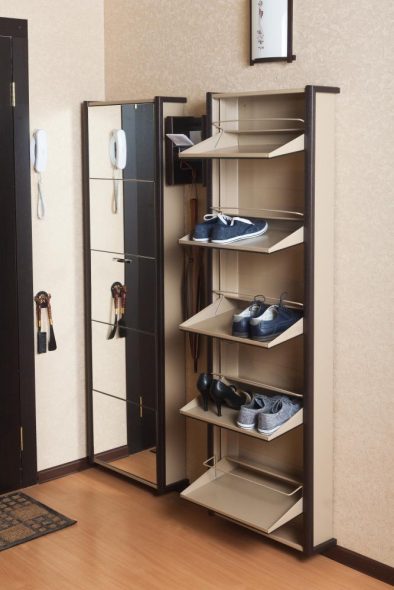
- Slim format wardrobe.
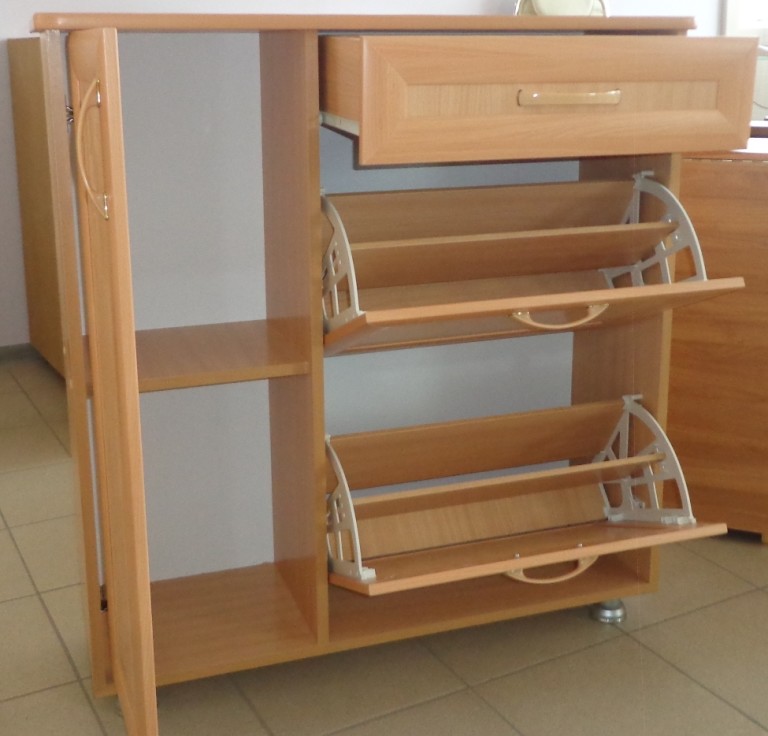
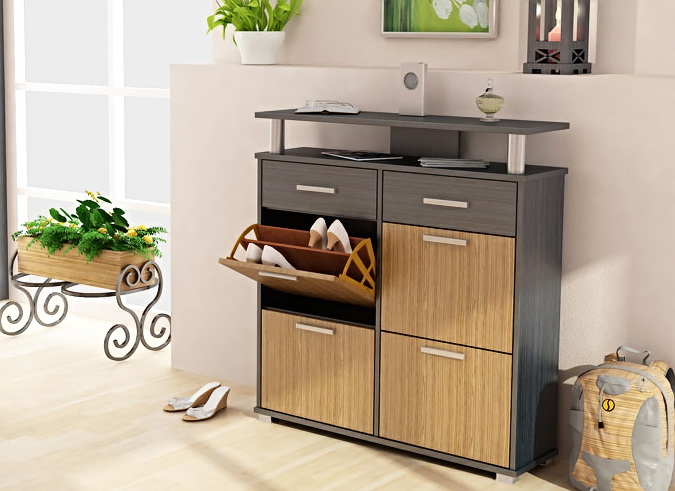
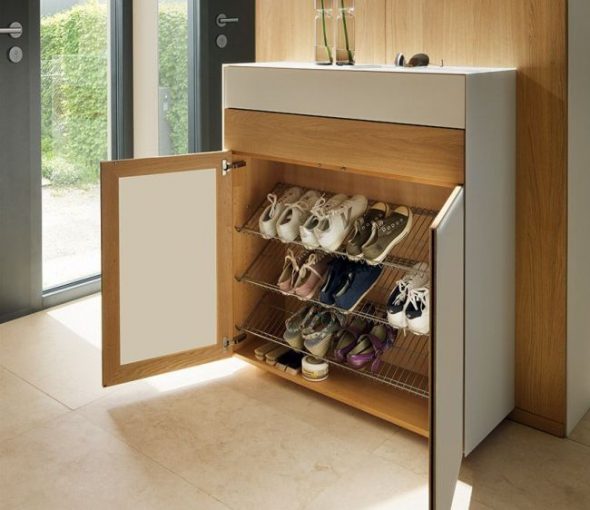
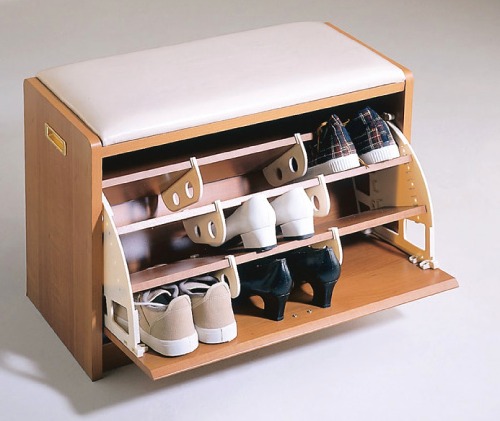
This type of cabinet has folding doors at an angle of 45-90 degrees. And the name speaks for itself. This type of furniture is "thin", the shoes will be located at an angle.
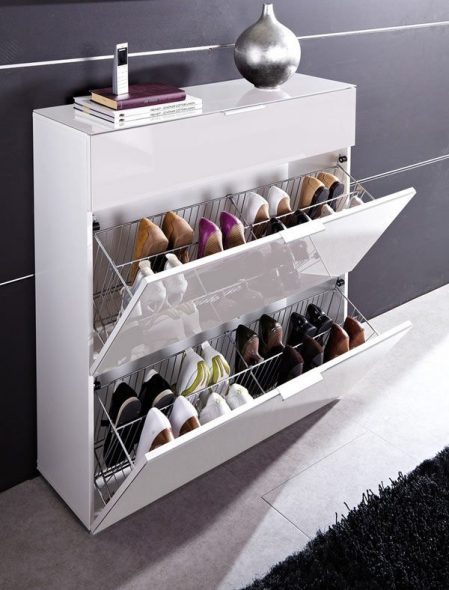
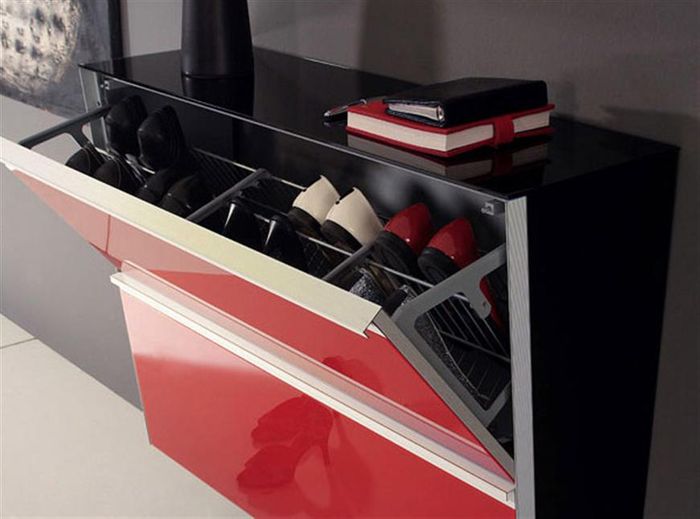
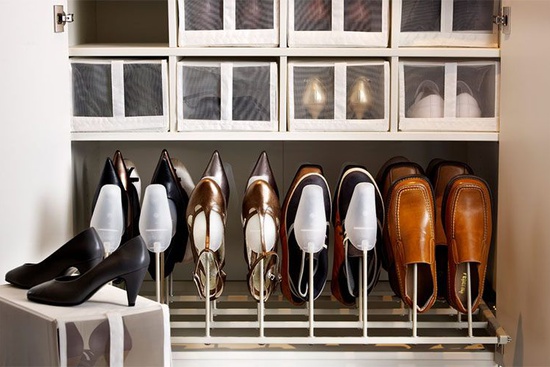
- Galoshnitsa.
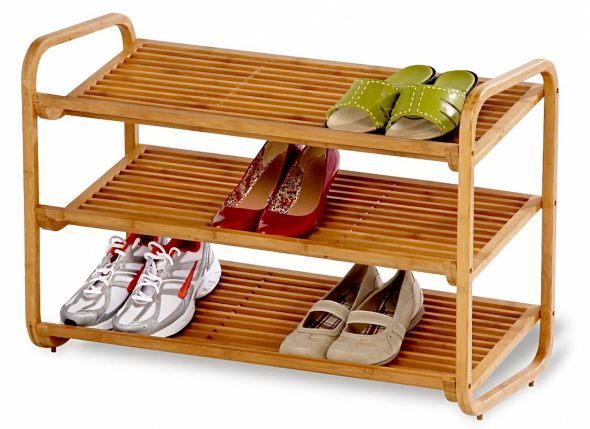
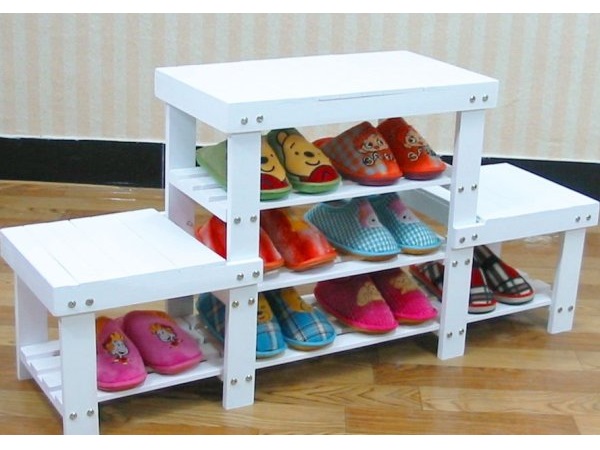
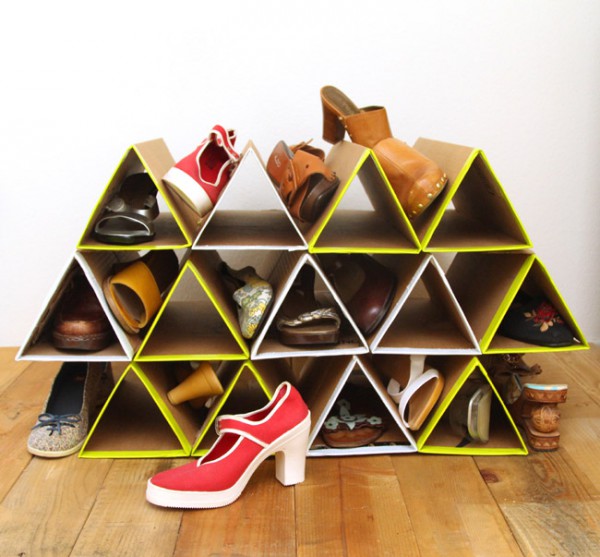
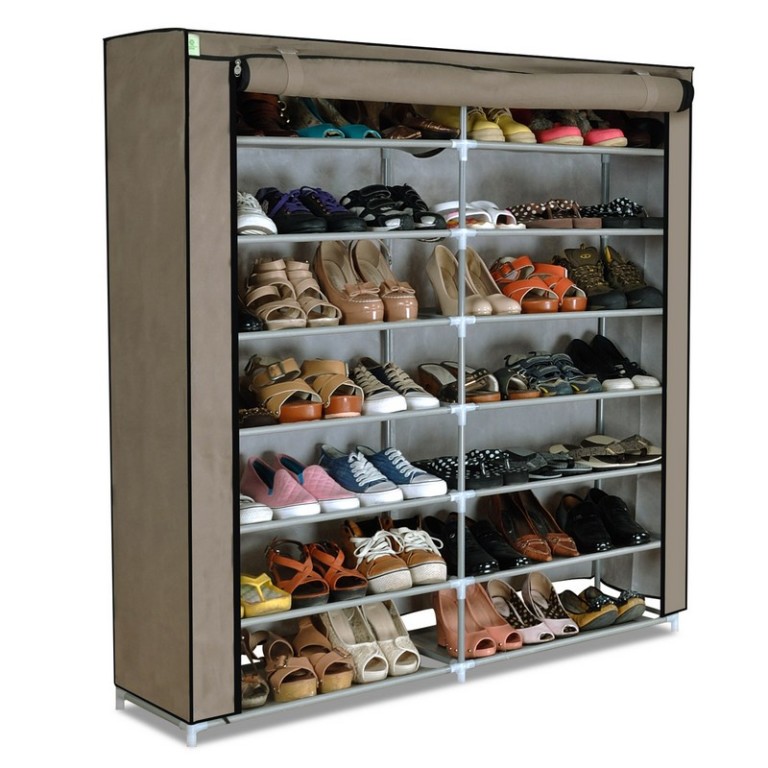
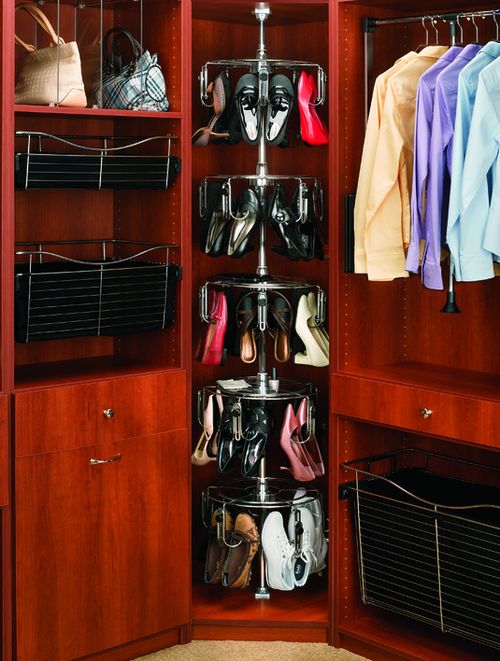
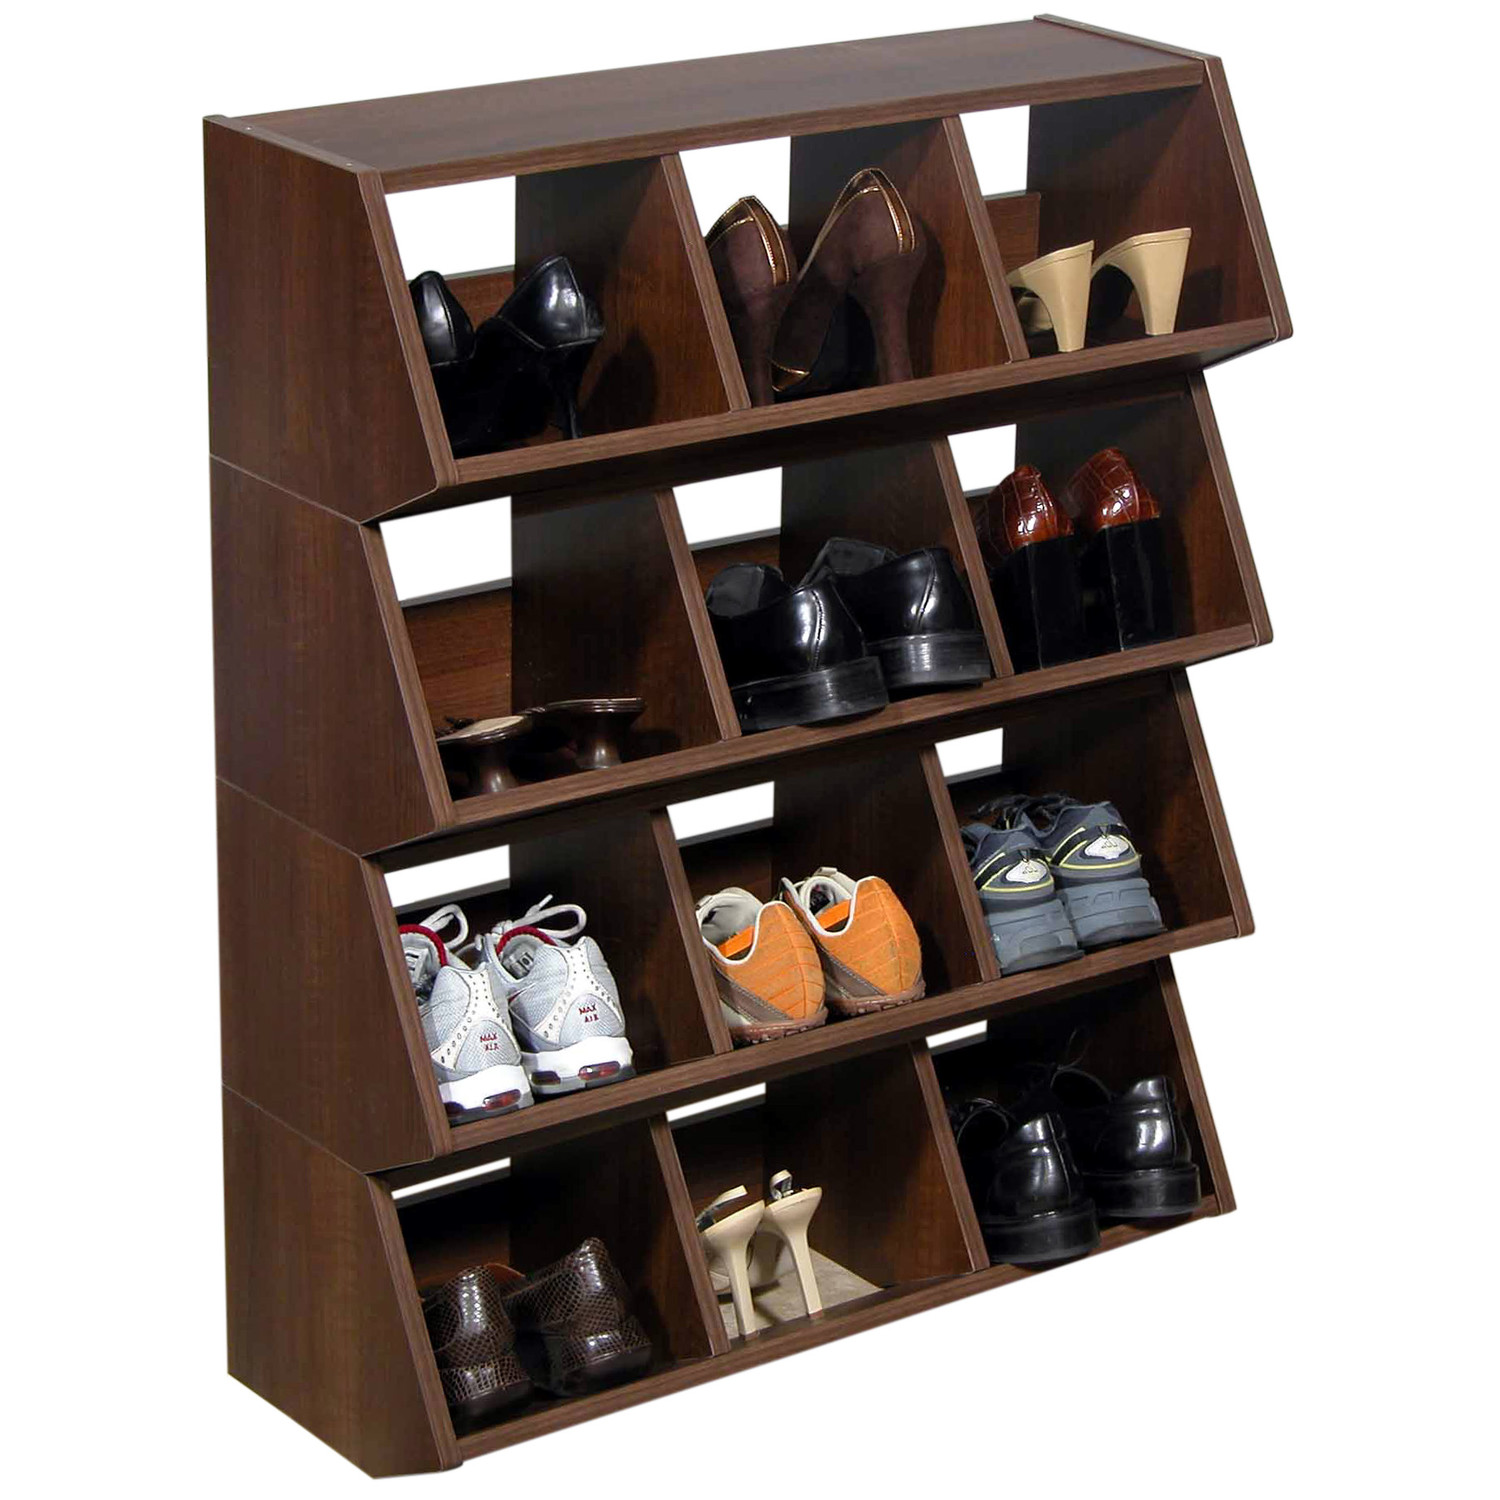
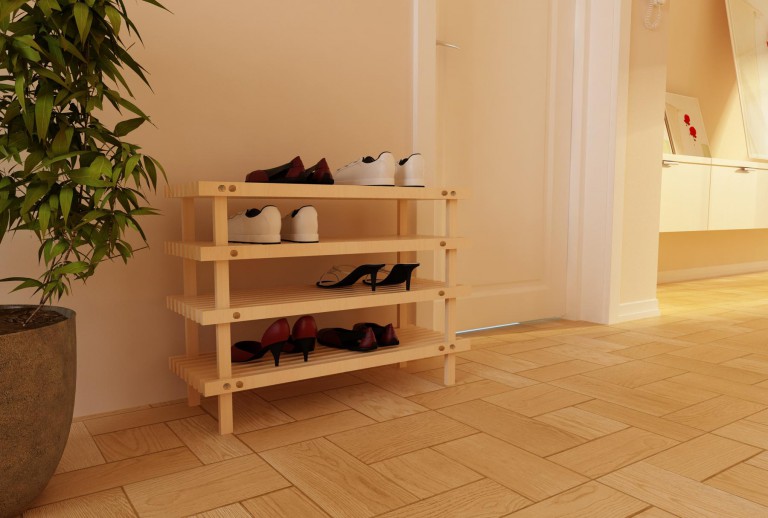
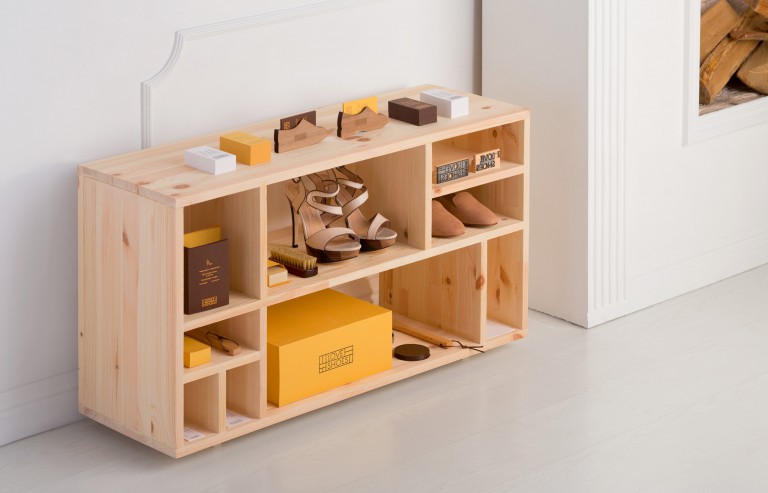
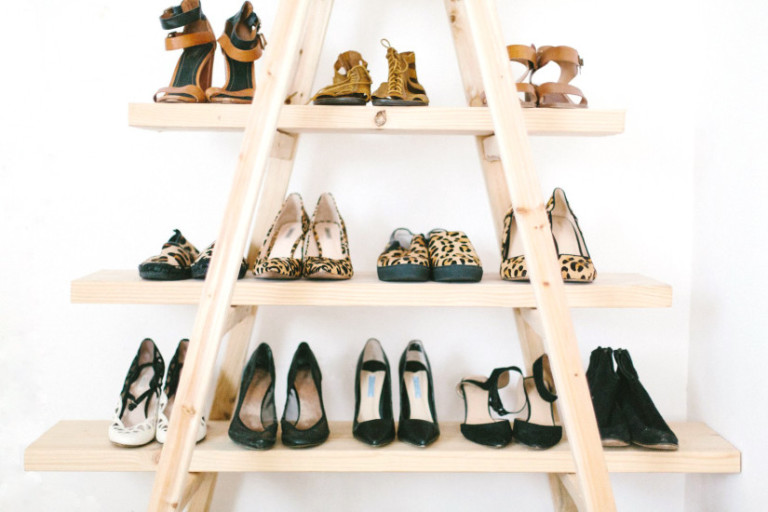
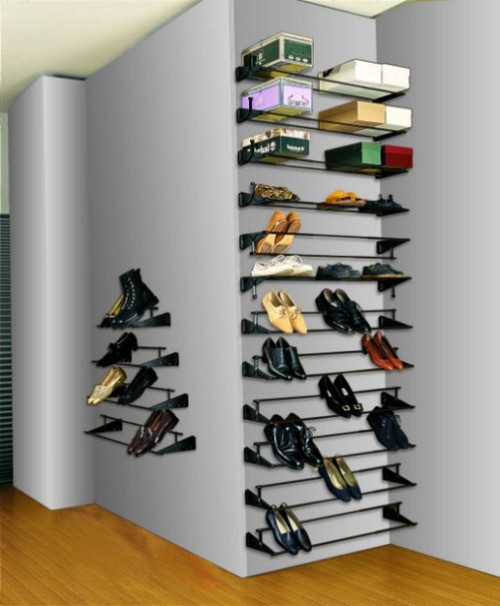
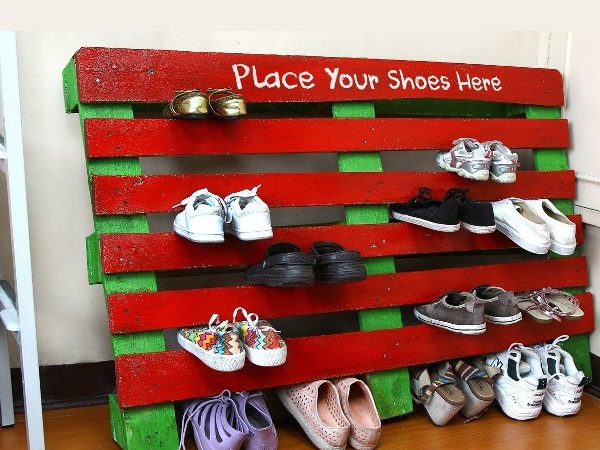
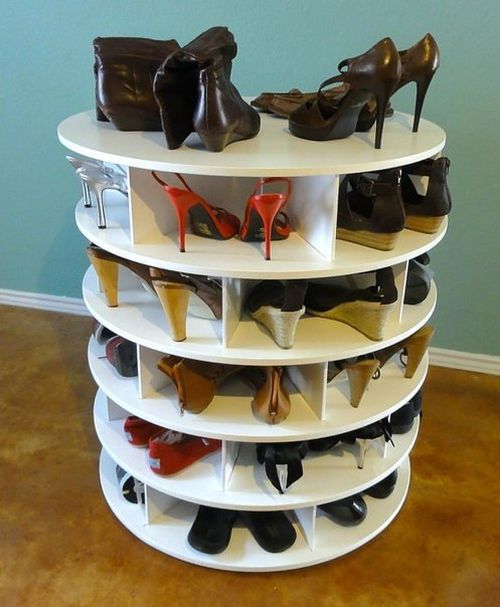
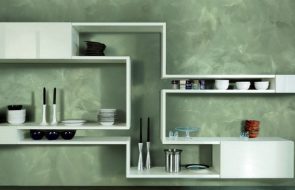
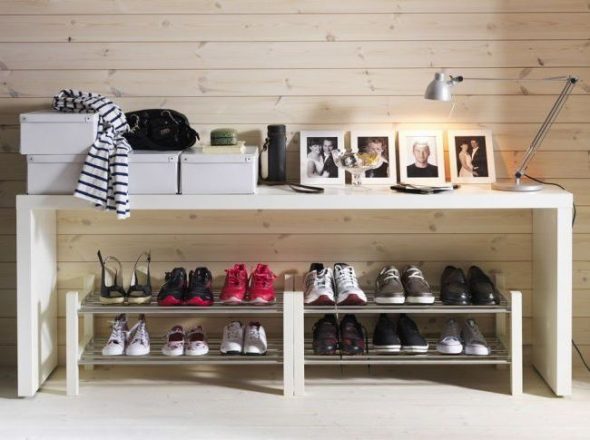
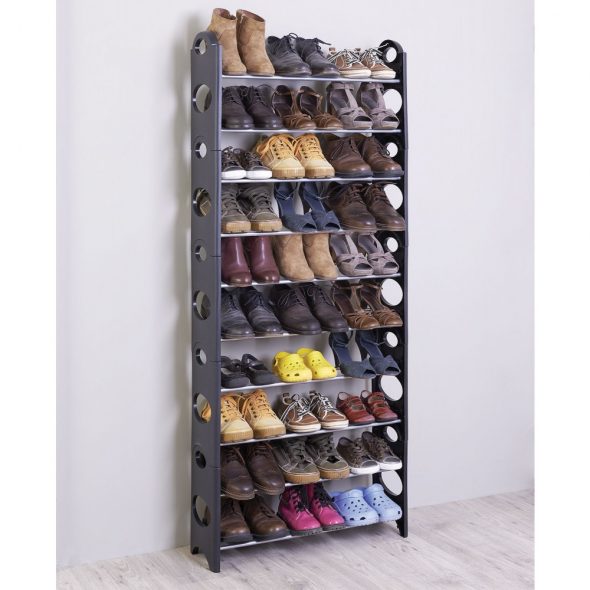
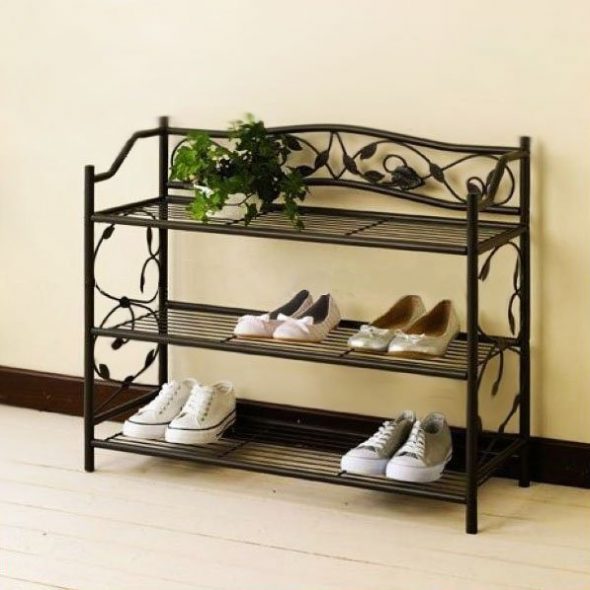
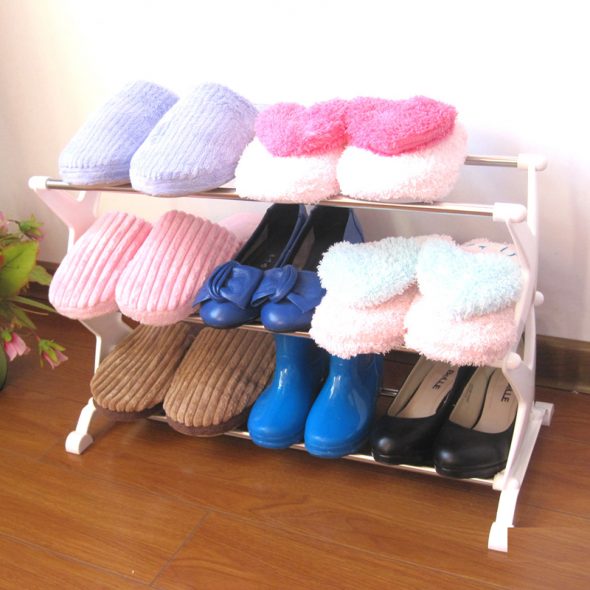
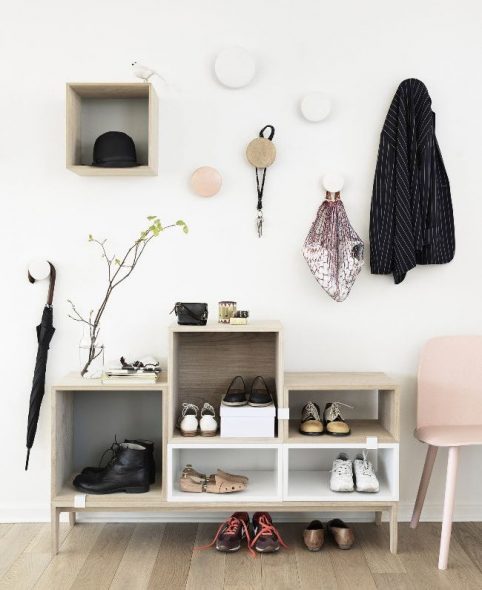
- Rack.
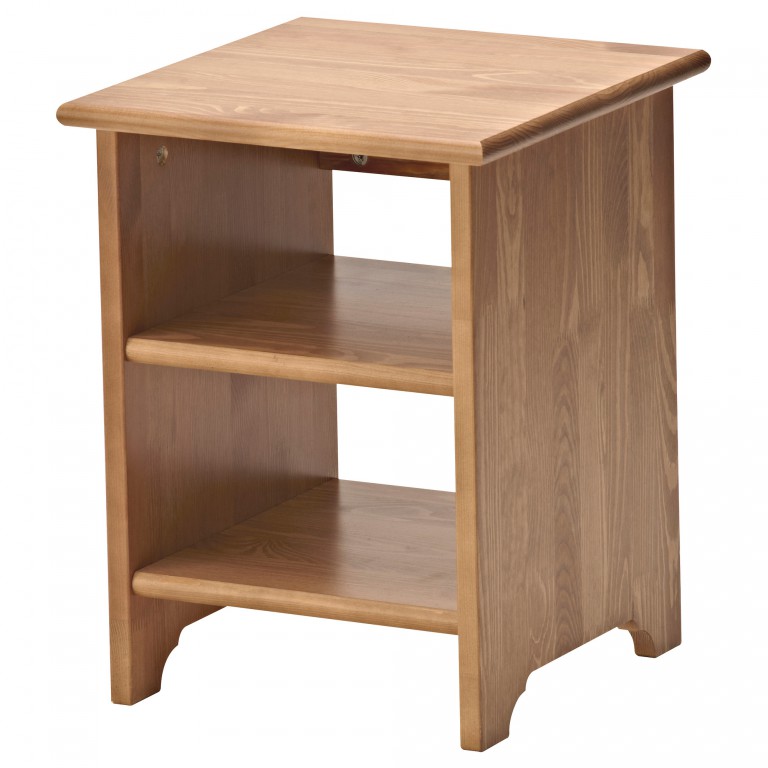
- Cabinet-pedestal.
Advantages:
- WITHdurability;
- Mmultifunctionality;
- TOcompactness;
- Ehaesthetics.
You can make folding, sliding and regular doors for the cabinet. This way it will take up little space. A shoe rack made of laminated chipboard will be durable and will not break down for a long time.
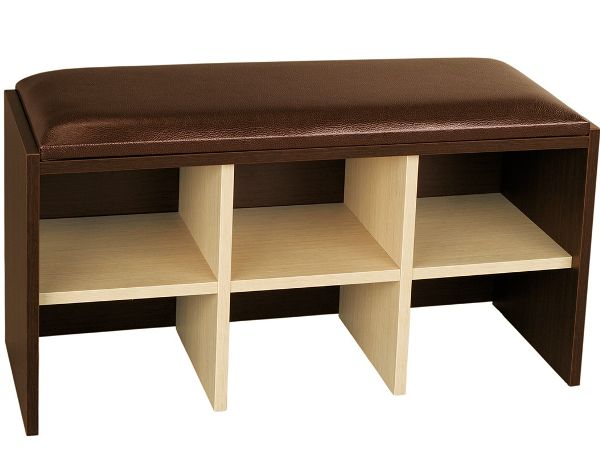
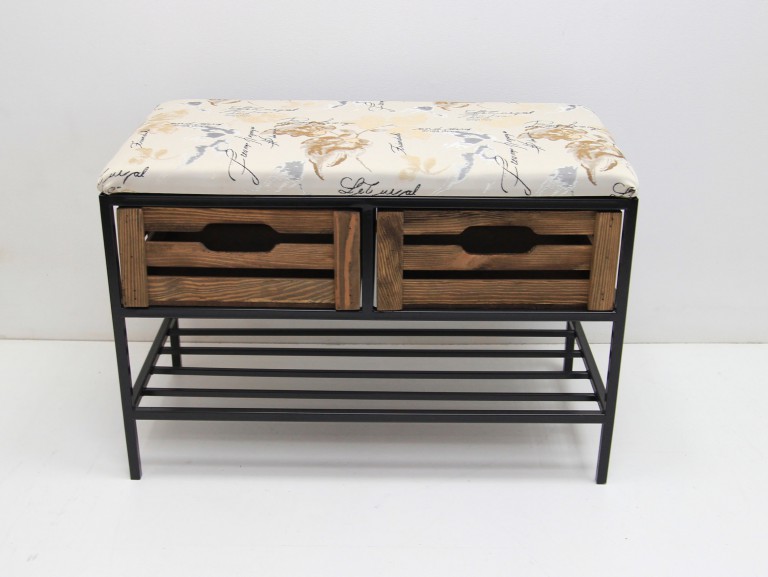
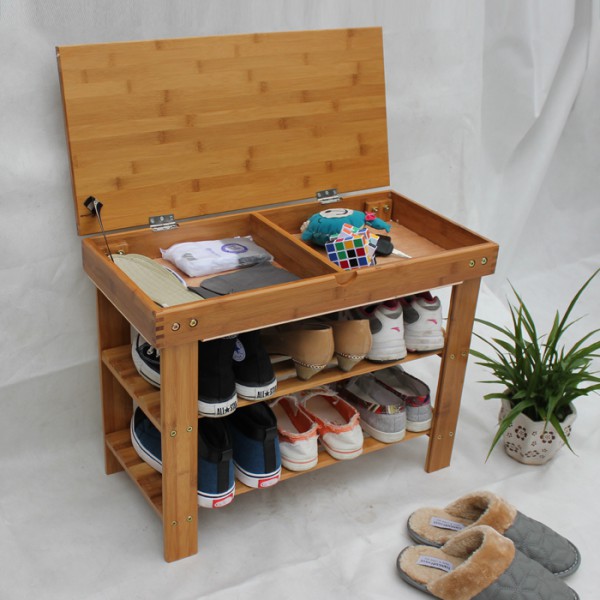
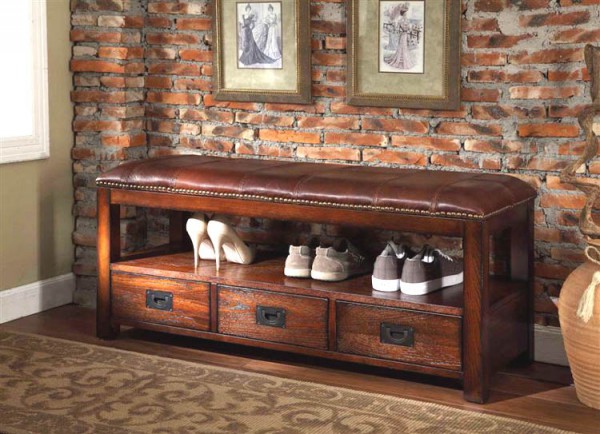
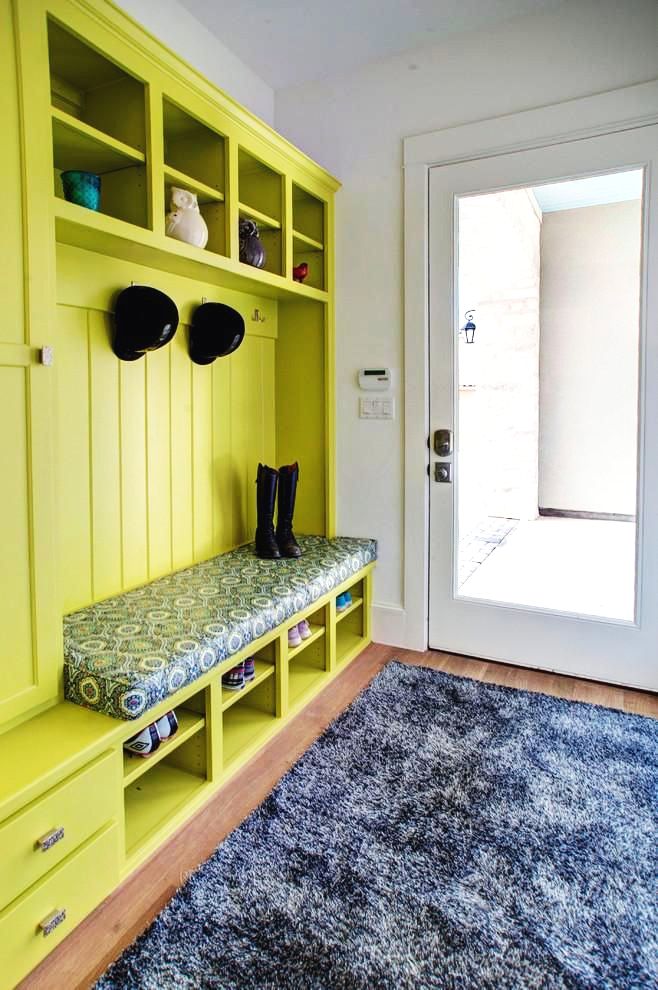
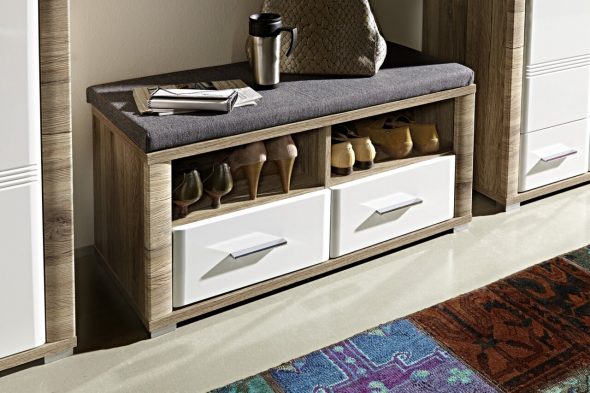
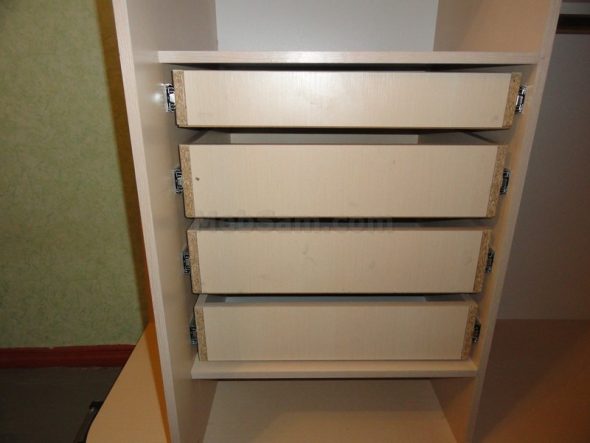
Shelves and drawers in the closet can be made for any type and size of shoes. And on top there is the possibility of making a table or upholstering it with fabric, you will get a shoe rack with a seat in the hallway.
Types of materials that can be used for shoe racks:
- Mmetal;

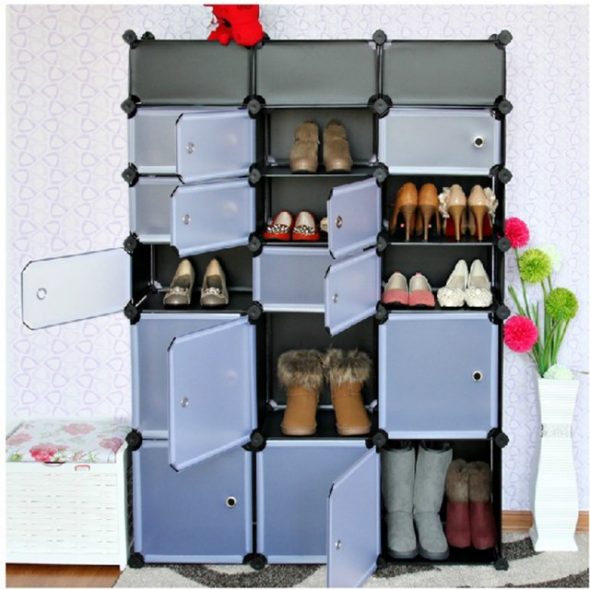
This shoe rack has excellent ventilation, which allows you to dry your shoes well. - Peraser;
The main advantages of using such chests of drawers are: practicality, lightness of construction, attractive price. - Dtree;

Such chests of drawers always look presentable and elegant in the hallway, creating coziness and harmony in it. - Mfine-grained fraction – MDF.

MDF cabinets have a three-component advantage: price, quality, attractiveness.
Metal and wood make the cabinet heavier, shoes won't breathe in plastic. MDF is a good choice, but not cheap. The most suitable material for storing shoes — Chipboard. Doesn't make the shoe rack heavier and is easy to assemble.
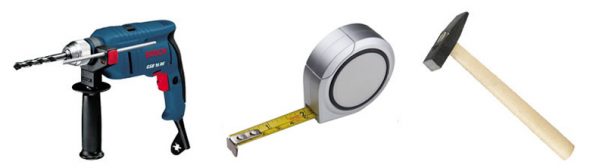
So, let's stop at a cabinet cabinet made of chipboard.The tools we will need are:
- Rflyaway;
- TOconductor;
- Drail;
- Mtray;
- WITHscrew under the confirmats.

Tools for making a shoe rack with your own hands.
Preparation of parts
- To simplify the work in the store, you can order ready-made parts for the tie. You need to decide where the shoe rack will be located.
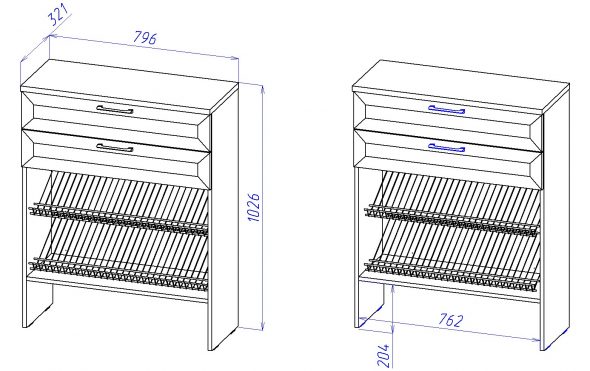
- Take measurements of the cabinet's width, length and height.
- Then create a drawing that shows the number and size of shelves, taking into account the thickness of the chipboard.

Assembly drawing. - Using the diagram, make a cutting map that shows each detail of the required dimensions.
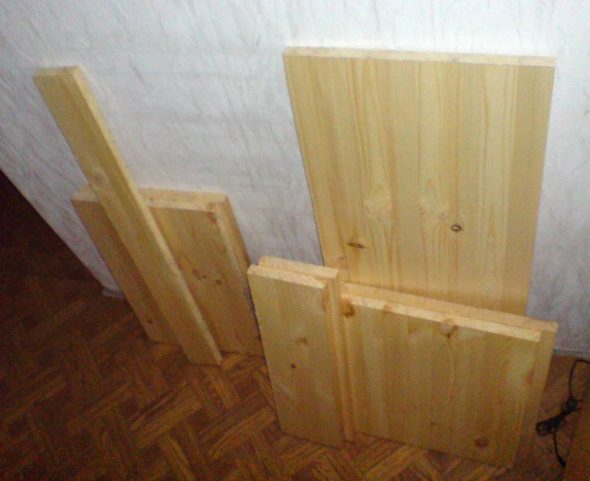
- Order sawn shelves, walls and risers with glued edges from the store.

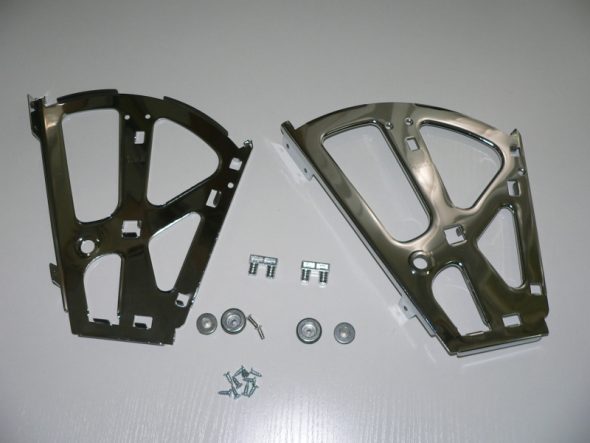
When ordering, choose the color according to your taste. You will also need confirmats, adjustable legs, shelf holders, metal corners, drawer guides, canopies and furniture handles.

Parts for assembling a shoe rack.
DIY Shoe Rack Assembly Instructions
- All dimensions are included on the drawing for visual design of the cabinet.
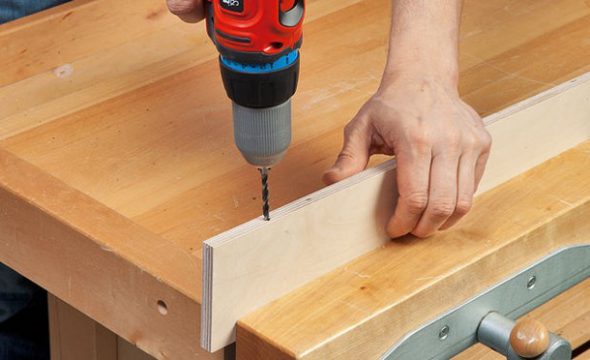
- Drill the necessary holes in all the parts, attach the metal corners and secure the drawer guides.
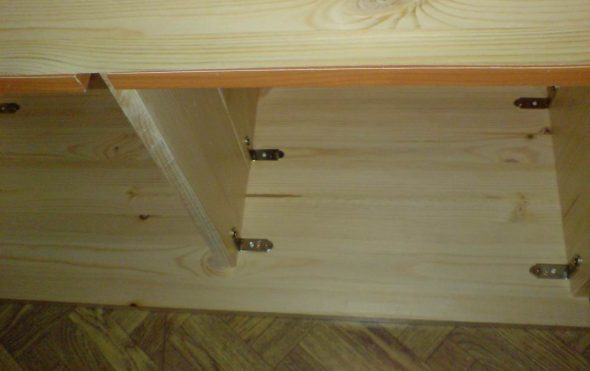
- Assemble the coupler using confirmats.

Usually the front part below the doors in cabinets and pedestals has only a decorative purpose. Here this panel plays an important role, providing strict geometry and rigidity of the structure. - You need to start marking the holes from the bottom shelf, because the bottom is solid and the posts should be attached to it.
- Measure half the thickness of the chipboard along the edges with a jig and tape measure. For example, the thickness of the part is 12 mm, then you need to drill two holes along the line 6 mm from the edge. Step back 50 and 250 mm from the back wall.
The main thing when assembling is to leave an indentation in front for the doors. - For internal racks, calculate the openings using the following formula:
Thickness of chipboard + Width of intended shelf + Half the thickness of chipboard.
For example, the part is 12 mm, the shelf width is 300. It turns out: 12 + 300 + 6 = 318 mm.
We do this from the right and left edges. Transfer the drawing directly to the inside of the chipboard and sign each part where it will be located. Then you will not mix anything up during assembly.
- Inside, the shelves will be held on shelf holders. You need to drill holes for them. To calculate the correct location of these holes, you need to subtract each partition thickness from the height of the rack and divide by the number of shelves.
For example, the height of the rack is 600 mm. Two shelves are planned. The thickness of the shelf is 12 mm. The diameter of the shelf support is 5 mm.
The calculation order will be as follows:
600-12=588
588/2=294
294+12+2=308
Therefore, you will need to measure 308 mm from the top.
- Place the lids on the cabinet on metal corners. There is no particular difficulty or calculation here, just fix them on the posts. Also calculate the drawer guides taking into account the height of the drawers, starting to measure from the top. Mark all the holes on the drawing.
- Assemble the boxes from pre-calculated size parts. But first drill one hole in each joint in the middle at the half-thickness line of the box wall.
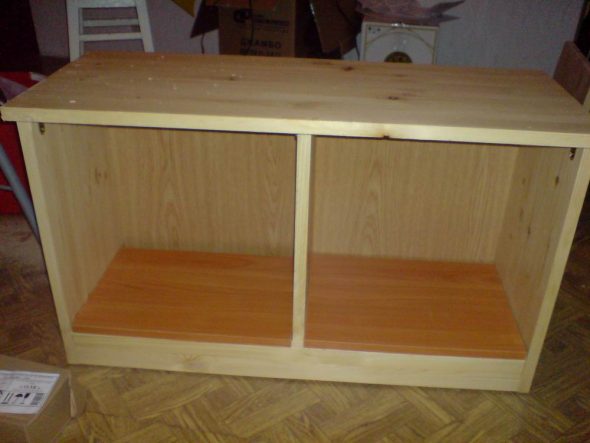
The shoe rack is almost ready! All that's left is to hang the doors.
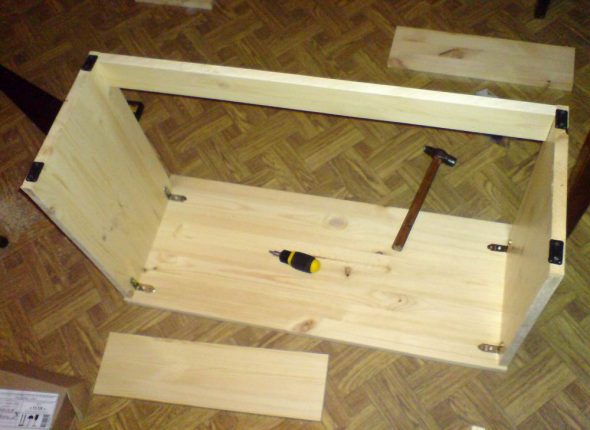
Assembling a shoe rack using a drawing with your own hands
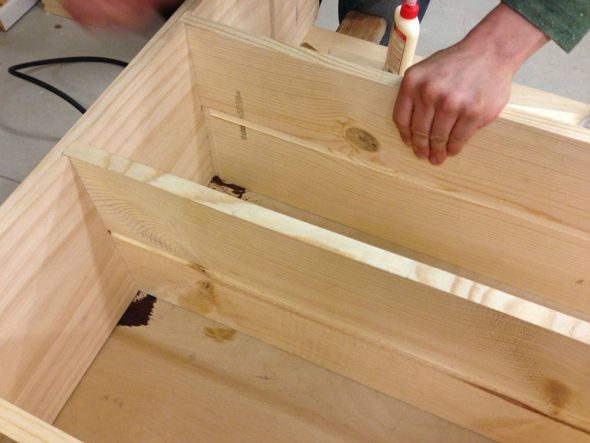
When all the holes are made, you can start assembling on the confirmat. We attach the middle posts to the lower part, then the outer ones. Make sure that there are no protrusions at the joints of the corners.We attach the lids to the corners, place the shelves on the holders and install the finished drawers on the guides.
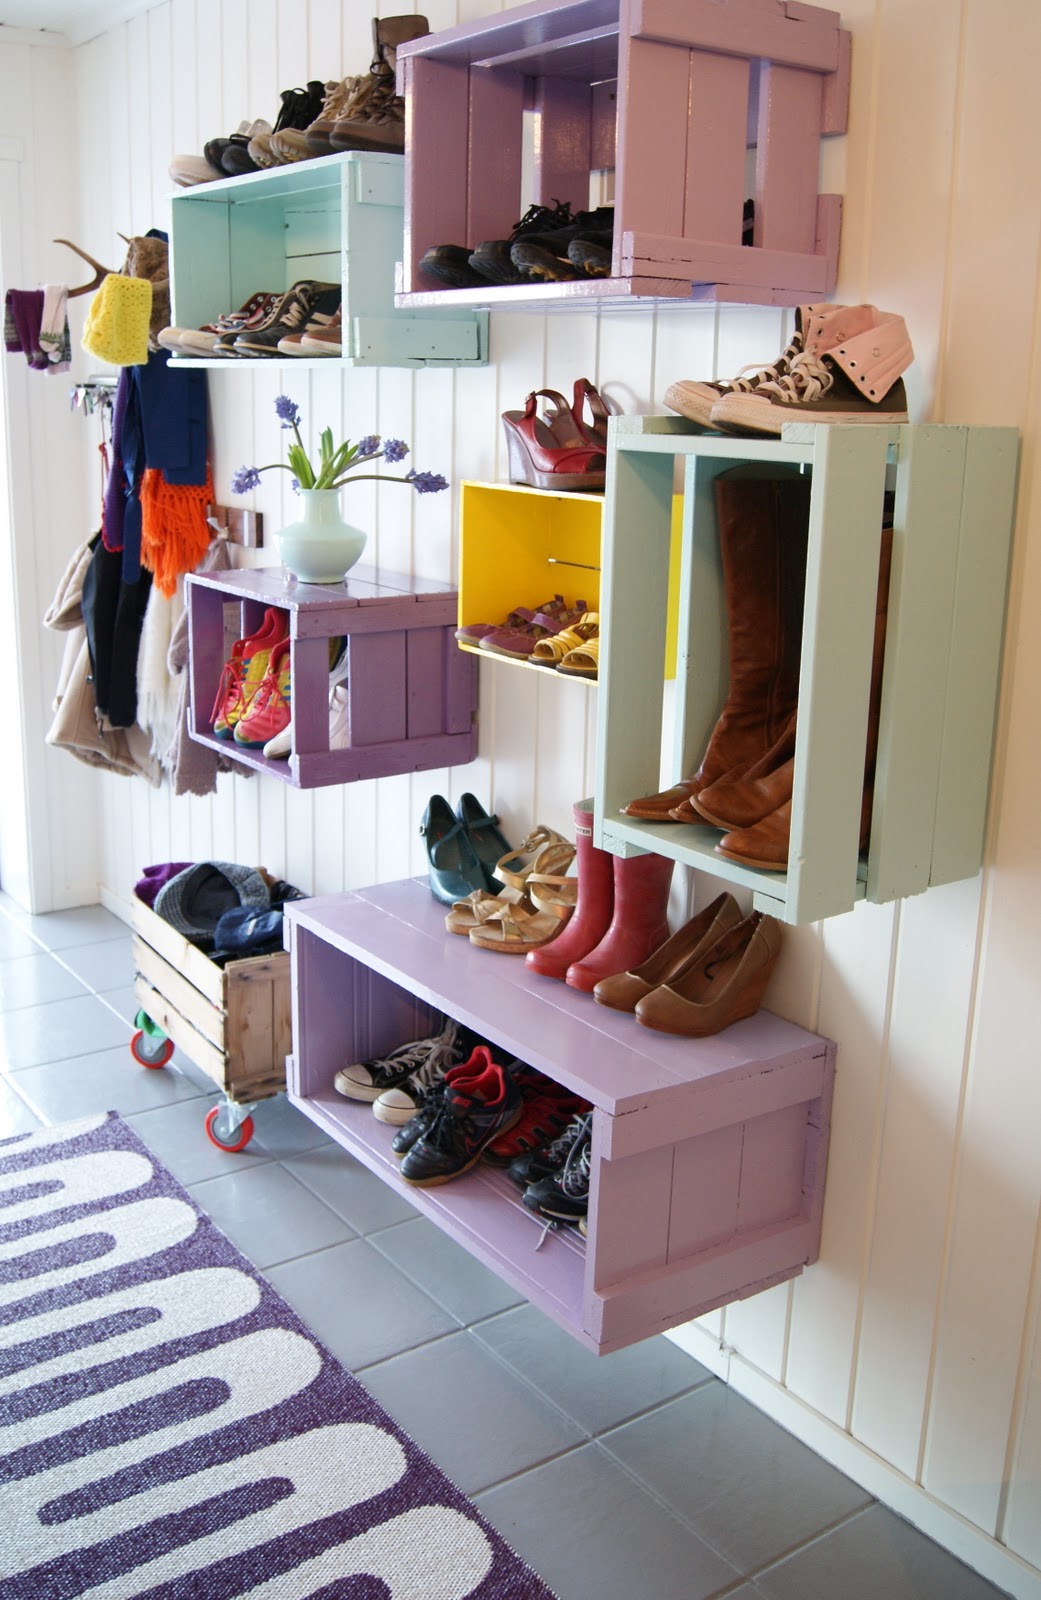
Decorating a shoe rack made by hand can be varied.
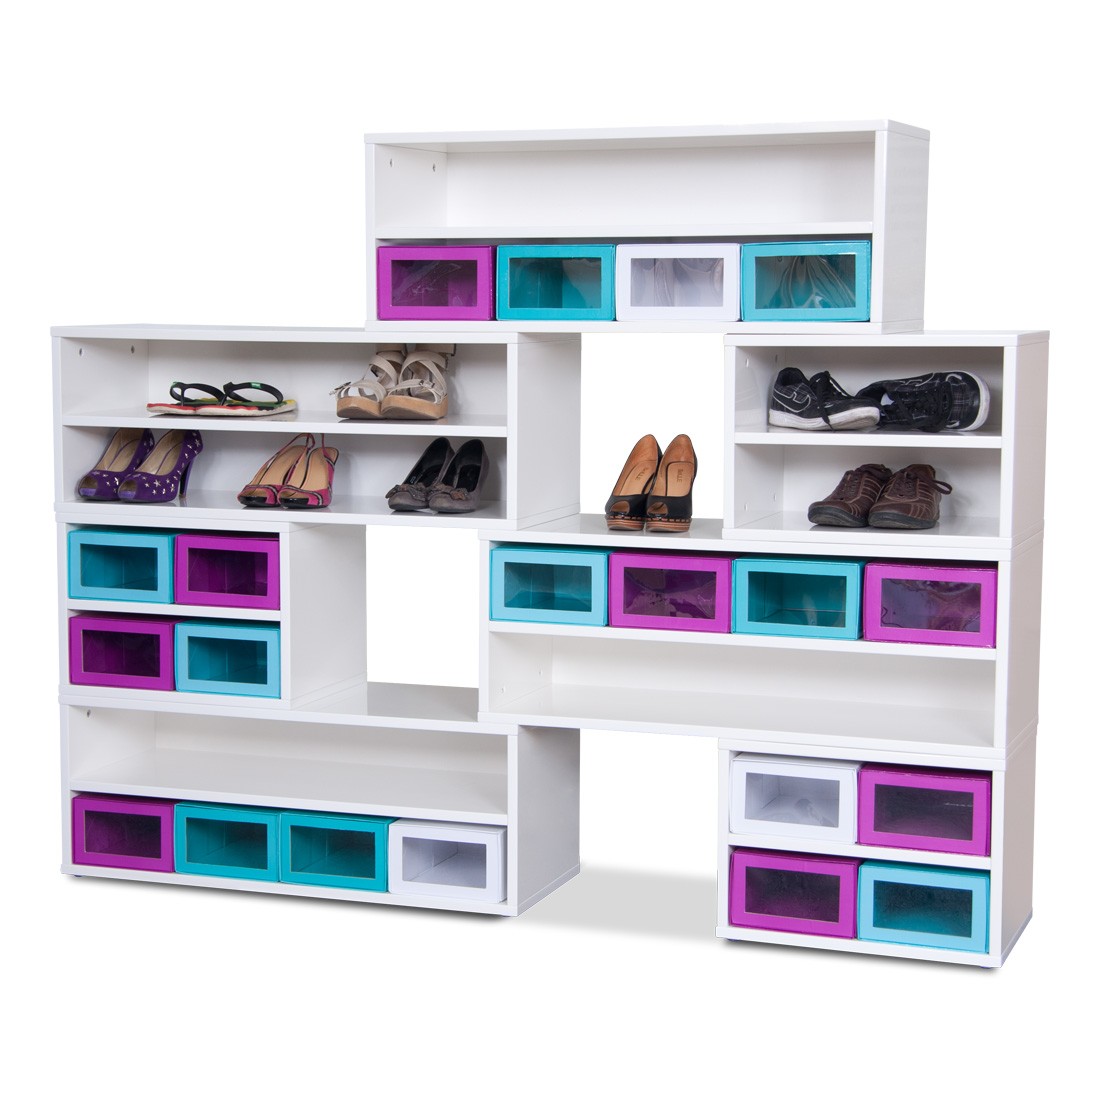
- A cabinet made of several racks can have shelves of different heights on the left and right sides to store shoes of any height and season.

The choice of shoe rack for the hallway should be made taking into account the style of the room and the overall color scheme in it. - Without raising the middle, insert a mirror or a figured insert from the same chipboard. And on the resulting tabletop you can place the things necessary for the hallway.

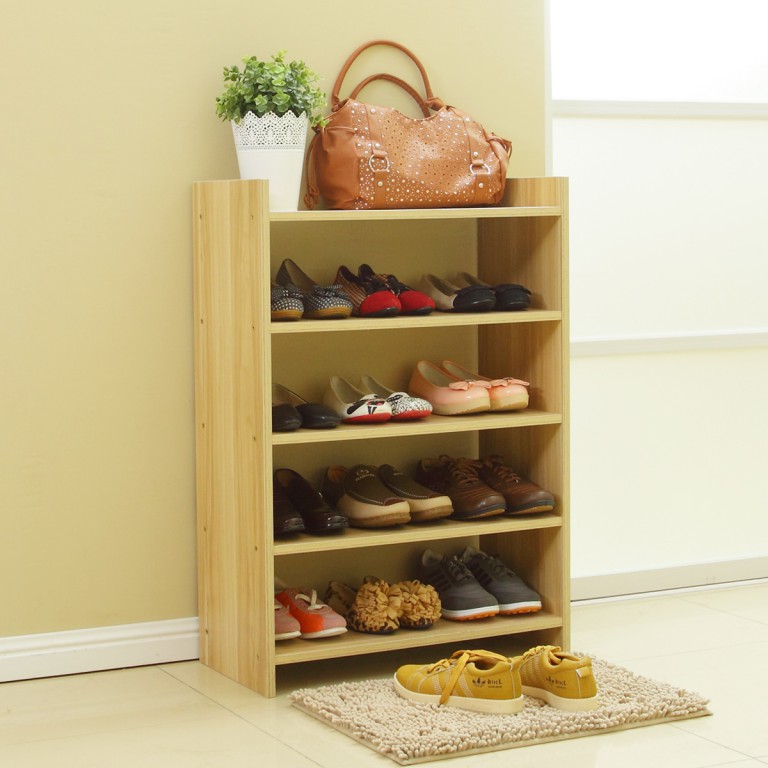
Shoe racks in oak or beech shades harmonize well with light walls and furniture in cherry or alder shades. - Separately, they decorate doors. They use all kinds of handles, put painted doors, decorate with glass inserts, install doors with transparent glass or mirrored ones for more light and a feeling of spaciousness in the hallway.

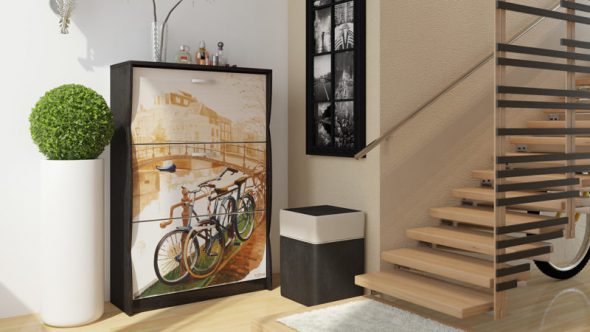
In a hallway designed in a modern or high-tech style, furniture with metal inserts and plastic monochrome facades will look good. - Often the shoe rack is covered with wallpaper, fabric, rhinestones. It is painted completely or various patterns are applied to it.
VIDEO: DIY Shoe Cabinet.
50 photo ideas of original shoe racks for the hallway: