A win-win option for decorating any room is shelves. A multifunctional decorative item that allows you to place a huge number of things so that they look neat. They take up little space in the room due to their placement on the walls and give it a more sophisticated look. Human imagination and hands can create the most unusual and beautiful shelf design that will harmoniously fit into the interior. Furniture stores offer a wide range of various design solutions, but why overpay if you can make shelves with your own hands.
Content
- Options for the placement and use of shelves
- Design and construction. Types of products
- Choosing the material?
- To Buy or to Make Your Own? That is the Question
- Materials needed to create a shelf with your own hands
- Necessary tools
- How to Make Wall Shelves with Your Own Hands: Step-by-Step Instructions
- Decorating
- VIDEO: Original DIY Shelves Without Nails or Screws
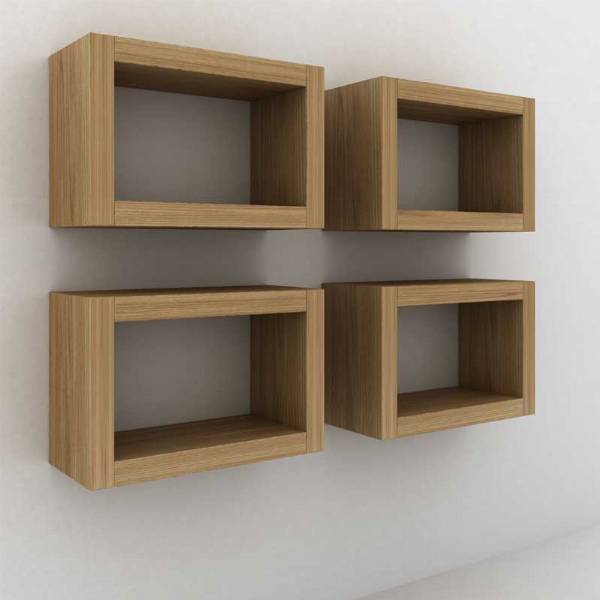
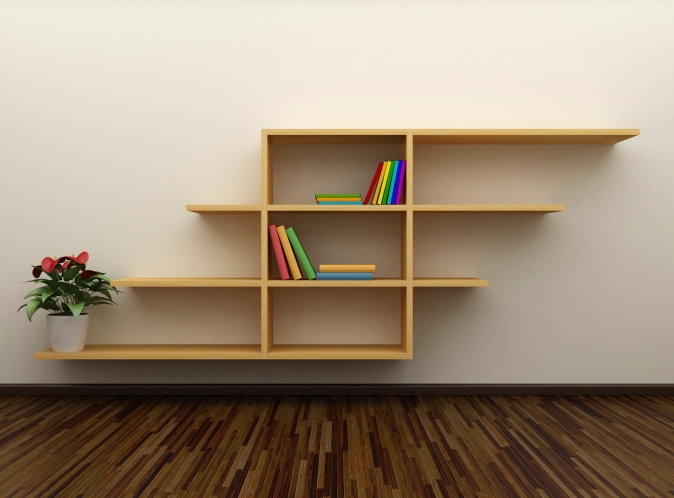
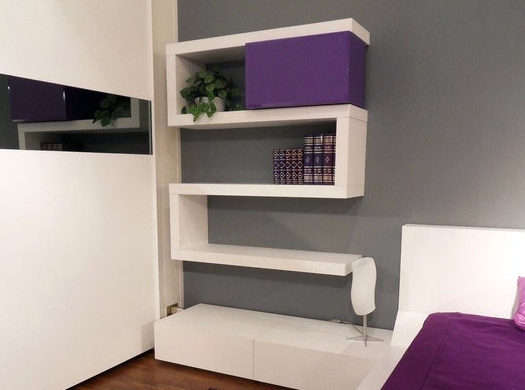
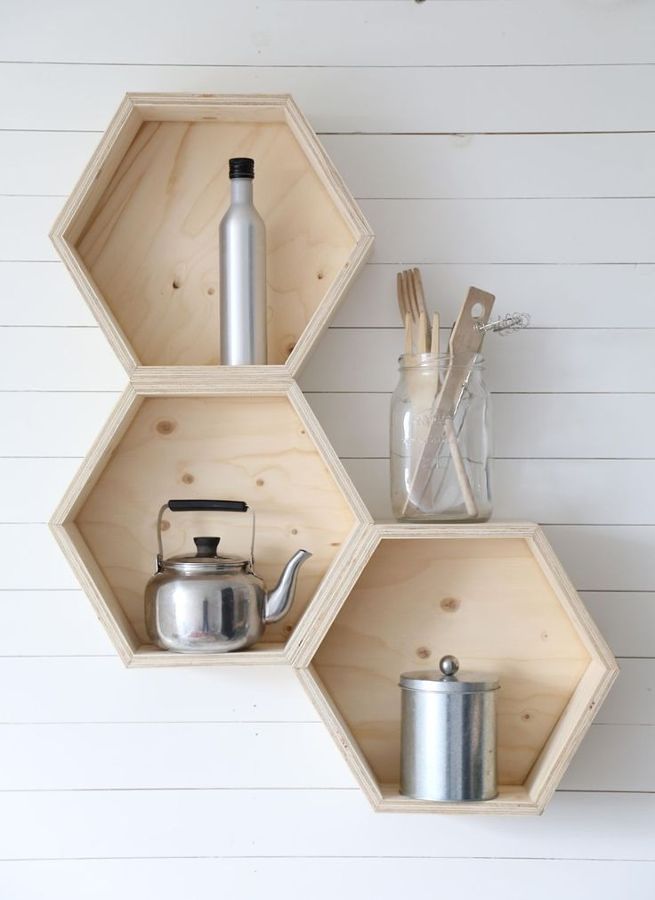
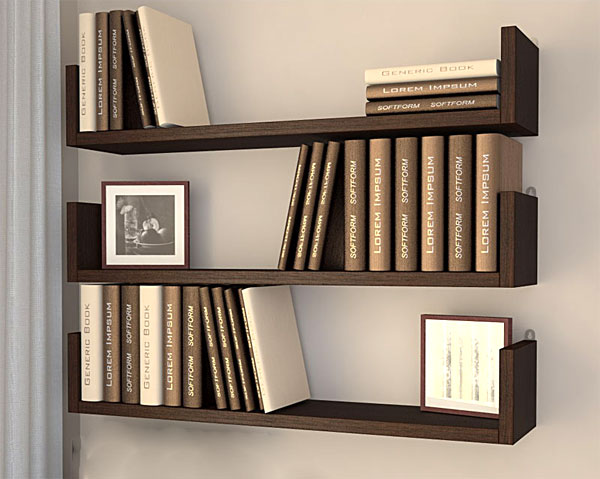
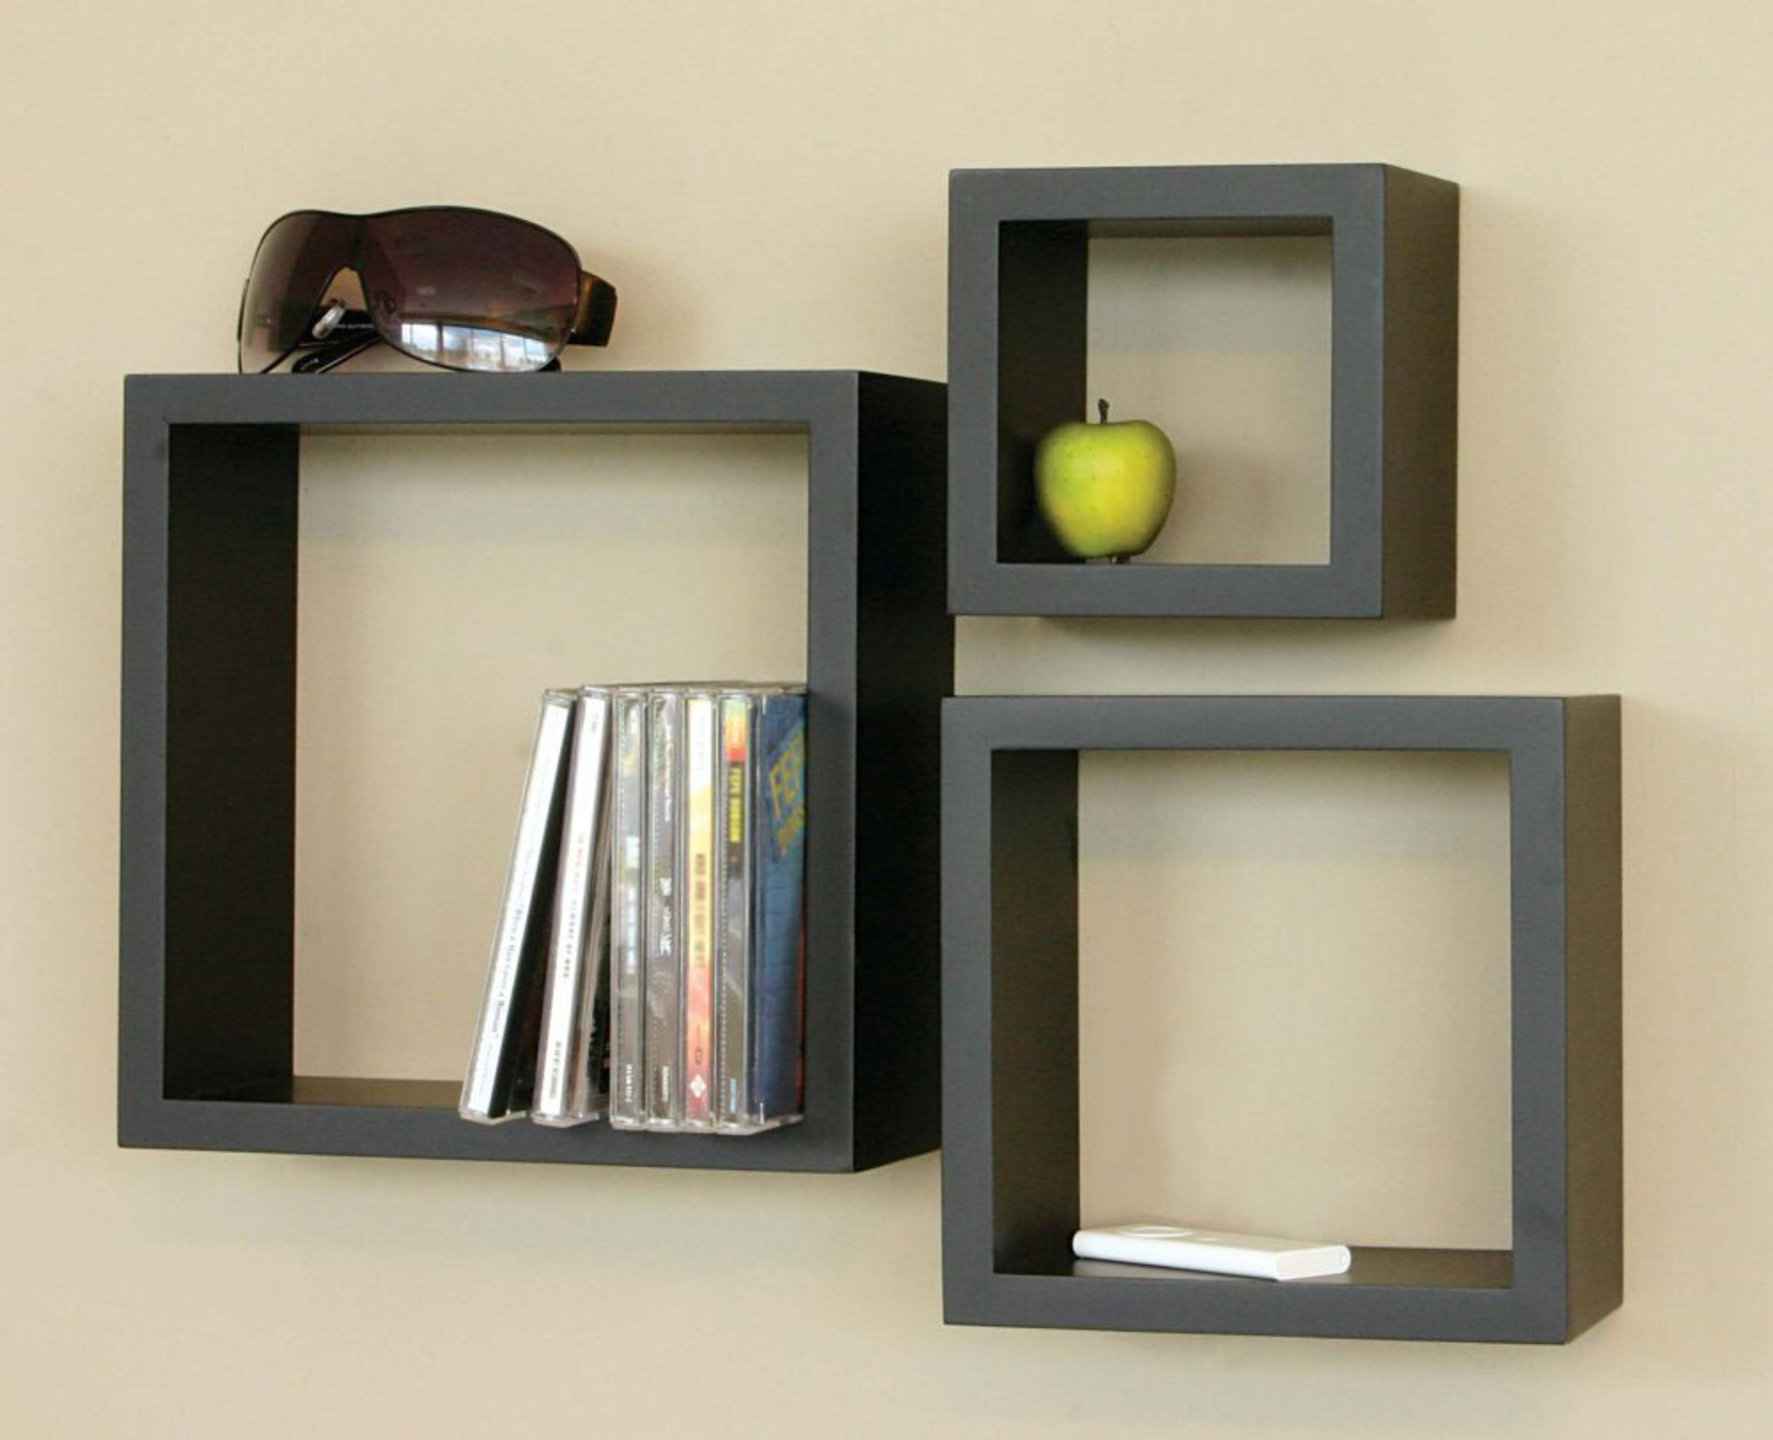
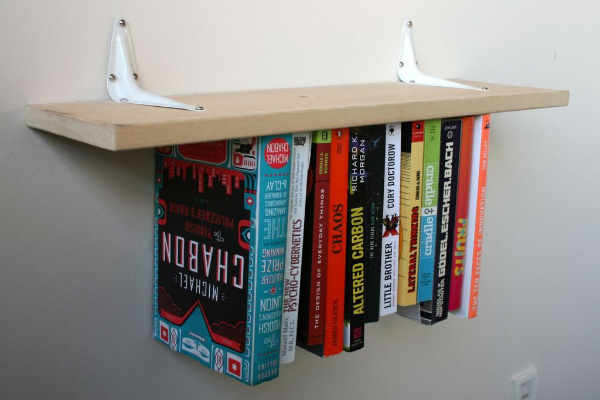
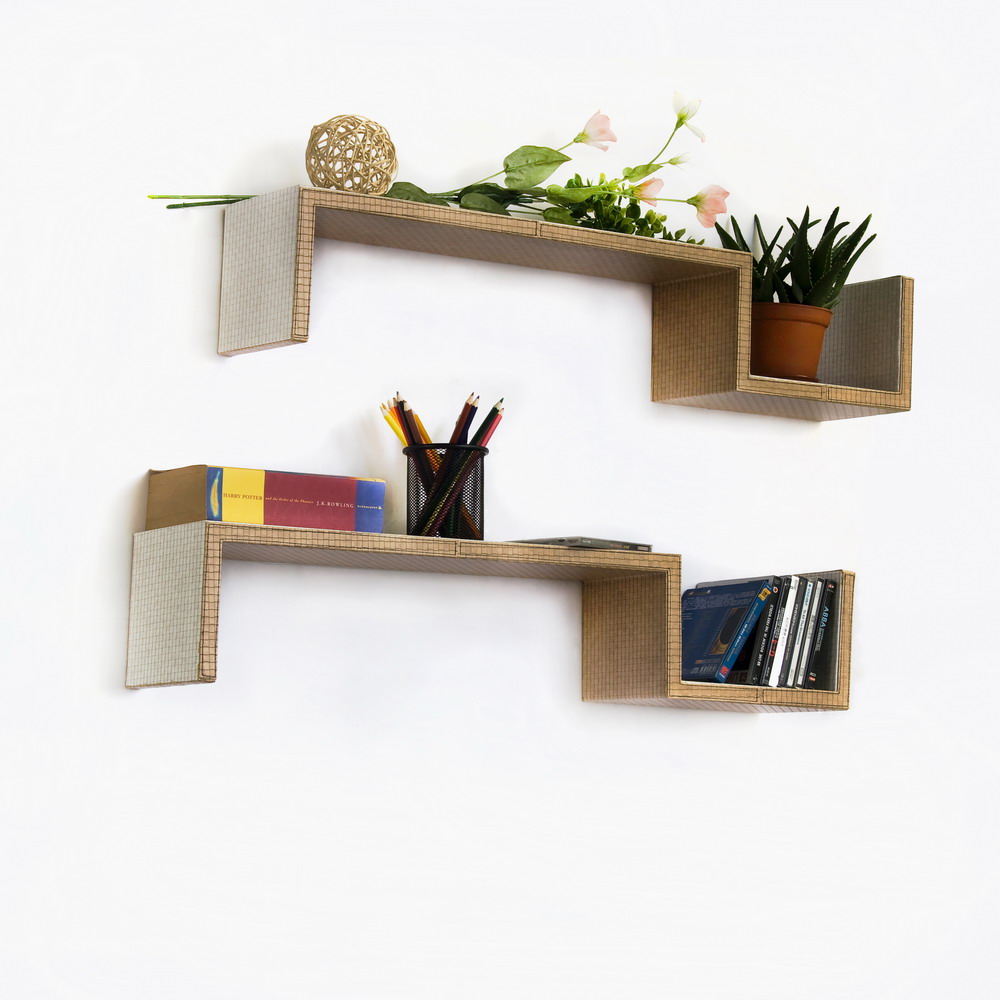
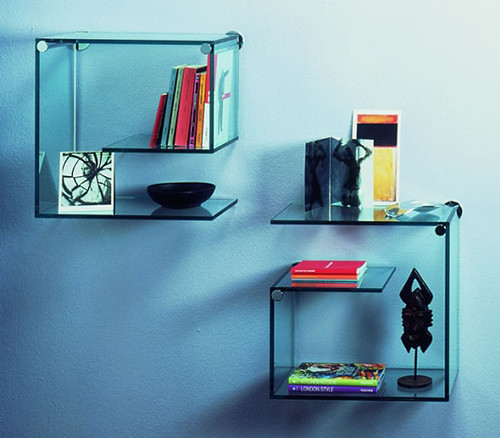
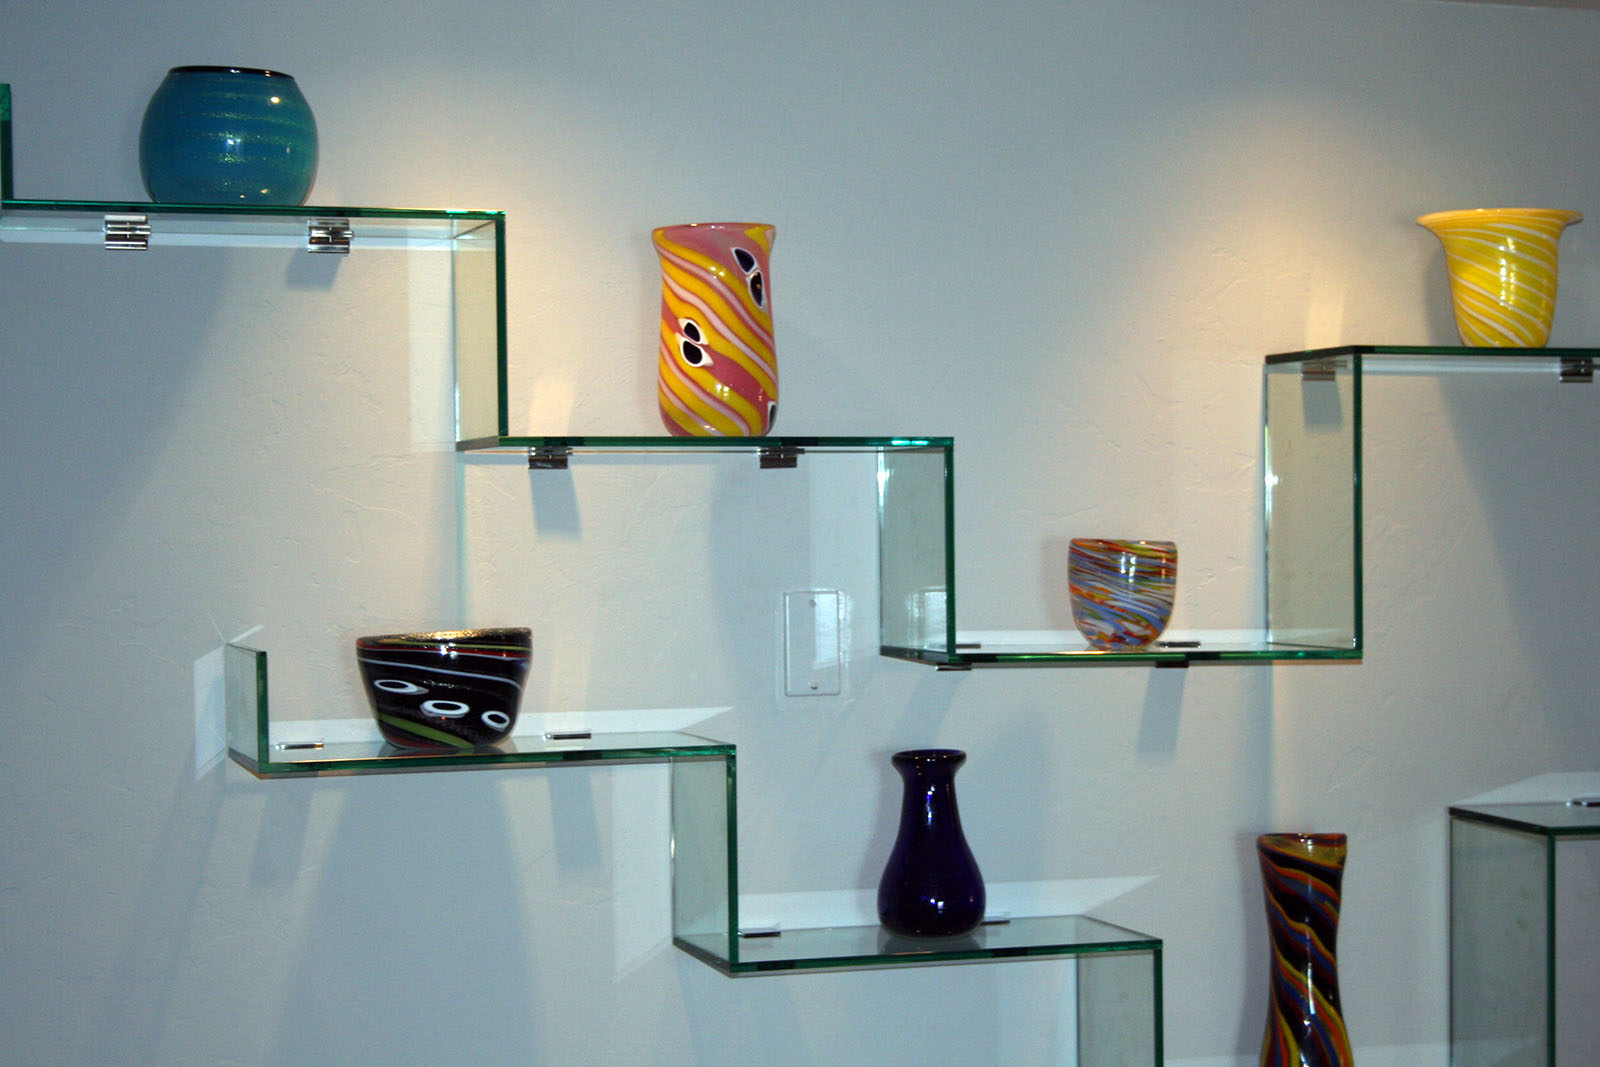
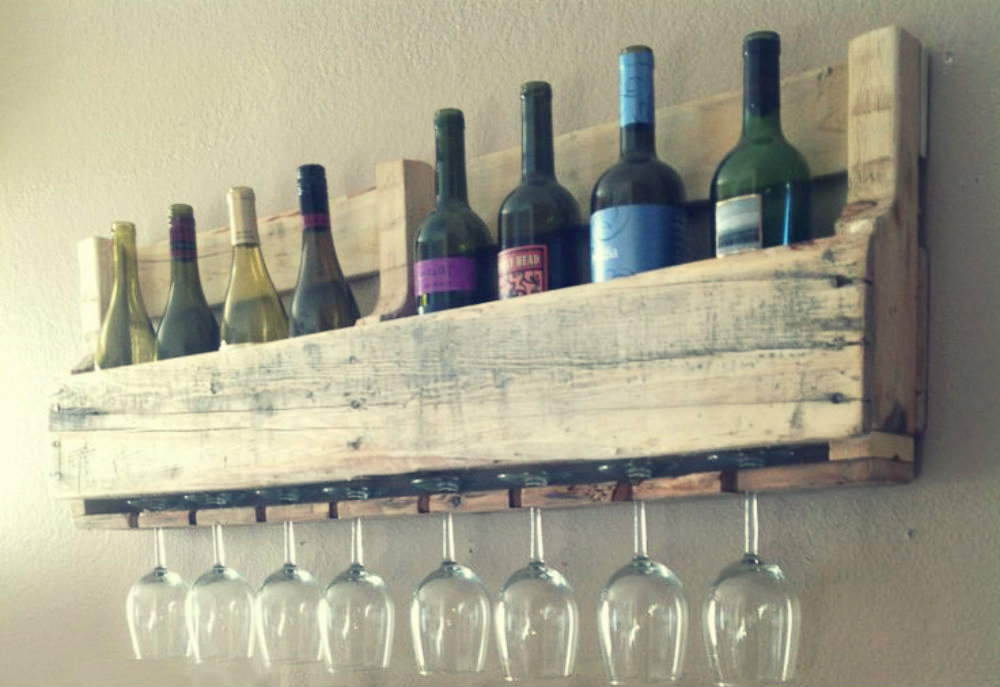
- 50 photo ideas: making shelves with your own hands
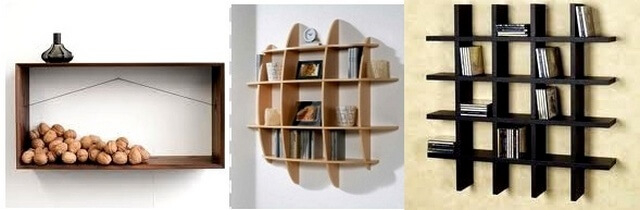
Options for the placement and use of shelves
There are several types of shelves depending on the type of their placement.
1) Floor – installed on the floor. High structures are additionally attached to the wall. They are not stable, it is better to be on the safe side. This type mainly includes shelves for shoes, flowers, books, TV or small items and decorative elements. High floor shelves (more than 1 meter) are called racks.

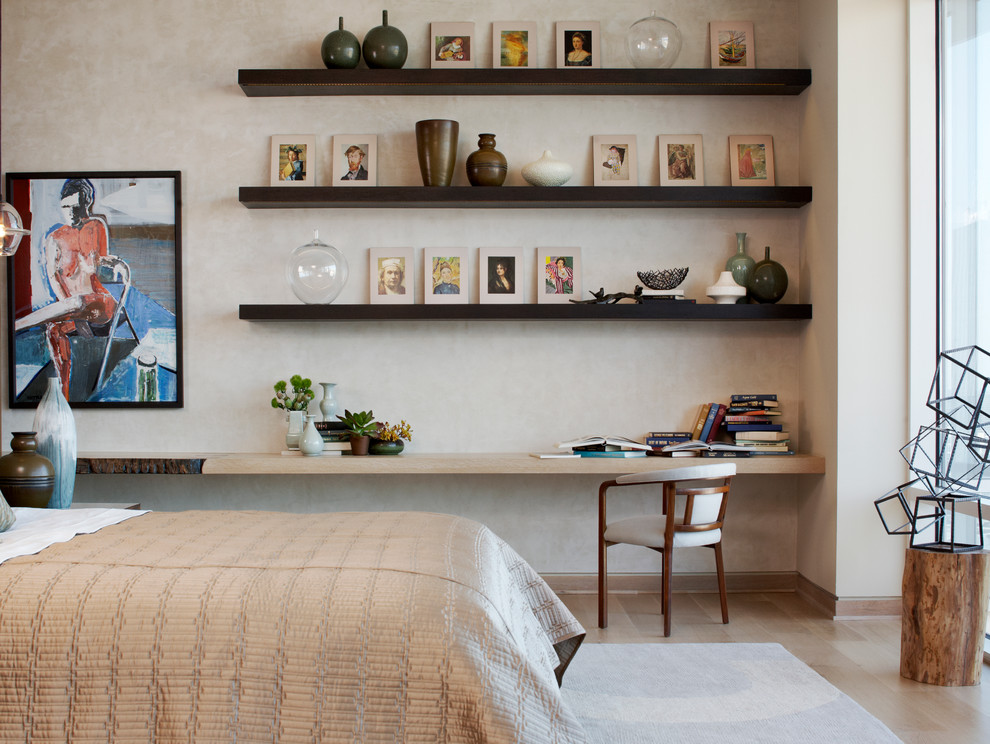
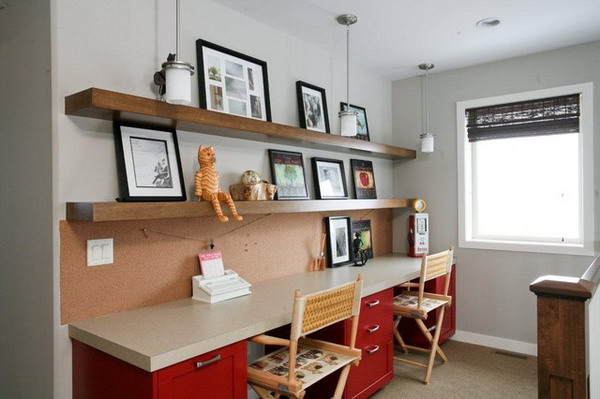
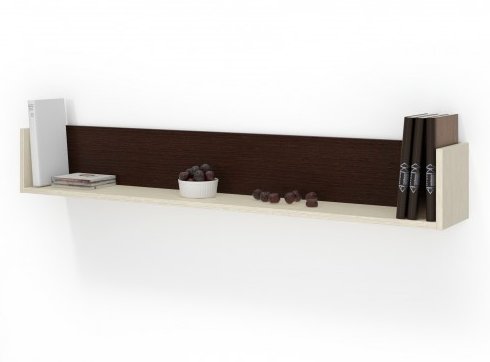
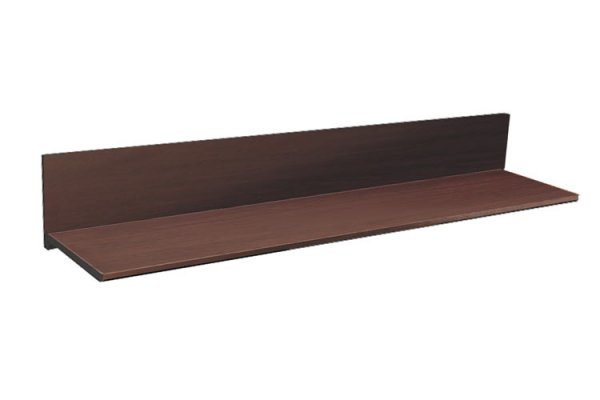
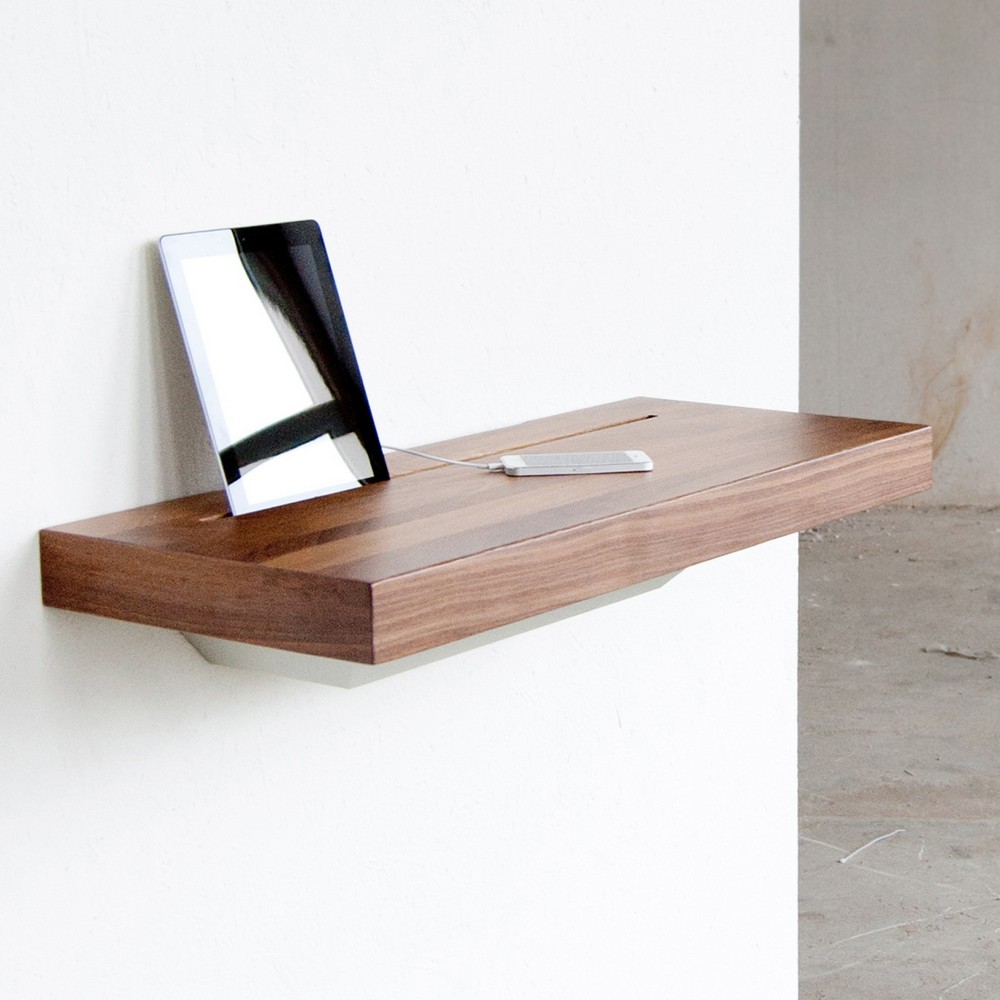
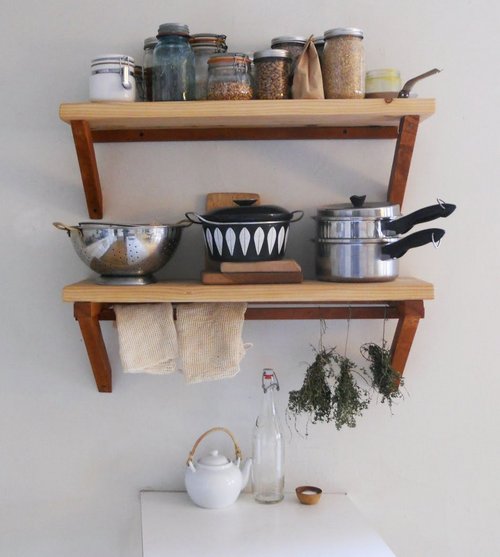
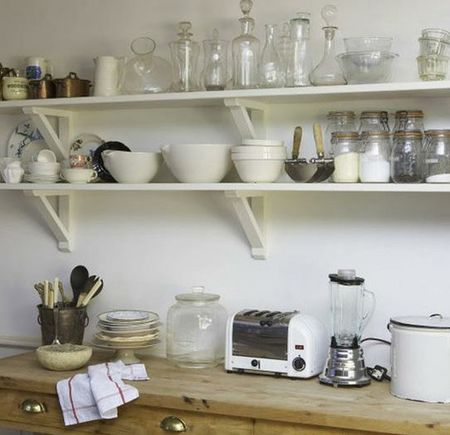
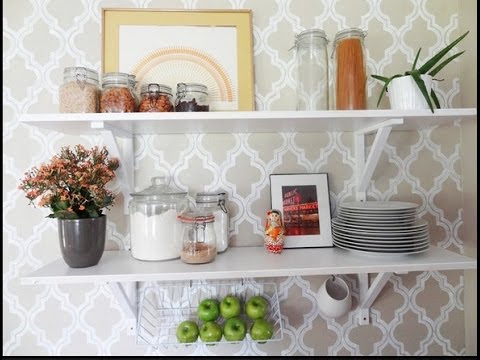
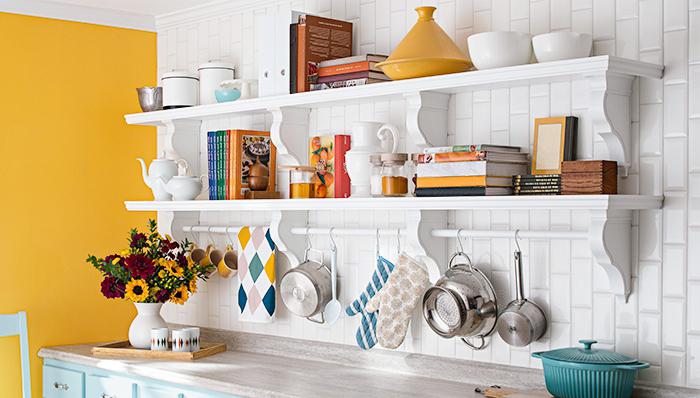
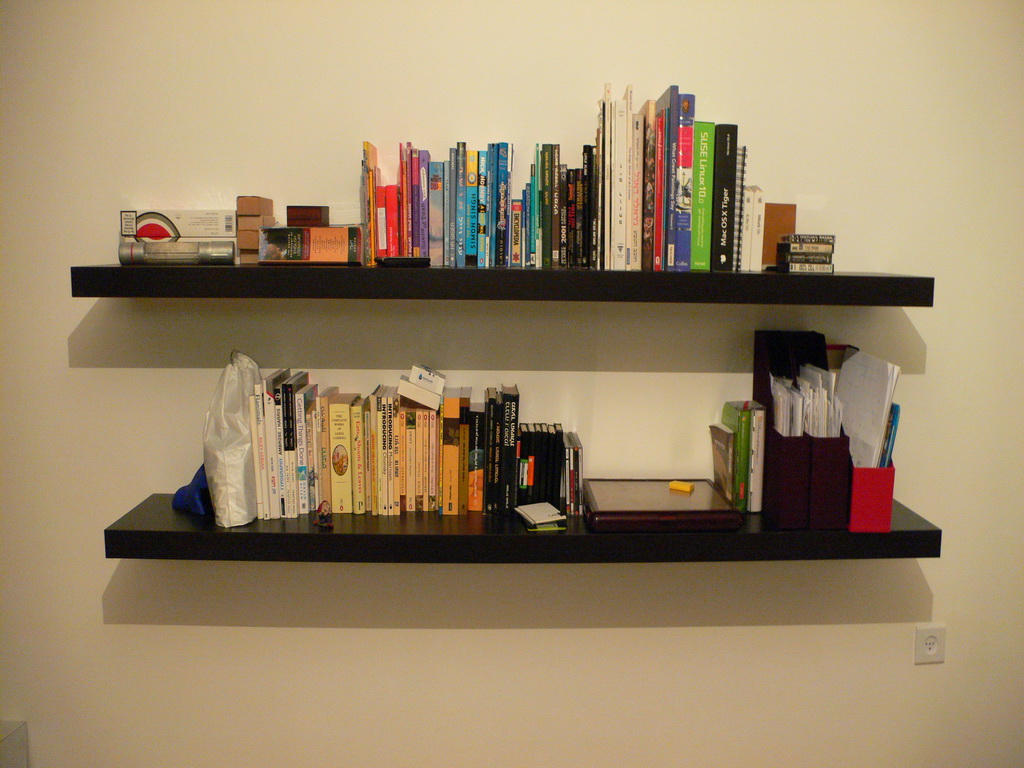
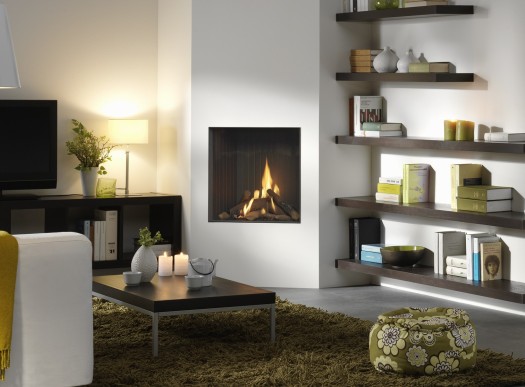
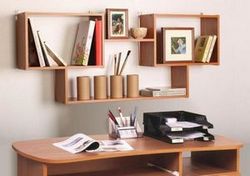
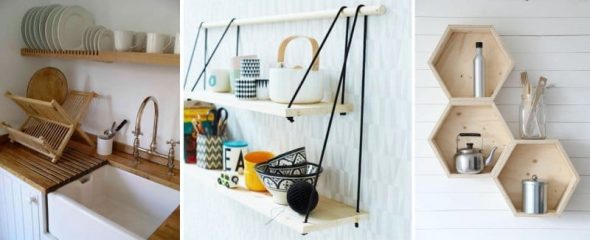
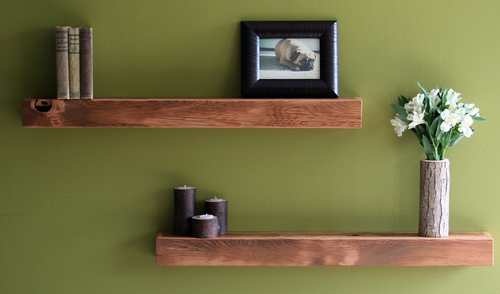
2) Wall-mounted – attached to the wall using special fasteners. Designed to store books, decorative elements, photo frames, family photo albums. In the kitchen, shelves often contain containers with spices or other kitchen utensils. In the bathroom, jars with toothbrushes and toothpaste, combs, hair dryers, towels, etc. are installed on them. In the hallway, a wall shelf will be an excellent storage place for hats, gloves, umbrellas, handbags.
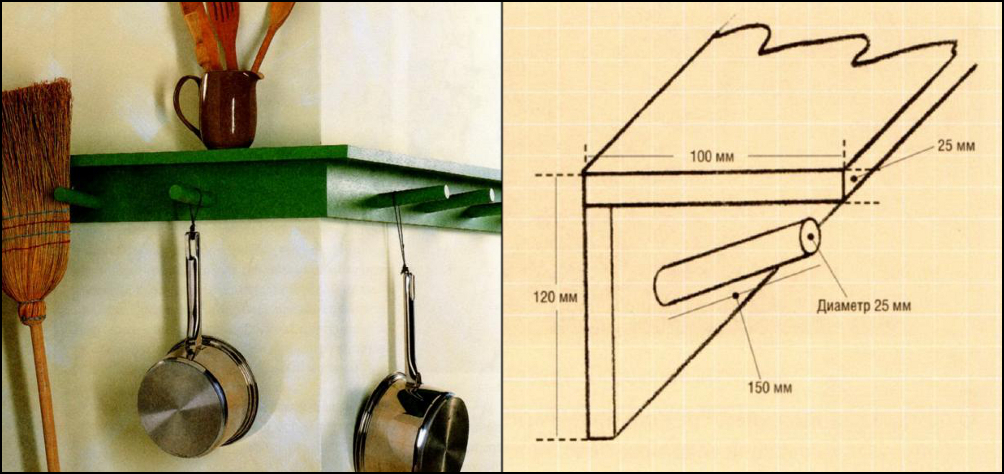
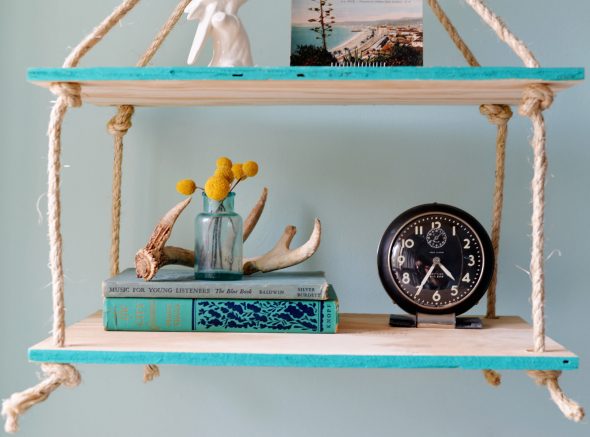
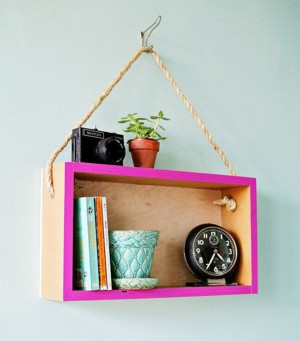
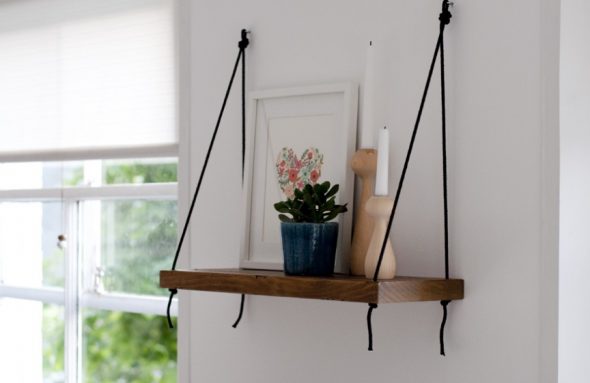
3) Suspended - they are suspended from ceiling beams, pipes running under the ceiling, or are attached directly to the ceiling. Suspended models are more often used in the bathroom and kitchen, where the pipes are located under the ceiling and are not hidden in decorative boxes. Use in the bedroom or living room is also appropriate.
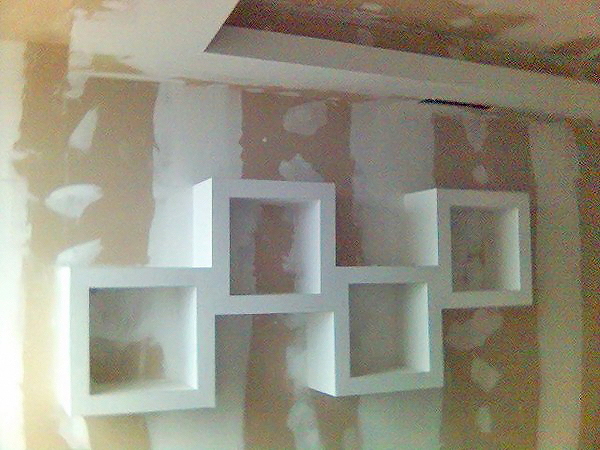
Design and construction. Types of products
The design of the shelf should be fully consistent with the interior of the room, otherwise it will look like an unnecessary object. To avoid inconsistency, you need to choose the type that will harmoniously complement the interior.
| Types of shelves
| Description
|
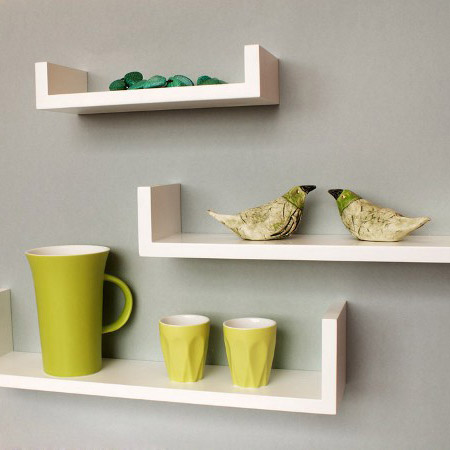
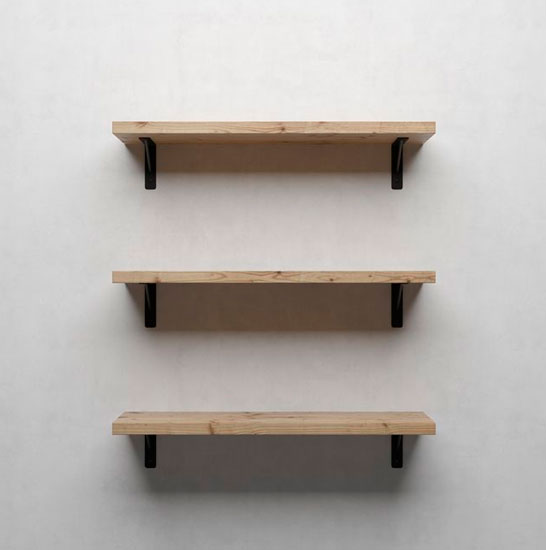
| Classic model
| Restrained minimalism and standard form are the main features of this type. They fit perfectly into classic interiors, offices, cabinets, libraries. It is easy to make a classic shelf with your own hands. Feel free to get to work.
|
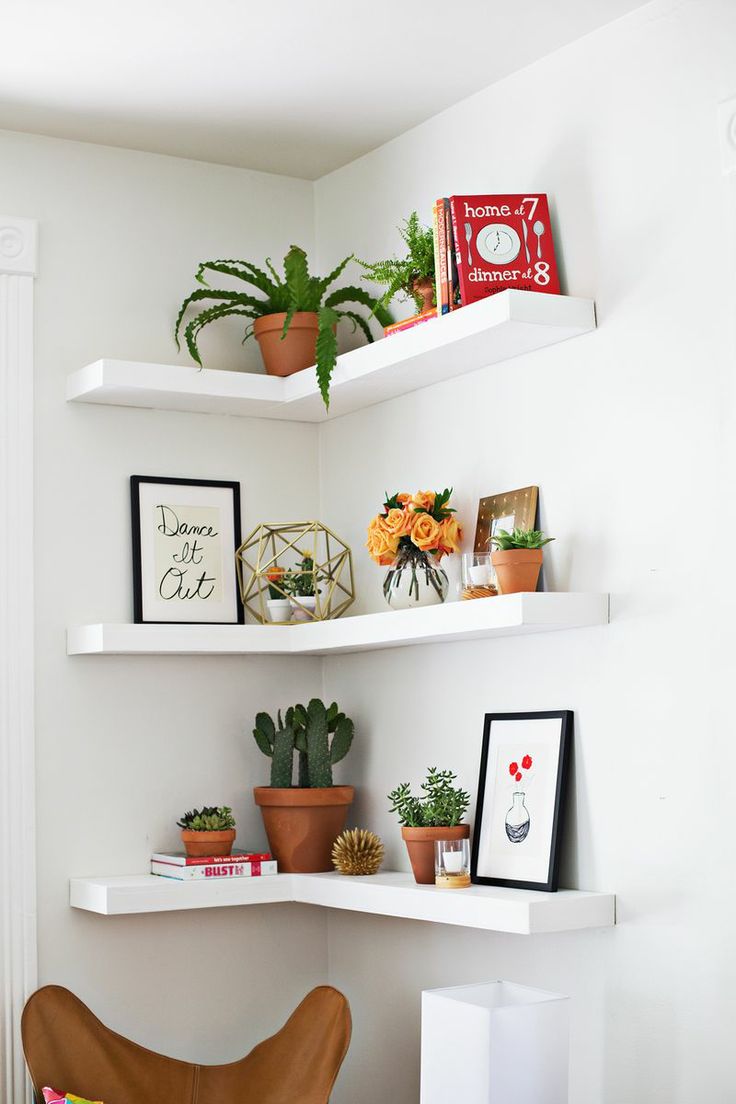
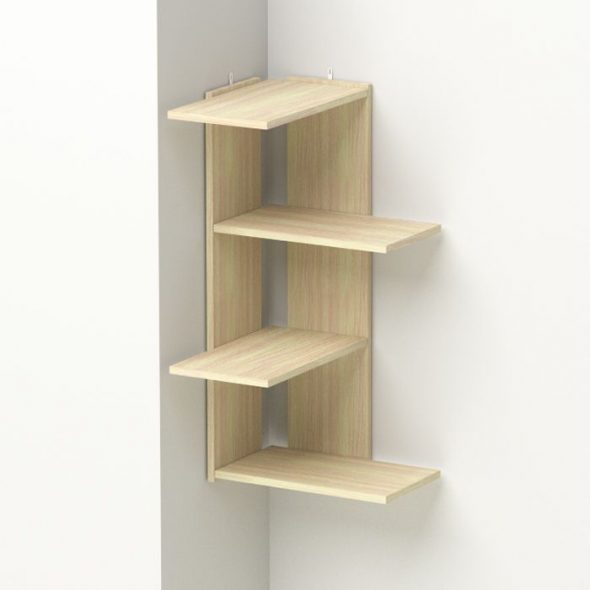
| Corner placement
| Corner structures are made in a classic style. They are convenient in rooms that have a small area (bathrooms, kitchens), but they are also appropriate in large rooms. Corner shelves are divided into two types: internal and external. The latter are installed on a protruding corner, which makes them unique. Their creation is somewhat more difficult than classic ones, but not too much.
|
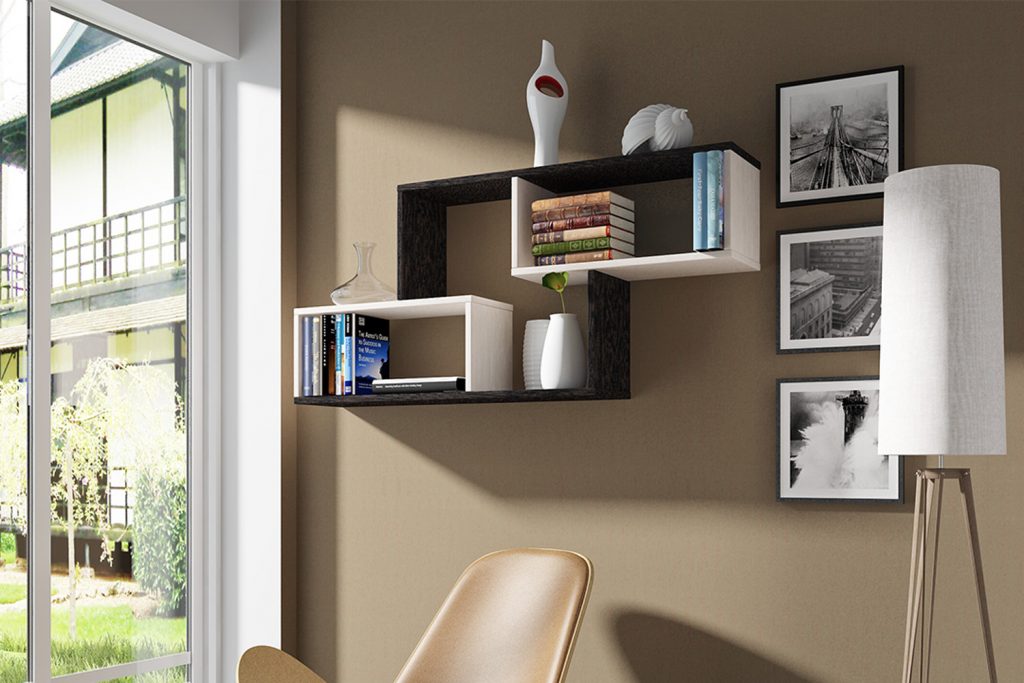
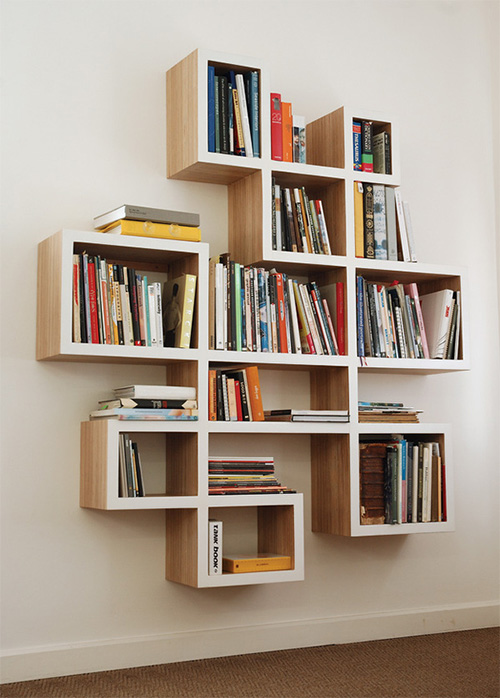
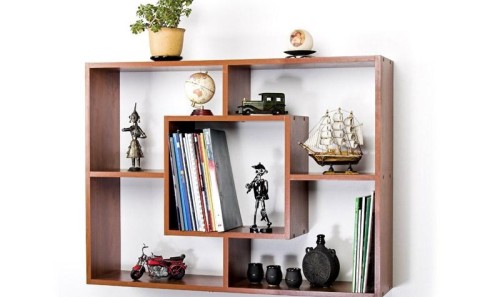
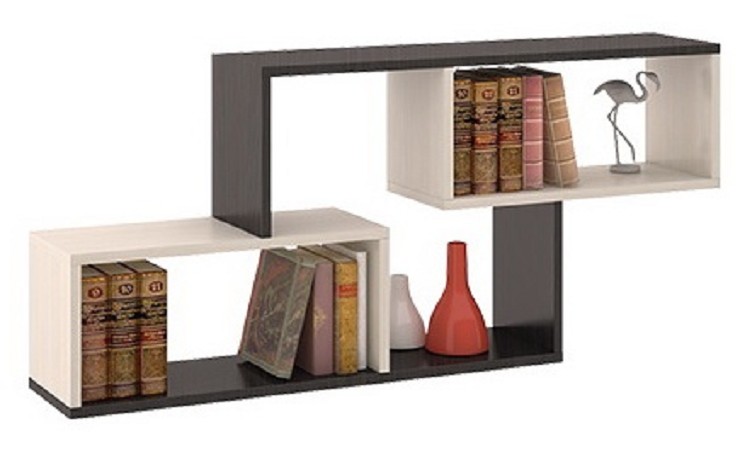
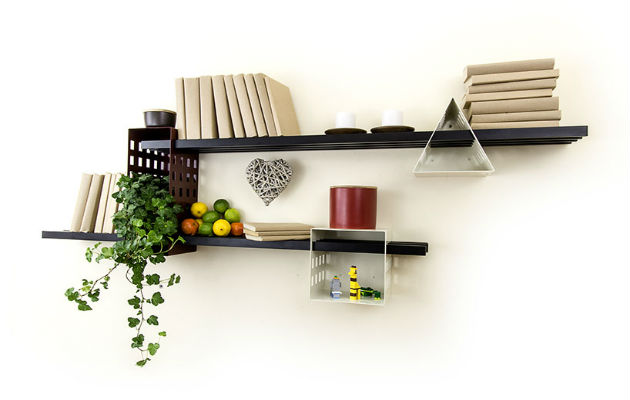
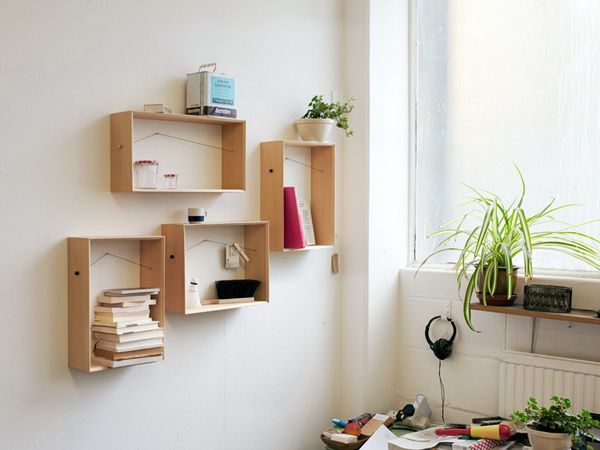
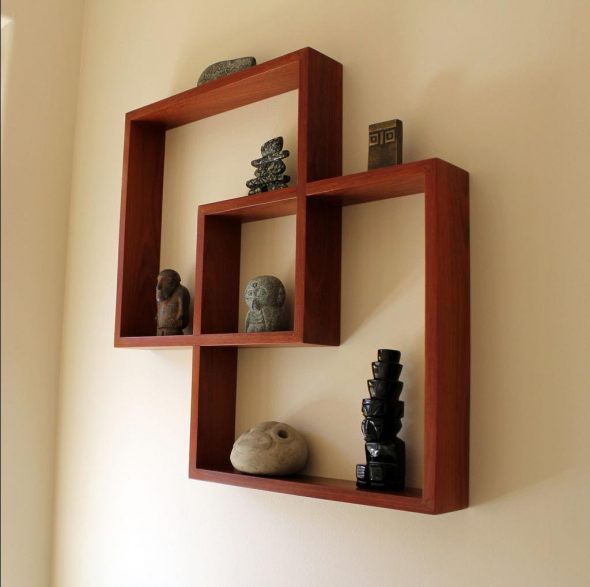
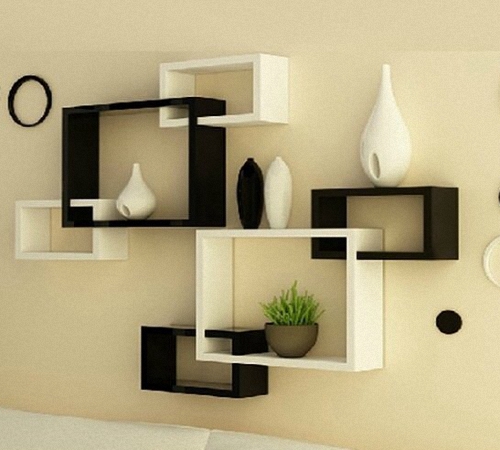
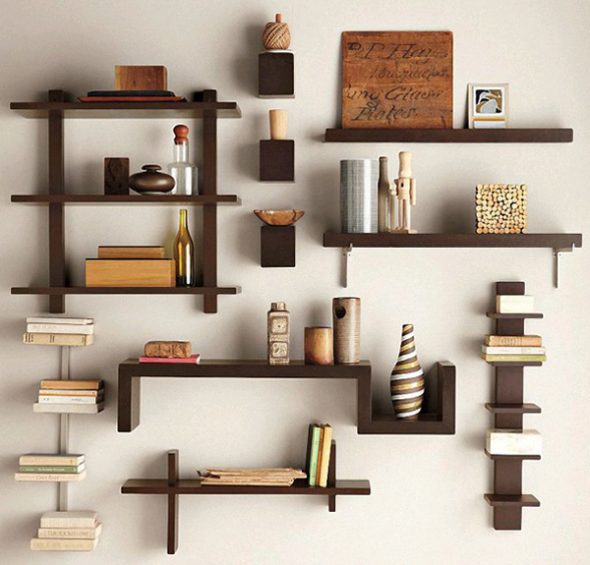
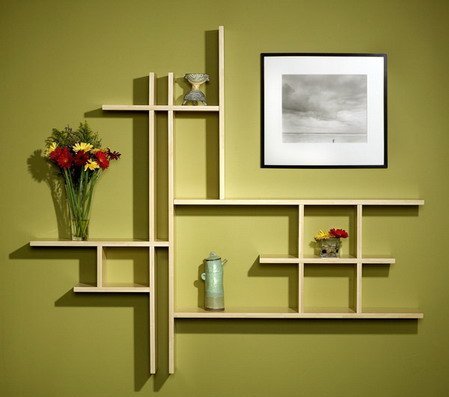
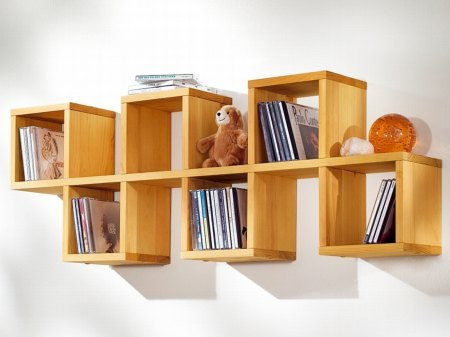
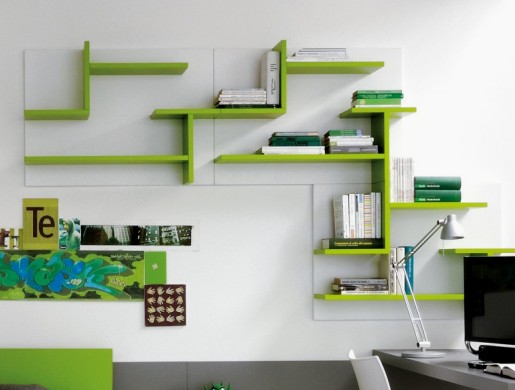
| Moduses
| This type of shelves is a structure made of different materials of different lengths and widths. Modus shelves create a 3D effect due to their volume. Abstraction is the main feature of modus. They will decorate any room in a modern style. A well-thought-out project is easy to assemble, so you can make such shelves with your own hands.
|
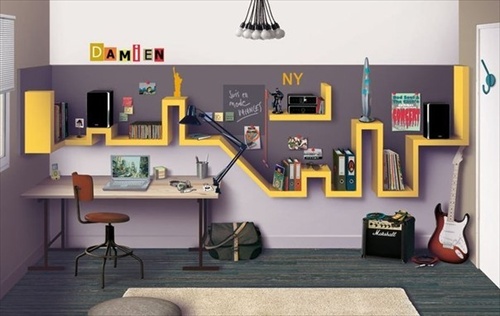
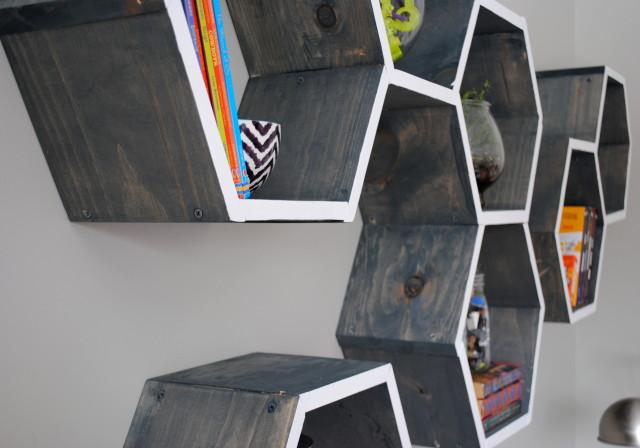
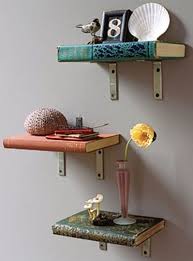
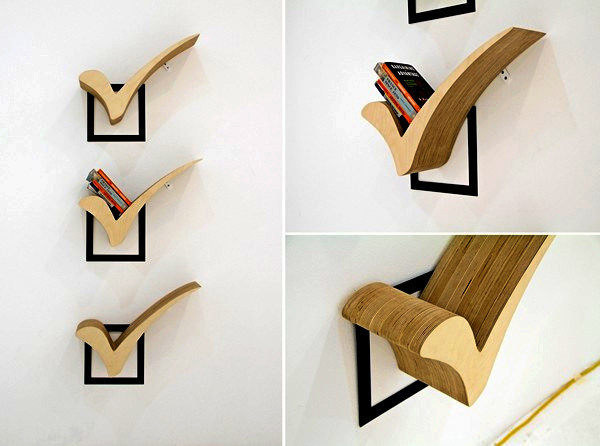
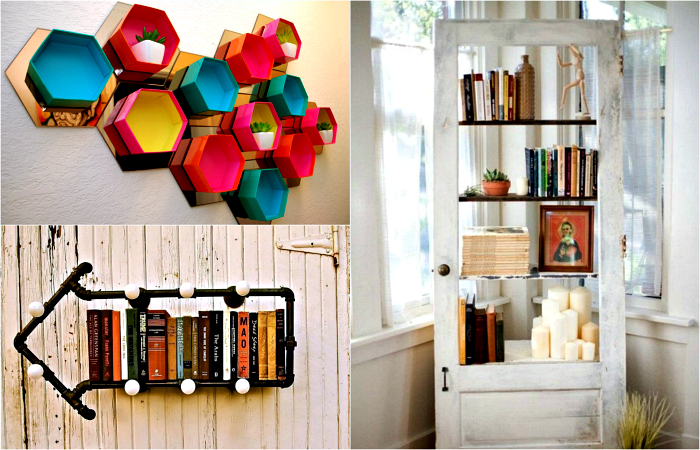
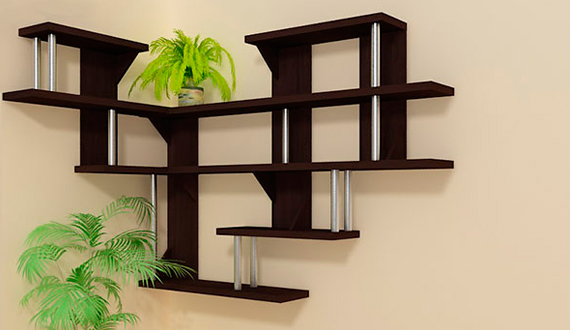
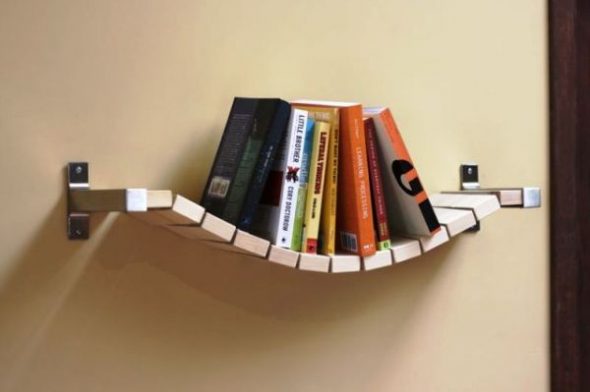
| Exclusive
| This category includes all unique shelves that have the most non-standard solutions. It is not easy to create such a masterpiece yourself. But you will find the answer to the question of how to make an exclusive shelf?
|
Choosing the material?
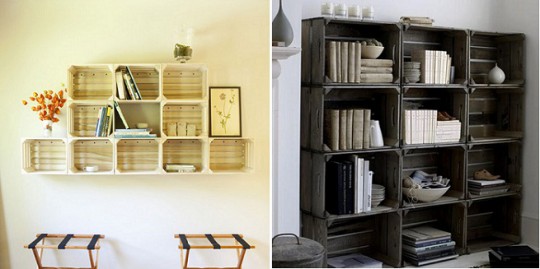
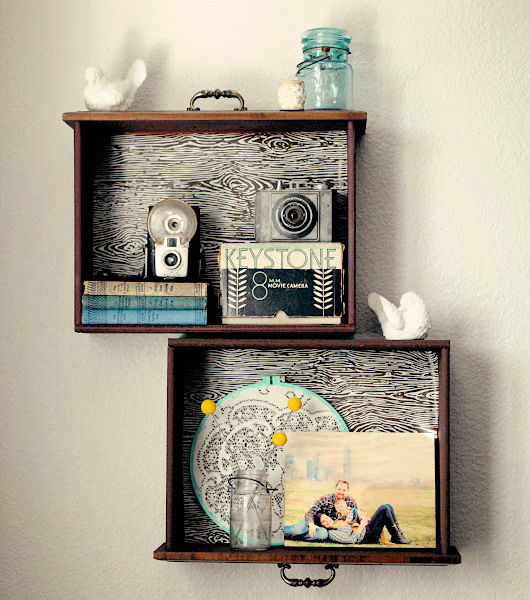
Traditionally, wood is used to make shelves, but metal, plastic, glass and even cardboard materials are also suitable. When choosing a material, you also need to rely on the interior of the room. Perhaps, things that have already served you and are simply lying in the pantry will suit you, then the costs for the shelf will be minimized.
If you found an old ladder, you will get an original book shelf. In this case, you only need to process the appearance of the ladder and make fasteners. The rustic-style book shelf is ready. As you can see, making shelves on the wall with your own hands is simple and easy, the following examples will once again confirm this.
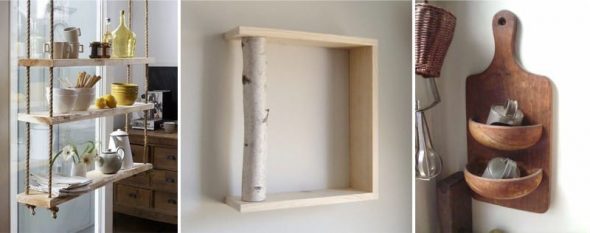
Perhaps there is a large spool lying around in the pantry, on which a rope or wire was once wound. Now it will make a great floor shelf. The spool needs to be processed, all unevenness and roughness removed, then covered with stain and varnish. If you want to paint it, then it is better to treat it with a primer, which will even out the wooden surface, then the paint will lay down perfectly.
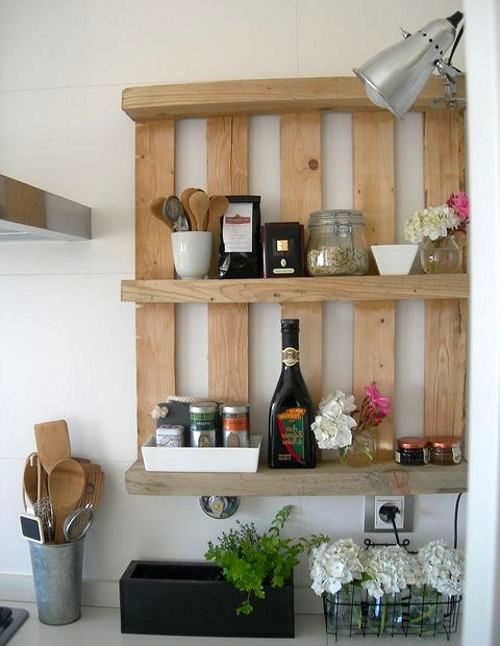
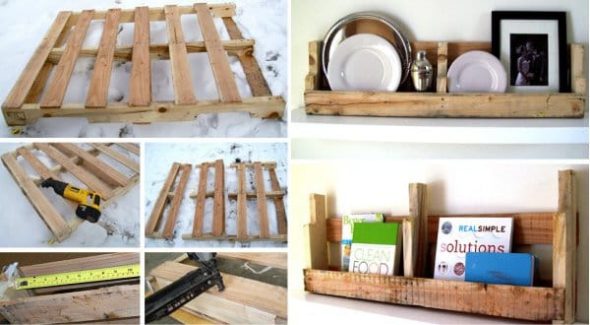
An old pallet that just takes up space, treated, painted and installed vertically on the ground, will become a beautiful shelf for outdoor flowers. They create structures of various types. By sawing the pallet into pieces, you will get several shelves that can be hung on the wall, both outdoors and indoors. Here is another option on how to make shelves on the wall with your own hands, for your piggy bank.
Old water pipes, left gathering dust since Stalin's time under the pretext of "maybe useful", have finally come in handy. From such pipes, which have a vintage look, you can make an excellent shelf for books or other things.
You can find the most unexpected things in your pantry or attic that can be used as shelves, giving them a second life.
To Buy or to Make Your Own? That is the Question
You don't have to rack your brains and go on a trip to furniture stores to find something that might suit you. The option that you will be able to find the right shelf is not excluded. But, most likely, it will be approximately similar to the one you imagined and its cost, perhaps, will also not be what you expected. To save yourself from disappointment and save money, you can make shelves with your own hands. Why is this option better?
- As stated above – savings. Shelves made from materials you have at home or old unnecessary things significantly reduce costs.
- The ability to create a unique, inimitable shelf design.
- Reliable assembly - solid construction;
- Use of strong, reliable materials.
Materials needed to create a shelf with your own hands
To make a shelf, you can use boards, bars, impact-resistant types of glass, pipe remnants, plastic parts, various wooden structures (food boxes, pallets, Soviet-era TVs), and cardboard.
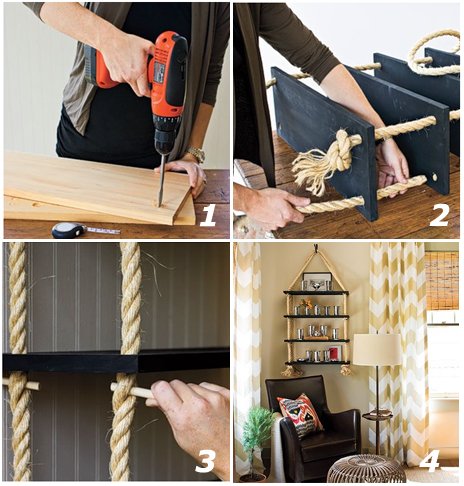
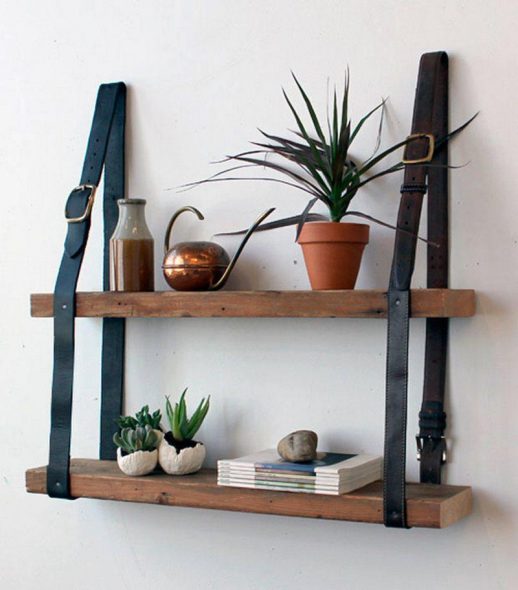
All the parts of the shelf are fastened together and traditionally screws or nails are used for this. But there is a rope method, when all the components of the structure are successively connected with a rope. An equally original way of fastening each part of the shelf is to use bottles, preferably of the same size. And if you put lanterns in the bottles, the shelf will acquire an unusual look.
If you do not have the above materials, you should go to a hardware store to buy them. In the store, you can also buy fasteners, stain, primer, paint, nails or screws and everything you need to make a shelf.
Necessary tools
You can't assemble a shelf with your bare hands. We'll tell you about the tool that will be useful for making a shelf later.
1) The very first wood tool that comes to mind is a jigsaw, but a simple hand saw will do. A jigsaw is a convenient, dexterous, fast tool, with its help the blanks for the shelf will be made in a matter of minutes.
2) A sanding machine or sandpaper of different abrasiveness will help sand the surface of each shelf part. A sanding machine will cope with this task quickly, unlike sandpaper, which takes time to work with.
3) Electric drill – helps to drill holes both in the shelf components and in the wall for mounting.
4) Screwdrivers or a power drill – needed to screw in the screws, connecting the components of the shelf together. Consider the feasibility of using a power drill if you need to screw in four screws. You can handle them with a screwdriver.
5) Self-tapping screws, screws, confirmats - connecting elements. Upon completion of work on the shelf, they are masked with plugs matched to the color of the shelf.
6) Varnish for wood coating – this coating should be of high quality. The shelf will be used regularly, so its appearance should be preserved as long as possible. We recommend alkyd varnish for wood with a urethane additive, which ensures durability.
7) Paint brush – needed to apply paint and varnish coatings to the surface of the shelf. Choose a medium-sized brush.
8) A square is a special measuring tool, the design of which has a right angle. It allows you to check and arrange the shelf parts relative to each other at a right angle. If you do not have a square in your arsenal of tools, you can use improvised means: ceramic tiles, a sheet of cardboard, a photo frame, etc.
9) Hand router – this tool will help decorate the shelf with patterns, give straight lines an unusual shape. Decorative patterns will make the shelf even more beautiful.
How to Make Wall Shelves with Your Own Hands: Step-by-Step Instructions
Let's consider making a classic wall shelf out of wood.
Step 1
Determine the location. Where will the shelf be located? What material is needed to make it? Its shape, design and dimensions. If you use improvised materials to make it, determine the size based on their dimensions and quantity. When buying materials, it is different, buy as much as you need.
Step 2
When selecting wooden boards, make sure that they are the same color. When processing wood, dark fibers appear more. This stage must be approached responsibly, otherwise you will get a shelf whose components will have different appearances.
Step 3
Marking and preparing shelf parts for assembly. The boards are laid on a flat surface for work, after which the markings are transferred to them according to the drawing.
Step 4
Check the correctness of the marking. Once you have made sure that the cut points are indicated accurately, you can start sawing.
Step 5
It's time to start processing the parts of the future shelf using sandpaper or a grinding machine. The surface of the wood should be smooth and free of roughness so that the paint and varnish coatings can be applied just as smoothly.

Step 6
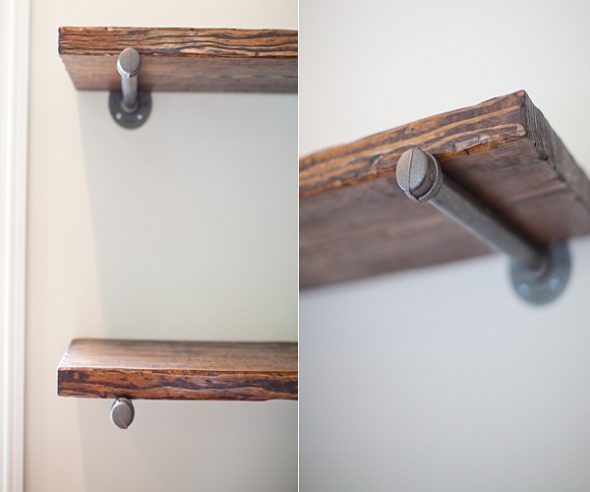
After the shelf parts have dried, you can start assembling. Assembly begins with the bottom board, which is placed on a flat work surface. Mark the holes on it. Step back approximately 8-10 mm from the board cut line in two places and draw a straight line parallel to the edge. Mark points along the marked line at a distance of 5 centimeters from the edges of the board. Drill holes for screws at these points. When the marks are ready on the bottom shelf, make the same markings on the top of the shelf. The holes are ready, all that remains is to screw in the screws. Take the bottom part of the shelf and install it perpendicular to the work surface. Then attach the sides and screw them on. Place the resulting structure with the bottom part on the table and screw the top part to the sides. Screw the fasteners to the sides from the back side adjacent to the wall.
Decorating
Decorating is no less important a stage in making bookshelves. Of course, you can leave it in its original form, but to add sophistication and uniqueness to your creation, you can use minimal decorative elements. For example, the front parts of the shelves can be covered with thin gold or silver strips, which are sold in all stores that offer decorative elements. Gold is best combined with light-colored wood, and silver can be chosen for dark shelves. You can also use fabric and rope overlays.
It is also possible to apply drawings to the side parts of the shelf. Drawings are applied with paint. They are made in the form of a mosaic from scrap materials (coffee, shells, ropes). Visit a decorative utensil shop and you will understand that decorating a shelf is easy.
Give free rein to your hands, turn on your imagination and decorate your home!
VIDEO: Original DIY Shelves Without Nails or Screws
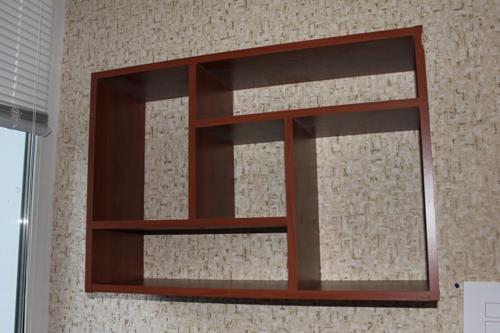
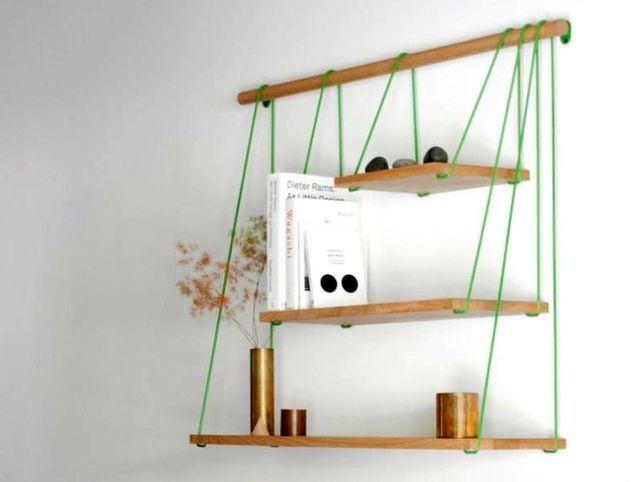
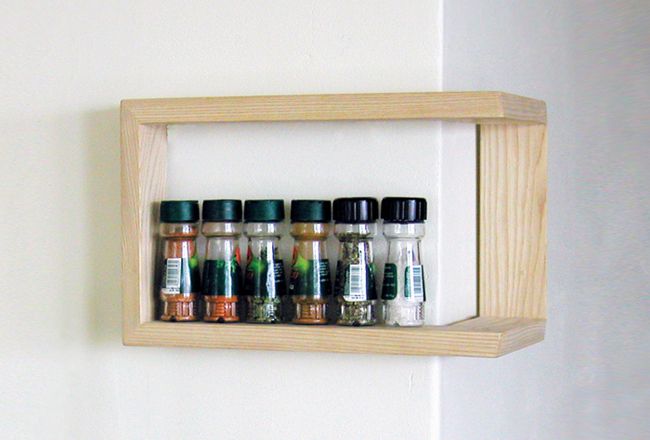
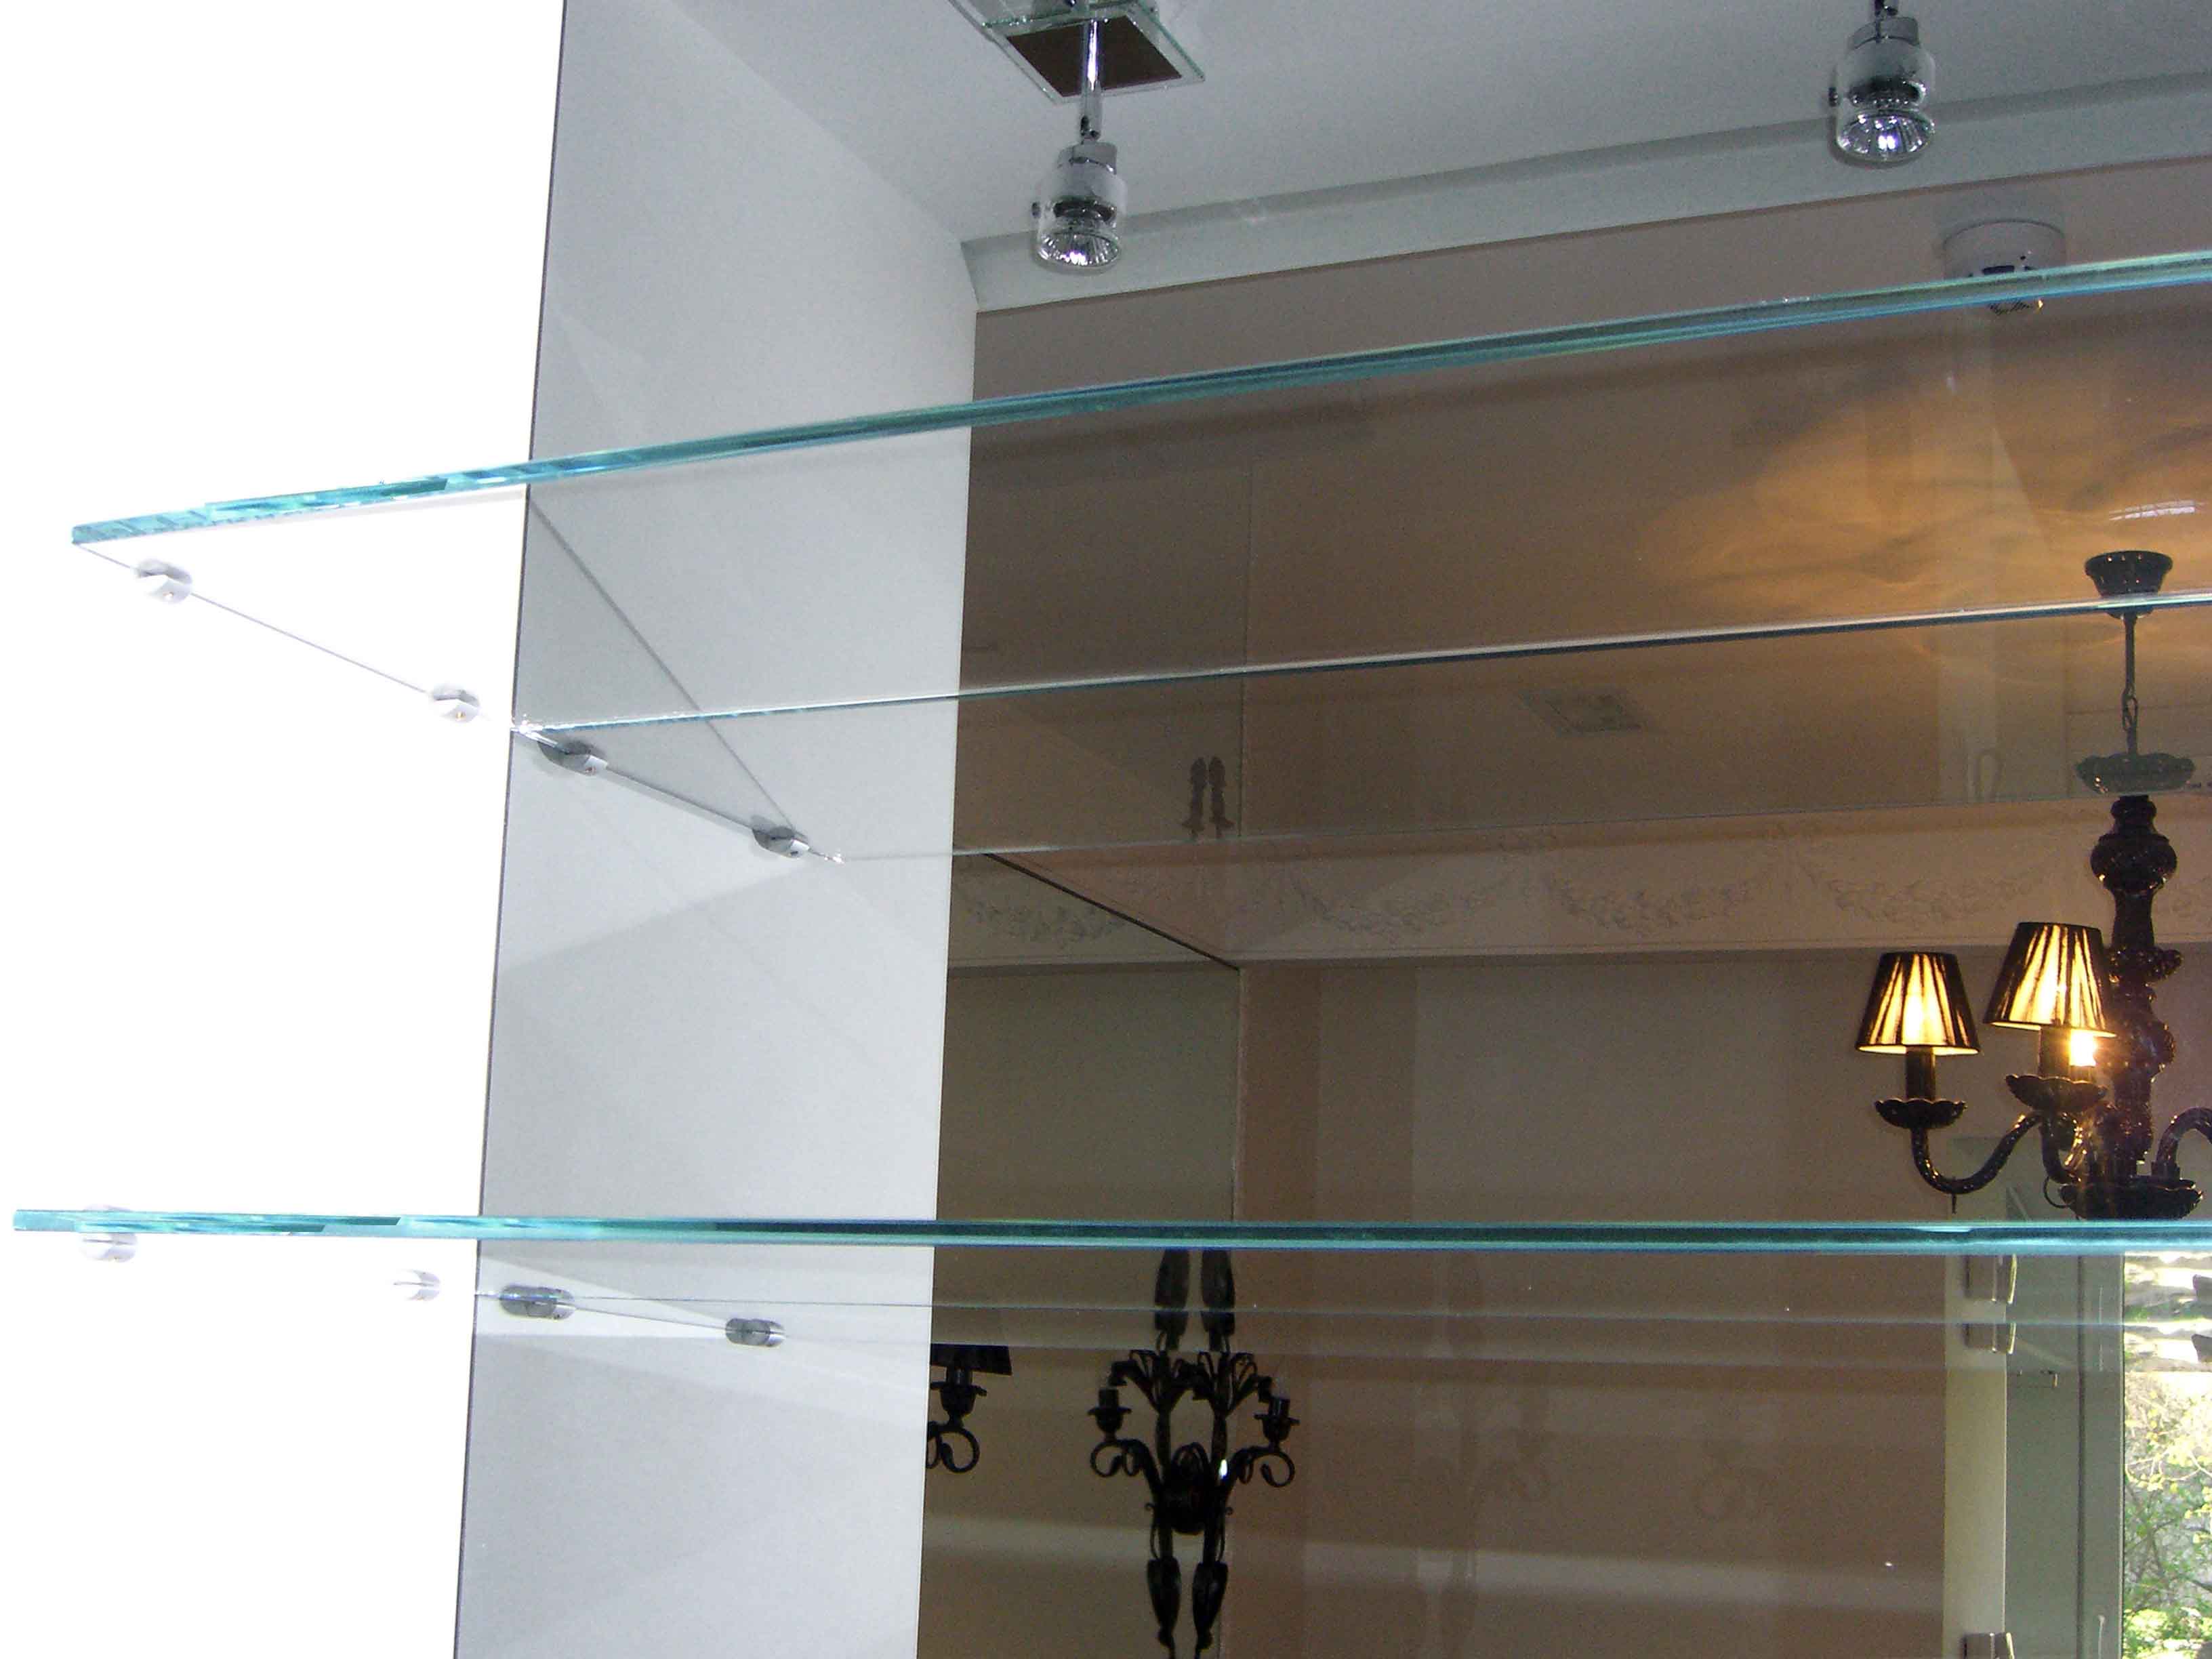
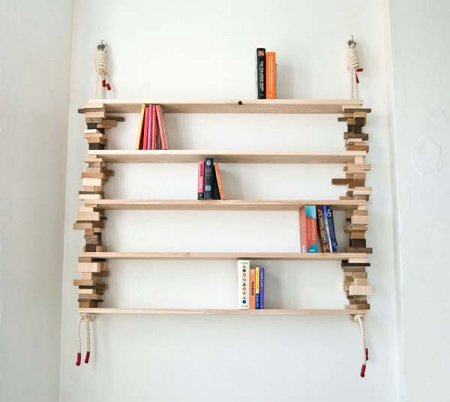
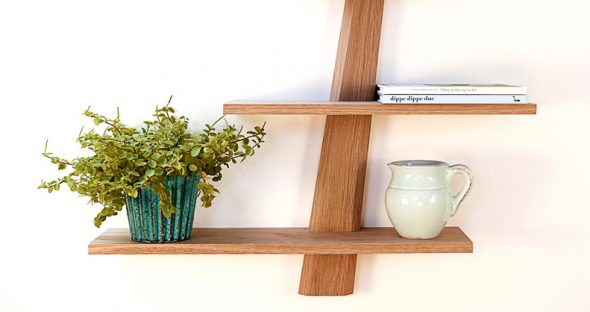
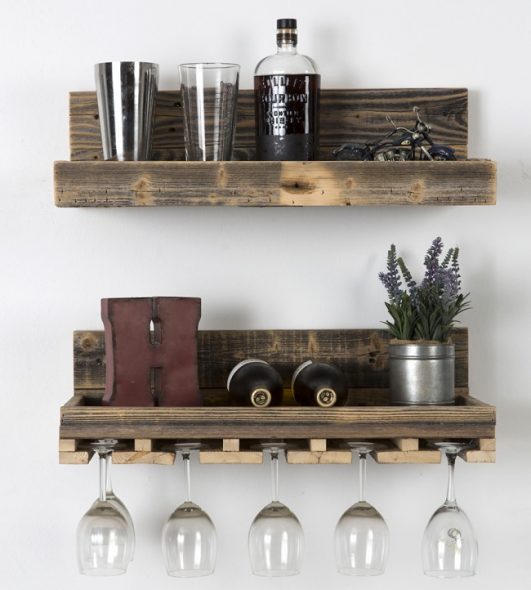
50 photo ideas: making shelves with your own hands