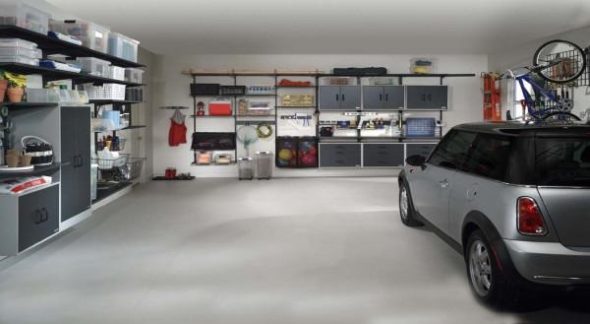
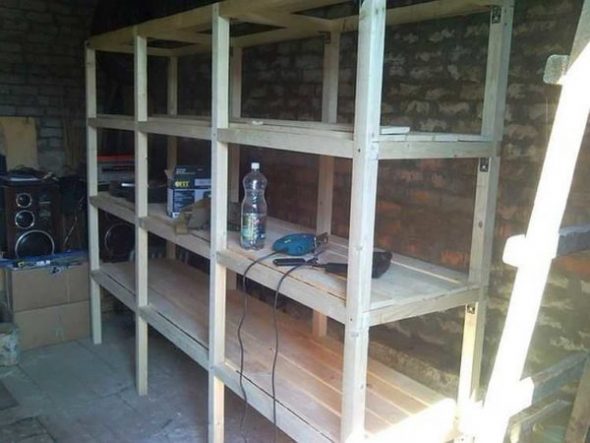
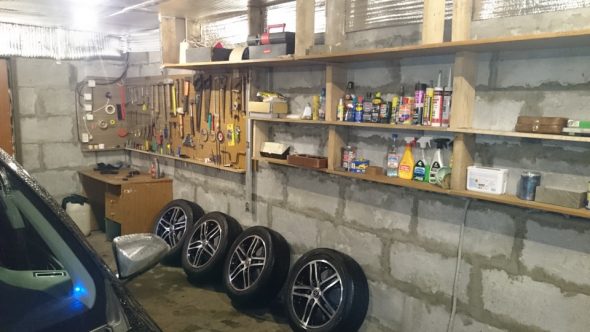
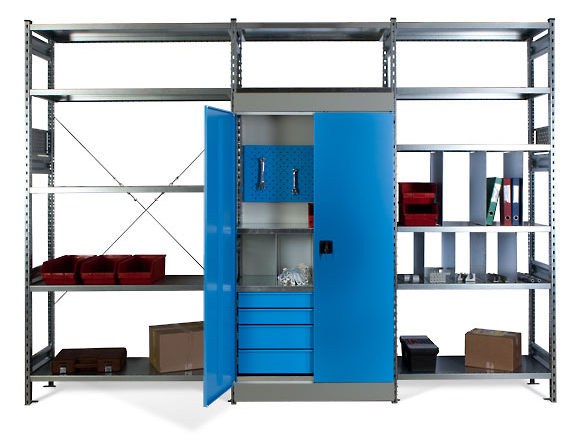
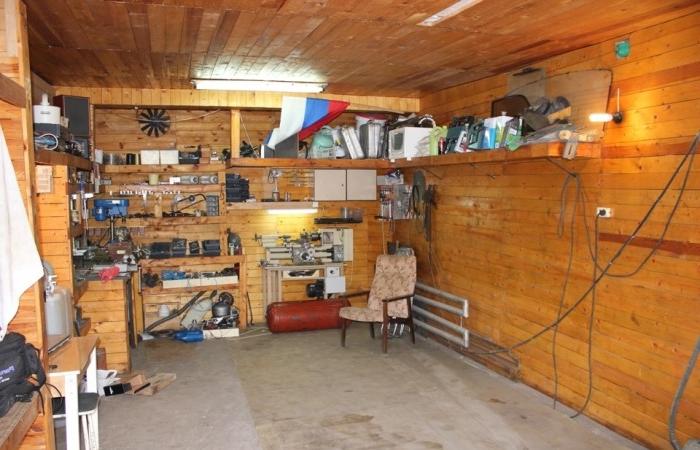
The main purpose of the garage is to store the car. However, this does not prevent car owners from using it for other purposes: storing canned food, tools, household appliances, unnecessary things, car parts. Over time, mountains of various household items accumulate in the room. The garage slowly turns into a chaotic dump, there is less and less space. This is a sign - it's time to organize the space wisely by installing shelves in the garage. They will allow you to rationally place things, save useful space, and improve the interior of the room.
It is quite easy to make shelving in the garage with your own hands. You need to prepare the tools, buy some materials, and free up a few hours from work. In this article, we will consider detailed instructions, some tips, and recommendations for arranging such a structure.
Content
Welded or bolted shelving: which is better?
Before planning shelves for a garage, you need to determine a more convenient way to attach them. Today, two methods are most popular: welded and bolted. Welded technology is usually used for metal structures, bolted - for wooden ones. Both technologies serve well. Such shelves in the garage are convenient to use and can withstand heavy loads. However, they have some disadvantages.
Welded shelves are non-detachable. If the garage plan or purpose changes, simply disassembling the product will not work. Transporting welded shelves is also inconvenient. Their weight can exceed a hundred kilograms. The main advantage of such a design is its reliability. Welded seams firmly fix the elements together. It is not at all easy to achieve their destruction.
Bolted racks are less stable. They cannot provide sufficient rigidity. For stability, the structure must be additionally attached to the wall. However, this method of fastening has a significant advantage - mobility. Shelves can be disassembled, assembled, and hanging shelves of various sizes can be made. It is impossible to give a clear answer to the question of which technology is better. Each person will value their own parameters.
Deciding on the design
It is quite easy to make shelving in the garage with your own hands. The most important thing is to clearly define your own desires, needs, plan the design and type of construction in advance. Such tasks will be within anyone's power, especially if you have a great desire to do something with your own hands.
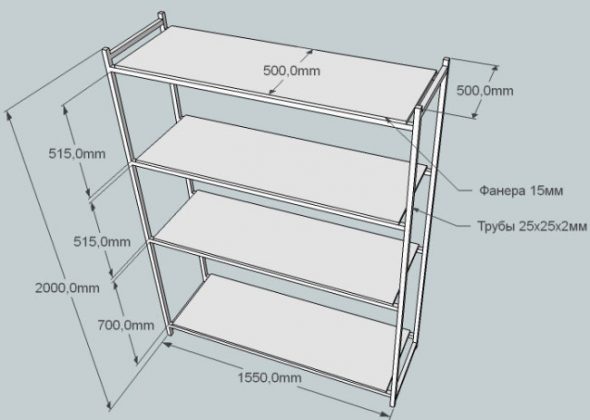
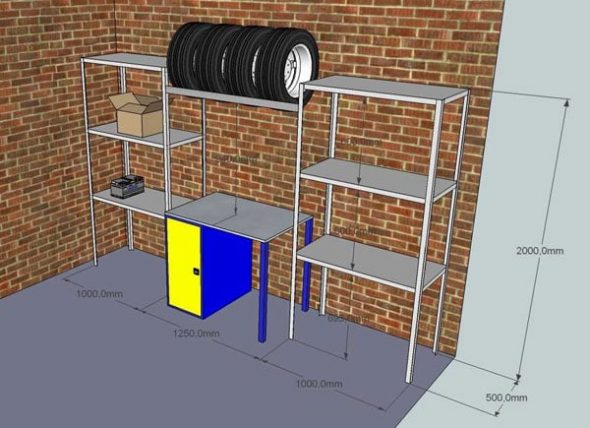
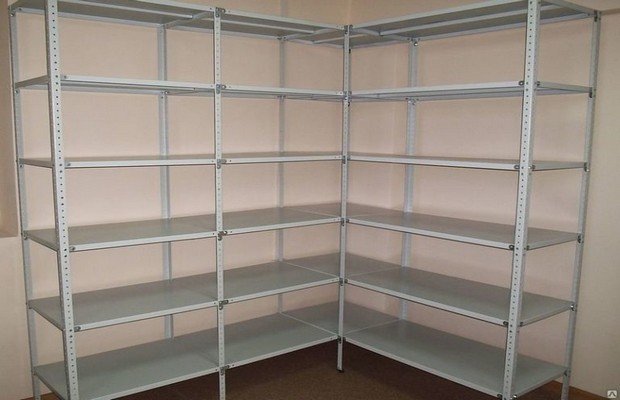
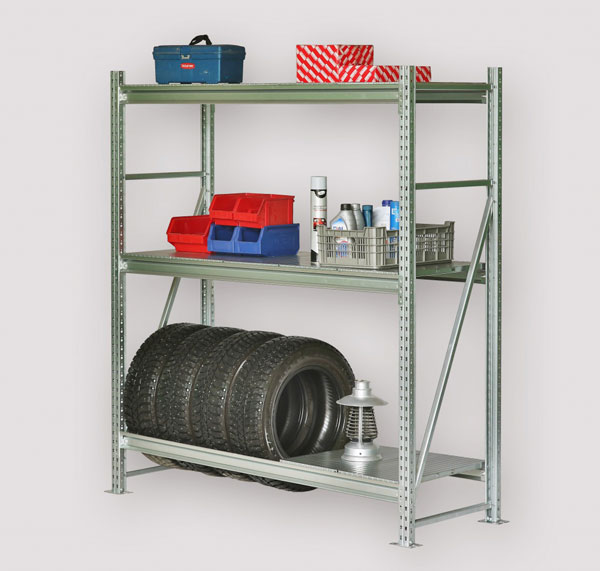
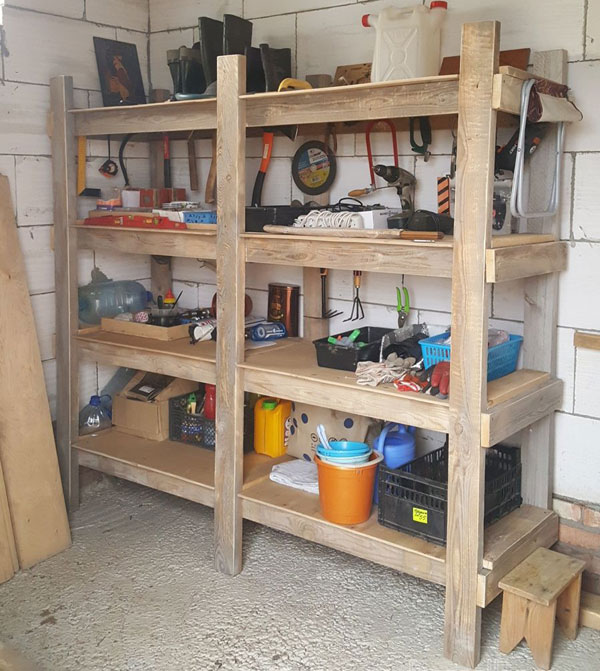
The rack structure has three elements: vertical posts, shelves, crossbars. In some cases, transverse ties are used. They are not mandatory. They are only needed to increase the rigidity of the frame. To determine the exact design option for the future rack, follow these recommendations.
- The depth and height of the shelves are arbitrary. These parameters are selected only based on the purpose of the niche. Each shelf can be intended for storing a certain type of things. It is better to decide all this in advance;
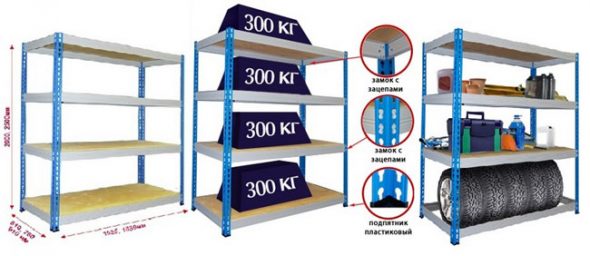
- The distance between the vertical posts should be chosen based on the rigidity of the material. For very heavy accessories, the distance should be about 1.5 meters. For a long rack, intermediate vertical posts should be prepared. They will make the system more stable;
- The lower shelves should be at some distance from the floor. About 50-70 cm. Heavy items should be stored on them. The optimal height of the remaining shelves will be 37 cm. This is the most rational height, often used in the manufacture of any furniture design.
It is always easy to decide on the design features. Garage owners simply take into account the dimensions and features of the things that will be stored in the structure.
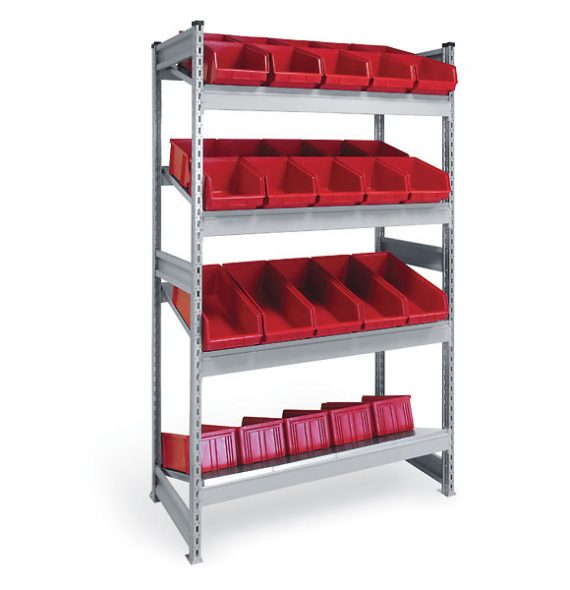
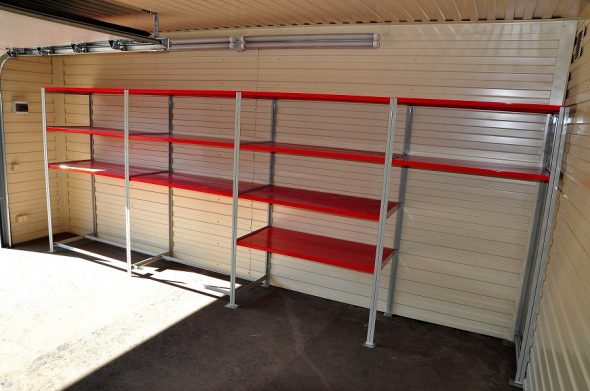
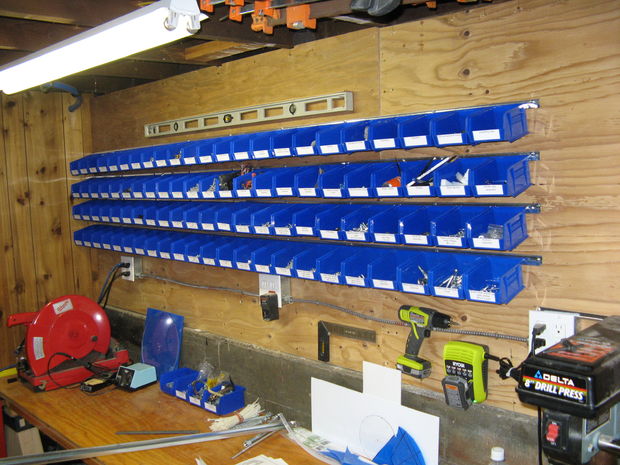
It is a little more difficult to choose the design of the product. The garage is intended for practical purposes. However, this does not mean that its interior should be boring and unattractive. In the garage, you can easily make an attractive interior for little money. In particular, you can decorate the design of the rack with ordinary paint. Today, there are paints designed for any materials. The color for painting should match the overall color scheme of the room. Colored plastic boxes for storing accessories and tools will be a kind of decoration. They are inexpensive and allow you to create perfect order.
Selecting the material
The choice of the main material plays a huge role in the design, frame stability, and practicality of the structure. The rack can be made from different raw materials, each with its own advantages and disadvantages. Let's consider the main types of materials and their features in the table.
| Material | Advantages, disadvantages |
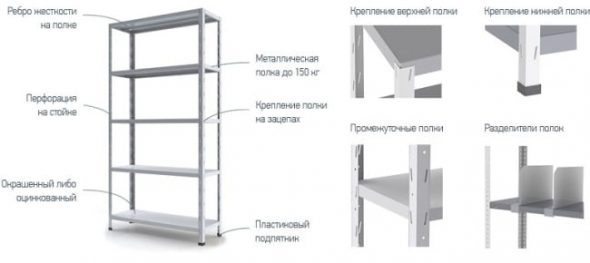
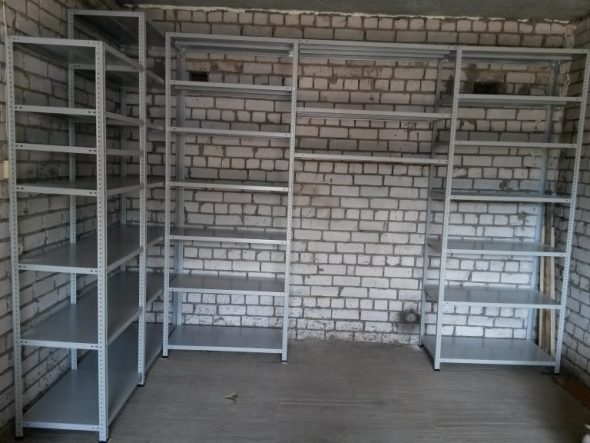
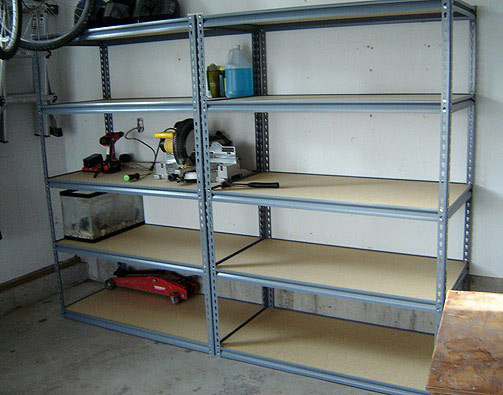
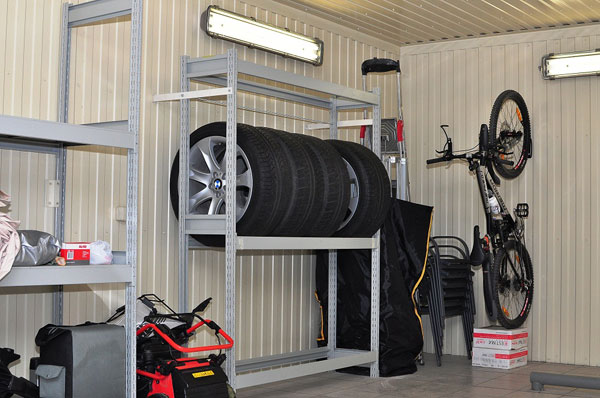
| Metal | Many car owners prefer metal for its durability. This material is durable and can withstand heavy loads. Only high humidity can have a negative effect on it. In a normal climate, metal structures will last almost forever. Another advantage of such raw materials is the ease of maintenance. Products will only need to be periodically wiped with a rag to maintain cleanliness. The main disadvantage of metal is its high price. However, many have unnecessary pieces of metal at their dacha or at their friends'. Metal elements are usually joined using a welding machine. It is not recommended to use it without proper experience. |
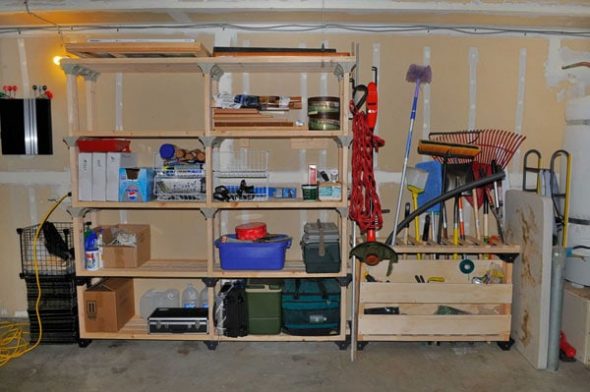
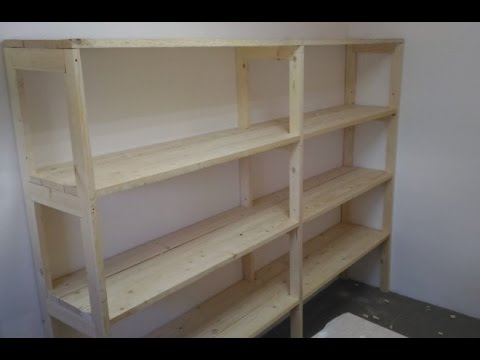
| Tree | Wood is a noble, useful raw material. It makes excellent hanging shelves, racks, storage systems. Wood has a very beneficial effect on the human respiratory system, has an attractive appearance, and is easy to process. Oak, pine, and birch can be used to make storage systems. The frame should only be secured with metal bolts. Wood is relatively inexpensive. It can be purchased at any construction hypermarket. The downside of this option is the difficulty in maintenance. Wood gets dirty, can darken, and rot. It should be constantly looked after. This is not always convenient. To reduce such negative consequences, it is recommended to use special impregnations. |
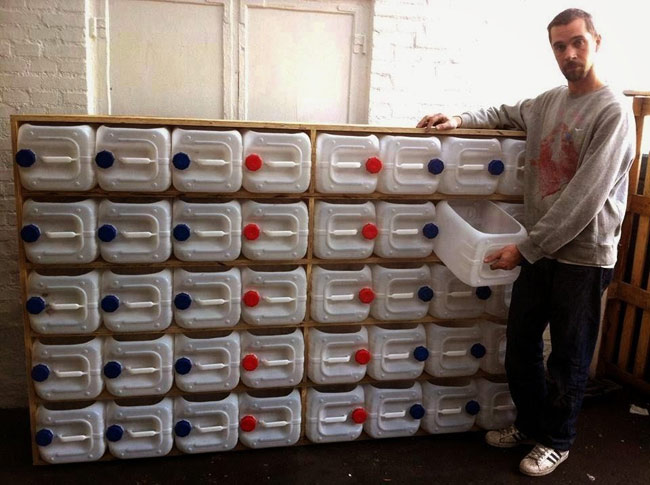
| Plastic | A good option for storing various small items, lightweight accessories. Plastic has been used to make shelves relatively recently. It can withstand no more than 75 kg. This is worth considering! The advantage of plastic is its light weight, mobility, ease of maintenance, and low price. The disadvantage is fragility. It is easy to damage and beat. Plastic is not suitable for storing metal tools. |
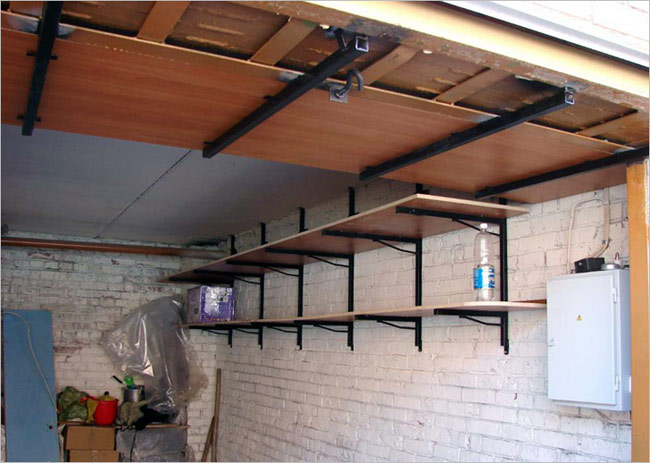
| Combination of two materials | For example, wood and metal. This is a great option for creating a multifunctional storage system. This way you can save money, diversify the garage design, and simplify the process of making the structure. You can combine almost any type of raw material. |
The benefits of DIY
Many people ask a very logical question: is it better to make shelves in the garage yourself or buy a ready-made option on the market? Let's consider the main advantages of creating a garage storage system yourself.
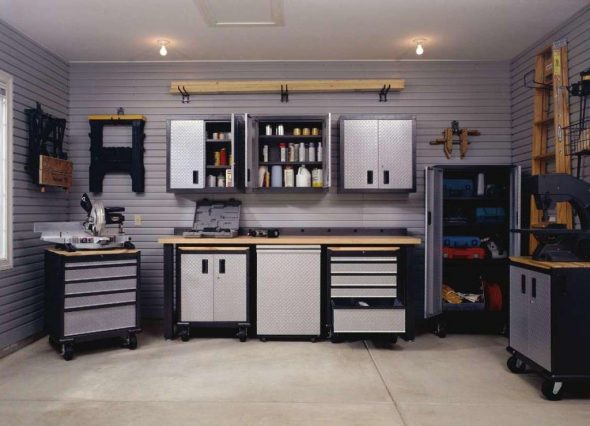
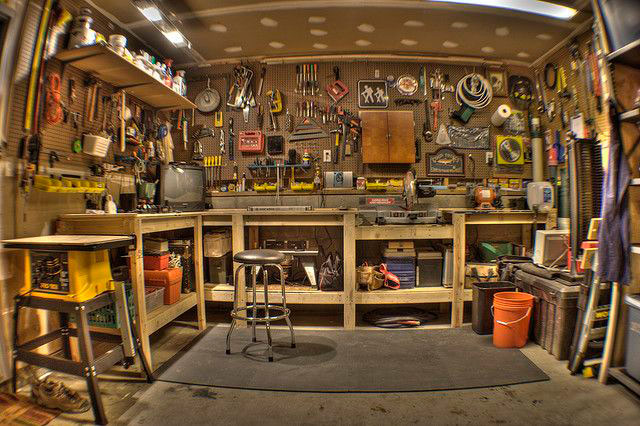
The ability to develop a unique design. For many car owners, the garage is a real source of pride. You don’t want to put ugly furniture in it. Standard shelves are also not very attractive. In this case, you can take on the job yourself, coming up with a unique design. You can look at ideas for implementation on the Internet. But it’s better to give free rein to your own imagination.
Making hanging shelves and racks on your own is not as difficult as it seems. Any man with at least minimal experience working with tools will be able to handle such a task.
The manufacturing process will not take much time. Lack of free time is the main reason why car owners buy garage furniture in a store. However, manufacturing a storage system does not require huge time expenditures. It is enough to set aside a few hours and call a friend for help.
Shelves can be made according to a personal plan. Only the car owner himself knows what size, depth, height he needs shelves. Finding the ideal option in a store is almost impossible. In hypermarkets, everything is standard. It is better to put in a little effort, spend time, but create the most practical thing.
Small financial costs. Warehouse furniture is quite expensive. Even the simplest models will cost a large sum. Self-production is the best solution for saving money. Many necessary spare parts can be found in your household.
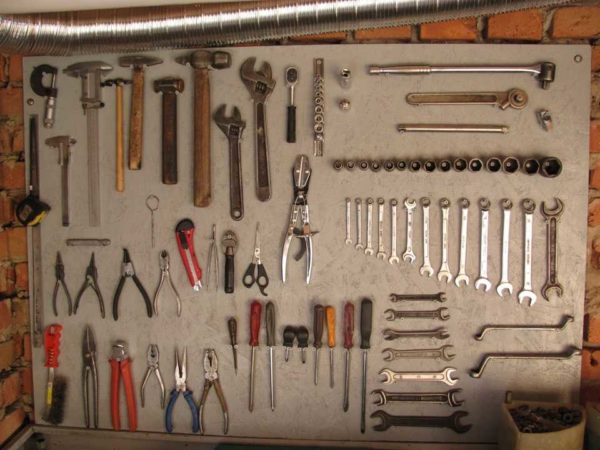
Necessary tools

In order for the process of making shelves to take a minimum of time, you should prepare the tools in advance. You will not need much: a set of wrenches, pliers, hacksaws for wood, metal, a hammer, a screwdriver, a hammer drill, an electric jigsaw, a grinder. Almost any good owner has all of the listed items. The set of basic materials will depend solely on the choice of each individual. This can be plywood, metal pipes, bars, chipboard, plastic, and much more.

Manufacturing process: step-by-step instructions
- Preparing the work area. Making a rack is a dusty job. You need a lot of space. It is better to remove the car from the garage for this. Cover the tools and expensive items with film. Next, prepare the tools and put them nearby. It is advisable to enlist the help of a friend. Together, the work will be done as quickly as possible.
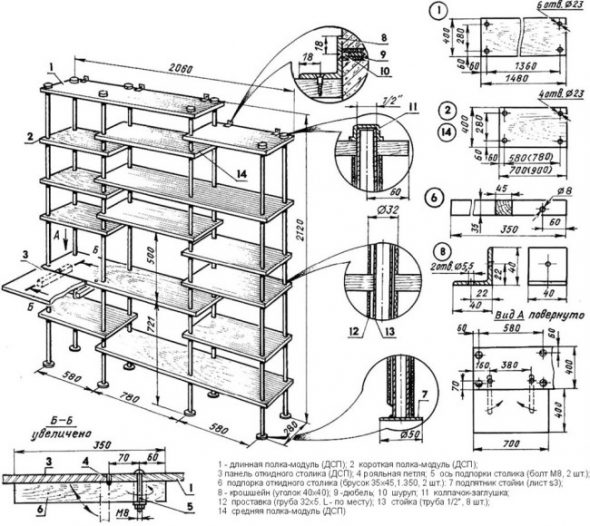
- Preparing a plan. To make the work easier, it is better to draw a plan of the rack in advance on a simple piece of paper. You should also mark the measurements of each shelf there. When preparing a plan, you need to take into account the specific things that will be stored on the shelves. It is not necessary to make a standard design. Several different elements can be combined in one system.

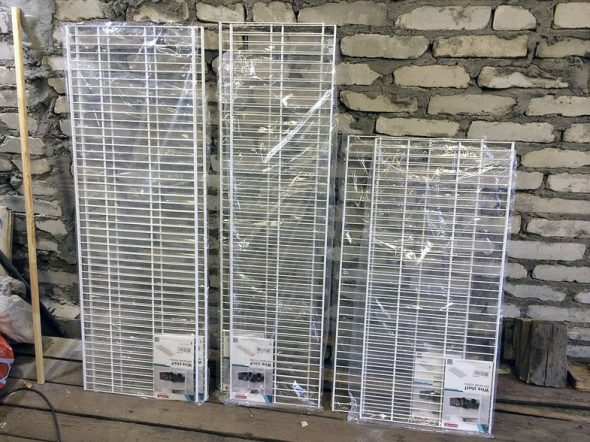
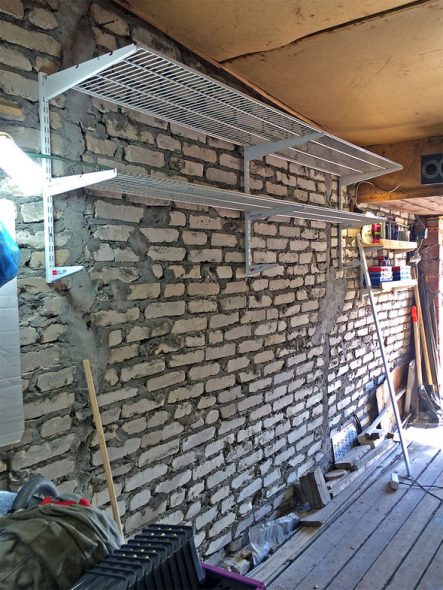
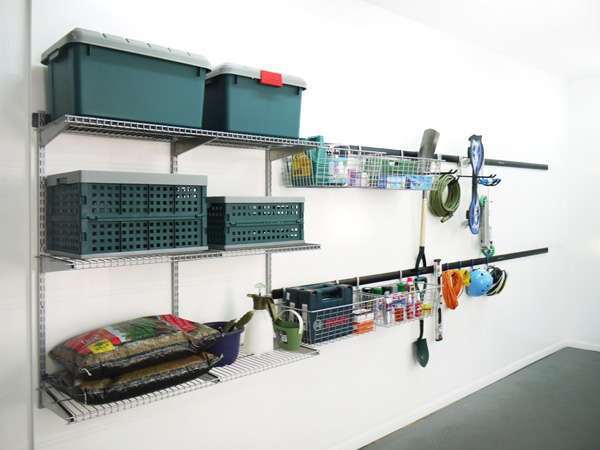
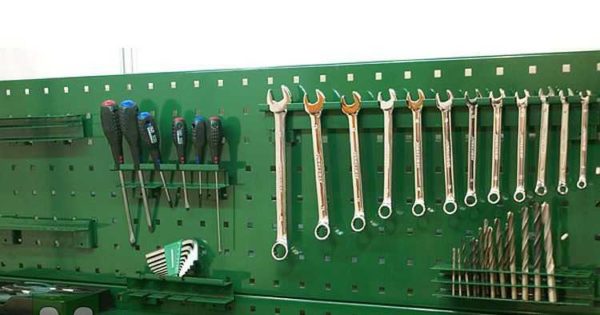
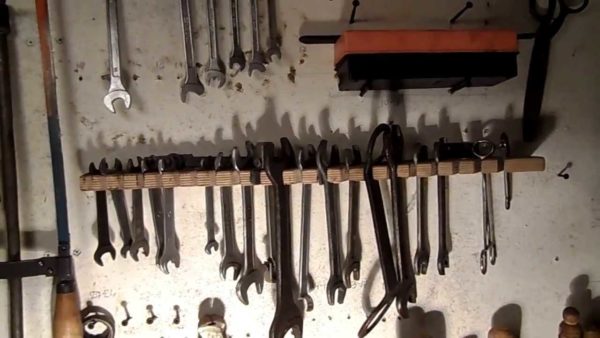
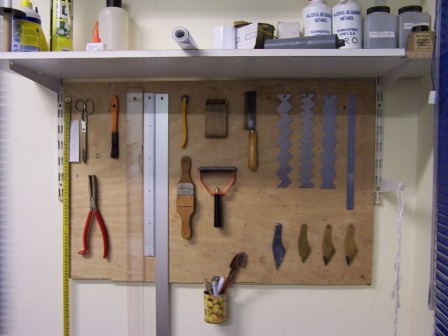
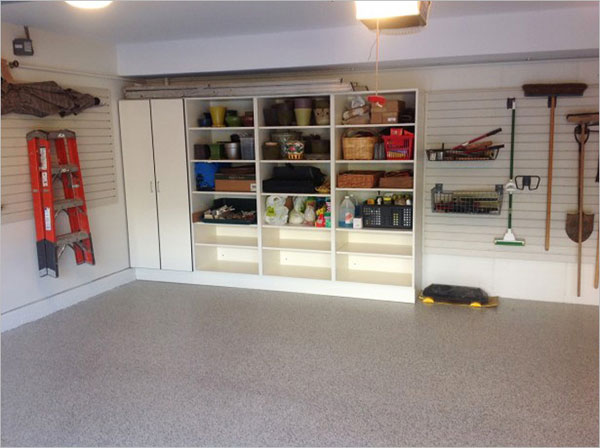
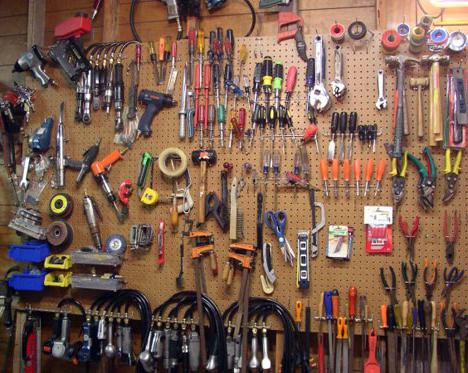
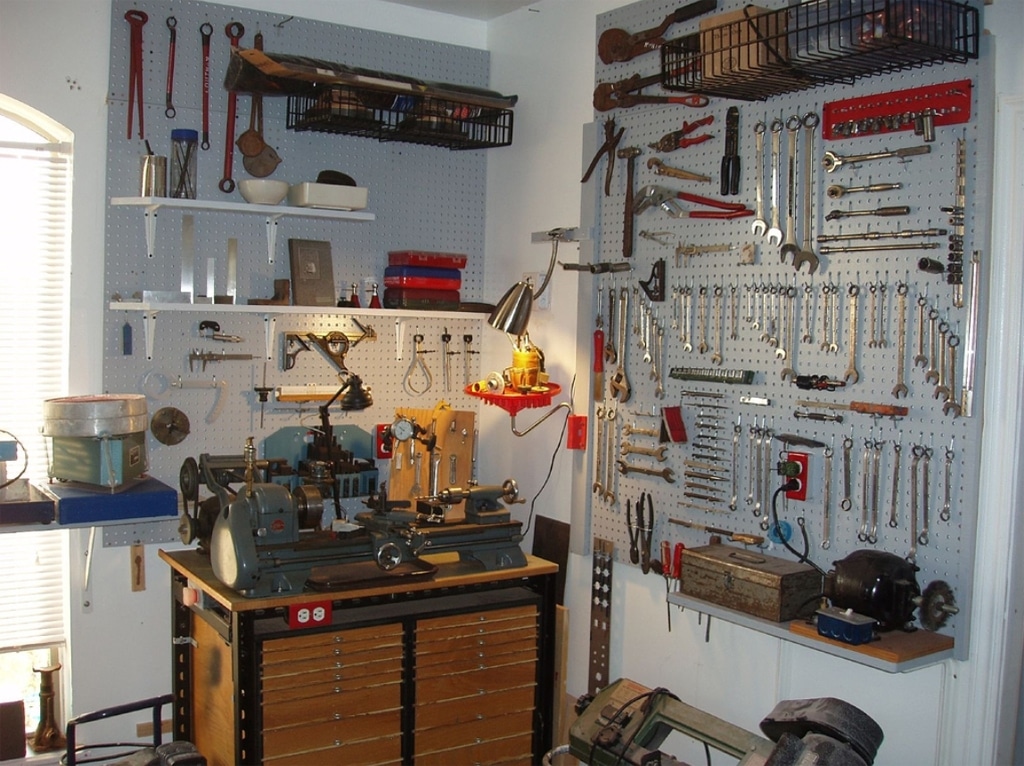
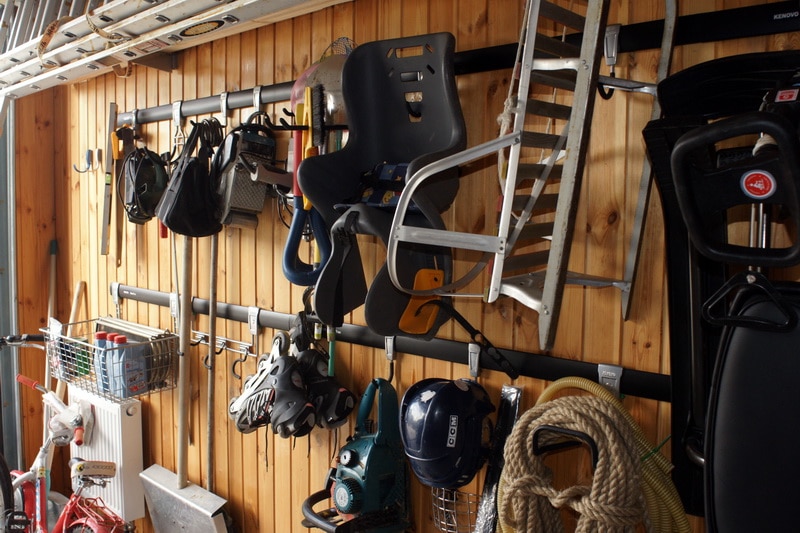
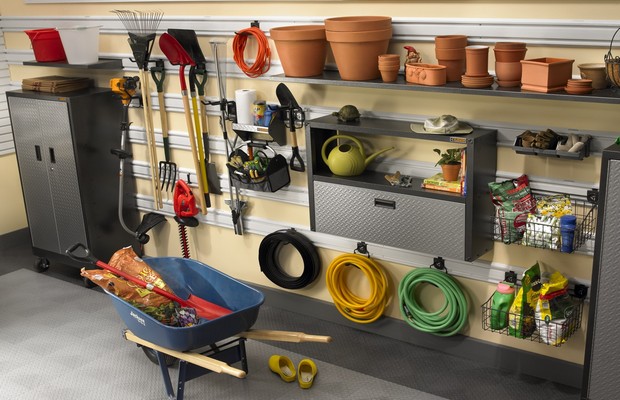
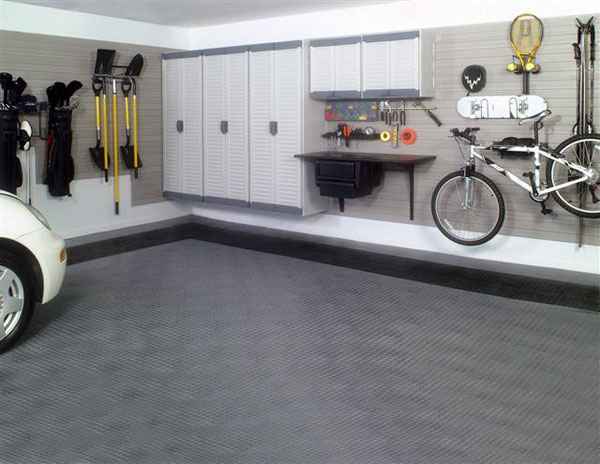
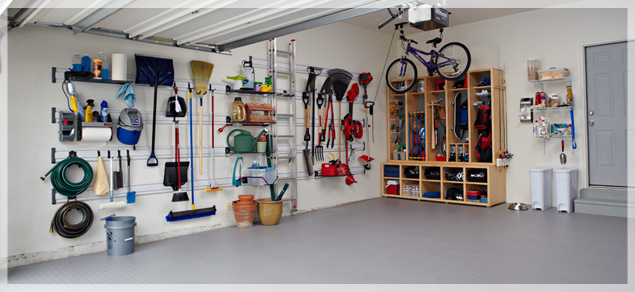
Holders and mesh shelves 
Installing mesh shelves on the side wall of a garage is a quick option for light items - Purchase of the main raw material. This can be wood, metal, plastic. When choosing, it is worth considering the characteristics of the material, its maximum load, practicality. When buying, do not save money by choosing low-quality raw materials. They will not last long, will bring a lot of problems during operation.
- Cutting the frame elements. The main elements can be made from a wooden block, steel angle, or regular pipe. The posts, reinforcements, and crossbars are cut using a jigsaw or circular saw.

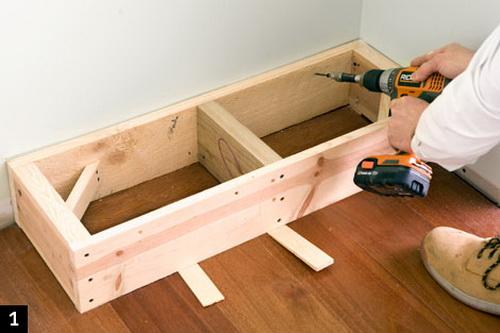
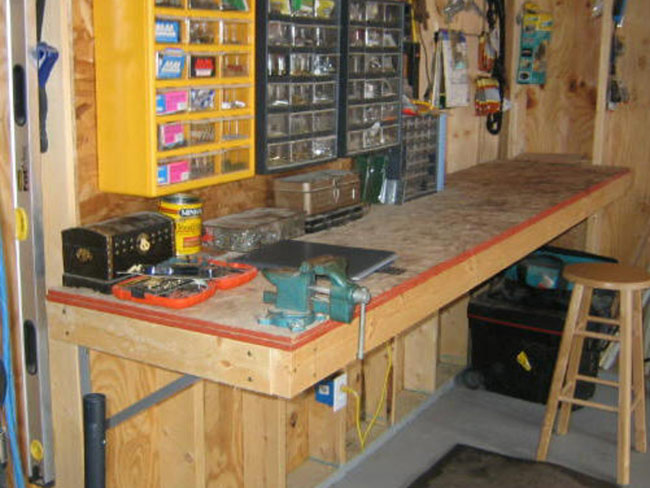
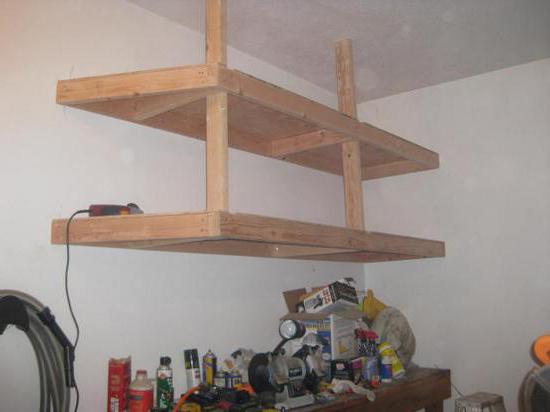
We start making the rack from the base - Marking the posts. The vertical elements need to be marked. This will help in the subsequent installation of the crossbars.

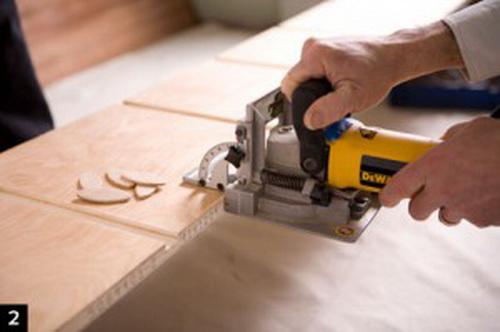
Making grooves for shelves with a router - Drilling holes. Using a drill, neat holes are made on the markings. This is typical when using bolted fasteners. When choosing a welded frame, all elements are joined with seams. Without proper experience, the seams may turn out ugly. It is also important to observe safety precautions when working with welding. You should read more about this in the instructions for the welding machine.
We install the shelf into the grooves and additionally secure it with self-tapping screws. - Making the shelves themselves. Plywood, boards, chipboard are usually chosen for them. It is important to follow the measurements precisely.
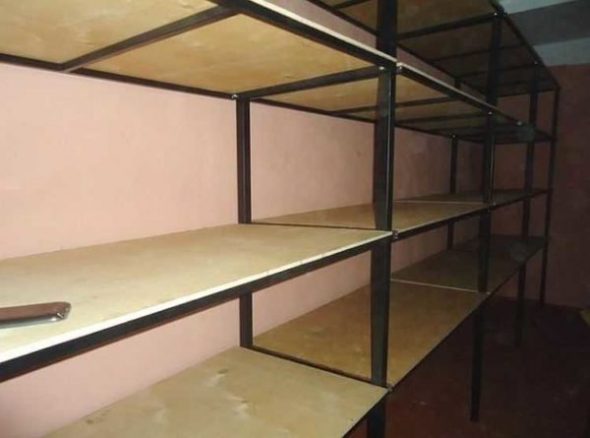
- Assembling the frame, fixing the shelves on the frame. The frame is assembled gradually: first the side posts, then the crossbars, then the reinforcements. Only then the shelves. They are attached using bolts, screws. The fastening must be strong.

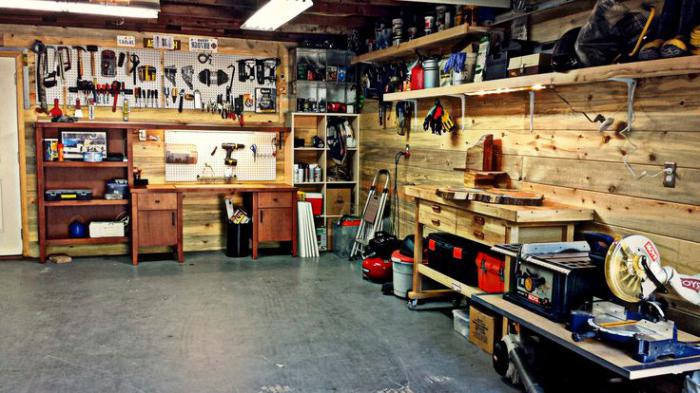
We install the rack on the base - Giving an attractive appearance. The finished rack can be painted, decorated with designer forging, pasted over with film. The choice of designer accessories is purely individual. At the same time, you should not forget about practicality.


Video: DIY Garage Shelves. Demountable Garage Storage Shelves. DIY.
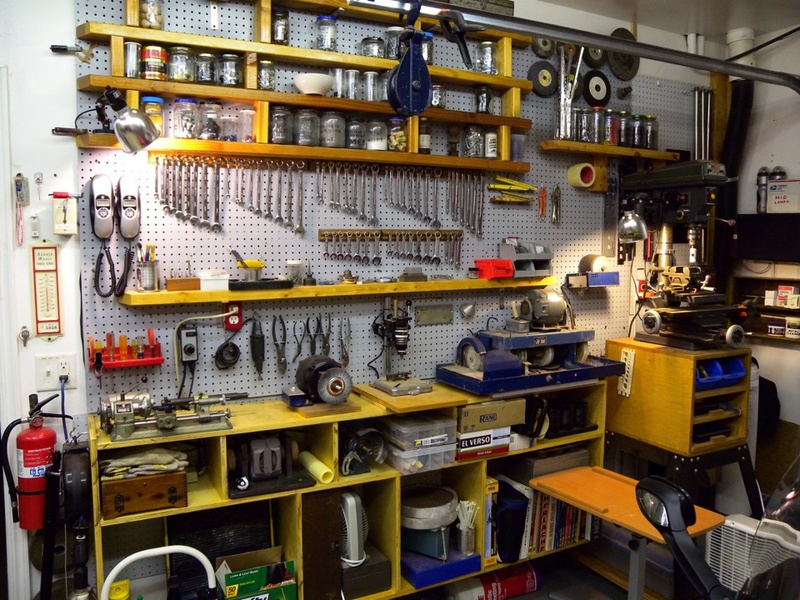
50 interesting options for decorating shelves in the garage:


I tried to do it myself, but it didn't turn out very nicely (Now I'm thinking of ordering a ready-made design. I've heard a lot of good things about metal ready-made storage systems from Titan GS. Ready-made is just my option, since I turned out to be not very handy.