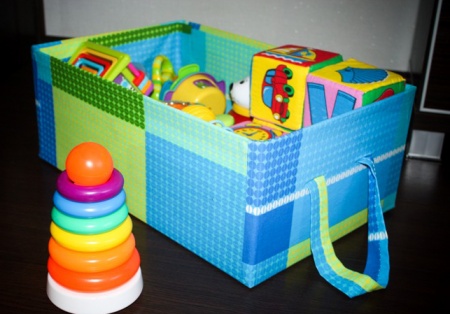
For a child, as for any adult, a room has the meaning of personal space, where he feels like a little master. Accordingly, this tiny world should fulfill the individual needs of the baby. In the understanding of adults, it should be light, clean and spacious. For a baby, the main thing is the atmosphere of the room, where he is cozy, first of all, with his favorite things. And each of them should have its own place. An option for storing toys, in addition to regular boxes, is a rack. Making it yourself means the ability to provide all the preferences of the child.

Content
Benefits of Making Your Own Toy Shelf
Furniture made in a factory lacks individuality due to mass production. Production is put on stream. Making items for storing toys by hand has a number of advantages:
- ability to satisfy the most demanding requests;
- combination with the overall interior of the room;
- originality of execution;
- confidence in the quality of the materials used;
- convenience and functionality.
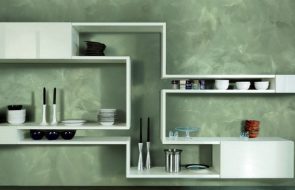
Toy Shelf Design and Construction
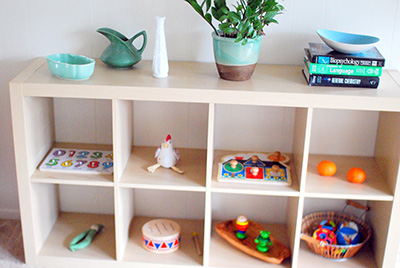
It is hard to imagine a child's room without a shelving unit. From birth, it can serve as a storage unit for personal hygiene items. As the child grows, it begins to be used for its intended purpose. Toys, books, and construction sets appear on it.
The design and construction of the toy storage rack should be chosen based on personal needs, as well as taking into account the following requirements:
- stability – the structure must have good support;
- safety – the absence of sharp corners and protruding parts will reduce the risk of injury to a minimum.
Depending on the age of the child, the toy storage system can be classified as follows.
- Up to 1 year – as a rule, at this age the baby has a minimal set of toys that can fit into one box or section with several shelves.
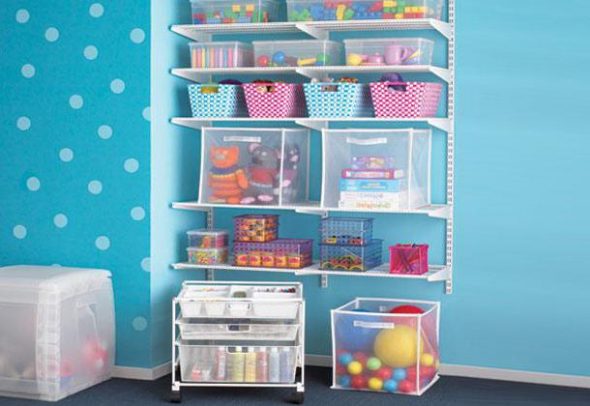
- From one to six years is the most active and inquisitive age, which is why the functionality of the children's room and the system for storing children's toys increases. There are many objects for play and more space is needed to ensure order. In this case, a comprehensive approach to the issue is necessary: creating several boxes for storing toys that are interconnected.
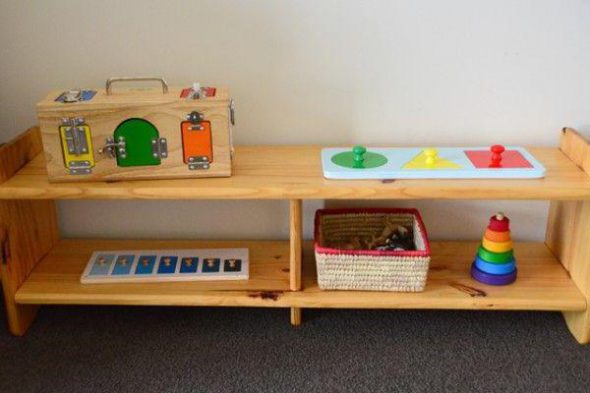
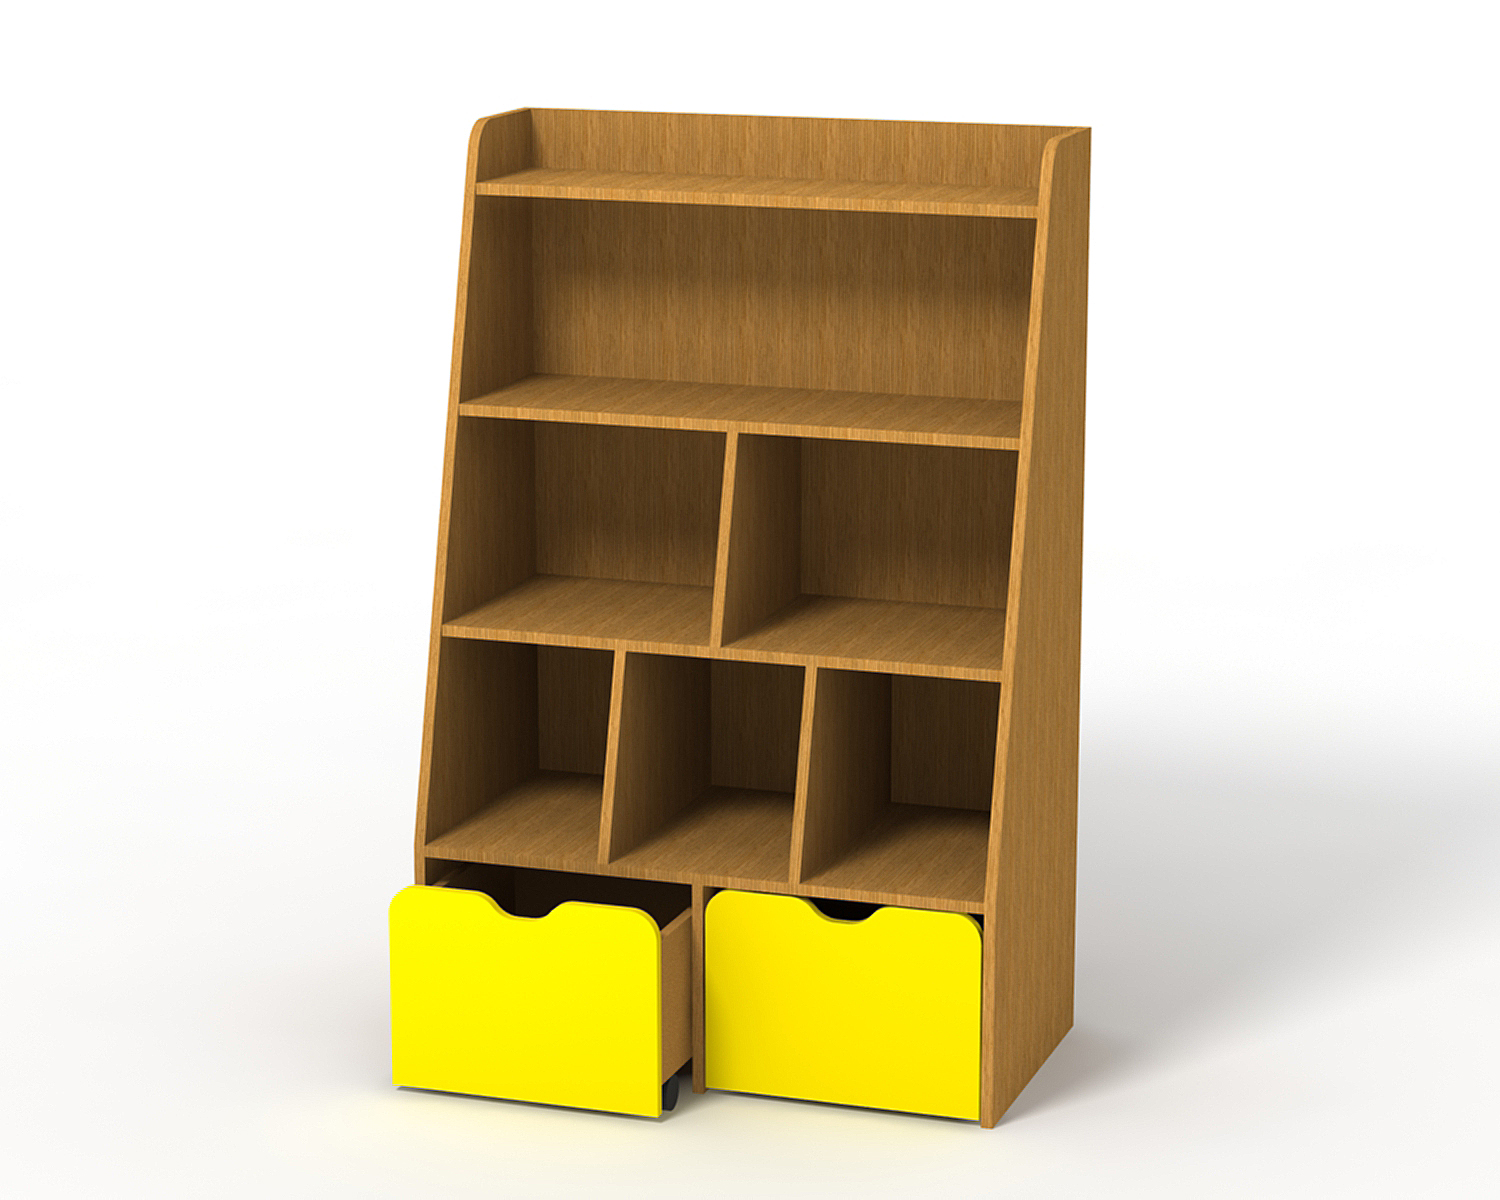
- From 6 to 10 years is a transitional age for games. Some children continue to actively play with toys, others devote more and more time to studying and reading books. Accordingly, the role of furniture changes. This can be a separate box or box for storing toys, or shelves that combine several tasks.
- After 10 years, there are usually a few favorite toys that don't take up much space anymore. Functionality is directed toward storing school supplies. It's most convenient to store them in a hanging cabinet, with open or closed shelves.
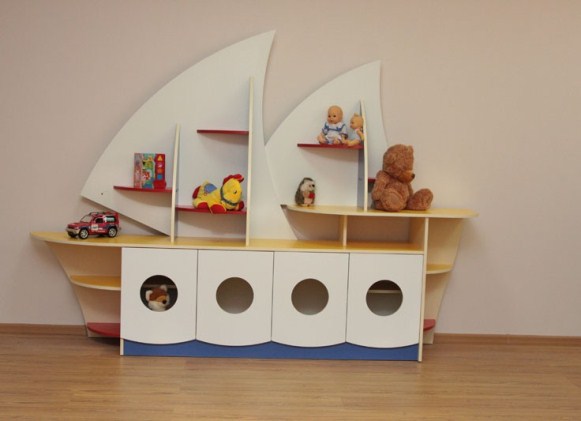
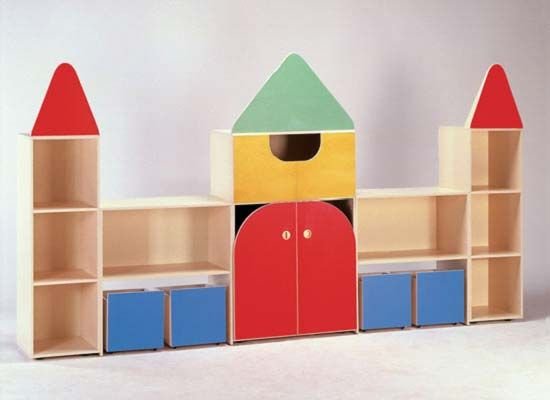
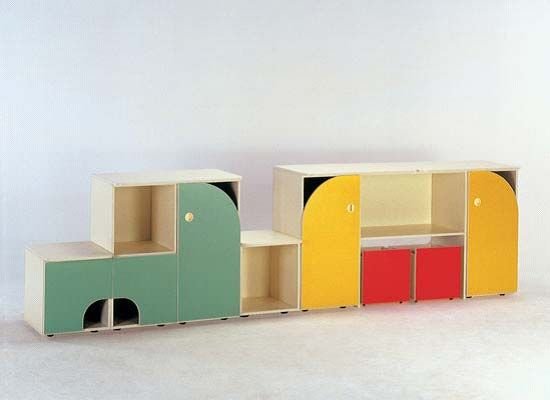
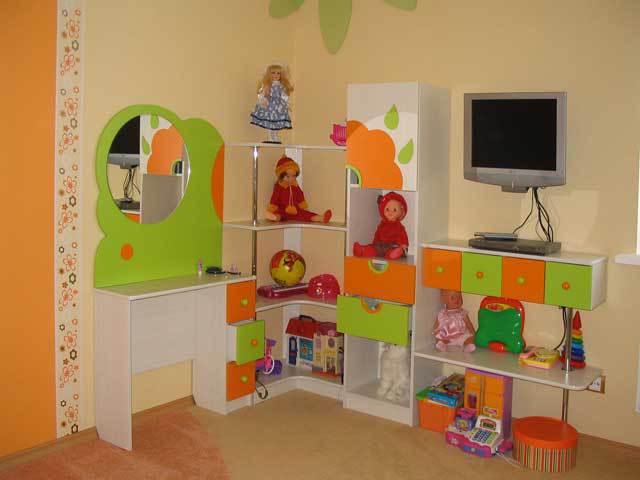
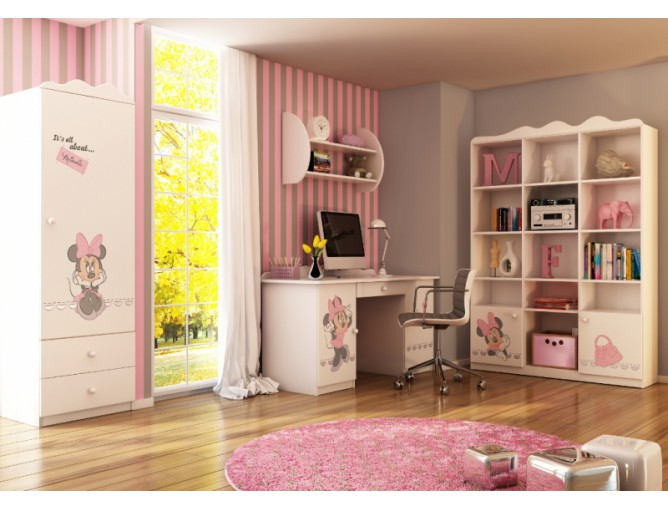
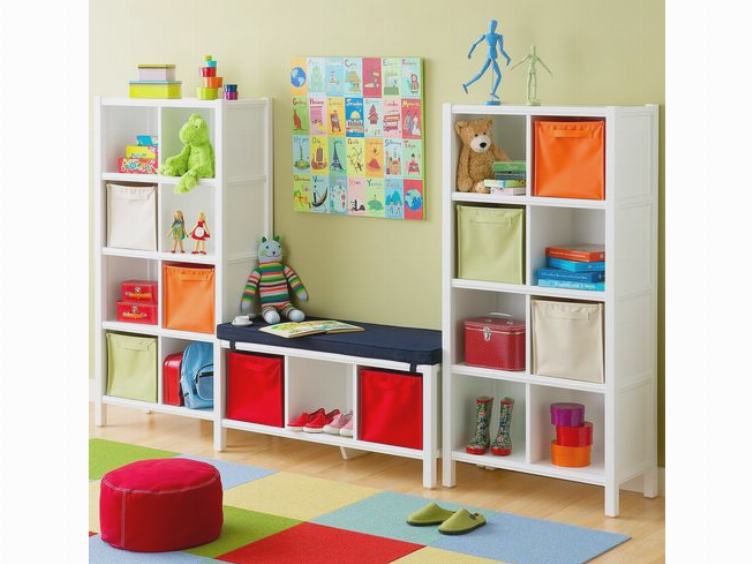
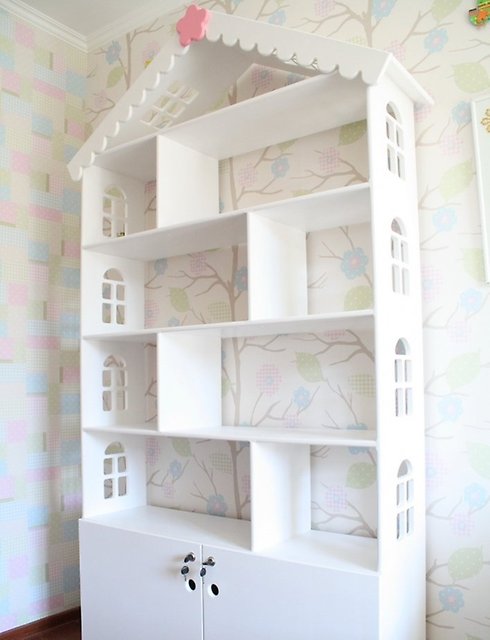
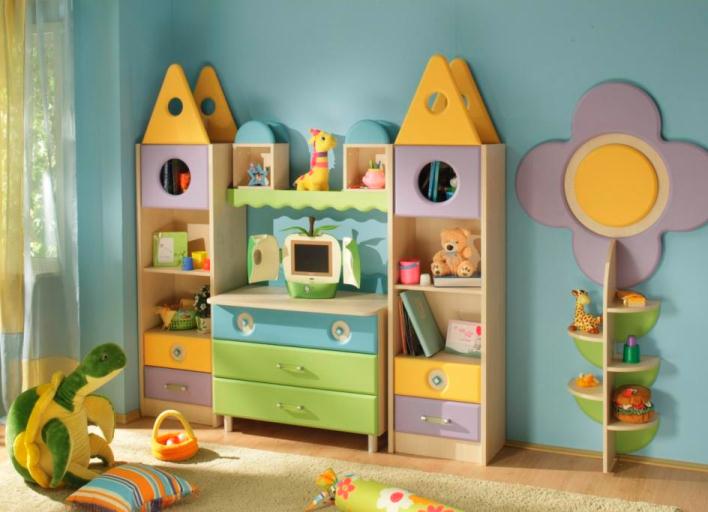
Depending on the gender of the children, the design of the children's toy rack will also differ. For boys, it is preferable to choose more restrained tones in the design, and keep decorations to a minimum. Furniture for girls should be more romantic, in bright colors, with a variety of decorations. However, the toy storage item should fit organically into the overall interior of the room.
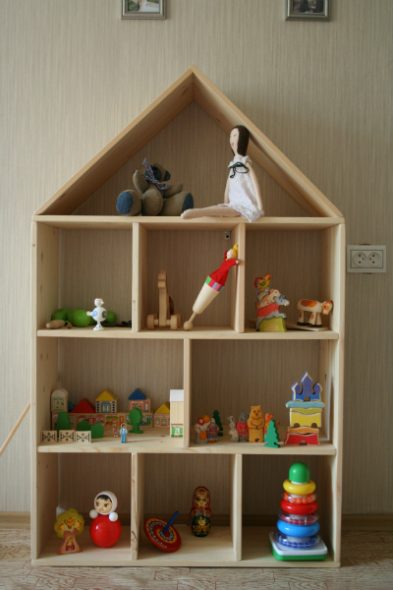
A DIY shelving unit for a child's room can be initially made in such a way that it will grow with the child as he or she grows up.
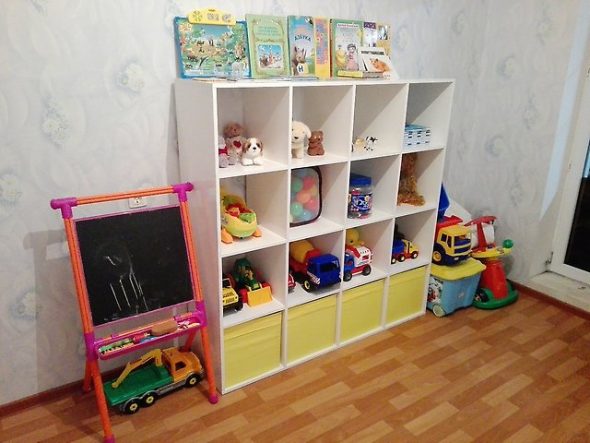
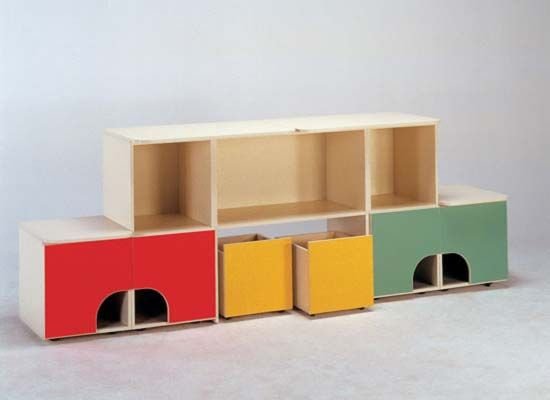
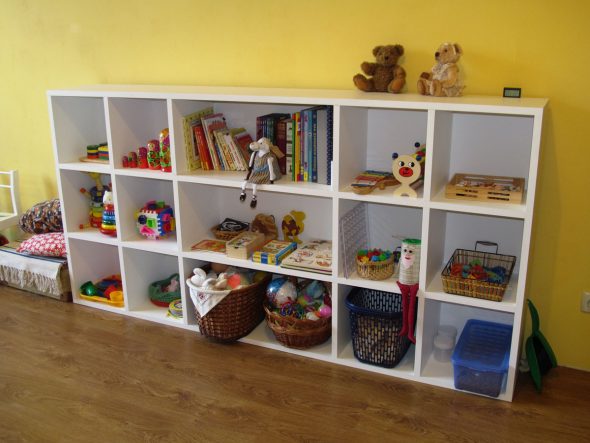
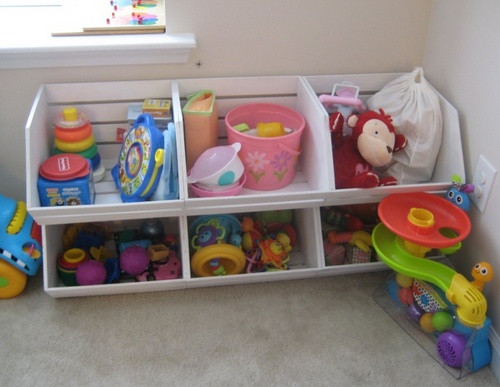
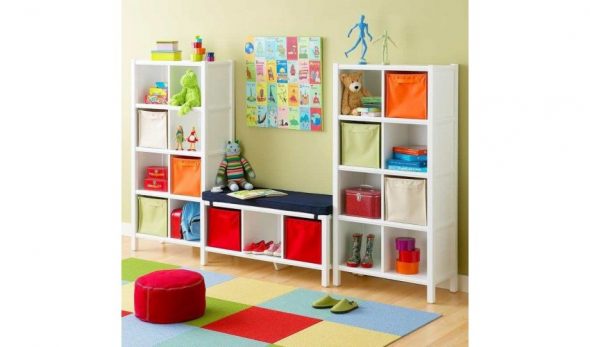
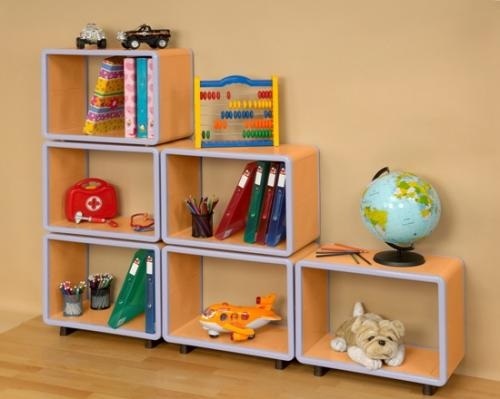
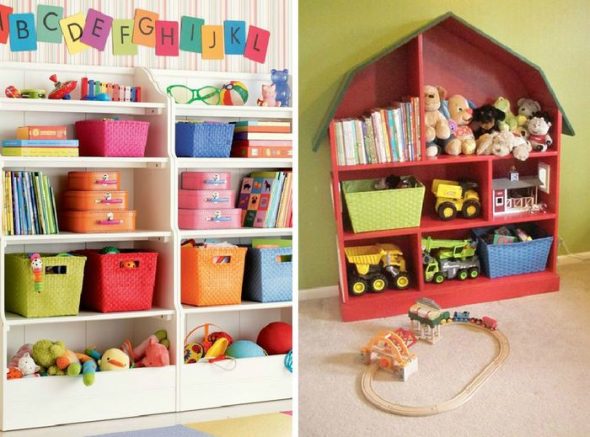
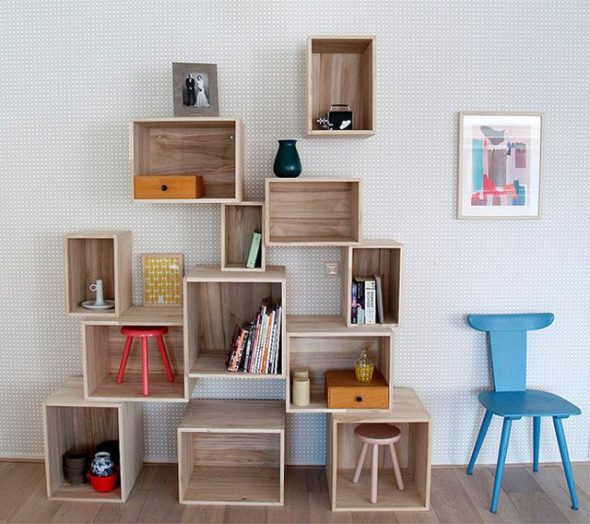
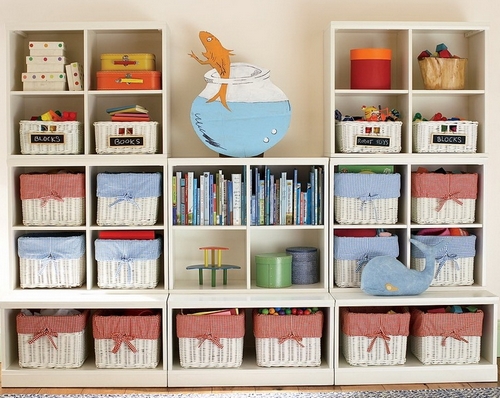
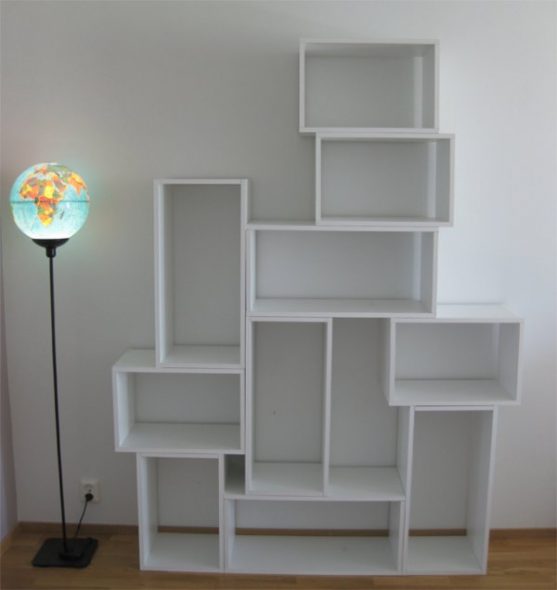
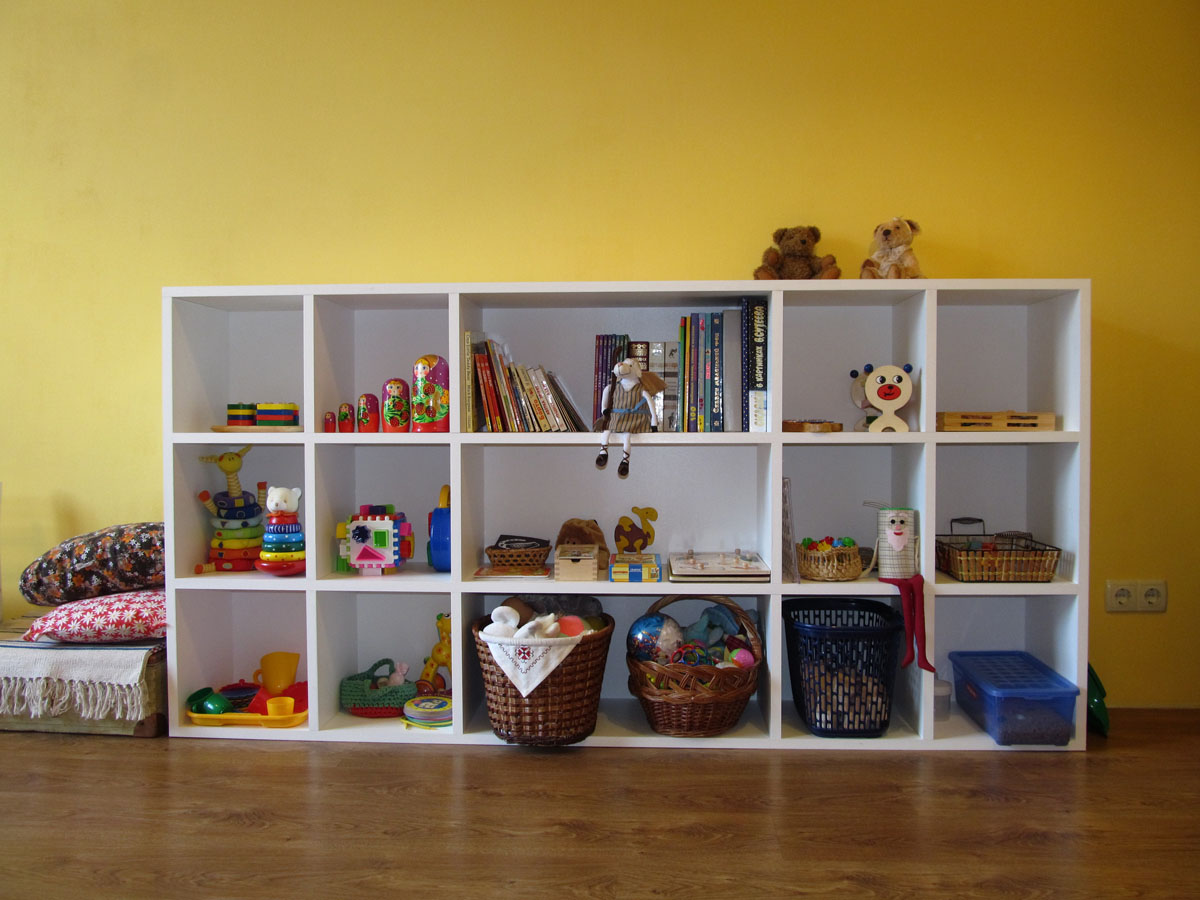
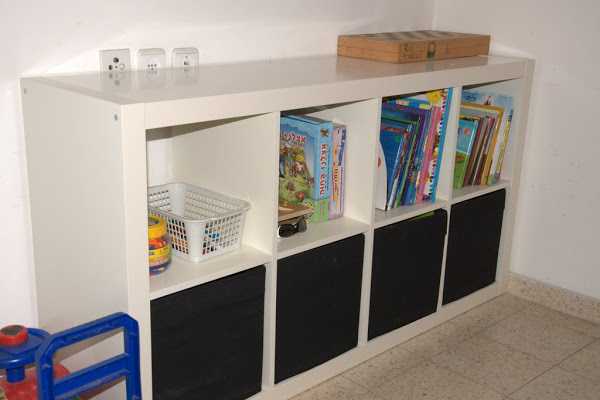
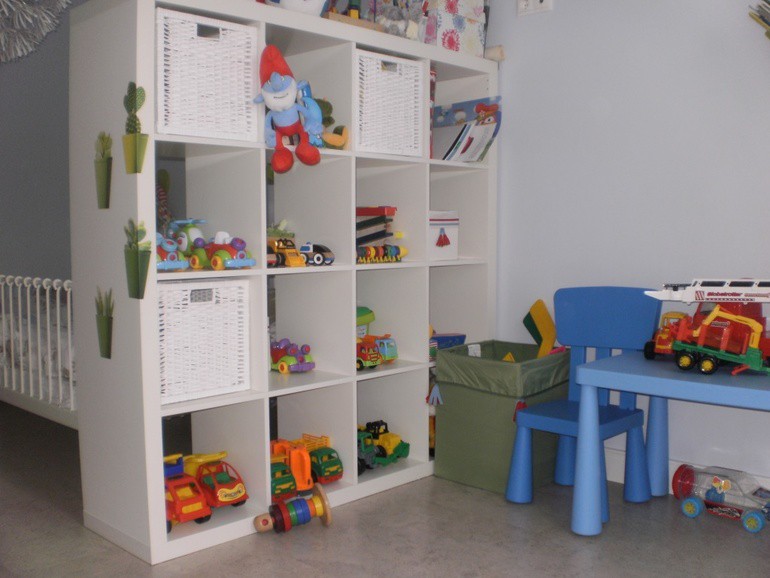
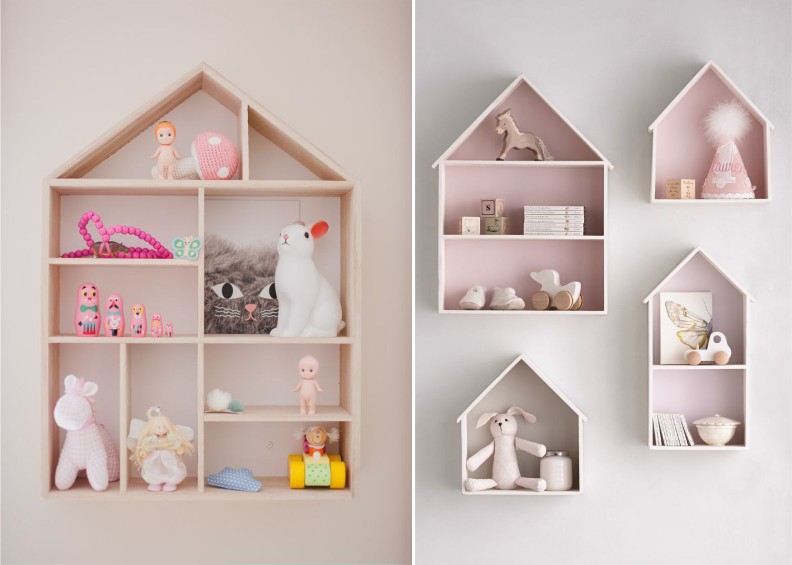
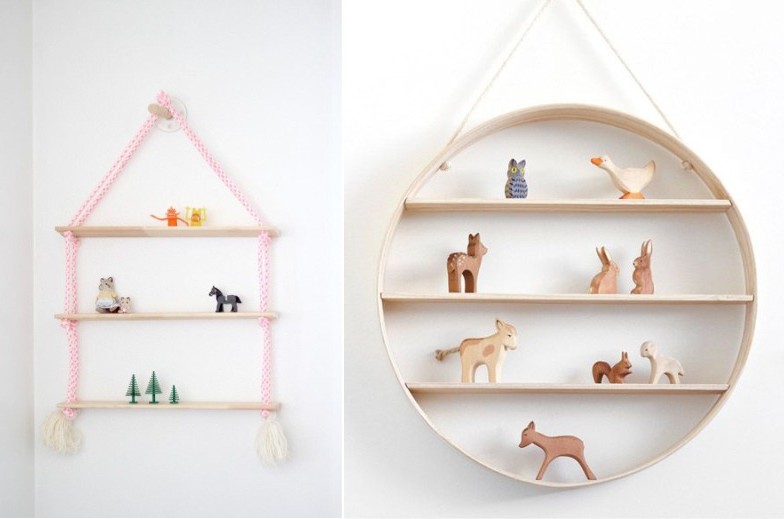
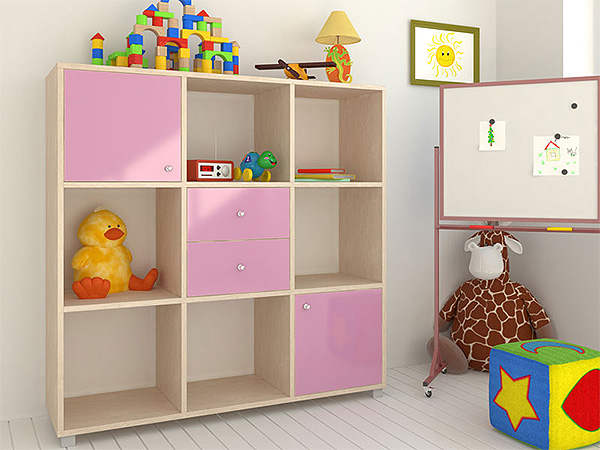
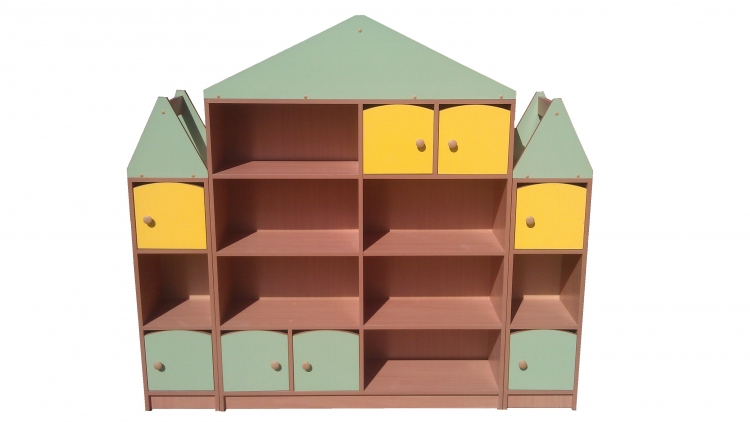
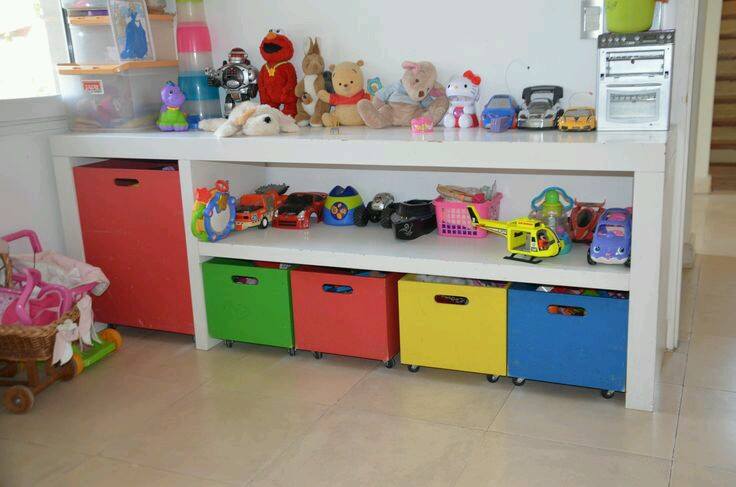
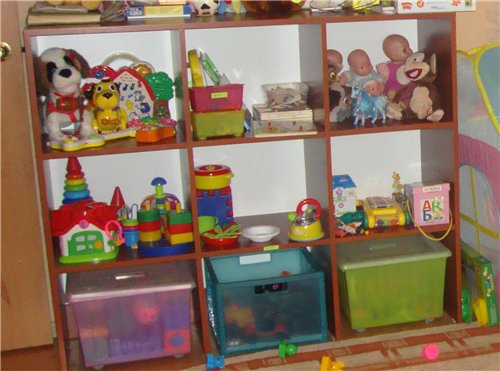
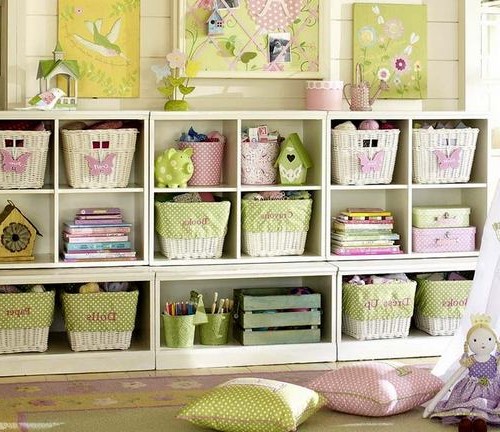
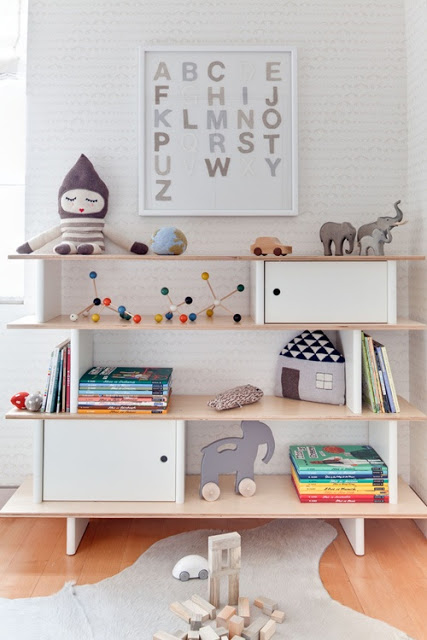
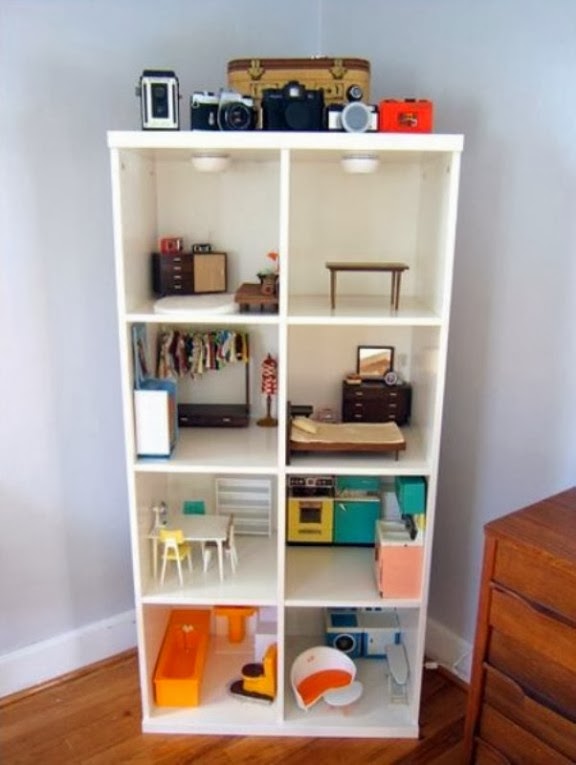
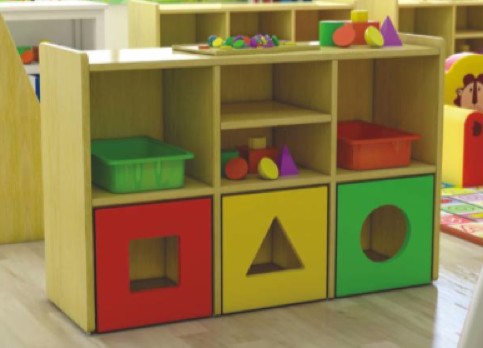
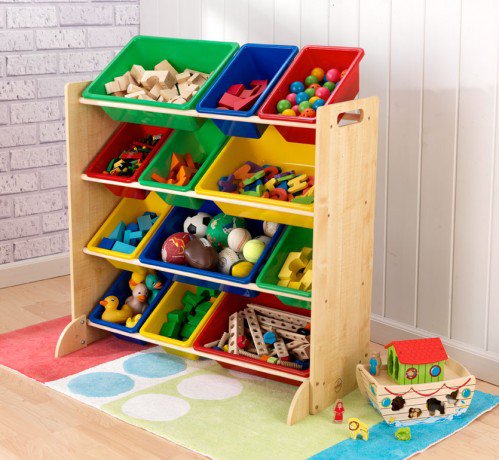
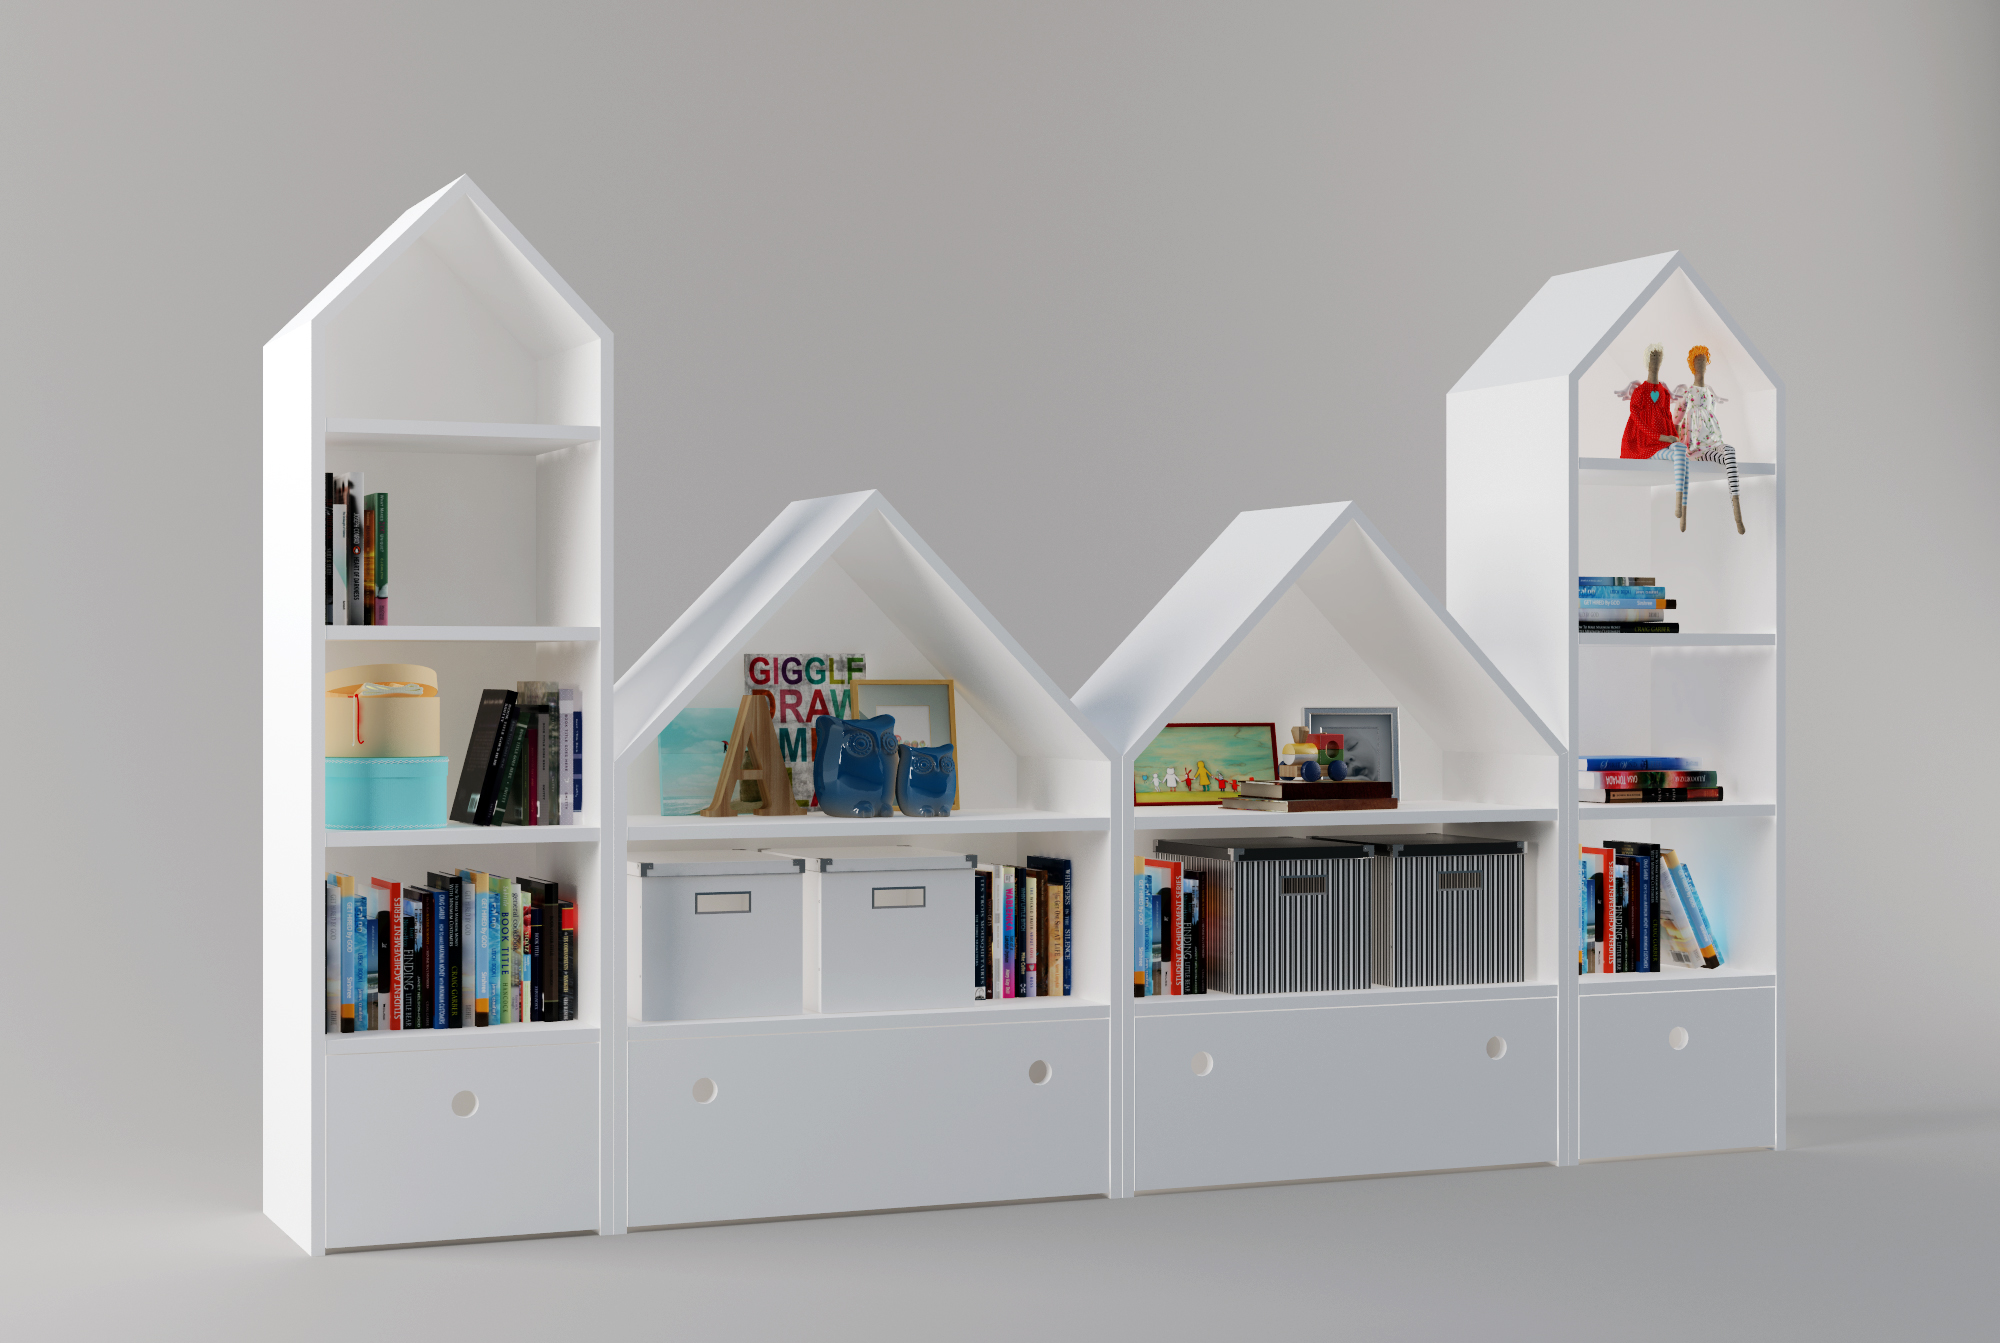
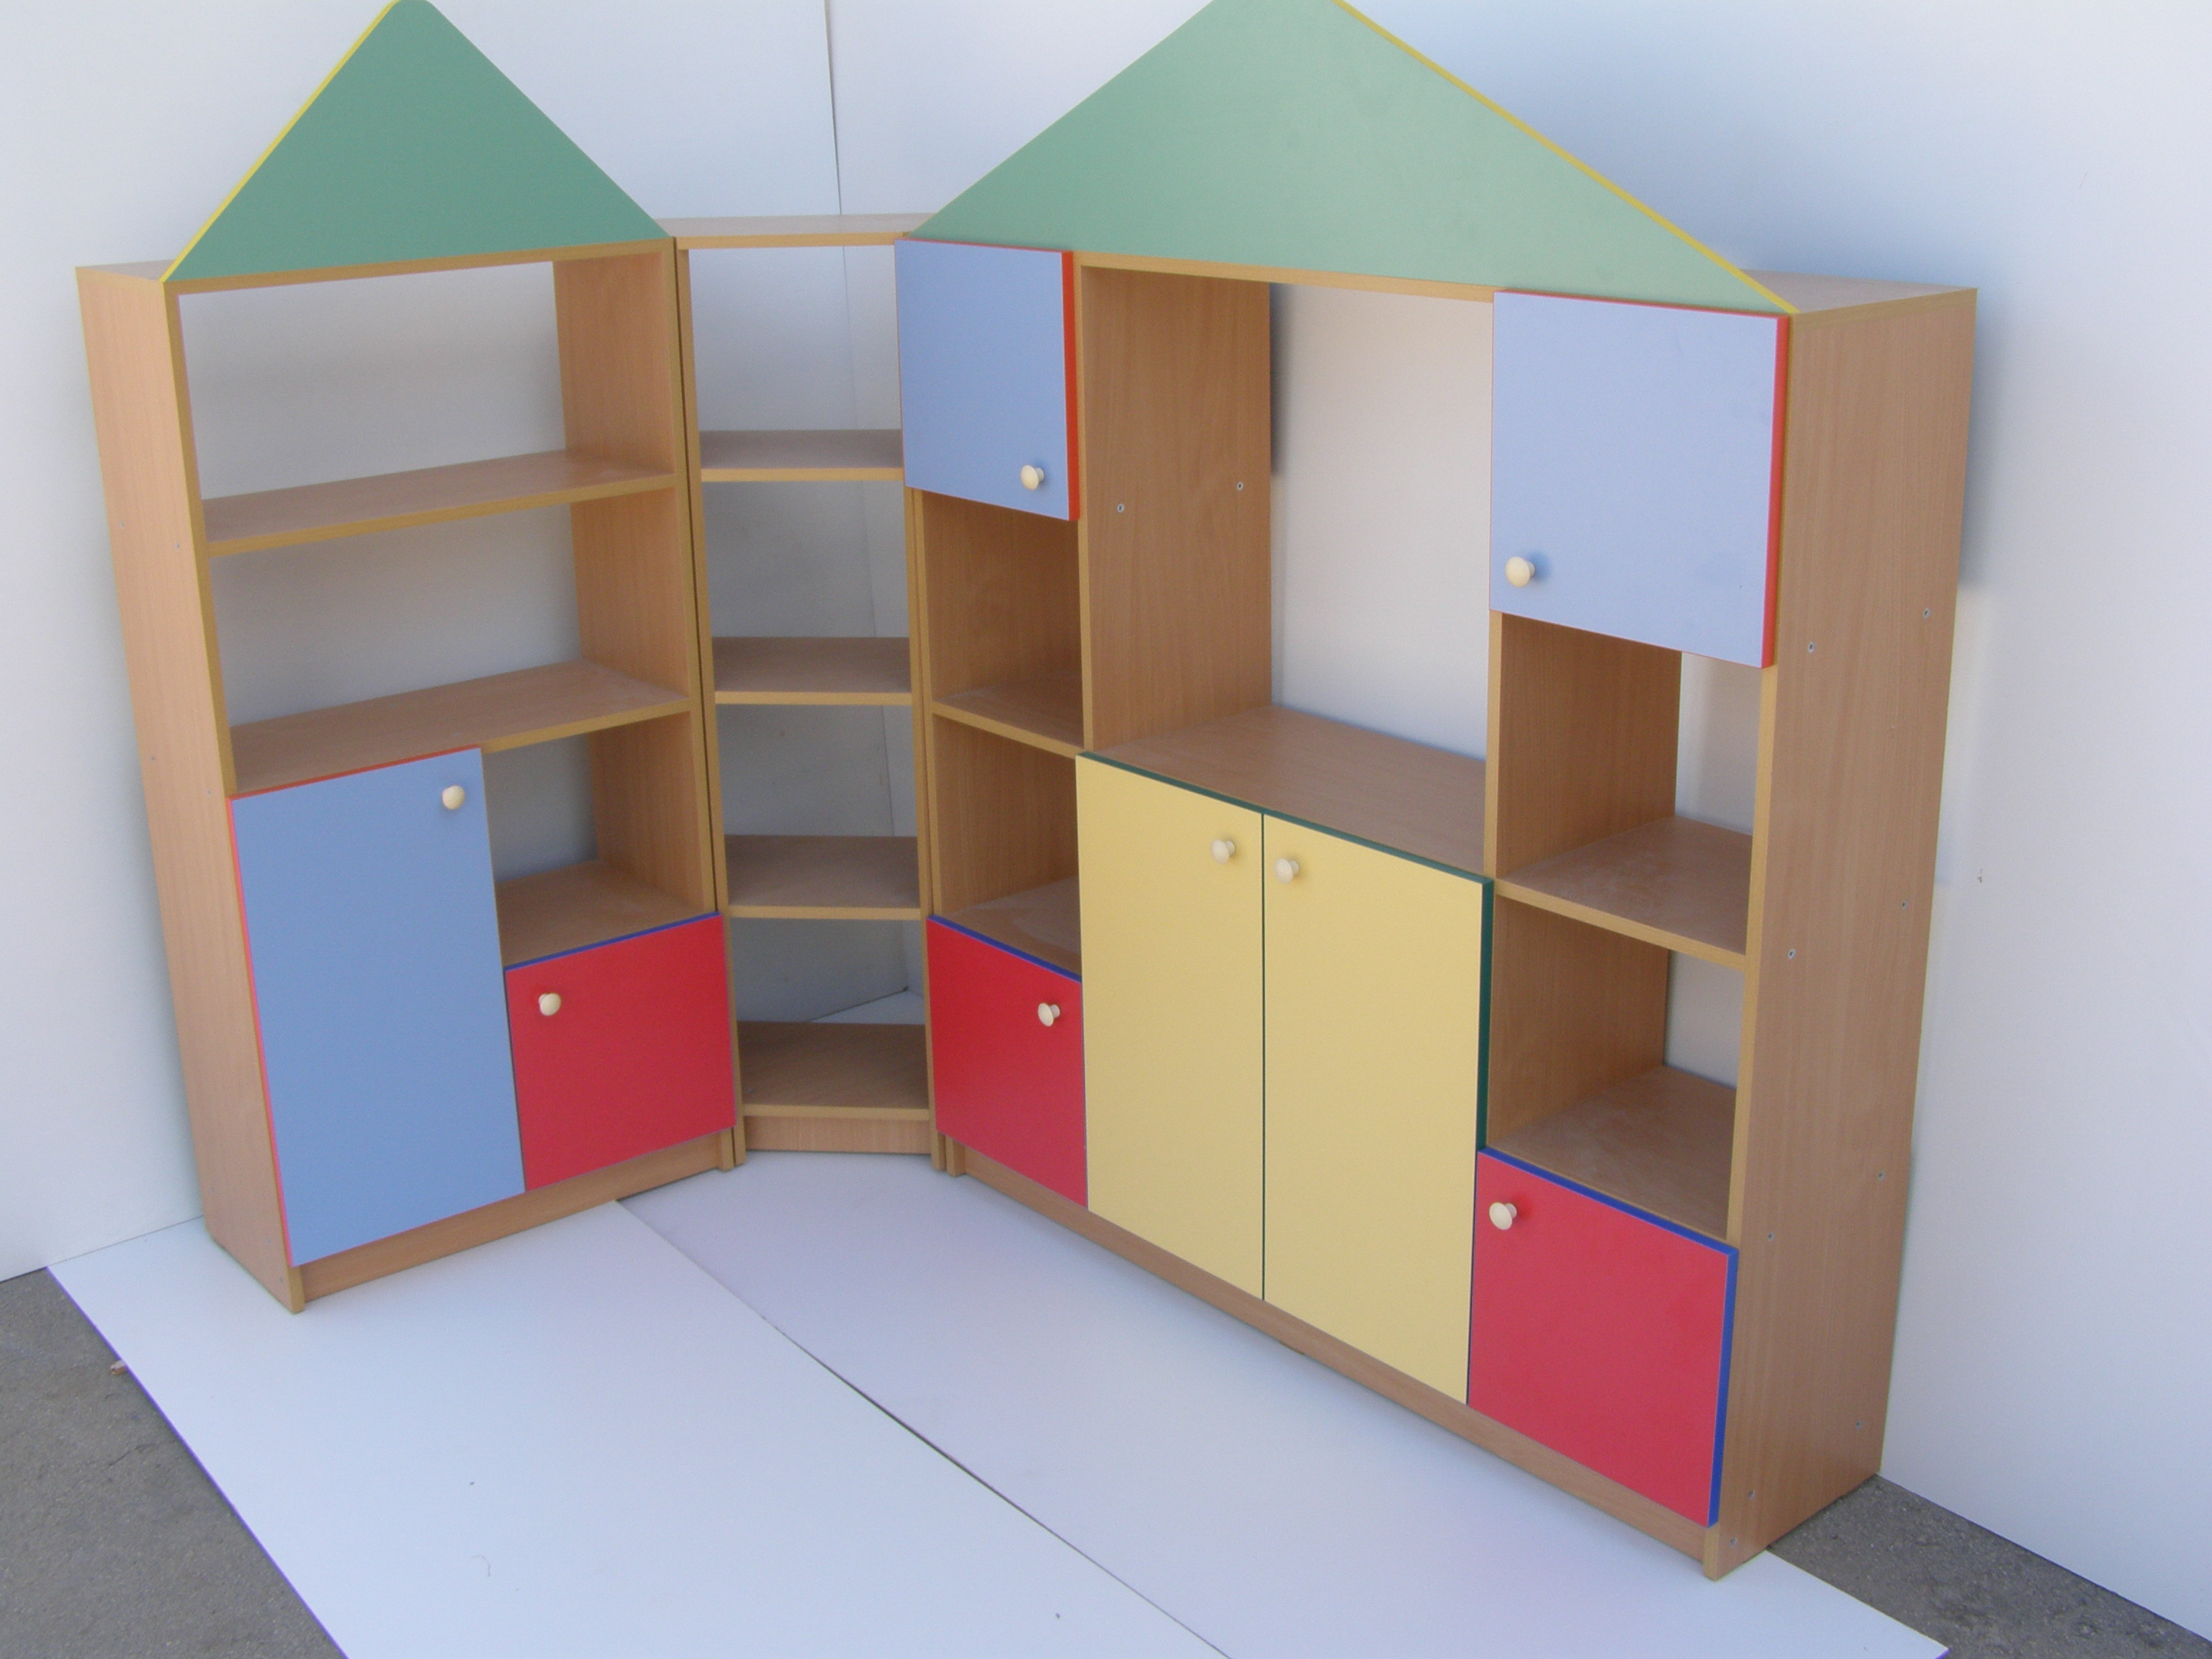
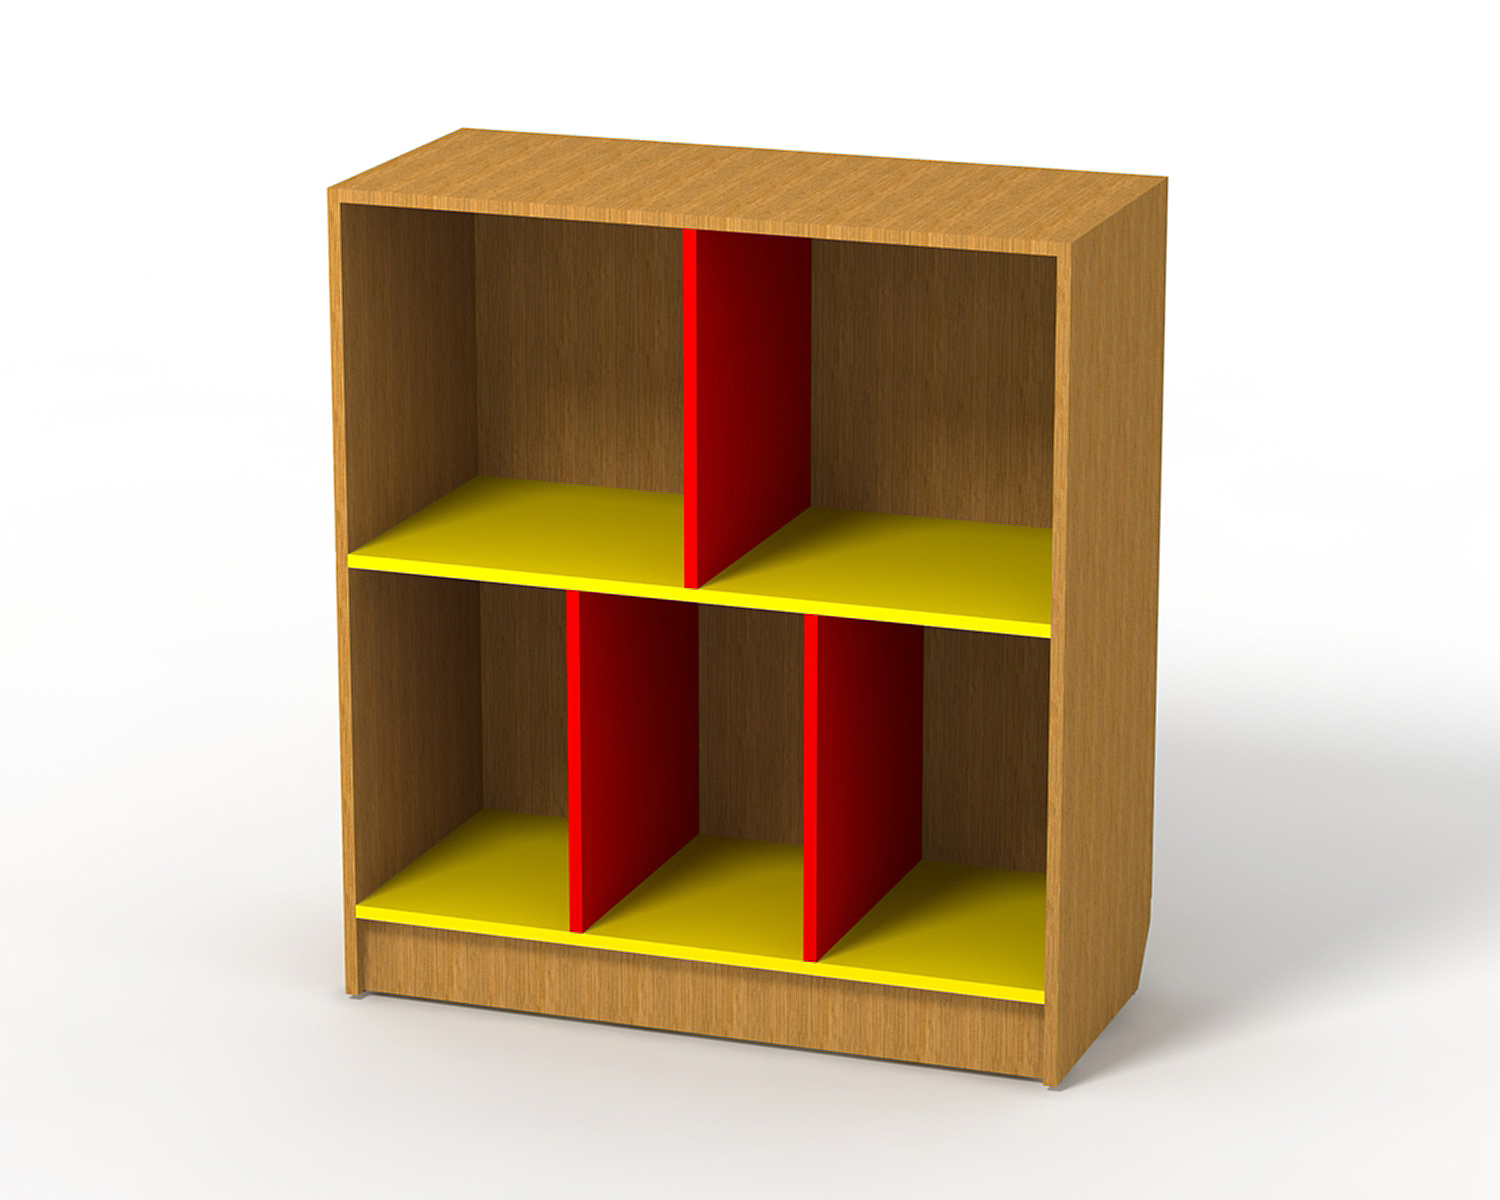
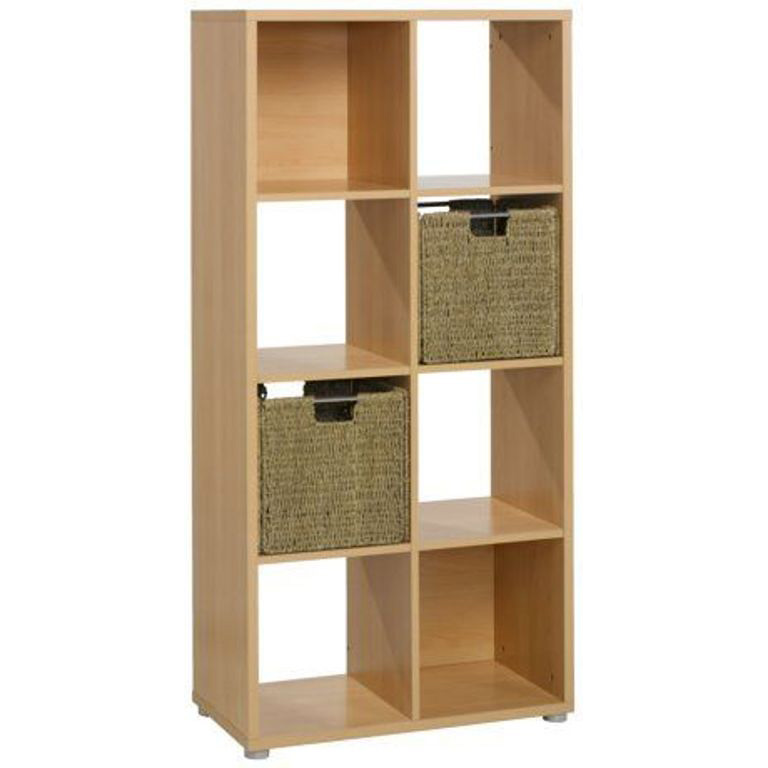
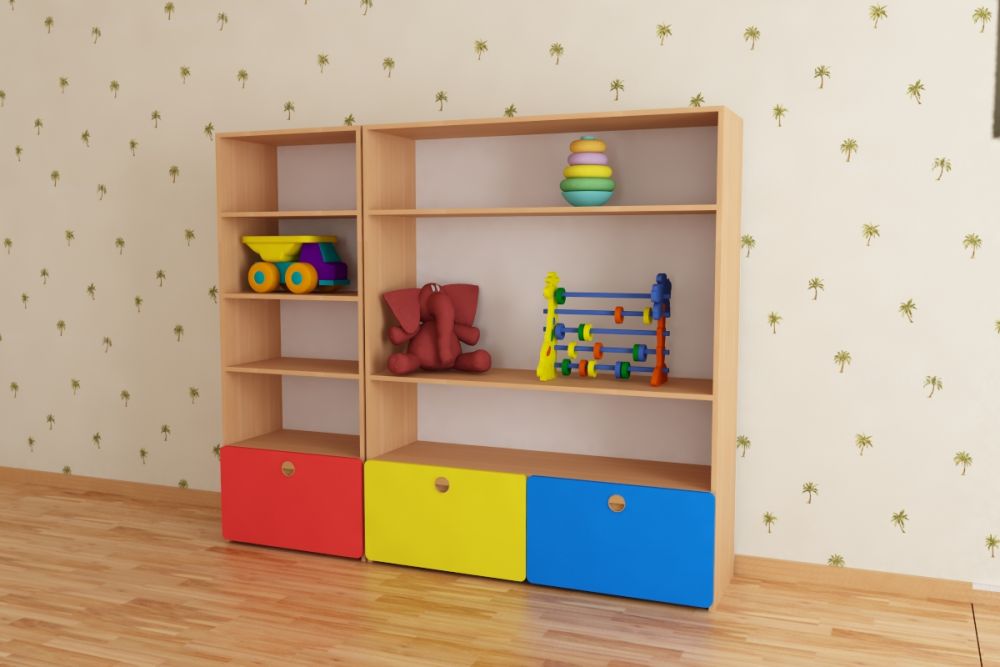
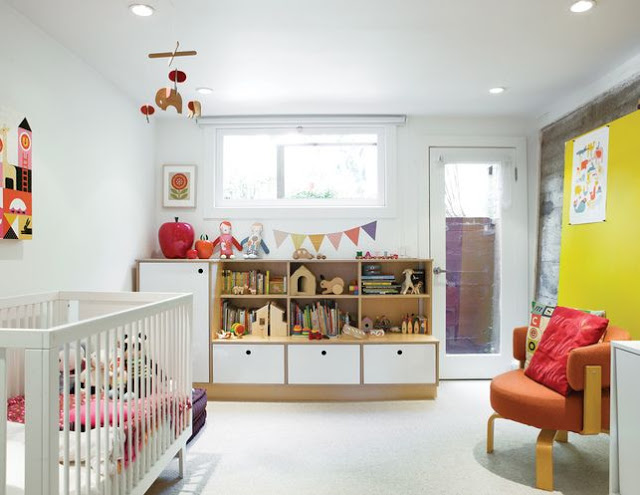
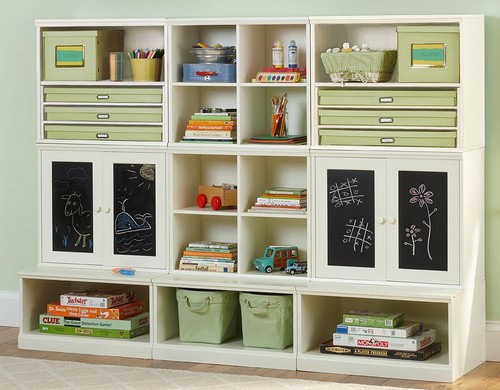
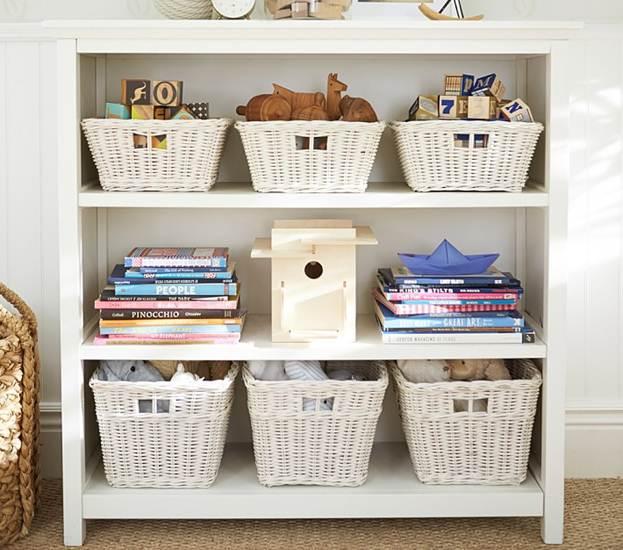
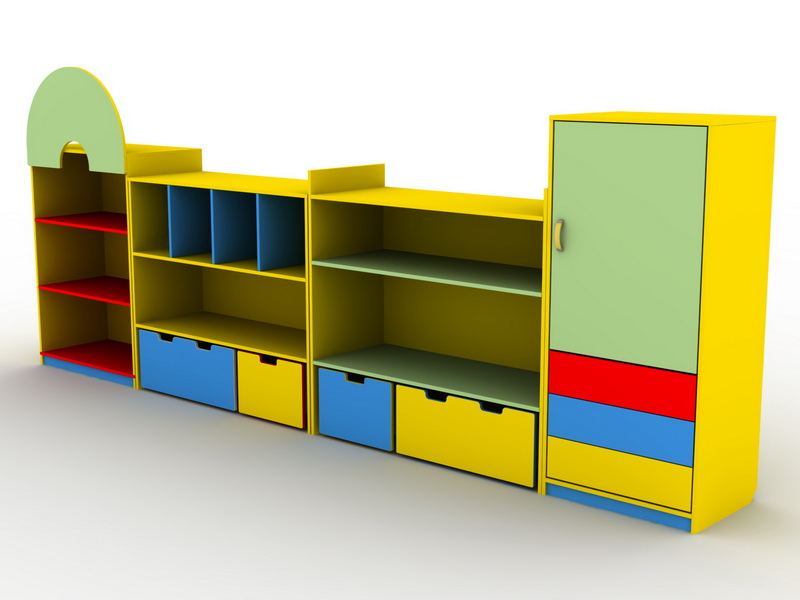
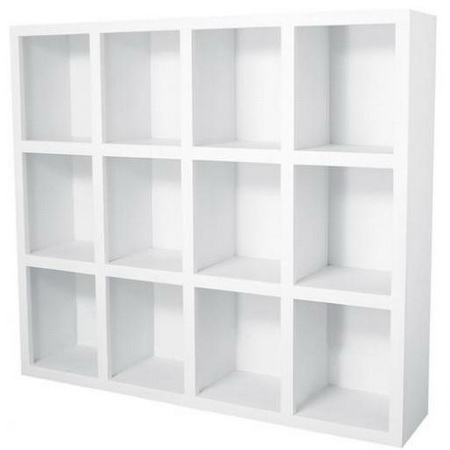
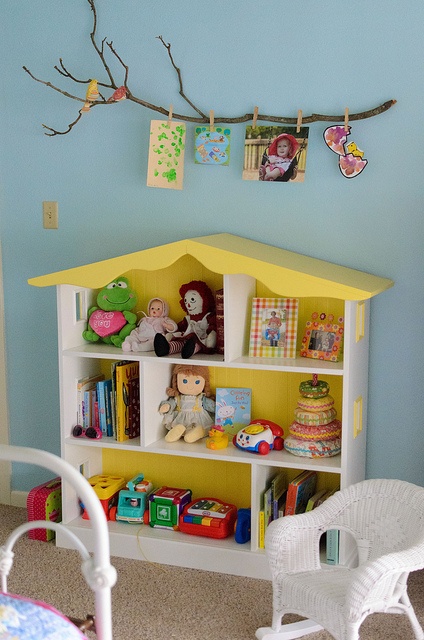
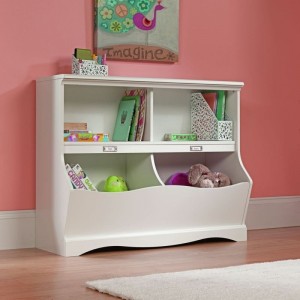
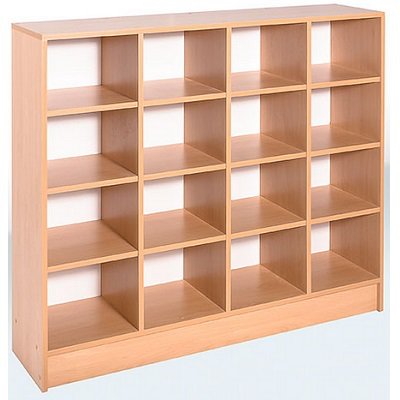
Among the variety of furniture types with specific functions, for a children's room, there are single boxes, drawers, groups of boxes, poufs, hanging shelves for storing children's toys and much more. The optimal placement is a niche along a free wall, which can gradually increase in number.
Necessary materials
Depending on the type of rack, the materials and tools used in manufacturing will differ. Everything depends only on your imagination. The simplest option for making children's furniture for storing toys is from fabric stretched over a frame or thick cardboard. Such a task will be feasible even for a baby's mother. The choice of the fabric itself should be based on its strength and wear resistance, i.e. have a dense weave of threads. Such types include poplin, calico, satin, denim, as well as artificial leather and fur. Depending on the skills and abilities, it is possible to create an object from wood or rods, chipboard, plastic. For convenience, the toy rack is equipped with wheels and lids.
In addition to the basic materials, you will need:
- glue – office glue, PVA, for gluing wood and plastic parts;
- colored paper and cardboard – for decorating the product;
- frame wire - for making fabric items;
- plywood - for the back walls.

Step by step production
Having decided on the type, design and construction of the toy storage rack, it is necessary to make a sketch of it. In this case, great artistic abilities are not required. This can be just a sketch, on which the dimensions and overall dimensions will be marked. The required amount of materials is calculated from this data.
The production of a fabric variation does not require the construction of special patterns and templates; as a rule, the markings, taking into account future sizes, are applied directly to the fabric.
For an item consisting of three vertical shelves, you will need 1.3 m of fabric with a width of 1.5. From the specified amount, cut out and cut out, taking into account seam allowances of 1.5-2 cm, elements of the following sizes:
- shelves – 4 pieces, size 30*60 cm;
- side parts – 6 pieces, size 30*30 cm;
- cardboard inserts – 4 pieces, size 28*28 cm;
- tape – 1 m.
The shelf parts are folded in half and stitched with a pocket, like a pillowcase. Then they are connected to each other with side parts. Cardboard is inserted into the pockets to strengthen the bases. A ribbon is sewn to the top of the finished structure and tied for hanging in the right place.
This type of rack is convenient because it is completely mobile, and the soft side walls, devoid of frame support, allow you to fold it like an accordion. The shelf will fit perfectly in a closet if its purpose is to store children's accessories. By equipping the structure with side pockets, additional storage space will appear. This type will serve as a good alternative to a regular box.
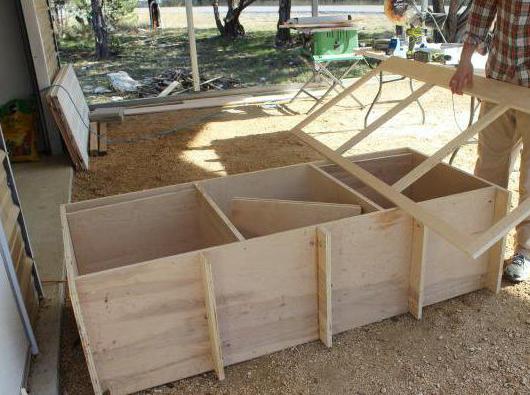
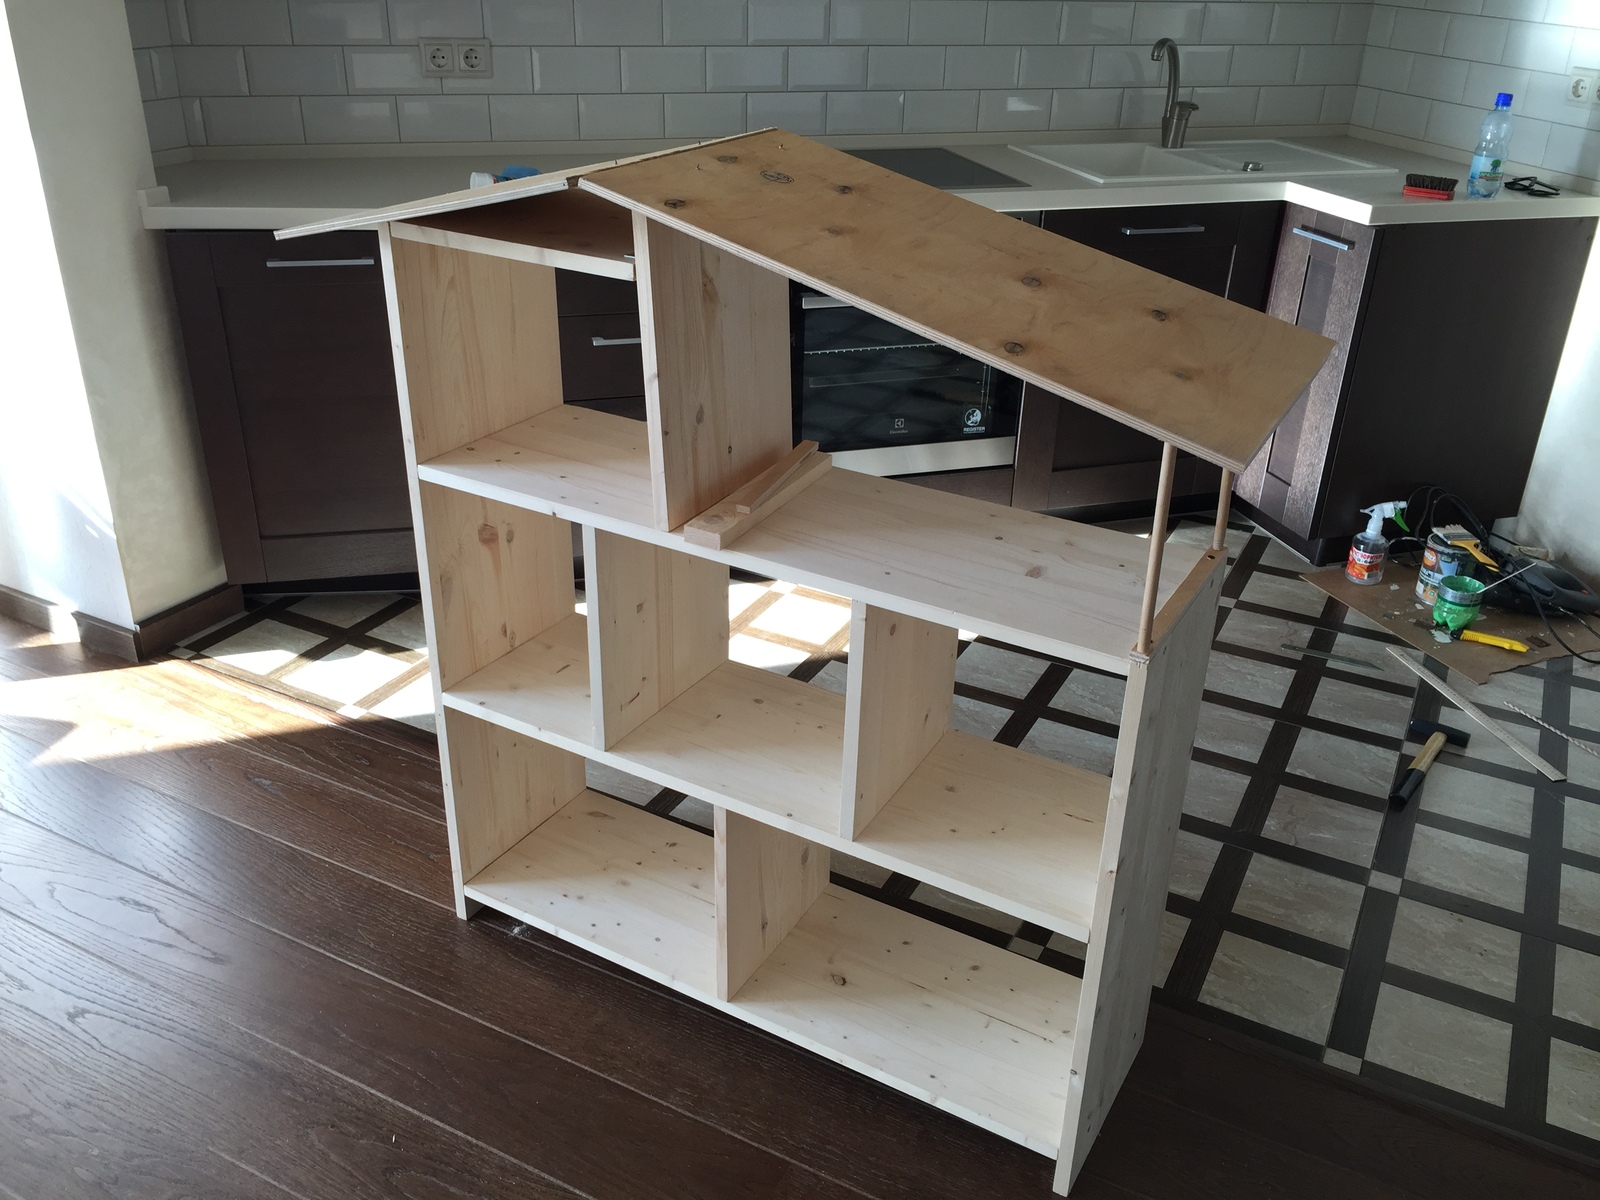
Making a version from wooden planks or laminated chipboard will require more significant skills, such as metalworking.

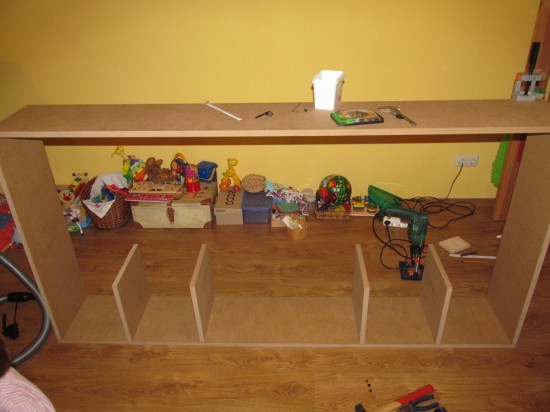
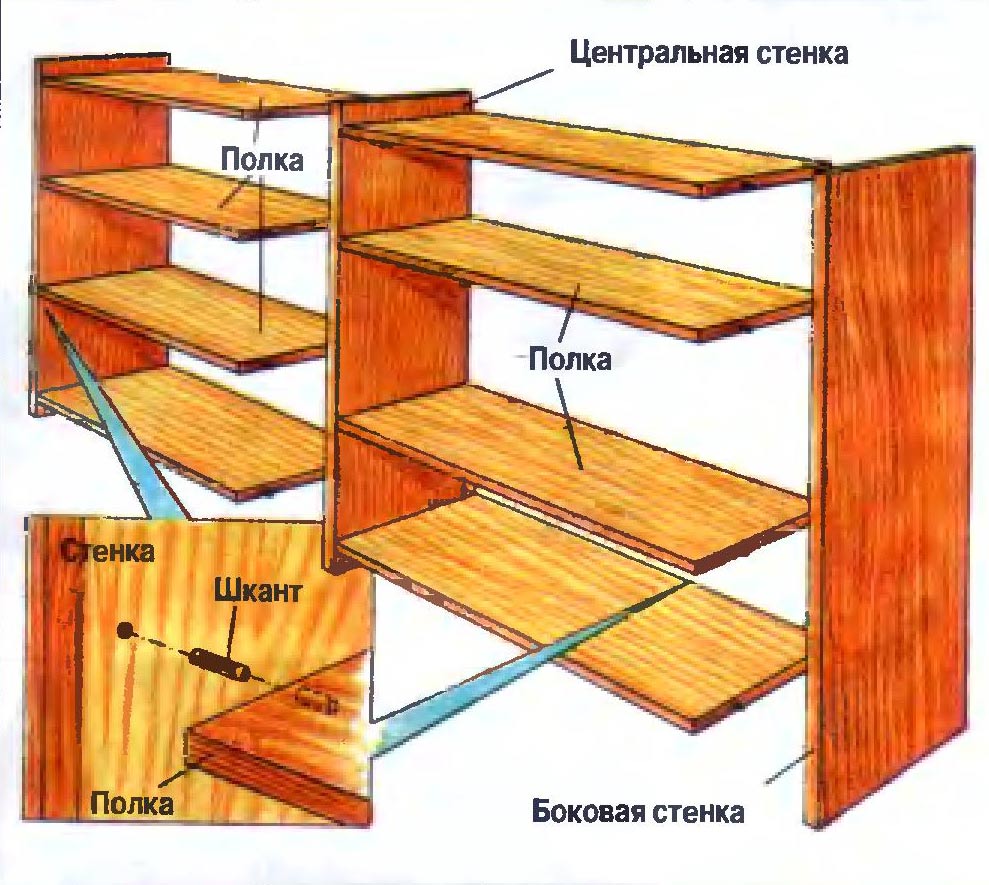
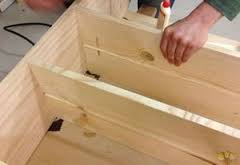
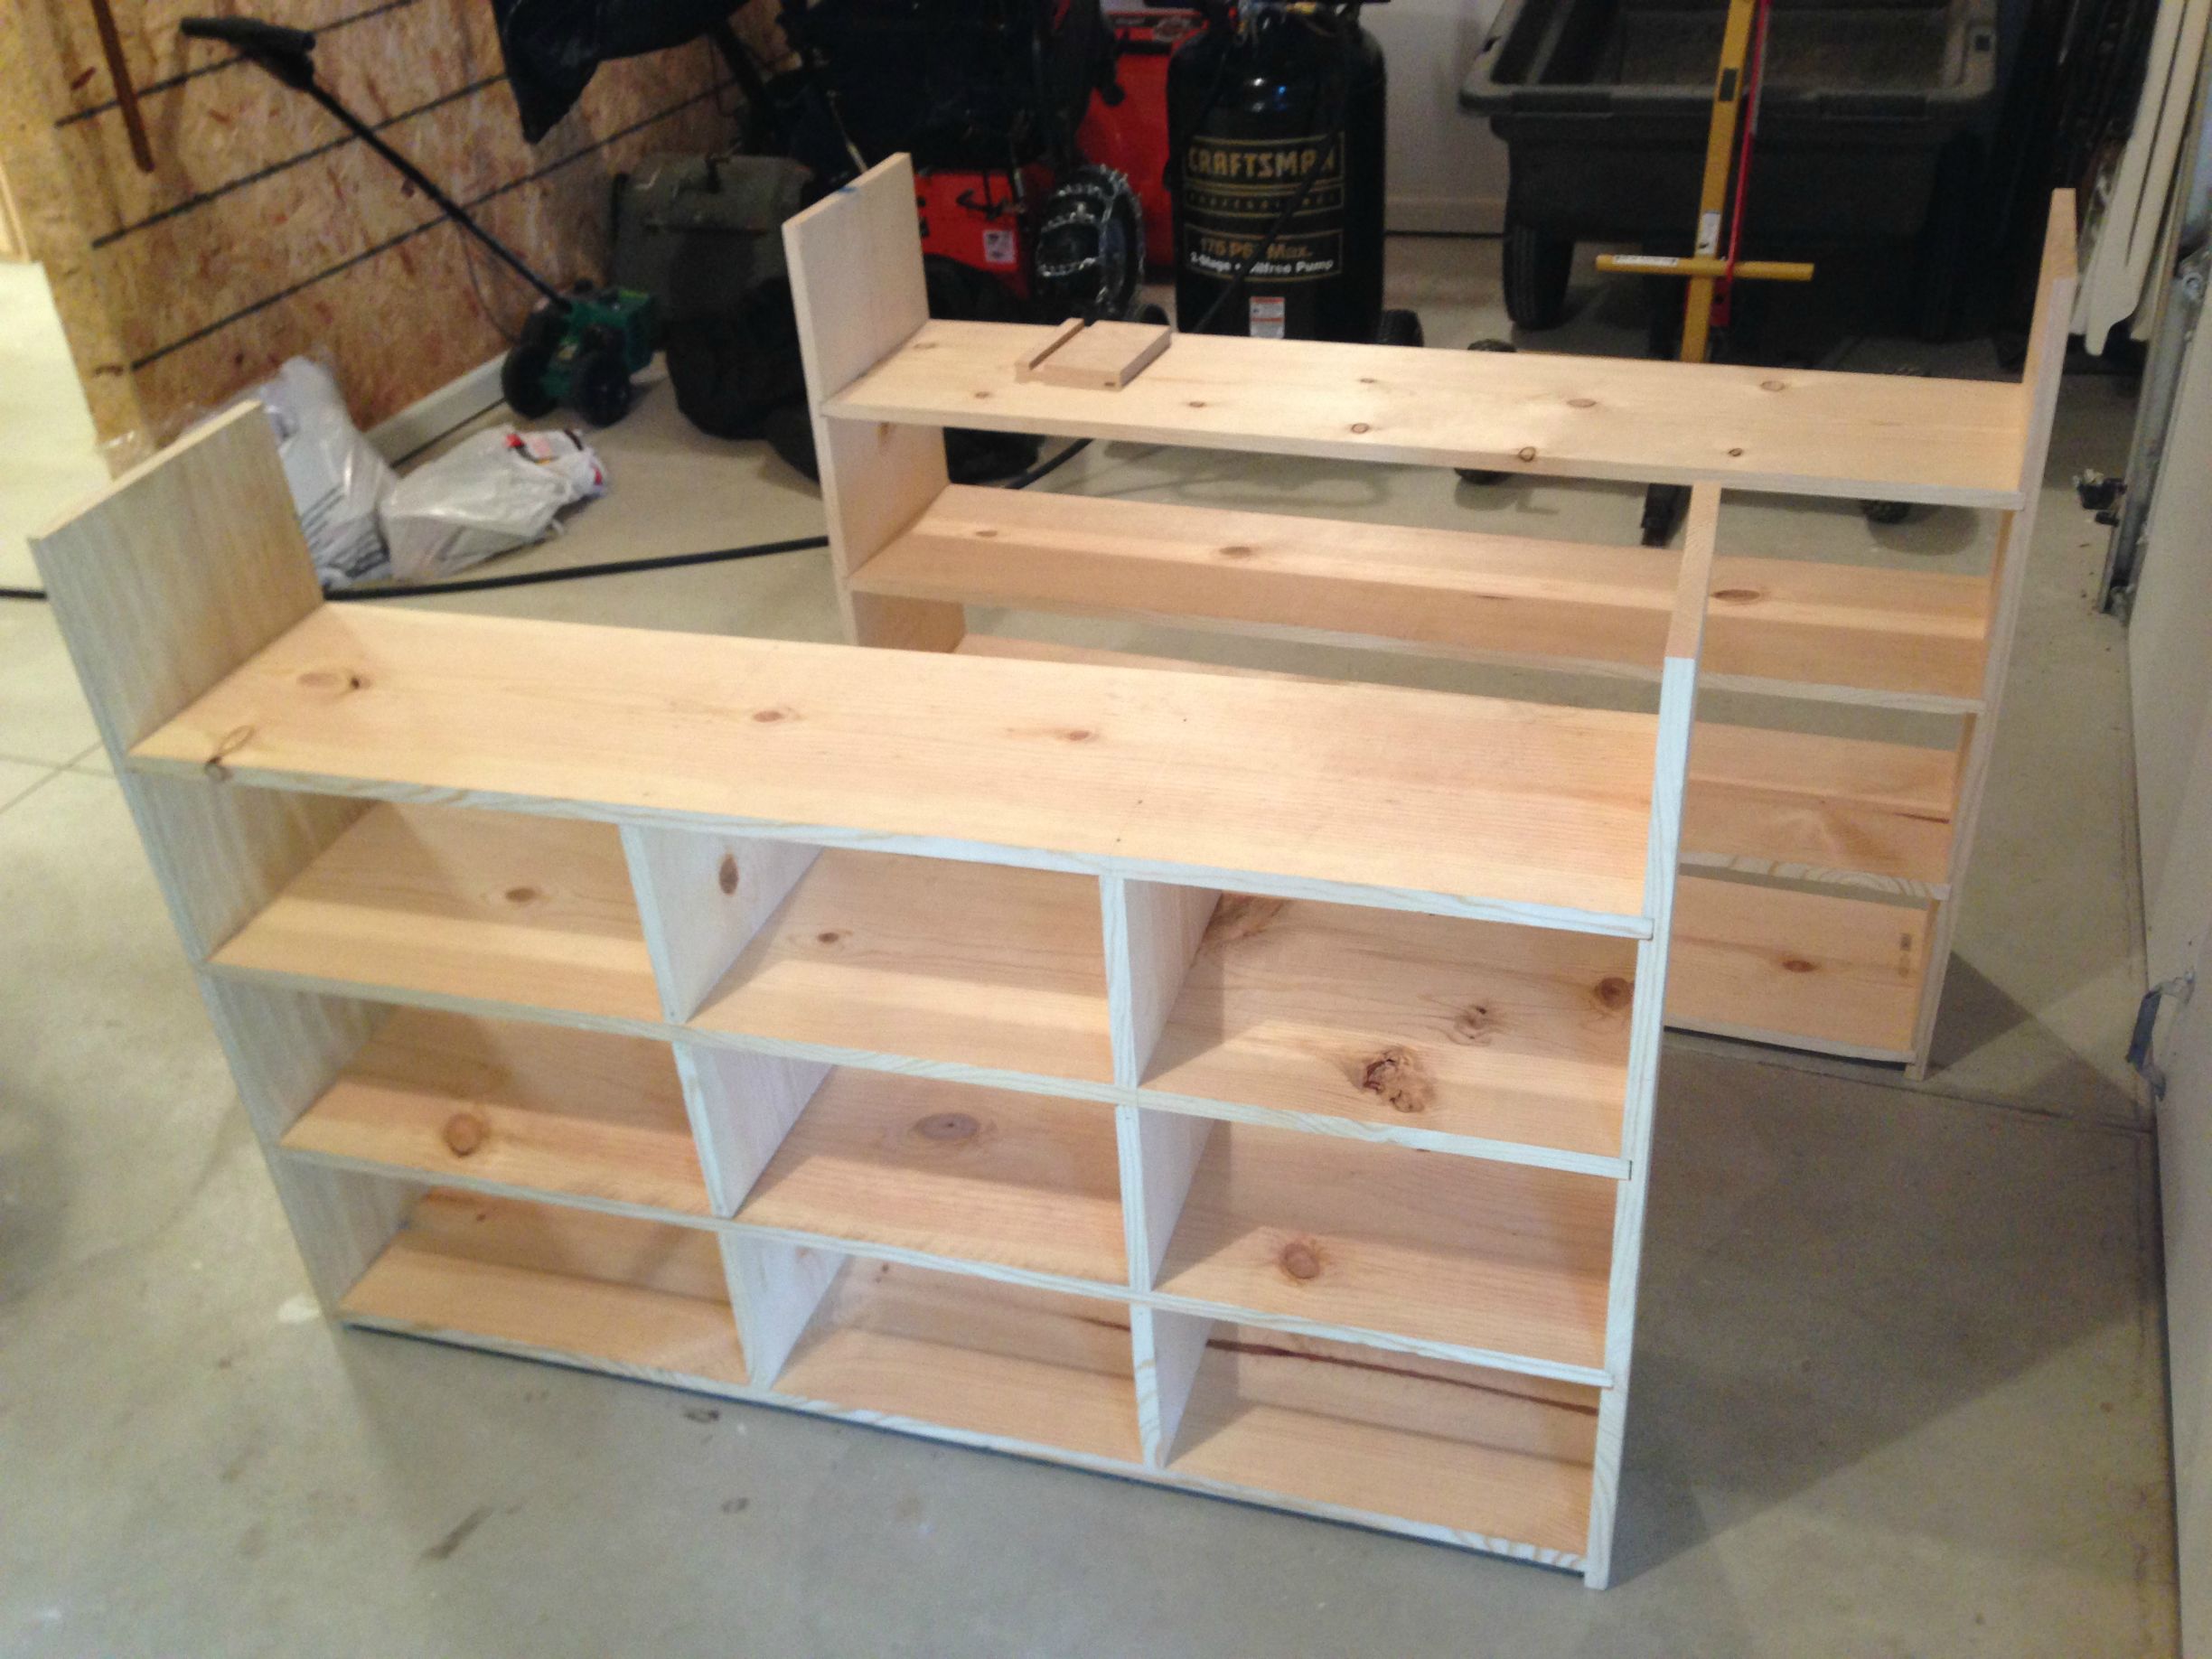
The frame manufacturing starts with the walls: side, top and bottom. They are cut from laminated chipboard approximately 16 mm thick, according to the dimensions. Ordinary plywood is also perfect for the back wall.
The next step is to make shelves with dividers. The finished parts are cut with folds and grooves are made in the right places. The joints are glued with special wood glue and dried well. For the reliability of the structure, the elements are pulled together from the inside with a metal corner. The boards must be provided with a good corner joint, which can be additionally equipped with tenons and lugs. The sample is made with a chisel or a gouge.
Now it is necessary to connect the shelves and vertical piers with nails and additionally glue. The intermediate shelves are connected to each other with wooden pins. To do this, it is necessary to make a through hole in the frame board, and drill nests in the shelves two-thirds the length of the pin. They are glued. The back wall made of plywood is nailed with nails.
To equip the structure with drawers, it is important to determine their dimensions precisely. Installation occurs on special furniture rollers.
Finally, the finished structure is processed with sandpaper, the existing holes are filled with putty, and excess glue is removed.
The wooden model is quite heavy, so to avoid falling and getting injured, it must be attached to the wall with a metal corner. This will ensure stability.
Decorating
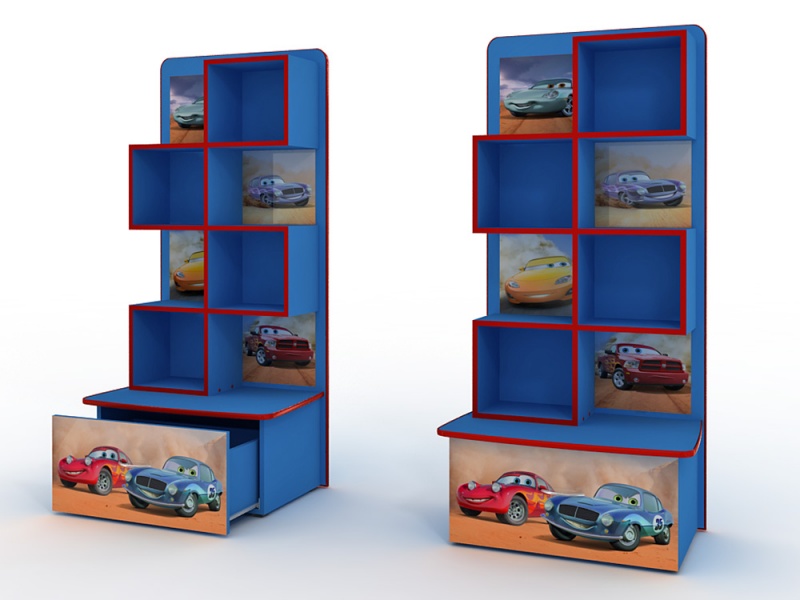
Depending on who the children's toy storage rack is intended for - a boy or a girl, as well as the interior of the room, its decor is also done. But, despite all the strict rules, it should give the baby a feeling of joy and comfort. Any option can be played up with such decorative elements as butterflies, flowers, bows, cars or fairy-tale characters. They can be made of fabric or special paper, and glued to the finished product. It can also be a ready-made decorative element purchased in a store.
- The finished wooden product, after finishing work, can be painted in the required color, varnished in the desired shade.
- Drawer fronts can be made directly using colored laminated chipboard.
- Melamine edging is a good option for decoration. To do this, apply it to the end parts and iron it with a hot iron. After it is sufficiently fixed, the remains are removed with a knife. Another type of decoration is the installation of a baguette. This way, the rack will look neater and more interesting.
- An interesting option would be to offer your child the opportunity to decorate his own children's shelving unit.

According to psychologists, from early childhood, a child must be taught to be tidy. And this, in turn, means the baby's personal belongings and toys are laid out and placed in their places, forming a single storage system. Having a separate place will also be useful if the little family member does not have his or her own children's room. And evening collection of toys can be turned into a kind of ritual.
VIDEO:Toy rack
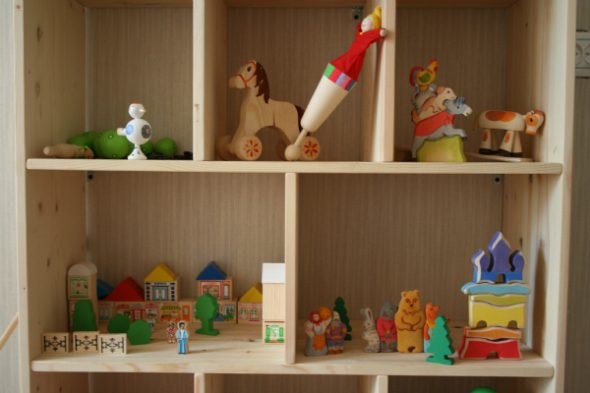
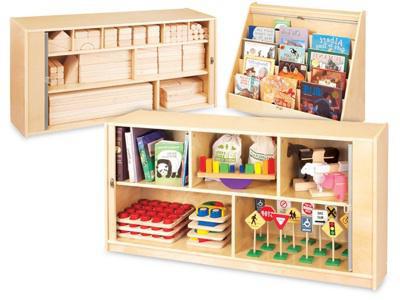
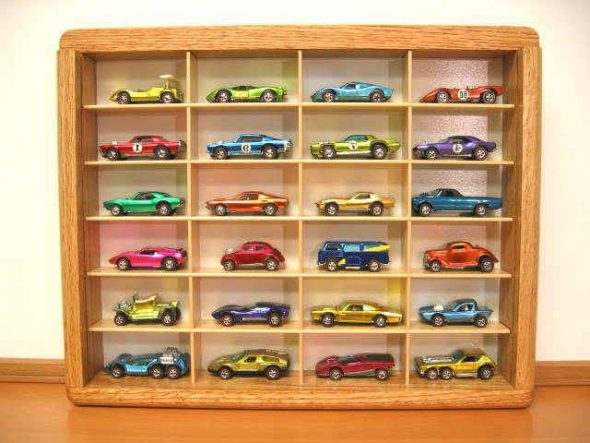
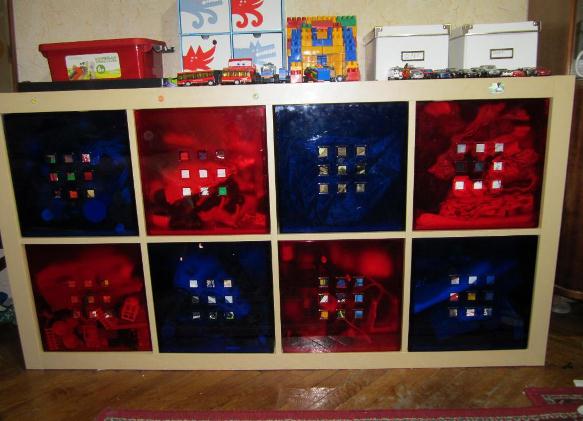
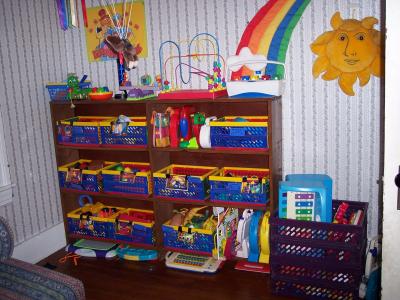
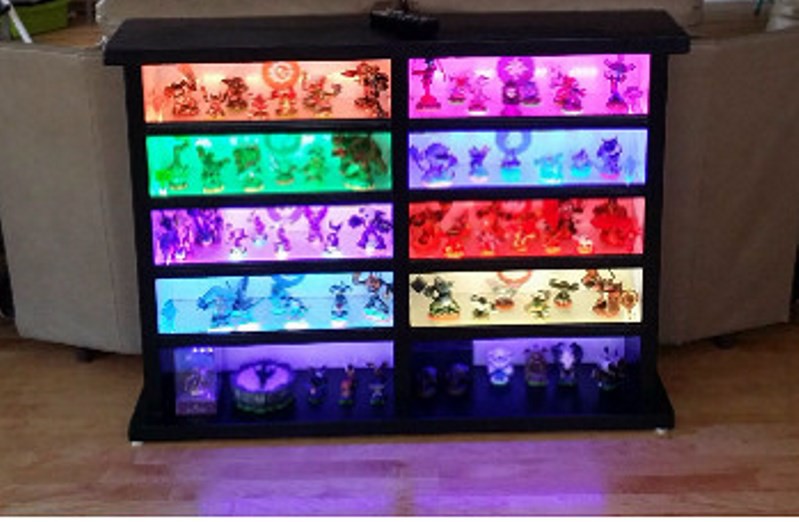
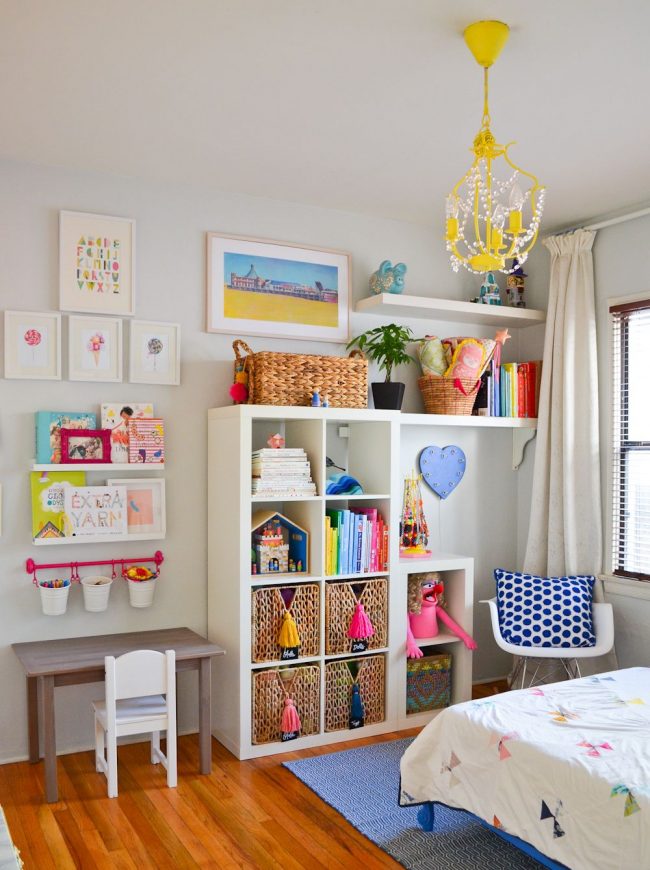
50 photo ideas on how to make a toy rack with your own hands


How can I order from you and find out the price?