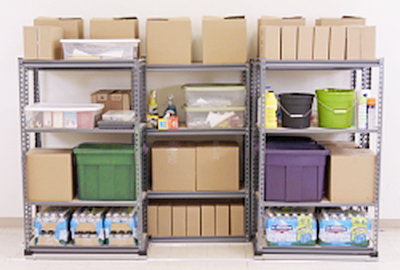
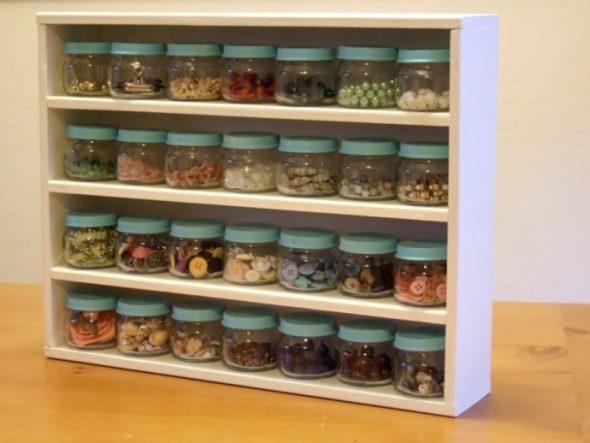
Preparing tools for a shelving unitIs your home cluttered? Chances are, you simply don't have enough shelves to store many useful things. Canning jars and prepared winter supplies, electric and hand tools, household chemicals... the more thrifty the owners are, the longer this list. The simple conclusion suggests itself: to use living space more rationally, you need a shelving unit.
There is a wide range of shelving units available in stores, but to get a piece of furniture that will fully meet your needs, it is better to make a shelving unit yourself. Why?
- This is the only way you can organically fit a new piece of furniture into the interior.
- A self-made wooden rack will be able to withstand the load required for your things.
- By calculating the height of the shelves and the entire structure, you can allocate space for both large and small items.
How to make a shelving unit with your own hands? It is not as difficult as it seems. To make it, you will need available materials and simple tools.
STAGE 1. DECIDE ON THE DESIGN
The choice of rack design and requirements for its appearance depend primarily on the room in which it will be located. Most often, racks are made:
- in the hallway or corridor,
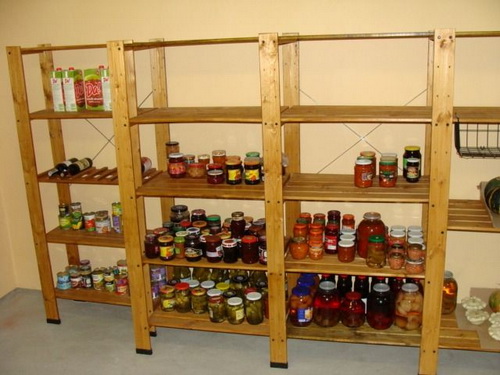
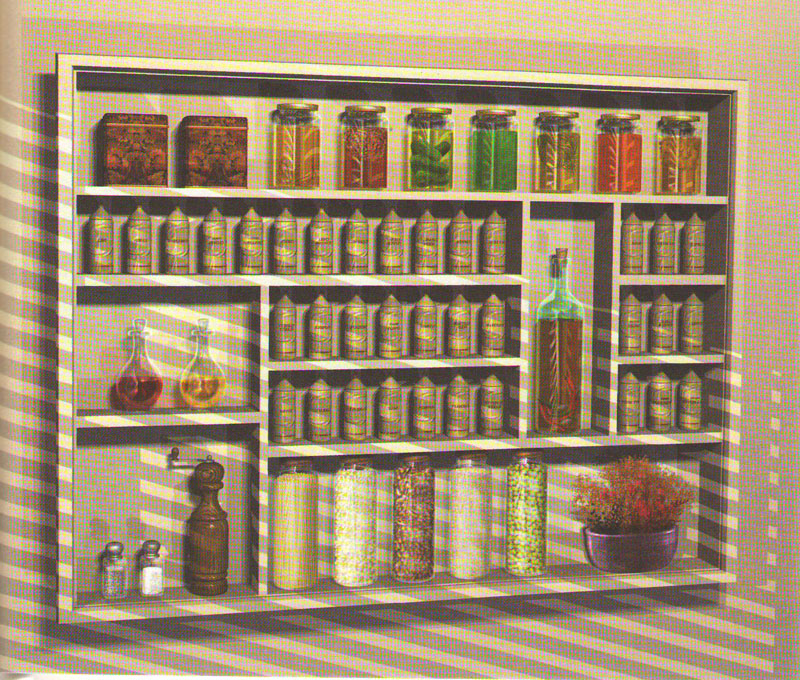
- in the pantry,
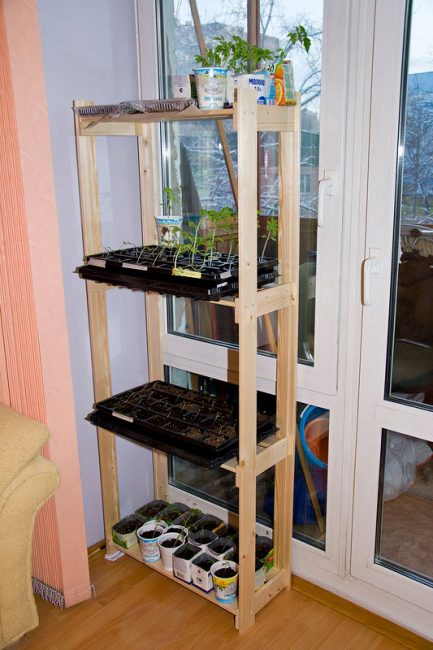
- on the balcony or in the loggia,
- under the stairs (this is relevant if we are talking about a country house or a two-story apartment),
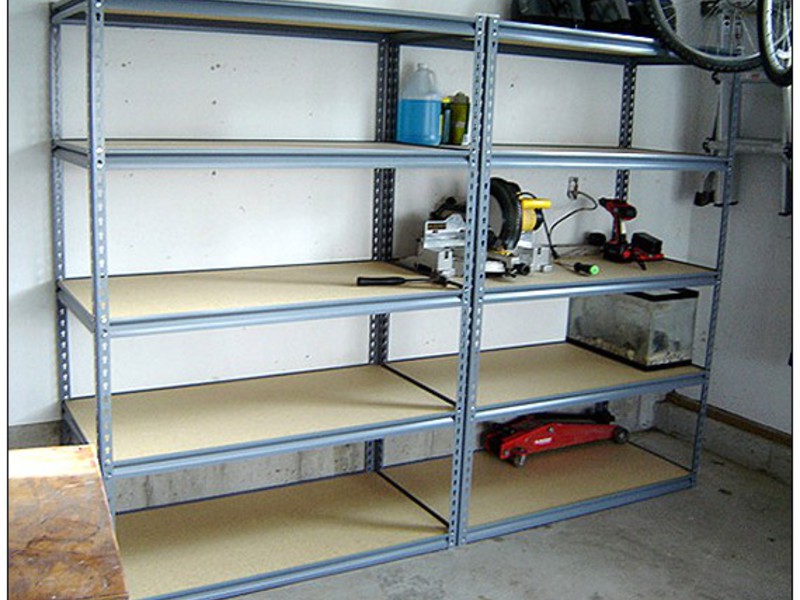
- in the basement,
- in the garage.
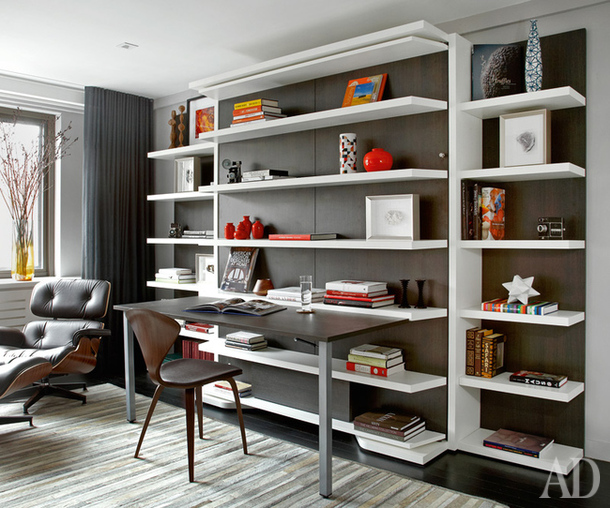
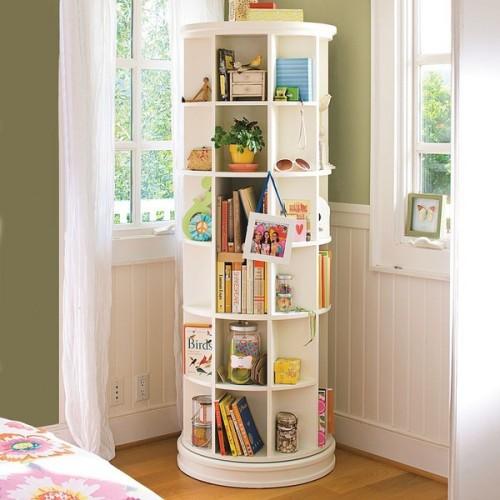
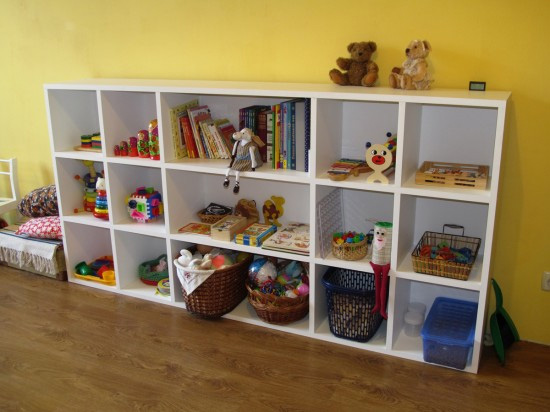
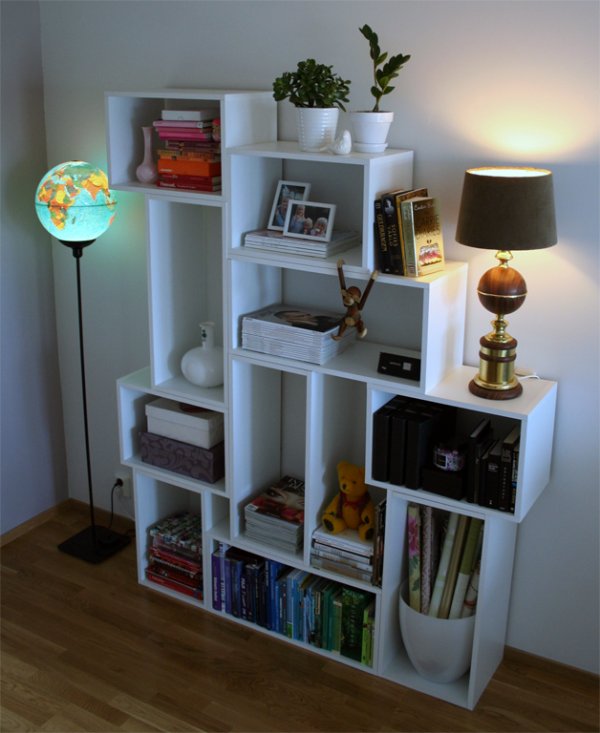
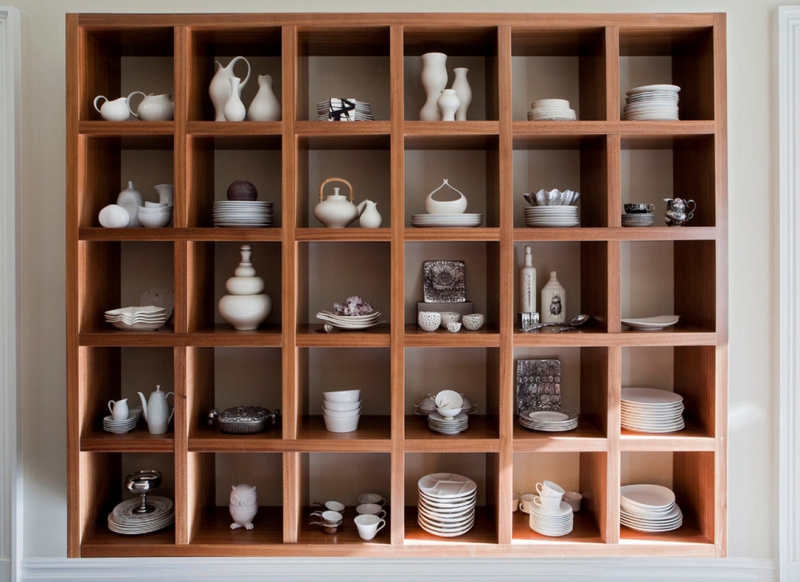
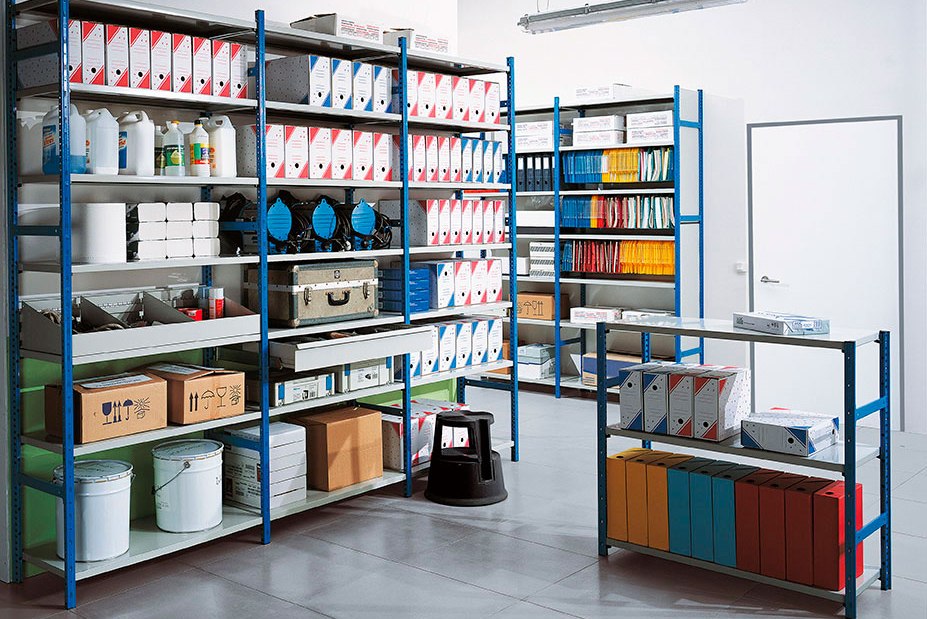
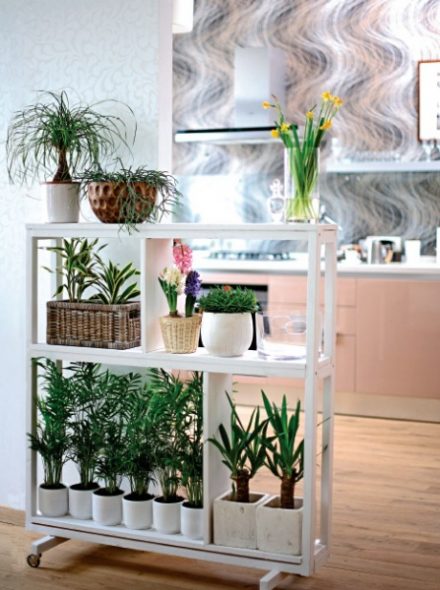
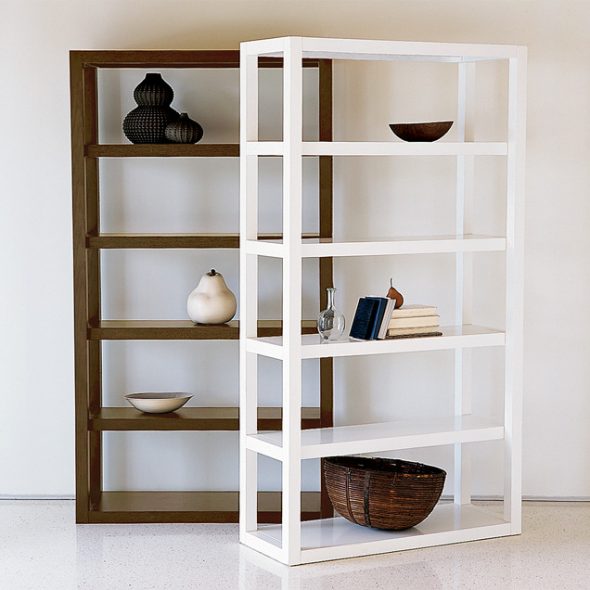
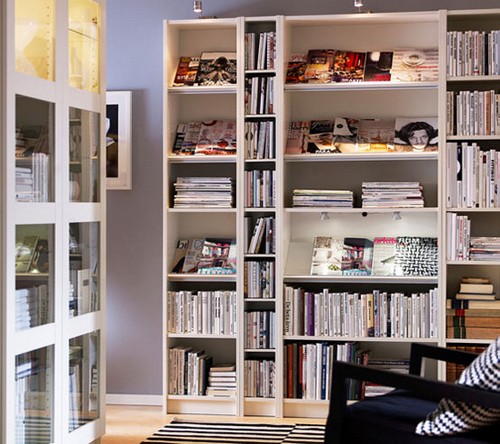
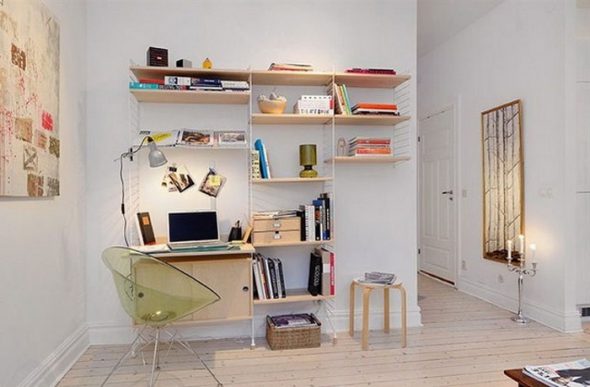
Recently, shelving has been increasingly installed in residential premises, mainly in offices and children's rooms: these structures allow for efficient use of space, and with a skillful approach, they also decorate the interior.
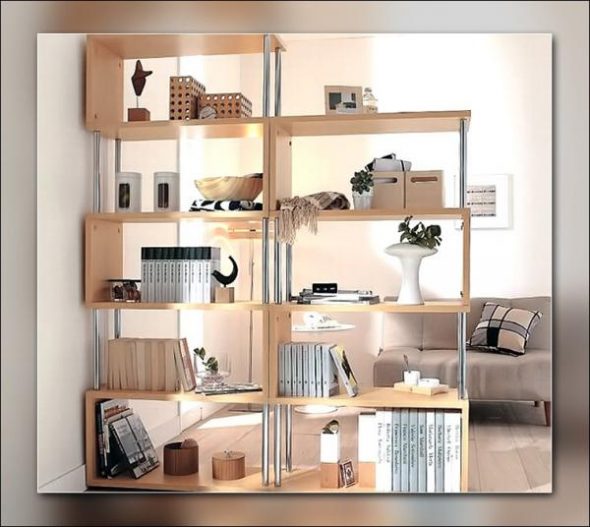
There are several types of shelving: frame, beam, modular, cantilever, rope; self-supporting and bridge shelving.
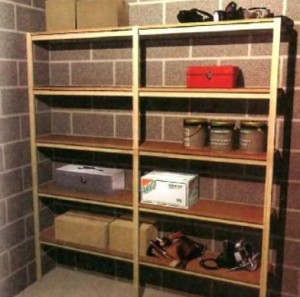
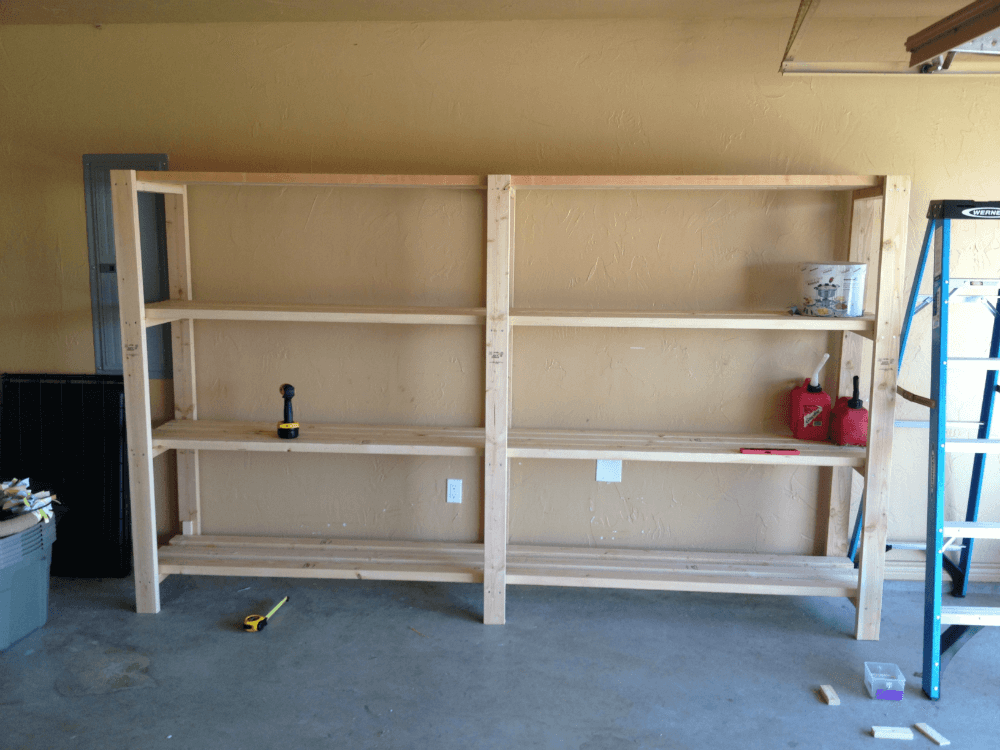
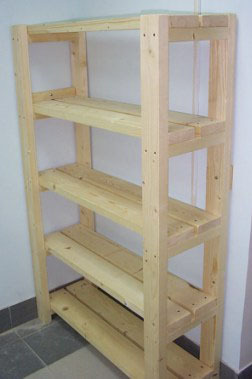
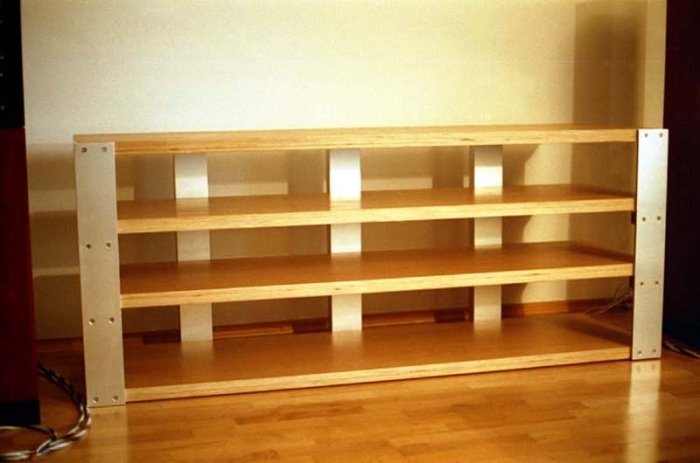
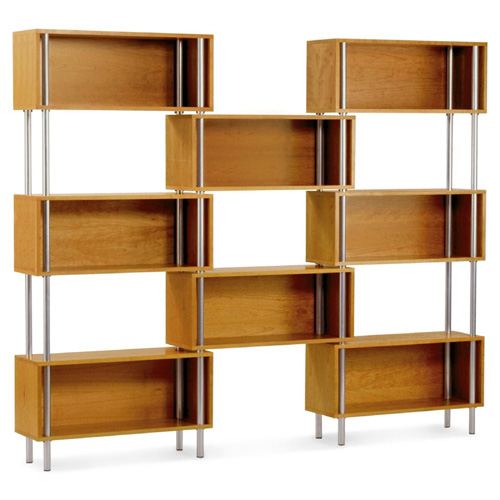
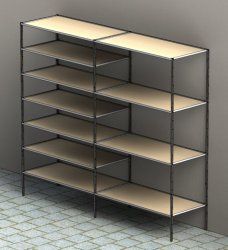
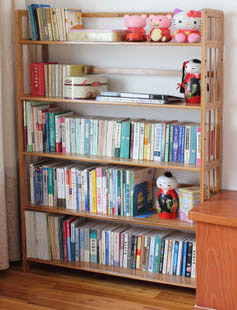
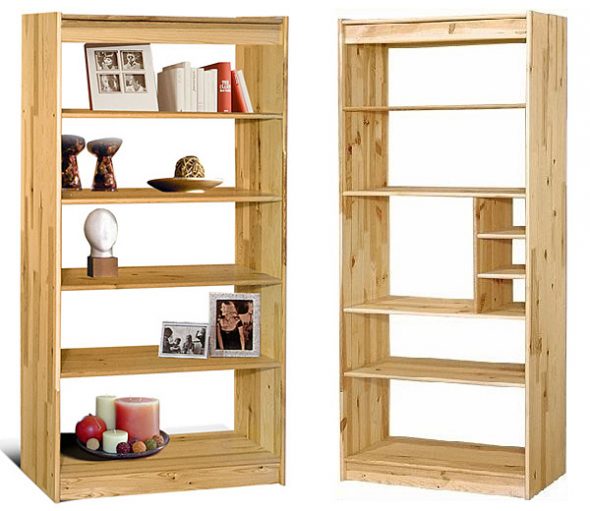
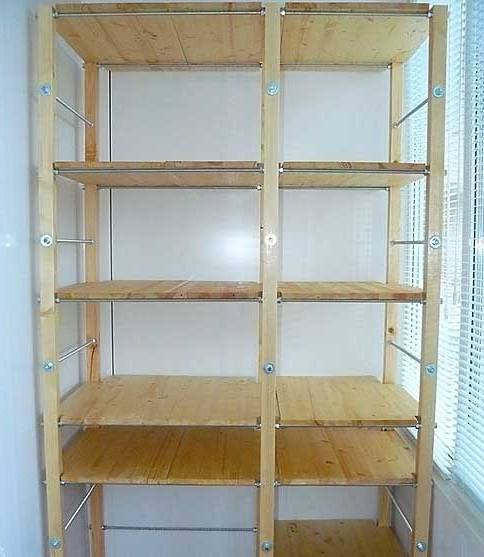
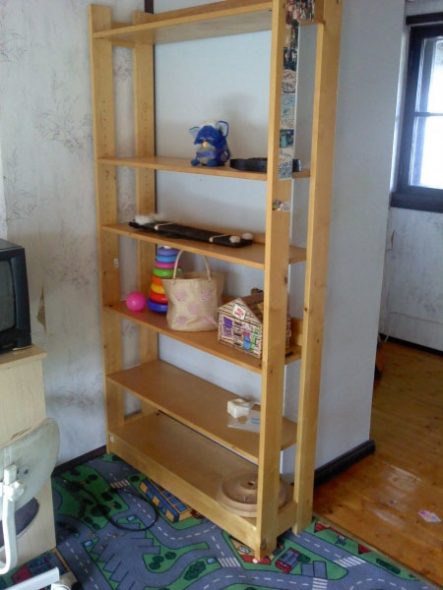
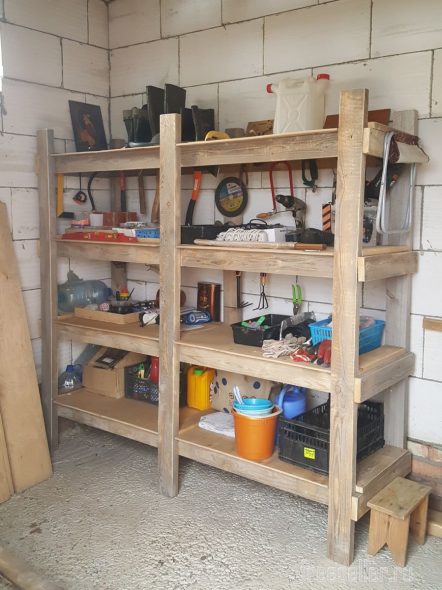
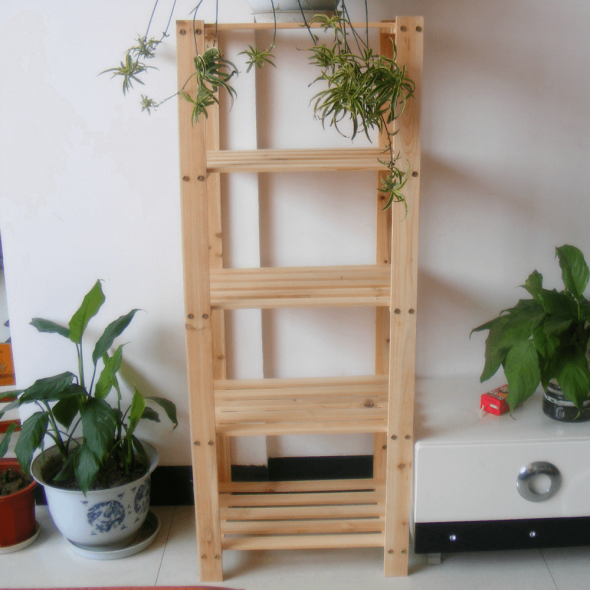
In frame racks, the supporting structure is a wooden or metal frame on which several shelves are mounted. For a DIY rack, this is the most acceptable option.
Beam racks are similar in design, but have a more durable frame, are more difficult to manufacture and require more expensive materials.
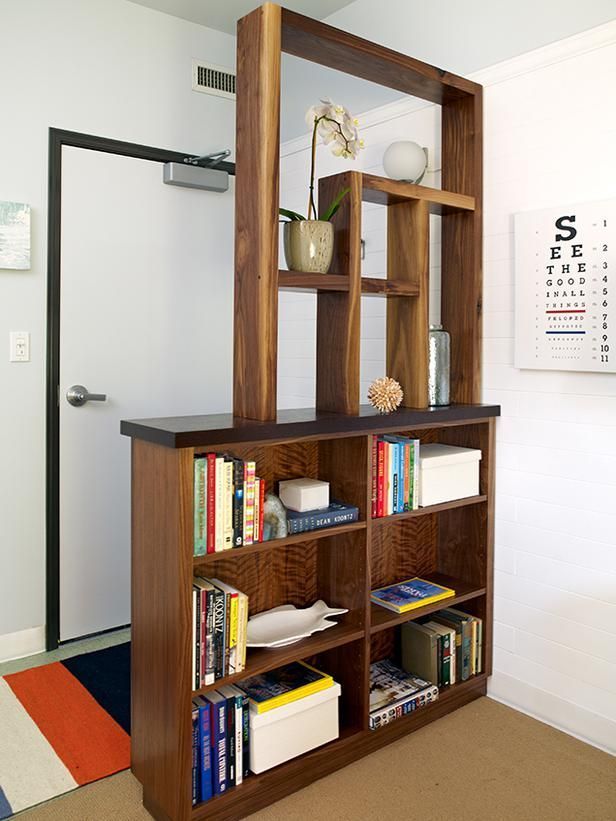
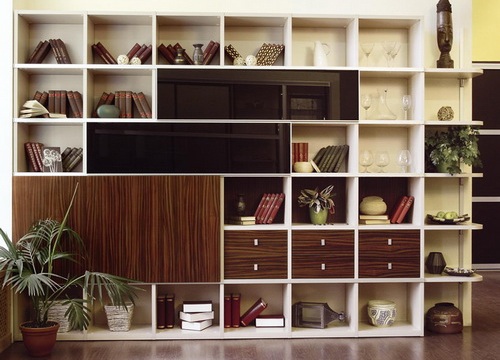
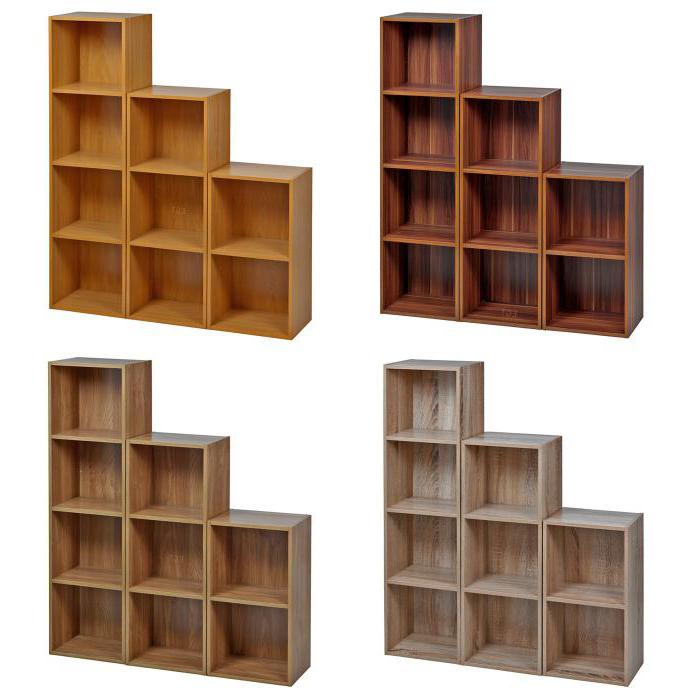
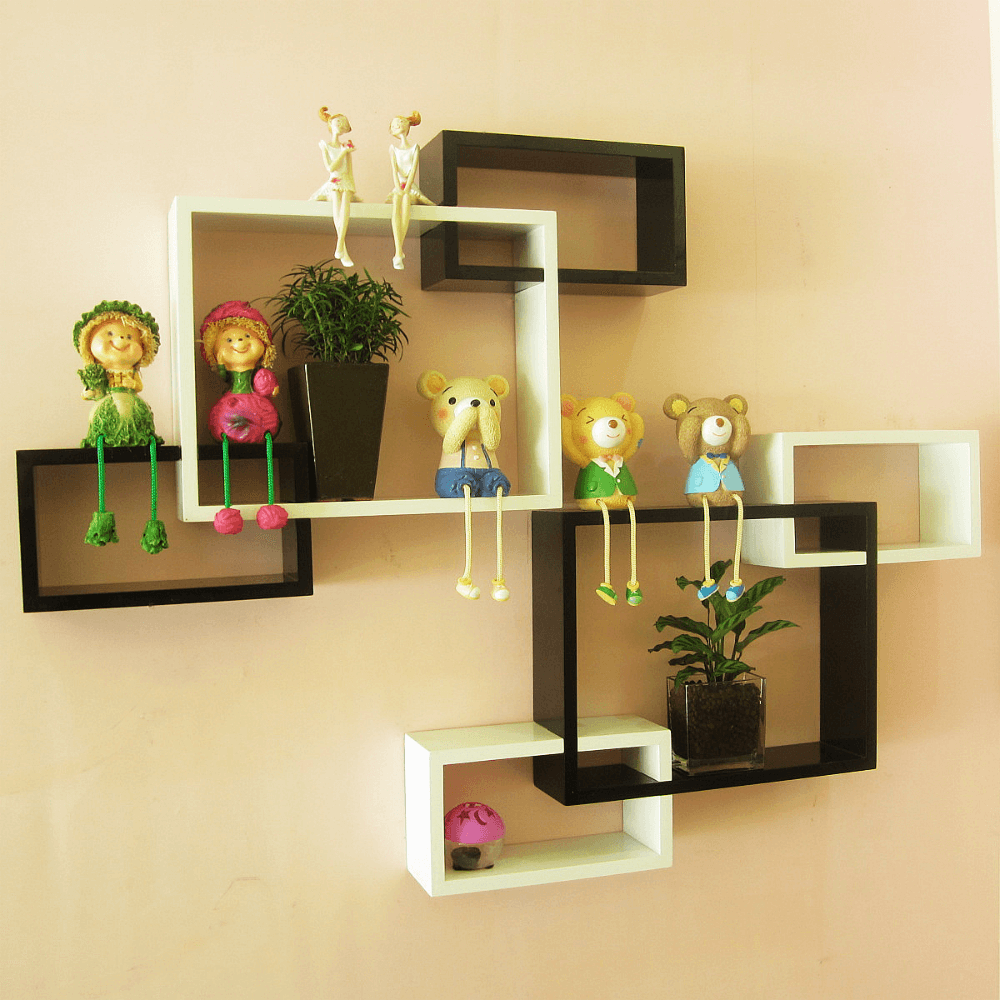
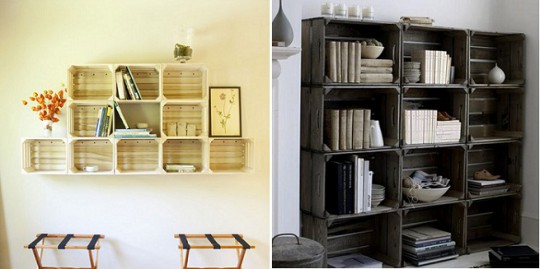
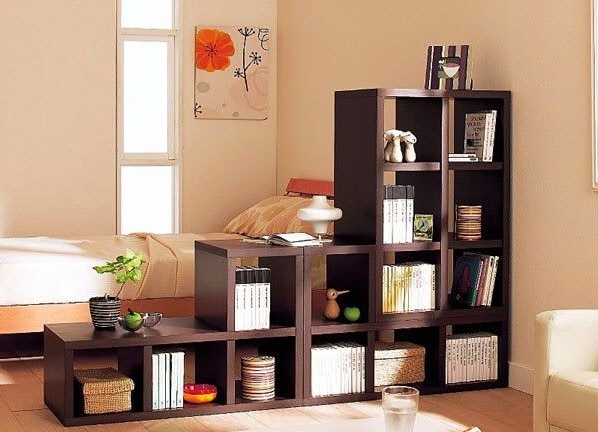
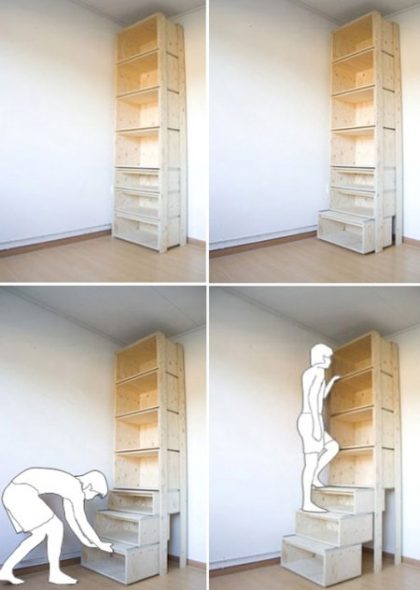
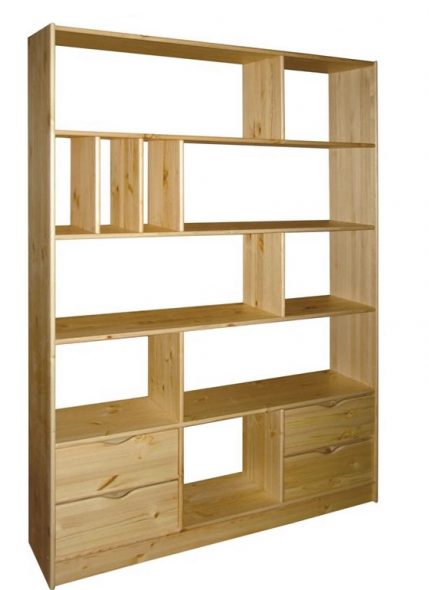
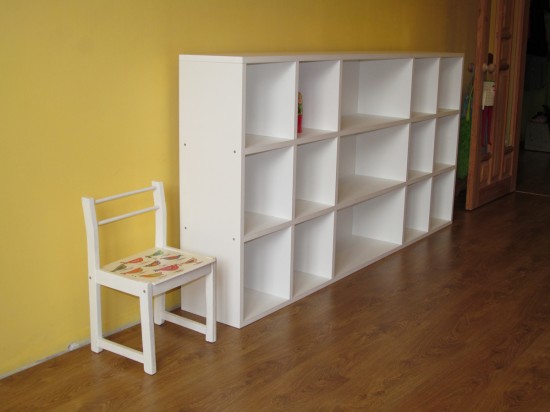
Modular shelving consists of three main elements: lattice, box and ladder. Their various combinations allow you to create products of the most unusual shapes, which can be attached to the wall or stand alone.

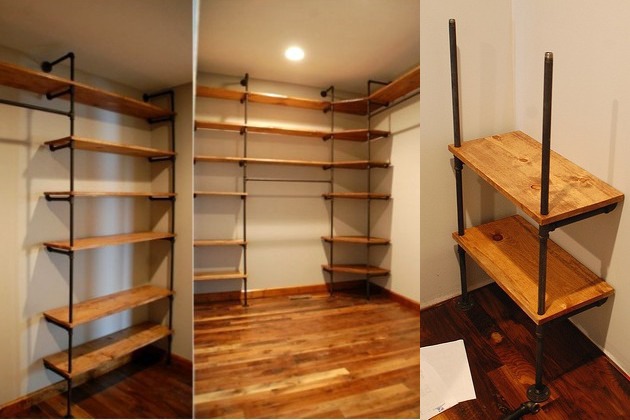
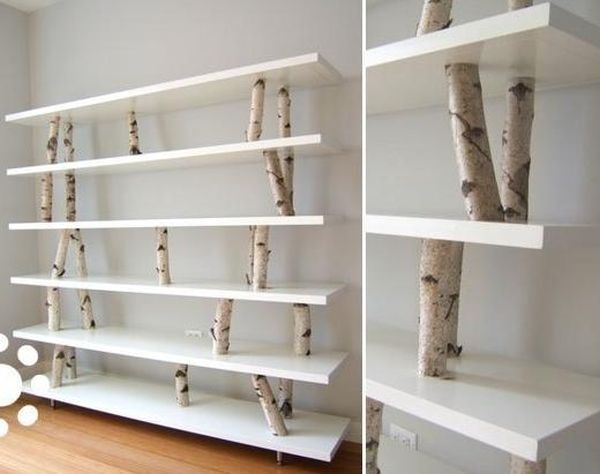
A console rack involves attaching shelves to a solid back wall without sidewalls. Such racks are convenient to use in the hallway.
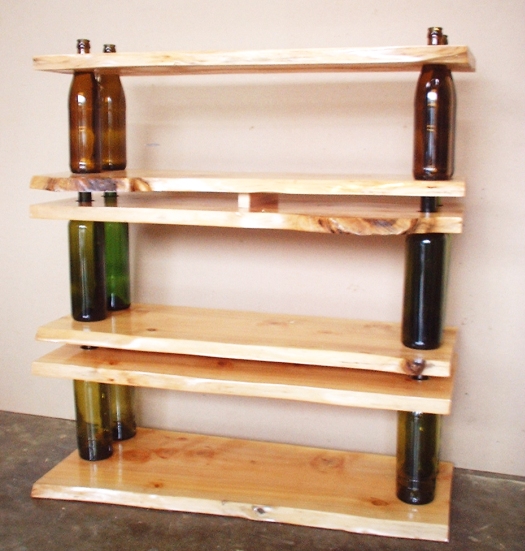
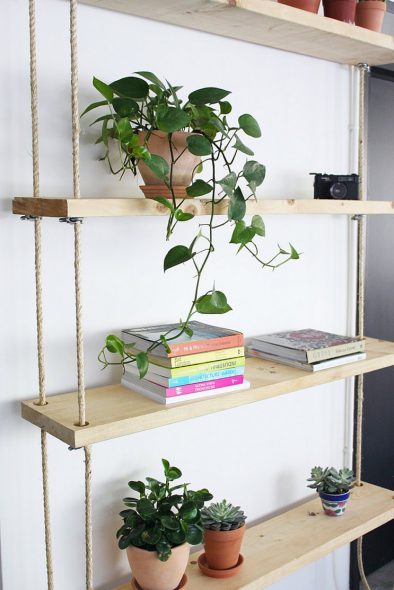
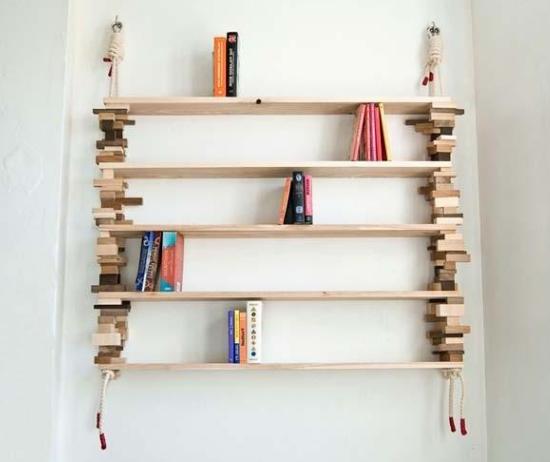
The rope rack is similar in design to a similar ladder: ropes are used to attach the shelves, and there are no side walls. Such a rack can become an effective detail of the interior in a marine style (for example, in a children's room). A rope rack is not suitable for storing heavy items, but souvenirs and favorite toys will look great on it.
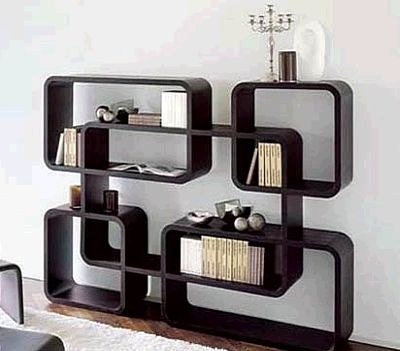
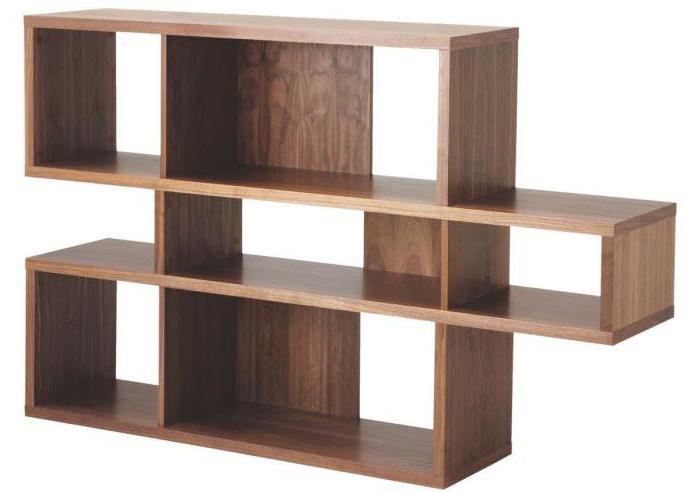
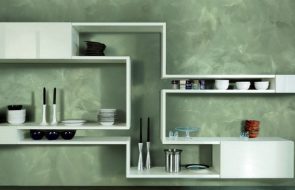
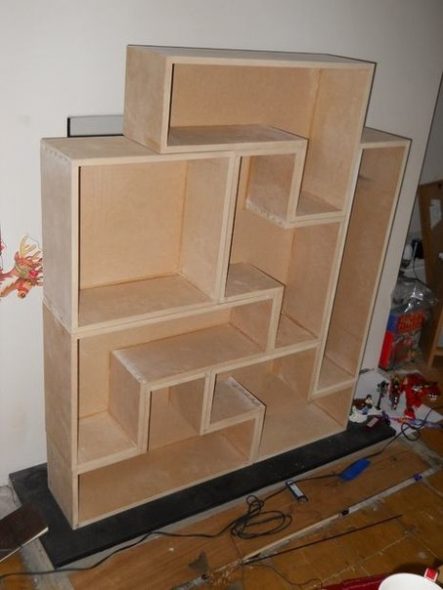
Shelves of a self-supporting structure are rarely created by craftsmen due to their complex, broken shape. They cannot bear heavy loads and perform more decorative functions.
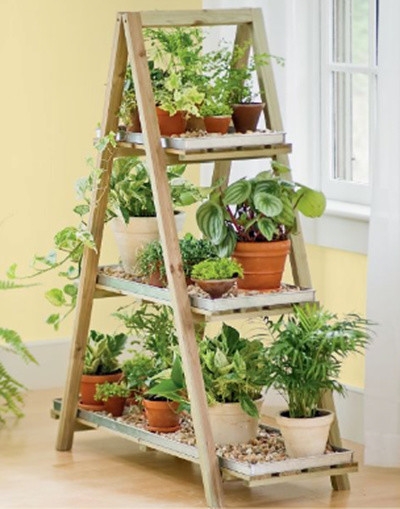
The supporting structures of bridge racks are A-shaped, inside which there are shelf mounts, often made of boards. It is not very difficult to make a bridge rack, but the useful area of such a product is relatively small, and the aesthetic qualities are questionable, so they are more often used for industrial premises than in everyday life.
Since it is easiest to make a frame rack at home, let us dwell on the features of its design.
STAGE 2. CREATE A SKETCH
At the design stage, you need to take into account the height of the room (usually the rack is made up to the ceiling), and also decide what length and width of shelves will suit you. Marking on the wall will greatly simplify the work on the sketch.
It is necessary to know the dimensions of the items to be stored: this will allow you to specify the depth of the product and choose the optimal step of the racks. The maximum length of the shelves of the rack should not exceed 150 cm, and the material for them is usually boards. Long shelves can only be used to store light items, otherwise sagging cannot be avoided. If a wooden rack must withstand heavy loads, the step of the structure's racks should not exceed 50 cm. To make it easy to get things, gaps must be provided between them (length 5-10 cm). The width of the shelves for canned goods, books and other small items is 20-30 cm. Much more space may be required to store power tools, so it is necessary to take measurements.
When designing a rack, it is necessary to take into account the load distribution and the number of shelves (the lighter and smaller the item, the higher it should stand, and accordingly, it is advisable to strengthen the lower frame).
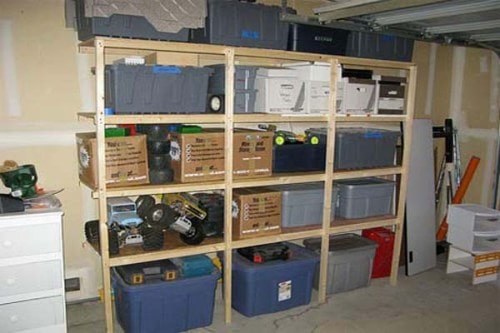
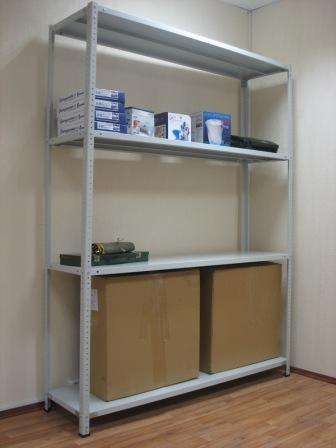
The choice of materials depends on the temperature and humidity in the room. Wood can withstand a lot of weight, but is sensitive to moisture, so it will be the best solution for living rooms. If the humidity is high (for example, in the basement) or temperature fluctuations are possible (in an unheated workshop or garage), materials such as metal or plastic are better suited for the frame. The length of the shelves in this case can be up to 80 cm.
To make the rack you will need the following materials:
- timber or perforated profile for racks;
- batten or corrugated solid profile for frames;
- chipboard, OSB or shelf boards;
- self-tapping screws, dowels and metal corners for installation.
If all preliminary measurements have been taken and materials have been selected, it’s time to draw a sketch.
The height of the shelves should be the same or decrease from bottom to top, which allows for rational distribution of the load.
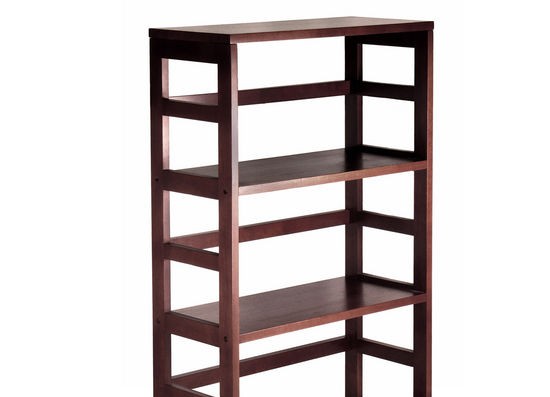
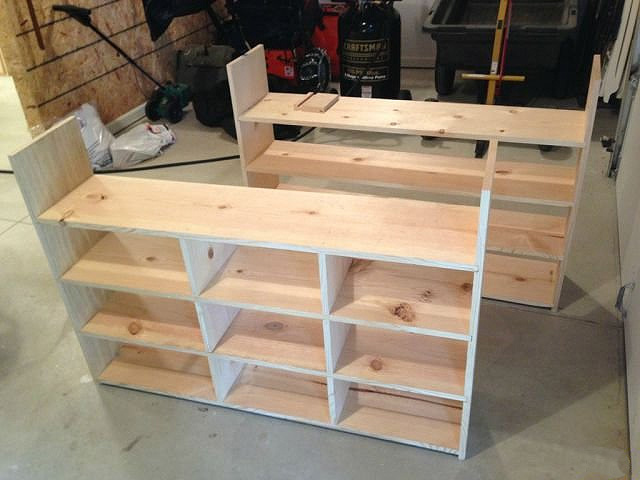
The simplest rack consists of vertical beams (sometimes solid walls are made) and shelves. For greater stability, a frame structure is used, when chipboard boards are attached to the beams with screws at the top and bottom. Since the heaviest objects are always at the bottom, the lower frame should be reinforced with cross beams.

STAGE 3. INSTALL THE RACK
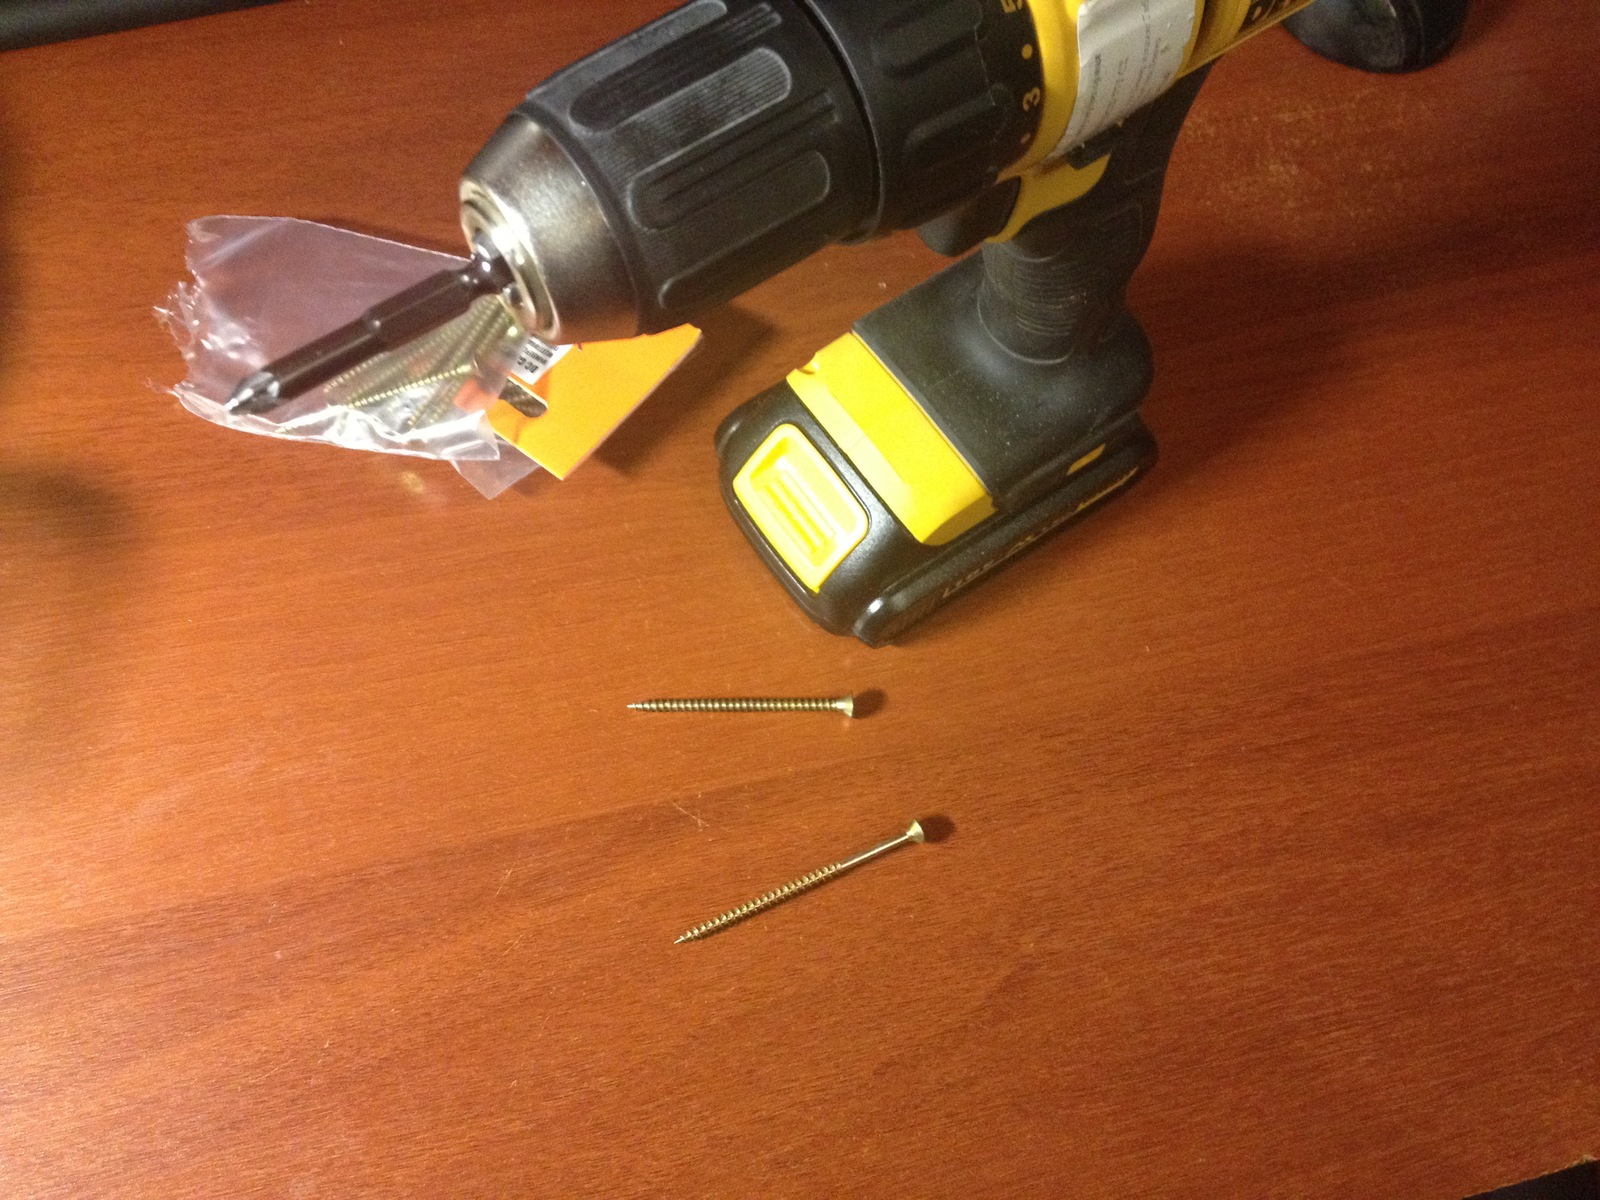
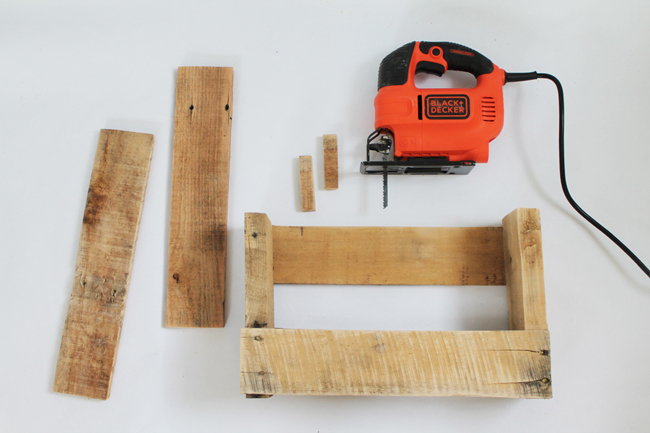
To make a rack yourself, You will need tools that are available in almost every home:
- saw or jigsaw,
- drill,
- screwdriver.
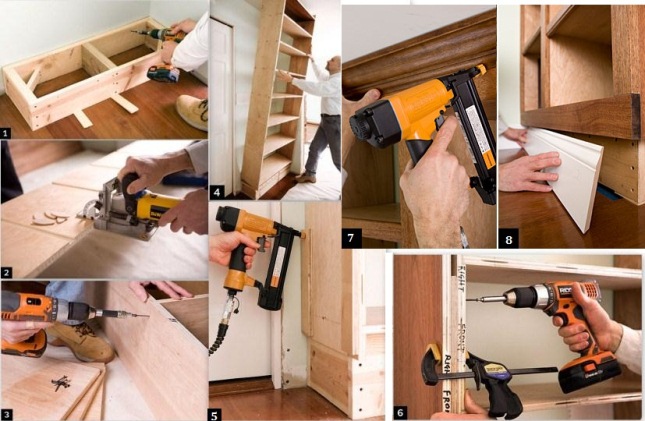
The process of making a rack consists of only a few operations.
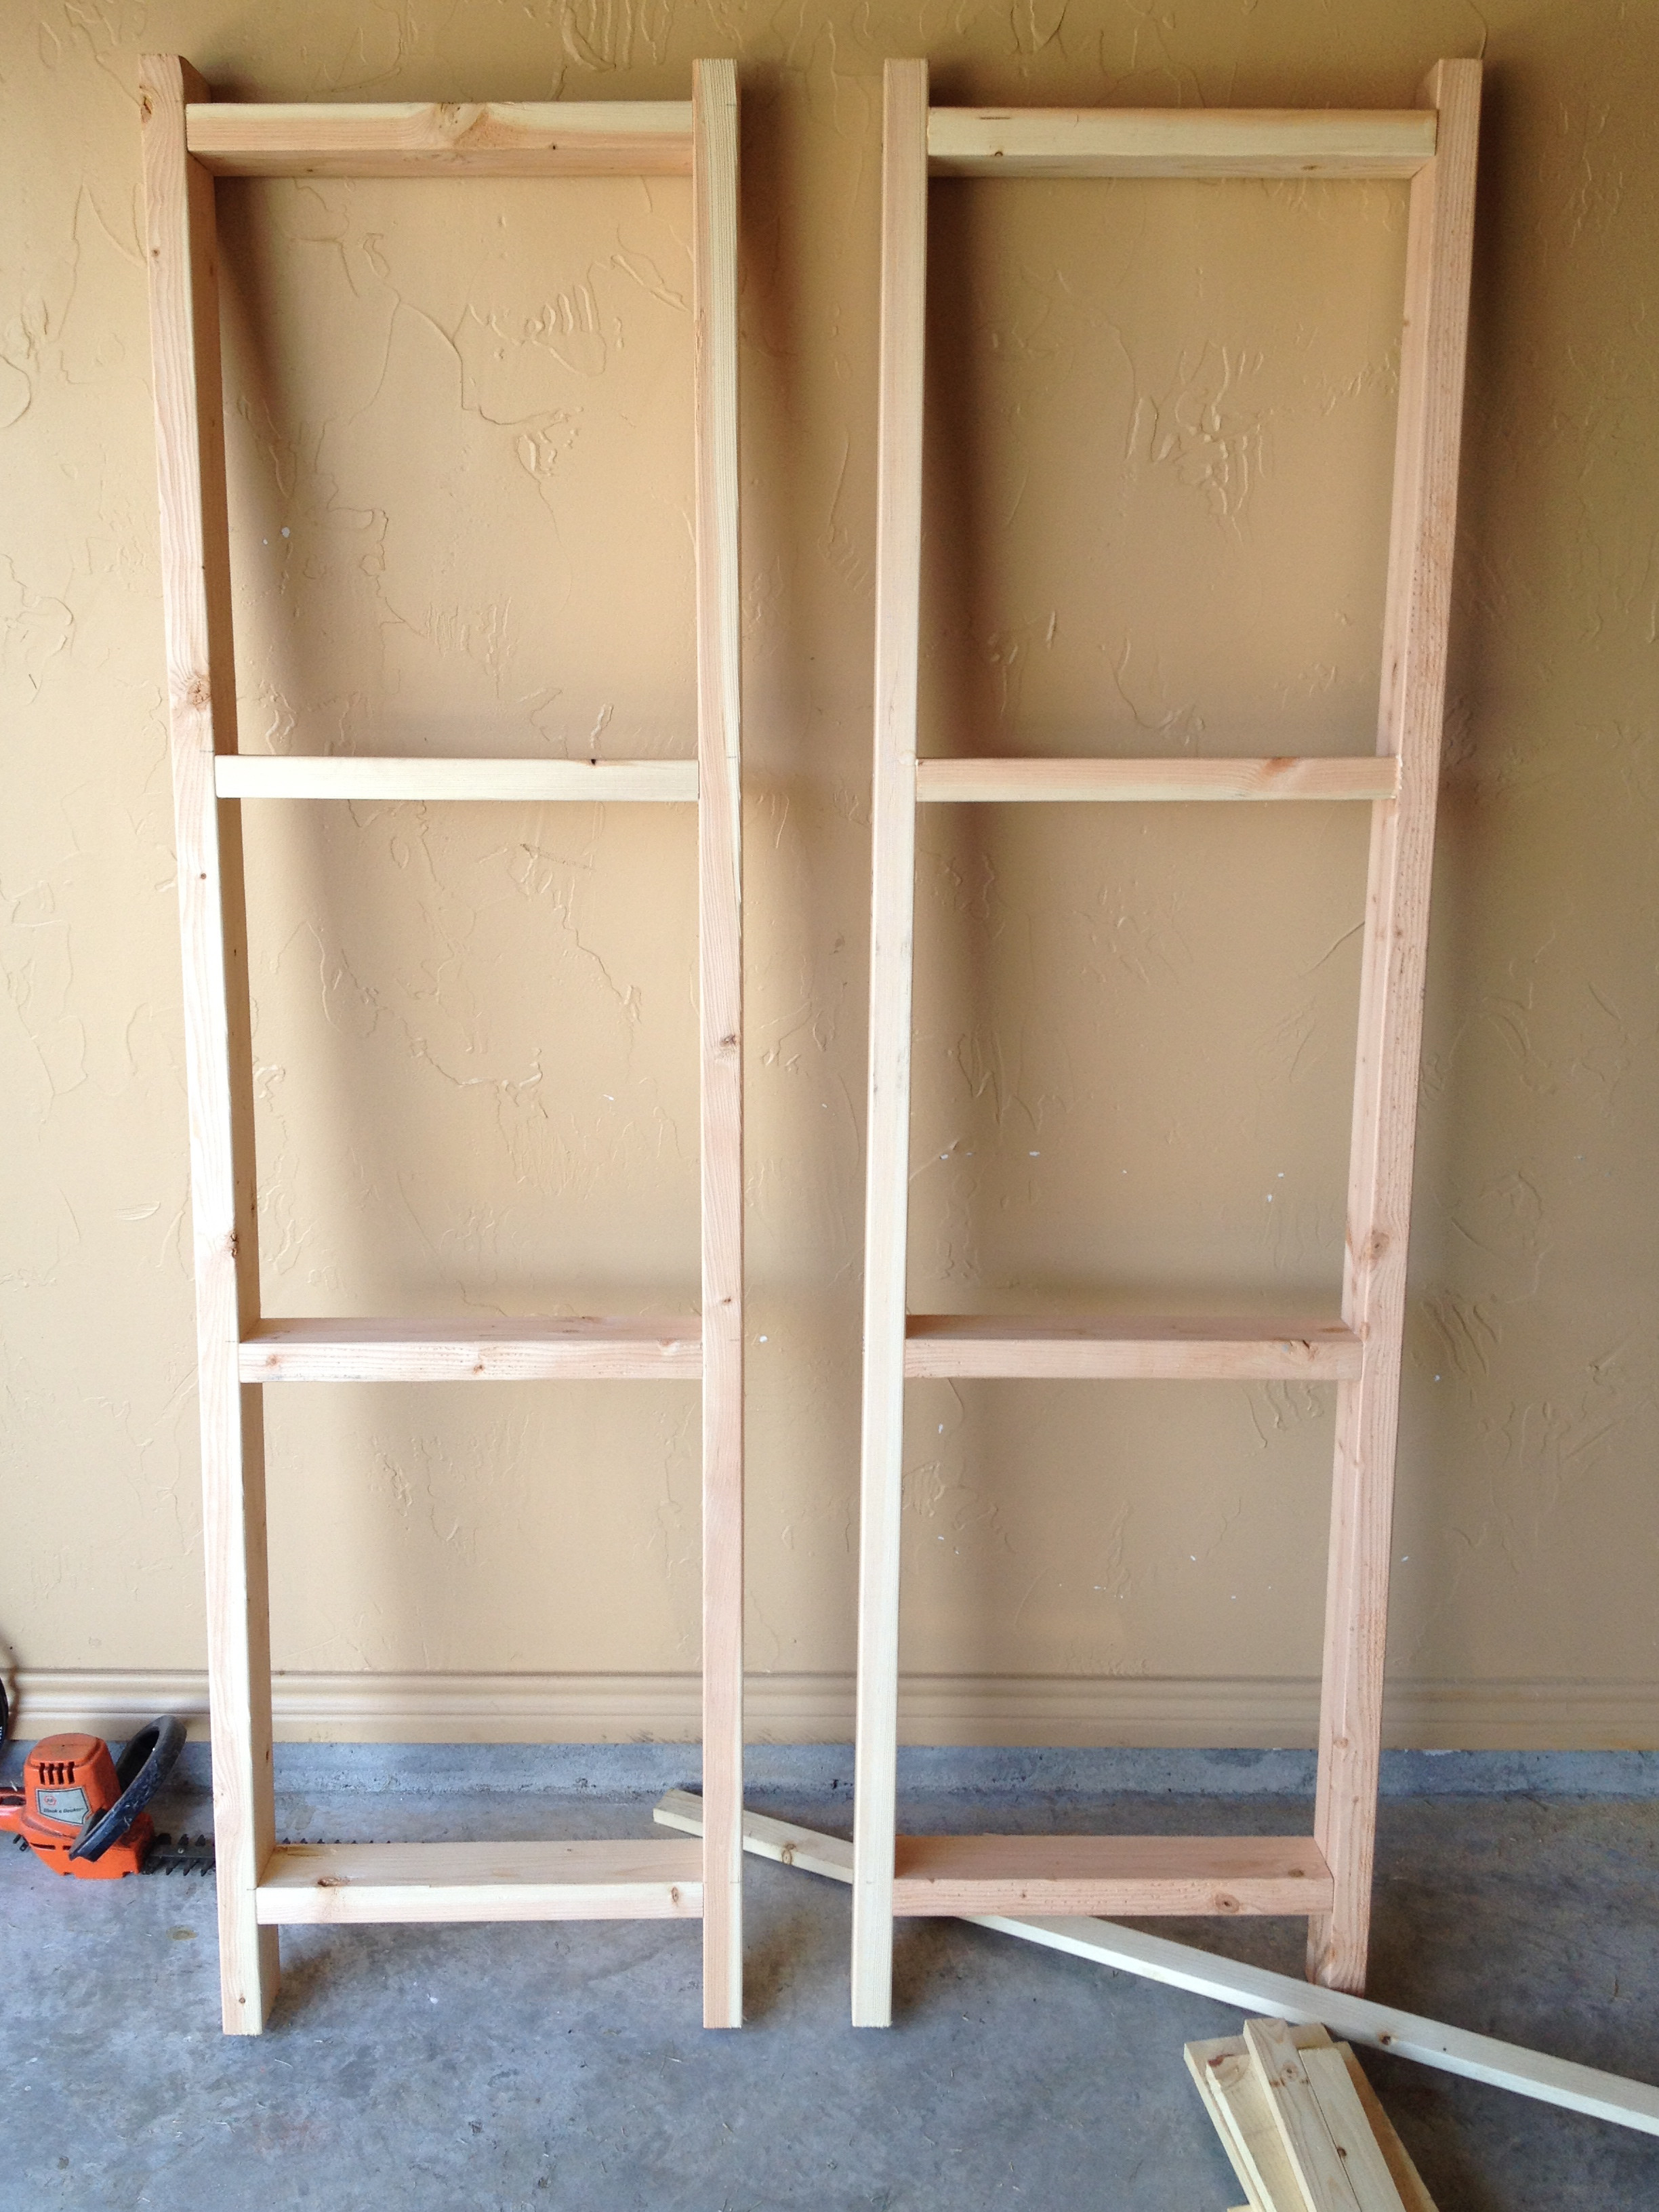
- We cut the timber for the posts and the boards for the crossbars. Be careful, the length of identical parts must match exactly.
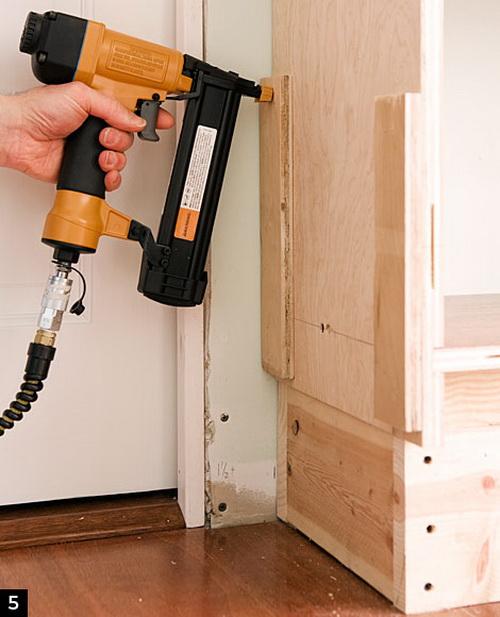
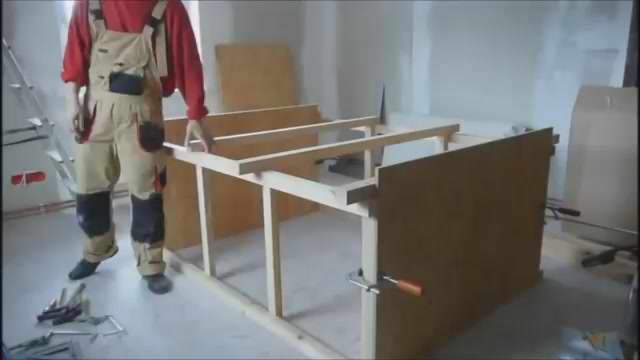
- On a horizontal surface, we connect the posts with the crossbars, mark the attachment points with chalk. We drill holes of the required size with a drill and connect the parts of the structure with a screwdriver using self-tapping screws.
- Using metal plates, we attach the resulting frame to the wall of the room (and, if possible, also to the ceiling and floor).
- To achieve maximum strength of the structure, you need to select folds on the shelves (if you do not have a milling machine, it is better to order this). Next, we install the shelves: we attach them to the frame with self-tapping screws.
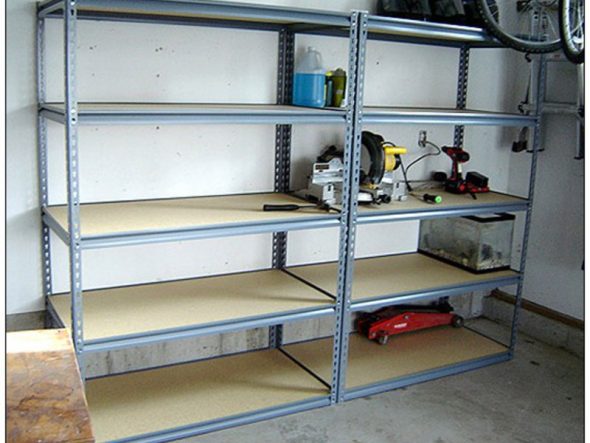
To assemble a frame from a metal profile, you need the same tools, but you will also need metal drills and clamps. To prevent the structure from skewing, you should make X-shaped ties from a thin metal profile. The shelves are mounted with screws at the final stage of the work.

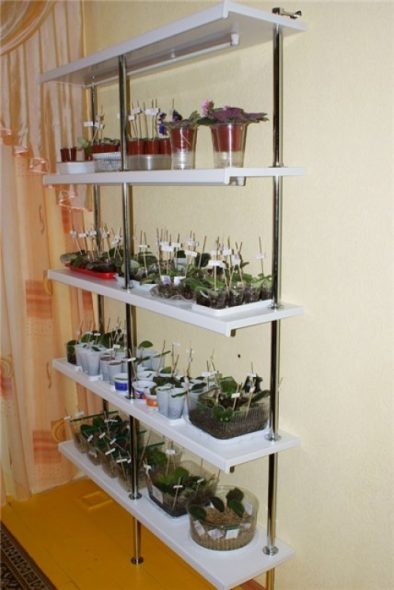
You can use a lightweight version of a metal structure: fix metal brackets to the wall with dowels, and make shelves on top by cutting boards or chipboards. This option will require the least amount of time: only about an hour. In this way, you will not get a frame rack, but a type of console rack, the length of the shelves in it can vary.
FINAL STAGE: WE DO THE DECOR
If your rack is made of metal, its decoration is limited to painting, for which only alkyd paint is used, applied with a spray gun.
To decorate chipboard shelves, you will need melamine edging (sold in rolls in many hardware stores). The process of finishing the ends of the shelves consists of several simple operations:
- we cut the edge into pieces along the length of the ends;
- sand the ends of the shelves with fine-grained sandpaper;
- carefully remove dust with a damp cloth or napkin;
- Using a hot iron, press the melamine edge to the ends of the shelves.
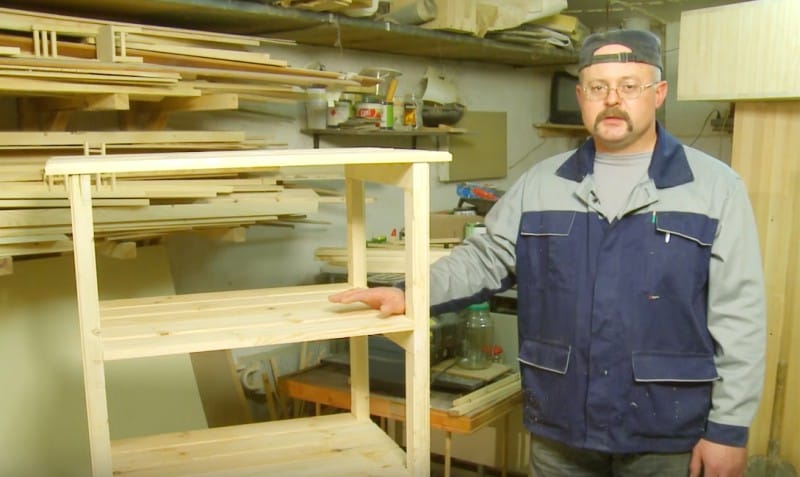
As a result, the shelves you make yourself look just as neat as those you buy in a store.
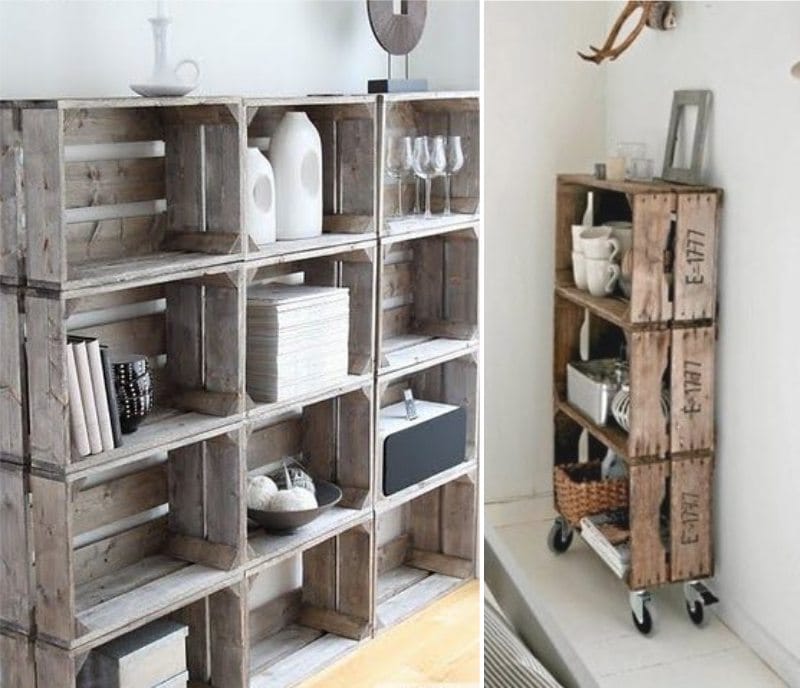
A wooden rack gives more opportunities for decoration. You will need inexpensive materials and simple tools: acrylic paint, varnish, sandpaper, wax polish. Before assembling the rack, you can apply a stain to the wood of the racks and shelves, which will allow you to achieve a shade suitable for the interior and emphasize the structure of the wood. The racks or side walls can be decorated with stencils, or you can implant images you like on acrylic varnish. At the finish, the rack can be covered with furniture wax, which will give a soft shine and protect your rack from moisture.
If you did everything right, now your things are always in place, no more scattered books and canned food forgotten on the balcony: everything is at hand, and the house is tidy and cozy!
VIDEO:DIY Shelving
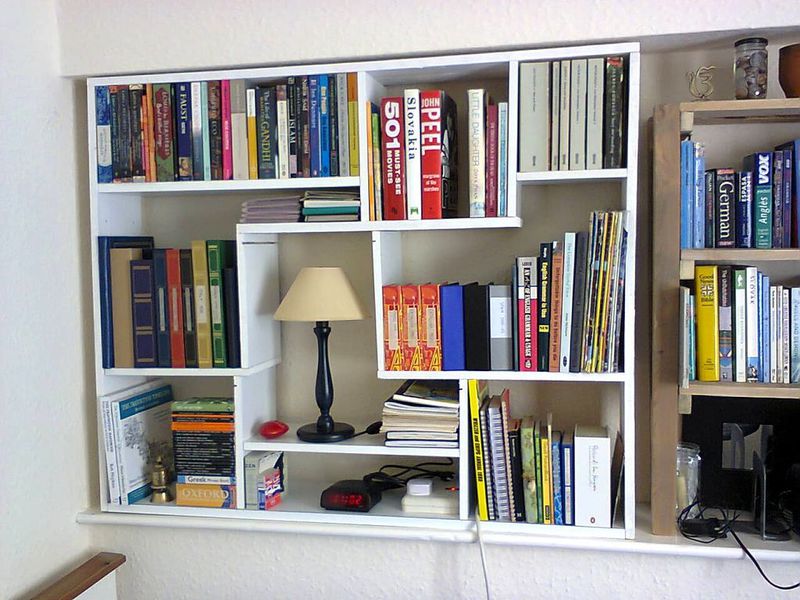
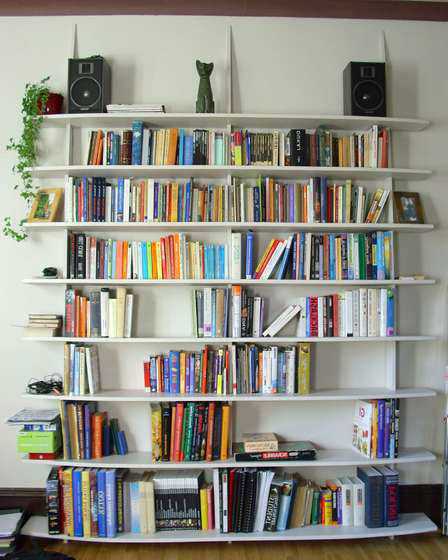
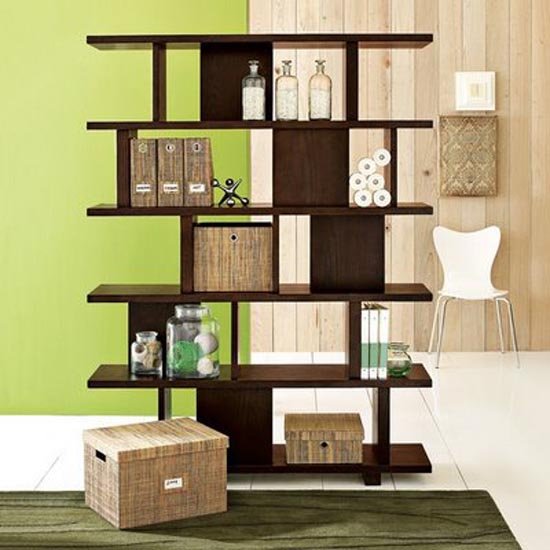
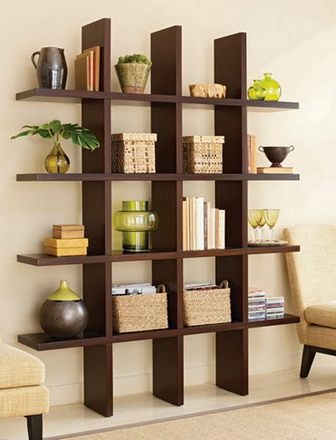
50 DIY Shelving Design Photo Ideas