What could be more banal than a regular wall shelf? But a good imagination and skillful hands can work wonders with such a simple object, turning it into a beautiful element of your home's interior design.
Content
- If you have an idea, you can find material for a shelf...
- Buy or make a wall shelf with your own hands
- Shelves come in different types
- The module is a universal solution
- Marking and sawing
- Processing of blanks
- Assembling the shelf
- Installing a shelf on the wall
- Making honeycomb shelves
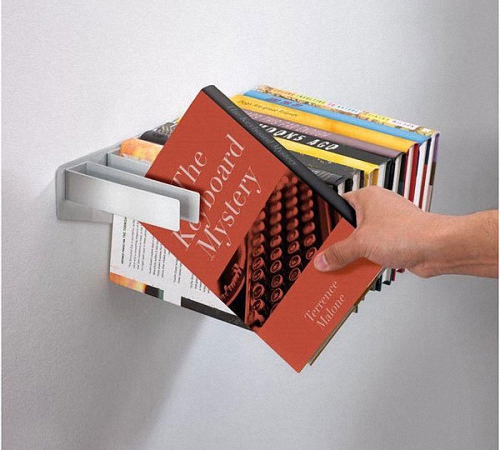
- Bookshelf with hidden fasteners
- Decor is everything
- VIDEO: DIY Shelf (How to Make a Wooden Shelf)
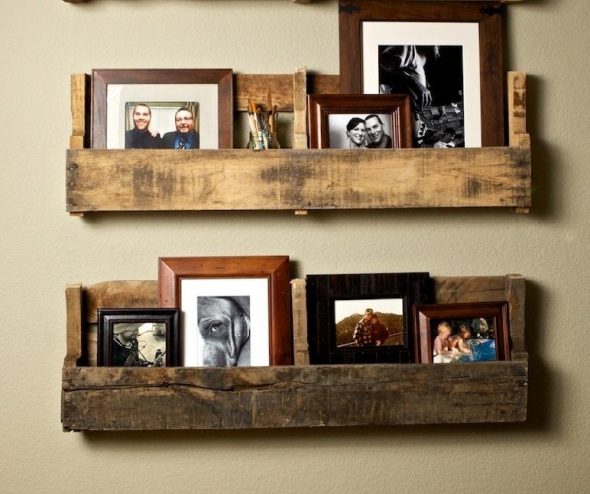
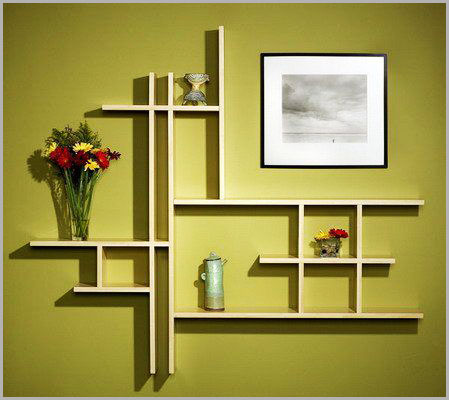
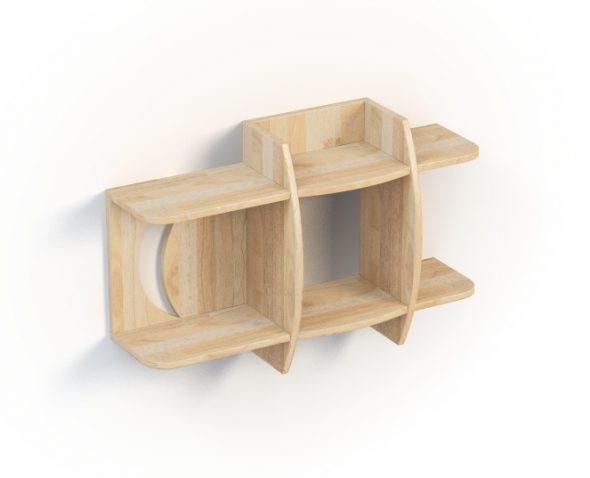
- 50 photo ideas on how to make shelves on the wall with your own hands
If you have an idea, you can find material for a shelf...
All materials have their advantages and disadvantages. The following are suitable for wall shelves.
- Timber is the most common and cheapest material – it is easy to cut into pieces, process and paint.
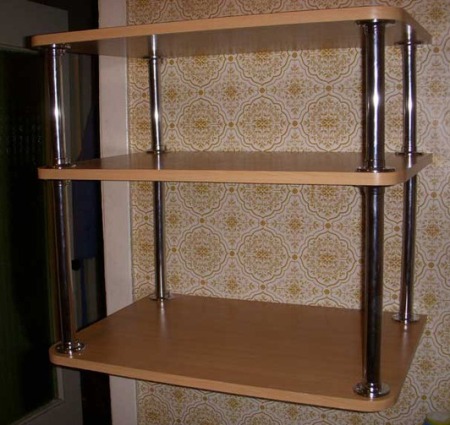
- Metal is not always suitable, it is more difficult to process at home, shelves made of it do not fit well into home interiors, and are subject to corrosion.
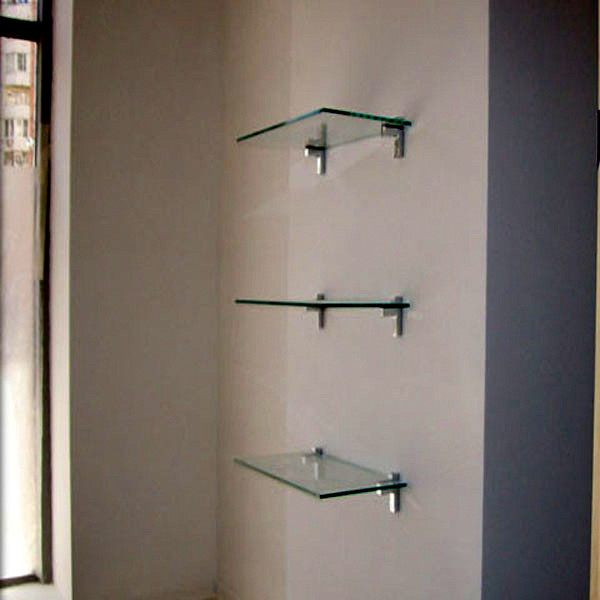
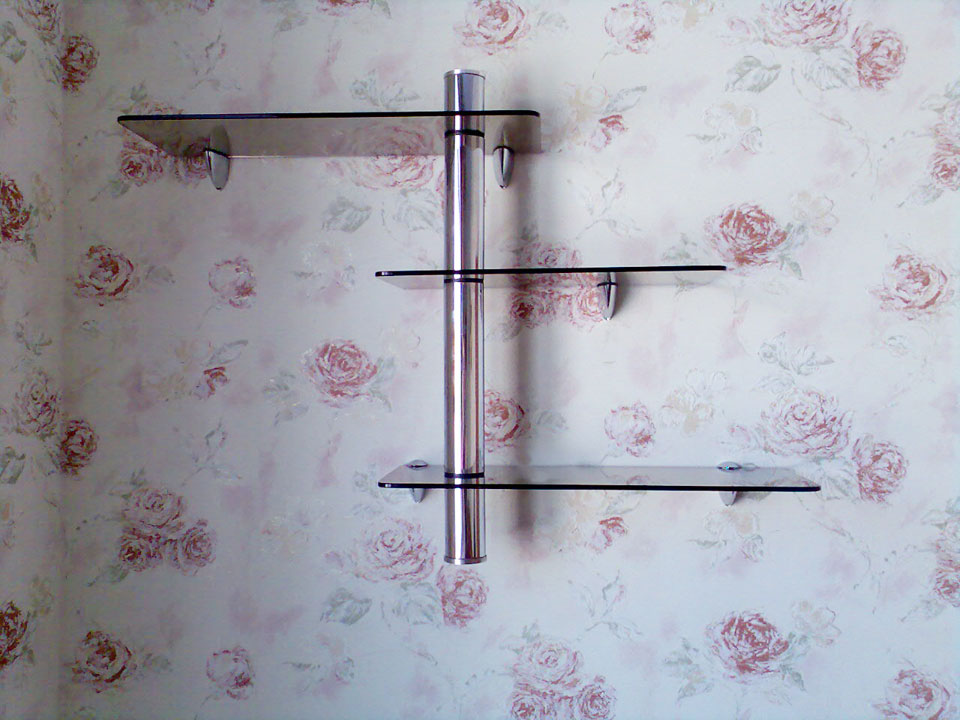
- Glass – looks great in the interior of any room, makes shelves visually lighter and more airy, but due to its fragility, it requires special devices and equipment for cutting complex holes and grinding.
- Plastic is the lightest material that can replace all previous ones.
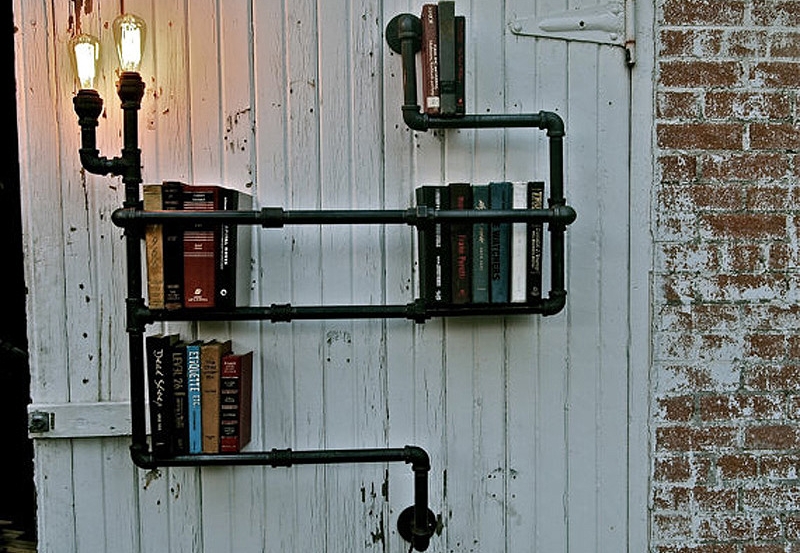
FOR YOUR INFORMATION! A person's imagination in choosing the material for wall shelves is inexhaustible - old suitcases, TV cases, water pipes and corners. Even trouser belts can be used as fasteners.
Buy or make a wall shelf with your own hands
What is the advantage of homemade wall shelves over store-bought ones? Furniture stores offer options for all occasions – book shelves, for dishes, for phones, for flowers. But in defense of homemade products, the following arguments can be given:
- a purchased shelf does not always correspond to your ideas of beauty - either the color is inappropriate, or the shape is awkward;
- the dimensions of the purchased product do not fit the dimensions of your room;
- the height or width of the shelves does not correspond to the size of the things you want to place on them;
- After the renovation, there were pieces of good material and fasteners left over - it was a shame to throw them away, but there was no desire or space to store them.
NOTE! Making wall shelves yourself is often cheaper than buying them from a well-known furniture company.
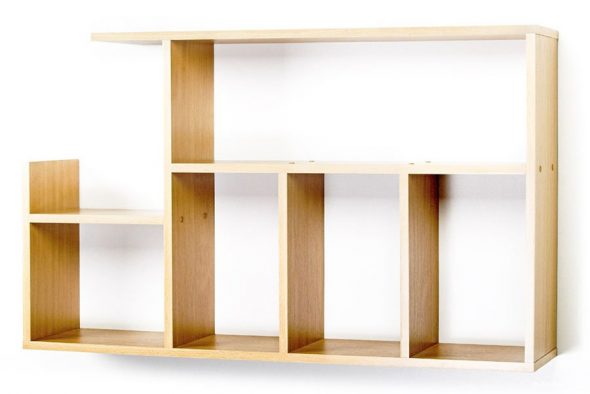
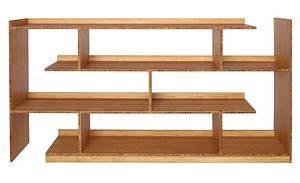
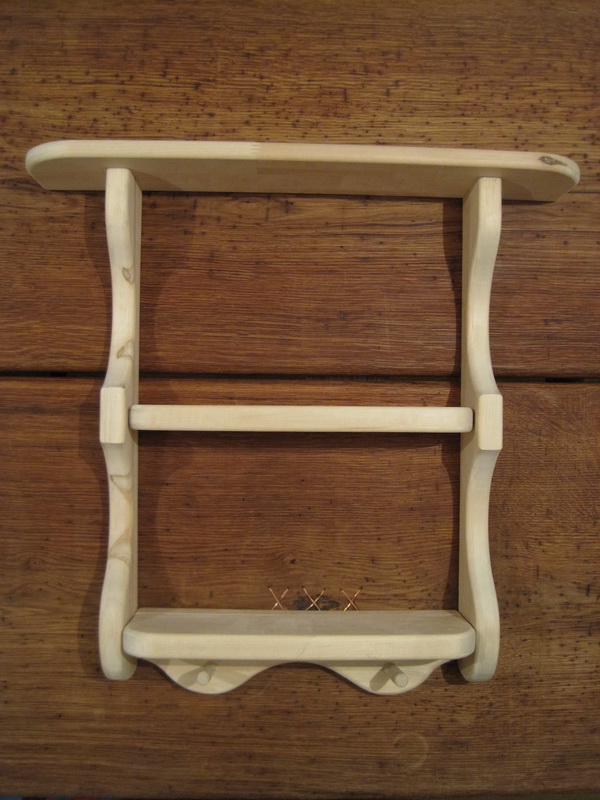
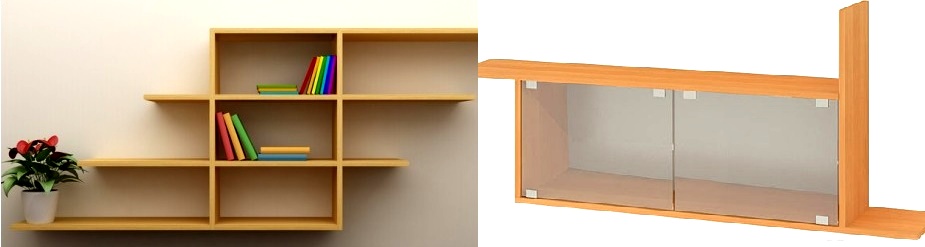
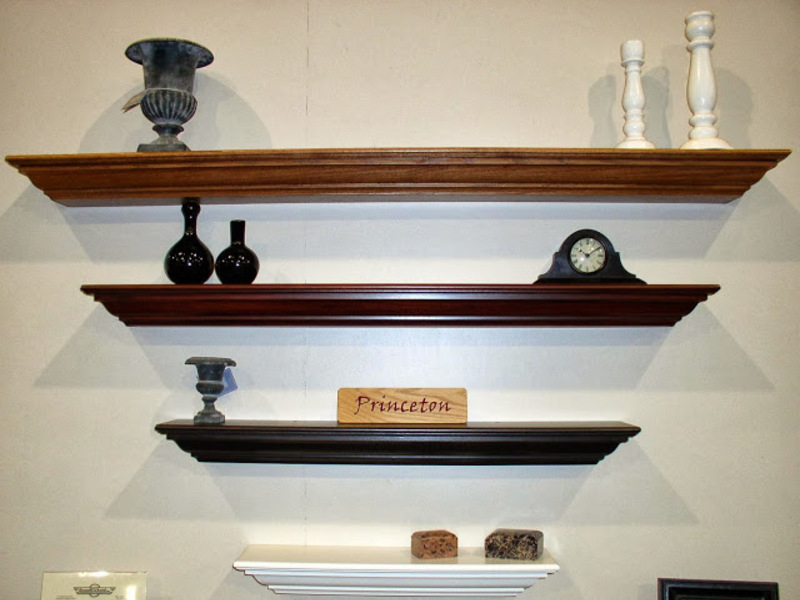
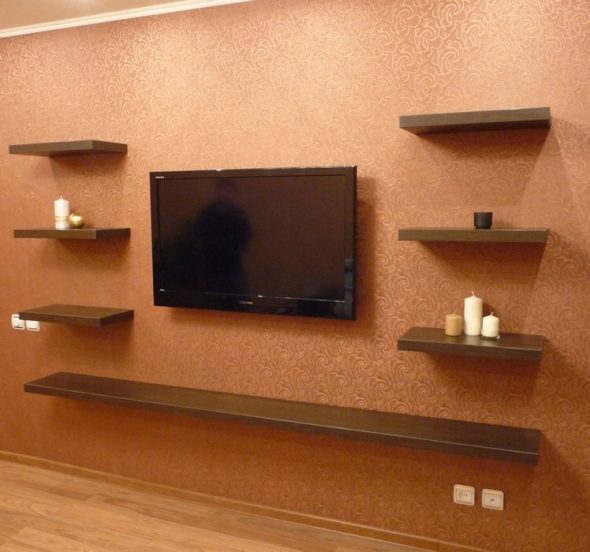
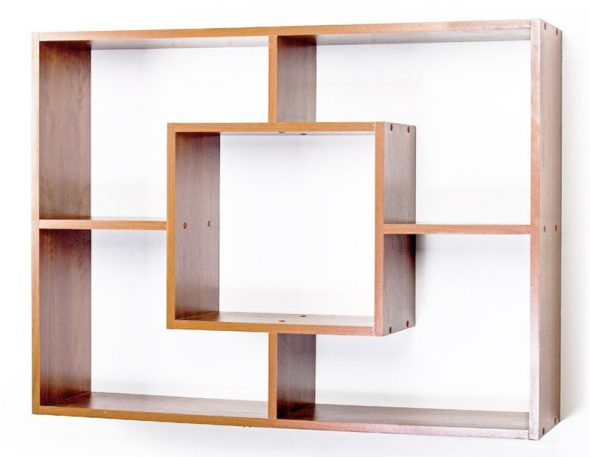
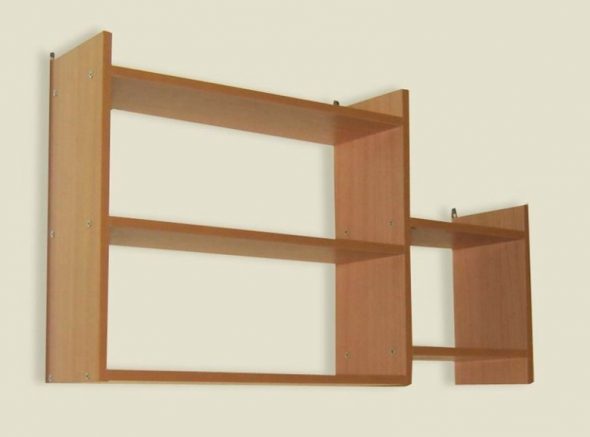
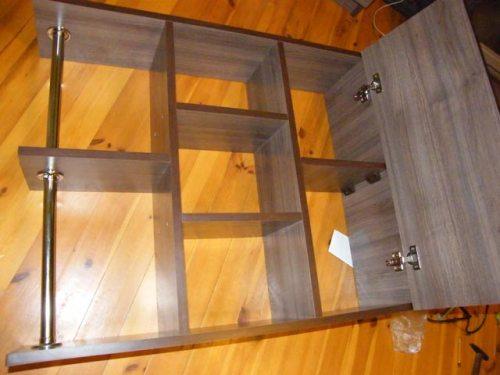
Shelves come in different types
Before assembling a shelf, decide what type it will be. Furniture makers have become skilled at making wall shelves for all occasions:
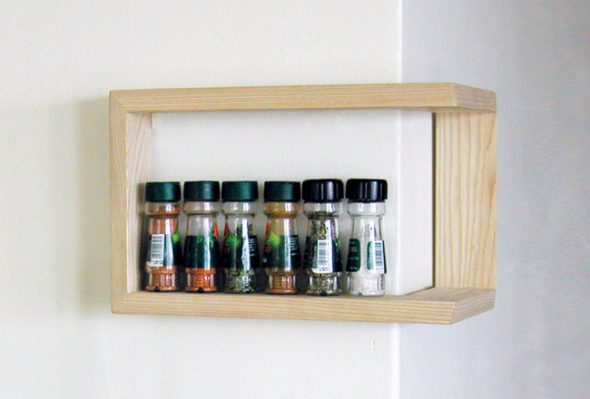
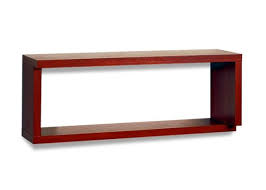
- open – without side walls, front doors and back wall;
- closed - in essence, such shelves are miniature hanging cabinets, differing from them in their smaller weight, depth and height;
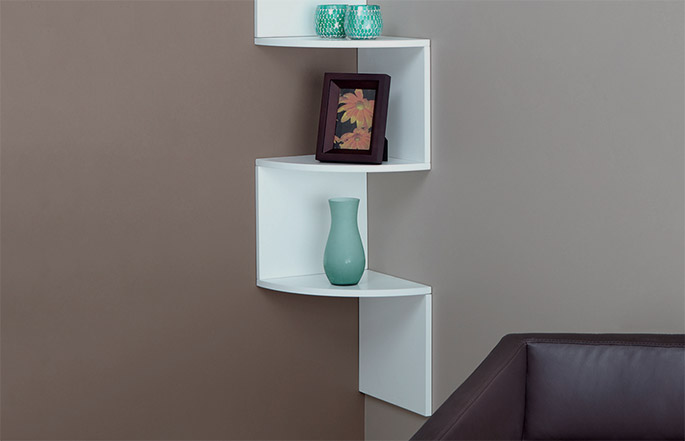
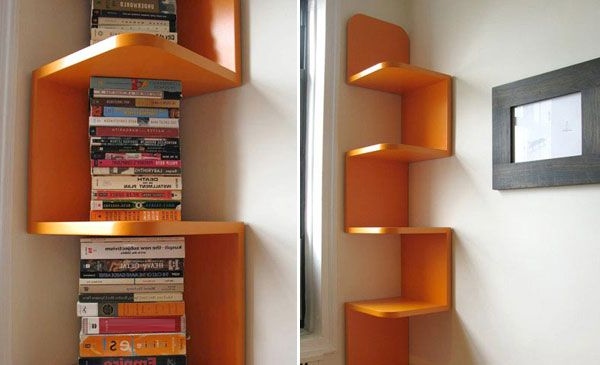
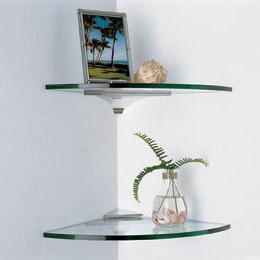
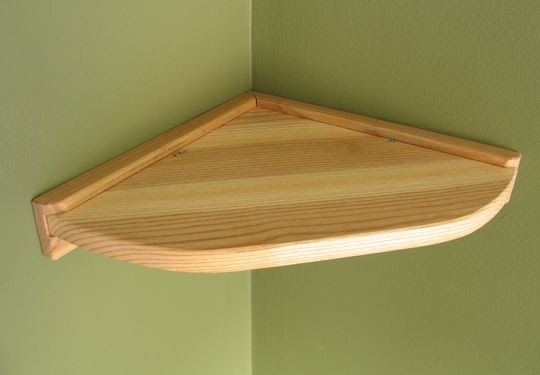
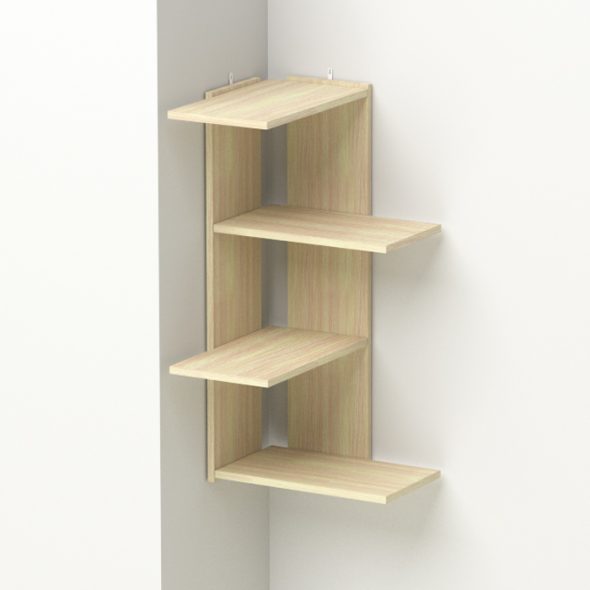
- corner – located at the junction of two walls, can be for both an internal and external corner;
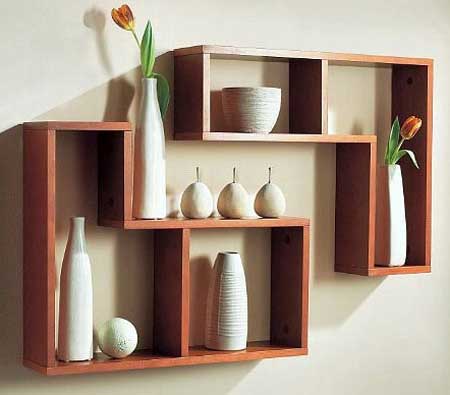
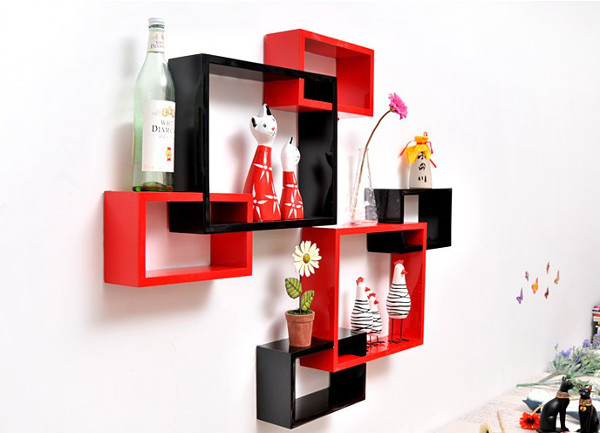
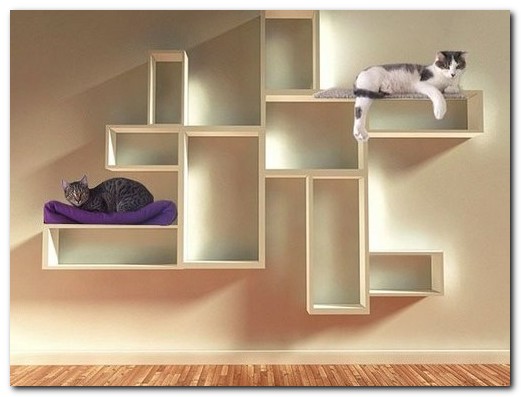
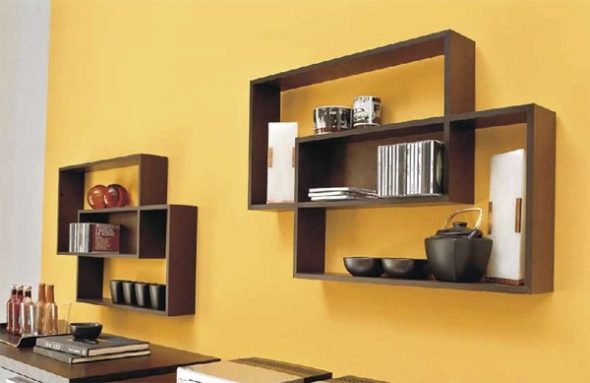
- asymmetrical – the arrangement of the shelves is devoid of an axis of symmetry, while maintaining functionality;
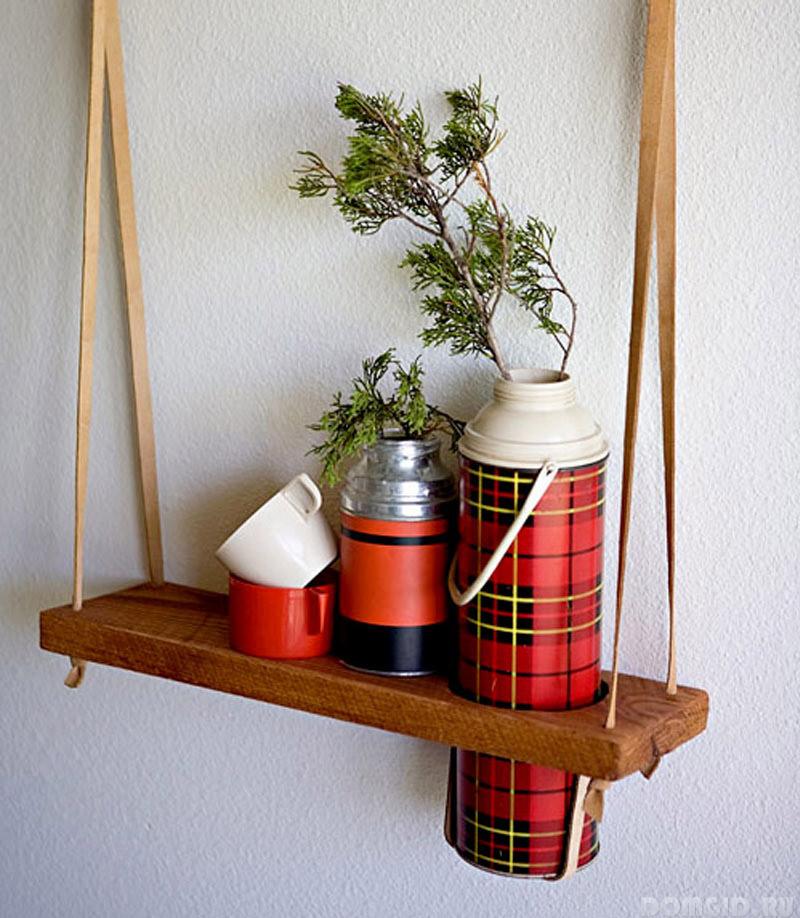
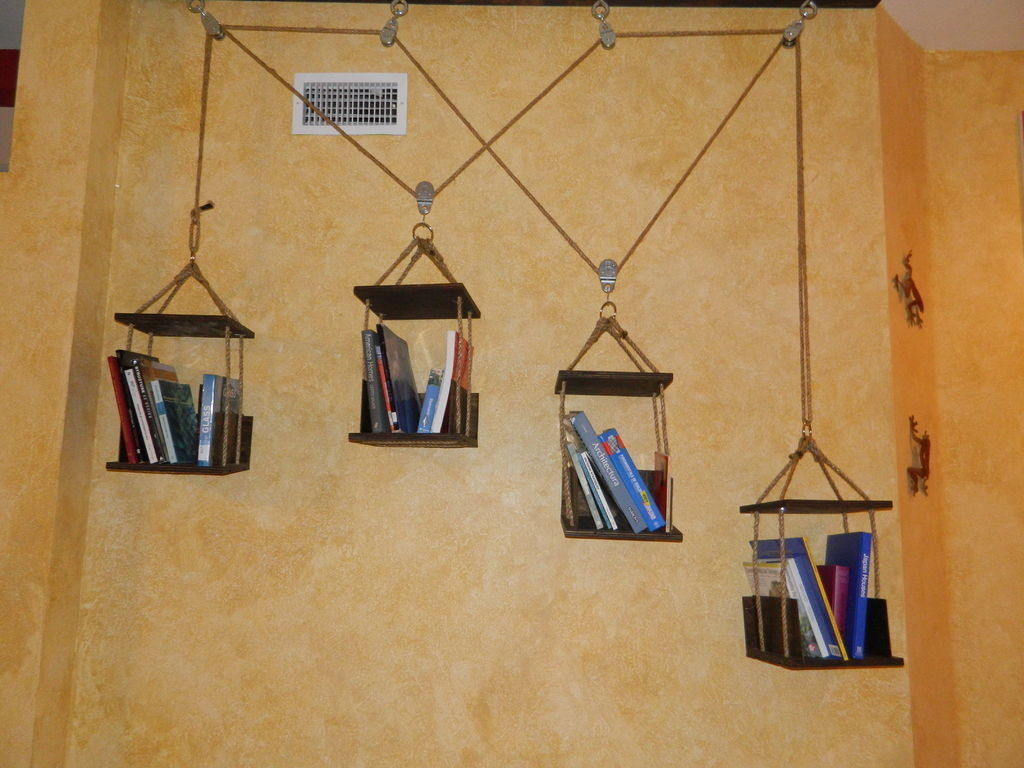
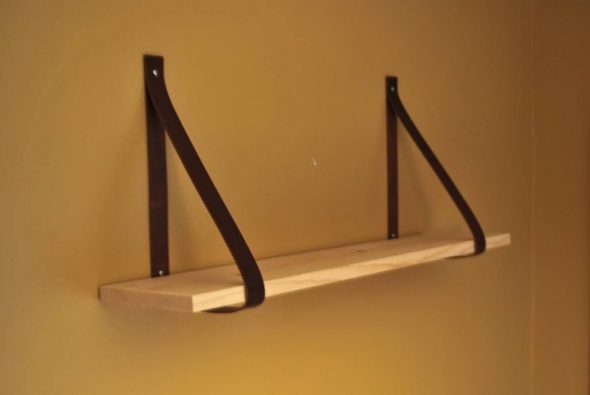
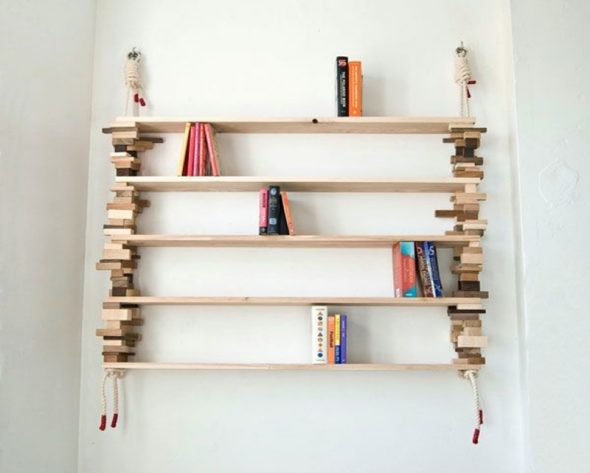
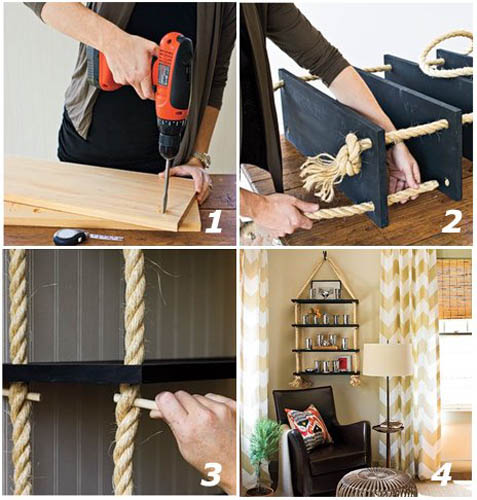
- suspended - harnesses, cables, thick fabric materials, belts are used as hangers for shelves, and the ceiling is used as a support;
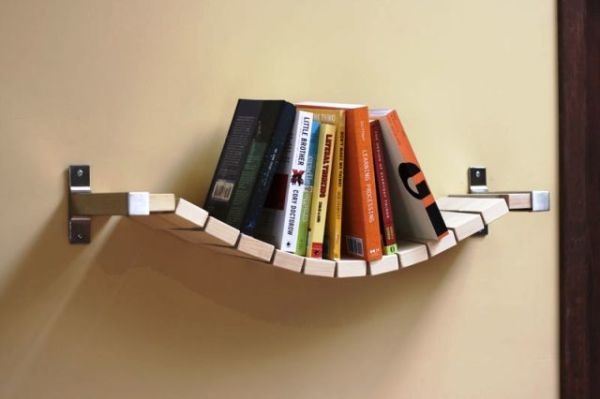
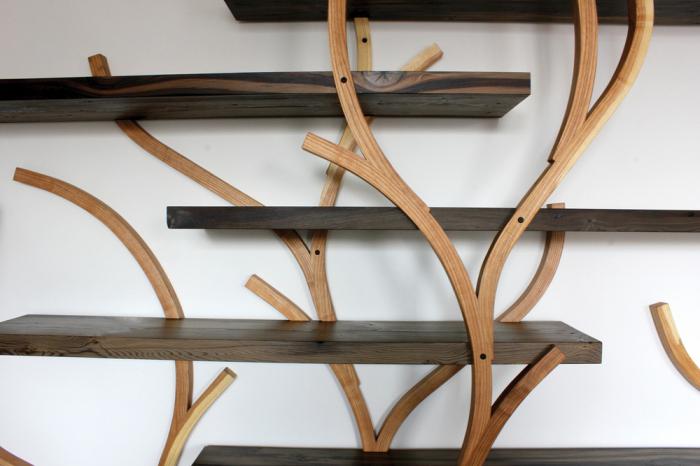
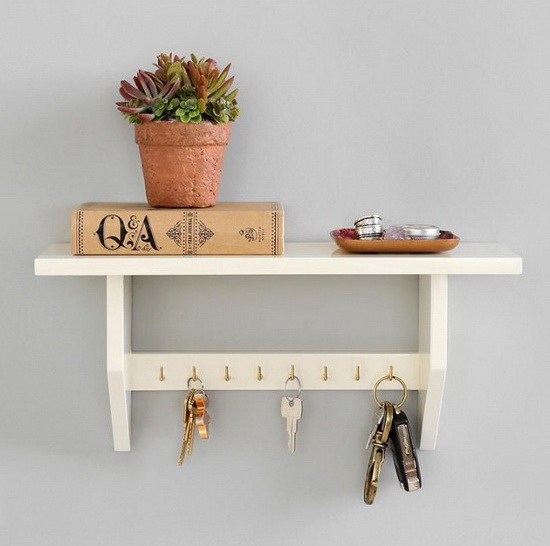
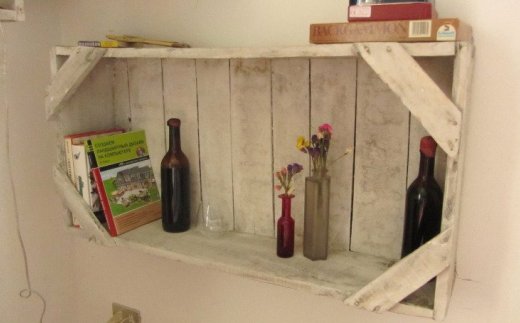
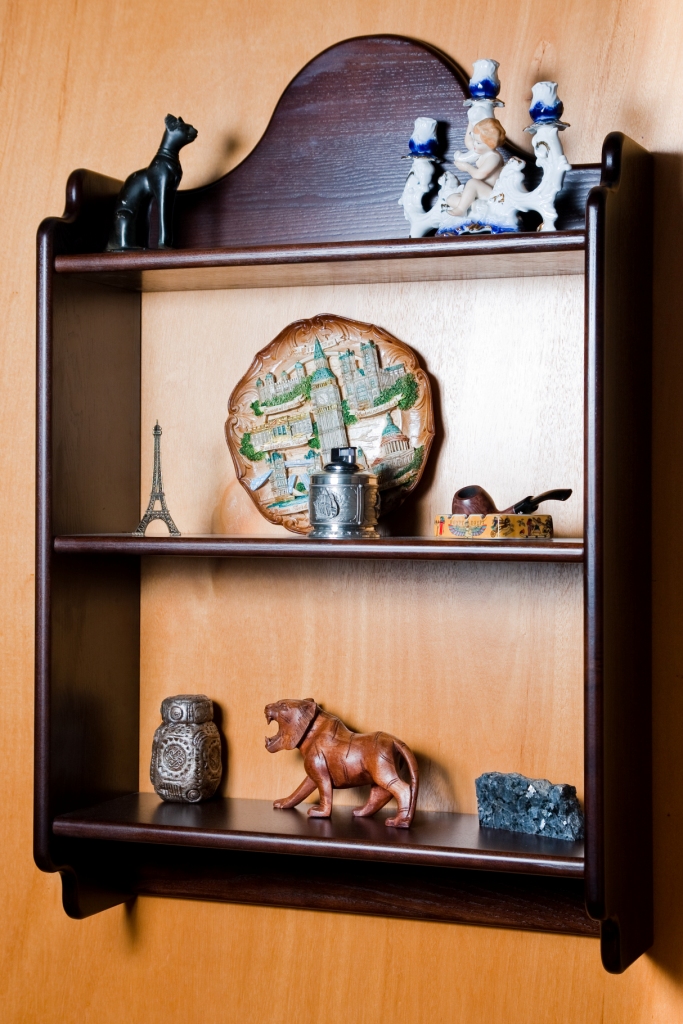
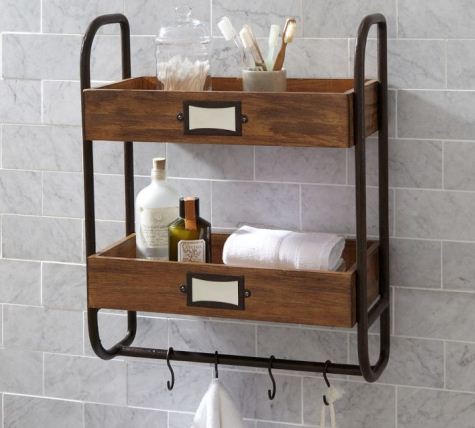
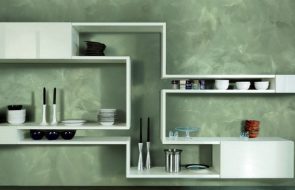
- decorative – designed to beautifully display interesting things.
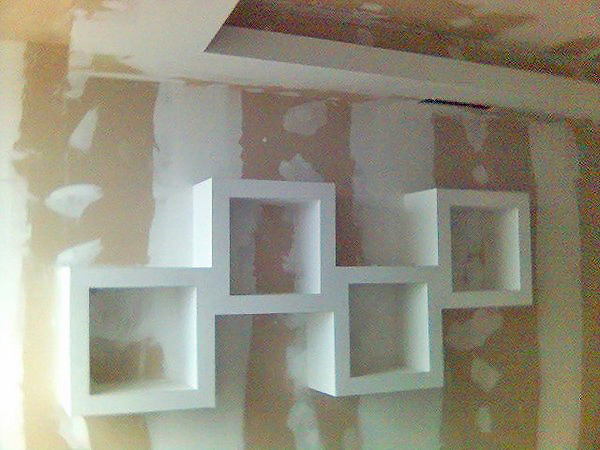
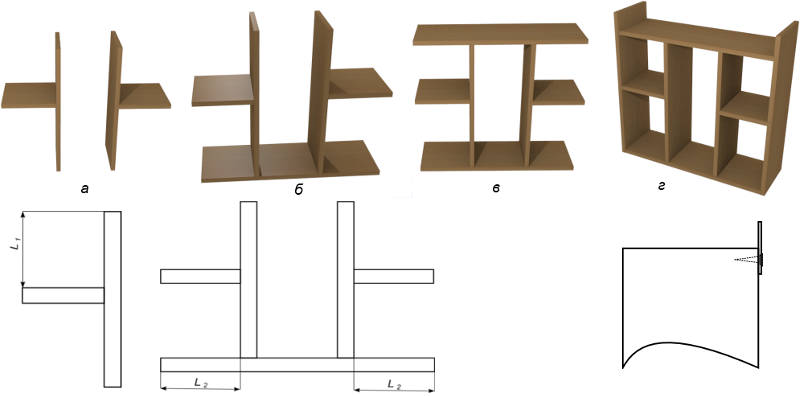
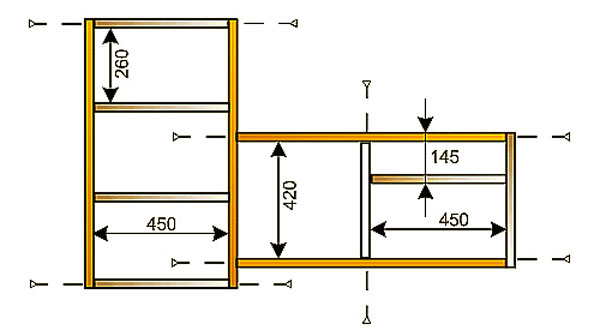
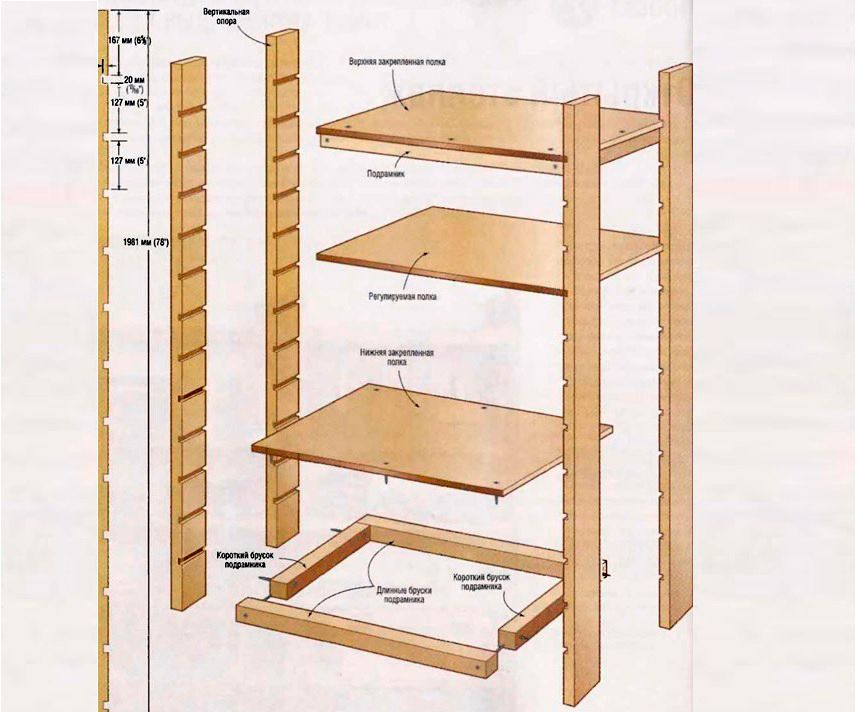
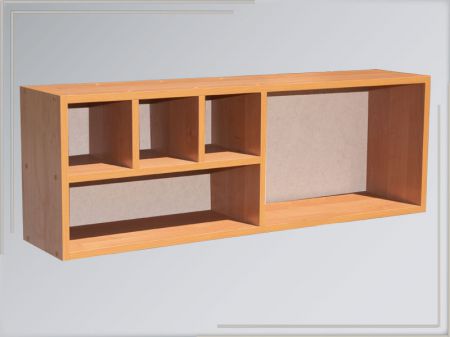
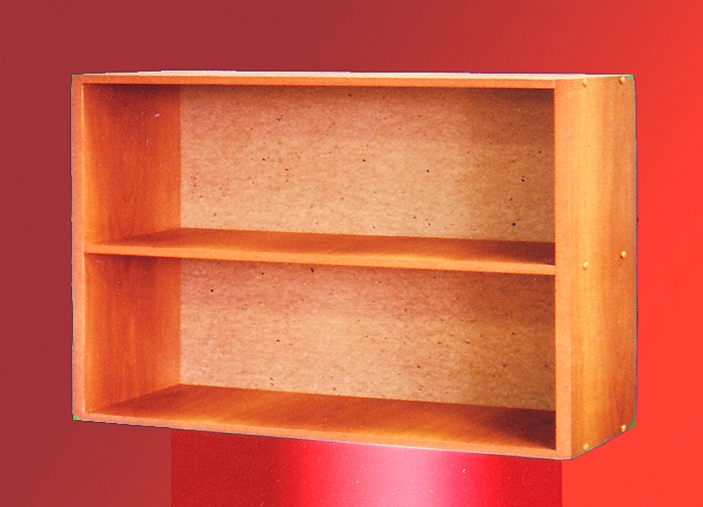
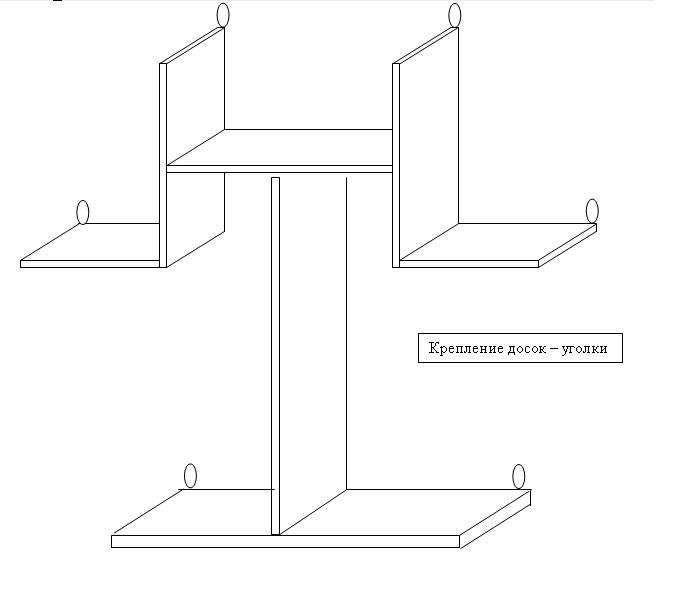
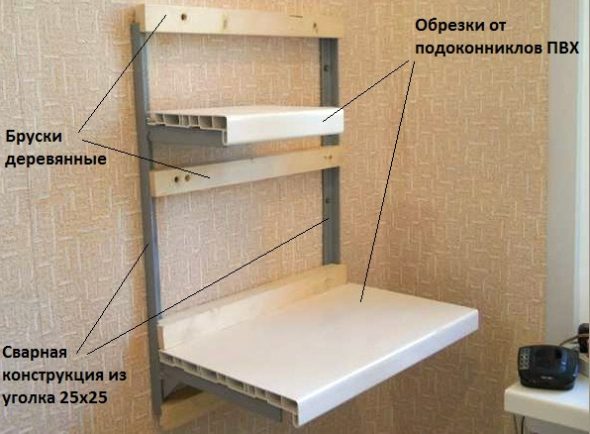
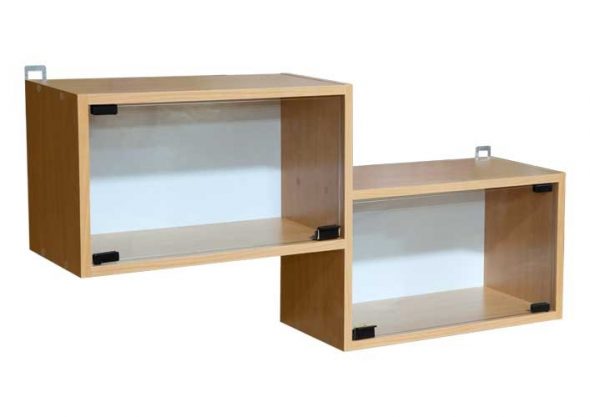
The module is a universal solution
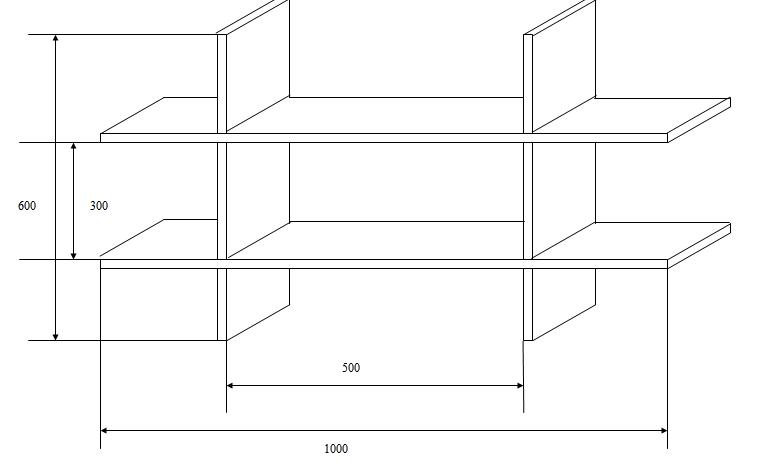
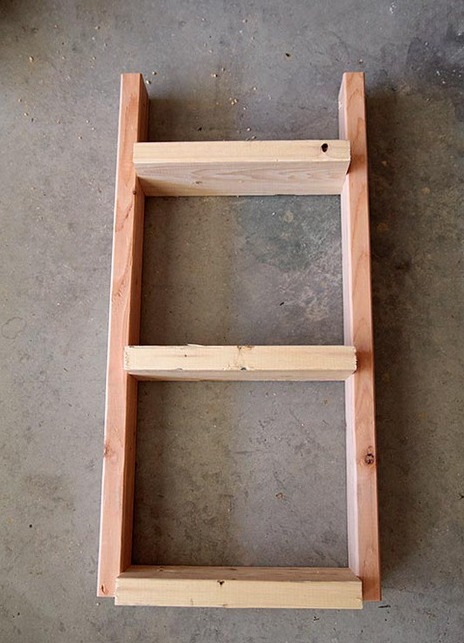
The easiest way to assemble wall shelves is to use side, top and bottom walls, fastened together with screws or furniture fittings. Make the required number of such “modules” of different lengths and heights and fix them to the wall in the right order. This option is well suited for making book shelves.
You will need the following materials and tools:
- board 16-20 mm thick and 150-180 mm wide – this can be pine, MDF, plywood or chipboard.
- self-tapping screws;
- screwdriver;
- building level;
- furniture saw for wood.
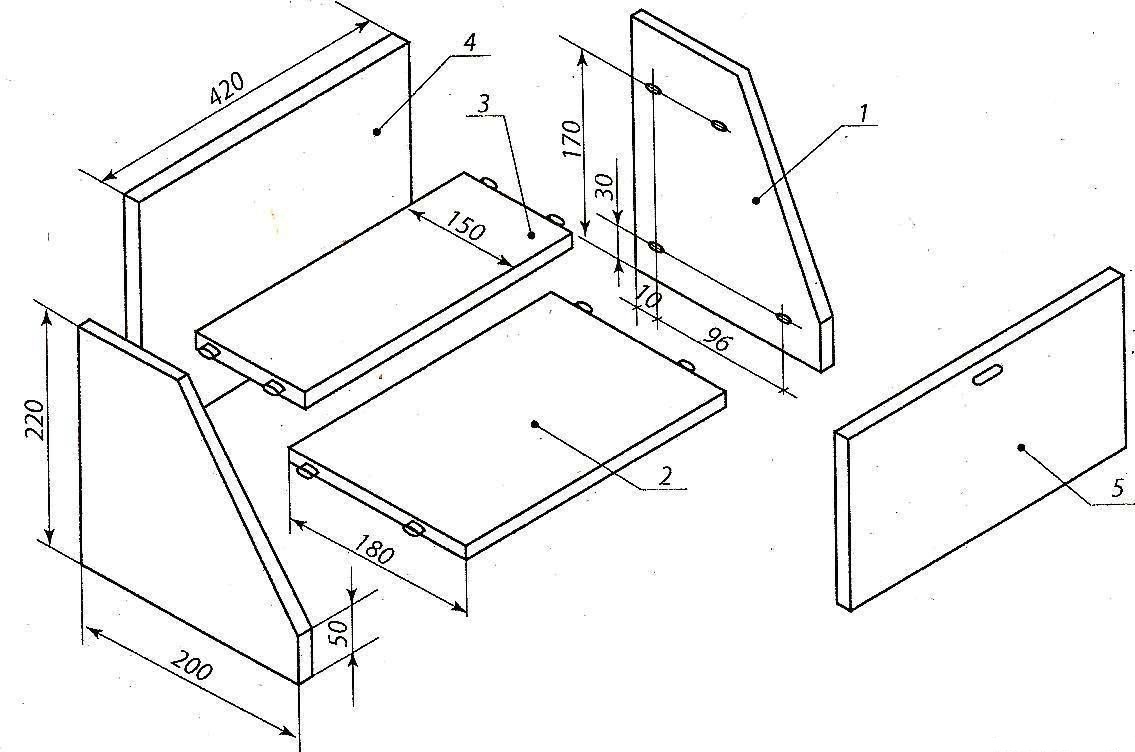
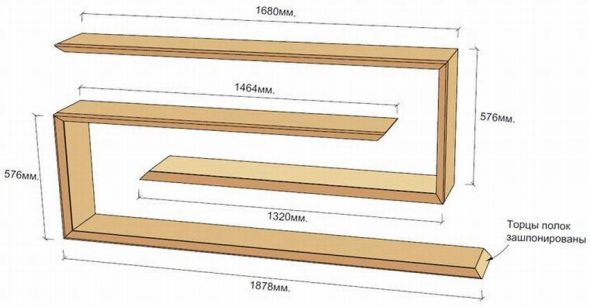
Marking and sawing
The height and width of the shelf are chosen arbitrarily. If the ends of the upper and lower walls will rest against the edges of the side walls, then, when determining their height, it is necessary to make an adjustment for the double thickness of the board.

ATTENTION! To cut the board, use a hand-held circular saw or jigsaw. Their use allows you to make the cut surface even.
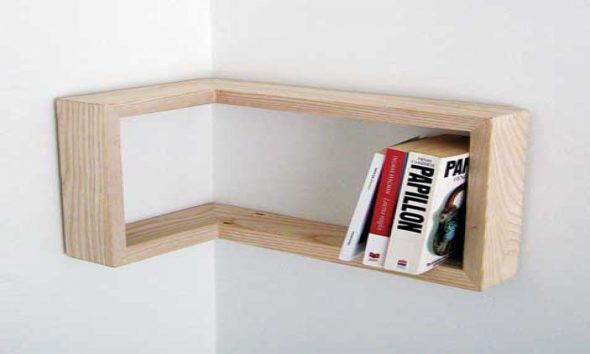
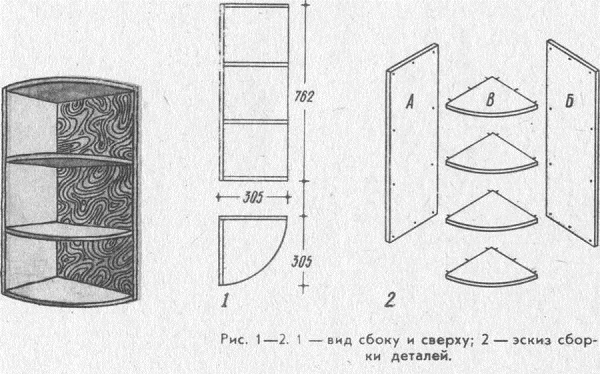
When marking out the parts for corner wall shelves, the top and bottom walls are made from two boards with beveled ends. Their joint should fit exactly into the corner for which they are intended. The surface of the ends is lubricated with wood glue, the boards are connected and tightened with clamps until completely dry. Additionally, you can fasten the corners with self-tapping screws.
Processing of blanks
Before installation, wooden parts of the shelves must be sanded and covered with a protective coating. You can treat the wood with stain and varnish. However, such a shelf does not always fit into the overall color scheme of the interior. Then it is better to apply a primer and paint in the desired color.
Assembling the shelf
To fasten the walls with screws, it is necessary to mark the holes. From the end edge of the bottom wall, measure a distance equal to half the thickness of the side wall and draw a line parallel to the cut. Mark it for the drill, stepping back five centimeters to the left and right. Also mark the opposite end. Make holes. Fasten the side walls of the shelf with screws. Mark and fasten the top wall of the shelf in the same way.
NOTE! Other methods can also be used to attach the walls of the shelf: wooden dowels with wood glue, special fastening hardware - corner ties, eccentric ties.
Installing a shelf on the wall
It would seem that there is nothing easier. In fact, this is a responsible stage. You don’t want all your efforts to improve your home to collapse in one moment, do you?
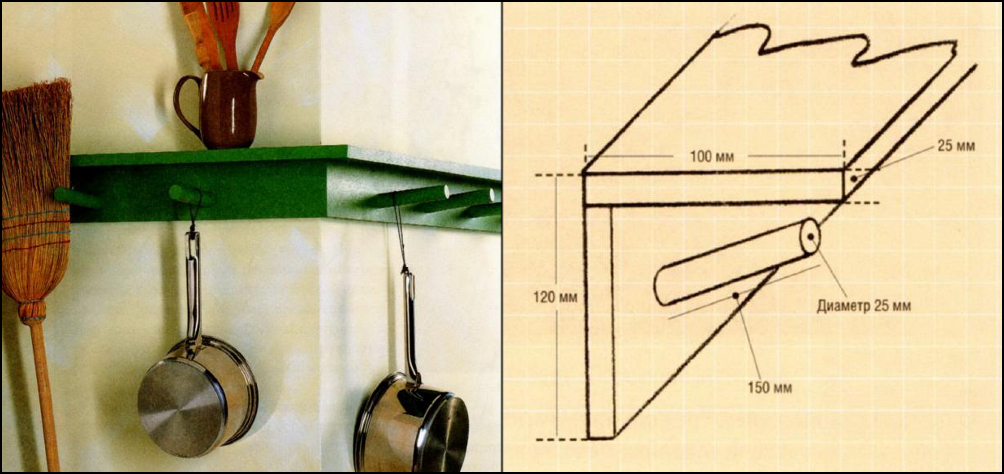
The easiest way to use shelves is a hanging corner. The upper eye is attached to the wall with a dowel, the lower one is attached to the shelf with a screw or a bolt with a nut and washer.
IMPORTANT! If the shelf load is from 20 to 50 kg, use brackets. Mark the holes on the wall using a building level.
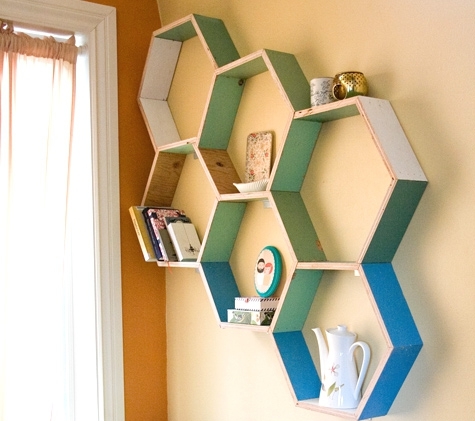
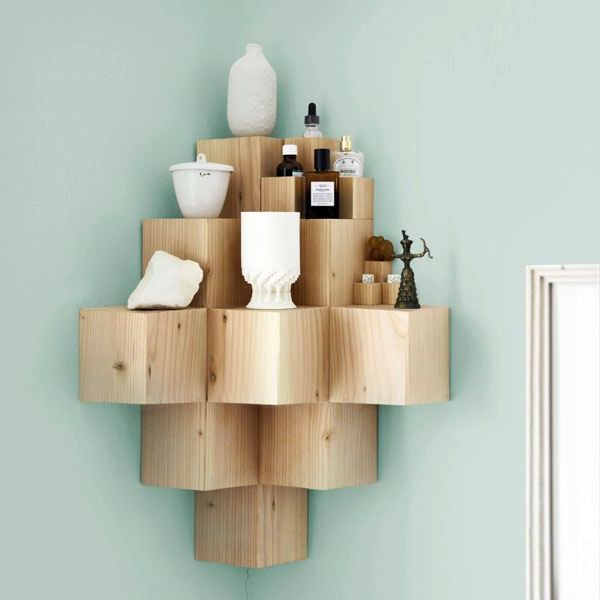
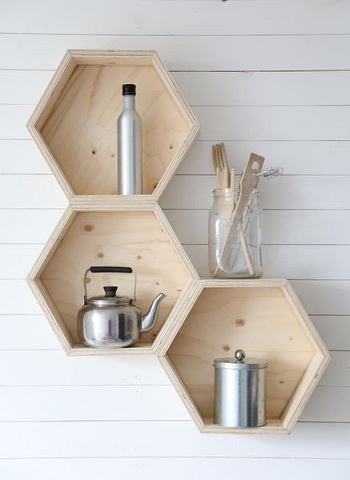
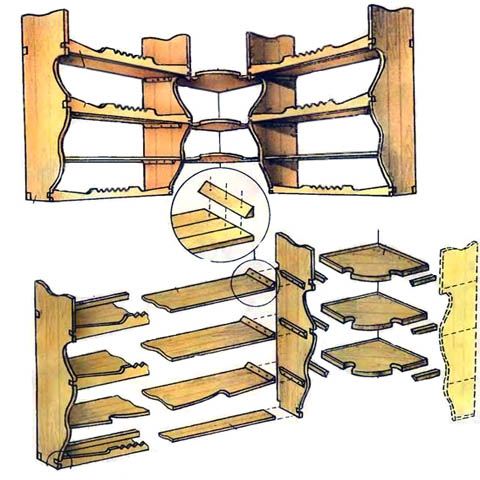
Making honeycomb shelves
A shelf of an original shape requires imagination and a little more diligence, but your efforts will be more than rewarded - the original product will enliven the interior of the room.
- We cut the board into 15 pieces 300 mm long with a cutting angle of 30°.
- We make the first "honeycomb". To do this, we glue the hexagonal section and strengthen its corners with screws.
- We make all the other “honeycombs” of the shelf without one wall.
- We put them on the floor in such a way that the missing edge is replaced by the wall of the adjacent section. We fasten them together with glue and screws.
- If there are pieces of sufficient length left, then you can make shelves inside the “honeycomb” itself.
IMPORTANT! To avoid cracks and distortions when screwing in screws, pre-drill holes with a diameter of 1.2 mm.

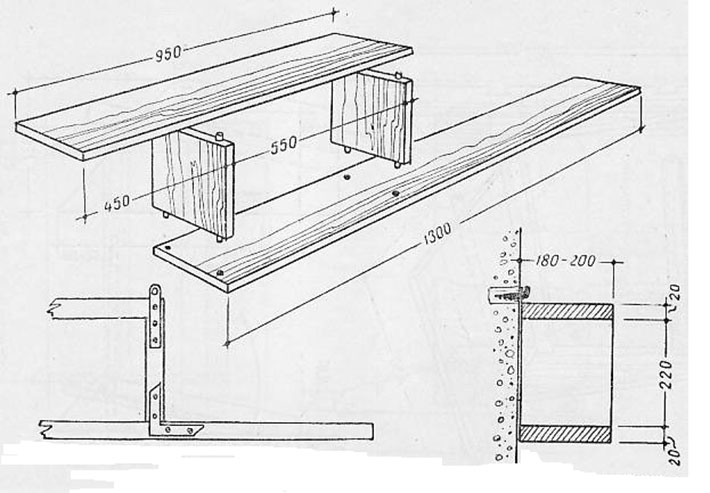
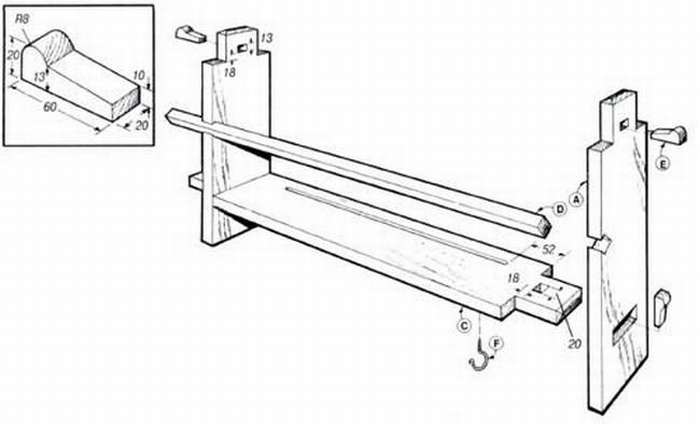
Bookshelf with hidden fasteners
If your taste is offended by the appearance of fastening fittings, then you can make a small open shelf with hidden fasteners.
To do this you need:
- wooden beam 25-30 mm thick with a well-sanded surface;
- a board of the same thickness, made of the same material;
- dowels – cylindrical wooden pins;
- wood glue;
- dowels and screws.
Assembling such a shelf consists of the following steps.
- The timber and board are sawn into pieces of equal length.
- Using a template, make matching holes in the side of the block and the future shelf, the diameter and total depth of which should match the length of the dowels.
- The timber is attached to the wall using dowels and screws.
- Dowels coated with glue are carefully hammered into the holes in the timber.
- The surfaces of the beams and shelves that will be connected with their help are also lubricated with glue.
- The shelf is "put on" the dowels and pressed tightly. For reliability, you can carefully tap along the entire length of the side of the shelf with a rubber mallet.
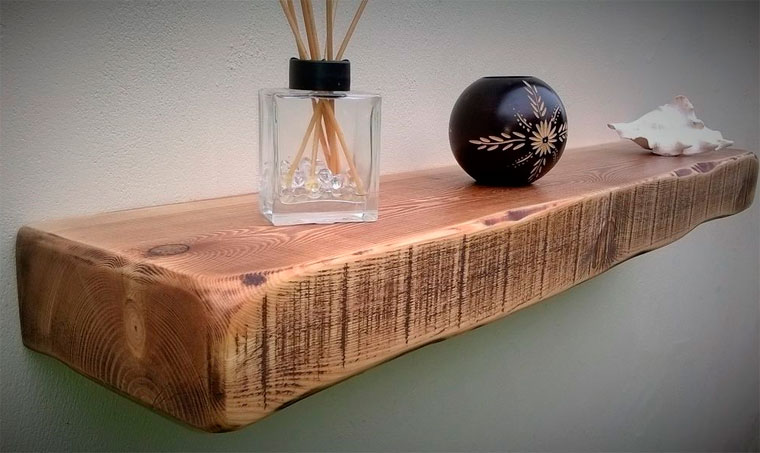
Such a shelf will look like a natural continuation of the wall of your room. Just do not overload it with a large number of items.
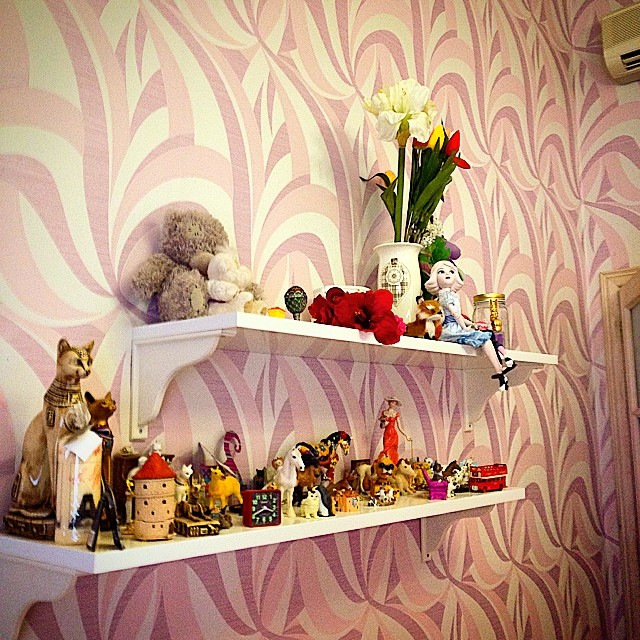
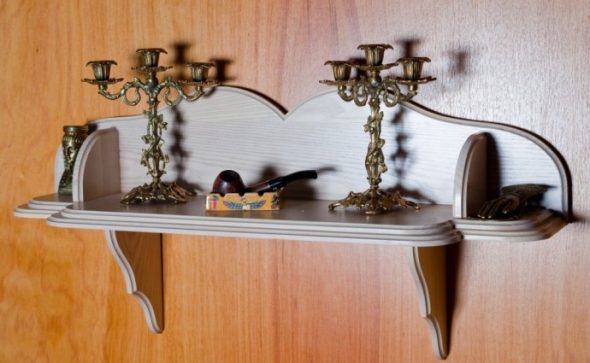
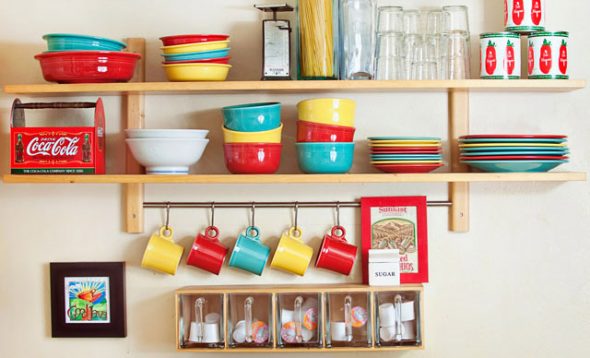
Decor is everything
You have assembled and hung the shelves on the wall. But they look unpresentable - too empty or, on the contrary, piled high with books and other small items. To make the wall shelves in your room look aesthetically pleasing and eye-catching, follow these simple rules.
- The law of three colors - one dominant color for the shelf and two additional colors for the items on it. It is desirable that the color of the shelf contrasts with the items on it - this way they will look more expressive.
- Manage chaos with triads. Place objects with similar colors on different shelves so that they are at the tops of imaginary triangles.
- Give it more air – some items, especially larger ones, require more space on the shelf.
- Small things need a favorable background. For example, a figurine standing on a shelf next to a luxurious vase should be moved away from its spectacular neighbor and placed against the background of a small watercolor painting.
- Try to place objects that are similar in size and color along imaginary vertical or horizontal axes of symmetry.
- The higher the shelf, the lighter the items should be. It is advisable to place all massive items on the lower shelves, and light ones on the upper shelves.
- Don't forget about functionality - place the things you use most often on a shelf located at your eye level.
Don't be afraid to experiment. A wall shelf can be made from any material, but lumber works best. Use hanging corners or brackets for installation. And don't be lazy and arrange books and vases on them beautifully.
VIDEO: DIY Shelf (How to Make a Wooden Shelf)
50 photo ideas on how to make shelves on the wall with your own hands