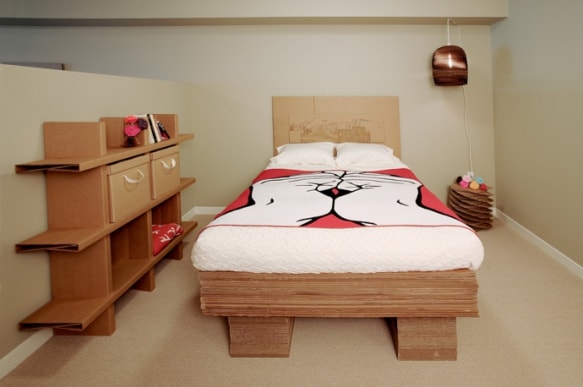
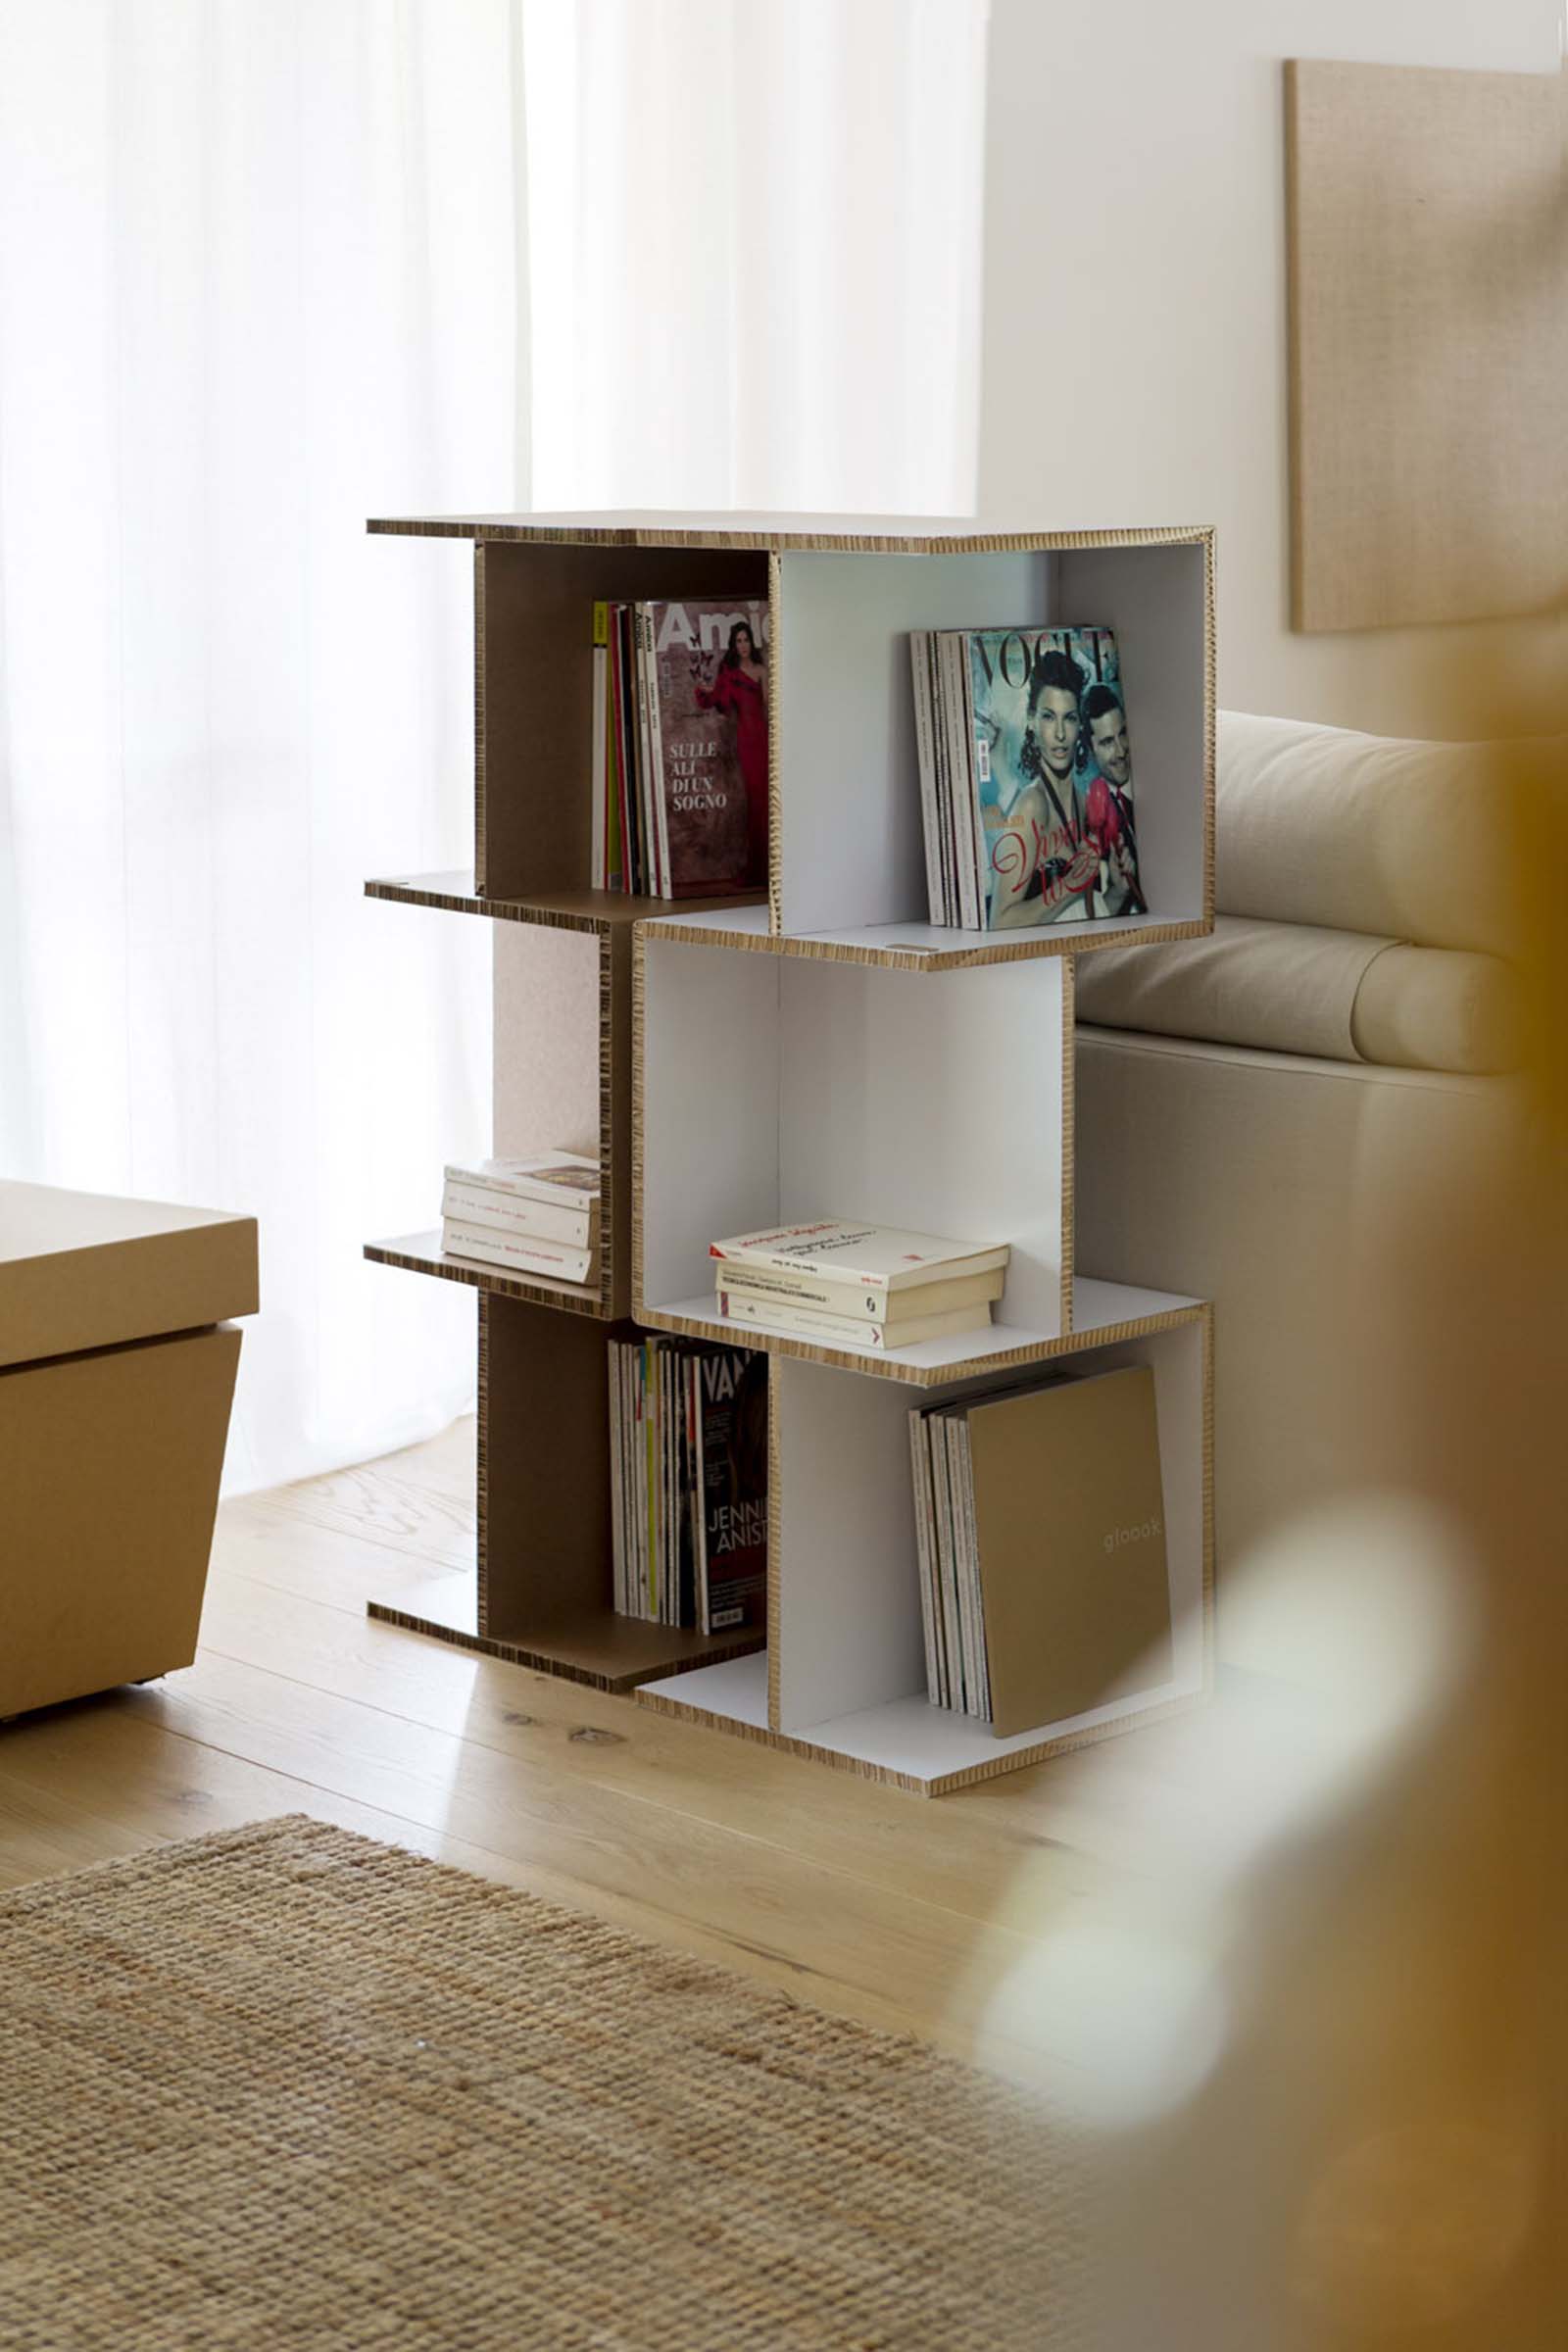
Furniture made of cardboard is an original, affordable way to transform unnecessary material into an unusual, charming thing. In appearance, it is almost no different from furniture bought in a store, but it will cost much less. If you have cardboard boxes, you will only have to buy paint and glue. If you follow certain rules for processing the material, cardboard interior items will be very durable and will not bend under the load of objects.
Content
- The Pros of DIY Cardboard Shelves
- Necessary materials and tools
- Guide to Making Cardboard Shelving
- The final stage is decoration
- Master class: decorating a product using pages from glossy magazines
- Master class: surface decoupage
- VIDEO: How to make a cardboard shelving unit with your own hands
- 50 photo ideas on how to make a cardboard shelving unit
The Pros of DIY Cardboard Shelves
- Elegant design – you design the item yourself, based on your personal preferences.
- Practicality – you will only need to spend money on purchasing the necessary tools.
- Cardboard furniture can be disassembled and reassembled at any time, which is very convenient when moving or during renovations.
- You won’t have to waste time searching for a practical, attractive item that will perfectly fit into your interior.
- Cardboard furniture does not contain harmful, toxic or other hazardous substances.
- Durability – the service life of cardboard furniture will be long if it has not been exposed to moisture and was properly processed during creation.
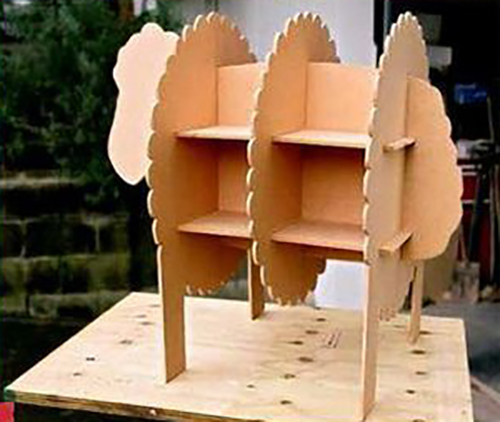
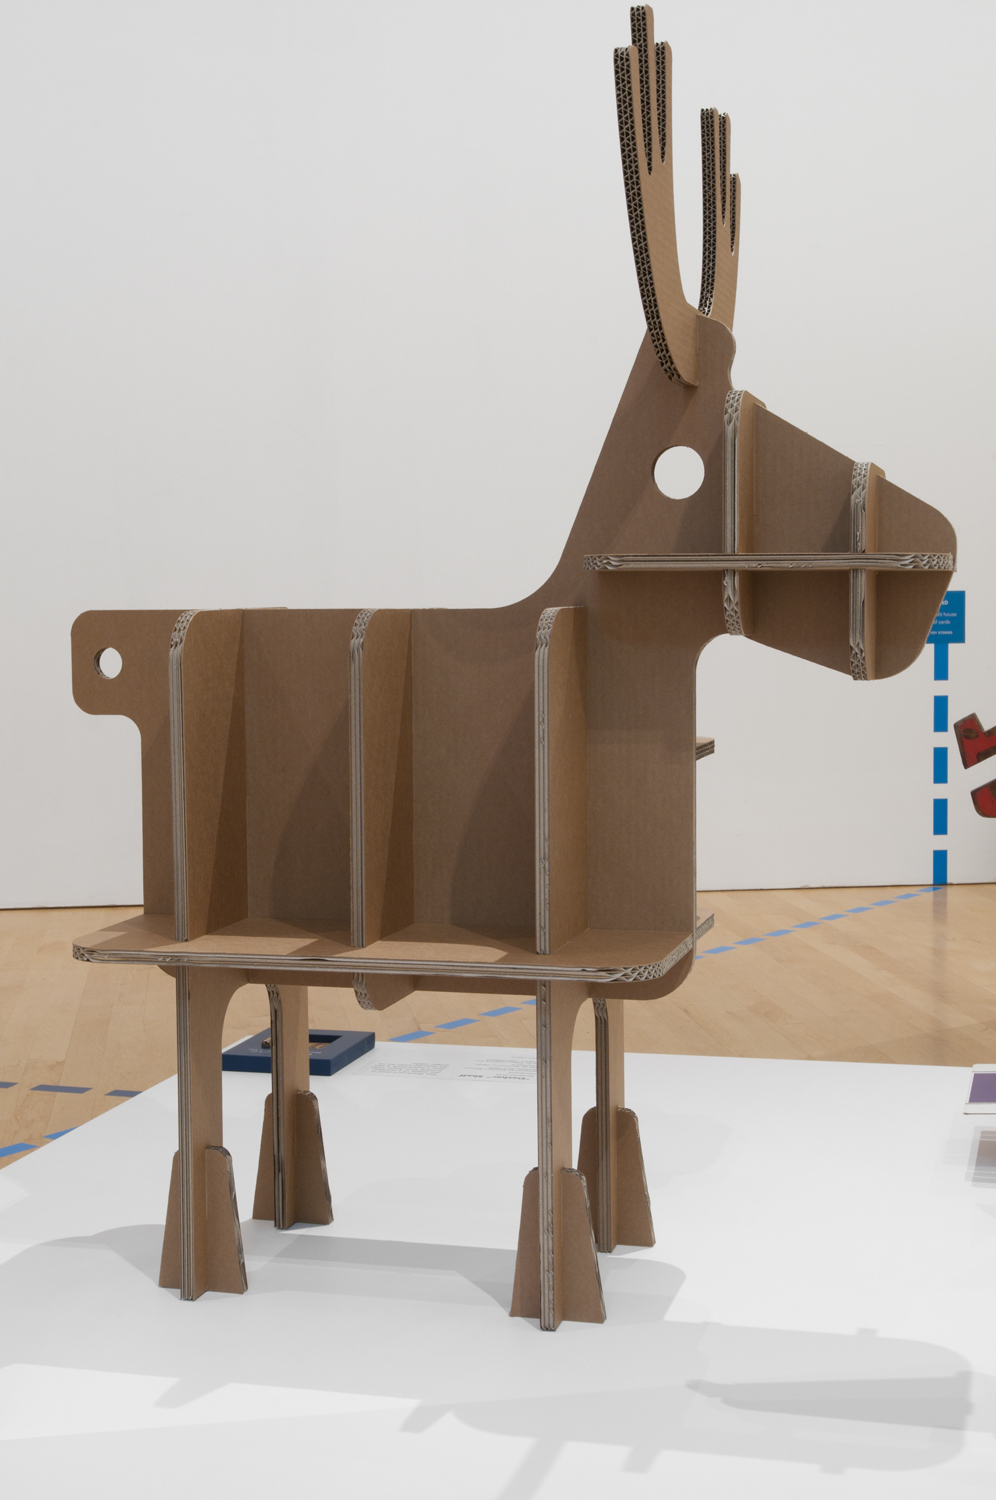
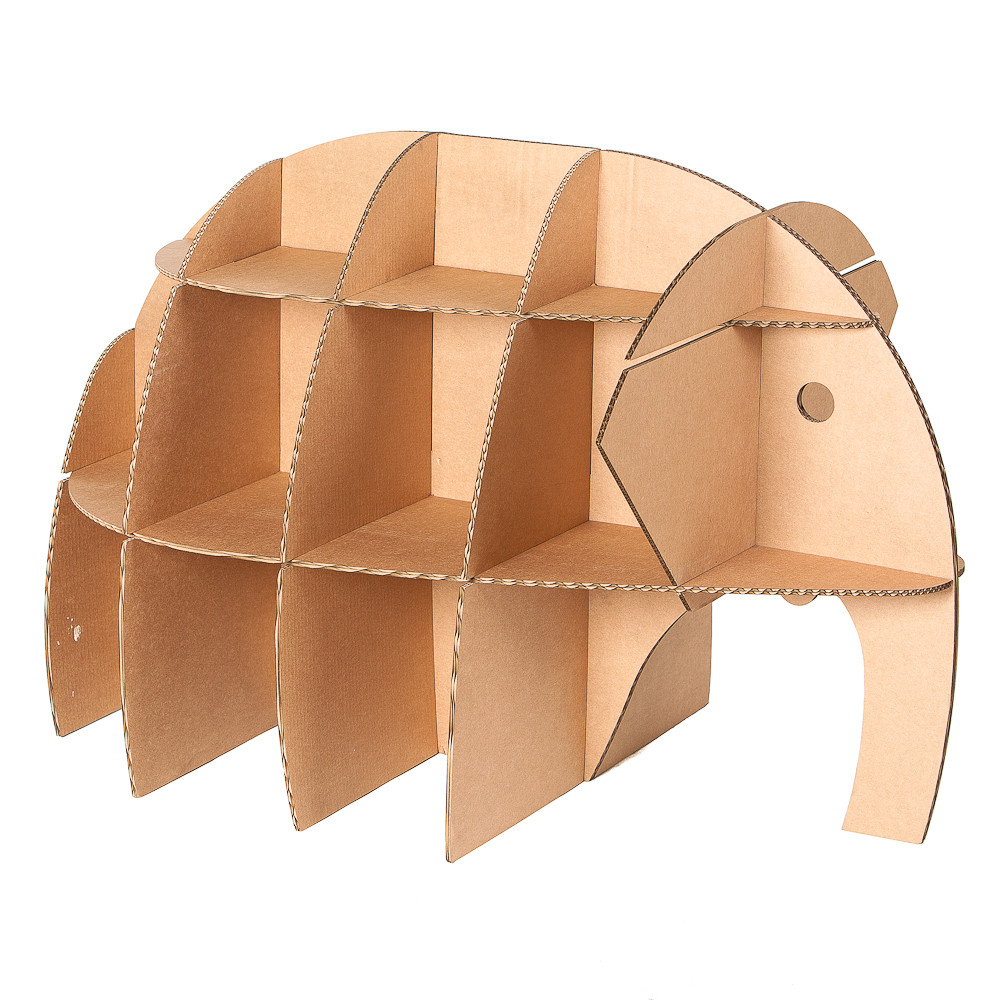
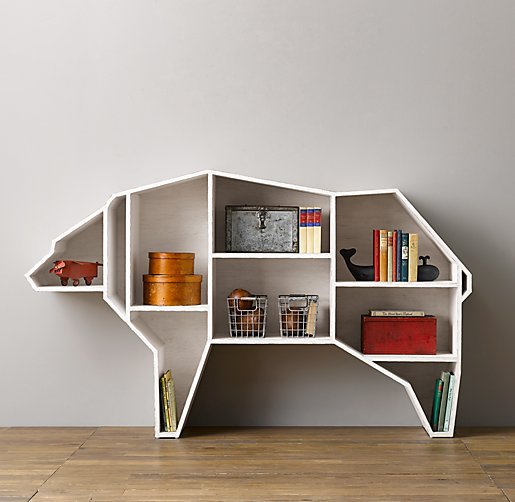
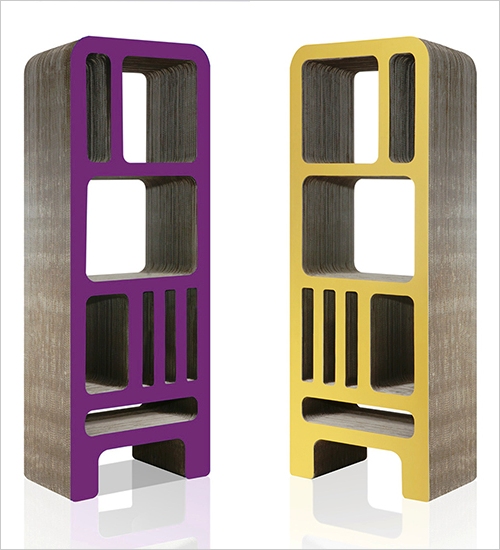
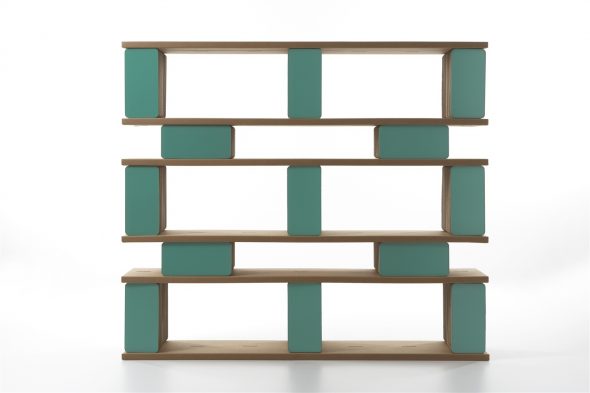
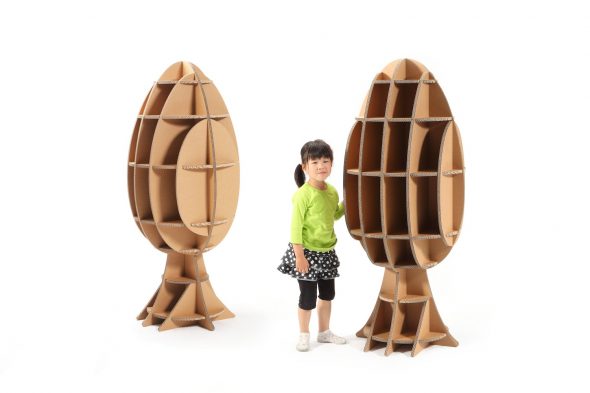
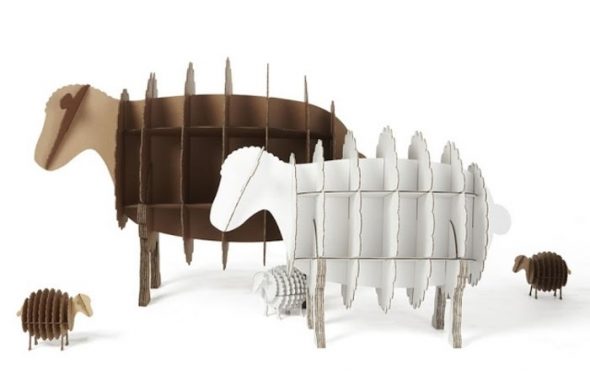
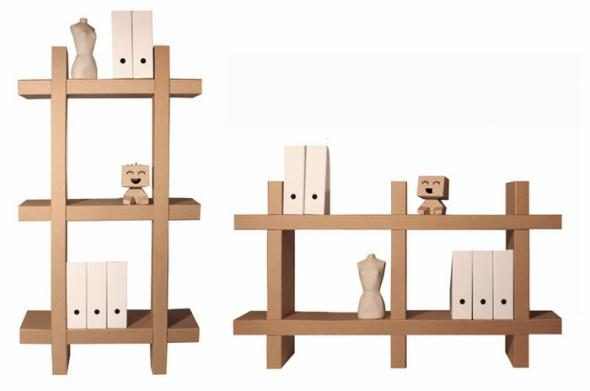
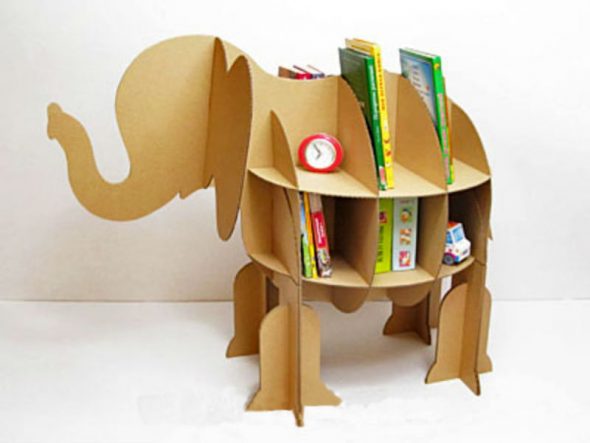
Before the first steps of work, you need to decide on the design and construction of the cardboard shelf, it can have a classic shape, be in the form of a rack or some figure (elephant, bear, other animals or images) - it all depends on your imagination and abilities. The simplest, most accessible option for everyone is a classic or rack-shelf, since its creation requires a minimum of skills. More difficult to manufacture are unusual, figured shelves. They require a creative approach, in most cases - the ability to draw, take more time to create.
Please note! You should not use cardboard shelves in places with high humidity (bathroom, street), as they will quickly lose their original appearance and become unusable. It is also necessary to protect the furniture from fire, it is very flammable.
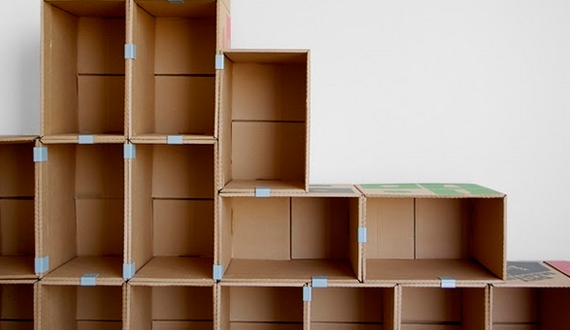
It is best to attach cardboard products together with special plastic clips rather than glue them together. In this case, it can be easily disassembled.
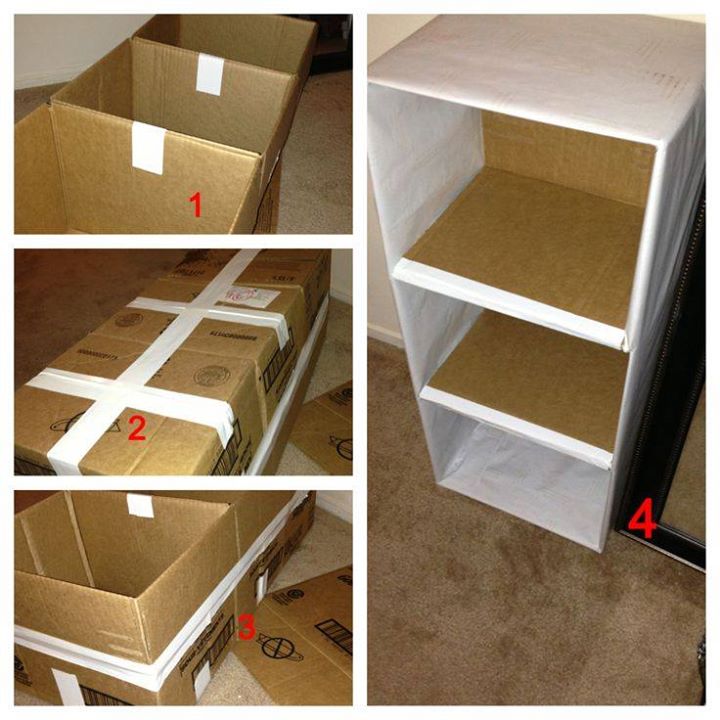
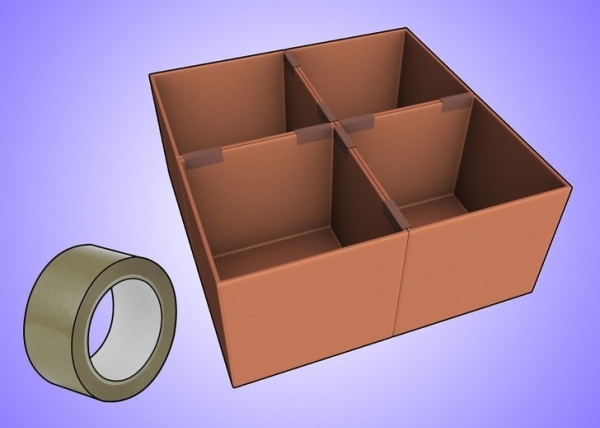
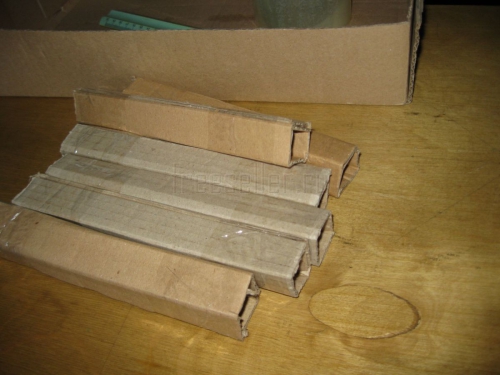
To increase the strength, put a second, slightly smaller box into the box made of thick corrugated cardboard. Then the structure will acquire sufficient rigidity and will be able to withstand serious loads.
Helpful tip: Instead of paint, you can use wallpaper or fabric. This way, your product will fit into any unique interior or give it such a look.
Necessary materials and tools
- Cardboard. It should be understood that the thicker the material, the stronger the furniture will be. There is an opinion that the dark color of the cardboard indicates its high density and vice versa - light cardboard is thinner. However, do not rush to get rid of the thin material, it will be useful for gluing the joints. Or glue thin cardboard together, thus obtaining a thick one. If you use this method, glue the waves of each subsequent layer perpendicular to the previous one.
- Scotch tape and glue. Any type can be used, but the best option is Moment glue. Thanks to its properties, the cardboard does not get wet, all the necessary parts are quickly and securely fixed.
- Kraft paper is used to strengthen the edges of furniture; thin cardboard can be used instead.
- White paper or tracing paper. Stick it on the entire surface for easy decoration. Please note: before sticking tracing paper or kraft paper, it must be torn, not cut.
- Materials for decorating the finished product – paints, wallpaper, fabric and everything else that your imagination desires.
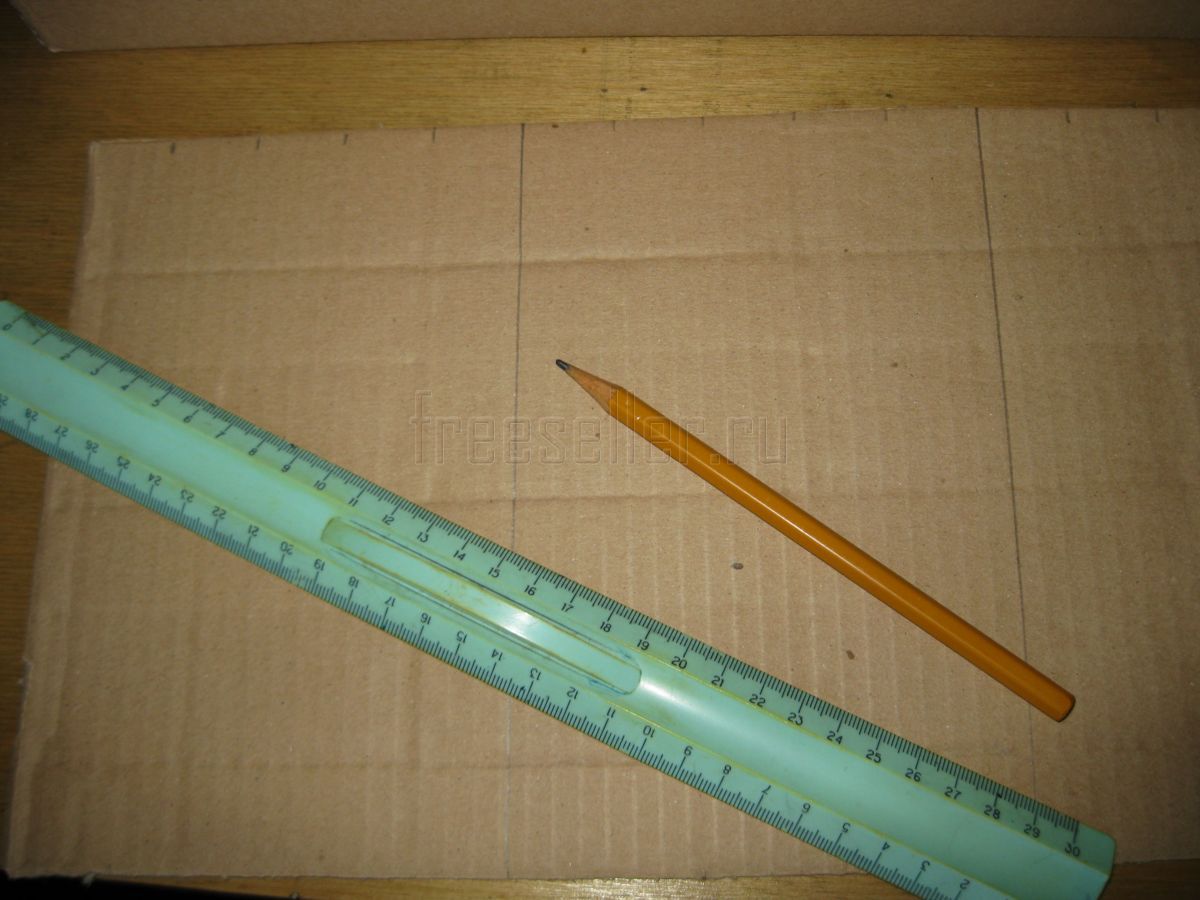
- Pencil, tape measure for measuring and drawing details.
- A stationery knife or a jigsaw. Keep the tool sharp, as the precision and quality of the cut depend on it. Replace the cutting parts of the device more often. A jigsaw can cut several layers of cardboard.
- Sandpaper will come in handy for smoothing the edges.
- To dry the glue faster, use a regular or construction hair dryer.
Guide to Making Cardboard Shelving
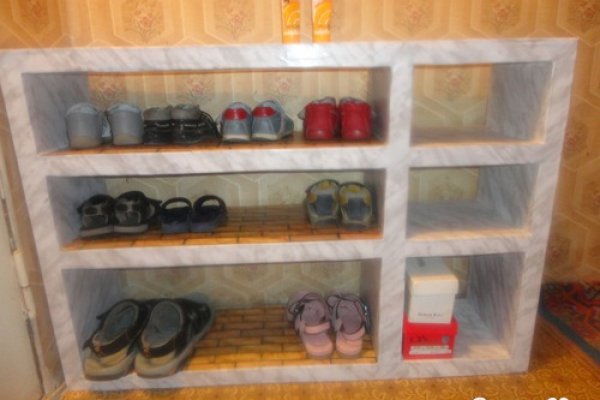
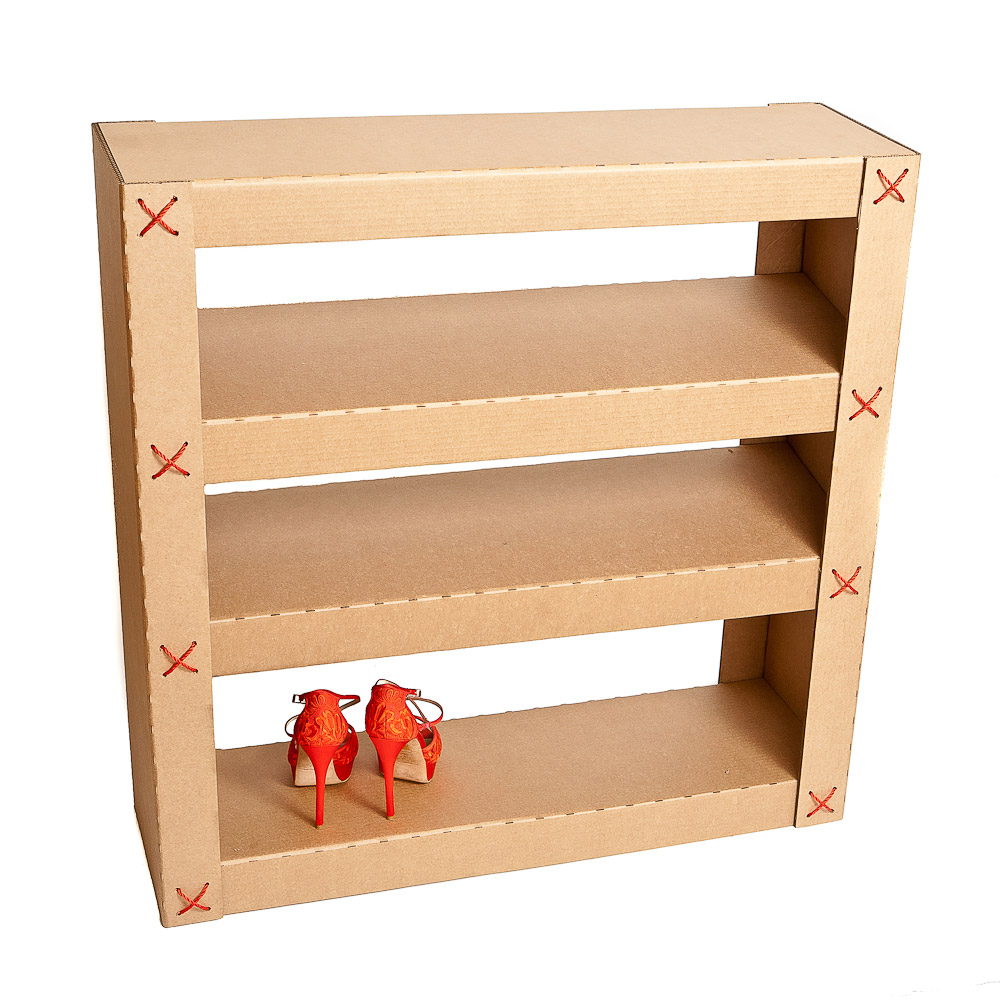
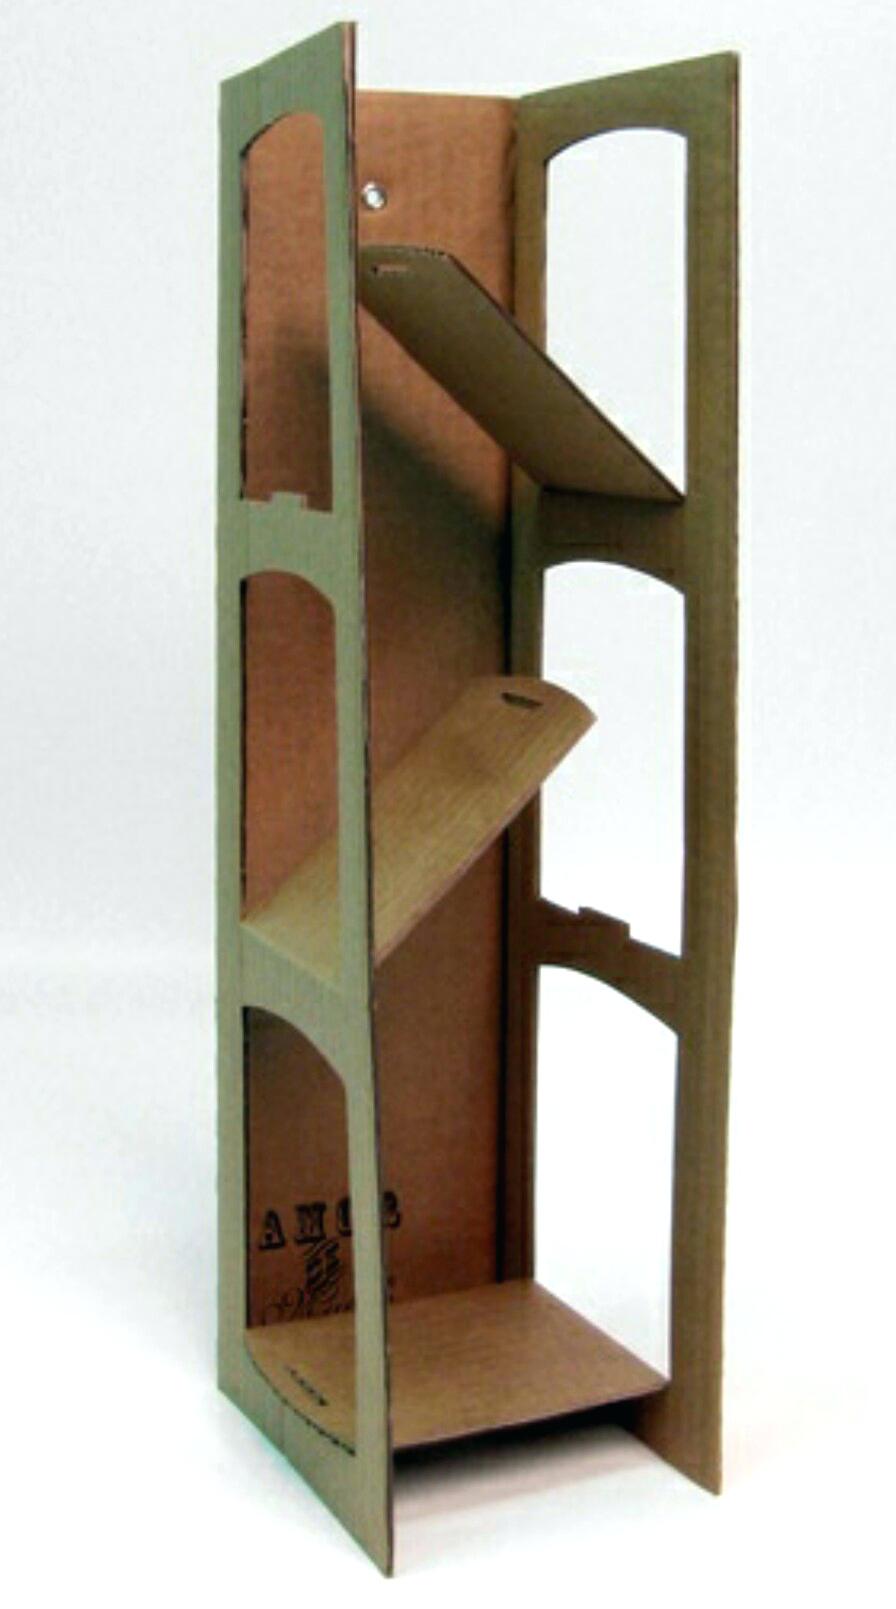
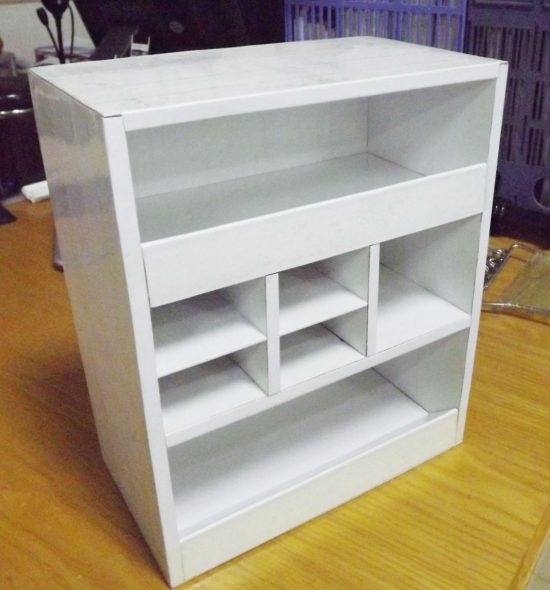
Idea #1. Shoe Rack
- You will need sheets of cardboard measuring 21x24 cm. Divide them into 3 equal strips.
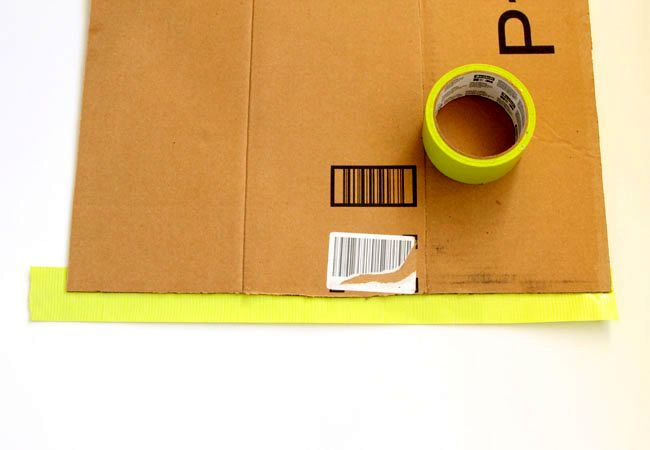
- Using a blunt knife, you need to carefully press the strips so that they bend. Then you can glue the long sides of the sheet with colored tape. Next, make triangular oblong figures from the sheets, fix them with tape.
- In this way, make the number of triangles you need. To fix such shelves, you need to glue the resulting triangles to whole sheets of cardboard with double-sided tape or glue. You choose the required number of rows and sections at your discretion.
- Instead of triangular sections, you can create oval ones by joining them together. Calculate the required diameter for your shoes and glue the rectangular strips of cardboard so that they form an ellipse.
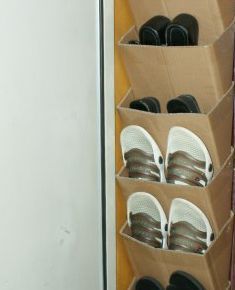
Idea #2. Hanging shoe rack
- You will need several large sheets of cardboard. Based on the dimensions of your shoes, draw the cardboard into equal rectangles and cut them out.
- Divide each rectangle into three parts, fold. Fold the two sides diagonally and connect them together so that you get a pocket that is wide at the top and narrow at the bottom.
- The bottom of each pocket should be attached with glue or double-sided tape to the top of the previous one on the inside, leaving space for shoes.
- Such a shelf can be fixed on the door itself or on the wall near it – in any case, such an original solution takes up little space.
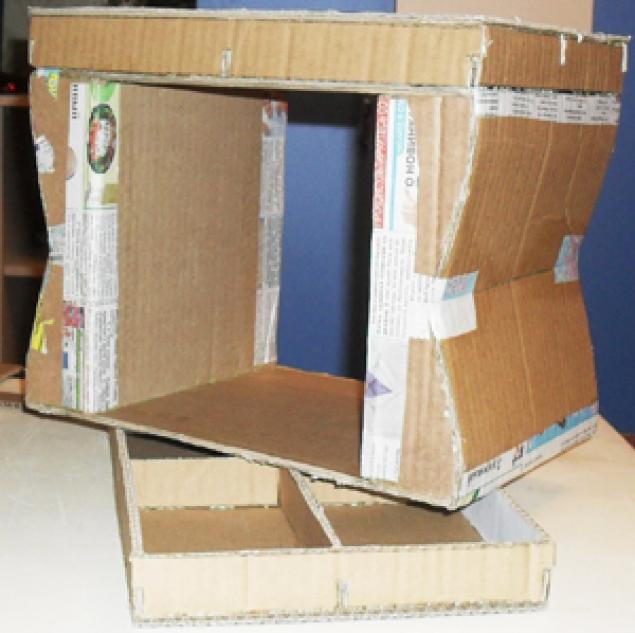
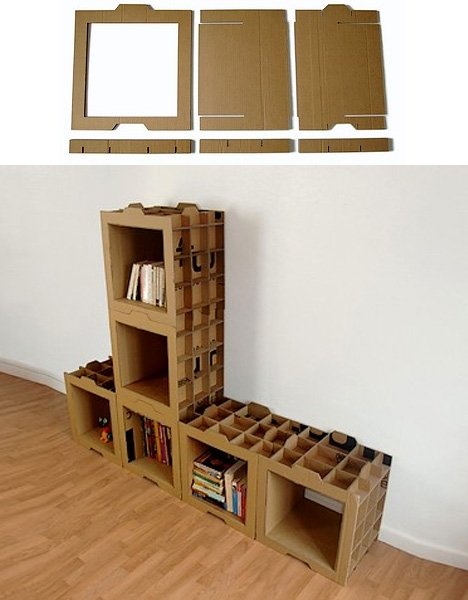
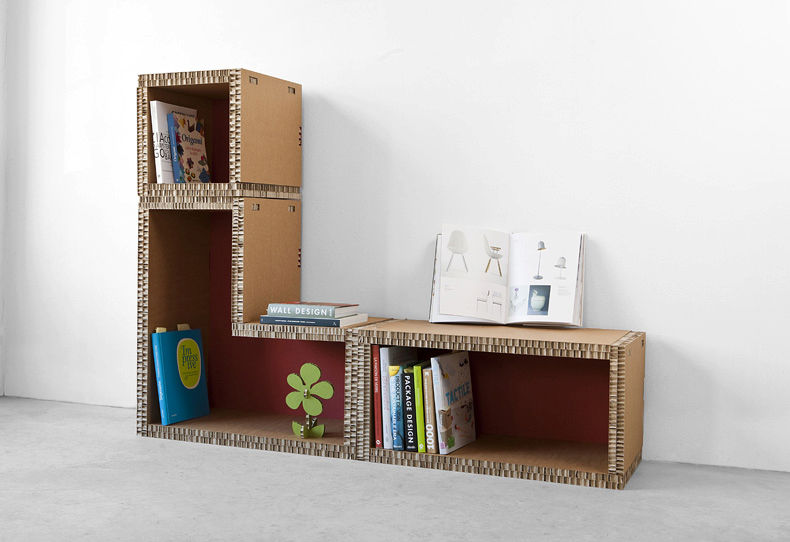
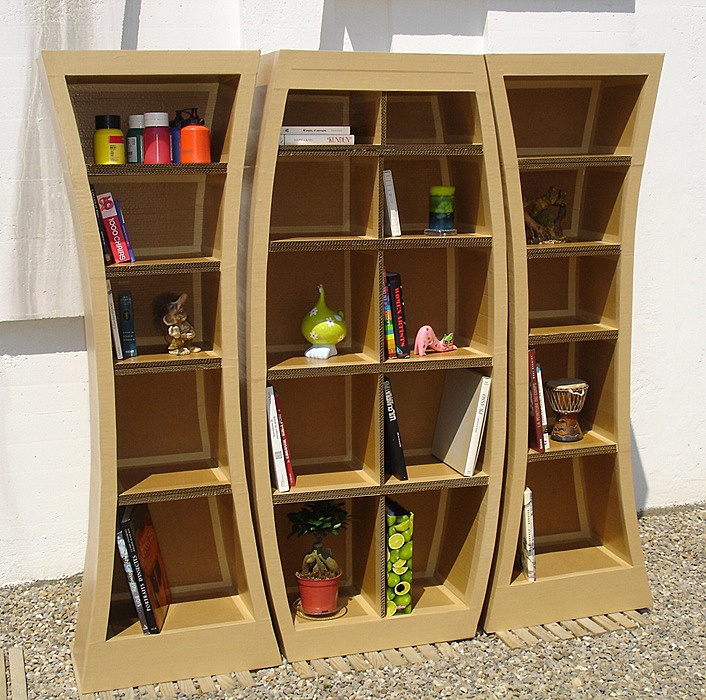
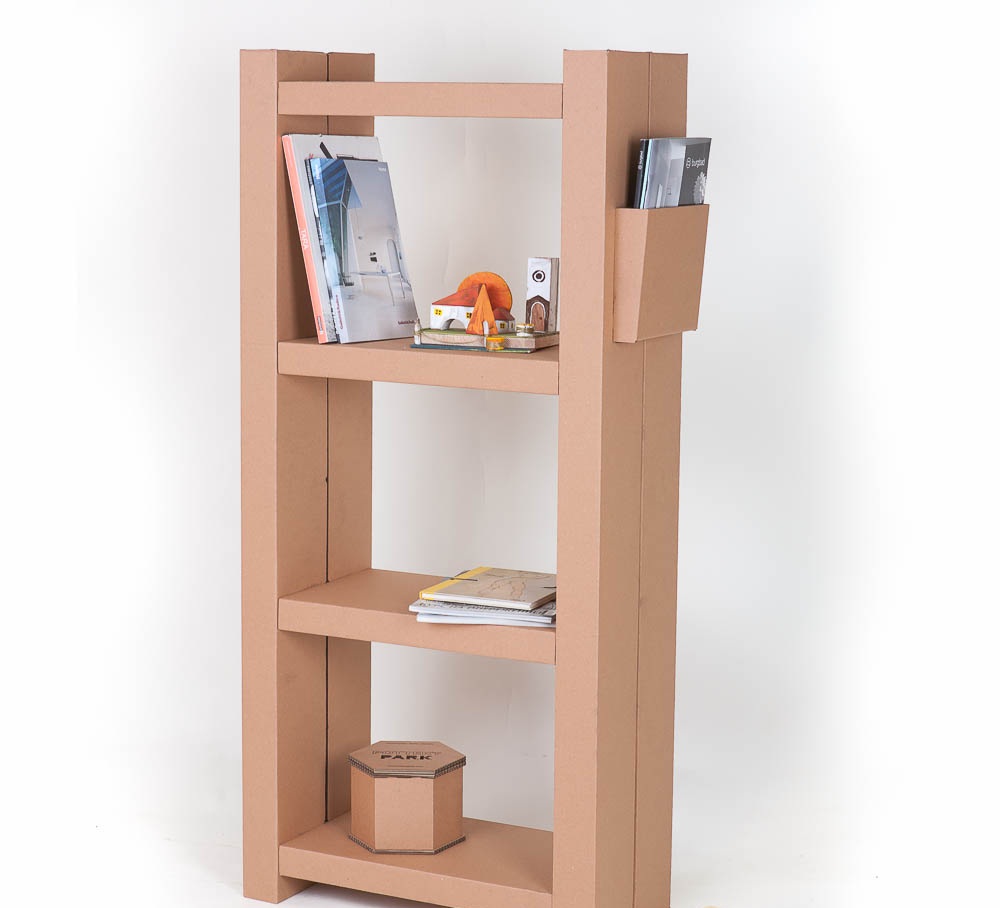
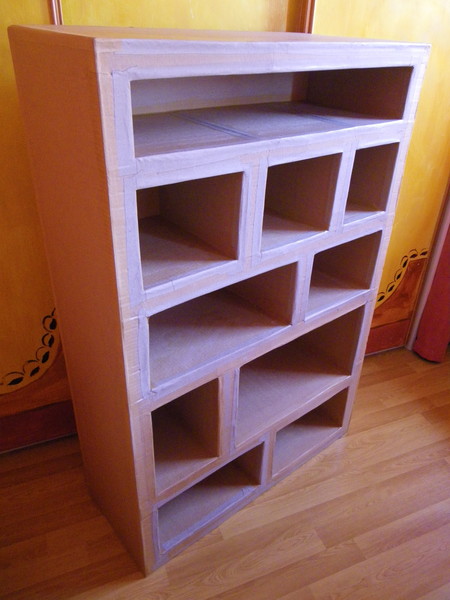
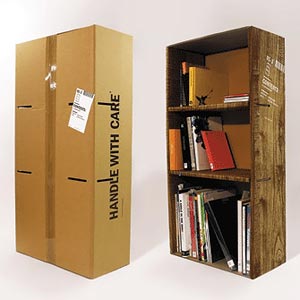
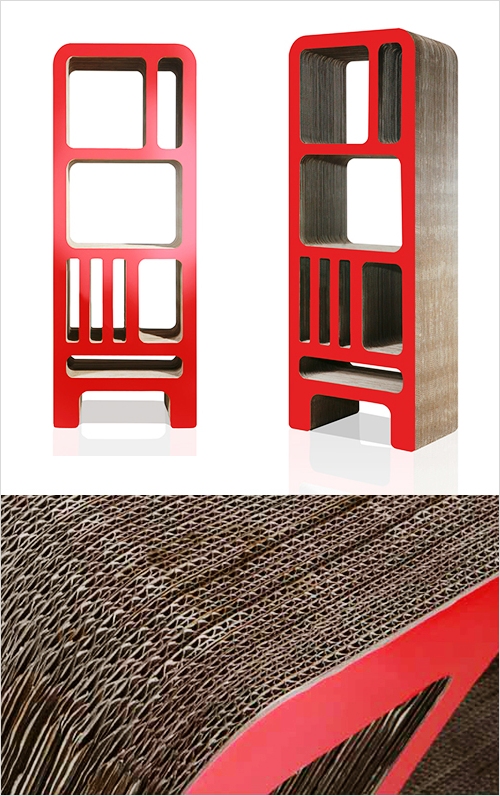
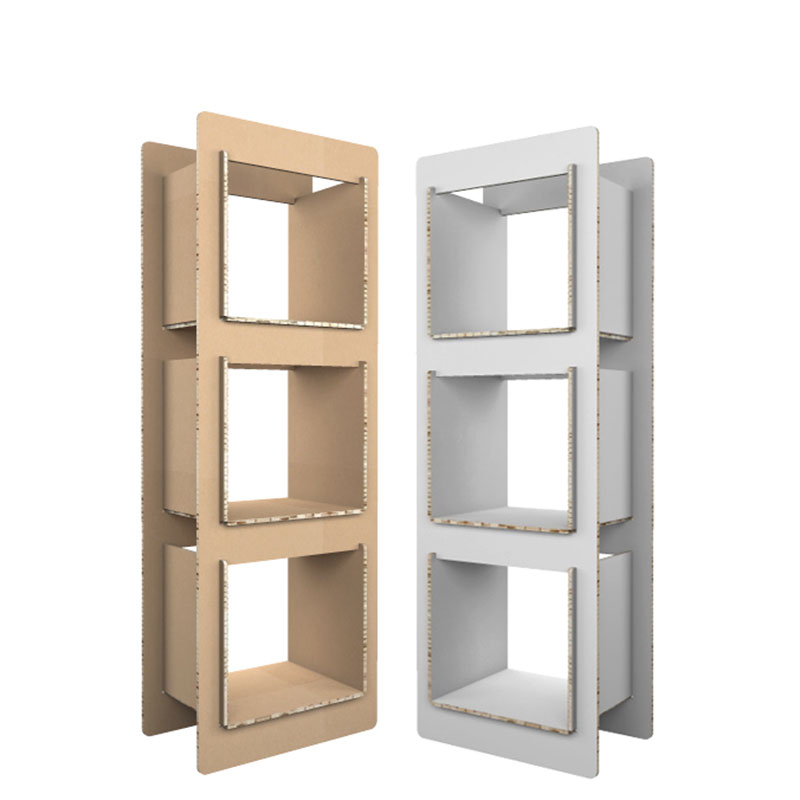
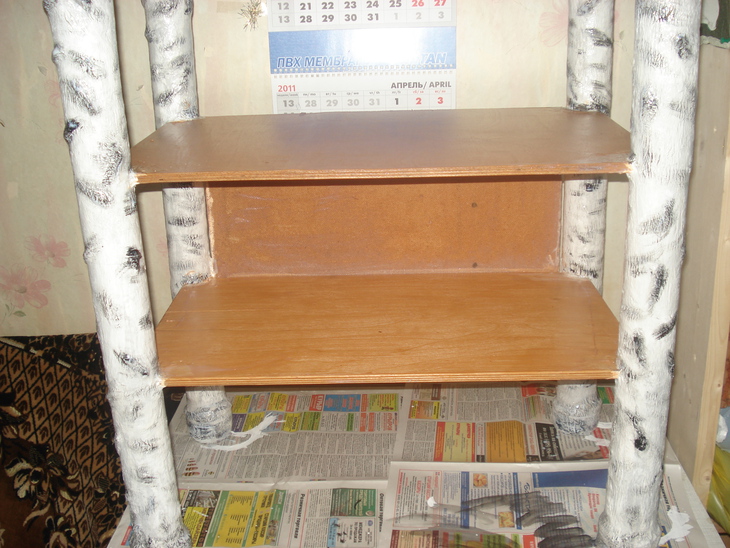
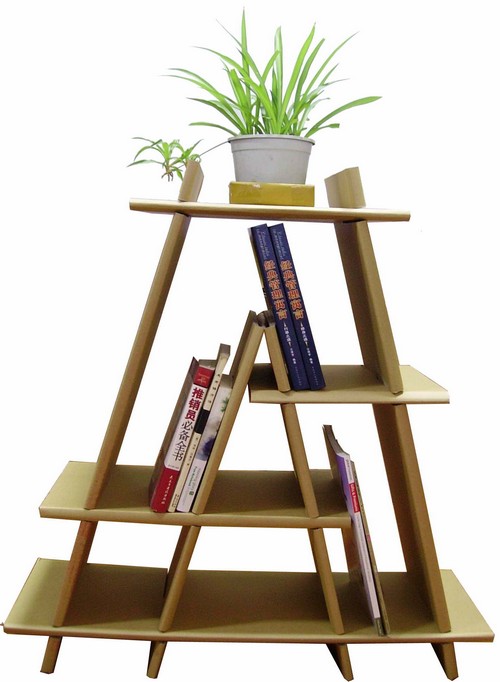
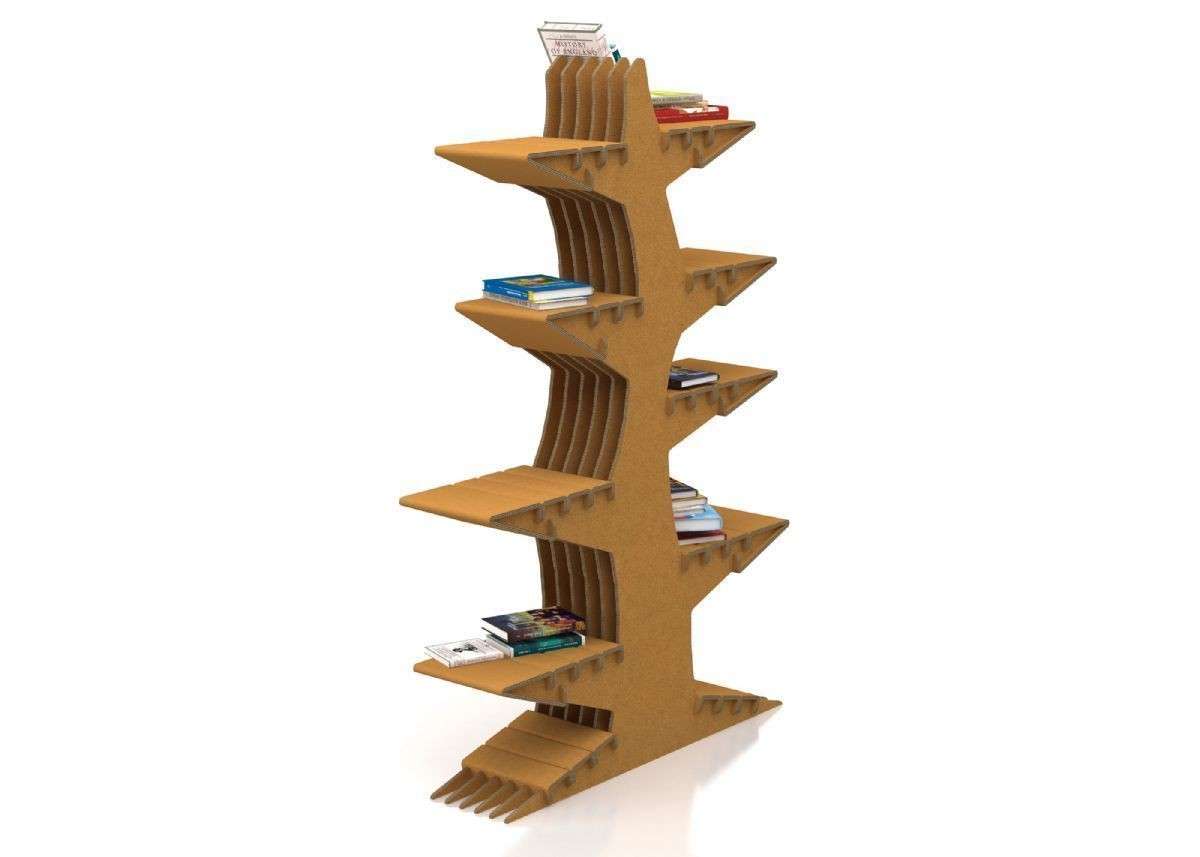
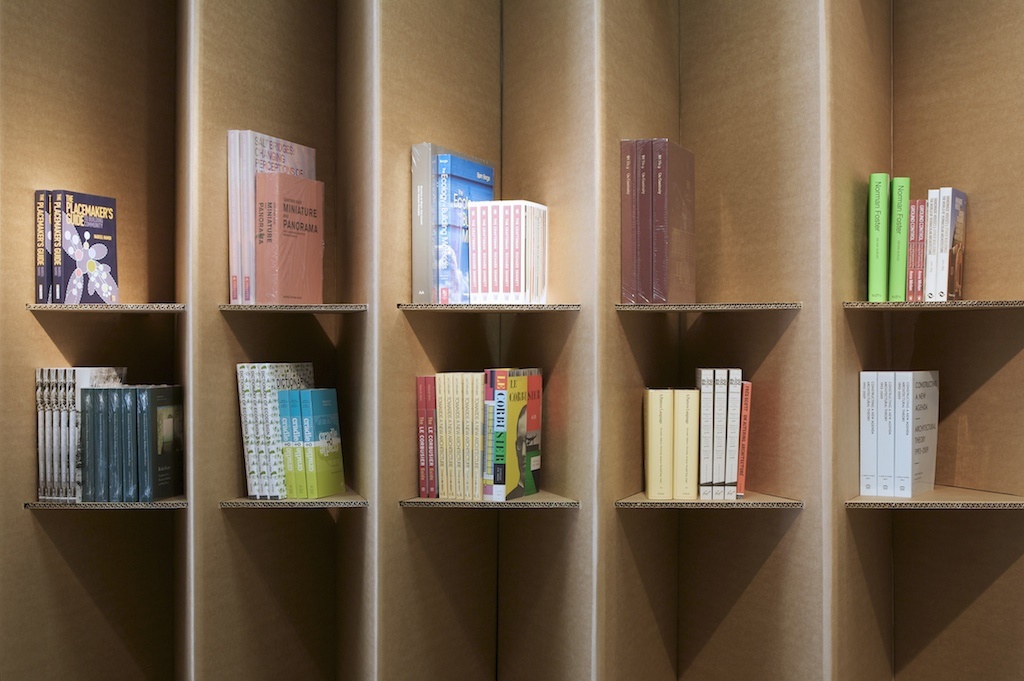
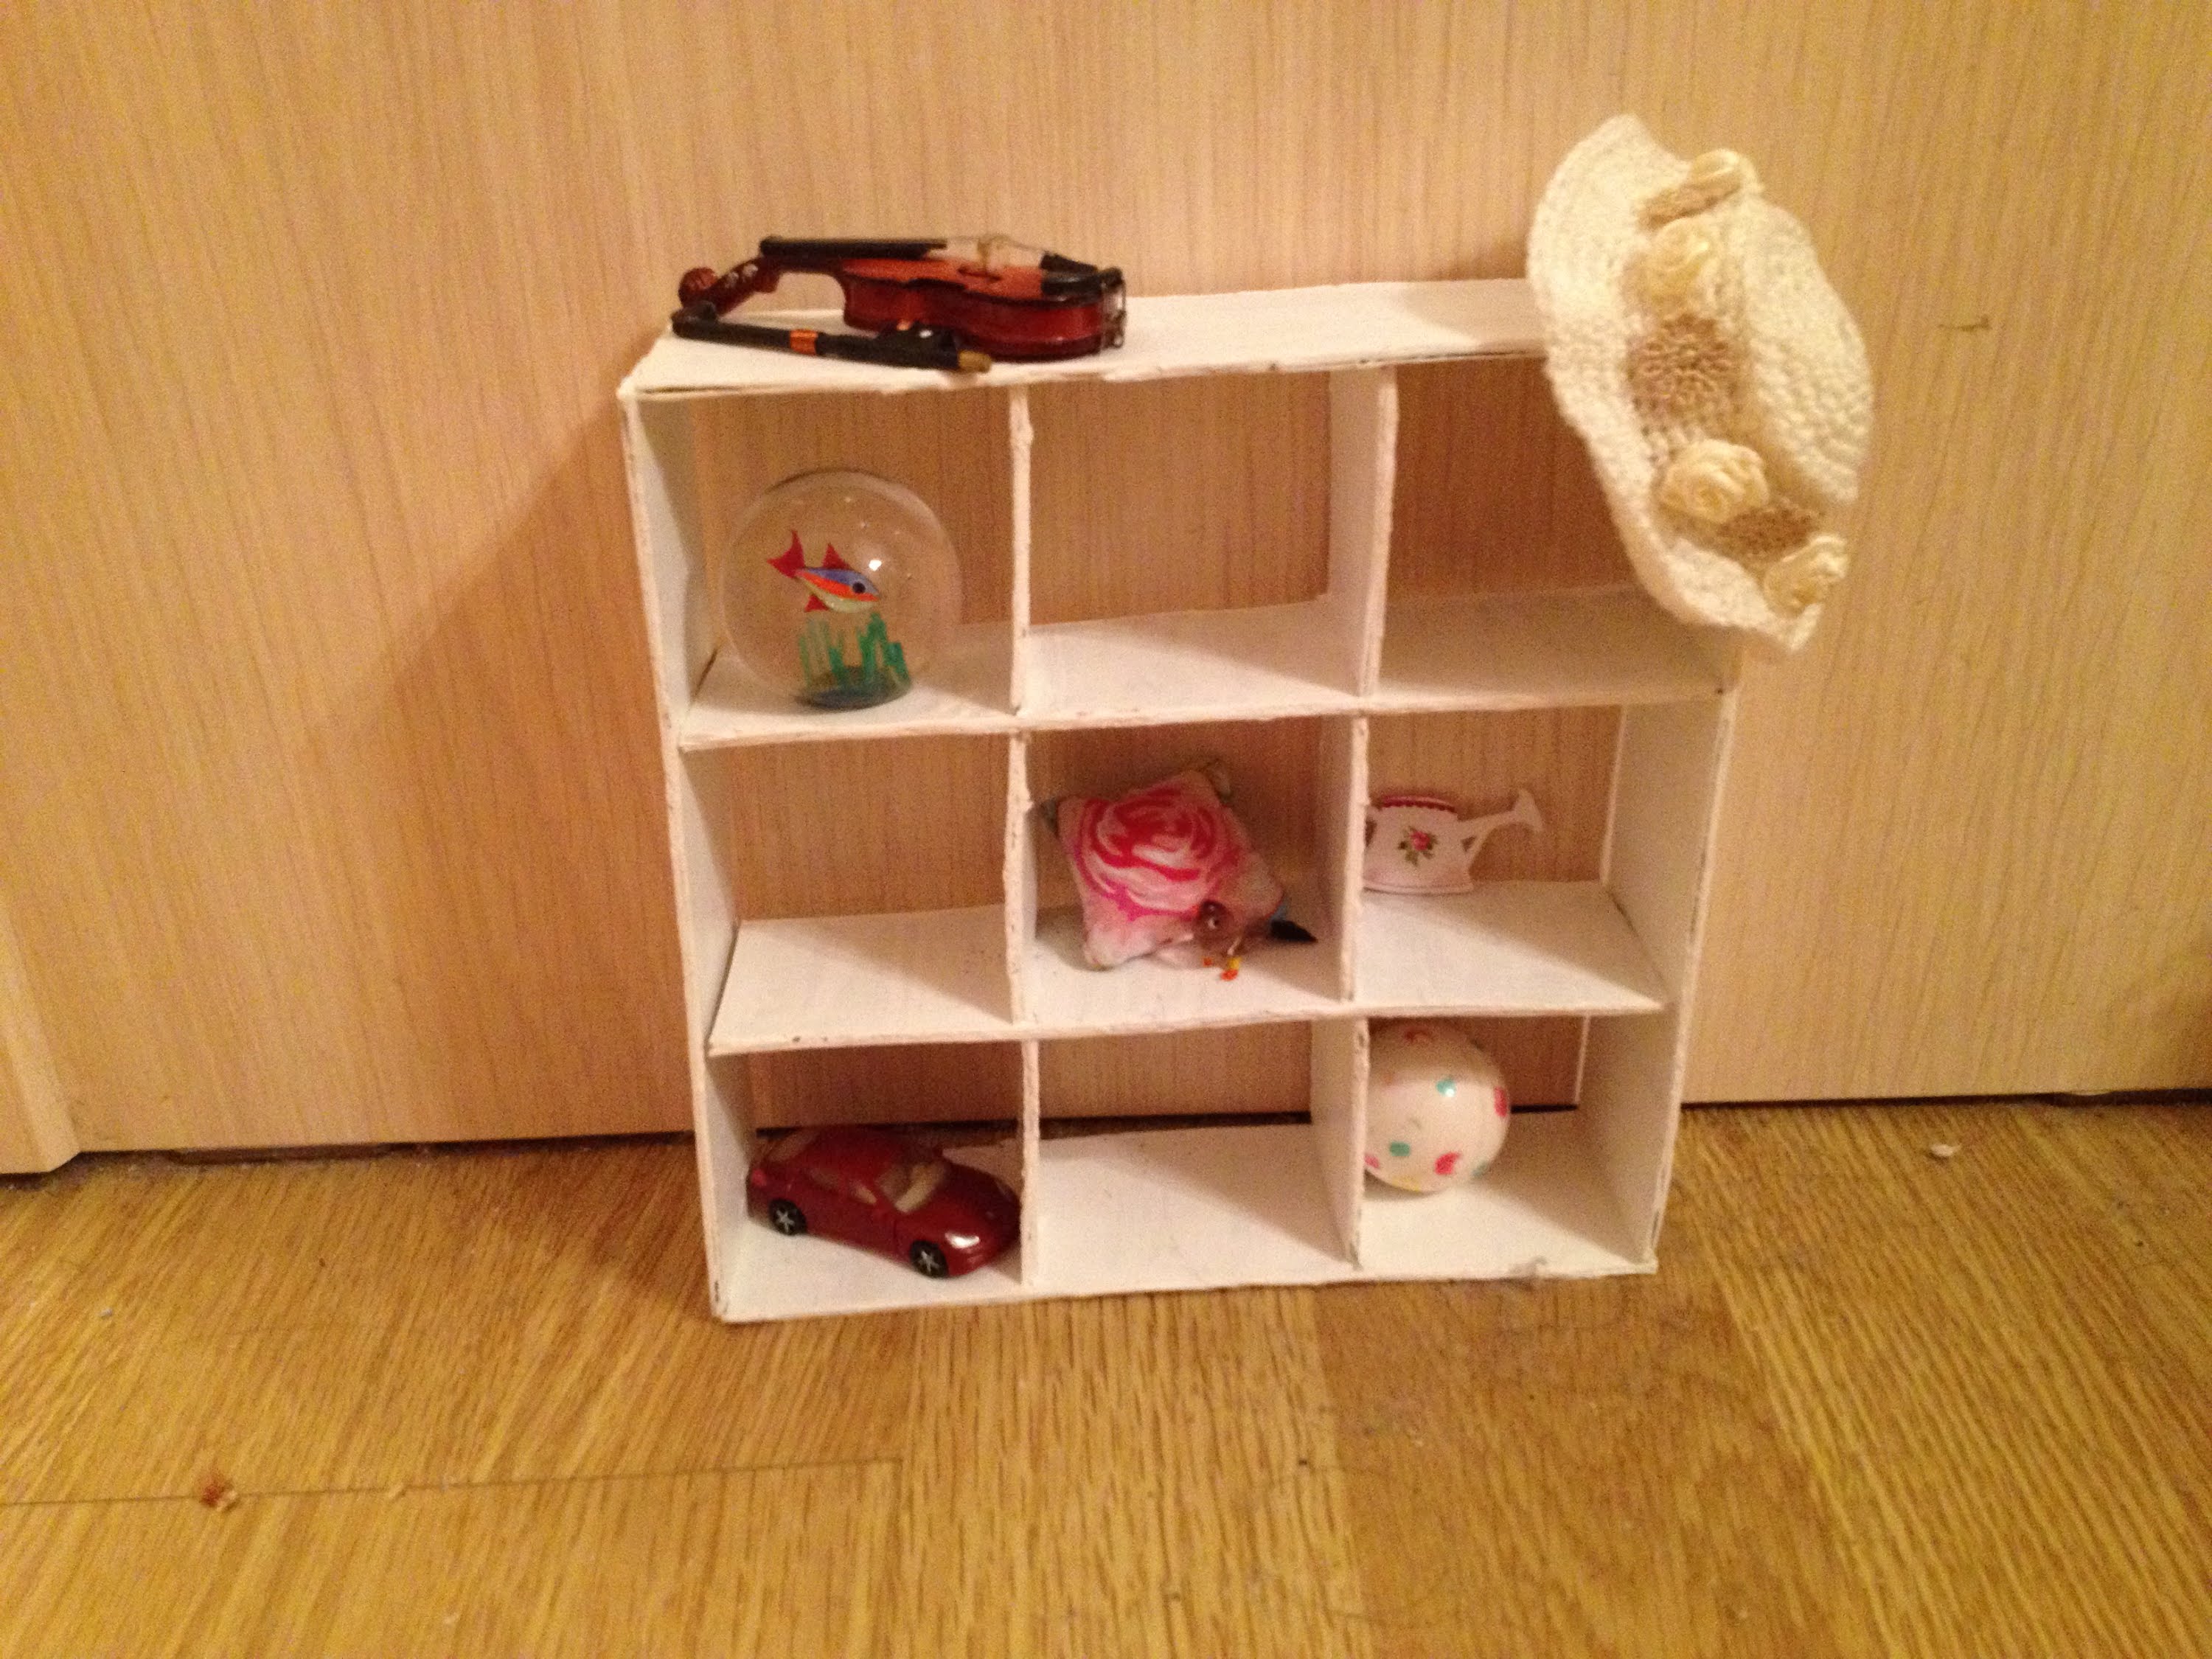
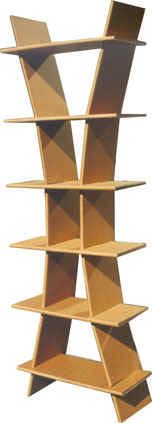
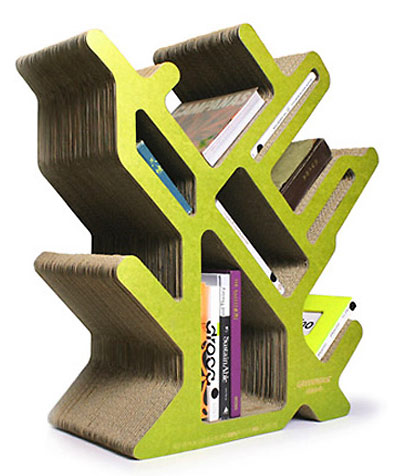
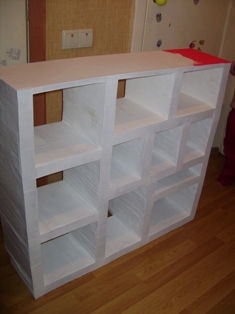
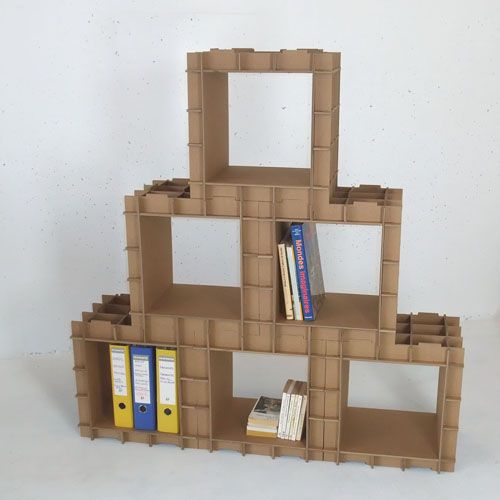
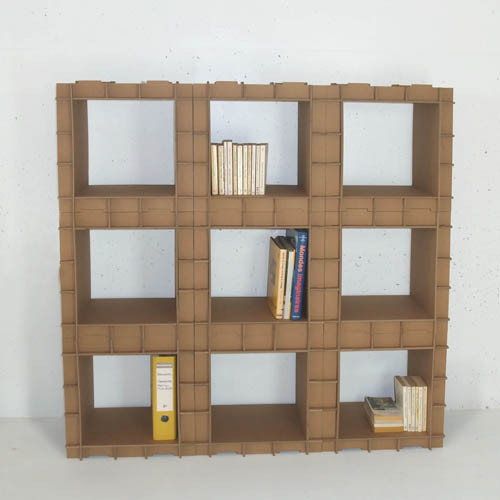
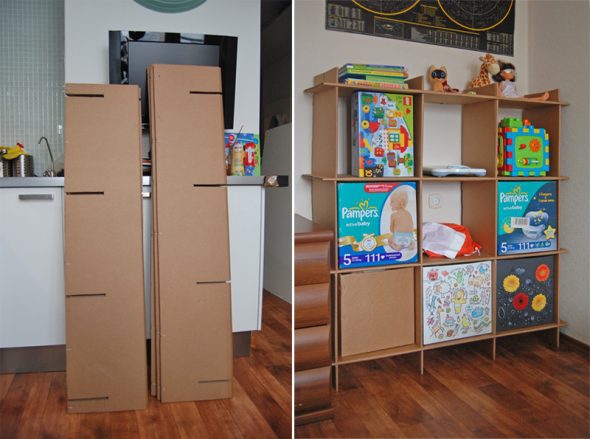
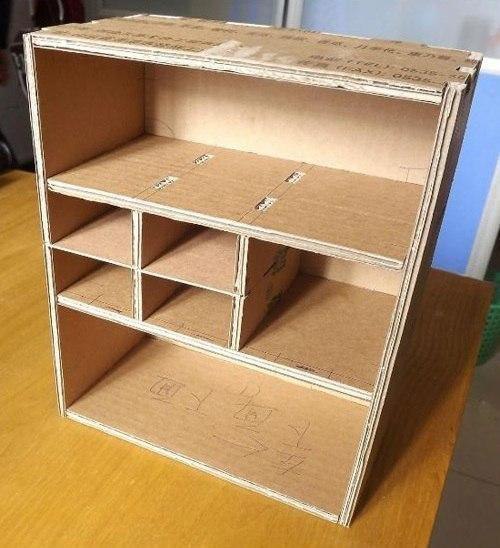
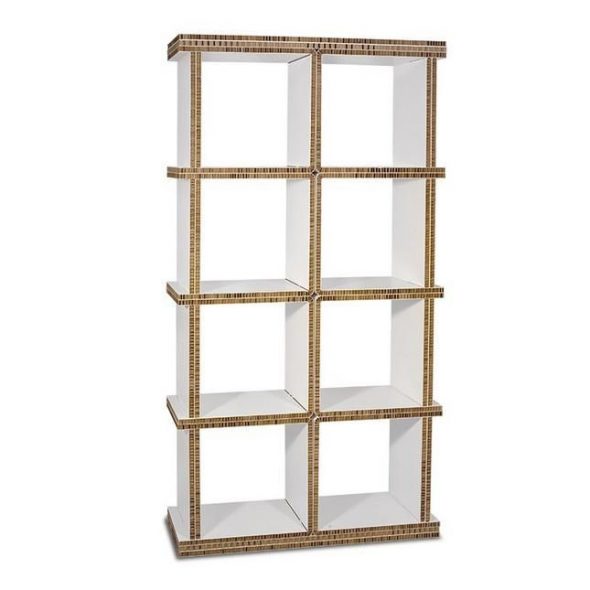
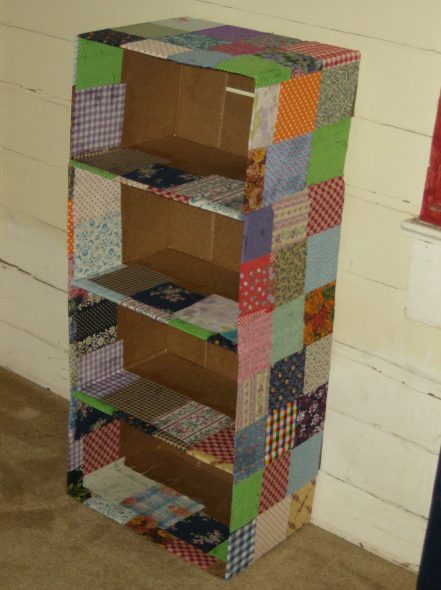
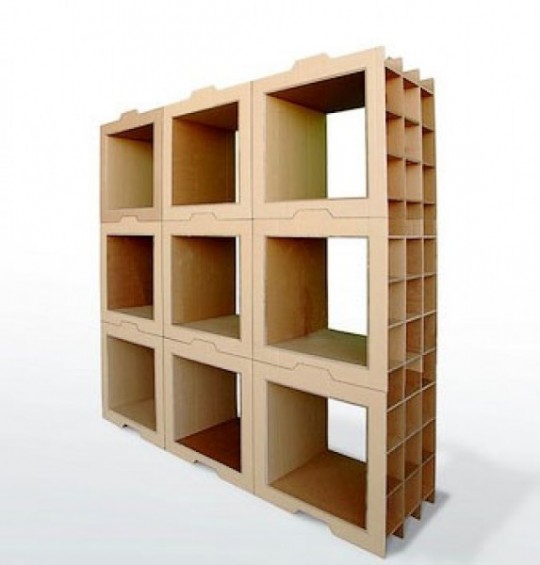
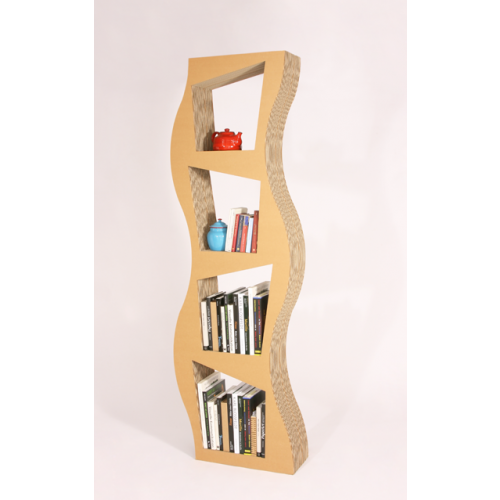
Idea #3. Bookshelf
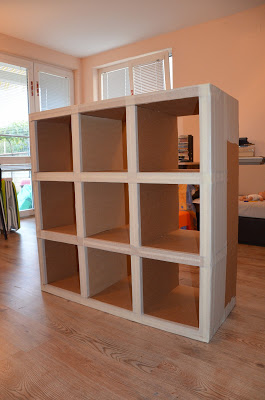
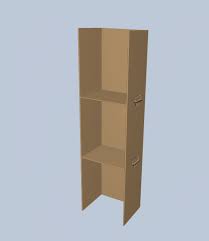
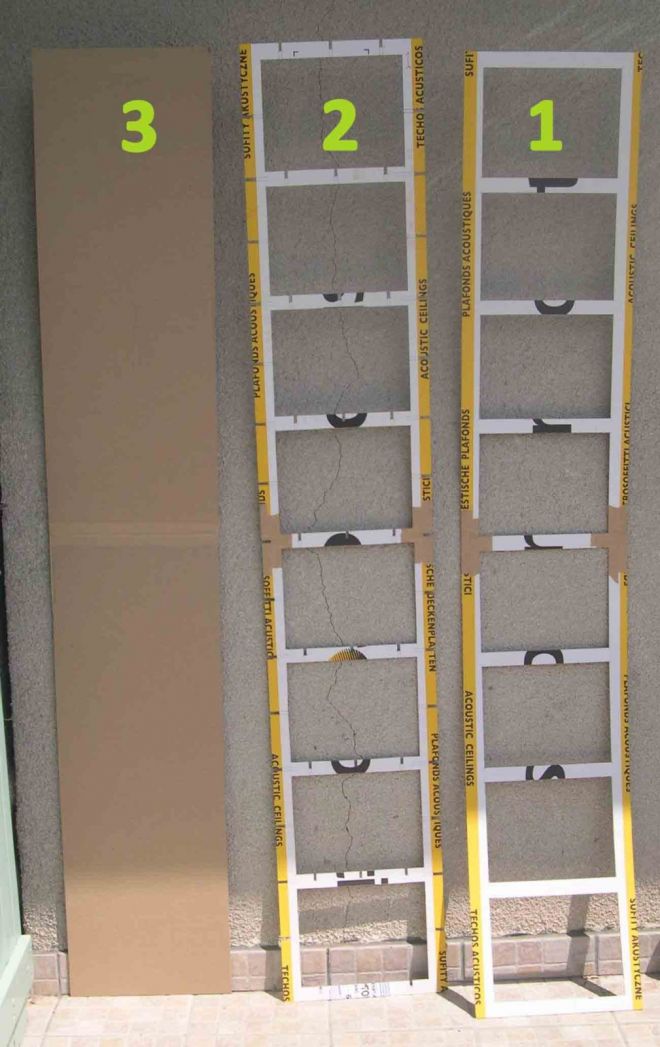
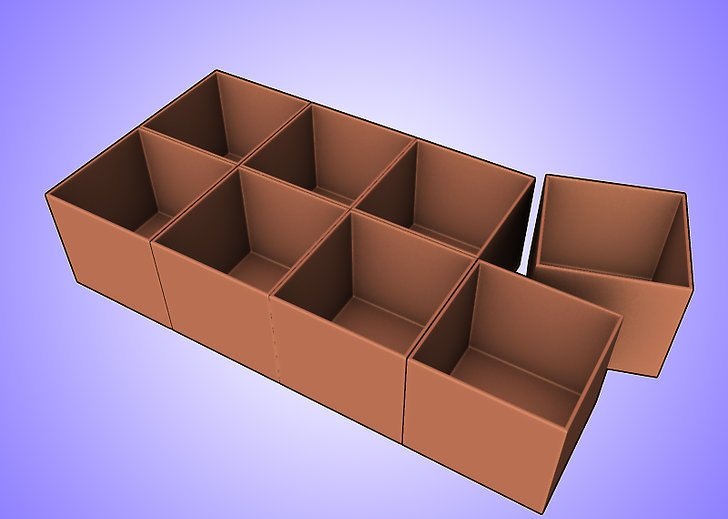
- The size of the desired shelf, the amount of materials depends on personal preferences. The best option is a rack with five sections, 110 centimeters high on the side of three sections and 69 centimeters high with two sections. Each section will be square, the dimensions of the sides are 30 centimeters.
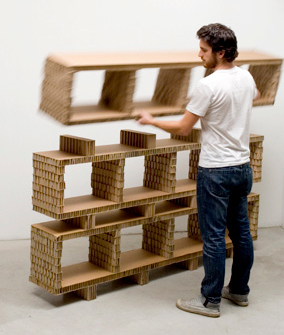
- For each part you need two blanks, which need to be glued together. In total you should get 4 with three, 8 with two, 2 parts with one section.
- Make all drawings with a ruler, cut the parts with a knife and a thick ruler. If you cut on the floor or on a table, first protect the surfaces from cuts.
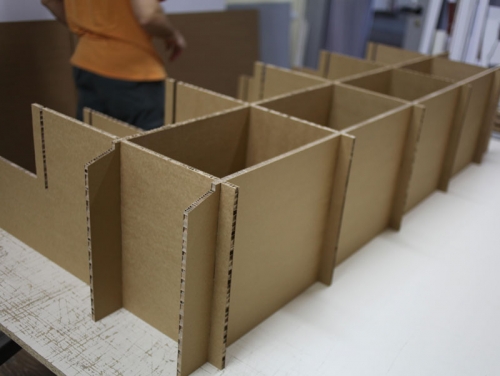
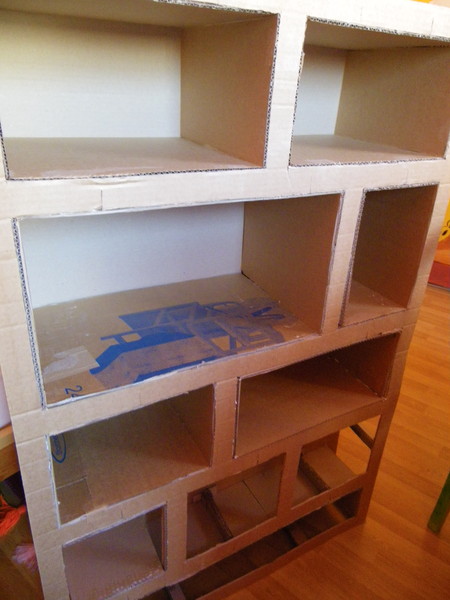
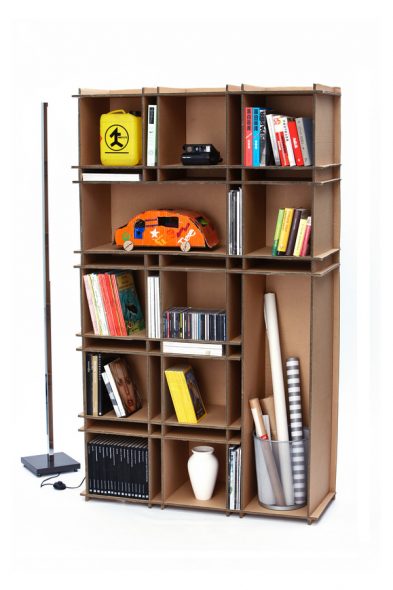
- Before you start assembling, create additional stiffening ribs for the structure, they will create additional volume and strength for the walls. To do this, make strips of cardboard about 4 centimeters wide, glue them sideways in a wave-like pattern along the perimeter of one part of the part, then attach the second part.
- Next, to secure the workpiece well, you need to send it under a press. You can use stacks of heavy books or a stool as a press.
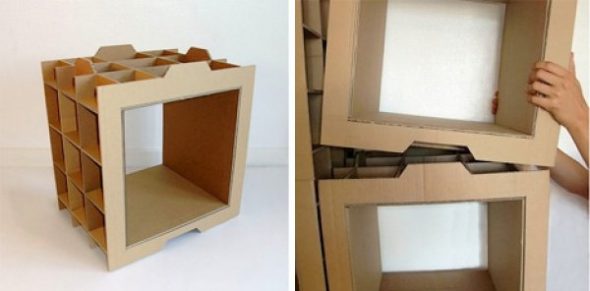
- After carefully gluing the parts, you can start assembling the shelf. To do this, connect all the parts together in the cut out places, clasping them together. Then level the surface with putty, even out the corners and hide all other imperfections. It will take a day for the shelves to dry completely. This will allow you to get a perfectly flat surface for easier decoration.
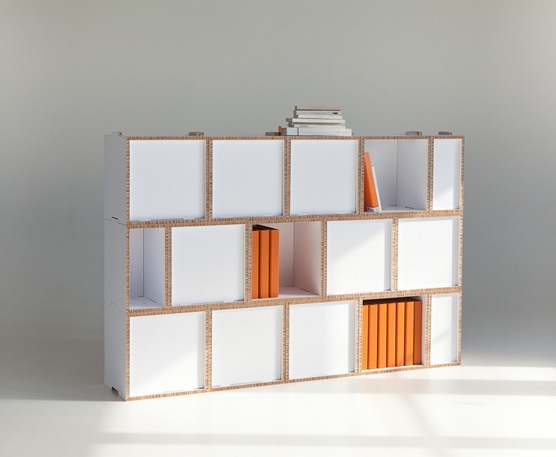
- Decorate the finished rack as you wish.
The final stage is decoration
You can decorate cardboard products with your own hands from any materials, it all depends on your wishes and fantasies - there are many options. The simplest ones are wallpaper, film, paints.
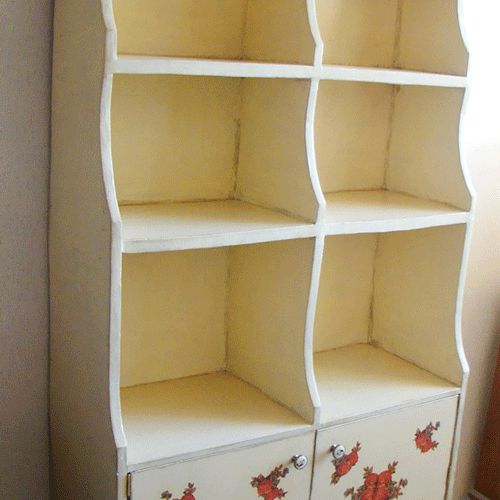
Paste old pieces of wallpaper over the entire surface of the product, or just the inside, and paint the outside in your favorite color. You can paint the shelves completely, and use stencils or create unique patterns or designs yourself.
The easiest way is to use self-adhesive film. It has an attractive appearance, quickly and reliably sticks to the surface, and, unlike wallpaper, it can be washed. If defects appear on the film or you want to change the design, just buy and stick another one.
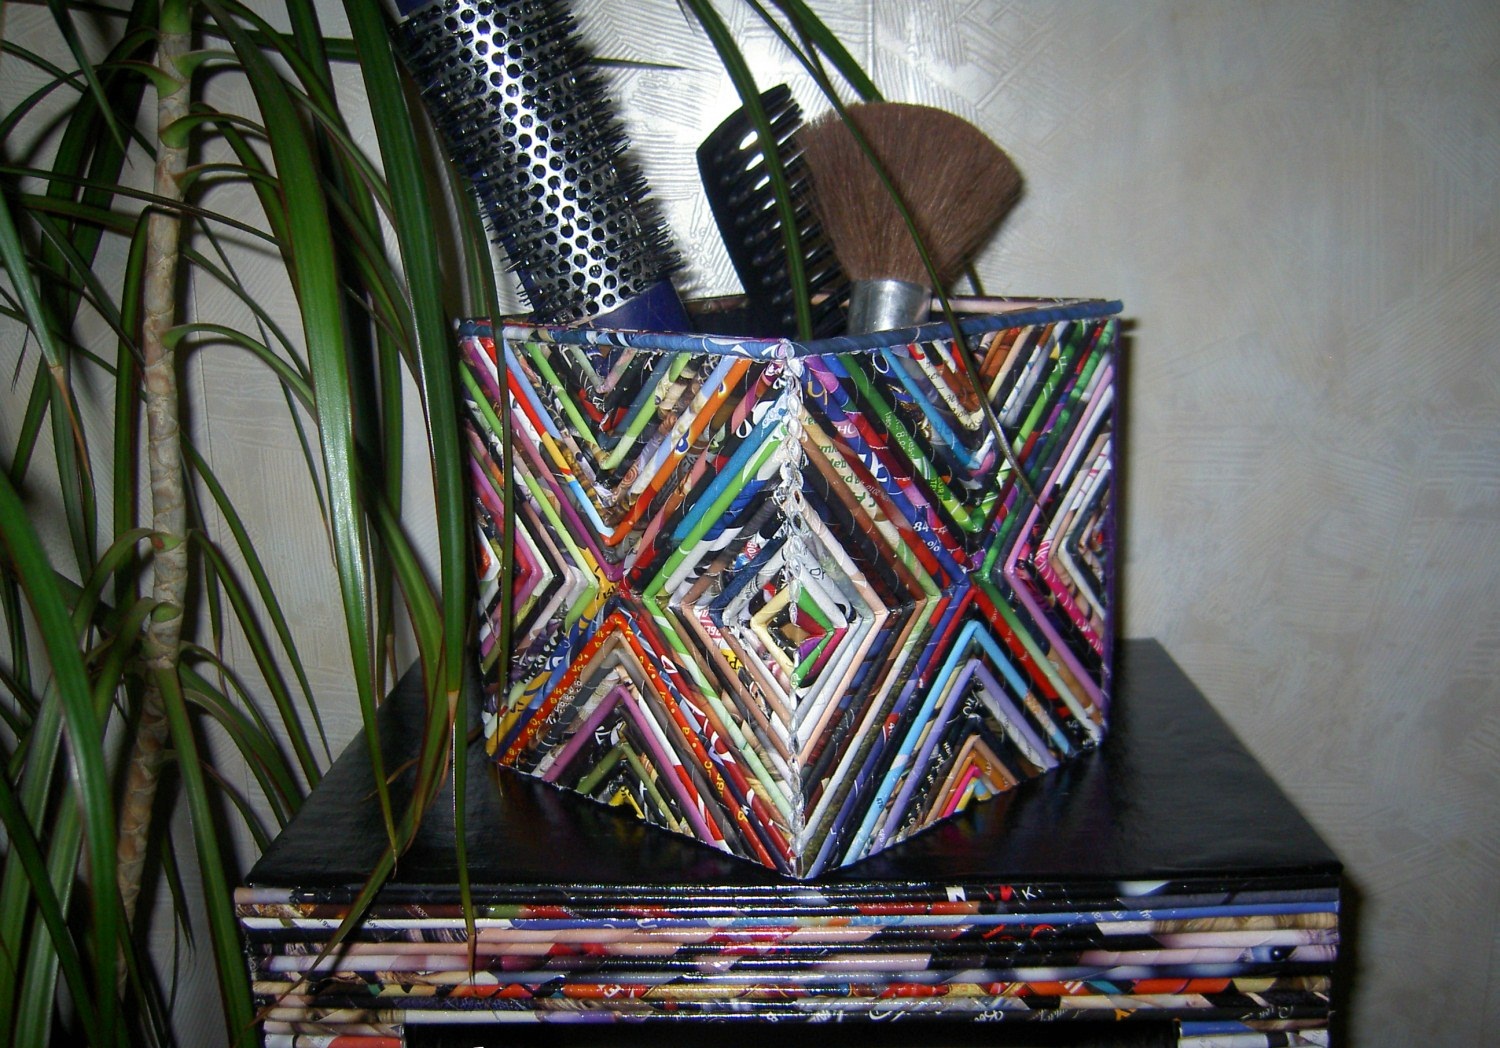
Master class: decorating a product using pages from glossy magazines
You will need:
- any paper for the base, newspapers are fine;
- glossy magazines;
- universal or PVA glue;
- acrylic varnish.
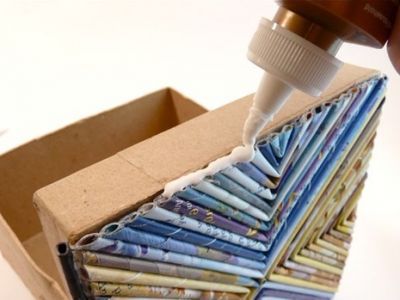
Cut the magazine pages into strips 1-2 cm wide, twist them into tubes using a thin pencil or knitting needle. Glue the resulting glossy straws in a row onto the paper used as a base. Then cut the canvas of tubes to a suitable width, corresponding to the place of decoration, and glue it. When the surface is well dried, cover it with acrylic varnish.
The process is very long and tedious, but the effect is amazing.
Master class: surface decoupage
You will find this useful:
- napkins with pictures;
- acrylic paints, acrylic varnish and brushes;
- scissors;
- iron.

Cover the surface of the rack with several layers of paint, let each layer dry, then apply another. Do not dry the last layer completely, it should remain sticky. Remove the top layer from the napkin, iron it and place it on the surface of the product. Place a clean sheet of paper on top of the napkin and iron it with an iron heated at low power.
The napkin should be completely glued to the surface, if not, add a little paint under it with a brush, let it dry. Do not rush to the next step, the decoupage should dry thoroughly, otherwise the drawing will be deformed.

When the surface is completely dry, cover it with acrylic varnish.
By showing your imagination and creativity in full, you will create a unique masterpiece of interior design that your family and guests will admire. Don't be afraid to experiment, keep up with the times, because cardboard furniture is not only an affordable, but also an original option for creating coziness and a unique atmosphere.
VIDEO:How to make a cardboard shelving cabinet with your own hands
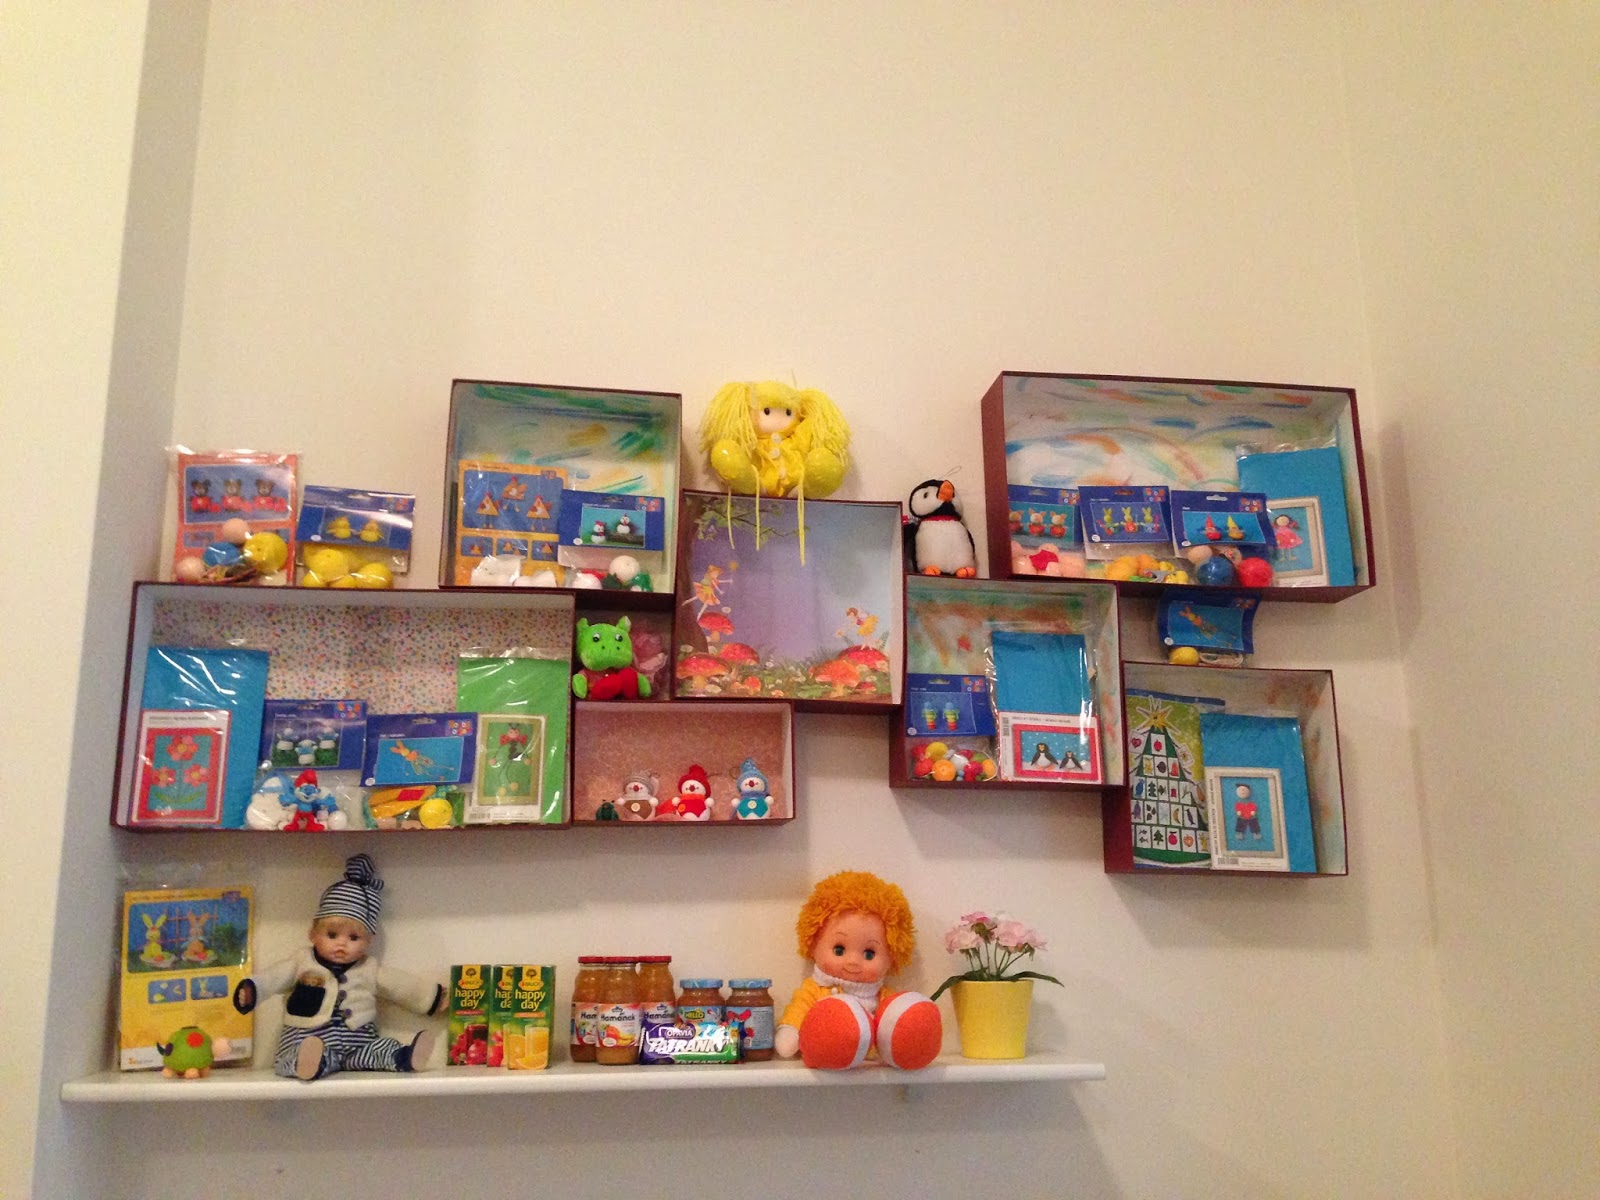
50 photo ideas on how to make a cardboard shelving unit