Any experienced gardener knows that to grow seedlings, in addition to good soil and regular watering, you also need a lot of light. Of course, you need space to place all the plants. It's good if you live in a large house where you can equip a whole greenhouse. But what if your living space is too small? An excellent solution would be to create a rack for seedlings. It is possible to buy the product in a store.

See how many benefits you get.
- Saving money – the cost of the necessary material will be much less than the cost of the finished rack.
- You will create a design that will perfectly suit your interior.
- There is no need to adjust to standard product sizes – you create the appropriate parameters yourself.
- Having made a shelving unit with lighting, it can be placed in any convenient place.
- You personally craft the product and therefore are confident in its durability.
Content
We decide on the design and construction
First, you need to choose the raw materials you want to craft from. DIY seedling rack. The most popular are wood, iron, plastic. When choosing a material, rely on your financial capabilities.
Iron structures are quite reliable and durable, it is better to use them to make racks that will always be in the same place.
The most optimal option is wooden shelving.
If you choose wood, choose varieties that do not absorb moisture well. If it is metal, it is preferable that it is stainless steel, it prevents corrosion. For shelves, you can use plastic or plexiglass - they will retain their appearance for a long time.
The structures are divided into the following types.
- A stationary plant rack is ideal for those with large, free spaces. Since the structure is not disassembled, but fixed in several directions.

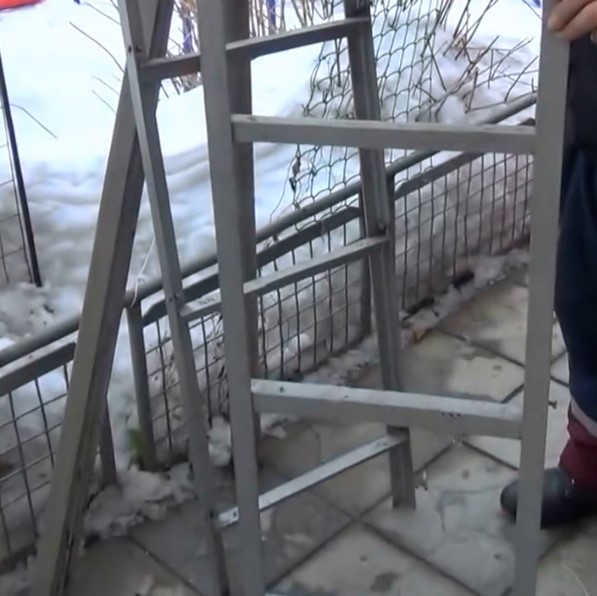
Such designs ensure reliability and durability. - Dismountable racks are easy to move, there is a possibility of adjusting the height and size. They are installed for the period of growing seedlings, and then removed.

This type of shelving is more difficult to make, but it is an ideal option if you have limited space. - The window rack is placed on posts that support the structure from the window sill to the top of the window.

If desired, for greater stability, the structure can be additionally secured to a slope or frame.
Some ideas for creating DIY shelving
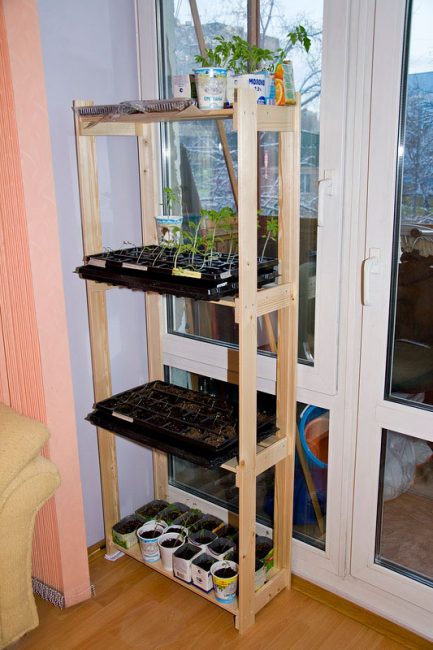
Wooden shelving made of beams
Before starting work, make a drawing of the structure, it will be easier to navigate with the dimensions, the required amount of materials. After the sketch is ready, prepare the following materials and tools:
- Wooden three-meter beam 45*45 mm;
- Wooden beam 30*60 mm;
- Plywood sheet;
- Self-tapping screws at least 4 cm long;
- Tape measure, pencil;
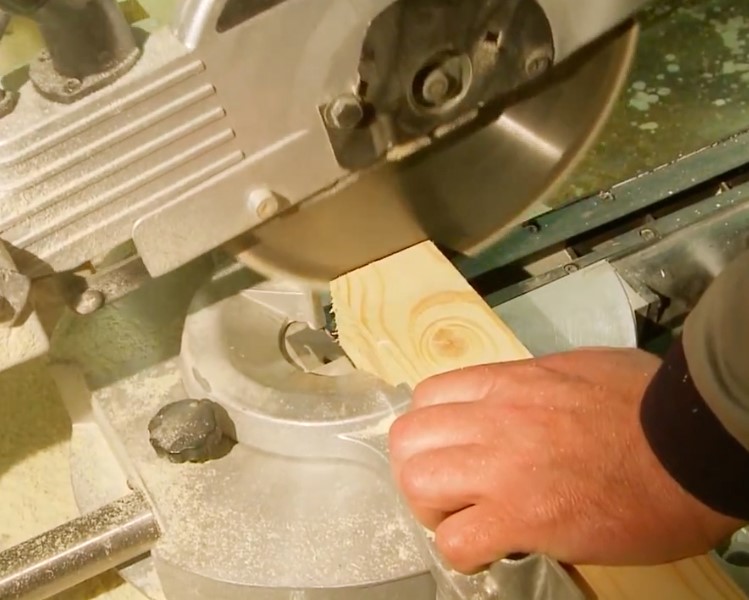
- Saw (preferably a circular saw);
- Hammer, chisel;
- Screwdriver.
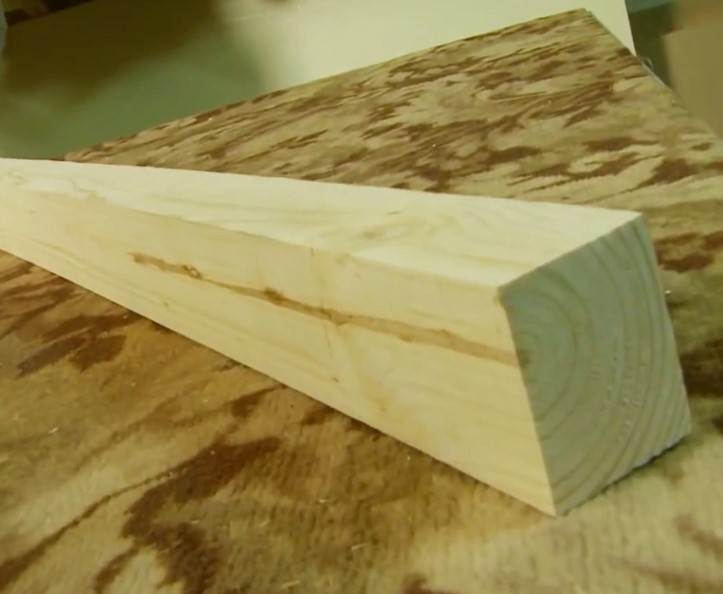
Manufacturing process: from a 45*45 bar, make 4 identical posts of the required height, trim the lower edges with a circular saw to ensure stability of the product. Next, you need to make crossbars to which the shelves will be attached. From a 30*60 bar, cut the required number of planks.
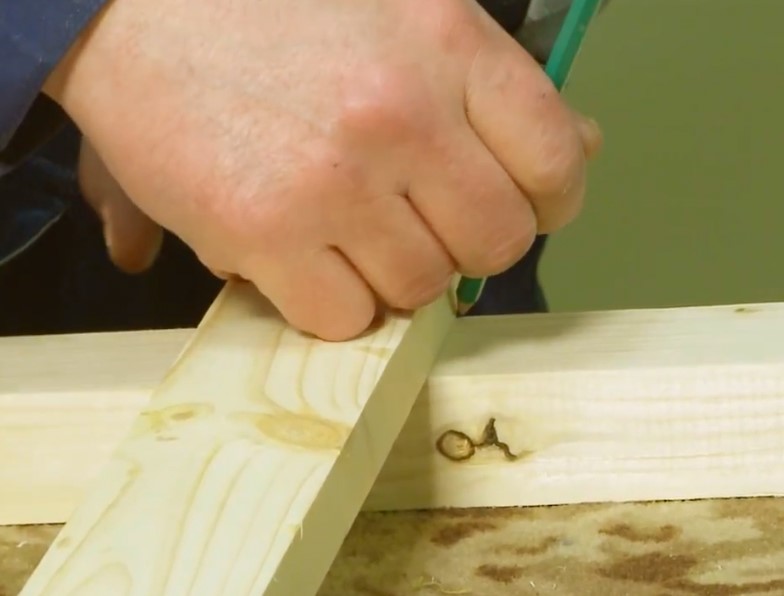
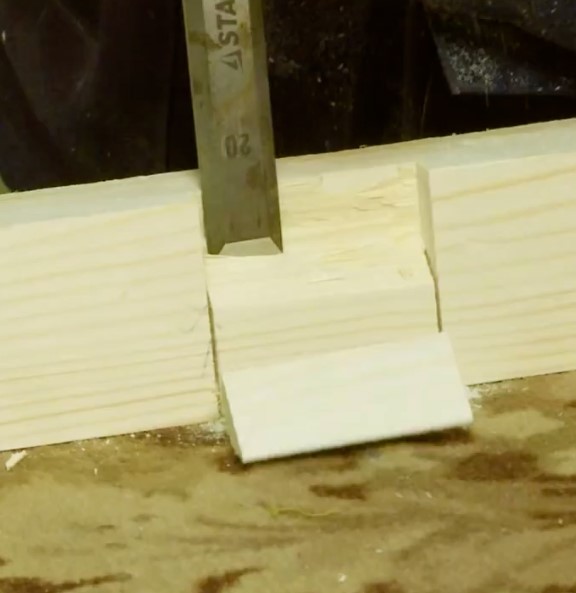
On the racks, use a simple pencil to mark where the crossbars will be. In these places, use a chisel and a hammer to make grooves for fastening the crossbars. When the required number of grooves are made, screw the crossbars to them with self-tapping screws.
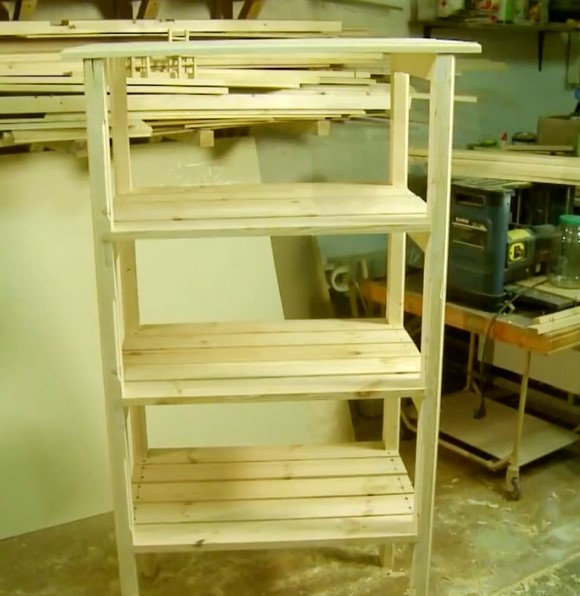
All that's left is to make the shelves: the simplest option is to cut the original block into planks of the same size and secure them to the crossbars between the two posts. If you decide to make the shelves out of plywood, you'll need to cut it to the required size and secure it between the posts in the same way.
The wooden rack is ready. Finally, you can paint it. Remember - to prevent it from cracking, you need to choose latex or acrylic paint, as they have moisture-resistant properties. The rack will look beautiful if you use self-adhesive film as decoration.
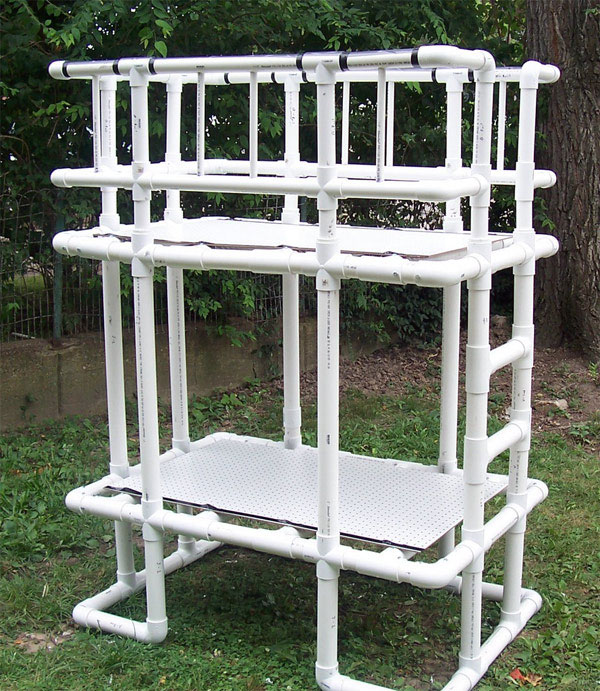
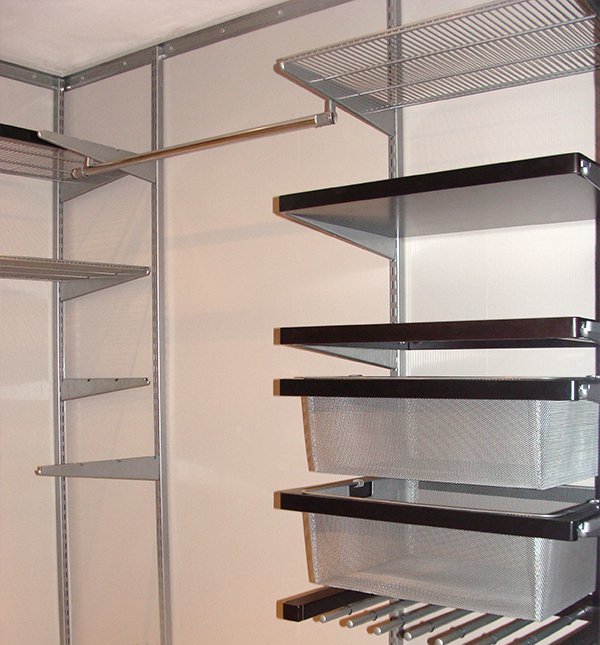
Manufacturing of a metal collapsible rack
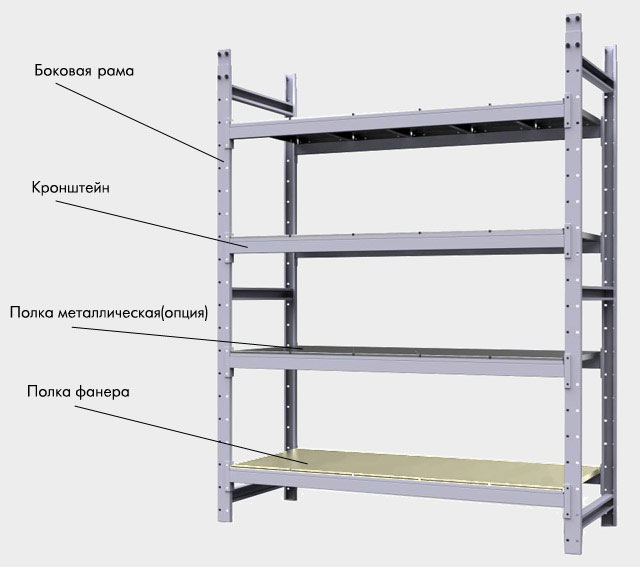
To create such a structure, calculate the required amount of material based on the required height of the product and the length of the shelves. The metal corner will be used as racks, crossbars and shelf sides.
To work you will need the following materials and tools:
- Metal corner measuring 3*3 or 4*4 centimeters;
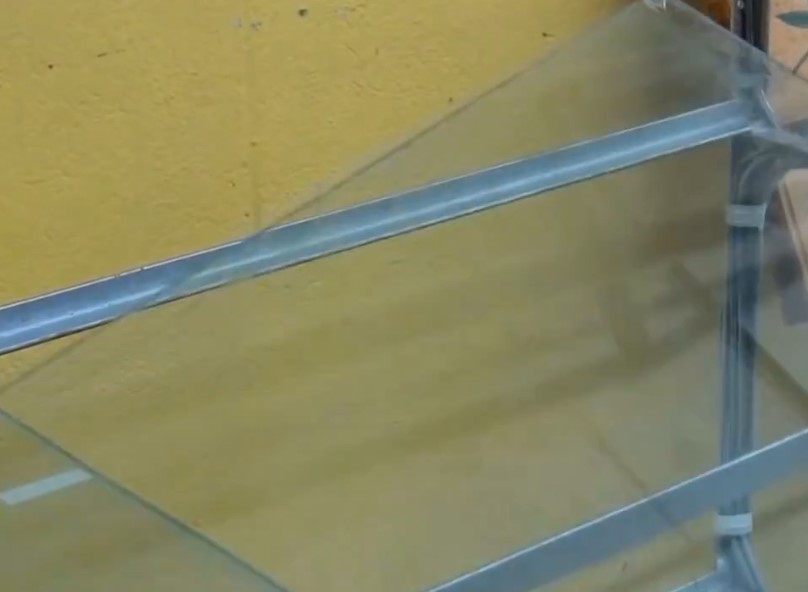
- Thick glass or plywood for shelves;
- Bolts;
- Metal drill;
- Welding machine;
- Electric drill;
- A saw if the shelves are made of plywood, or a glass cutter if the shelves are glass.
Cut the metal corner into 4 equal posts, then cut the required number of crossbars (usually 6 or more are needed).
Then you need to cut horizontal bearing sides for the shelves, their number is multiplied by 2, that is, if you want to make a structure for 4 shelves, then the number of bearing sides is equal. In the joints, drill holes for bolts.
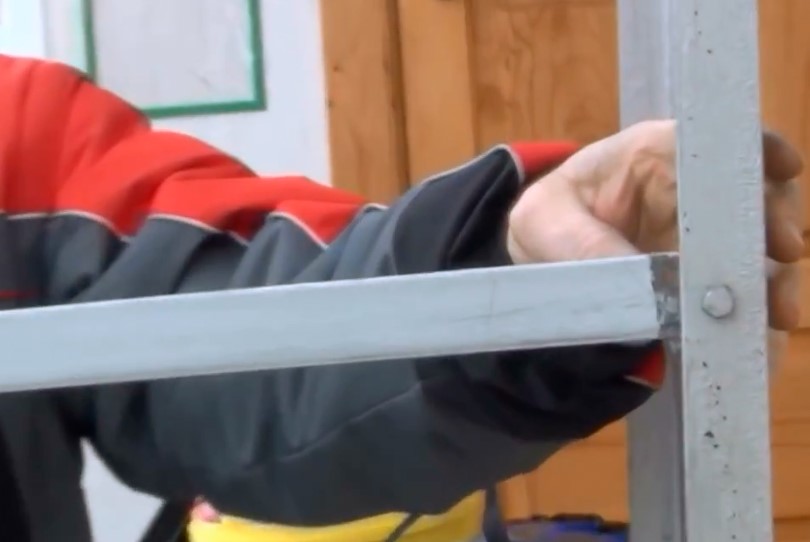
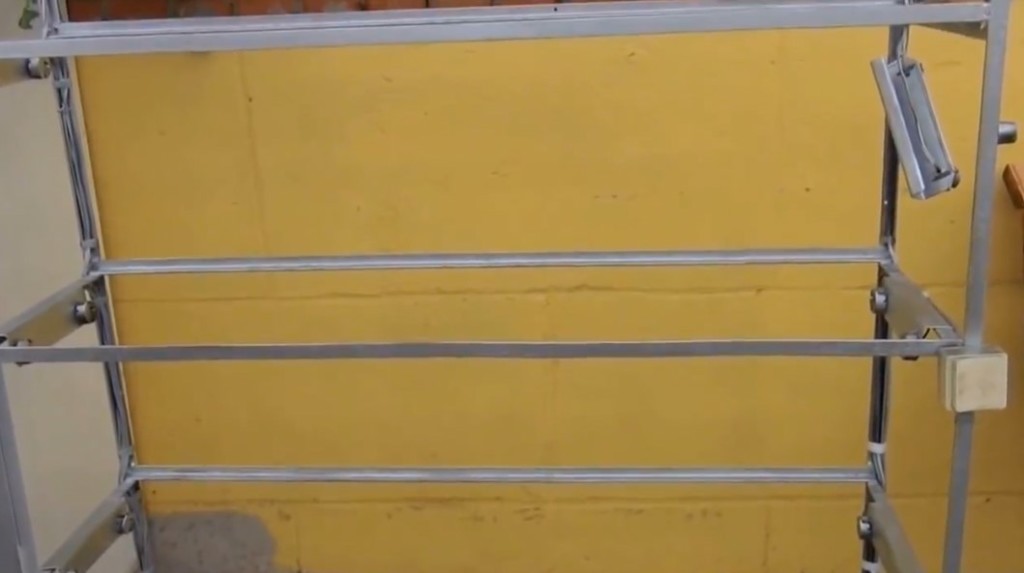
Connect the posts and crossbars with bolts; weld the areas where the crossbars connect to the side bars for future shelves.
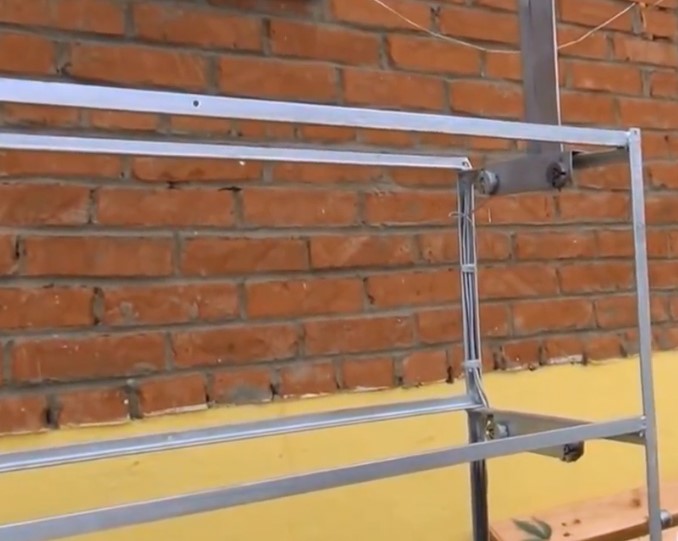
The frame of the structure is ready. Now cut the shelves to the appropriate size, lay them on the base of the rack.
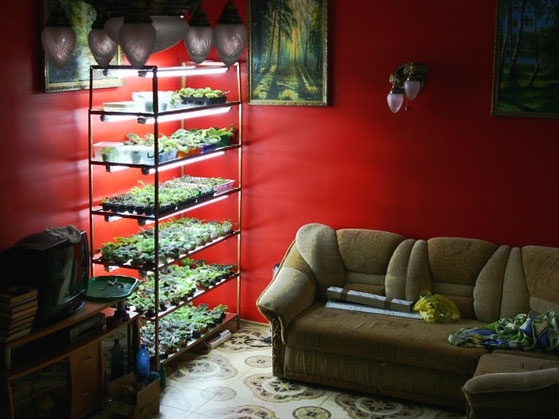
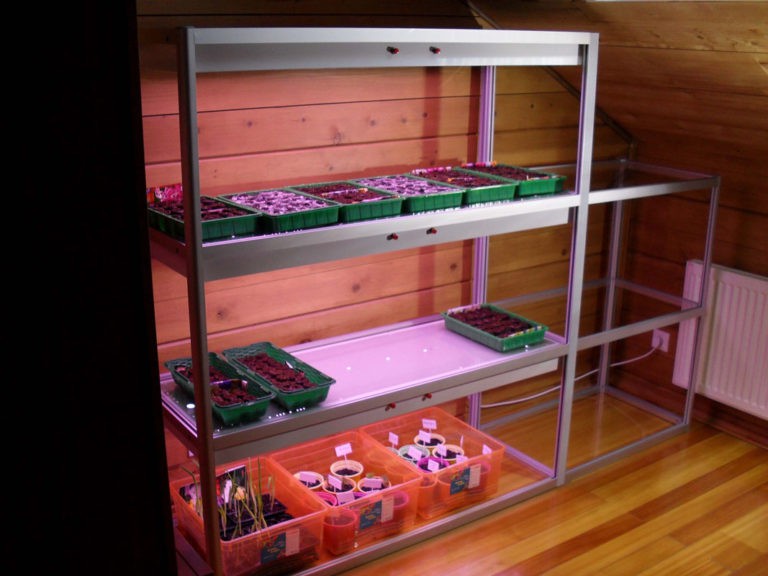
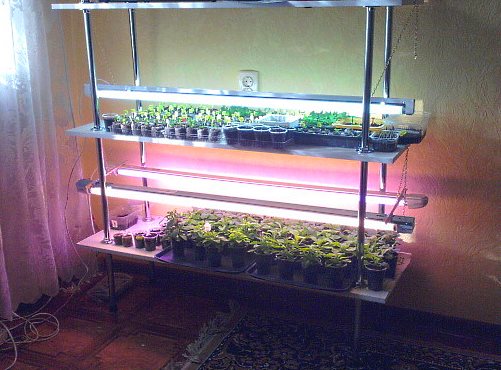
Please note! The rack can be made without shelves, but it will be necessary to make such a width of the crossbars so that the boxes with seedlings are held tightly between them. Lighting can be used as decoration for the metal rack, this will also have a positive effect on the plants. And if the structure is located in a poorly lit place, the presence of lighting is mandatory. In order not to harm the plants, it is recommended to use LED, fluorescent or phytolamps.
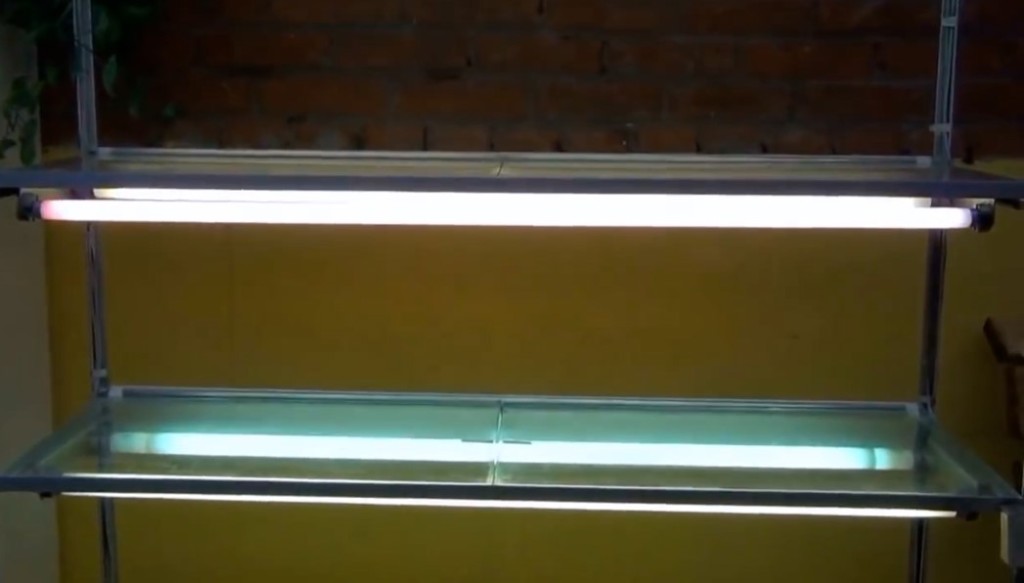
Any lighting component must be secured from below the top shelf so that it illuminates the bottom one. For securing, you can use various convenient mounting methods - metal wire, cutting tin tape, etc.
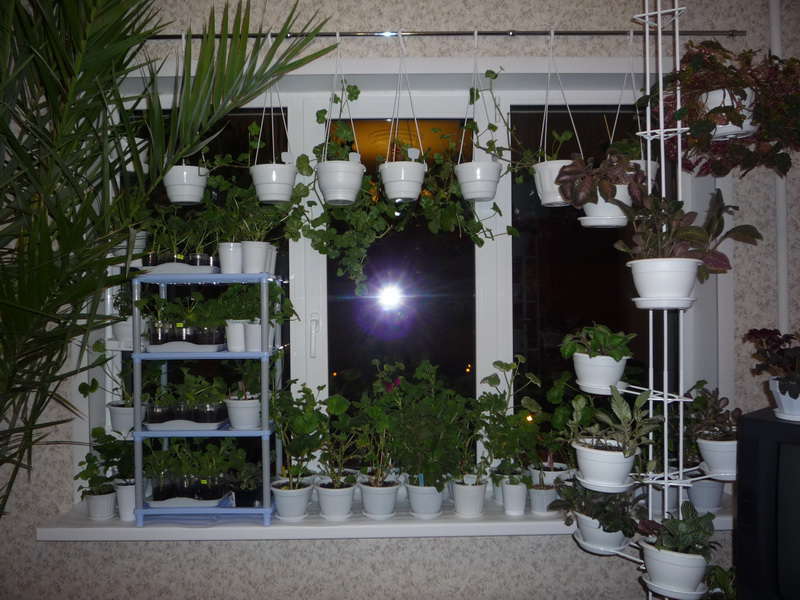
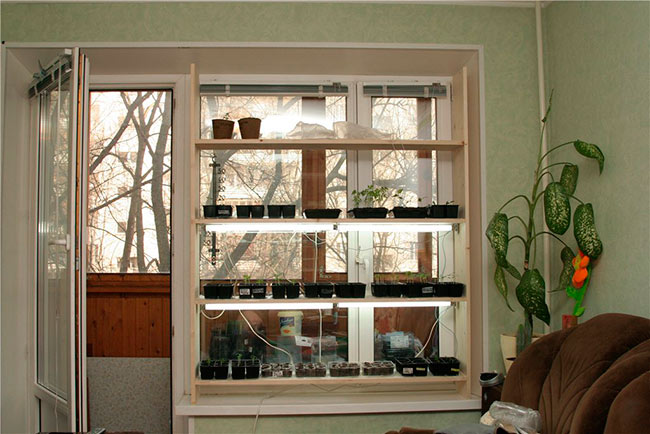
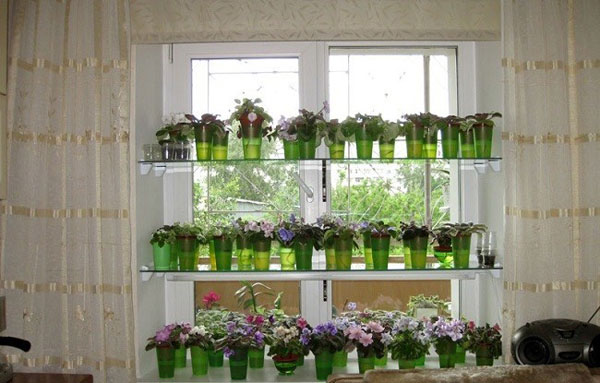
A basic option is a rack on the windowsill
The side supports can be attached to the window slopes, and shelves can be placed on top of them.
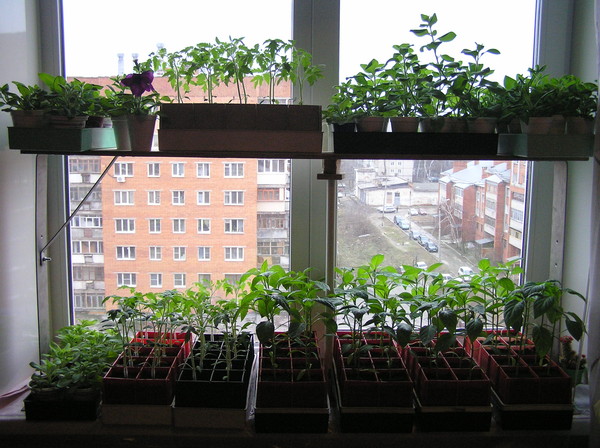
If you don't want to spoil the window, make a rack that matches the parameters of your window opening, you will need ready-made furniture boards that match the size of the window sill. Fasten the side posts and shelves together with screws or nails.

This design will easily fit on a window, since plants need free space; usually it can accommodate no more than four shelves.

This article presents the simplest options for making structures.