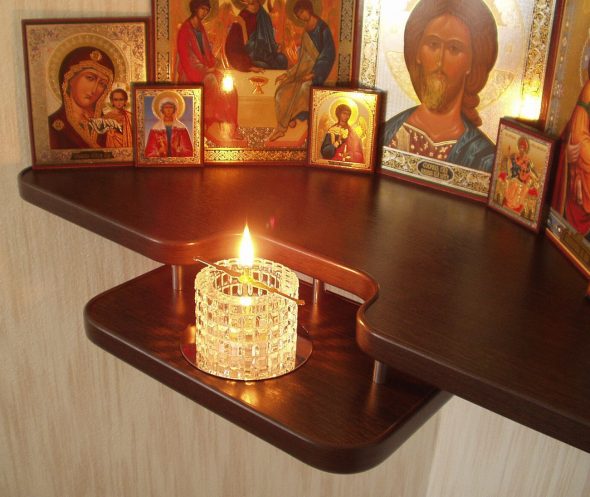
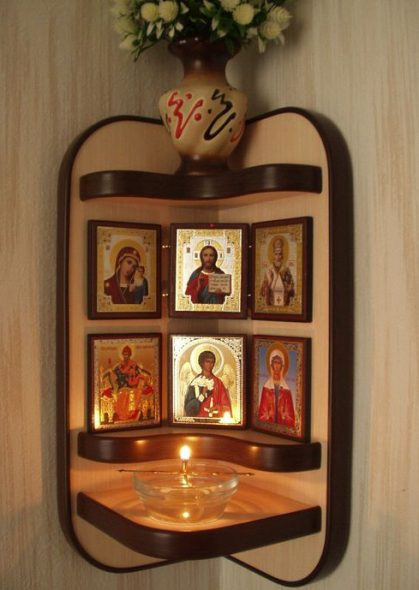
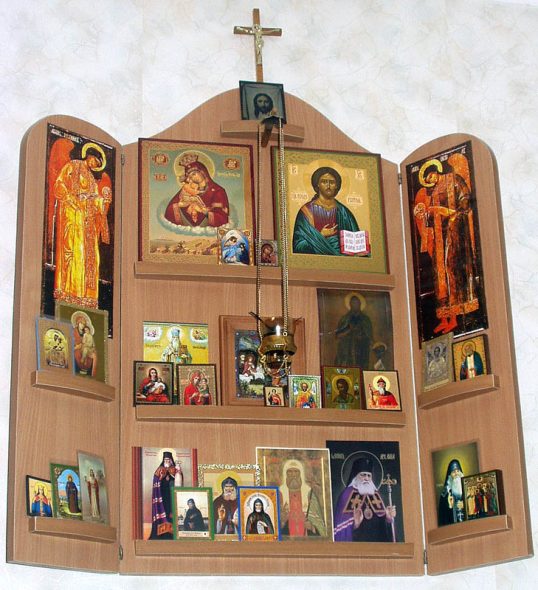
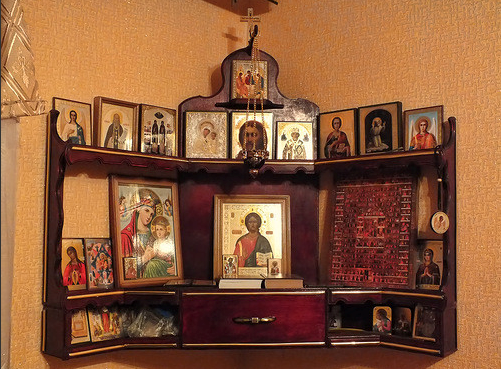
The tradition of arranging a home iconostasis has existed for centuries. Although in modern homes icons are often placed on bookcase shelves or hung on the wall, it is best to equip a separate special place for them.
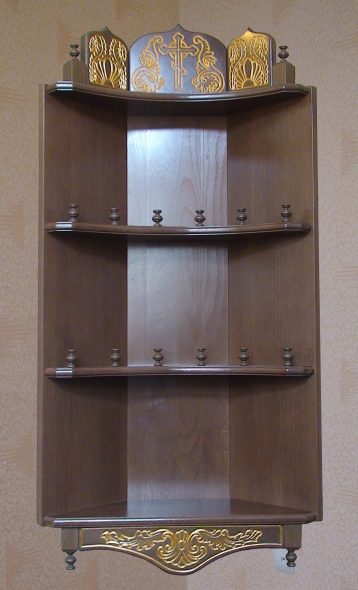
A good option would be a hanging shelf, which according to the canon should be placed on the eastern wall of the house. Often such a shelf is made in the corner, two or three tiers high.
Content
Varieties
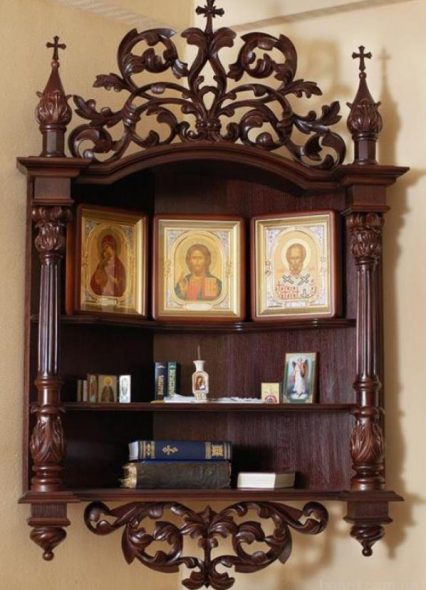
In workshops you can order a stand for home icons of any size and configuration, but this is quite an expensive job.
An easier option is to use a regular corner shelf from a hardware store, but in this case, there may be problems with the dimensions. In addition, you will have to look for a model that will better “fit” into the interior. All these difficulties can be avoided if you make a shelf for icons yourself - this is quite feasible even with little experience in carpentry.
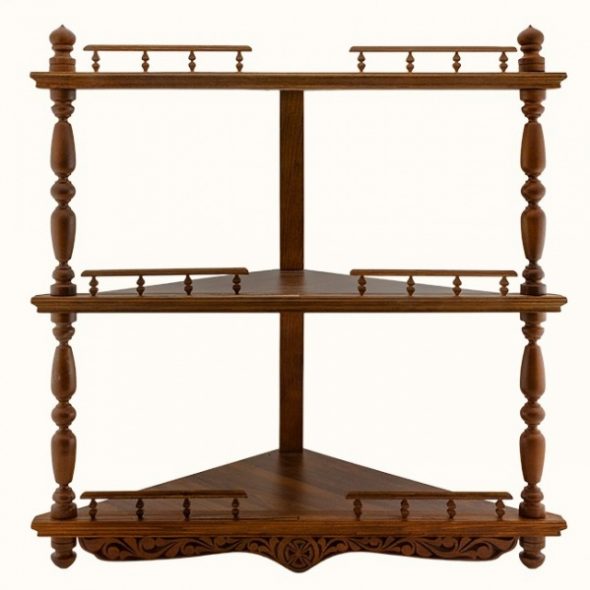
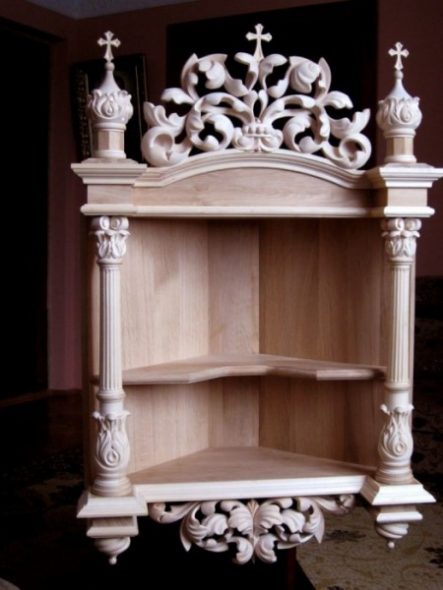
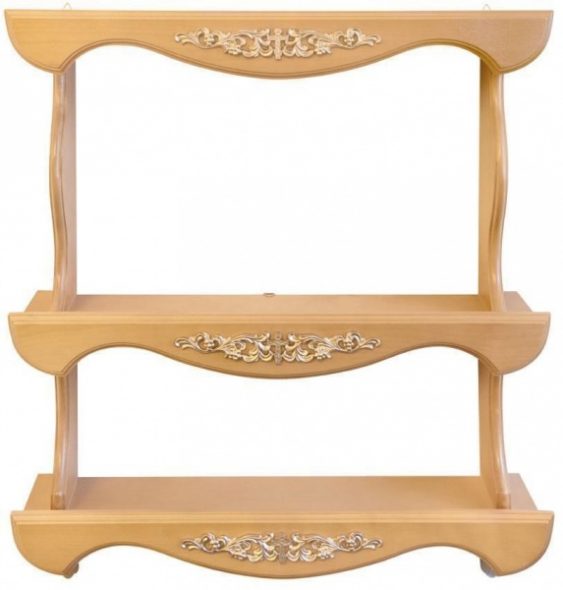
A do-it-yourself icon shelf can have any convenient design. Corner shelves are made single-level or in several tiers. To connect several levels, carved wooden supports are usually used. The finished shelf is often decorated with carving, openwork overlays, covered with a special carpenter's varnish, wax.
Necessary materials and tools
To make a corner shelf, use wood of various decorative species, such as oak or cherry. A less expensive material would be a pine board. In addition to wood, you can also use plywood or chipboard. The thickness of the board can vary from 1.5 cm to 2.5 cm. You will also need small boards to turn the supports.
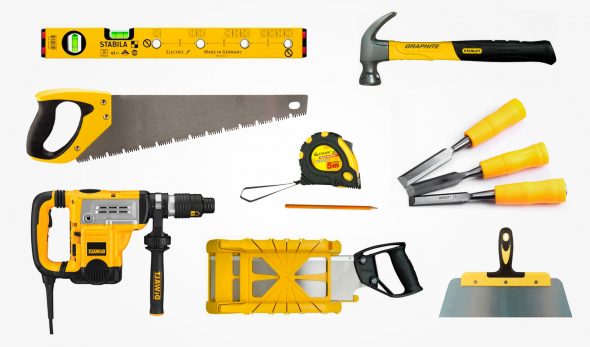
To work you will need the following tools:
- tape measure or ruler;
- hacksaw;
- sandpaper for wood;
- electric jigsaw;
- electric drill;
- self-tapping screws;
- wood glue;
- wood varnish.
To attach the finished shelf to the wall, you will also need stone drills, metal corners or hinges, and self-tapping screws with dowels.
Manufacturing stages
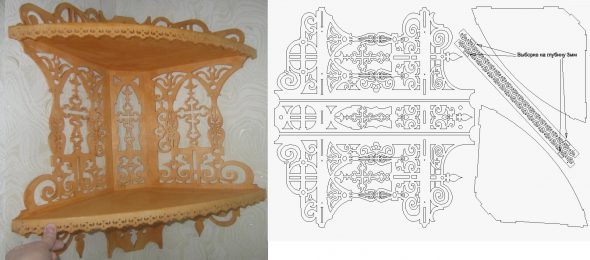
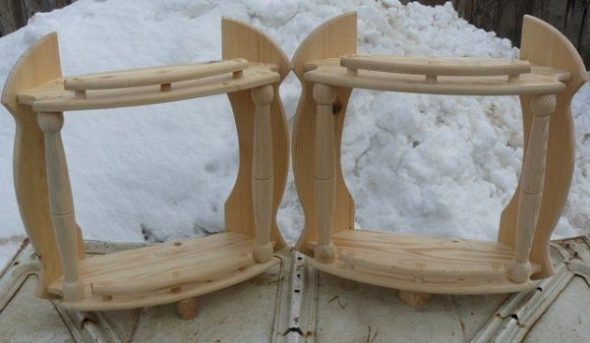
Before starting work, you should make a drawing of the project. The size and number of shelves depend on the type of icons that will be located on the finished home iconostasis. To make a simple two-tier shelf, you will need two pine boards 1.5 cm thick, as well as four supports.
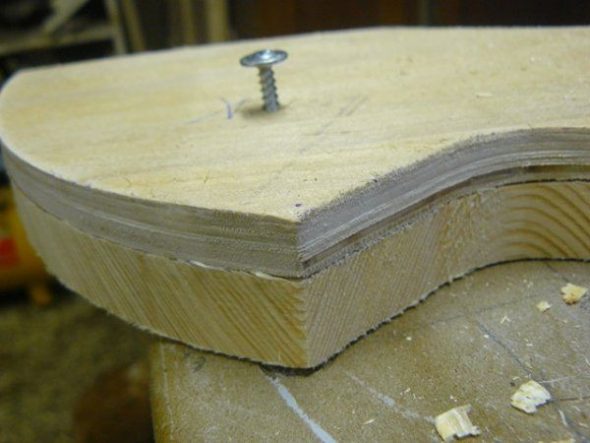
- Using a marker or pencil, the drawing is transferred from paper to wood. The sides adjacent to the wall should be located relative to each other at a right angle. The outer edge can be straight, semicircular or figured.
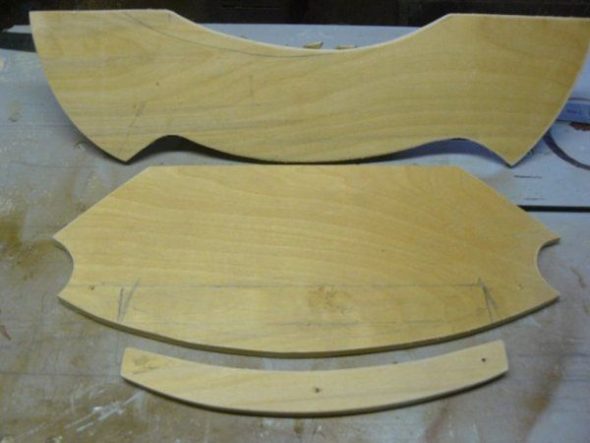
- Using a saw and jigsaw, the parts of the future product are cut out according to the drawing.

We cut out three parts using a jigsaw according to the template – the side, the edge and the bottom - The edges and surfaces of the parts are sanded with sandpaper.
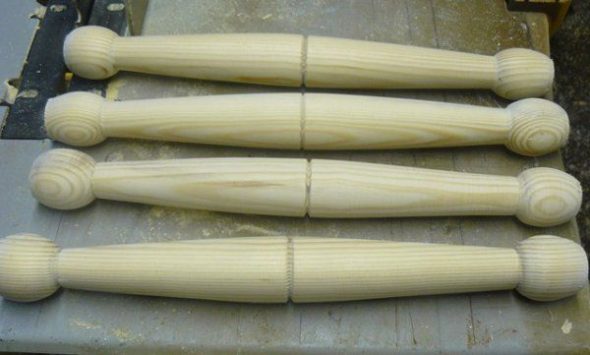
- The supports can be made as simple as flat planks, or shaped using a jigsaw.
The workpiece is milled according to a stencil using special equipment - If necessary, sides for the shelves are cut from a thinner board.

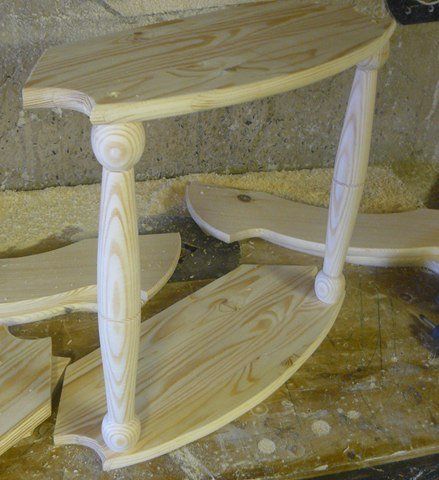
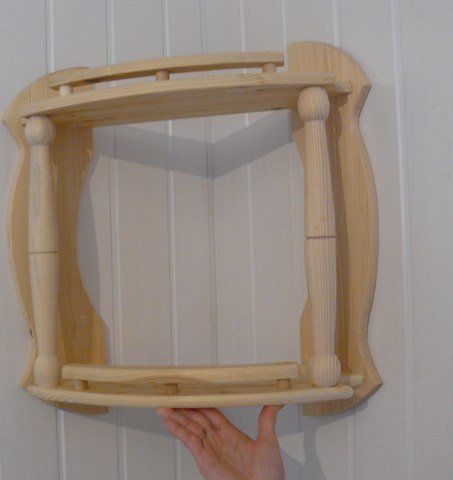
To turn decorative parts, you will need a lathe or they can be taken ready-made - The shelves are attached to the supports using self-tapping screws and then connected to each other.

We assemble the shelf – the bottoms are screwed to the turned elements using self-tapping screws - Wood glue is used to strengthen the joints and also to attach the sides.
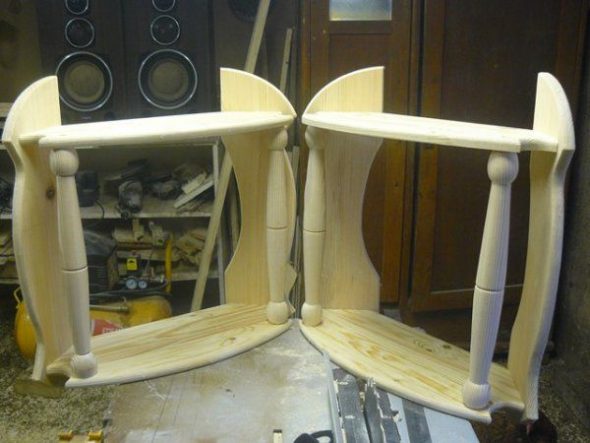
When connecting the sides to the bottoms, the screws should hit the middle of the ends of the bottoms - Metal hinges are attached to the back of the shelf or to the supports.

The sides are screwed on using cylinders - screws are inserted into the holes from the bottom, the cylinders are put on, and the hardware is screwed into the side - Holes are drilled in the wall for the dowels of the mounting bolts on which the product will hang. It is necessary to make sure that the fasteners will withstand the weight of the shelves with icons.
After finishing the work, the finished shelf is treated with stain and varnish. Both colorless varnishes and those that give the board the color of different types of wood are suitable. When choosing a quick-drying varnish, the product is ready for use in a few hours.

Decorating
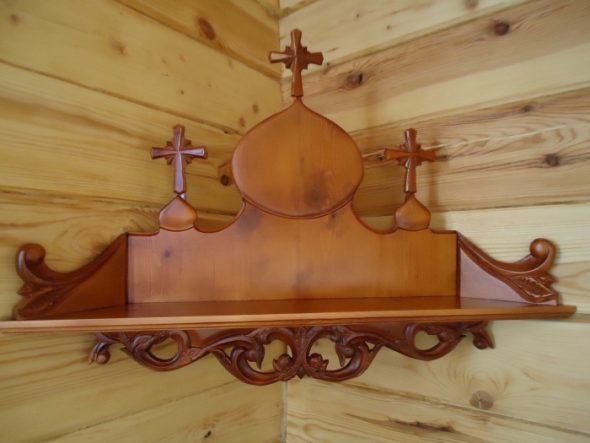
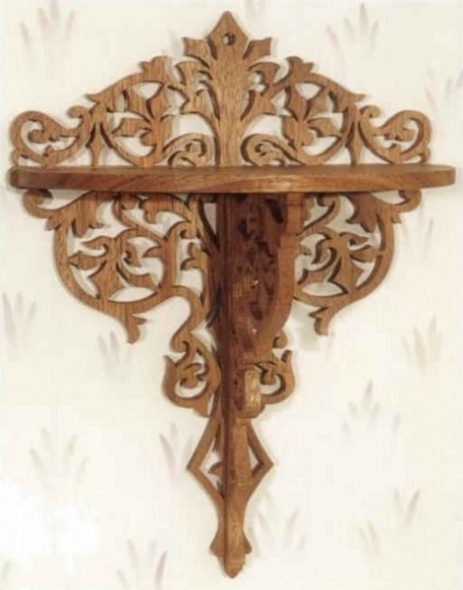
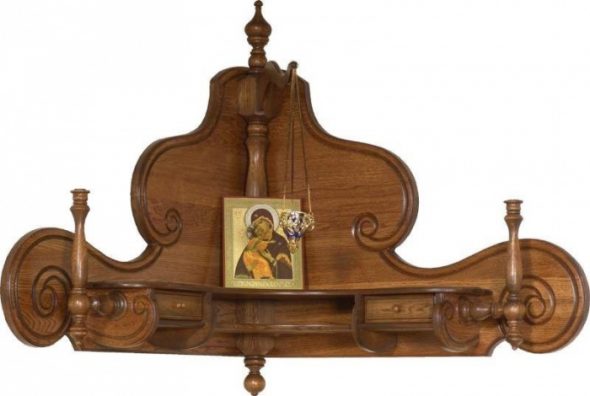
The most common way to decorate a home icon case is wood carving. You can do it yourself using a jigsaw. If you don’t have the necessary experience, you can buy carved elements in a hardware store or order them from a workshop. The finished carved plates are attached to the shelf with wood glue.
Another way of decorating is to burn out the ornament using a special device – for this, the pattern is first applied to the wood with a pencil. The shelf can also be painted – special paints for wood are sold in construction departments. An alternative to a strict single-color painting would be to apply a pattern to the enamel with paint of a different color.
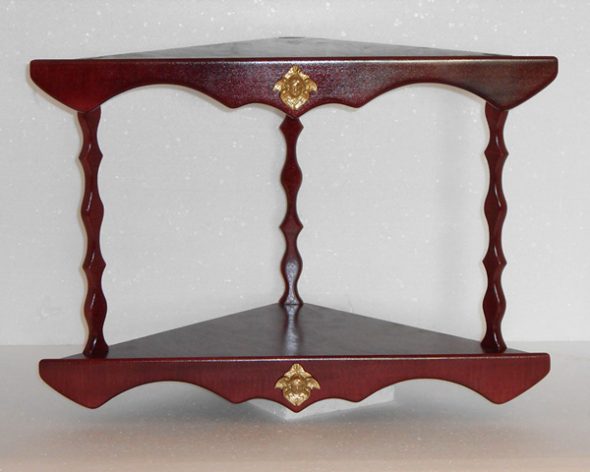
To further strengthen and decorate the shelf, its back walls are covered with a wooden panel. It can also be decorated with carving, painted with varnish or enamel.
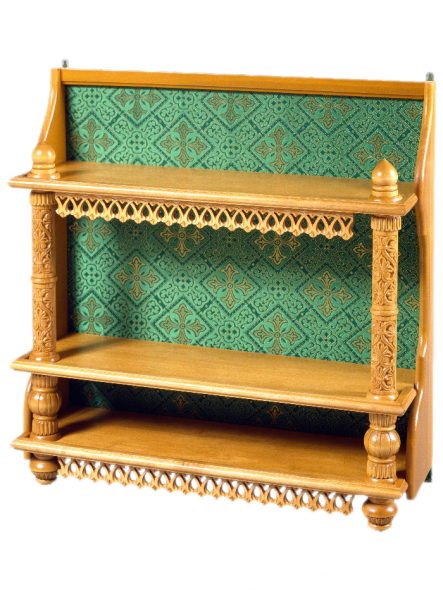
When using plywood boards, these methods will not work - but painting with acrylic paint with the addition of gilding will look spectacular on such a panel.


Very nice shelves for icons, but how can I buy them?