Regardless of the size of the apartment, a place for compact storage of a huge number of things - clothes, shoes, underwear, books and many other necessary (and not so) - is always needed. And such a place is a closet.
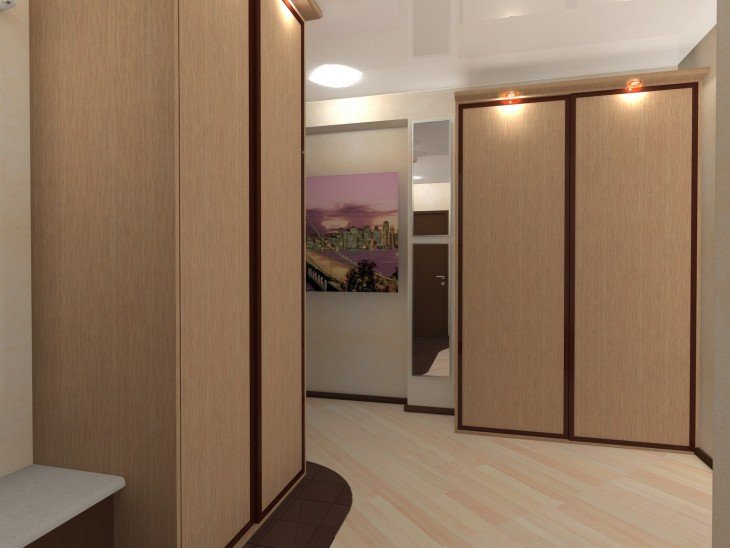
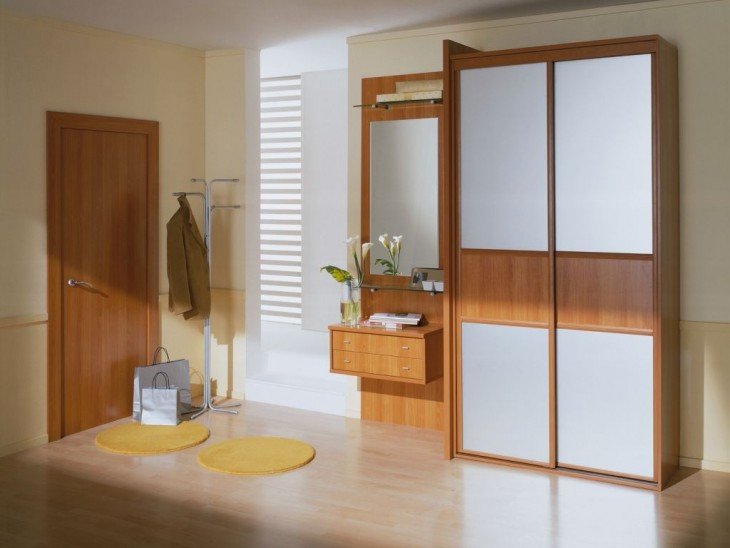
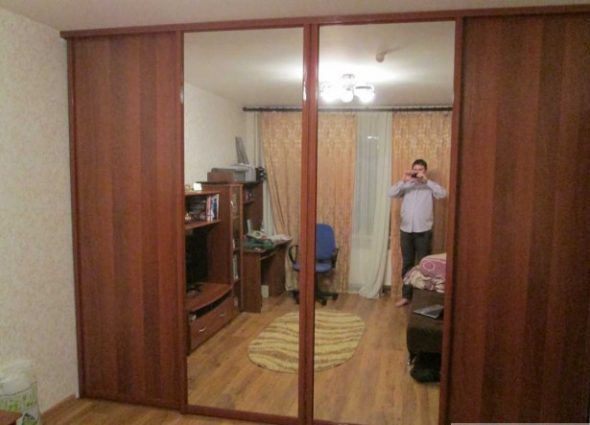
The ideal option is a coupe - space saving without swinging doors, spaciousness, and the design can become a decoration of any room. Mirrors will visually increase the space, MDF inserts will make the interior unique, and soft triplex with a pattern of your choice will generally turn your furniture into a work of art.
Which sliding wardrobe to choose? The answer is simple. If you have settled in your home seriously and for a long time, if you do not like rearranging, if there is a free niche that you definitely want to use, then you need a built-in one. But if moving is still possible and you, due to the peculiarities of your character, find it difficult to part with your favorite and comfortable things, then your choice is a regular cabinet, made according to your individual design.
Furniture, the design and construction of which are thought out by you and for you, is more than just a piece of furniture: it is your creation, your pride, a way to express your individuality.
Of course, you can just go to a store and buy an option that is more or less suitable for you in color, content, size and price. One of tens of thousands produced on the conveyor belts of furniture factories. You can order production according to an individual project in one of the many salons. Or you can make it yourself, putting a piece of your soul into a thing that will be before your eyes every day. In one piece of furniture, realize yourself as a designer, constructor, sawyer, assembler. And let someone you know not like your creation. This is YOUR work and no one has the right to criticize it.
Content
- Step 1. Decide on the type – built-in or cabinet.
- Step 2. Selecting design and content.
- Step 3. Selecting the material.
- Step 4. Decide on the dimensions.
- Step 5. Calculate the number of sliding doors
- Step 6: Decide on the height of the doors
- Step 7. Sketch
- Step 8. Drawing (Measure seven times, cut once).
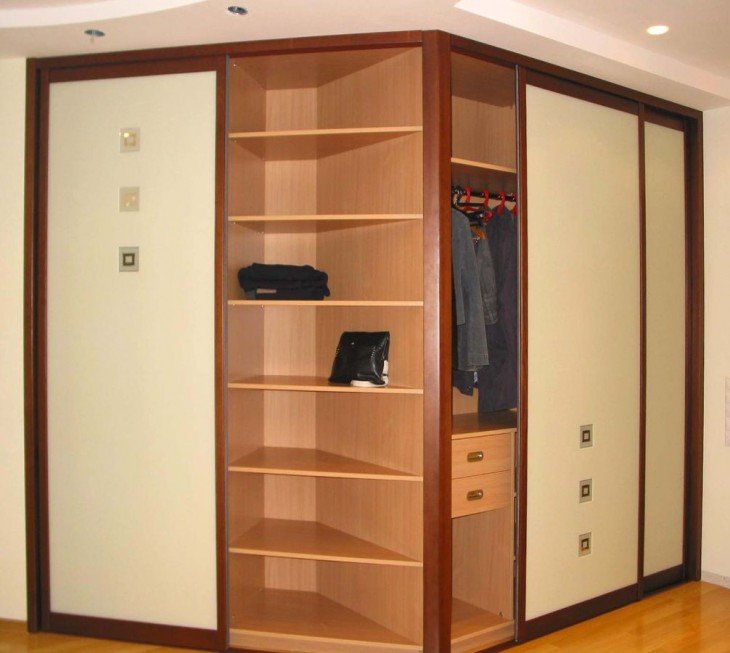
- Built-in wardrobe
- Step 9. Detailing
- Step 10. Preliminary cutting
- Step 11. Tools and materials
- Step 12. Step-by-step instructions.
- Video: How to assemble a sliding wardrobe with your own hands. Video instructions for installation.
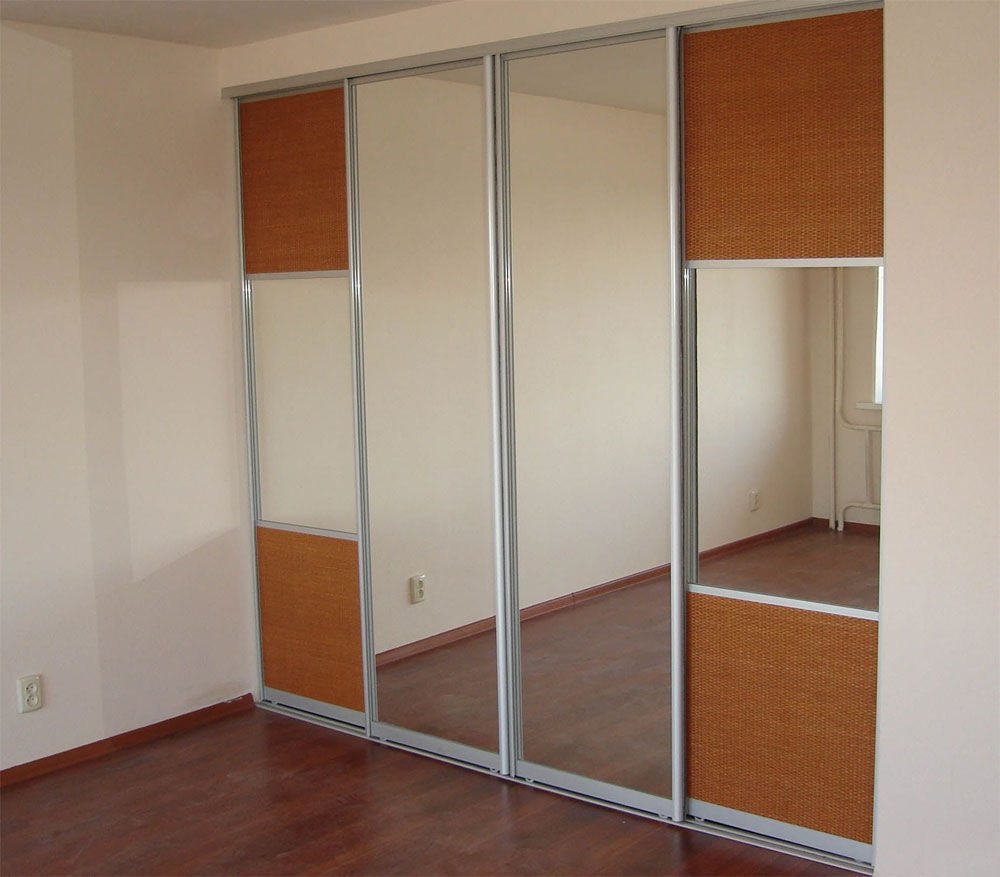
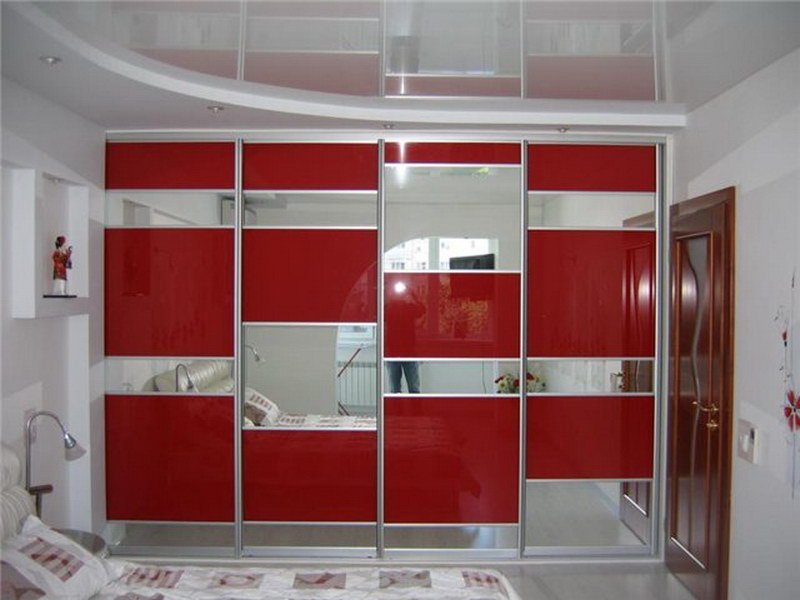
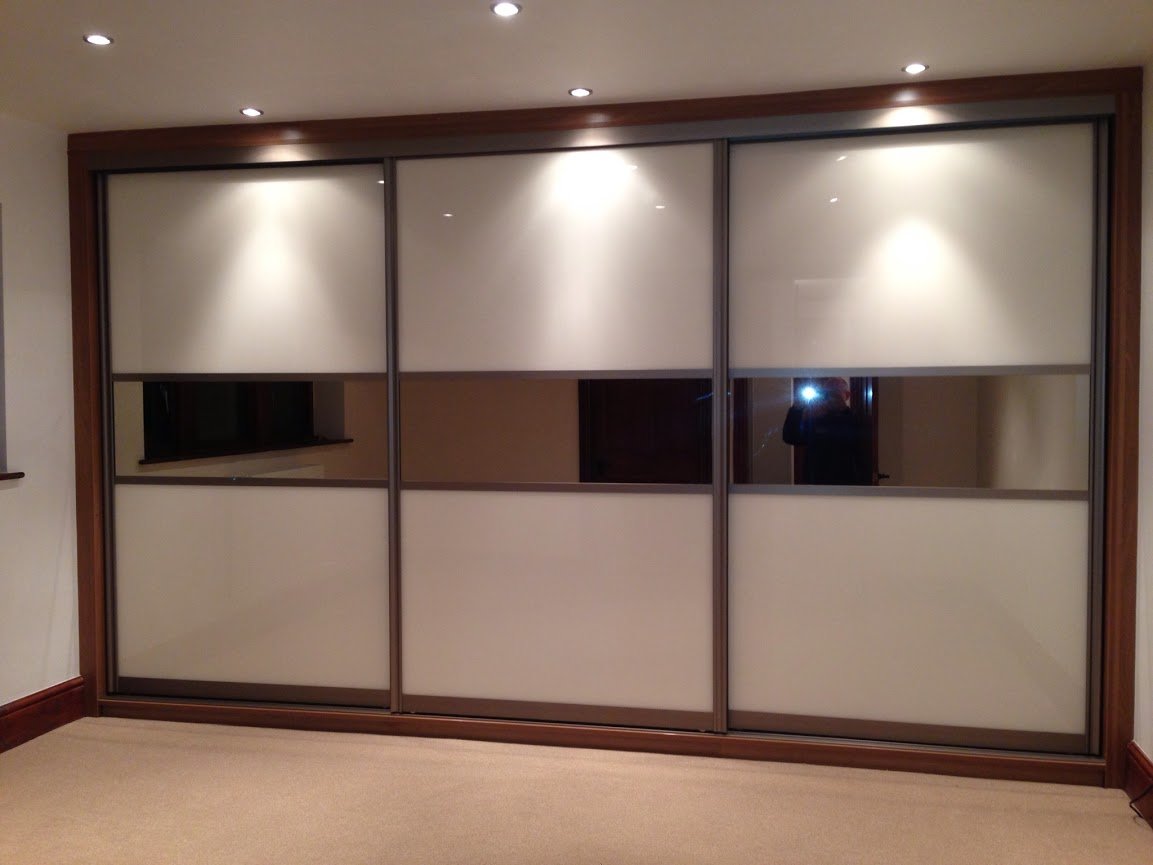
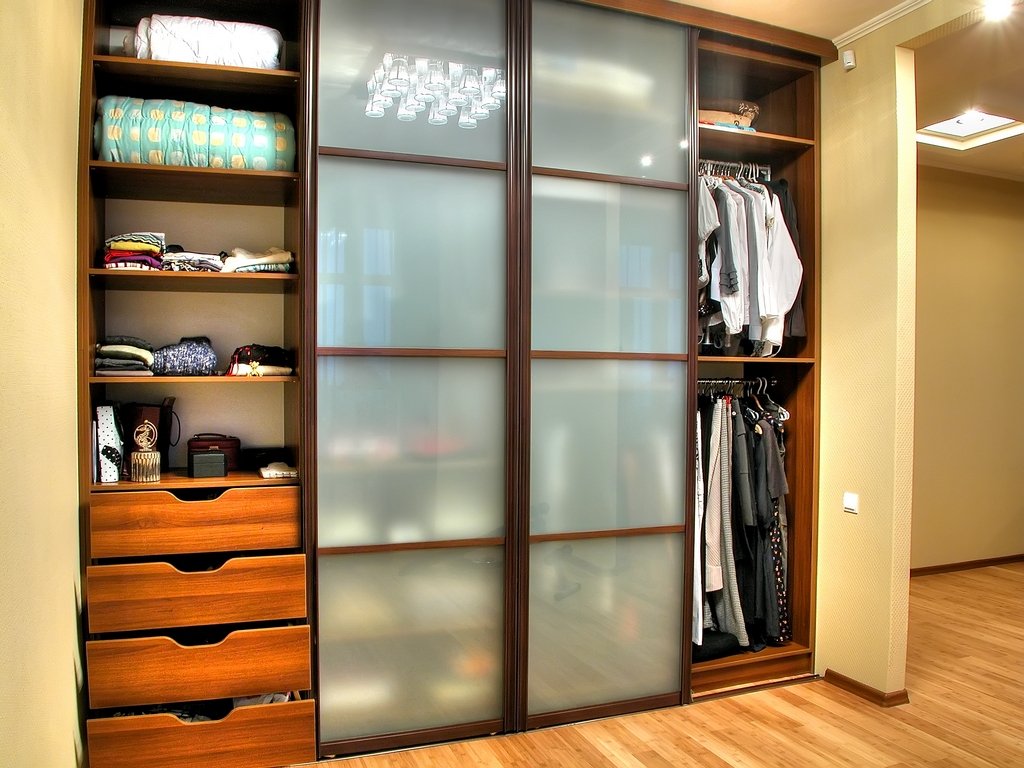
- Photo ideas for using built-in and free-standing wardrobes in different rooms:
Step 1. Decide on the type – built-in or cabinet.
Built-in

Advantages
- Mounted in niches and storage rooms, it saves space considerably. Here you can compactly store a variety of things – from jars of jam and tools to everyday items.
- Thanks to the design of sliding doors, the niche disappears, the angularity of the room disappears and in its place a unique interior detail appears.
- There is no empty space between it and the wall – a place where dust constantly collects.
- It is easier to make a built-in wardrobe - there are fewer parts, since the shelves are attached to the walls.
- It is easy to place sockets and switches inside it.
Flaws
- The built-in one is absolutely not transportable, and even if you decide to disassemble it and move it to another room, then remaking it to fit the new dimensions will take a lot of time, effort and nerves.
- It does not have a back wall and you will need to prepare a niche before installation.
It is possible to make a built-in wardrobe even without having a niche with two load-bearing walls. It can be partially “built-in”. Its design can include a side or a roof.
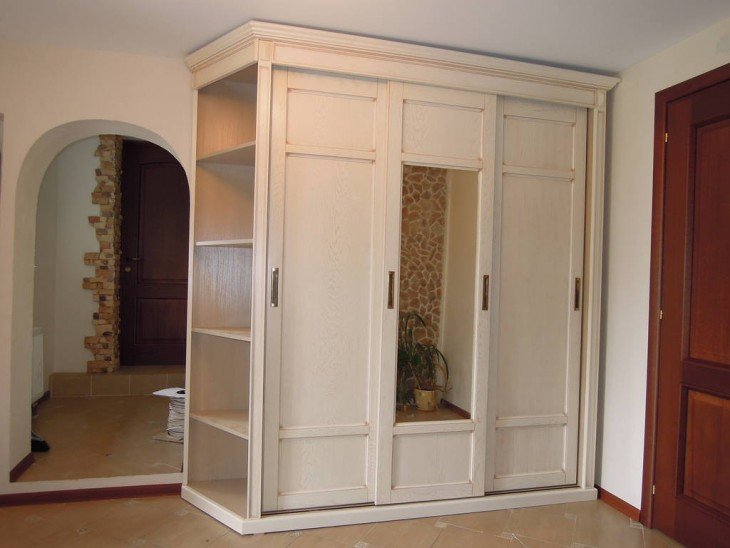
Corpus
Advantages
- Can be installed in any convenient place in the room or hallway.
- Can be used as a partition in a room to divide the space into zones.
- No additional preparation of the wall is required. On the contrary, the cabinet can cover up the wall's flaws.
Flaws
- “Extra”, unused spaces: between the ceiling and the roof, between the side wall and the wall.
Step 2. Selecting design and content.
Has purchasing a sliding wardrobe become a necessity? Then spend a few days deciding WHAT exactly you want. Look through catalogs, go to furniture stores, read articles on the Internet. Note interesting solutions and details, and those nuances in the design and construction that you would like to avoid.
Step 3. Selecting the material.
Main material
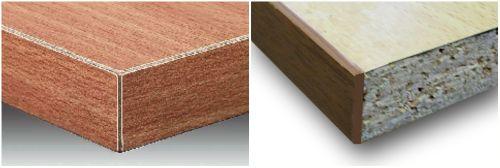
- The most common is laminated chipboard (LDSP). This is a very practical material. It is easy to process and affordable. The variety of colors provides ample opportunities for design solutions. LDSP is manufactured industrially. The sheets have different sizes and thicknesses. For production, 16 mm thick boards are used, and for door inserts - 10 mm thick.
- 3.2mm thick fibreboard (HDF) is suitable for the back wall;
- MDF is beautiful, durable, more environmentally friendly, and is used to make furniture in rooms with high humidity, but is a much more expensive material;
- Wood is the most environmentally friendly of materials, but, unfortunately, it is not very suitable for making wardrobes.
- Due to its fragility, plasterboard is not recommended for furniture manufacturing at all.
Sliding door system. Currently, there is a fairly large selection of different systems on the market:
- aluminum;
- steel;
- pendant;
- frameless, etc.
Each of them has its own advantages and disadvantages. For example, aluminum systems have convenient vertical handle profiles - an ideal option for a hallway and a children's room. Steel systems are distinguished by their elegance, which is especially important in the bedroom. Suspended systems will fit perfectly into the interior, where they should be unnoticeable.
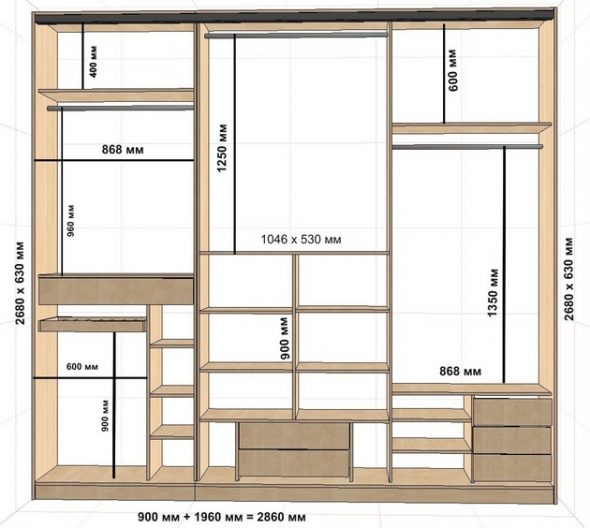
Step 4. Decide on the dimensions.
Built-in
- Width. Measure the width of the niche along the back wall at three levels: at the ceiling, in the middle of the wall and at the floor. Take the larger value as the calculated one.
- Height. Measure along the wall on the right and left. Take the smaller one as the calculated distance between the shelves.
- Depth. Depends on what will be stored here. Will there be a horizontal rod for hangers or just shelves.
Corpus
- Width. Measure on site. It is necessary to take into account: the curvature of the walls (if you plan to place the cabinet from the wall to the jamb, then due to the slope of the wall even by a centimeter the finished product may not fit into the space you have planned), the presence of switches and sockets.
- Height. Firstly, even the tallest wardrobe should be 15-20 cm lower than the ceiling, and the need for hard-to-reach upper shelves should be much more important to you than the ability to wipe dust from its lid without using a stepladder and, secondly, you should not ignore the recommendations of manufacturers of sliding wardrobe systems on the maximum permissible height.
- Depth. This parameter depends entirely on what you will store in it. If we are talking only about shelves, then we have: shelf depth + space for the rail and doors (indicated in the instructions of the system manufacturer). If we mean a rod for hangers, then this is at least 50 cm, since hangers for clothes are 45-48 cm long. If this is a vertical hanger holder with a shelf mount, then decide on it first.
Step 5. Calculate the number of sliding doors
The recommended width by manufacturers is from 60 to 90 cm. If the width is less than 50 cm, it will lose its stability, and more than a meter - ease of movement (there is a maximum permissible load on the rollers, at which the manufacturer gives a guarantee for their long-term use).
The guides (upper and lower rails), depending on the manufacturer, are 4 - 5.5 m long. If your cabinet is longer than 3 meters, think about how you will transport the five-meter rail. There is a simple solution - install a partition made of laminated chipboard. You will get two independent niches. Visually, the partition will be invisible. It is not recommended to join the guides, this will quickly disable the wheels.
Step 6: Decide on the height of the doors
For built-in wardrobes
If the niche height is within 280 cm, then the doors can be made full-height. If this size is larger, then two options can be considered.
- Install an upper mezzanine with hinged doors.
- Make a roof at a height of 280 cm (but taking into account that the dust there needs to be wiped off at least occasionally).
The roof option is also relevant in the presence of suspended ceilings, if a beam was not previously screwed to the ceiling in the right place, specifically for the installation of built-in furniture.
For cabinet products, maximum height = height to ceiling minus 15-20 cm.
Step 7. Sketch
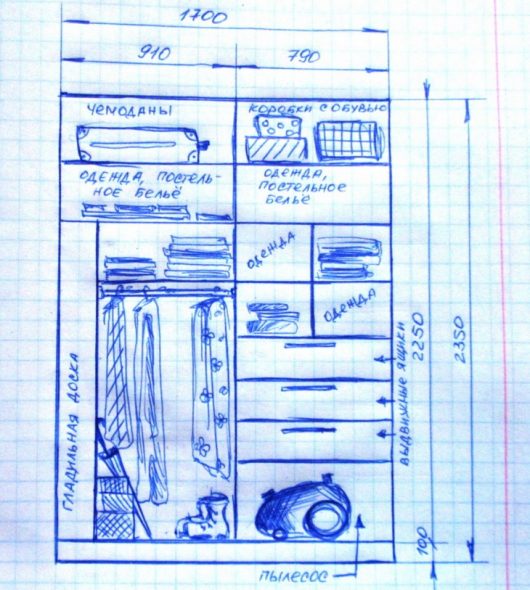
Before you start drawing, draw a schematic of the desired arrangement of things. Measure them if necessary. For example, the dimensions of the ironing board or existing baskets and shelves for shoes.
Make a sketch (as best you can). On the sketch, mark the dimensions that must be strictly observed. Now mentally place the doors and move them to the right and left in different variations, thus checking the accessibility to all parts of the internal filling.
Step 8. Drawing (Measure seven times, cut once).
Built-in wardrobe
It is most convenient to make preliminary markings directly on the walls of the niche with a pencil. This will allow you to avoid errors in the sizes of the parts.
For example:
- top shelf = width of niche x depth of internal filling (i.e. depth of cabinet minus doors);
- rack = niche height – top shelf height – material thickness;
- shelves on the right = (niche width/2 – 5-10 cm) x depth;
- shelves on the left = (niche width – shelves on the right – material thickness) x depth.
Additionally, you may need
| Side pillars: | plank 3 = niche height x 7 cm, plank 4 = niche height x 10 cm. |
| Base: | plank 1 = (niche width) x 7 cm – 2 pieces, plank 2 = (niche width – one or two side posts) x 10 cm – 1 piece |
Additional parts are needed if it is not possible to level the side walls and the floor. The rectangle in which the sliding doors will be mounted must be ideal. This can be achieved by mounting a frame for them completely or partially. If the walls are uneven, gaps will be visible between the walls, and if the floor or ceiling is uneven, the door may jam or jump out of the grooves, not to mention spontaneous opening and closing - after all, it will slide down the slope under its own weight.
Built-in wardrobe
Decide:
- how will you attach the back wall made of fiberboard if it will be located in a niche, from wall to wall, and if there is no answer, then it is worth considering the option with a built-in wardrobe, where the back wall is missing;
- will your cabinet rest on legs or on sides;
- what sliding door system will you use.
Carefully study the instructions for this type of door, paying special attention to the maximum and minimum permissible dimensions. The durability of the operation and the reliability of the system itself depend on this.
The drawing itself. Armed with a T-square, pencil and eraser, begin the most important part of the work.
Let's consider the option with support on the sides.
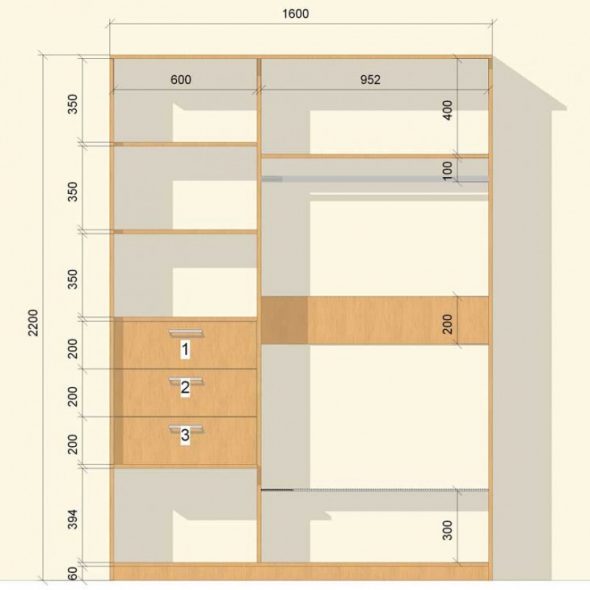
Details from the main material:
- roof = cabinet length x depth;
- support = (cabinet depth – plinth material thickness – 20 mm – plinth width) x plinth height;
- back wall (fiberboard) = (cabinet height – base – 2-4 mm) x (cabinet length – 2-4 mm);
- sides = (cabinet height – material thickness) x depth;
- bottom = (roof width – two material thicknesses) x depth;
- plinth = cabinet length – two material thicknesses) x 70-100 mm;
- rack = (cabinet height – plinth – 2 material thicknesses) x (cabinet depth – door);
- shelves = (cabinet width – 3 material thicknesses – width of adjacent niche) x (cabinet depth – doors).
Here it is worth paying attention to the fact that the doors of the sliding wardrobe are wider than 1/2 of the internal width, there is an “overlap” of the doors, and if you plan to have baskets or drawers, then they simply will not slide out of the wardrobe, that is, the size of the niche with shelves for baskets should be less than half.
Caution! Do not leave the roof without support on the rack, it may sag.
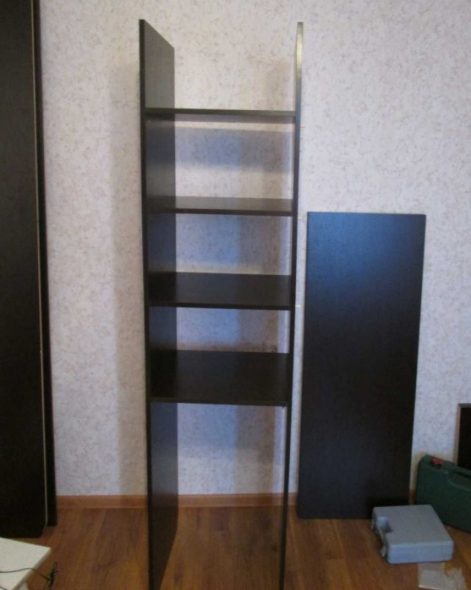
Step 9. Detailing
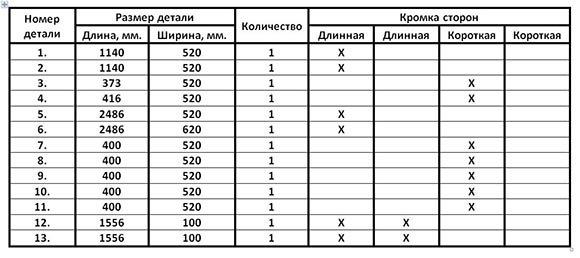
Based on the finished drawing, make a list of parts indicating their dimensions (specification).
Mark the parts whose ends need to be covered with a decorative edge and, taking into account the thickness of the edge, adjust the dimensions of the parts.
Mark the parts where you need to make “cuts”, for example, for the baseboard on the sides.
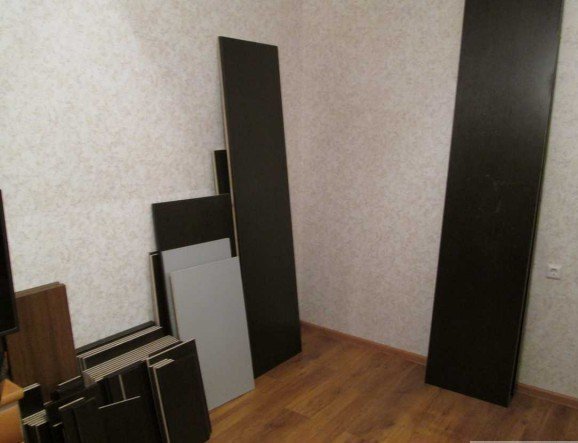
Step 10. Preliminary cutting

On a sheet of paper, to scale, compactly arrange all the parts. If as a result you need 1 sheet of material and a little more, then you can adjust the basic structure by replacing some shelves, for example, with grid shelves.
Now that you know the exact internal dimensions, you need to detail the doors in strict accordance with the manufacturer's recommendations for sliding wardrobe systems.
Step 11. Tools and materials
Tools needed for installation:
- roulette;
- wood saw;
- square;
- building level;
- drill and confirmat drill;
- corner clamps;
- screwdriver with a set of bits (Phillips and Allen);
- mallet;
- Jig for perpendicular drilling.
Materials:
- the main material provided for by the project (chipboard, fibreboard, MDF);
- edge (of your choice) and PVA glue;
- Euro screws 70x5;
- plugs;
- self-tapping screws (for fastening the back wall and fittings);
- furniture corners (plastic or metal) for fastening cabinet parts to frames;
- furniture fittings (rods, holders, mesh shelves, pull-out baskets);
- chalk or wax for painting over chips;
- door components (guides, profiles, rollers, strips, latches – everything that is required to assemble this structure).
Attention! Carefully read the assembly instructions for the door type you have chosen. Do not deviate from them even a step!
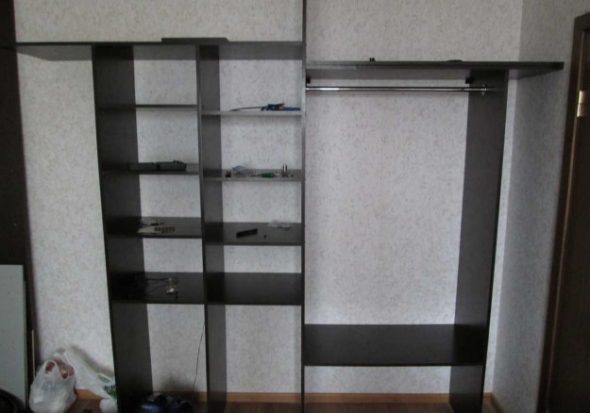
Step 12. Step-by-step instructions.
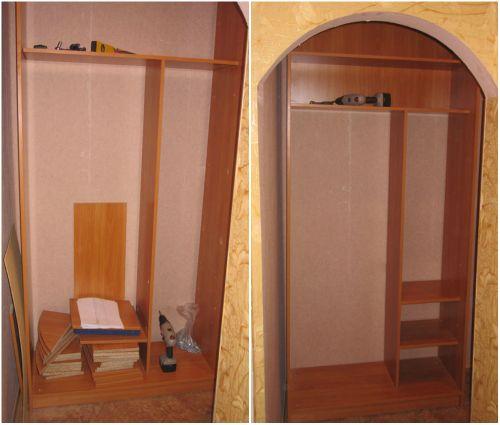
Built-in wardrobe
First, in the niche it is necessary:
- clean off old finishing materials;
- level the surfaces;
- paint or wallpaper.
Instructions
- Saw the parts to the required size and seal the visible parts with edge banding.

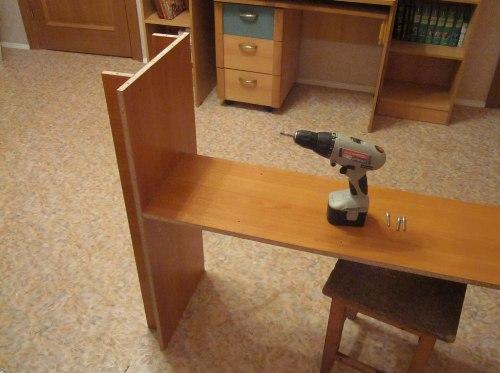
Details for the future wardrobe - Using plastic furniture corners (or metal ones, if you think it is more reliable), attach the main vertical posts and cross shelves to the floor, ceiling and walls in accordance with the preliminary markings and drawing. The parts are connected to each other with Euro screws.

We assemble the cabinet section by section and place it against the wall - Check the correct fastening of each part using a building level.
- (if necessary) Mount the box or its elements in the niche. The additional parts are fastened together with Euro screws and attached to the wall with corners.

We mount the sections in the niche and assemble the frame - Attach all fittings (baskets, hangers) to the cabinet filling using self-tapping screws;

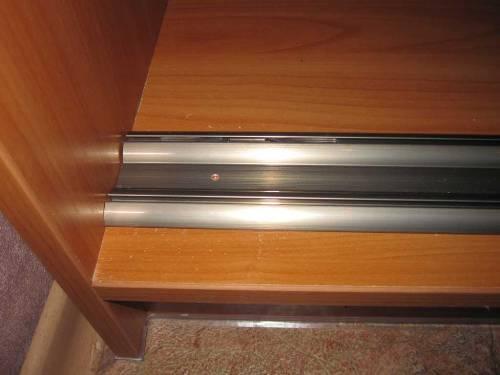
We fix all the outer shelves and racks to the walls, floor and ceiling, assemble the drawers and put them in place - Install the upper and lower guides.

We attach the guides to the ceiling and to the floor - Measure the resulting opening for the doors.
- Mask all visible chips with wax and secure the plugs.
- Assemble the doors in strict accordance with the manufacturer's instructions.

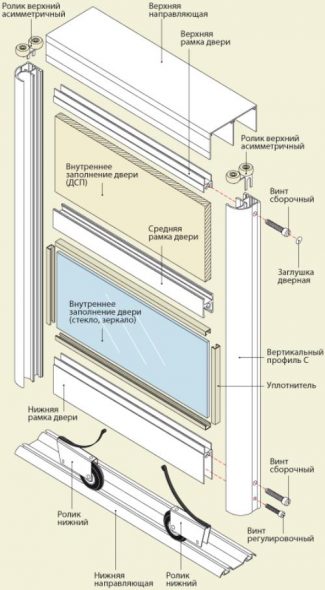
Sliding wardrobe door assembly diagram - Hang the doors.

Door suspension with bottom support rail 
The appearance of a new functional wardrobe, assembled with your own hands

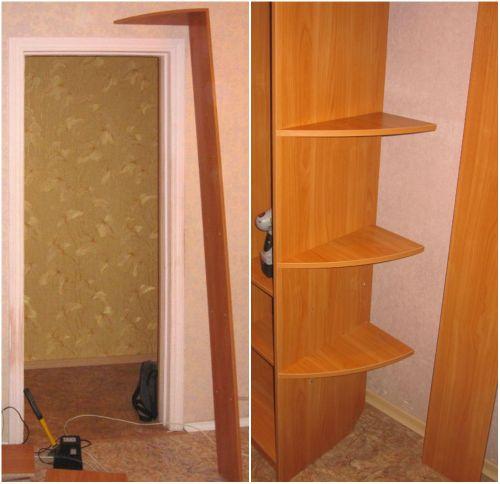
Built-in wardrobe.
- Saw the parts to the required size and seal the visible parts with edge banding.

Applying edging to cabinet parts - Make markings for fastening the parts together.

The markings for the fastening points are applied to the bottom surface, holes are drilled for the fasteners, after which a base made of two strips and a central partition are attached. - Drill holes: on flat surfaces – through holes, at the ends – no more than 60 mm deep, 5 mm in diameter.
- Assemble the doors in strict accordance with the manufacturer's instructions.
- Assemble the body and its contents.

Next, the upper shelves are attached and a stiffening rib made of laminated chipboard is installed on the back wall of the cabinet to fix the entire structure in the correct position. 
To fasten open side shelves with rounded corners, confirmats are used; the shelves are fastened to the surfaces of the side and back walls with 2 fasteners for each - Level the cabinet by measuring and comparing its diagonals with a tape measure.

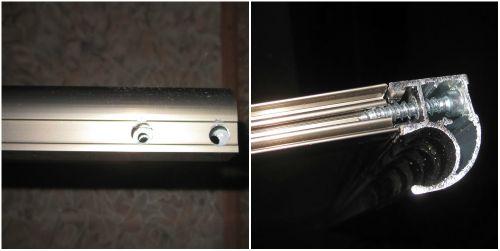
Installing a sliding wardrobe door - Step back 1 cm from the edge of the lid and the bottom and screw on the guides.

The door leaf guides are fastened with self-tapping screws and press washers - Hang the doors.
To install the door leaf, rollers are inserted into the upper guide, the lower rollers are pressed and the leaf enters the profile, resting on the lower guide. 
Ready-made cabinet wardrobe, assembled by hand
Video: How to assemble a sliding wardrobe with your own hands. Video instructions for installation.
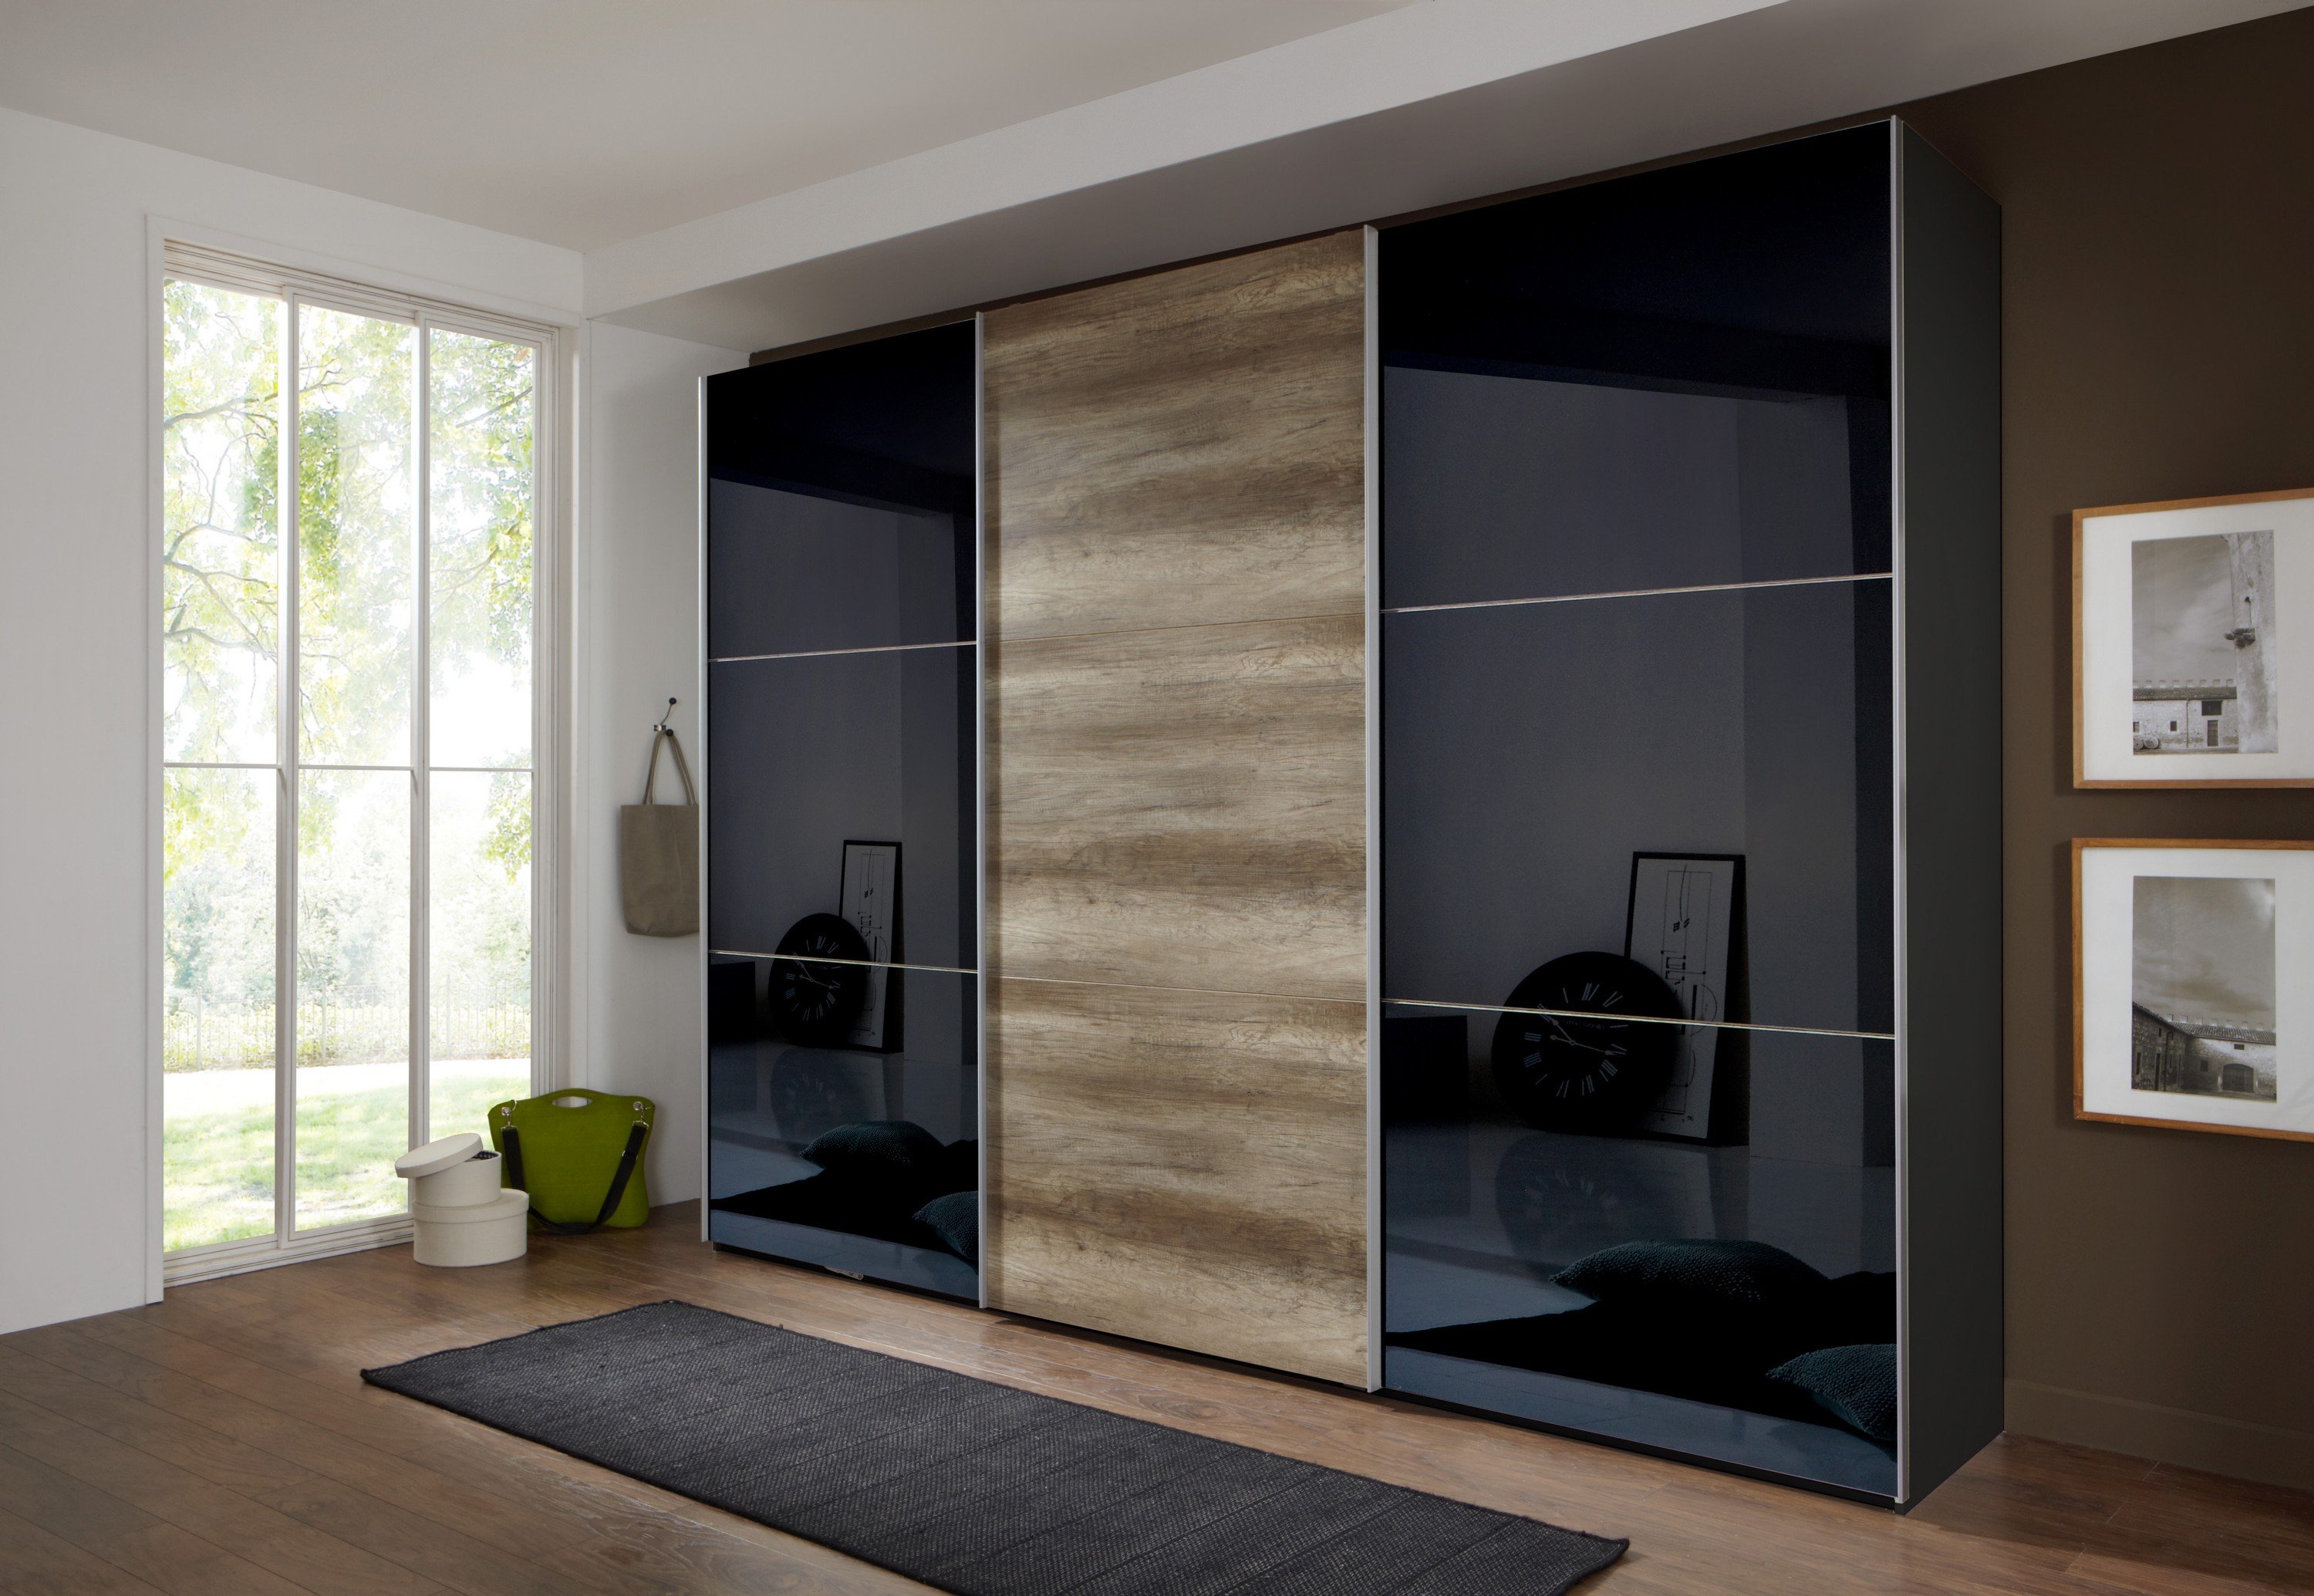
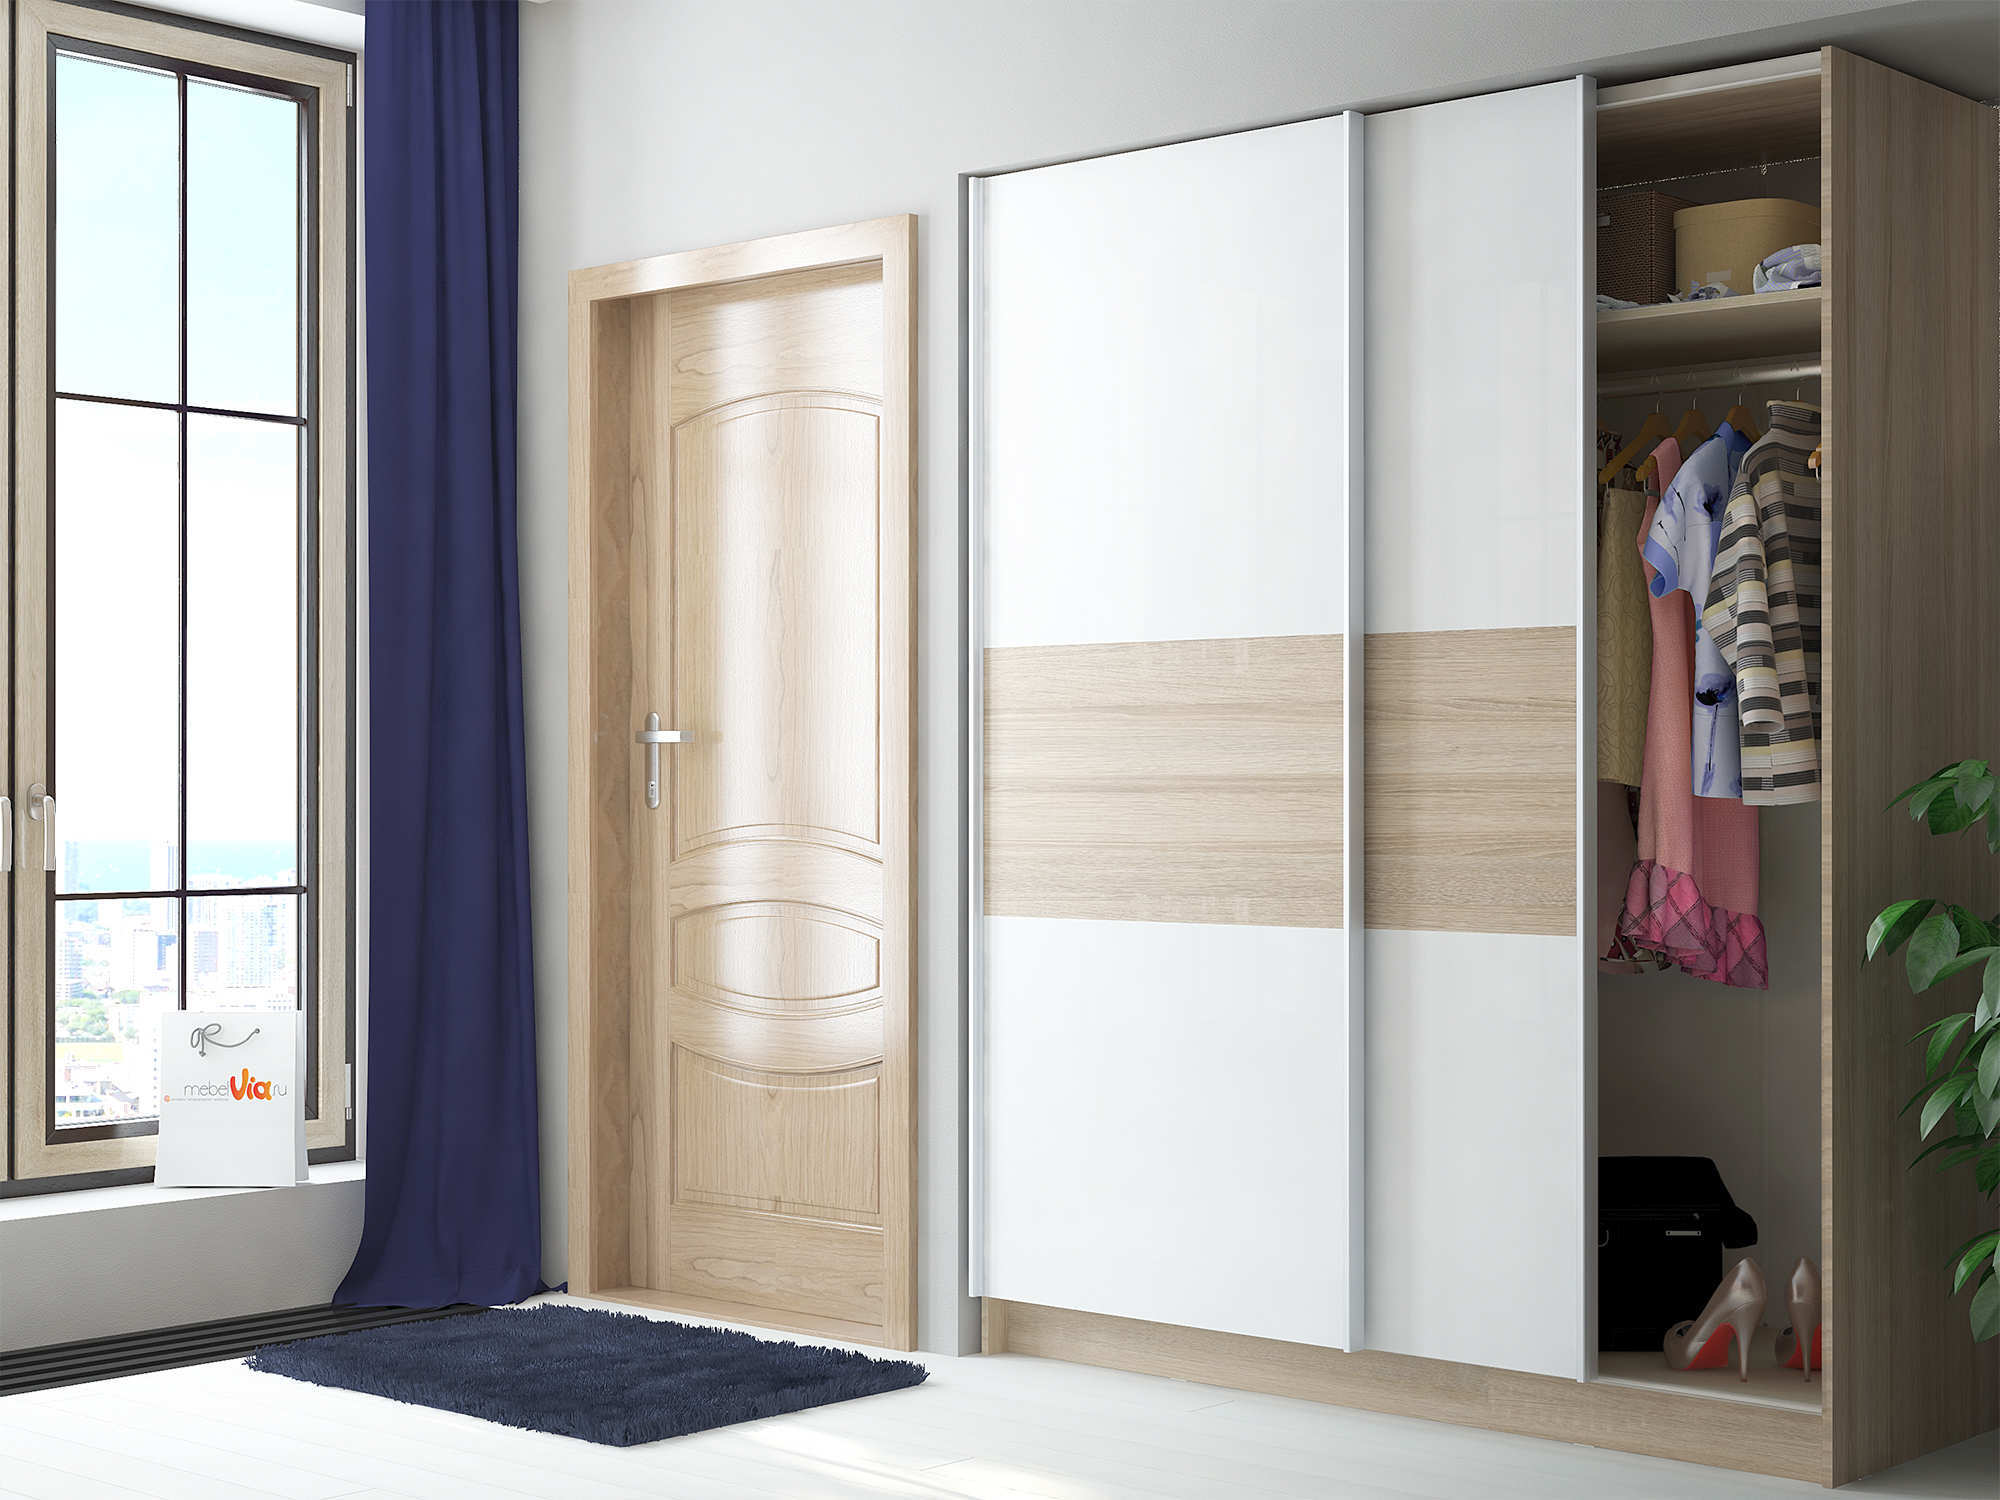
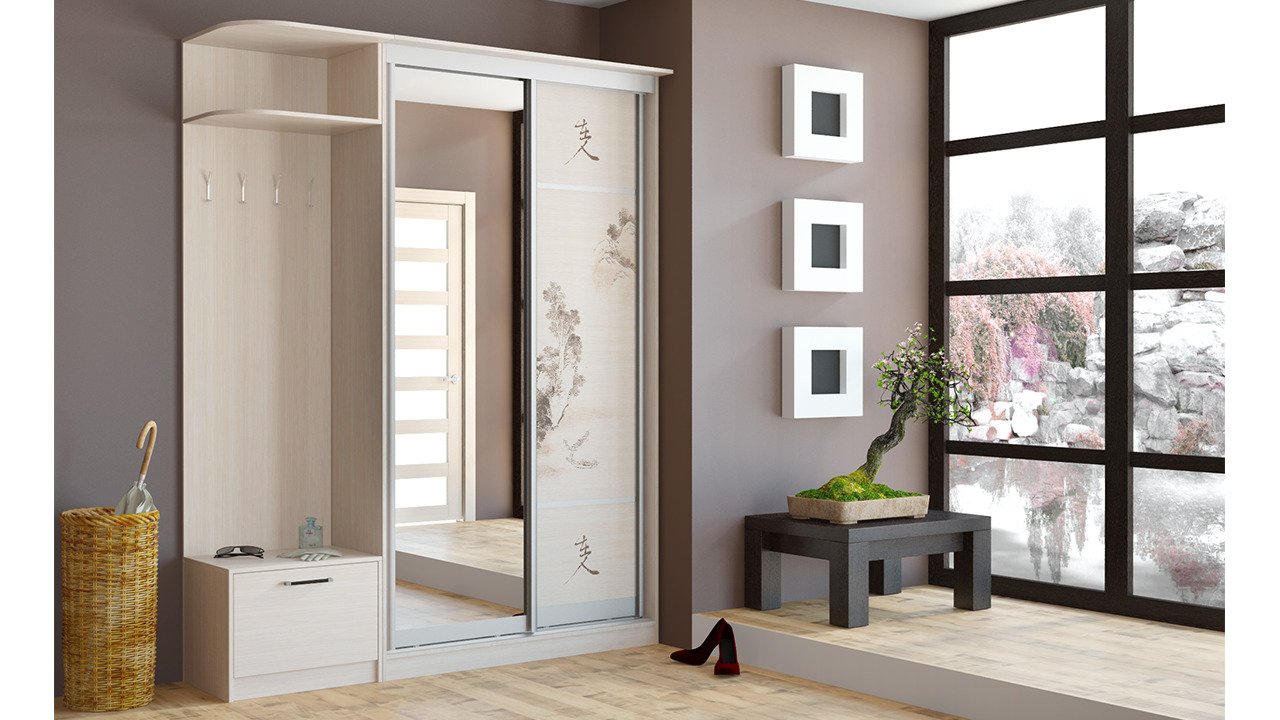
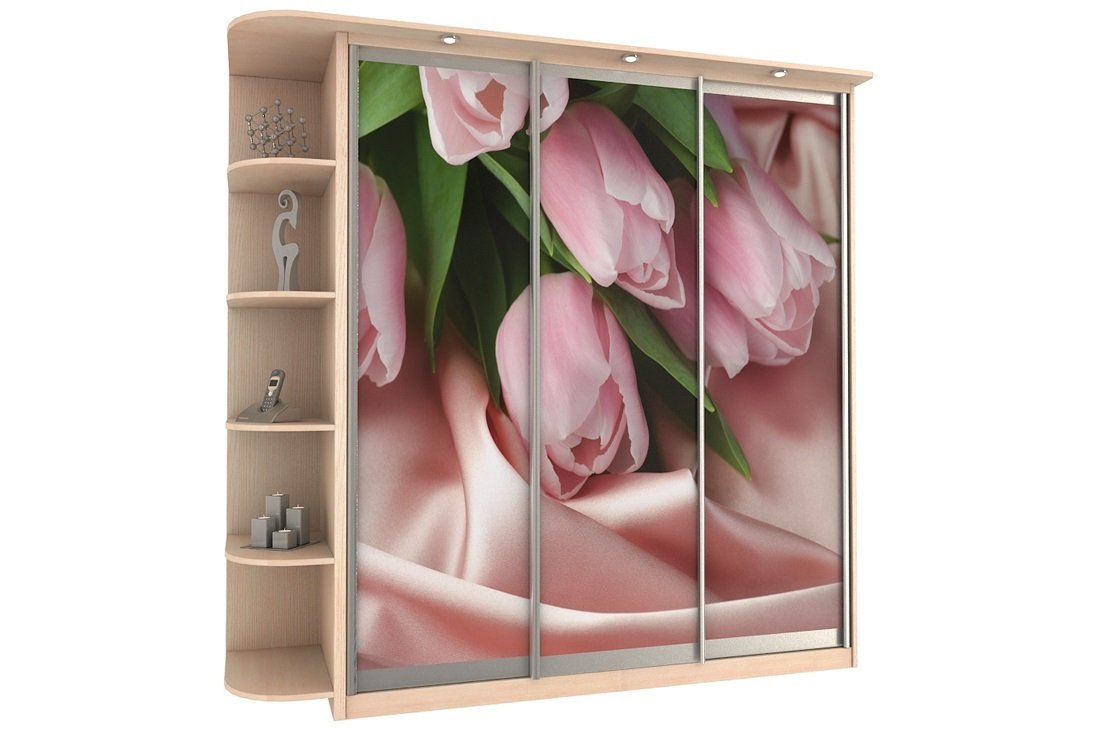
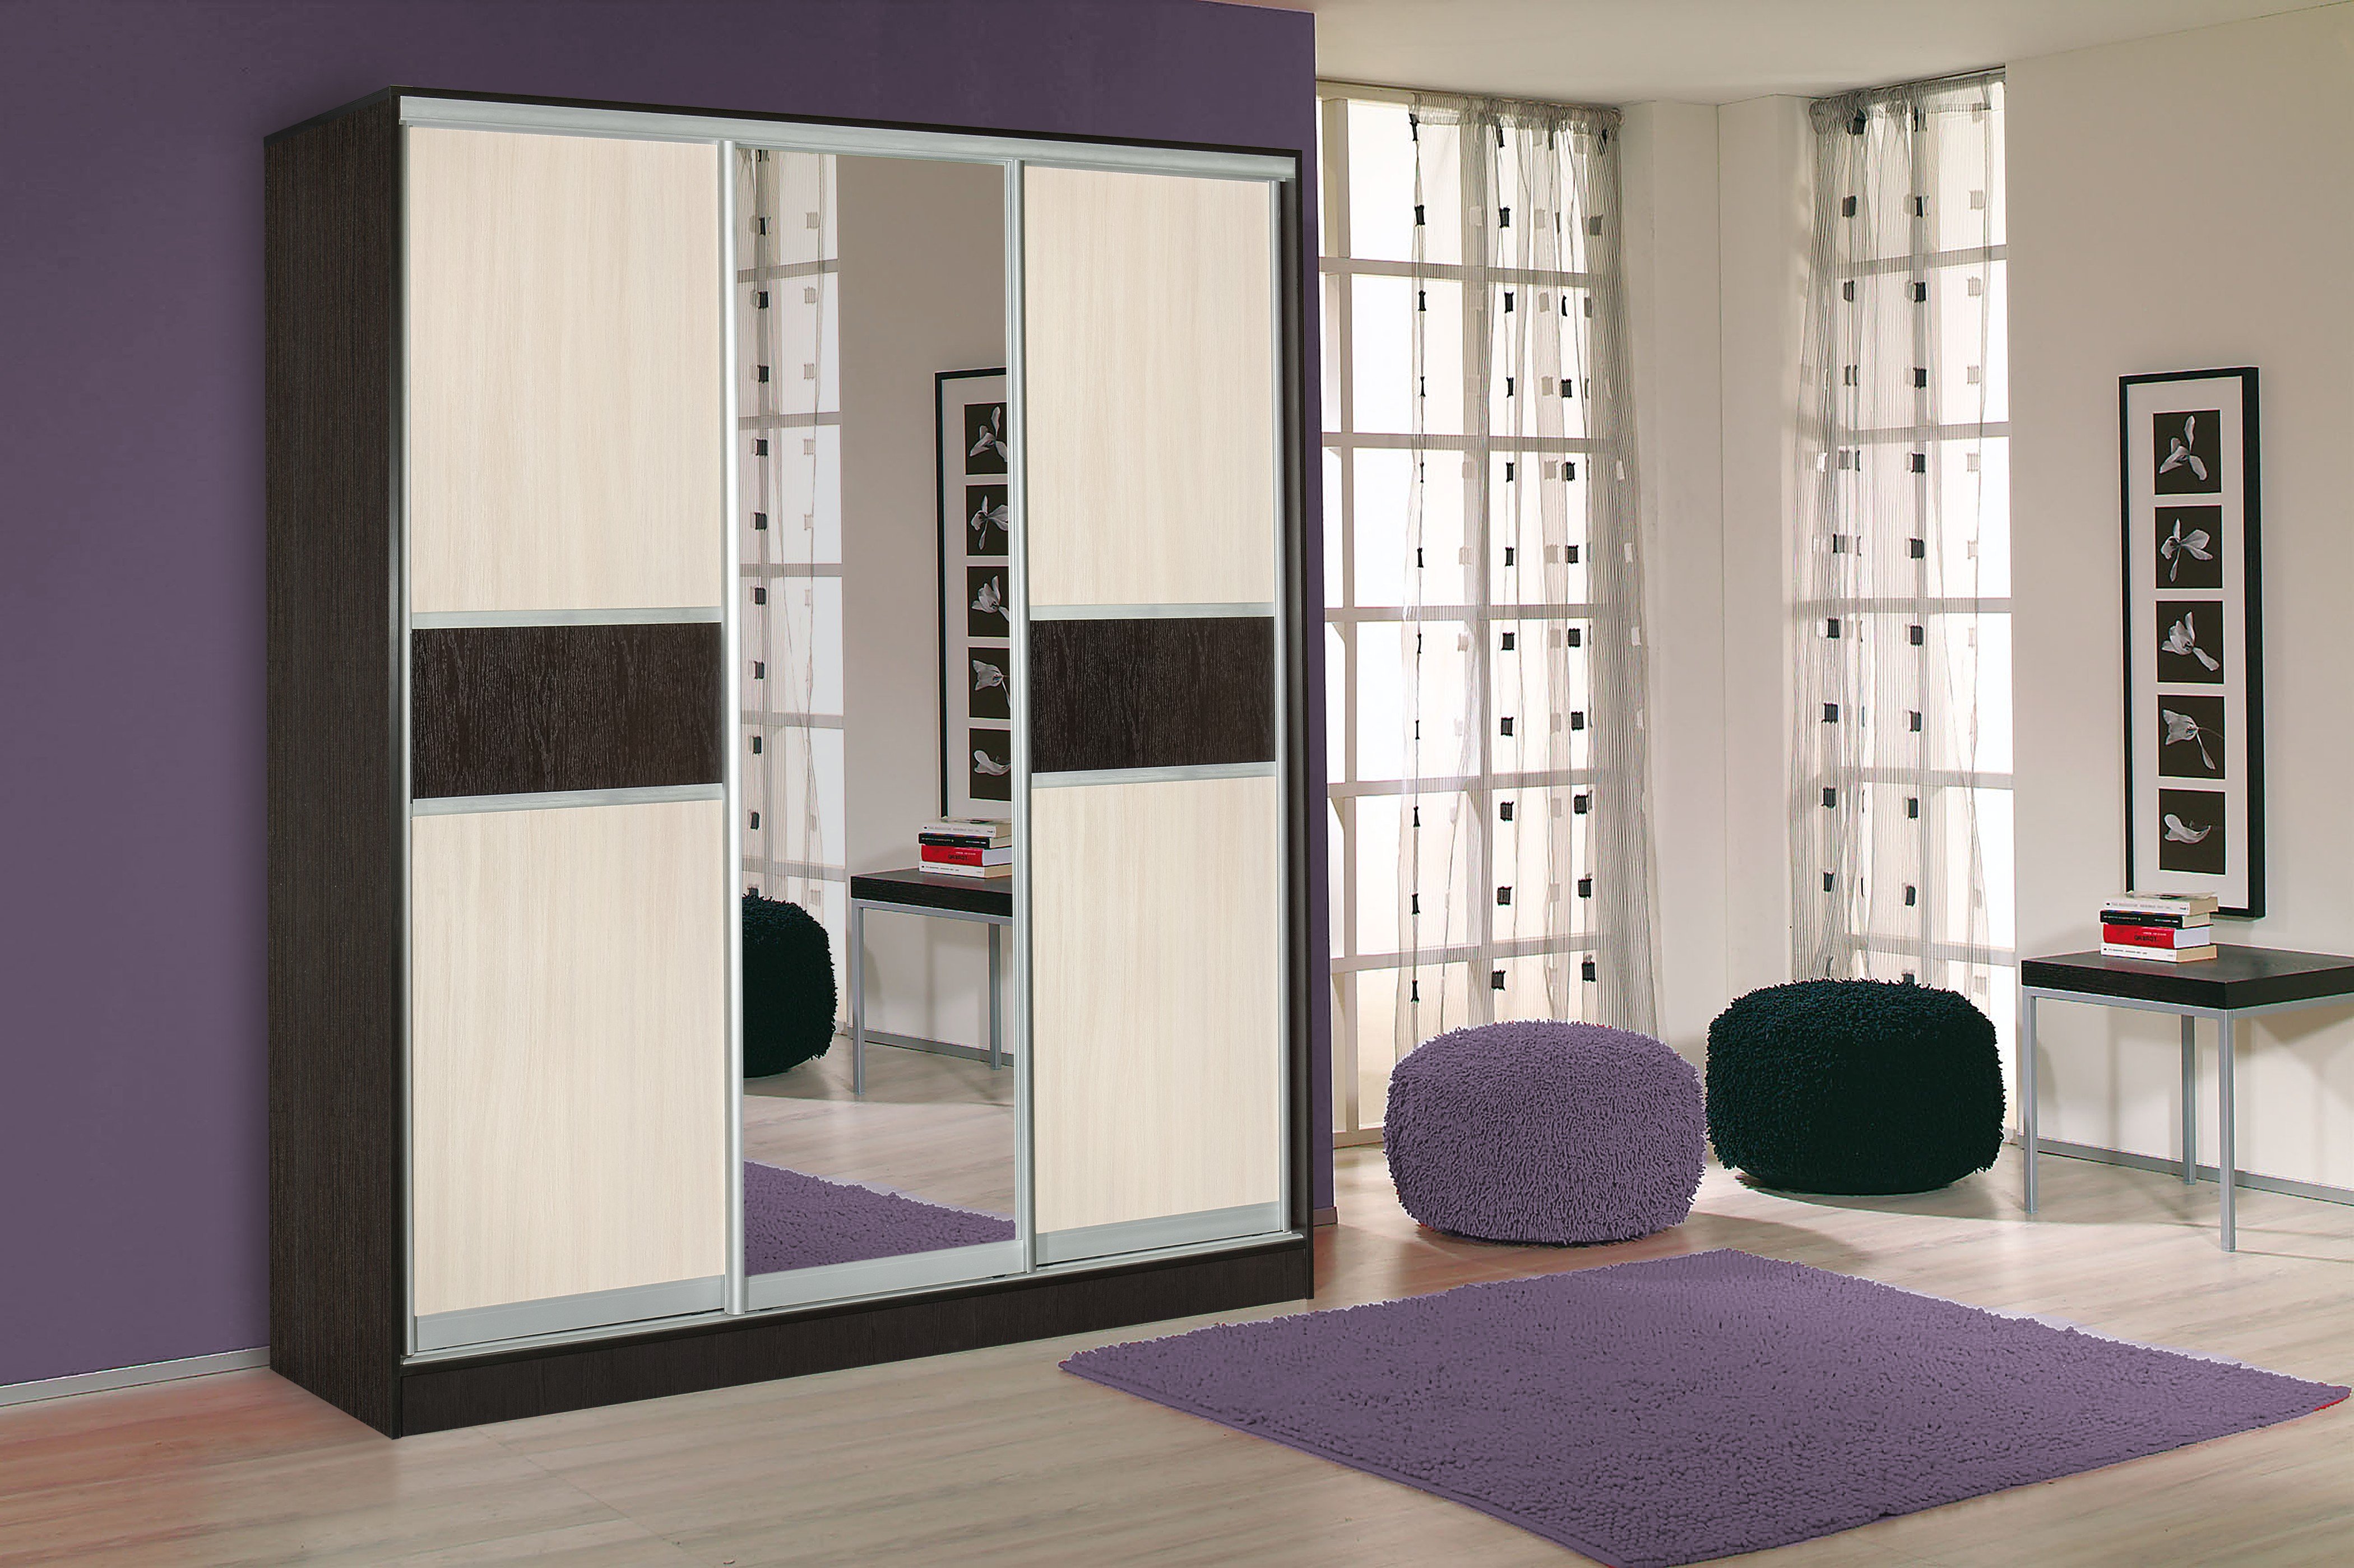
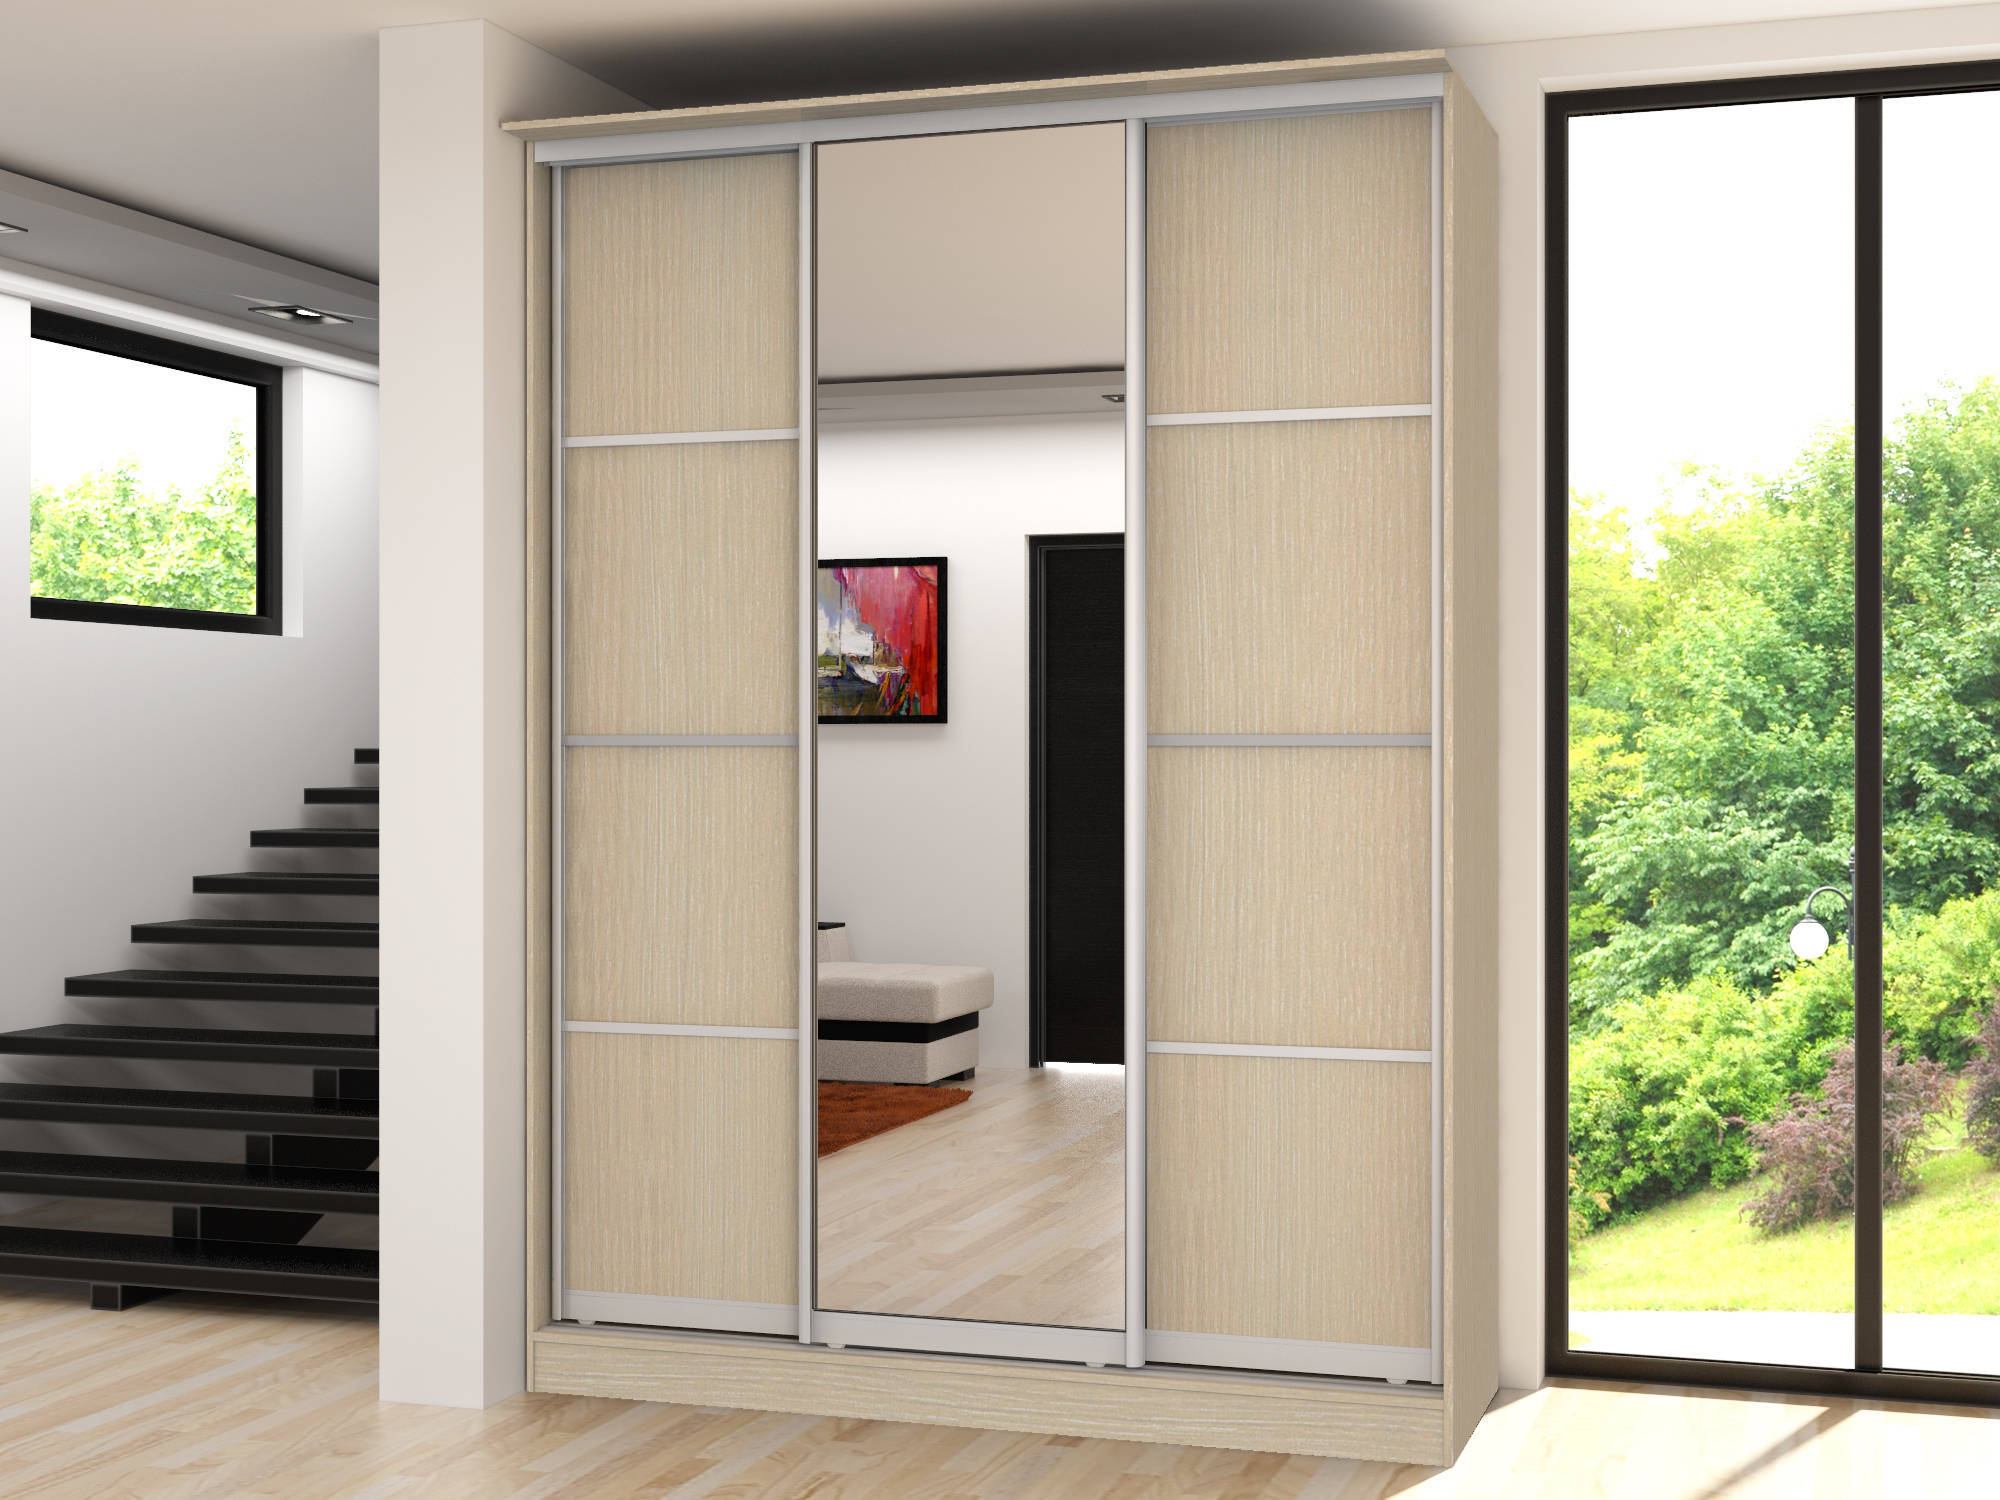
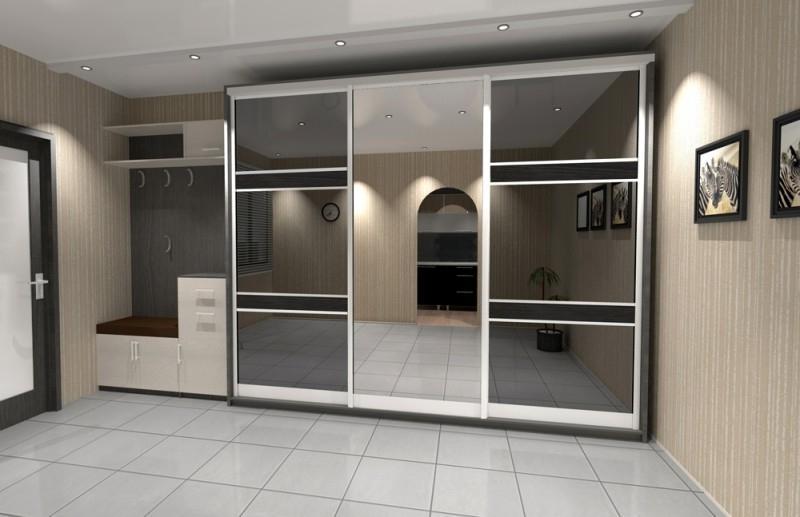
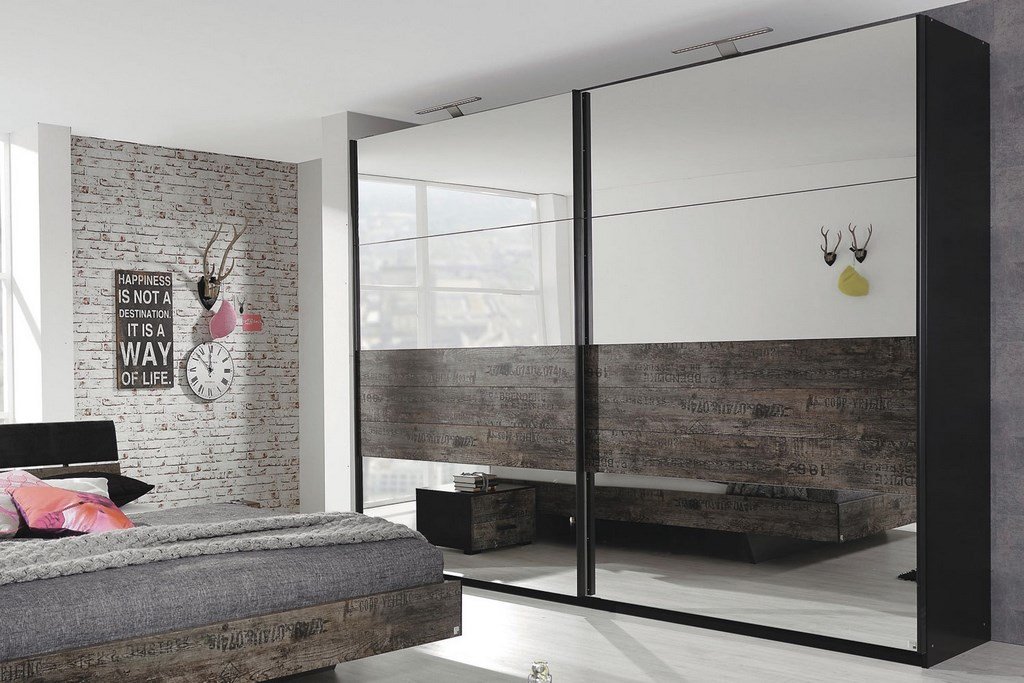
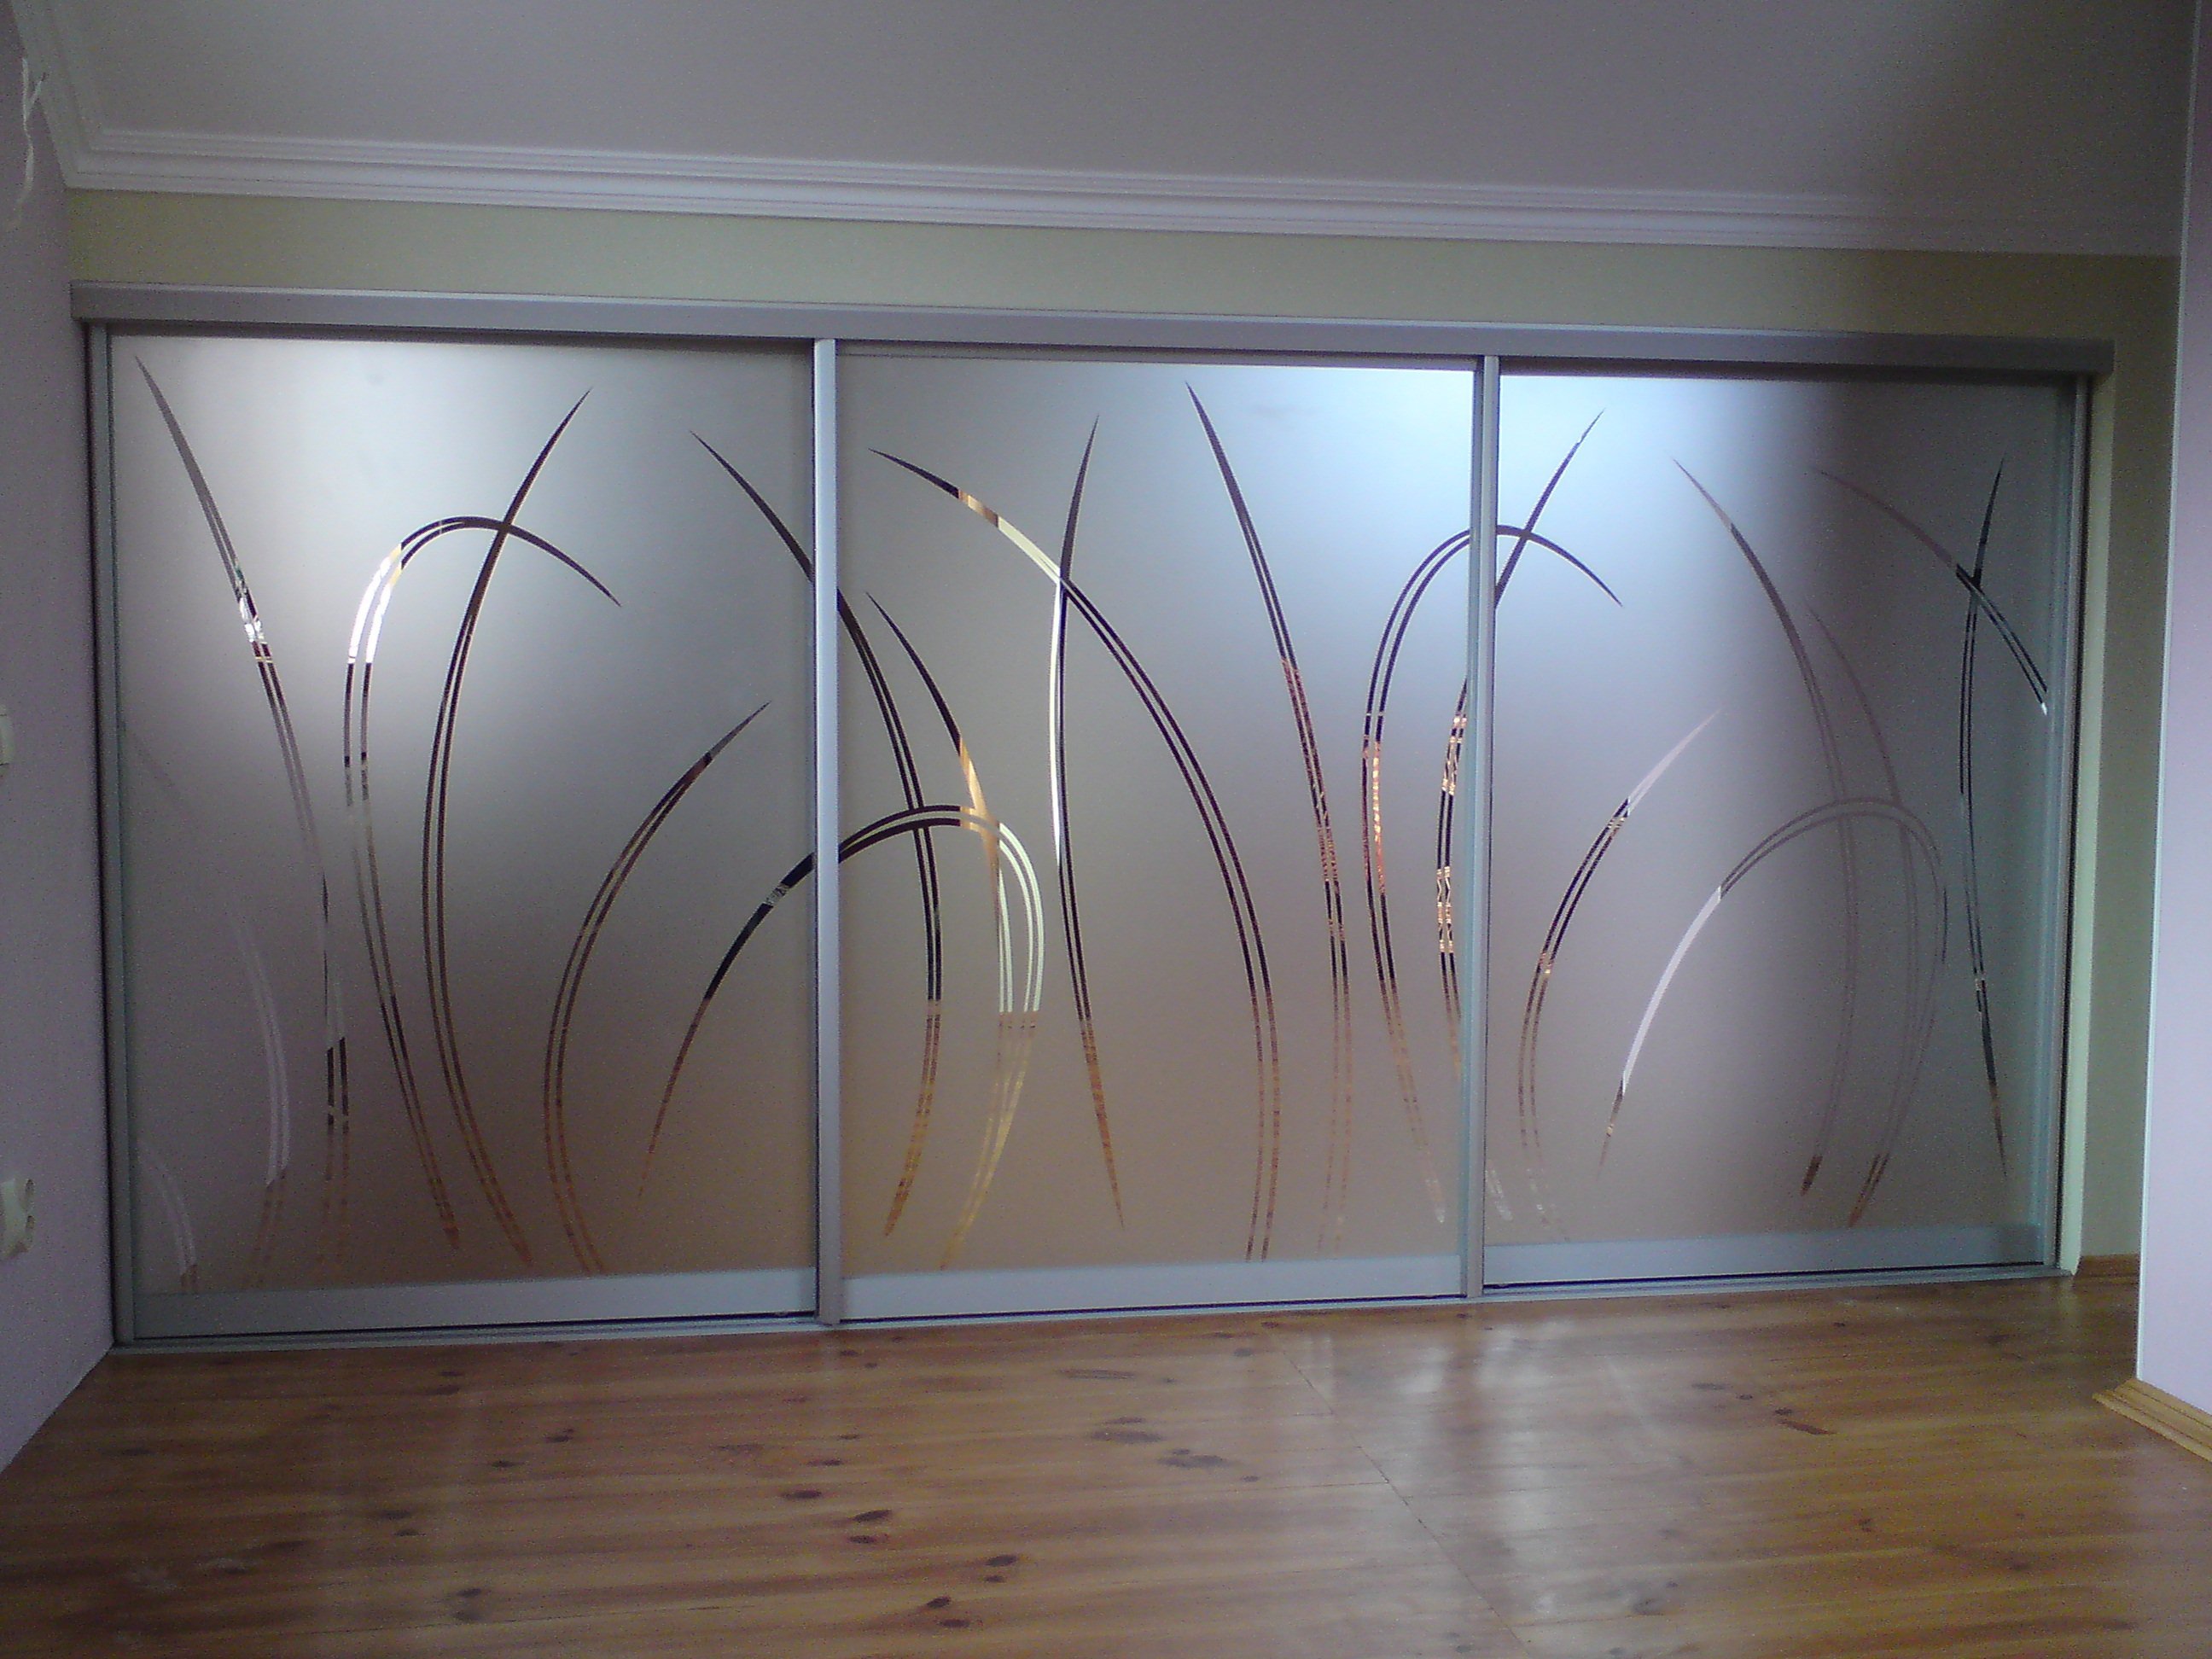
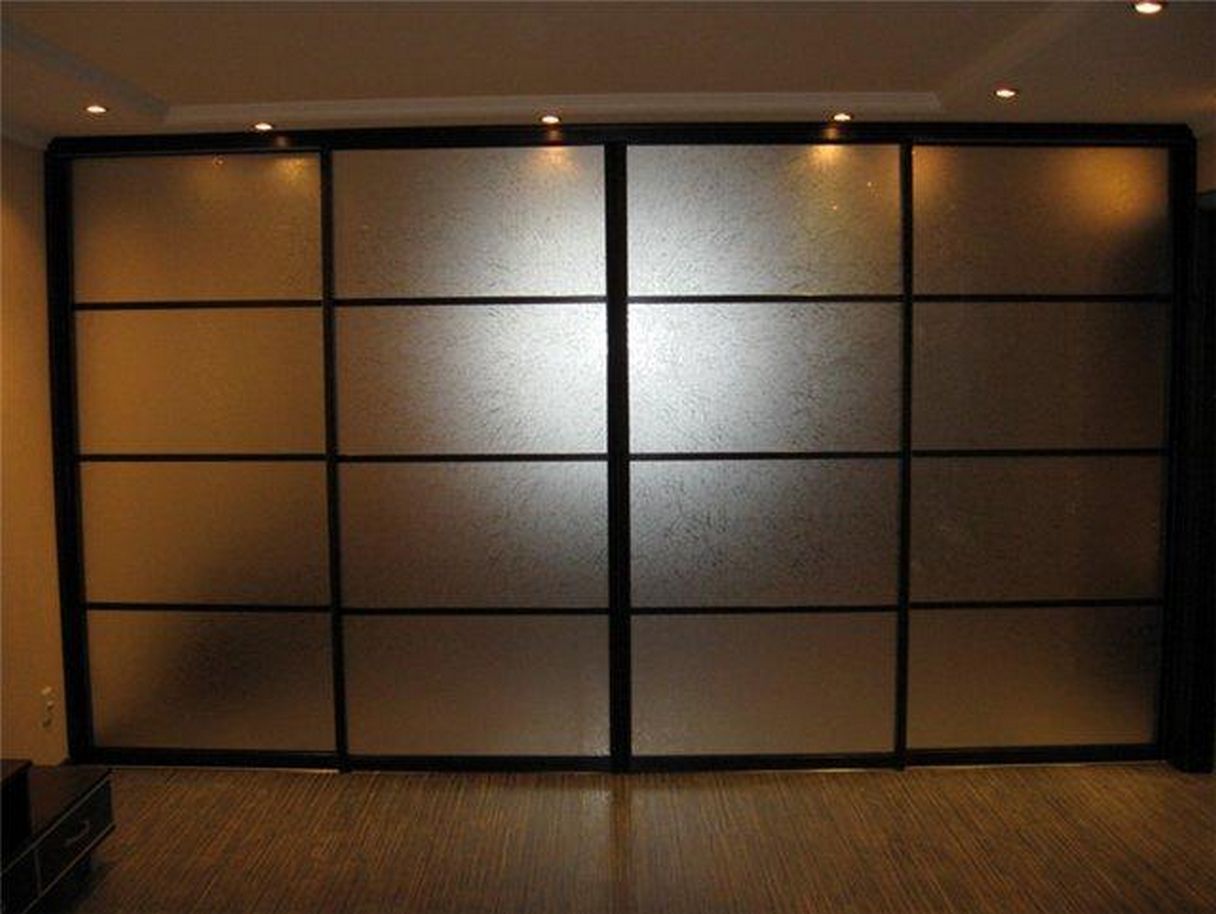
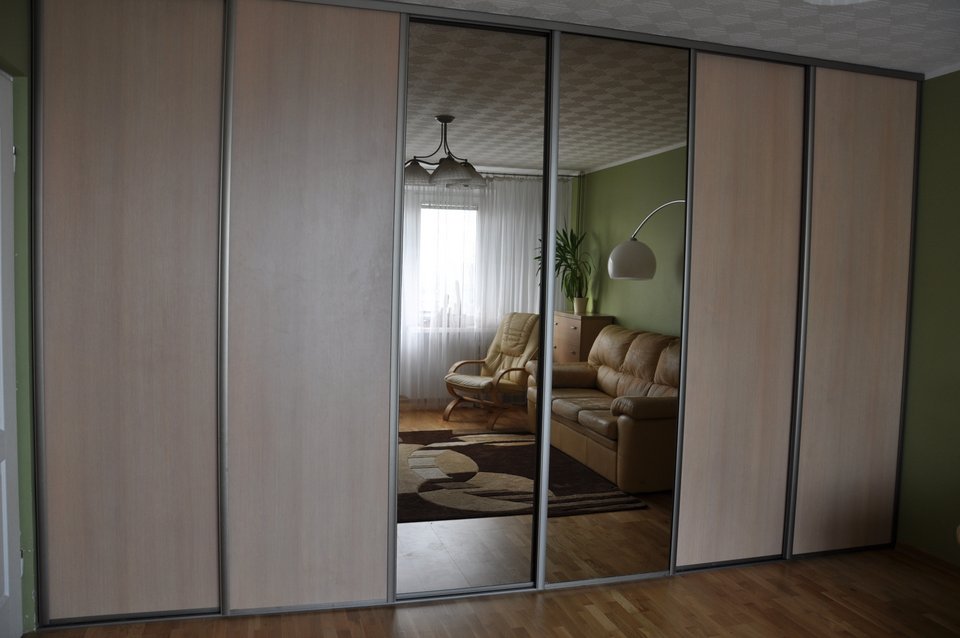
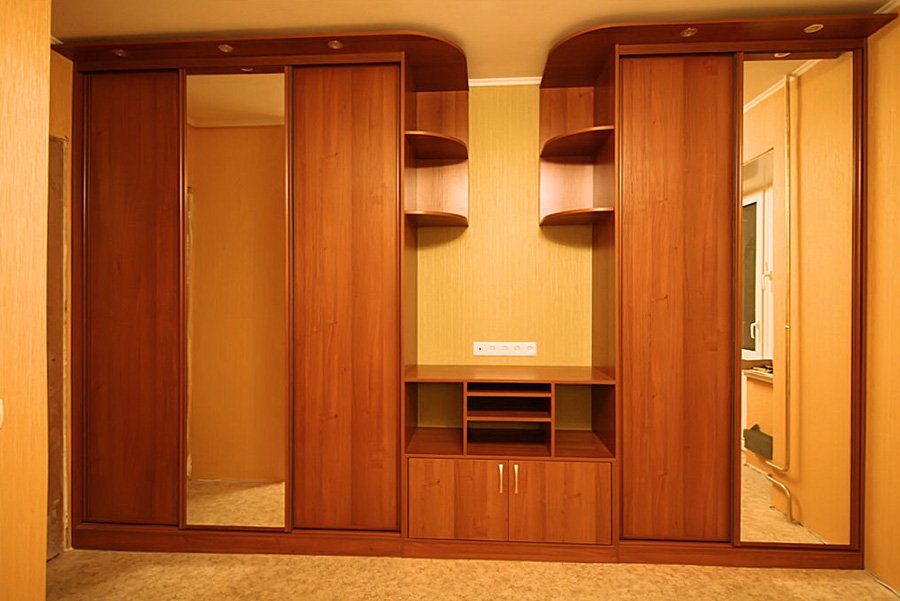
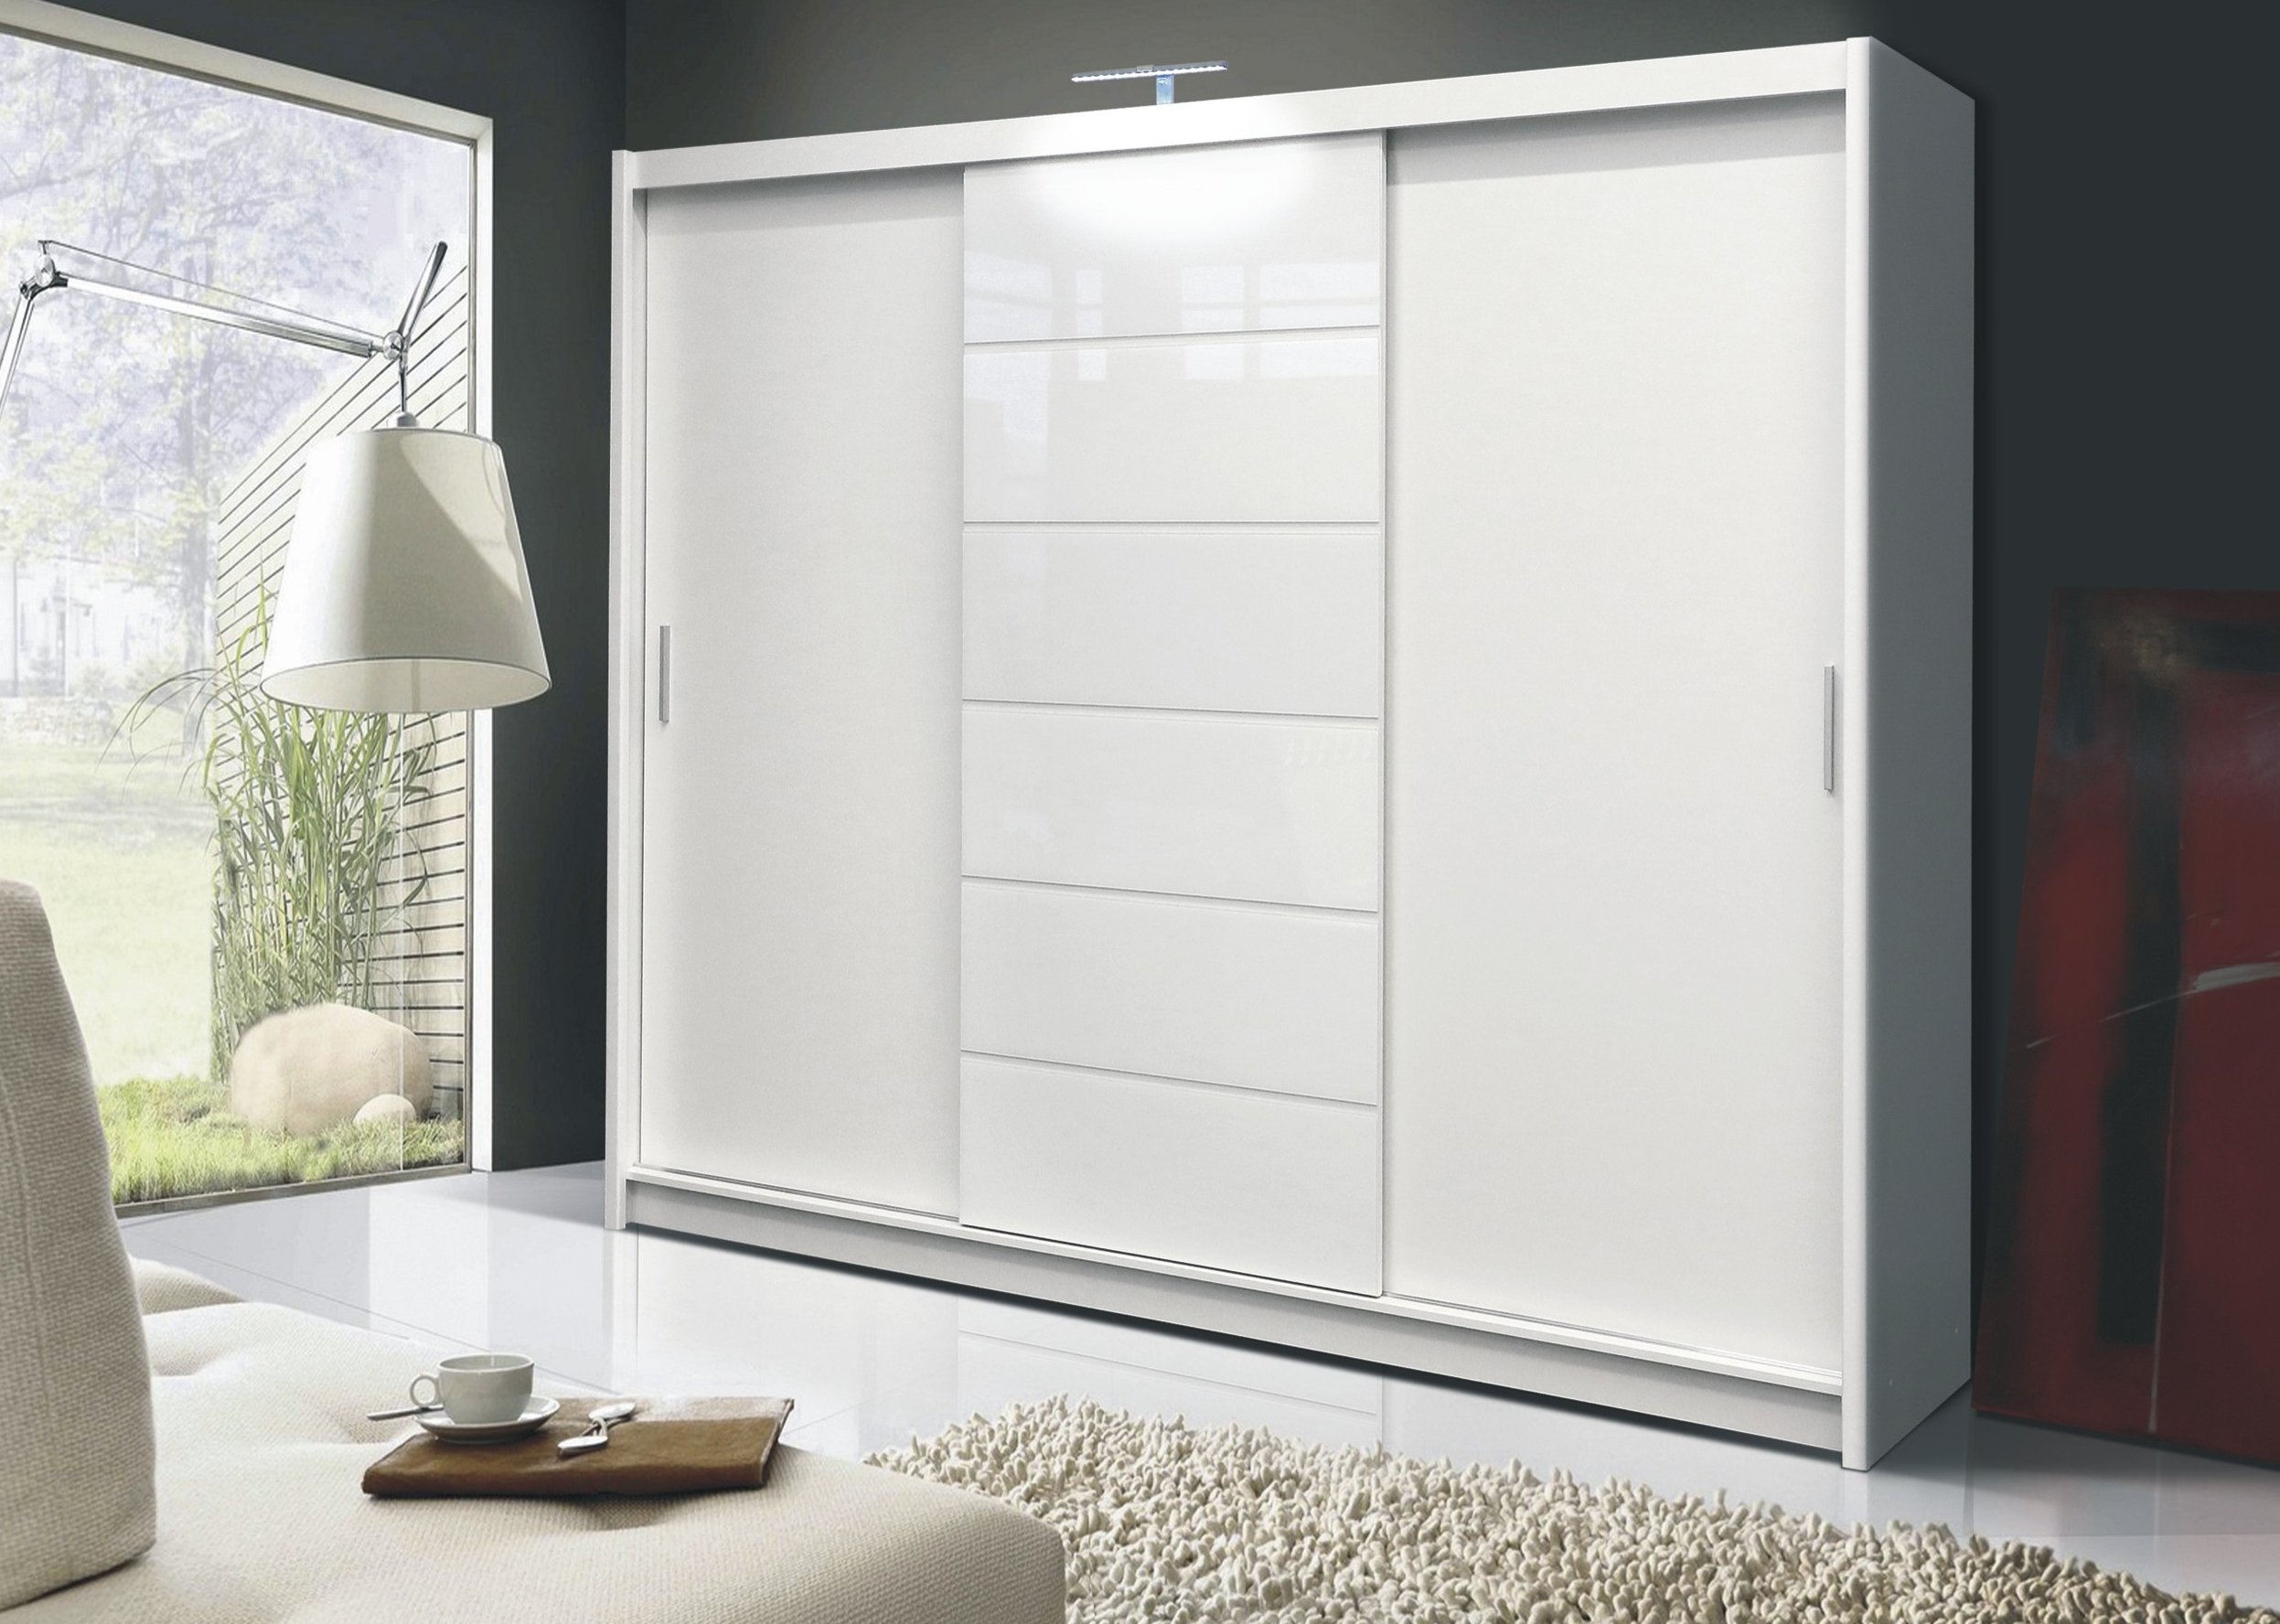
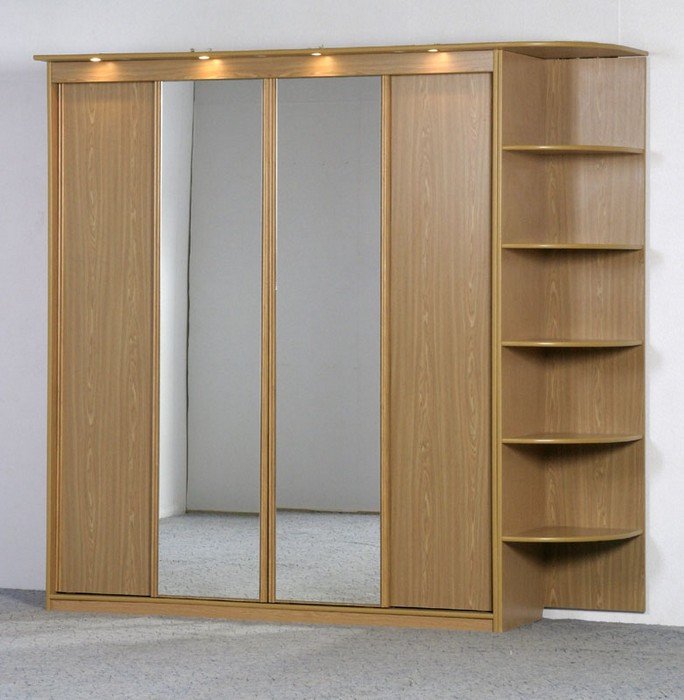
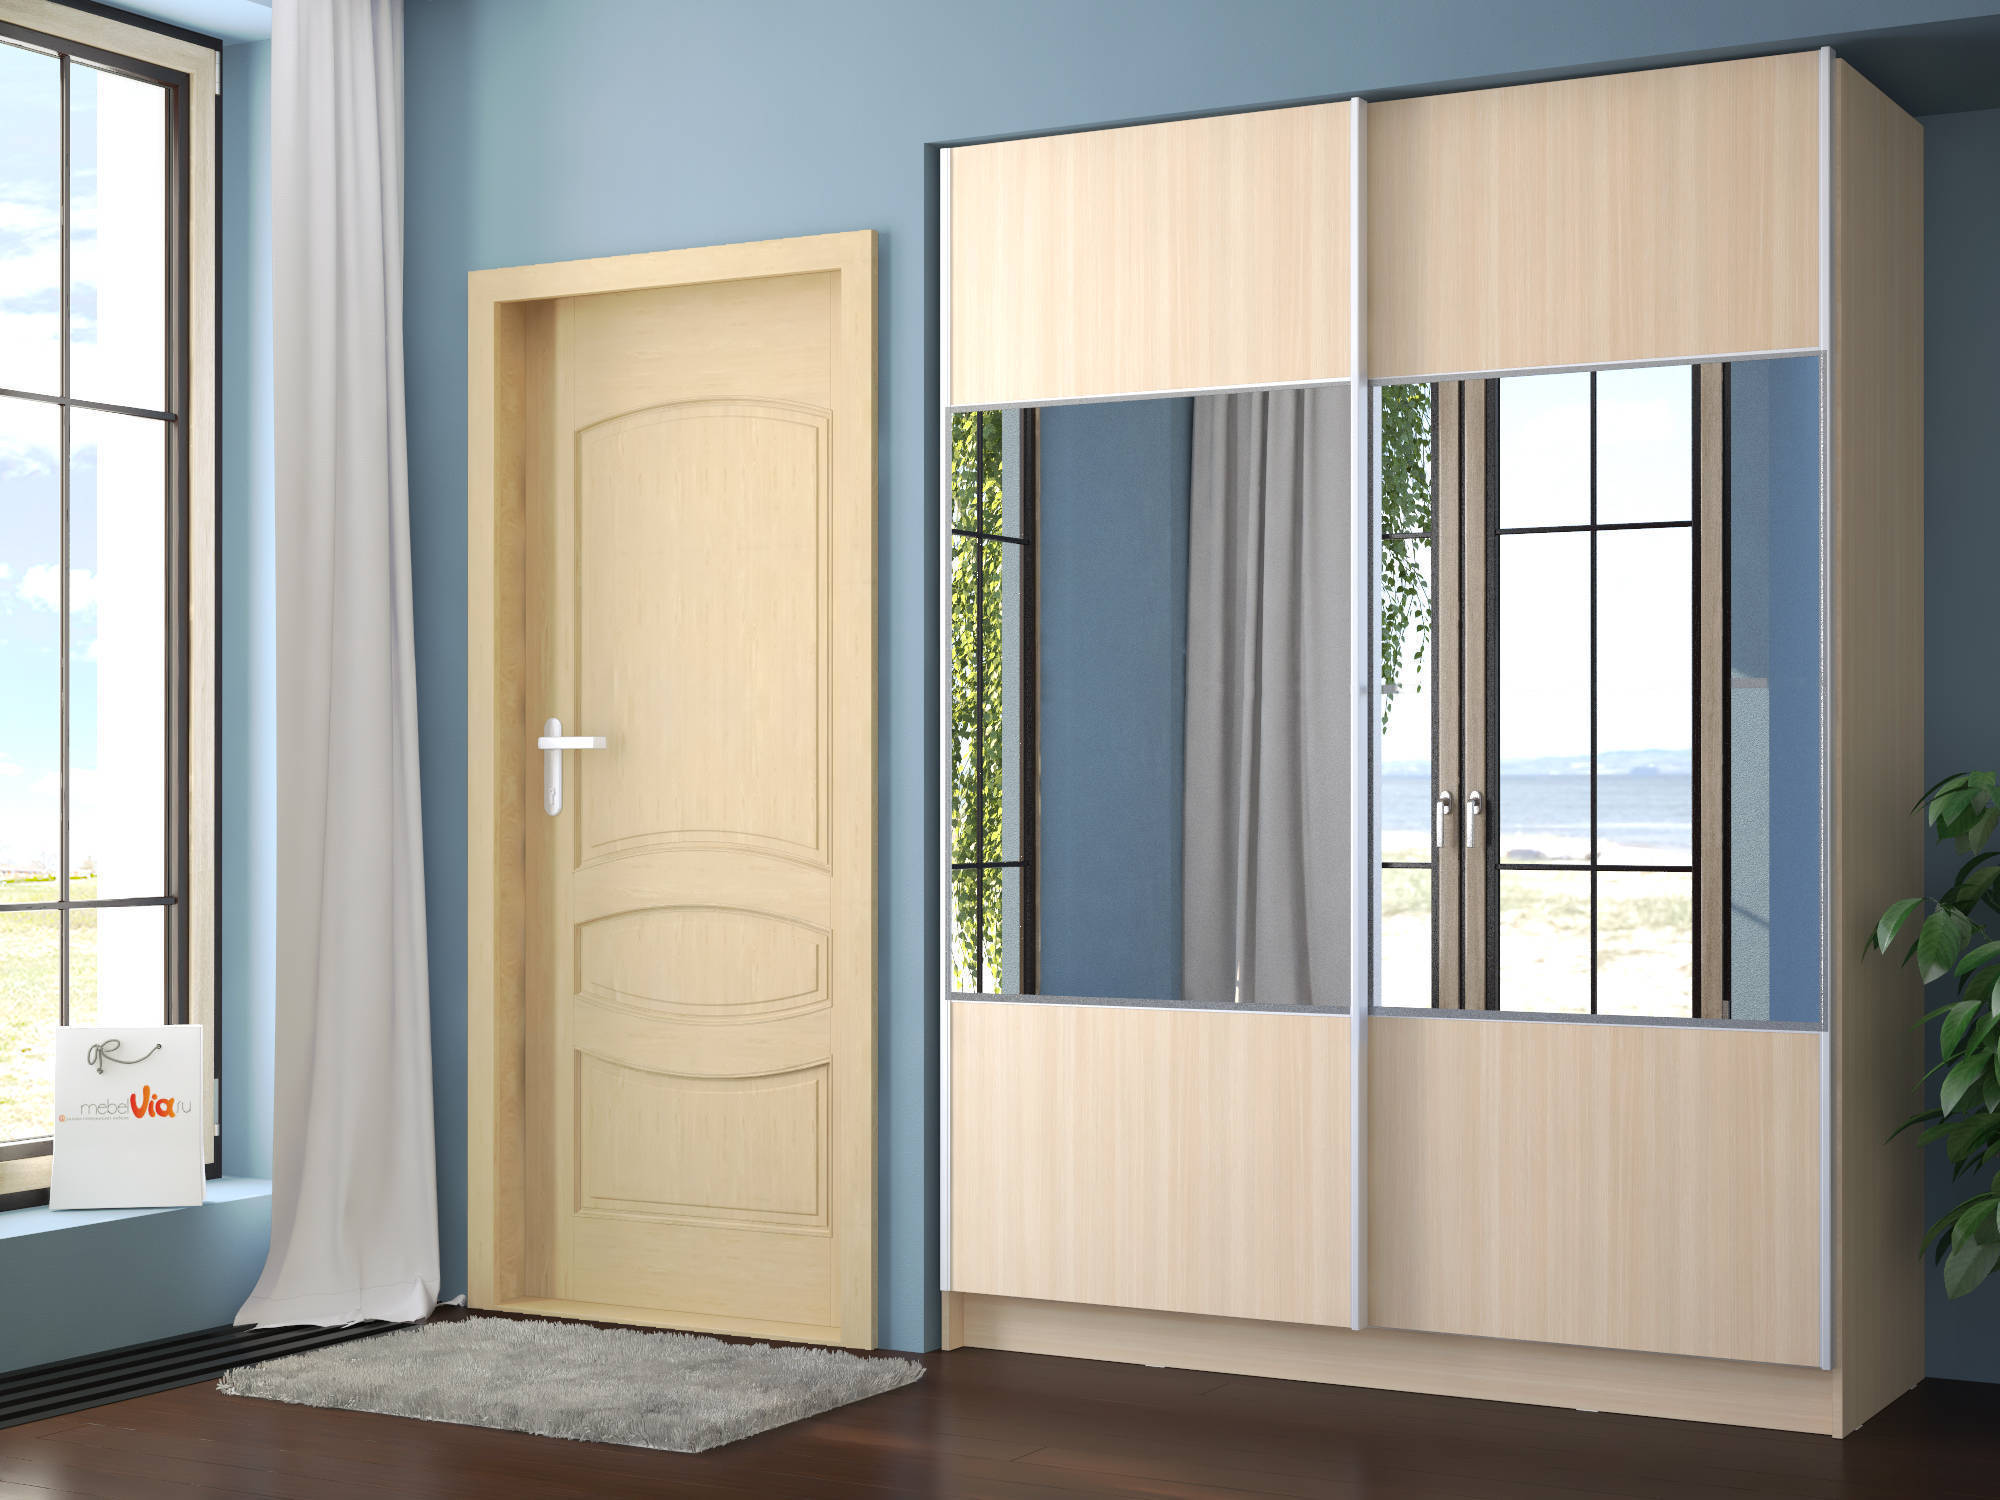
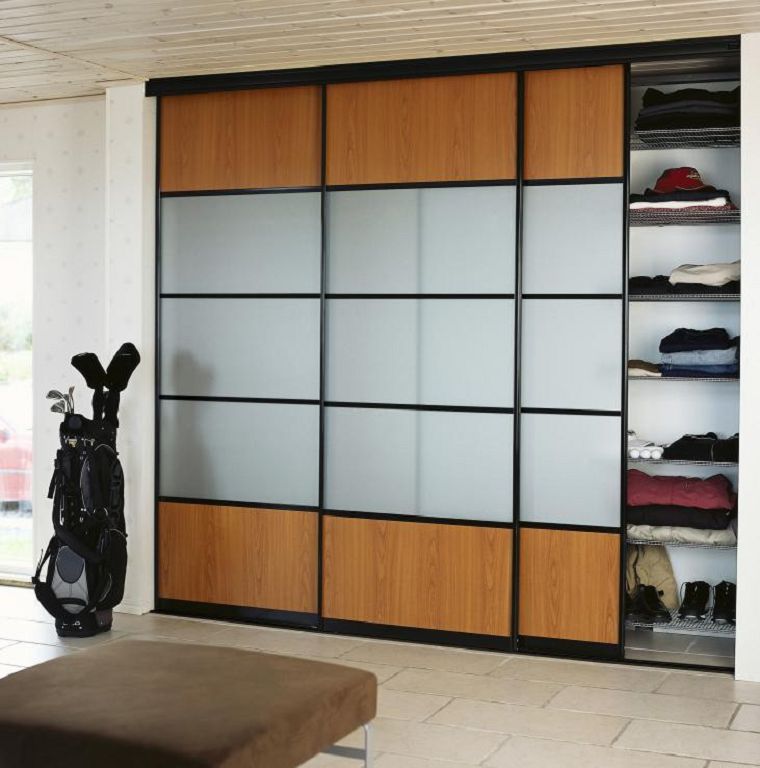
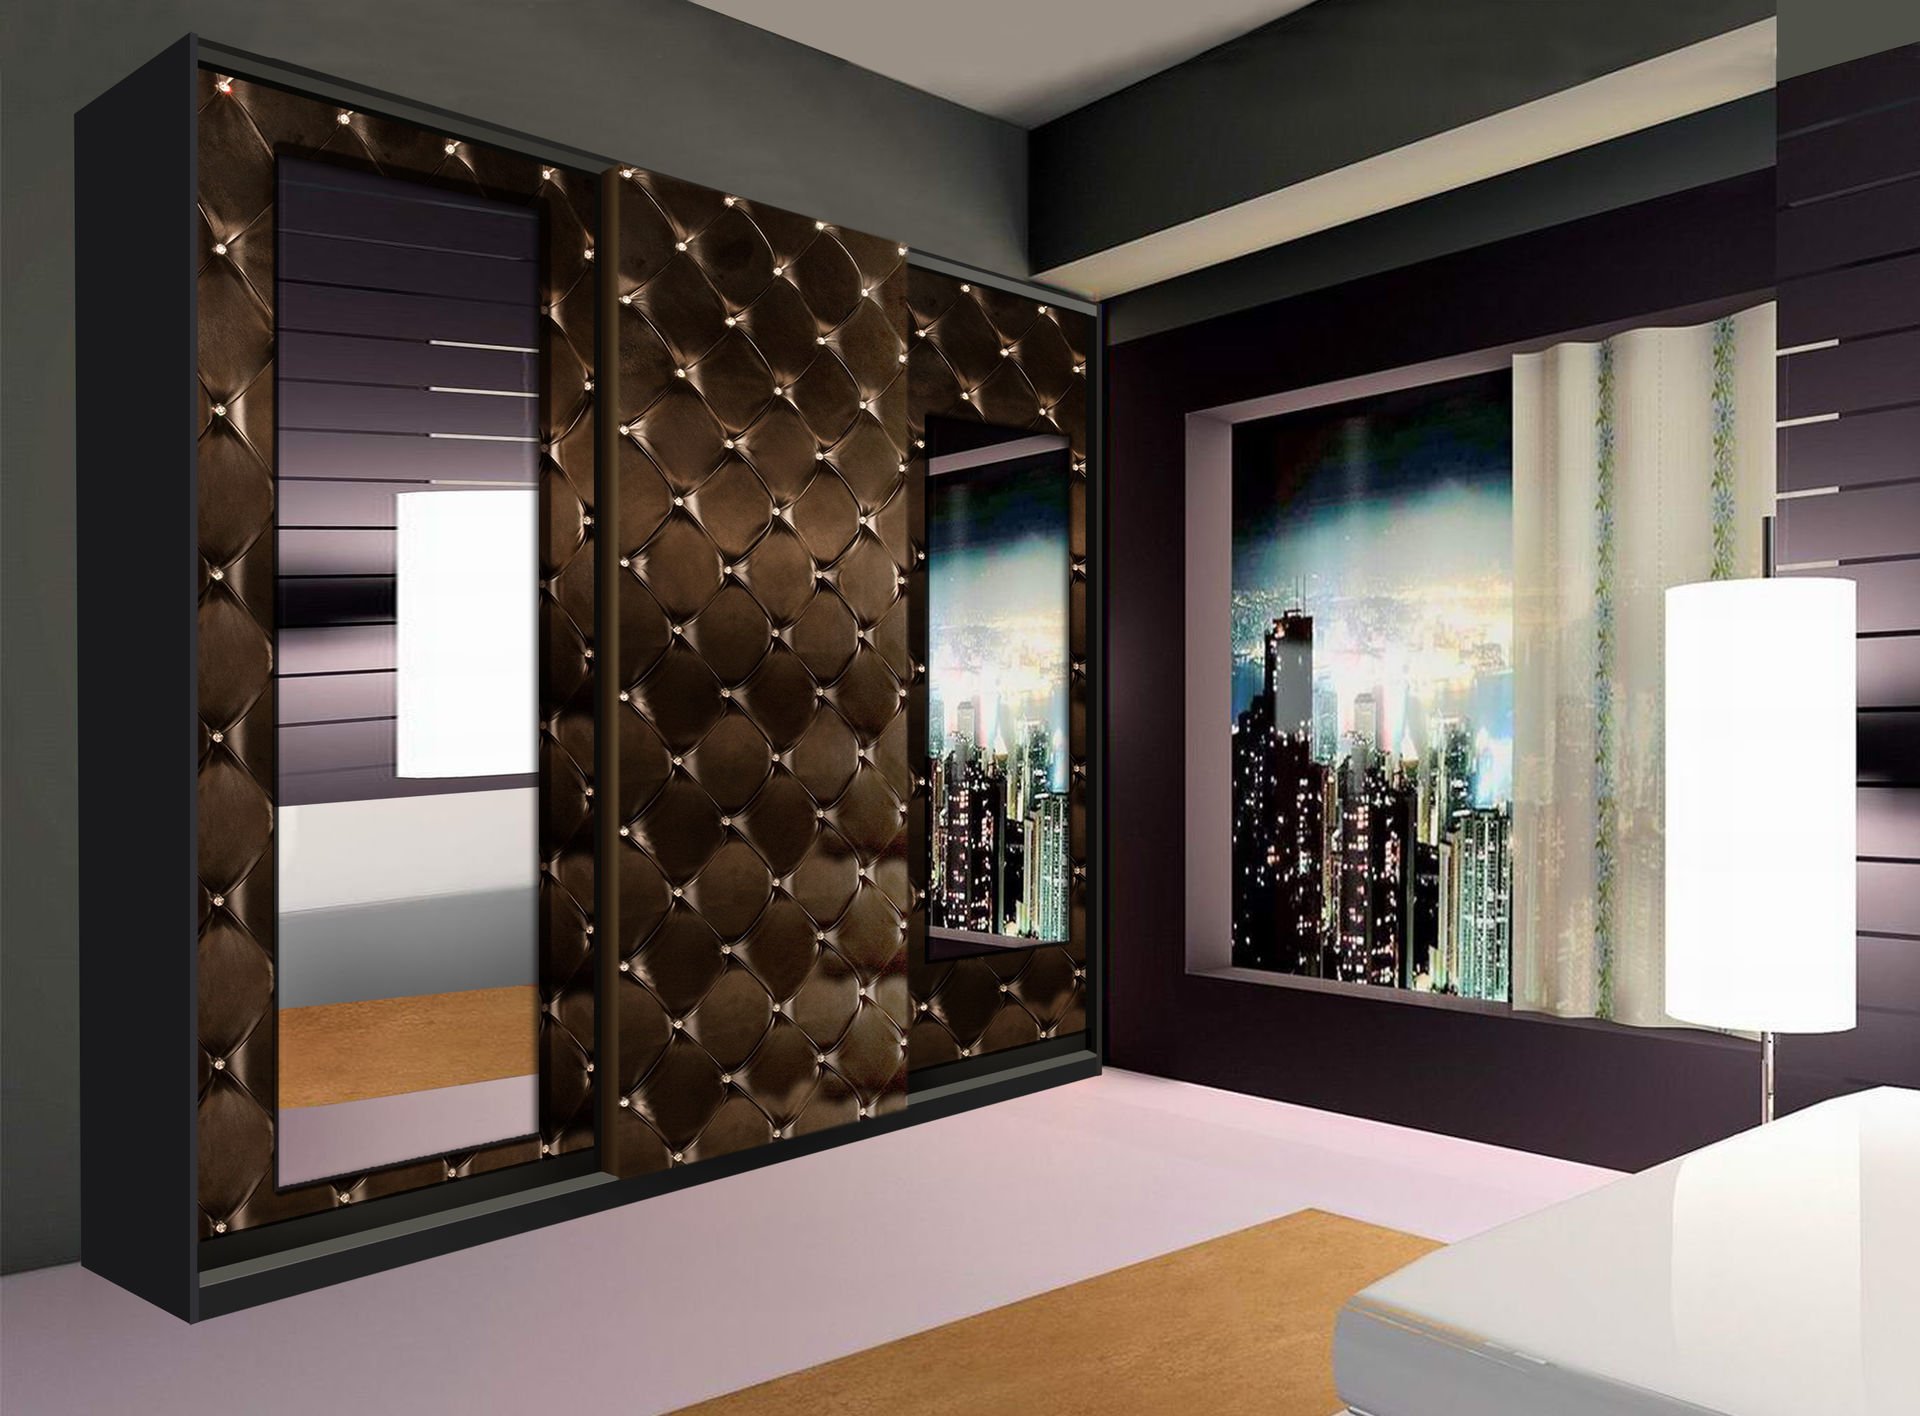
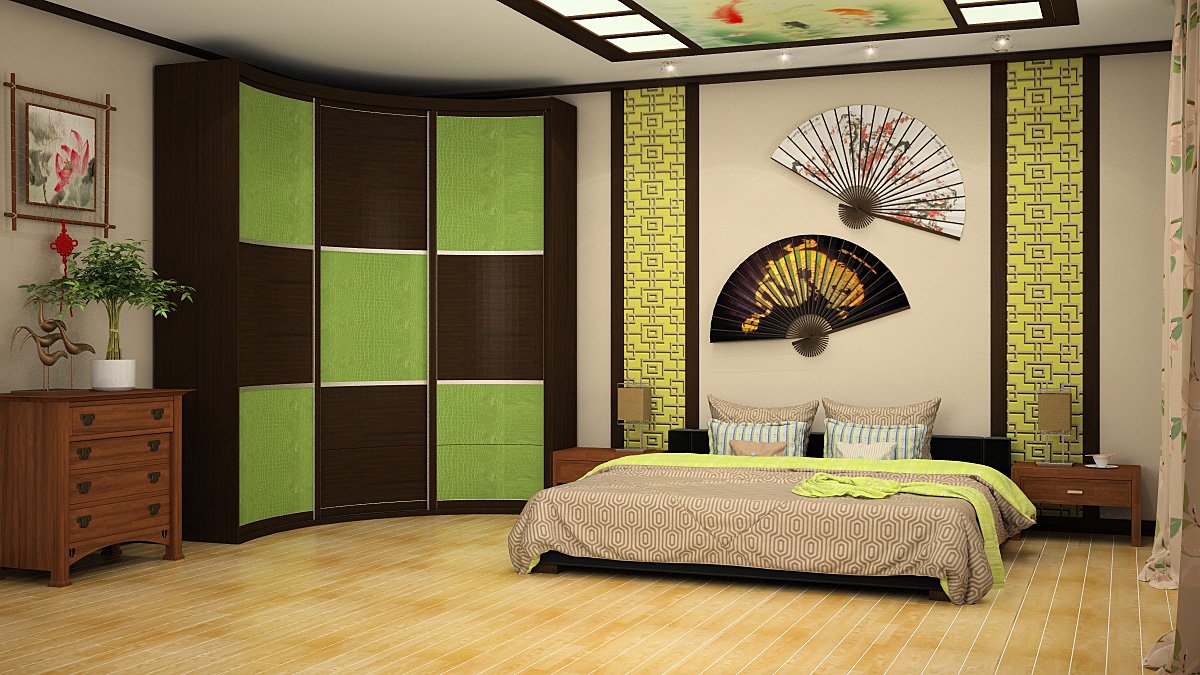
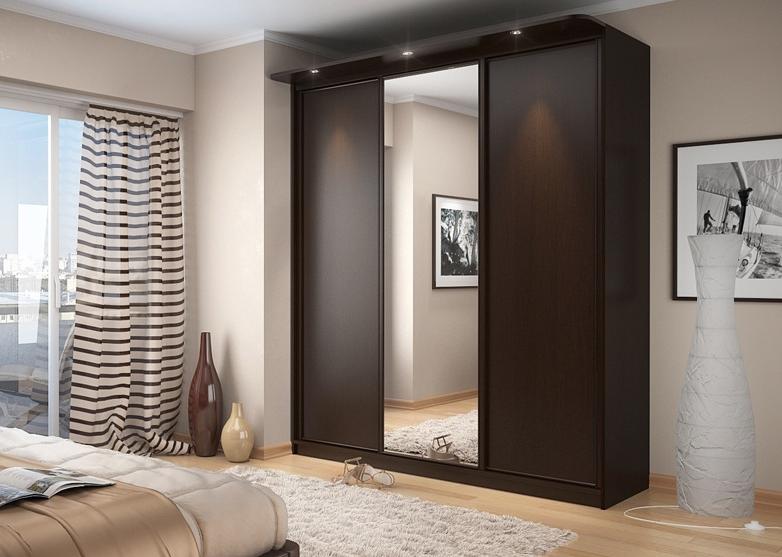
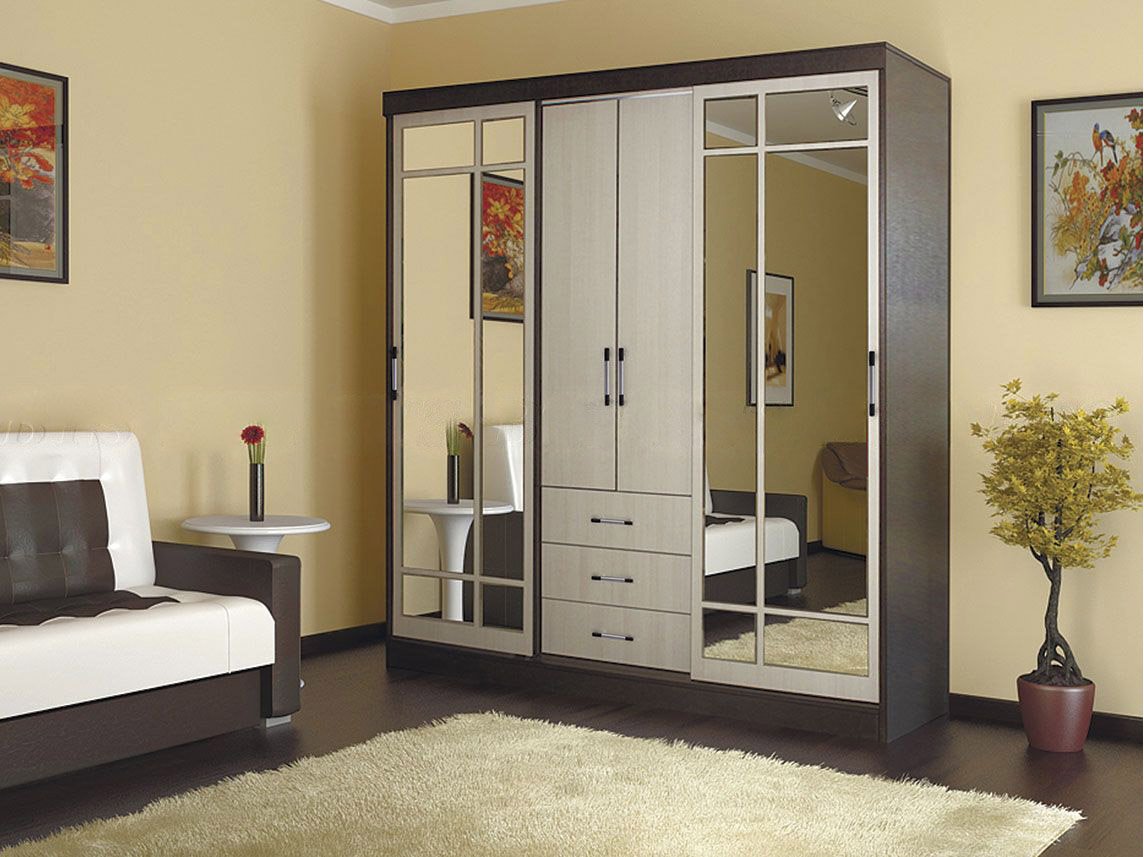
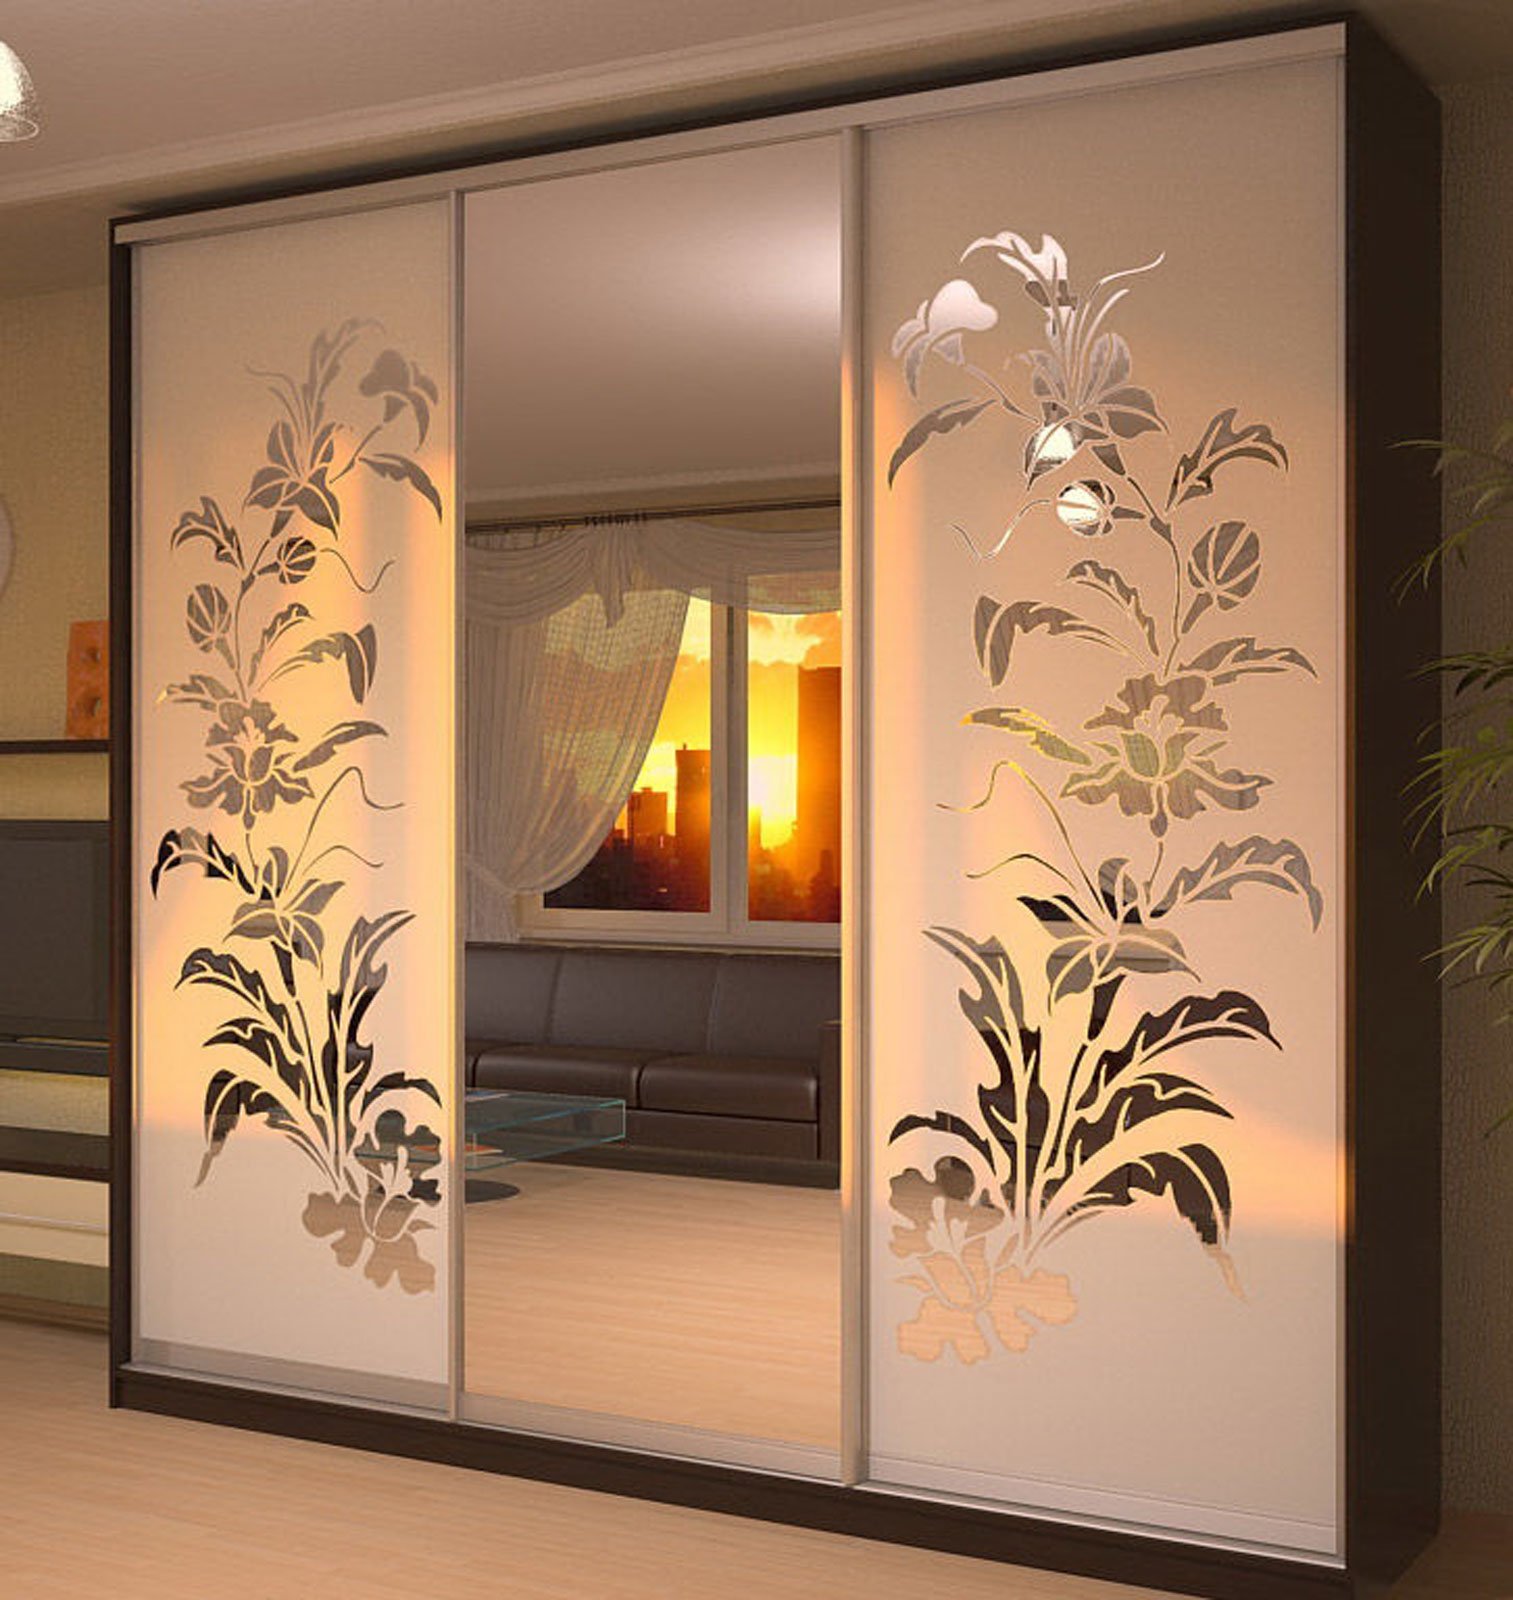
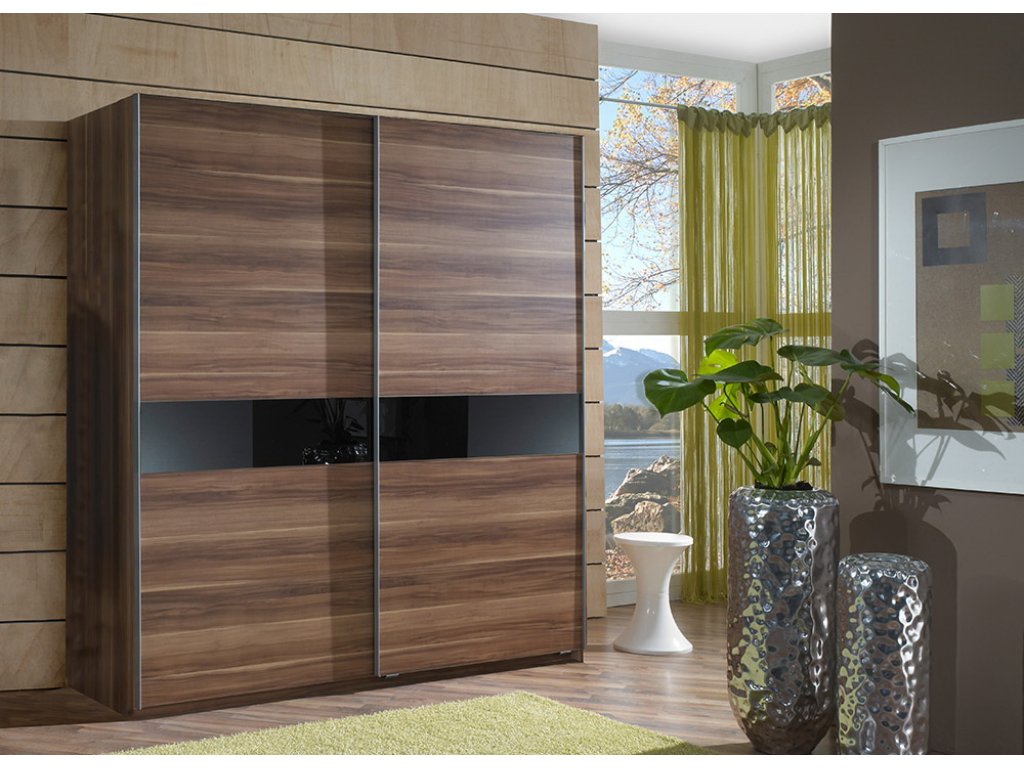
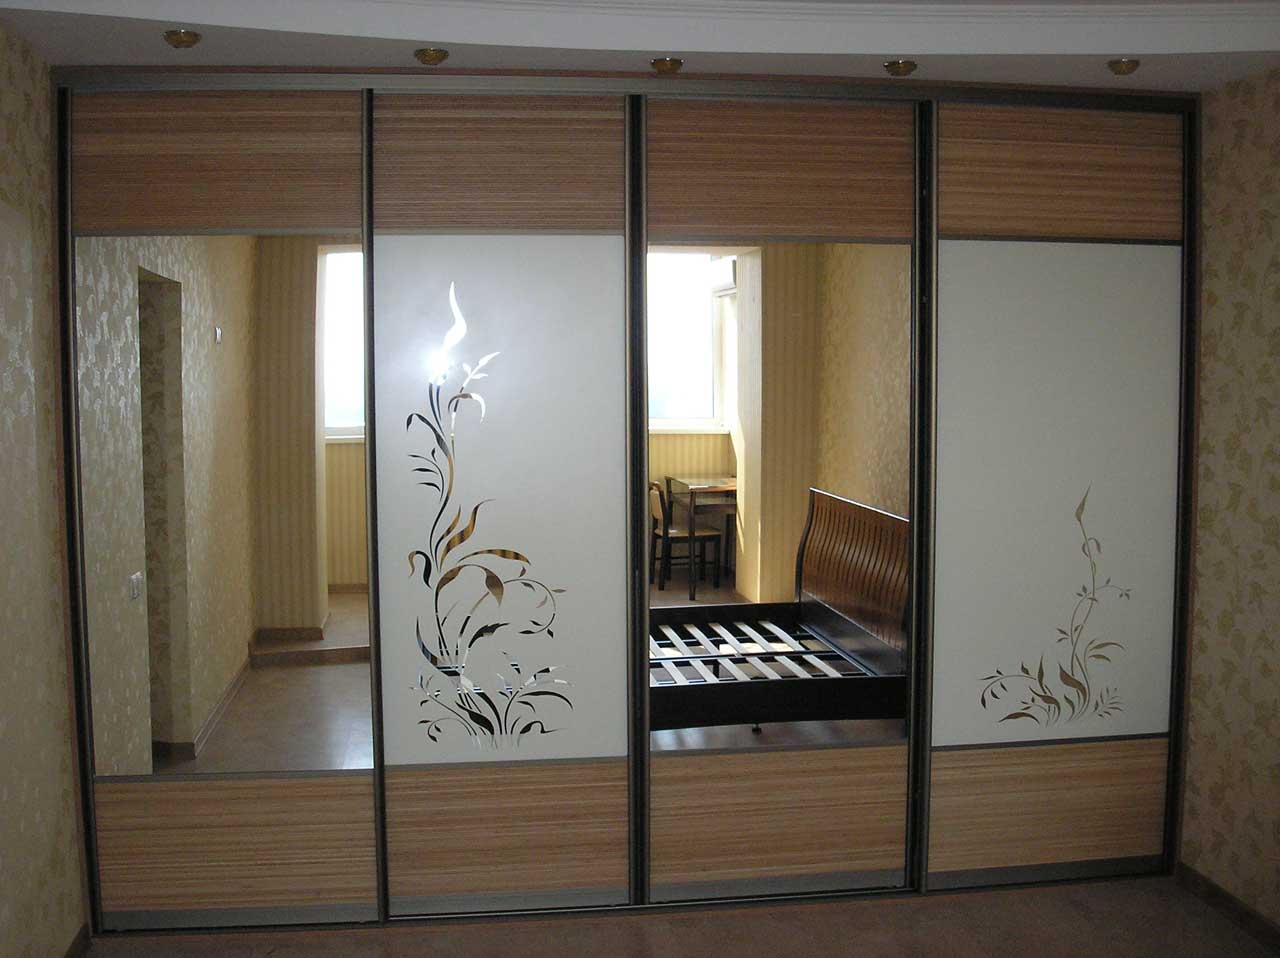
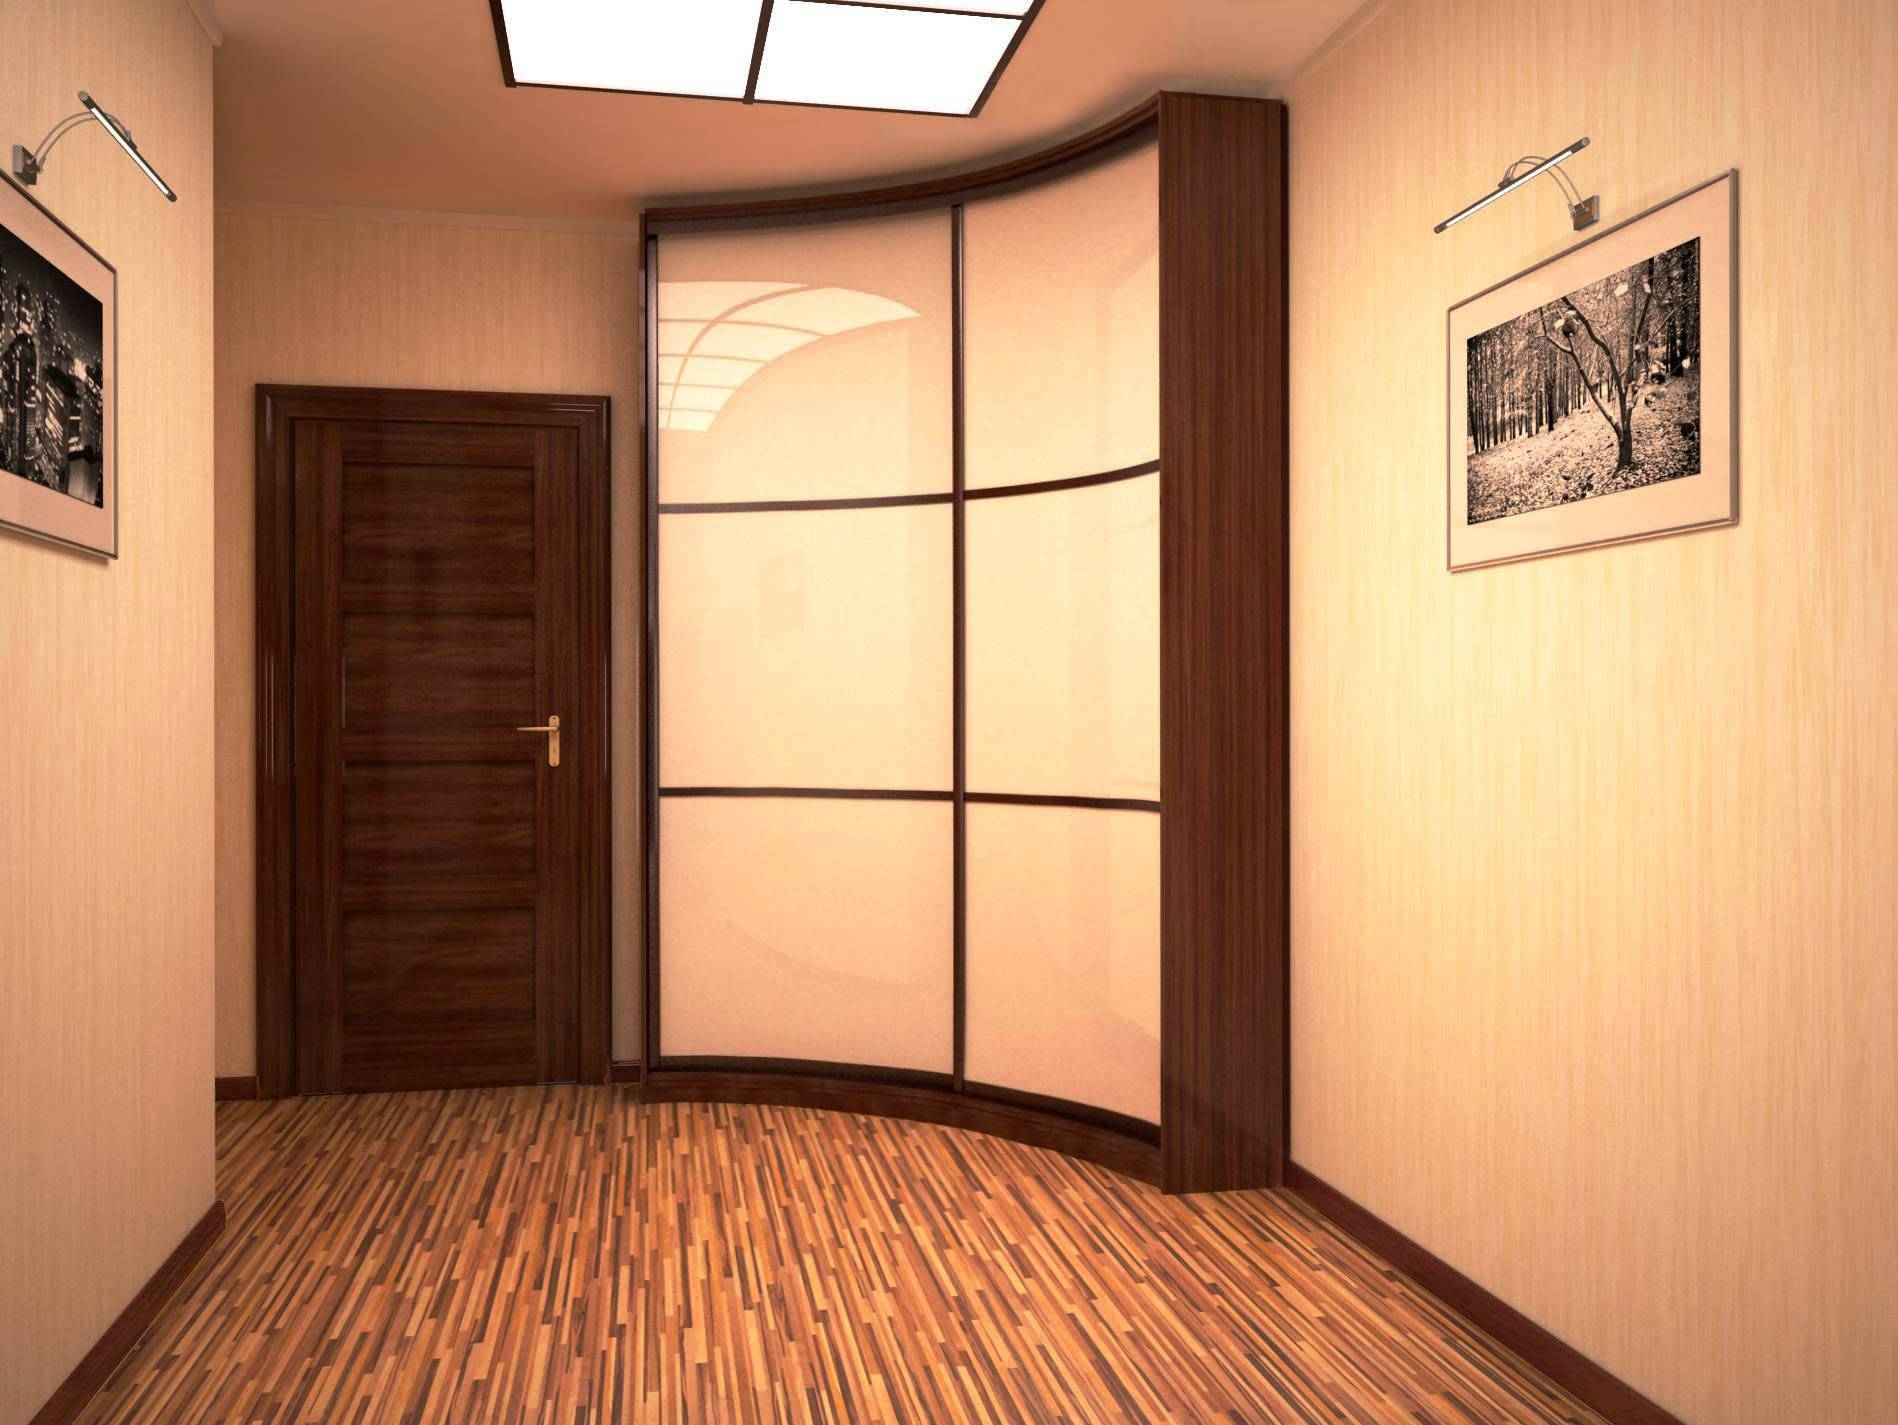
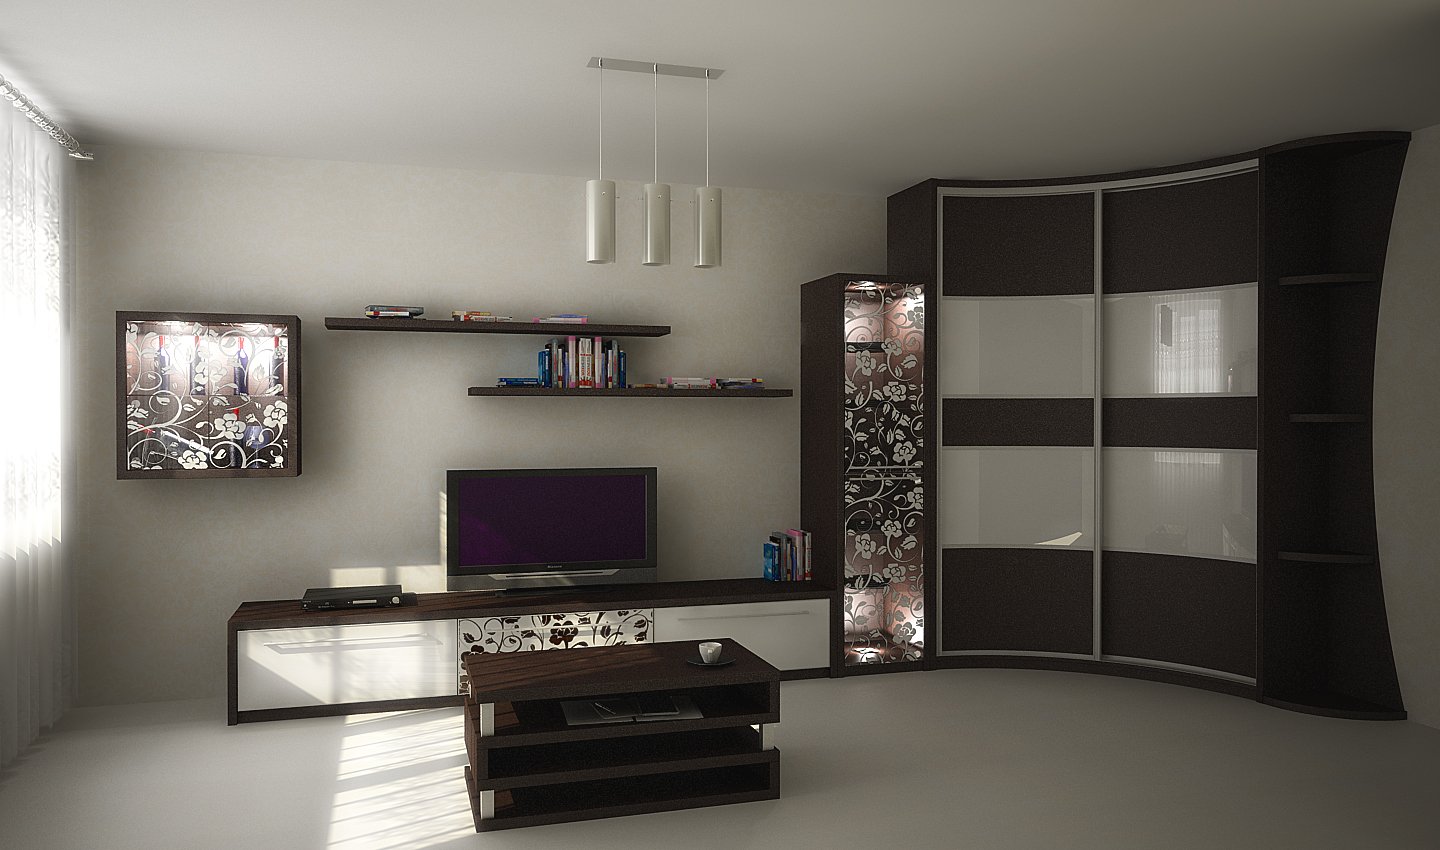
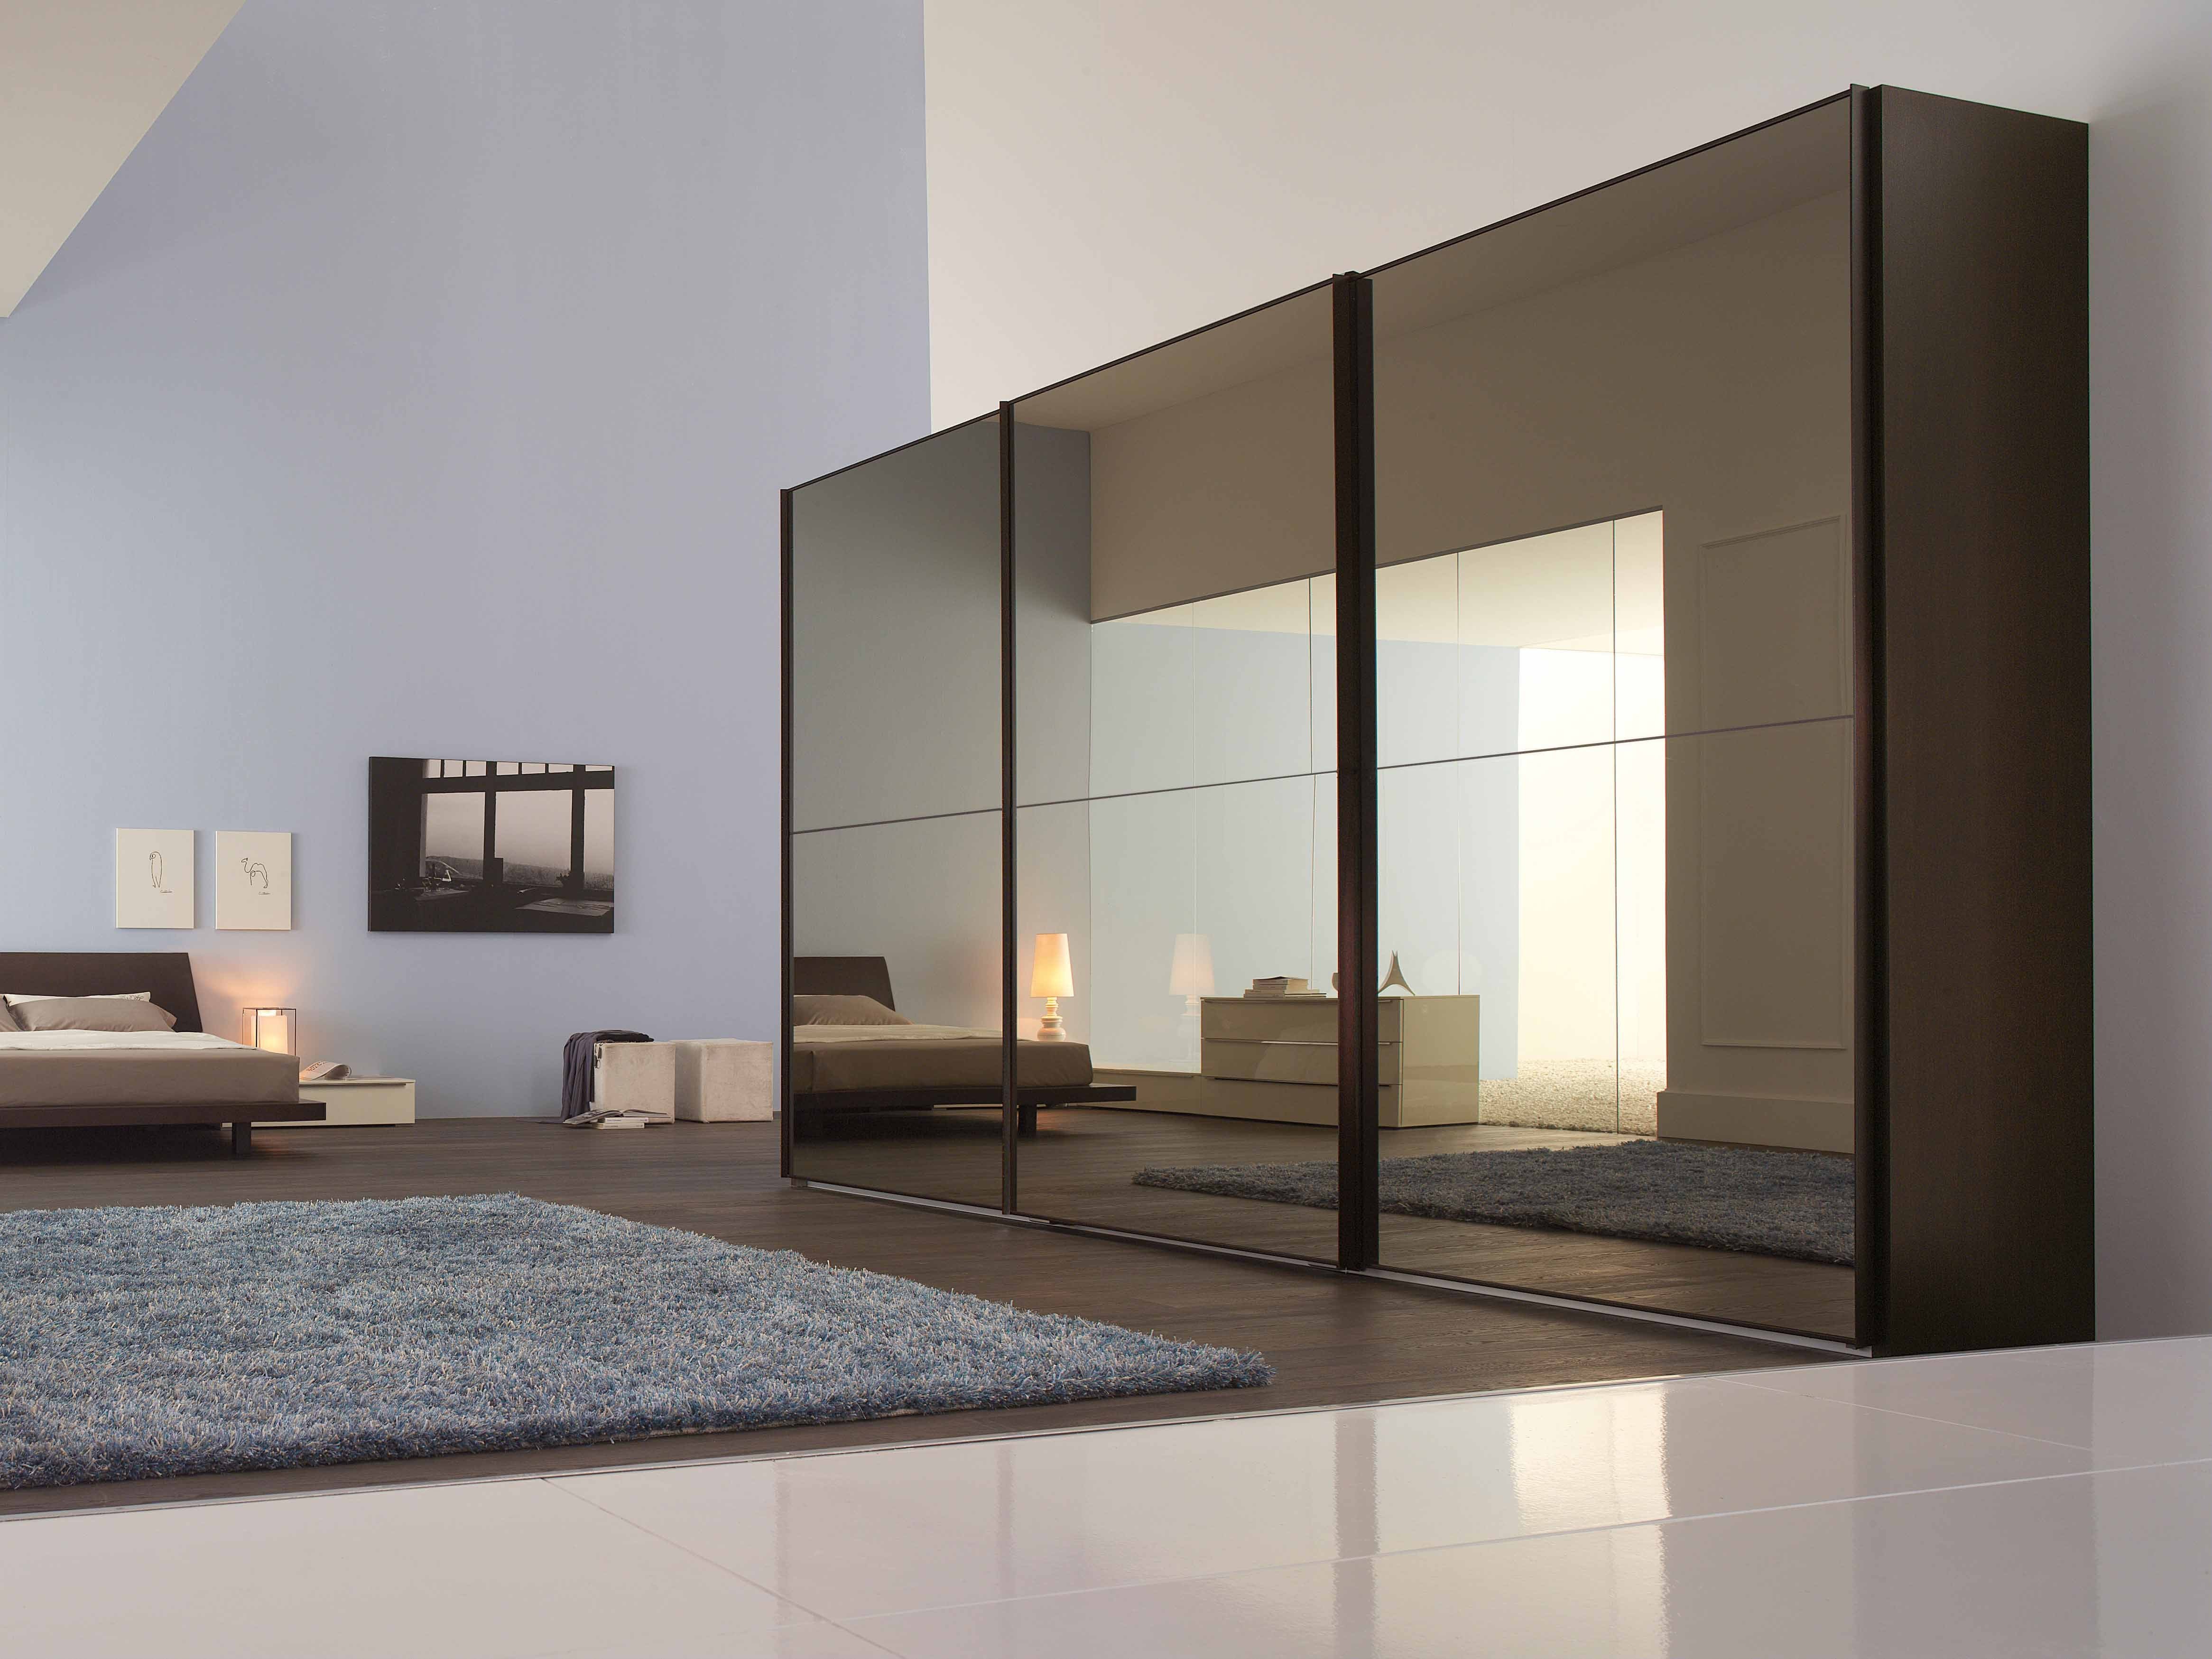
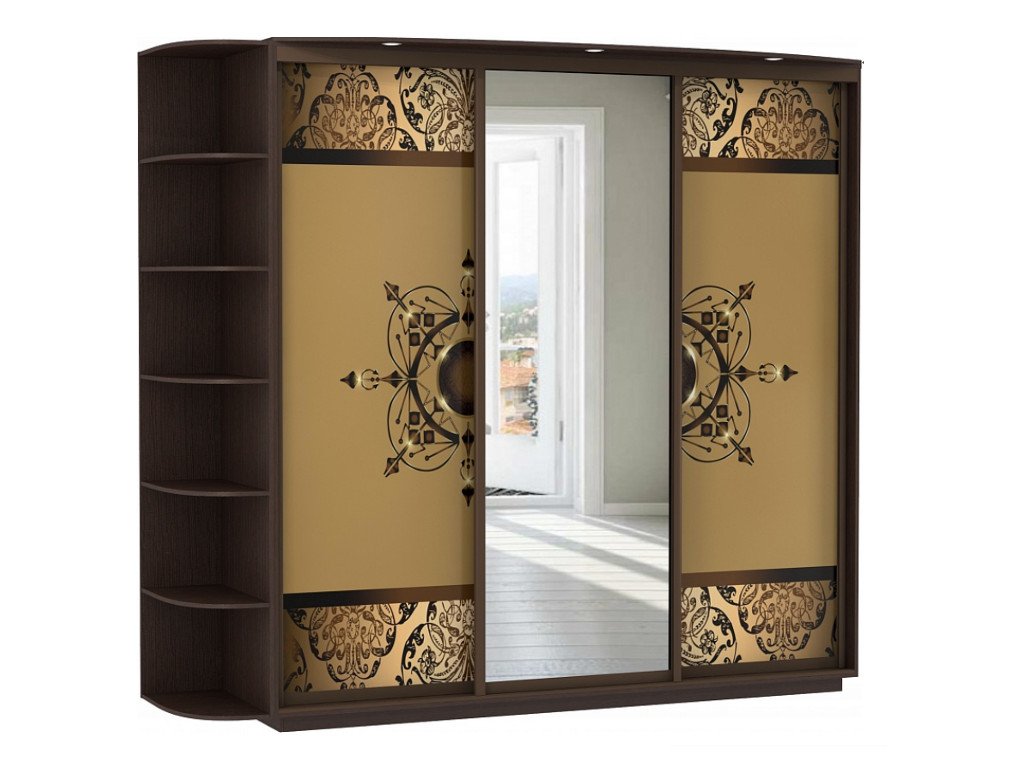
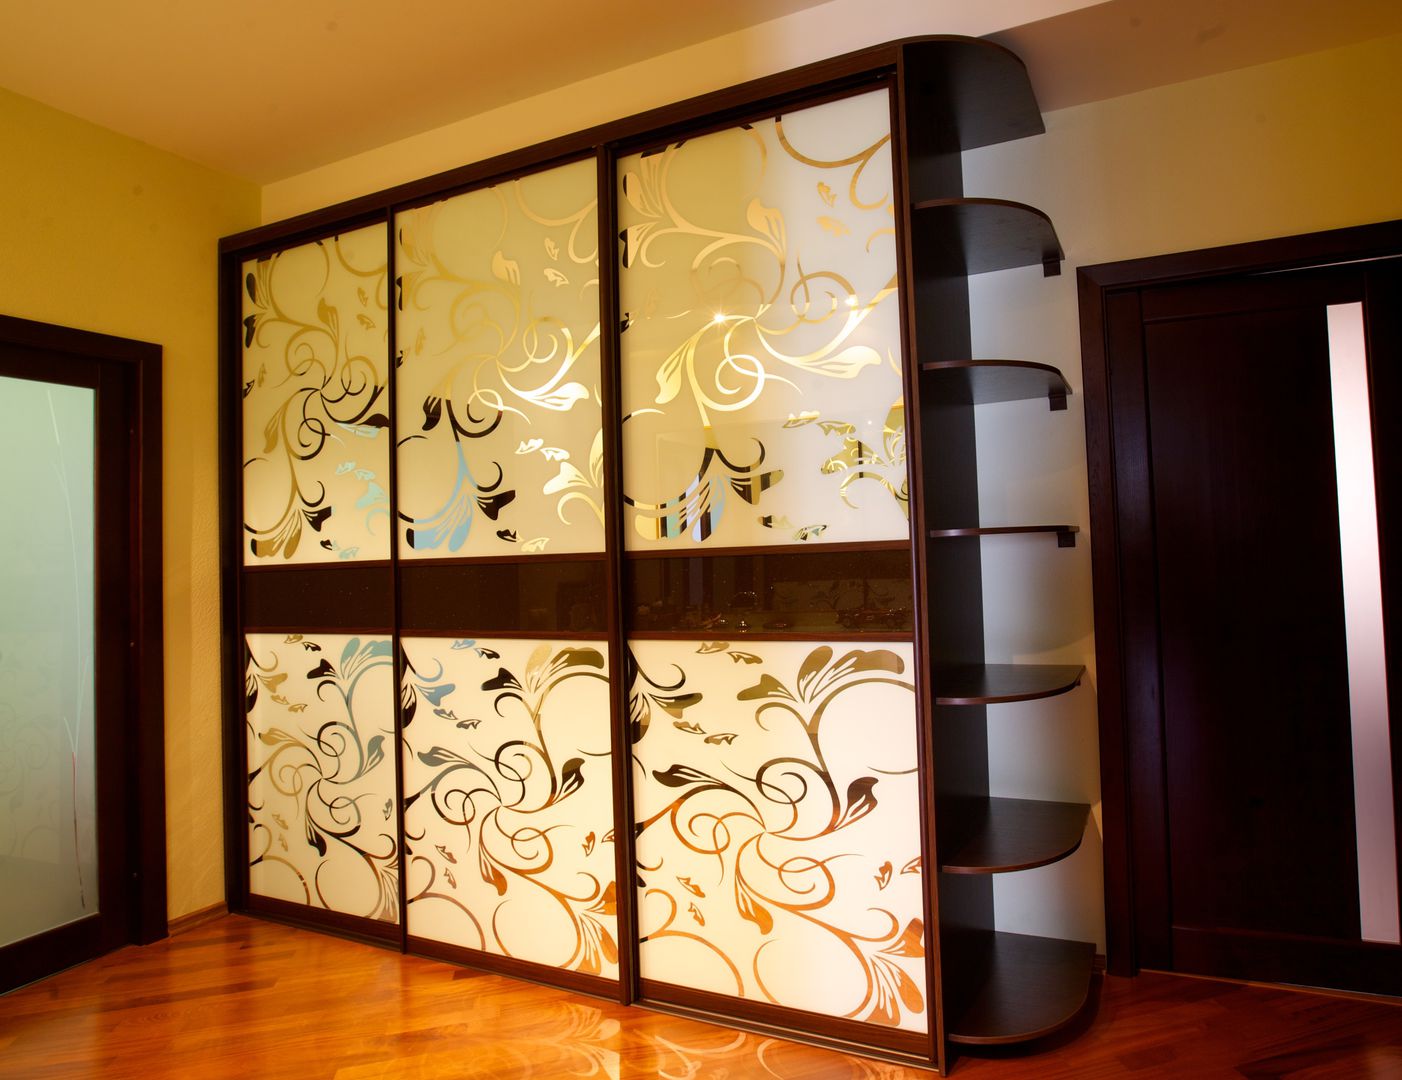
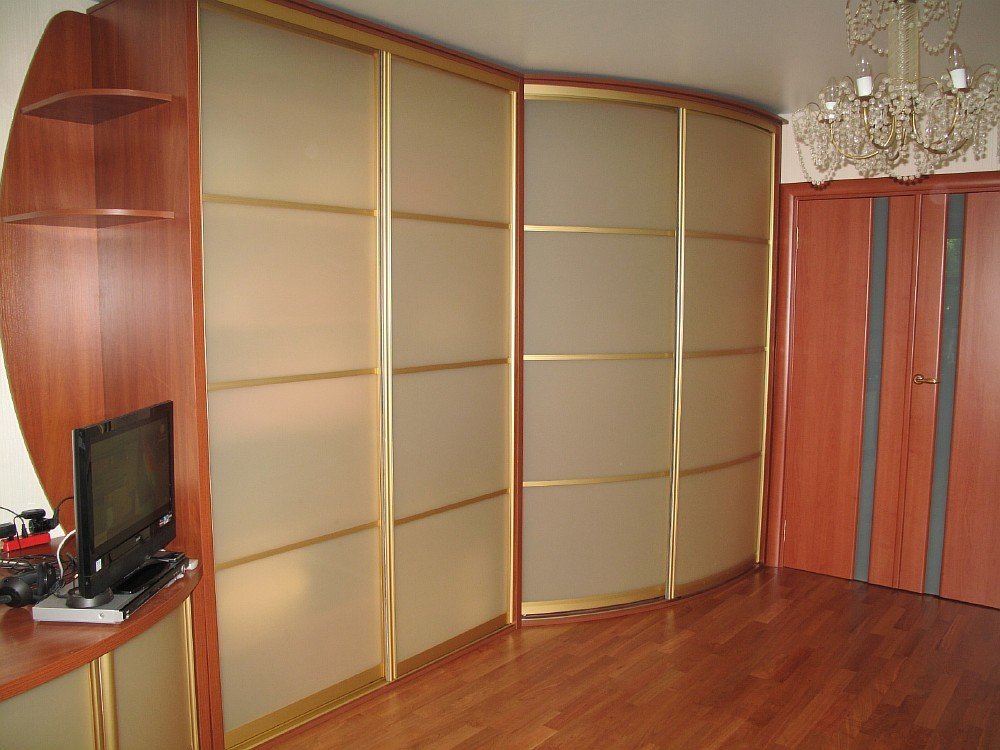
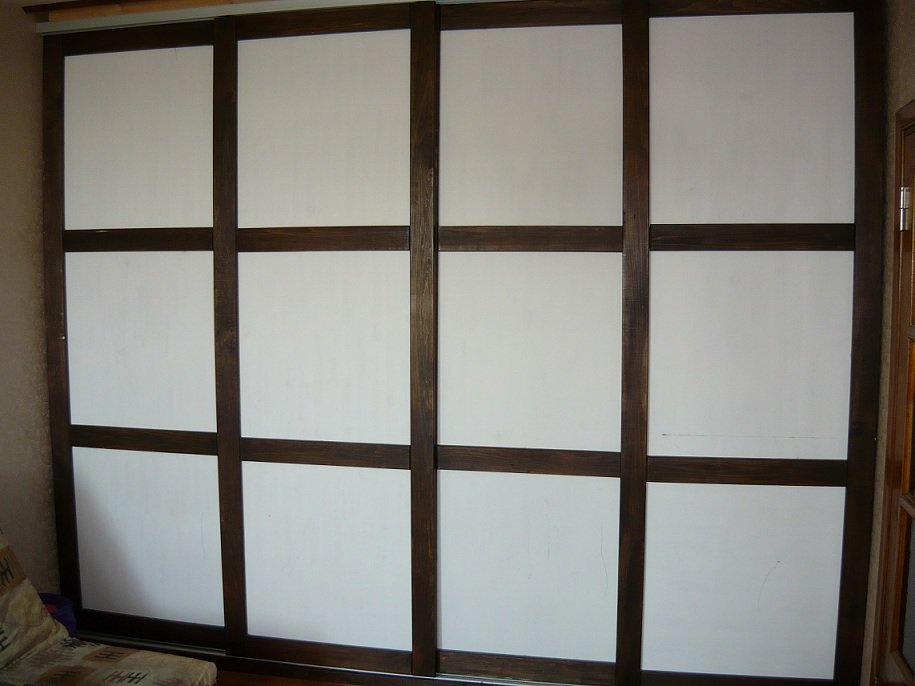
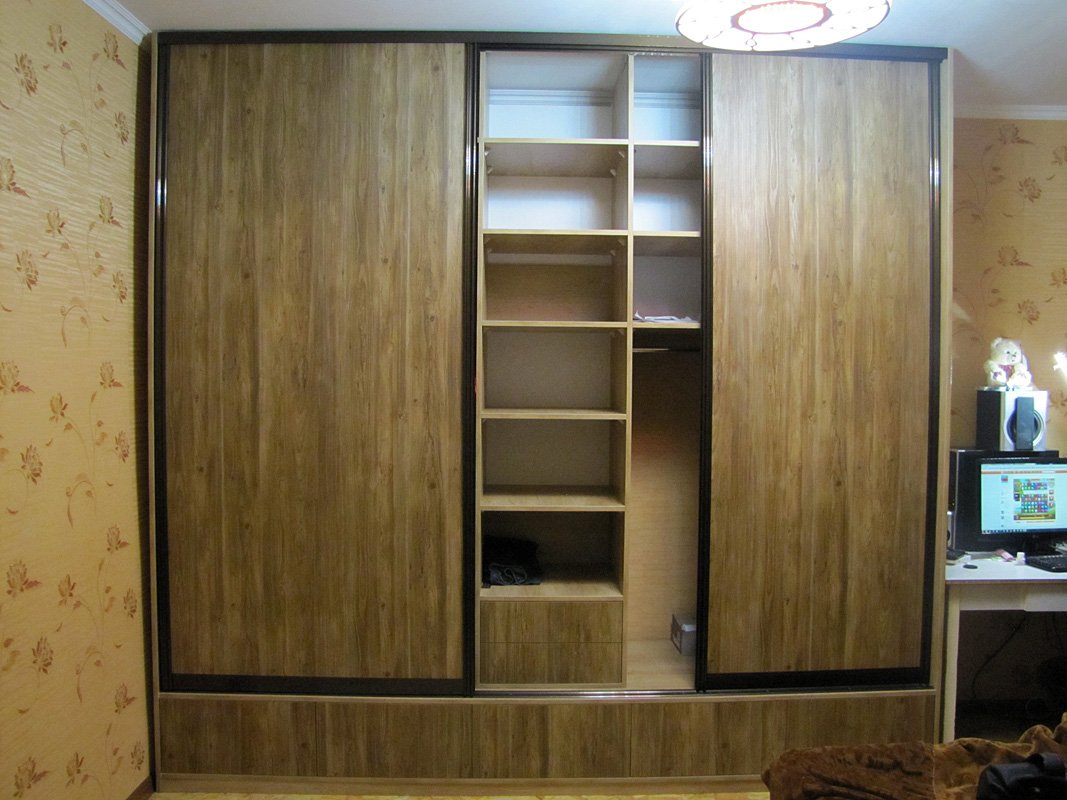
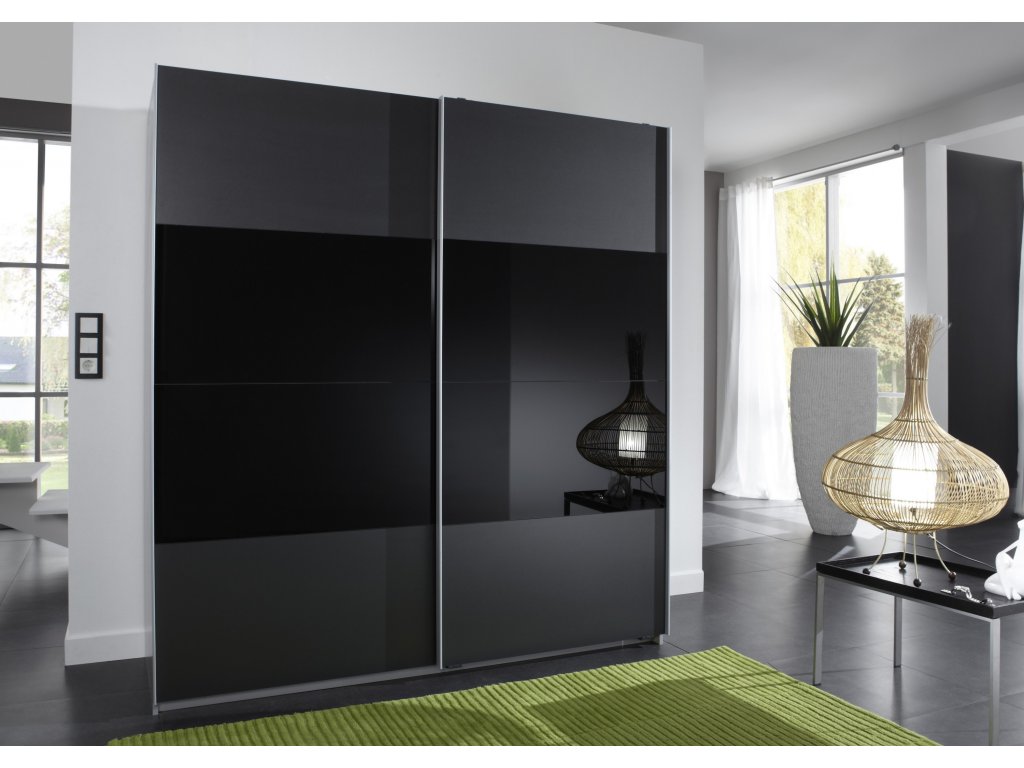
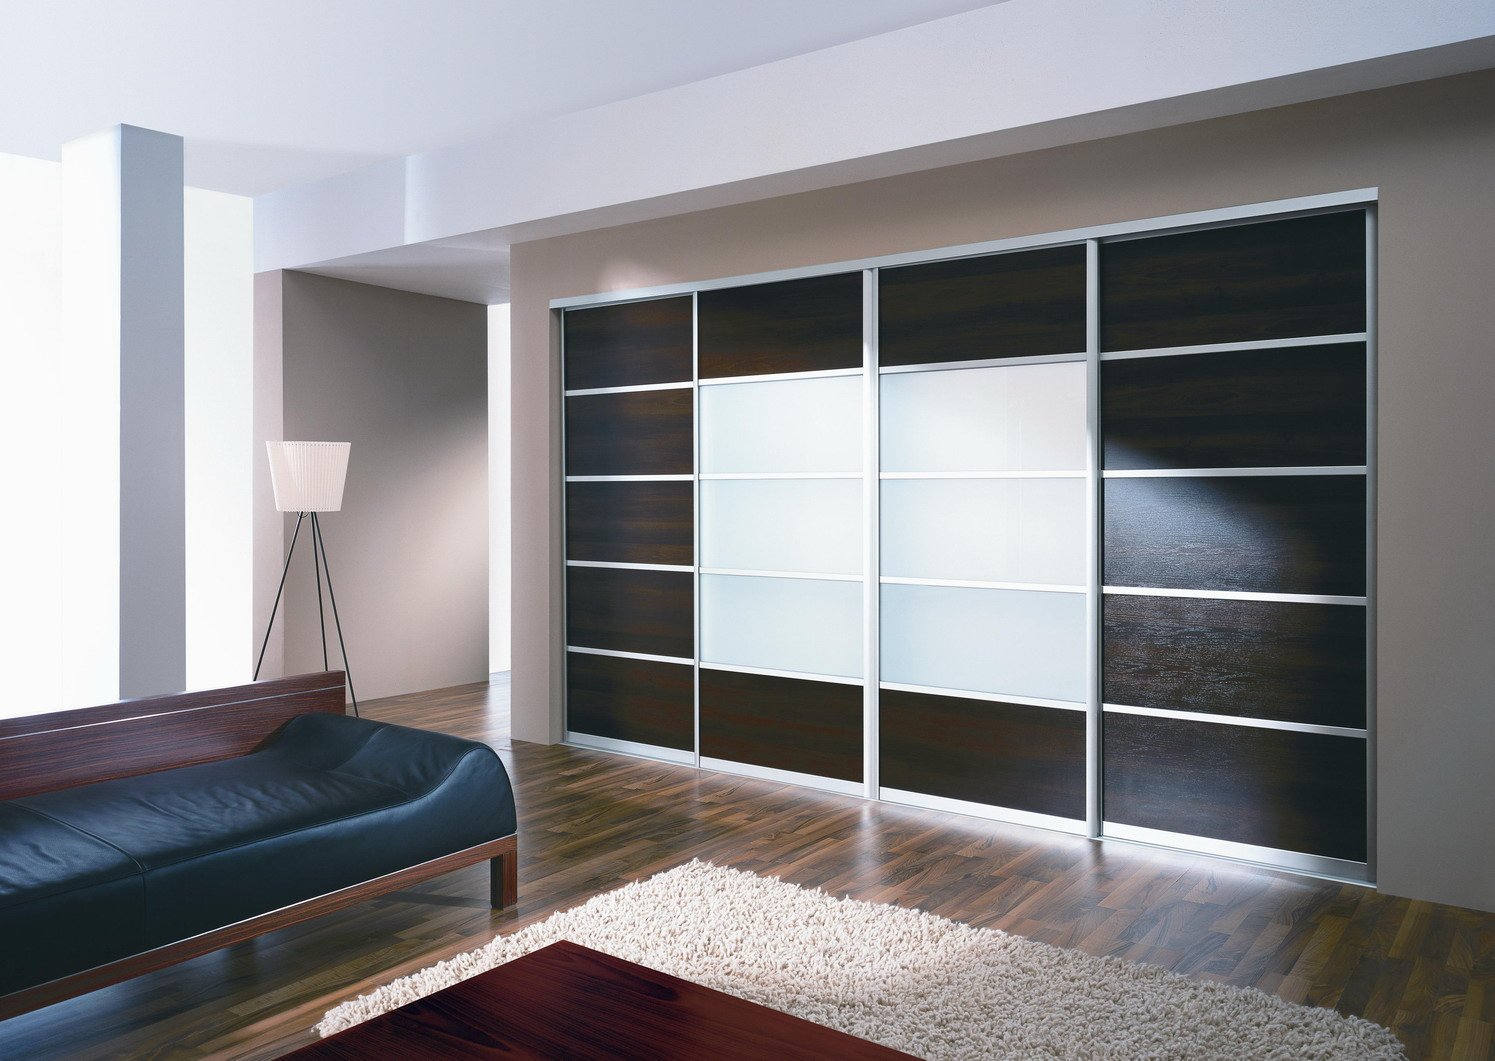
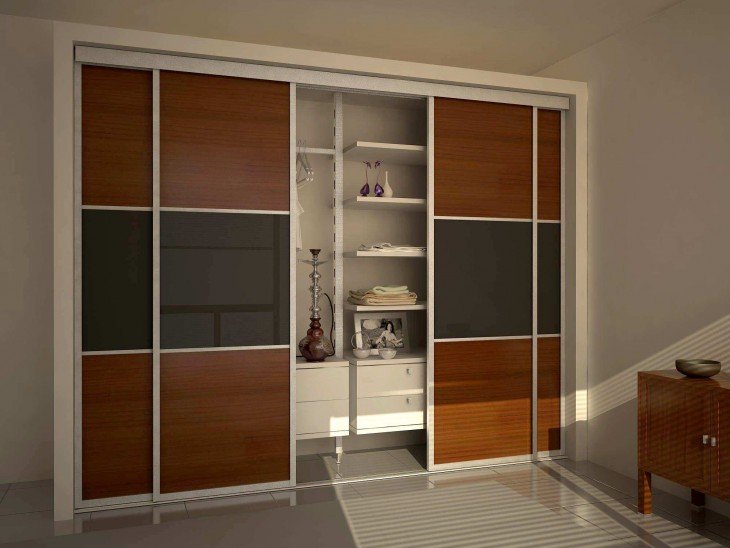
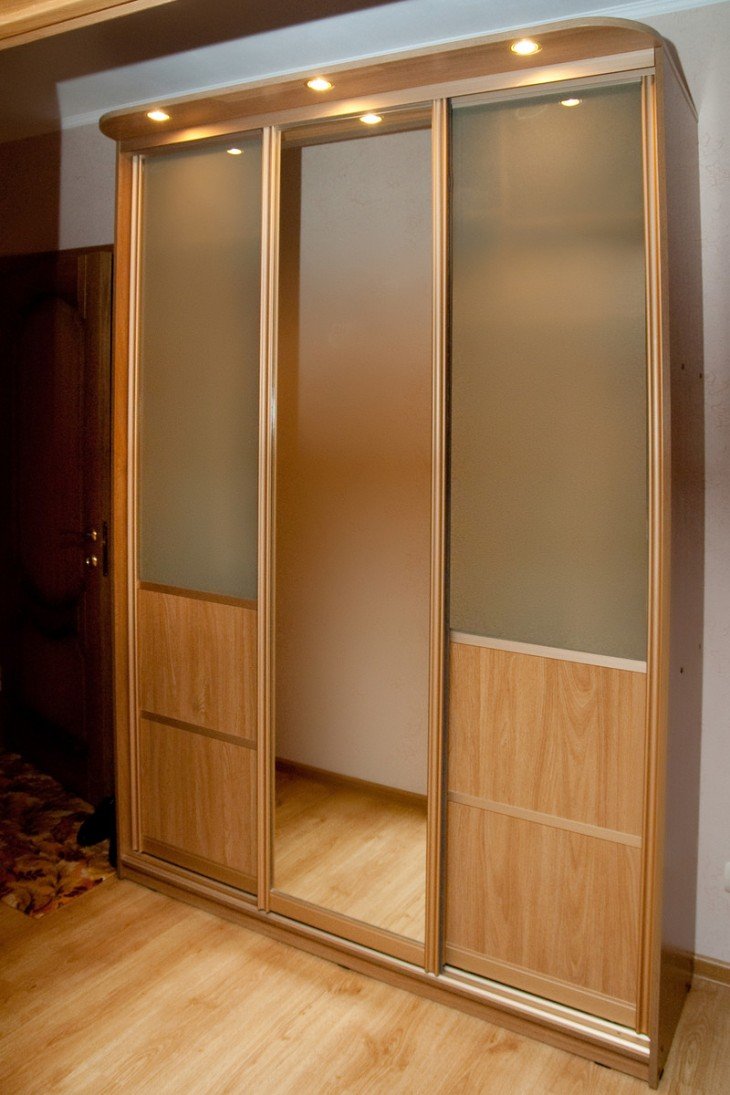
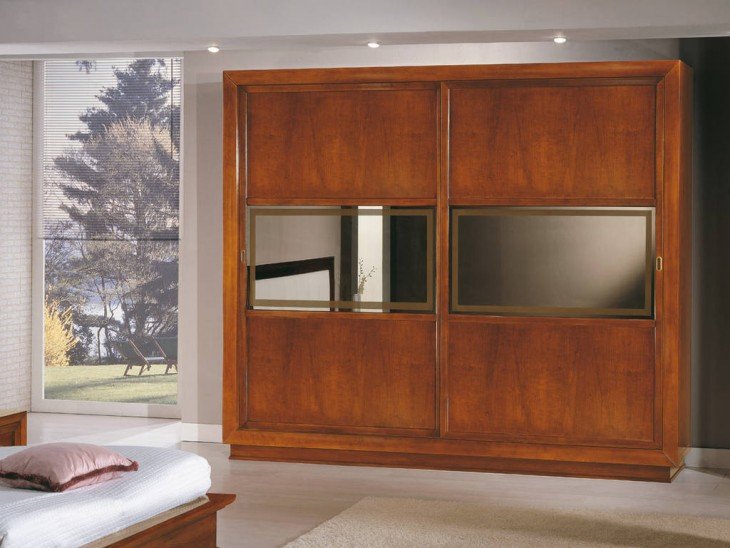
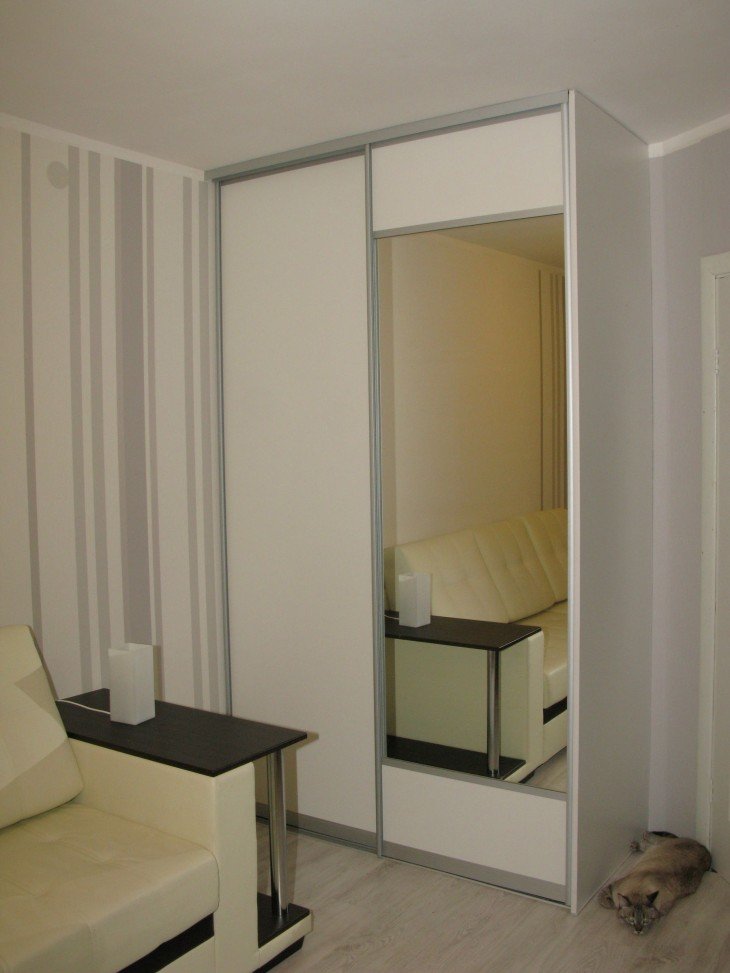
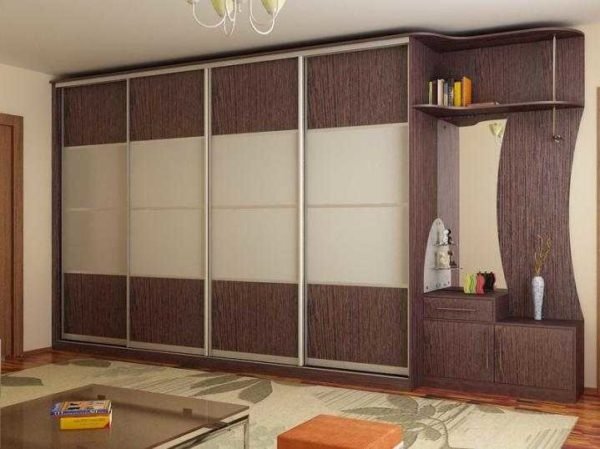
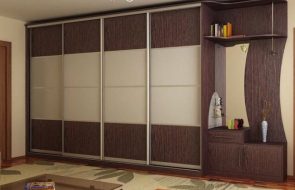
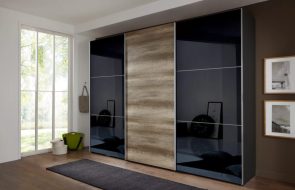
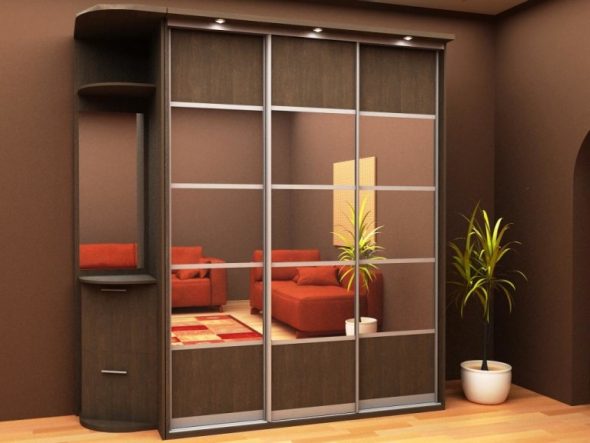
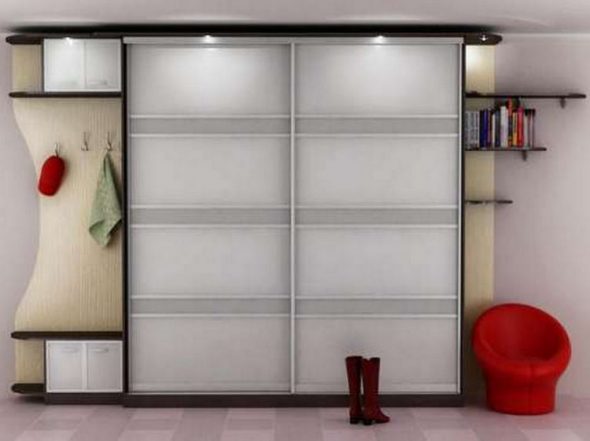
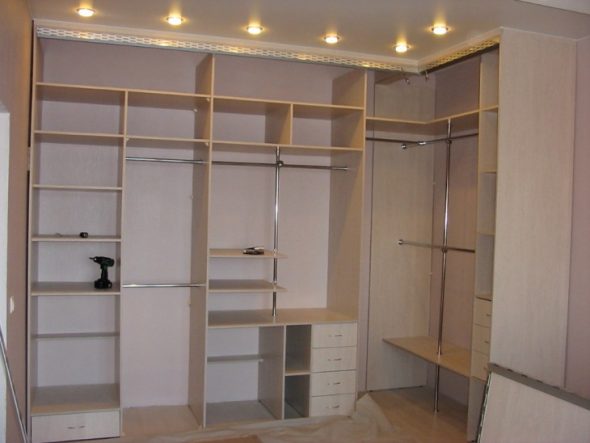
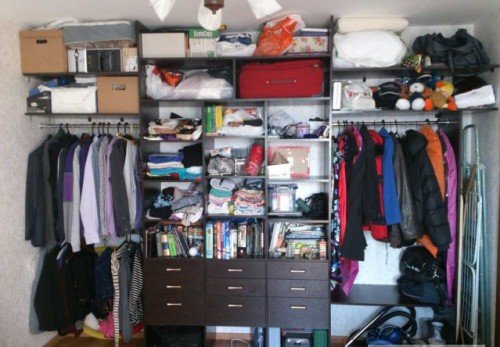
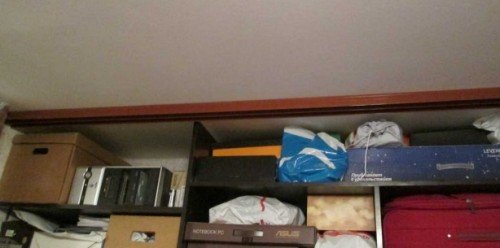
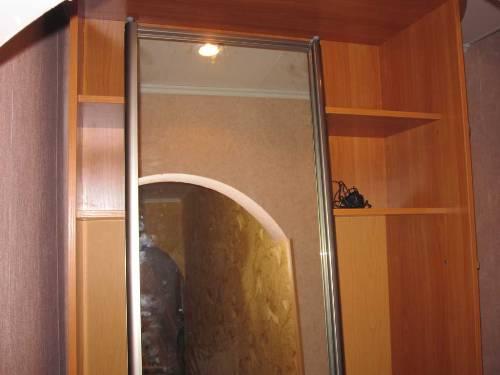
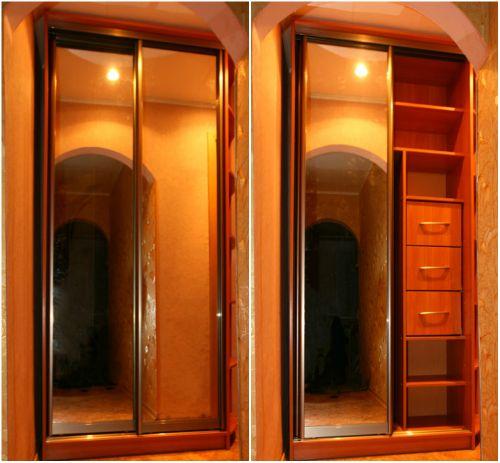
Photo ideas for using built-in and free-standing wardrobes in different rooms: