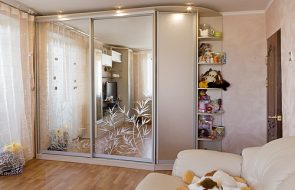
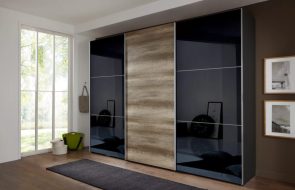
Every apartment should definitely have such a multifunctional piece of furniture as a sliding wardrobe. It will save space in your home and organize the space. Not everyone can afford to buy it due to various circumstances. This is not a reason to refuse such a thing. It will not be difficult for a jack of all trades to make and assemble it yourself.
Of course, you will need some knowledge. There is nothing complicated here, as it seems at first glance. Besides, what joy and pride you will experience from the work done. After all, furniture assemblers charge quite a high fee, and you can handle it yourself.
Content
- General rules for assembling cabinet furniture
- How to work with laminated chipboard – a popular material for cabinet furniture
- What tools are needed
- Preparation before assembly
- Main stages of assembly
- VIDEO: DIY sliding wardrobe. How to assemble a sliding wardrobe?
- 50 photo ideas on how to assemble a sliding wardrobe with your own hands
General rules for assembling cabinet furniture
To assemble the purchased furniture, you need to follow the instructions for assembling the cabinet, attached by the manufacturer. There are certain rules. Following them, you will assemble any item with high quality and in a short time.
- Do not take everything out of the packages at once, especially do not mix parts from different packs. Observe the order.
- Read the instructions carefully so that there are no problems later and you don’t have to redo it all over again.
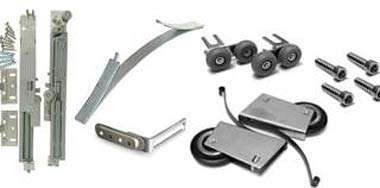
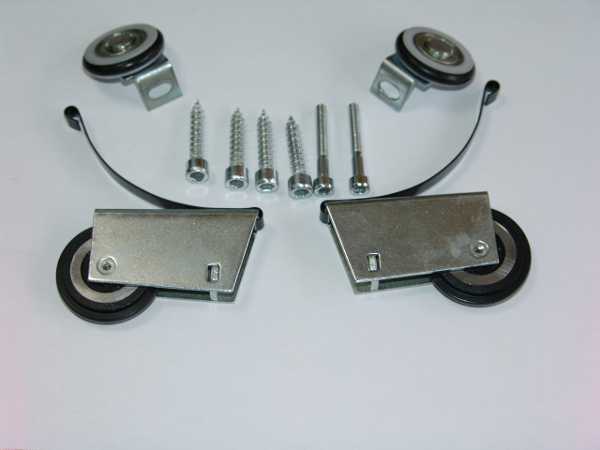
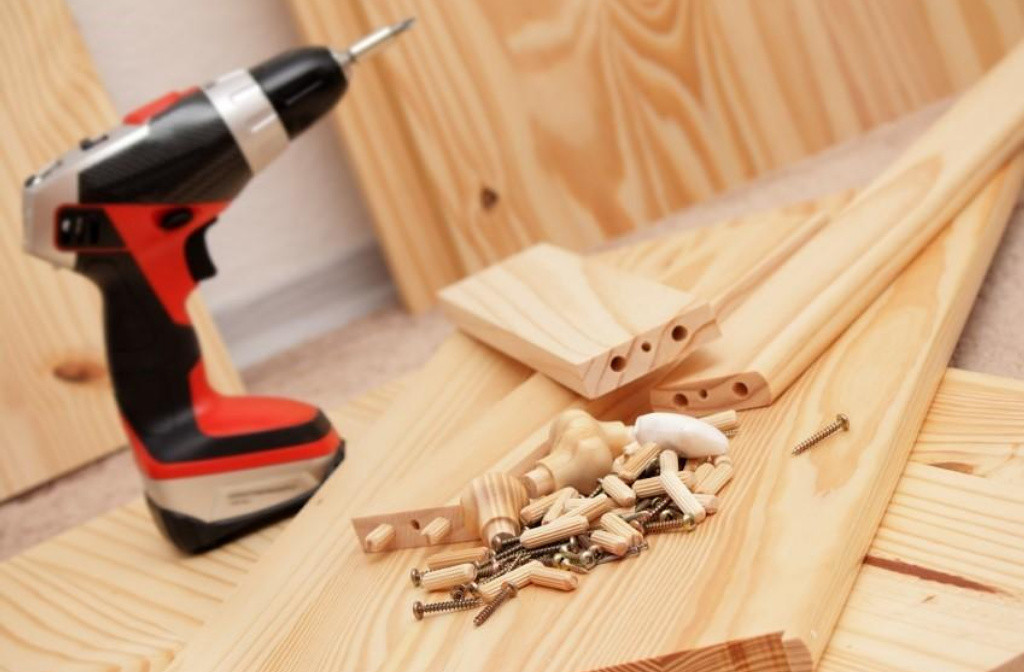
- Make sure that the fittings and components are in place. Otherwise, you will not be able to fully assemble the furniture. The handles should match the color scheme. It is necessary that the drawer guides have a soft stroke.
- Assemble one section at a time, starting with the bottom and gradually moving to the sides.
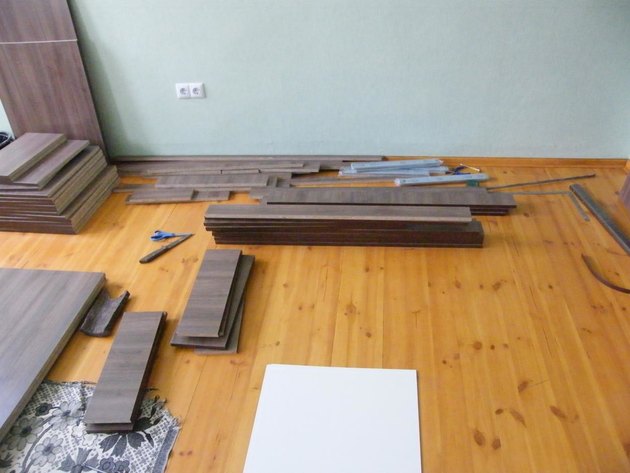
- Open the package, lay out the parts, prepare the tools.
- Mirrors and glass are installed at the final stage. This way you will avoid damage.
If you make it yourself, it will be much easier to assemble.
How to work with laminated chipboard – a popular material for cabinet furniture
Currently, laminated chipboard is mainly used in furniture production. This is the primary basis. It is a large dispersion of wood chips. It is given the shape of a sheet by hot pressing. Formaldehyde resins are used in the production of boards; they are an additional component. The difference from simple chipboard is the coating with a film made of paper and melamine resin. According to environmental indicators, it is better to use materials of class E1. Laminated chipboard boards have good compaction, due to which furniture made from them is strong and has a long service life.
If you think that this material has the same composition, you are mistaken. By coating, they are divided into veneered, rough and laminated. By quality composition, they can be divided into three grades: the first - first-class sawdust is used (usually wood of one species). The surface is flawless, not a single chip. The board is decorated, laminated with film or veneer. The second grade - you can already see small defects. There may or may not be cladding. The third - here there are already noticeable defects. Such boards are not covered with anything.
In addition, laminated chipboard is moisture-resistant and fire-resistant (withstands high temperatures). They are mainly used to make furniture bodies, but are also used in the production of partitions or used as interior decoration. It is worth mentioning that, due to their composition, laminated chipboard holds nails and screws well.
Furniture made from these boards has many advantages compared to other materials.
- Acceptable price indicators.
- No difficulties in manufacturing.
- Quality.
- Significant period of use.
- A variety of colors and decorations. This will help you choose the perfect furniture for your living room, kitchen or children's room.
- Harmonizes perfectly with other materials.
This furniture looks great in any interior.
Another important feature of laminated chipboard is that these boards have heat and sound insulation. Therefore, they can be used to cover the walls of a room.
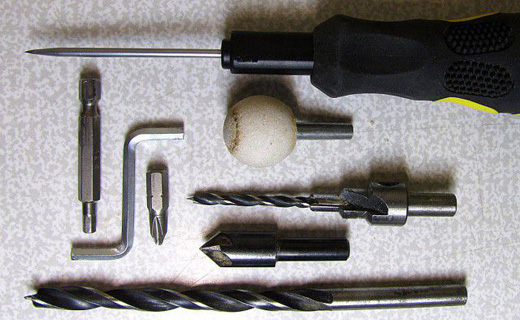
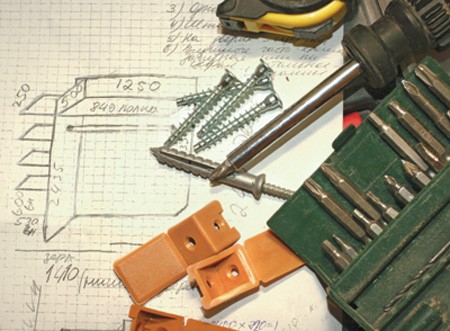
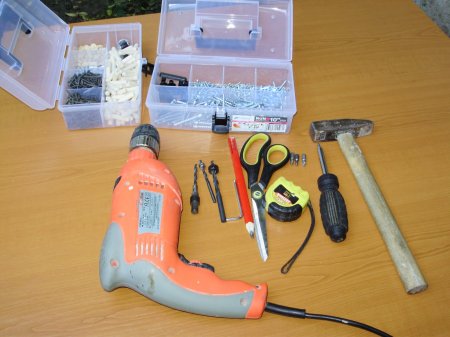
What tools are needed
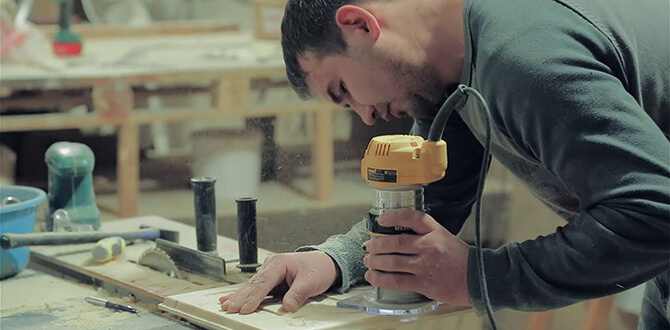
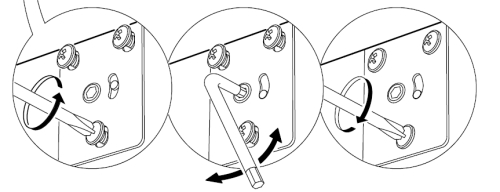
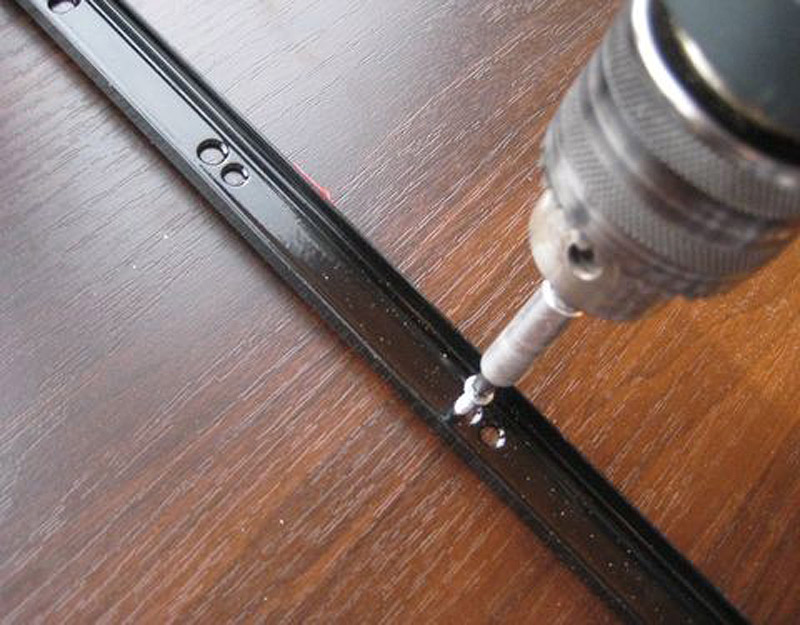
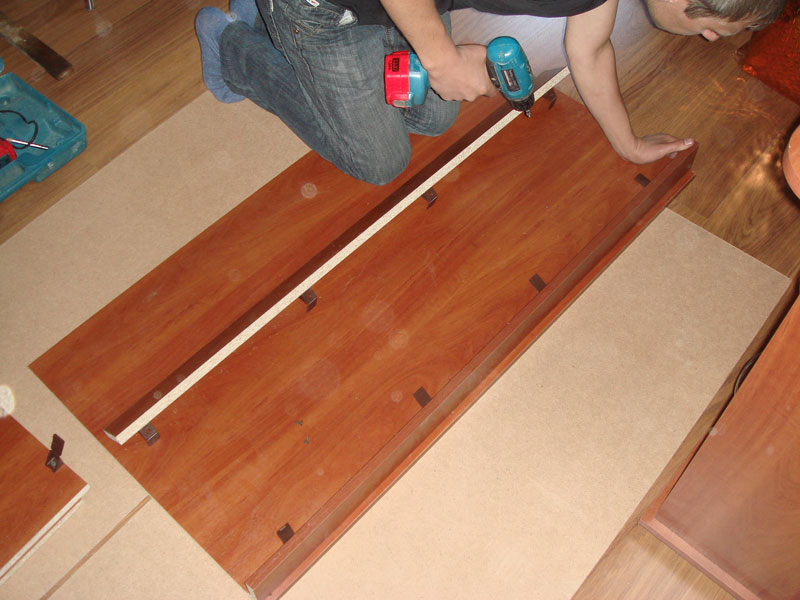
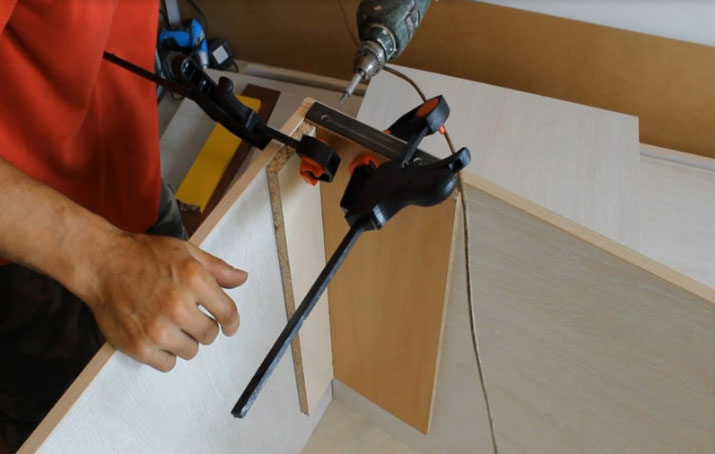
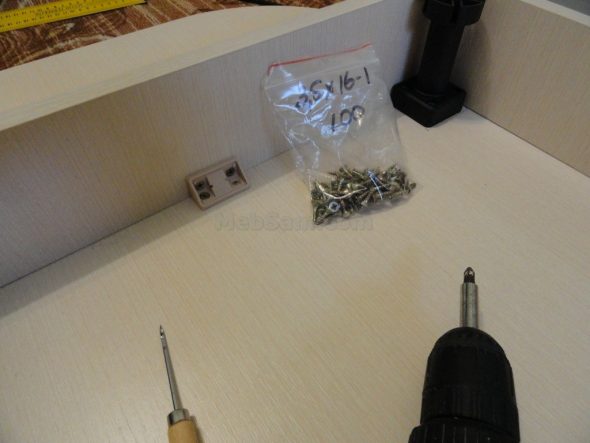
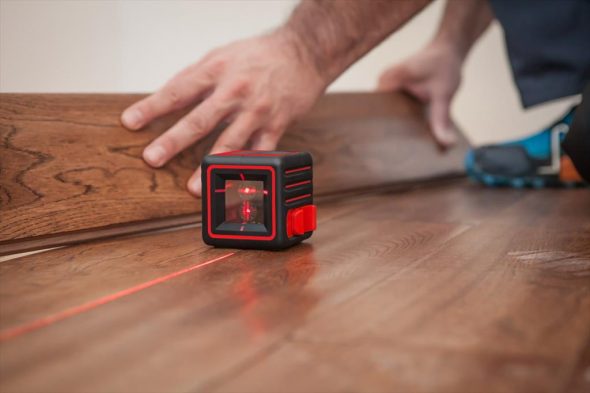
You won't need to spend a lot of money on tools. To assemble a kitchen set, a wardrobe or a hallway, you need to have a standard set of tools: a screwdriver, a hex key for a confirmat, a screwdriver, various drills, a bit for a confirmat, an awl, a pencil, a tape measure, a square, fine-grained sandpaper, an electric drill, a stationery knife, an iron, a jamb knife, a rubber mallet, a clamp for parts.

It is impossible to guess what tool you will need to assemble furniture. It depends on what kind of project it is – difficult or not.
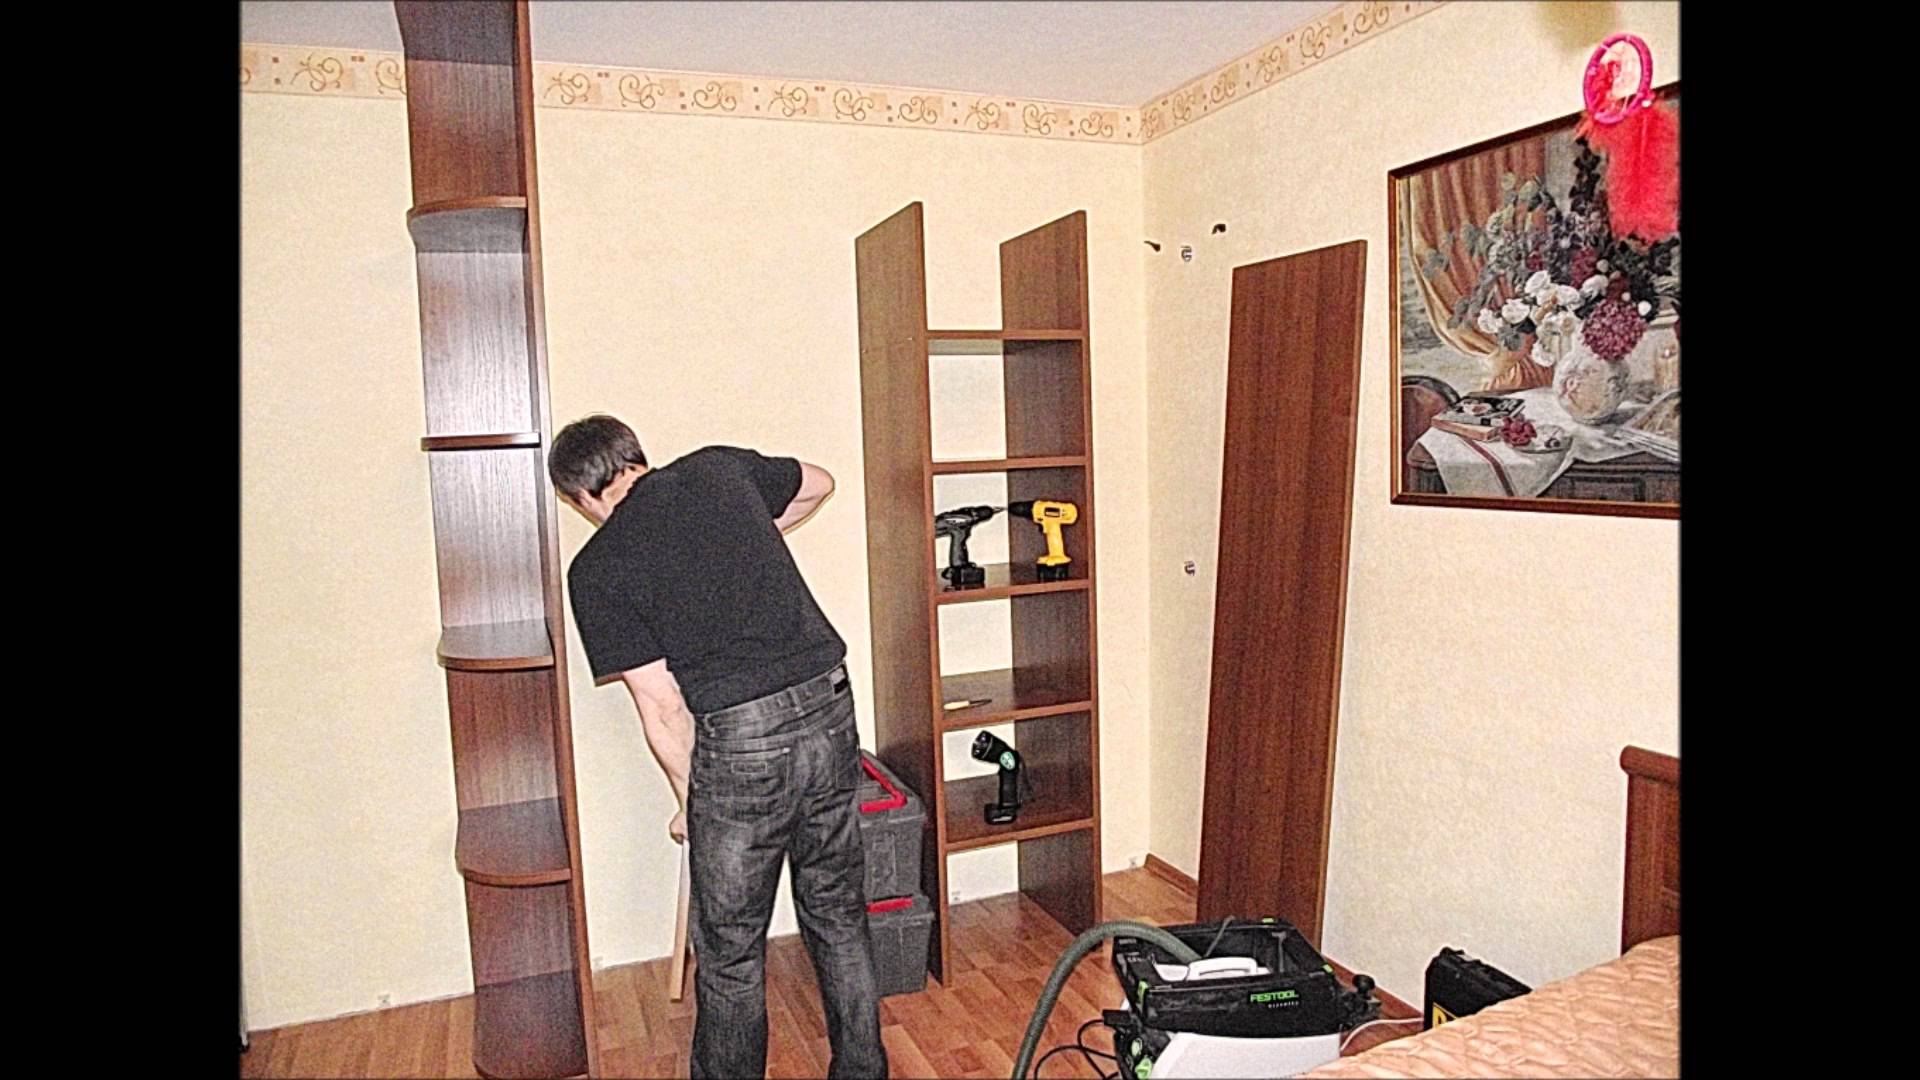
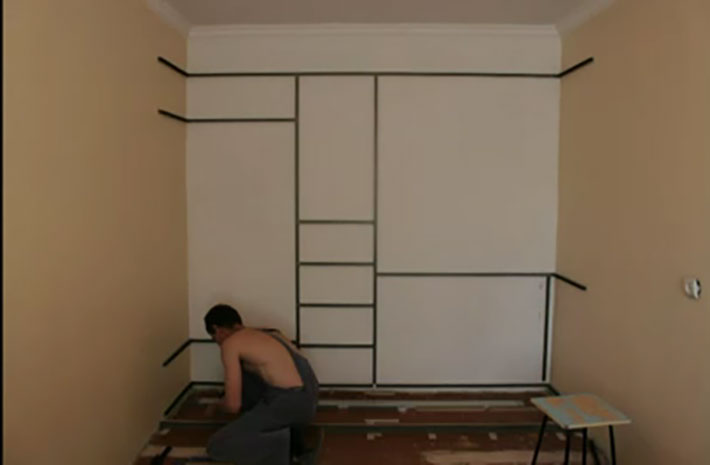
Preparation before assembly
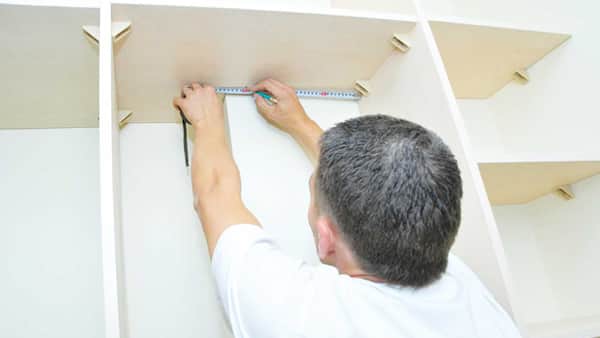
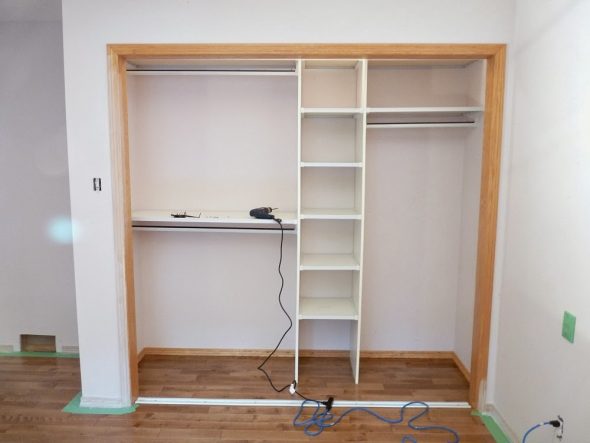
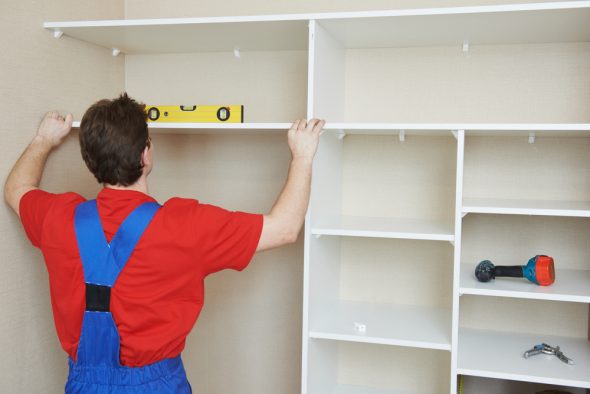
First, you need to prepare the room. The final outcome of the case and how much time you will spend on the work depend on this. An important point is that nothing gets in the way. Make sure that all the materials and necessary tools are at hand.
Furniture assembly seems simple at first glance. Many people make mistakes, which results in defects: doors and sashes do not fit together well, doors may creak when opened, parts become skewed due to misalignment of holes, and furniture does not stand securely on the floor. To avoid this, it is necessary to follow certain rules and instructions.
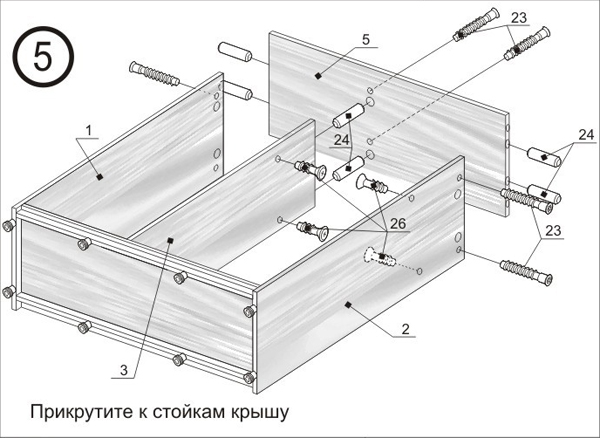
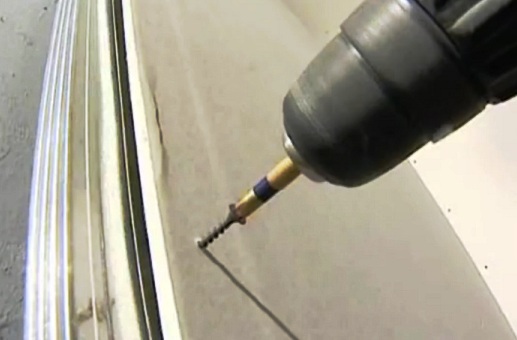
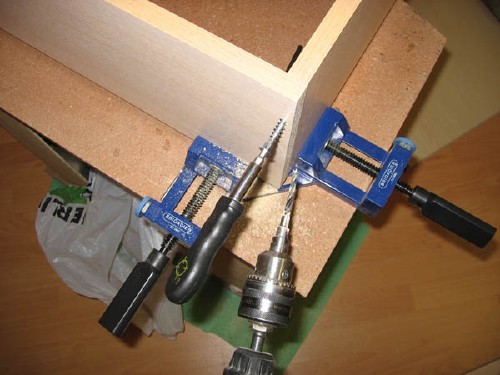
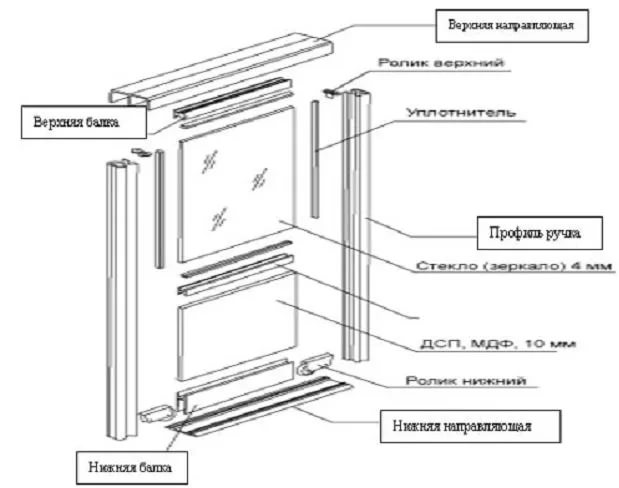
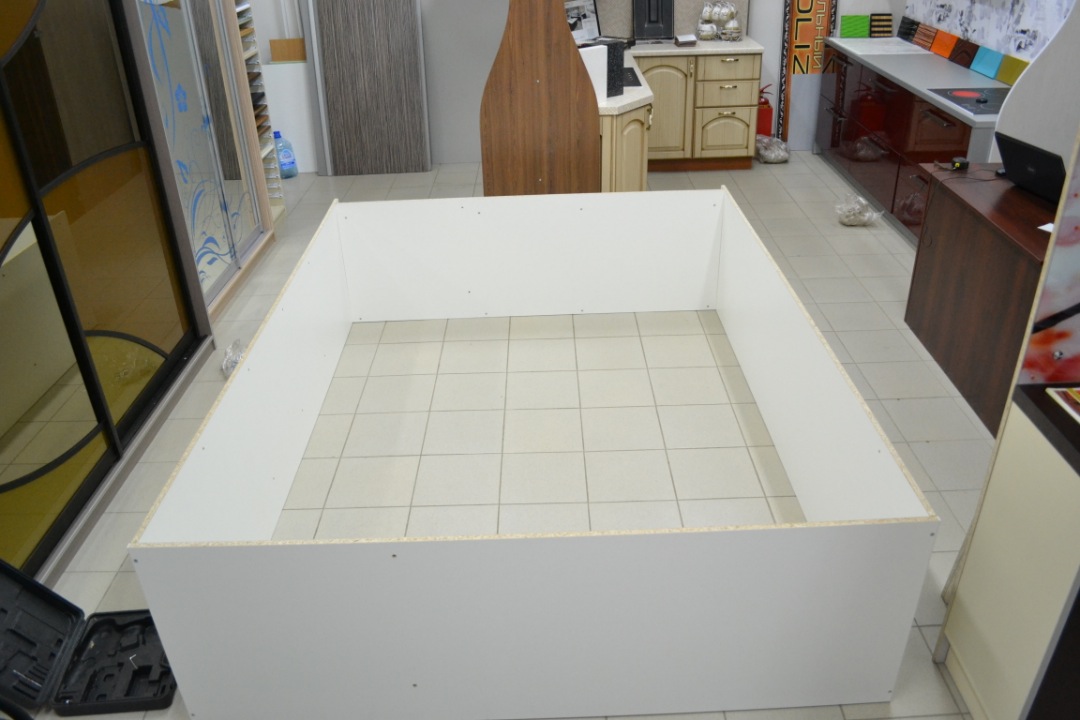
Main stages of assembly
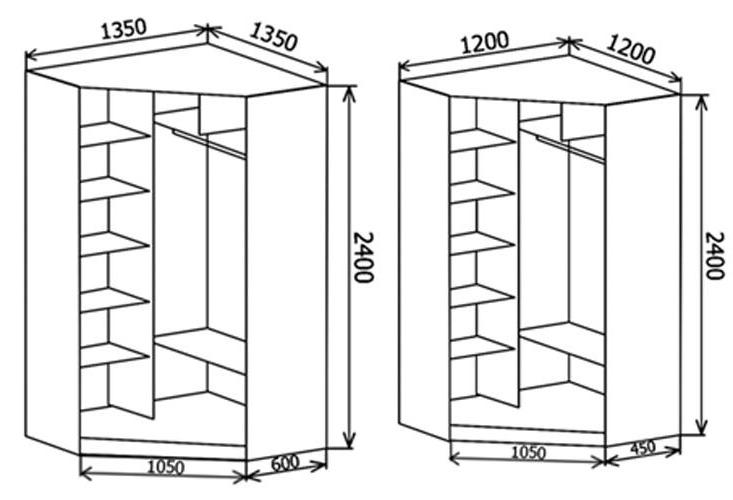
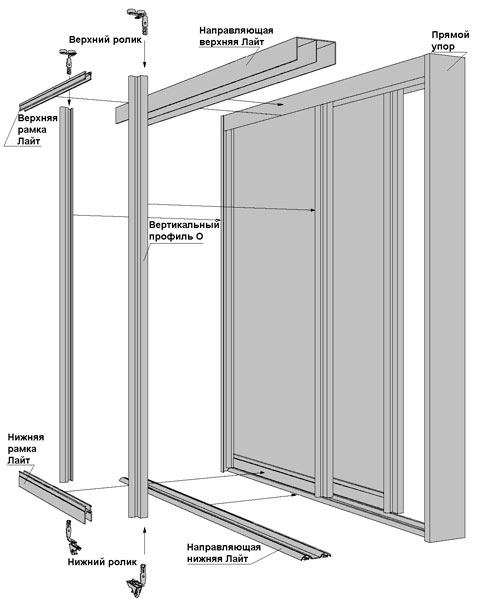
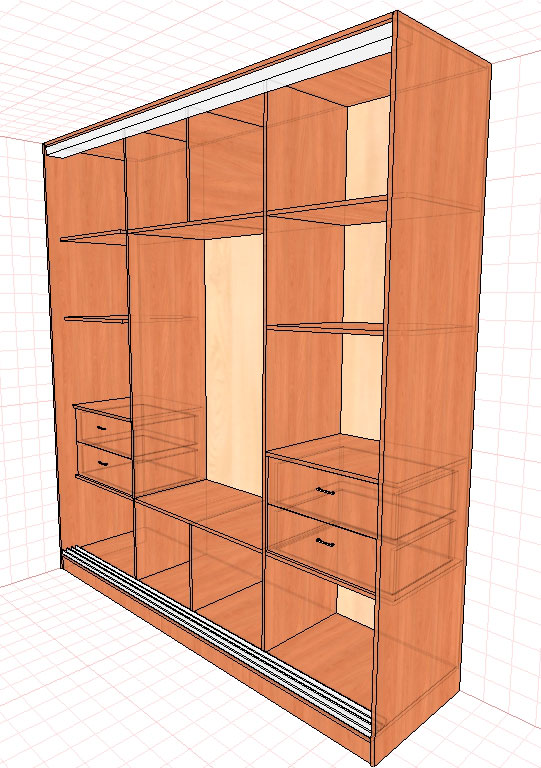
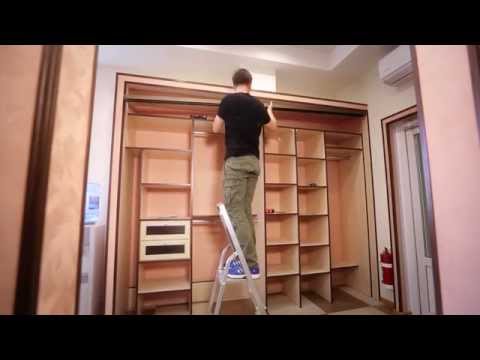
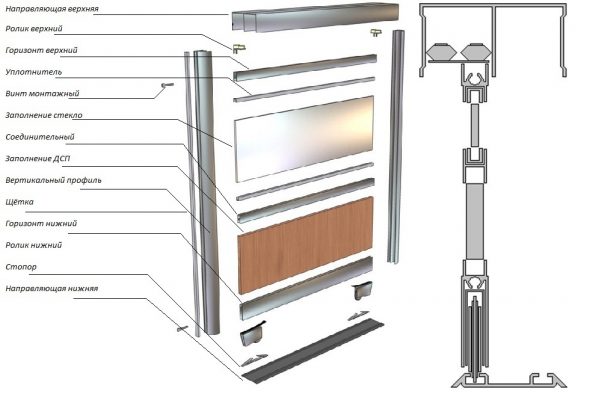
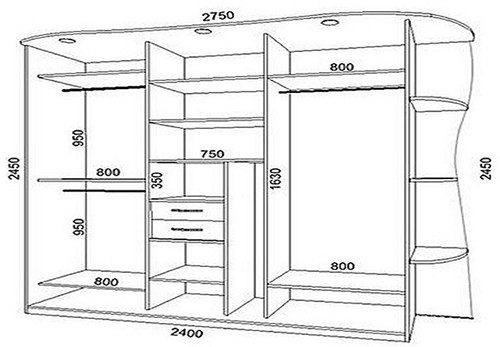
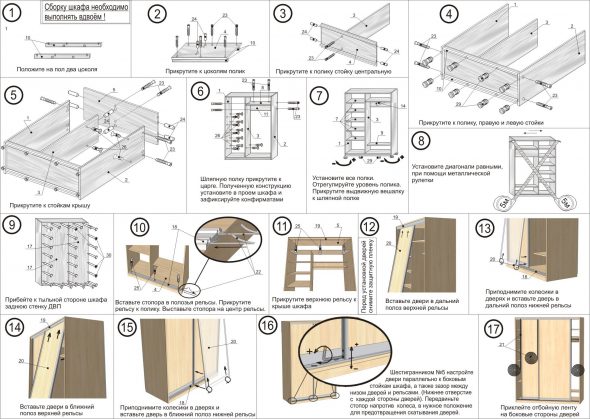
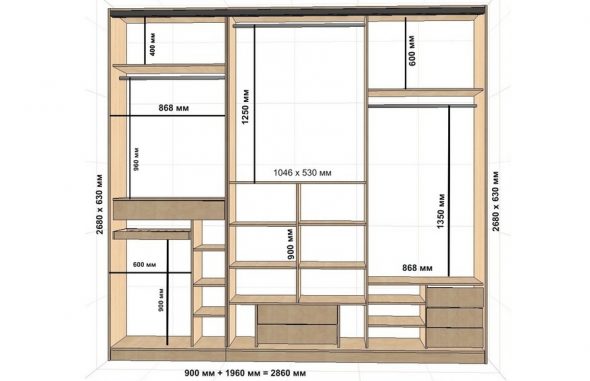
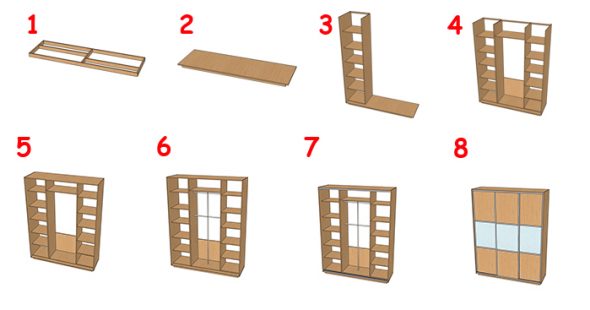
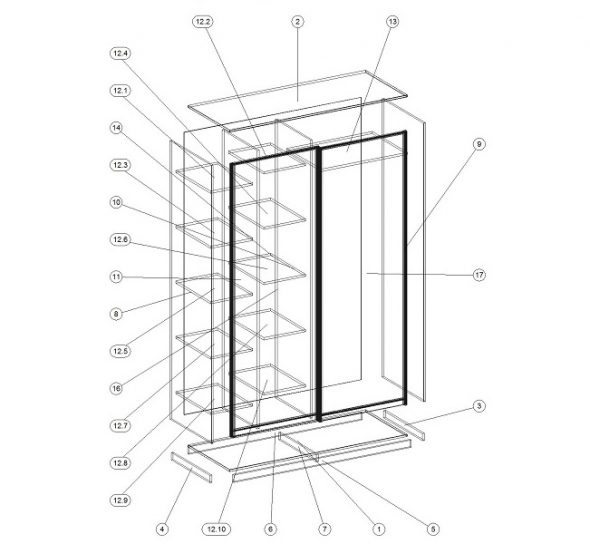
The assembly of the sliding wardrobe is carried out strictly according to the scheme, vertically or horizontally. The second option is better, so you can prevent the skewing of the connected parts. If the height of the ceilings does not allow you to raise the finished wardrobe, then it is better to carry out the work in a vertical position.
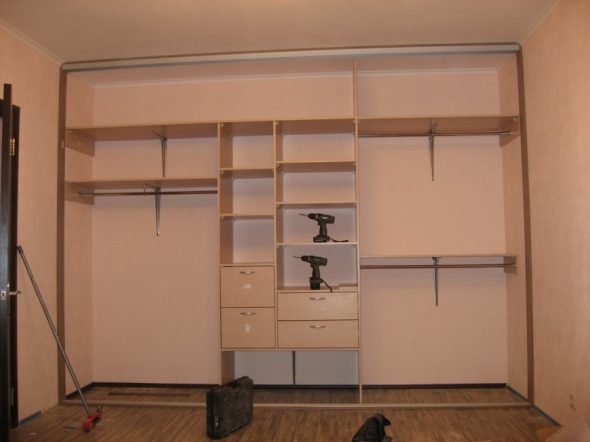
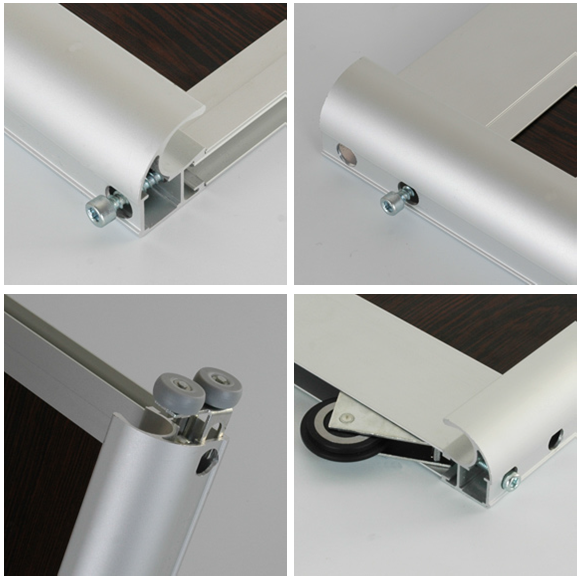
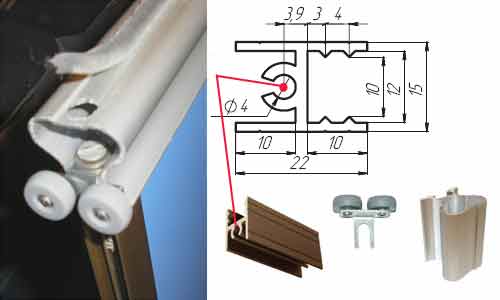
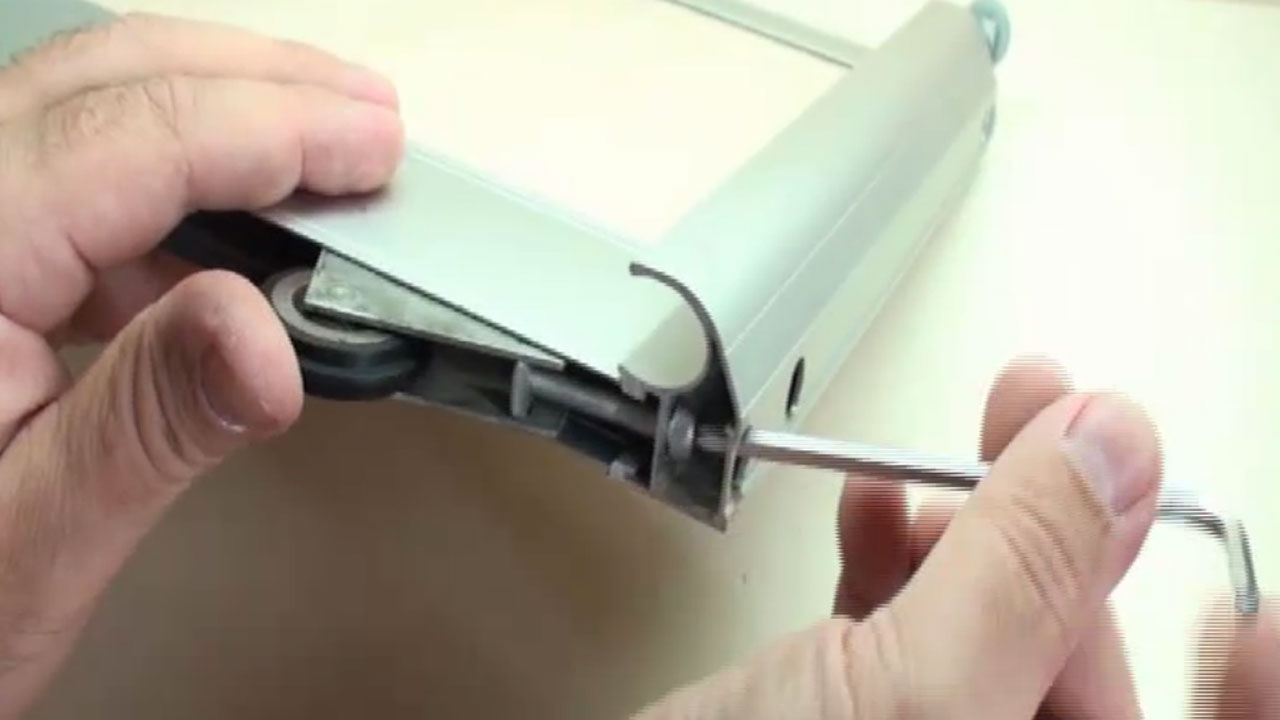
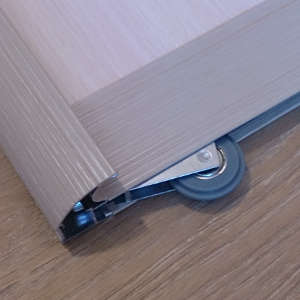
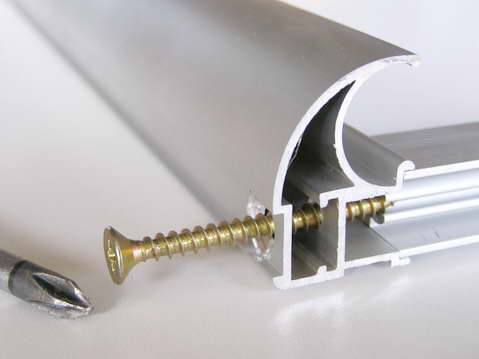
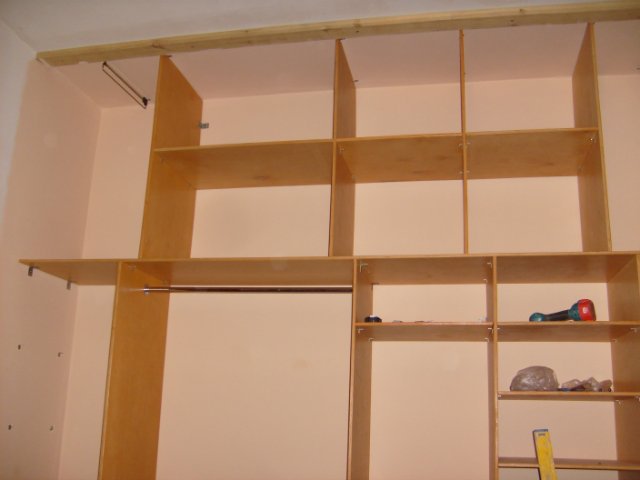
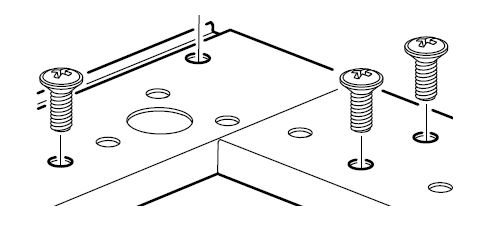
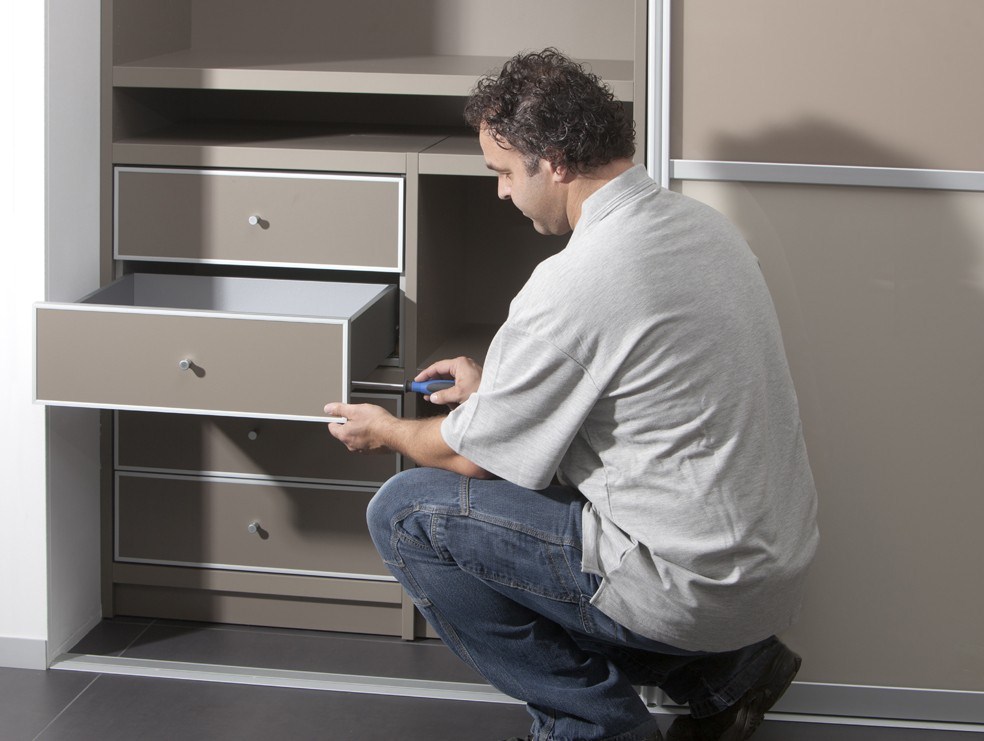
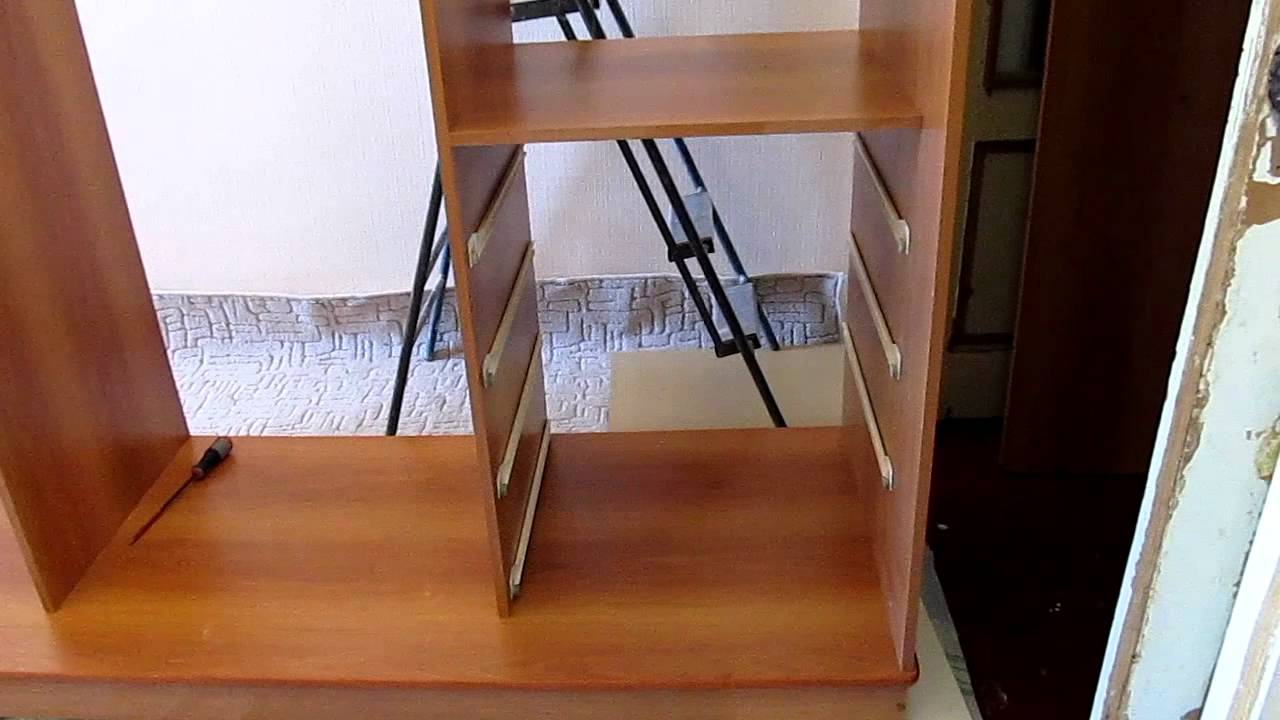
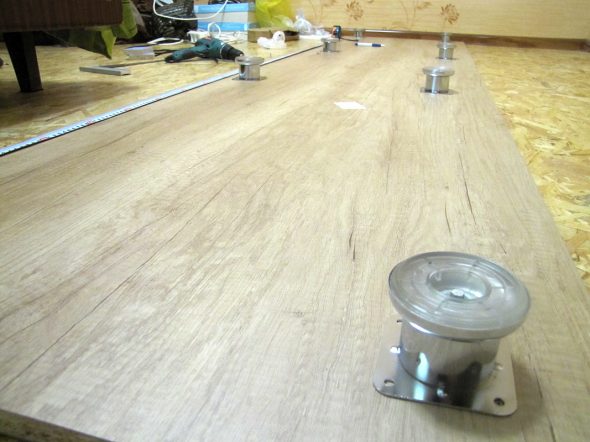
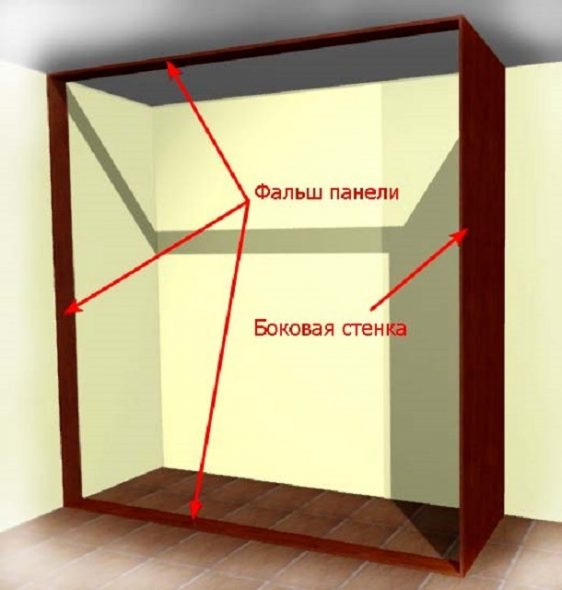
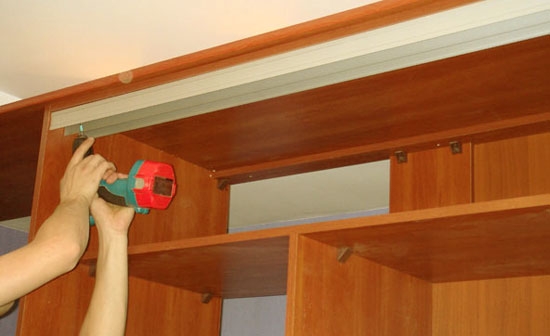
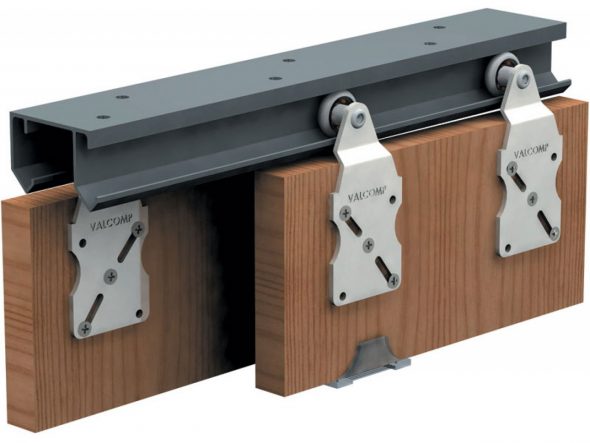
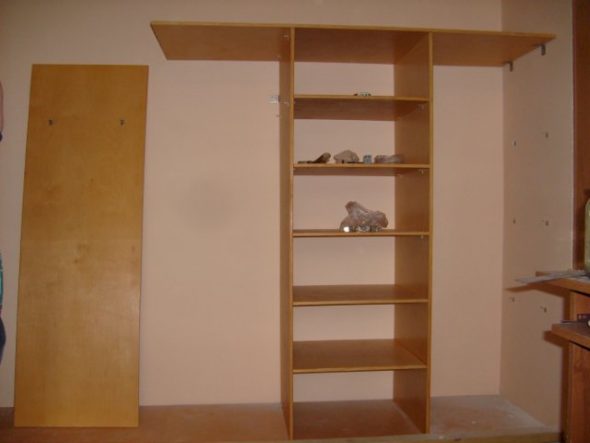
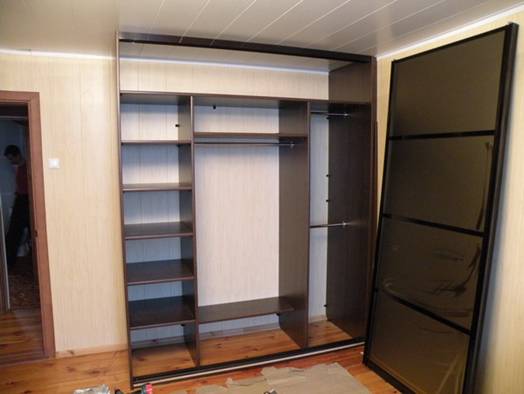
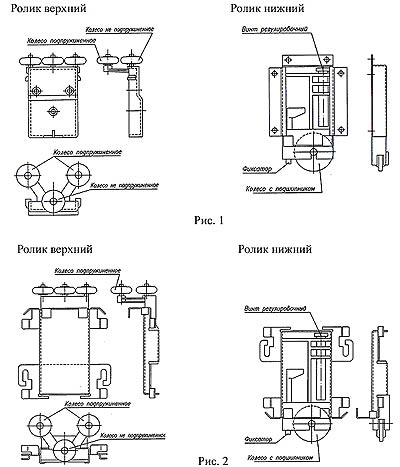
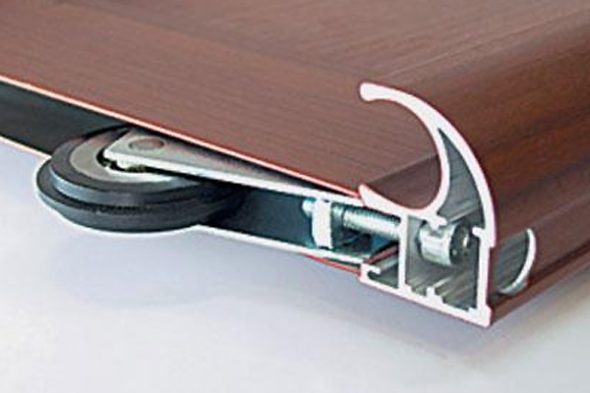
First, you need to attach the base and adjustable legs to the bottom. They are necessary if the floor is uneven. Next, we proceed to assembling the case. We connect the sides to the base. To make the structure strong, we attach an intermediate post and a shelf. This is necessary so that the sides do not tilt. Then we screw on the remaining parts, attach the lid. It is advisable not to nail the back wall, but to screw it on with screws. At this stage, we put the cabinet in its place. We install the guides for the drawers, the holders for the shelves, and the rod for the hangers. Check that the drawers should slide out smoothly.
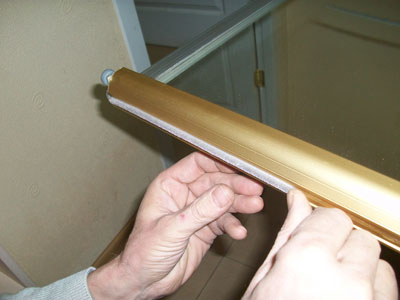
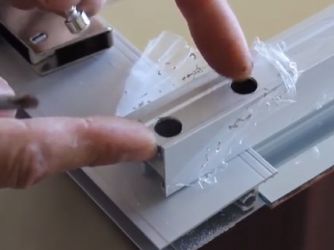
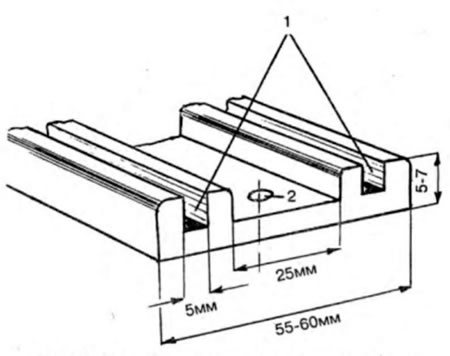
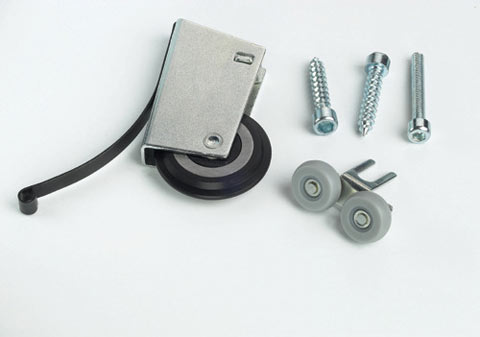
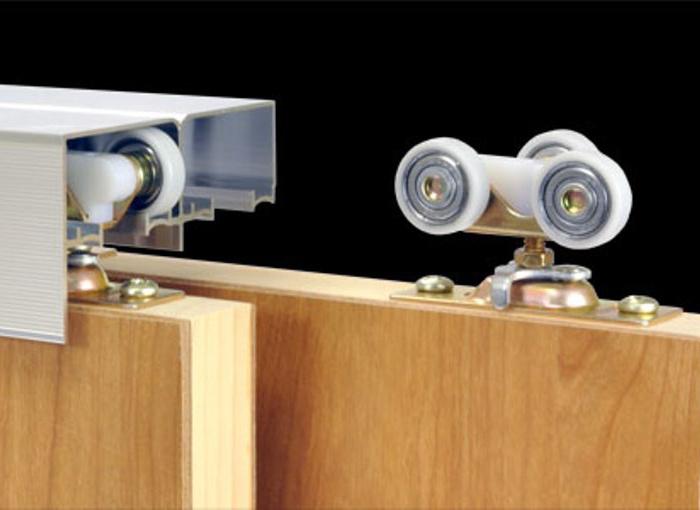
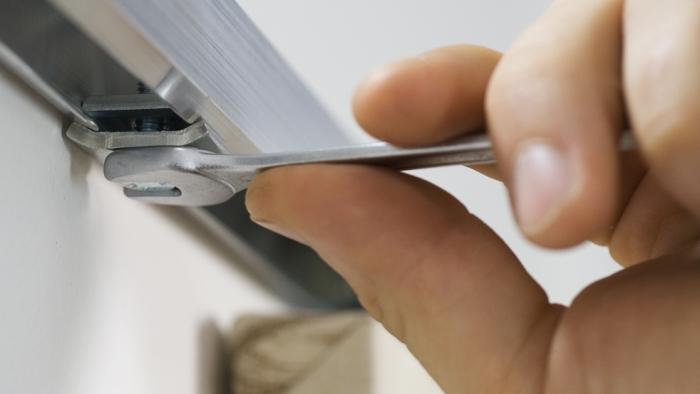
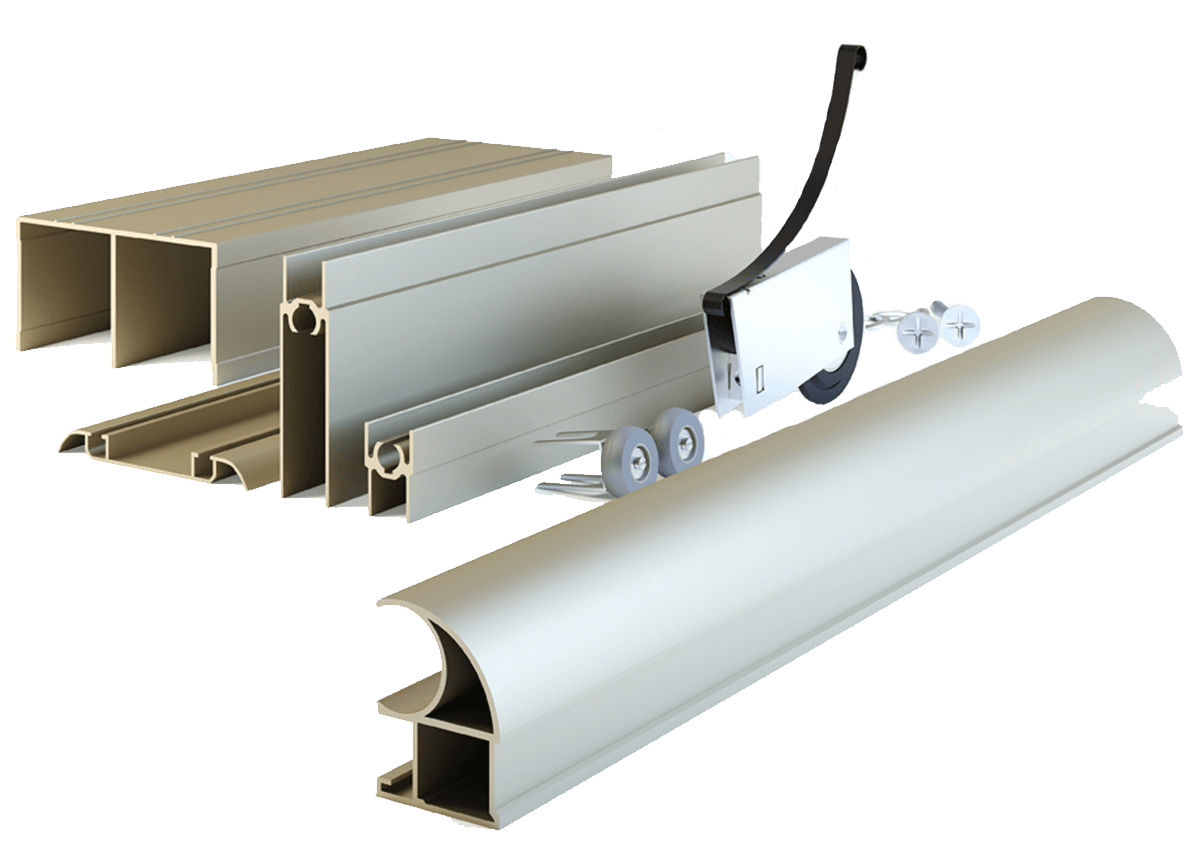
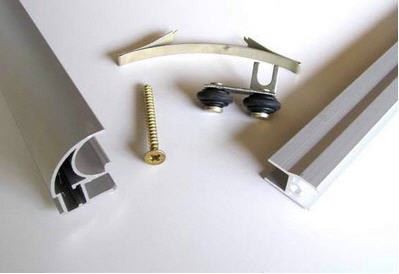
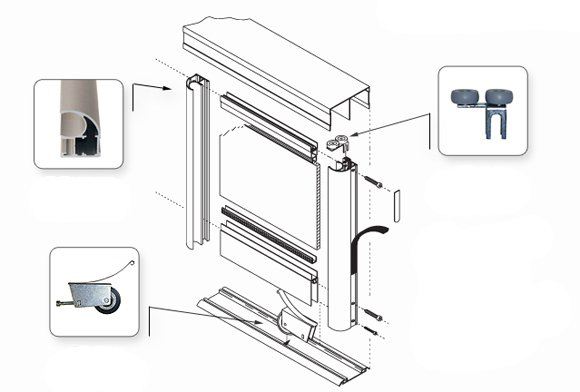
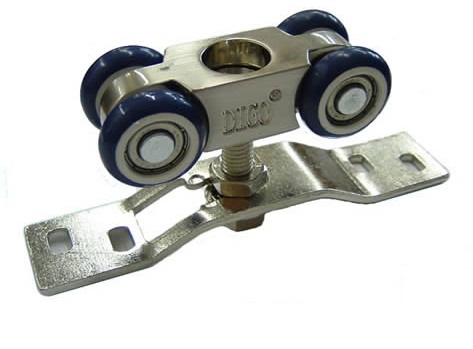
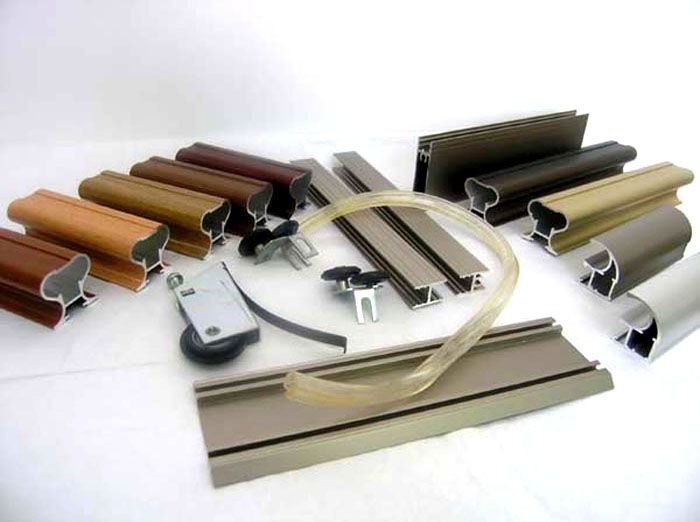
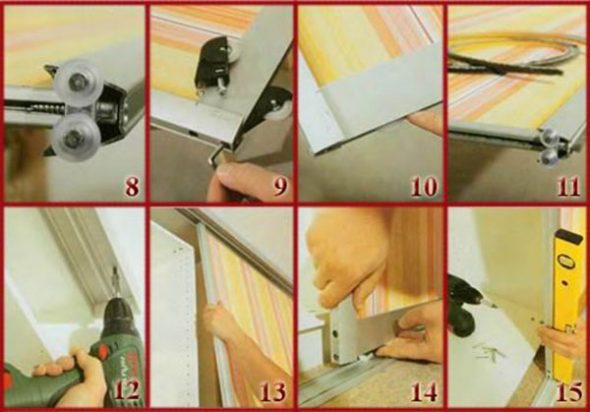
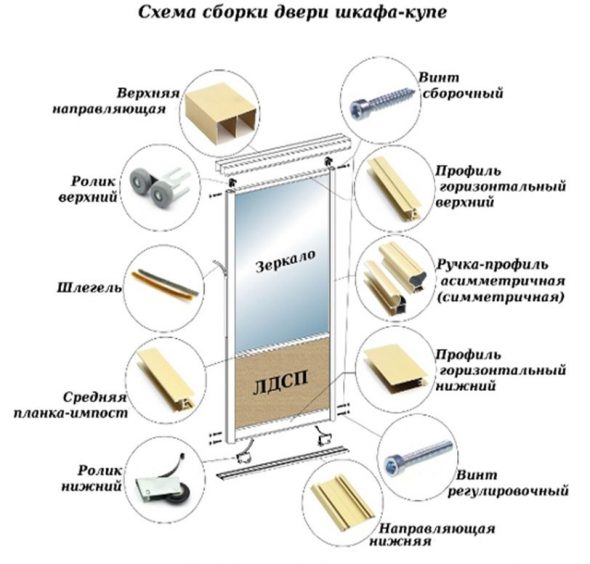
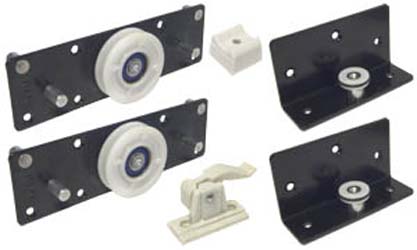
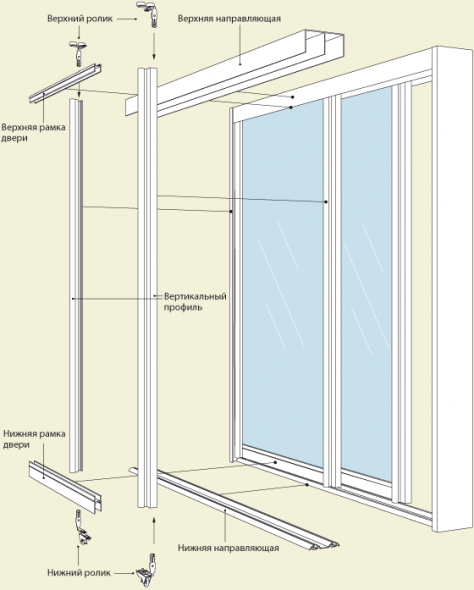
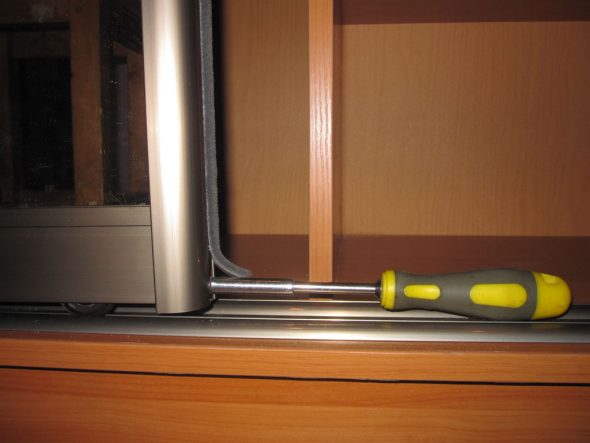
Next in line is the installation of the doors. First, we attach the guides, then we fix the rail with screws. We insert the doors, check that they open and close smoothly. Adjust them if necessary. Lastly, we glue the sealing brushes. We attach plugs to the holes of the confirmats.
To sum it up, we can say that assembling a sliding wardrobe is not such a difficult job. Your desire, skill and ability will allow you to do it without difficulty.
VIDEO: DIY sliding wardrobe. How to assemble a sliding wardrobe?
50 photo ideas on how to assemble a sliding wardrobe with your own hands