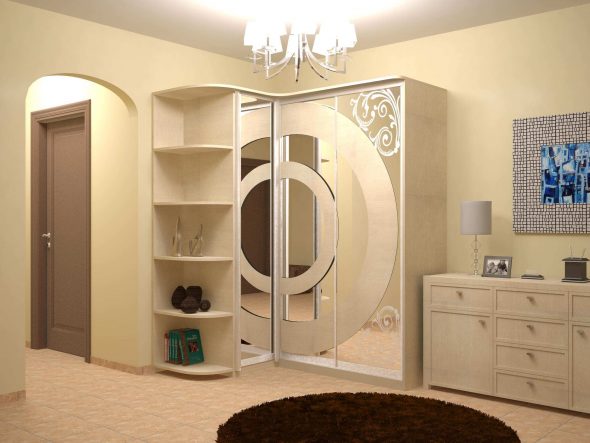
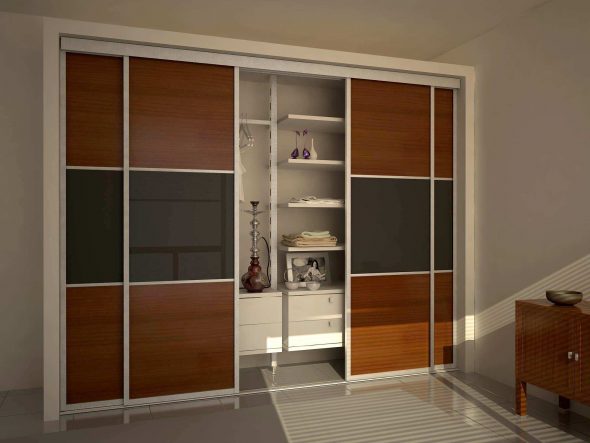
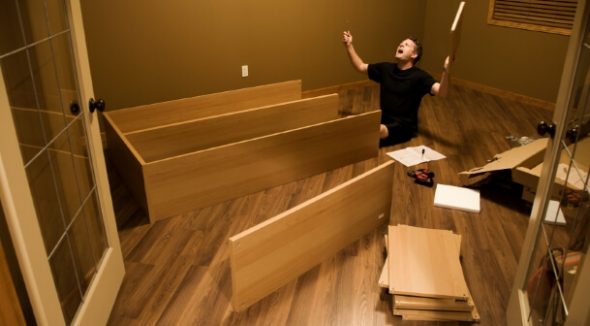
You can make a wardrobe with sliding doors at home. This versatile furniture allows you to increase the amount of space for things, saving space. Assembling a sliding wardrobe is a low-cost option. After spending a few hours, you will receive an inexpensive product created according to your original design.
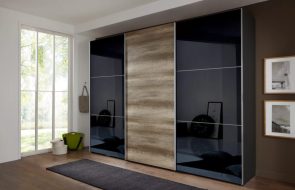
Assembling and installing a two-door sliding wardrobe will require minimal skills and the use of tools that are in every home. The style and convenience of such furniture, as practice shows, is beyond competition today.
Content
- General rules for assembling cabinet furniture
- How to work with the main material of cabinet furniture – laminated chipboard?
- What tools and materials are needed?
- Preparation before assembly
- Main stages of assembly
- VIDEO: How to assemble a sliding wardrobe with your own hands. Video instructions for installation.
General rules for assembling cabinet furniture
Creating a sliding wardrobe on your own requires observing a number of points. Firstly, the material must be selected correctly. High-quality panels made of chipboard, laminated chipboard or wood are purchased in specialized departments of stores. An employee of a trading enterprise can cut them to the required size. Before this, you need to take careful measurements of the future wardrobe so that all the parts fit perfectly.
Don't be lazy and create a furniture drawing with the exact dimensions of each element, so that you don't have to select the parts again later.
Assembling a sliding wardrobe involves purchasing special guides for the top and bottom of the doors. Most often, aluminum or plastic elements are made. Their installation will require special attention and accuracy.
When assembling a sliding wardrobe, one of the main tasks is to think through everything down to the smallest detail:
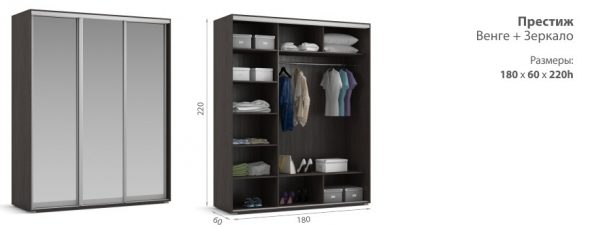
| Door width | Determined based on the dimensions of the product. |
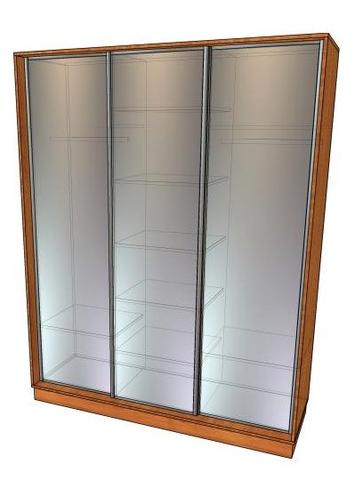
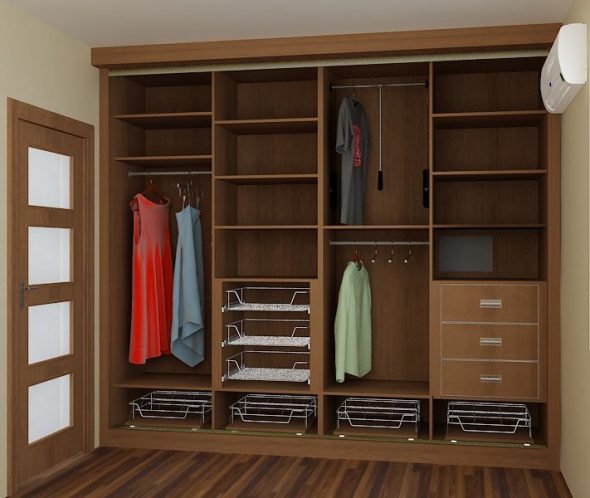
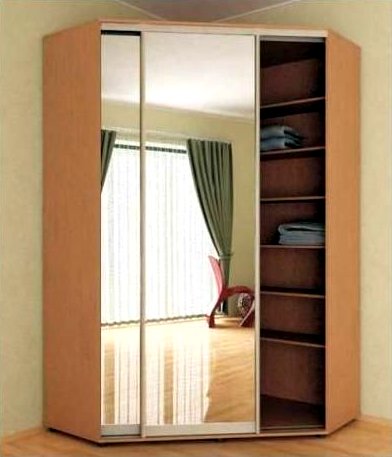
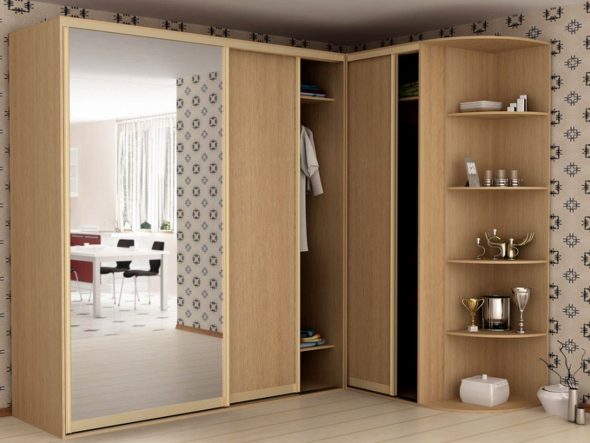
| Internal filling | Shelves, hangers, boxes, holders, etc. |
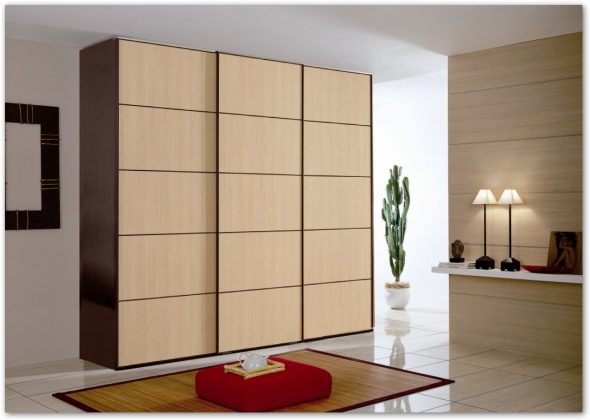
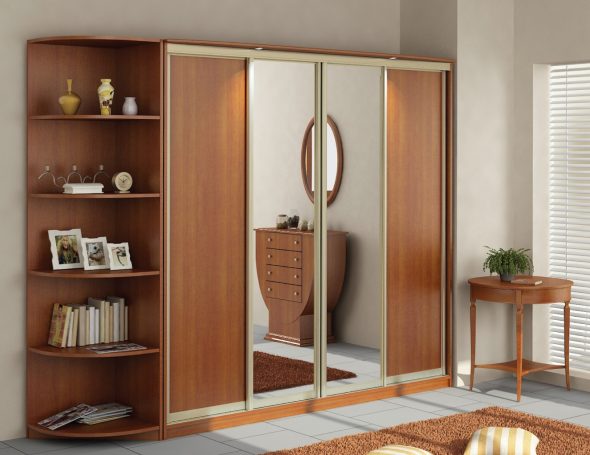
| Facade decoration | Painting, wood carving, decoupage, etc. |
How to work with the main material of cabinet furniture – laminated chipboard?
Laminated chipboard is a more convenient material for creating a sliding wardrobe. It is more aesthetically pleasing and safer, since the protective surface does not allow resin fumes to penetrate into the space of the premises.
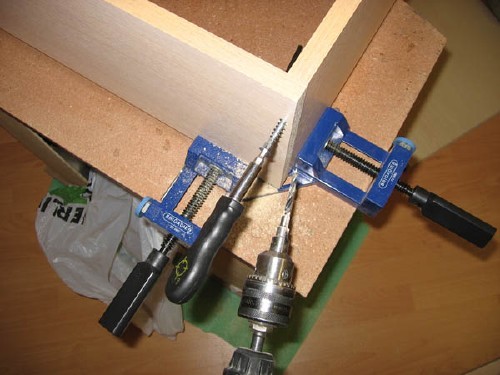
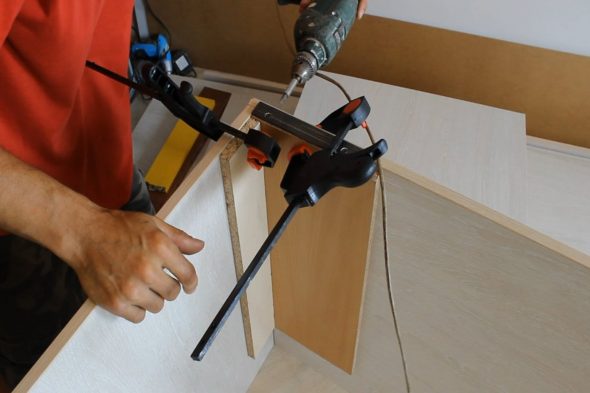
Assembly of sliding wardrobes from laminated chipboard is quite popular. This is a durable material that is used to make furniture for apartments and offices quite actively. When assembling, pay attention to the quality of processing of places for fastenings, hinges, closing of edges, etc. When working with laminated chipboard, it is better to use a power tool, this ensures a more accurate process, without the appearance of chips and unevenness on the surface.
The laminated part is easy to damage – scratches appear from mechanical impact, so try not to put heavy things on the panel or touch it with hard, sharp objects.
What tools and materials are needed?
To assemble a sliding wardrobe, you need to prepare the tools. You will need:
- screwdriver;
- screwdriver;
- roulette:
- hacksaw.
For the cabinet you will need laminated chipboard panels (body). The back wall can be made of thick plywood. The cutting is done either independently or in a building materials store.
Preparation before assembly
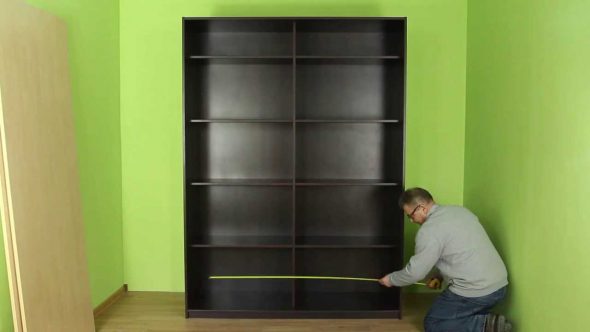
To create furniture, you need to prepare the materials. Make a detailed drawing in advance with exact dimensions, where everything is calculated, including shelves and drawers. Assembling a two-door sliding wardrobe will require selecting the right fasteners and guides. All this must be purchased in advance. Installing a small sliding wardrobe in a hallway or room involves taking measurements of the area under it. It is important not to make a mistake so as not to correct the situation after the model has been made.
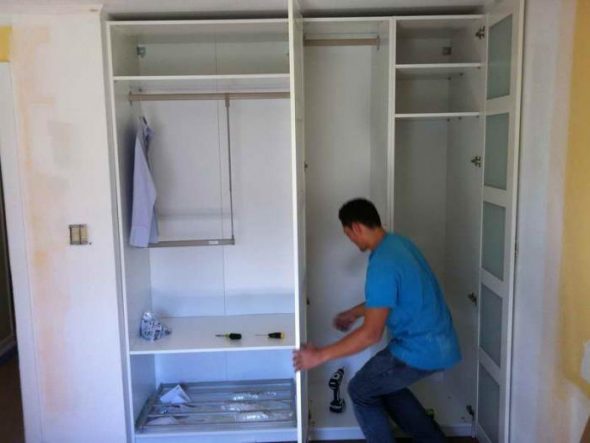
Main stages of assembly
Installation of the product is possible only after full assembly; the manufacturing stages are as follows.
- Trim and clean the edges of the panels.
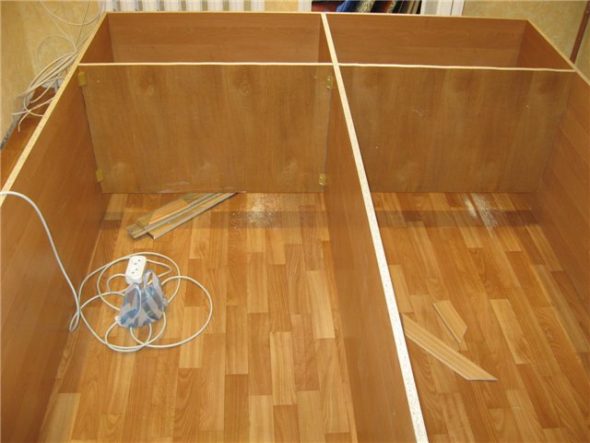
- Connect the back and side walls of the case.
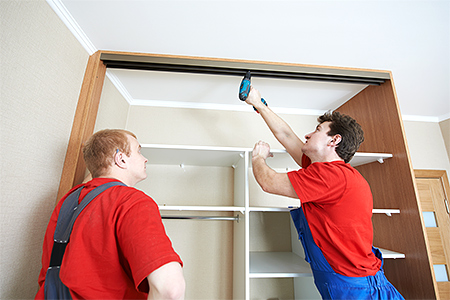
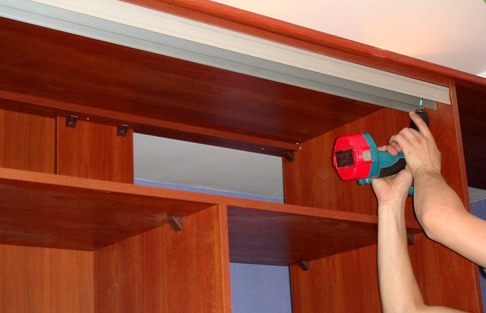
- Insert and secure the guides at the top and bottom of the front of the furniture.
- Make shelves and drawers (if necessary), fix the holders inside the cabinet.
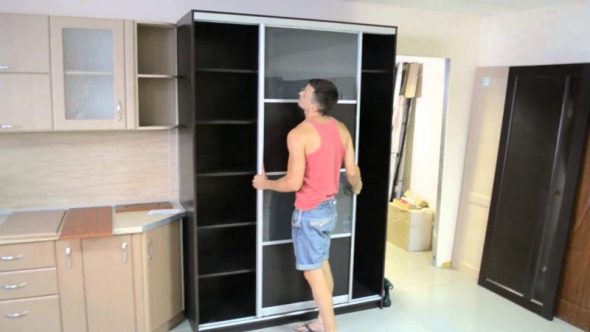
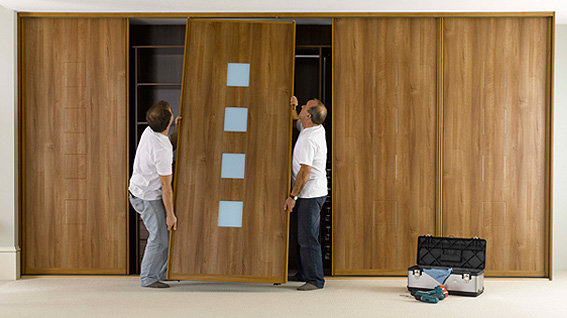
- Place the sashes in the guide grooves and check how freely they slide.
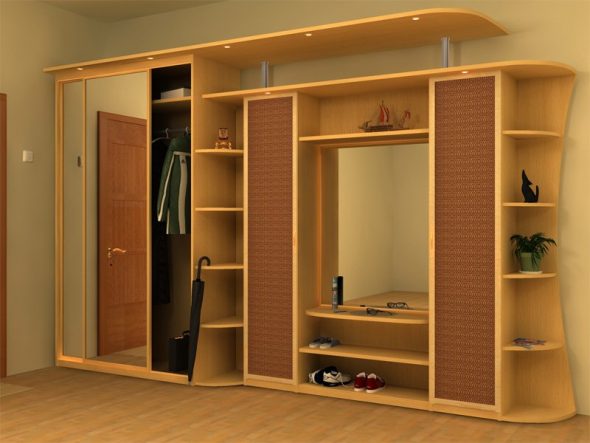
Think about the contents of the finished wardrobe in advance - the convenience of using the furniture depends on the location of each shelf or holder. Drawers can be made both closed and open.
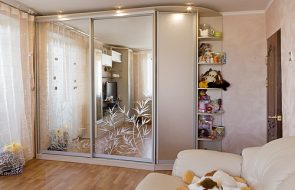
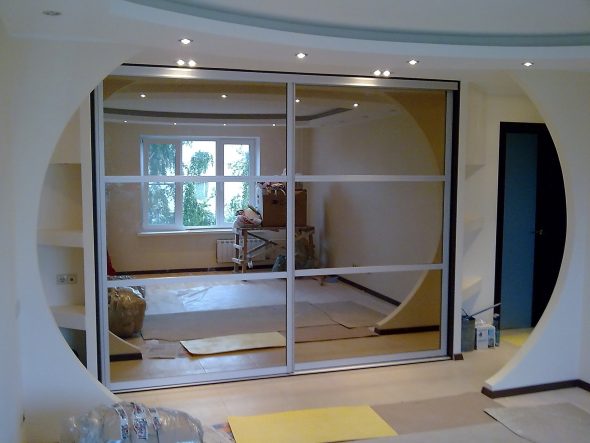
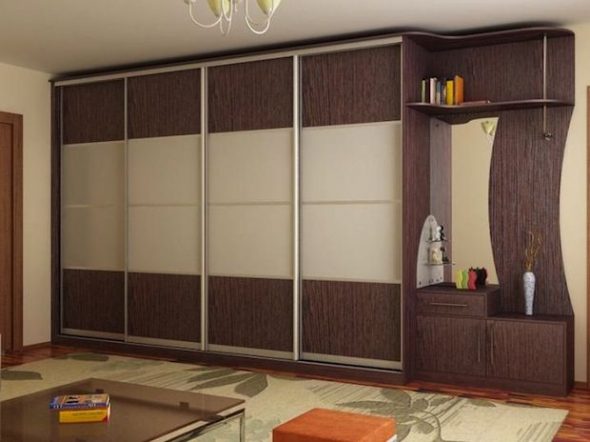
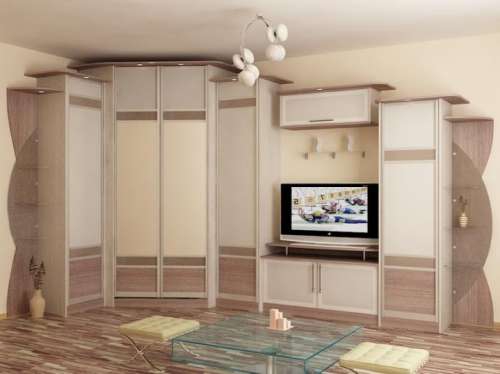
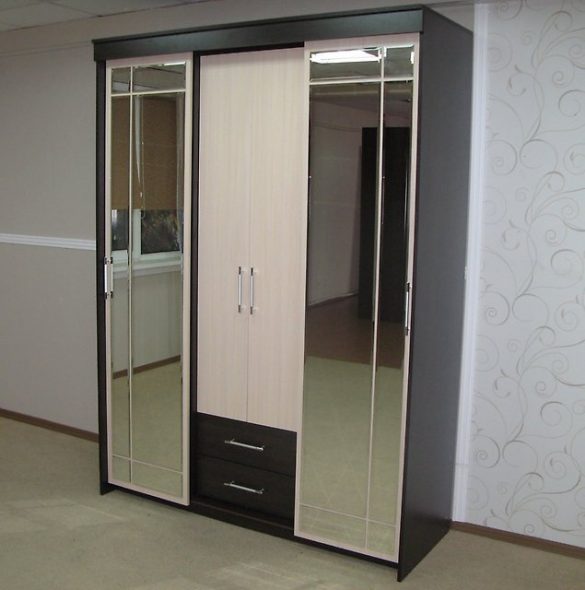
After assembling the wardrobes, you can think about their decor. Mirror panels on the front part, spot lighting, drawings, photo inserts look quite original.