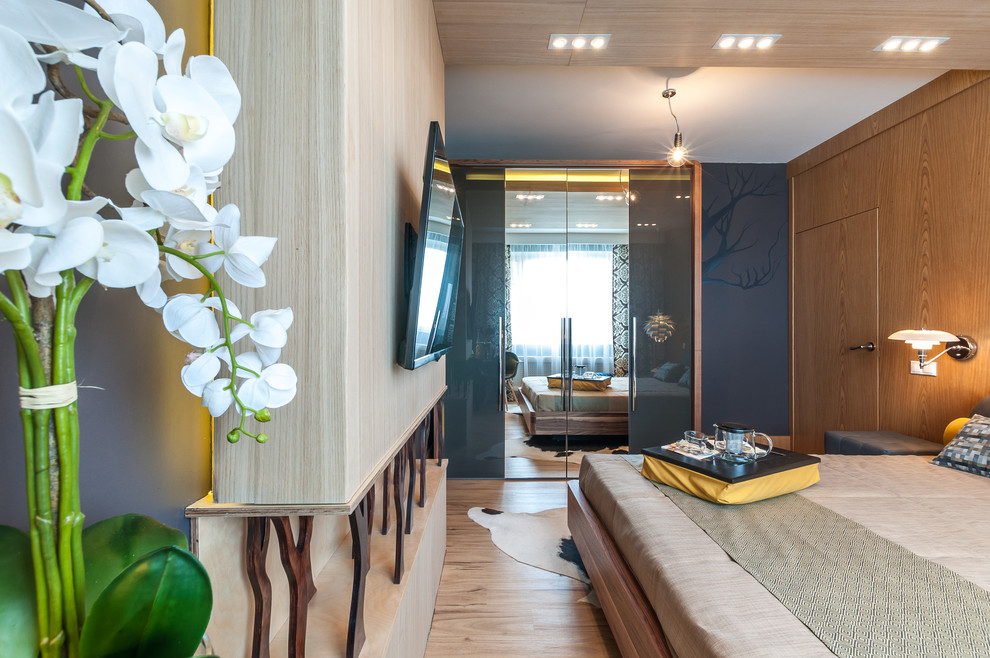
In a modern interior, it is often necessary to combine various complex elements. The combined use of a built-in wardrobe and a suspended ceiling is especially popular. But what are the nuances of their installation, in what order should the repair be carried out?
The main problem if you want make a stretch ceiling — it requires some indentation from the top panel of the room, that is, it takes away part of the room's height. This must be taken into account when choosing the height of built-in elements, or more precisely, a wardrobe.
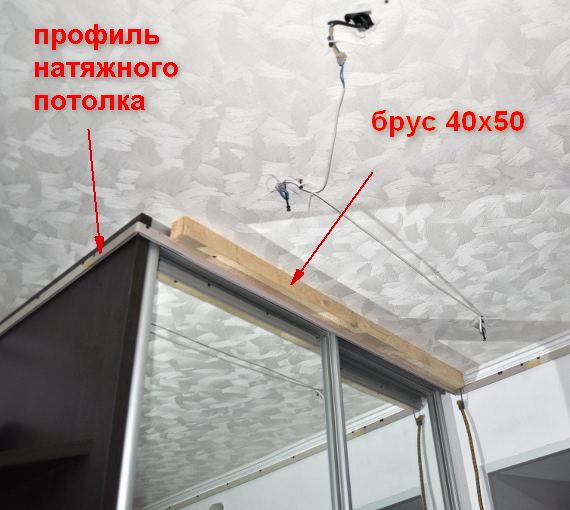
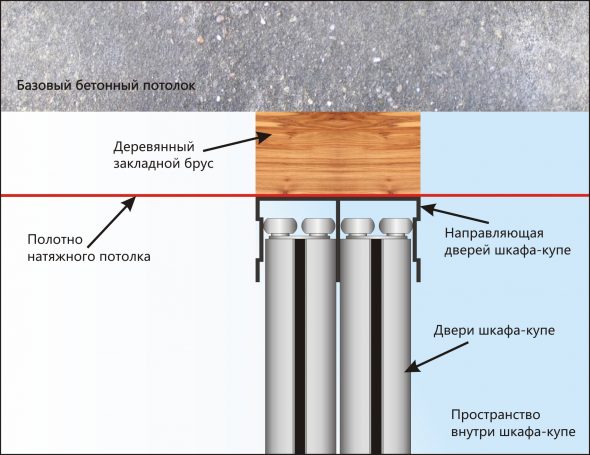
To properly combine a wardrobe and a stretch ceiling, a "mortgage" is required - a beam up to 100 mm wide. It gives the structure reliability and is used in all three options for installing a stretch ceiling and a sliding wardrobe, which will be discussed in this article.
Content
- Materials used in repairs
- Repair tools
- Option 1: Installing a suspended ceiling after a sliding wardrobe
- The second option: attaching a sliding wardrobe to an already finished stretch ceiling
- The third option: fastening the elements on one mortgage, but independently of each other
- Comparison of the advantages and disadvantages of different options
- VIDEO: Mortgage for a built-in wardrobe.
- Built-in wardrobes in the interior – 50 photo ideas:
Materials used in repairs
Before you start repairing, you should find out what materials are used in it. The list changes slightly depending on the type of installation.
We will need:
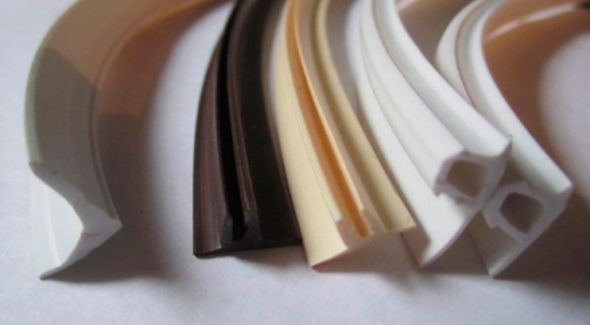
- Ceiling plinth or seal.

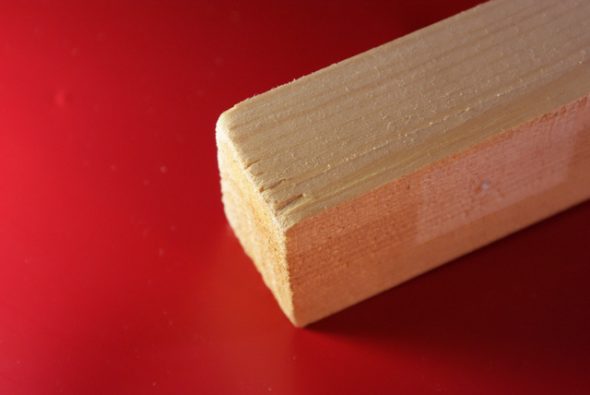
This is an element that allows you to close the gap between the walls and the ceiling. - A mortgage, a wooden beam that we attach to a suspended ceiling.

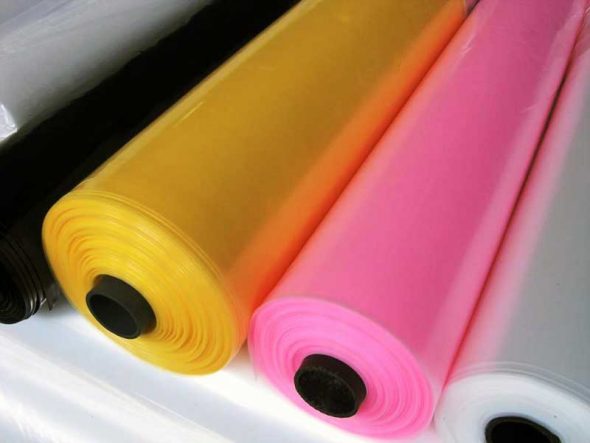
Embedded parts for suspended ceilings are the parts that are necessary in this case. - Material for stretch ceilings.

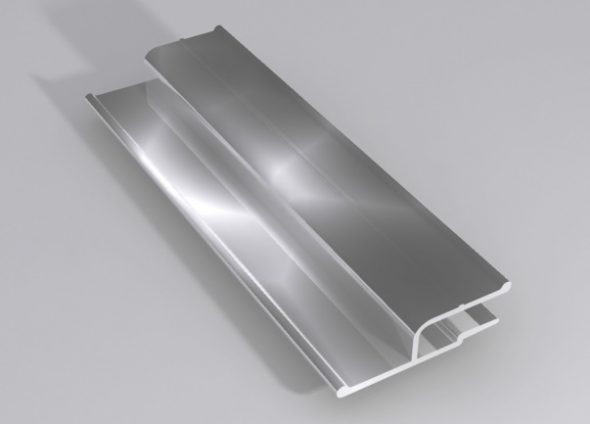
Most often, PVC film is used for the production and installation of stretch ceilings. - Upper guide for a sliding wardrobe.

It should be attached to the timber. - Baguette depending on the installation method.

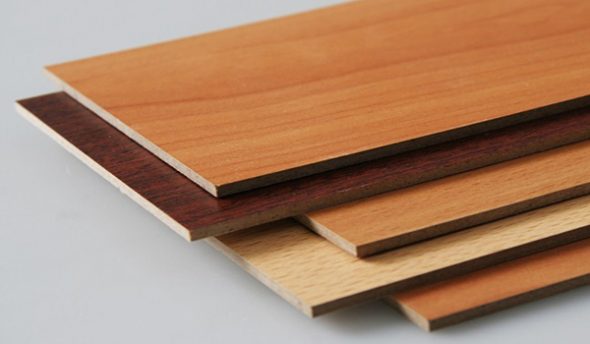
A baguette for a stretch ceiling is a strip that is attached to a profile. - False panel made of chipboard (option 1).

Chipboard is an affordable material that is actively used for the production of false panels. - Hangers and zClamps for stretch ceilings.
To secure the stretch ceiling fabric, special clamps are hung at the corners. - Various screws used for both cabinet and make a stretch ceiling.

For the main work of attaching the baguette to the wall, as well as attaching all the embedded parts, special self-tapping screws are used.


It is possible to replace some elements while maintaining their basic functions. It is also worth considering that different variations require different baguettes and other elements.
Repair tools
The tools used to combine a suspended ceiling surface and a wardrobe are a combination of the tools needed to create each individual object.
These include:
- Rflyaway or rangefinder

A rangefinder is a device designed to determine the distance from an observer to an object. - Theat gun

A special heat gun is used to evenly tension the fabric. - Perforator

Using a hammer drill, holes are drilled in the wall for installing the baguette (profile). - Shscrewdriver

Using a screwdriver makes it easier to attach the baguette and brackets. - Lazer or hydraulic level

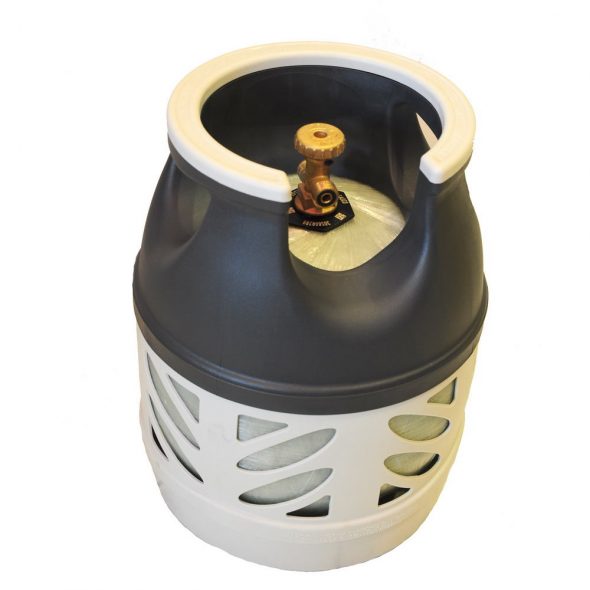
This tool is necessary for precise marking of the level before subsequent installation of the baguette. - Ggas cylinder

Use safe cylinders when installing stretch ceilings. - ShPatels

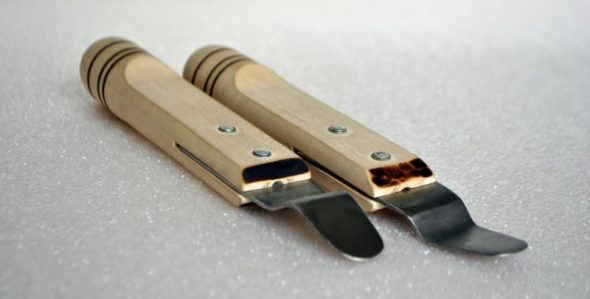
Two types of spatulas for installing fabric ceilings. - Malar beat
It is used to leave a line on the wall for precise marking. - Ladder

The stepladder must be reliable and of the required height.


In some cases, a screwdriver may be useful for assembling a sliding wardrobe.
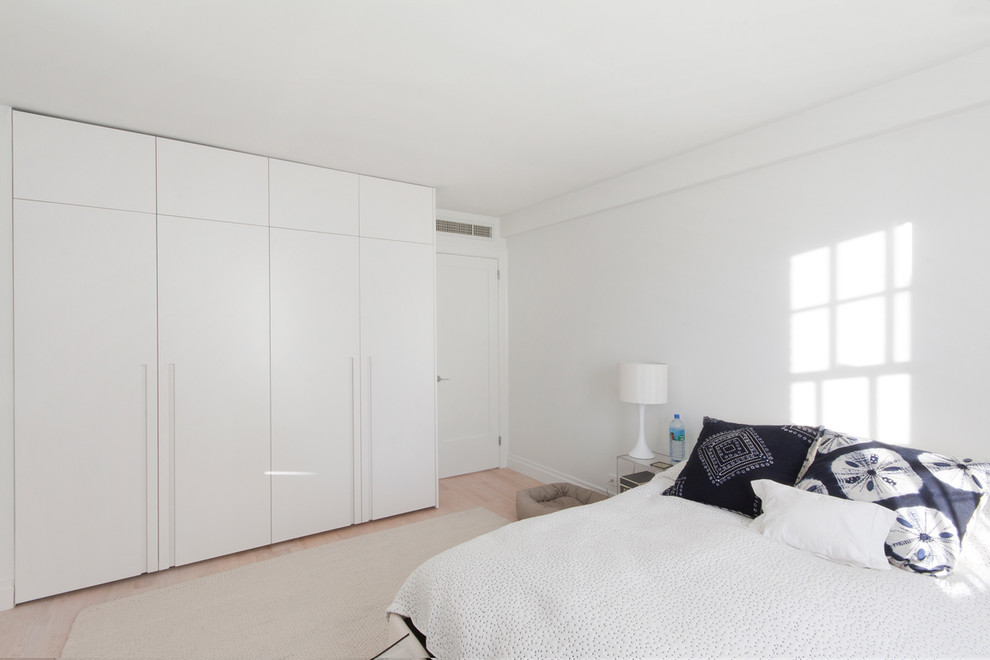
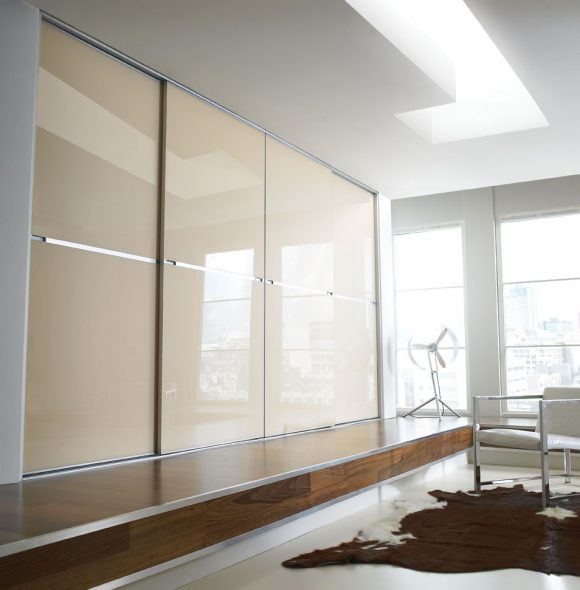
Option 1: Installing a suspended ceiling after a sliding wardrobe
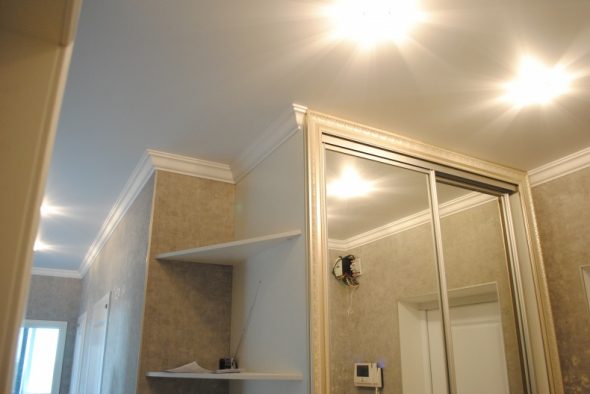
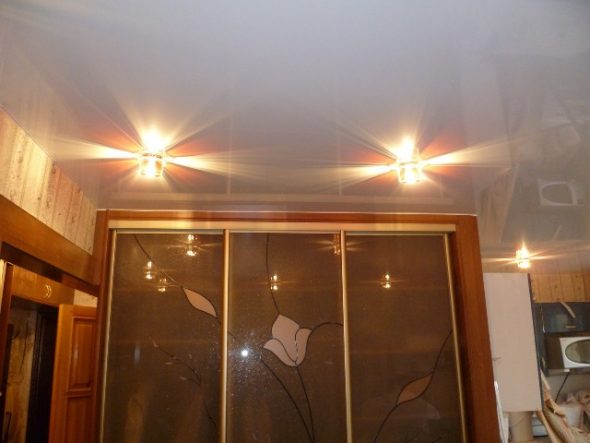
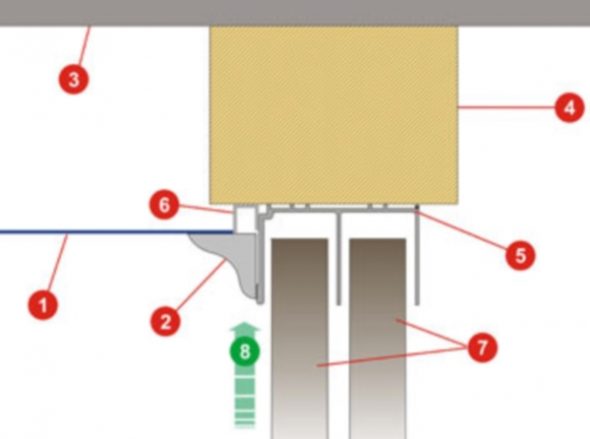
We attach the door guide to the surface that has not yet been repaired. Make a stretch ceiling around, not inside, the cabinet, and attach to the mortgage. In this case, special attention should be paid to the points described below.
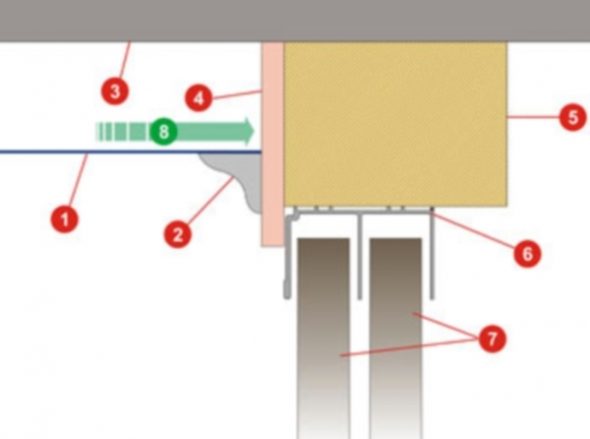
Firstly, it is necessary to calculate the height of the canvas in advance, taking into account the location of the upper communications: a cabinet, air conditioner, ventilation hood or lighting elements. Otherwise, the interior will either look ugly, part of the doors will not be visible, or it will require dismantling the above communications.

Secondly, the height of the false panel must also be carefully calculated, as if it is installed incorrectly, it can ruin the harmonious appearance.
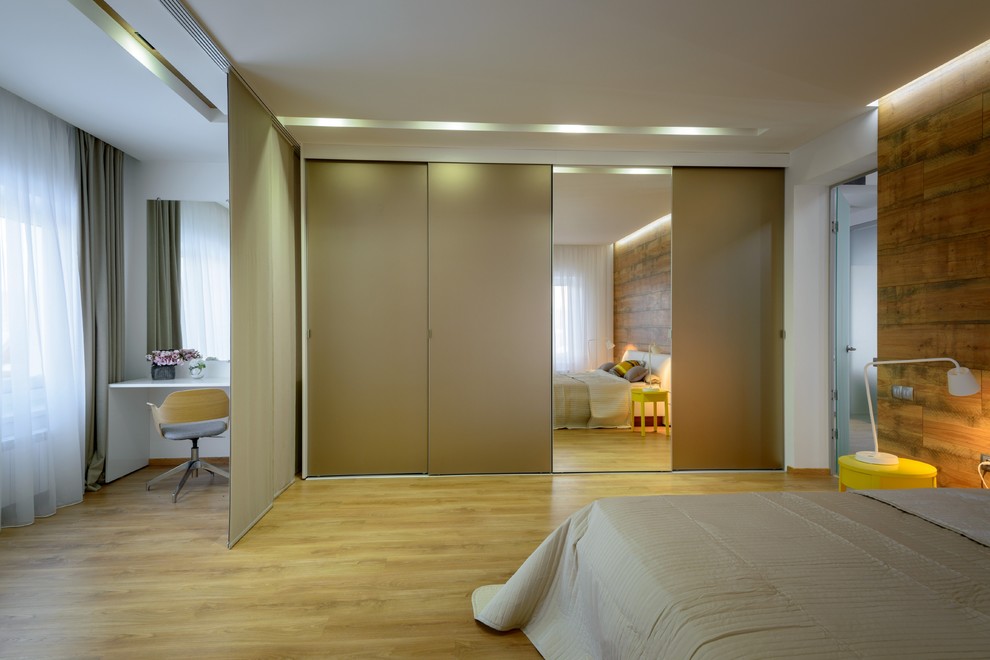
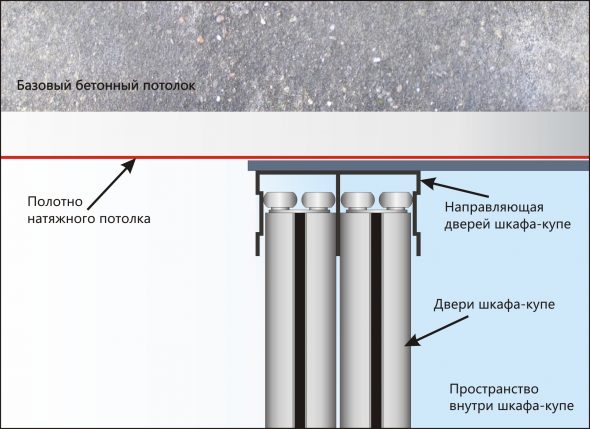
The second option: attaching a sliding wardrobe to an already finished stretch ceiling
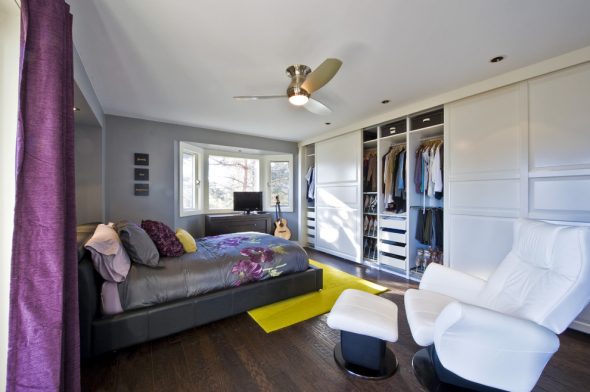
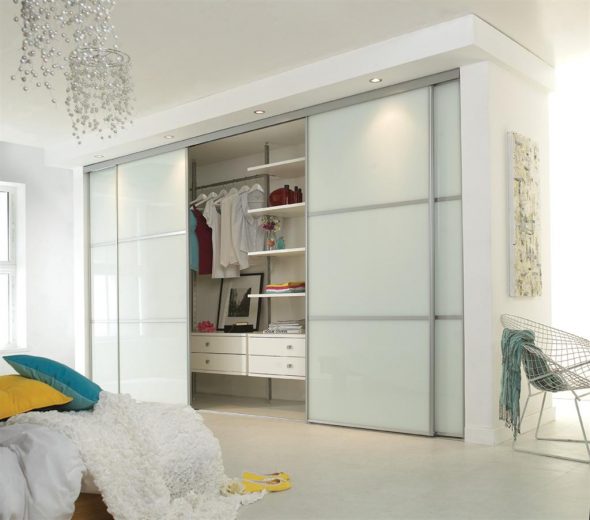
The stretch ceiling has already been created, therefore, the cabinet must be placed in the gap between the upper boundary and the floor. After measuring and choosing the optimal dimensions, we proceed to fastening the cabinet guide. We fasten it to the embedded part. In this case, the beam must already be installed inside the stretch structure and calculated according to the depth of the built-in structure.
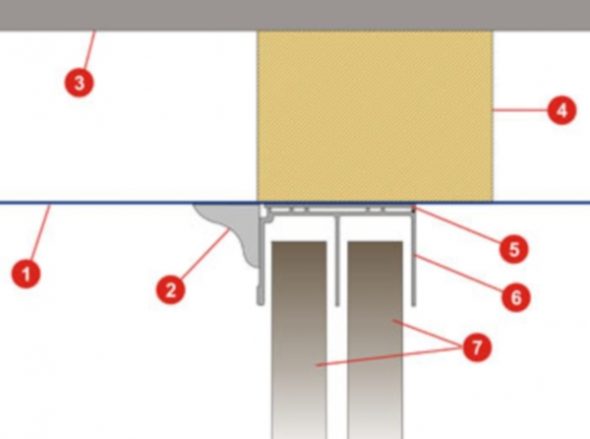
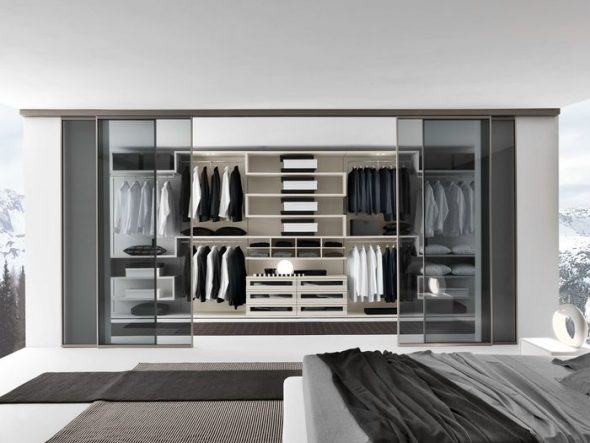
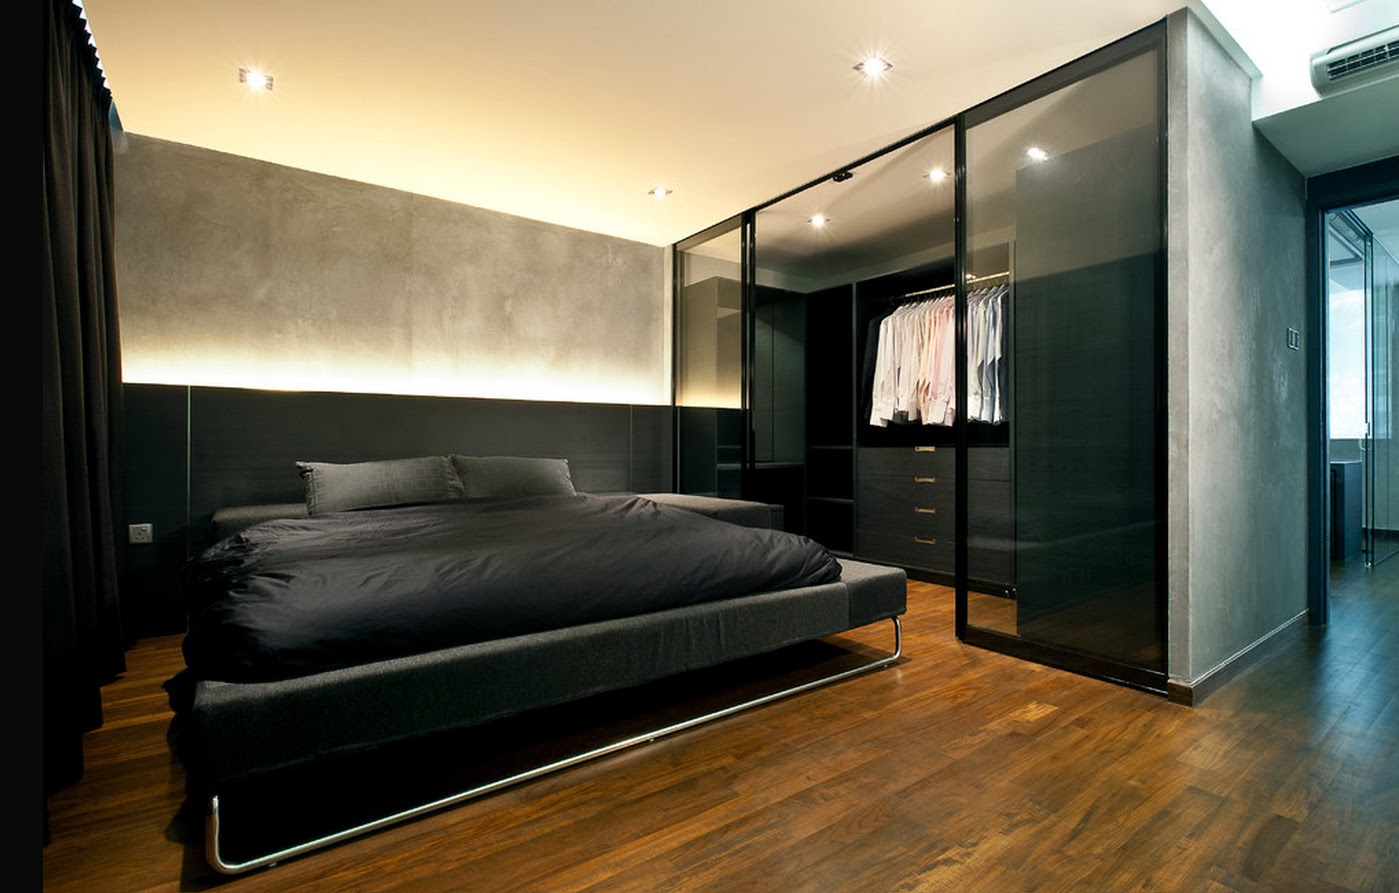
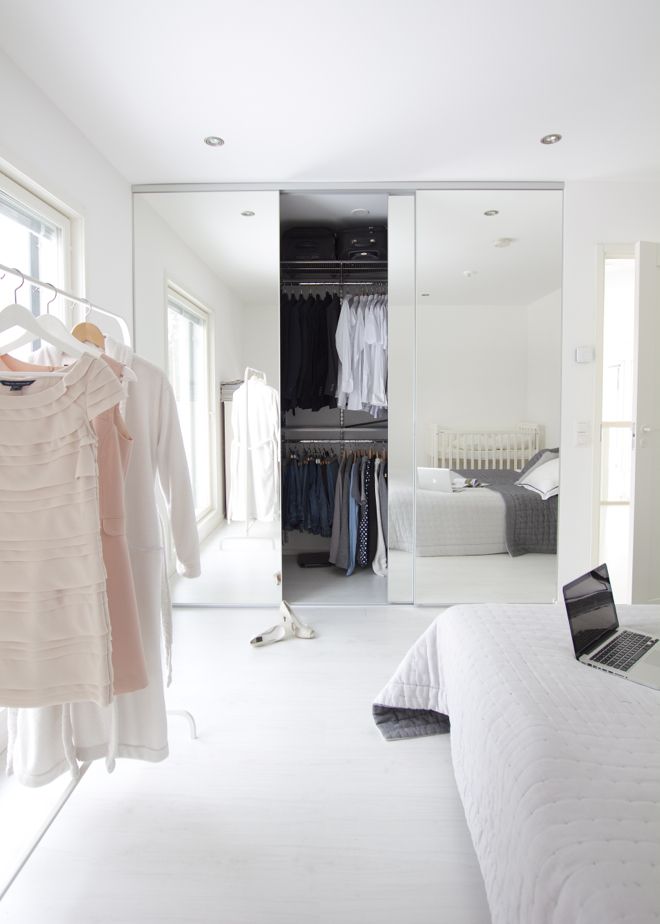
The peculiarity of this situation is that it is used more often when creating dressing rooms. The stretch ceiling also goes into the area inside the closet, which makes the structure suitable for creating a beautiful mini-dressing room.
However, it is worth considering that when installing a wardrobe with a ready-made stretch ceiling, there may be difficulties in opening the doors, additional costs and difficulties during repairs. Here, special attention should be paid to hiring qualified specialists, since this installation method is rare, and few people are able to carry it out; as well as a strong fastening of the embedded part. The beam can come loose and damage both the stretched canvas and the wardrobe.
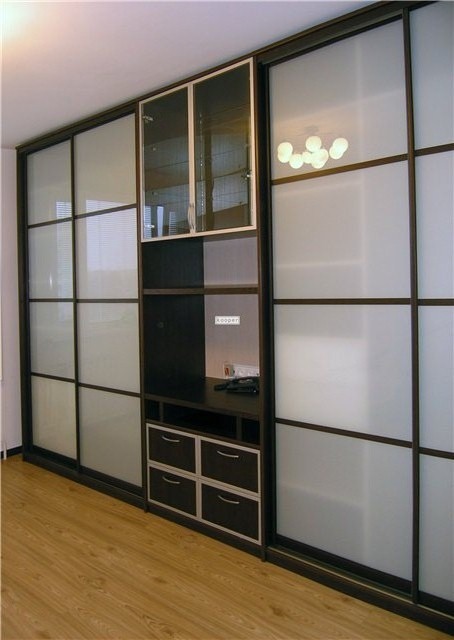
The third option: fastening the elements on one mortgage, but independently of each other
One of the most convenient installations. In this case, the installation time of both the stretch ceiling and the sliding wardrobe is still unknown, so their fastening is calculated independently of each other. The only common element of the wardrobe and the stretch ceiling is the single plane of the embedded part.
If a standard timber beam for a mortgage of about 80 mm is used, then here it is necessary to use a wider one – about 150 mm. The same is done with the guides: they are widened in order to avoid damage from screws.
Comparison of the advantages and disadvantages of different options
Those who are doing repairs from scratch need to decide on the order of fastening the elements. This table will help you choose the option that is most optimal for you.
| Option | Stretching after the cabinet (1) | Wardrobe after the ceiling (2) | Independent installation of a wardrobe and a suspended ceiling (3) |
| Advantages | The ability to repair one of the elements without affecting the other, since the common part is just a beam | – The height of the cabinet is perfectly calculated, which makes the interior more aesthetically pleasing
– The presence of a suspended ceiling inside the cabinet | The design of the cabinet and the tension system are completely independent of each other. |
| Flaws | If the false panel is positioned incorrectly, the structure loses its attractive appearance. | – Mortgage collapse and repair costs are possible
-There is no guarantee for the mortgage – The cabinet doors may not move well. | Additional costs: for wider timber and other additional materials |
VIDEO: Mortgage for a built-in wardrobe.
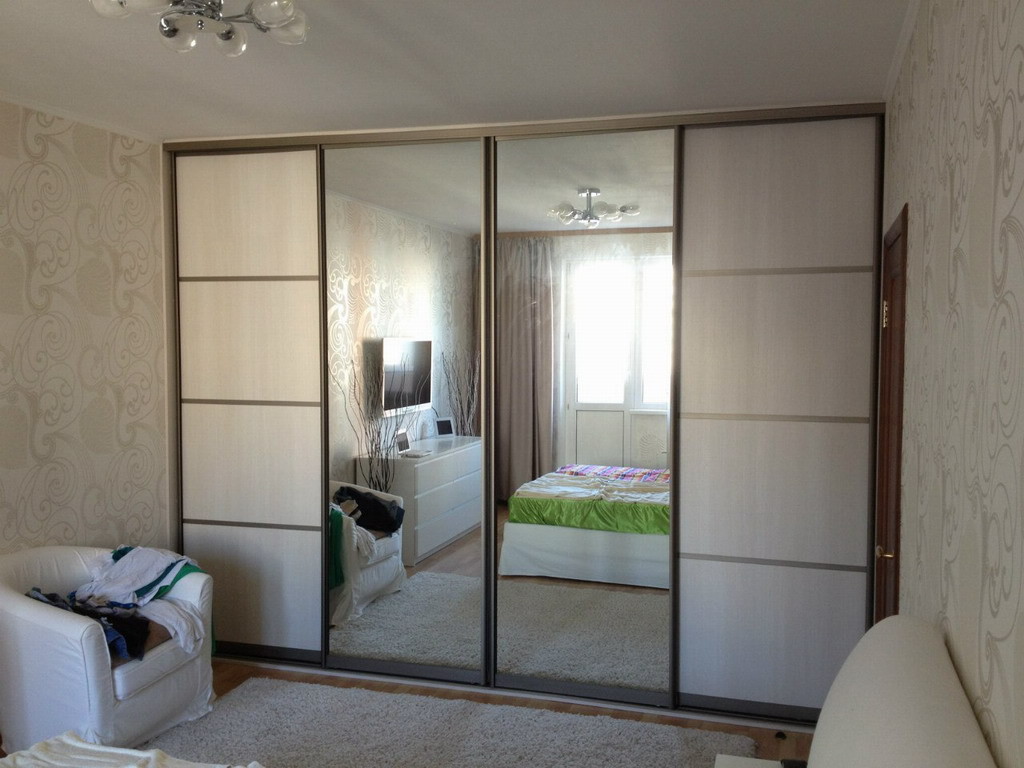
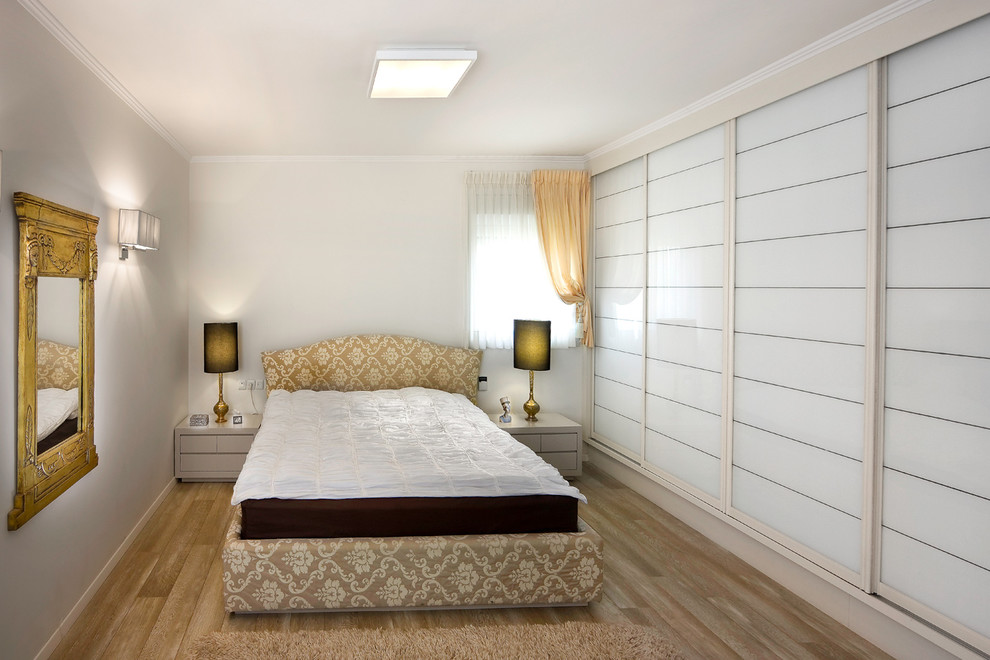
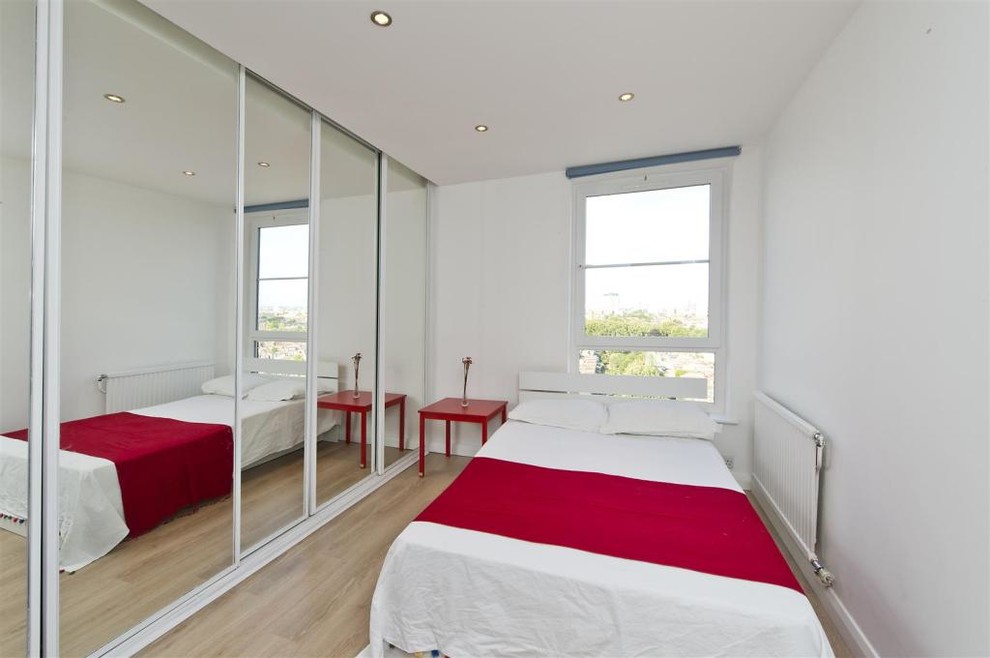
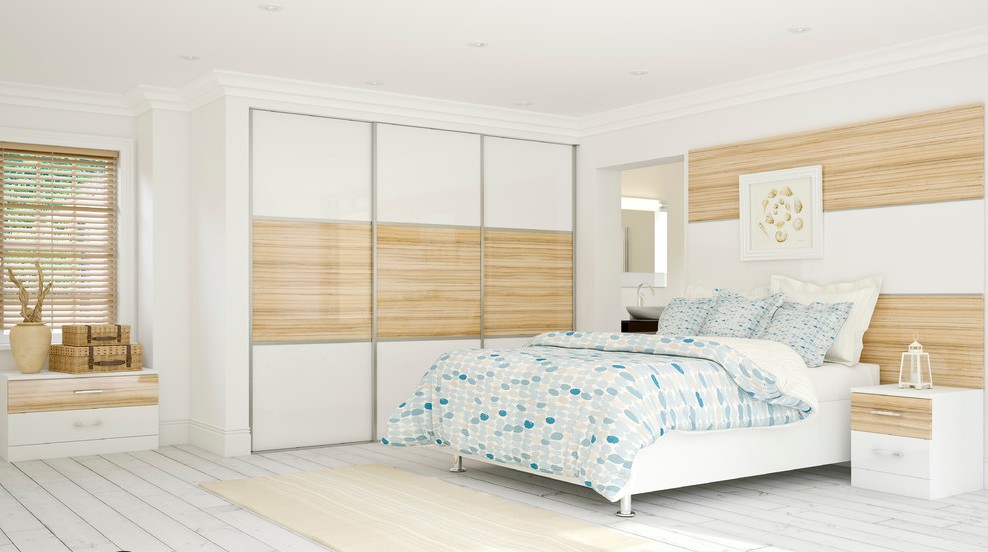
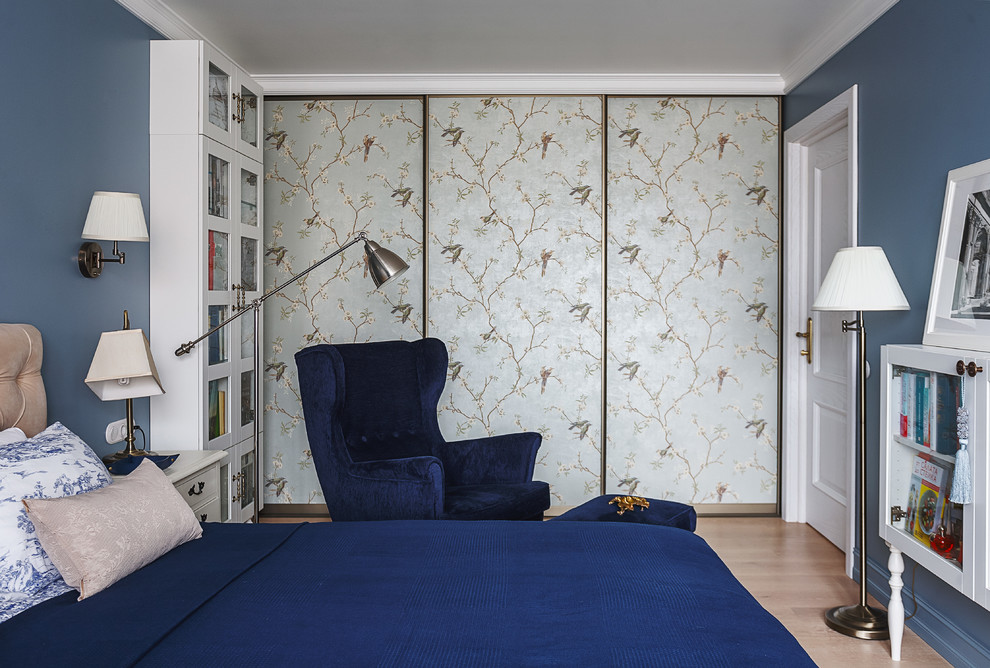
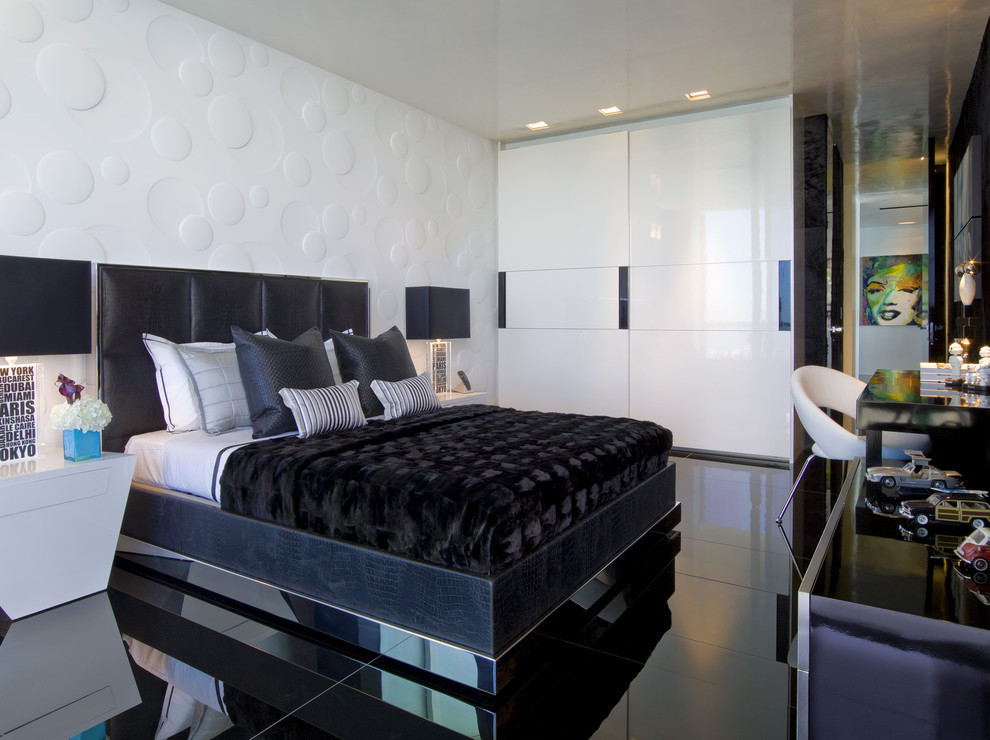
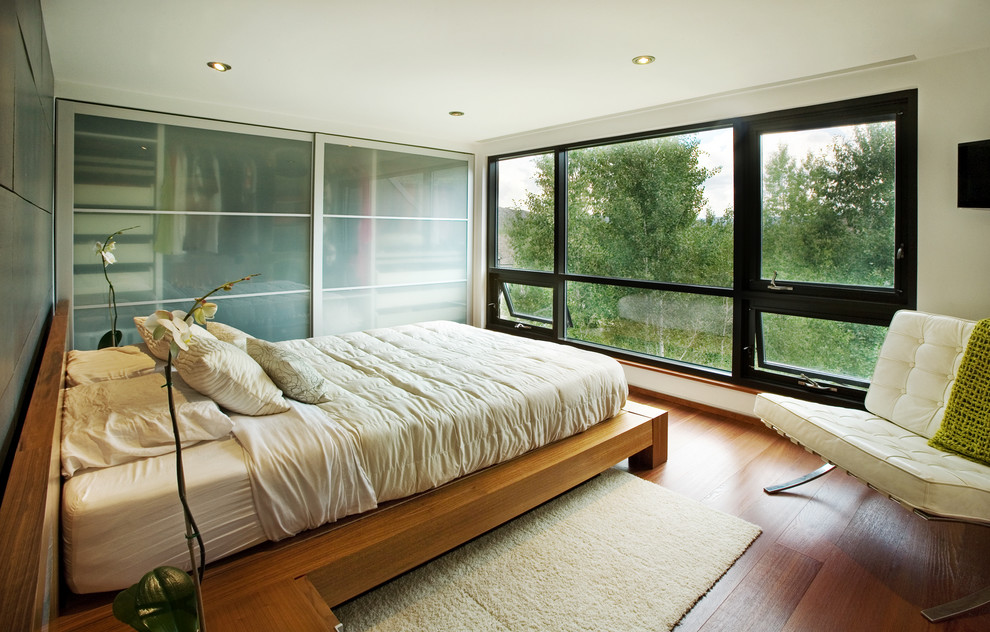
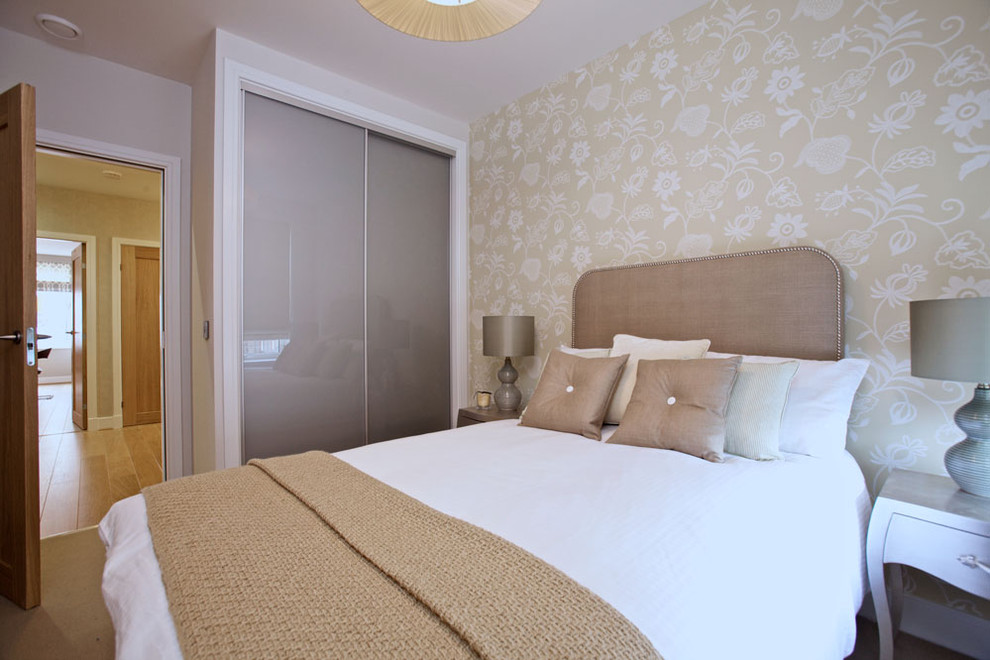
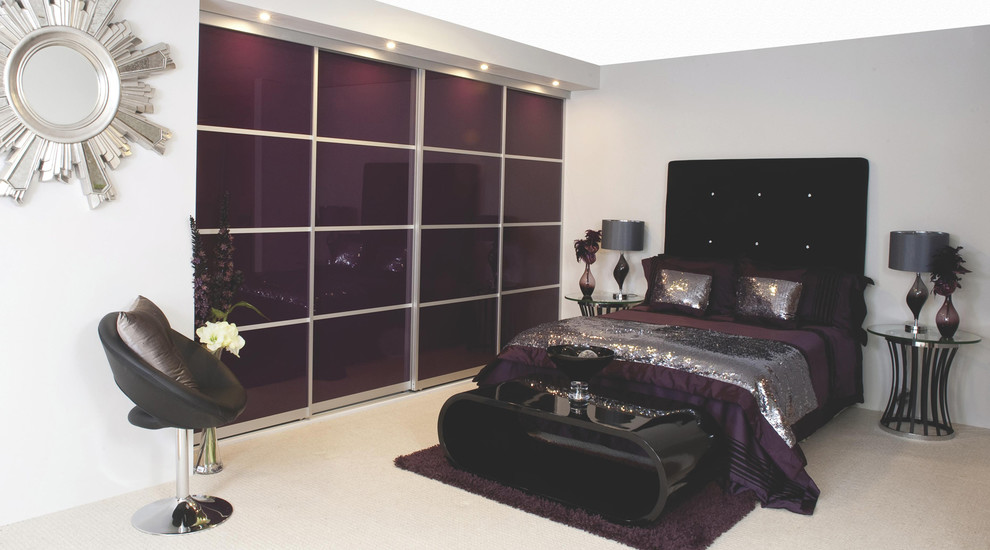
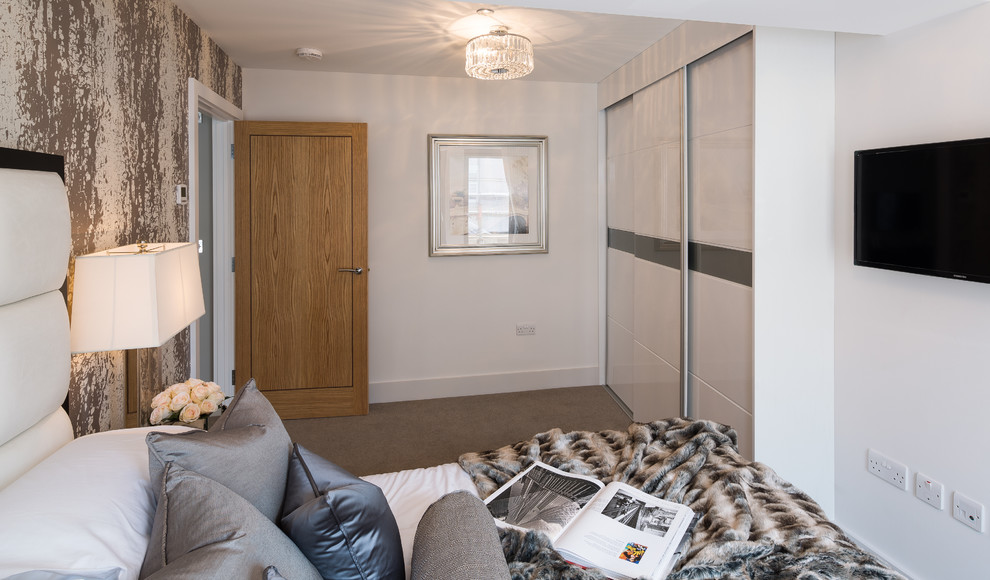
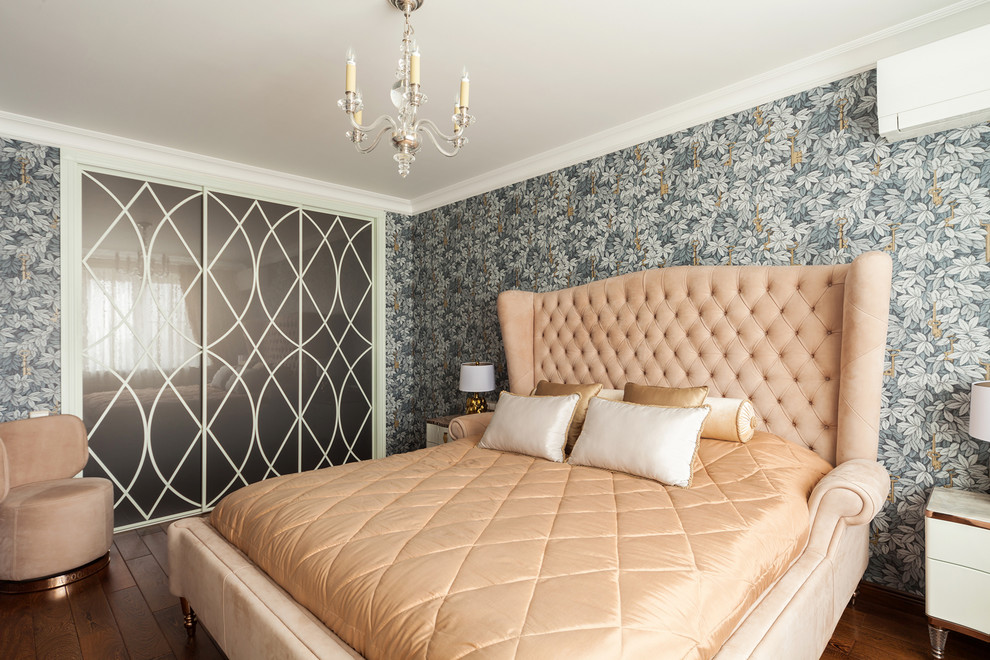
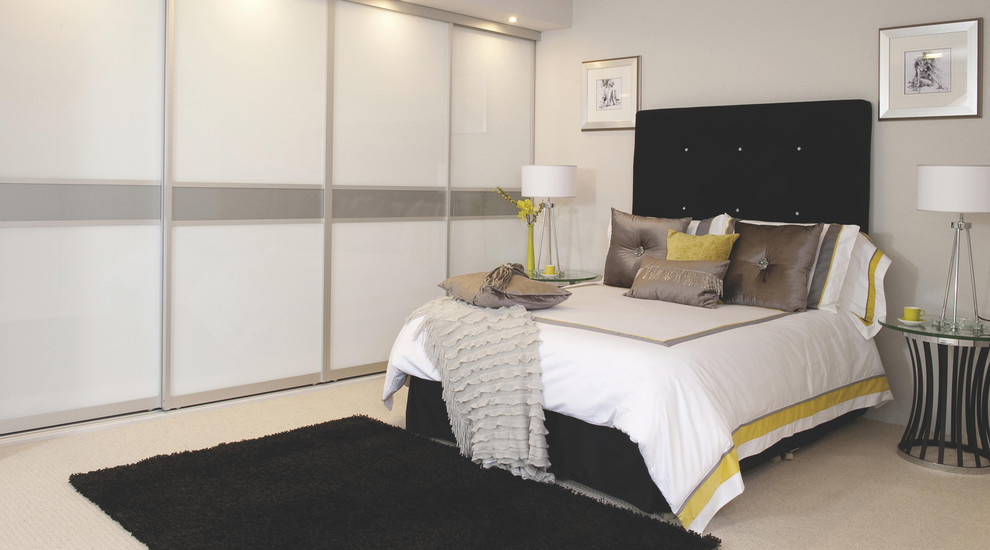
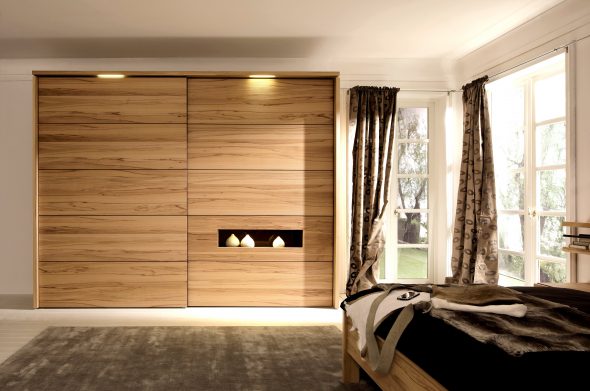
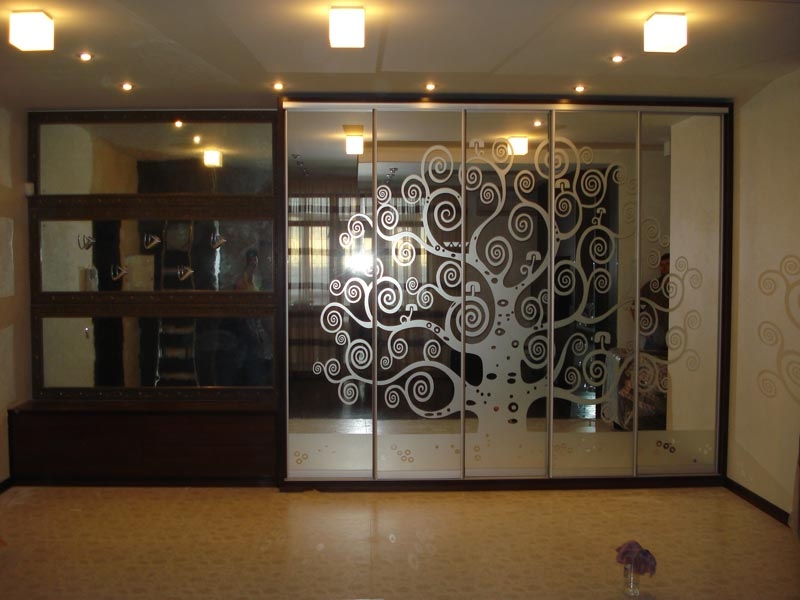
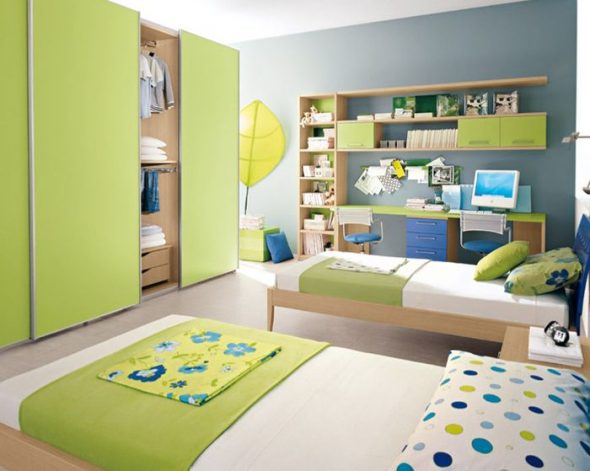
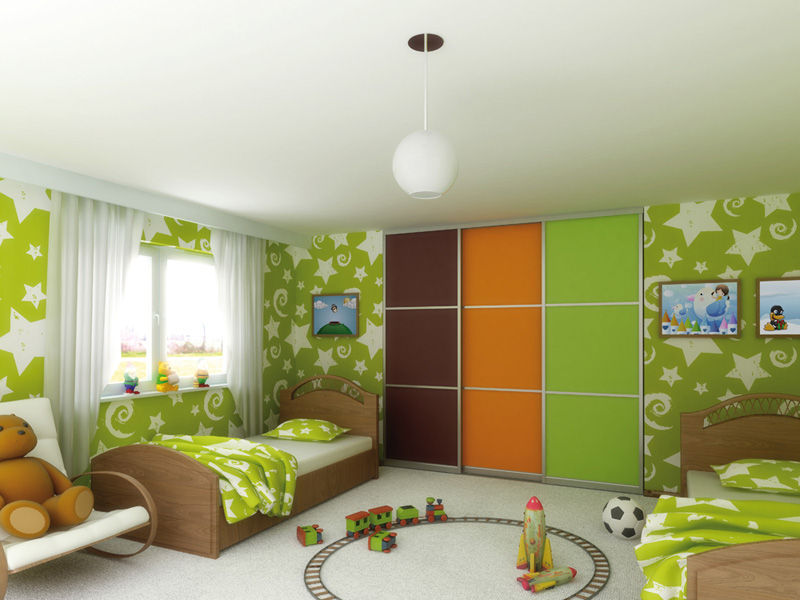
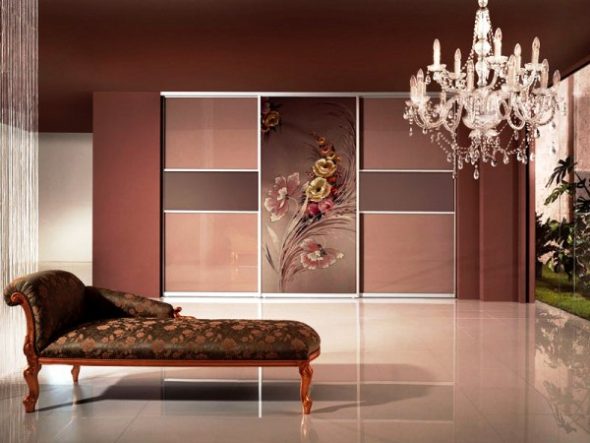
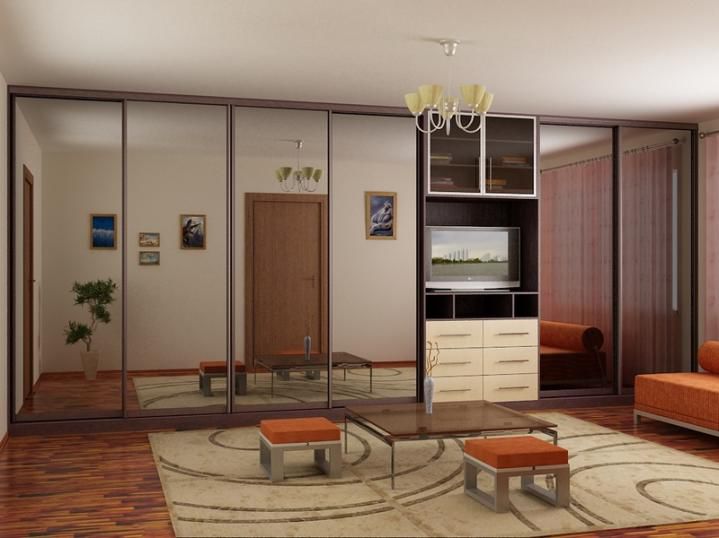
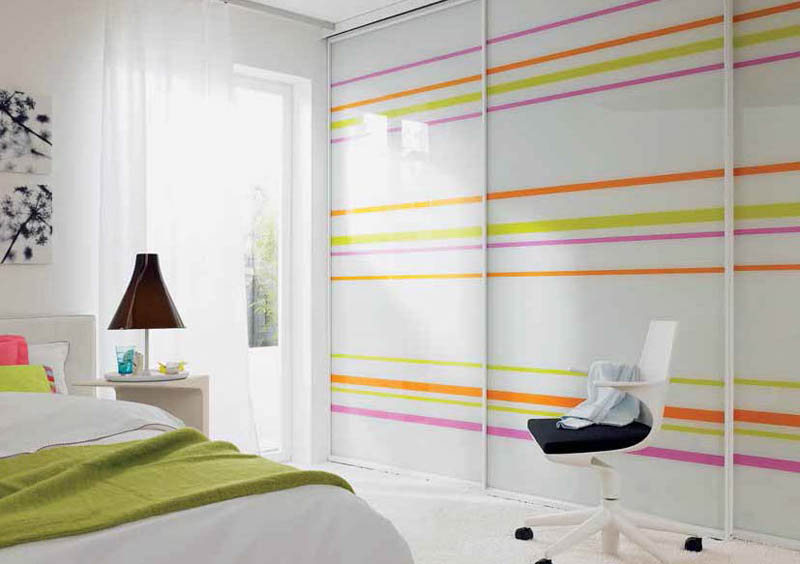
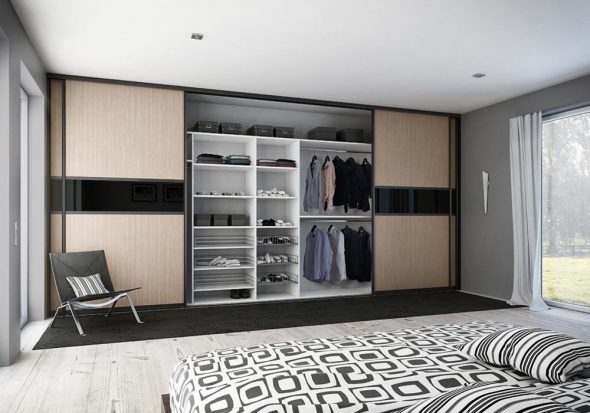
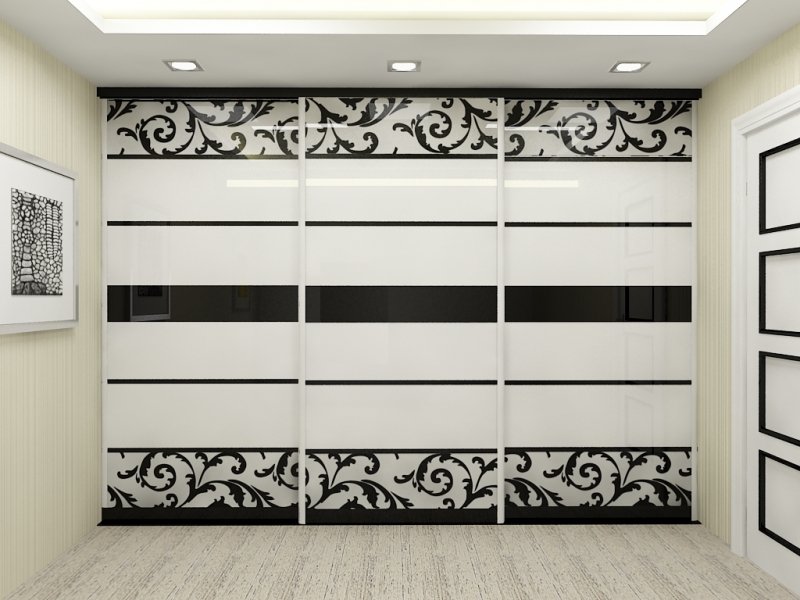
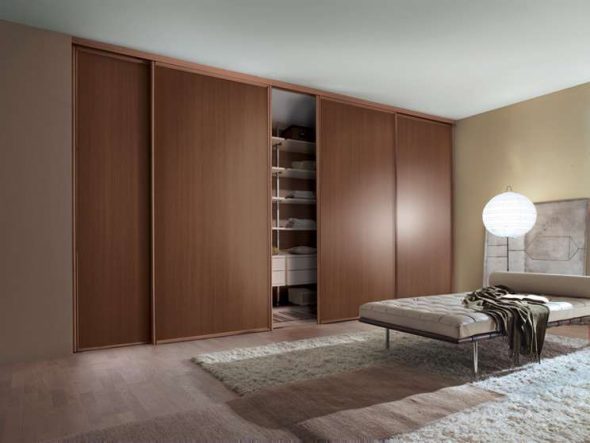
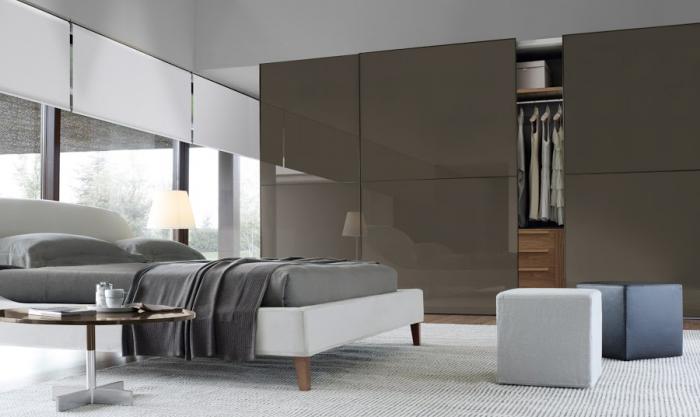
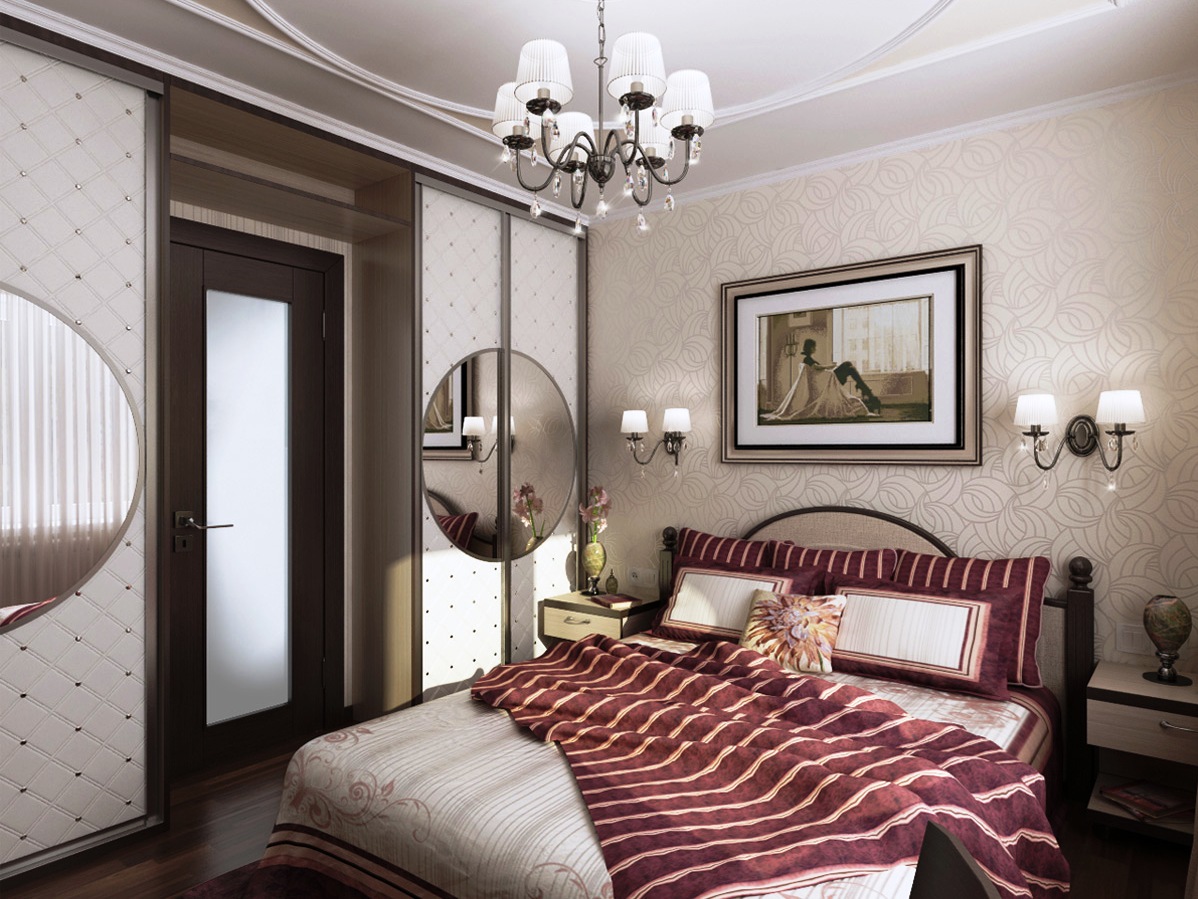
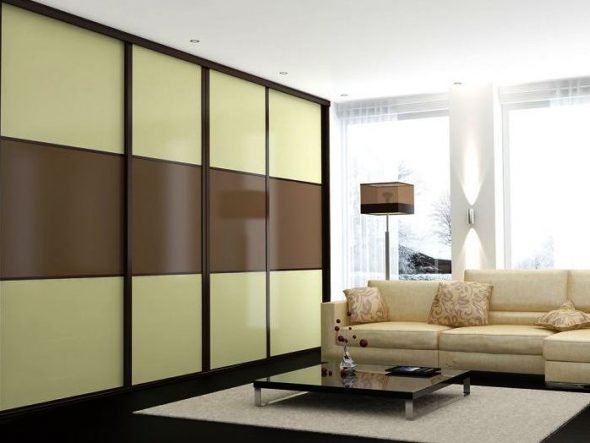
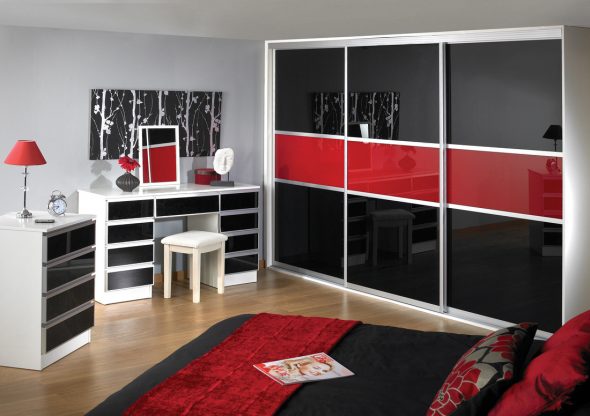
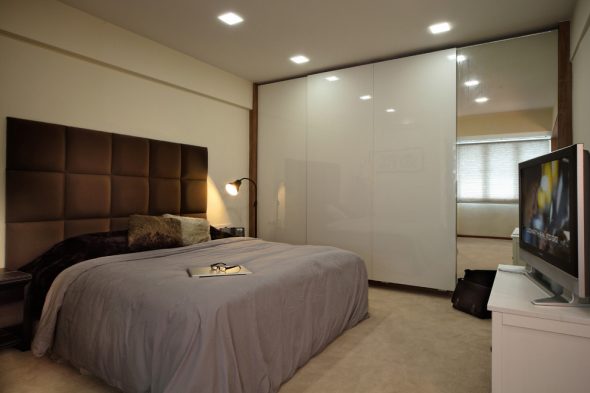
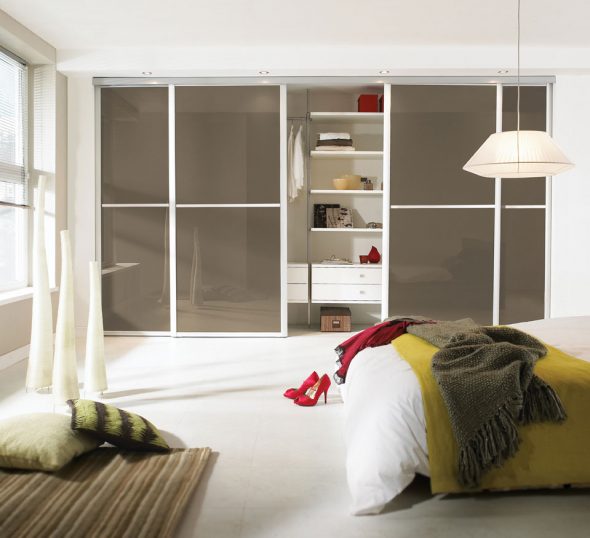
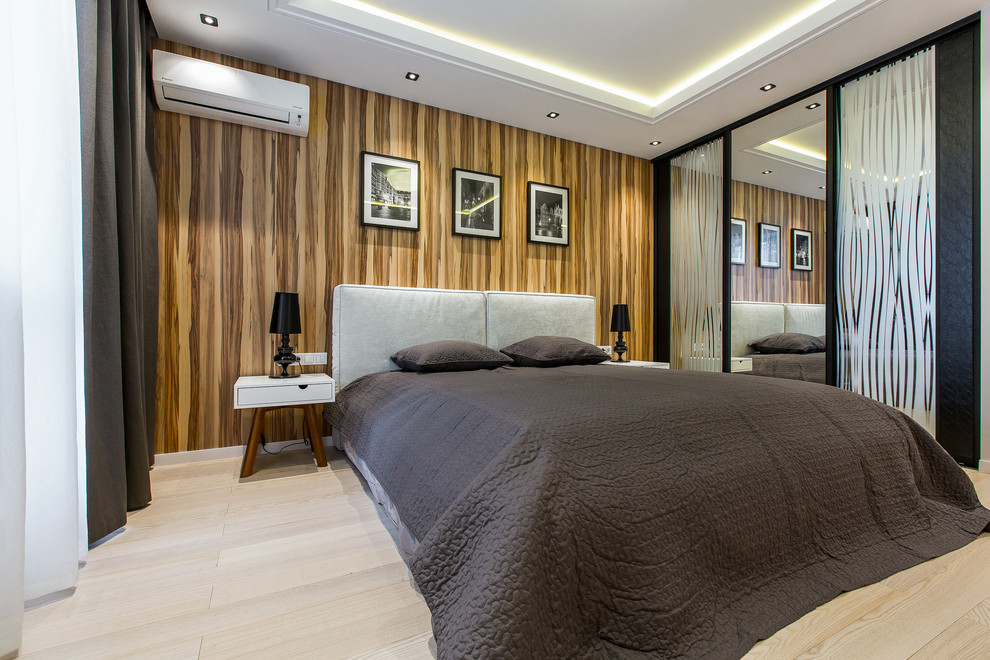
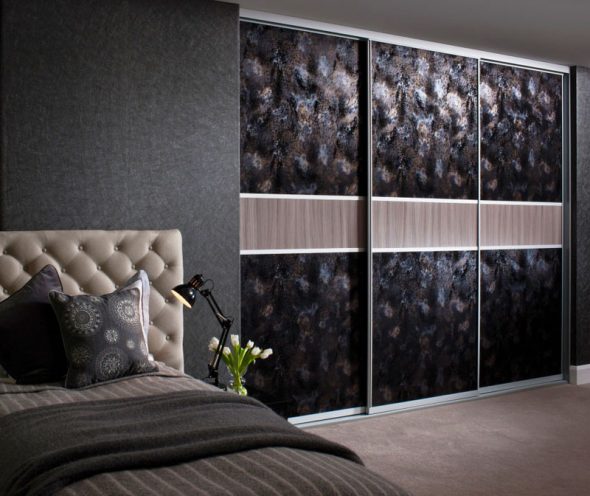
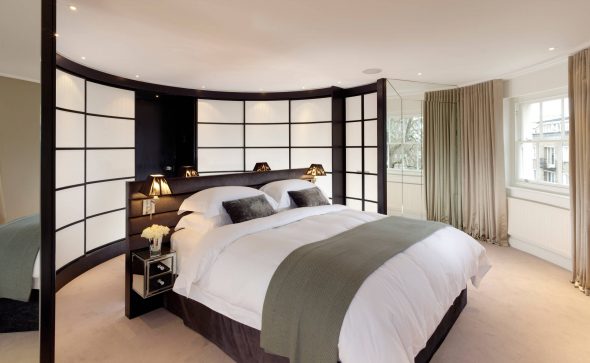
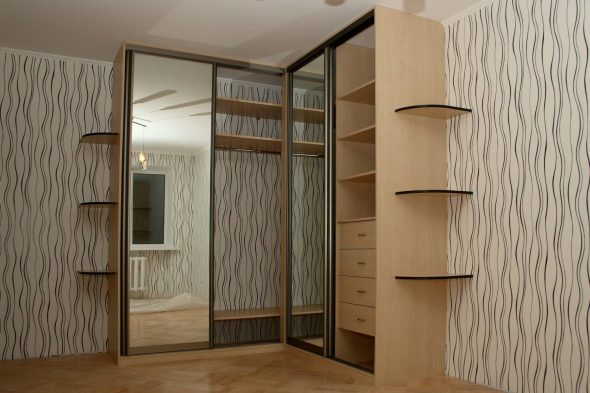
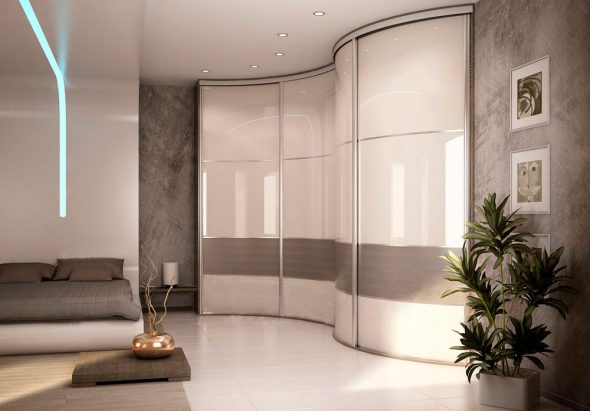
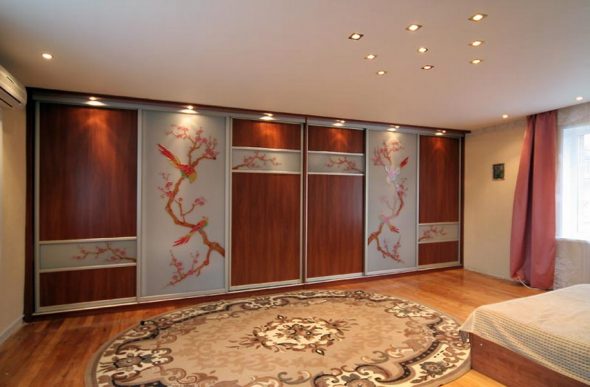
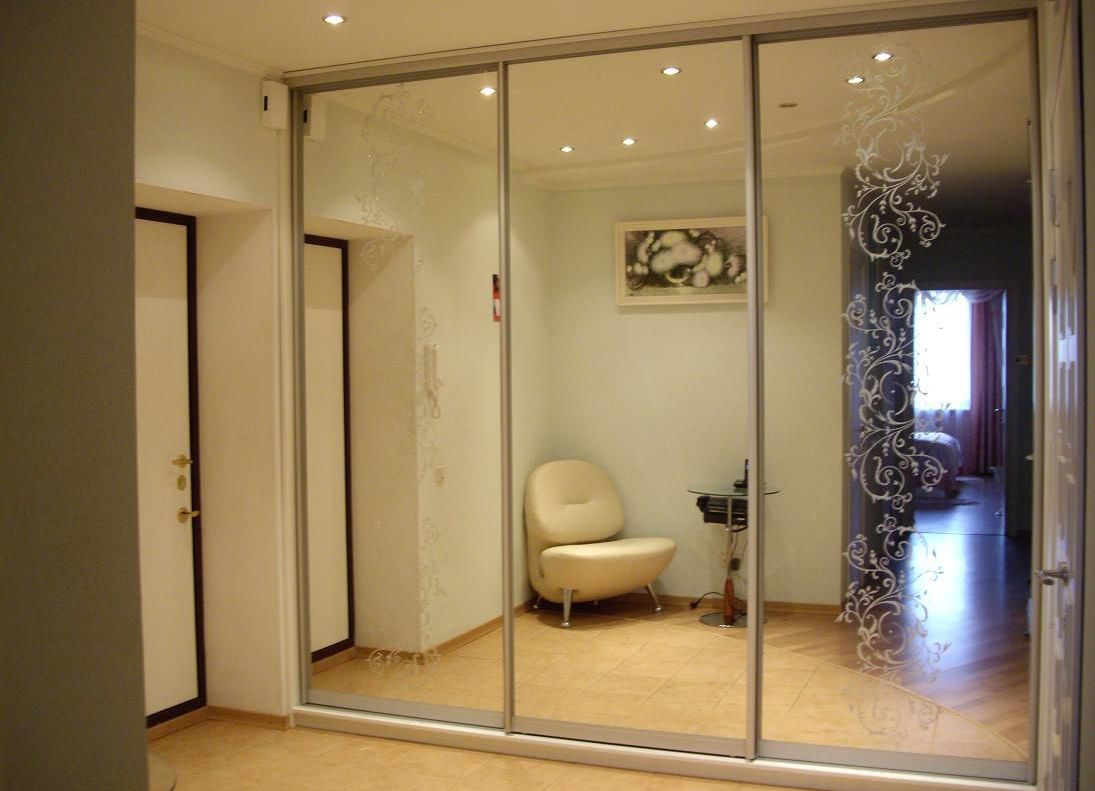
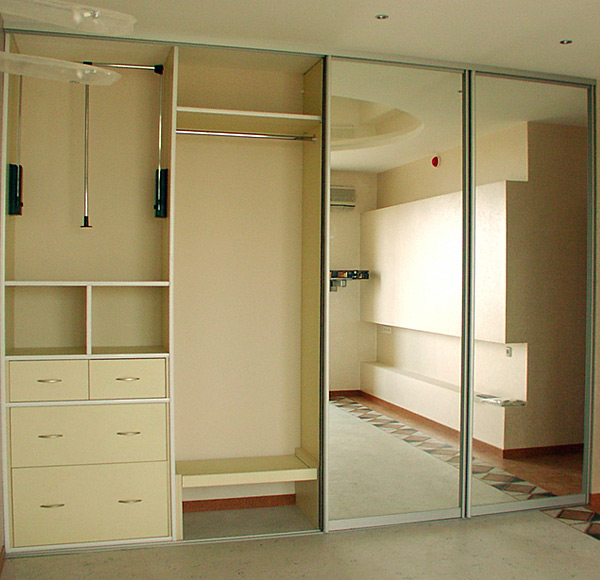
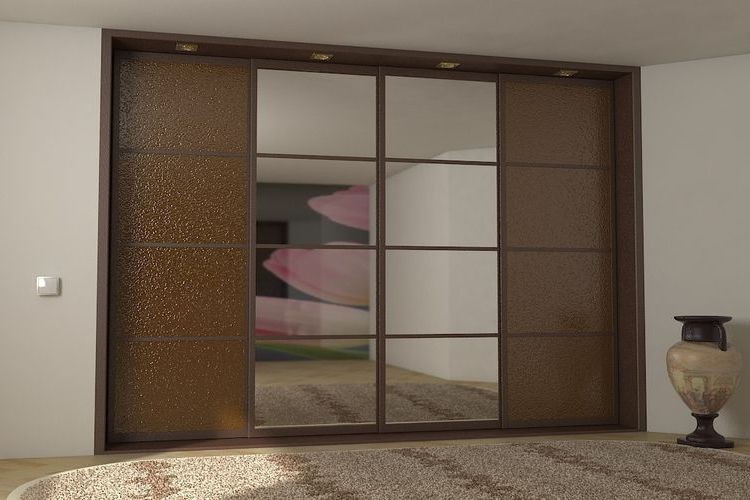
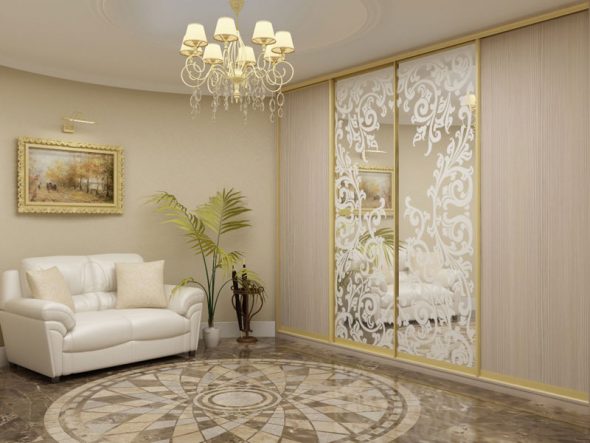
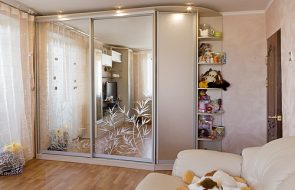
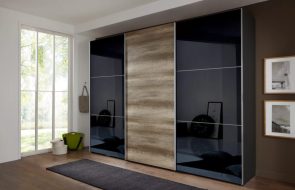
Built-in wardrobes in the interior – 50 photo ideas: