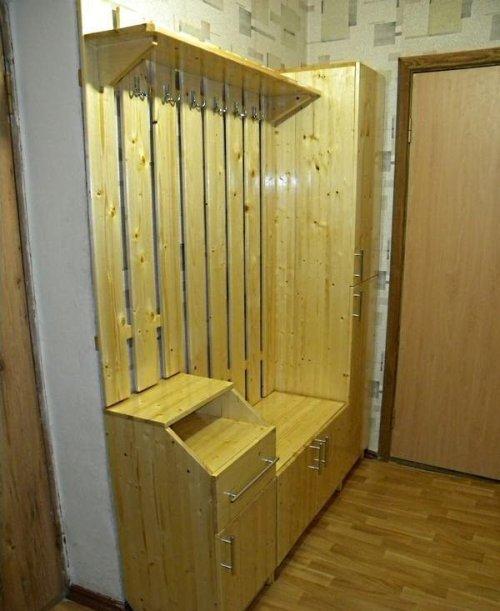
The hallway will be incomplete if it does not have a good, roomy wardrobe. It is not at all necessary to buy it, since the manufacturing process is quite simple.

The advantages of this option:
- you can choose any project that best suits the style and parameters of your hallway;
- designers will not have to pay for developing an individual project;
- Material costs are minimal.
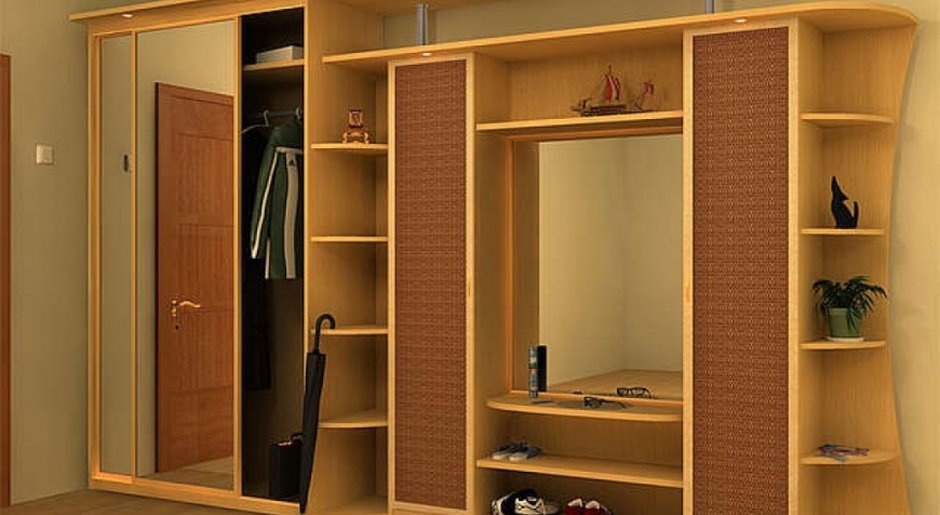
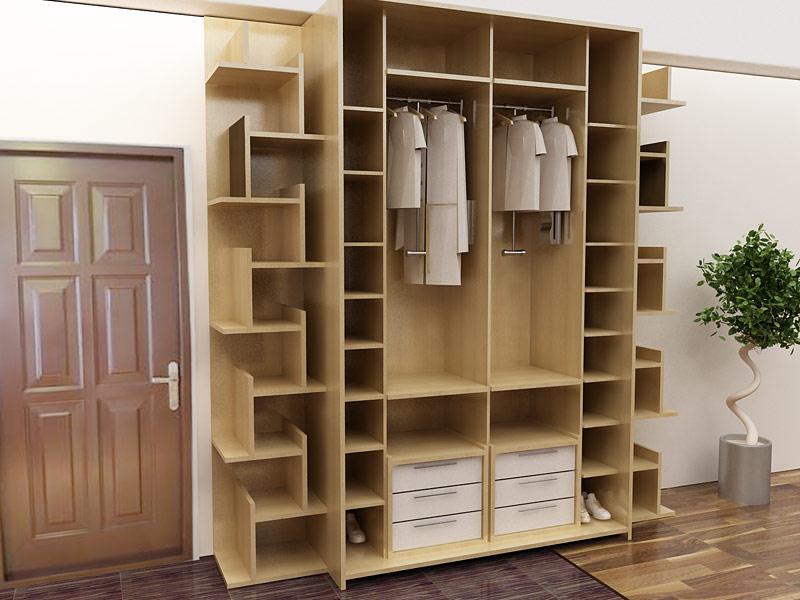
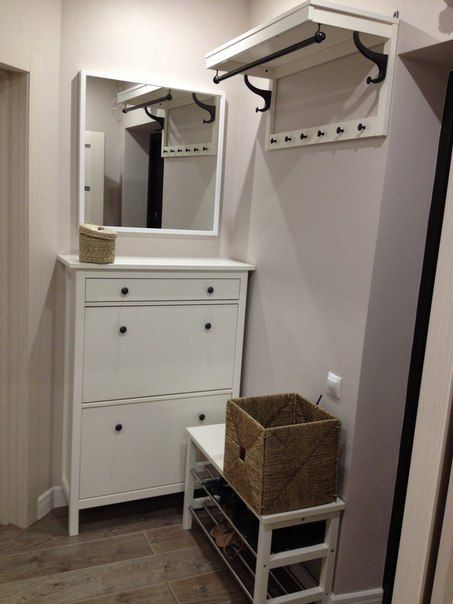
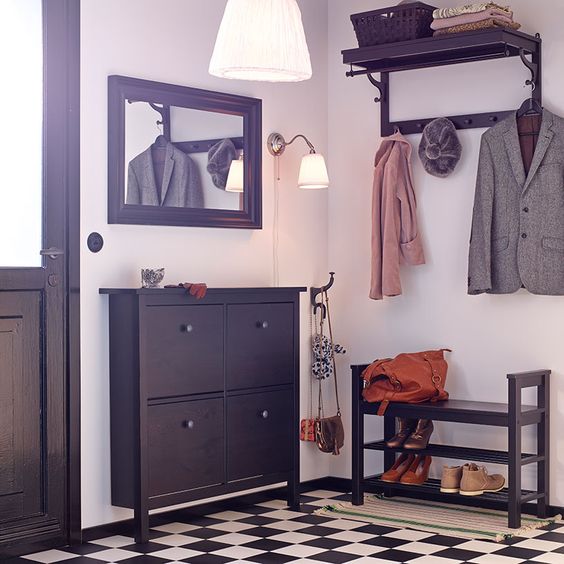
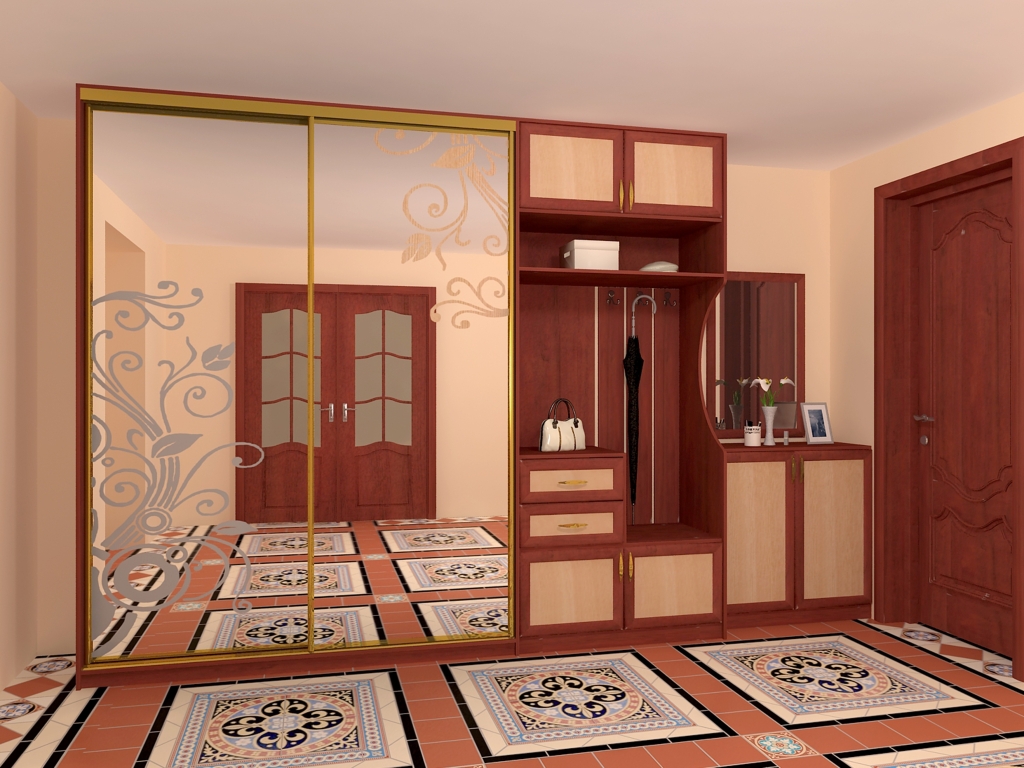
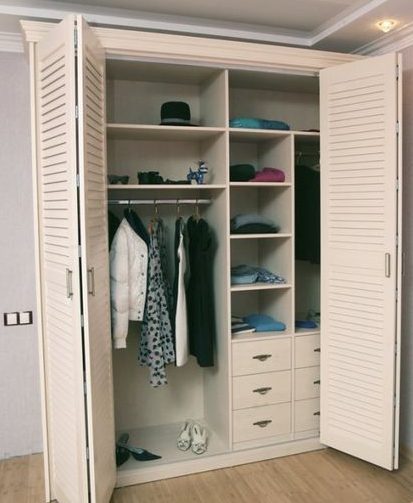
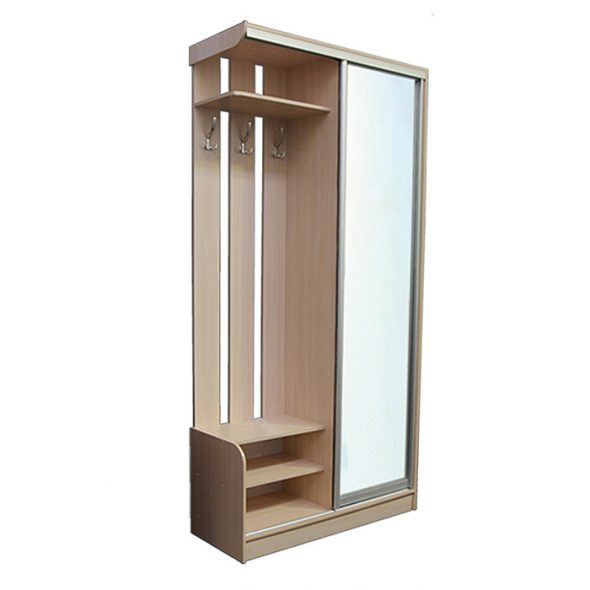
The main thing is that the furniture in the hallway is roomy, compact, neat, and not pretentious.
Details that need to be considered when designing.
- there must be precise dimensions;
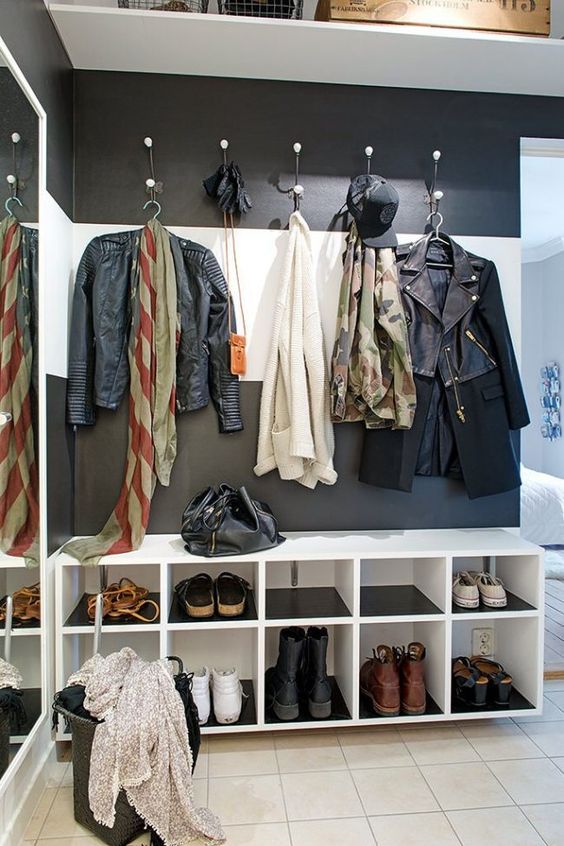
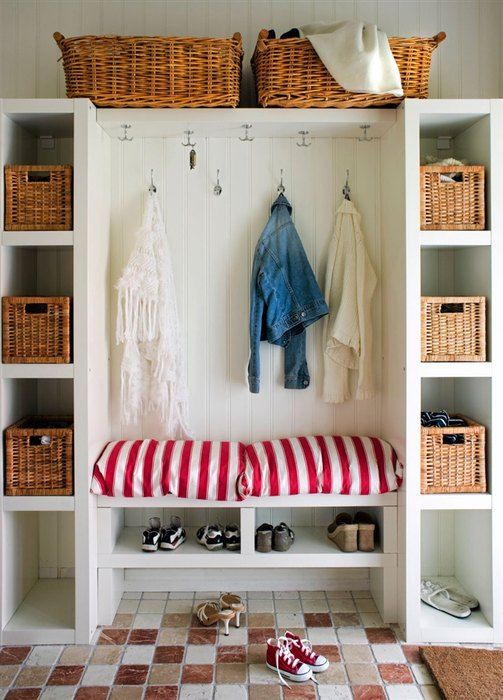
- the presence of a crossbar to place hangers;
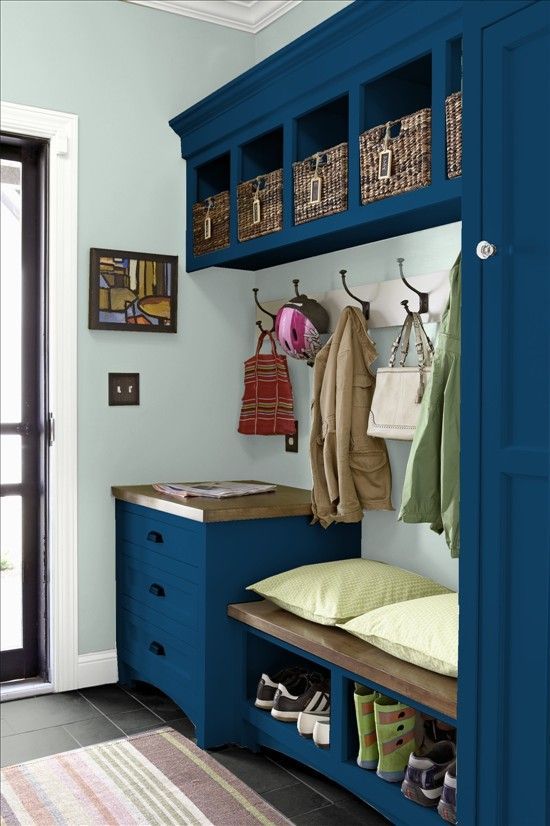
- hooks for everyday clothes;
- one or more shelves for hats;
- shoe storage cabinet.
- mirror;
- small pull-out drawers for small items (gloves, scarves, etc.).
Content
Tools and materials required for work
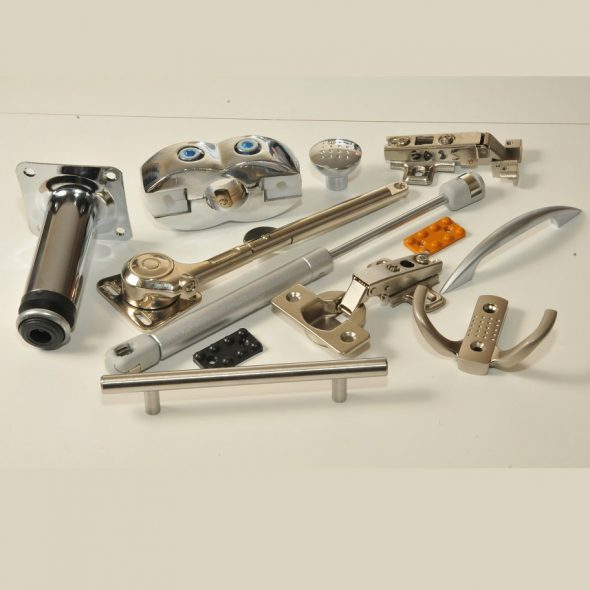
To assemble a wardrobe for the hallway with your own hands, the following tools and fittings are prepared in advance:
- guides for installing drawers;
- tires, if you are planning a “coupe” with a sliding system;
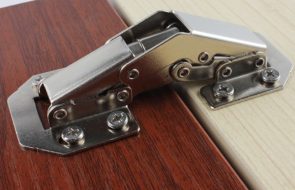
- hinges and handles for doors;
- clothes hooks;
- the number of nails, screws, and self-tapping screws calculated in accordance with the project;
- Wooden fasteners are also needed: confirmats, dowels for assembling furniture;
- furniture corners (metal, plastic) and plugs;
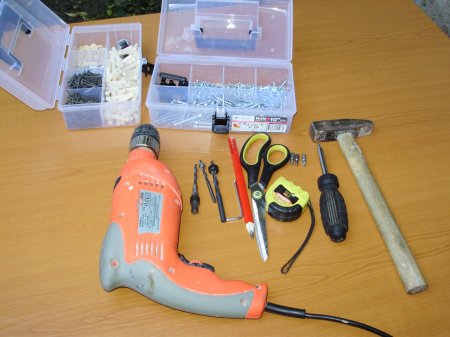
- You can’t do without a standard set of tools (a screwdriver, a drill, an electric jigsaw, a wood saw, a key for furniture confirmats, a mallet, a clamp, a square and a building level).
It is better to take inexpensive materials that are easy to process. For example, even experienced manufacturers will not undertake to make furniture from solid wood.
- Chipboard is the most acceptable option for a future product made by hand. This material is easy to cut and process. The building material is light in weight, so it does not require reinforced fasteners or fittings. An important fact is the low cost.

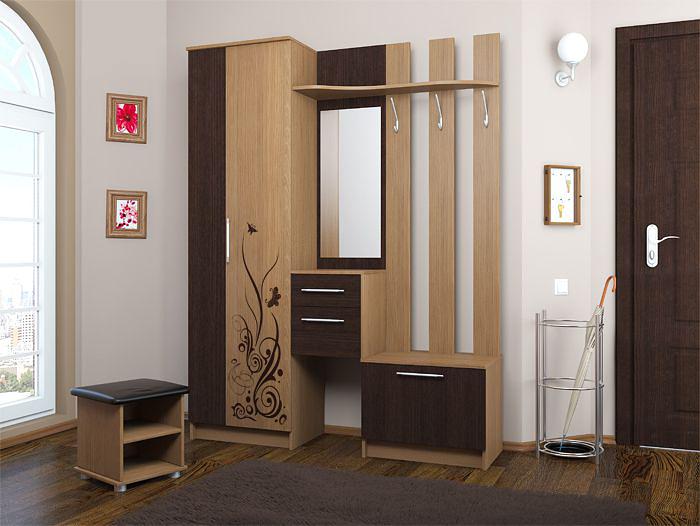
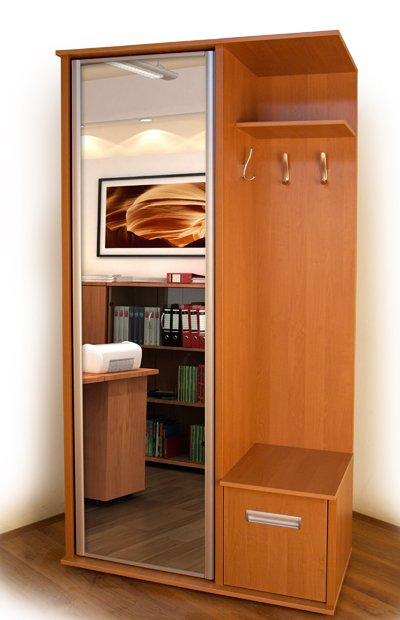
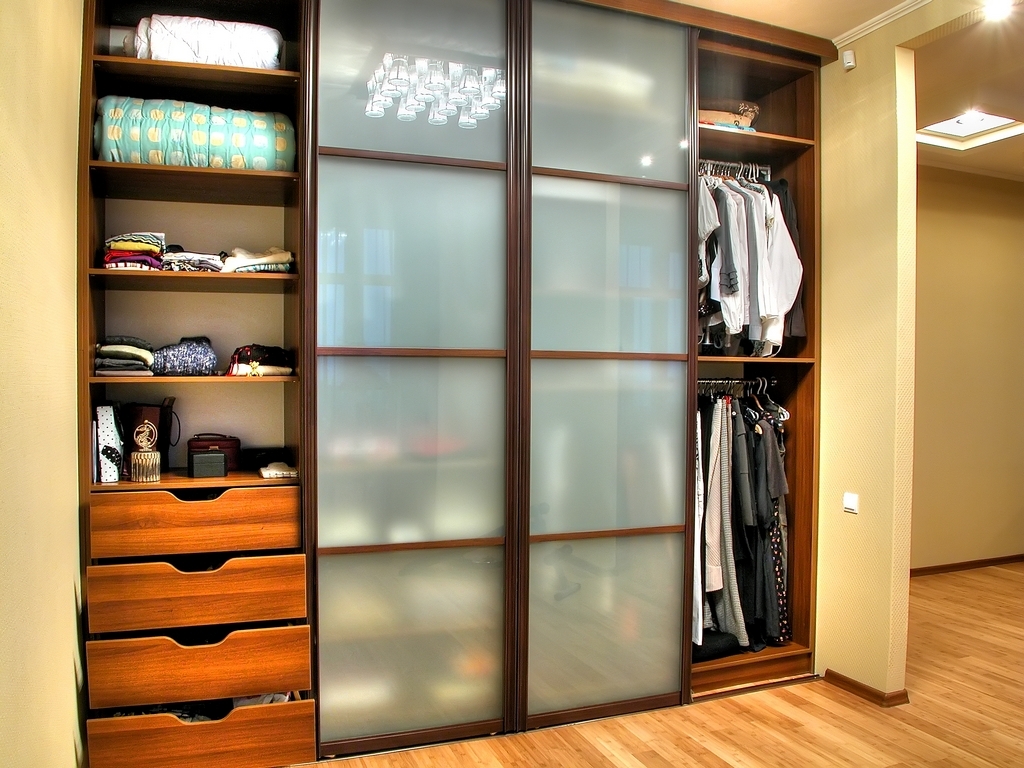
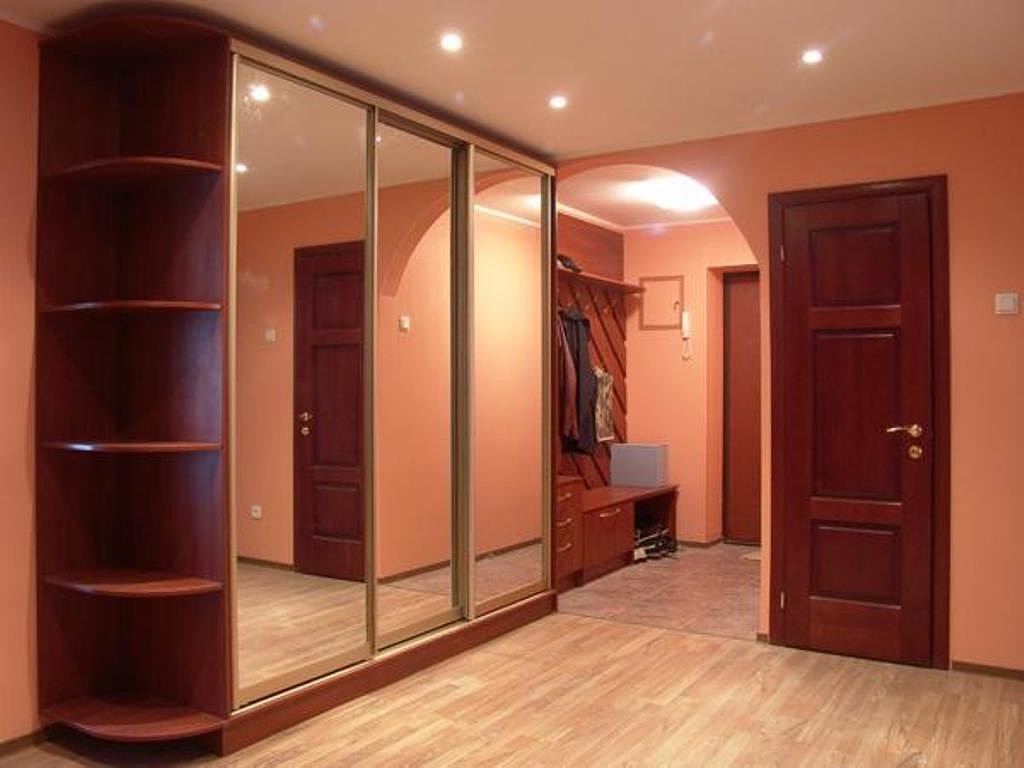
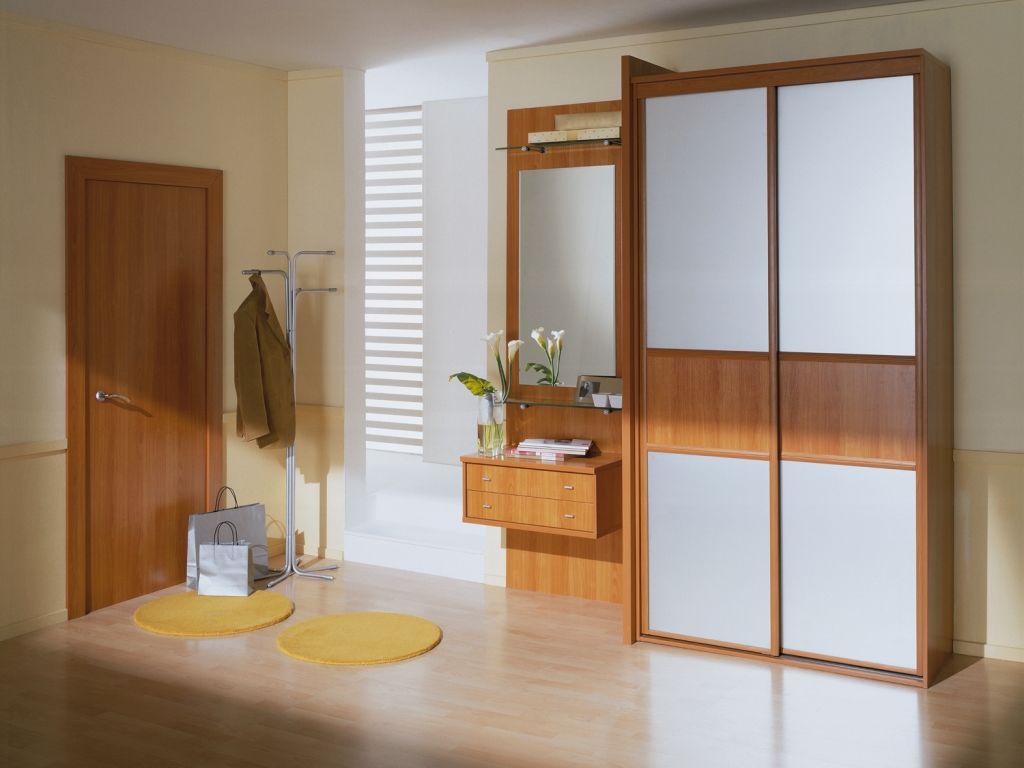
Chipboard wardrobe with mirror door - Plywood is a light, durable and denser material that can be used to create shaped parts and cut-out patterns.

Spacious eco-friendly plywood cabinet - MDF can be subjected to various types of processing (painting, tinting, staining, etc.). It is less durable than plywood.

Wardrobe and cabinet made of MDF for the hallway - Fiberboard must be purchased for the back walls of the elements.

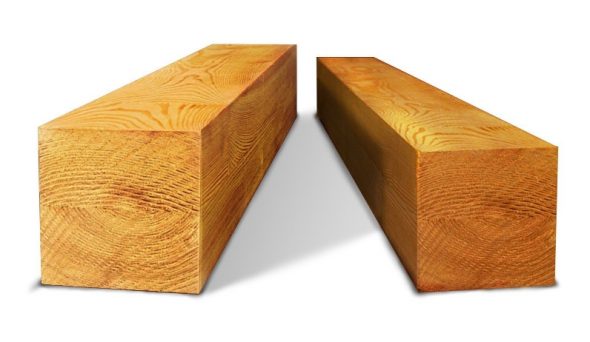
Fiberboard for the back wall of the wardrobe in the hallway - Wooden beam for frame construction.

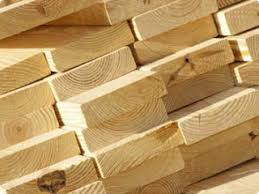
Wooden beam for the frame of a homemade cabinet - Edged boards (usually made of pine).

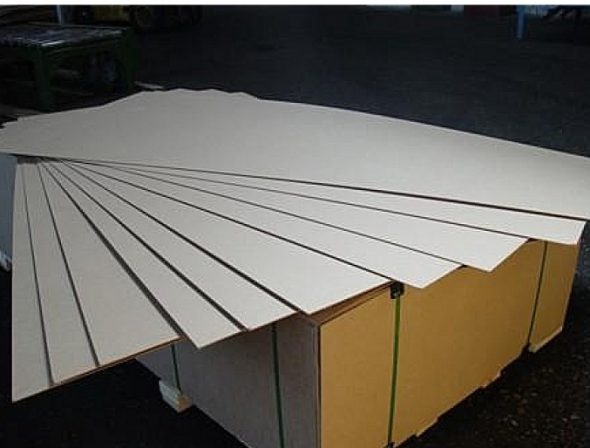
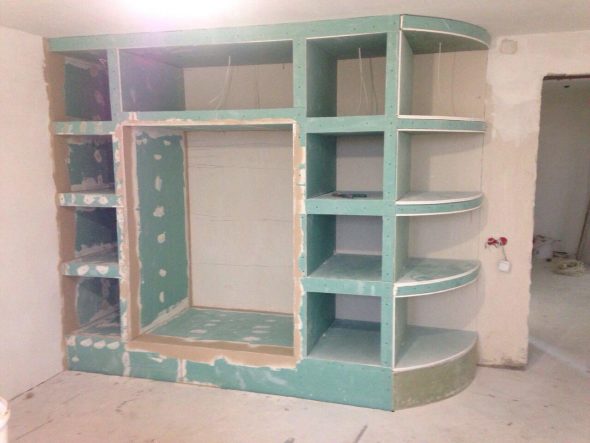
Edged board (pine) - Plasterboard for equipping interior spaces with built-in niches.

Homemade plasterboard cabinet for the hallway

It is necessary to approach the measurement most responsibly. If there is an error, all subsequent work will be difficult or nothing will work at all. There are various ready-made options with suitable dimensions. If ready-made drawings are not suitable, and your drawing skills are weak, you need to involve a specialist for this stage, who will think through a project with the necessary dimensions. It is better to cut materials and make edging of end parts in a store that sells building materials. The store's services are inexpensive, but it saves a lot of time.
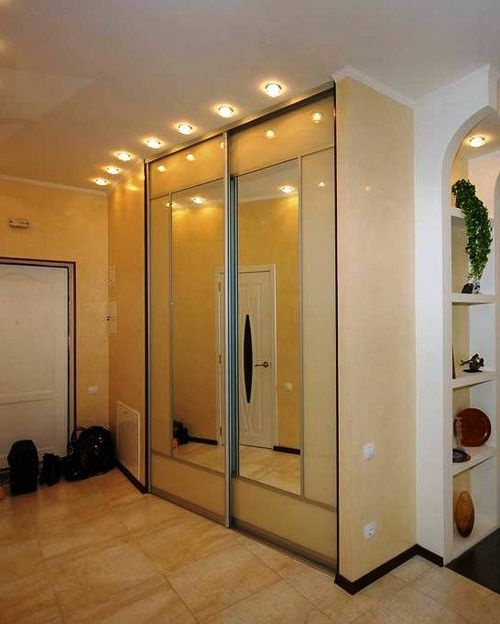
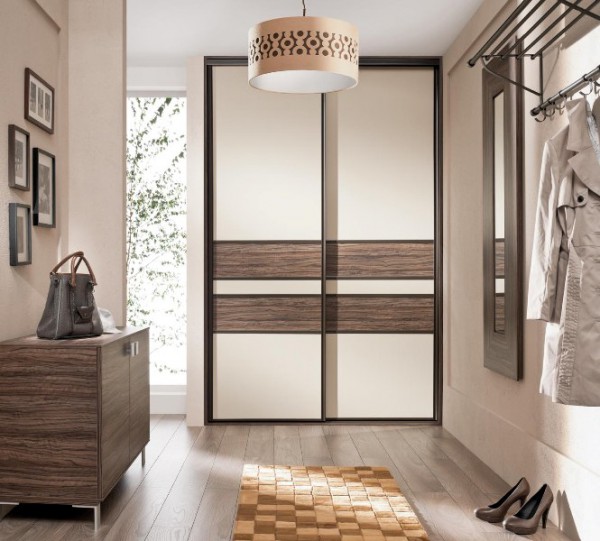
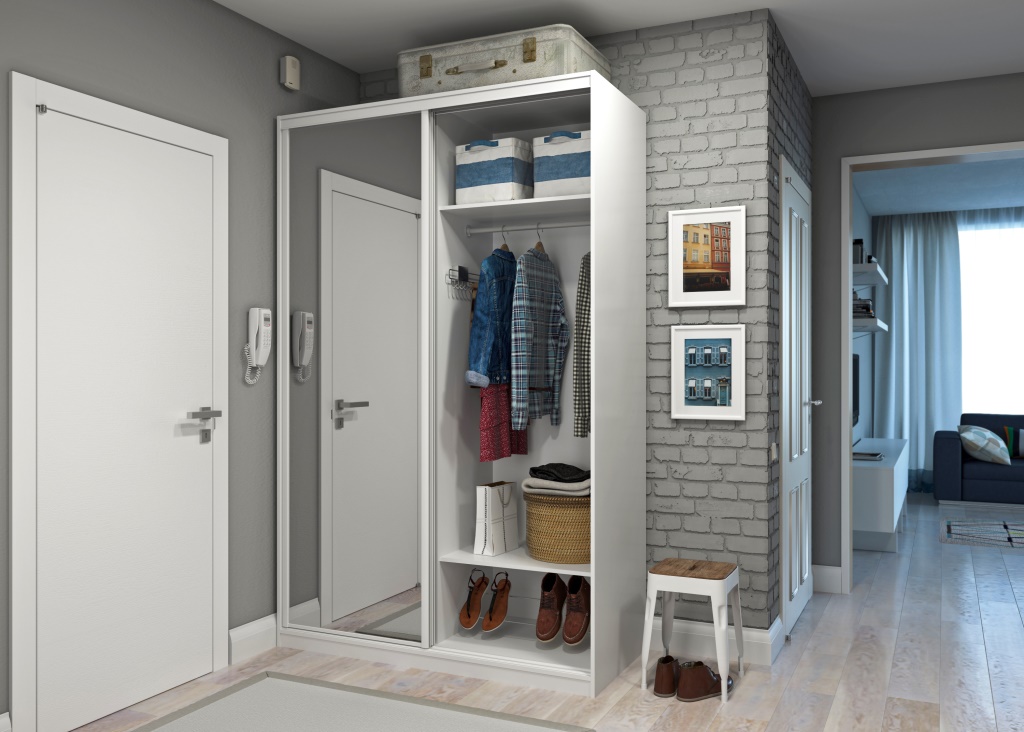
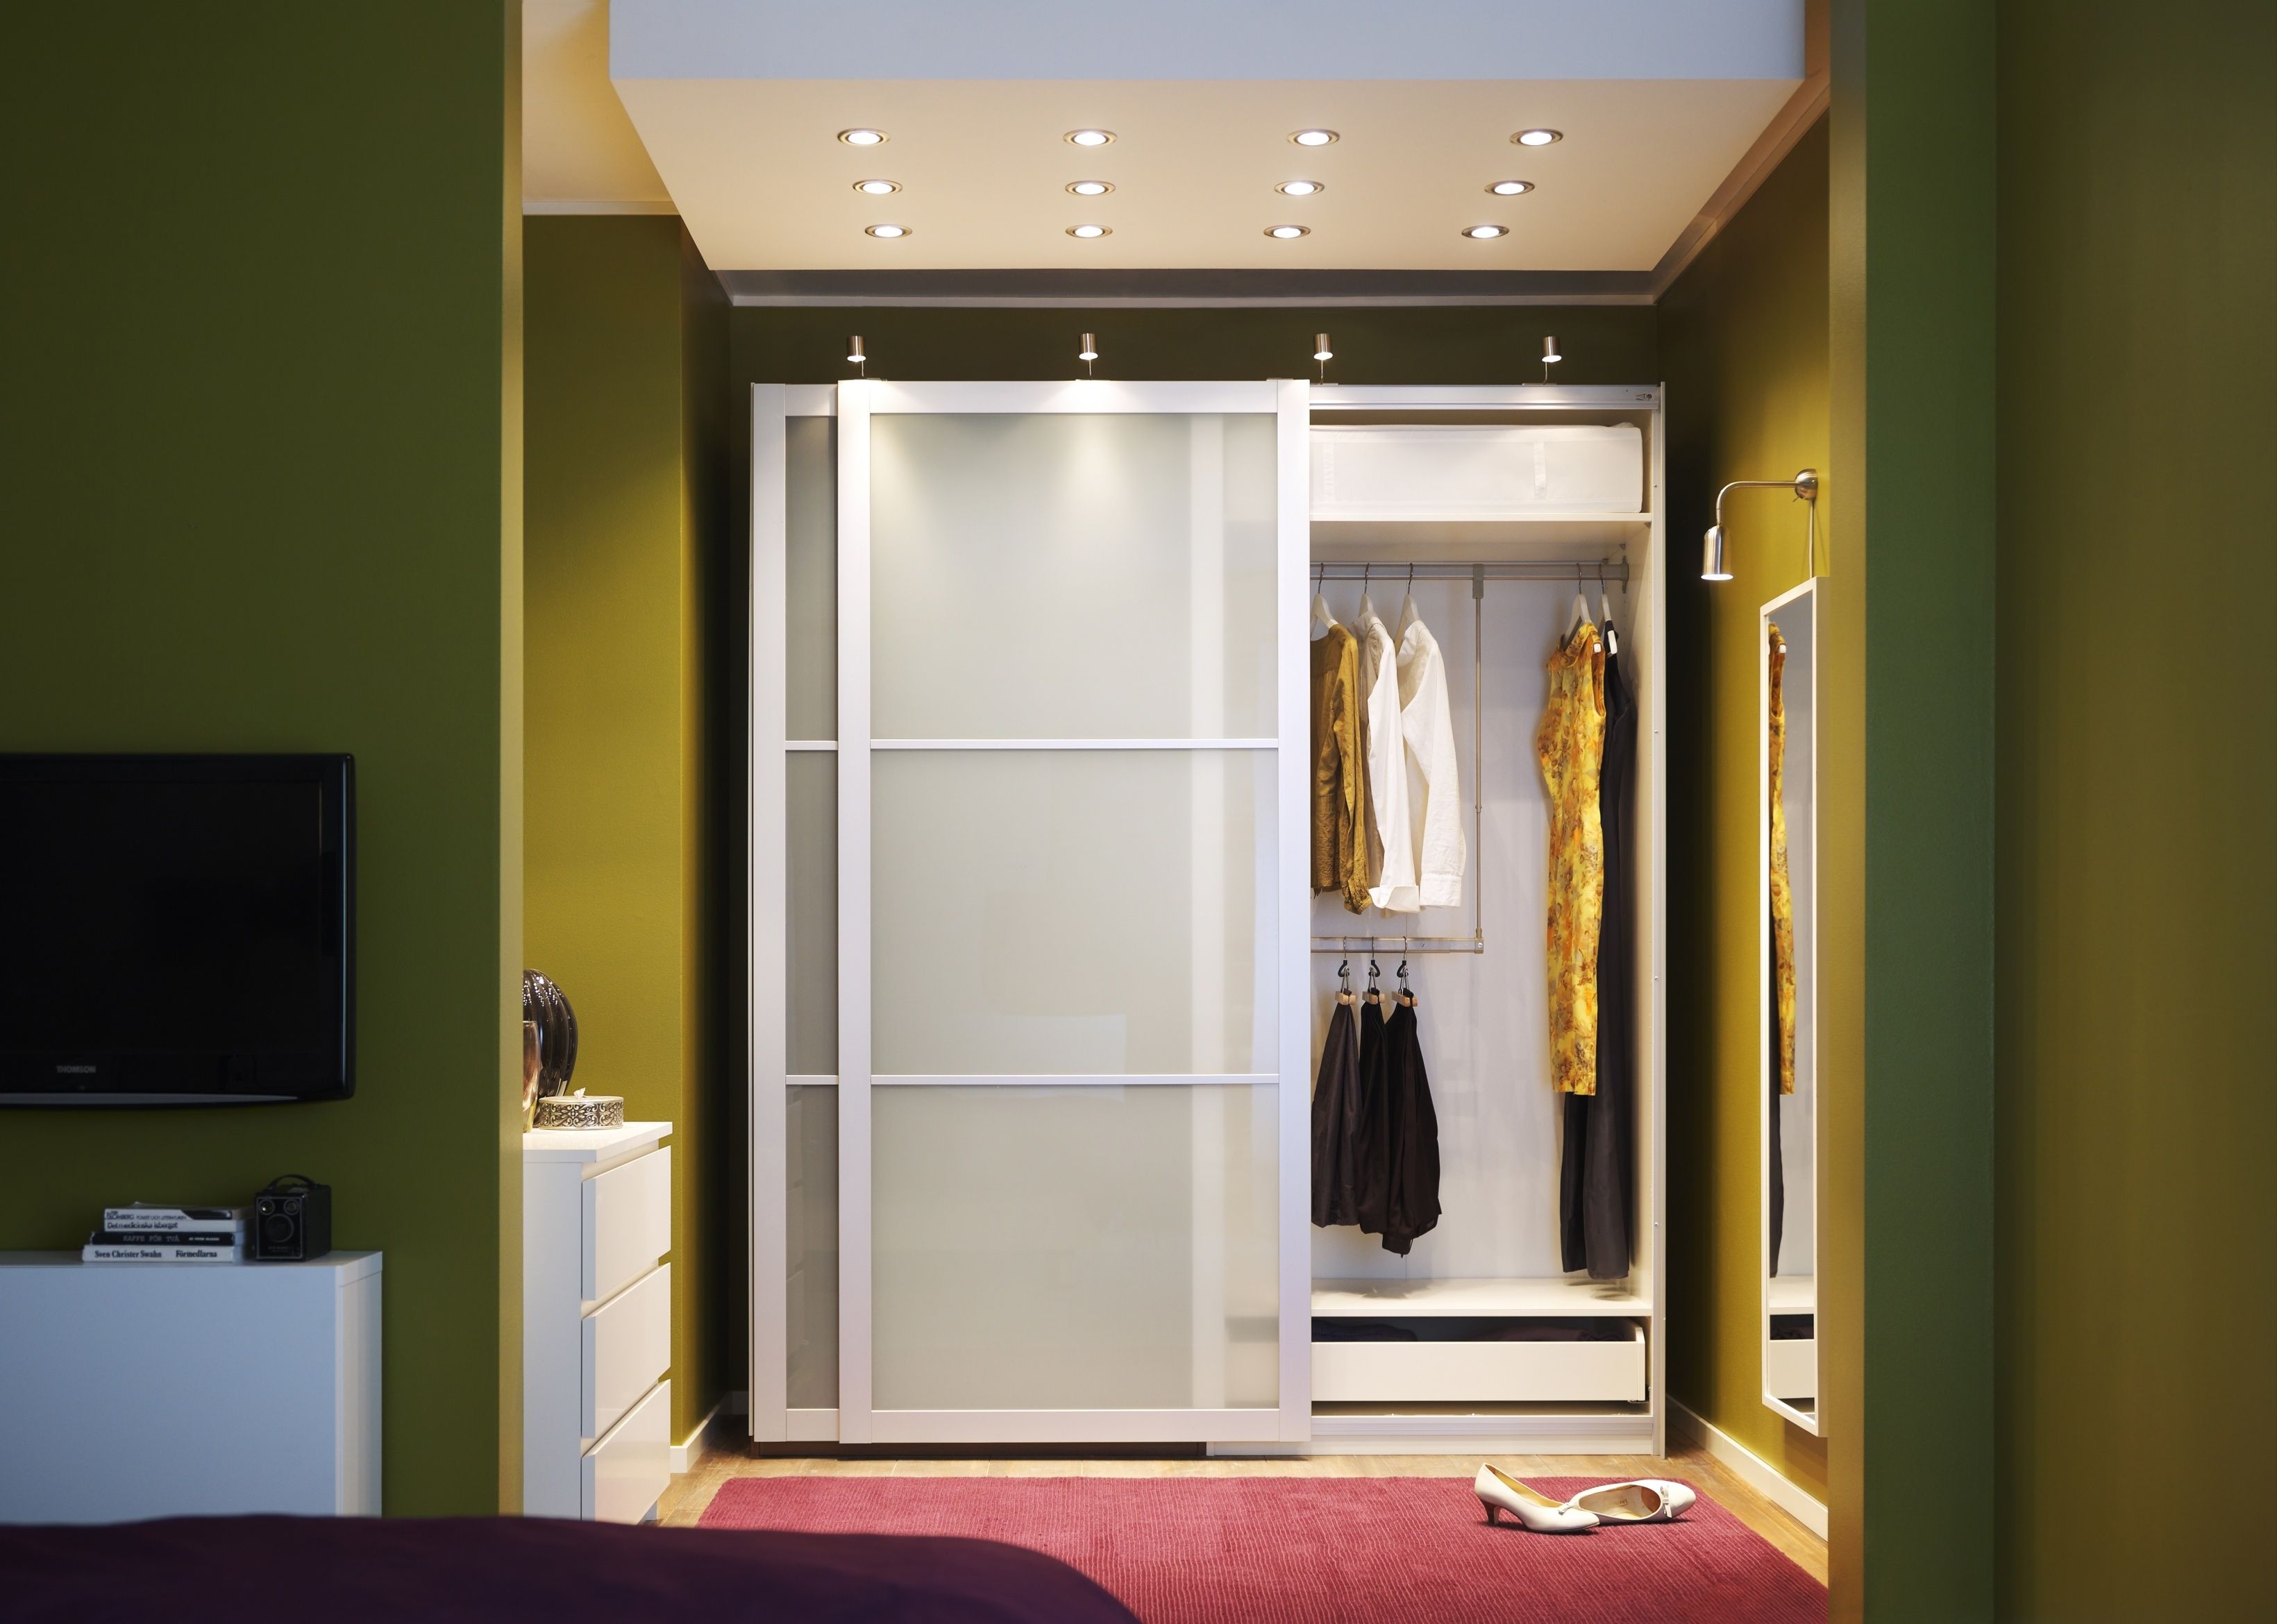
Assembling a sliding wardrobe
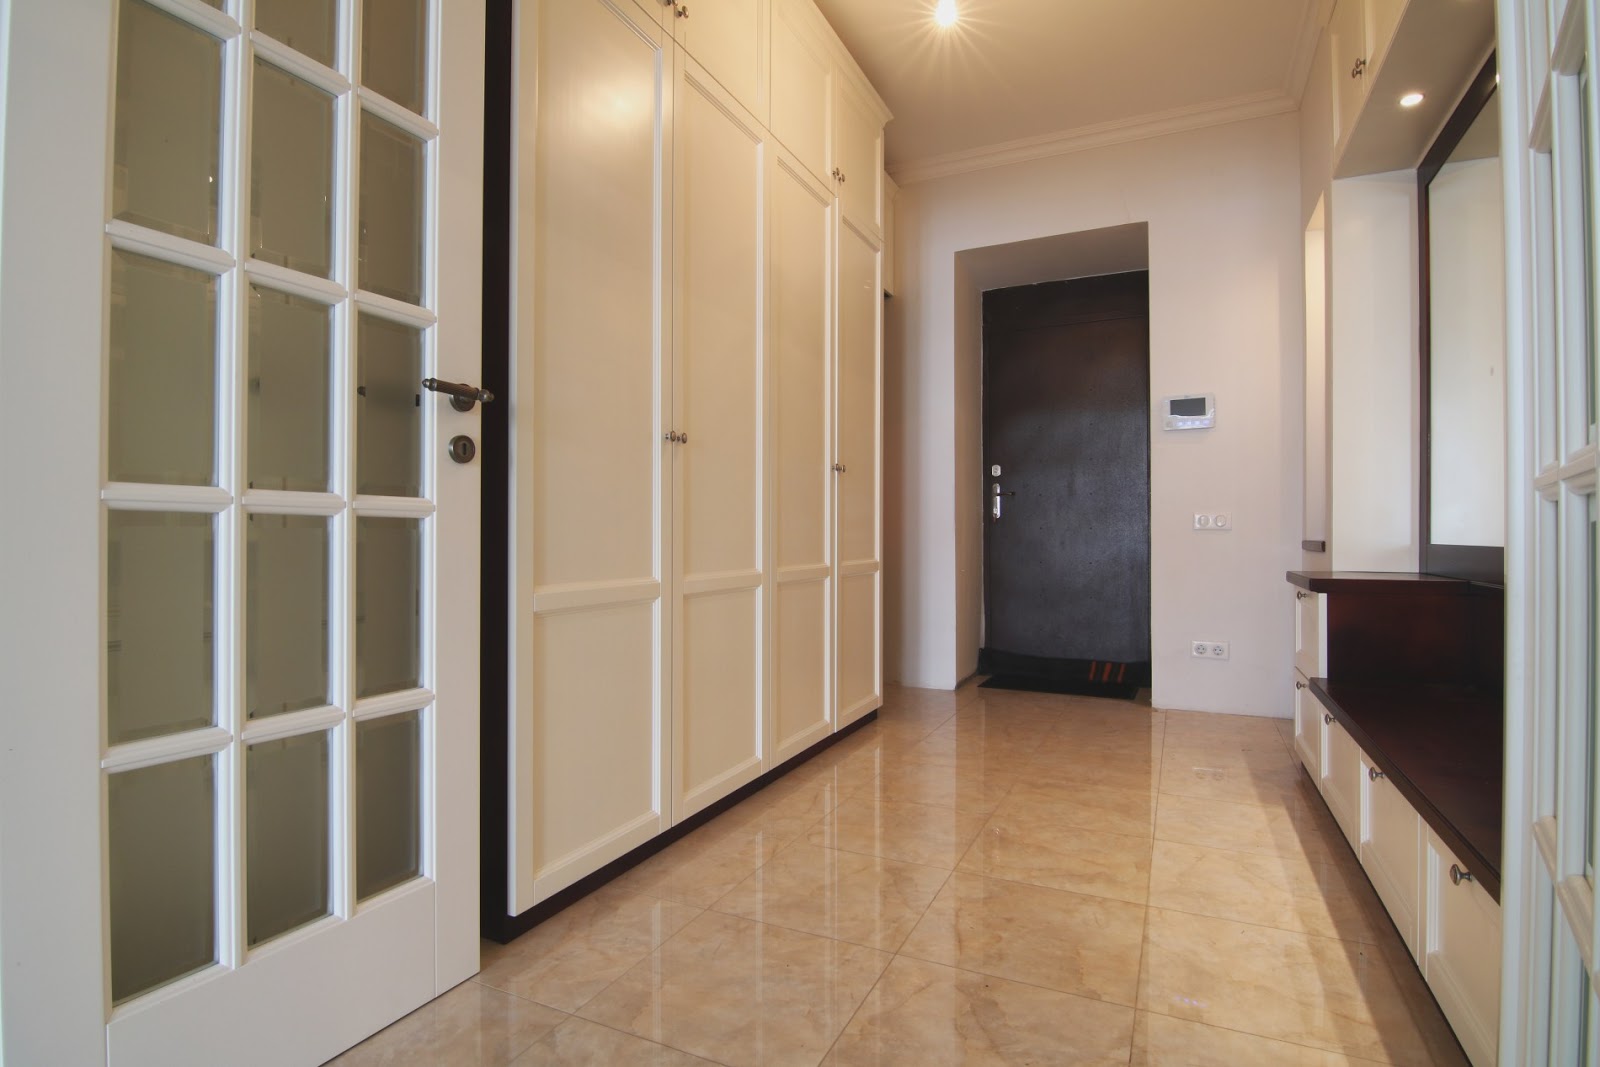
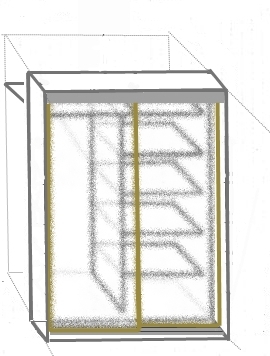
This model is built-in, it is easier to manufacture, since the parts do not need to be calculated and cut out. The complexity of this option is that it is necessary to take into account the features of the walls and floors.
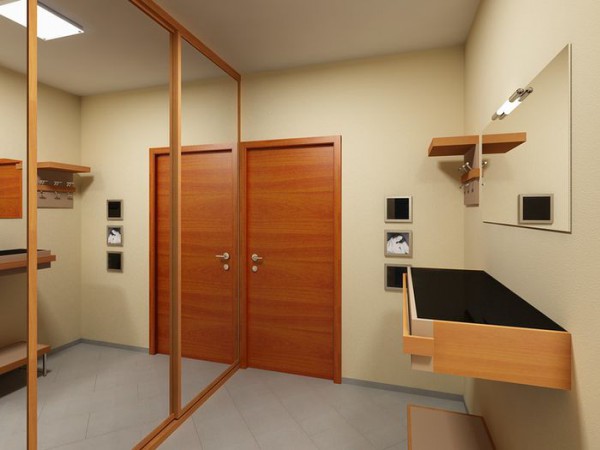
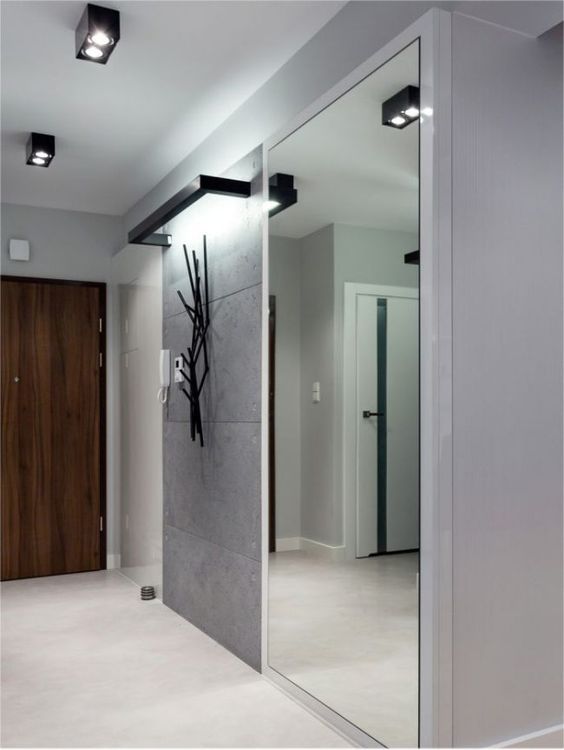
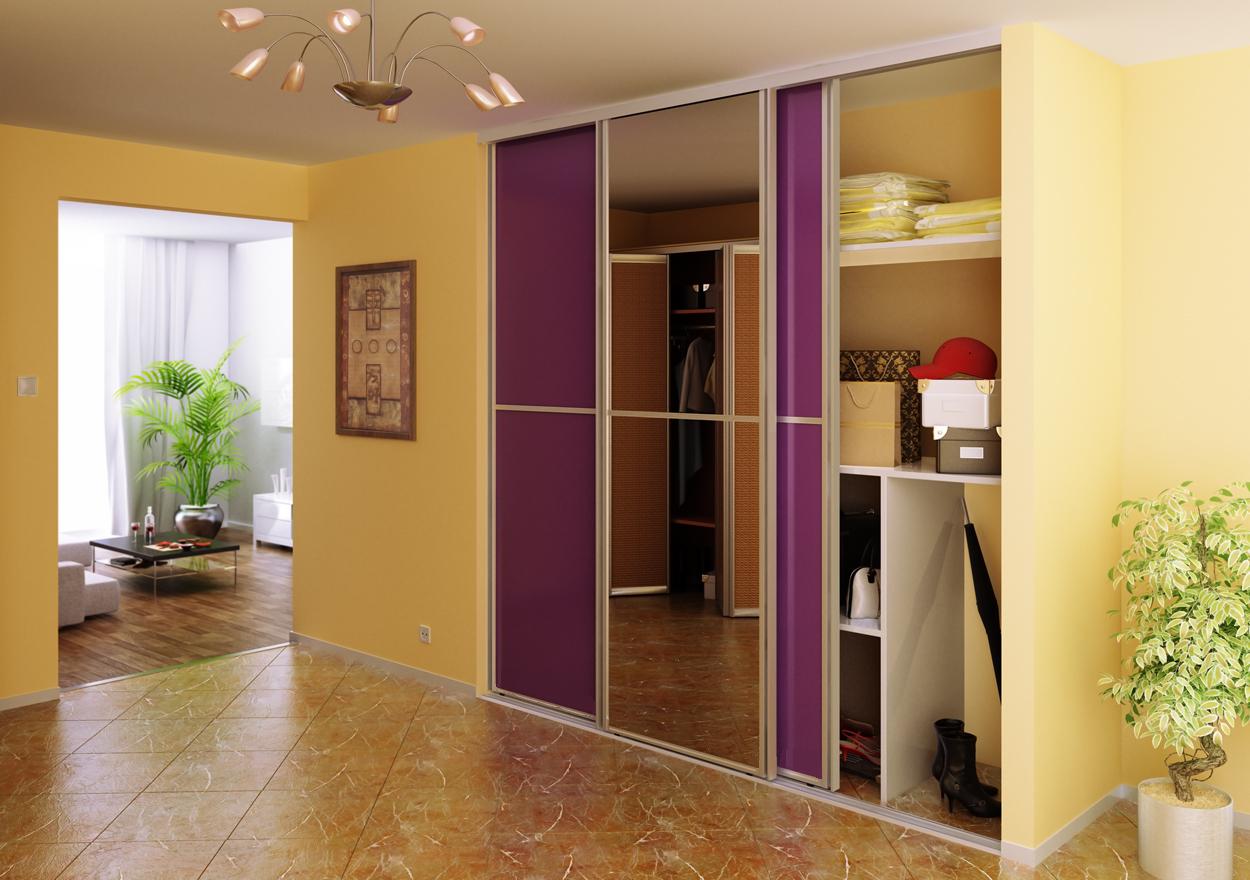
The ideal solution for such furniture would be a niche with a sliding system, equipped with several shelves, a crossbar for hangers. The installation of the doors in this case is the same as for interior doors (the wall and floor are involved).
Very often, a sliding wardrobe is made in the corner of the room. This model does not have one side and a back wall (and in some cases, no floor or ceiling).
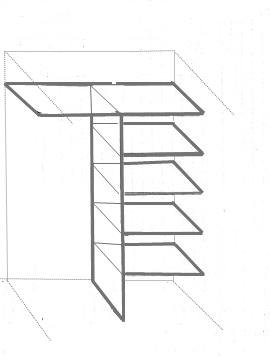
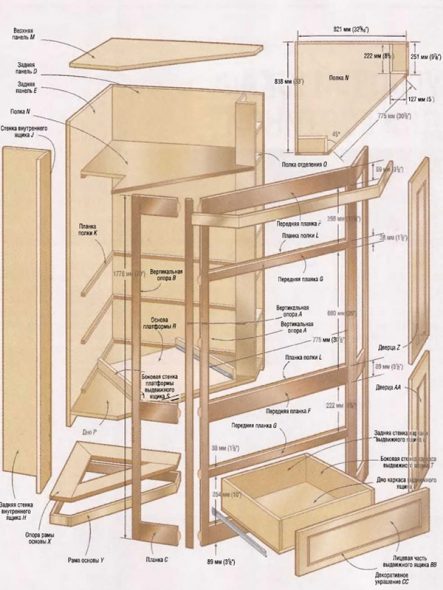
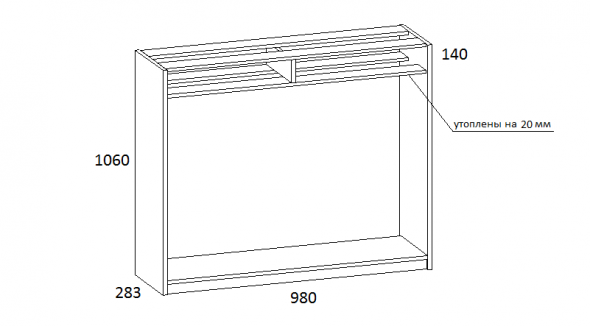
The base consists of a wooden frame, which consists of a pair of frames (front and side), assembled with screws or nails. If the project provides for the arrangement of shelves and partitions, crossbars must be fixed to the frames in the designated places.
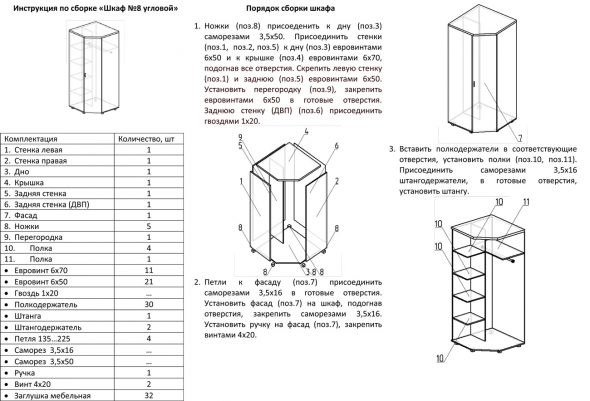
Instructions
Mark the walls, floor, ceiling in places where the frame will be installed, drill holes for fasteners. It is recommended to also mark the fastening points.
Fix the front frame to the wall and ceiling using dowels. Check its verticality using a level.
Install the side frame.
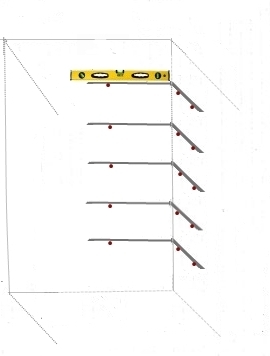
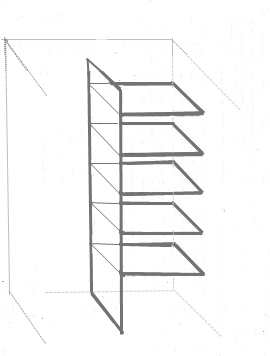
In the resulting niche, wooden slats intended for shelves are attached to the walls (the shelves are cut from plywood or chipboard). You can leave the shelves unattached, laying them on the slats or fixing them with nails.
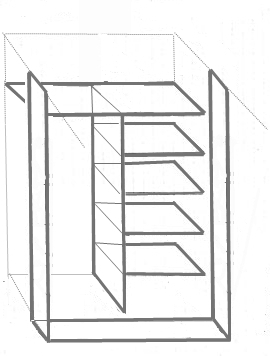
The side is covered with plasterboard or laminated chipboard. The plasterboard is pasted over or painted. The side part, which will contain the crossbar with hangers, must be strong (chipboard, plywood, but not plasterboard).
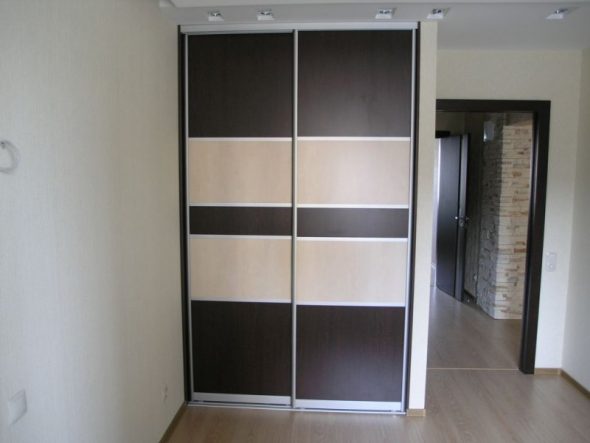
The final stage is the installation of sliding doors. The upper and lower guides are mounted on the ceiling and floor, respectively.
It is very important to observe the exact dimensions here. First, try to install a mock-up of the future door. Take any part whose height is the same as the door and install it inside the upper rail. Check the verticality and mark the area where the lower guide will be attached. First, insert the door, slightly pressing on the upper rollers, and then into the lower rail. To adjust the position of the door leaf, use adjusting screws. A correctly installed door moves smoothly and without obstruction.
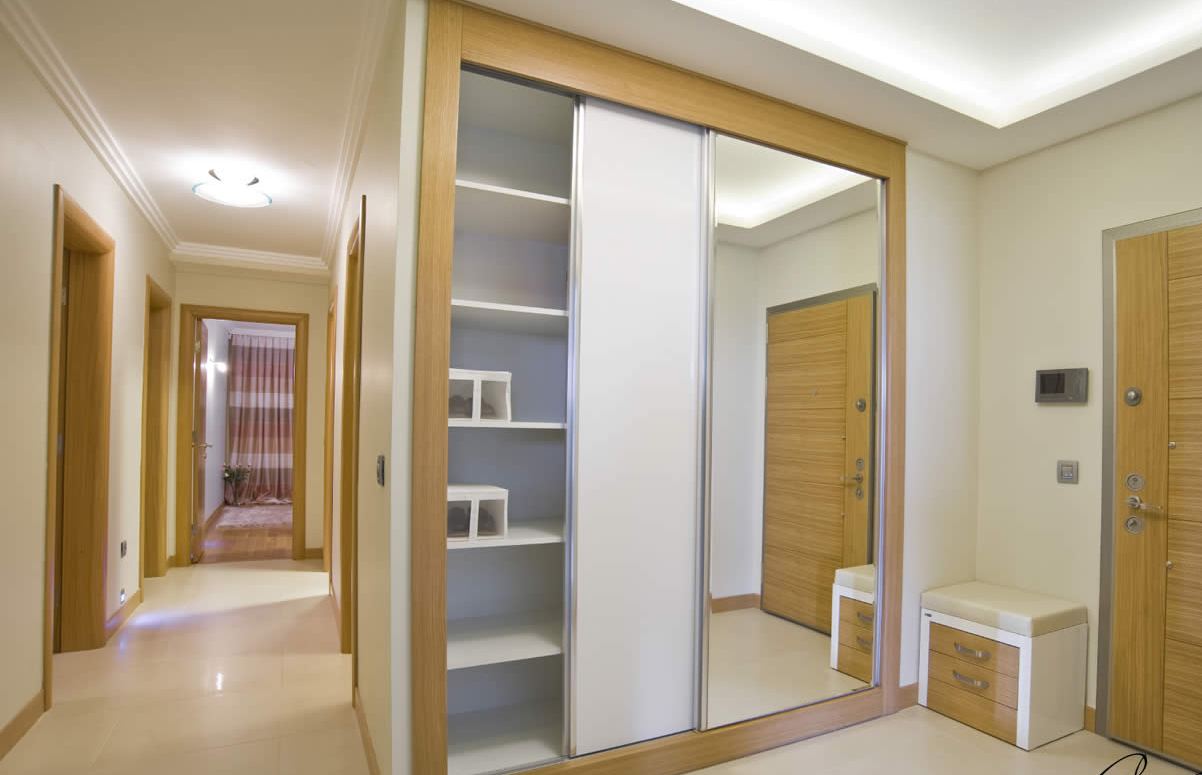
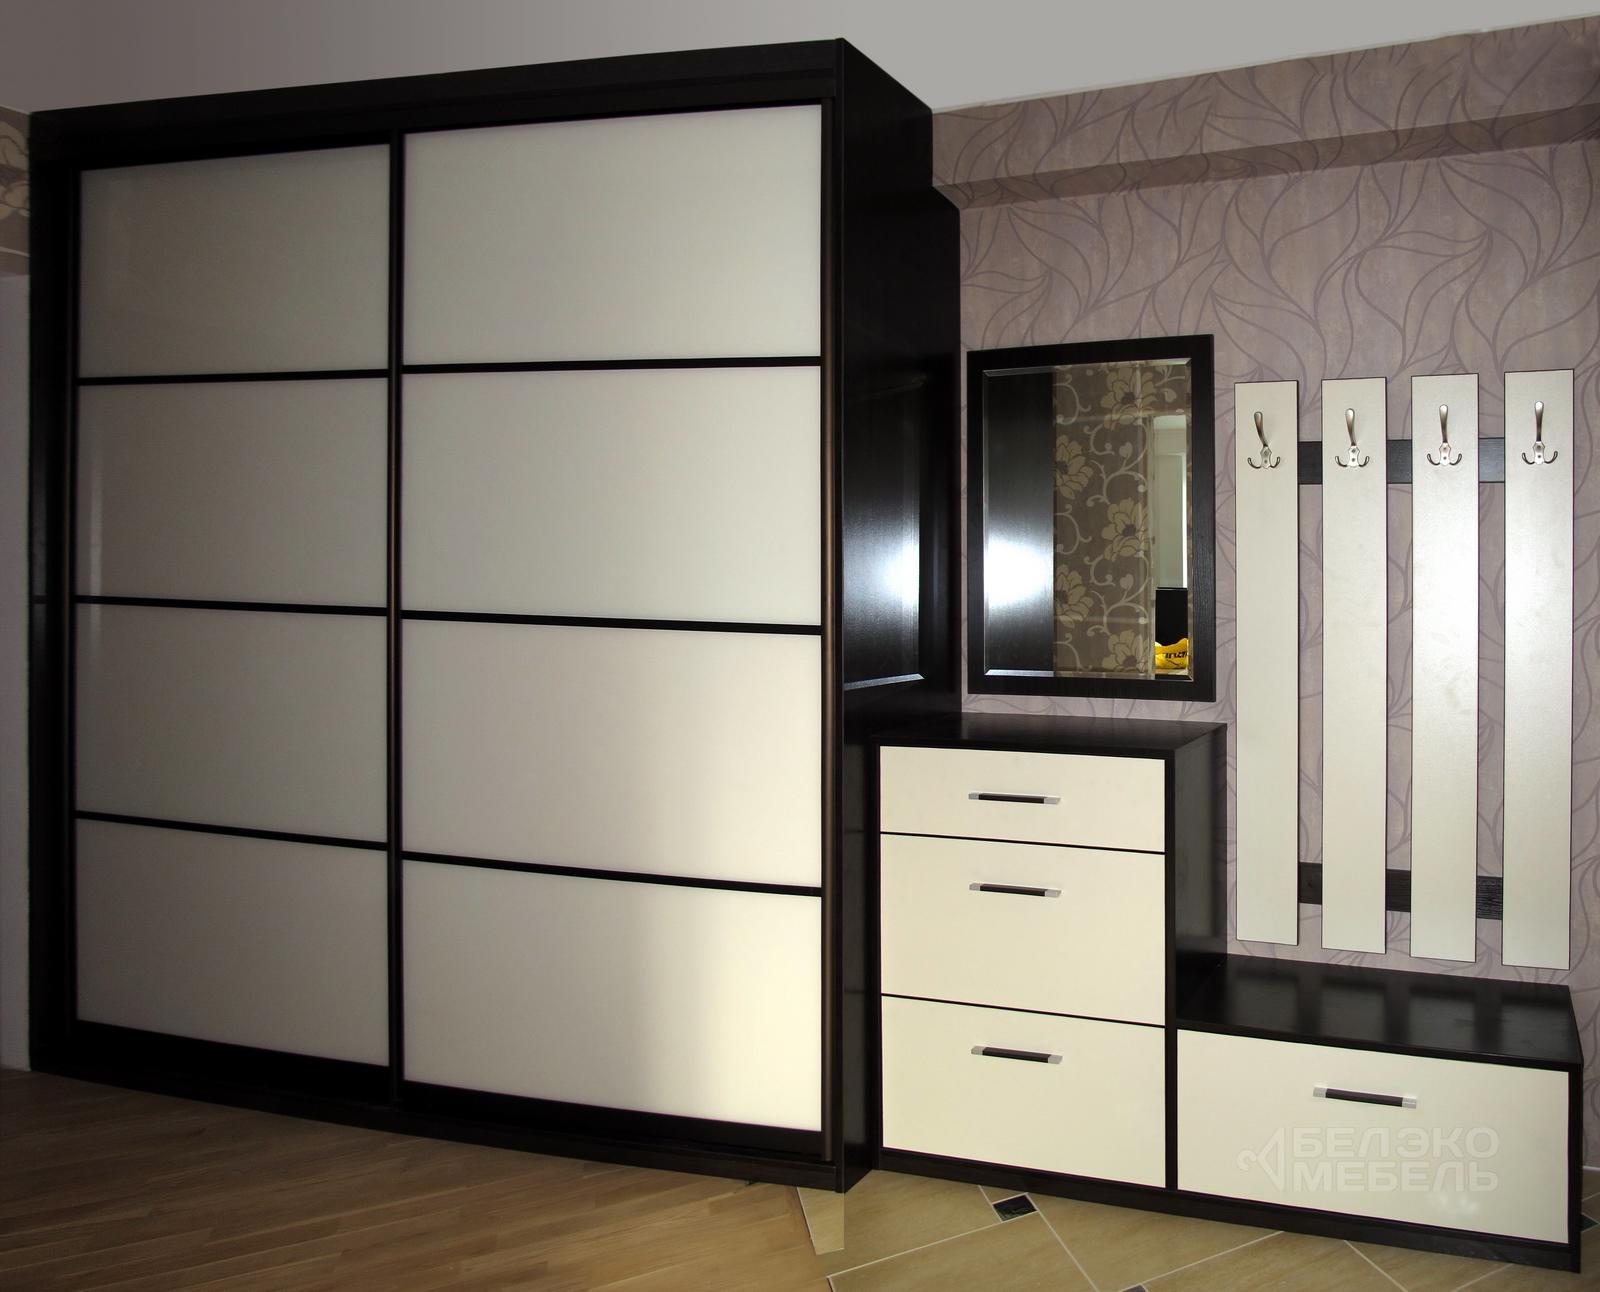
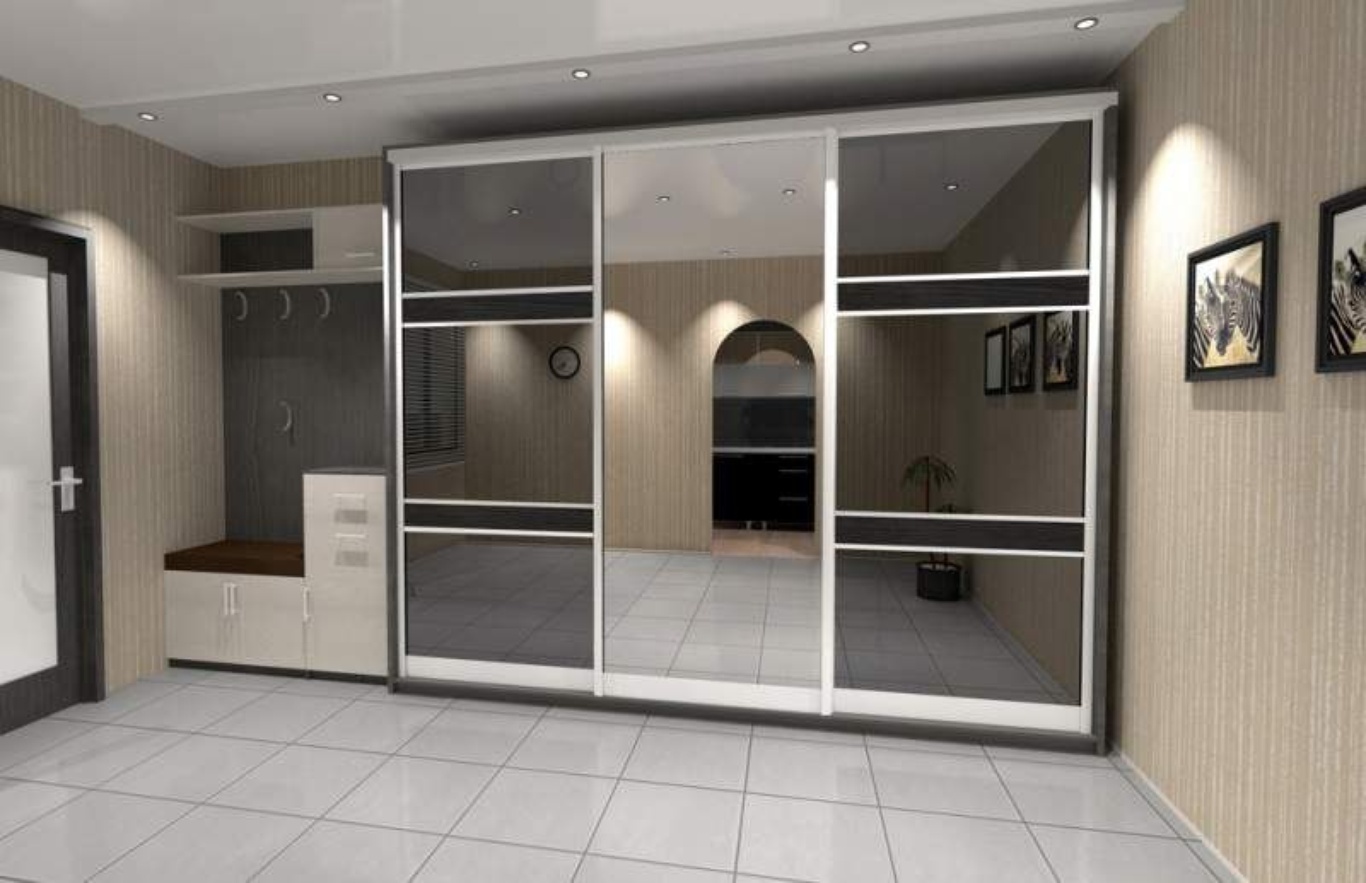
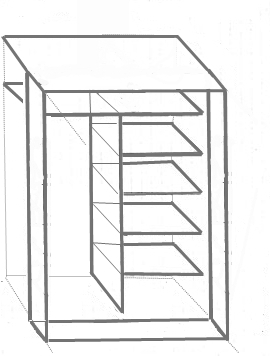
The above example is suitable for a simple, small-sized structure consisting of two halves. If the hallway area is large, it is possible to make a more spacious model. Then a frame made of bars will not work. It is better to make a base from chipboard, and “fasten” its elements using a common floor and ceiling. This method will allow you to place in the niche, in addition to shelves and a rod for hangers, also boxes for small items and other details.
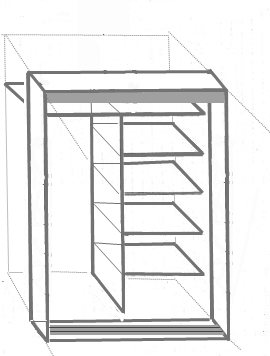
This product will be assembled like a construction set using dowels and confirmats. For this fittings, it is necessary to drill holes in advance. All this must be done especially carefully and patiently. All fasteners for corners are kept in a clamp for 24 hours.
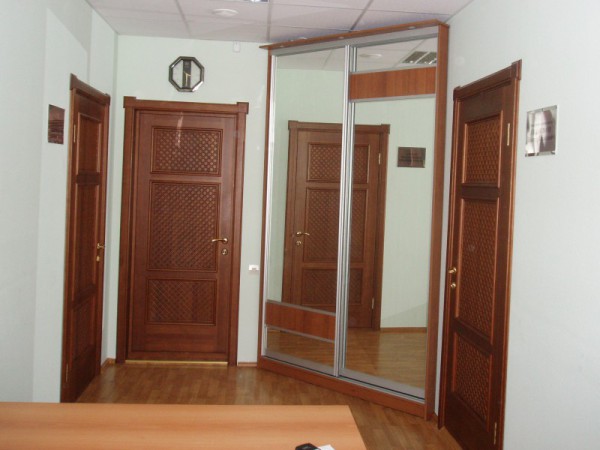
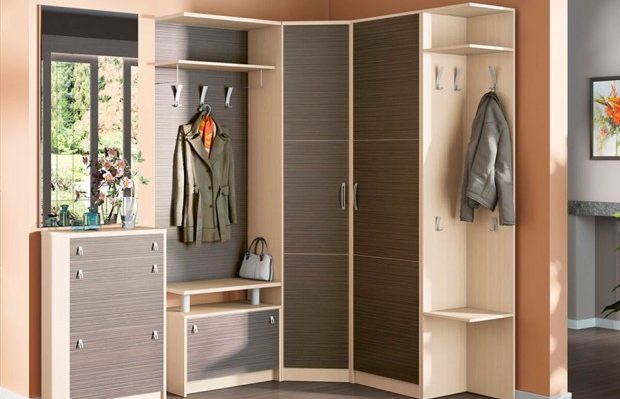
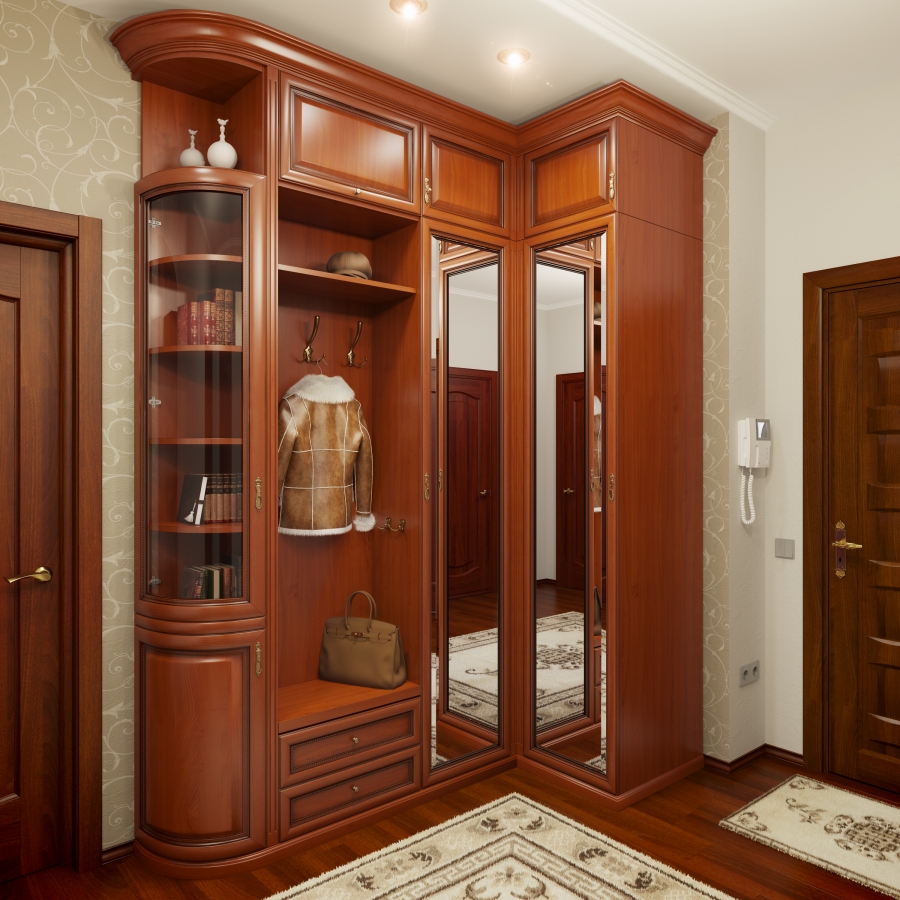
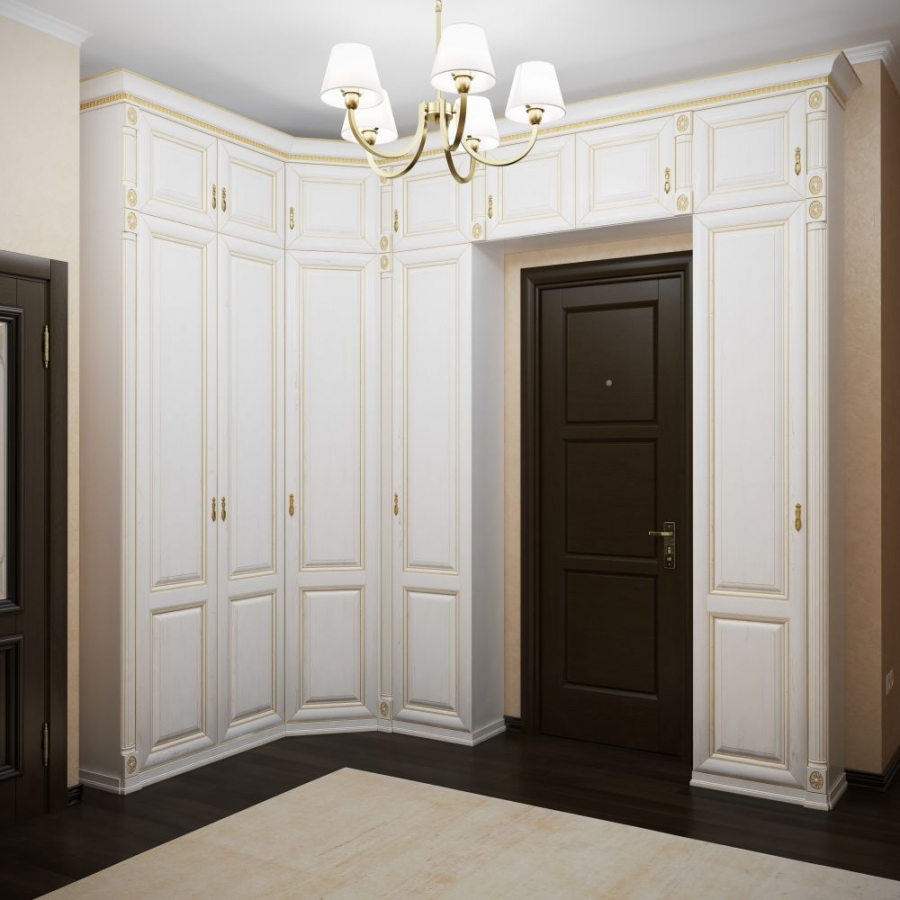
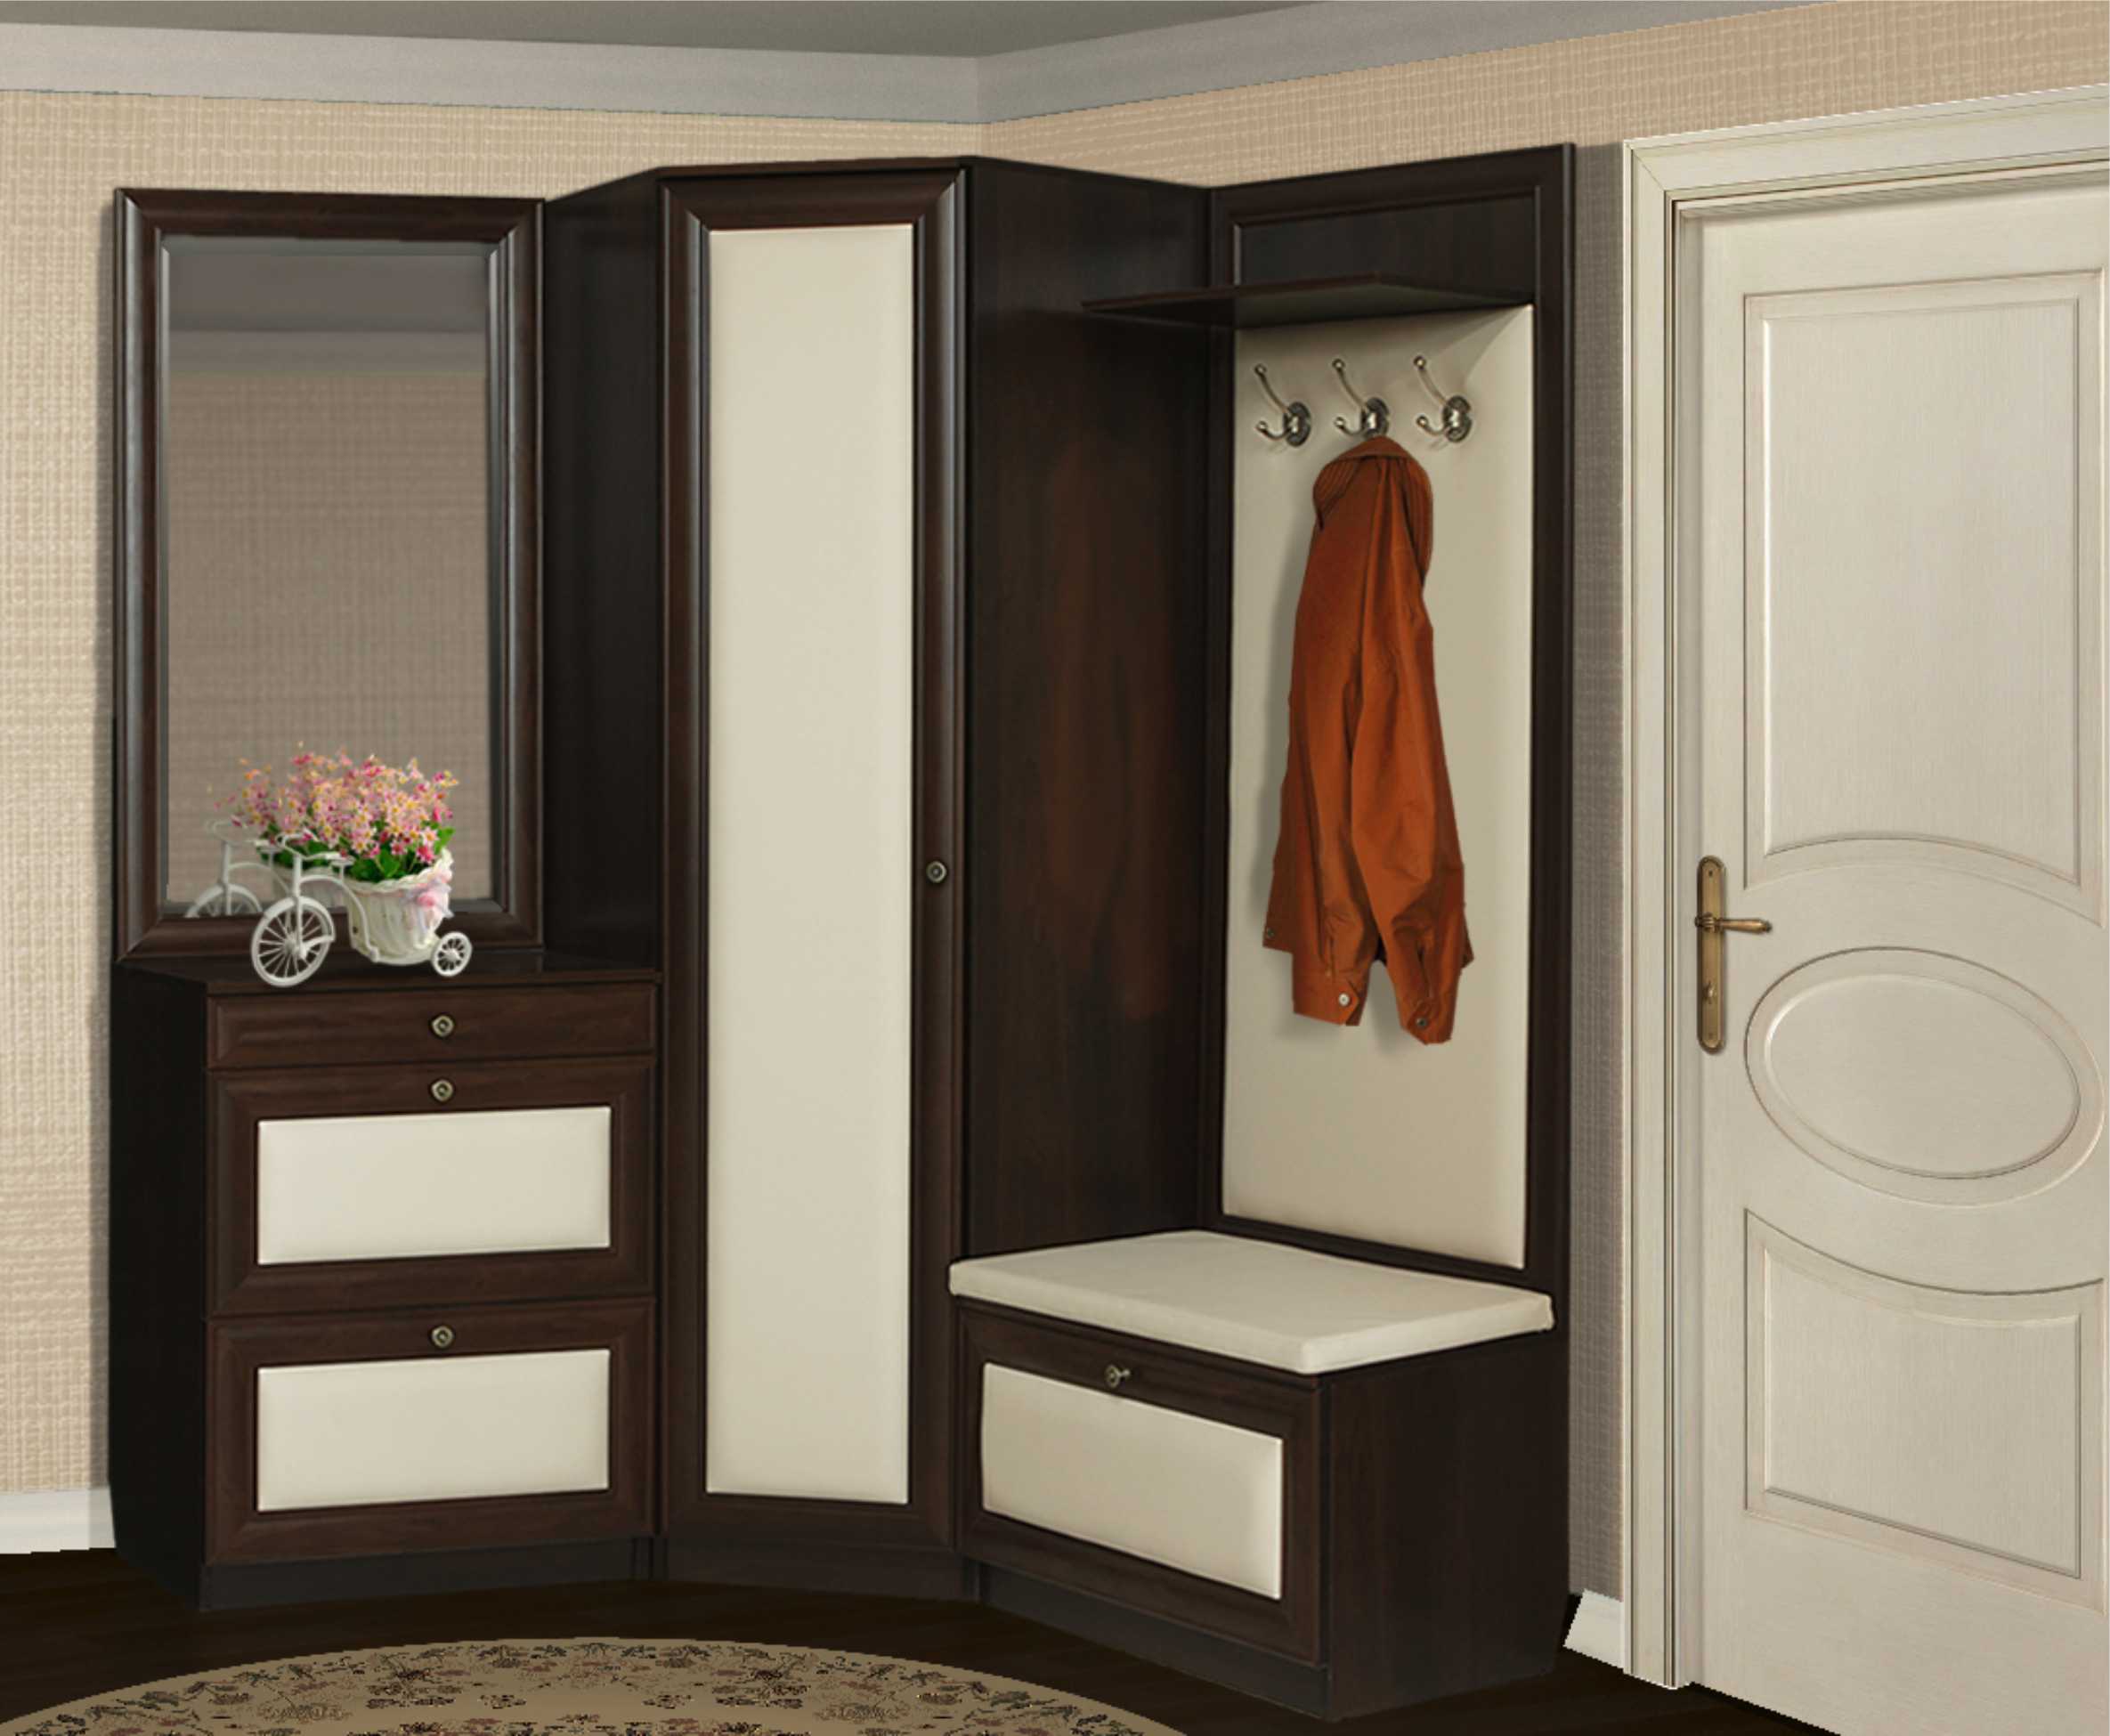
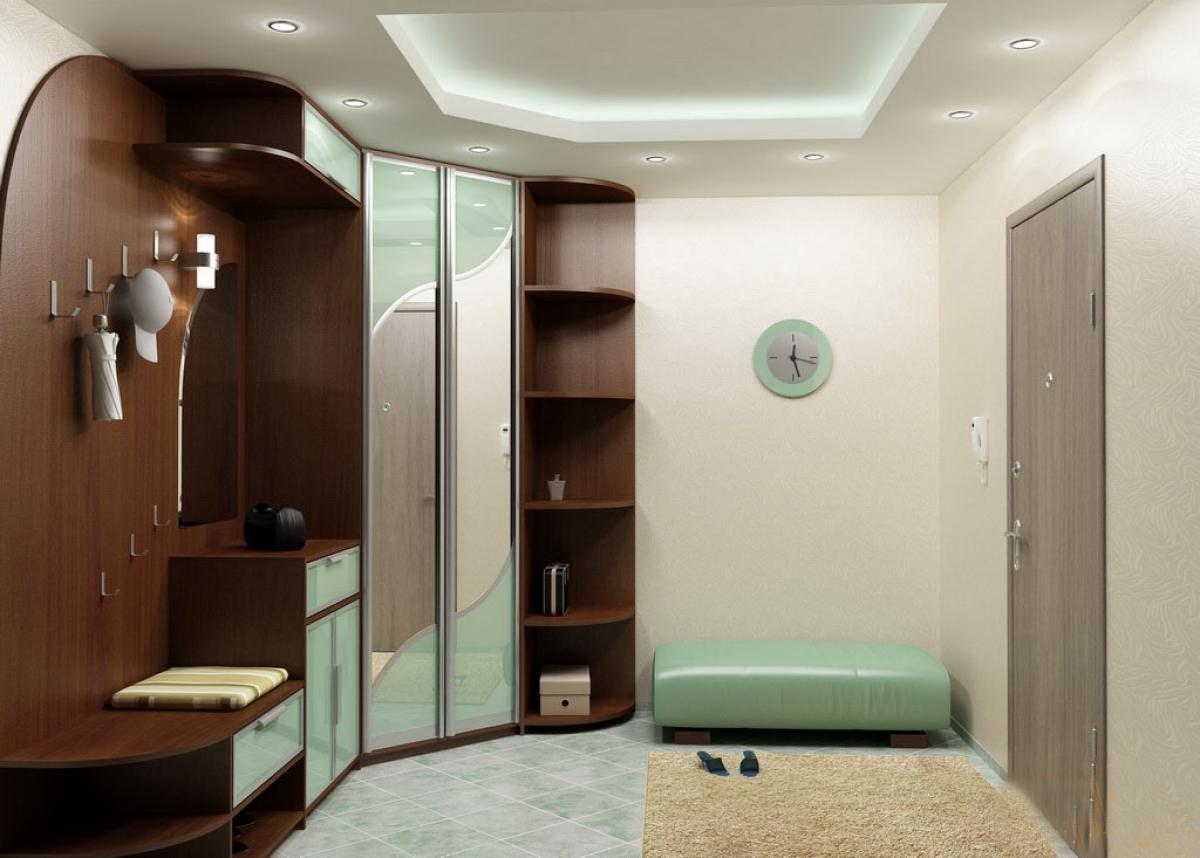
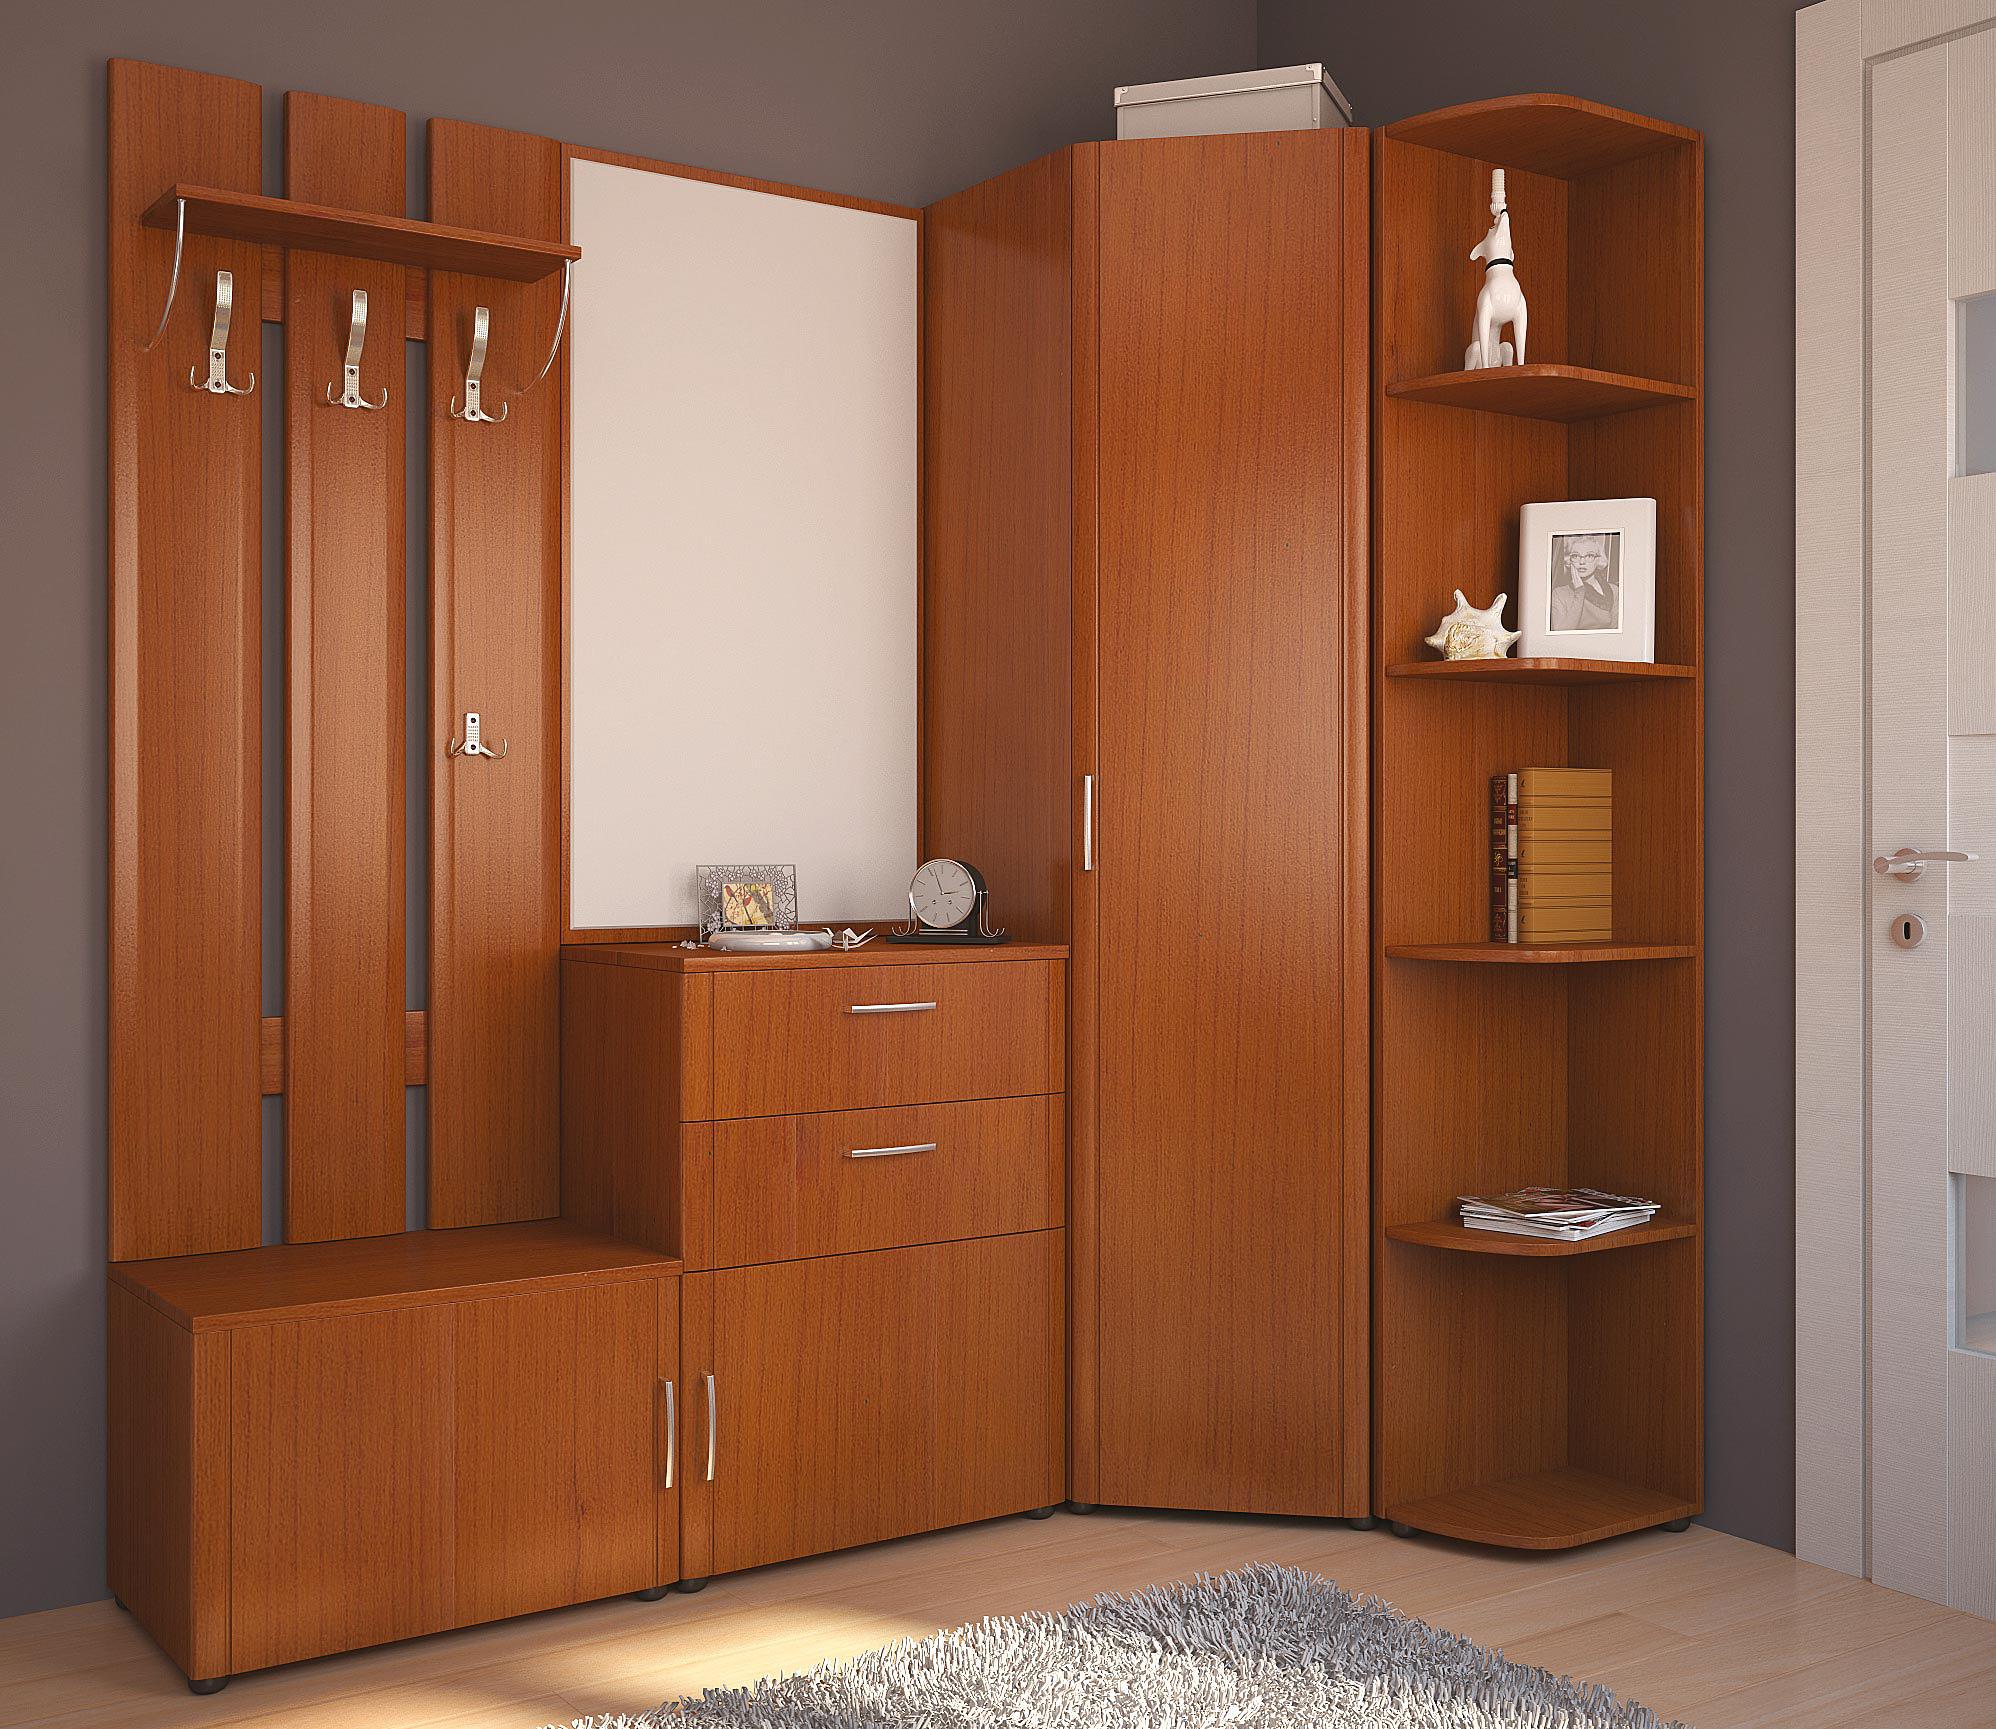
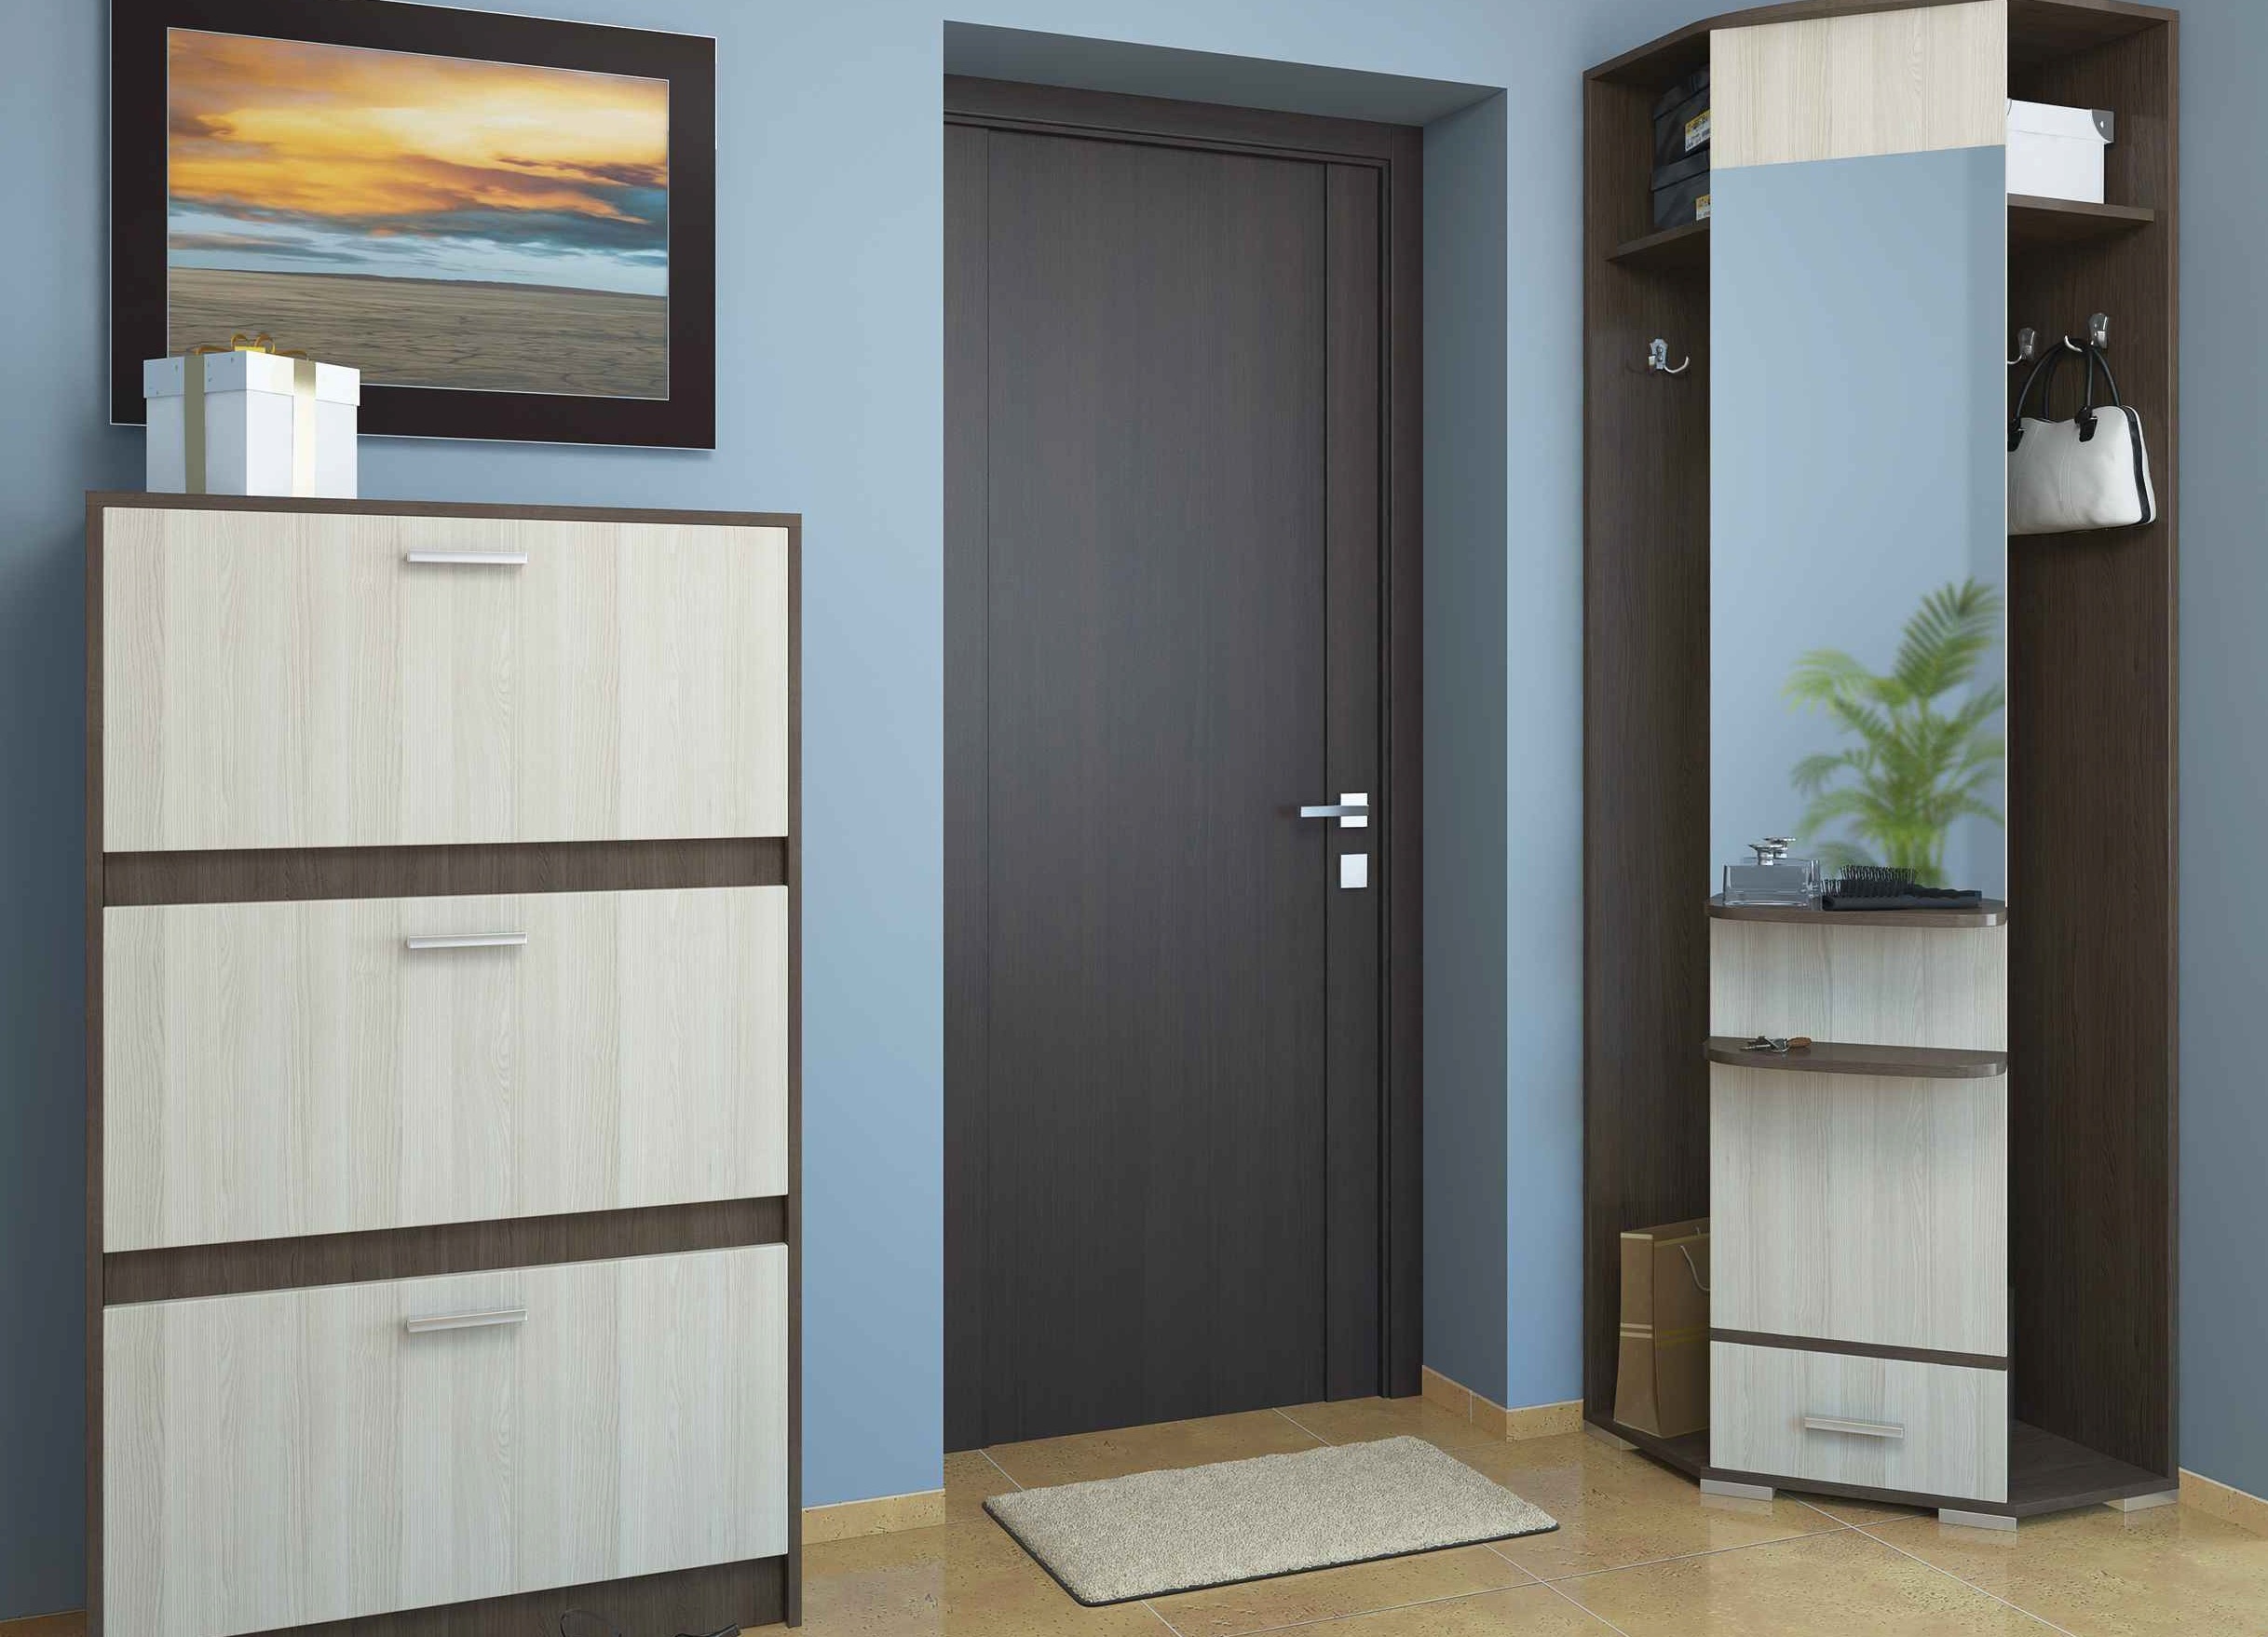
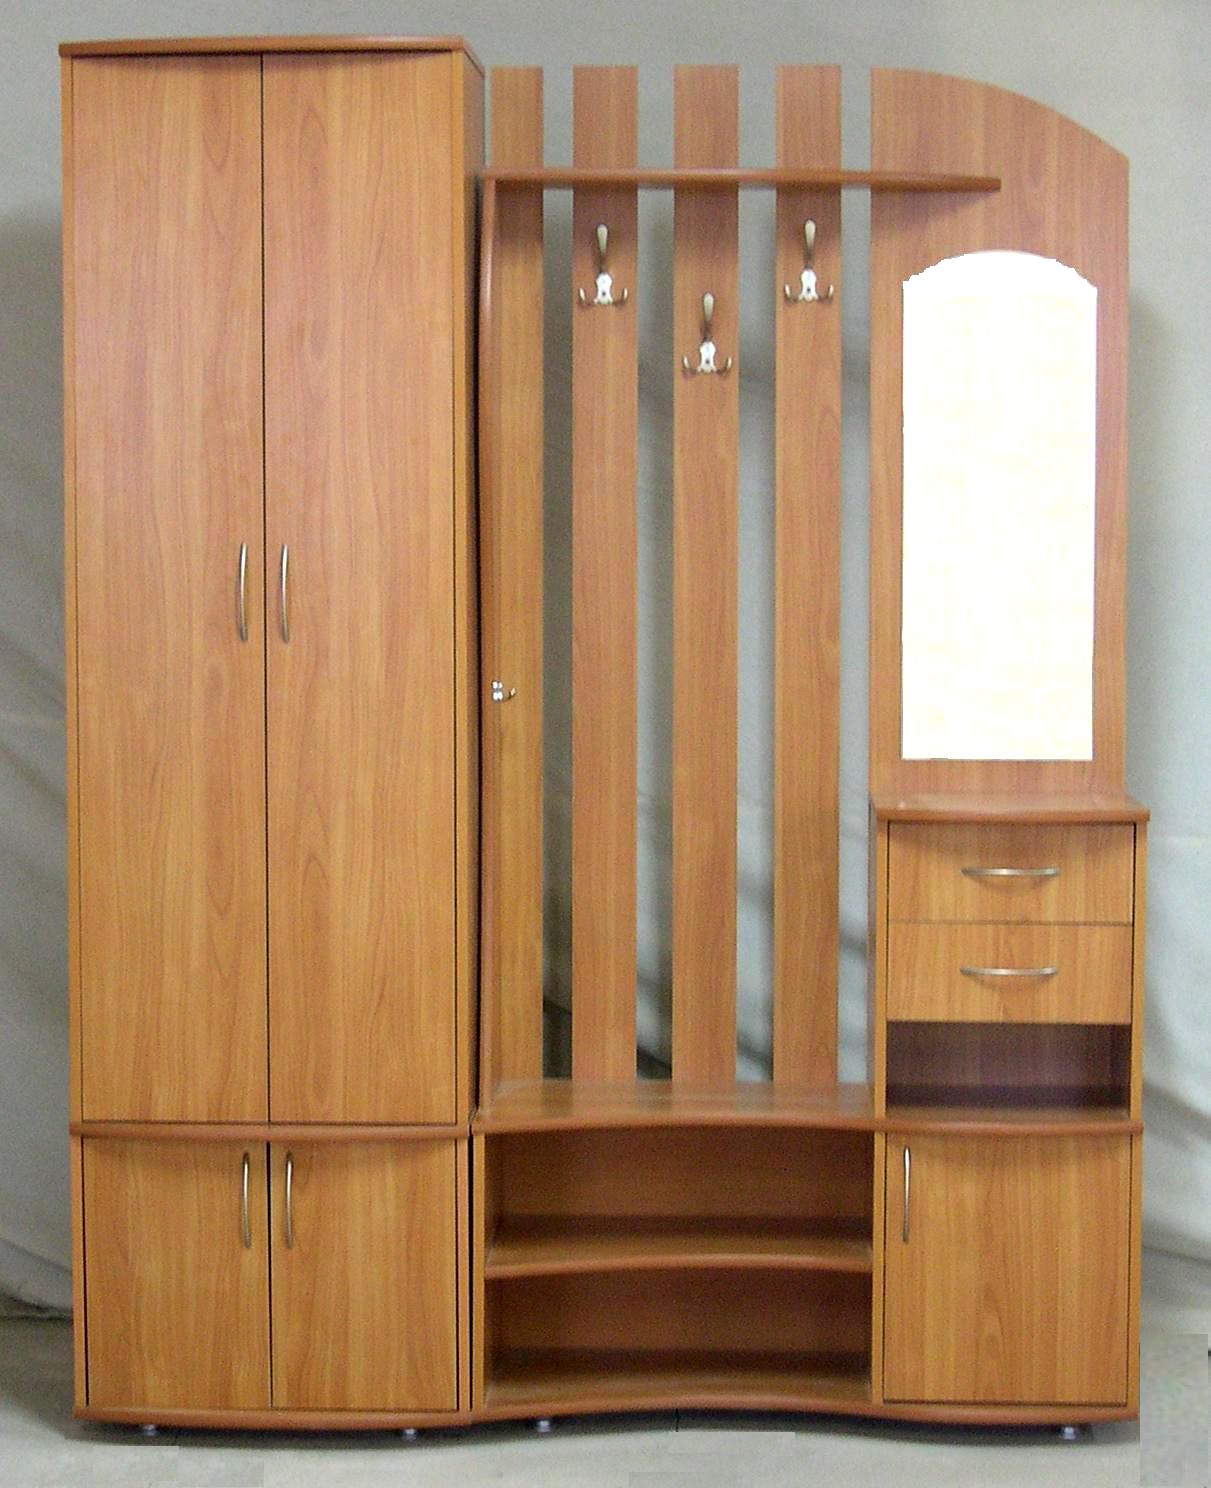
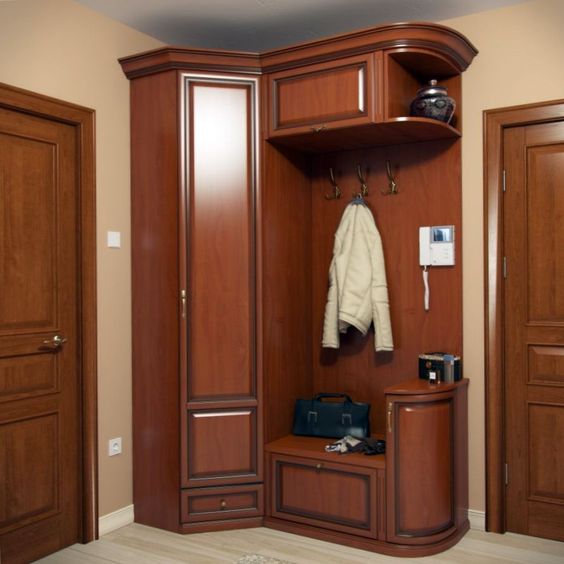
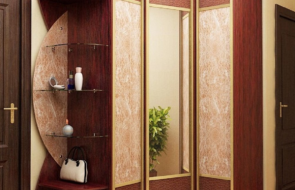
Assembling a corner cabinet
It will not be difficult to make a corner module with your own hands. For stability, modules are often made of durable solid materials (chipboard, plywood). Such products come in several forms:
- triangle;
- L-shaped;
- trapezoids;
- five-walled.
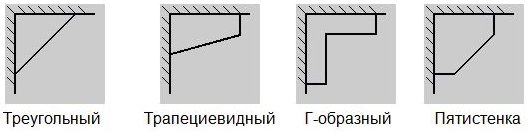
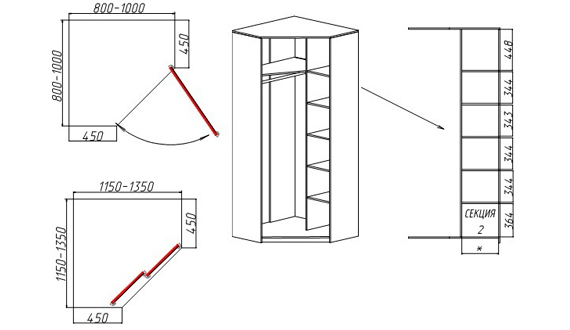
The most suitable for the hallway is the five-wall one.
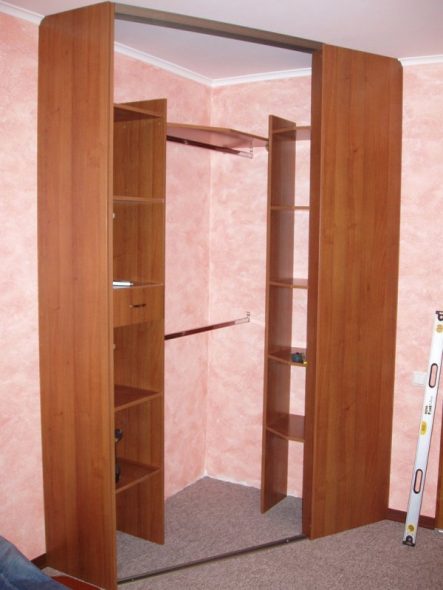
- The dimensions and areas of future fastenings are marked on the drawing. The shelves are installed on confirmats.

Drawing of a corner cabinet with dimensions - A jigsaw or hacksaw is needed for cutting chipboard parts.
- It is necessary to edge the ends.
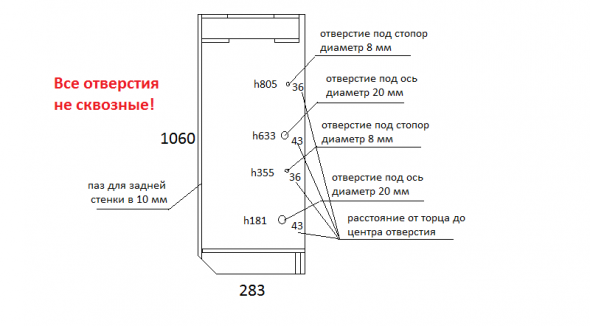
- The holes for installing dowels should be drilled on one panel "from the face", and on the other - from the end. It is also necessary to drill the places for fastening the confirmats.
- Coat the dowels with glue and assemble the side parts. Once the glue dries, secure the shelves with the confirmats.
- Install hooks.
- Glue the mirror to the side.
Assembling a Shoe Cabinet
This is the simplest process because everything needed for the job is sold at a hardware store.
- Order a chipboard frame according to your dimensions.

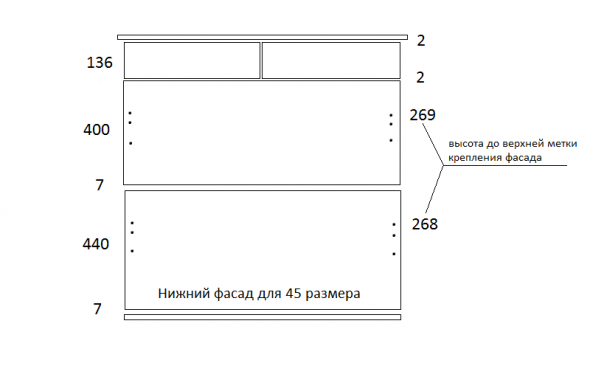
DIY Shoe Cabinet Detailing - Buy a "facade", fittings, plastic base for folding shelves.
Marking for holes
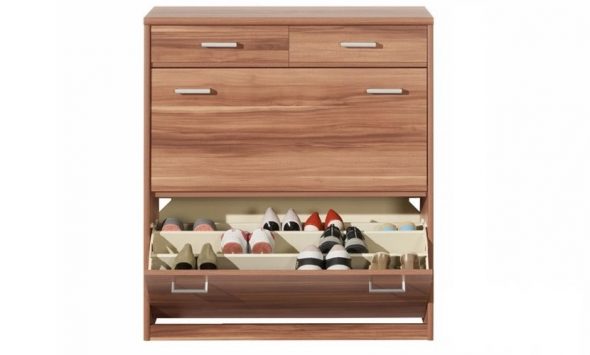
The design includes: an external frame, several shelves with partitions. The width of the structure depends on the maximum shoe size, and the height depends on the number of shelves.
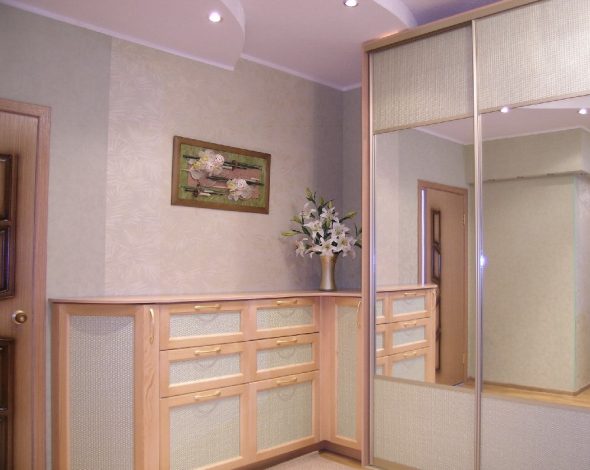
A good solution would be to combine the shoe cabinet with elements of the chest of drawers. Or place it in a sliding wardrobe or corner wardrobe, which have open facades.
There is a lot of different information on the Internet about how to make a wardrobe in the hallway with your own hands. Therefore, having studied all the available data, you can successfully design the most suitable model.
Video: Wardrobe for the hallway, do it yourself
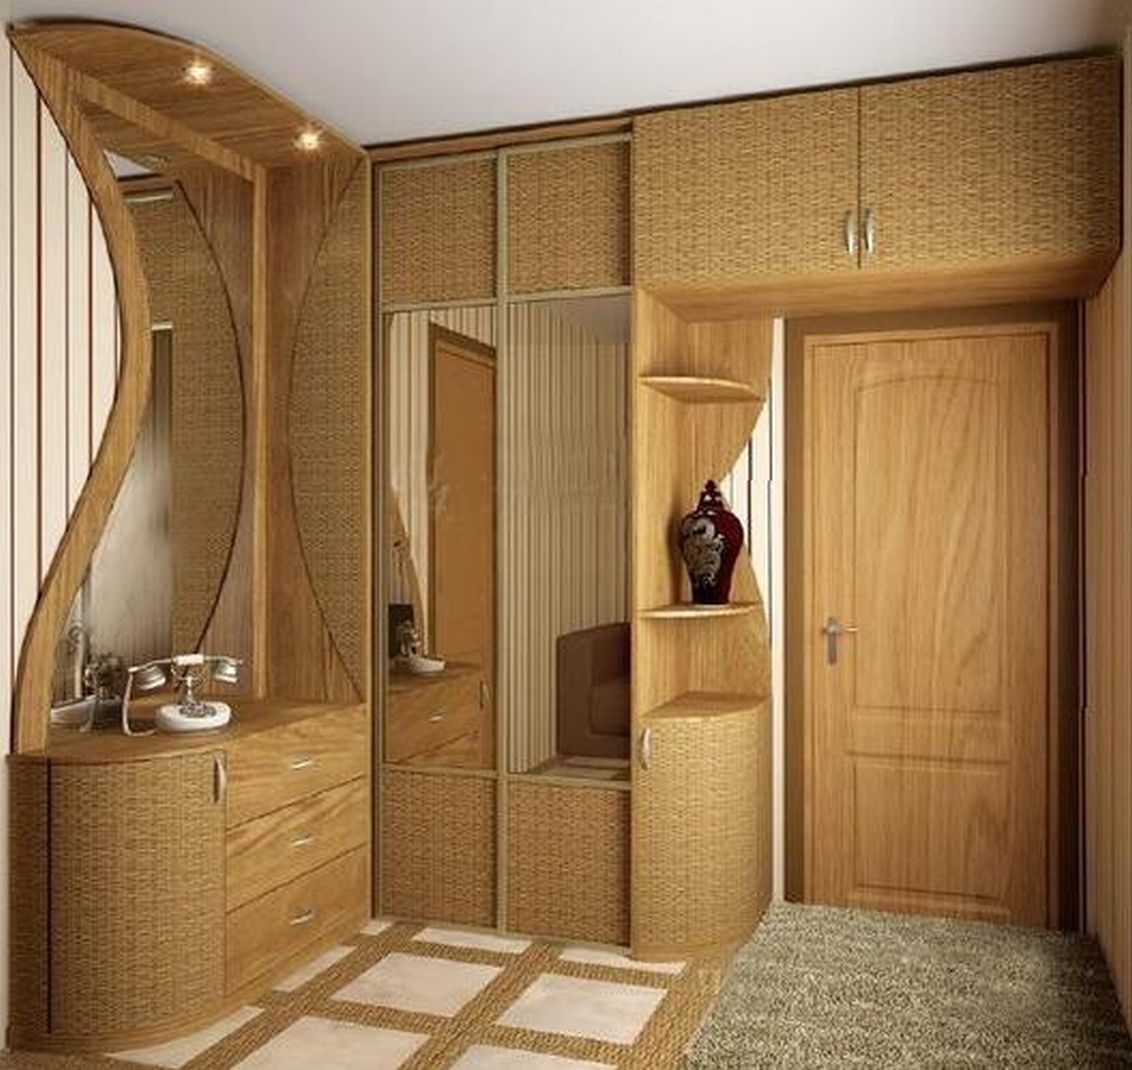
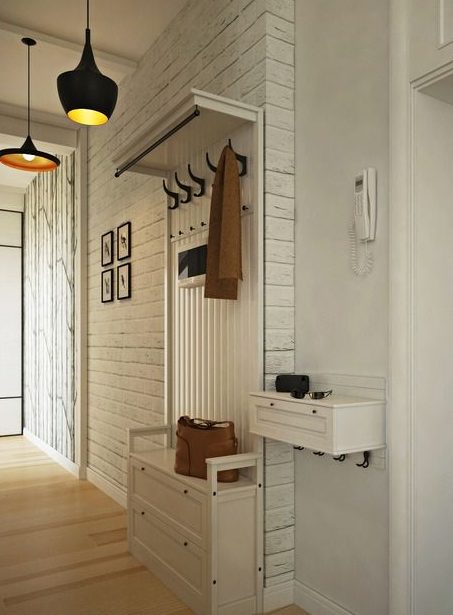
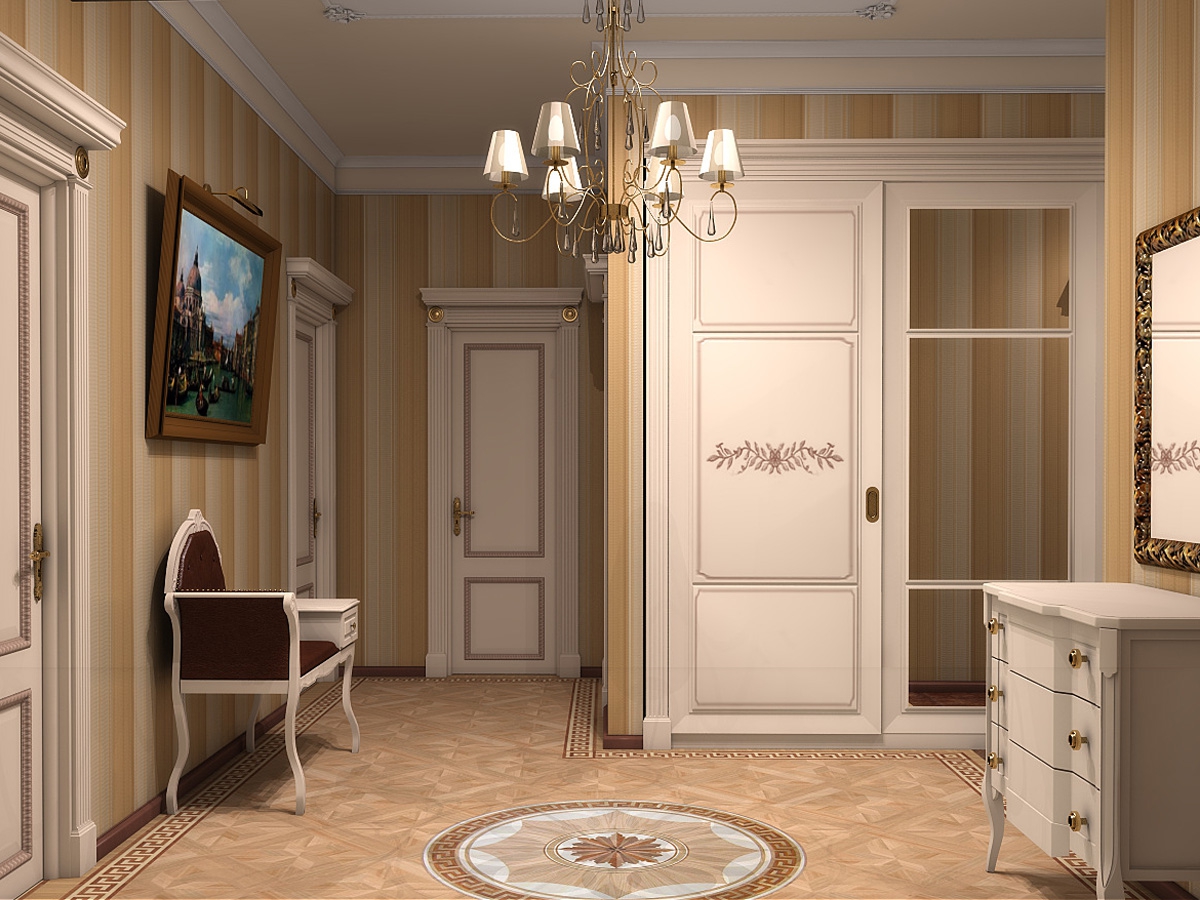
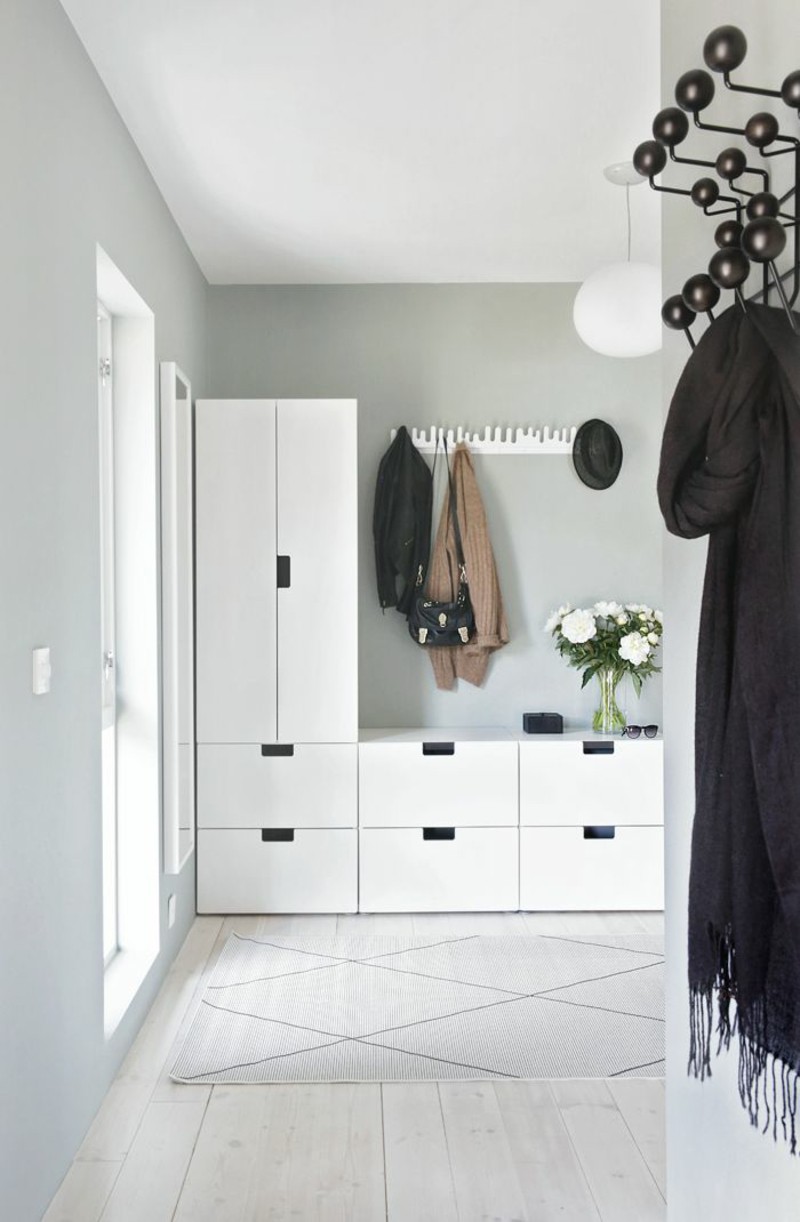
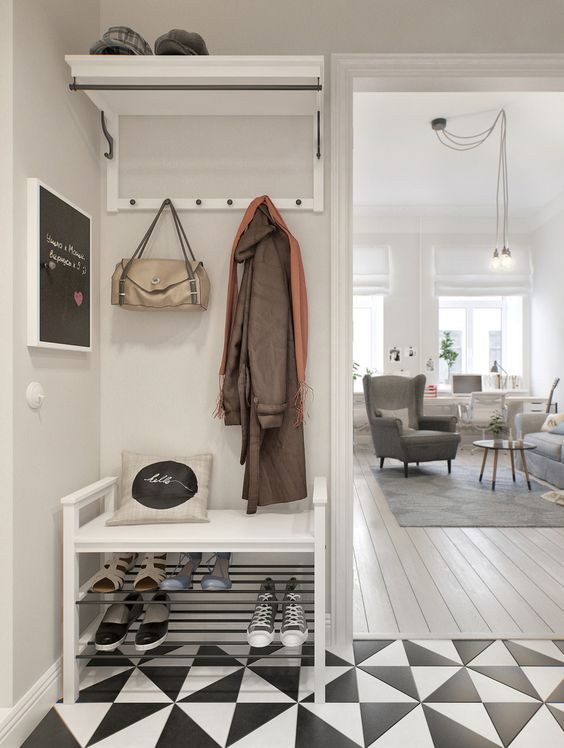
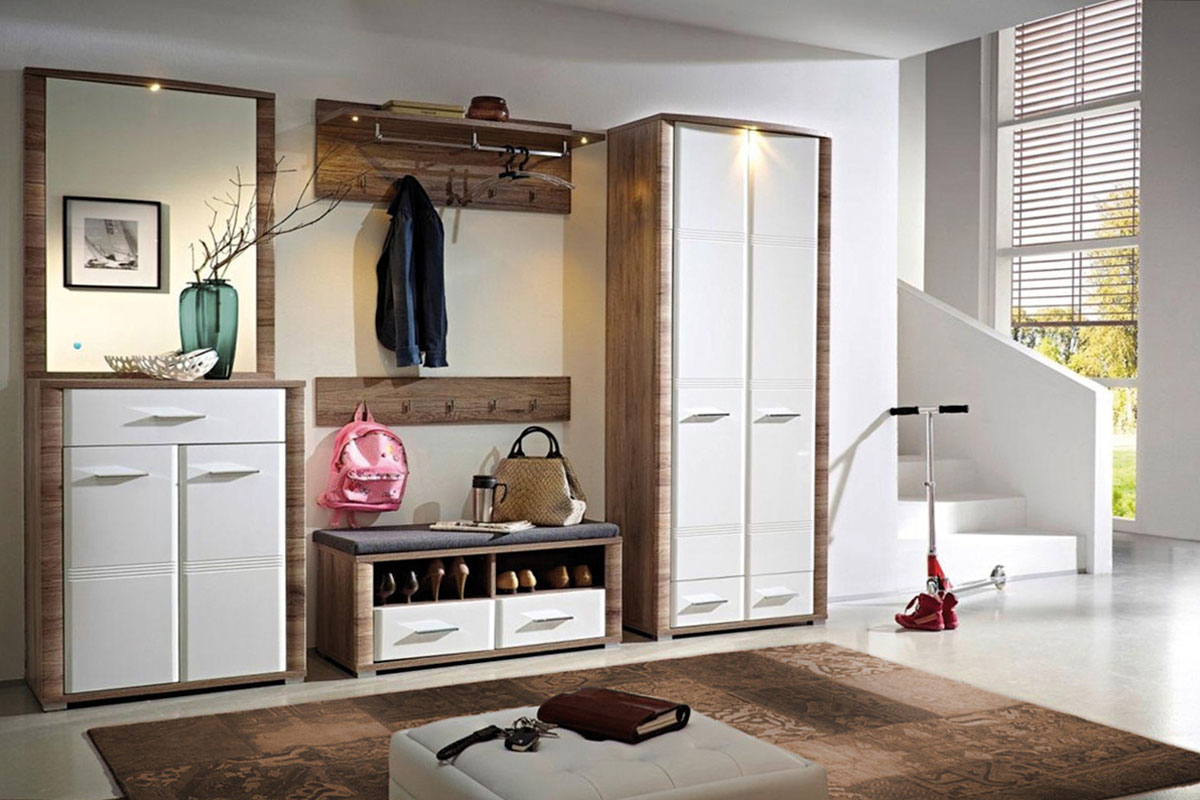
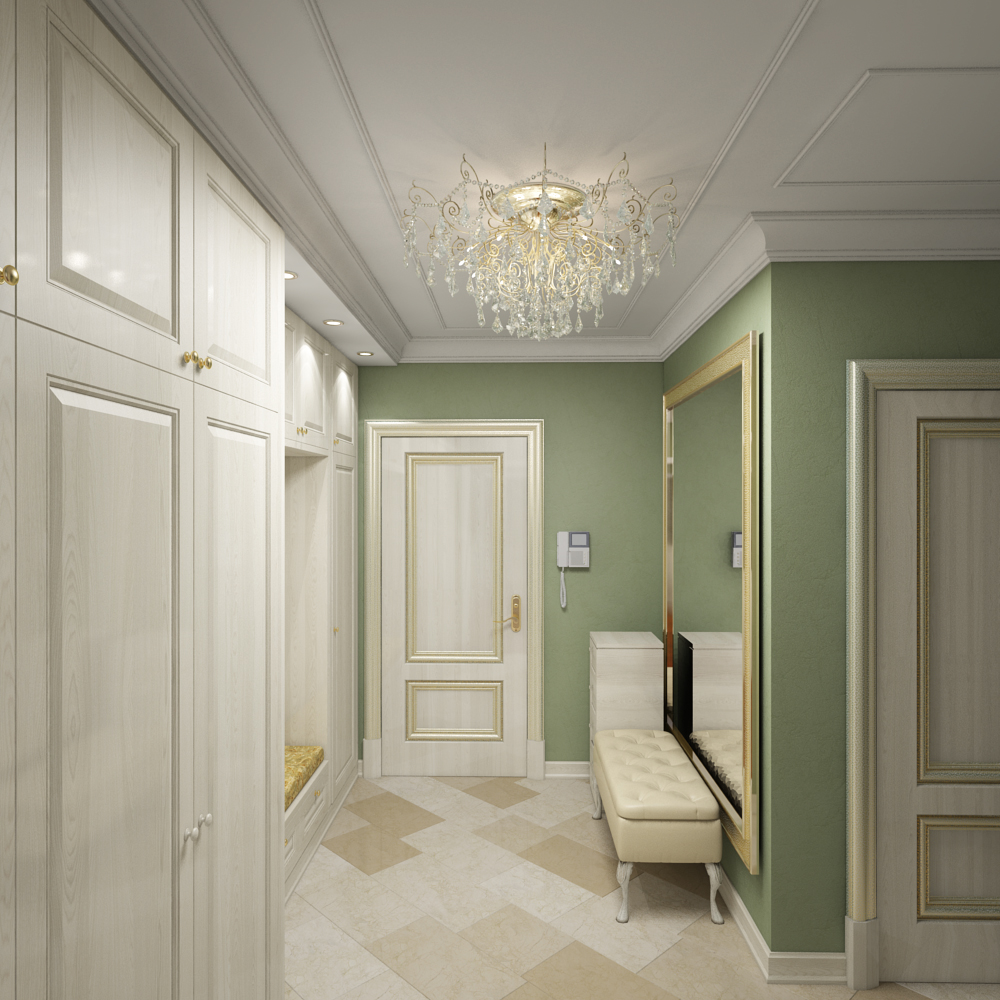
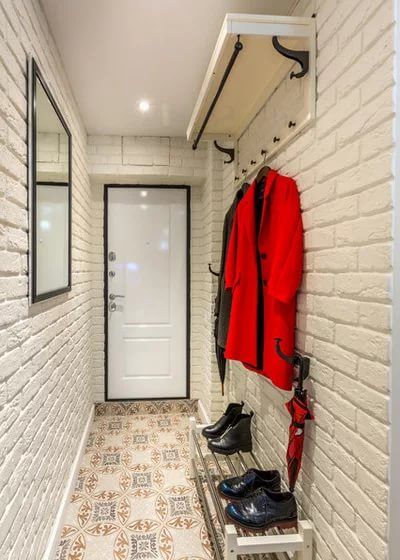
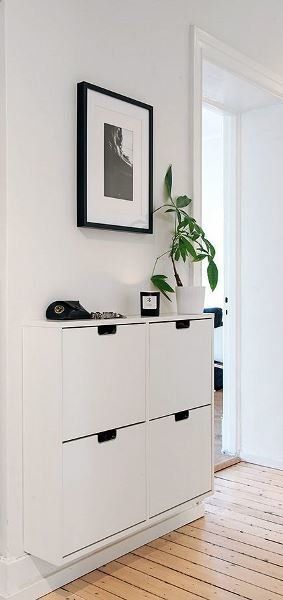
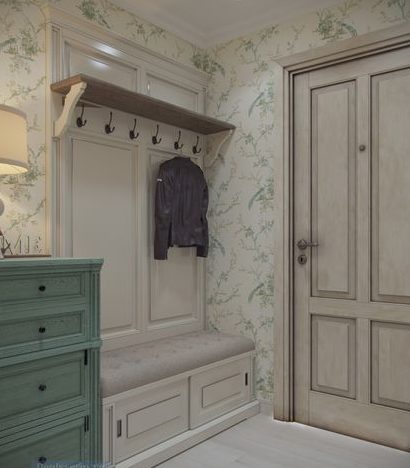
Photo ideas for hallway cabinets to make with your own hands: