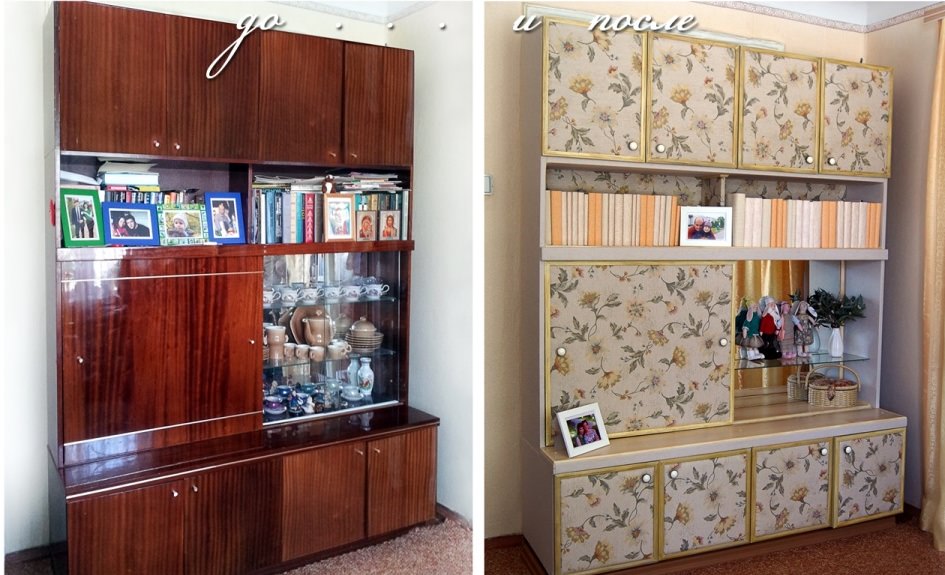
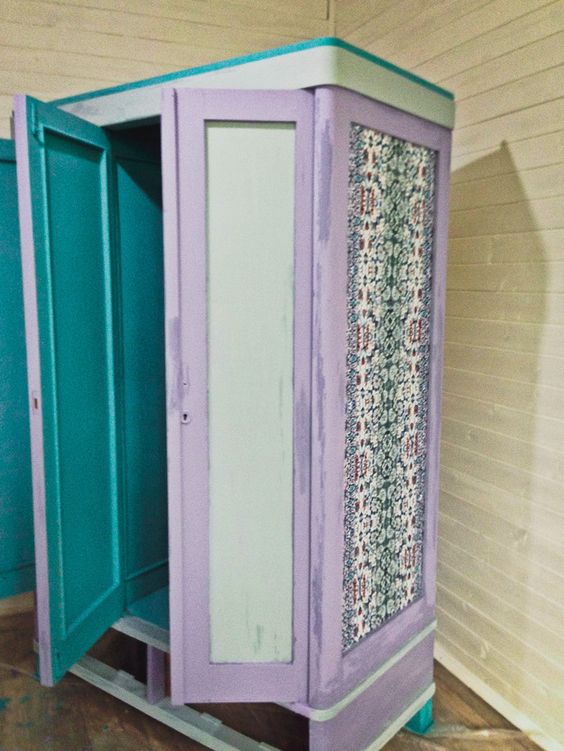
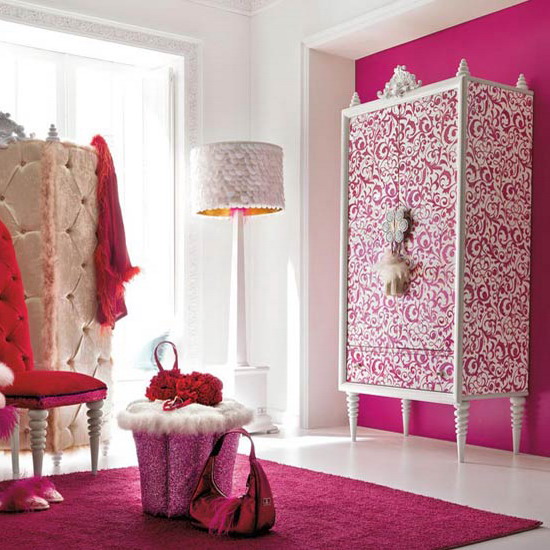
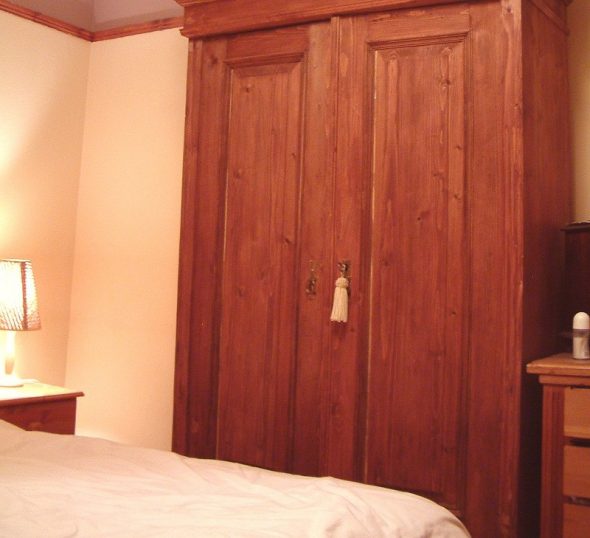
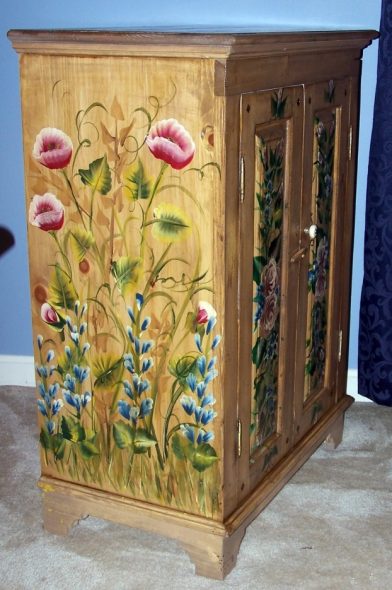
After several years of living together, you suddenly catch yourself thinking: "How awkward and gloomy this wardrobe is!" But it's a pity to throw it away - there is no money for a new one, and this one has not yet exhausted its resource. It's high time to decorate the wardrobe with your own hands.
Content
- With a slight movement of the hand, the cabinet turns into…
- "Rehabilitation" course
- Wallpaper can also be glued to furniture
- You can make patterns with plaster
- Cute cabinet with decoupage
- Antiquity in noble craquelure
- Secrets of good design
- VIDEO: Restoration and decoration of an old kitchen cabinet.
- 50 DIY Photo Ideas for Decorating Closets:
With a slight movement of the hand, the cabinet turns into…
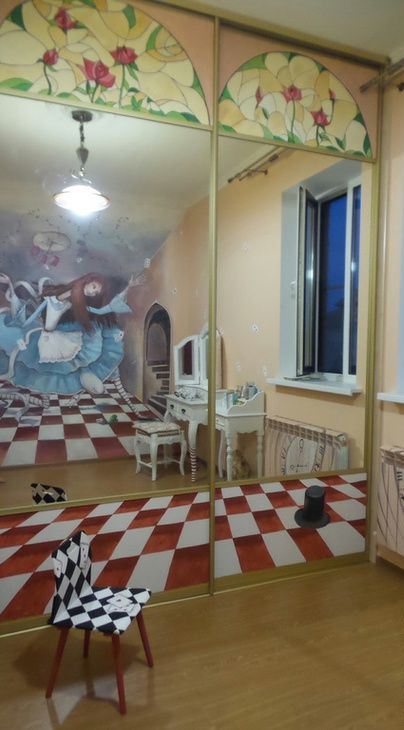
There are many ways to give old but still strong furniture a second life. In this case, it will not only perform its usual functions, but also be a juicy and bright detail of the interior of your apartment.
"Rehabilitation" course
First, conduct an inspection and restoration. During the inspection, invisible defects and malfunctions will definitely be discovered.
The main stages of restoration.
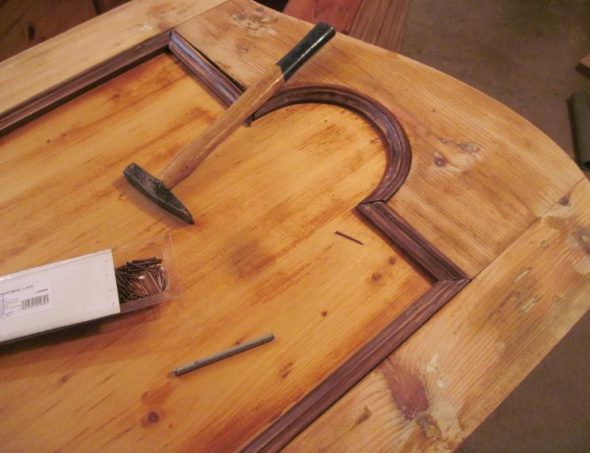
- Dismantling. Remove the doors and shelves, disassemble the frame.

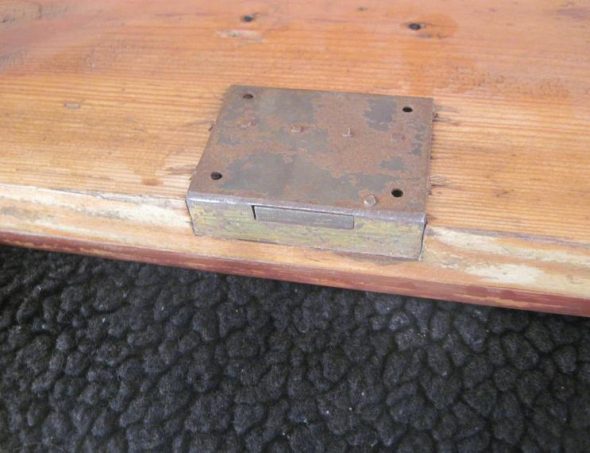
When disassembling, do not damage any parts of the restored item. - Replacement or restoration of fittings and fasteners. If they have become unusable, replace them with new ones.
- Cleaning non-removable metal elements from traces of corrosion.
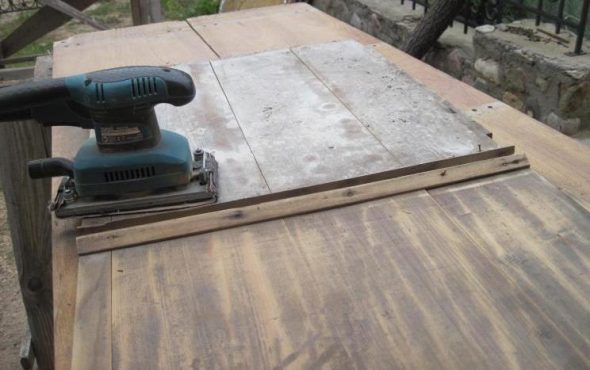
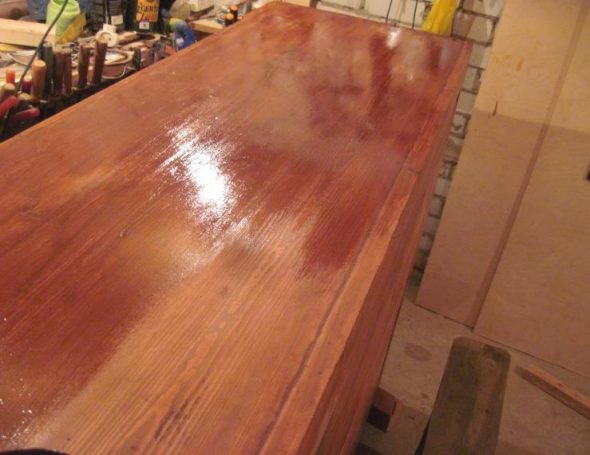
Remove rust stains from metal using special cleaning agents. - Removal of old coating, cleaning of dirt.

Sand the doors and walls from the outside and inside with a sander or sandpaper. - Rinse all parts with clean water and dry thoroughly (at least 2 days).
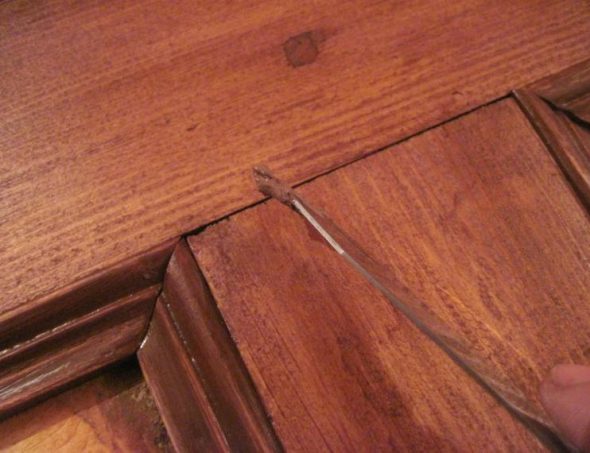
- Repairing defects – scratches, cracks, holes from nails and screws.
Small ones can be removed with furniture wax, and large ones - with putty, applied in several thin layers. - Coating with acrylic (or alkyd) paint or varnishing in several layers.

Be sure to dry each new layer.
FOR YOUR INFORMATION! Restoration is useful for any cabinet furniture, not just old cabinets.
Read on if you want to make a masterpiece with your own hands.
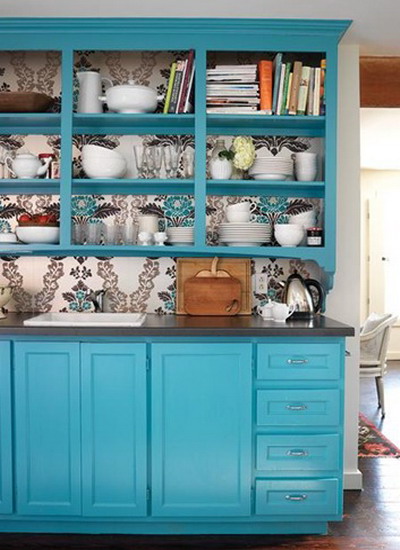
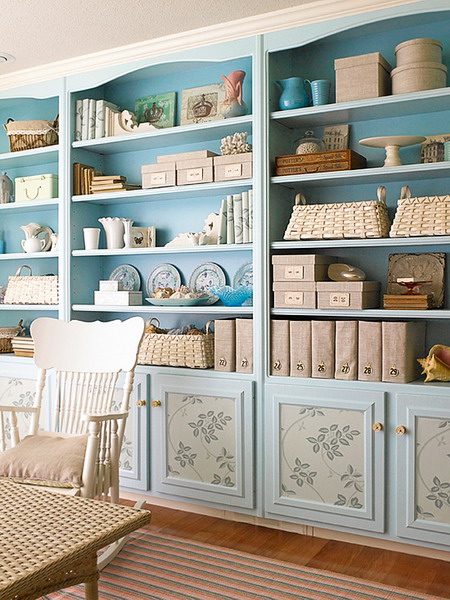
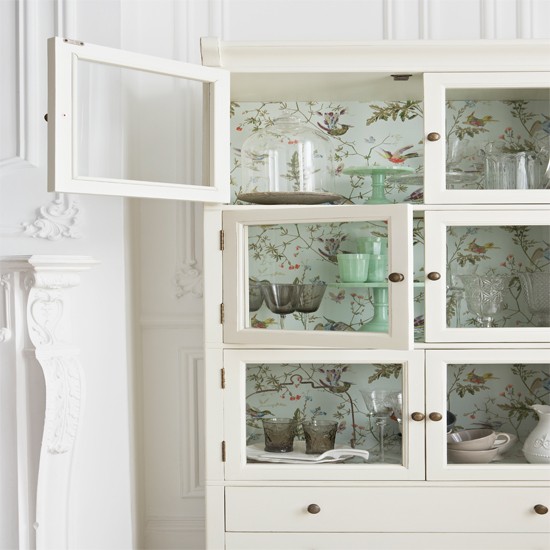
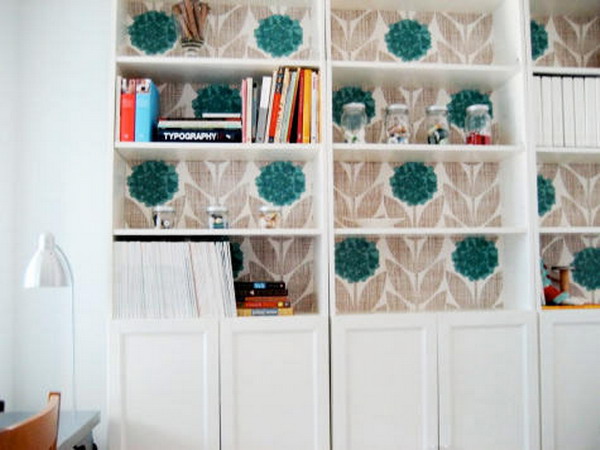
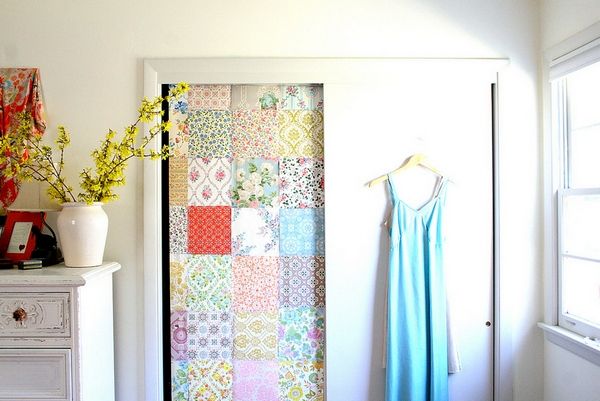
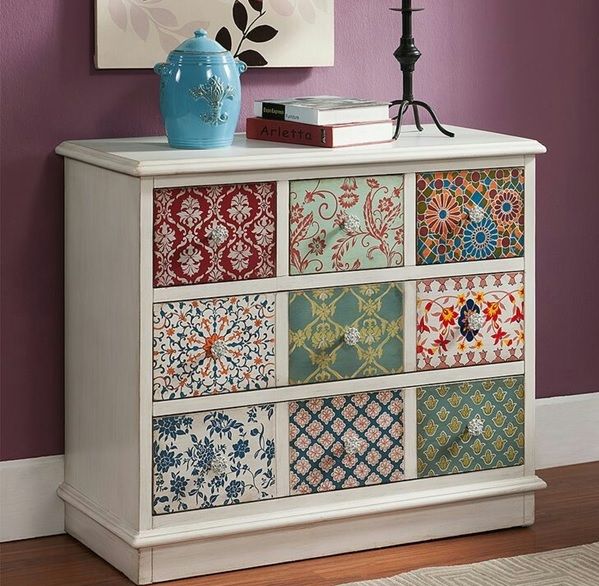
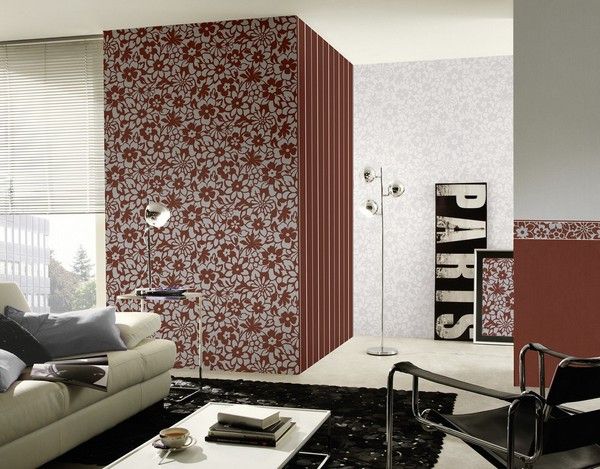
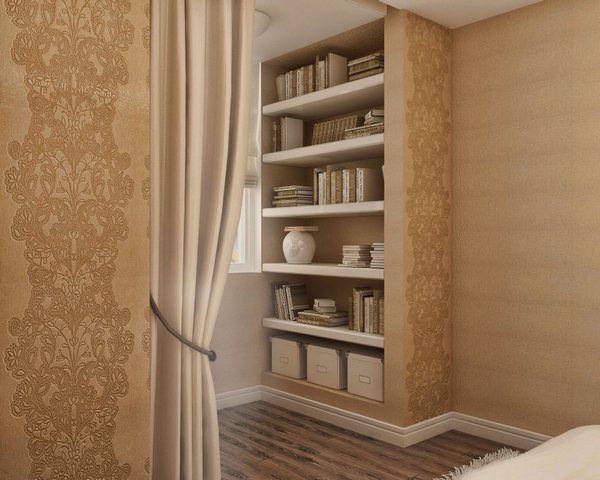
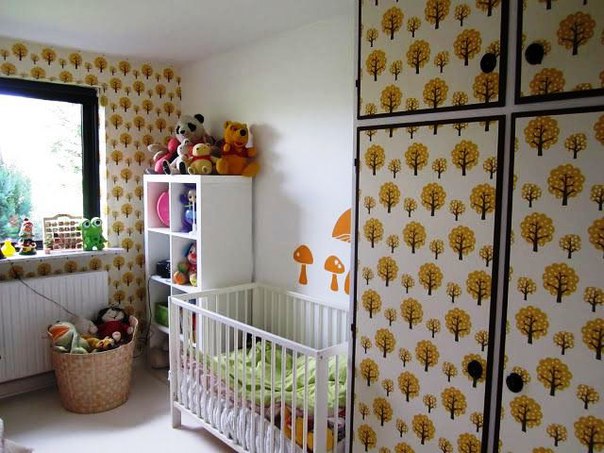
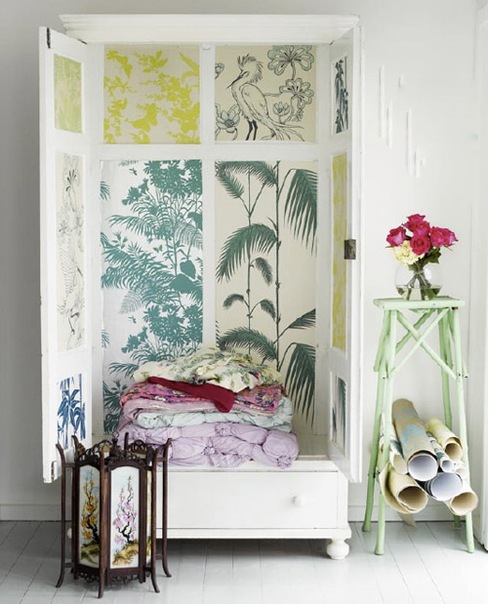
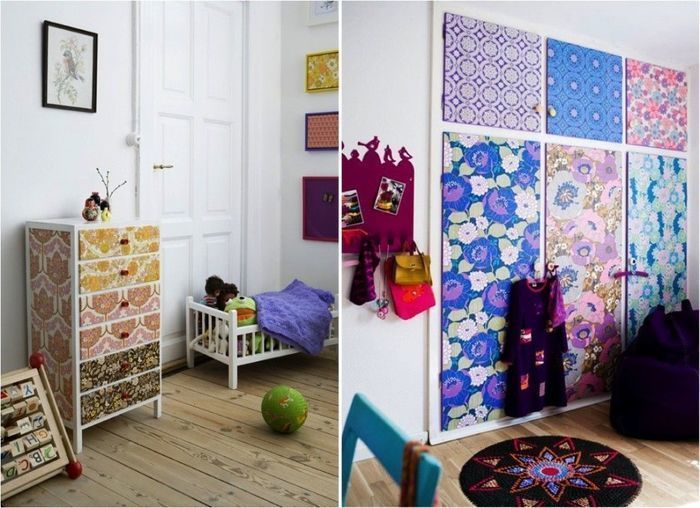
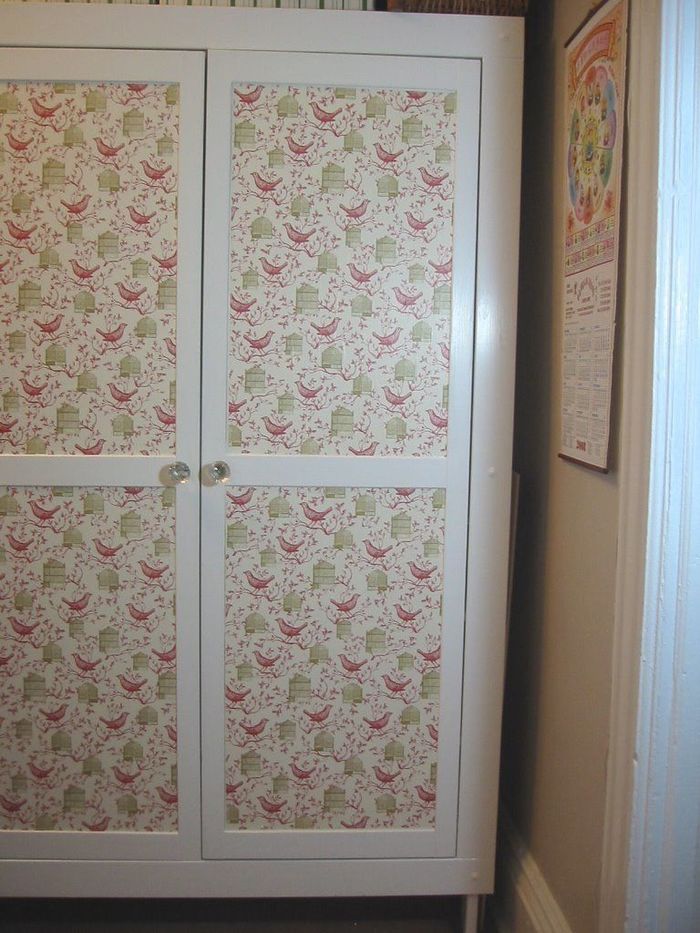
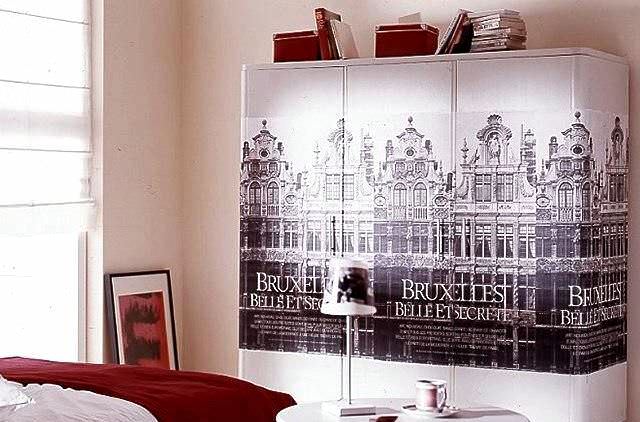
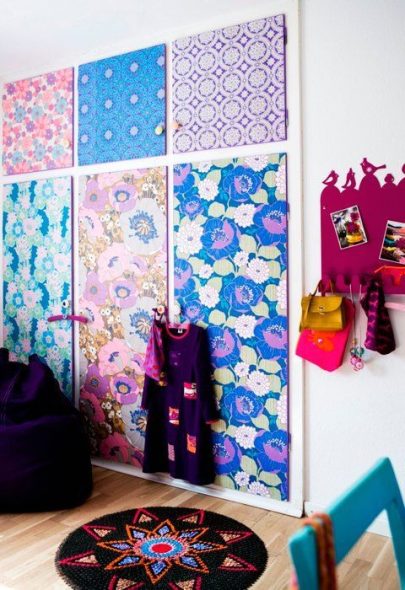
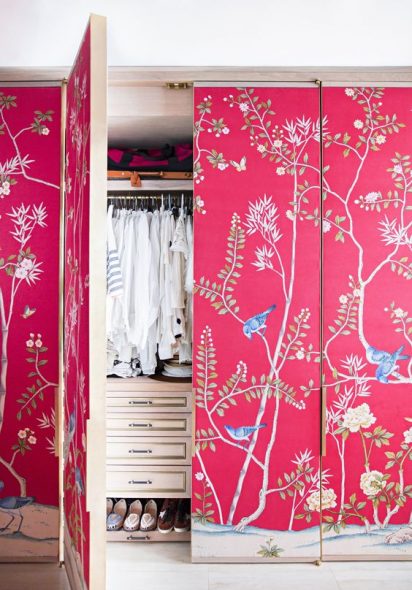
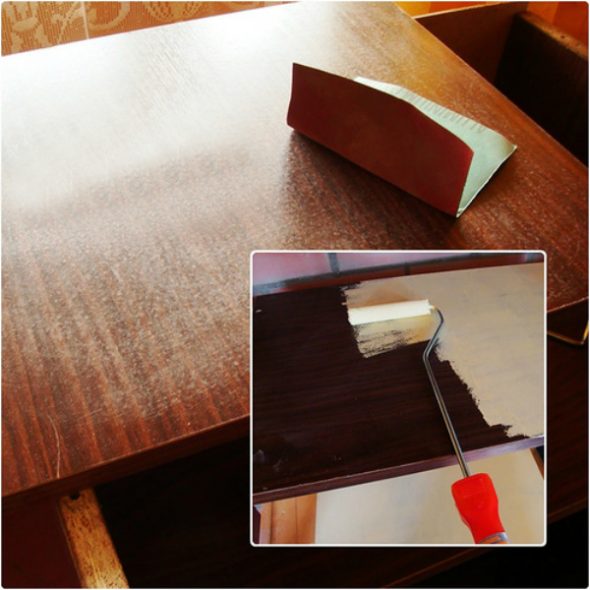
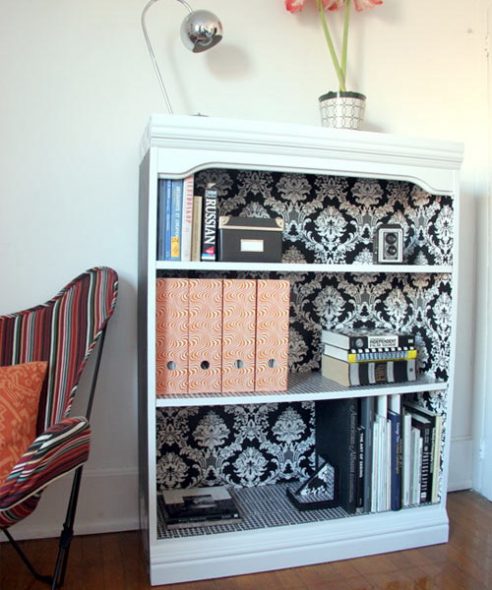
Wallpaper can also be glued to furniture
It is better to use vinyl wallpaper and special glue. After preliminary inspection and restoration, we do the following.
- When restoring, leave the areas where you will be gluing wallpaper unpainted.

Treat them with acetone or gasoline. Apply primer. - Make precise drawings of the areas on the wallpaper and cut them out.
- Carefully coat the cut out piece of wallpaper with glue and carefully apply it to the surface.
- Smooth with a special roller or a dry, clean cloth.

Prevent peeling and bubbling.
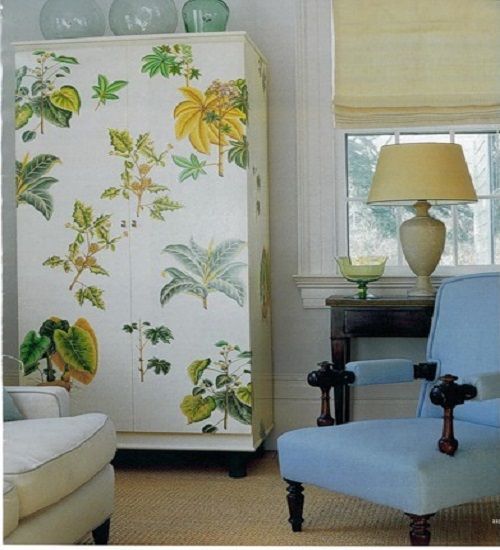
NOTE! If there are no raised or decorative elements on the outer surface of the old cabinet, then you can cover it completely with wallpaper.
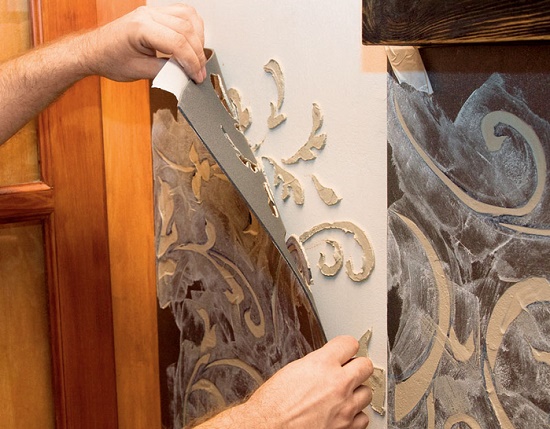
You can make patterns with plaster
You can apply a three-dimensional ornament. To do this, you need a stencil of the pattern, a spatula and special decorative plaster. After filling in small defects, do the following.
- Use tape to secure the stencil to the surface to be decorated.
- Apply plaster to the stencil.
- Remove the stencil and apply it to the next area.

Plasters are excellent for creating decorative coatings. - Dry the plaster thoroughly.
- Cover with acrylic paint in several layers.
- Apply a finishing coat of varnish.
Decorative plaster is today an excellent alternative for interior decoration.
NOTE! It is better to make the stencil from plastic or PVC. Cardboard wears out quickly, gets wet and loses its shape.
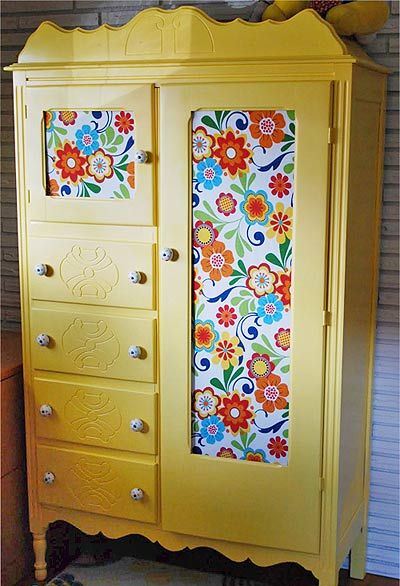
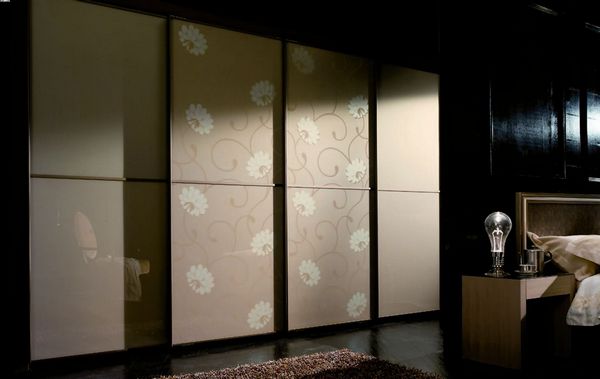
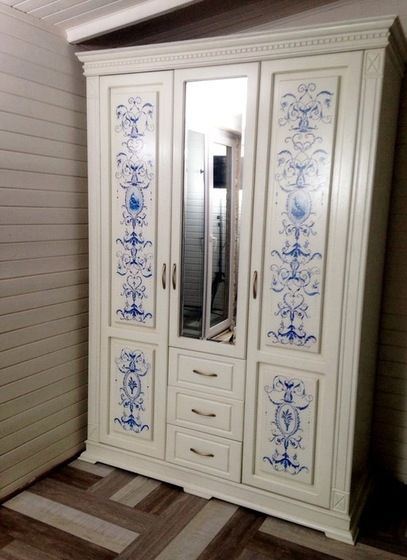
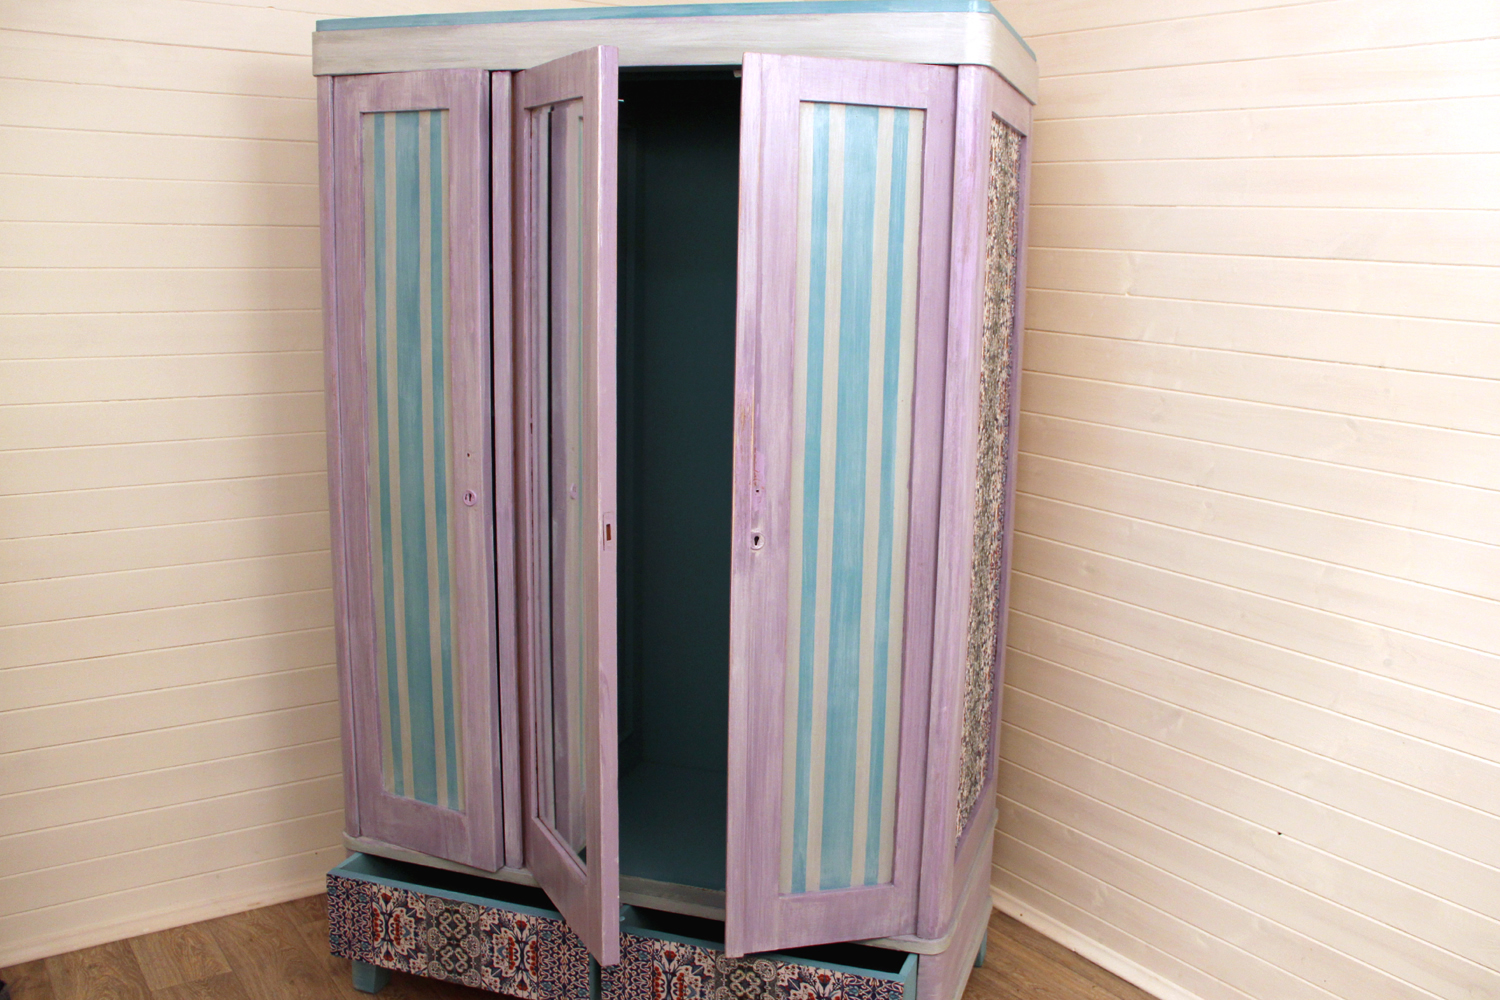
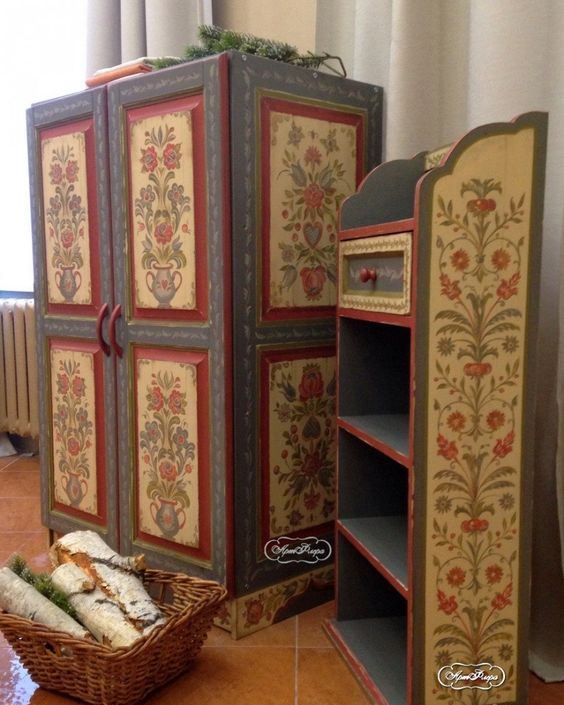
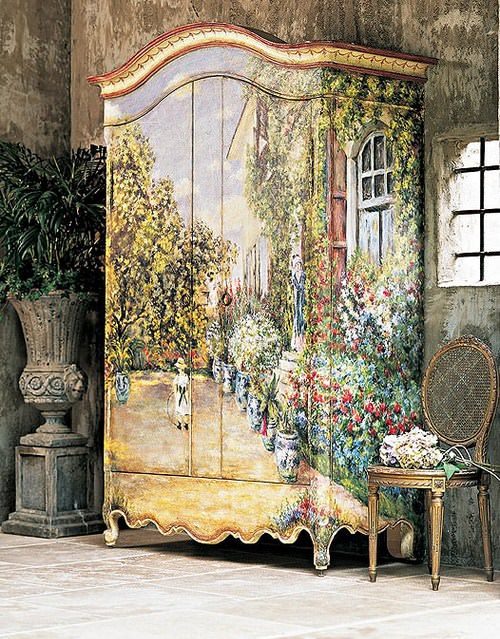
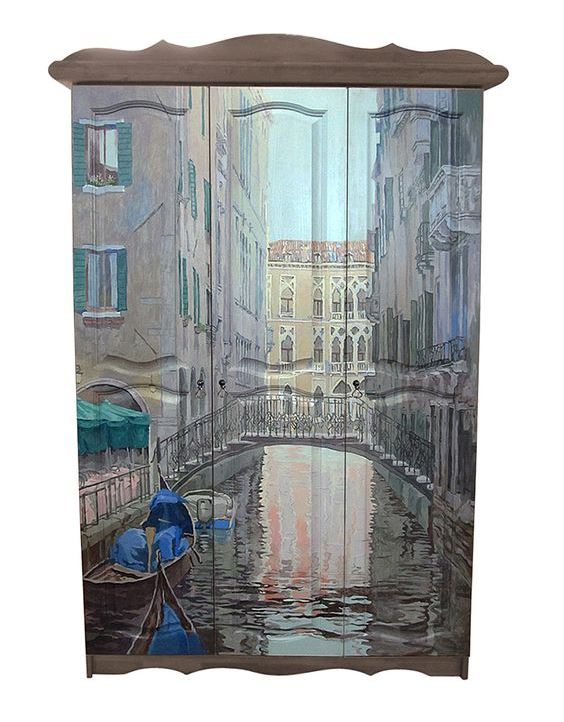
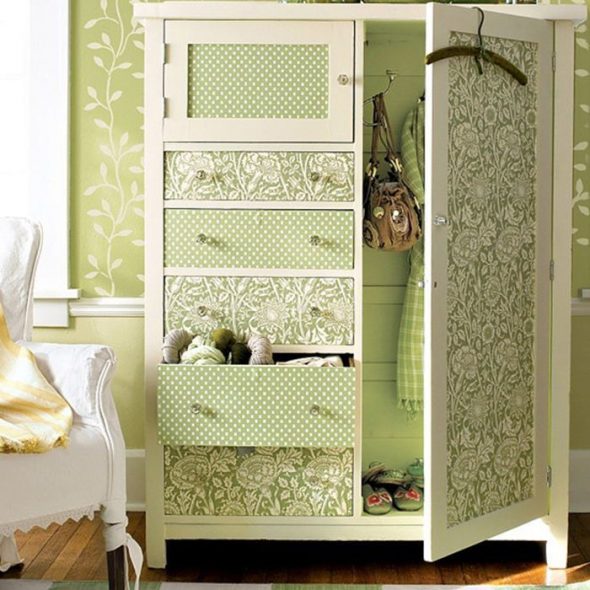
"Dress" for an old wardrobe
Yes, you can cover the body and doors with cotton fabric with a suitable pattern! You will also need PVA glue, acrylic paints and varnish.
After priming, do the following.
- Carefully coat the outer surface of the cabinet with glue.
- Carefully apply and rub the pre-made fabric blanks with a roller. Avoid the formation of bubbles and folds.
- Apply a second coat of glue.
- Dry thoroughly.
- Apply paint to the design.
- Make an inlay from improvised objects - beads, buttons, multi-colored pieces of glass of the correct shape. Along the edges of the door, you can make edgings from tape. Glue it all with the help of "Moment" glue.
- Coat several times with acrylic varnish.

It is better to cover large elements such as wardrobe doors with fabric.
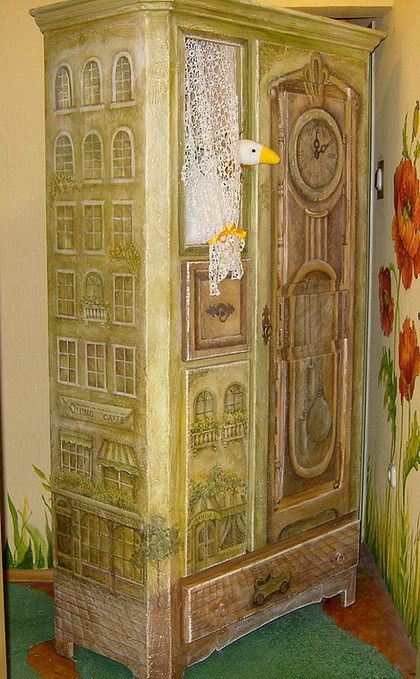
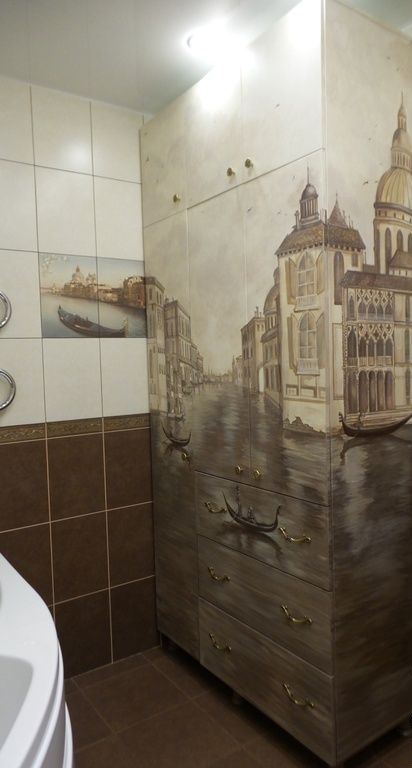
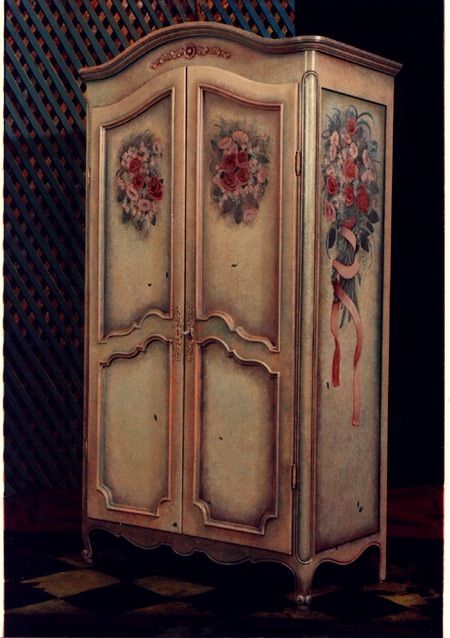
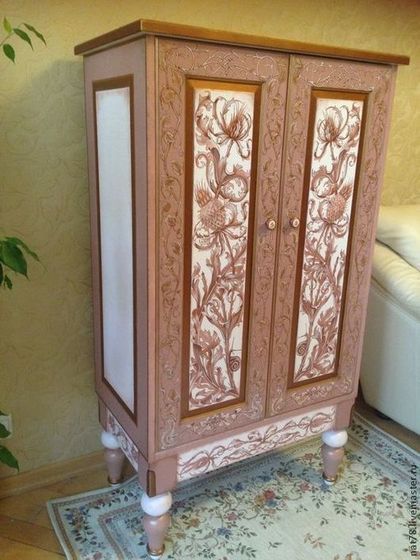
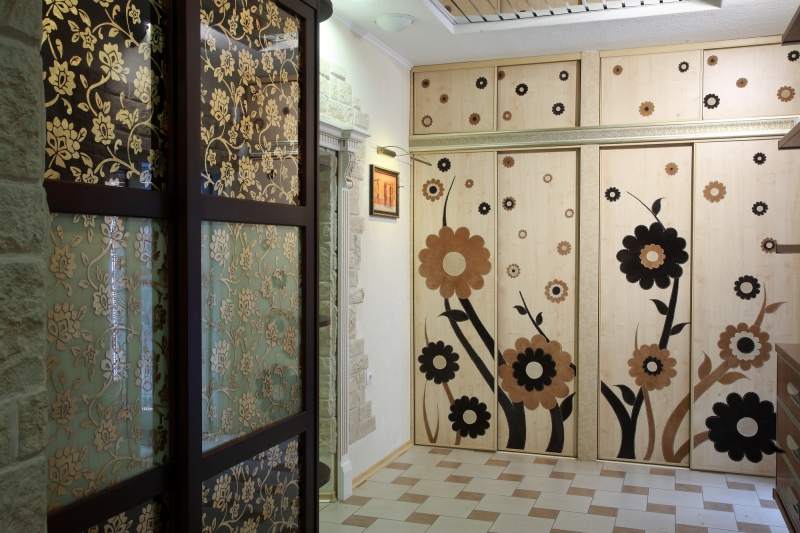
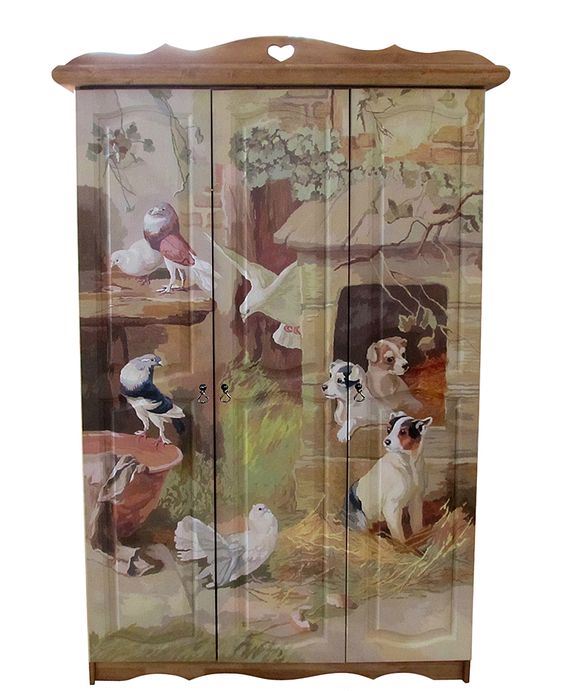
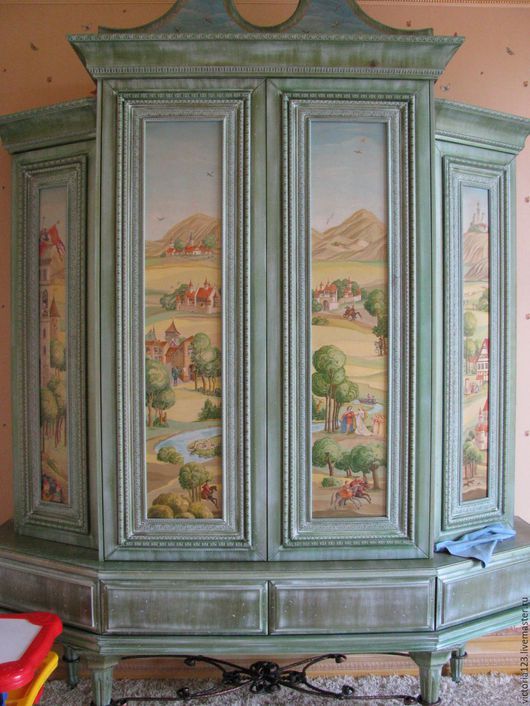
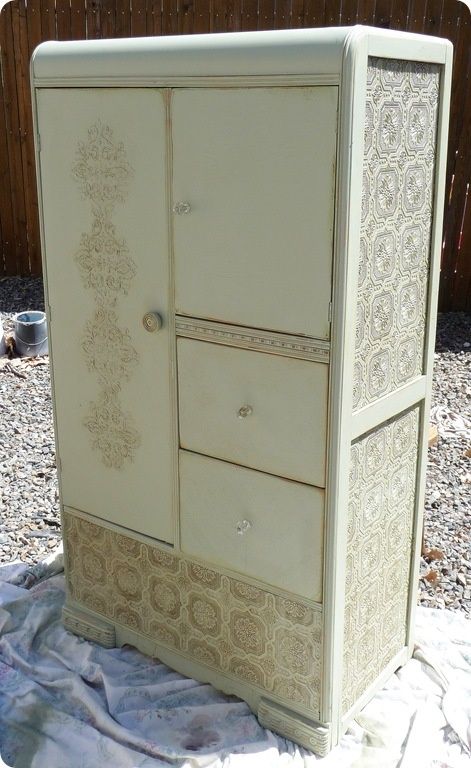
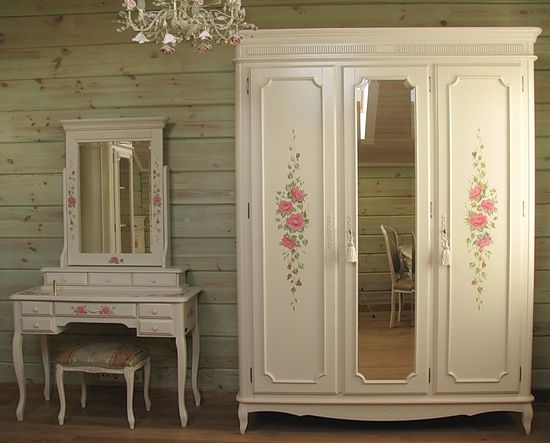
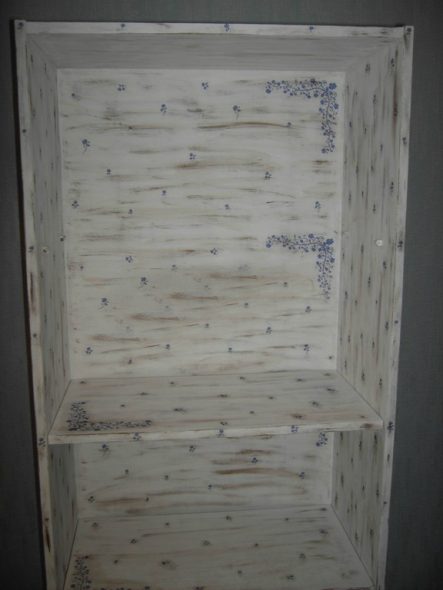
Cute cabinet with decoupage
If you admire this decorating technique, then old furniture is perfect for experimenting. Choose pictures on a paper base, buy fine sandpaper.
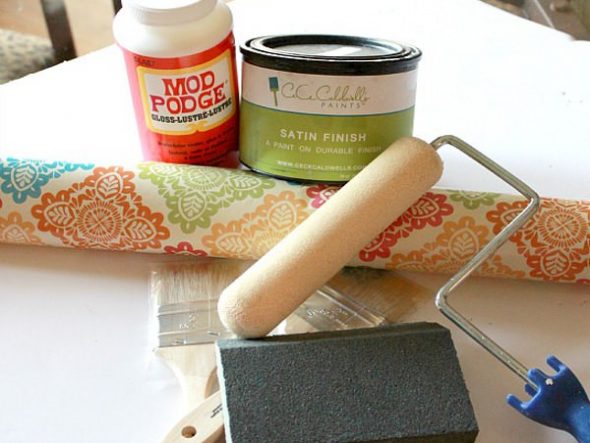
After restoration, do the following.
- Carefully sand the edges of the image until they become thin.

We lay out the drawing on the surface. - Wet them with water and lay them out so that they don't stick to anything, such as a piece of cloth.
- Apply PVA glue to the area intended for the picture.
We place the napkin elements on the cabinet and glue them with PVA glue. - Carefully apply and smooth out the pictures with a roller.
- Wait until the decor is completely dry.

After the glue has dried, you can start varnishing. - Apply two coats of varnish.
This simple at first glance decorative technique will greatly transform your old furniture.
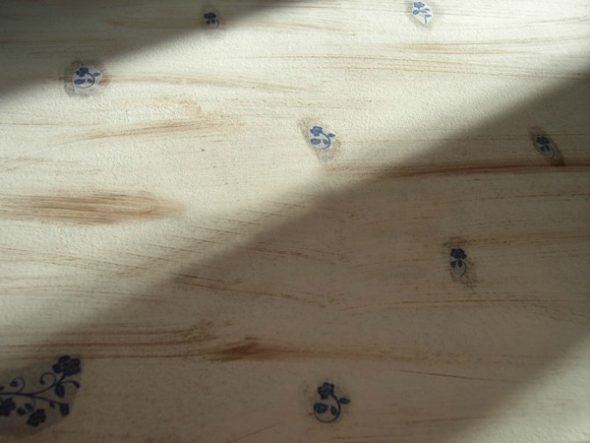

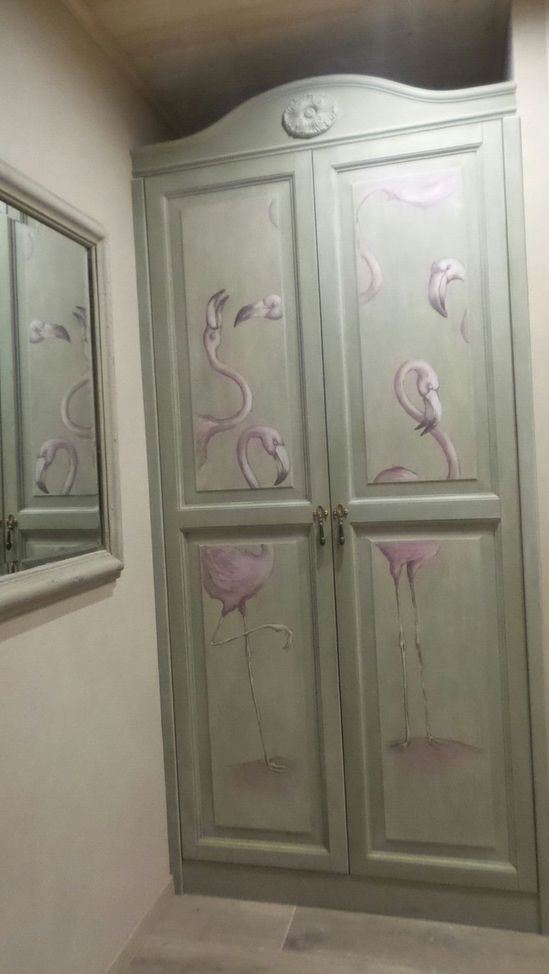
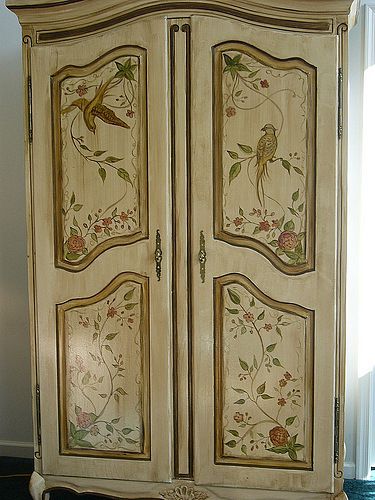
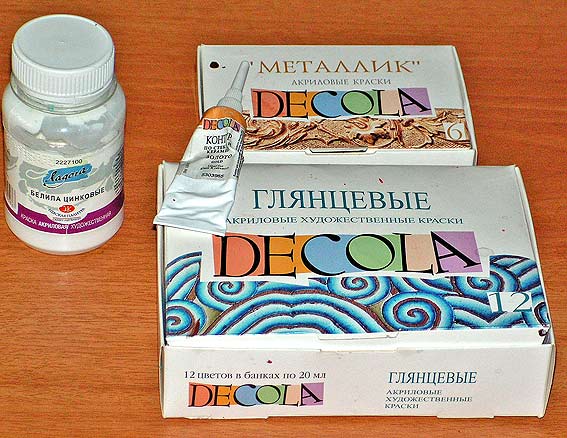
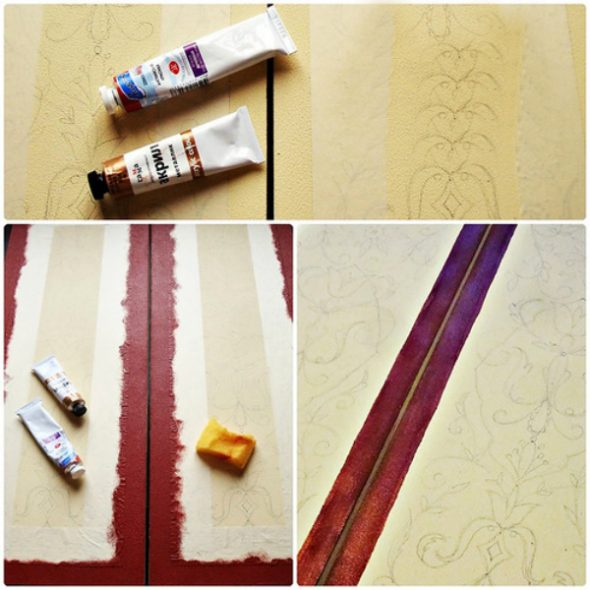
Acrylic paints expand the range of expression available to you as a designer.
To conduct “experiments” on the cabinet you will need:
- Paints in dark and light pastel shades, as well as two or three bright colors;
- Clear varnish and shellac;
- A sheet of fine-grit sandpaper;
- Furniture wax – bitumen (dark) and transparent;
Please follow these steps in this order.
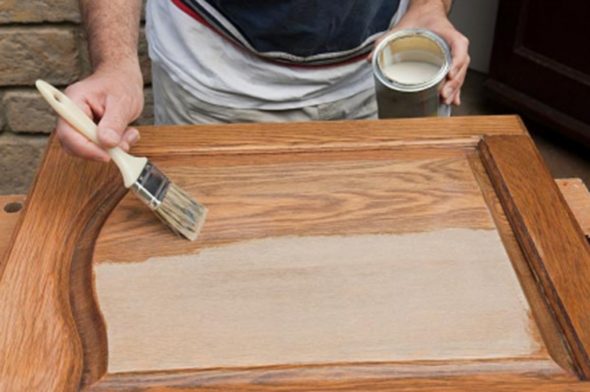
- Paint the thoroughly cleaned outer surface of the cabinet with dark pastel paint.
- After it dries, cover the inside and outside surfaces of the cabinet with a light-colored pastel paint.

Also dry thoroughly. - Use sandpaper to rough up some areas to create a distressed look.
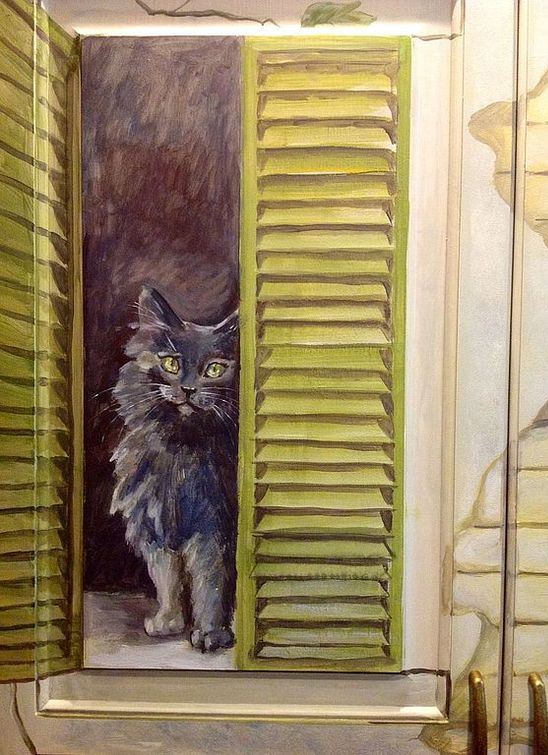
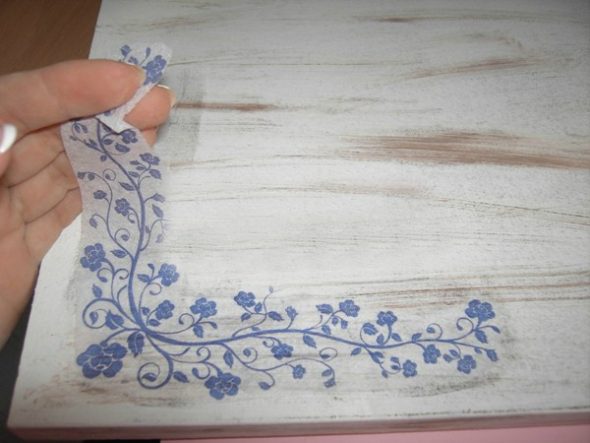
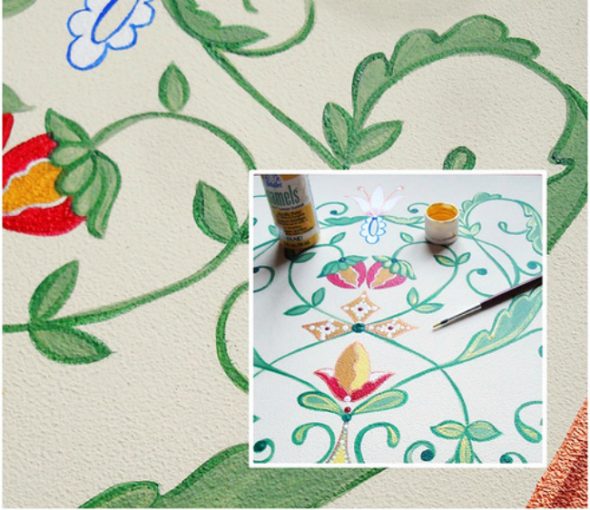
- Apply the design you like with a brush or using a prepared stencil.
We try to maintain the geometry of the drawing using reference points. - To create an “aging” effect, apply bitumen wax to a dried drawing and rub it thoroughly with a brush over the entire surface of the drawing or ornament.
- Rub this area with clear wax until the desired uniform shade is achieved.

We paint brightly colored elements of the pattern. - Leave to dry for at least 24 hours.
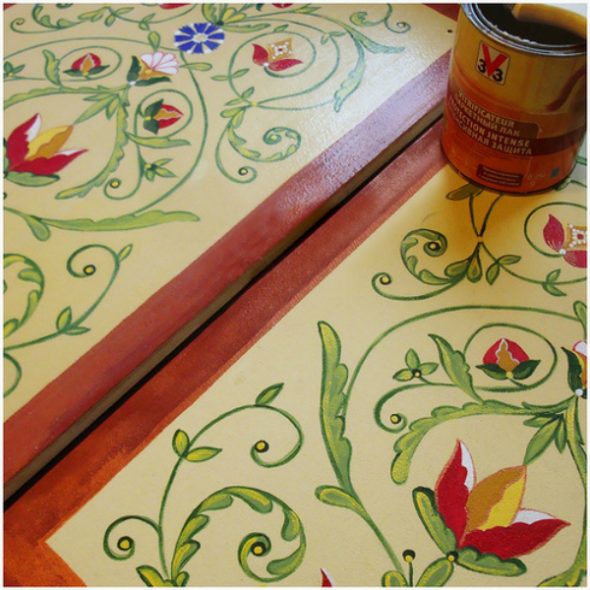
- Coat the areas to be aged with shellac to seal the wax.
After everything has dried (12-24 hours), you can varnish.
FOR YOUR INFORMATION! To avoid inadvertently revealing the true age of a cabinet that you have “aged” yourself, use wooden handles and other fittings treated in the manner described above.
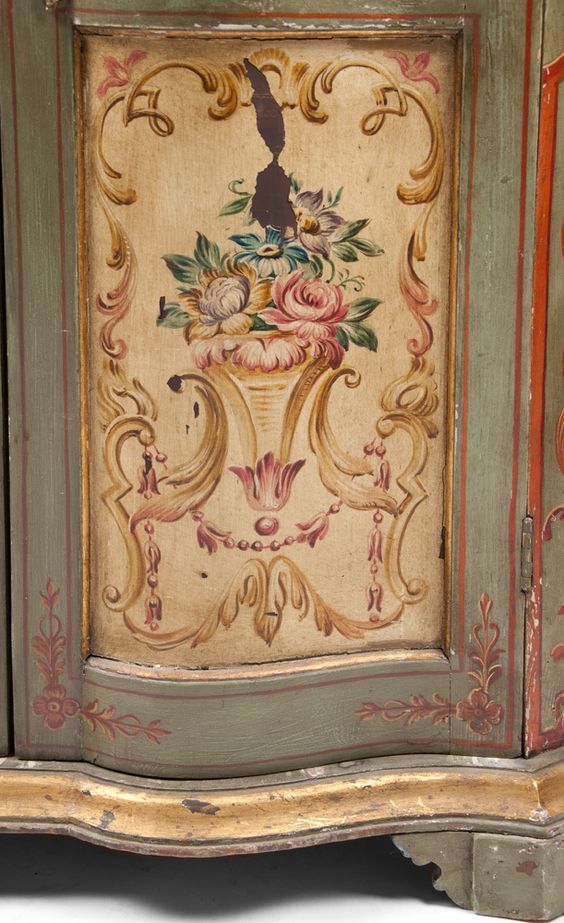
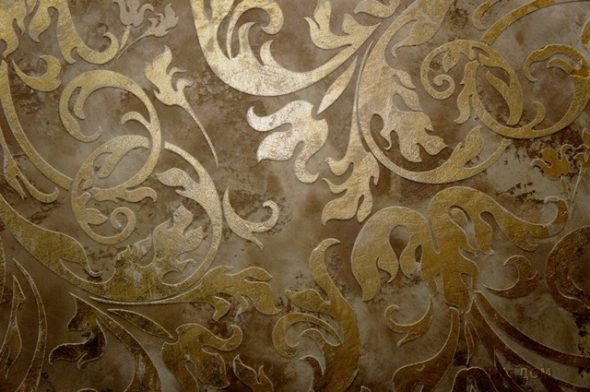
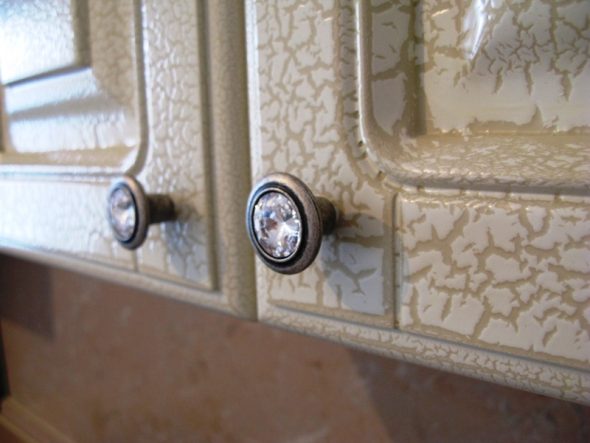
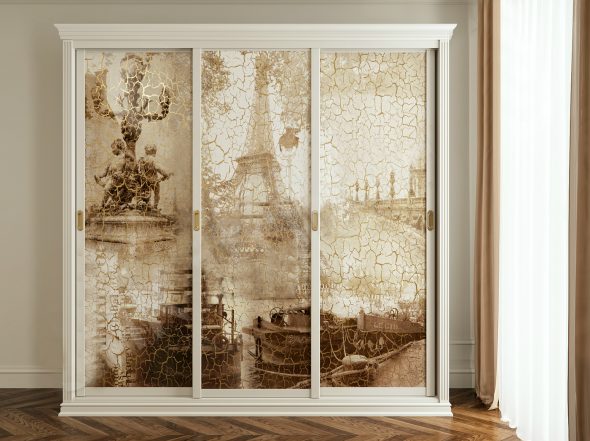
Antiquity in noble craquelure
Create with your own hands an antique rarity from a cabinet with a beautiful gilded texture, consisting of many small and deep cracks, “testifying” to the venerable age of the thing.
To create a "magic potion" you will need:
- Two-phase craquelure varnish;
- Transparent acrylic varnish with a matte texture;
- "Gold" powder as a grout (powder made from non-ferrous metals - bronze, aluminum, copper - ground to a fine state);
- Grout sponge.
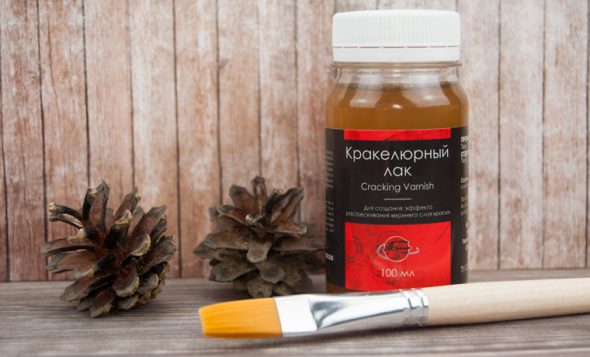
Sequence of actions.
- Apply the first phase of crackle varnish. Wait until it dries to a thick, sticky consistency.
- Apply and dry the second phase in the same way.
- Use a sponge to rub the “golden” powder into the cracks that have formed.
- Apply a final coat of matte varnish and let dry thoroughly.

A cabinet aged using the craquelure technique will look like an expensive antique.
NOTE! Instead of powder, a special composition for patination and bitumen wax, "dry" pastel will do. The longer the craquelure layer dries, the deeper the cracks on the surface of the furniture.
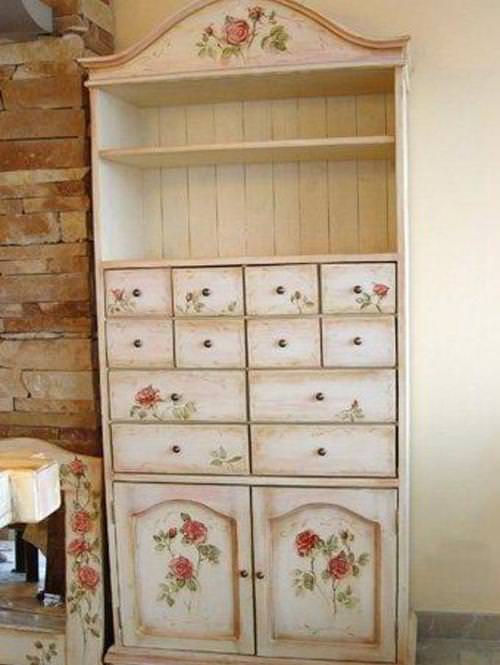
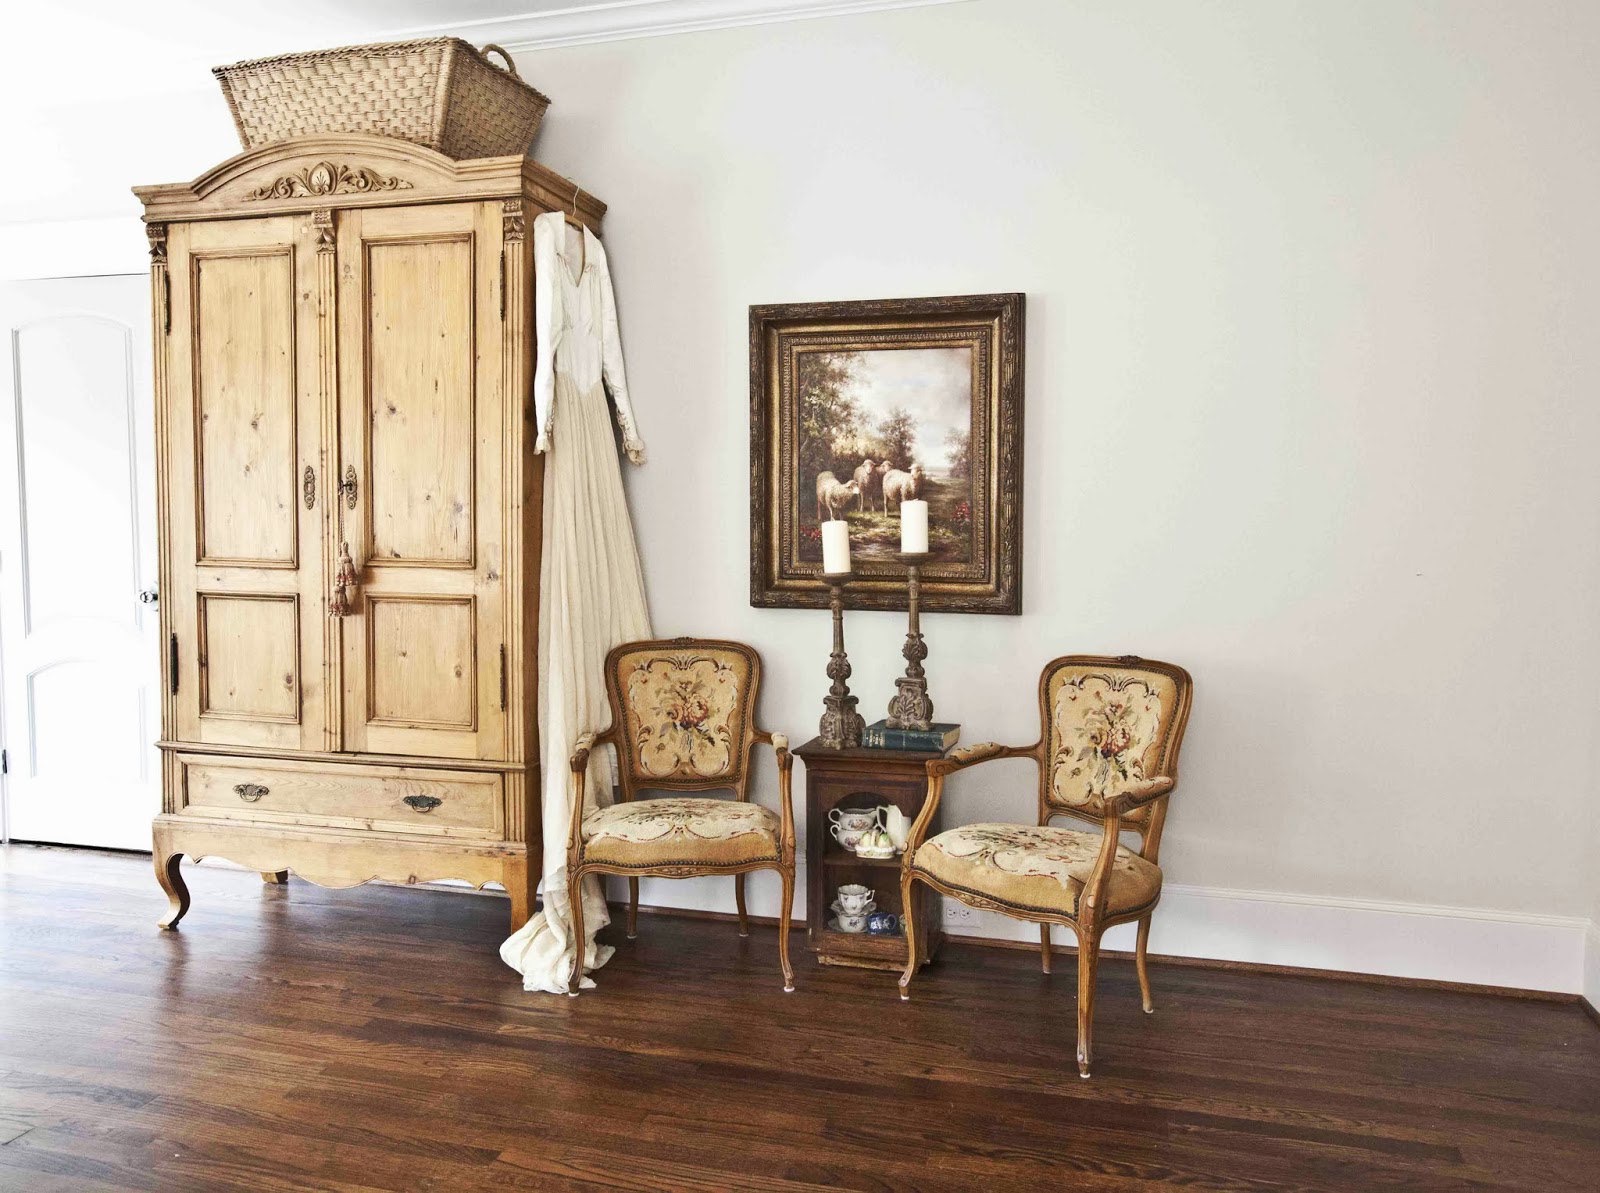
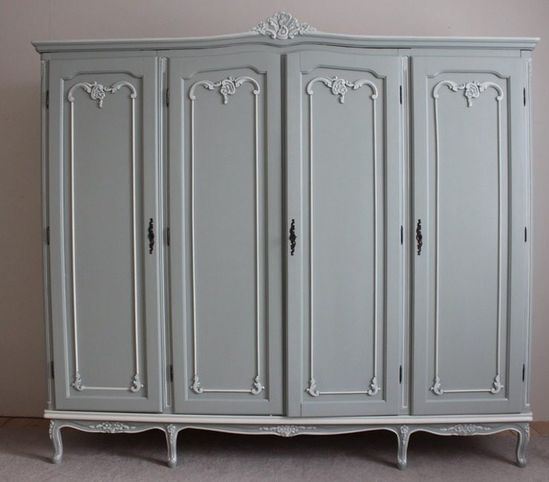
Secrets of good design
If you want to decorate furniture with a pattern, do not use more than two or three colors. They should echo similar shades of interior elements of the room. In this case, the furniture will not look like a foreign body.When wallpapering furniture, follow the same principle.

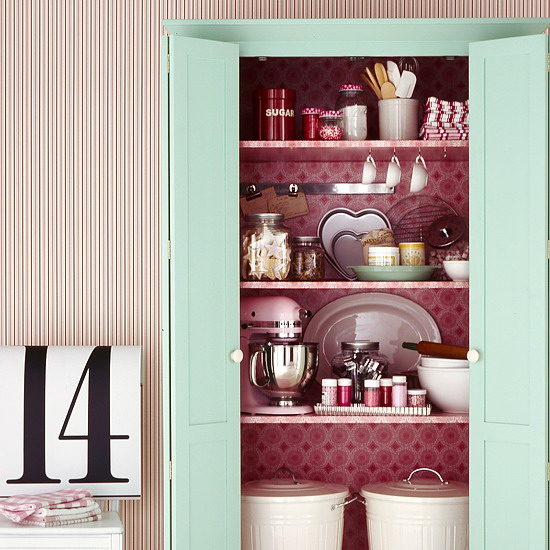
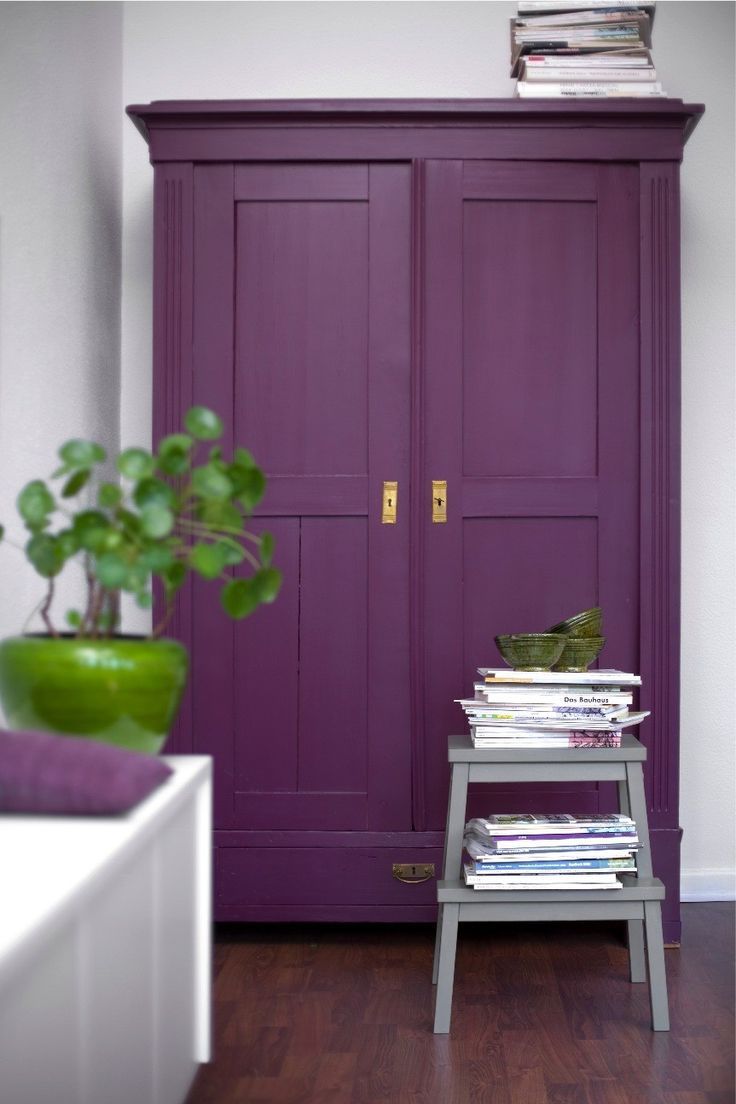
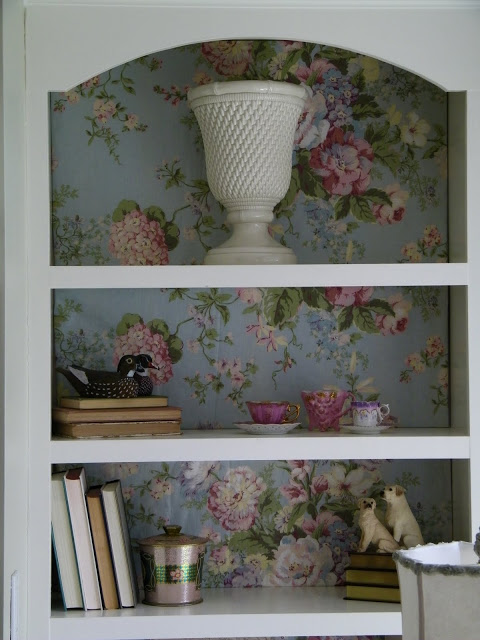
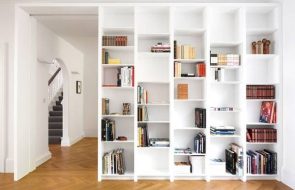
Another option is possible. When the walls are painted in thick colors (for example, dark purple), use a light-colored paint (for example, white), and cover the doors and front walls of the drawers with wallpaper with a small, interesting pattern.There are cabinets with open shelves on which small interesting things can be placed – paintings, figurines, books.
Choose a color that does not “clogg down” the items on the shelves and emphasizes their beauty.Don't rush to throw away old furniture. Put in a little effort, use our advice and you will create a small miracle from your closet with your own hands.
VIDEO: Restoration and decoration of an old kitchen cabinet.
50 DIY Photo Ideas for Decorating Closets: