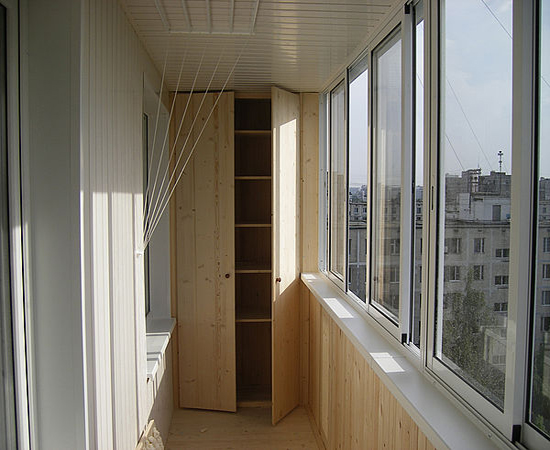
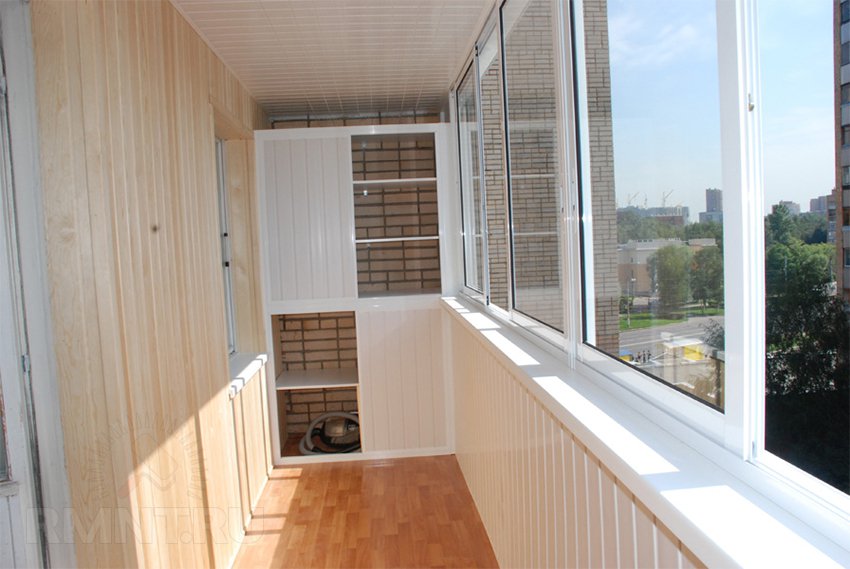
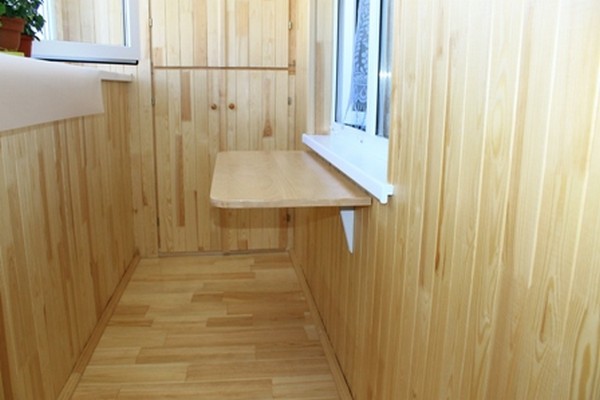
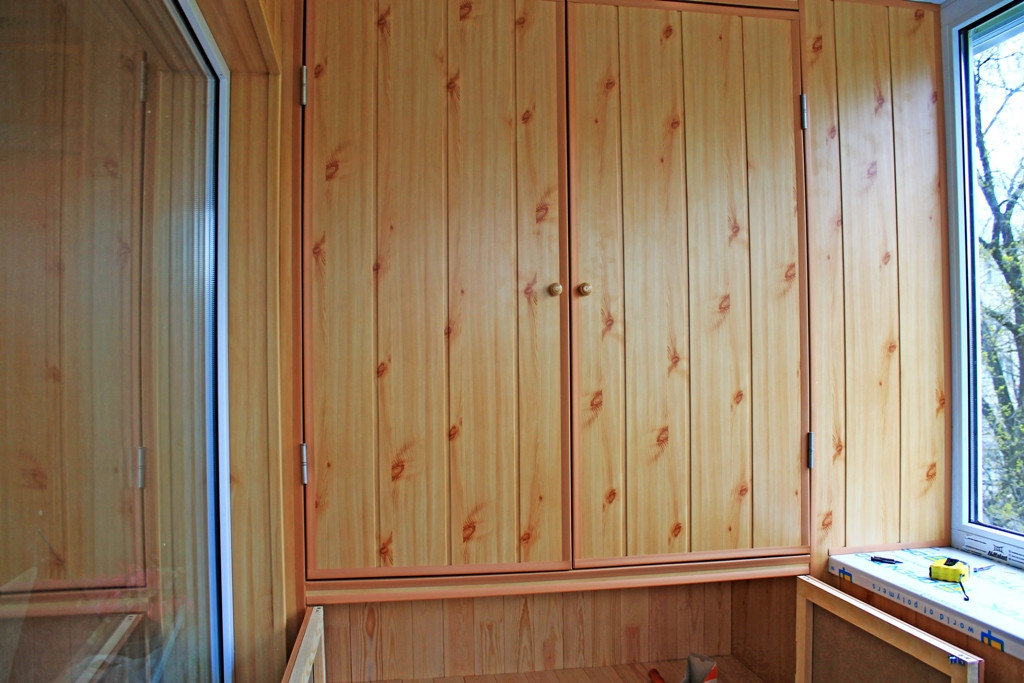
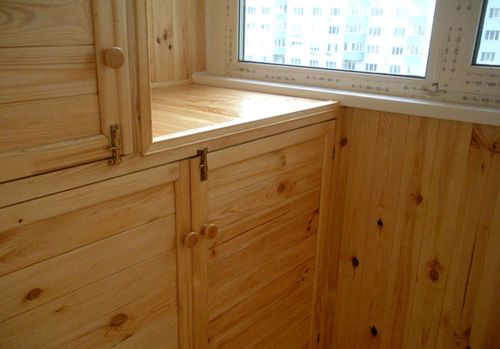
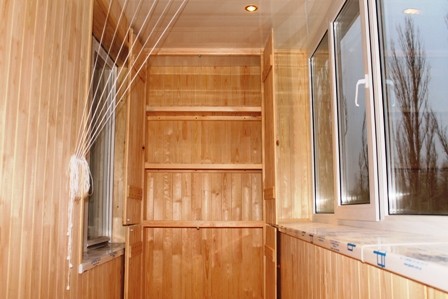
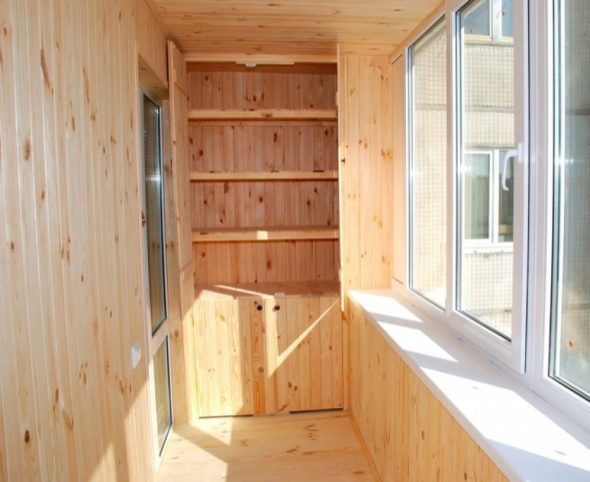
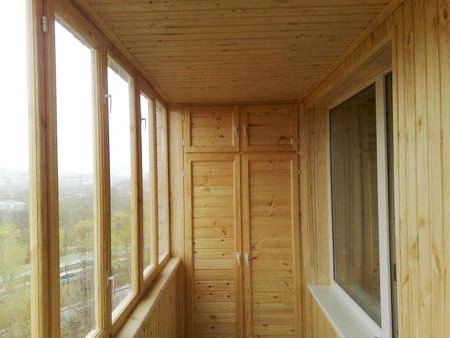
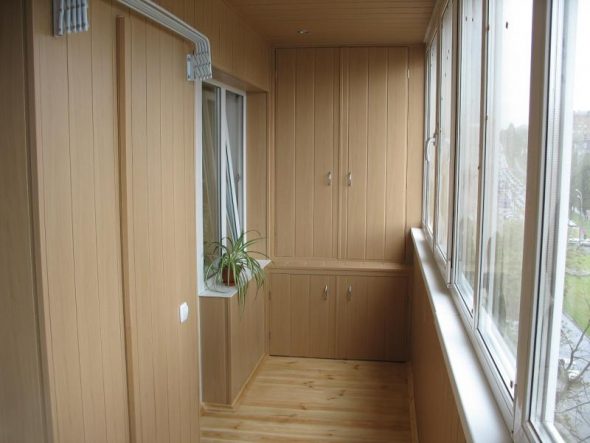
Not everyone has the opportunity to buy a large apartment to easily fit all household items. However, this has long been no longer a problem, because even a small space can be used as efficiently as possible. This is how additional shelves in the hallway, niches under window openings and mezzanines of different sizes are created. A balcony in a small apartment can also be “squeezed out” to some benefit. It can replace a workshop, a place to relax, a garden and even a small warehouse for storing things. All these functions can be combined with proper planning of the balcony space.
The plan of such a room must necessarily accommodate a built-in cabinet made of clapboard, which will allow you to conveniently arrange all the necessary things. Making a cabinet from clapboard with your own hands is not at all difficult if you follow the step-by-step instructions.
Content
- What are the advantages of creating a cabinet from clapboard with your own hands?
- Preparing for work on the balcony: deciding on the type of construction and design
- What materials and tools will be needed?
- Step by step instructions
- Decorating a cabinet made of clapboard – the final stage
- VIDEO: DIY Wardrobe Made of Clapboard on the Balcony – Detailed Instructions
- 50 photo ideas on how to make a cabinet from clapboard on the balcony
What are the advantages of creating a cabinet from clapboard with your own hands?
| Making furniture with your own hands | |
| Advantages | Flaws |
| Saving money | Labor intensity |
| Unlimited design possibilities | Time consuming process |
| Individual selection of shape and size | |
| Opportunity to express your imagination | |
Making such furniture yourself is a simple but labor-intensive process. However, by spending a little time, you can build a roomy, functional and original cabinet from clapboard for household items. It cannot be compared with the monotonous furniture that is presented in stores and hypermarkets.
Preparing for work on the balcony: deciding on the type of construction and design
Before you start directly manufacturing and installing furniture from lining, you need to prepare. To do this, you need to decide on several key points.
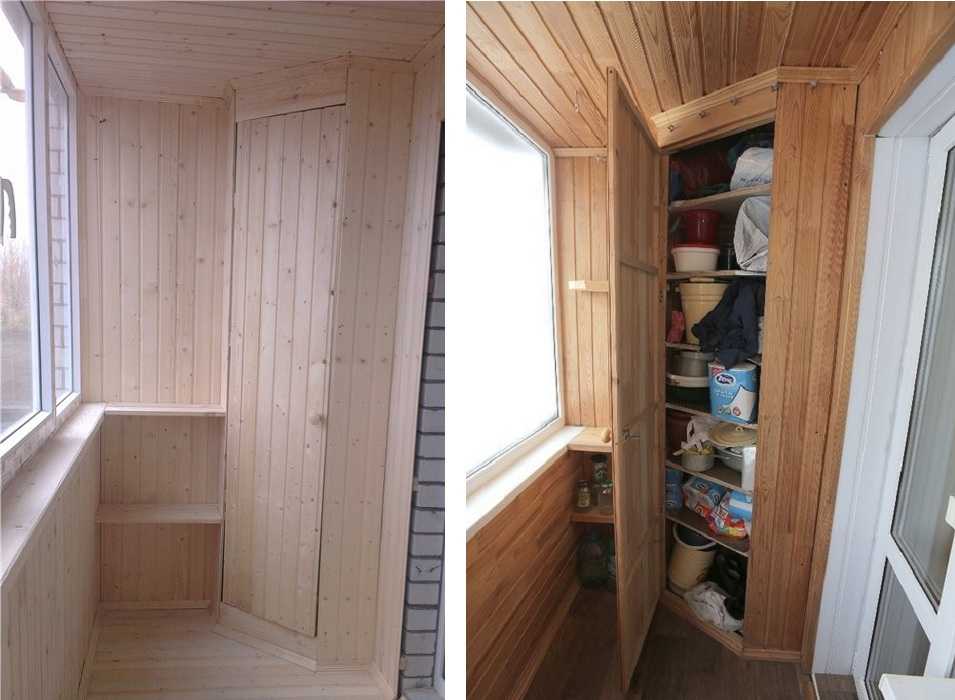
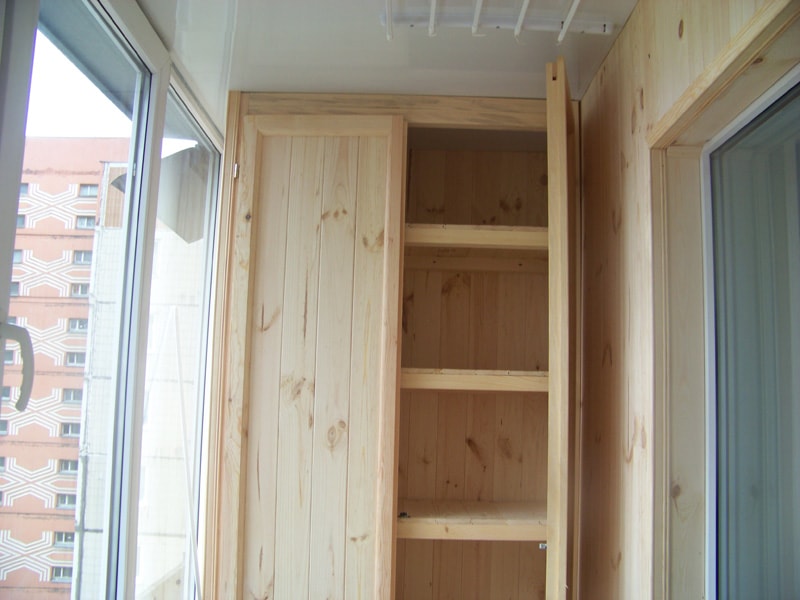
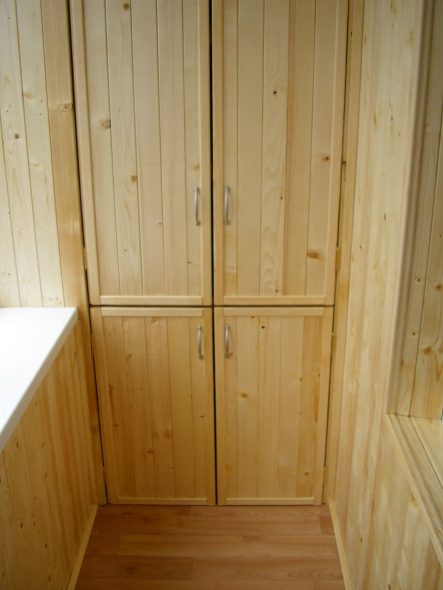
- Choose a place. Everything is simple here, because the balconies have special niches for installing built-in wardrobes.
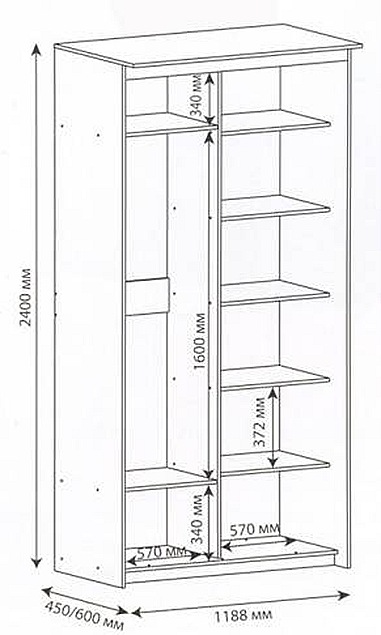
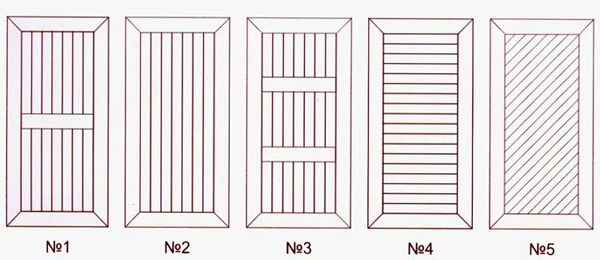
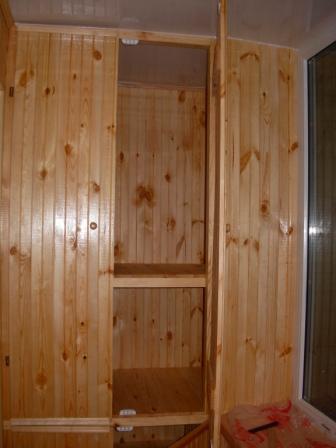
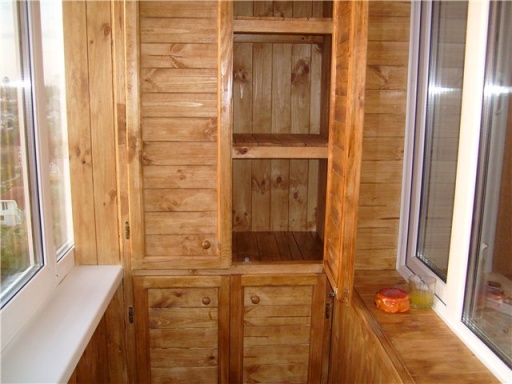
- Decide on the type of construction. To make it easier, you need to create a plan of the future cabinet on a regular sheet of paper. In the plan, indicate the dimensions of the structure, the number and type of shelves, the presence or absence of doors. To make this process easier, you can look at photo examples of similar furniture.
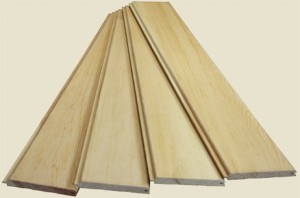
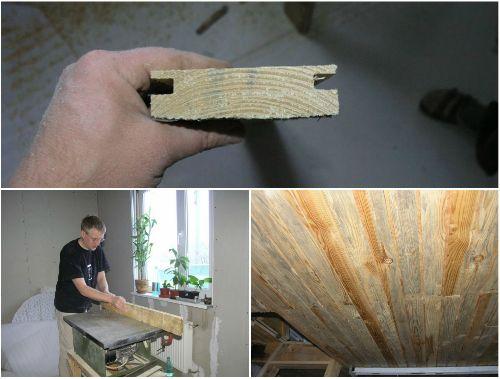
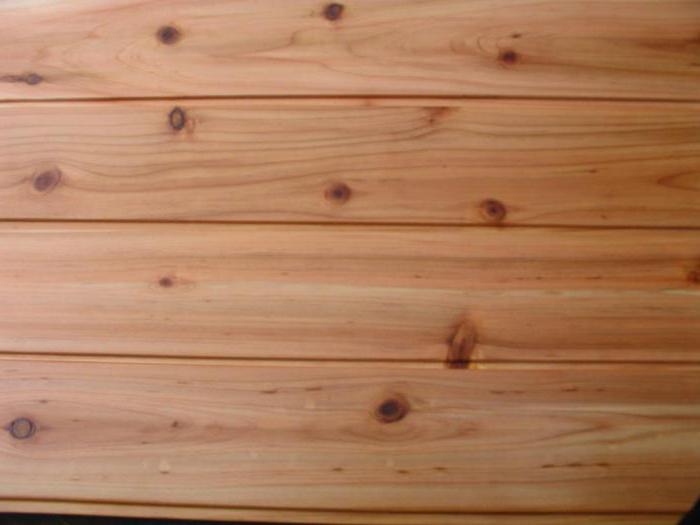
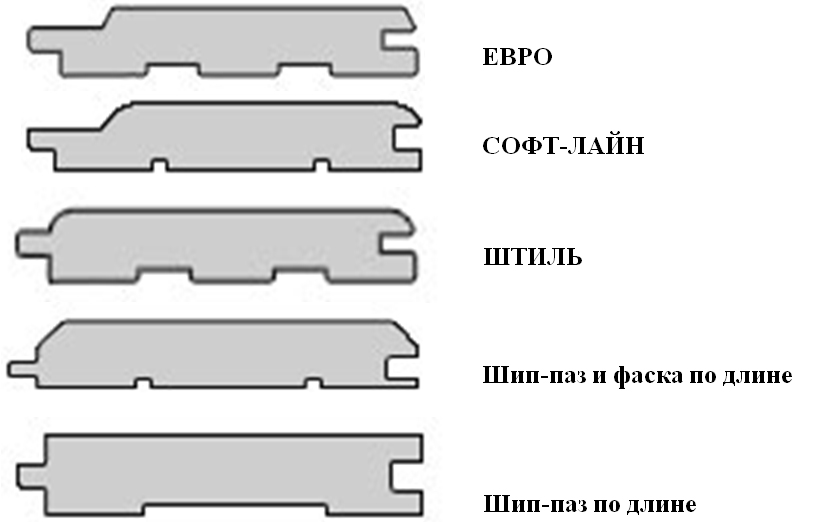
- Select the material. Without the necessary experience, it is not worth working with expensive wood or glass. It is better to make it from cheap lining. However, there is one condition - such a cabinet can only be used in a glazed room. The material does not tolerate temperature changes. In addition, the lining is fragile, so you need to work with it carefully.
- Decide on the design. Lining is a universal material in terms of decoration (cover with wallpaper, paint or leave as is).
What materials and tools will be needed?
To make a cabinet from clapboard yourself, you need to stock up on materials and tools.
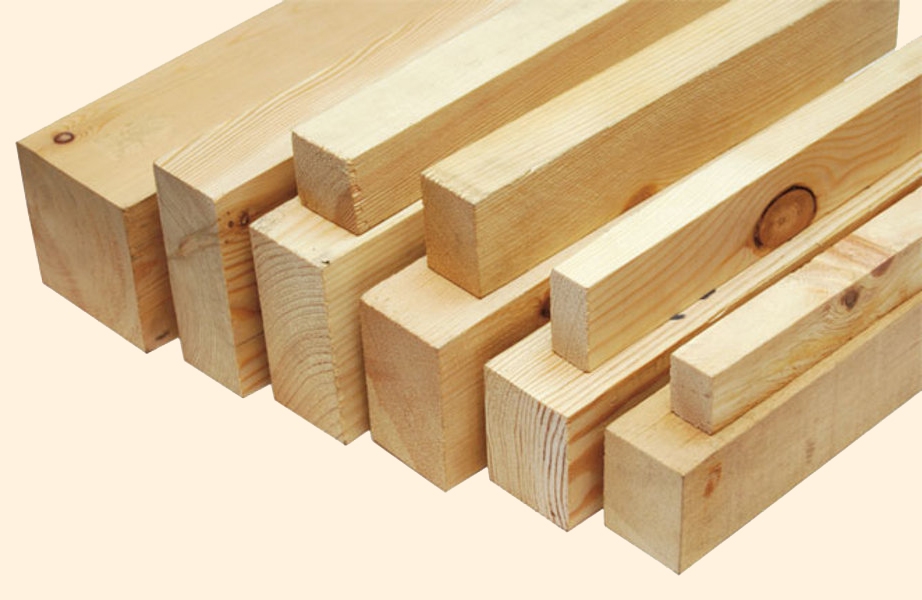
- Pine beams. For the construction of the frame, beams of 40x40 millimeters are suitable, and for the doors you need to select beams of a smaller thickness.
- Metal corner. It will be needed to fix wooden parts.
- Chipboard sheets. The thickness of the sheets directly depends on the future load on the shelf.
- Furniture fittings. Little attention is paid to them, which is in vain, because the service life and appearance of the structure depend on the quality of the fittings. Hinges, latches, locks and handles for the cabinet must be made of metal, resistant to corrosion.
- Nails. These will need to be used to connect the wood elements.
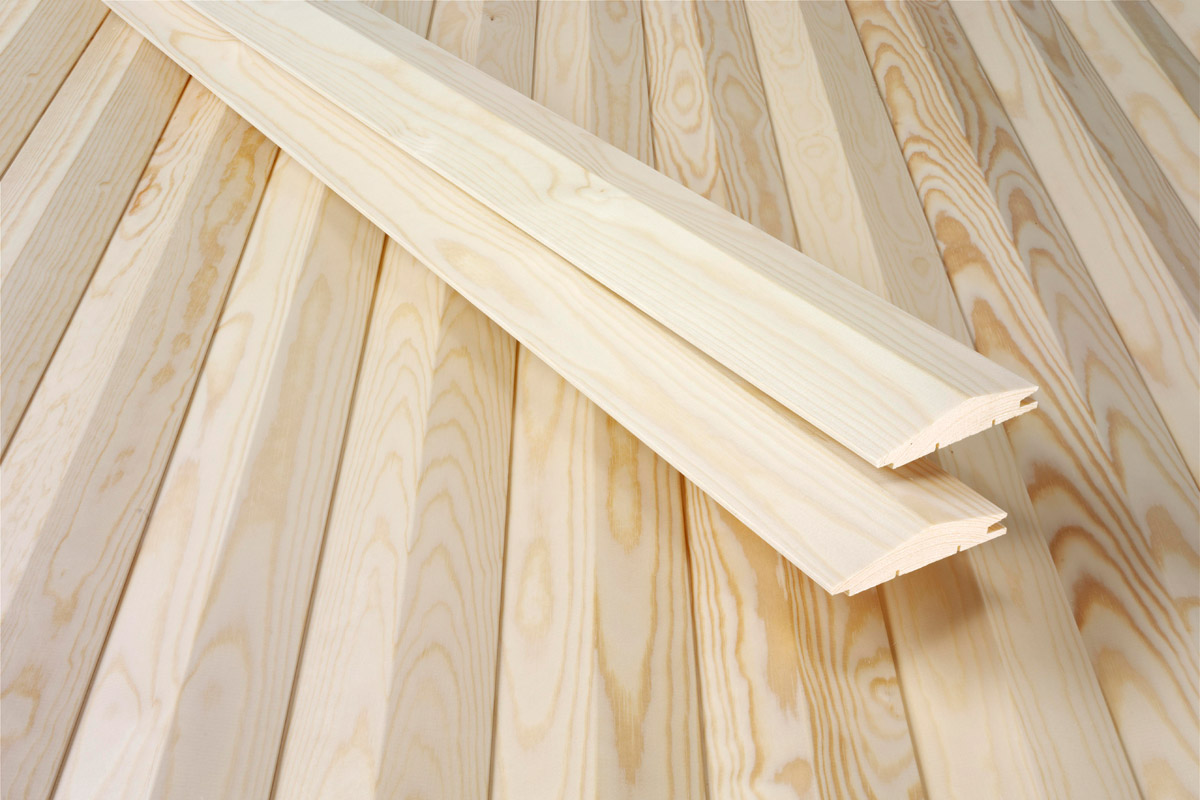
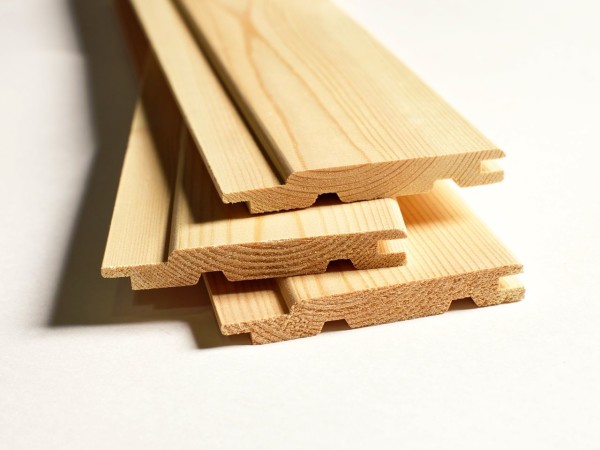
- Several planks of lining (its quantity and thickness will depend on the choice of shape and design of the structure).
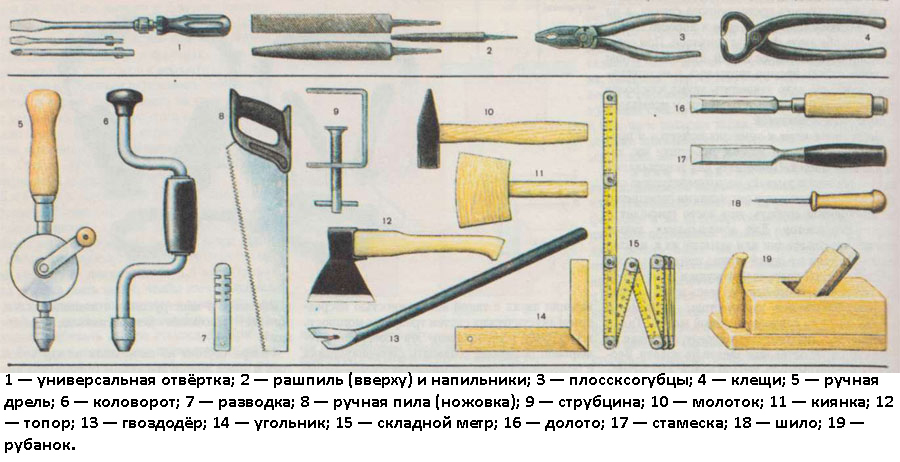
- Construction tape measure, pencil, level, screwdriver, hammer, hacksaw and hammer drill.
Step by step instructions
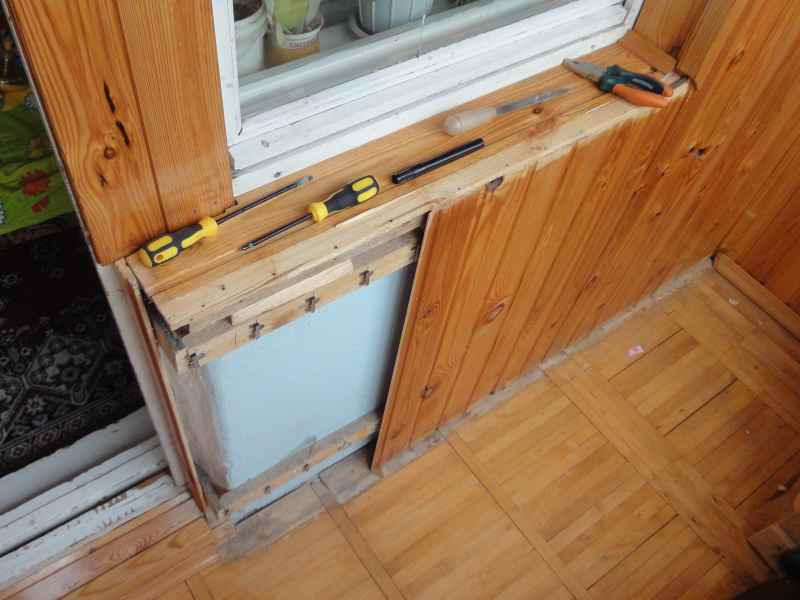
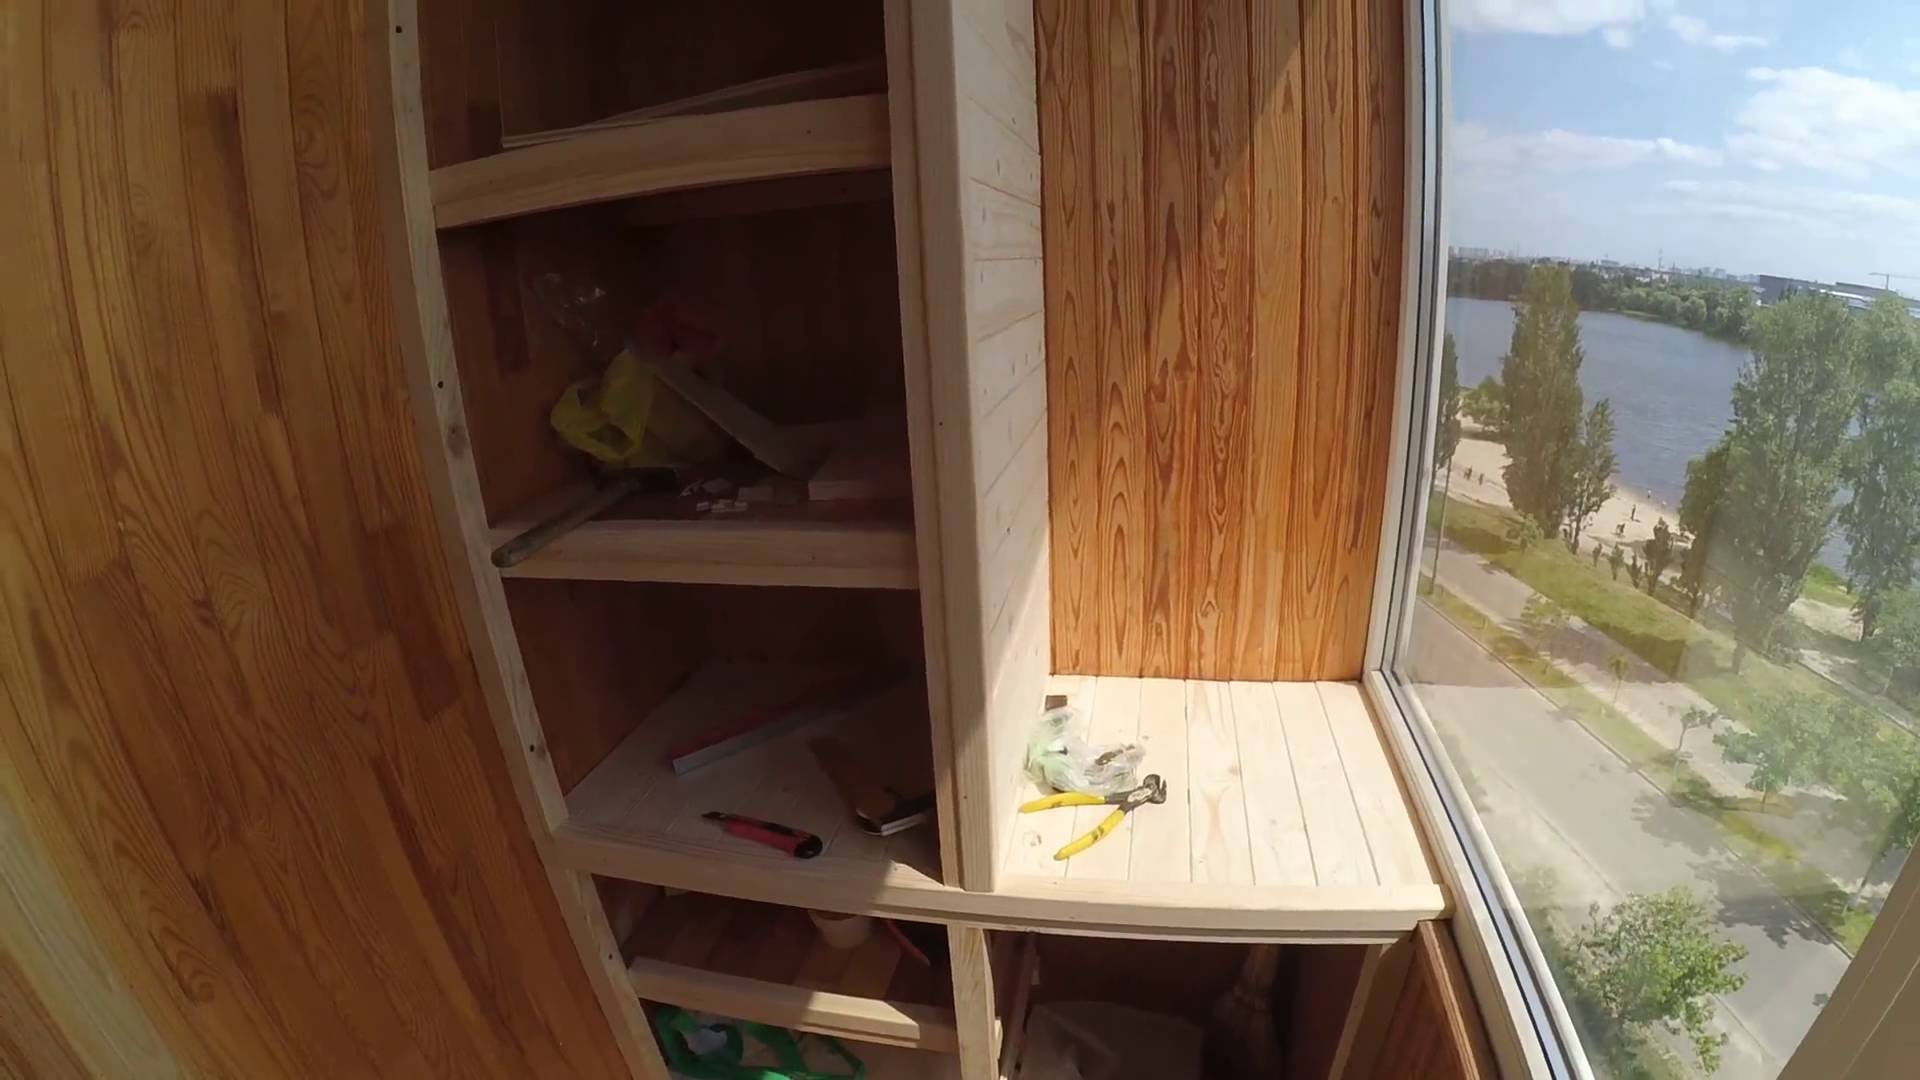
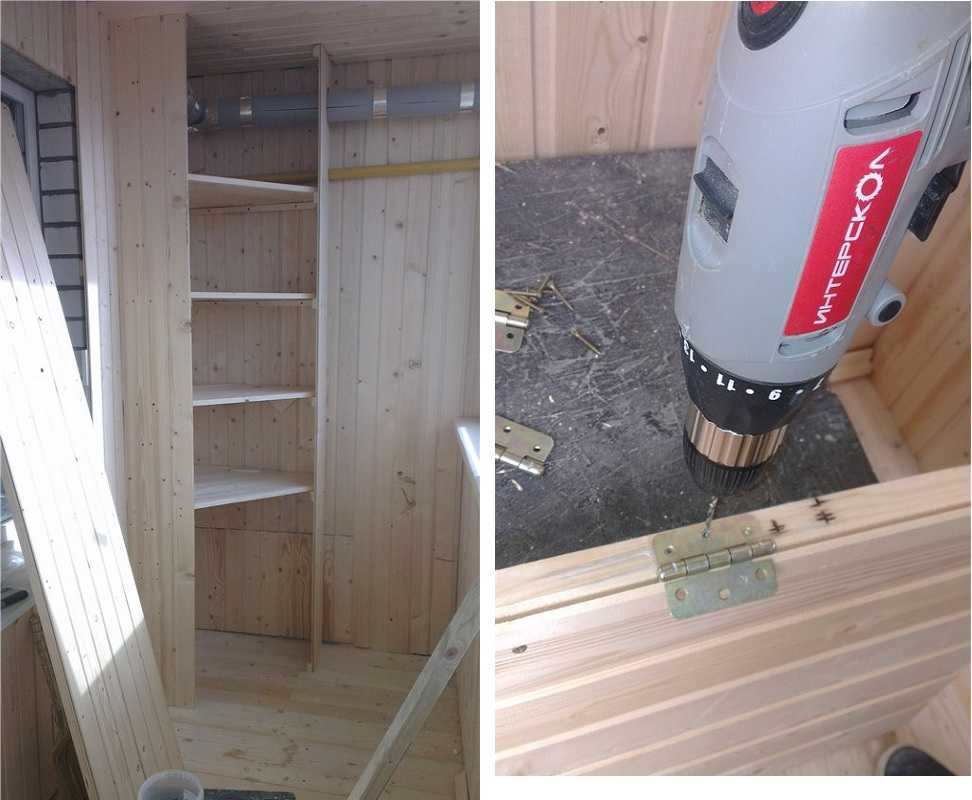
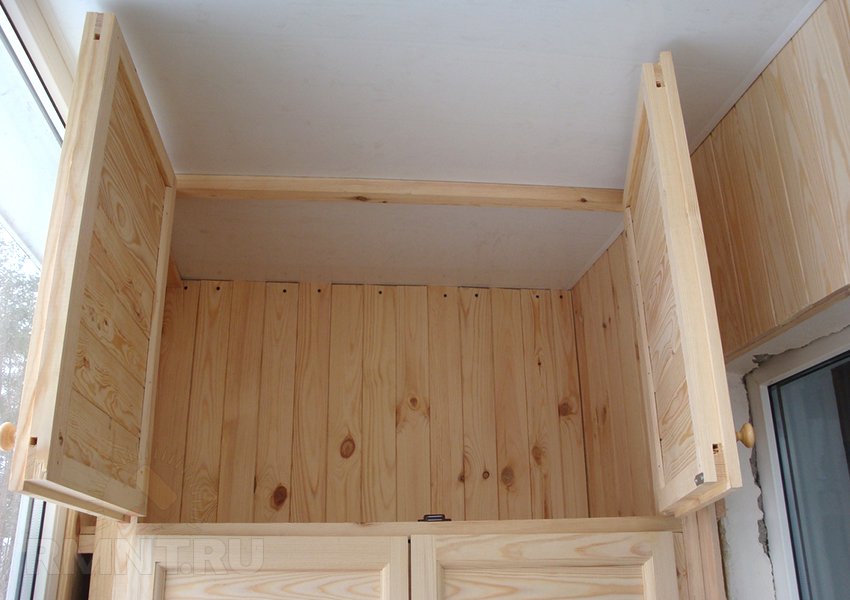
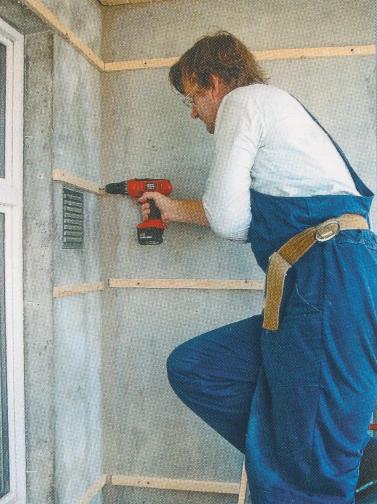
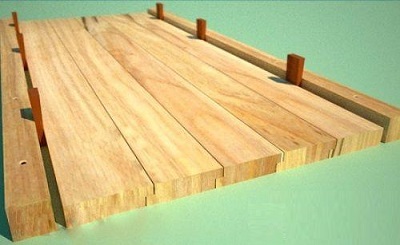
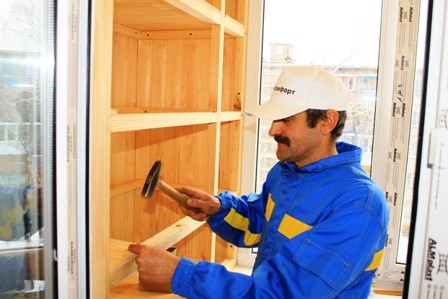
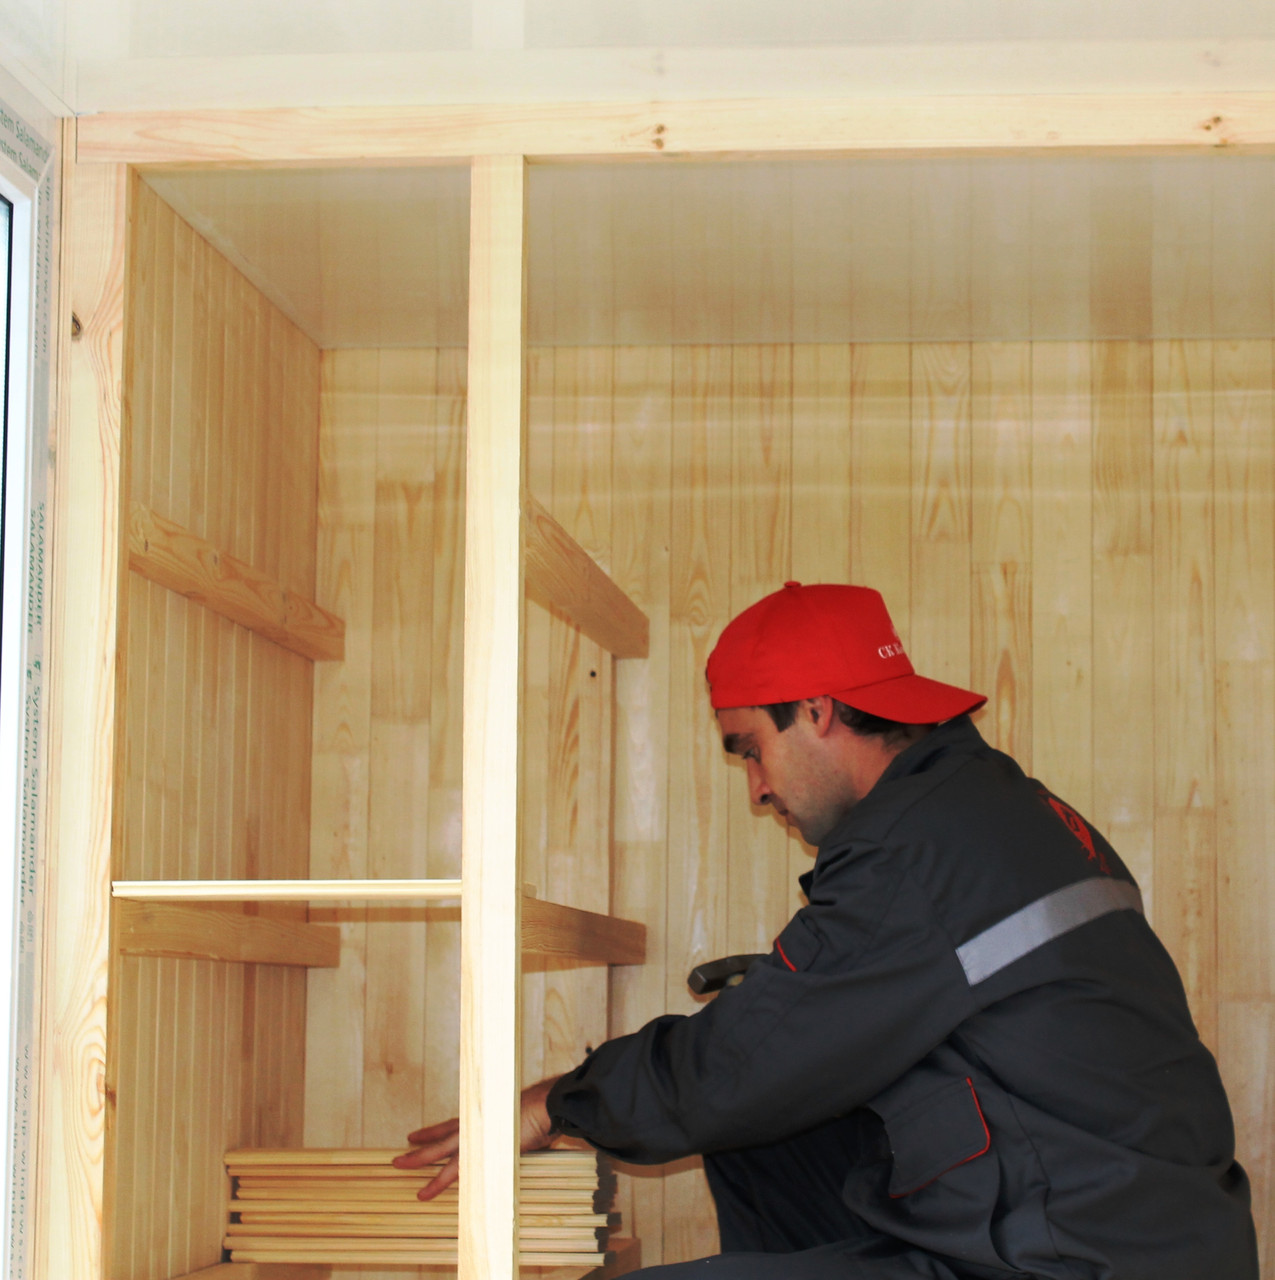
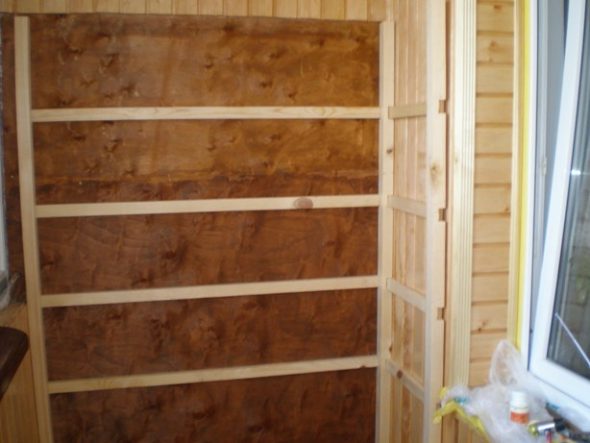
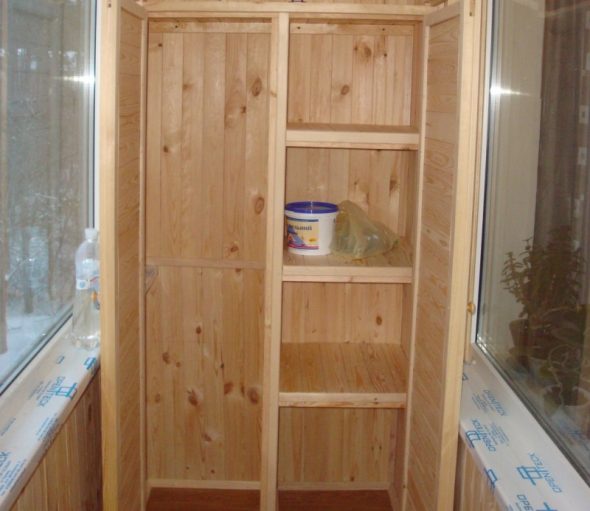
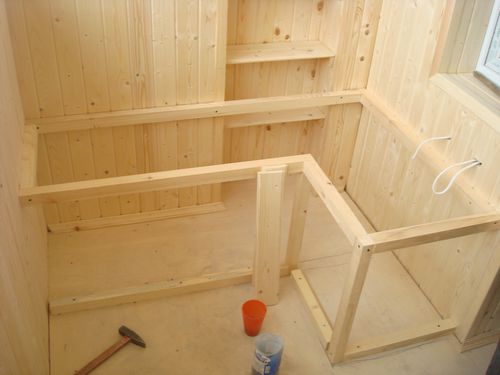
Step 1 – creating the frame.
You need to use pine beams. First, you need to make the back frame. The horizontal beams are attached to the vertical ones with a step of 60 centimeters. You can use regular nails to connect the wood. The frame must be attached to the wall of the balcony with anchors. After that, you can attach the strips to the back frame (the length is equal to the future depth of the cabinet). They are fixed at a right angle with metal corners. Then, in the same way, the lower frame (bottom frame) is created. All the walls and the bottom of the structure must be attached to the walls of the room with anchors.
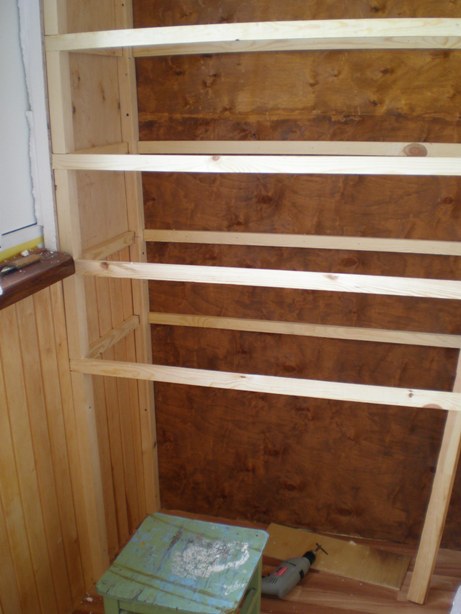
Step 2 – sheathing the inner wall of the frame.
For the back of the cabinet frame, it is better to use a chipboard sheet. It will be a reliable wall. It is attached to the back wall using regular screws. If you have a construction stapler at home, you can use it too.
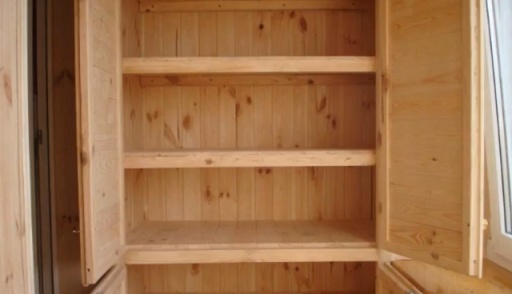
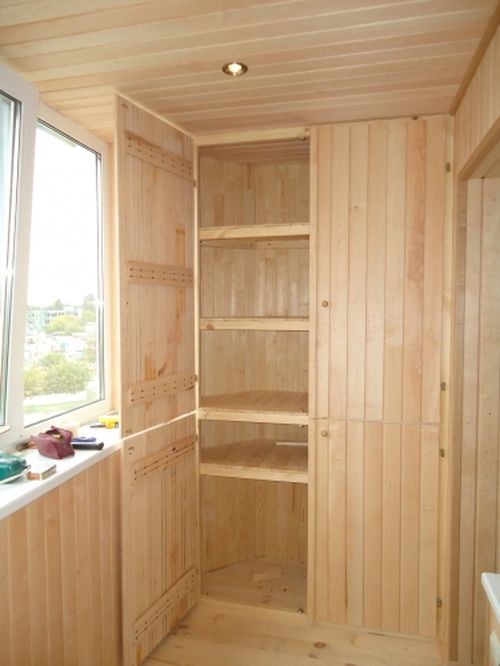
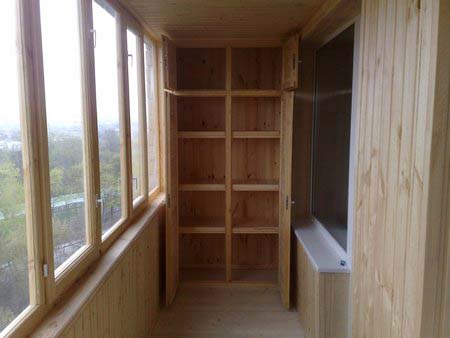
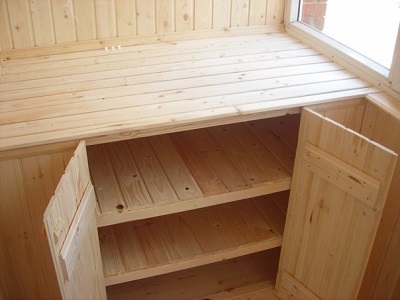
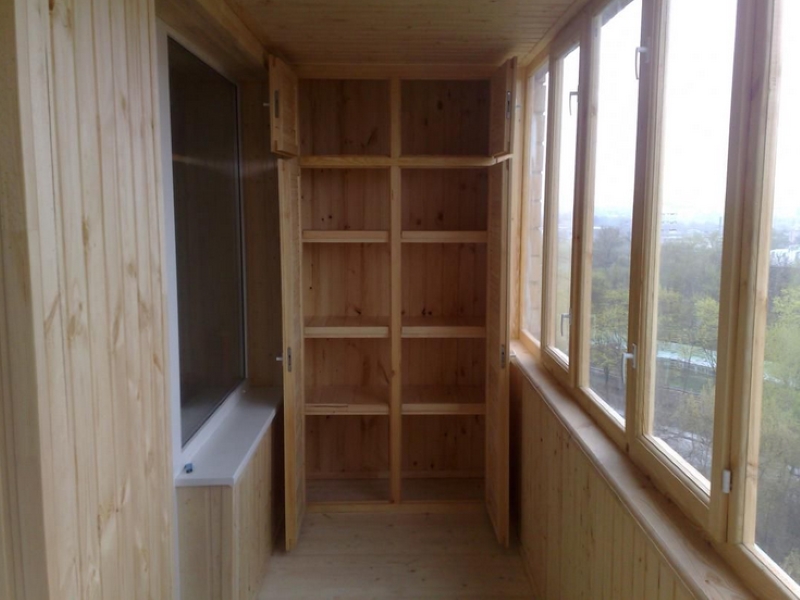
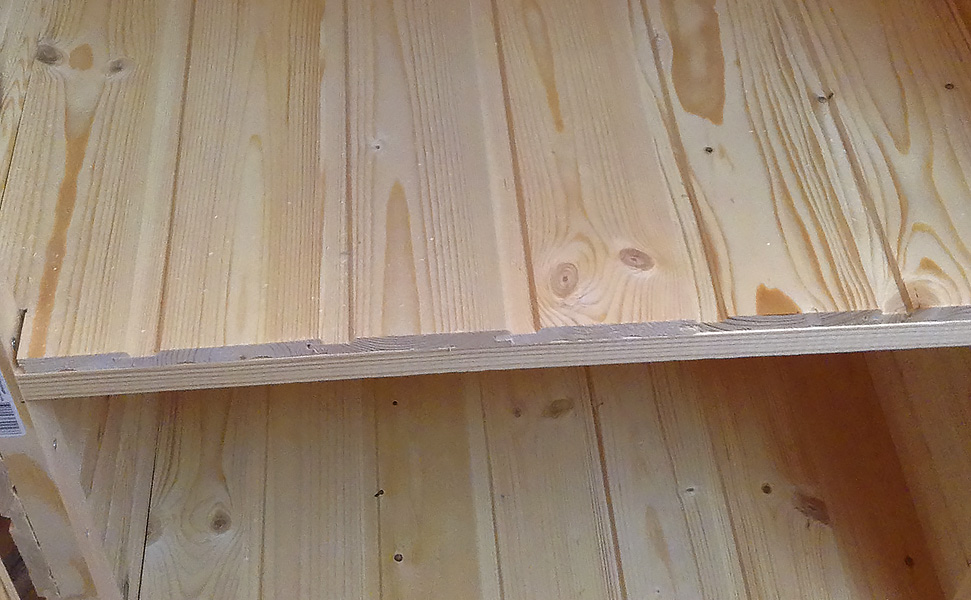
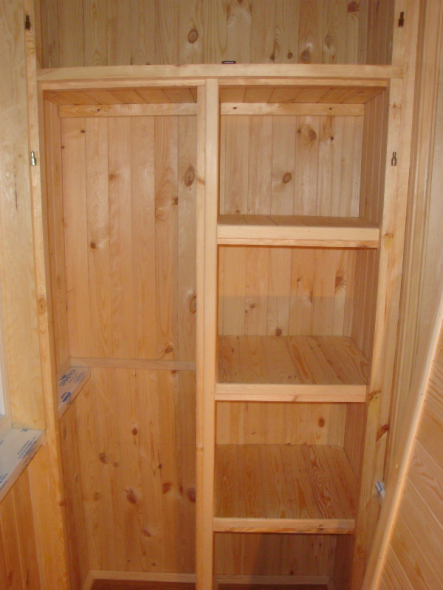
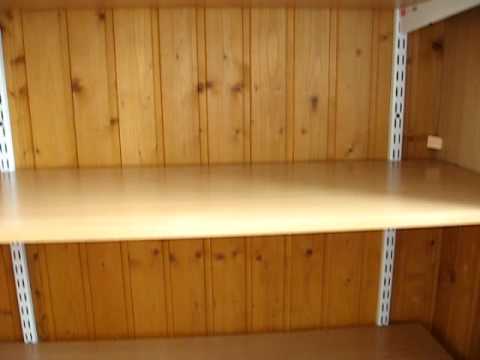
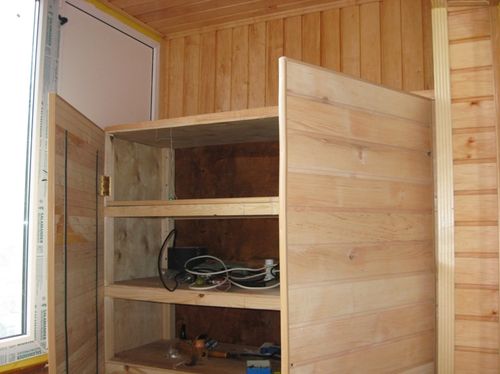
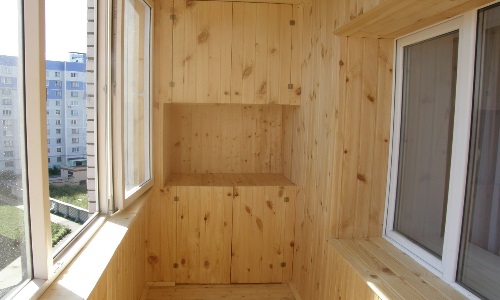
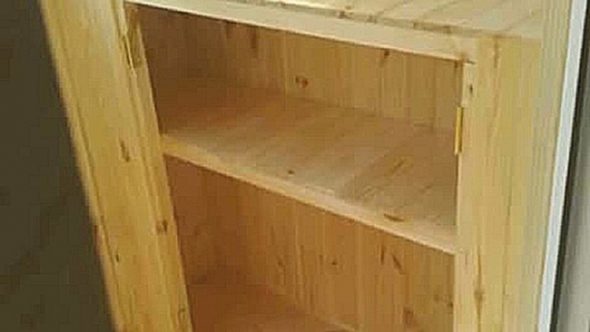
Step 3 – installing shelves on the frame.
You just need to cut the chipboard sheets to the appropriate size and install them on horizontal wooden guides.
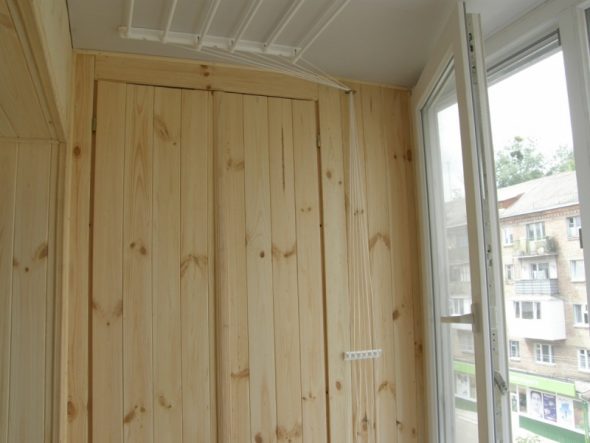
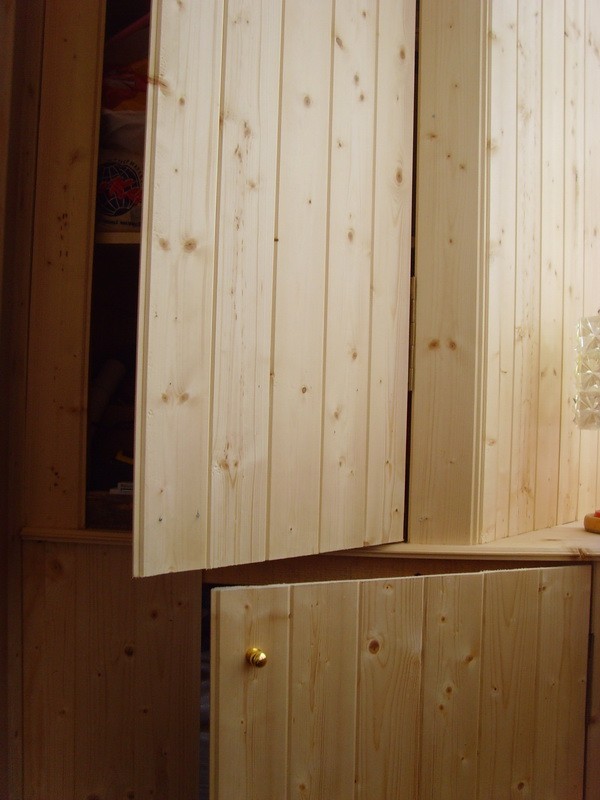
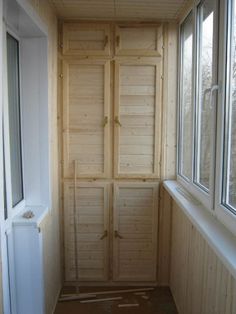
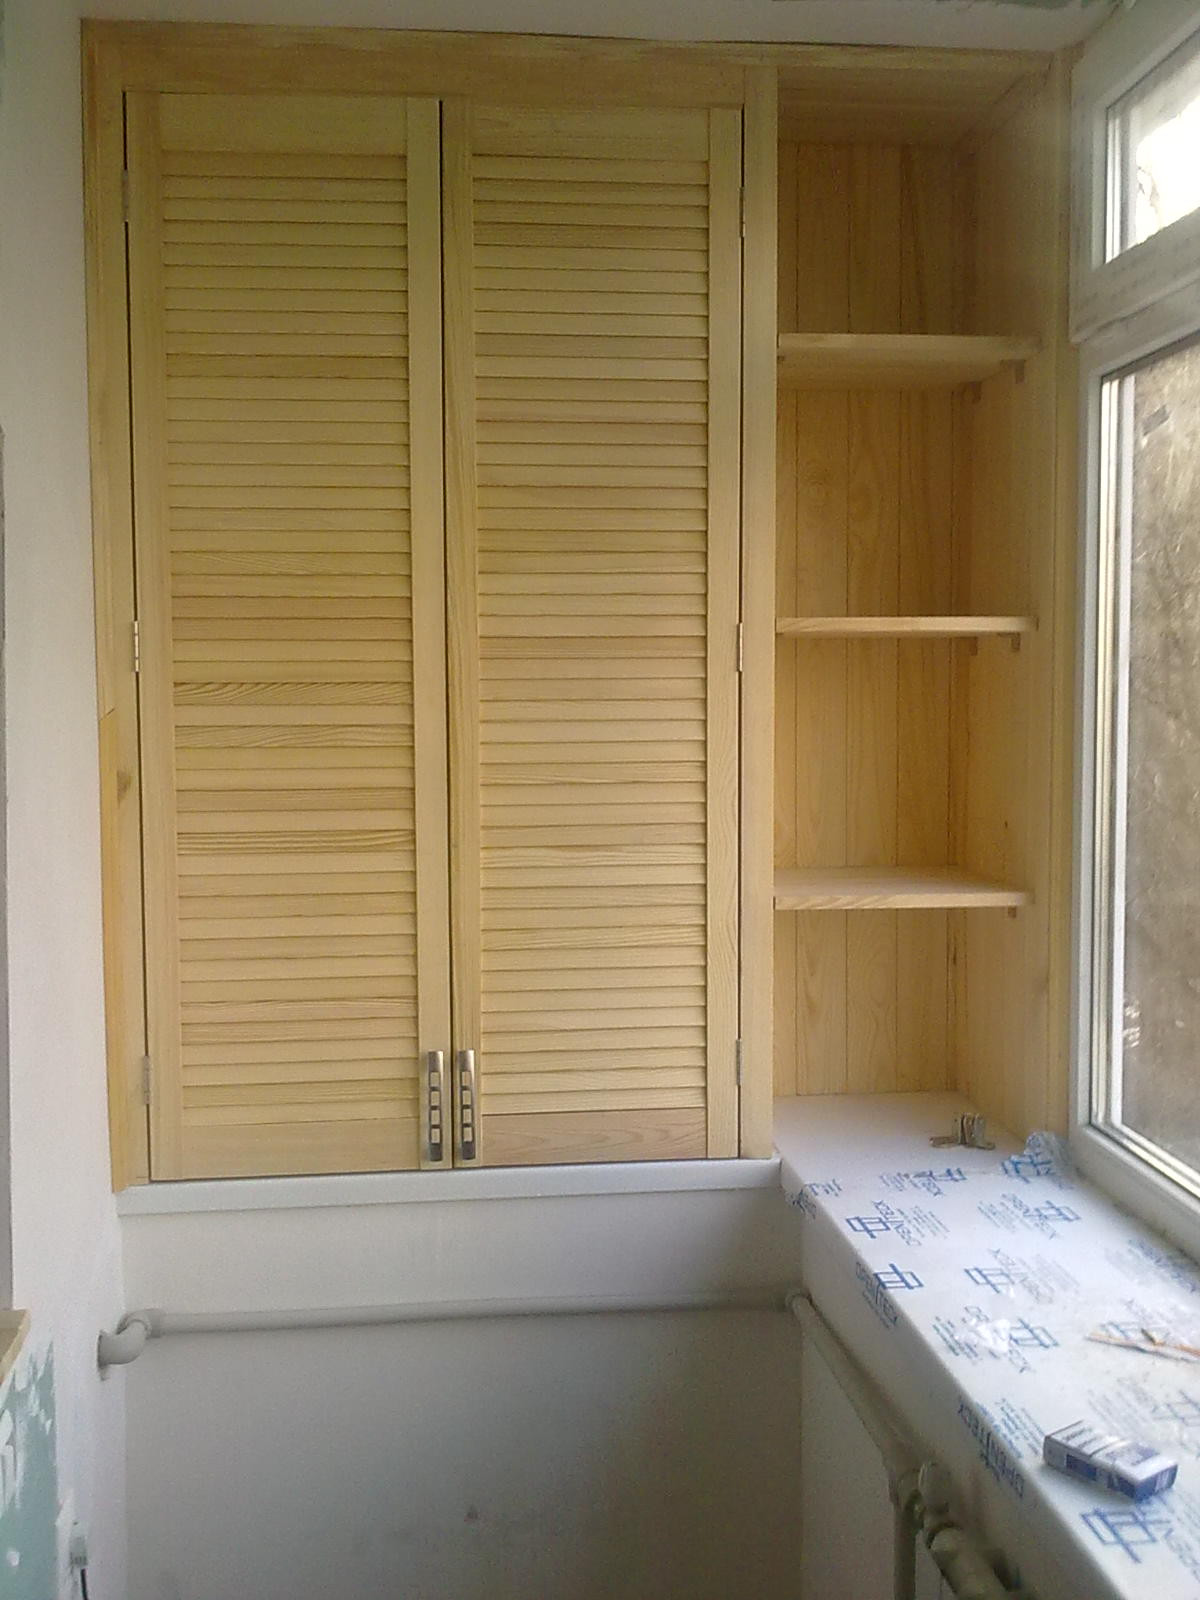
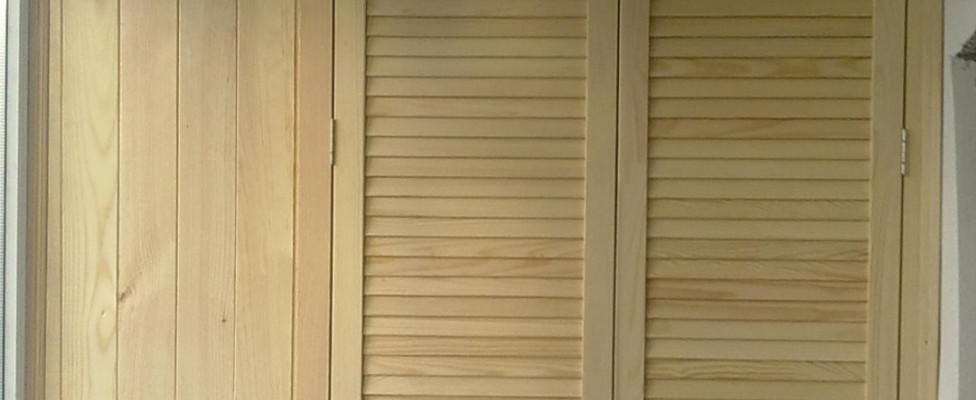
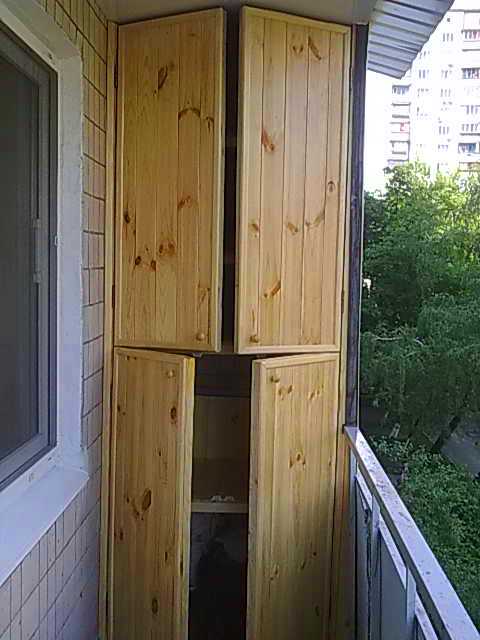
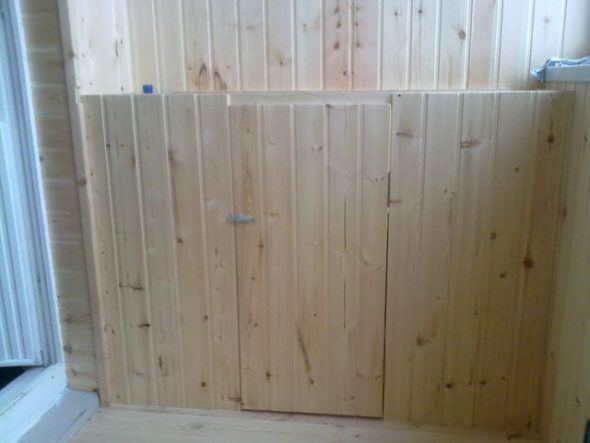
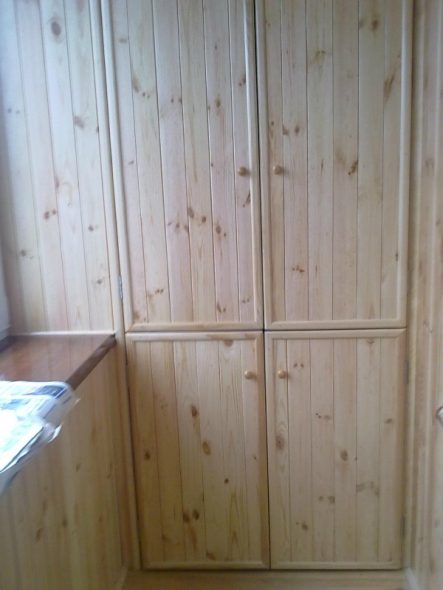
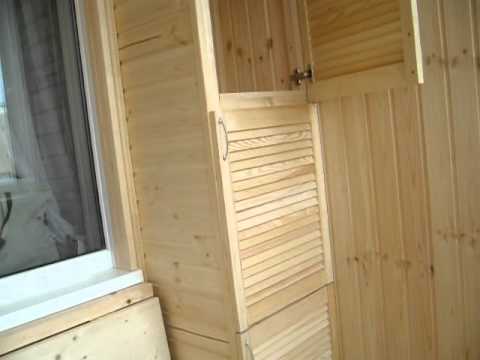
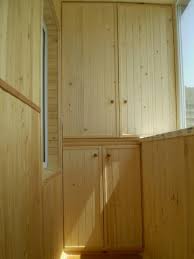
Step 4 – making the door.
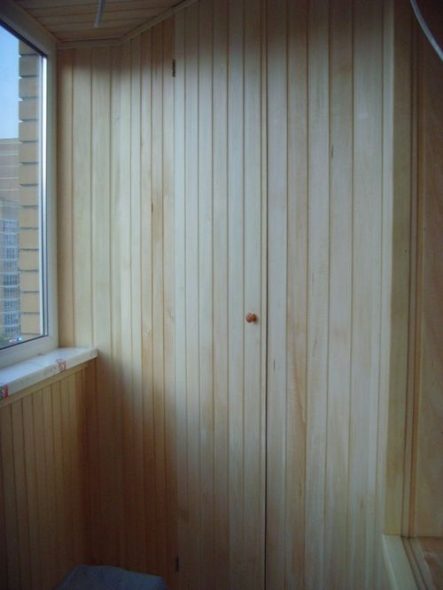
The design of the furniture and its functionality will largely depend on the quality of the door made. To assemble the door, you first need to prepare the frame. To do this, take thin beams and fasten the frame of the desired height and width. To make the frame strong, use a diagonal crossbar. After that, the frame can be covered with clapboard. We fasten it with ordinary nails. Next, we complete the canvas with locks, hinges and handles, and then fasten it to the cabinet itself.
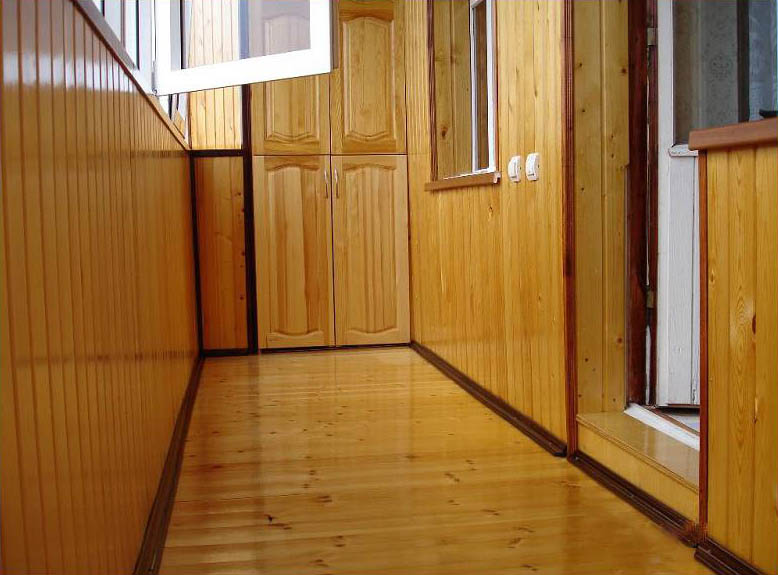
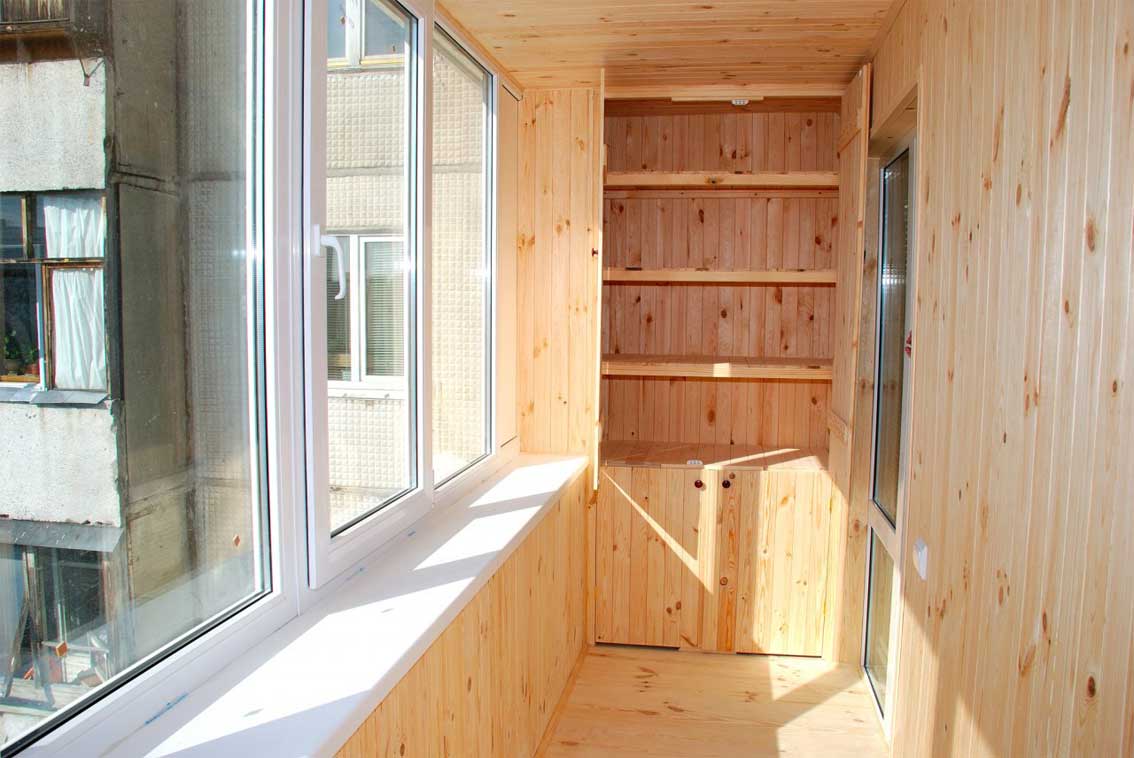
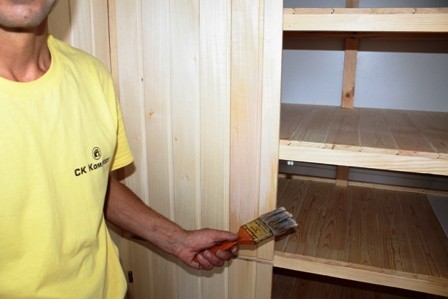
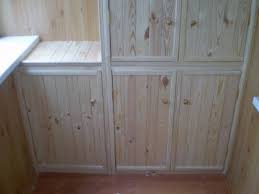
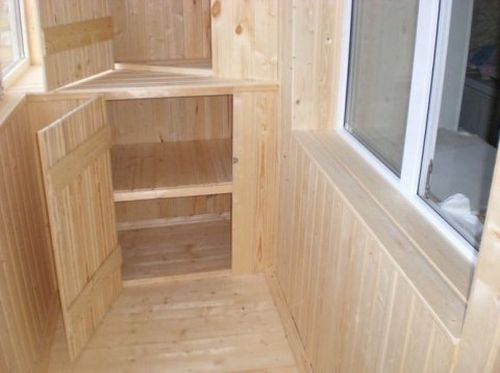
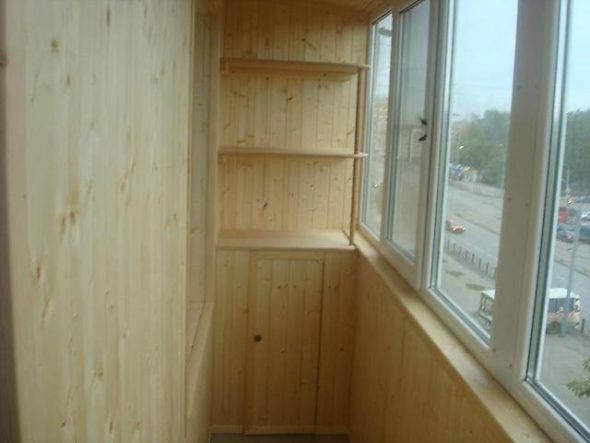
Decorating a cabinet made of clapboard – the final stage
After the installation of the structure is complete, you can proceed to the final stage - decoration. Here everything depends on the interior of the balcony and the personal wishes of the owners of the house.
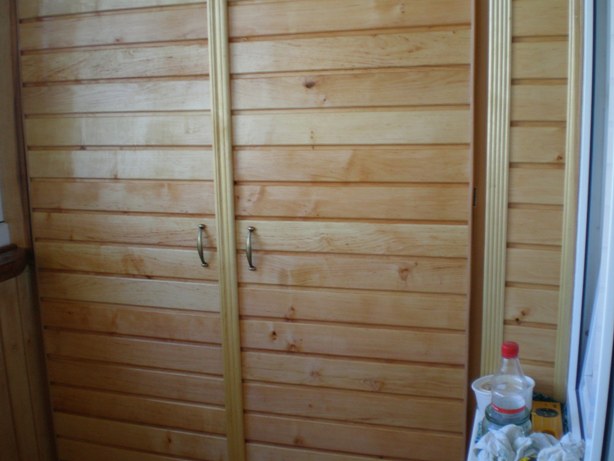
A cabinet made of clapboard can be left as is if the balcony design also includes wooden decorative elements. However, to extend the life of the cabinet, it should be covered with a protective varnish. Before this, all wooden surfaces should be thoroughly vacuumed, and only then coated with varnish in several layers.
If you want to make the cabinet on the balcony brighter, you can use oil or acrylic paints. Oil paints are cheaper. They dry quickly and can repel moisture, which is necessary for the lining. However, after five years, the wooden surface covered with oil paints will begin to fade and crack. For these reasons, it is better to give preference to acrylic paints.
The cabinet can be painted in one color, or you can create an original design or ornament on its doors.
VIDEO: DIY Wardrobe Made of Clapboard on the Balcony – Detailed Instructions
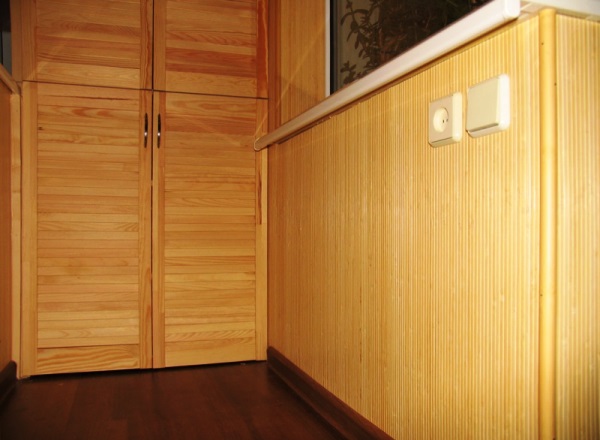
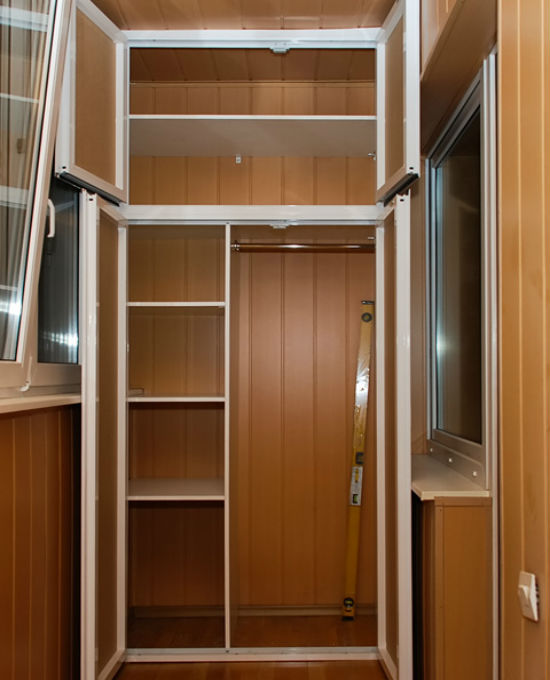
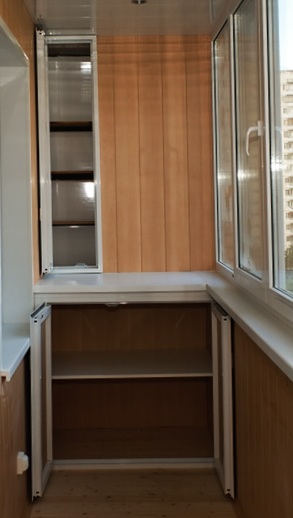
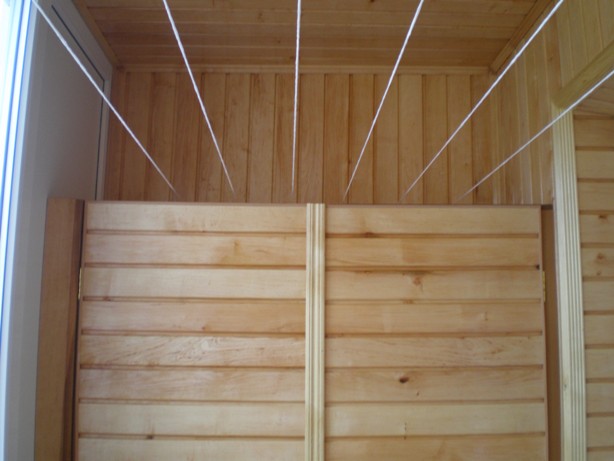
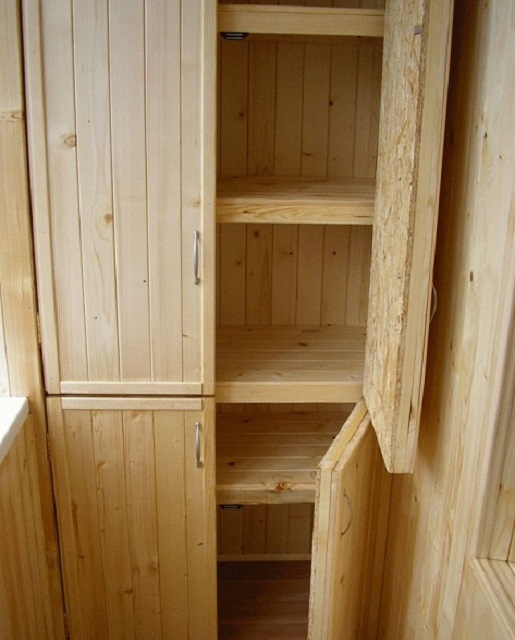
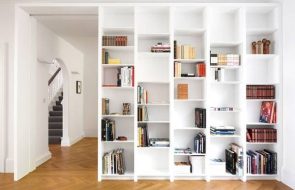
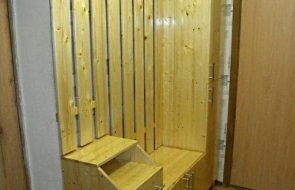
50 photo ideas on how to make a cabinet from clapboard on the balcony