Every family has items that are needed only in a certain season, or are not suitable for placement in a living space. A balcony or loggia in a small apartment is often the only place to store such things. In modern conditions, loggias are increasingly decorated, turning into a cozy addition to the room. This custom poses the problem of organizing a special space for storing things.
Installing a cabinet on the balcony is the best way out of the situation, it will allow you to keep small items in order, and hide large ones from view. Things will always be at hand, conveniently laid out on the shelves. You can choose such a cabinet in any furniture store, now there are many varieties that attract with their functionality and variety of design. If the loggia is designed as an addition to the main room, it will not be difficult to choose a cabinet option that matches the overall look of the interior. The disadvantage of buying in a store will be a possible mismatch in sizes. This will lead to a waste of space, which is precious in a small-sized home.
Ordering a cabinet from a furniture workshop will help you avoid this problem and will also provide you with a fairly wide selection of models. But of course, this method will require more significant costs. Therefore, if you have some carpentry skills, the best solution would be to build a cabinet yourself - you will only have to spend money on materials, and the dimensions, layout and appearance can be made exactly as you want.
Content
Differences in design between types
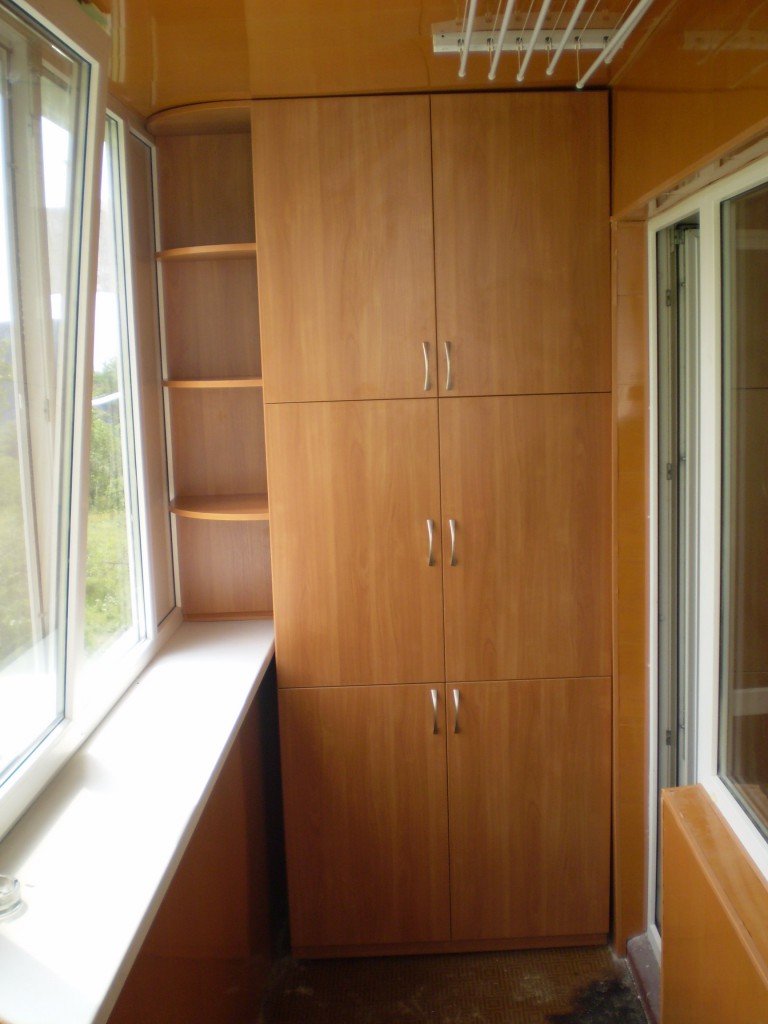
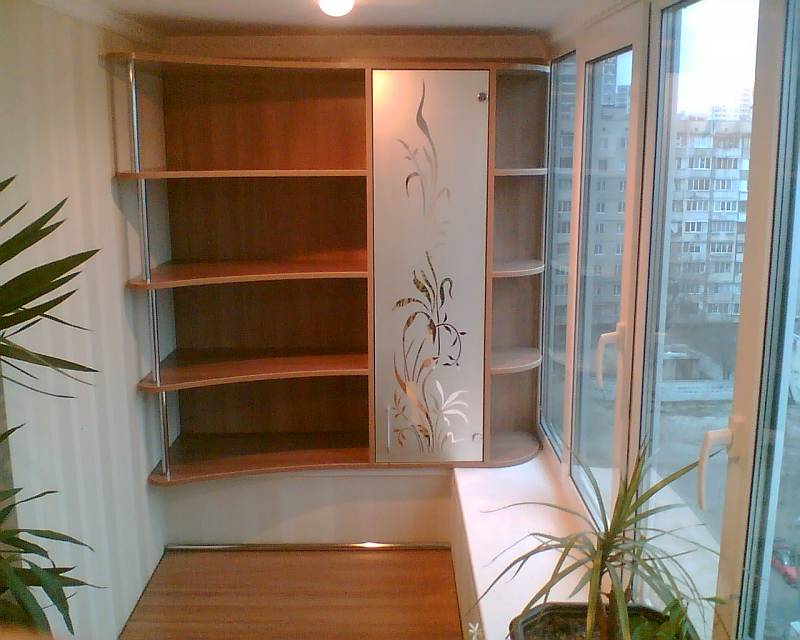
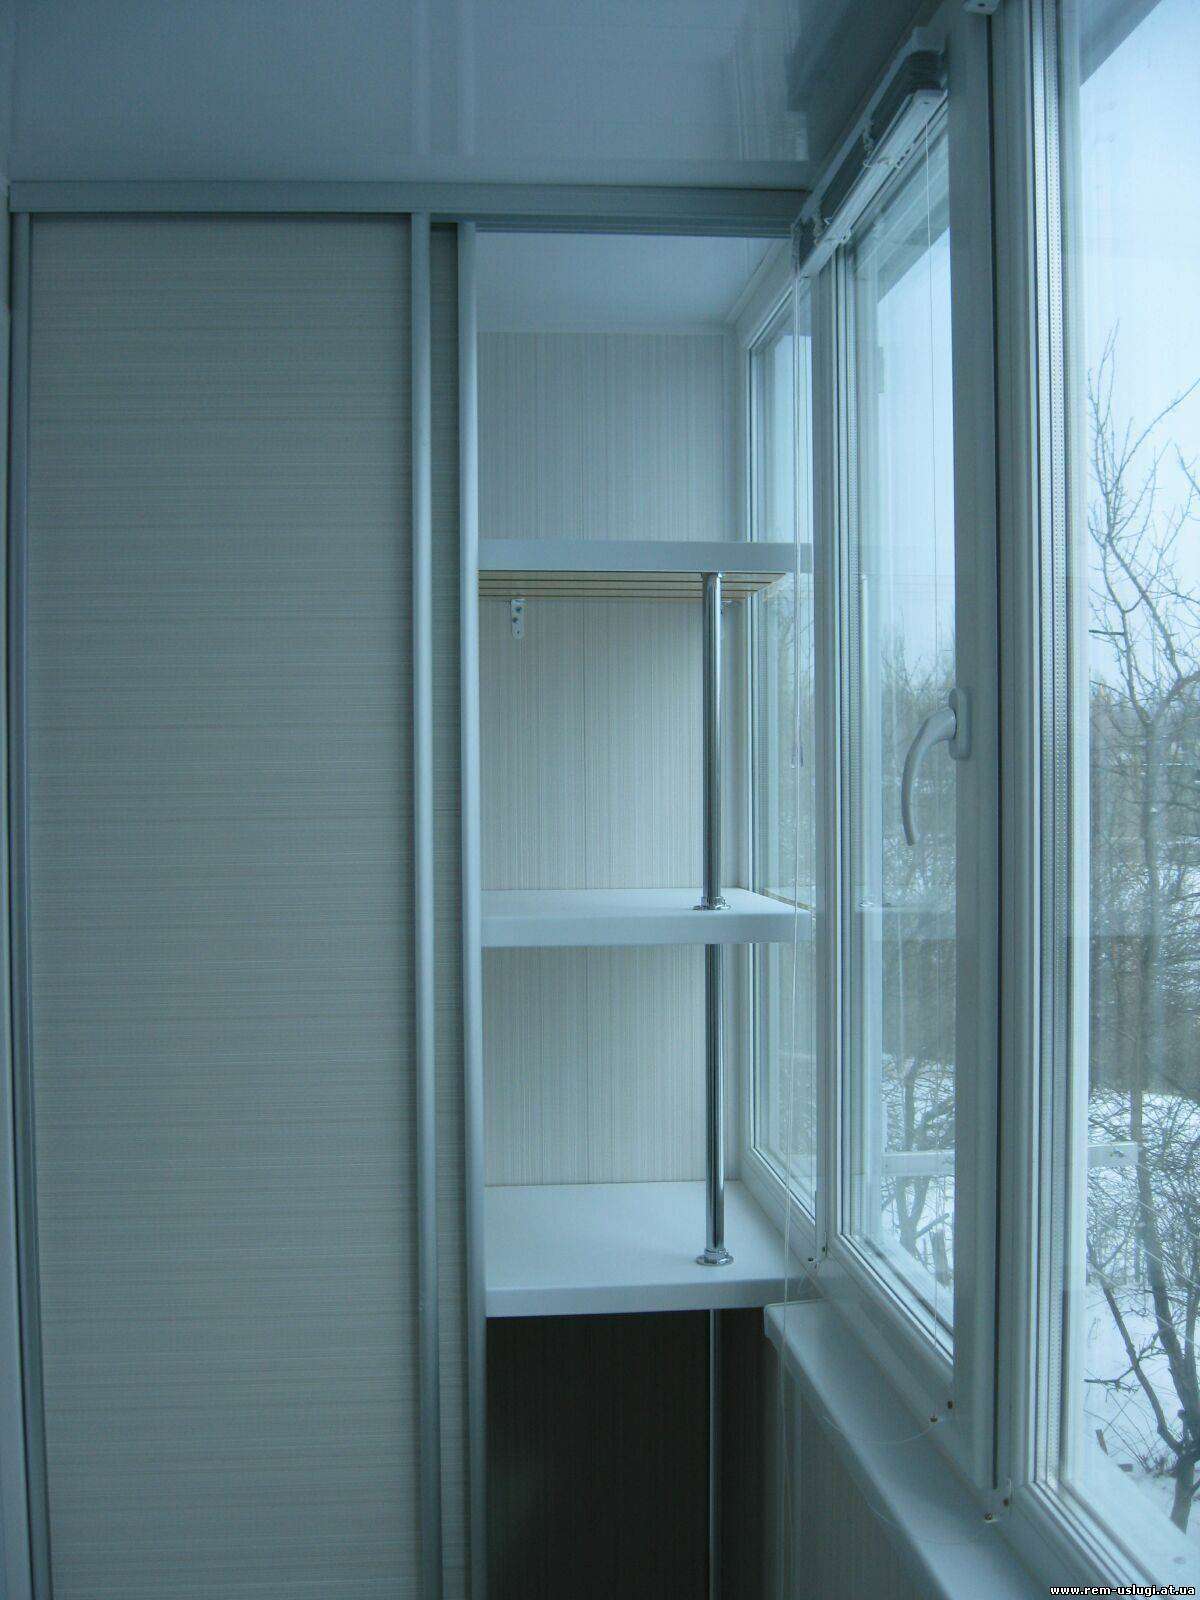
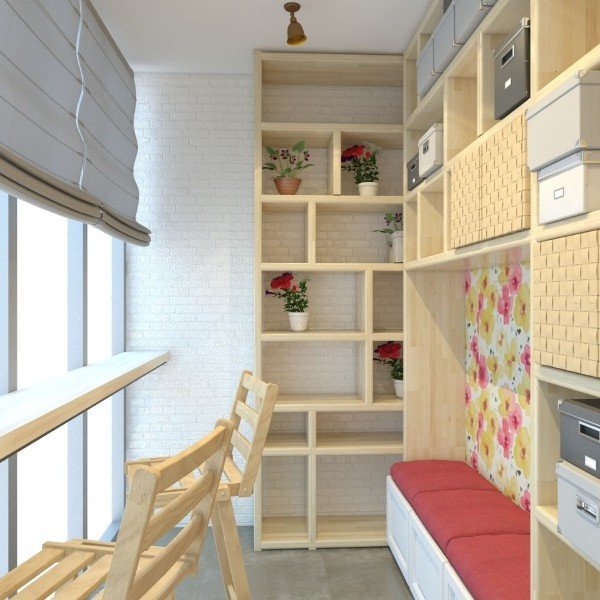
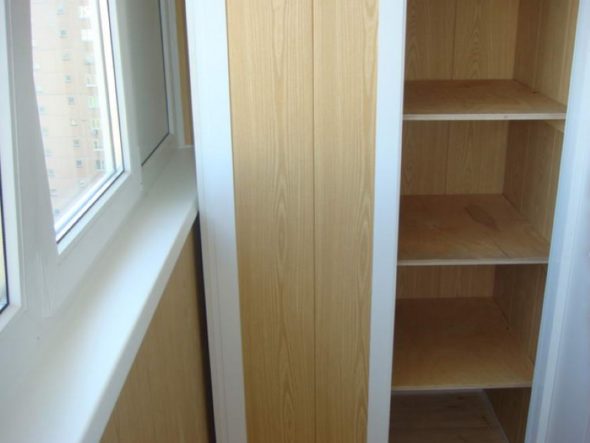
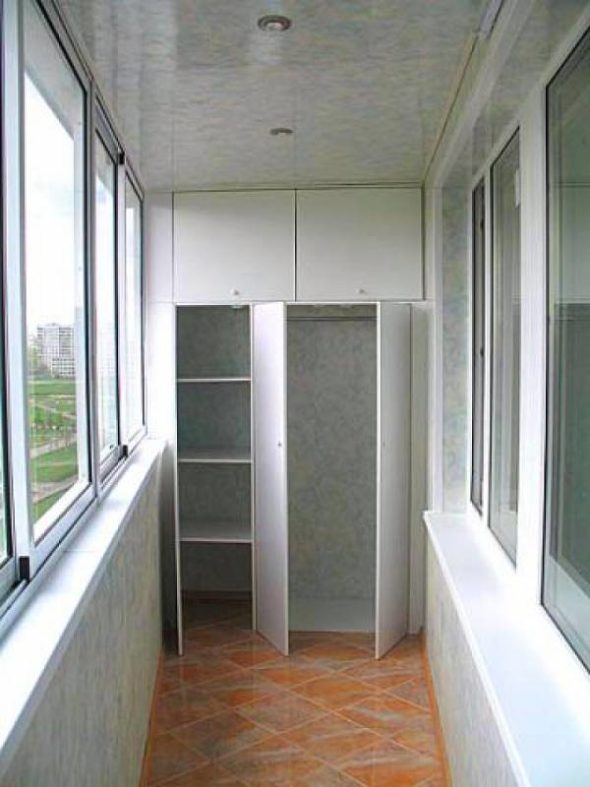
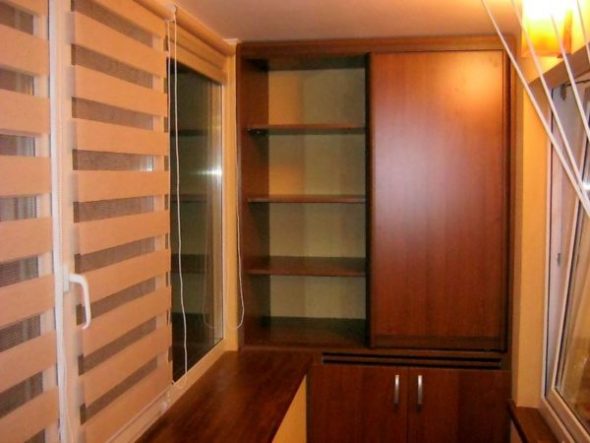
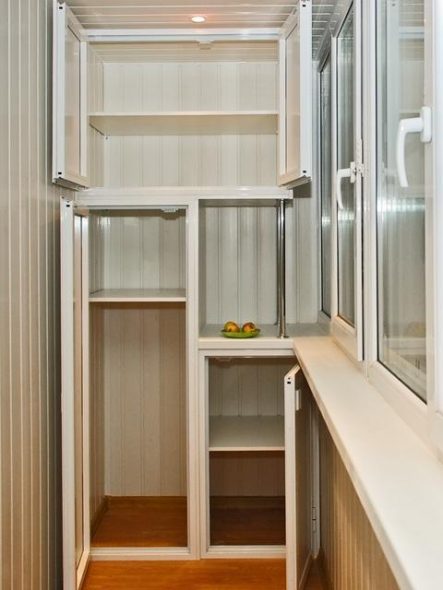
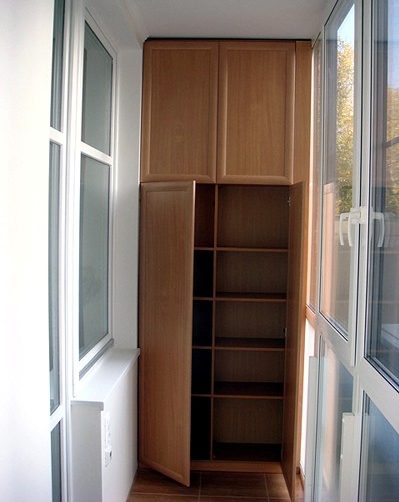
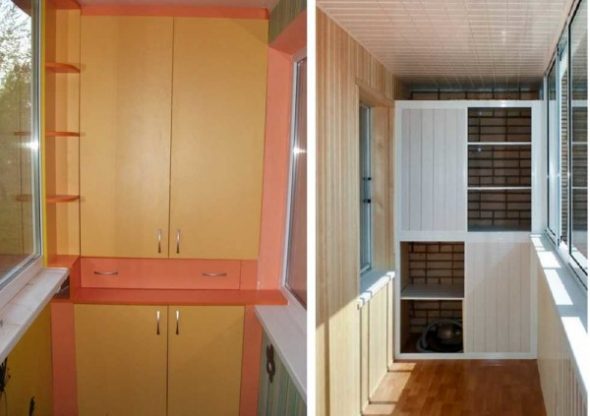
If you decide to make a cabinet for the balcony with your own hands, you need to decide on its design at the very beginning. There are two main cabinet design options - straight, the most spacious, and corner, suitable for conditions when there is very little space on the balcony. Cabinets can be of medium size, the height of a person, or occupy space up to the ceiling of the loggia. Widely used are both rack cabinets, which are open shelves, and closed classic cabinets that protect items from collecting dust.
The design of the cabinet doors is of great importance for ease of use. According to this difference, several basic schemes are distinguished.
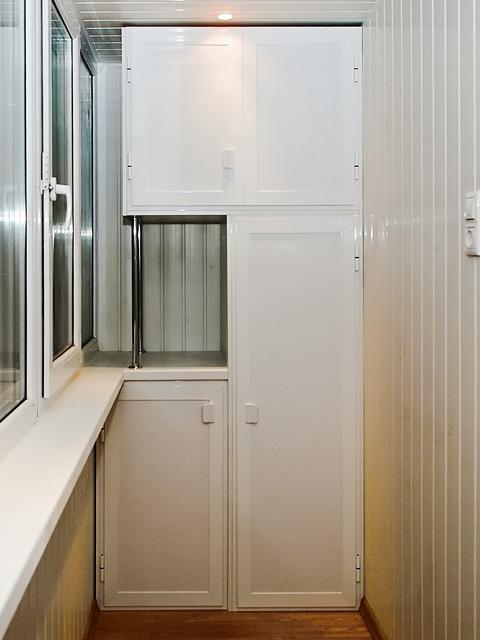
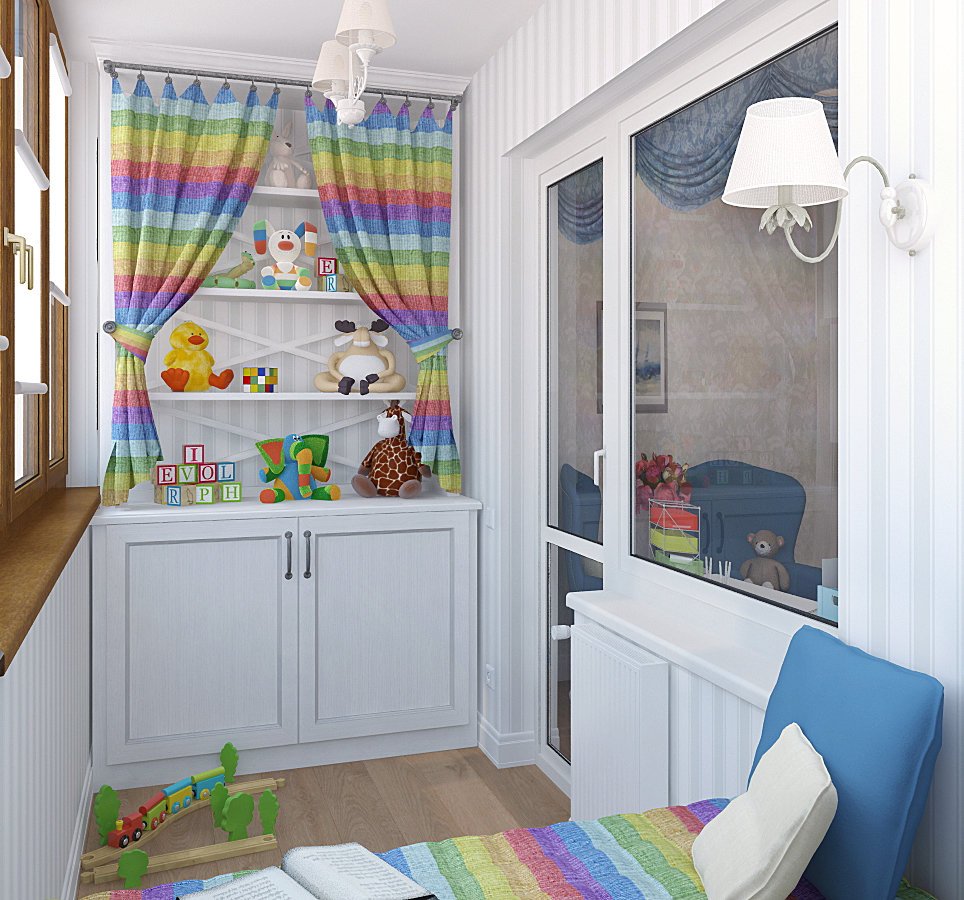
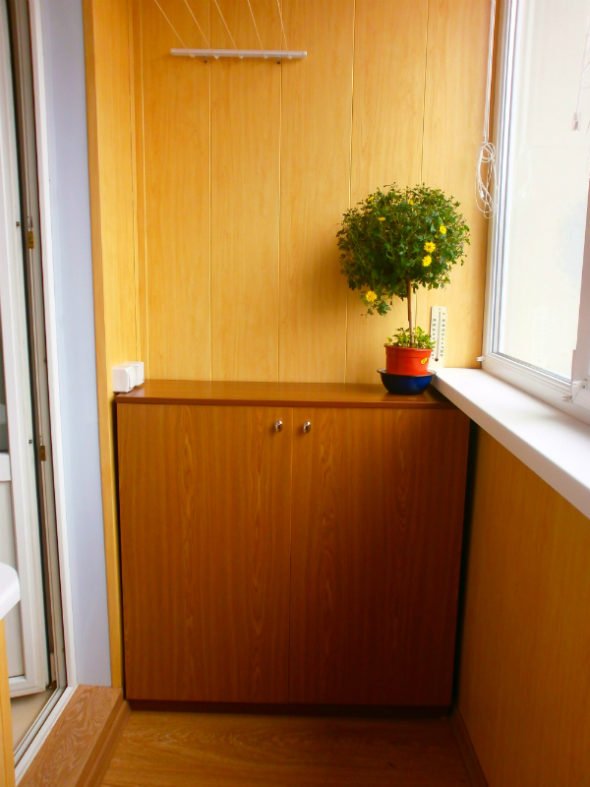
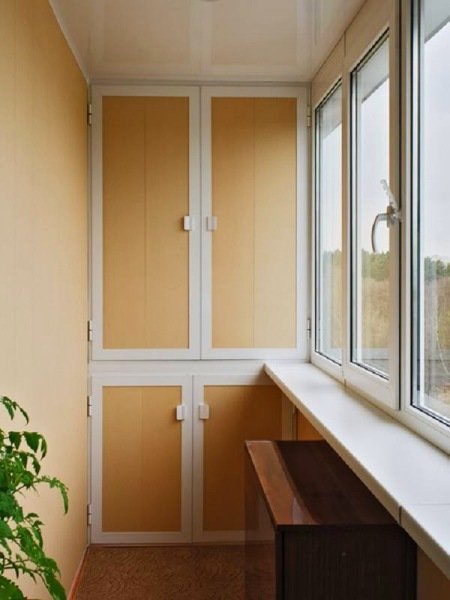
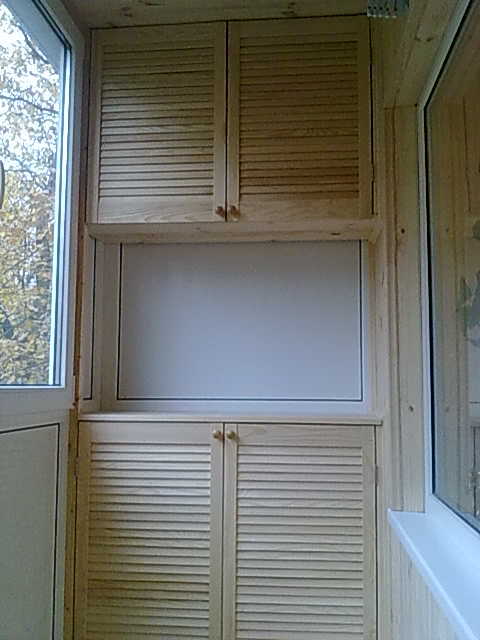
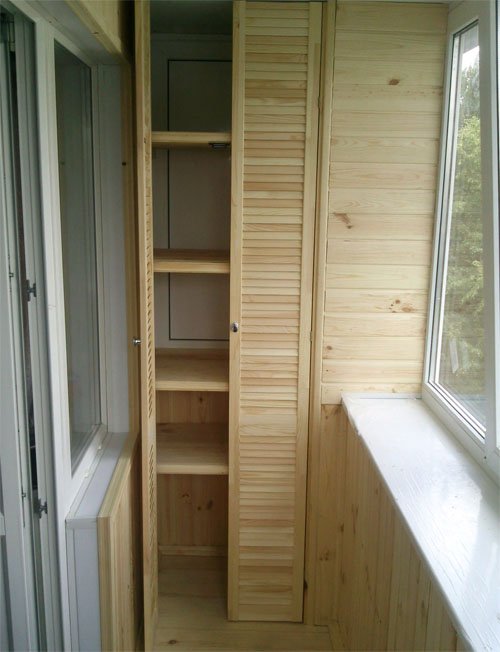
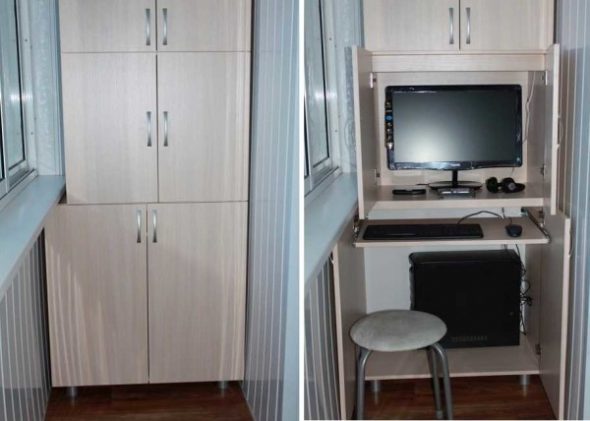
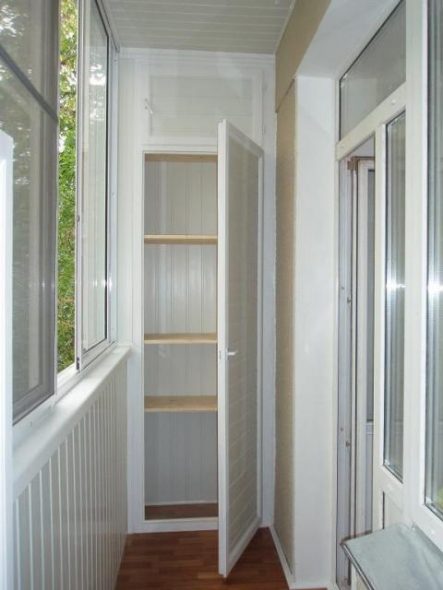
- Swing doors are a traditional option that offers convenient operation, reliability, and an aesthetic appearance. The disadvantage is the need to leave free space in front of the cabinet, which can be difficult in a small balcony. Sometimes swing doors are decorated as blinds - this is a more aesthetic, but labor-intensive type to implement.

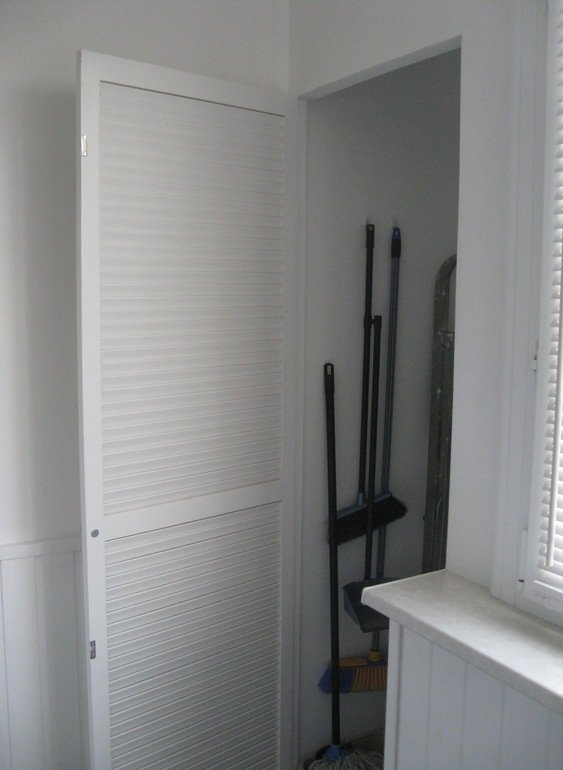
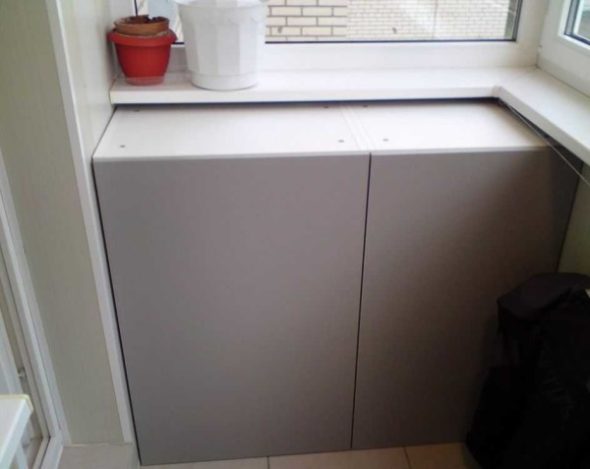
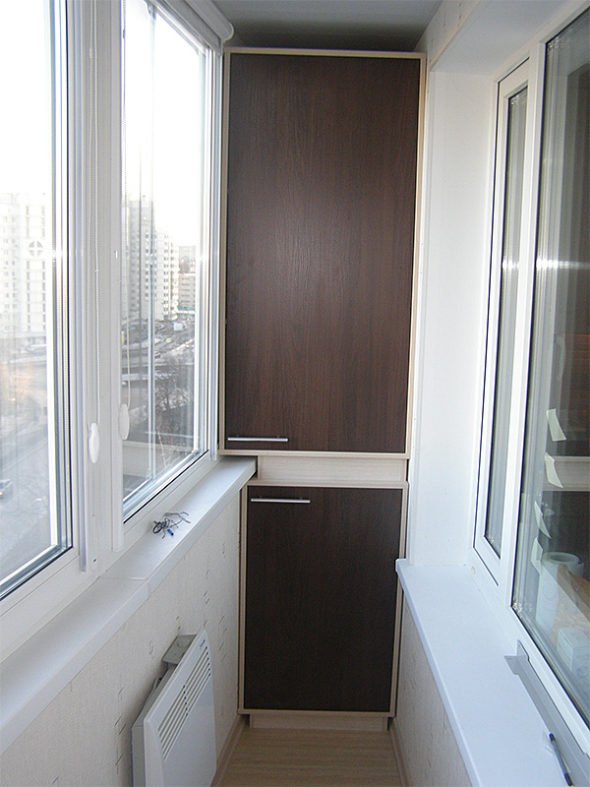
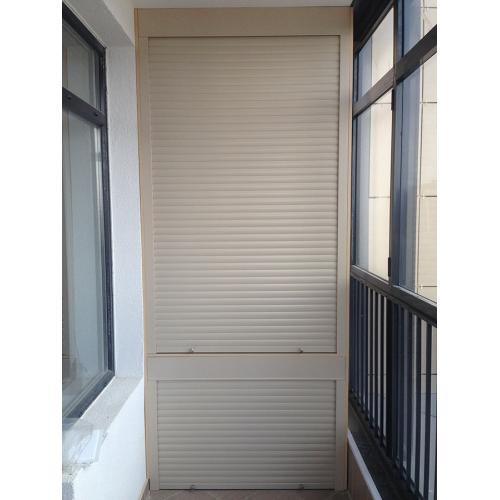
Hinged doors are the simplest and relatively cheapest option, but they are not always convenient. - Roller shutters are one of the most common options, combining low cost and functionality. Such a door resembles blinds, rises vertically, does not take up space when opening the cabinet and allows you to place other items and furniture close to it. Roller shutters have a long service life and are easy to use.

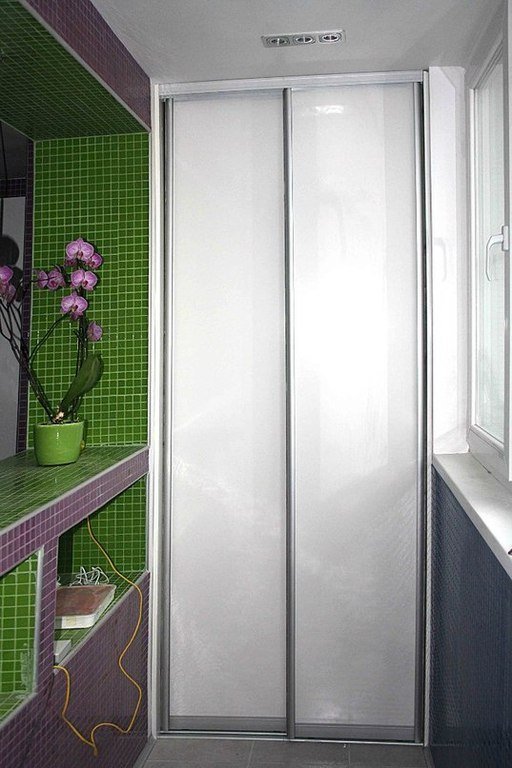
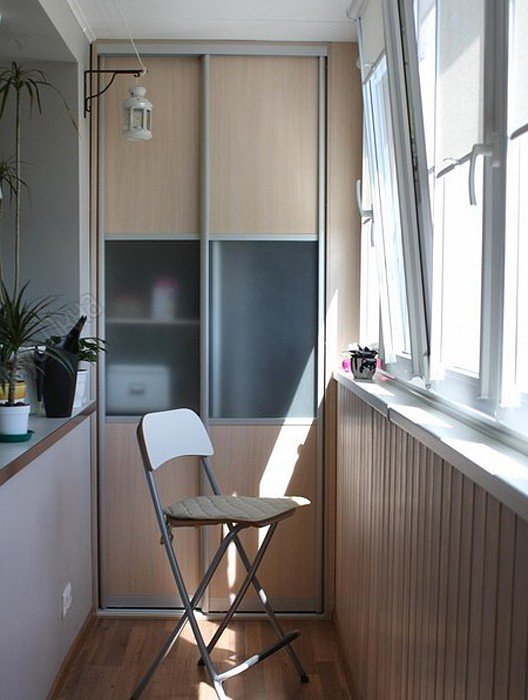
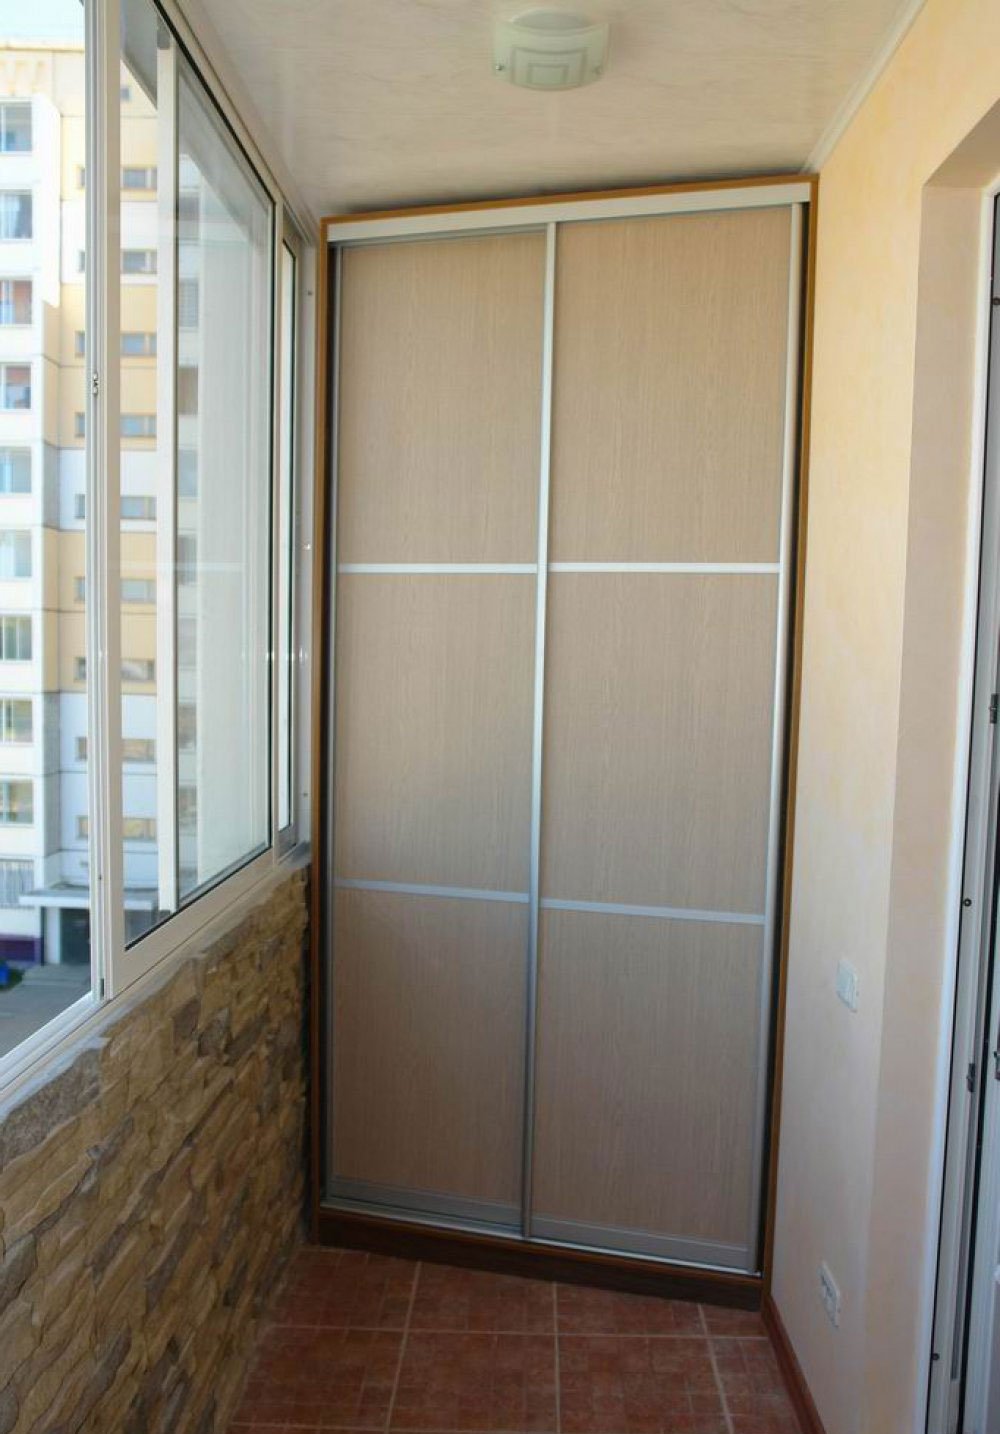
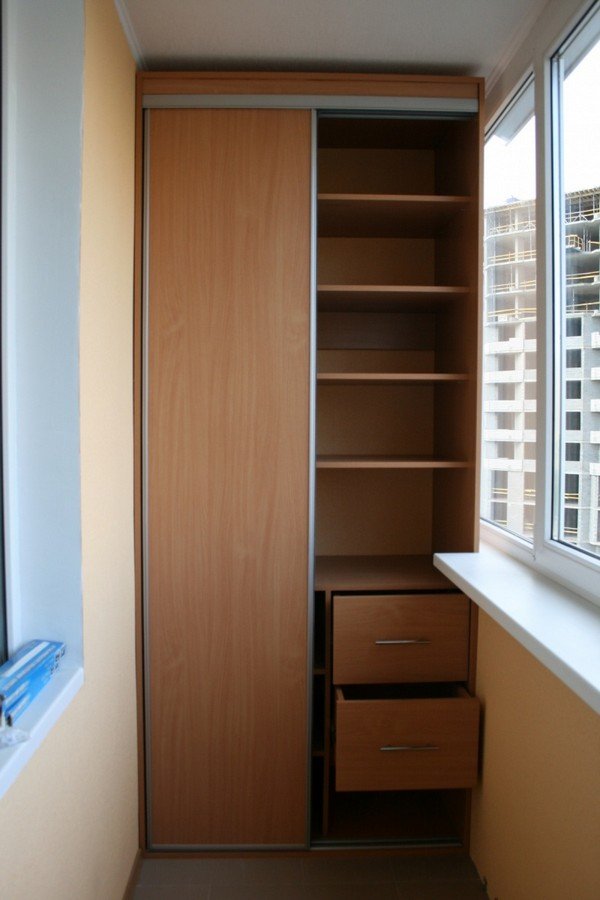
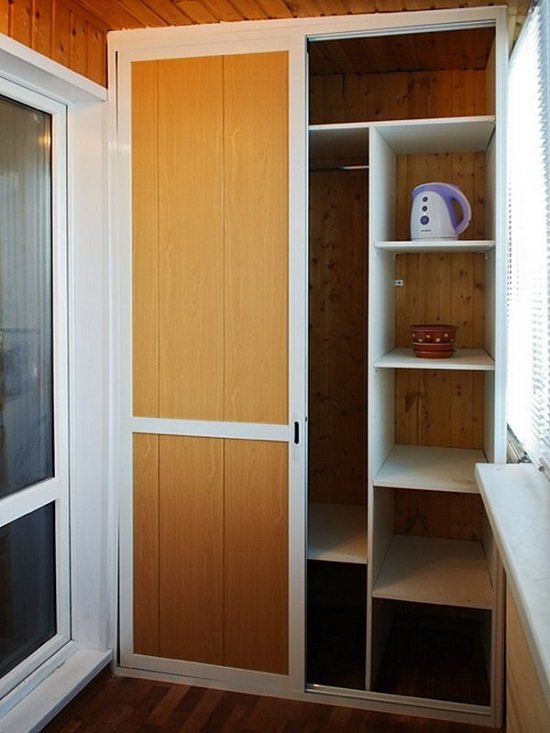
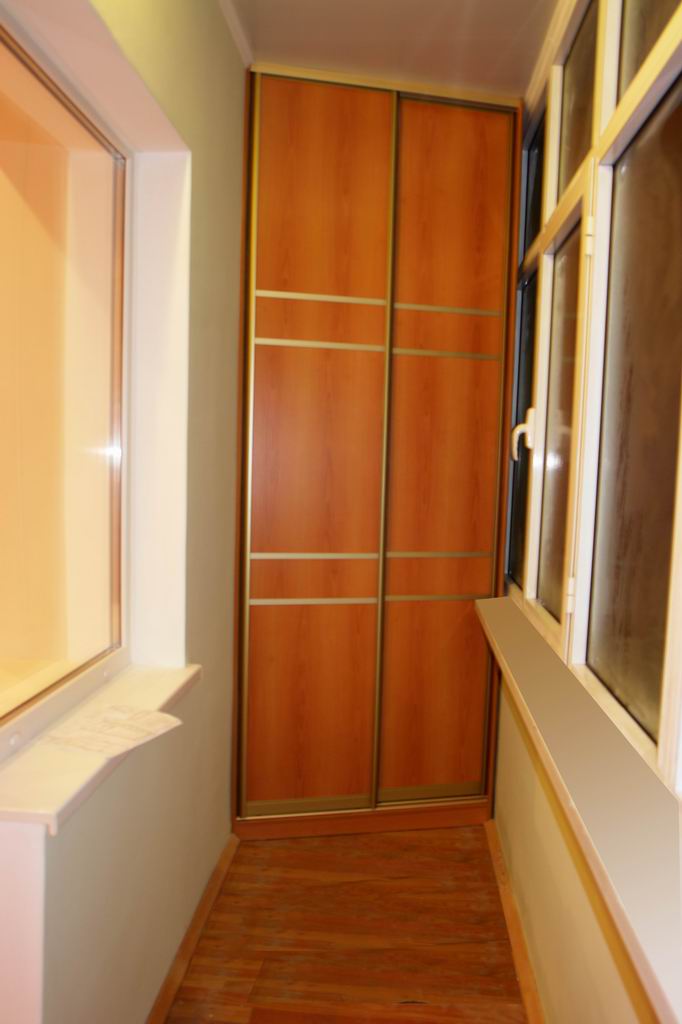
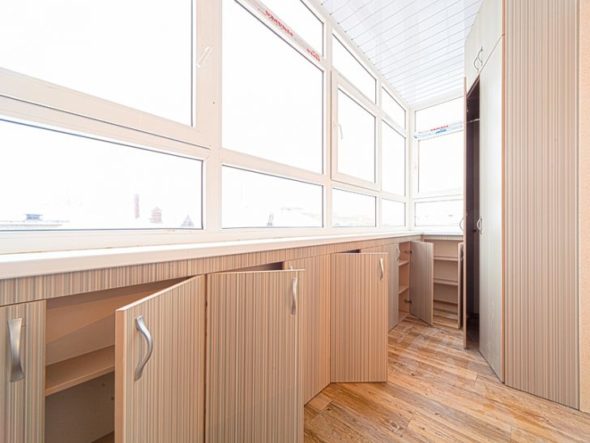
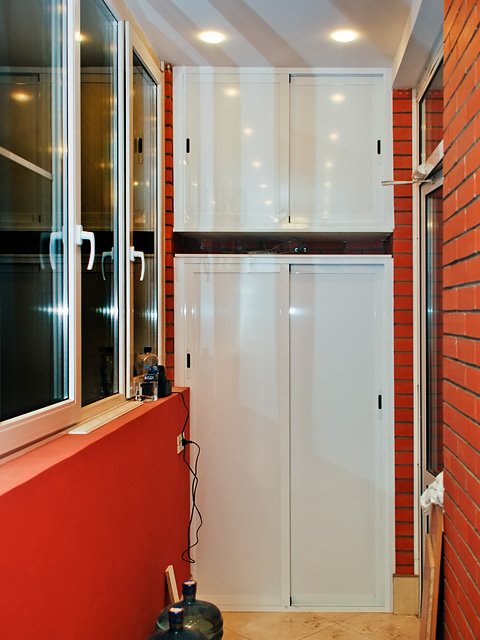
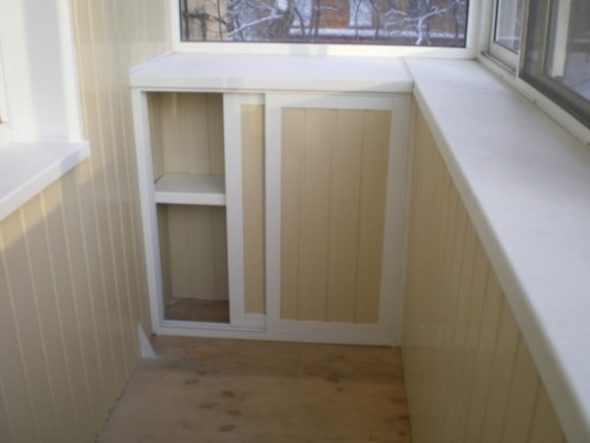
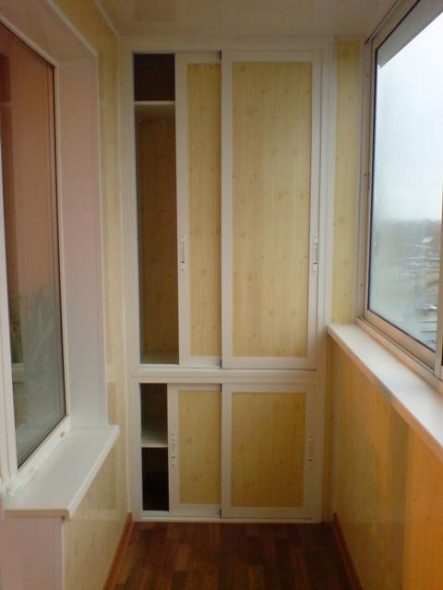
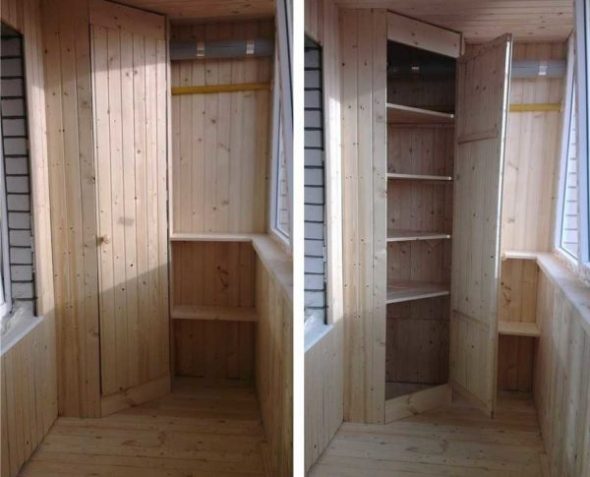
Roller shutters as doors for a balcony closet – a convenient but expensive option - Sliding doors are also a popular option, looking more aesthetically pleasing than roller systems. The doors move along guides, also allowing you to save space on the loggia, without taking up space. But when opened, sliding doors still half-close the opening, so it will be impossible to place a large object in the closet without removing them.
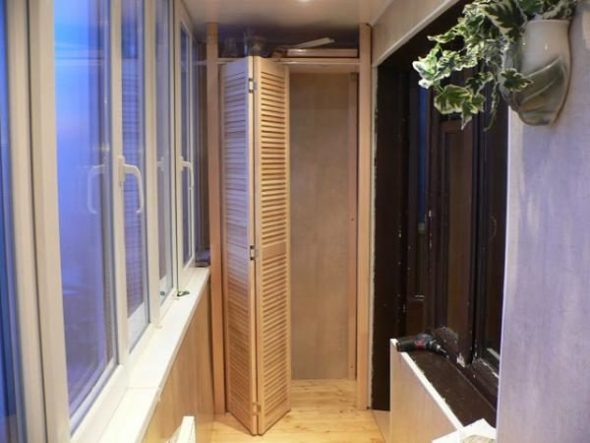
A convenient and economical option – sliding doors - Folding door - its design resembles an accordion screen. The most convenient option, also saving space and opening the cabinet opening almost completely. Despite the convenience, such doors are usually inferior in strength and durability to their counterparts, and due to the loose closure of the opening, dust and moisture get inside the cabinet.

The folding accordion door takes up little space when open
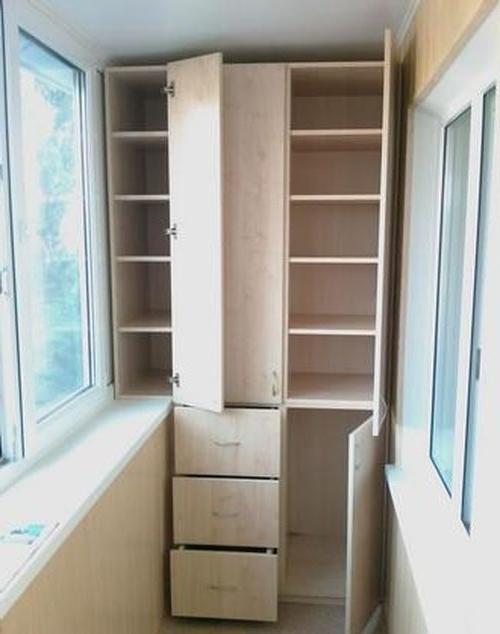
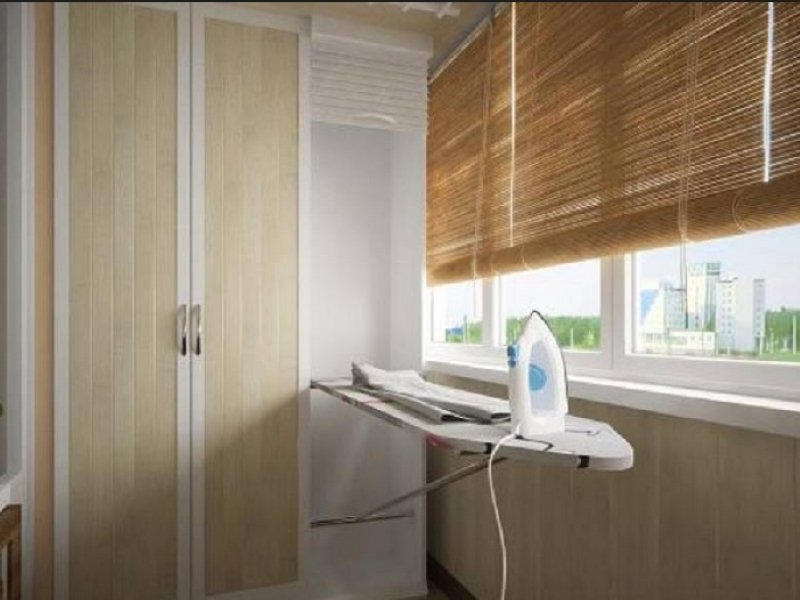
It is better to develop the internal structure, the system of shelves, their depth and height taking into account the sizes and types of specific things that will be stored there. For example, a high vertical compartment will be required to store skis, and a hanger will need to be installed for winter clothes.
Necessary materials
An important factor when making a cabinet on a loggia or balcony will be the choice of material. We must not forget that even on a glazed loggia, the temperature and air composition will most likely differ from the living space and a durable material will be needed that is resistant to various impacts and changes in humidity. In addition to operational properties, the appearance is also important, because the cabinet should not be in disharmonious with the design of the loggia, but is often a continuation of the overall style of the apartment. The most common varieties are as follows.
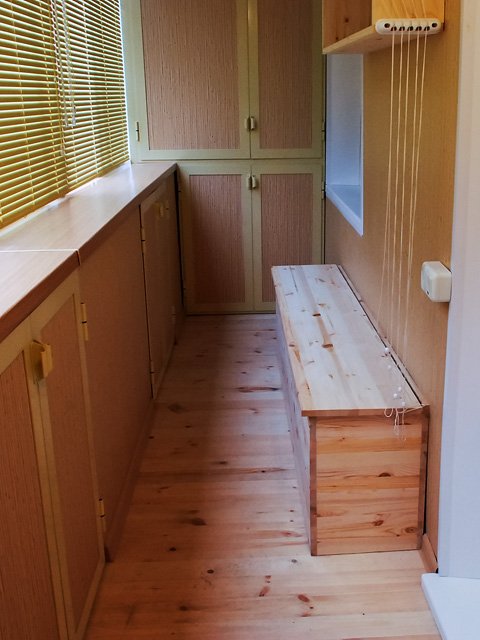
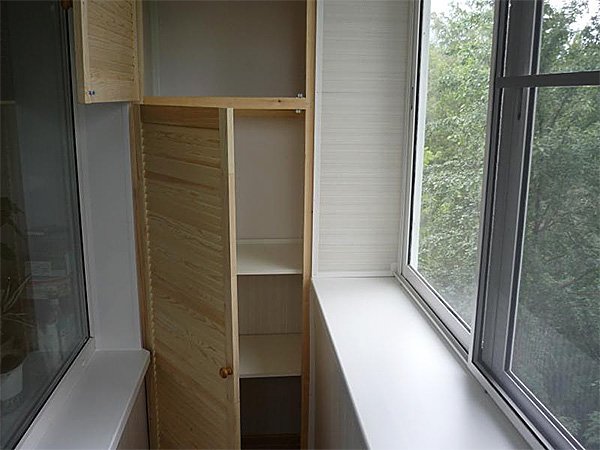
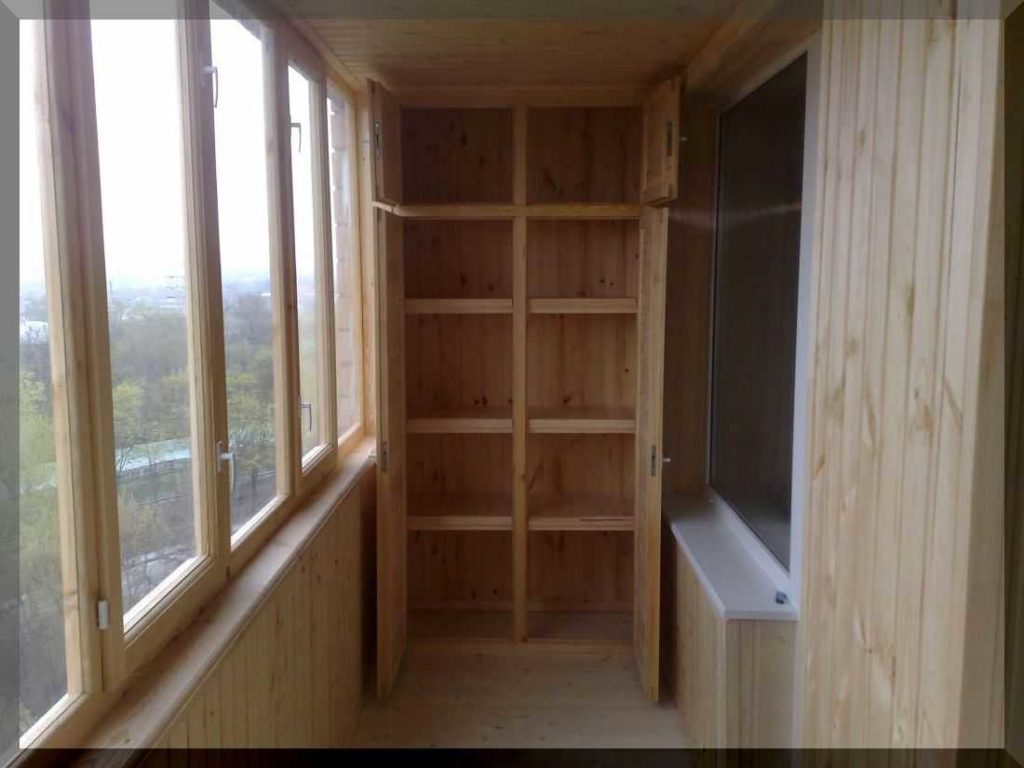
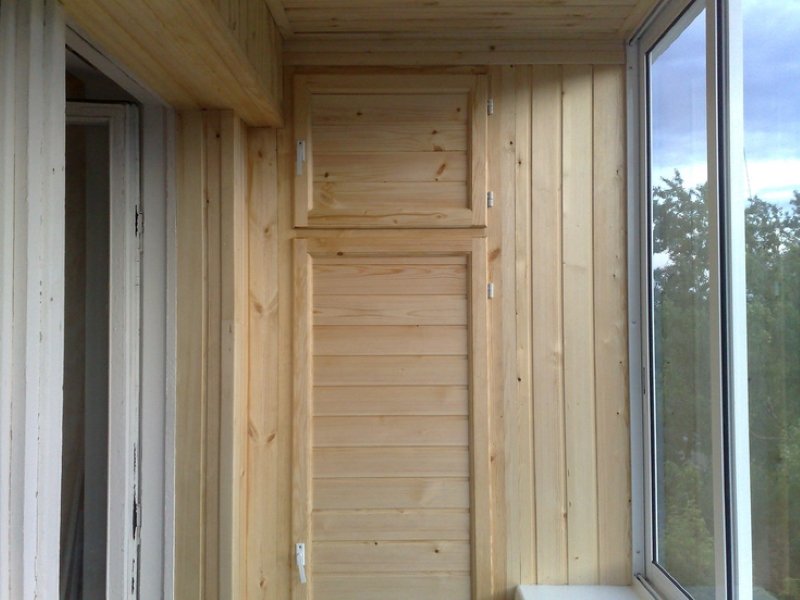
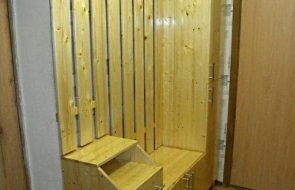
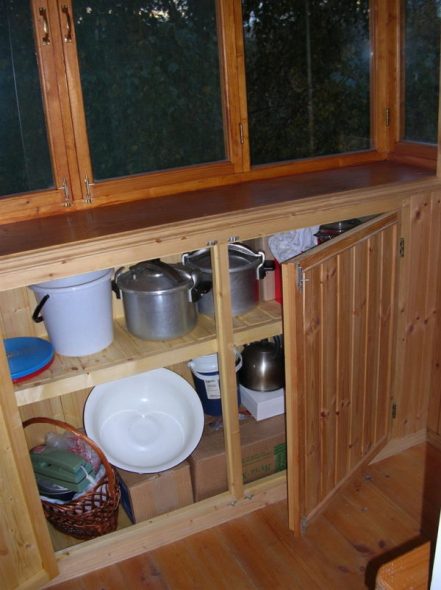
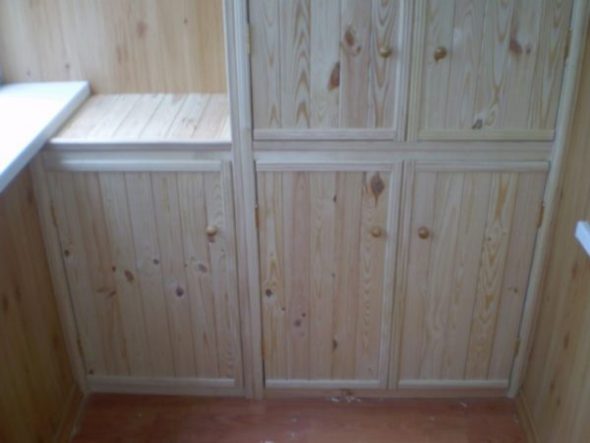
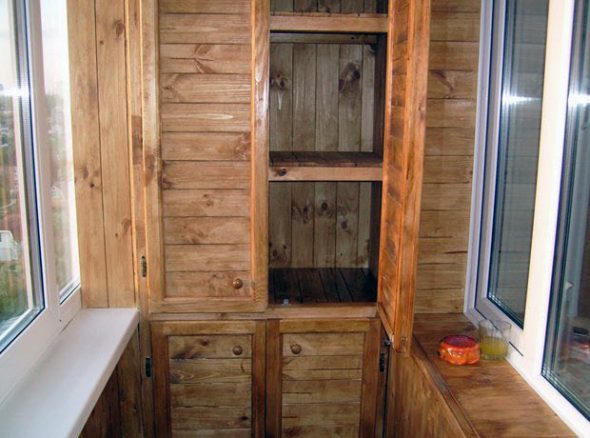
- Wood is a material that has earned respect in construction work since ancient times. Wood is completely environmentally friendly, easy to process, looks aesthetically pleasing, and is durable. If you choose the right type of wood, the cabinet will not be damaged by temperature changes and high humidity. The only downside to this material is its relative high cost (the cost varies greatly depending on the type of wood), as well as its tendency to be damaged by mold, fungus, and insects.

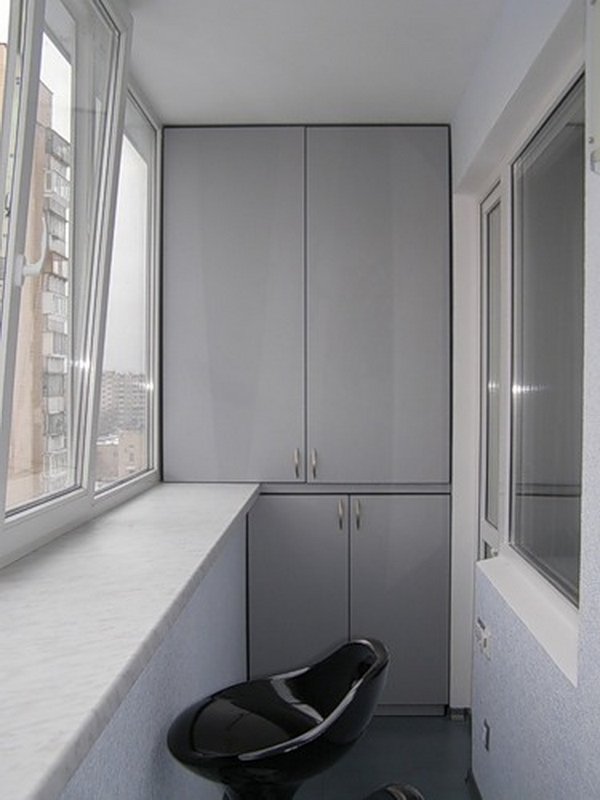
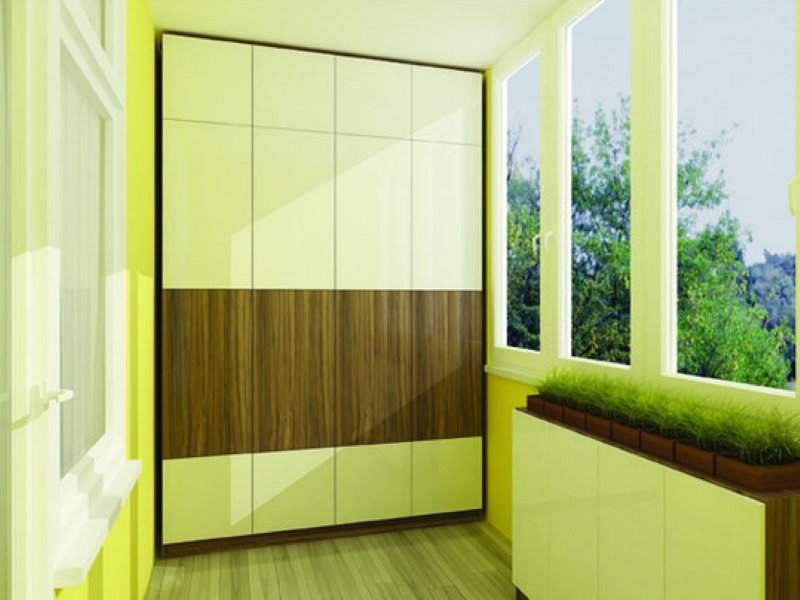
Unusual wooden cabinet for the balcony - Chipboards are a cheaper analogue of wood, almost as good in appearance. Thanks to the chipboard lamination technique, it is possible to give the color and texture of any type of wood, and the properties of the material guarantee durability and resistance to external influences.

Do-it-yourself cabinet on the balcony from chipboard - MDF is a lightweight, easy-to-work-with material, its disadvantage is its lower strength and the ease with which chips form on the surface during processing.

Original wardrobe on the balcony made of MDF - Drywall is an inexpensive and very easy-to-process material. The parts are quickly assembled using a regular screwdriver, the resulting frame is lightweight and stable. But due to its lightness, drywall is inferior to other analogues - it will not be possible to store heavy objects in such a cabinet, the shelves will not withstand long-term static load.

Plasterboard cabinet on the balcony
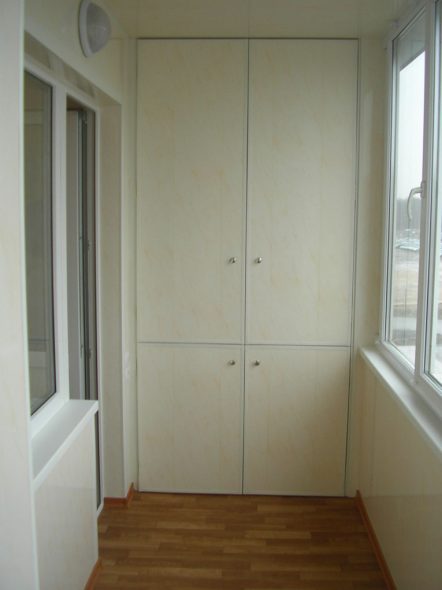
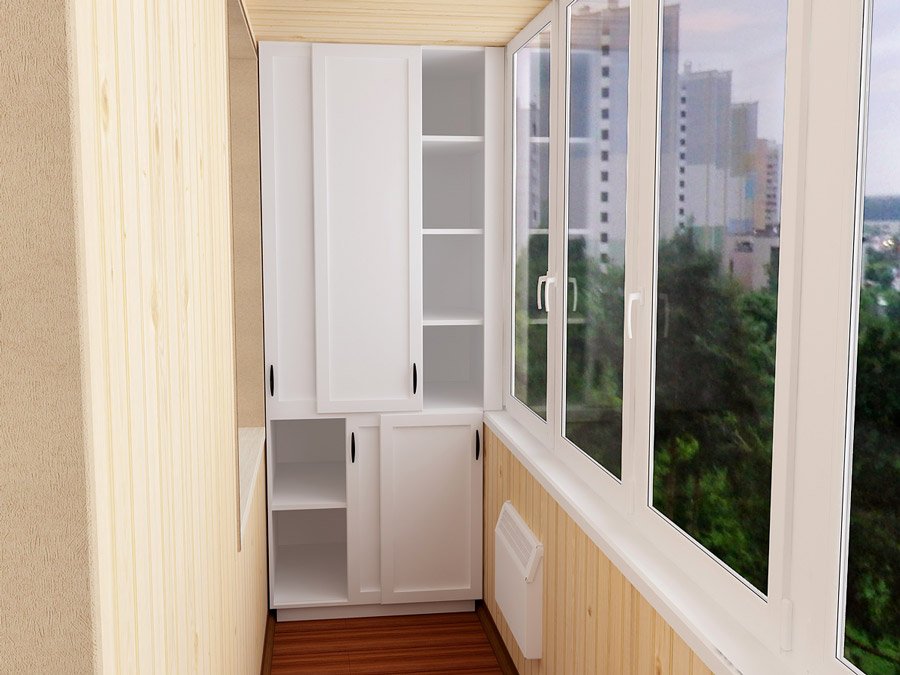
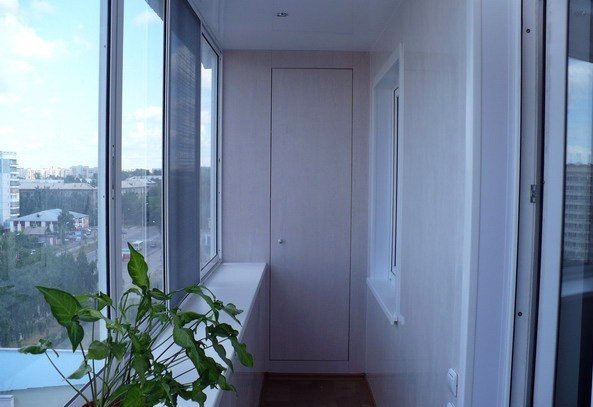
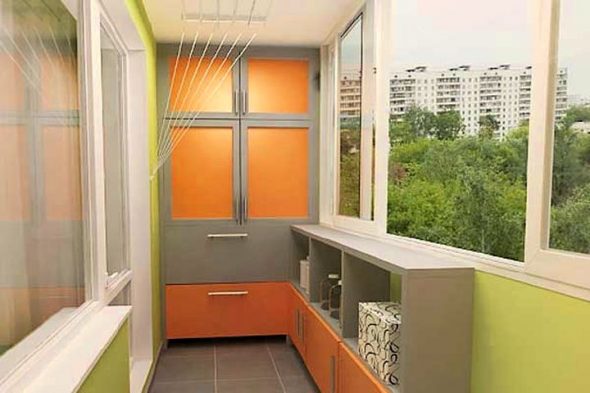
The design of the cabinet also depends on the color and texture. Laminated panels offer the greatest variety, but a plasterboard cabinet can be painted or covered with a special decorative material, which also has moisture-resistant qualities. In conditions of a small space on a loggia or balcony, it is recommended to choose light colors that visually increase the area of the room.
It is necessary to pay attention to the fittings, fasteners - you will need hinges for doors, handles, guides, corners. The fittings can be metal, made of durable plastic. It is best to buy all the parts in a specialized hardware store, choosing taking into account the material of the cabinet.
Necessary tools
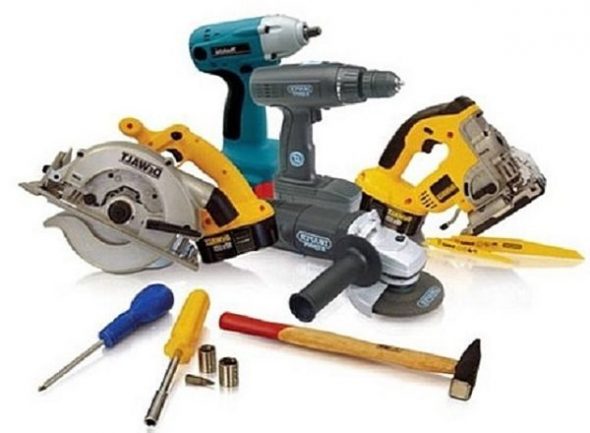
When deciding how to make a cabinet on the balcony with your own hands, the selection of tools is not the last place. To perform the work qualitatively, you will need the following set:
- hammer drill and drills (for wood and concrete);
- hacksaw;
- electric jigsaw;
- screwdriver;
- screwdrivers;
- self-tapping screws with dowels;
- hammer;
- tape measure, building level.
In addition, you will need paper and a pencil to make a drawing, as well as a marker to mark the parts.
Manufacturing stages
Before starting the assembly, the conditions are checked - the balcony should already be glazed, it is better to pre-cover the loggia walls with thermal insulation. The most important point is a level base - if there are differences in height, the cabinet frame will sooner or later lean under the weight of the items. Therefore, before starting work, the base is checked using a building level and, if necessary, leveled - the easiest way is to build a flooring.
If everything is ready, you can start working. To figure out how to make a closet on the balcony, just follow the next steps.
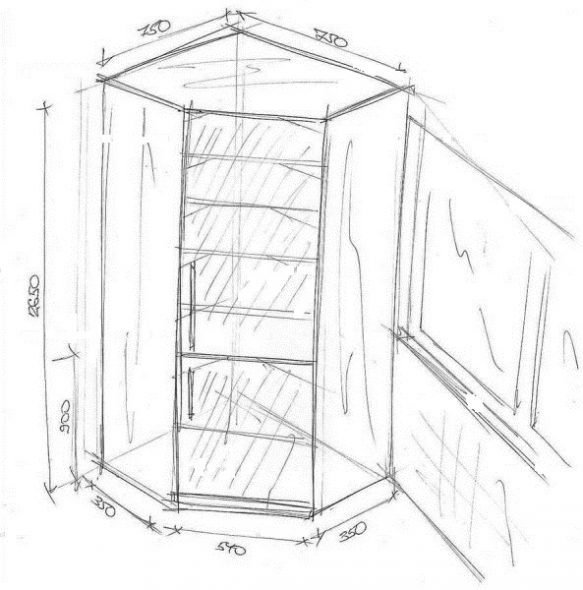
- Drawing up a drawing. Using a tape measure, measure the height and width of the loggia, measure the required depth of the closet. Make a drawing on paper, taking into account the size of the things to be stored, calculate the number of shelves, their height.

Sketch of a corner cabinet for installation in a loggia or on a balcony - The drawing is carefully transferred to the selected materials by scaling or marking with a level. After checking, the parts are cut out with an electric jigsaw and a hacksaw.
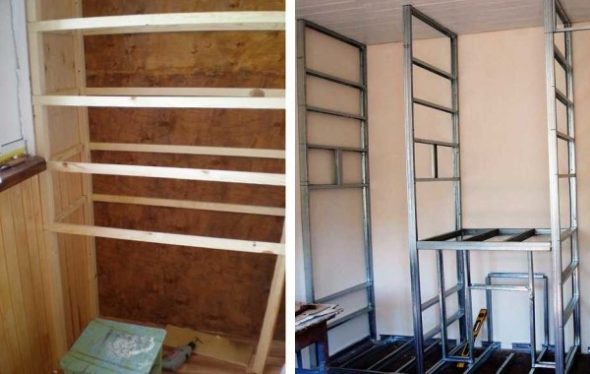
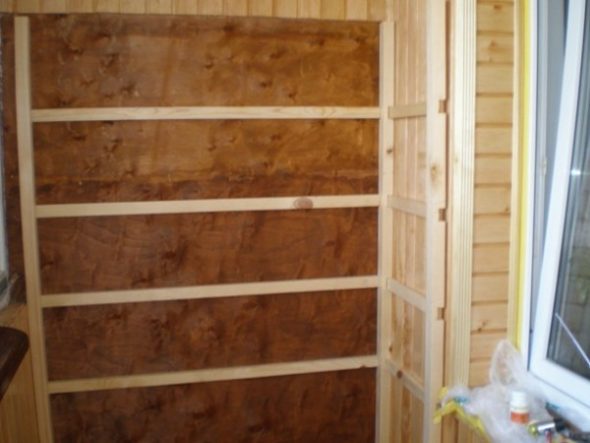
- Making the frame. First, marking is done using a marker and a level (or ruler) - guide lines are drawn on the walls where the frame beams will be attached.

For the frame, two materials are mainly used: wooden beams and metal profiles. - The boards and guides are attached directly to the wall or loggia sheathing. Installation is performed using a drill, screws on a dowel, or a screwdriver. Reliable wooden blocks or a metal profile are suitable for fastening. If the cabinet is made of plasterboard, additional elements made of a metal profile are required to increase the stability of the product.

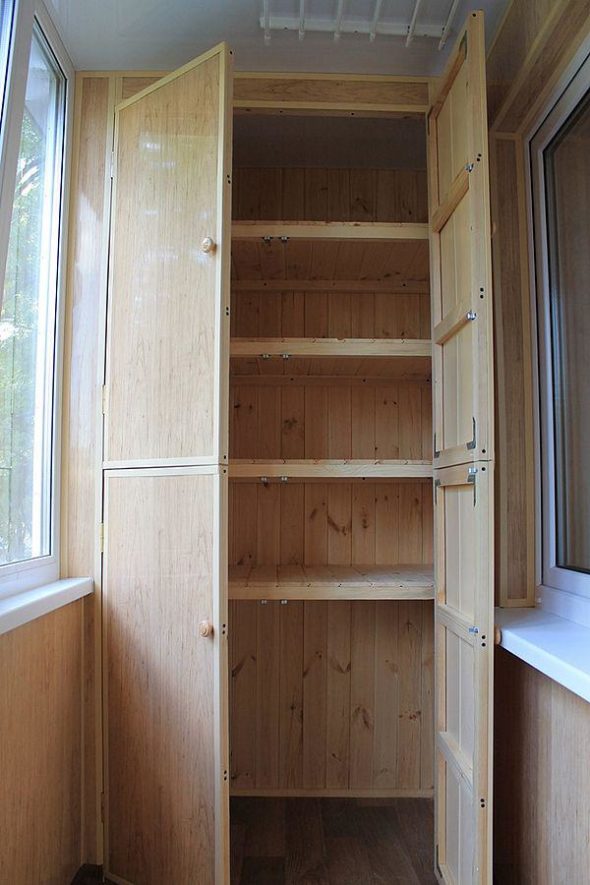
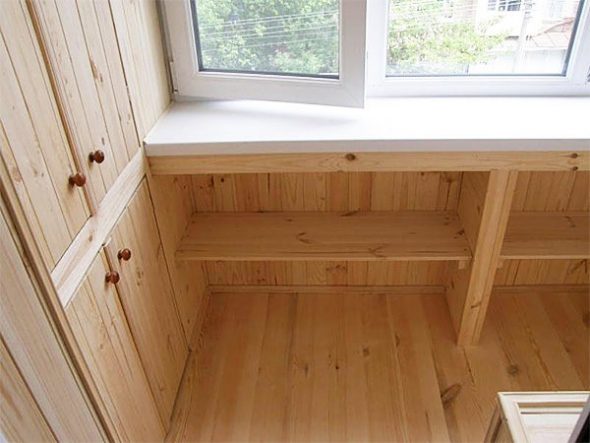
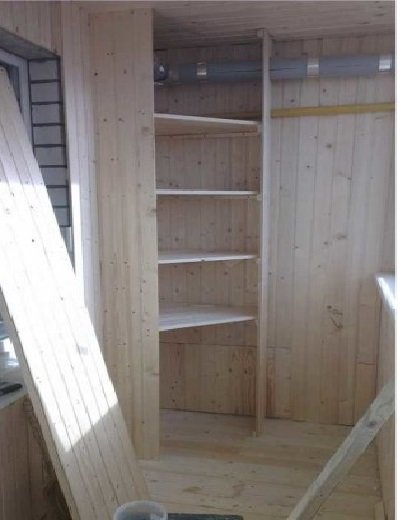
We fix the walls of the future cabinet to the bars and install the shelves - The walls of the selected material are attached to the frame. The back of the cabinet, adjacent to the balcony wall, is also necessarily covered with a sheet of plywood or chipboard - this will help protect the inside of the cabinet from moisture and temperature changes. The walls are attached with screws, for better fixation, furniture corners and ties are used. If the cabinet is under the ceiling, a simplified version of the design is often used, when the shelves are installed directly on the frame guides, and a frame is assembled to install the doors.
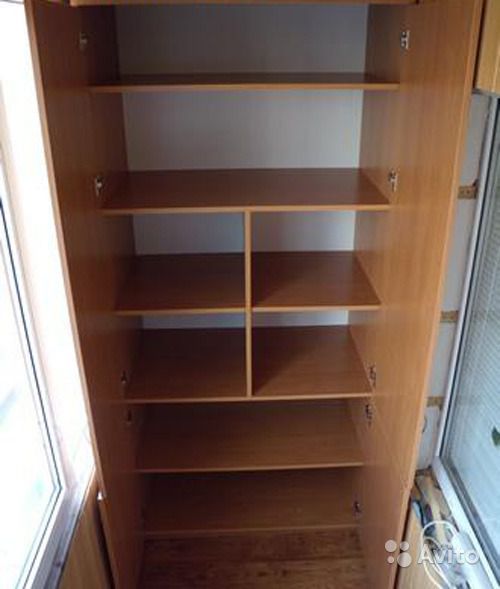
We attach a chipboard sheet as the back wall of the future cabinet. - Shelves are installed according to the drawing. The material for them can be wood, chipboard or plasterboard - it is better to focus on the weight of the things that will be placed there.

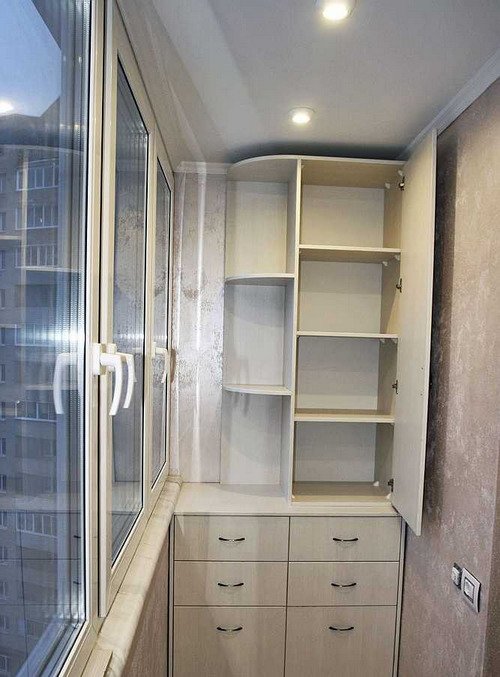
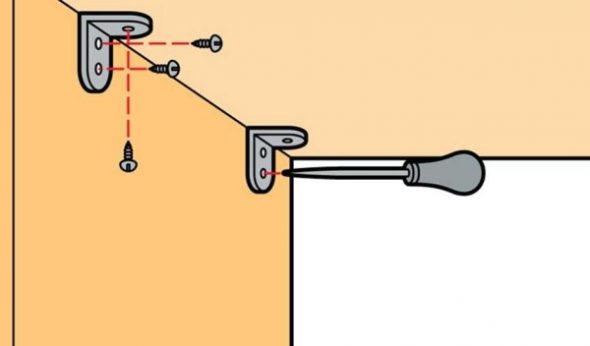
We attach the shelves to the corners - The hinges or guides for the doors are attached. Then the doors themselves are installed, and the handles for opening are attached last.

Hanging doors on a corner cabinet
After finishing the work, it is recommended to cover the cabinet with an insulating coating for additional protection from moisture. It is also possible to install an electric lamp to improve ease of use. With the correct selection of materials and tools, a careful and responsible approach to the work, the result will please the owners with its functionality and beauty for many years.
Video: Wardrobe on the balcony
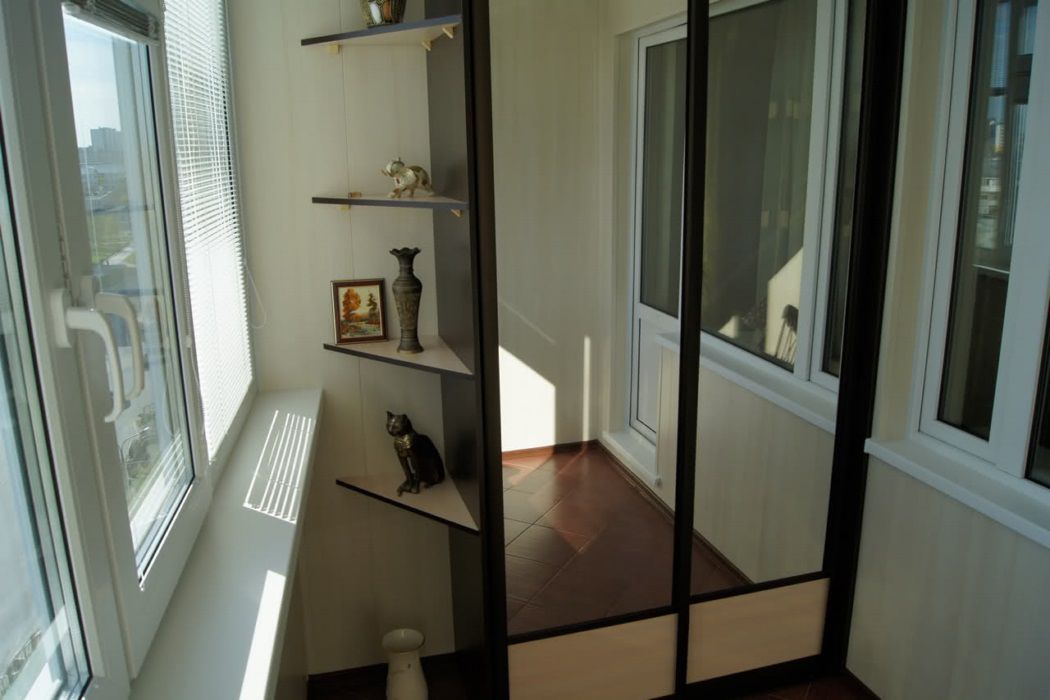
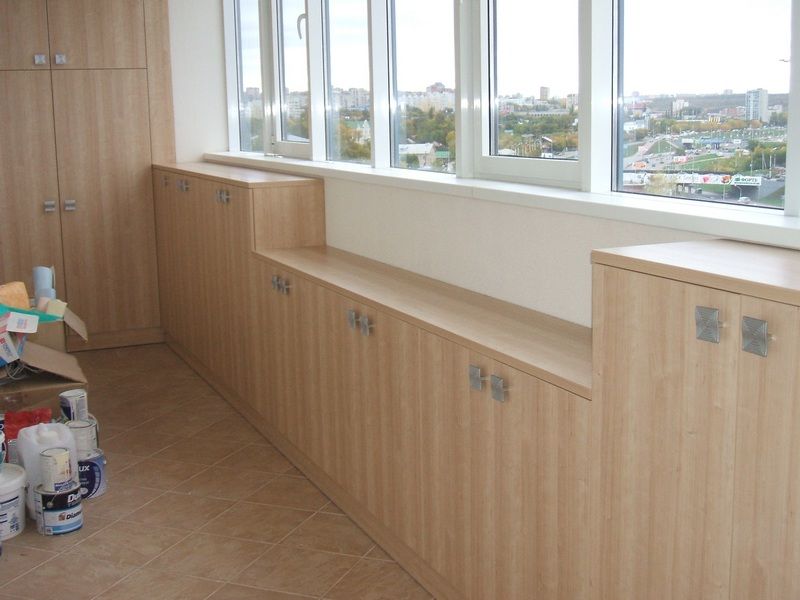
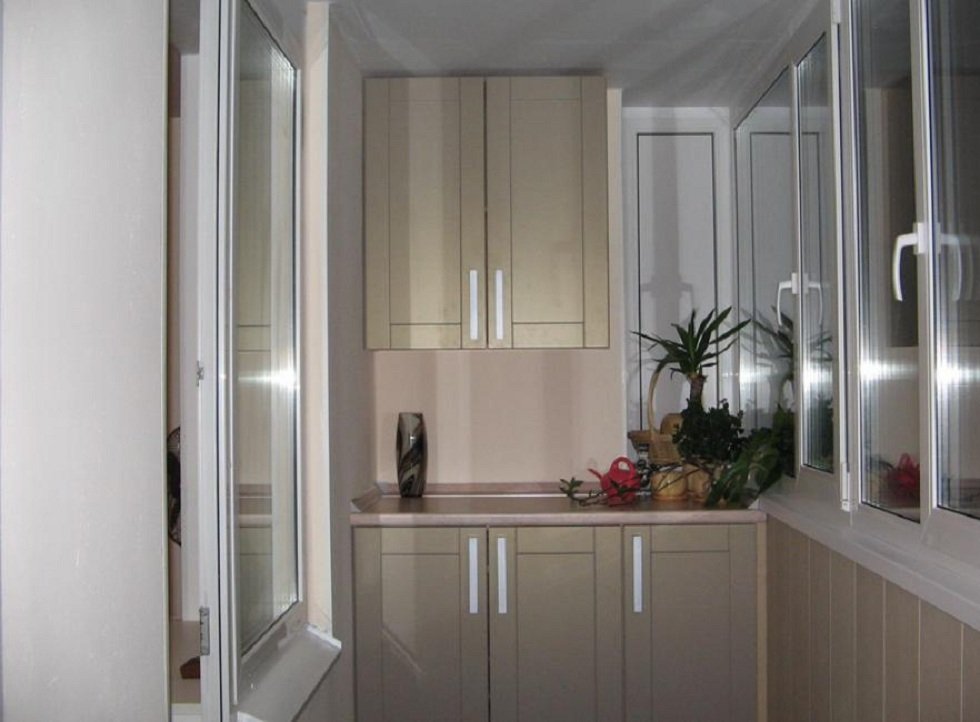
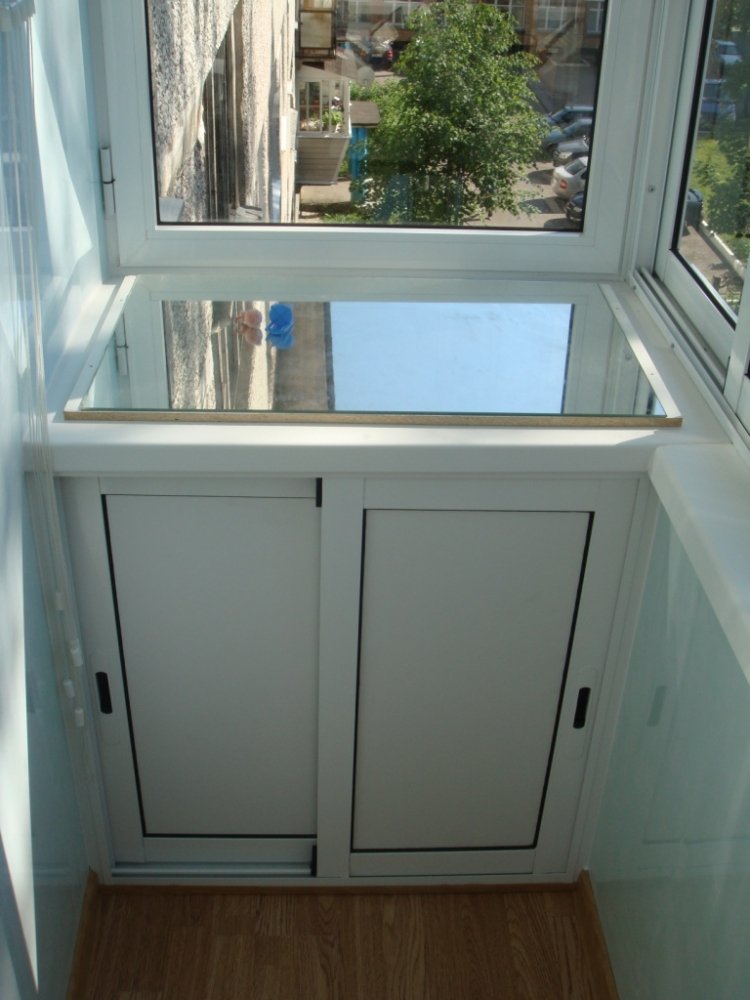
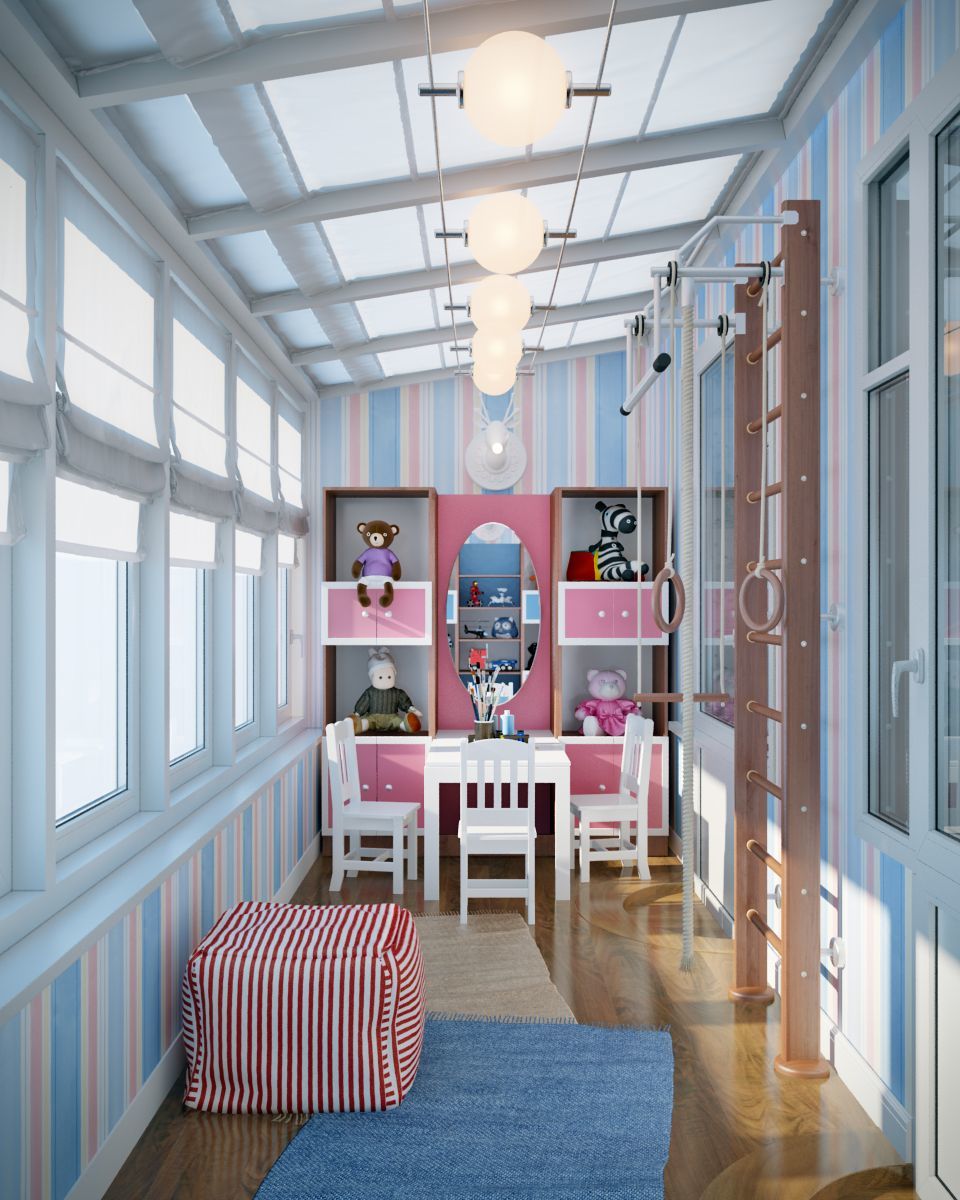
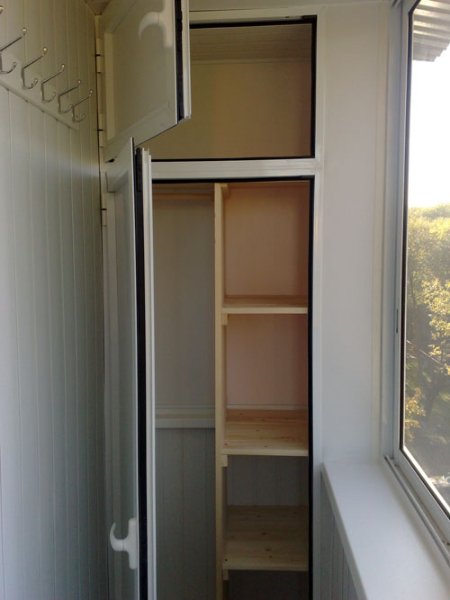
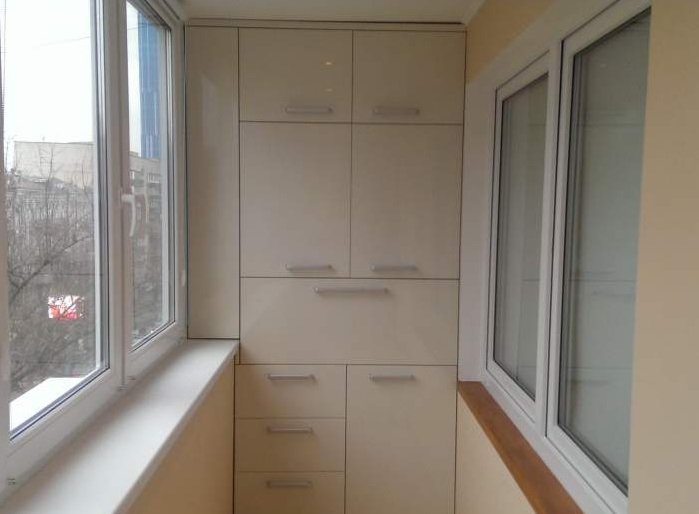
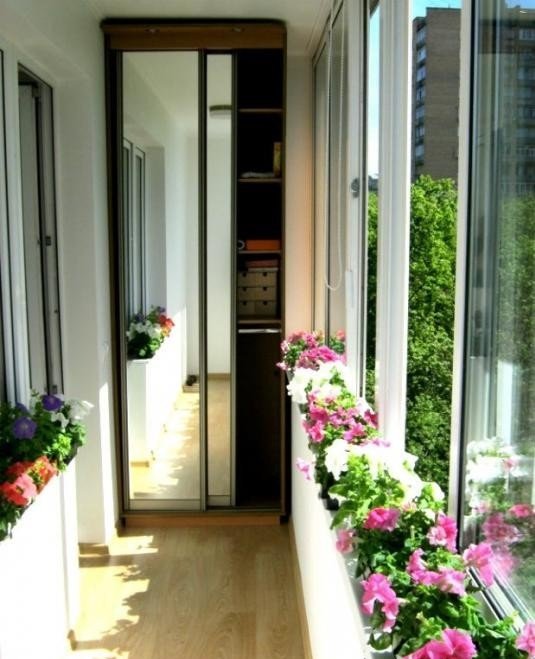
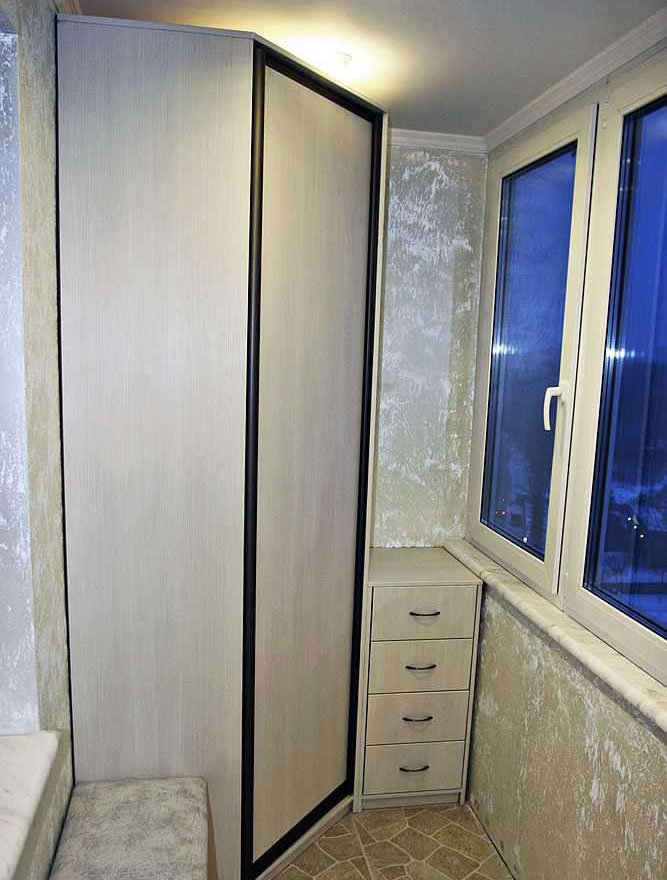
Photo gallery of convenient, functional and beautiful balcony cabinets for every taste: