Roman blinds were probably invented by the Romans themselves. The principle of their operation is obvious and has not changed for centuries, which is why they remain invariably popular. The design is based on a straight piece of fabric that is gathered into folds using a cord. Blinds can be decorated in different styles, giving the room a strict or playful look, completely blocking the sun's rays or leaving a pleasant diffused light. An obvious advantage of such decor is that it will take one day to make Roman blinds yourself.
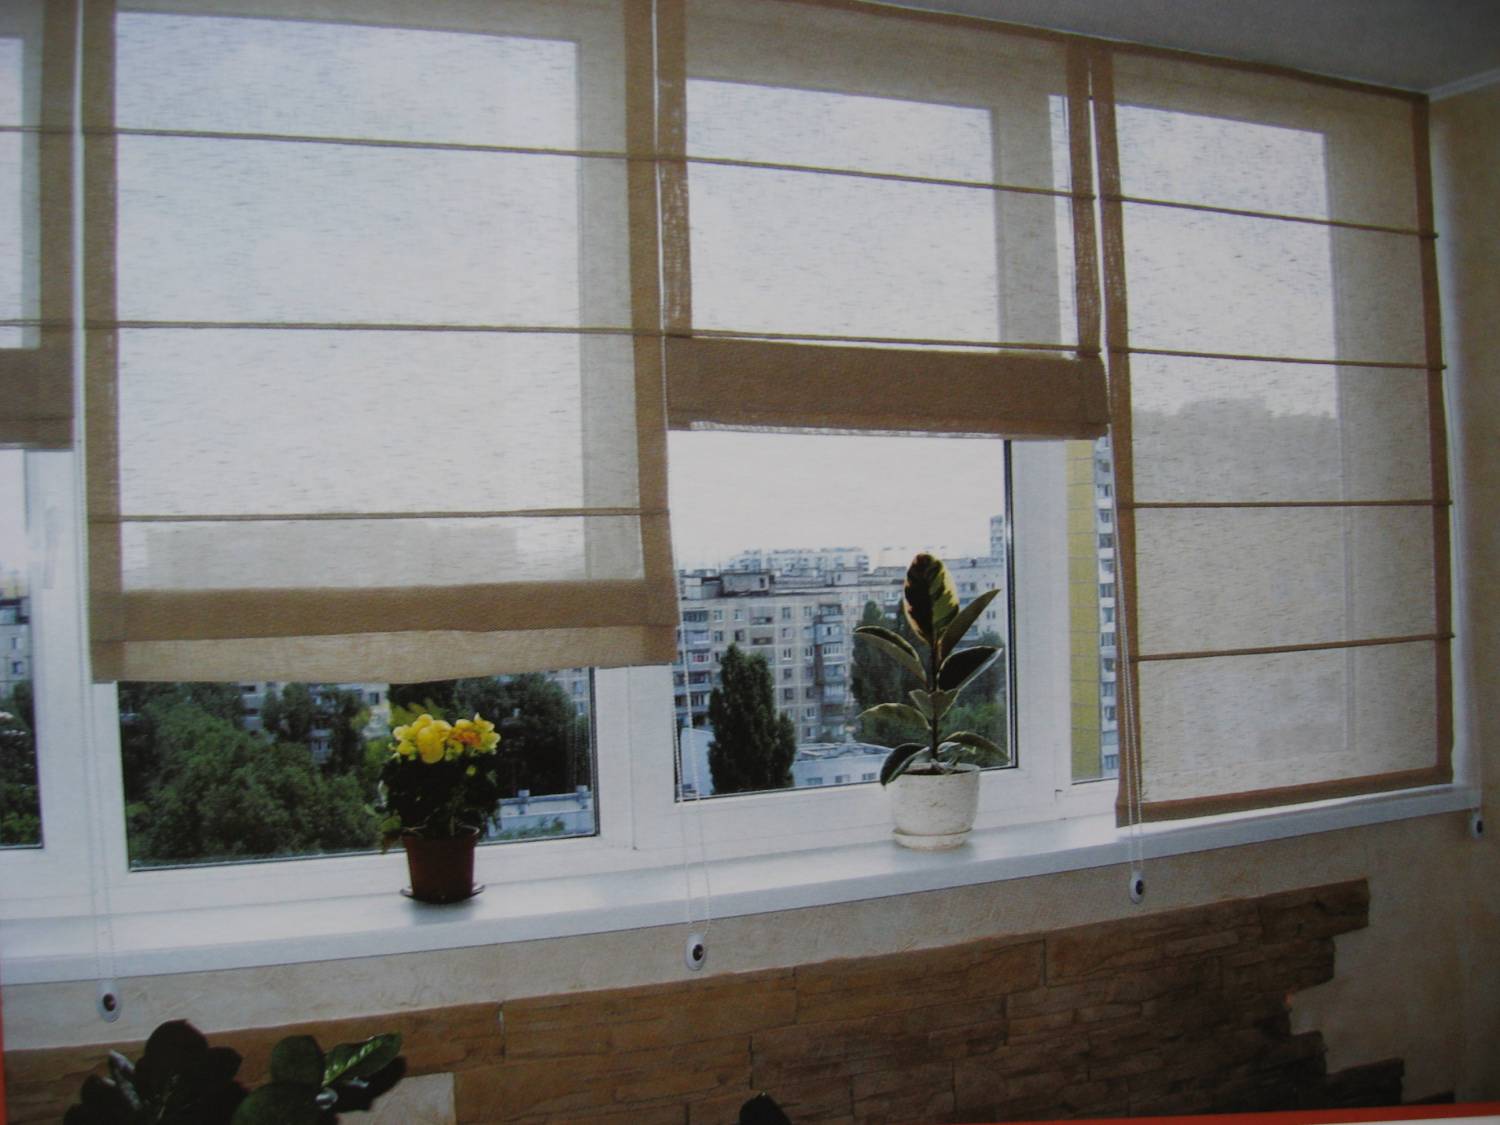
A useful feature of simple in shape and design curtains is a tight fit to the windows. At the owner's request, they almost completely match the size of the glass. This provides a reliable way to provide darkening of rooms of any size. The entire structure takes up a minimum of space, is extremely simple, almost does not break, and is easily restored. The canvas is removed from the cornice, washed independently, and from time to time you can do with dry cleaning using a brush on a long handle.
Modern industry produces a wide range of convenient ready-made designs for mounting any blinds. With purchased roller blinds, the window decoration process is shortened. The curtain can also be made from scrap materials. Below is a detailed instruction on how to make Roman blinds with your own hands.
Content
- Roman blinds: description, design features, types of materials
- How to sew roman blinds with your own hands
- Curtain design, what components are needed for production
- Materials and care
- Step-by-step instructions for beginners on how to make a Roman blind with your own hands
- Roman blinds for the kitchen with your own hands
- Scheme of operation of a Roman blind, design details with photos for beginners
- Recommendations for beginners on sewing Roman blinds
- Conclusion
- Video: DIY Roman Blind
- Photo gallery of ready-made Roman blinds in the interior:
Roman blinds: description, design features, types of materials
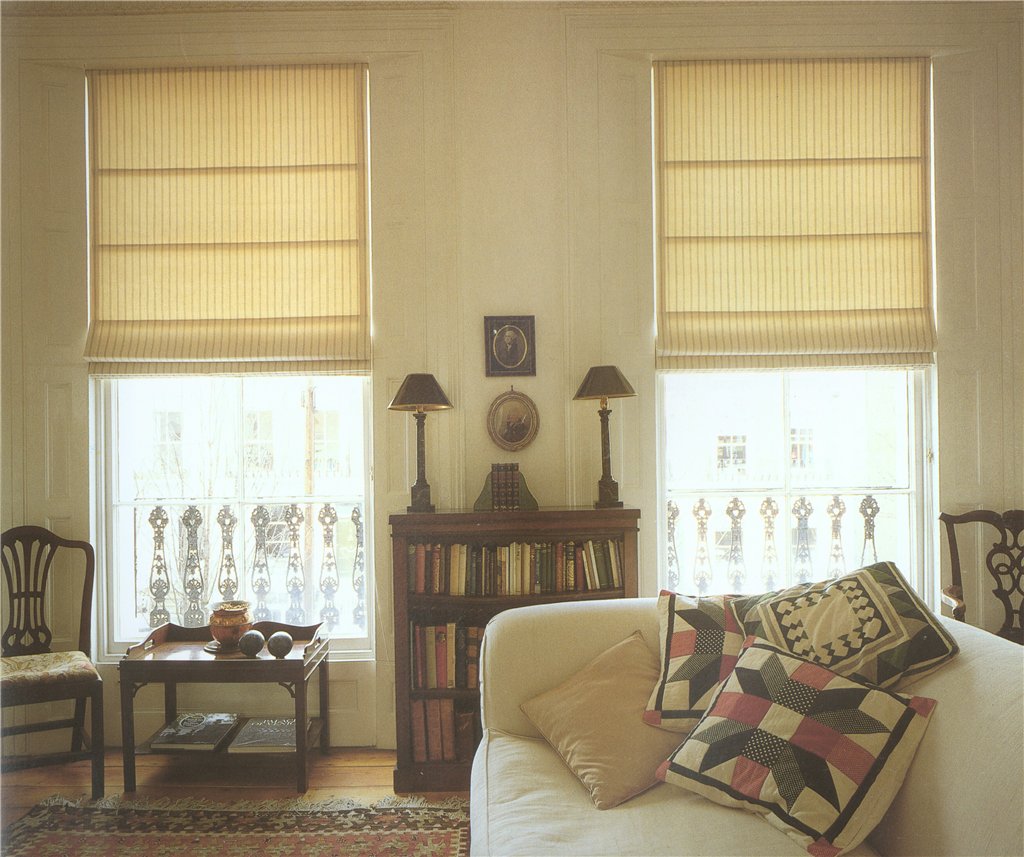
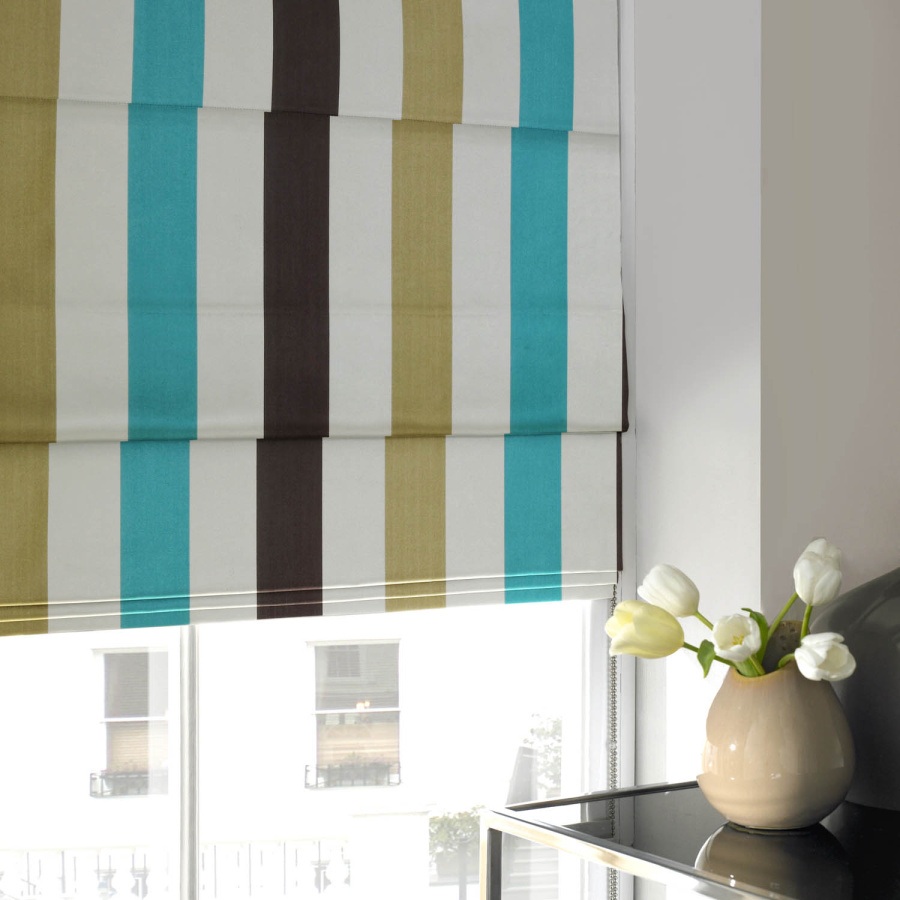
Roman blinds are the most laconic and neat of all classic draperies, because when unfolded they represent a flat piece of fabric. They remain consistently popular in Italy. When the window is opened, the material folds into large or moderate parallel folds, allowing access to light. Draperies are created on the basis of several strips sewn into the fabric. For installation, "Roman" cornices are also used, equipped with elementary mechanisms for lifting the fabric. The level of the drapery is fixed using a special control mechanism with a chain. In a simpler version, the cord supporting the folds is simply wound onto a small hook on the wall near the window.
Important! Most often, woven blinds are close in size to the area of the window and do not cover the walls around them, so very little material is used for them.
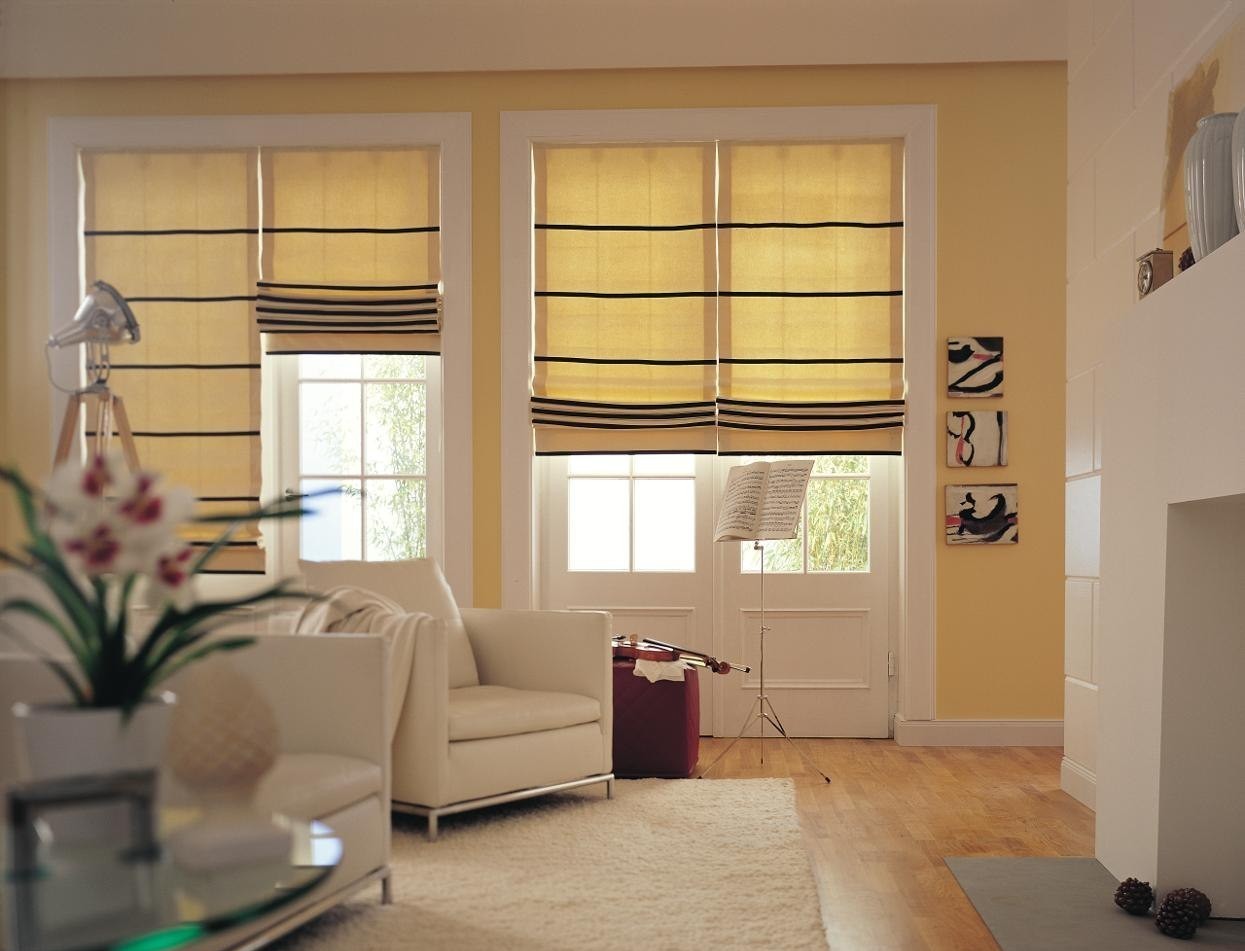
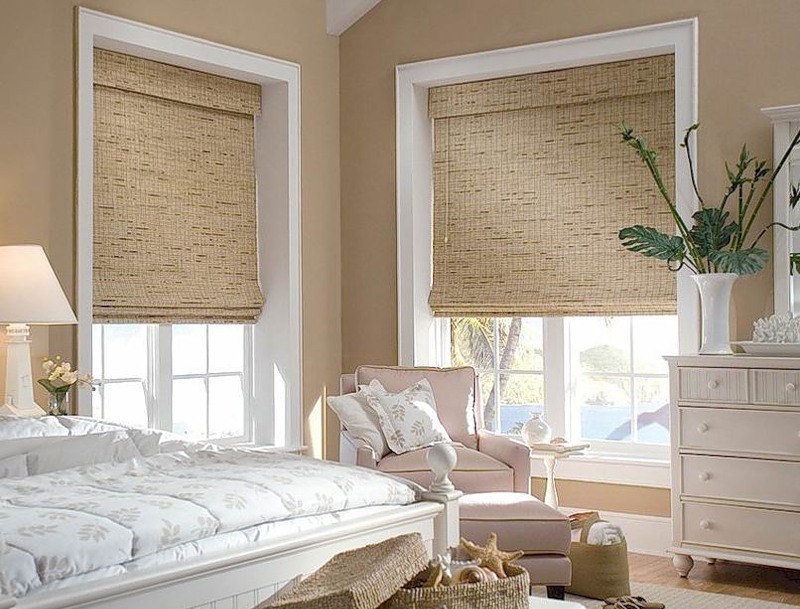
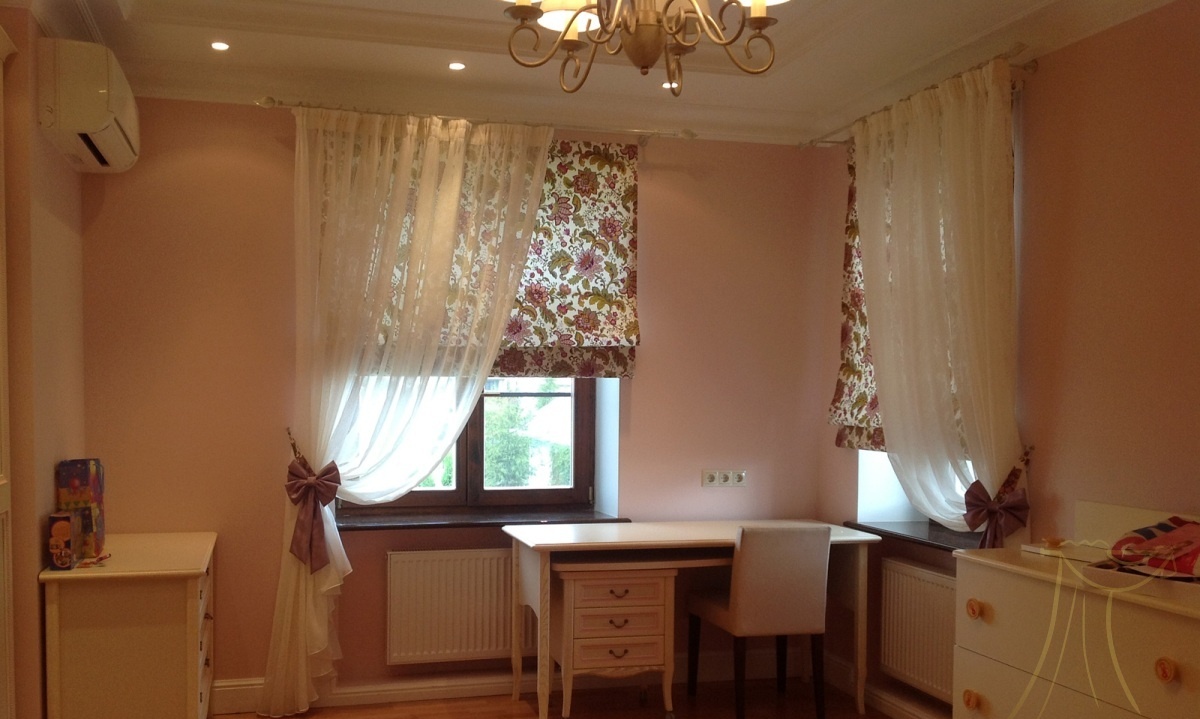
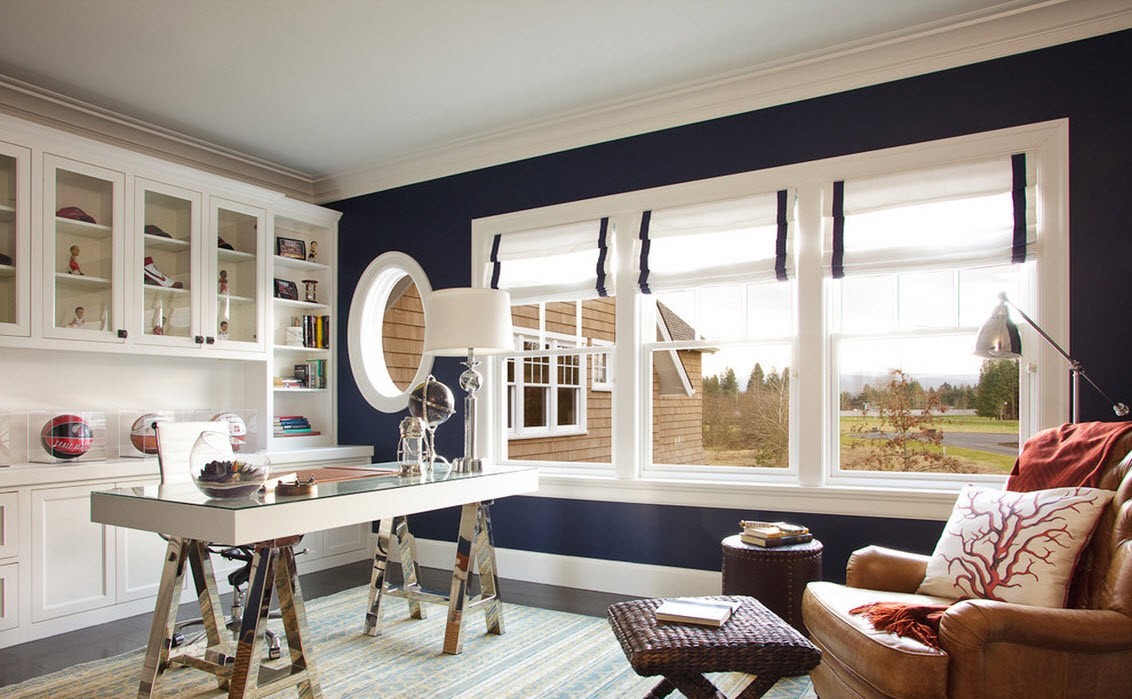
When hanging curtains, they are placed inside the window opening. There are cases when the curtain is placed outside, the curtain covers the frame itself, as well as part of the wall around it. It is possible to create an expressive ensemble without additional tricks, having originally selected the texture and color. Traditionally, monochromatic canvases are chosen. Try to come up with your own pattern (stripes, flowers, ornaments), apply a photo image, a self-made drawing.
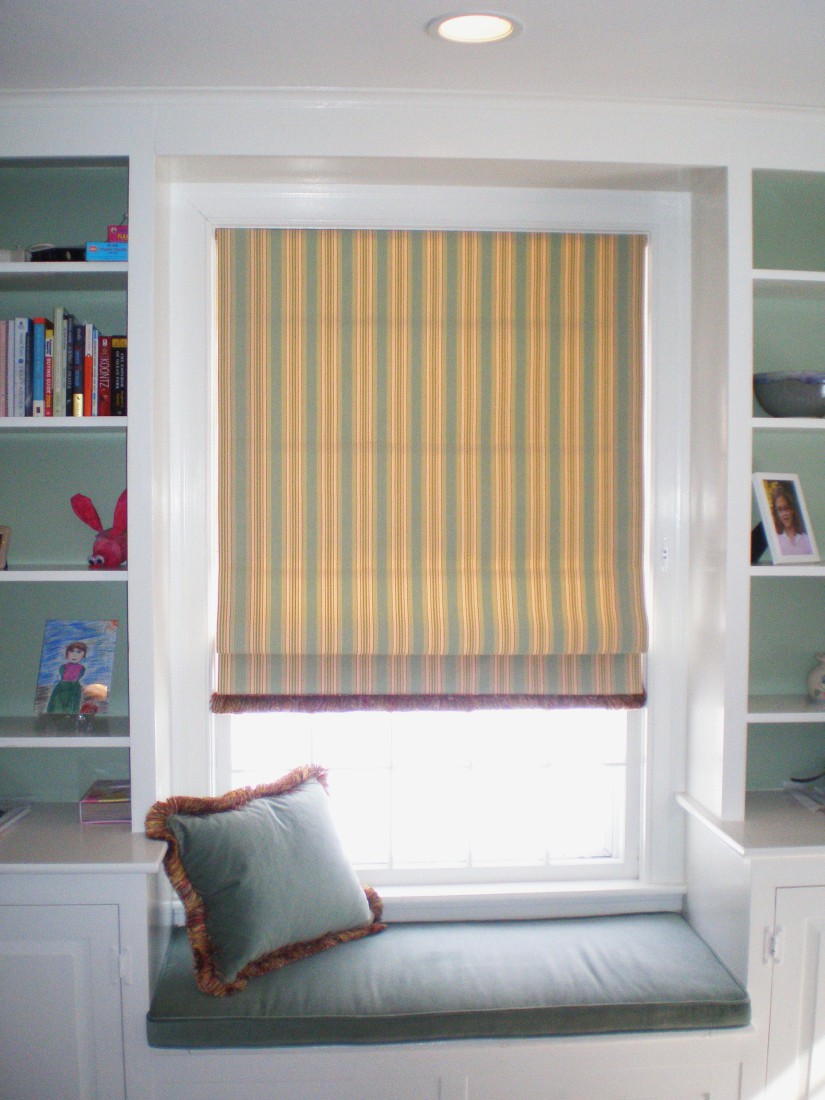
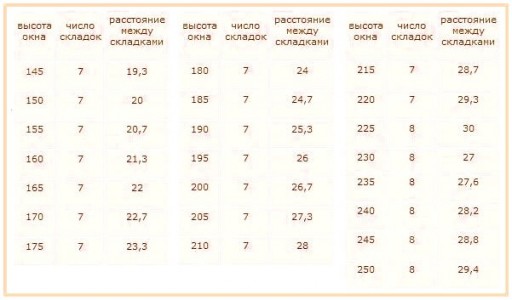
In the classic version, the drapery arrangement model assumes from 3 to 5 large folds formed at an equal distance from each other. The number depends on the designer's imagination. The folds are placed at the bottom of the curtain, then when open it will be half smooth. If you do not use textile tape or rigid rods to attach the rings, the gathers will be soft and draped.
Blinds can be decorative, functional or combined. The main characteristic is the transparency of the material. According to the degree of light transmission, materials are divided into types:
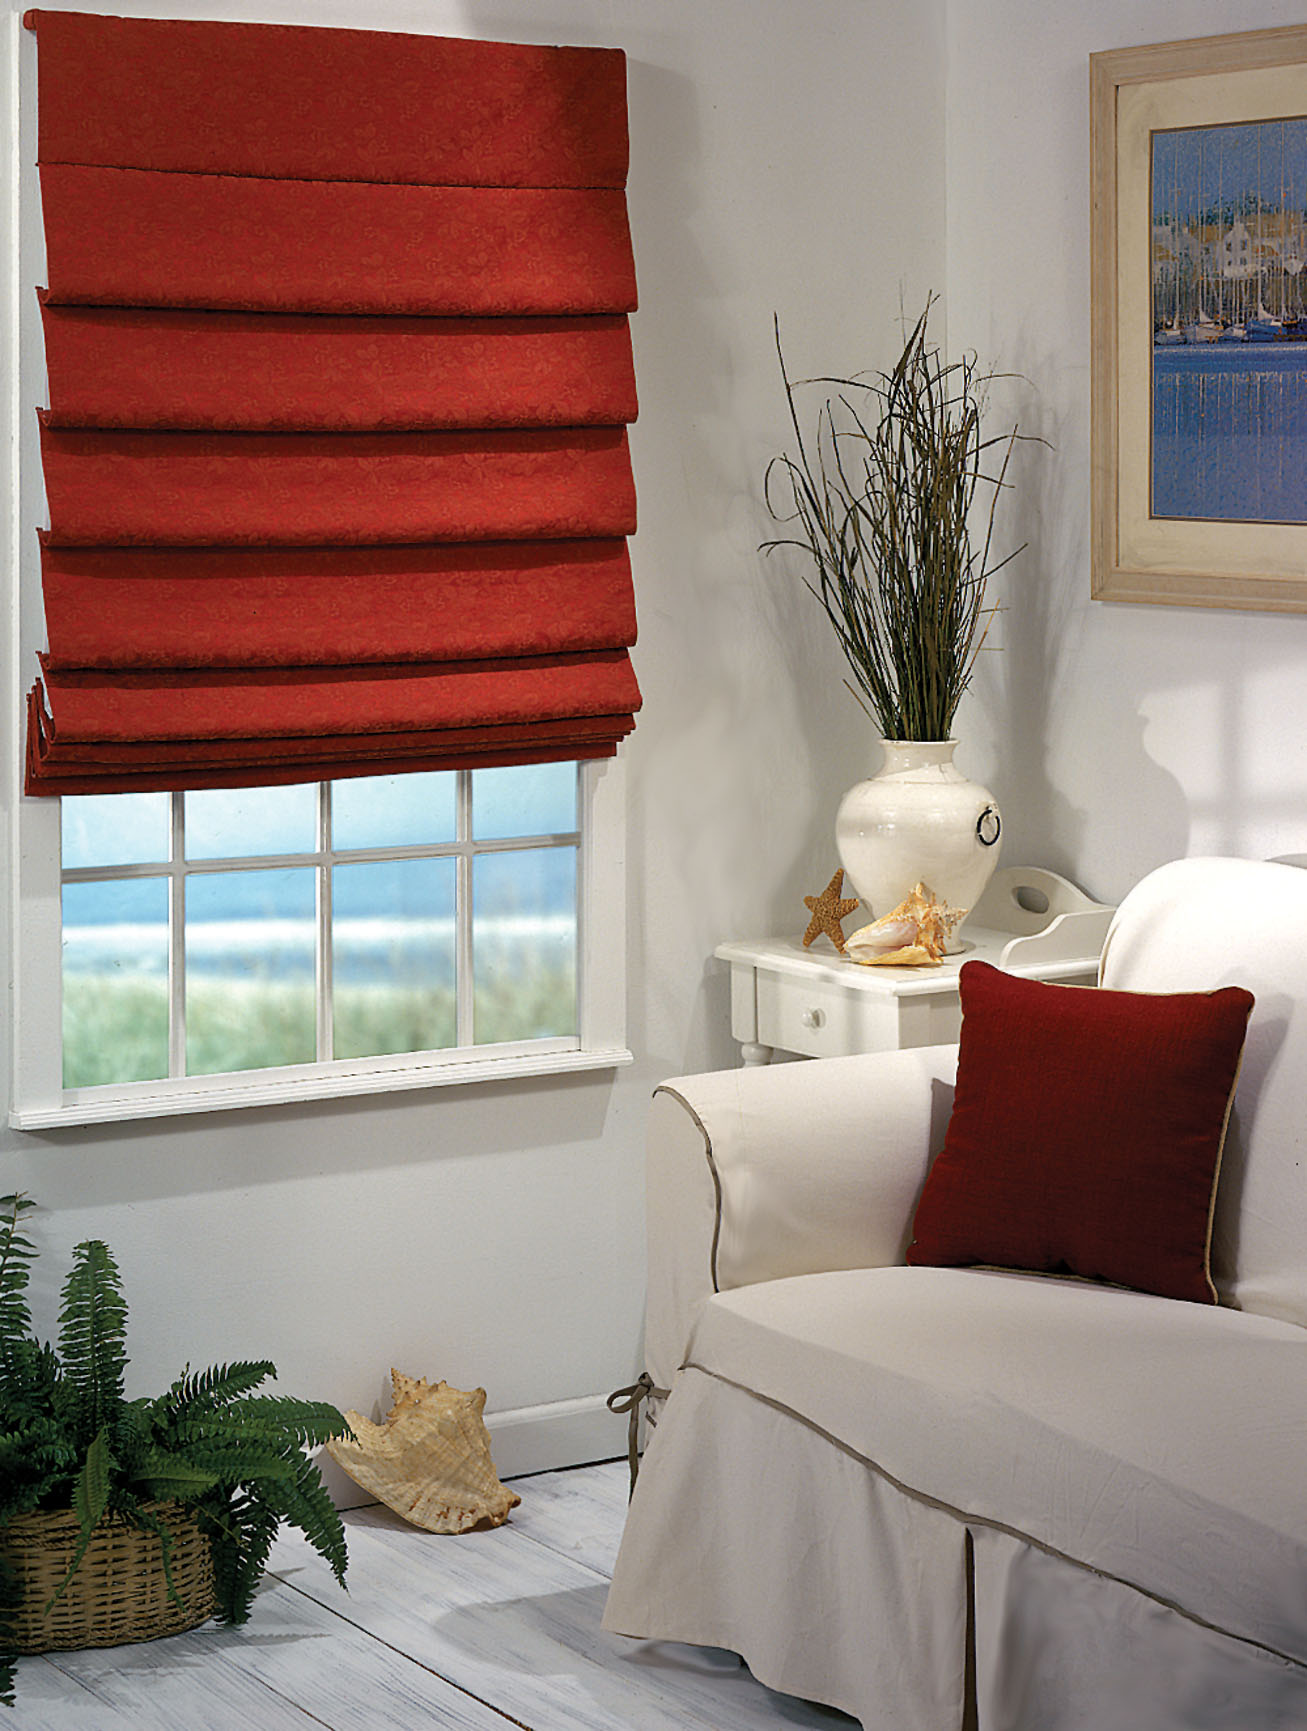
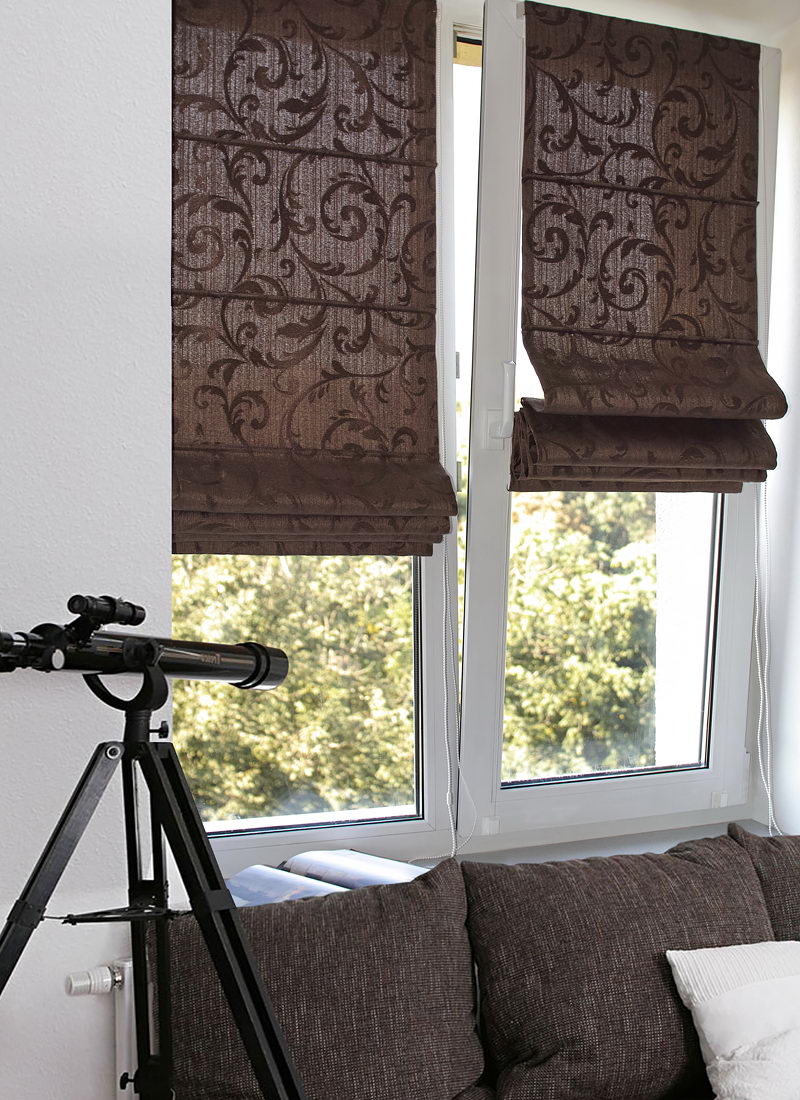
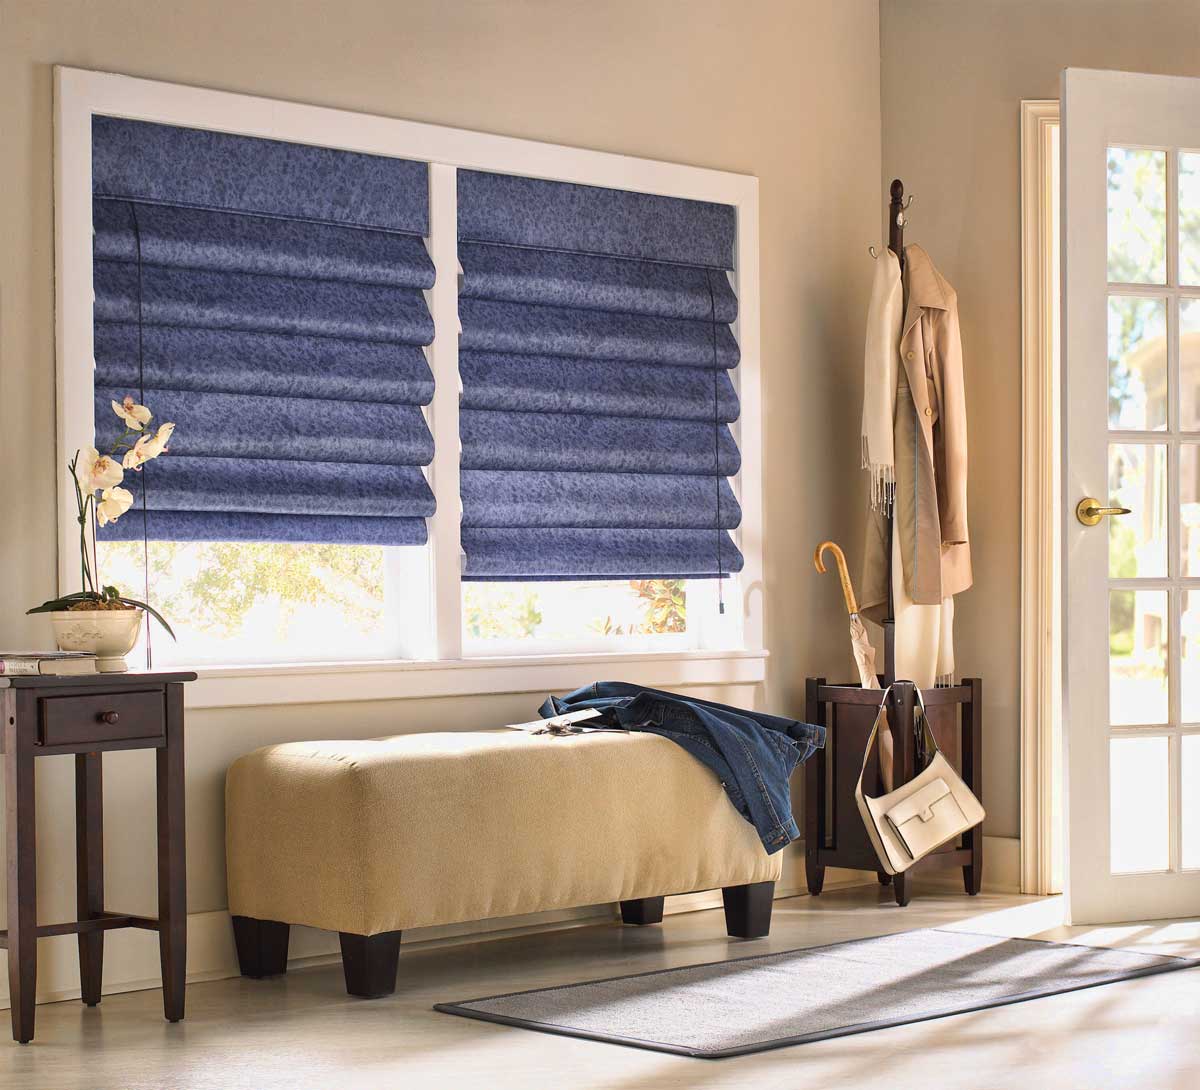
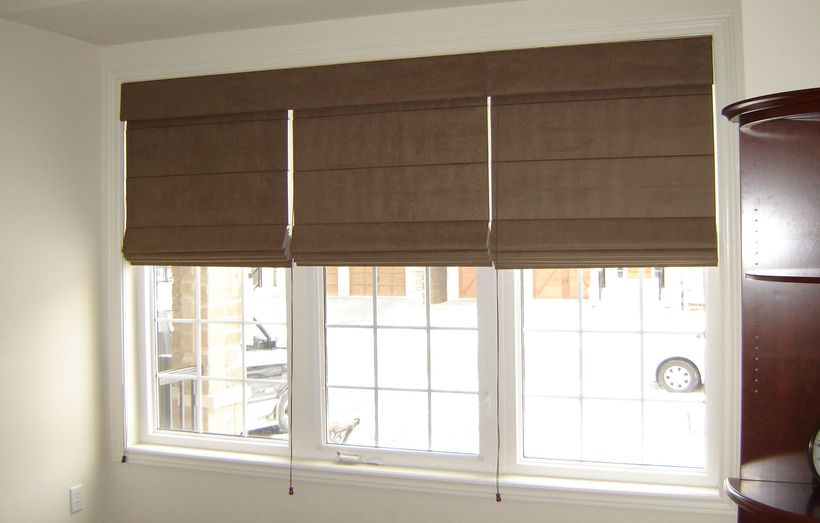
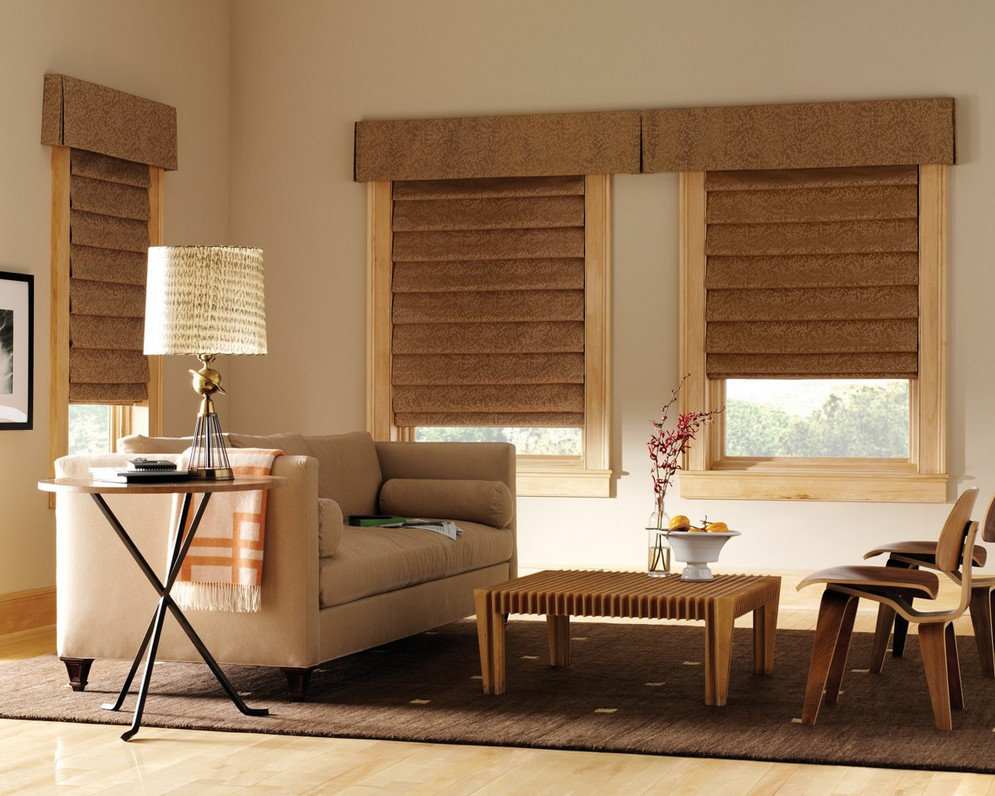
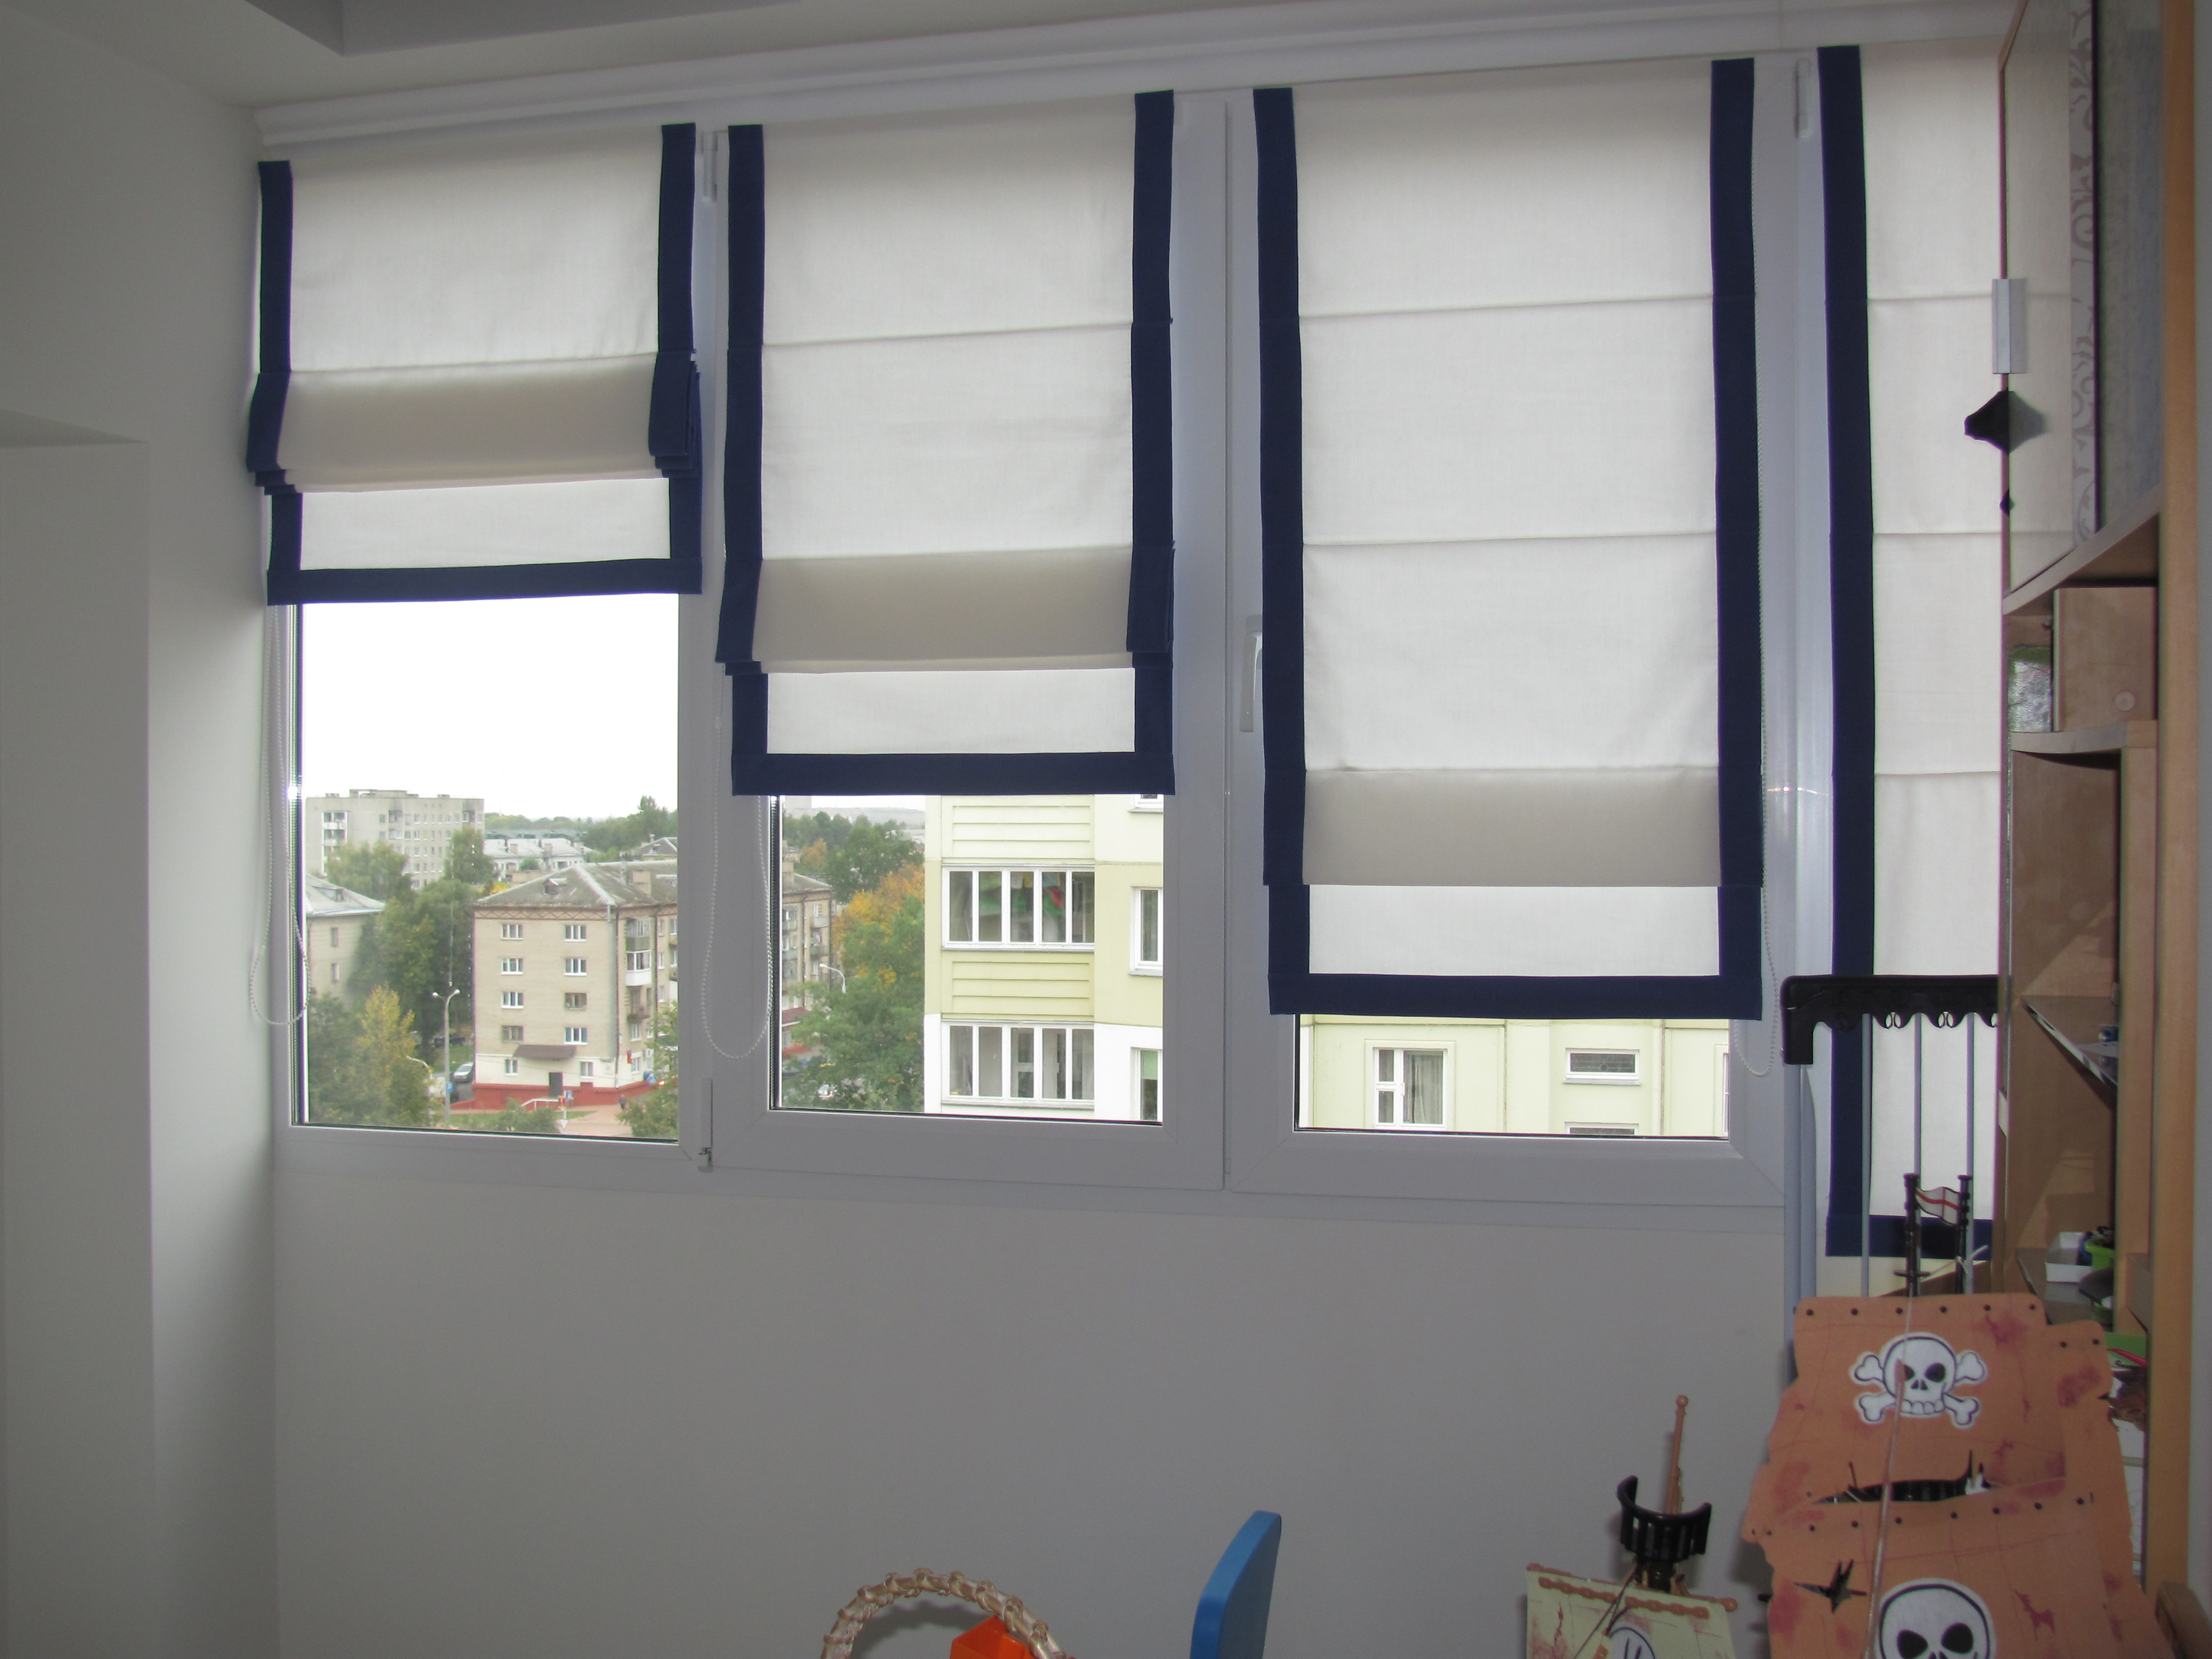
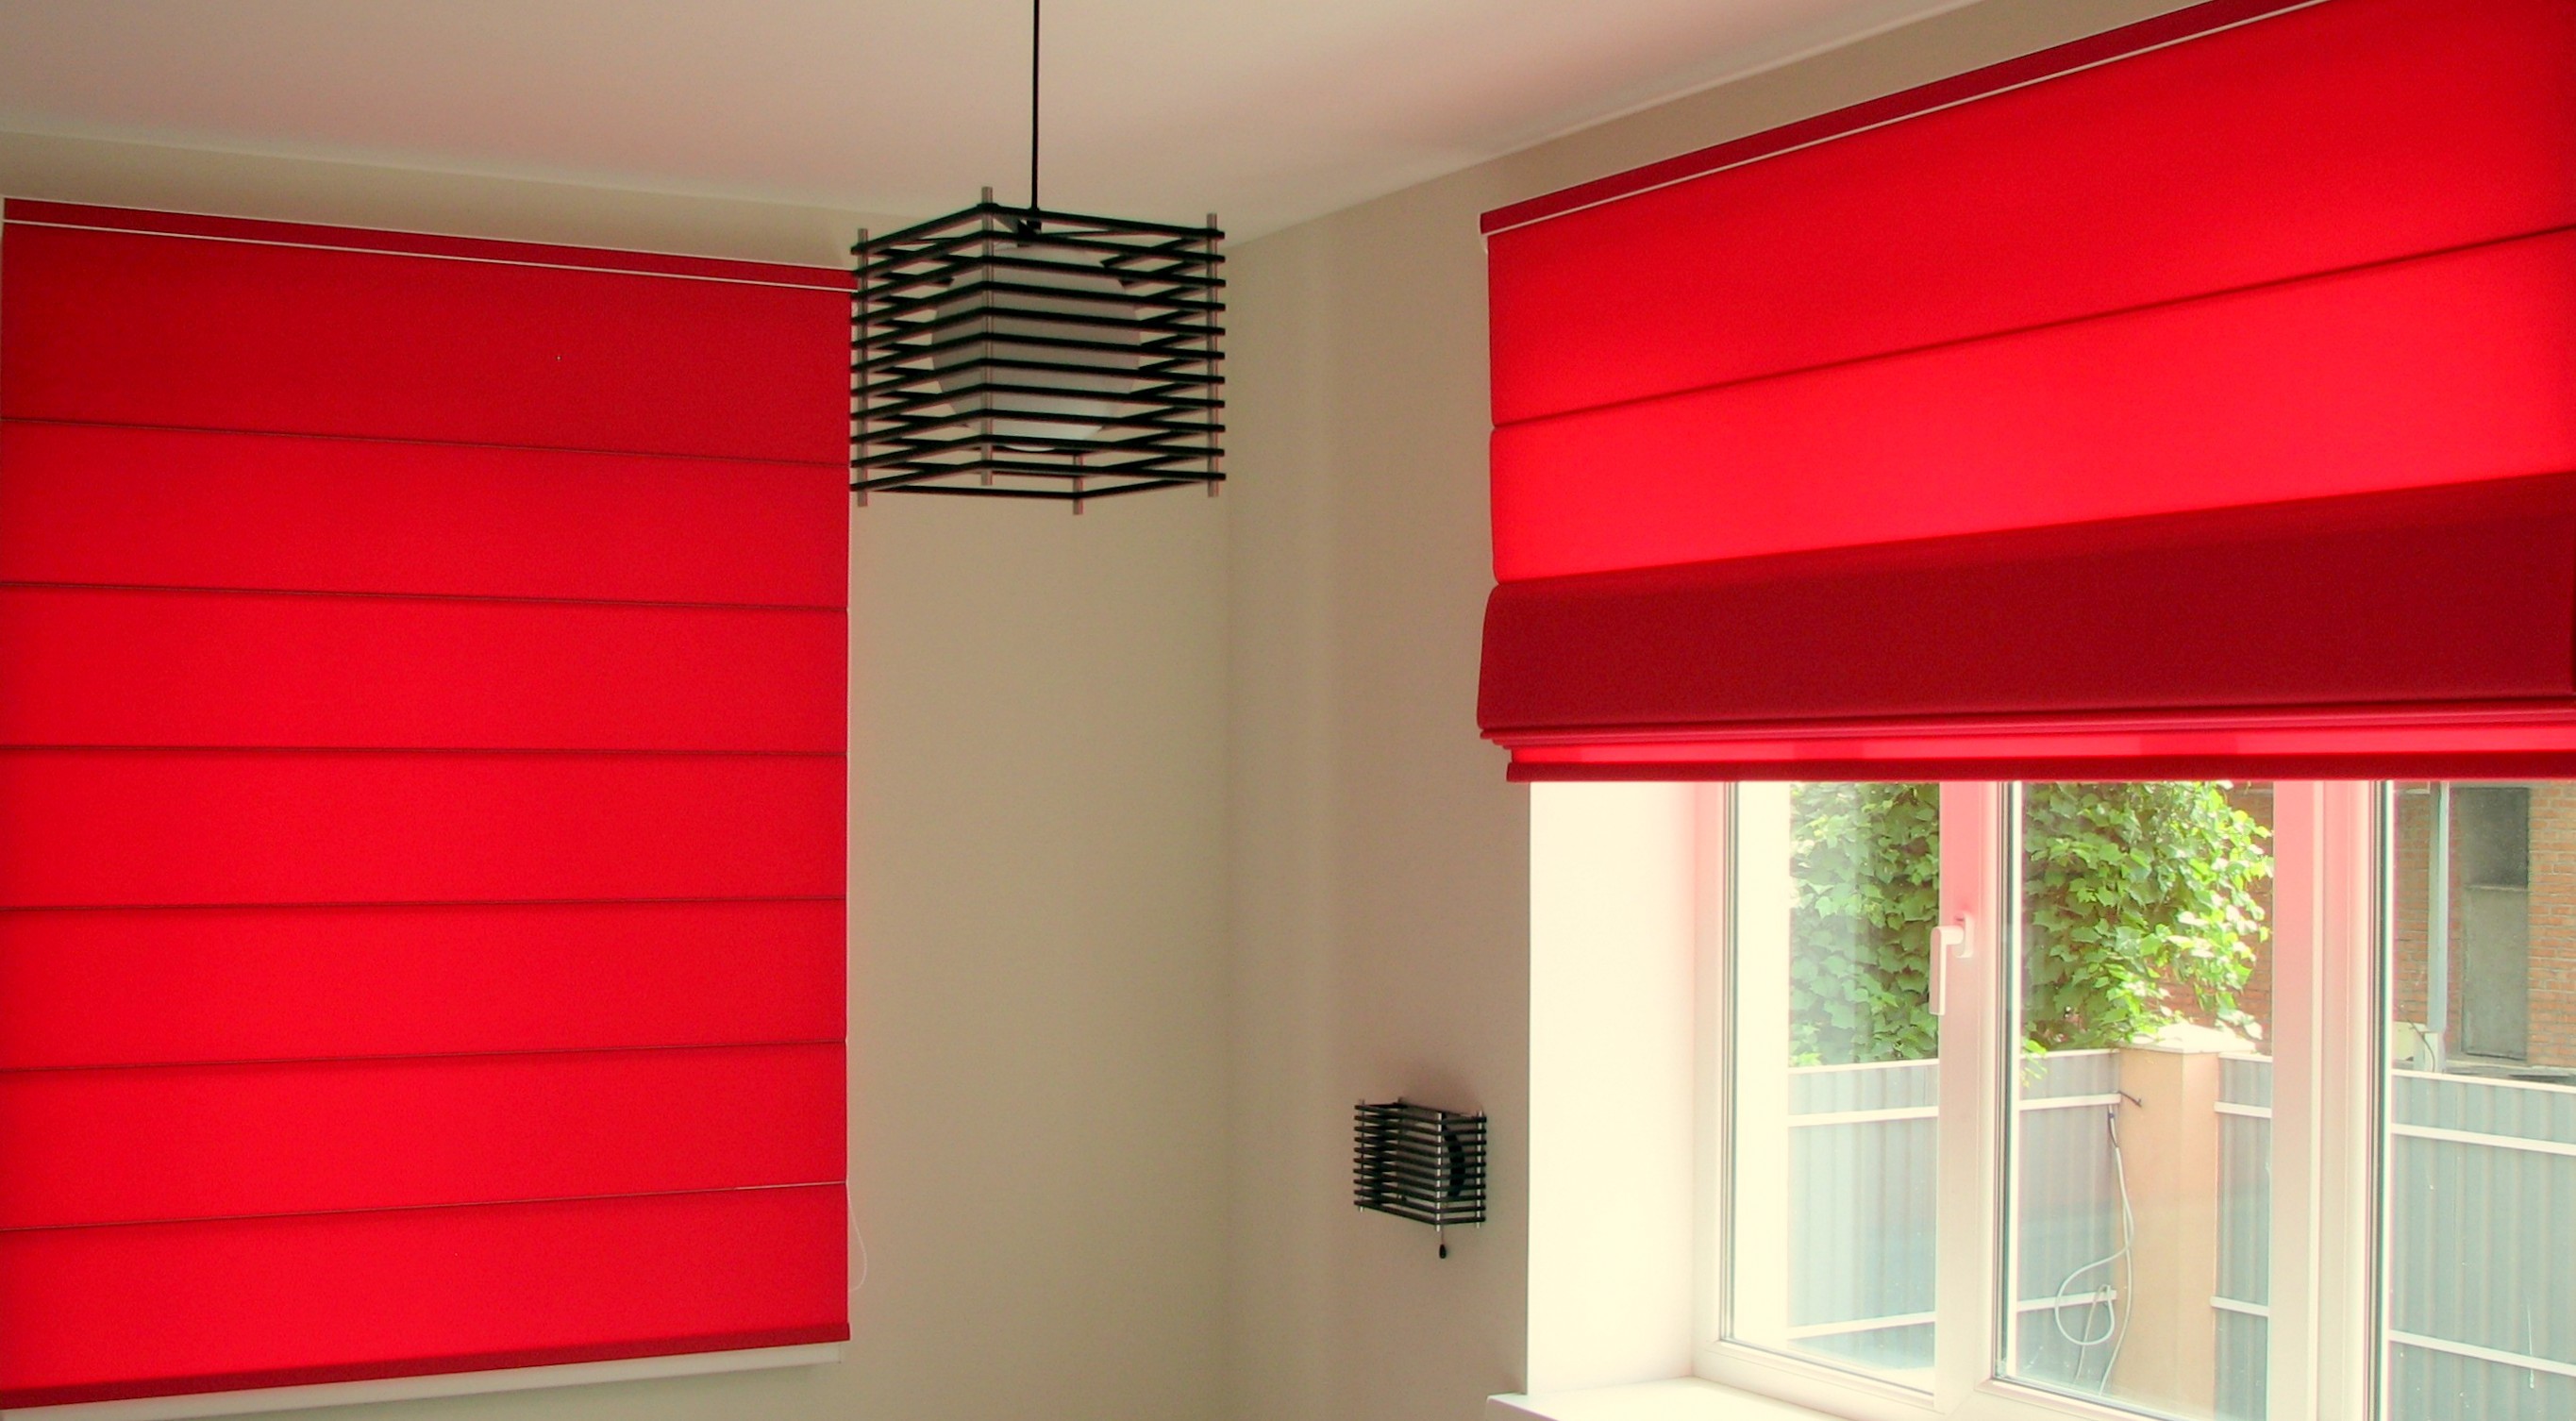
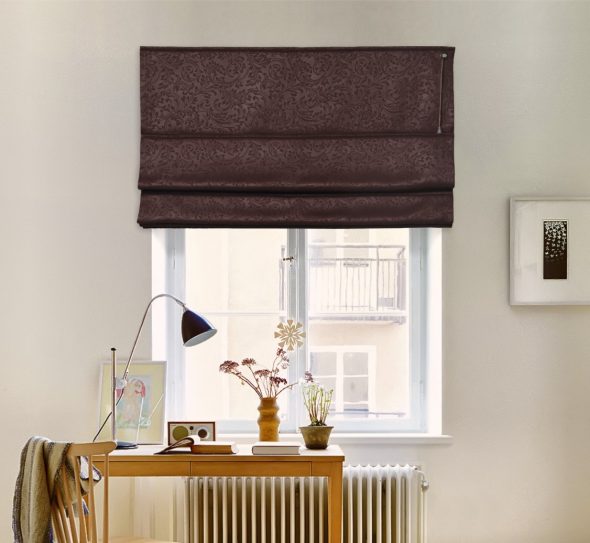
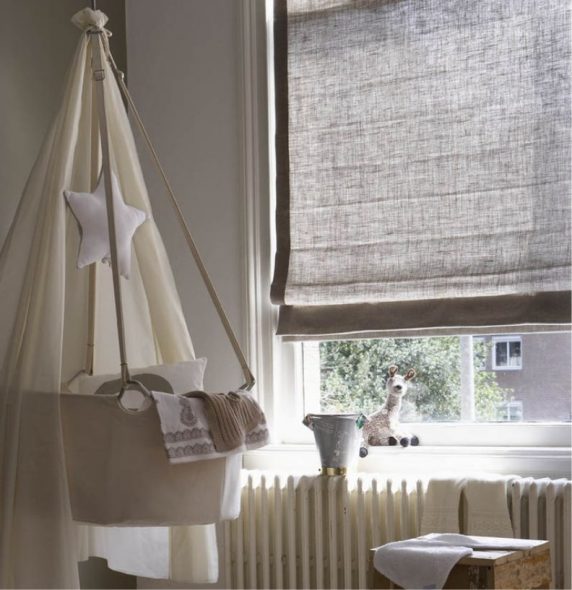
- "Blackout" is a dark material that does not let light through. It is mainly used where maximum darkness is needed, in the bedroom, home theater, children's room. The fabric is dense, often natural.

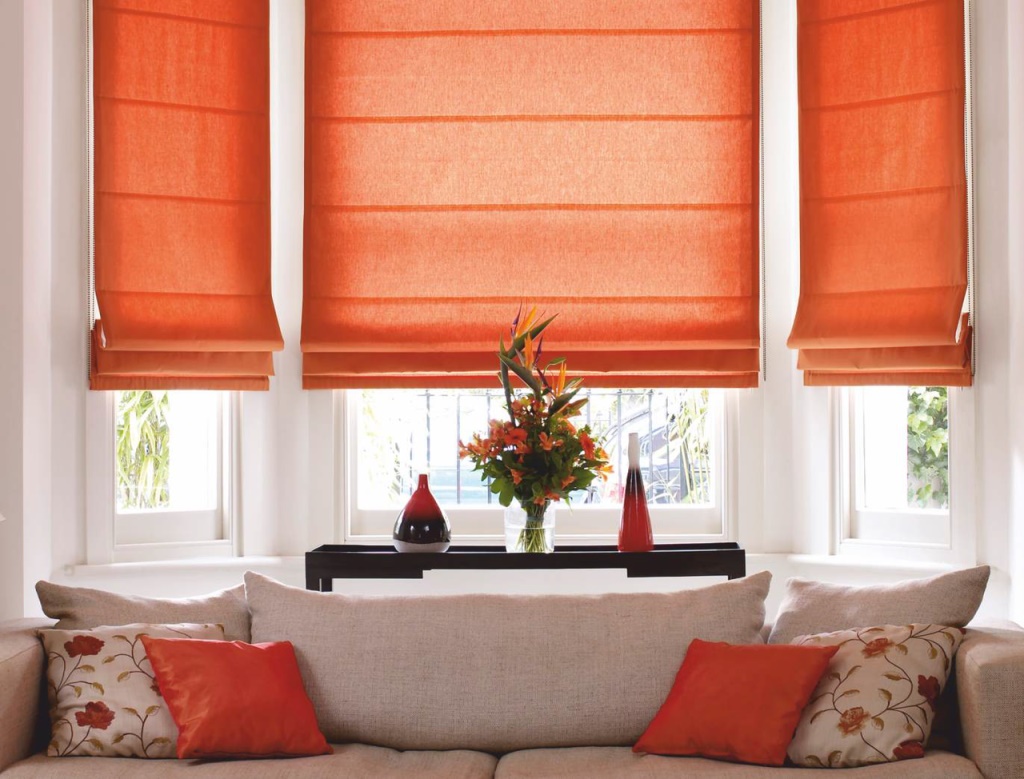
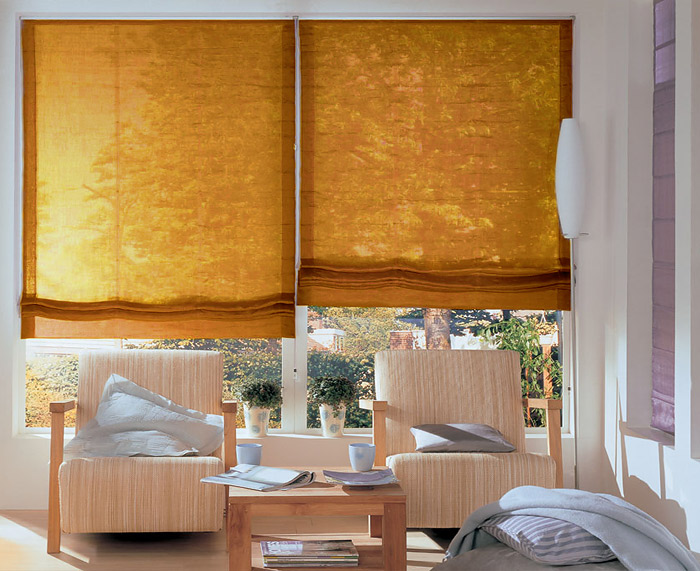
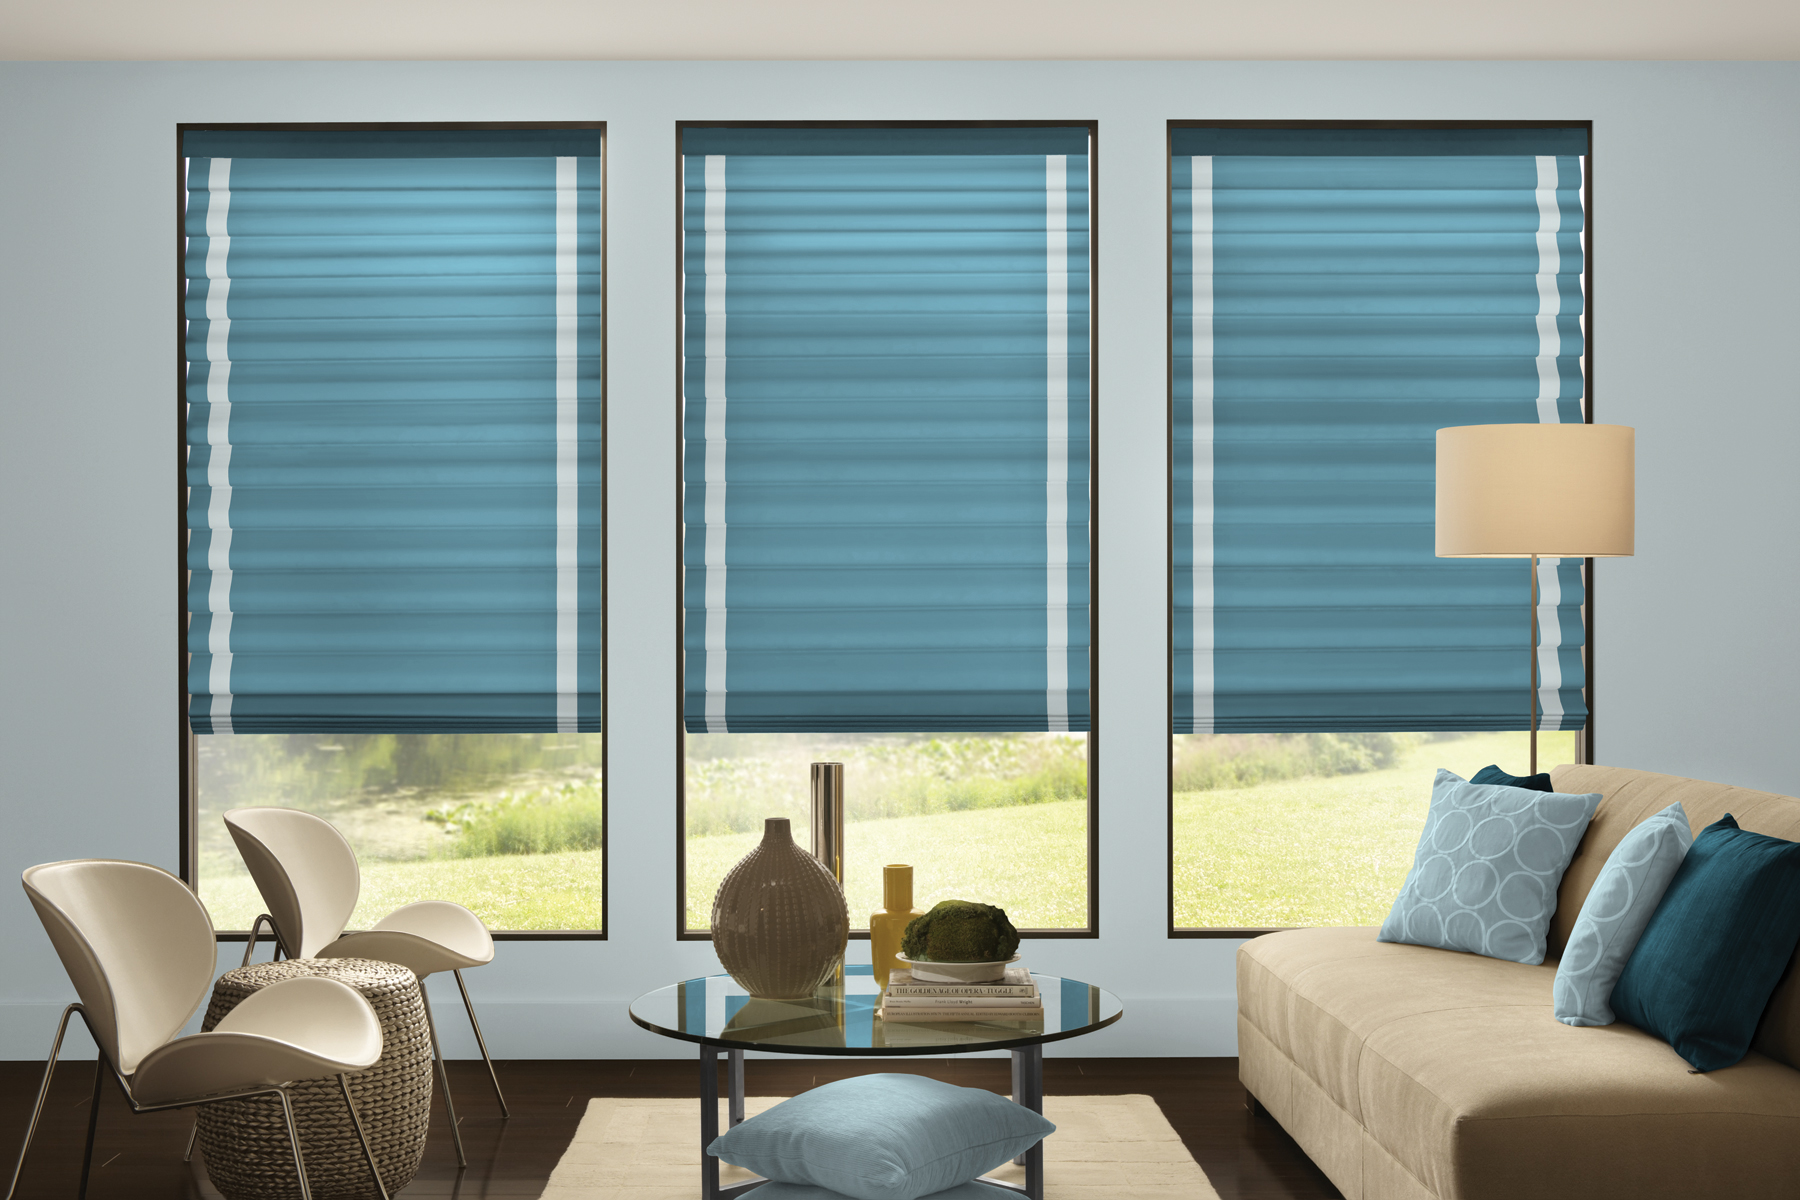
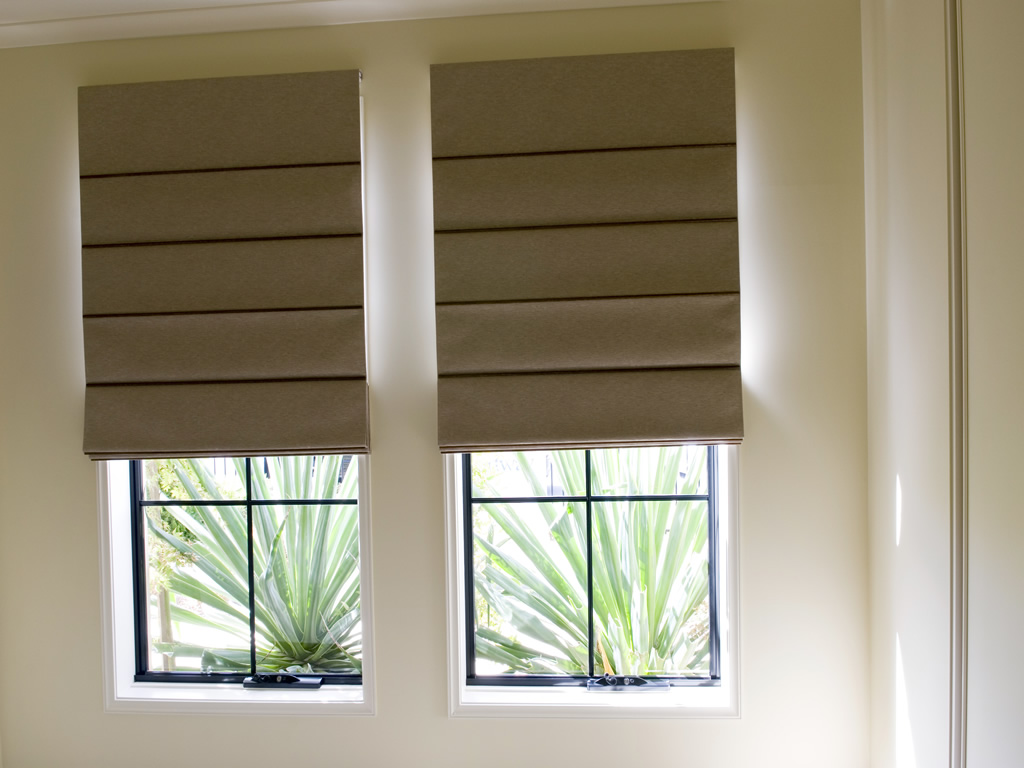
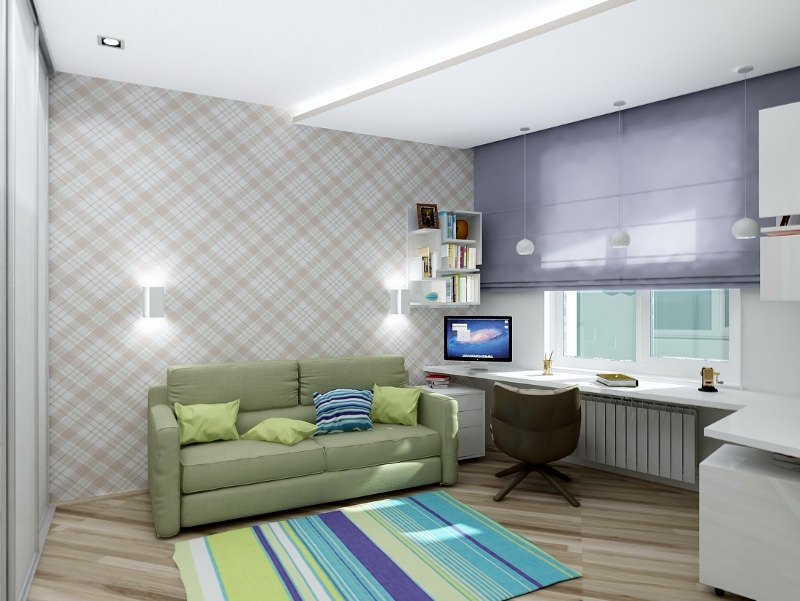
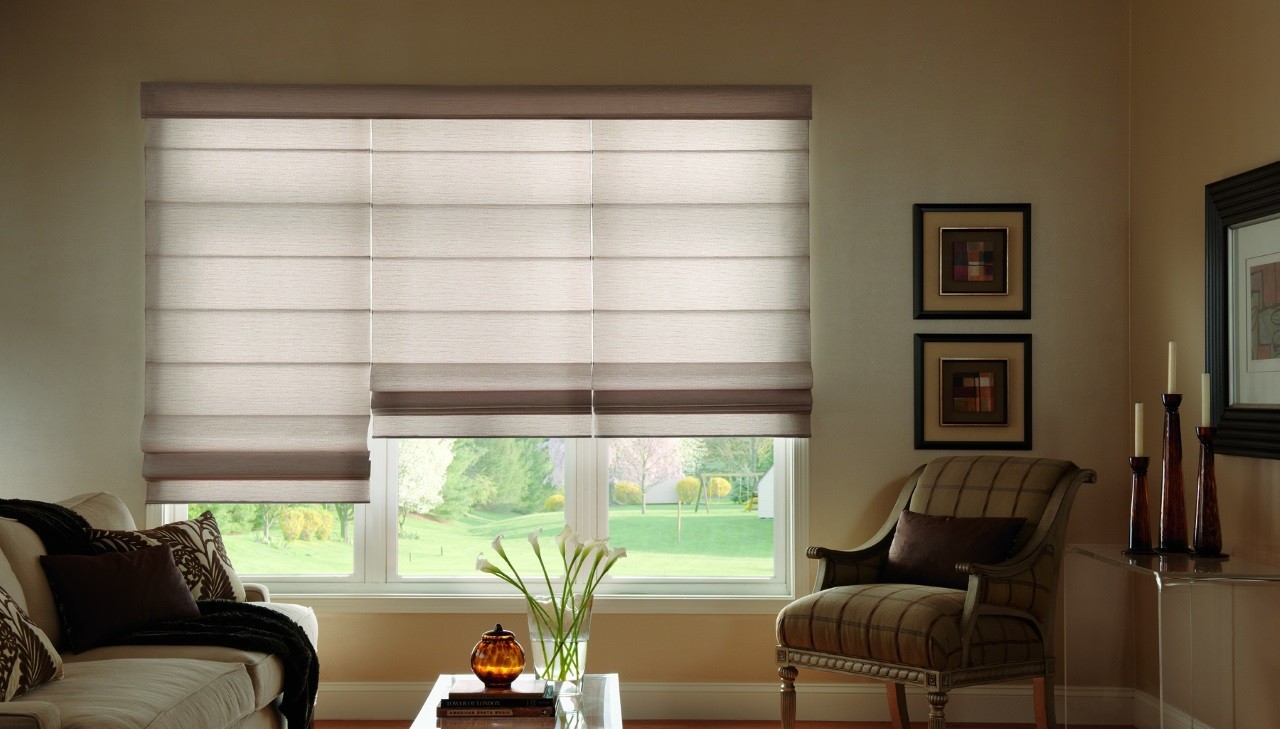
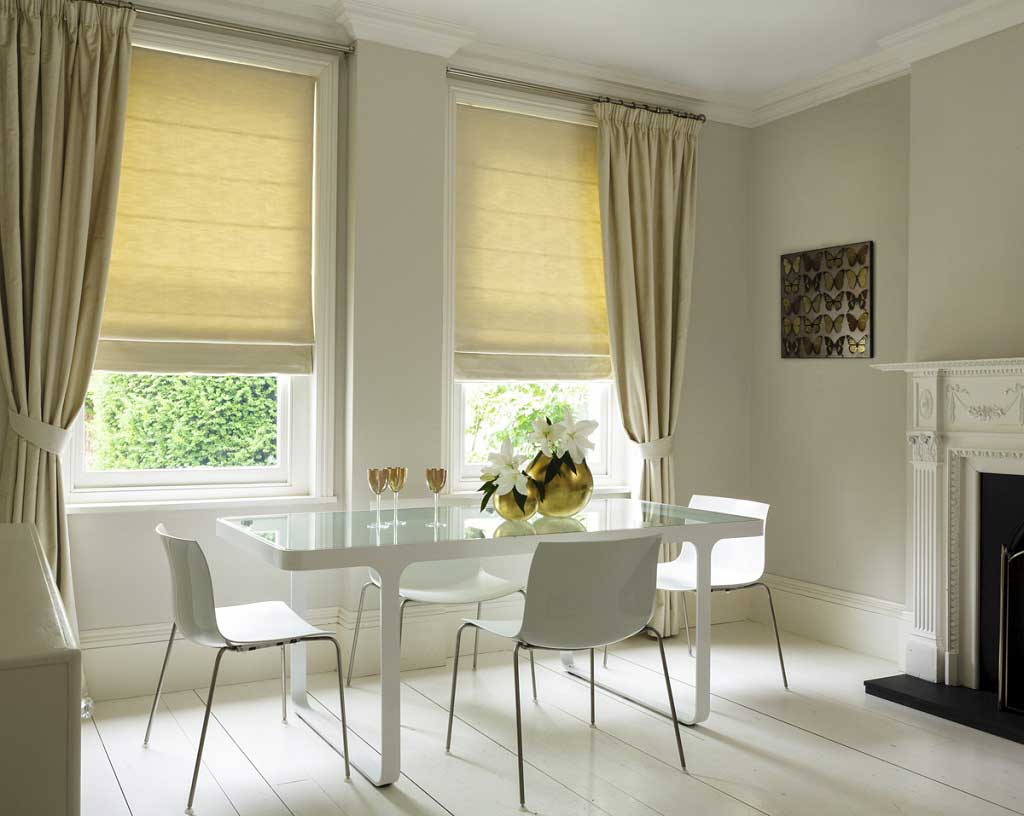
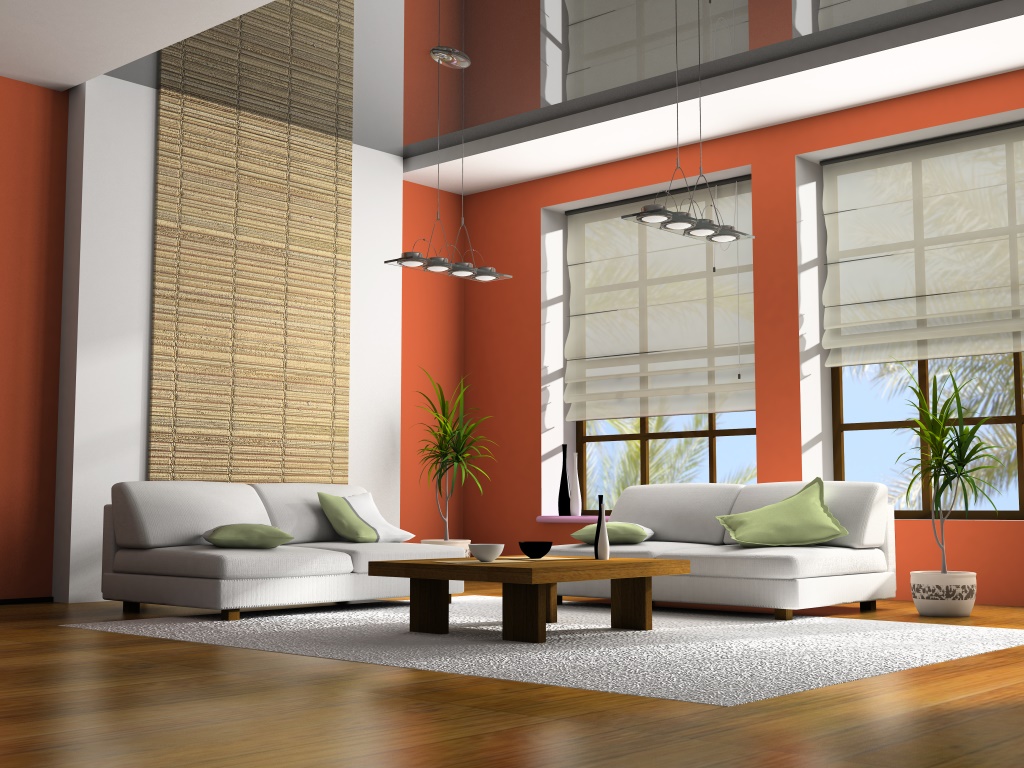
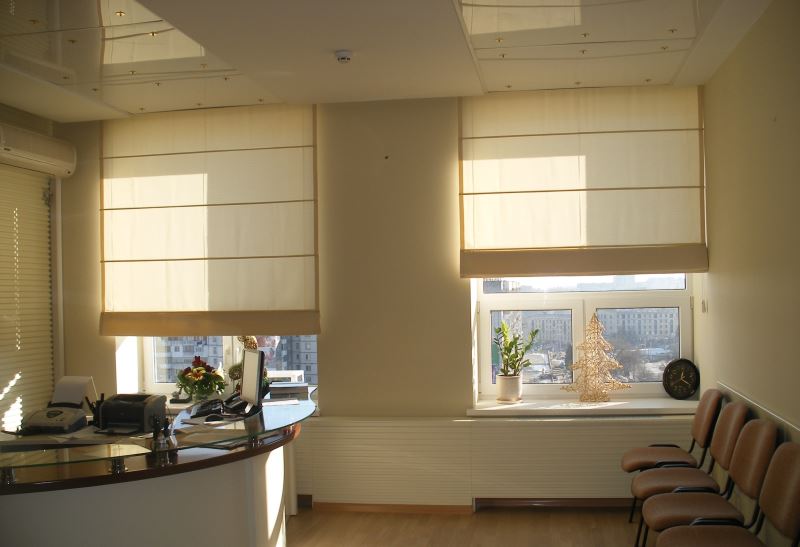
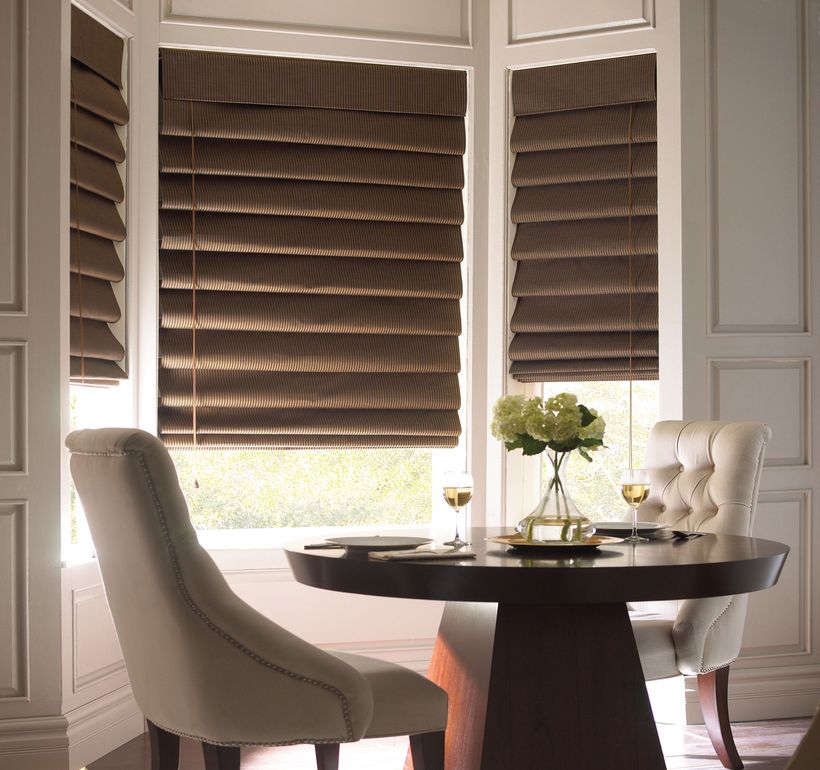
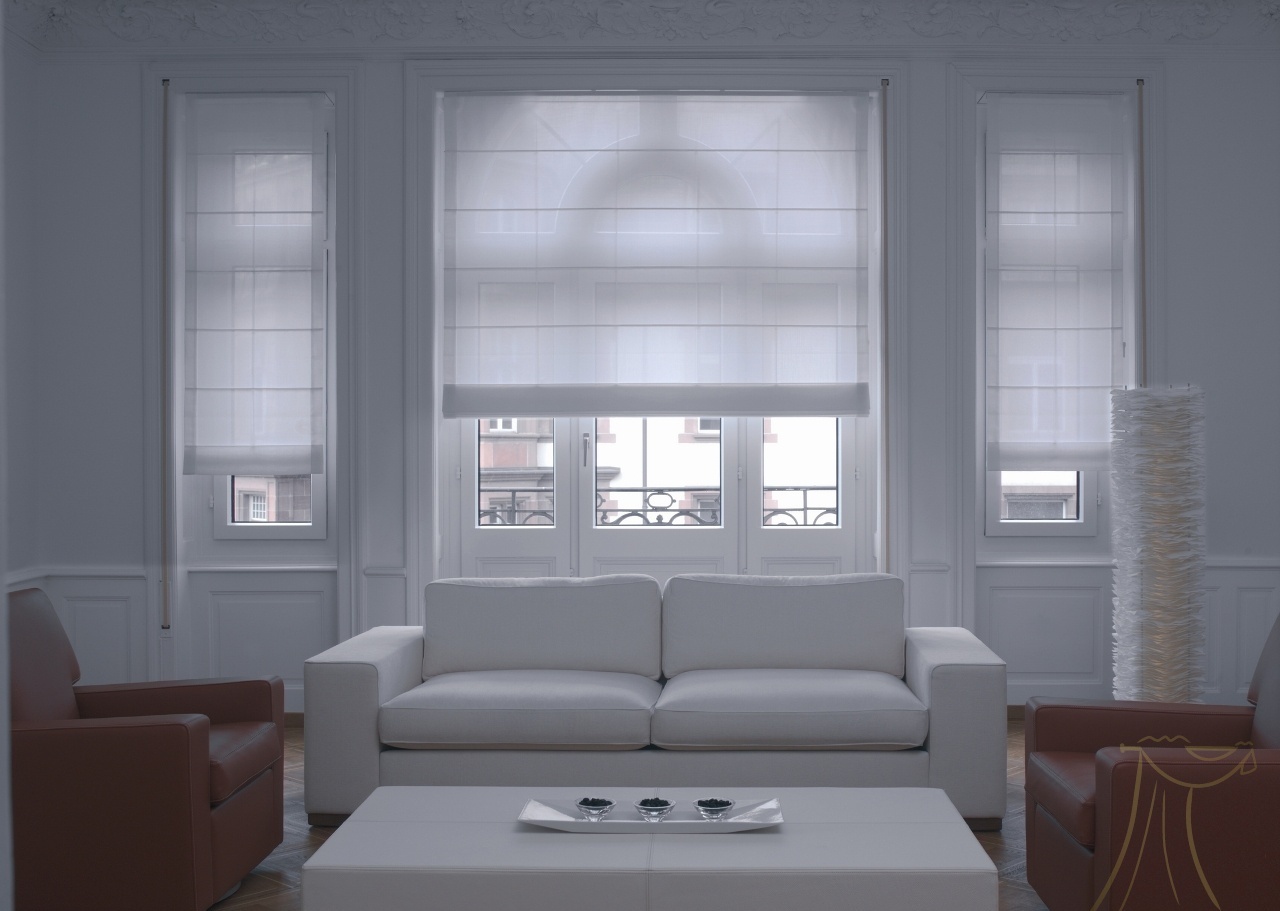
Universal blackout roman blinds in chocolate color made of darkening fabric - "Dimout" - translucent materials, but not tulle or muslin. They let through about 30% of the light flow. They are good for decoration, and are optimally combined with traditional curtains. They are suitable for rooms where people not only relax, but also receive guests and work. They are used in the dining room, living room, library, and study.

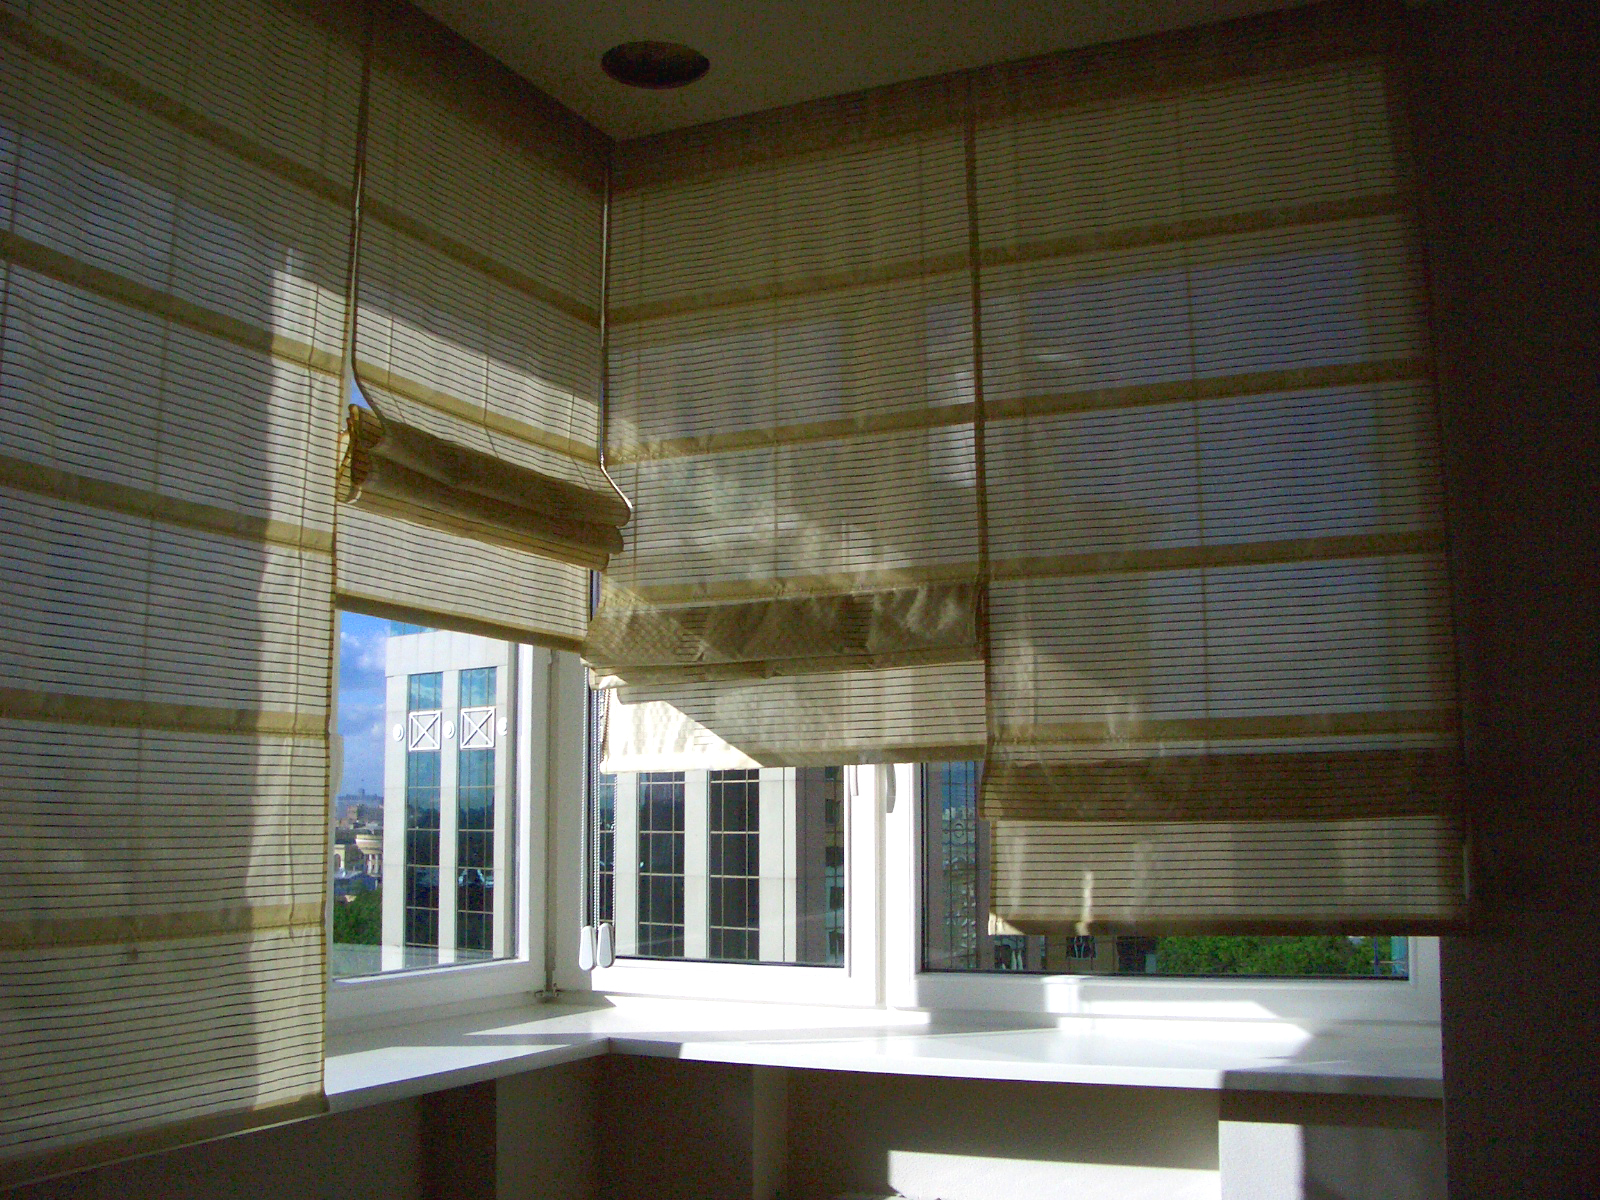
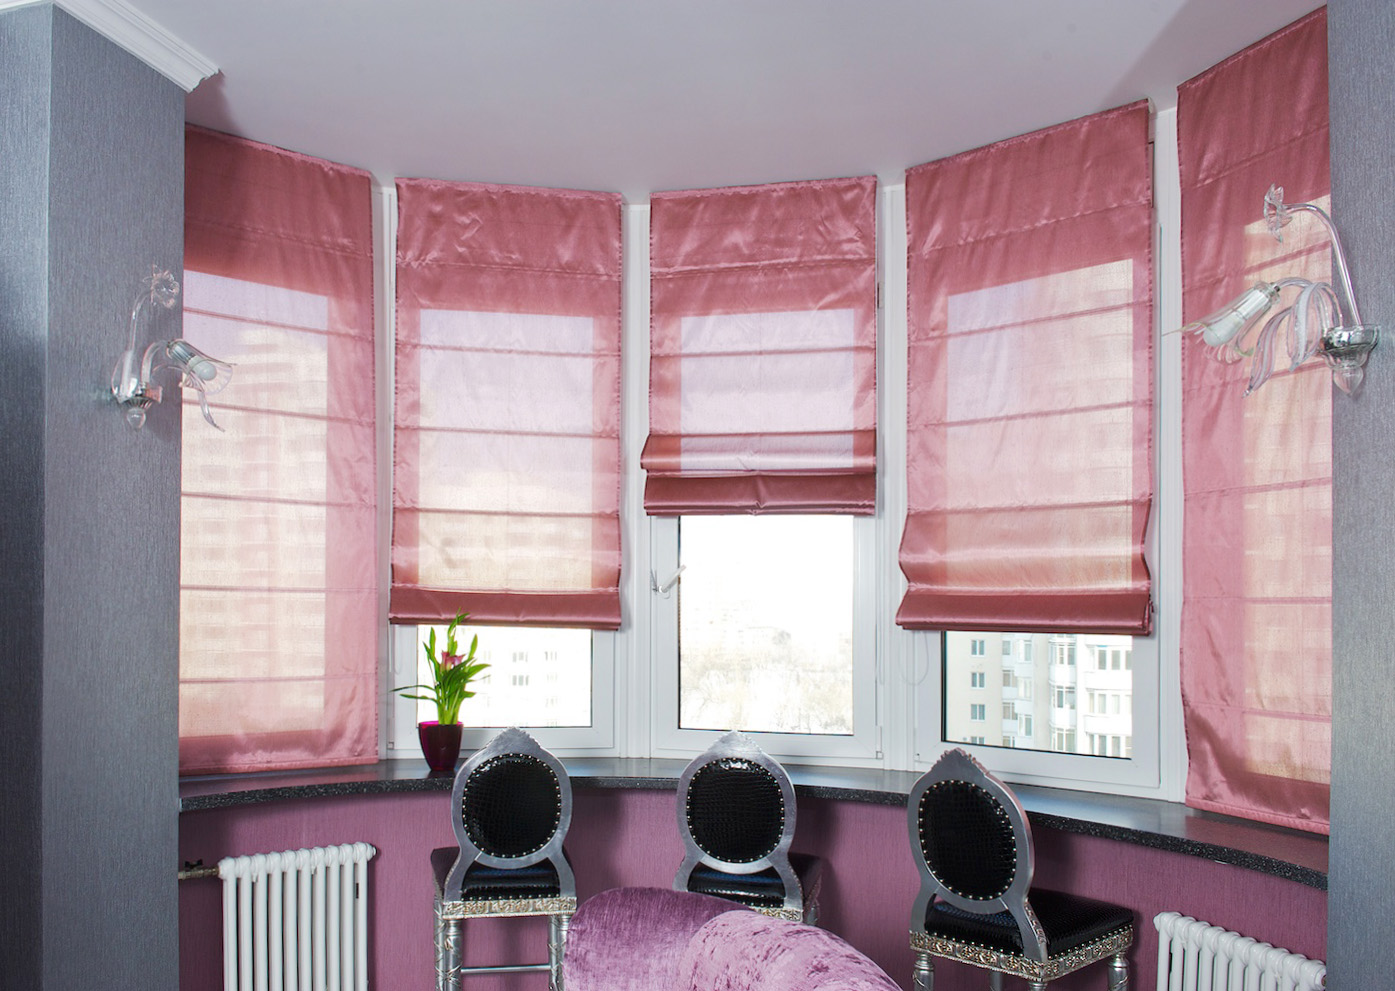
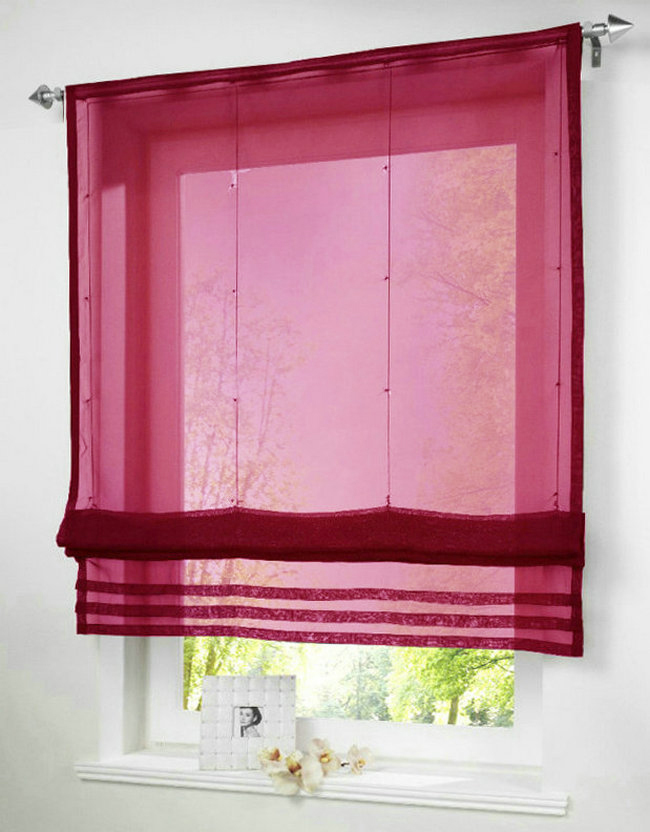
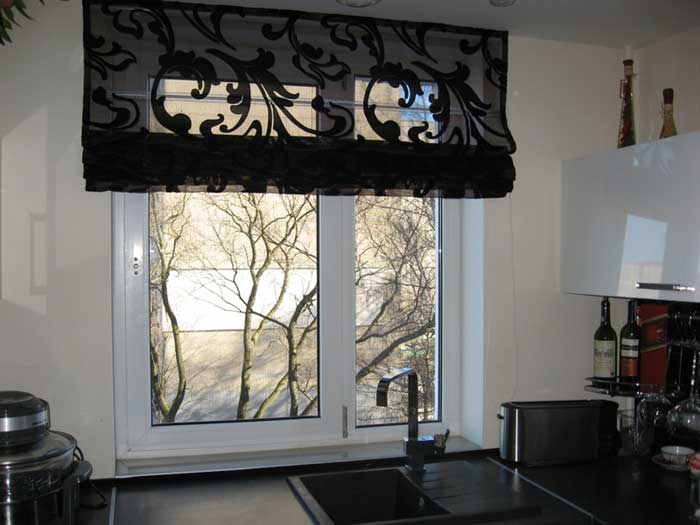
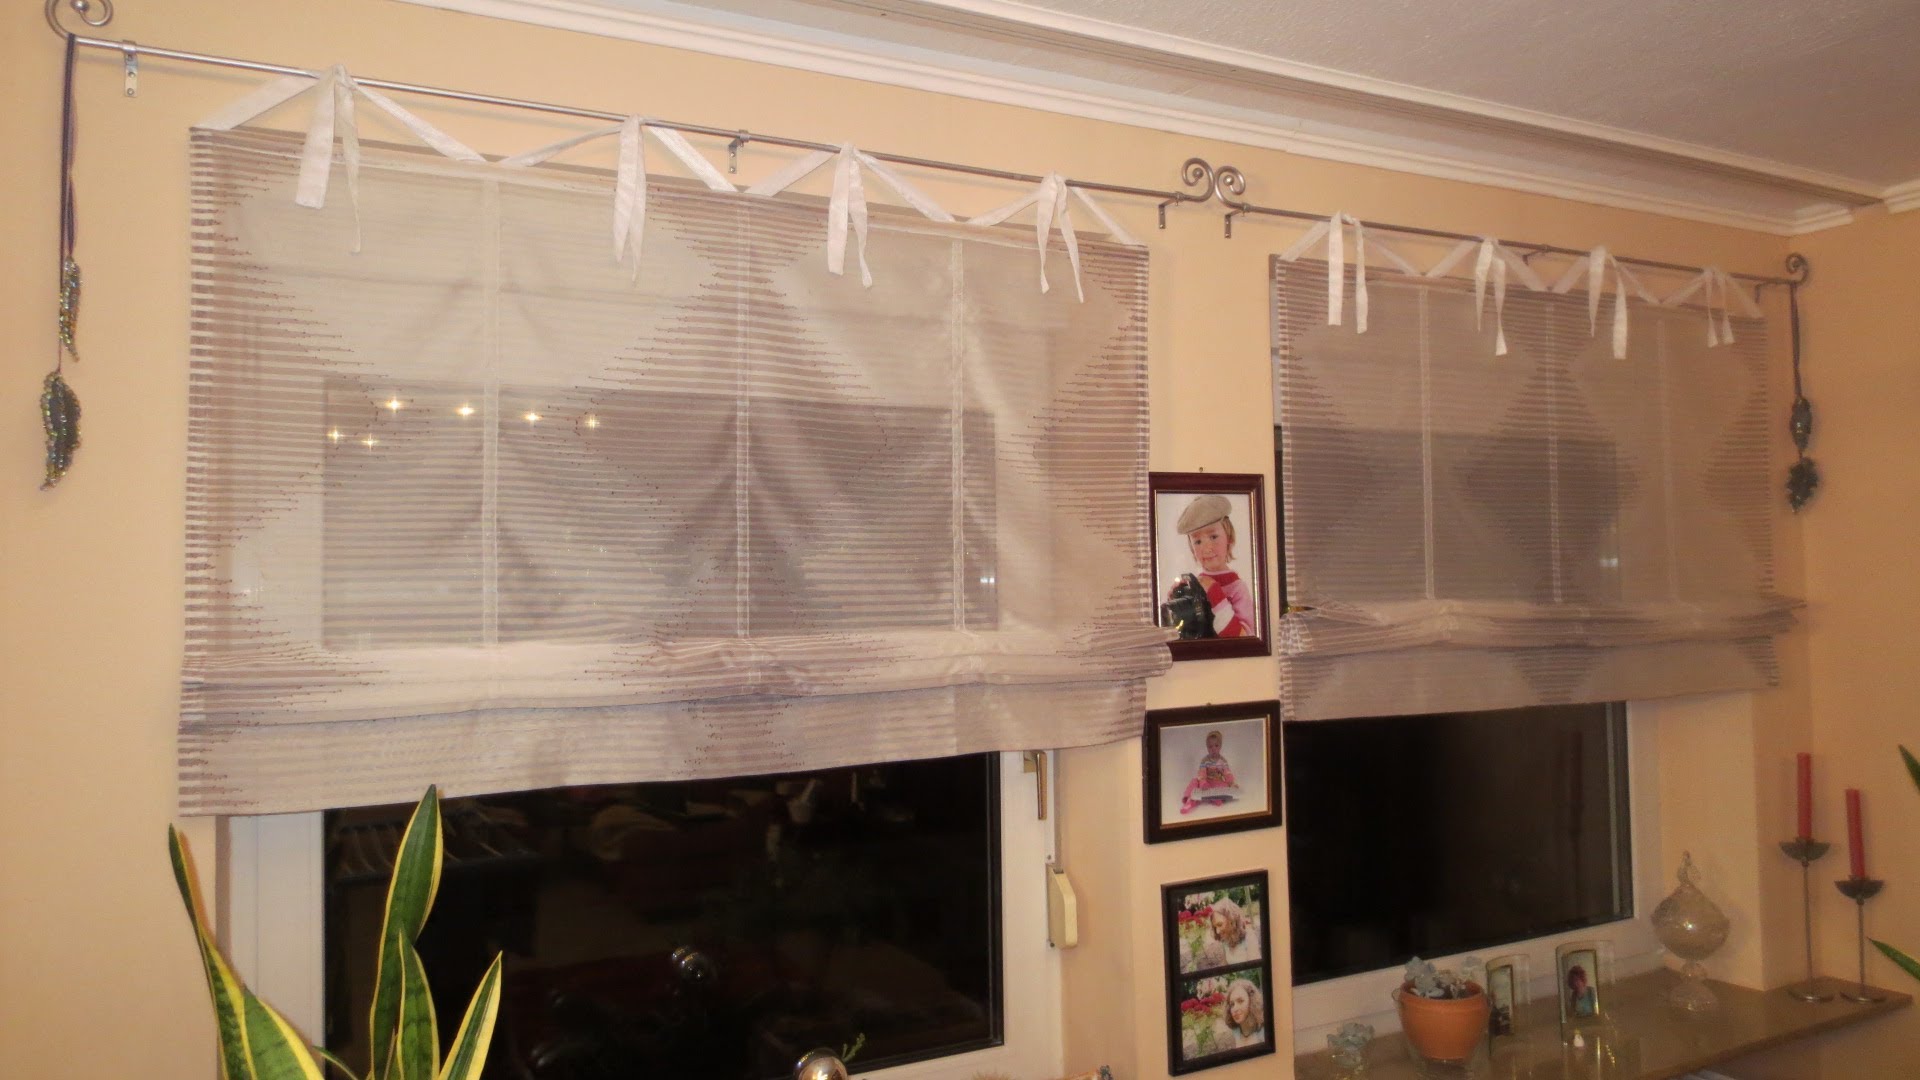
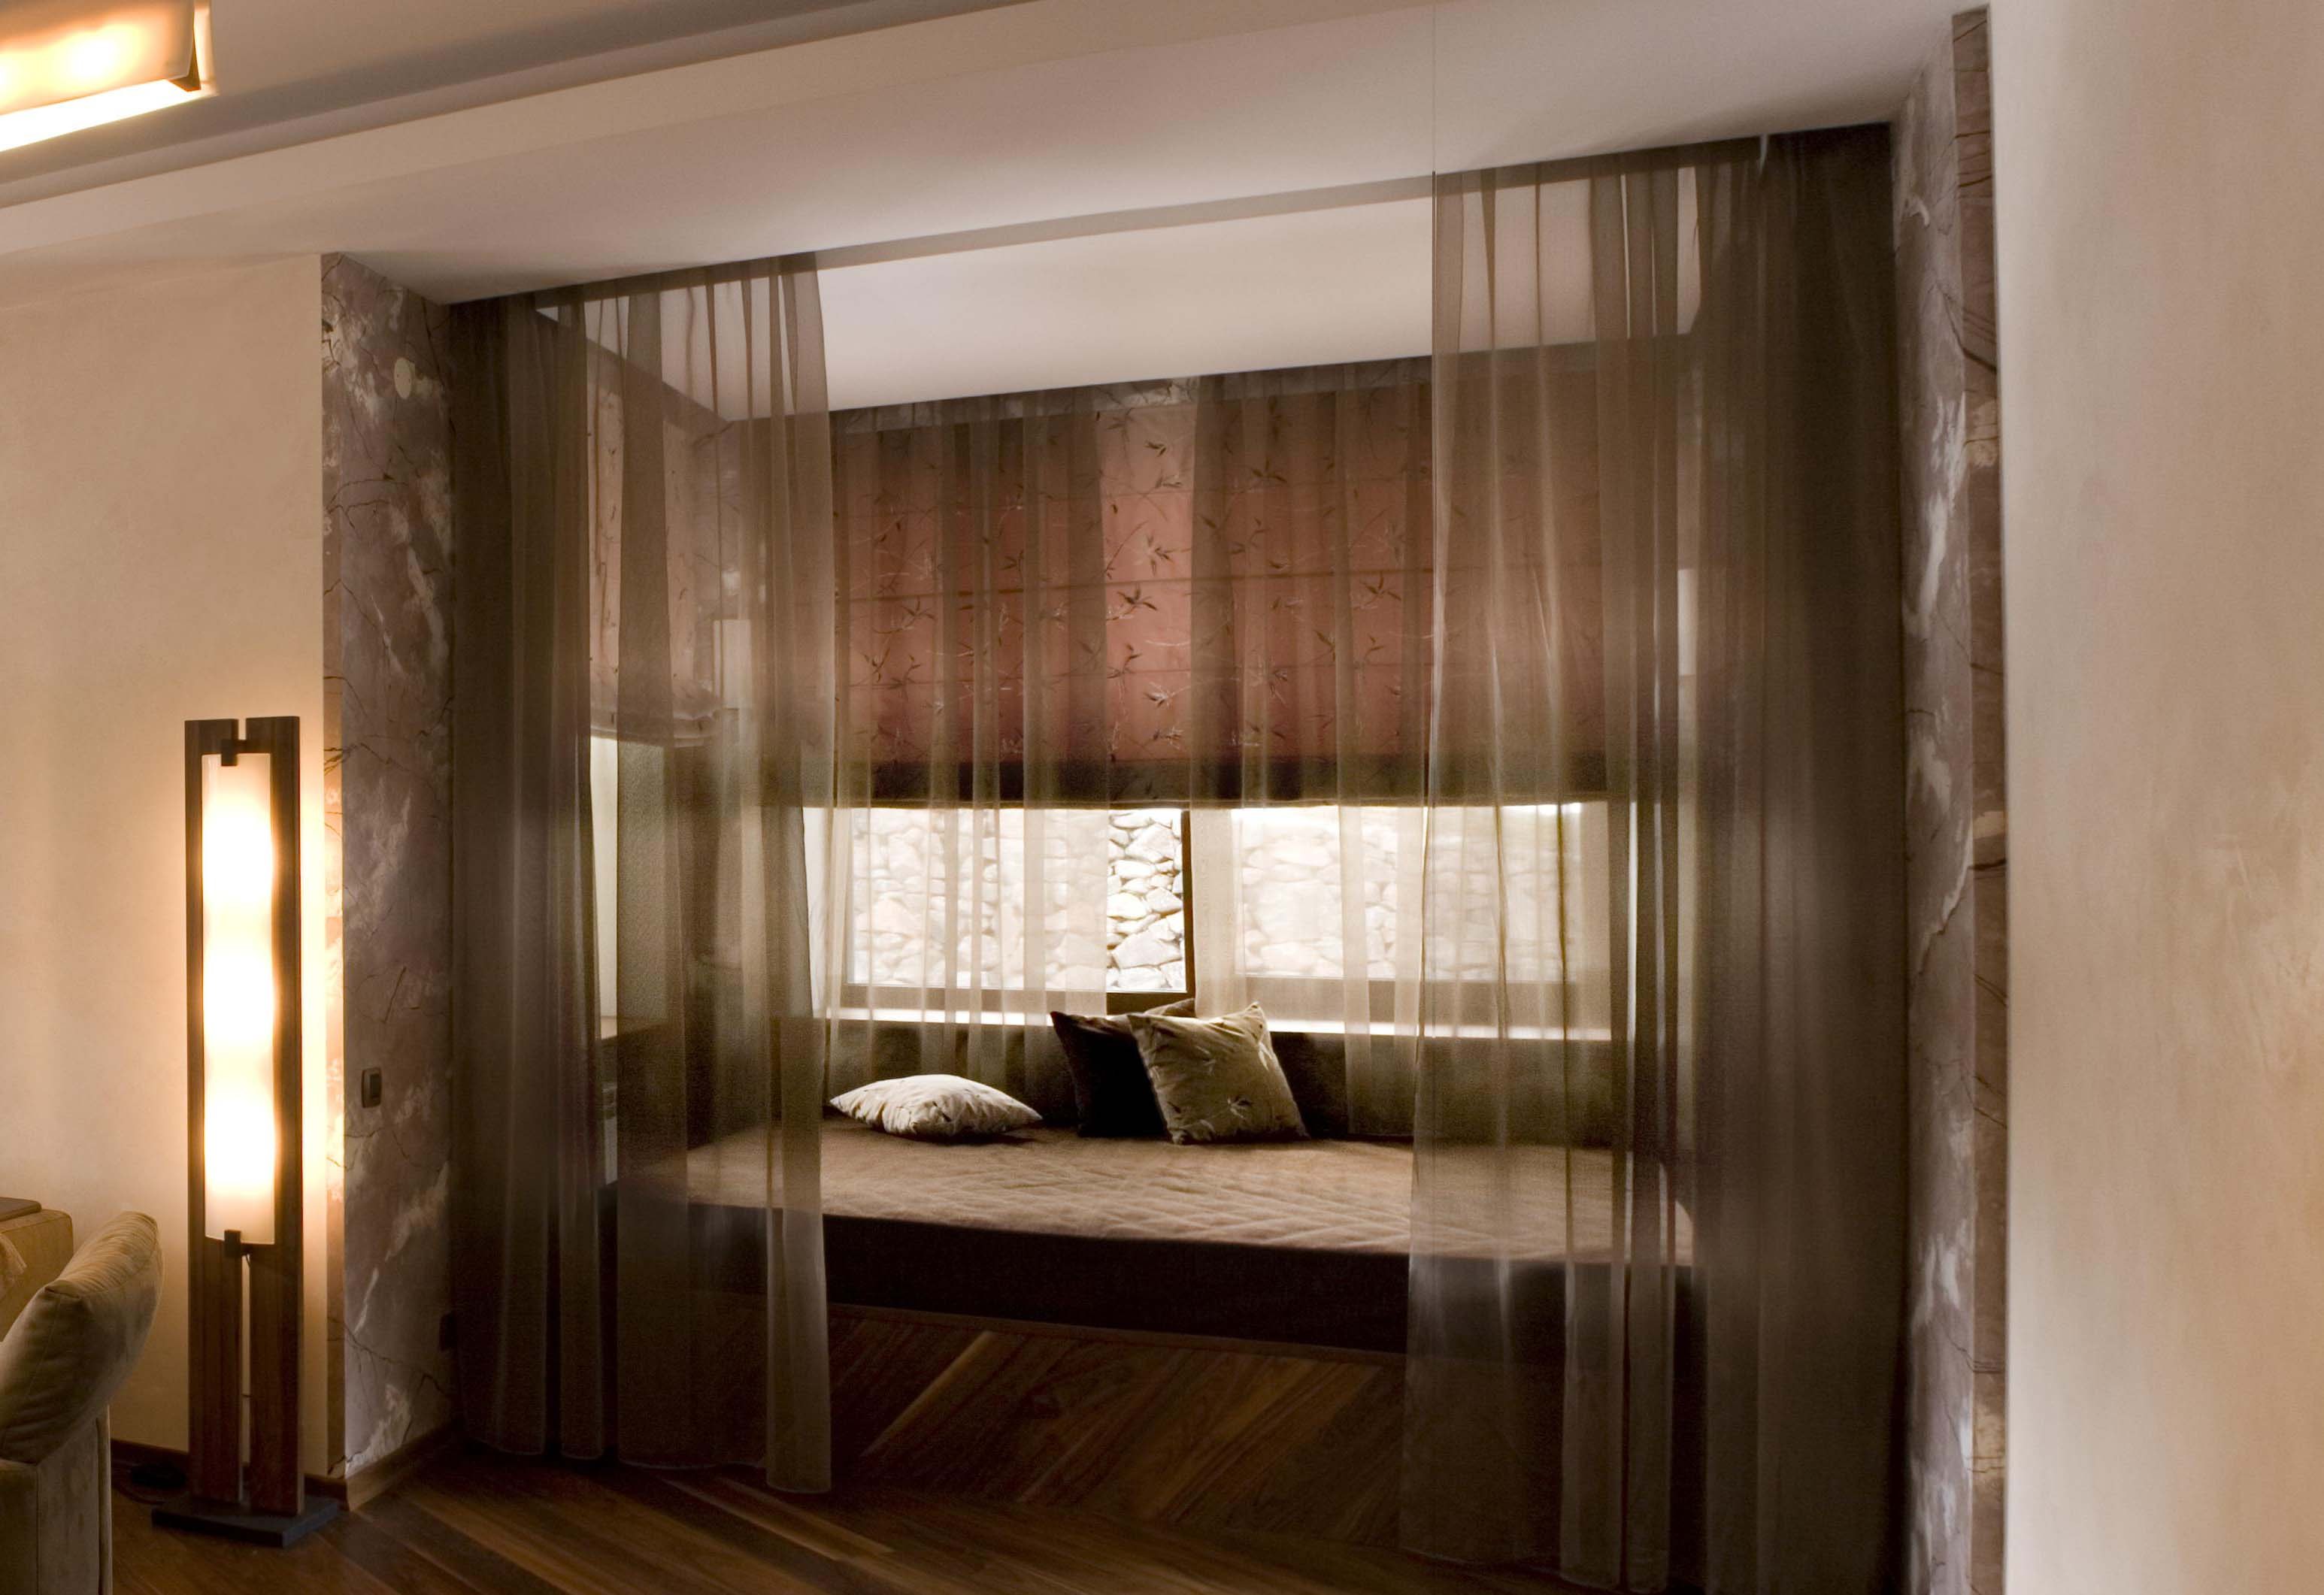
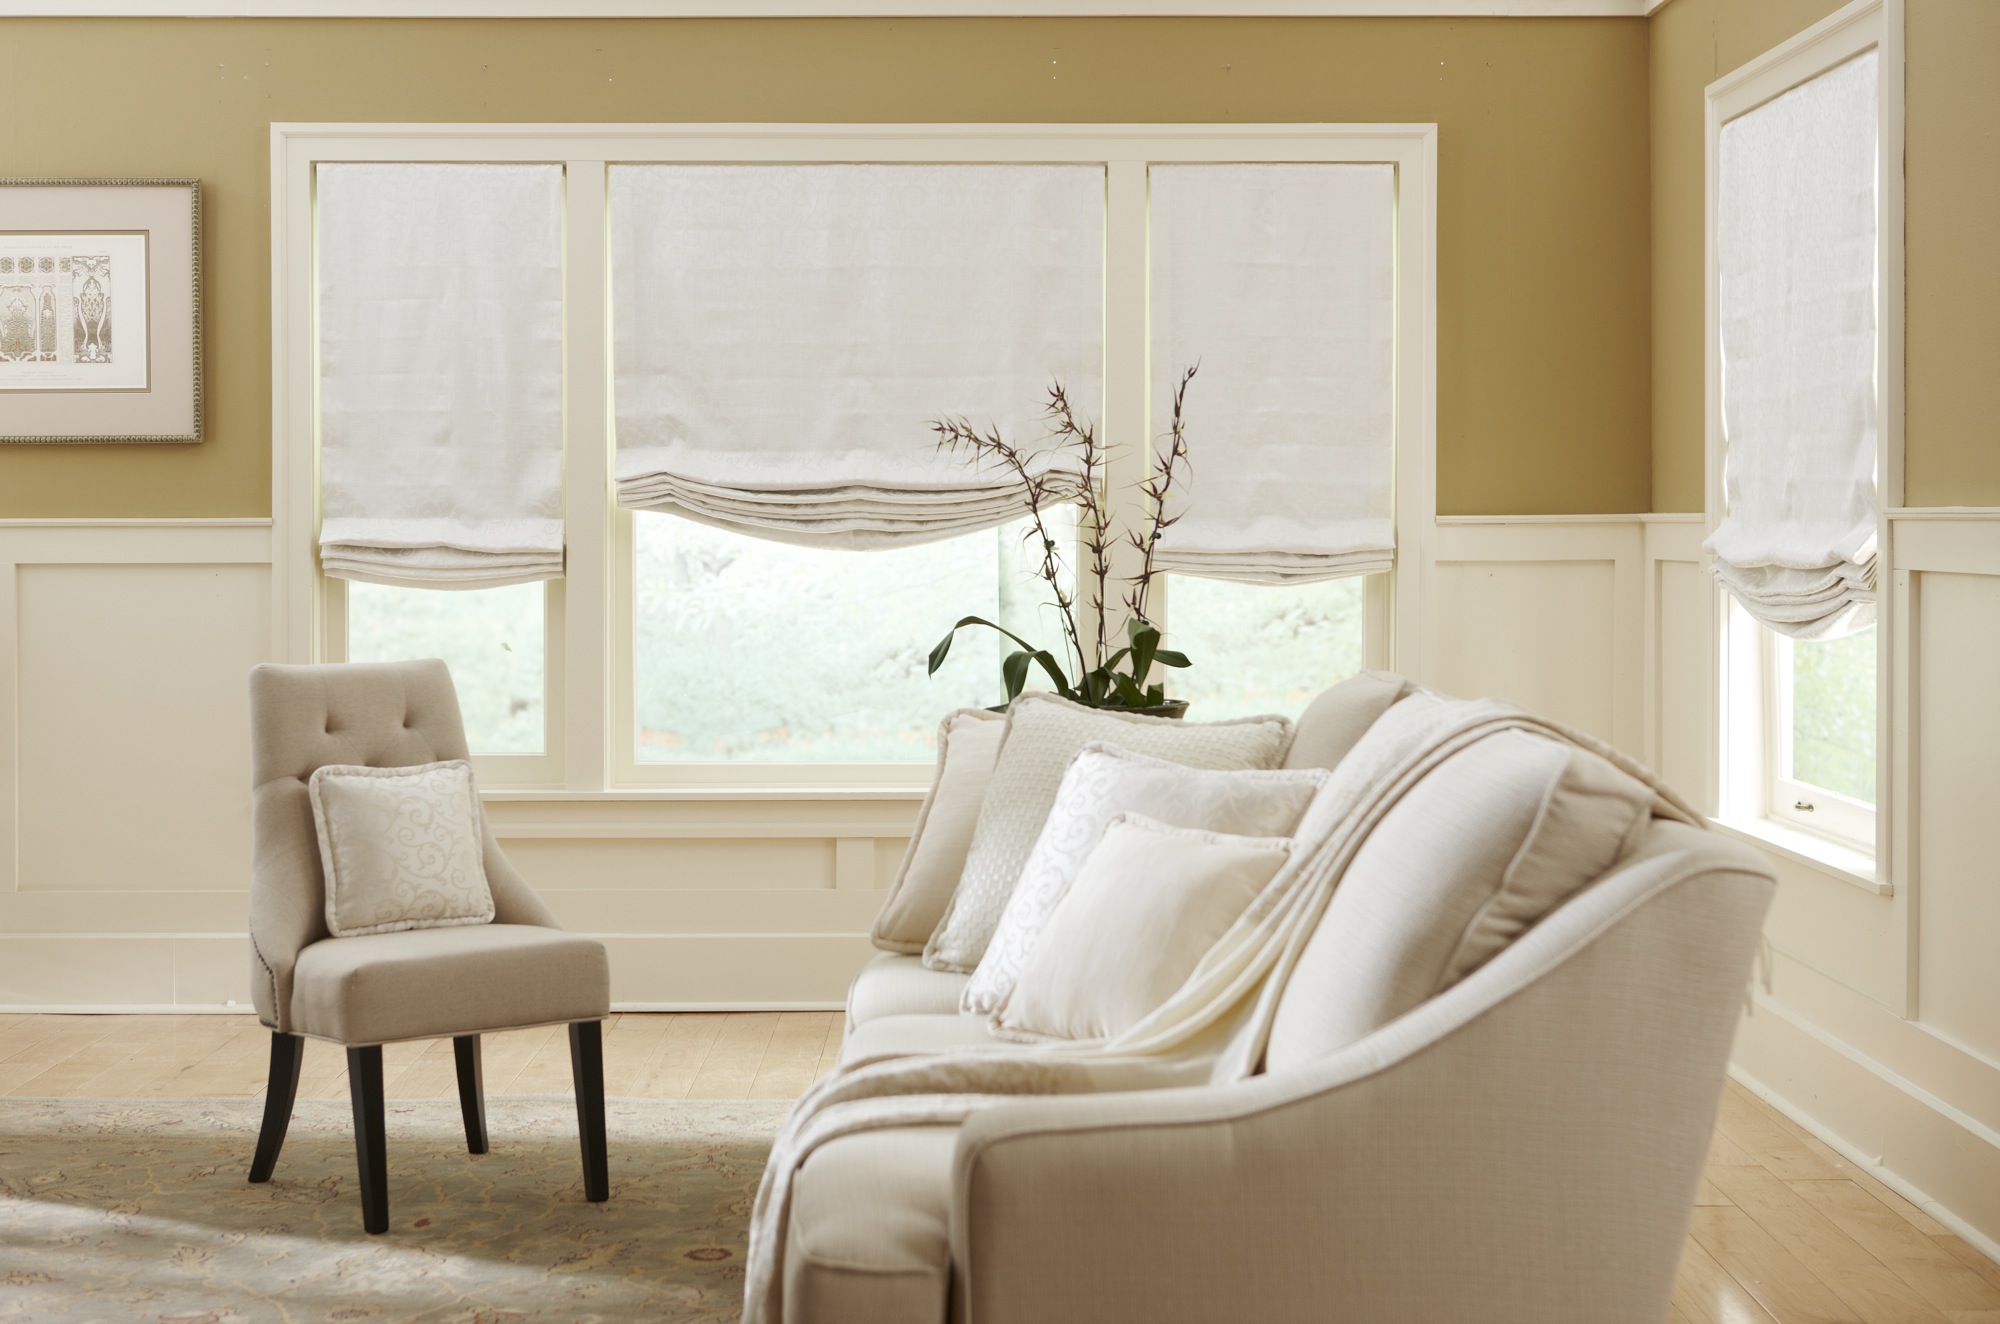
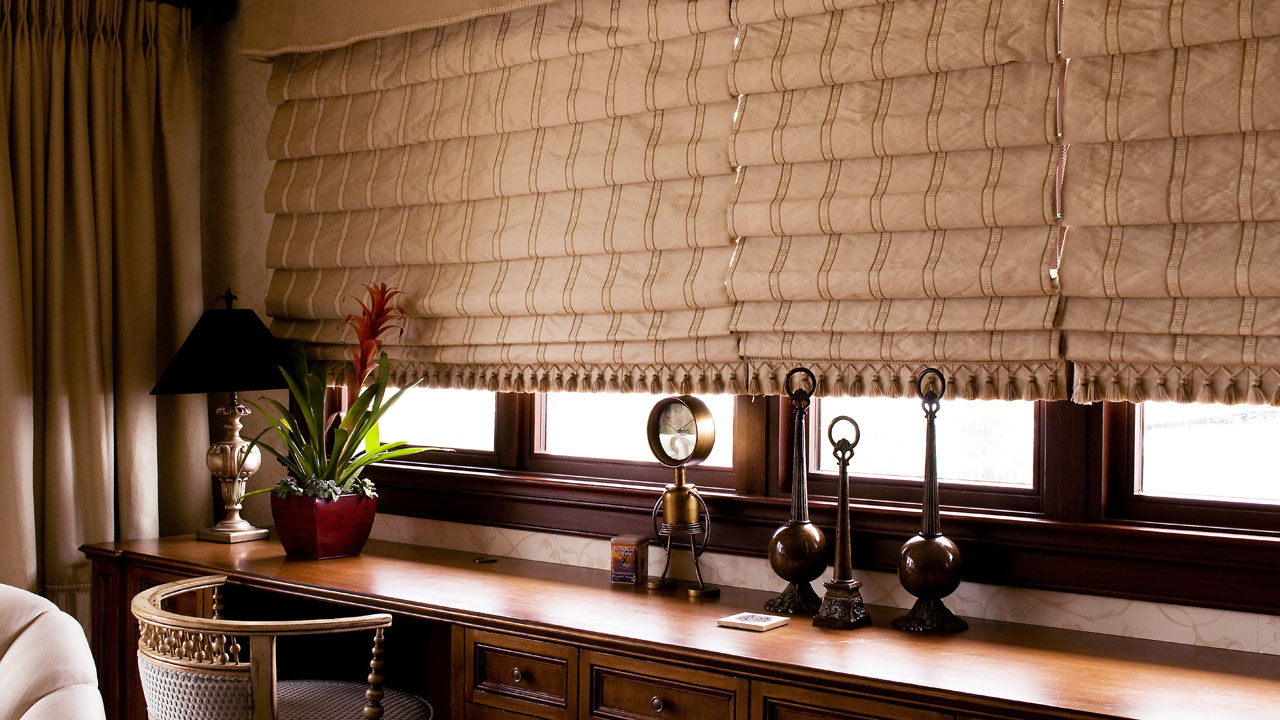
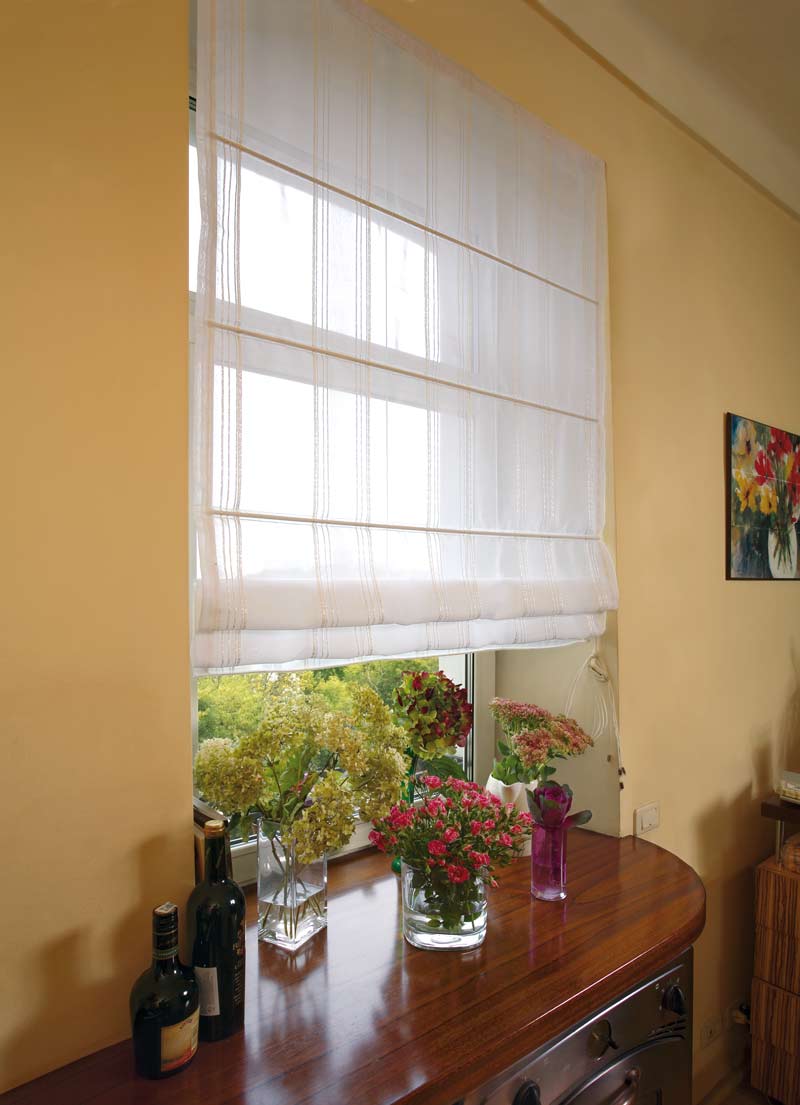
Roman blinds dimout partially transmit light, but do not transmit the heat of the sun's rays - Completely transparent materials - tulle, organza, tulle mesh. Used alone or combined with other materials. The functional load of such curtains is not great, their main task is to create a harmonious decor, a beautiful interior.

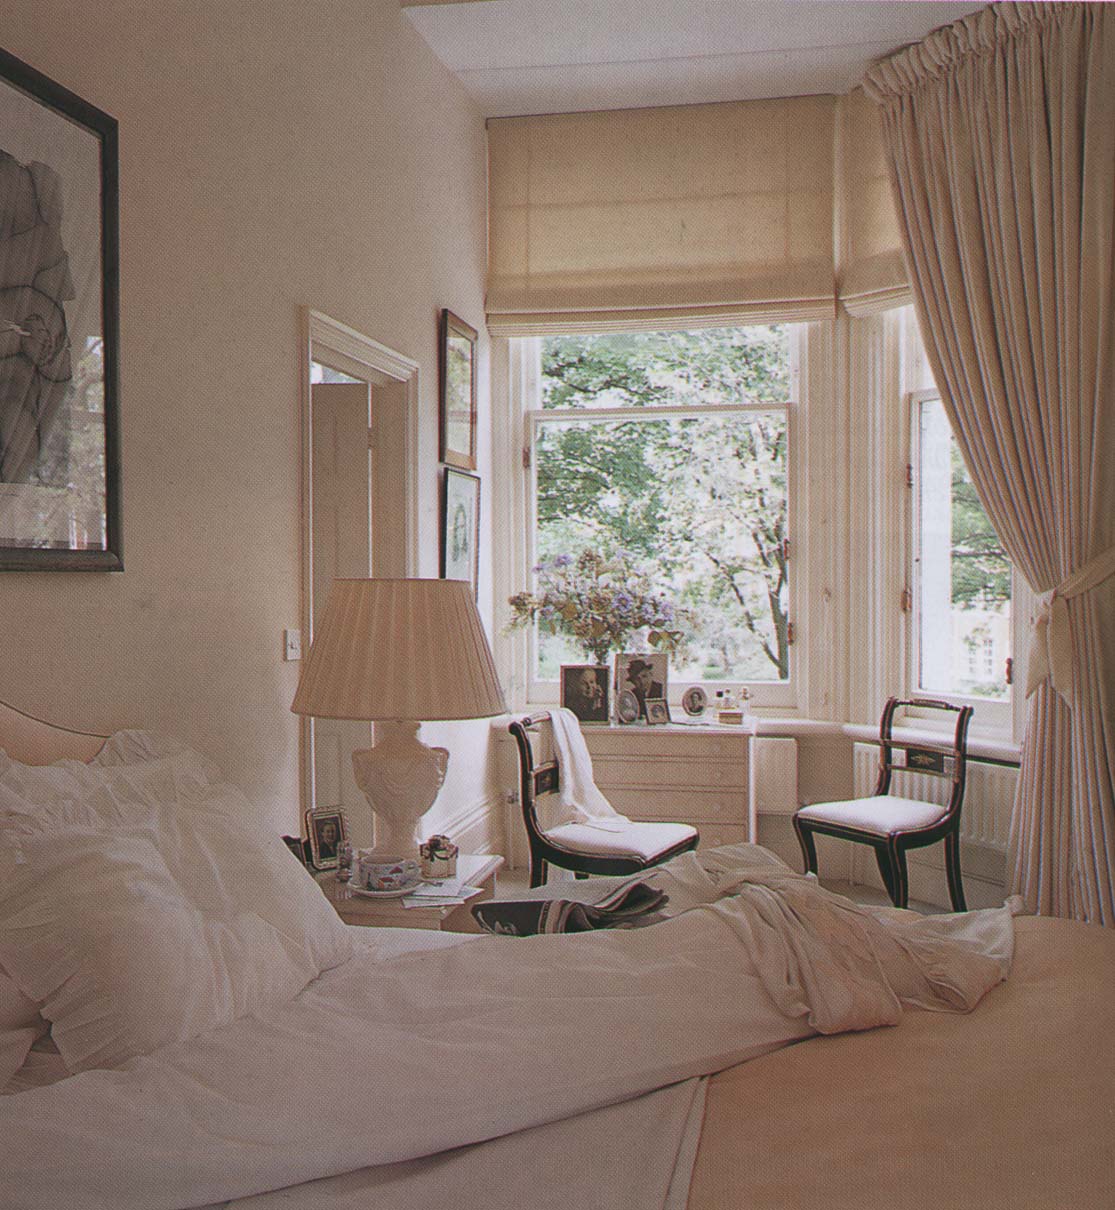
Transparent Roman blinds are extremely popular due to the fact that they fit organically into any interior.
How to sew roman blinds with your own hands
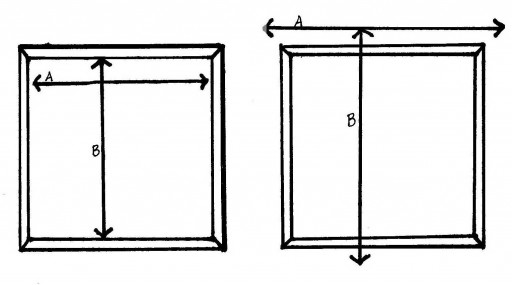
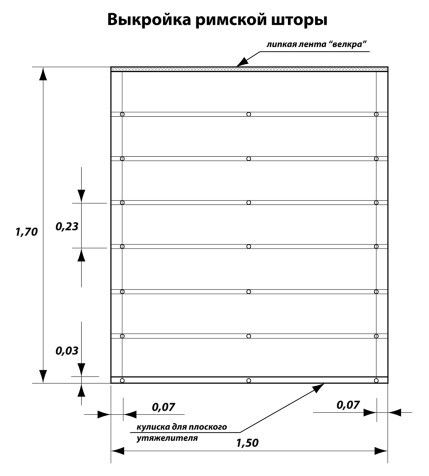
The first step in making Roman blinds is measuring the window. In relation to the length and width of the glass, the size of the canvas will be larger:
- 4 cm in height, hem plus 15 cm allowances to insert a barbell and weight inside (total 19 cm);
- in width - plus 2 cm, calculated for processing cuts on each side (4 cm in total).
To install blinds, prepare a rod or buy a ready-made roller blind. A standard round curtain rod of small diameter (usually they are metal) or a wooden beam with a diameter of 3 cm will do. Its length is less than the width of the material by the amount of the hem. When using a ready-made roller blind, you need to remember about a few centimeters that are needed for the plugs - if they are not calculated, when opening the window, the fastening will break against the wall.
Curtain design, what components are needed for production
The design of Italian blinds remains as reliable as in the times of the ancient Romans. Innovations concern, first of all, materials, control devices. When making blinds at home, it is permissible to do without the latter. The basis of the design is a rod on which the fabric is attached and cords that lift it. The rest are details that are used at your own discretion.
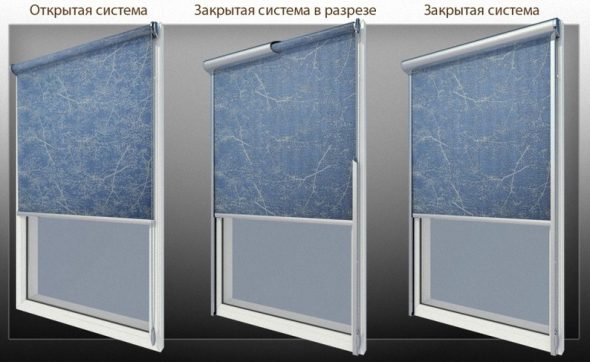
Ready-made roller shutters, which will save you a third of the total work, are sold in construction supermarkets. They are:
- open or closed;

Open and closed roller blinds for mounting Roman blinds on a window - mechanical or electrical;

Mechanical element for fastening curtains on chains
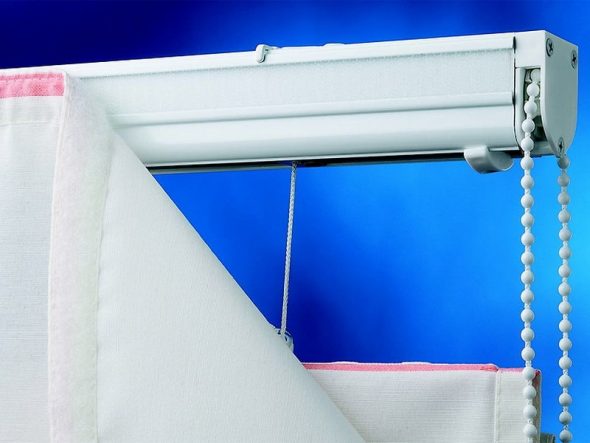
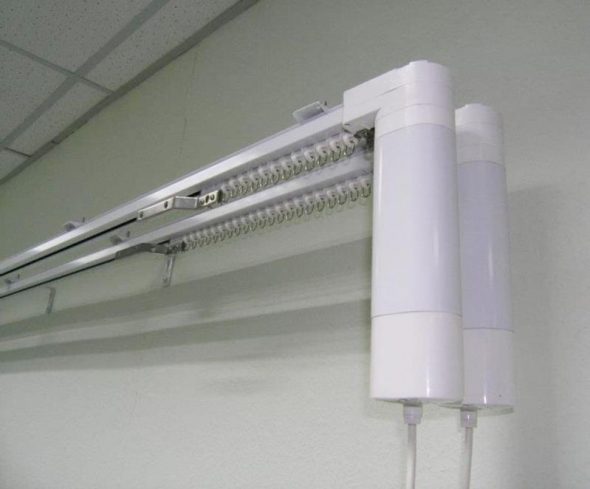
- with manual or electronic remote control.

Automatic Roman blinds with electric drive

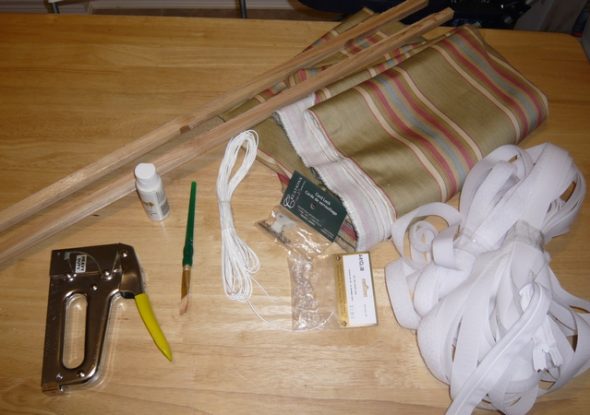
Before you start, prepare everything you need: a rod, fastening elements, scissors, a screwdriver, screws, material and Velcro tape for fabrics, double-sided tape, rings, strips for fixing folds. If you can’t find strips, a thick textile tape will do, you need from 3 to 6 pieces (or strips) in length equal to the width of the finished canvas.
Prepare 2-3 cords to control the curtain, each equal to twice the length of the pattern. Weights are hung at the ends: decorations, large beads, tassels, rings. Sometimes a special mechanism is used to tighten the cord, which rotates, winding the cord or chain. They come in two types: cord or rotary-chain.
Important! Rotary chain curtains can handle curtains weighing up to 7 kg, cord curtains can handle curtains weighing only up to 4 kg.
Materials and care

Depending on how dark it should be when the Roman blinds are closed, the material for the work is selected. Most often, various natural or artificial fabrics are considered, but there are also blinds made of paper, plastic, various plates or woven fabrics from any sufficiently elastic material. Materials manufactured industrially are additionally treated with dust-repellent impregnations, antistatic agents, Teflon coating and a composition against combustion.
When making your own, the easiest way is to find beautiful natural fabrics:
- flax;
- wool (with a small percentage of artificial additives to prevent tangling);
- cotton, blended fabrics with viscose;
- polyester;
- nylon.
Important! Fabrics with special impregnations used in production are not washed in a washing machine, but are cleaned with care so as not to damage the outer coating.
It is reasonable to correlate the choice of material by composition with the purpose of the room where it will be used. Natural fabrics are good for rooms where children live or people relax. Synthetic options are suitable for the kitchen, bathroom, walk-through rooms - verandas, loggias, corridors, if there is a window or it is necessary to close a niche with something. The design is selected according to the same principle.
Natural materials without additional impregnations are washed according to the usual rules. Machine washing is allowed if the fabric does not shrink (there are no strips inside). Curtains with complex weaving, patterns, trim are washed by hand, then very carefully wrung out. Dry straightened, immediately hanging them in the appropriate place. To remove creases, the fabric is carefully ironed, but it is better to use a special steamer.
Step-by-step instructions for beginners on how to make a Roman blind with your own hands
The first stage of work on the production of Italian blinds is the choice of material, preparation of everything necessary according to the list above. Remember that the instructions recommend making Roman blinds with your own hands from scrap materials.
The second stage is measuring the window, making a pattern, cutting out the material. If strips are used, then each curtain is cut from two equal panels, if textile tape - from one. If the fabric has a pattern, pay attention to how it is located.

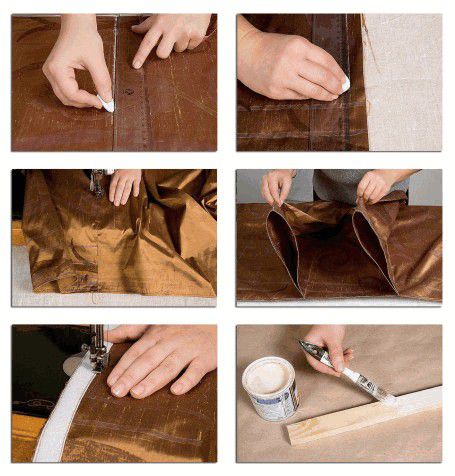
The third stage is sewing. The peculiarity of Roman blinds is that along the entire length of the fabric it is necessary to fix the strips, which with the help of rings and cords sewn to them will create folds, holding the fabric raised.

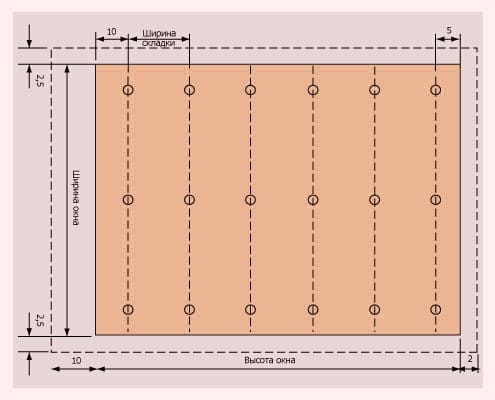
The version of two panels is folded with the right side outward, "pockets" for the strips are sewn on, the distance between them is 1/4, 2/4, ¾ of the height. After that, the edges are processed by hemming, a drawstring is made at the bottom for the weighting, and at the top - a wide fold under the cornice.
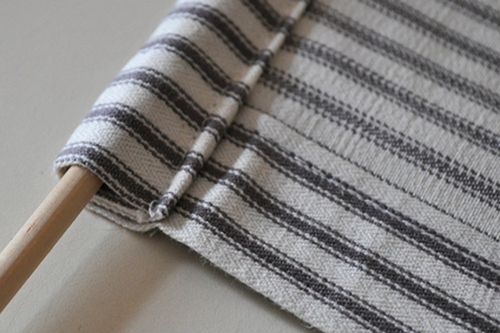
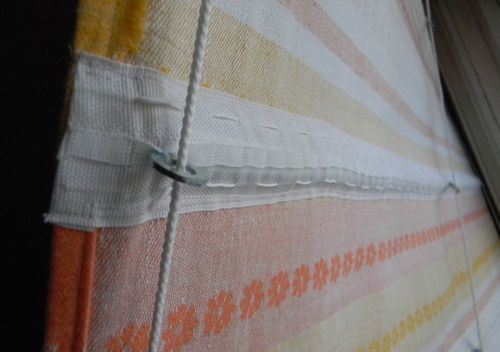
If the canvas remains single, then a textile tape is sewn on the back side (according to the same scheme as the pockets for the strips above). Rings for cords are sewn to the tape along the edges or 10 cm from the edge, as well as in the middle. If the curtain is to be attached with Velcro tape, then it is sewn along the upper edge.
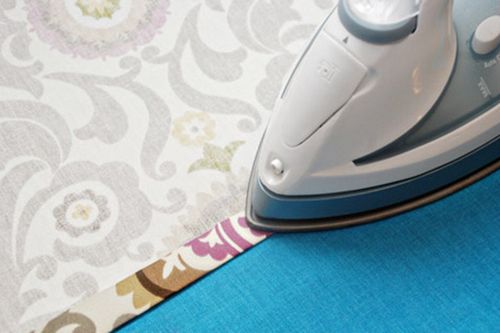
Important: if the fabric is not very thick, the edges can be folded and secured with an iron, placing sewing adhesive tape along the fold.
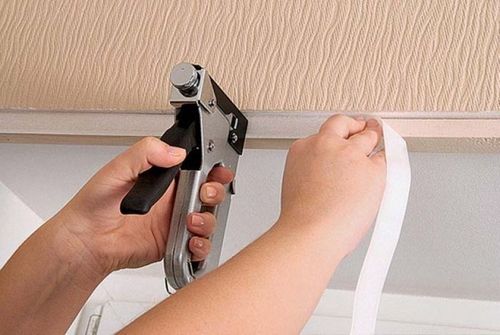
The fourth stage is the installation of the roller blind or cornice. The finished roller blind can be glued to the frame with mounting tape. On a homemade wooden strip, first, one side of the Velcro tape and rings for the cords are fixed, then installed with self-tapping screws.
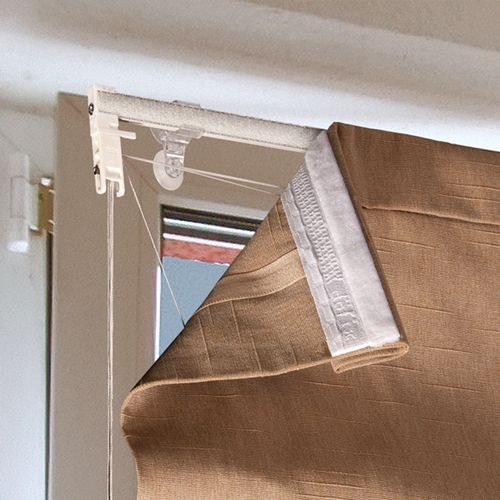
The fifth stage - the cords are pulled through, the curtains are hung on the Velcro tape. It is simply attached to the finished roller blind according to the instructions (they may differ among different manufacturers in accordance with the design).
Important: on the side where the end of the cord that lifts the canvas is located, it is worth fixing a hook on the wall to which this control element will be attached.

Roman blinds made of thick, heavy materials, especially if they are large, are best hung on an industrial roller blind with an electric drive system. This will cost more, but will last longer, and such blinds are more convenient to use. The mechanism can be opened and closed remotely.
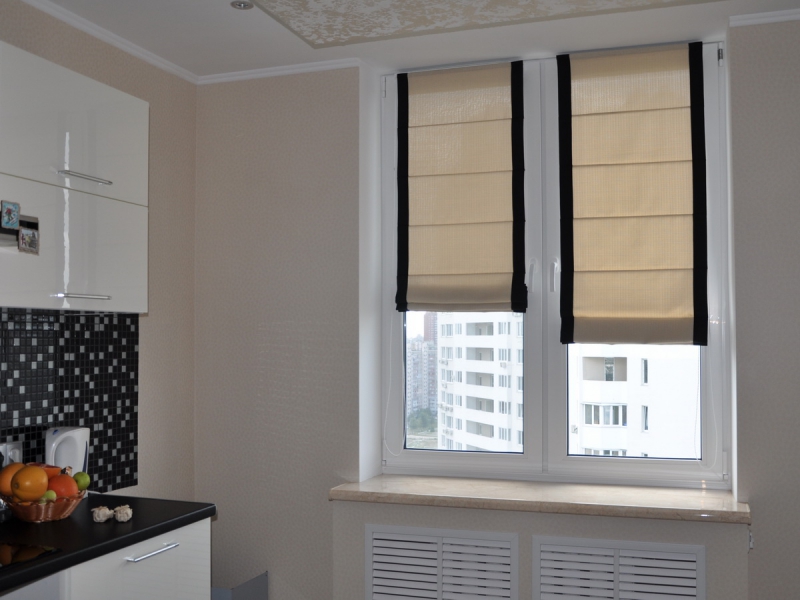
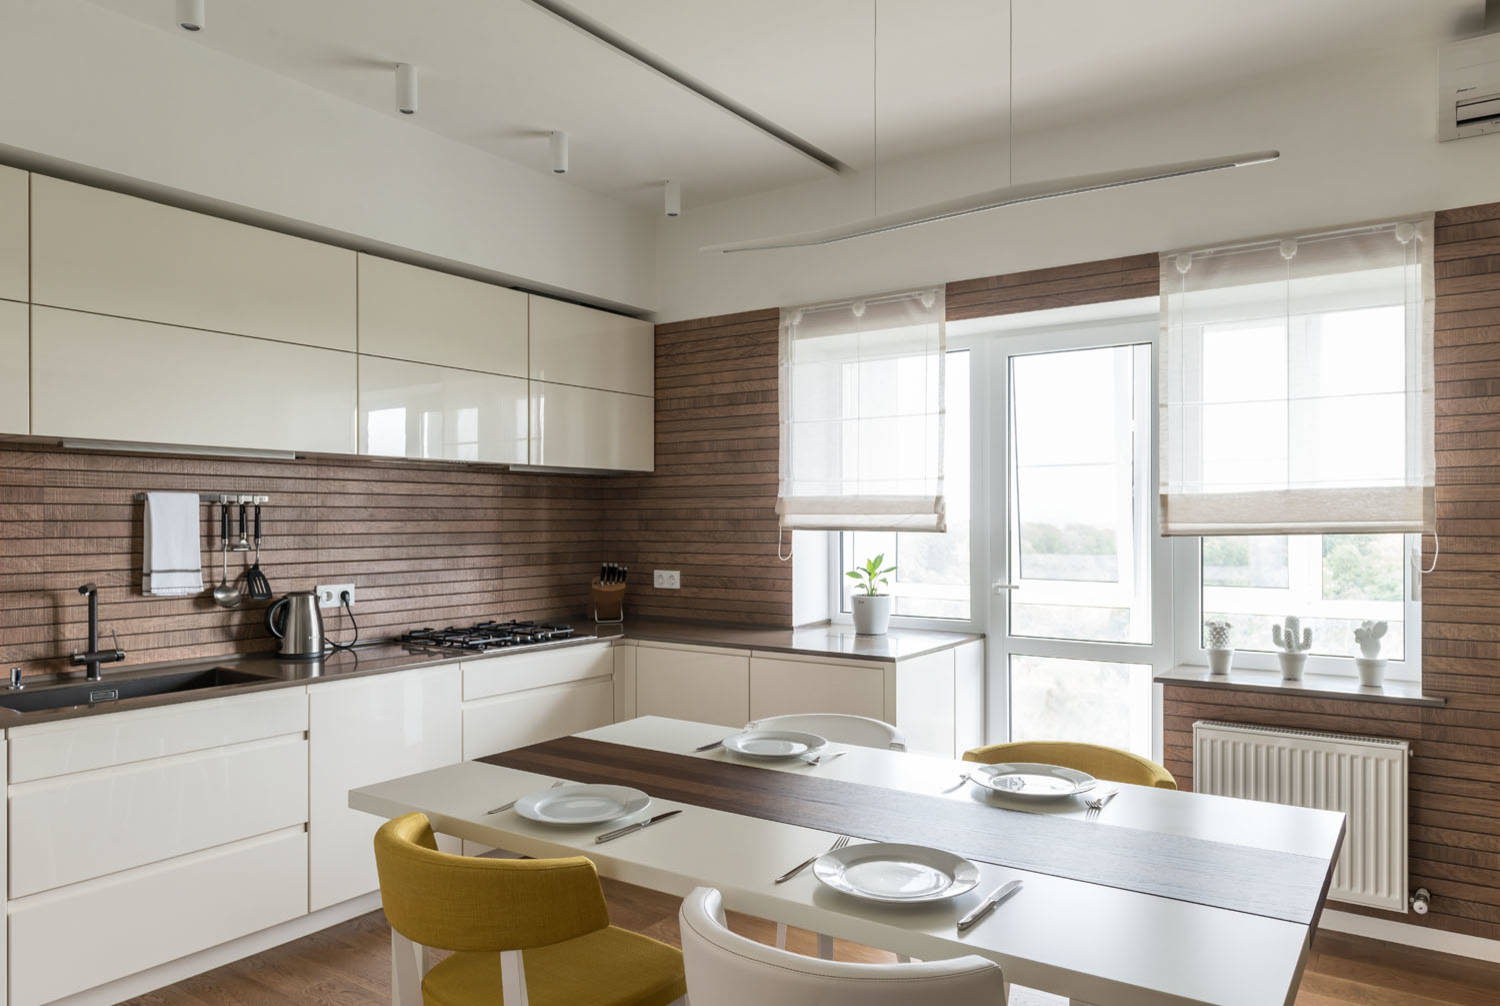
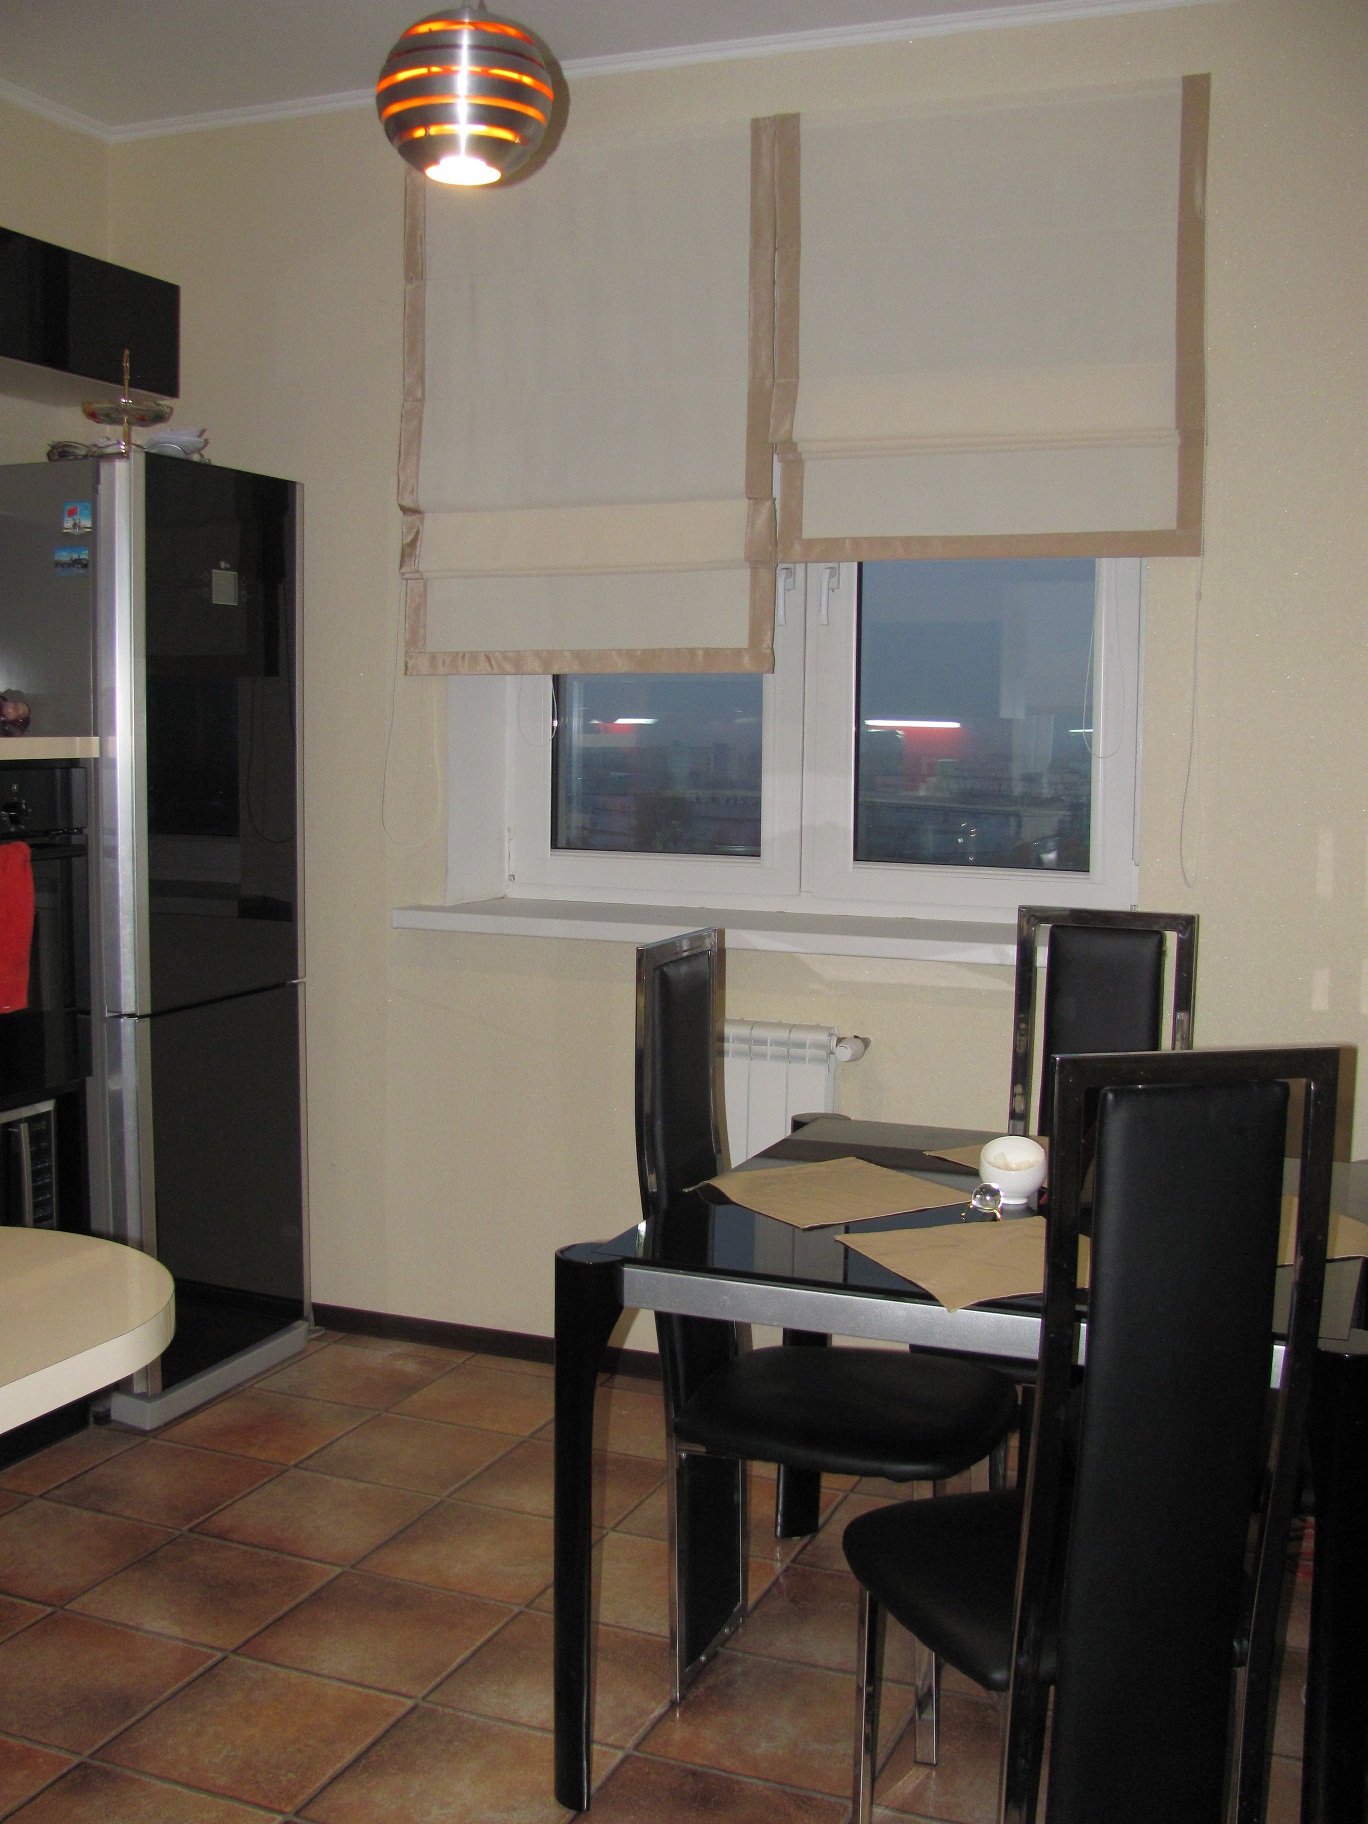
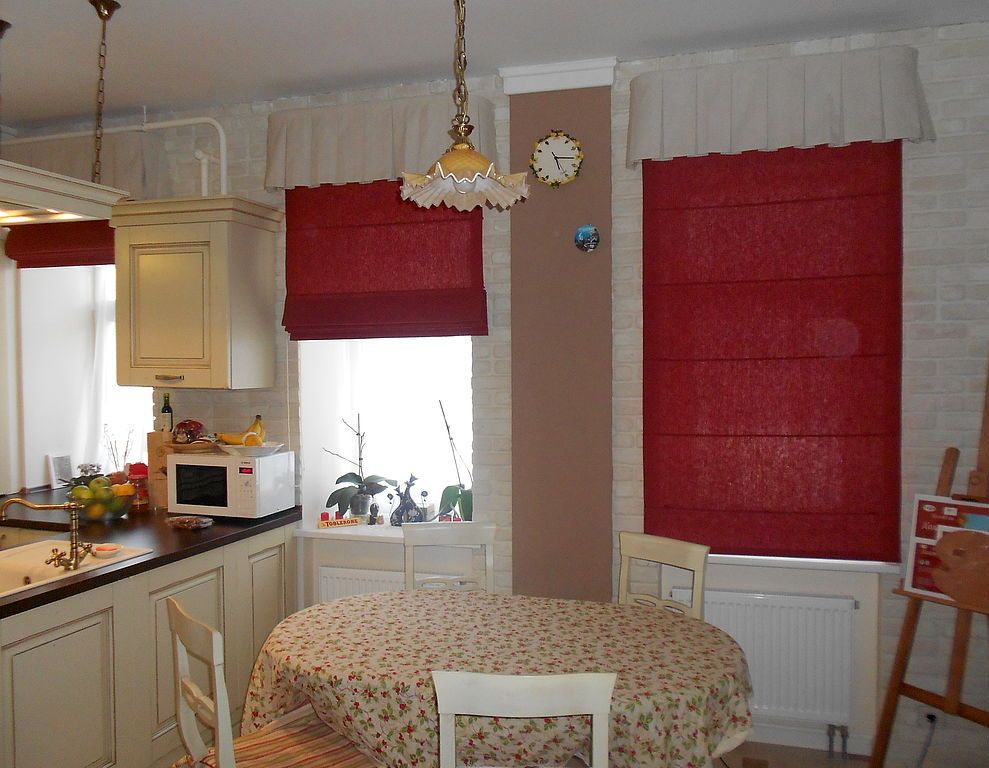
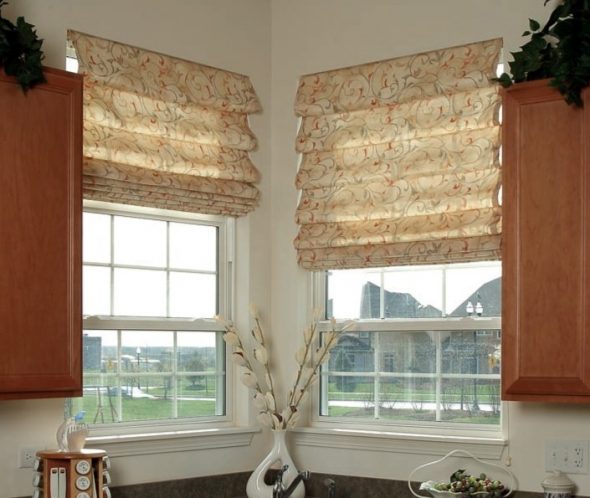
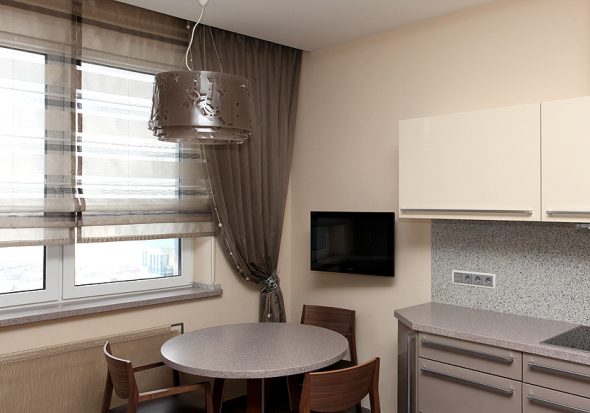
Roman blinds for the kitchen with your own hands
One of the most popular places to use Roman blinds is the kitchen. This frees up the window sill and turns it into an additional workspace or a place to place decorative plates, a vase or something else. Short blinds in the window opening get dirty less and do not accumulate dust. They are easy to refresh with a brush. Teflon-coated materials are very good here, but it is not easy to find them on sale. The easiest way to do this is through an online store.
Important! When purchasing materials with special impregnations, ask the seller about the availability of a hygiene certificate.
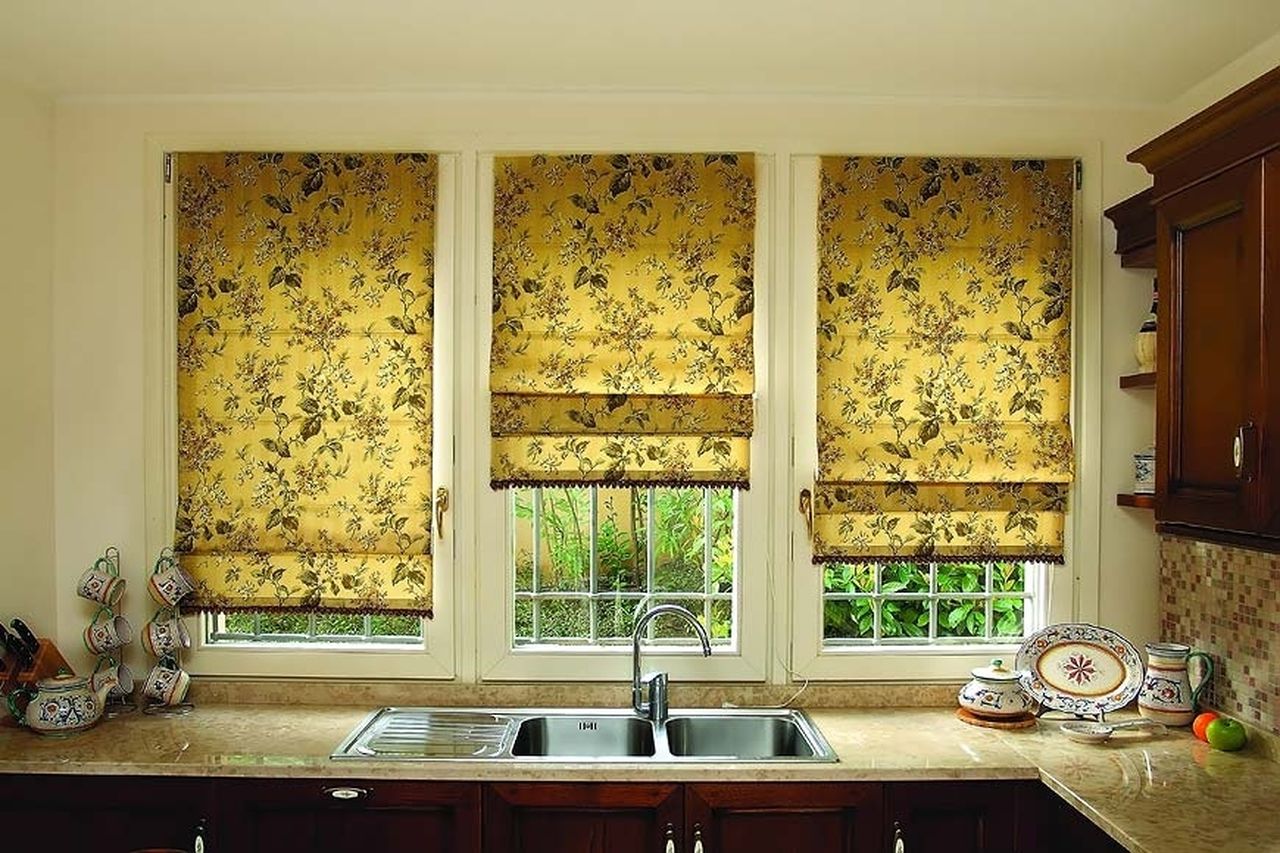
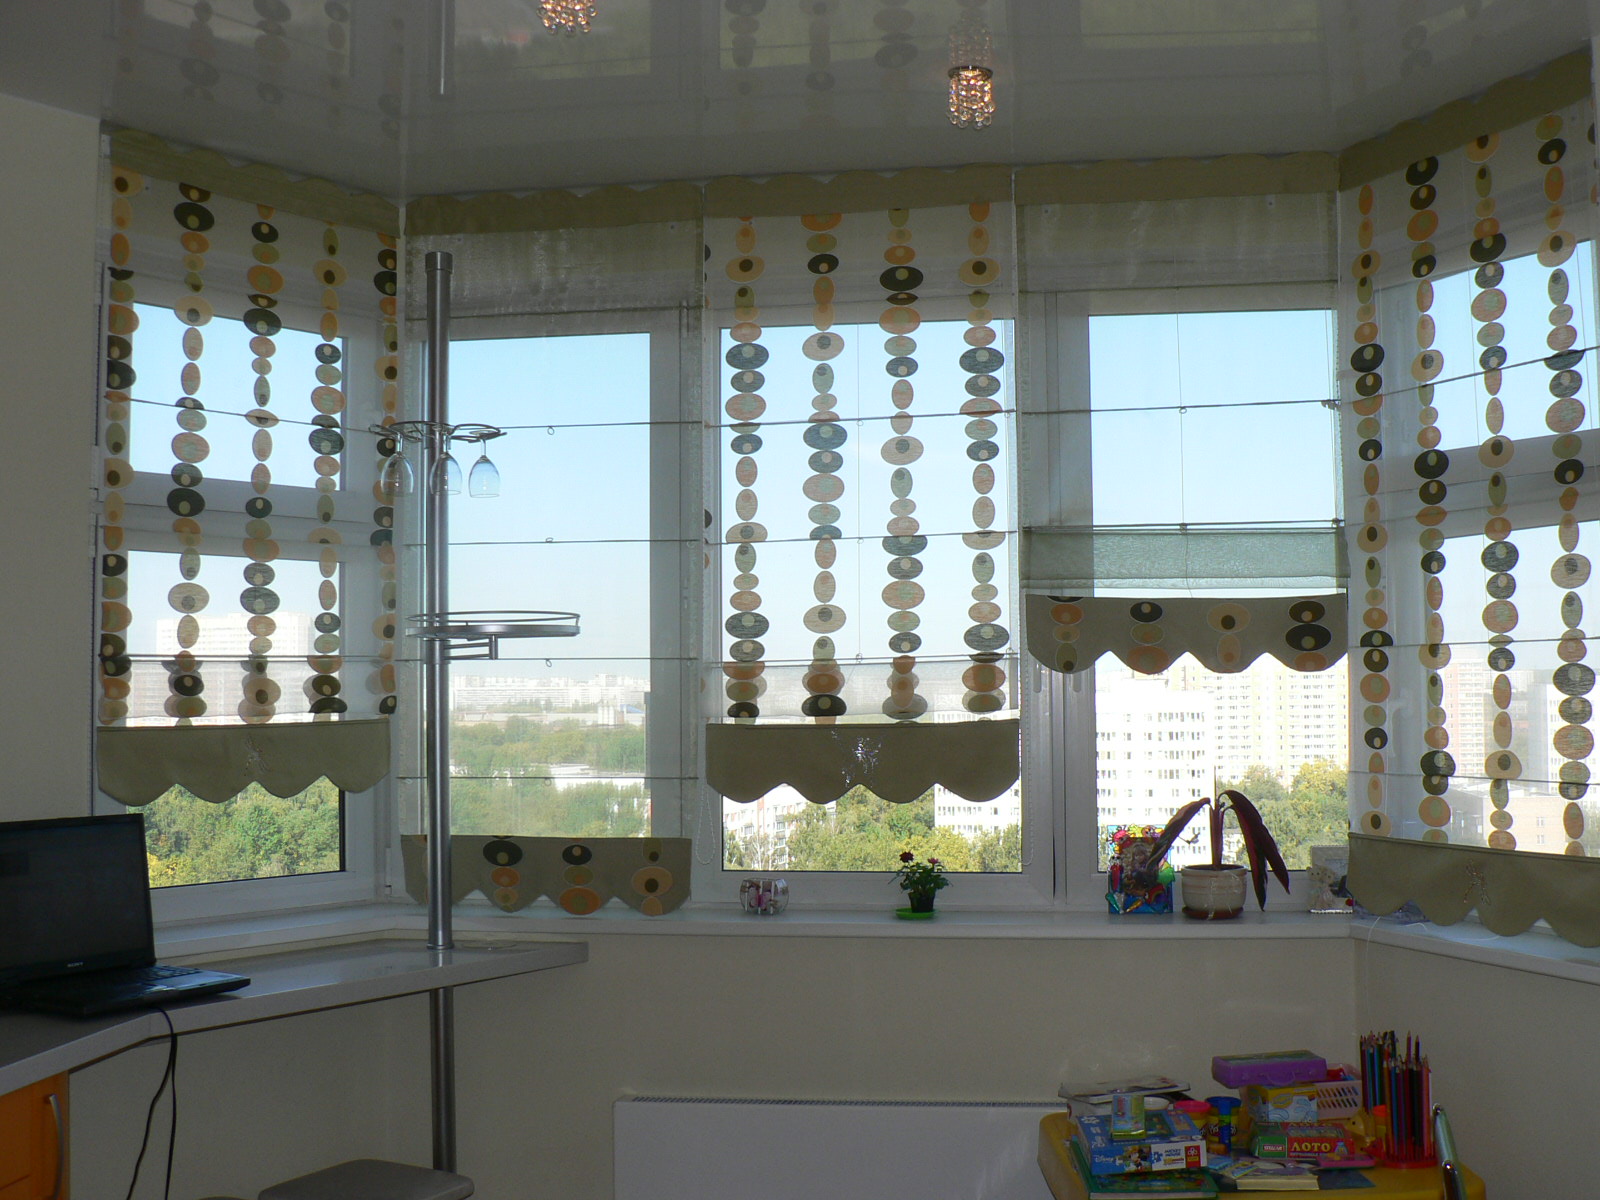
Thick, opaque curtains are not needed in the kitchen; light and translucent ones are much more common here. They make the room visually more spacious, filled with air. There is no need to create good shading in the kitchen, so light shades, mesh in combination with finishing, and non-woven materials are used. They come in three degrees of transparency:
- transparent up to 80-90%;
- translucent;
- about 70% darkening.
It is in the kitchen that designers like to use curtains with photo prints or large drawings. The choice of themes is wide: from classic checks and stripes to real photographs of vegetables, fruits, dishes or reproductions of picturesque still lifes.
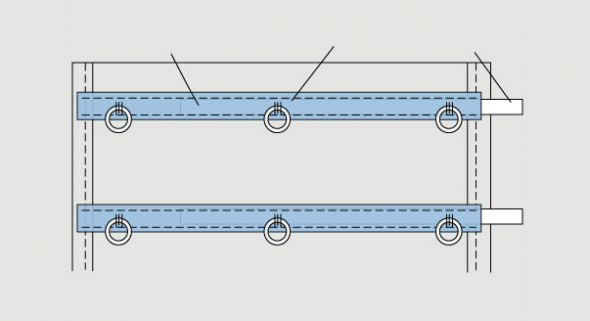
Scheme of operation of a Roman blind, design details with photos for beginners
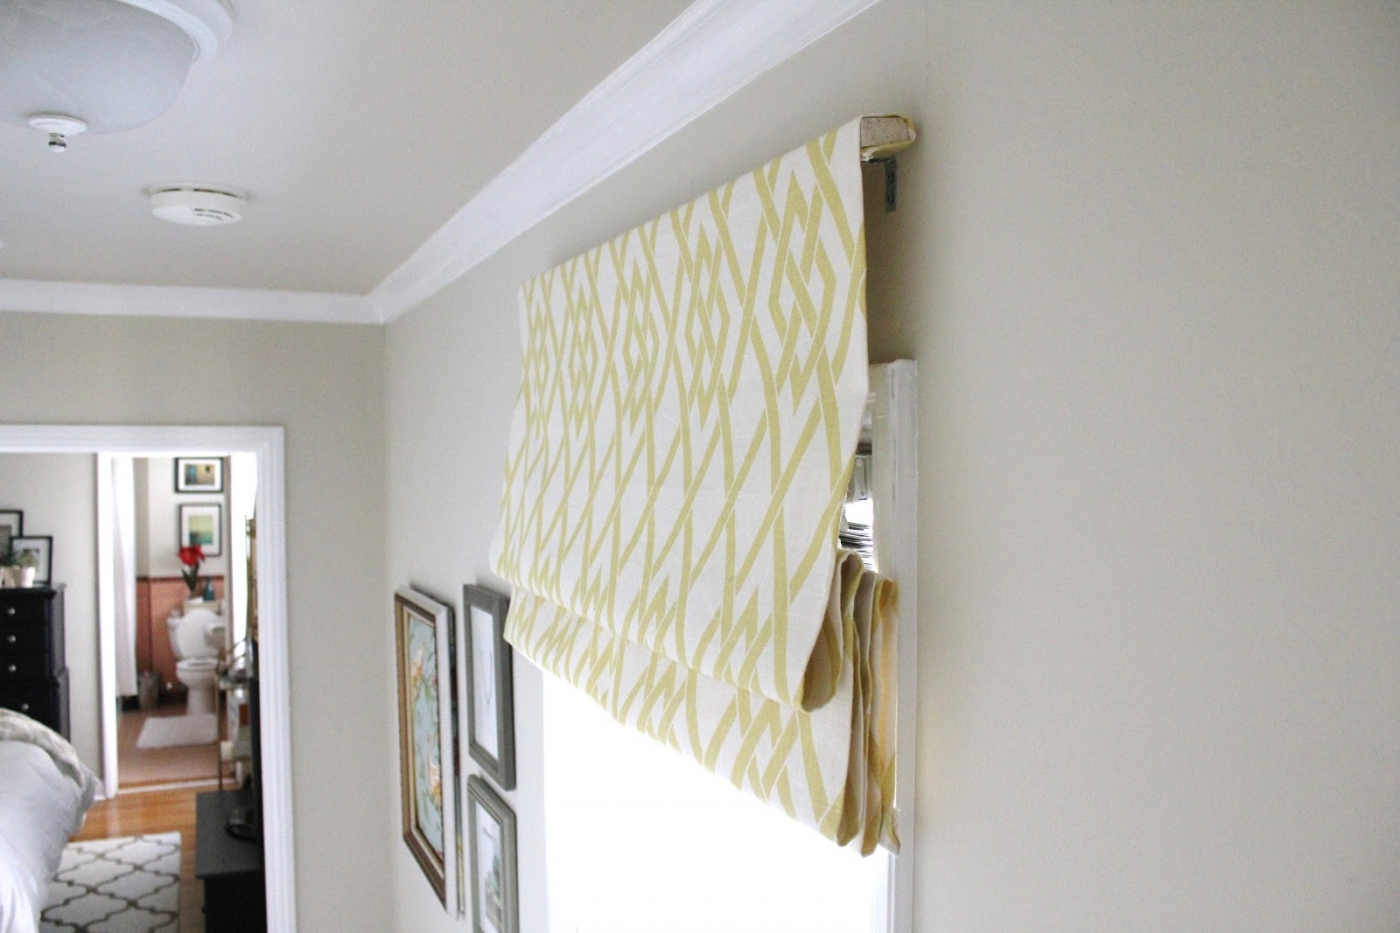
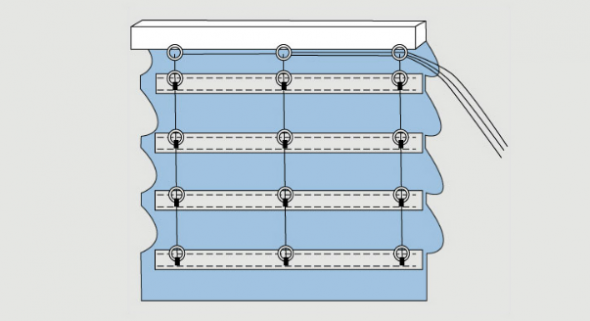
Roman blinds work like yacht sails. They are pulled up with the help of “rigging” – tapes, chain or cord. When the length of the tape is chosen, the fabric is gathered into folds, the even shape of which is given by rigid strips sewn in at equal distances from each other. When the tape is free, the material completely covers the window.
Roman blinds do not have what distinguishes them from more modern roller blinds: side guides. These elements would not allow the fabric to gather into folds. However, if it is very thin, the side seams are reinforced with ordinary textile tape.
If you do not use slats or rigid textile tape when making blinds yourself, the folds will be cascading, soft and flexible. Then the pattern of the rings through which the tapes pass to raise the curtain will change. They are sewn not along the edges of the fabric, but closer to the middle, so that the folds are more interesting.
Please note: a Roman blind never opens the window completely.
Recommendations for beginners on sewing Roman blinds
For those who have decided to make Roman blinds on their own for the first time, the main recommendation is to take on the job without fear. The query "do-it-yourself Roman blinds step-by-step instructions" will give a lot of advice on this topic. It is worth stopping at the most understandable design, first buying a ready-made roller blind. It is glued with mounting glue or tape to the frame, saving yourself from a lot of work.
Important! It is worth choosing the simplest, already familiar materials, so that later you do not have to think for a long time about how to clean them.
Remember that it is better to remove stains from fabric immediately, without letting them soak in and dry - then washing will be much easier. Also, do not buy expensive fabric for your first experience. Over time, inevitable flaws will become noticeable, and you will want to redo everything again. Prepare in advance to part with your first experimental sample without regrets.
When cutting the fabric, make sure that it does not warp. Check the direction of the base - if you cut a rectangle on the bias, the fabric will hang crookedly, even if you carefully observe all the right angles. The easiest way to make curtains is from paper - minimal costs, less work, then very soon you can replace it with something more interesting without regret. At the same time, the fastening mechanism is preserved for further use.
Conclusion
Roman blinds are very simple, made by hand, but require accuracy and attention. They serve for a long time, are easy to care for, but at the same time they are easy and quick to replace. This is a great option for those who like to often make small but pleasant changes to the interior.
Video: DIY Roman Blind
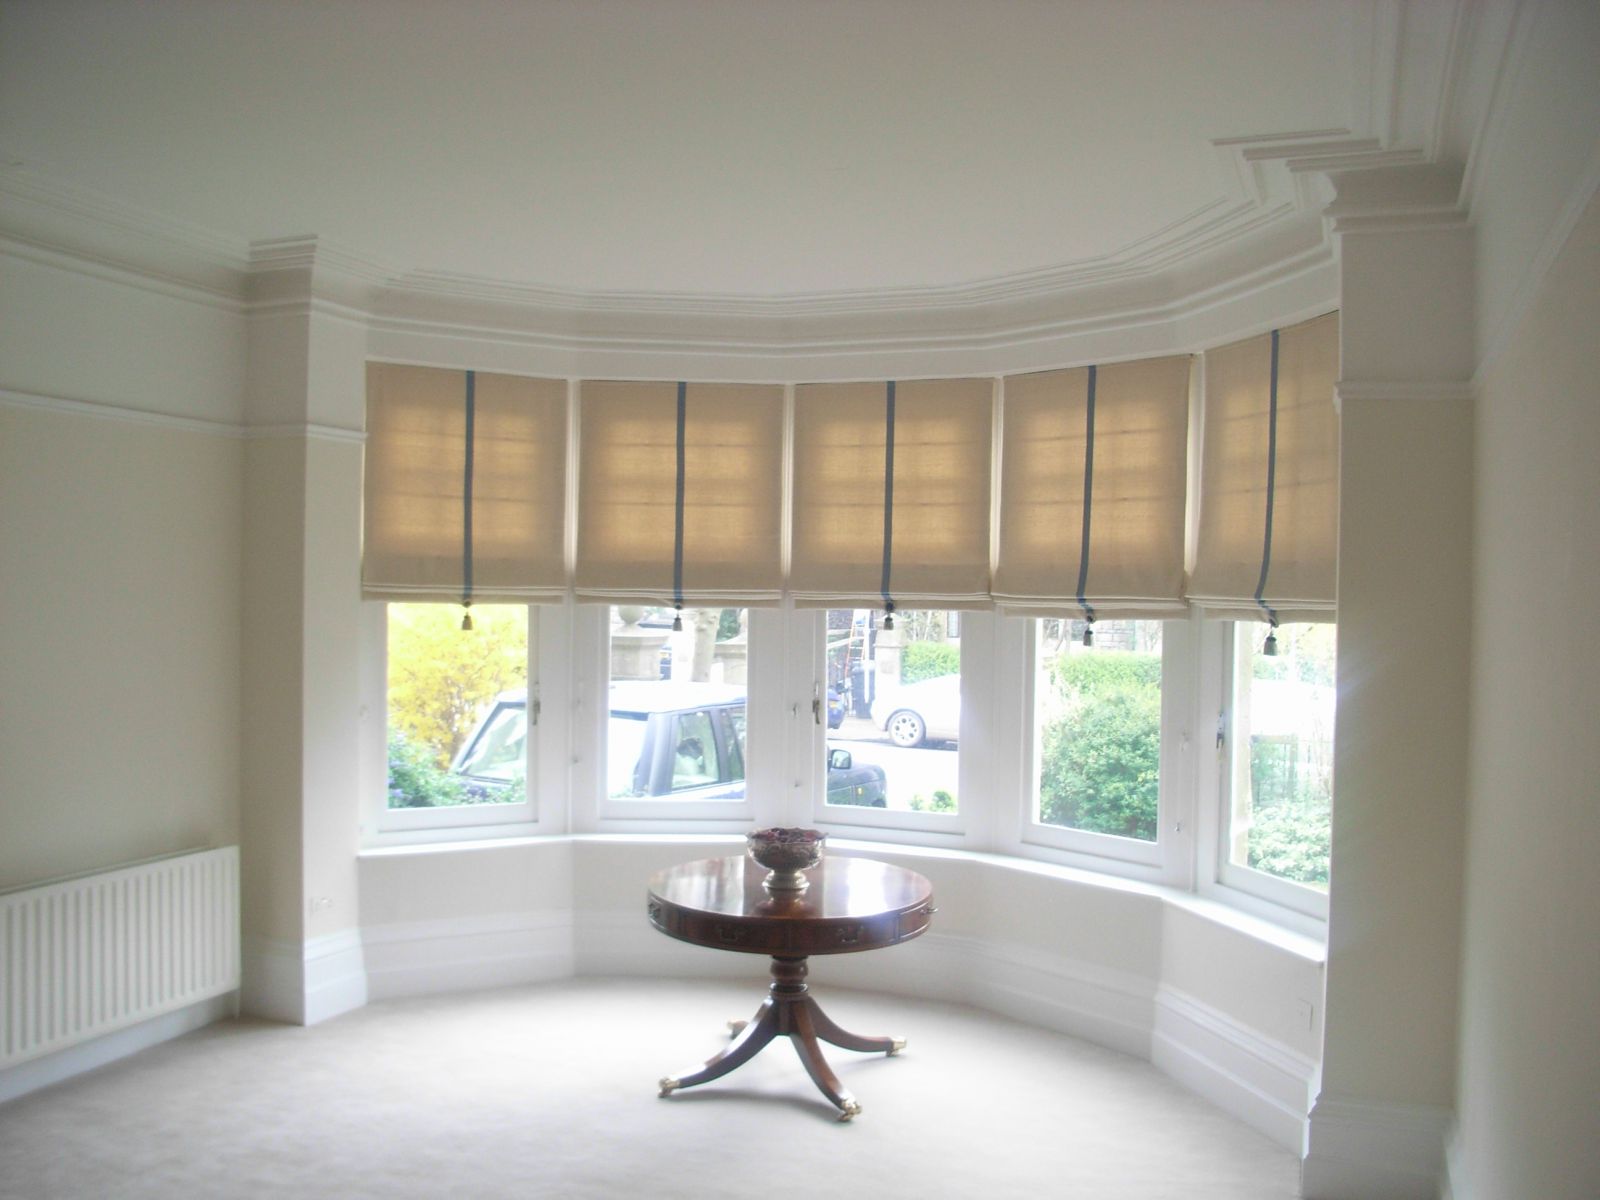
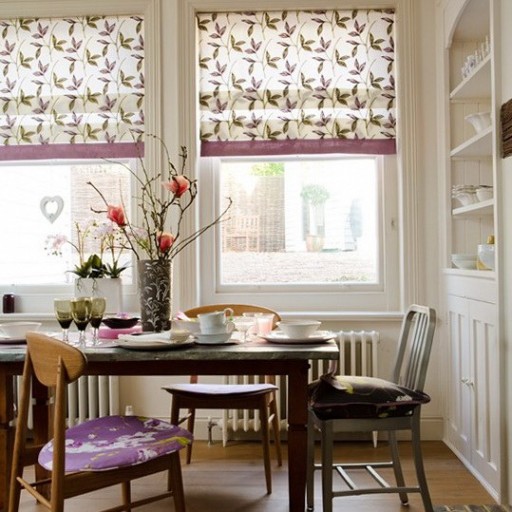
Photo gallery of ready-made Roman blinds in the interior: