Decorating windows in a room begins with choosing curtains. Depending on the room design, they can be light tulle curtains, massive structures made of thick fabrics or decorative chains. But curtains cannot simply hang weightlessly above the windows. There are special ceiling cornices for this.

Content
- Window decoration with curtains on a ceiling cornice
- How to hang curtains on a ceiling cornice: instructions and description of the process
- Methods of fastening to a concrete ceiling
- Mounting a curtain track to the ceiling
- How to correctly calculate the length of curtains on tape for a ceiling cornice?
- Instructions for calculating the height of a curtain on tape
- Basic mistakes when installing a cornice and hanging curtains
- VIDEO: How to hang curtains on a ceiling cornice.
- Curtains on ceiling cornices – 50 photos in the interior:
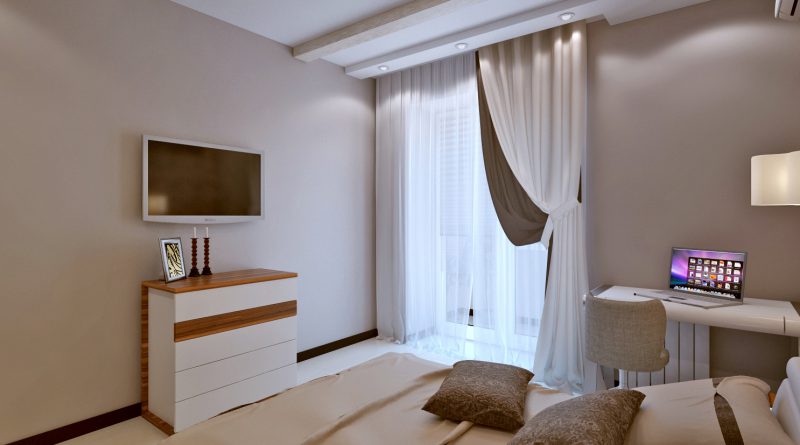
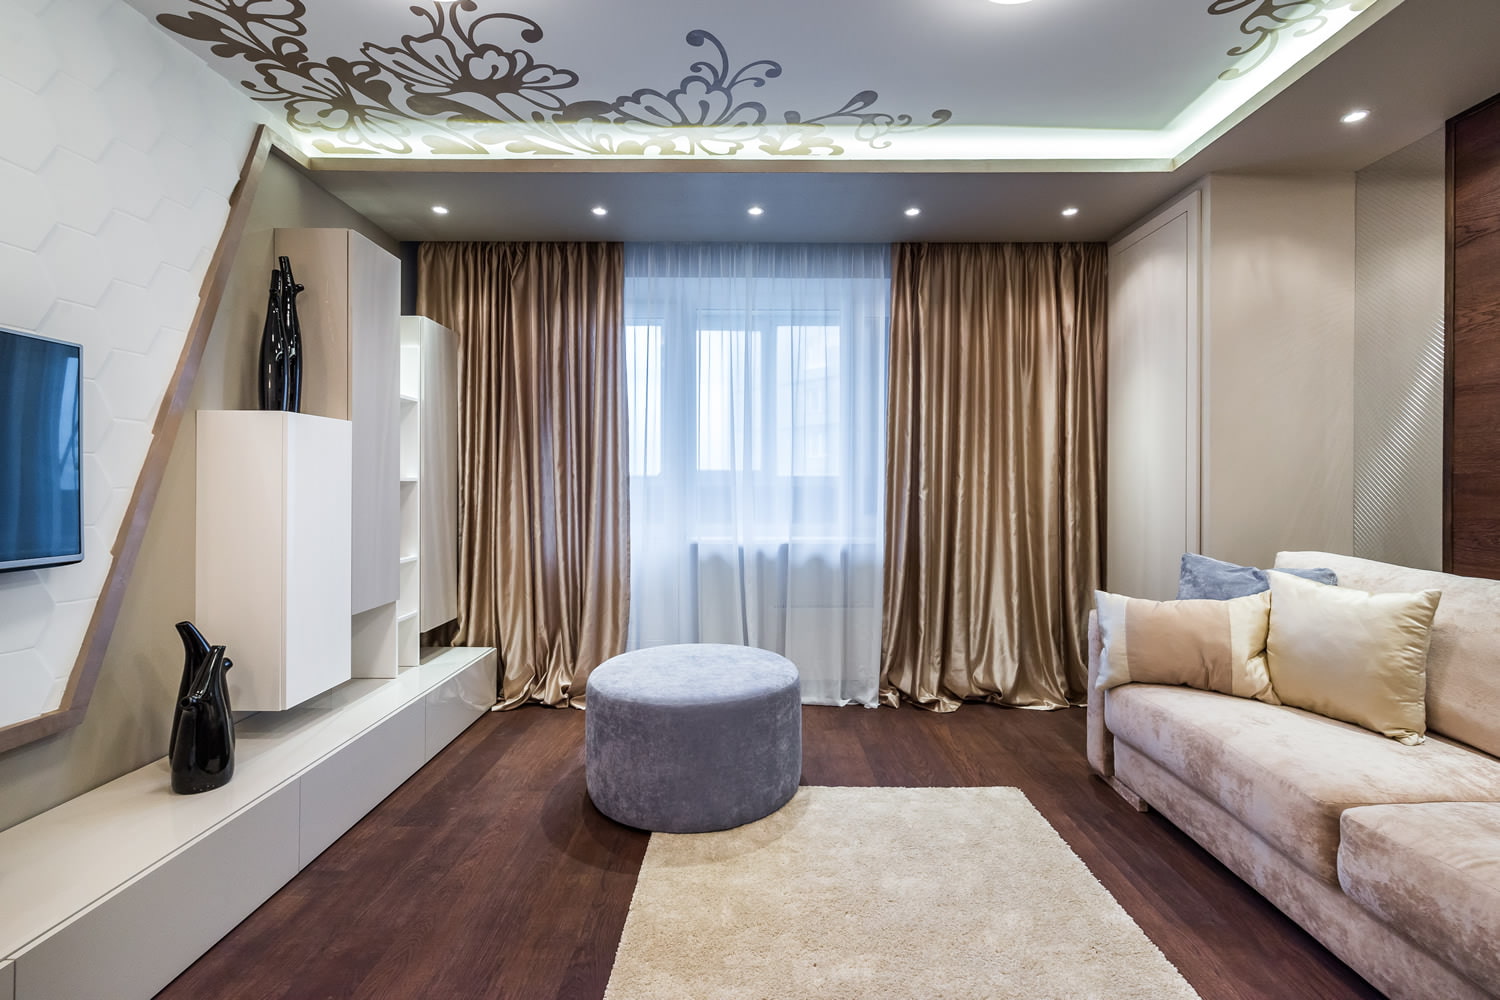
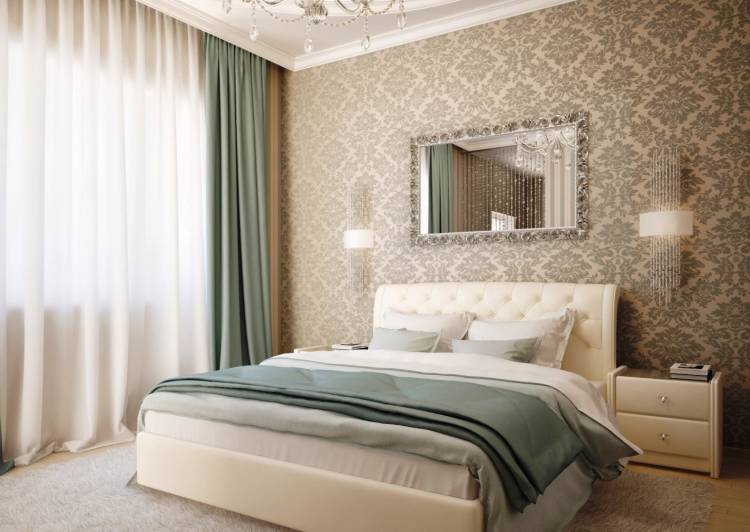
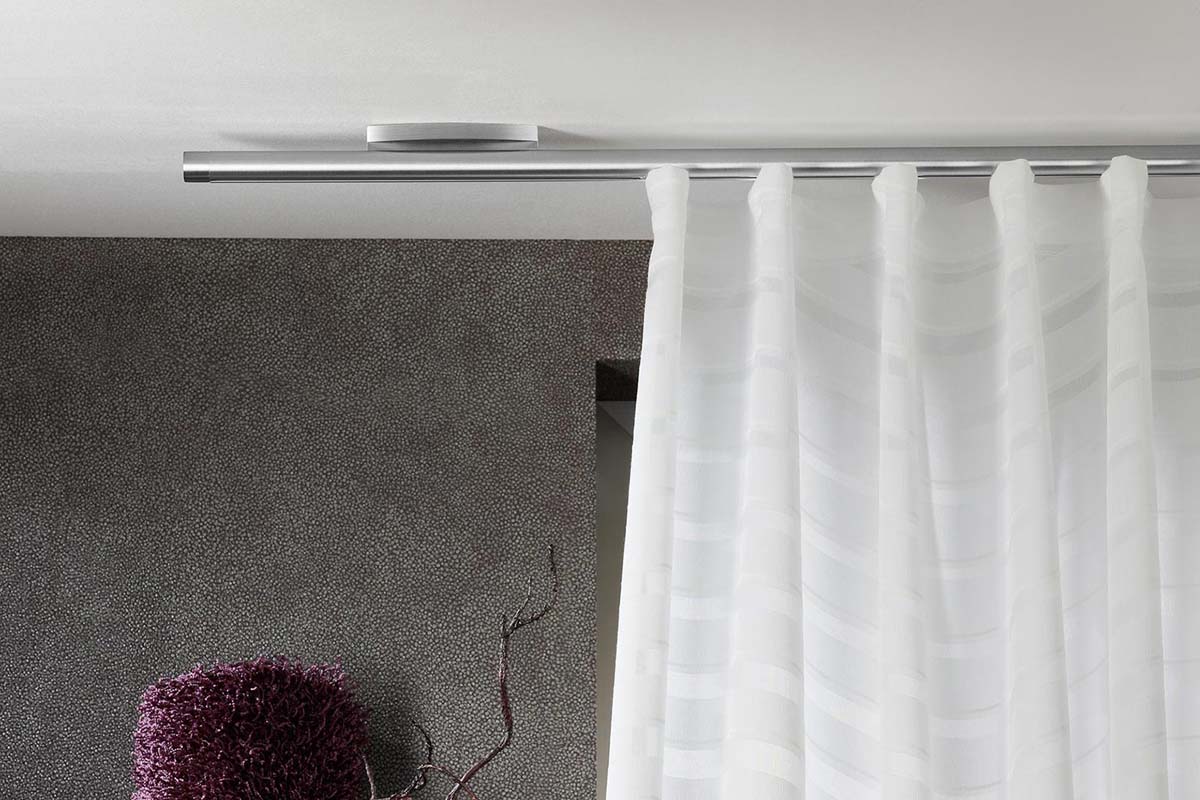
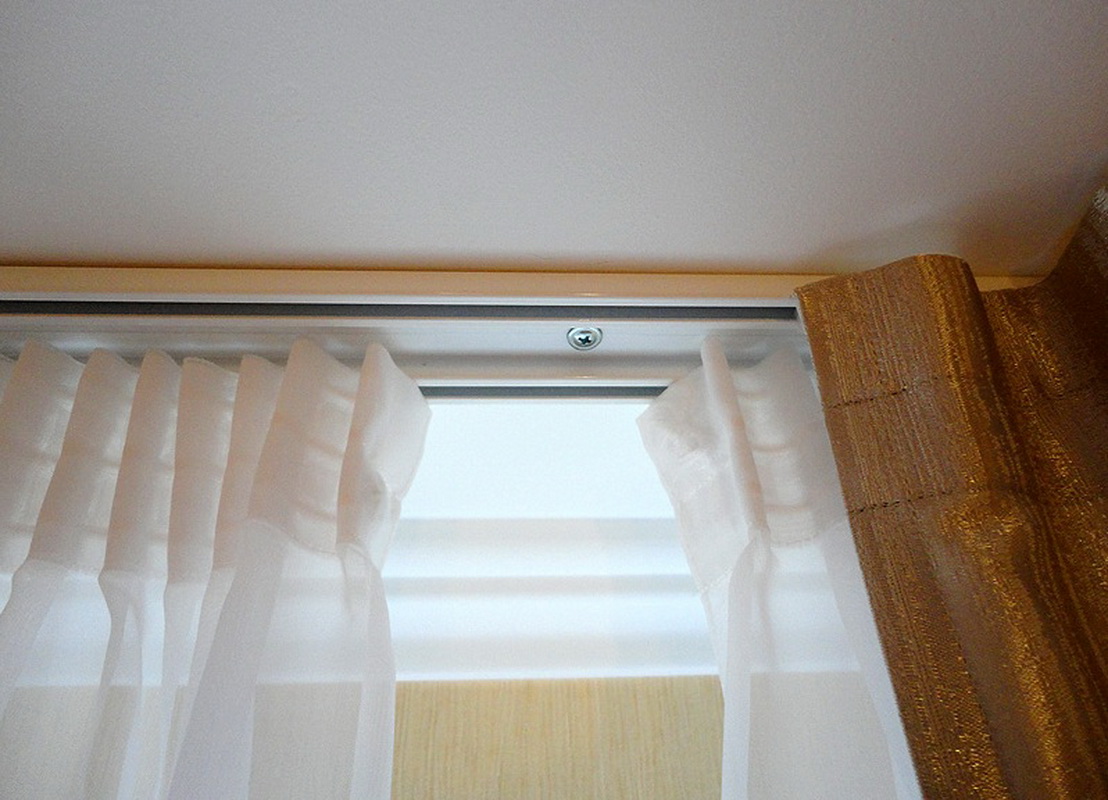
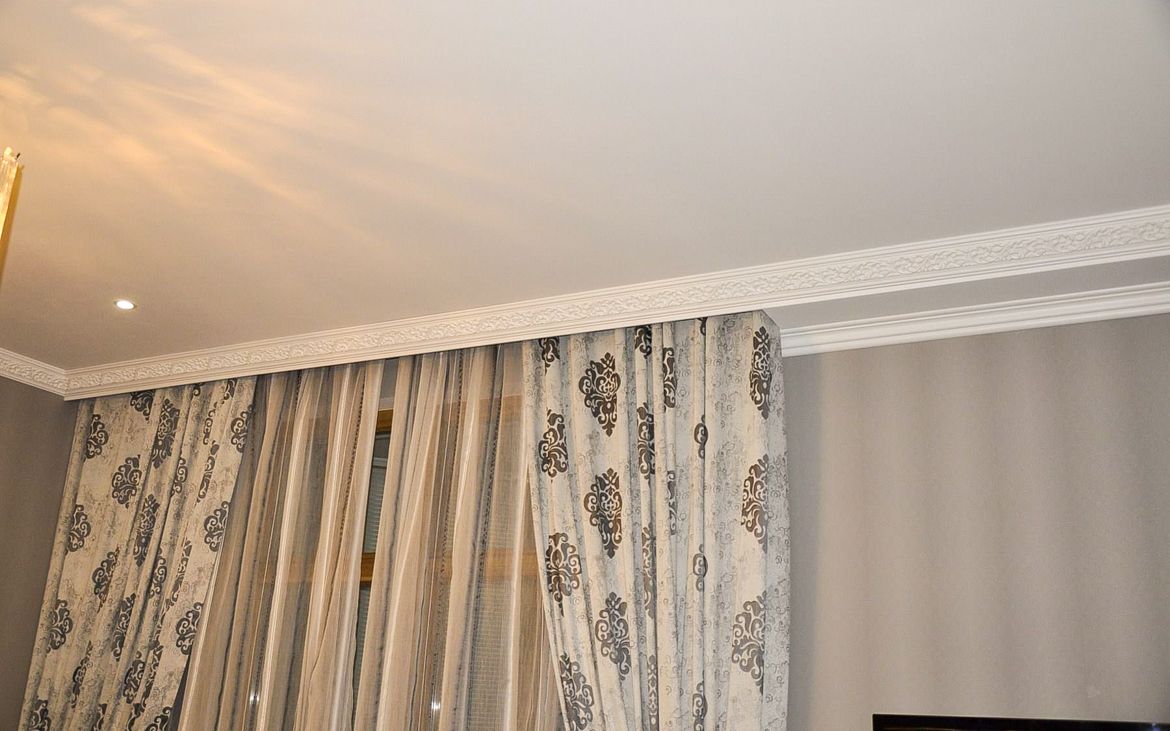
Window decoration with curtains on a ceiling cornice
Ceiling cornices are more advantageous in both practical and aesthetic terms than regular wall cornices. Firstly, the structure itself is installed on the ceiling. In classic cornice versions, installation is carried out in the middle of the wall section that is above the window. Thus, the upper edge of the curtains does not completely cover the space under the ceiling, creates an extra horizontal line and makes the walls visually shorter. A ceiling cornice eliminates all these disadvantages.
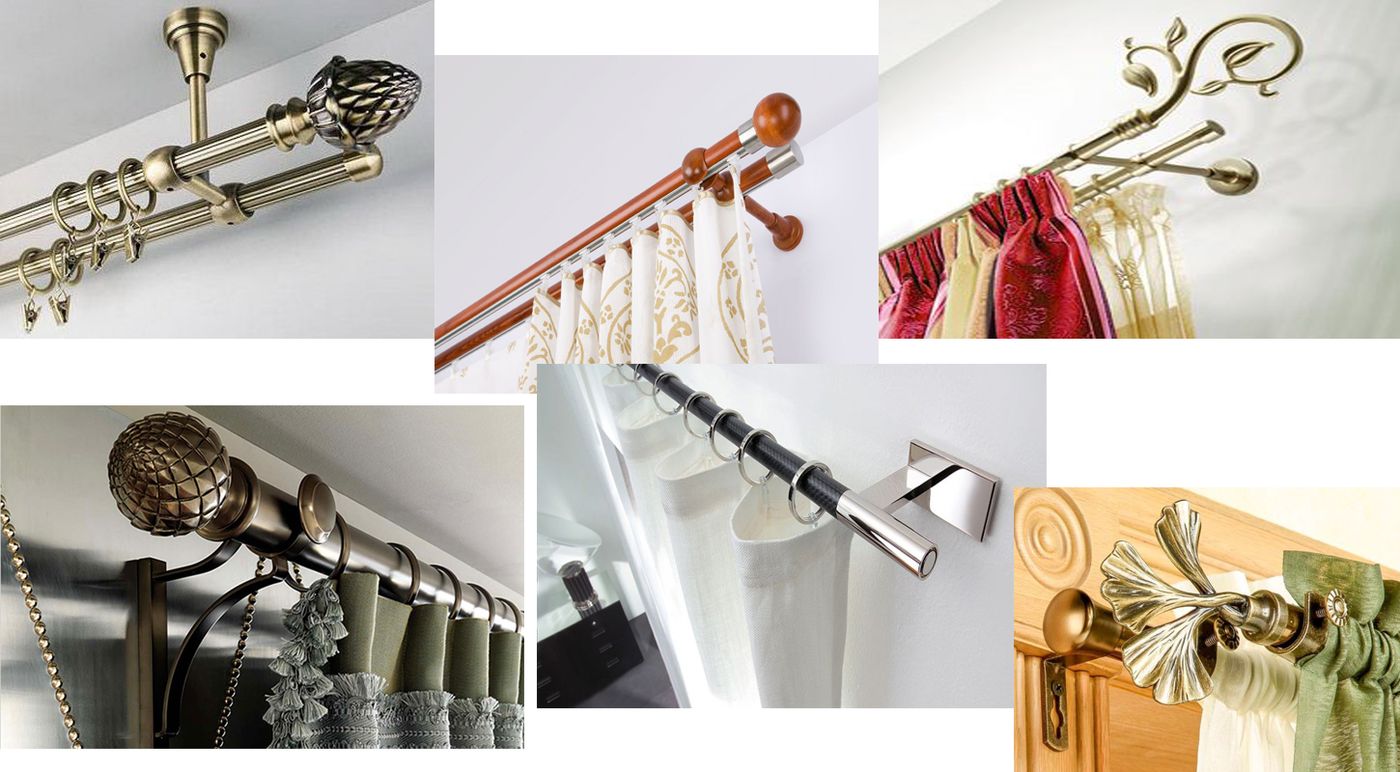
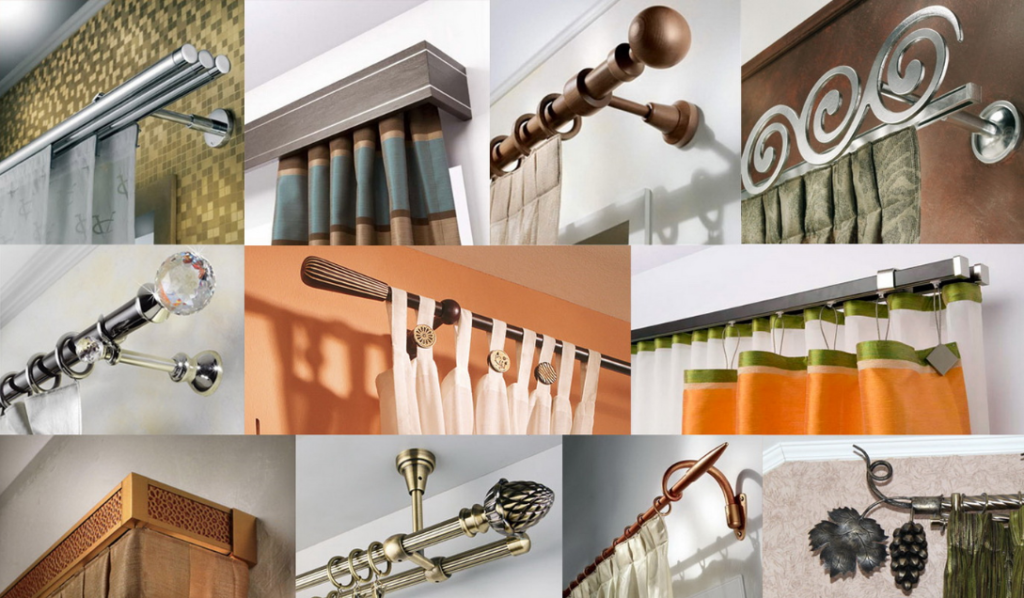
Secondly, ceiling cornices have many design and construction options:
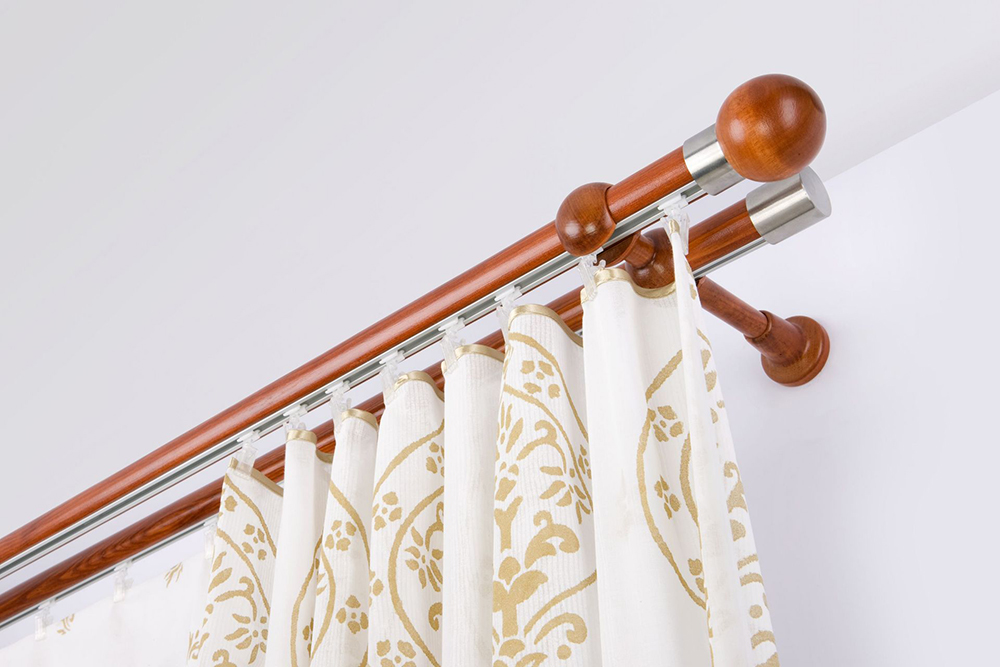
- Pipes of various diameters, stylized in retro style;
- Thin strings;
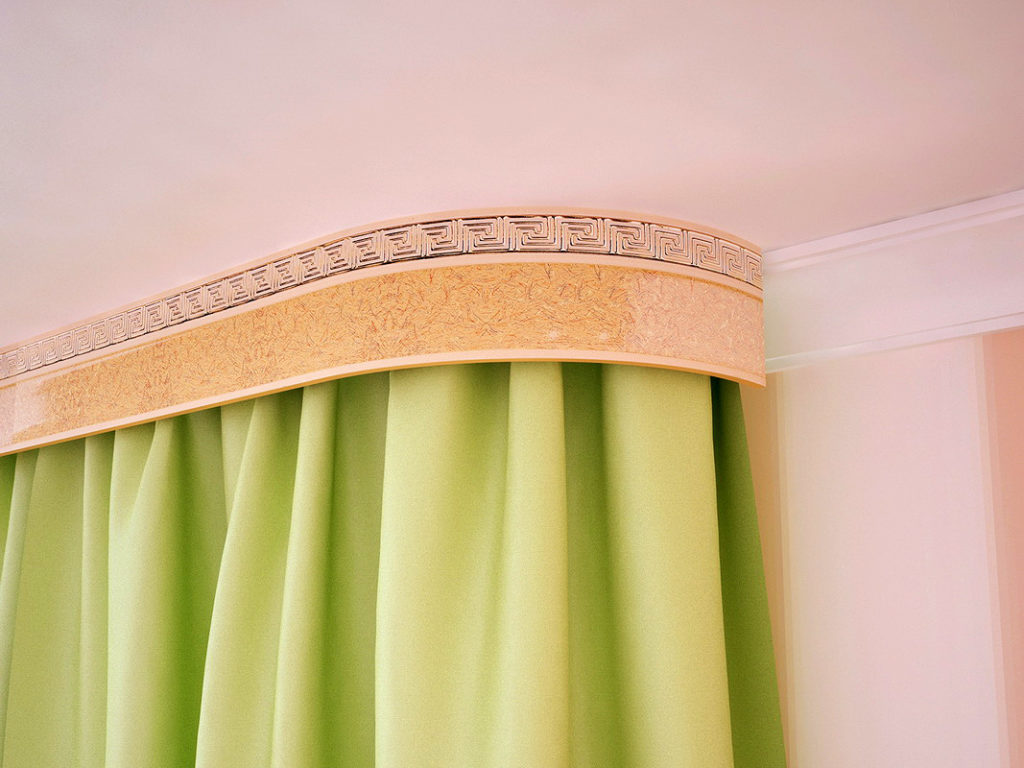
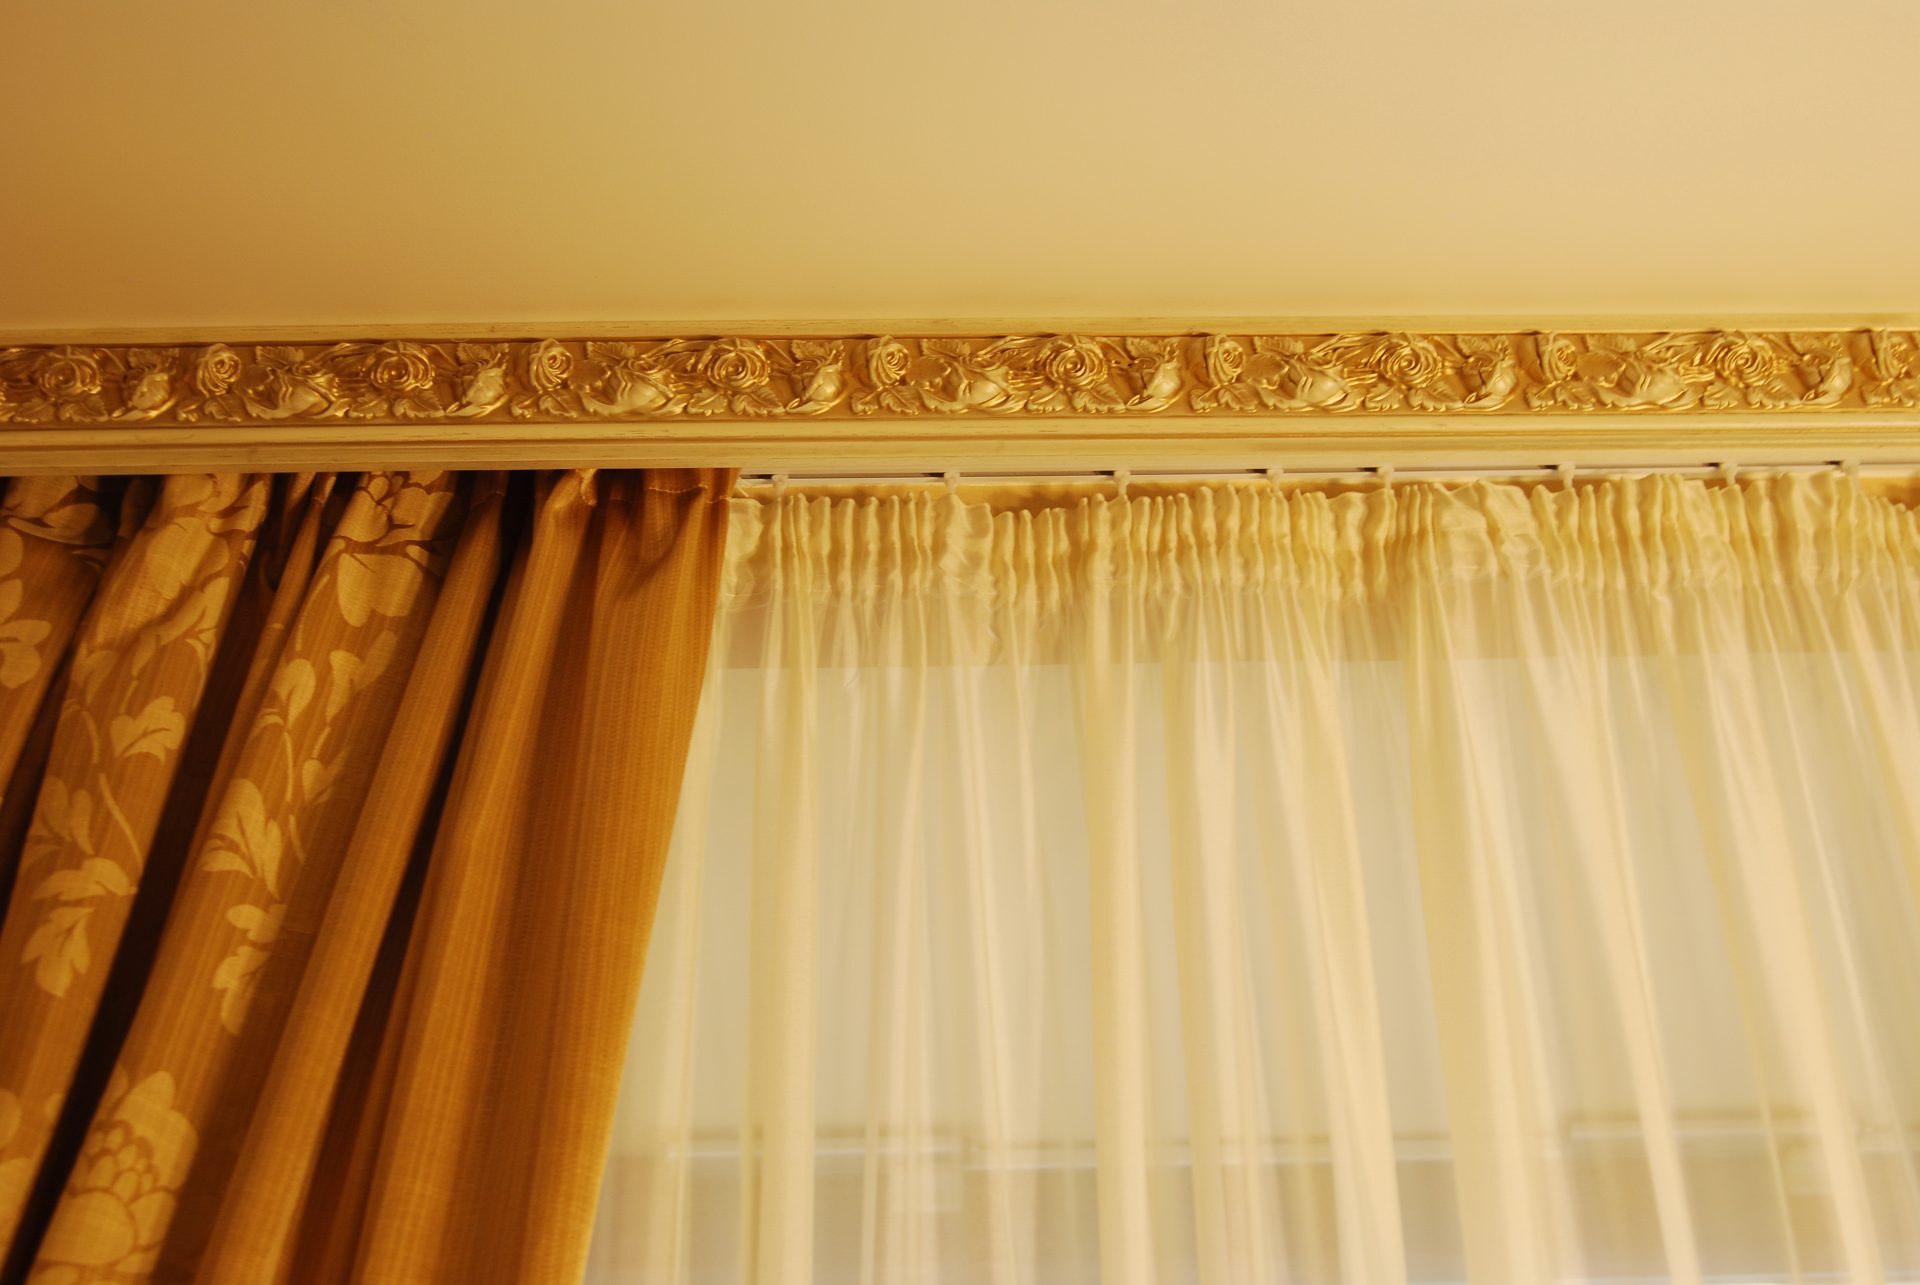
- Baguettes that gather fabric into massive folds;
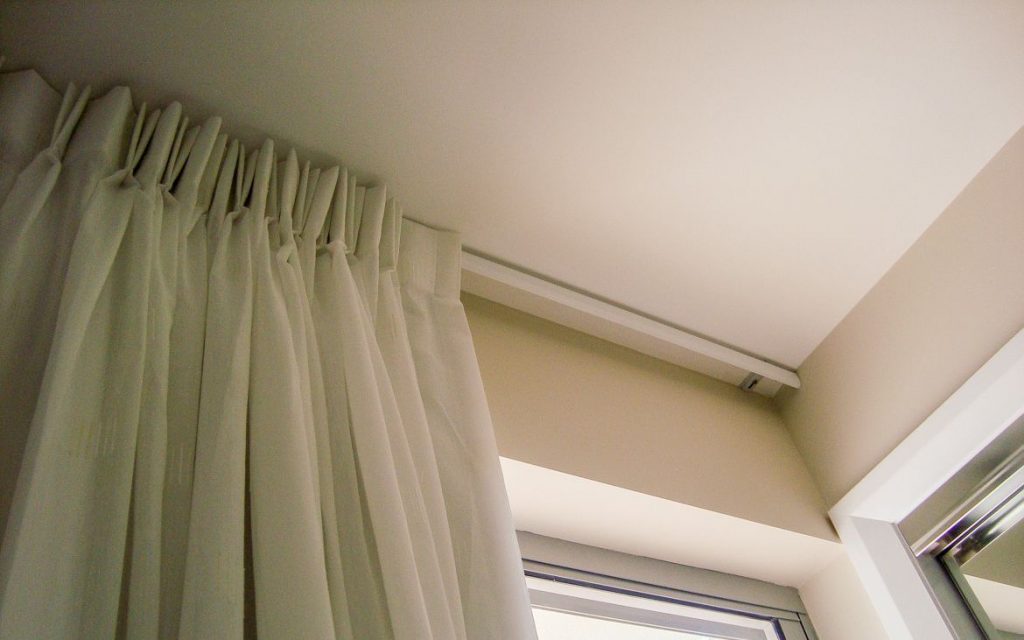
- Practical tires.
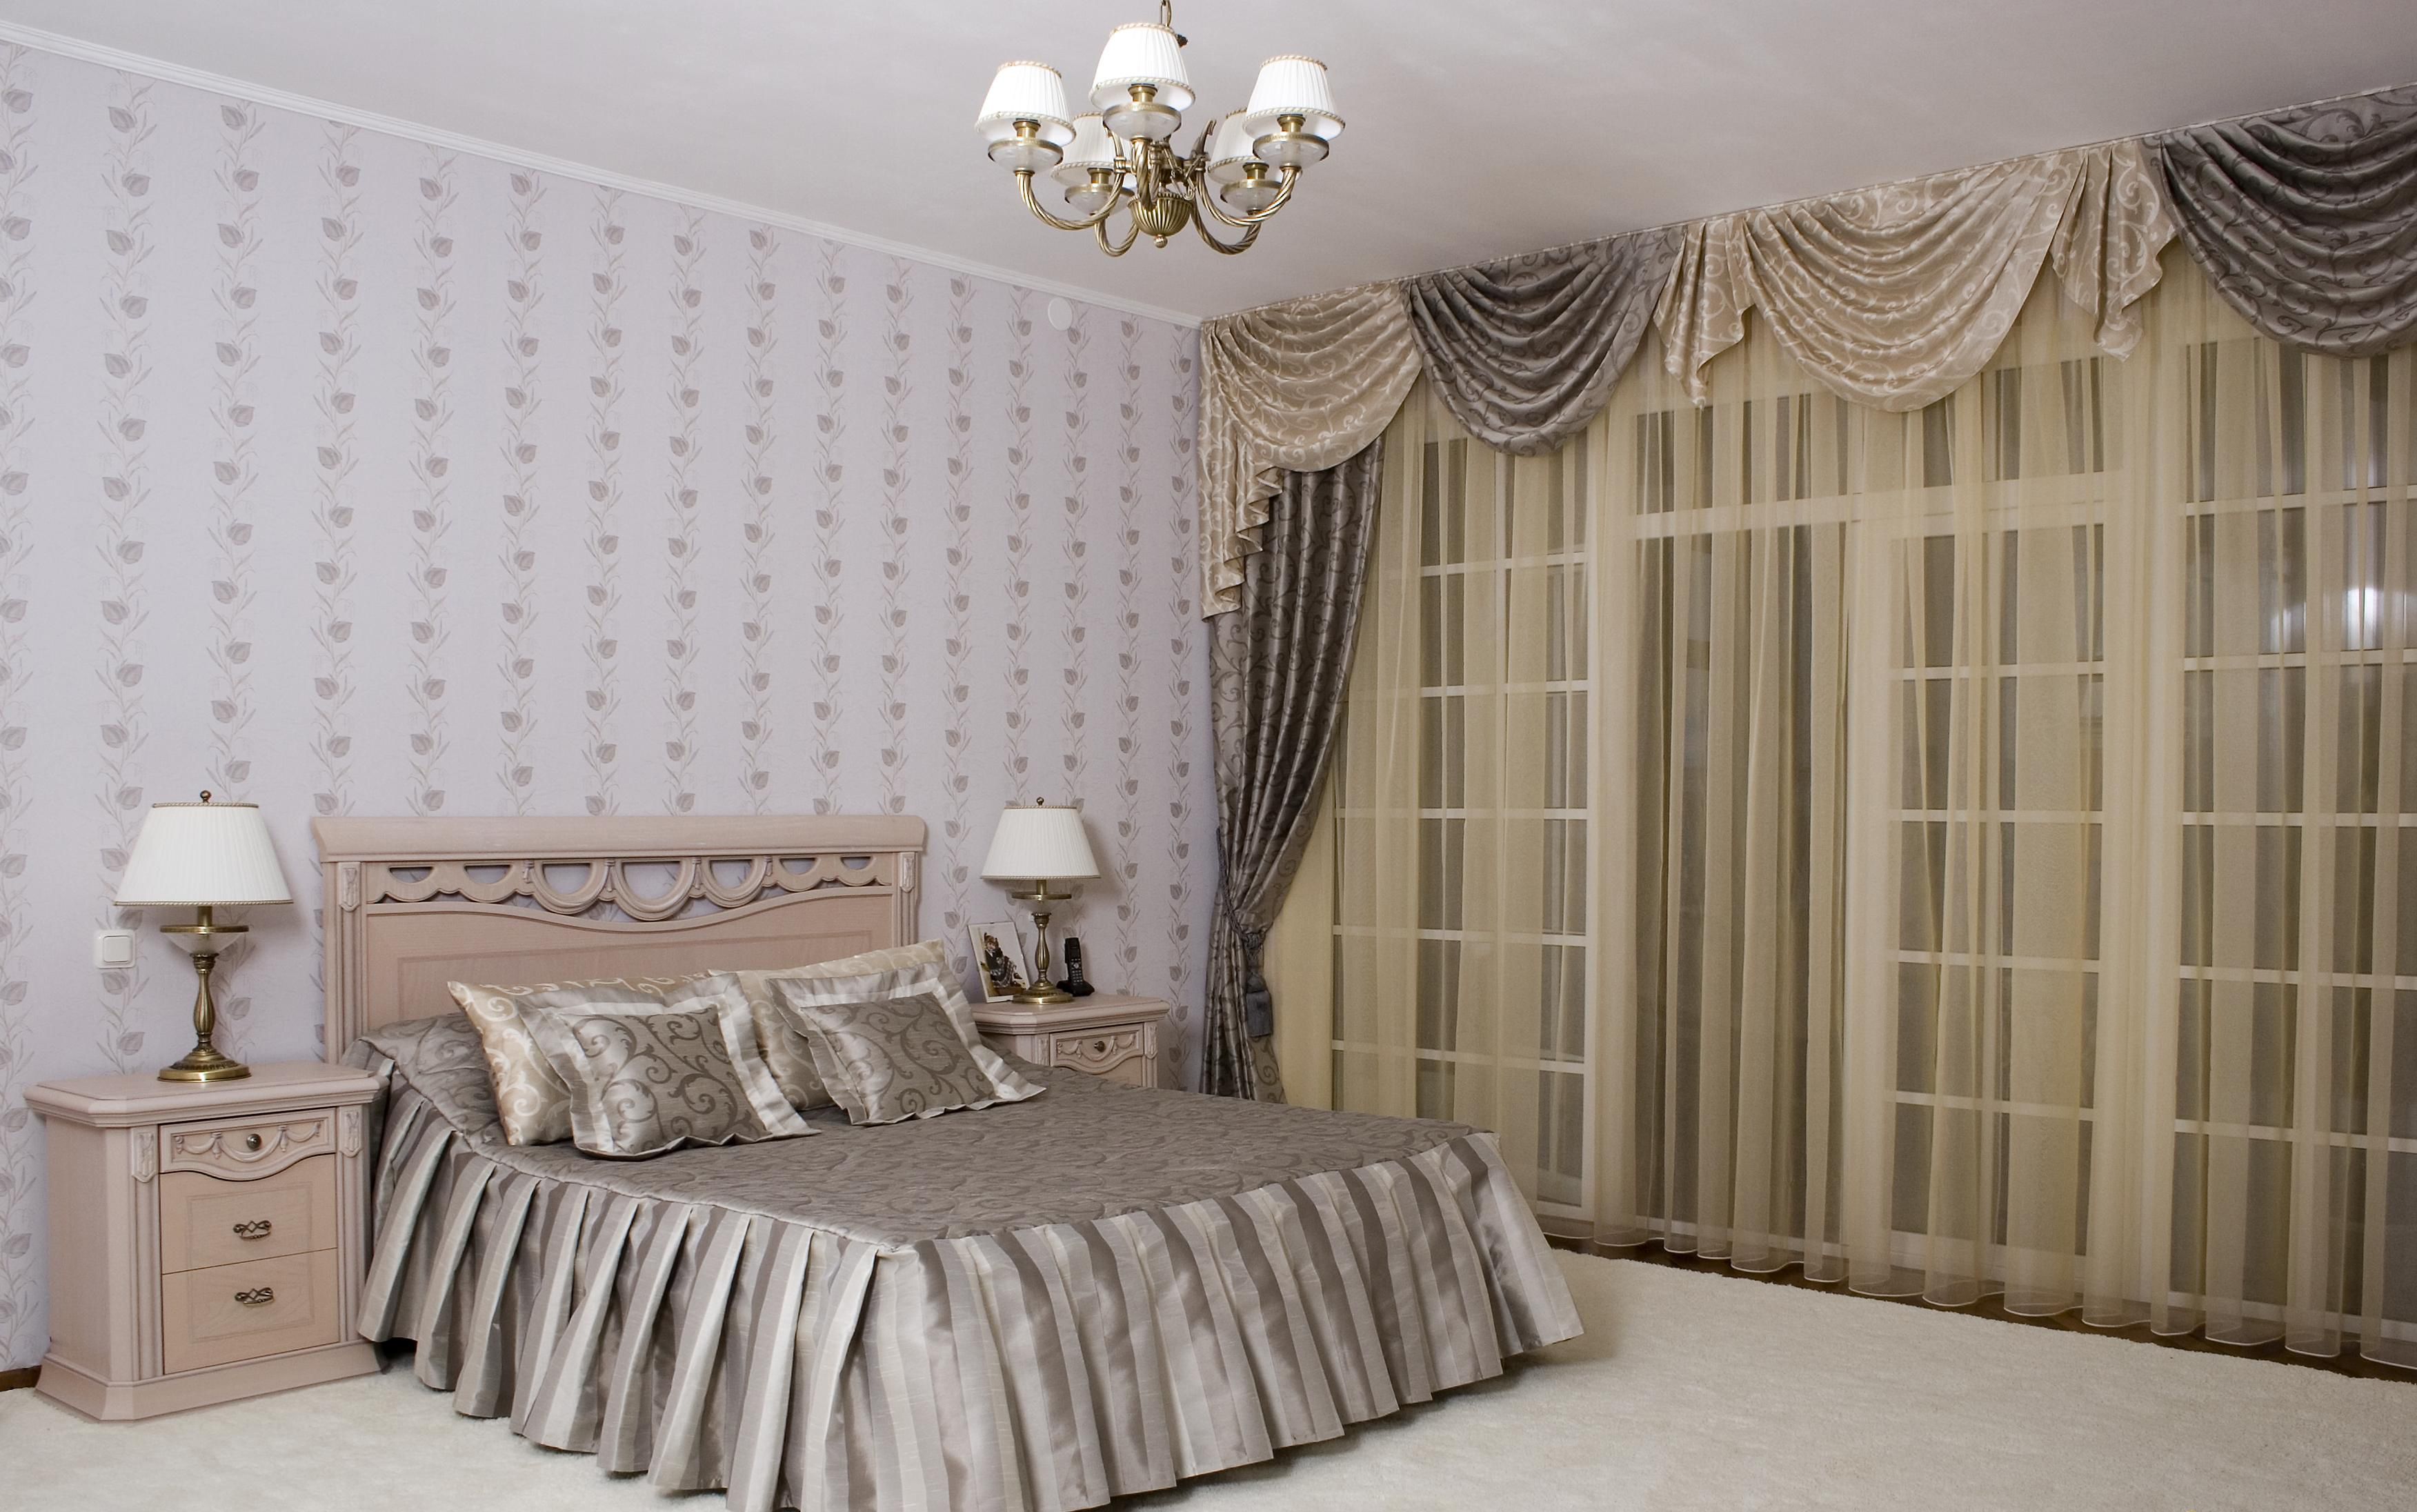
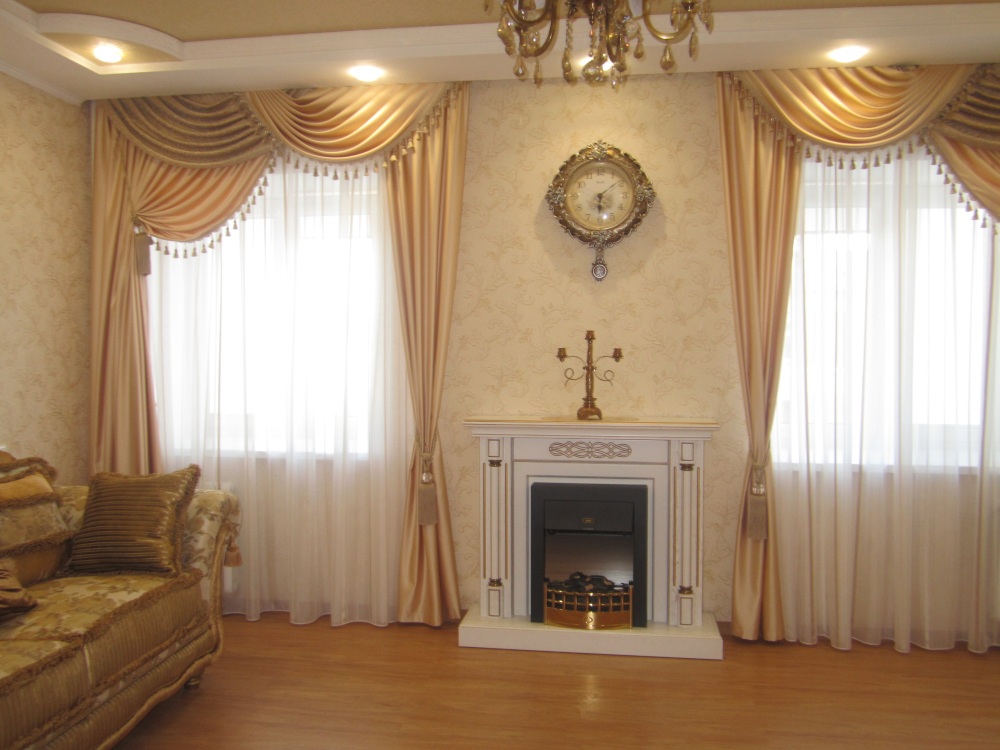
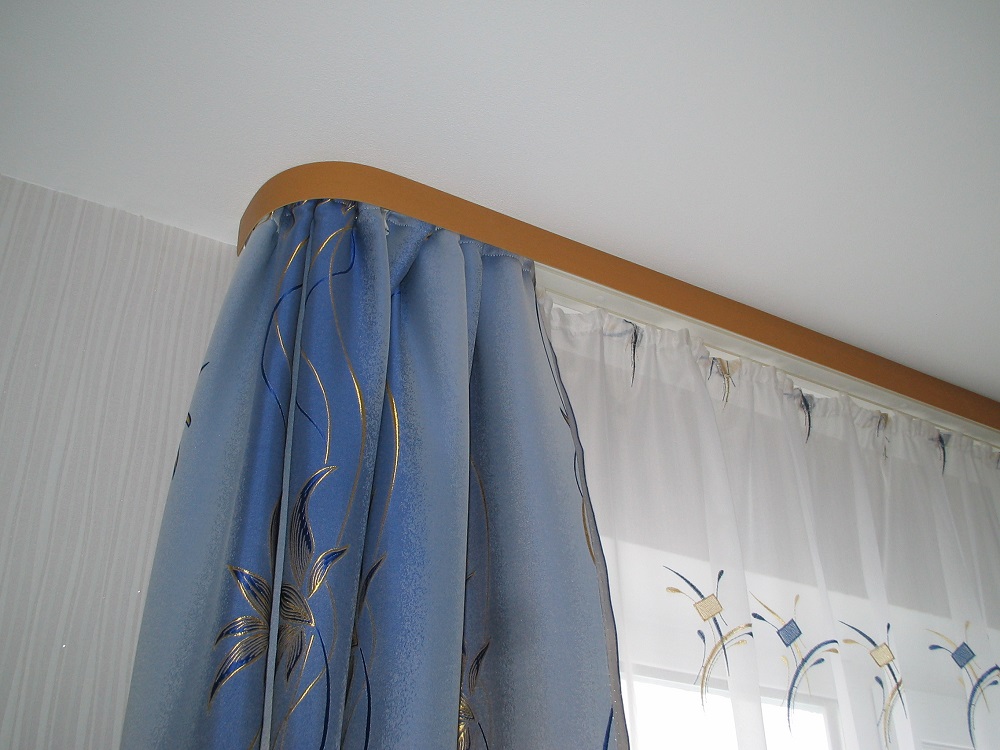
Some types of ceiling cornices can cover the upper part of the curtains with the help of frames, which can also be of different sizes, colors, styles and materials. For example, a plastic frame with a shade like the ceiling will suit a classic interior. And the minimalism and restraint of modernism will be emphasized by light-colored metal.
Thirdly, cornices can differ in shape:
- Straight,
- Figured (wave, snake, etc.),
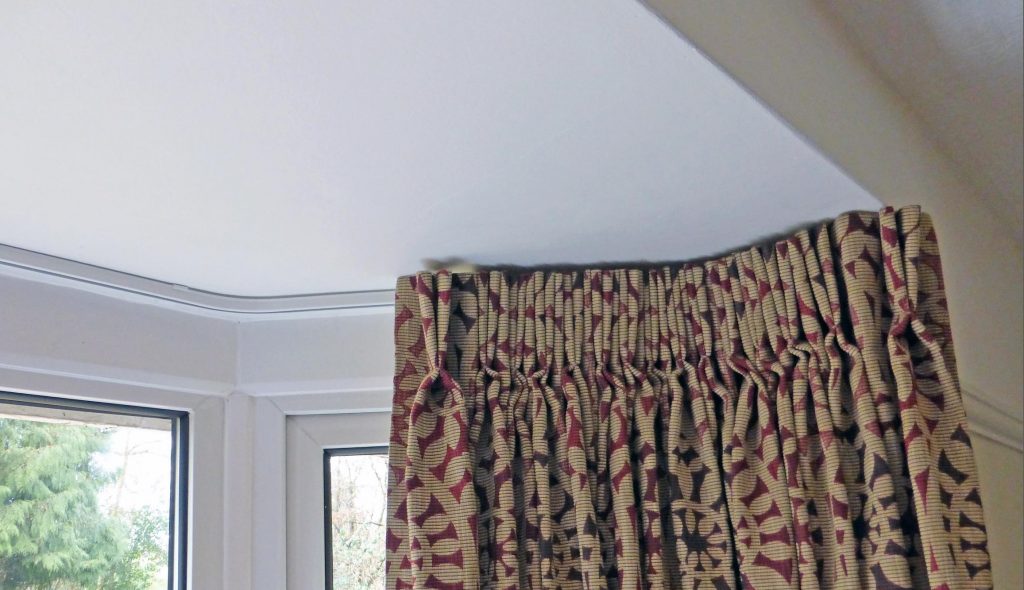
- With bends (bay window, multi-row bay window with bends, reverse two-lane bay window with bends, two-row cornice),
- Single-tier and multi-tier.
Fourthly, there are many options for attaching fabric to the cornice. They can be presented in the form of:
- Kryuchkov;
- Rings;
- Tires;
- Strings etc.
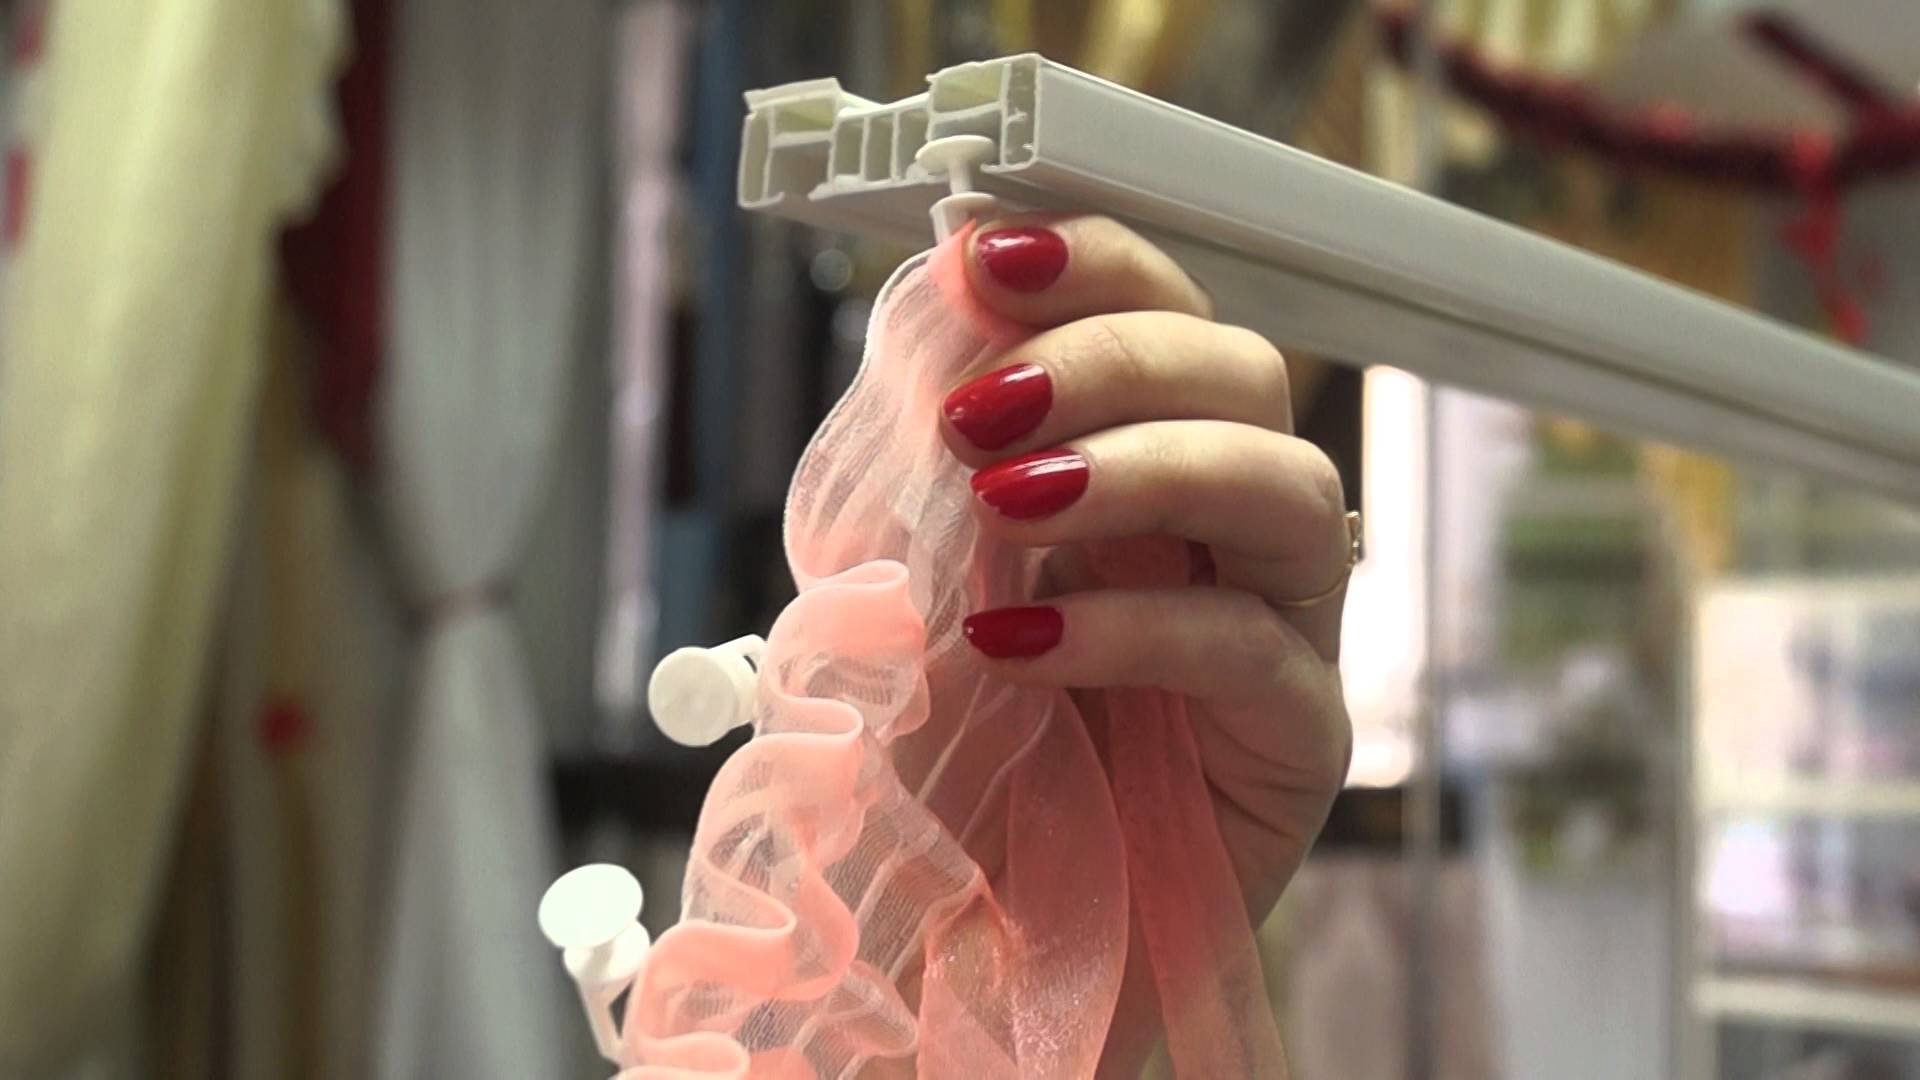
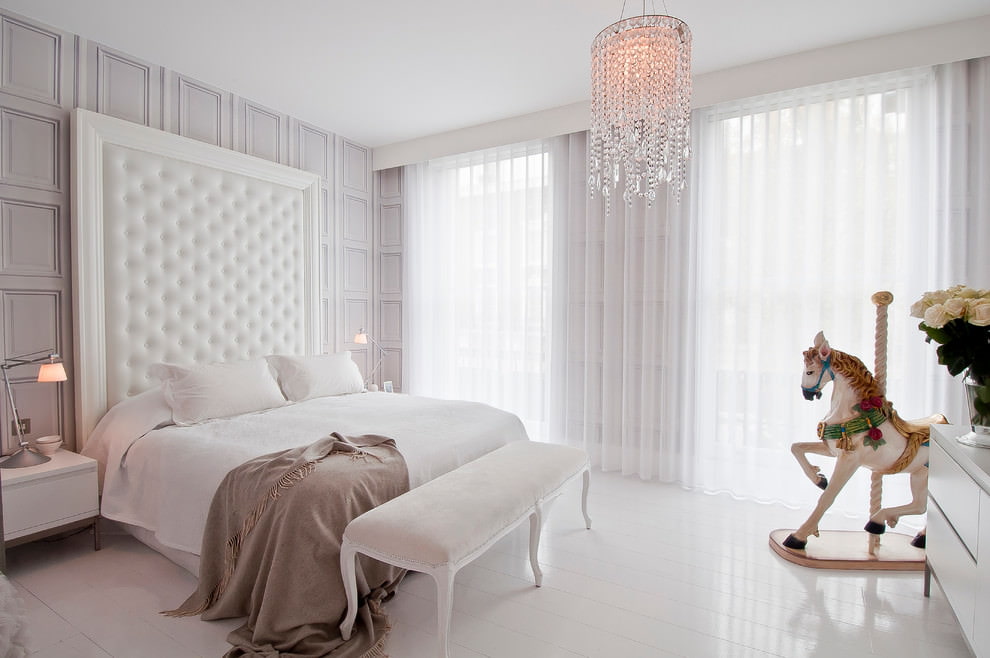
However, all these types are not universal for each type of cornice. For example, cornices consisting of only one string are better used in rooms where the windows are decorated with light tulle so that the structure can withstand the weight of the fabric.
Important! There should only be one piece of fabric per row of strings or hooks. Otherwise, the fastenings inside the cornice may not be able to withstand the weight of all the curtains.
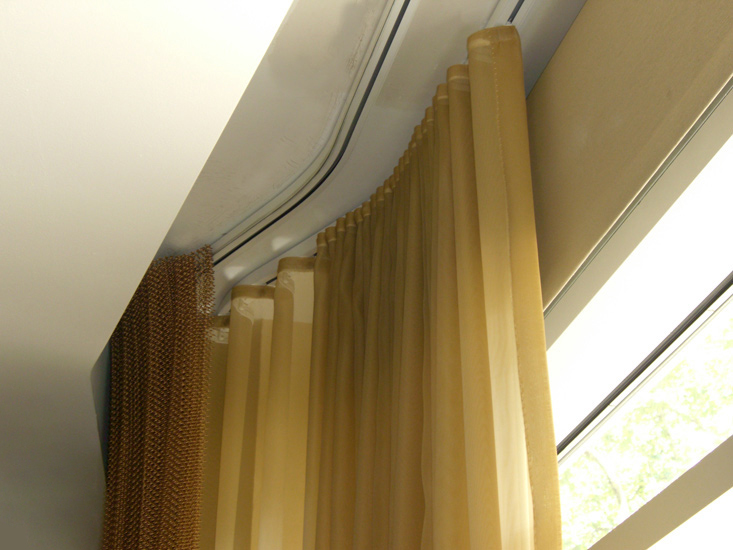
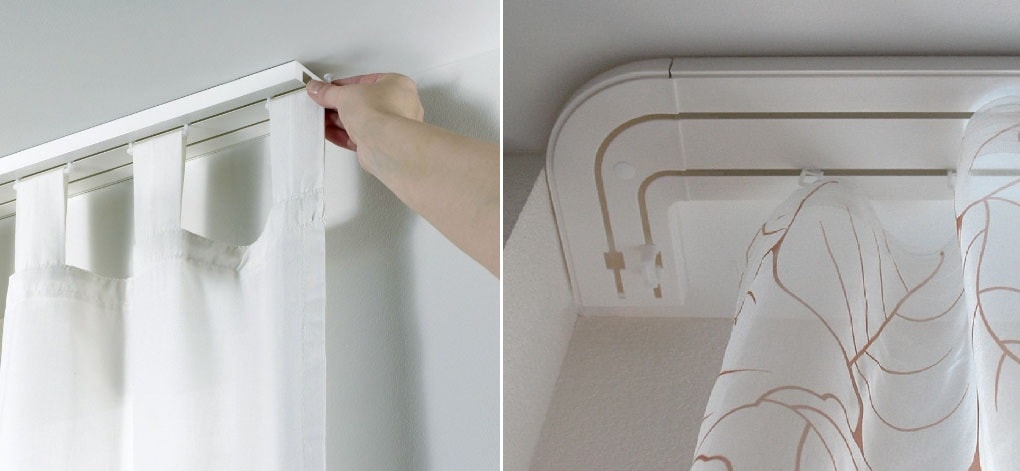
If you need to achieve maximum multi-layering or complexity of window decoration in the interior, it is better to use a plastic ceiling curtain rod with a double-row type of fastening with hooks. They better withstand dense and heavy fabrics.

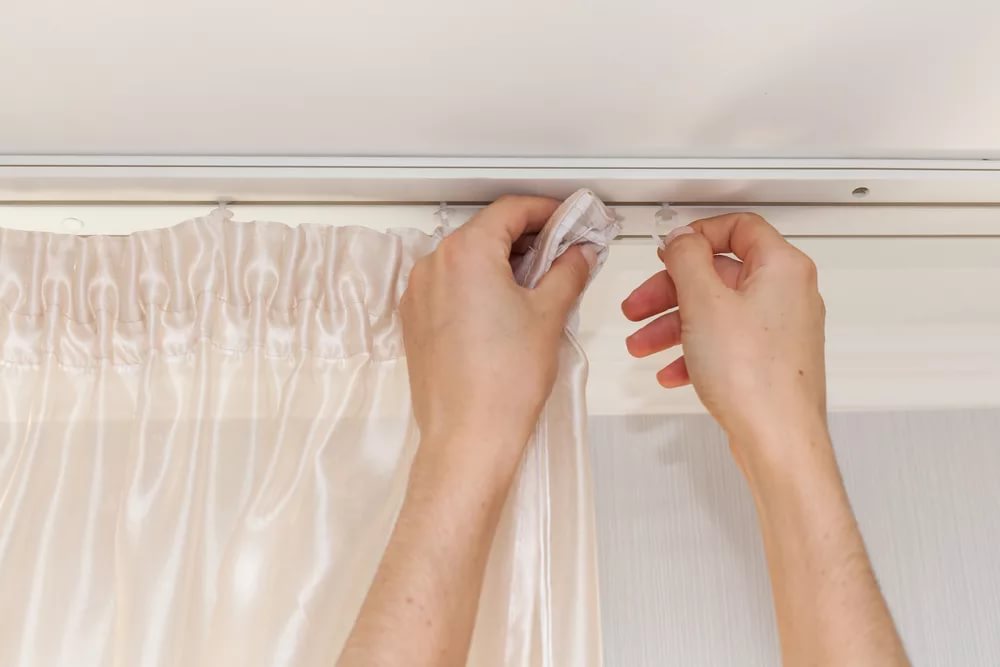
How to hang curtains on a ceiling cornice: instructions and description of the process
How to hang curtains on a ceiling cornice with hooks if the structure itself is not ready yet? No way, so first you need to go through several stages of preparation and direct installation:
- Assembly;
- Marking;
- Installation.
Installing a fully assembled cornice, although it requires more time and help from others, is much easier than redoing all the work yourself several times. After all, it is at the assembly stage that it becomes clear what specific length of cornice is needed. And if necessary, you can adjust its dimensions with a hacksaw or return it to the store.
Important! At the assembly stage, it is better to immediately fix all the hooks on which the curtains will hang using plugs. After installing the product, it will not be so easy to do this.
The next step is marking. All you need is a pencil, a ruler and a building level. Using these stationery items, you need to draw a straight line along the entire length of the cornice, constantly measuring the distance from the wall with a ruler. If the cornice has only two attachment points to the wall, then the attachment points need to be symmetrically marked on the line.

Cornices are always installed on a solid and stable surface. Therefore, the installation sequence (third stage) is almost the same in all cases. The exception is the method of fixing the cornice.
Methods of fastening to a concrete ceiling
The third stage – installation for a concrete ceiling is carried out using dowel nails or glue, which can withstand from 15 to 80 kg/cm.
To install using glue, you need to do the following.
- Preparation of the base. It must be freed from all impurities in the form of paint or whitewash.
- Afterwards, the surface needs to be leveled and covered with primer.
- Leave until completely dry.
- When the surface is ready, you need to work on the cornice itself.
- Glue is applied to the structure in a snake-like pattern and placed against the ceiling.
Over the next 3 days, the glue will dry, so it is not recommended to hang curtains on it immediately.
Mounting a curtain track to the ceiling
- Determining the length of the cornice. If necessary, remove excess length with a hacksaw.
- Measure the tire and divide it into equal parts.
- Cut the metal tire into equal parts.
- File the sides.
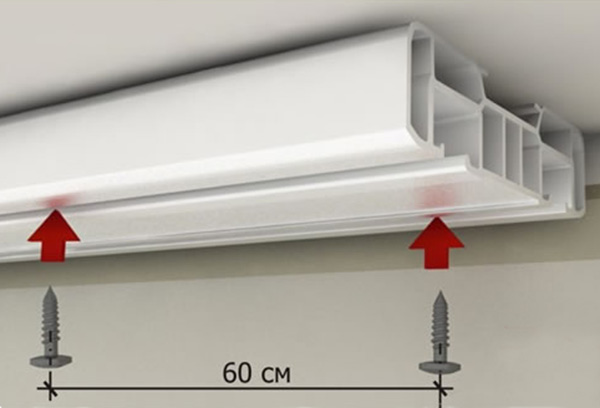
- Mark the locations for anchor bolts and screws, taking into account the features of the ceiling, the weight of the fabric and the number of lines for attaching the curtains.
Important! If the curtain rod fabric is light, then the bolts and screws are located at a distance of 60-70 cm. If the curtains are heavy, then it is reduced to 20-50 cm.
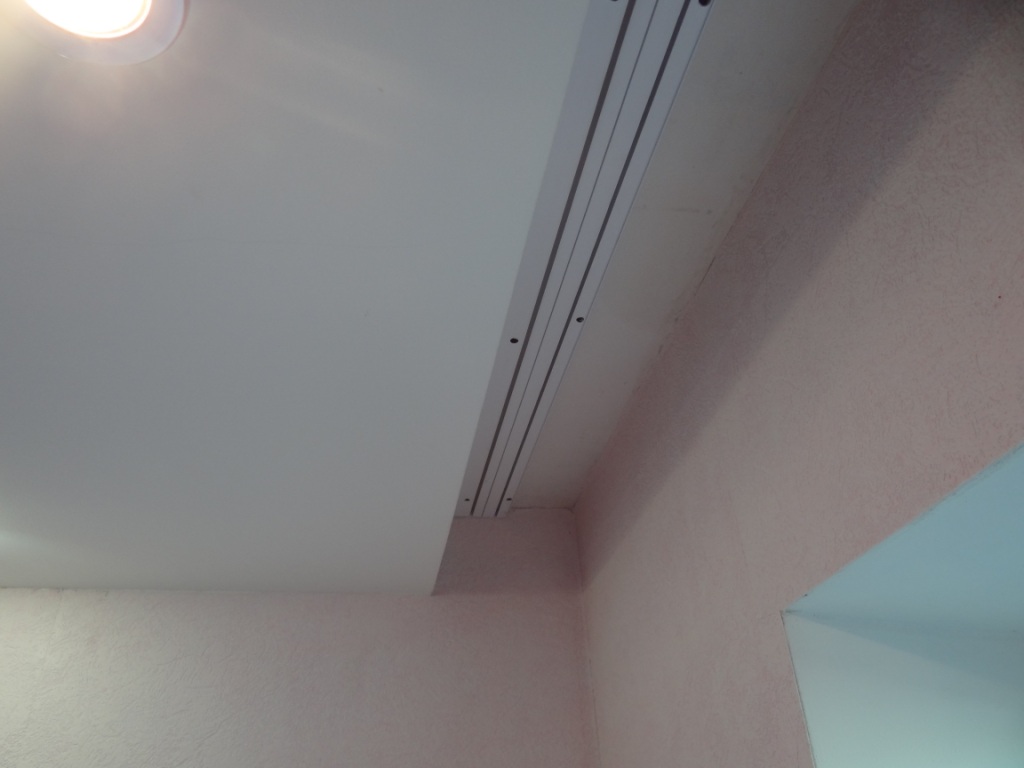
- Drill holes.
- Place the tire on the marked line on the ceiling.
- Mark the mounting locations.
- Drill holes in the ceiling.
- Apply the splint and secure it.
Important! The holes for each type of fastening are different: for anchors, the holes in the ceiling and on the rail are the same, and for self-tapping screws, they are 1.5 - 2 mm smaller.
How to correctly calculate the length of curtains on tape for a ceiling cornice?
All calculations on how to measure curtains correctly must be made only after the cornice has been installed. This rule works in all cases, regardless of the type of cornice (ceiling or wall).
To make all measurements, you need to take a construction tape measure. Its size should be from 3 meters. So that with its help you can calculate not only the height, but also the width of the fabric.
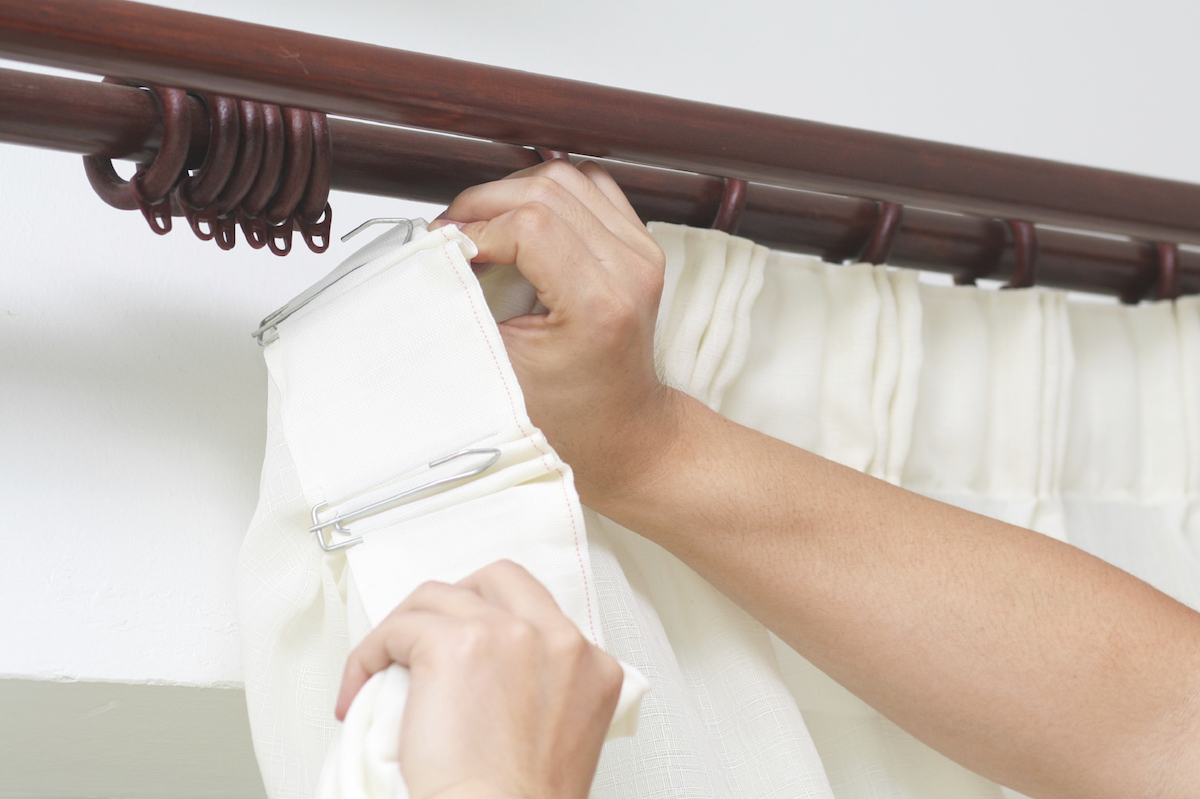
As for measuring the length itself, it directly depends on individual preferences. Curtains can be shortened to the window sill, to the radiator, long not touching the floor or, on the contrary, with a margin, etc. But, in spite of everything, one general rule works: measurements should be taken not at the lowest point of the cornice, but at the place where the fabric is attached. Hooks, rings, clothespins, etc. This rule does not work only in cases where the fabric is secured with ties or eyelets.
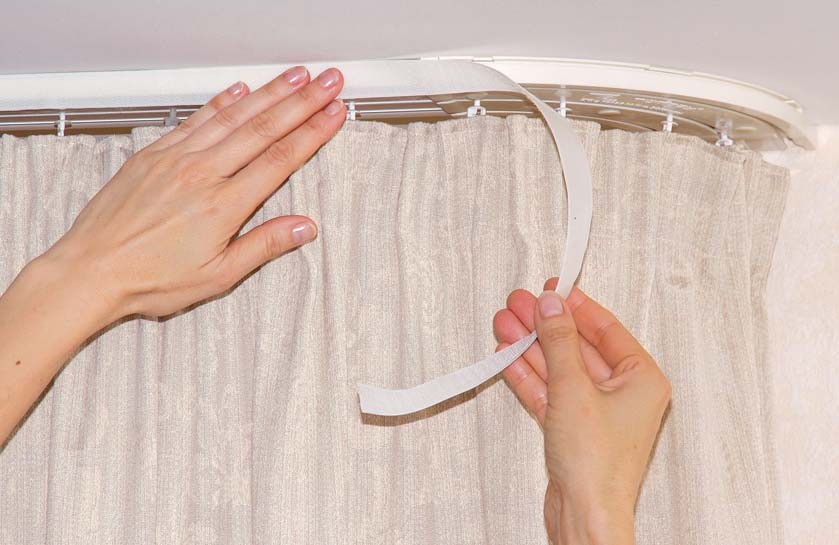
The peculiarity of curtains on a tape is that they are attached to hooks from a curtain tape. They are hidden on the back side of the fabric and are one of the key parts of the curtains. Therefore, measurements should be taken taking into account the presence of the tape, and not only the length of the curtain fabric.
Instructions for calculating the height of a curtain on tape
For each length of curtains, there are unspoken rules about how many centimeters they should be from the nearest horizontal surface, namely:
- Shortened curtains should be 1 cm higher than the window sill;
- The average length of curtains is considered to be 10-15 cm below the window sill;
- Long curtains do not touch the floor and are 5-6 cm above it;
- Extended curtains have a full length from the mount to the floor, and another 15-20 cm should be added to the resulting size.

After the length of the fabric has been calculated taking into account the requirements, it is time to take care of the curtain tape, which the curtain fabric clings to the cornice. Its standard size in width is 6 cm, and it has two lines for fastening.
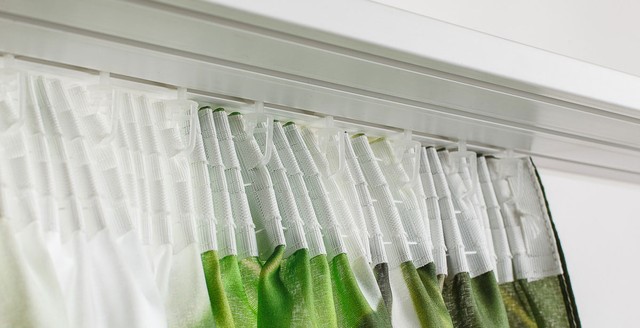
To ensure that the tape covers the hooks and does not add extra centimeters to the main length of the curtains, it is sewn to the upper edge of the fabric by a quarter of its width. And the fabric itself is hung by the lower near row of hooks.
Thus, the calculations will look like this. Having measured the length from the fastening to the floor, we get a figure of 247 cm. We add 6 cm of tape to this figure and subtract 3 cm to close the hook or ring on which the product will hang. There are still 3 cm left, which make up the second row of loops and the place where the fabric is attached. As a result, the fabric is 250 cm. This is the figure that needs to be indicated when ordering.
Basic mistakes when installing a cornice and hanging curtains
- It is essential to use curtain plugs and stoppers to ensure that the fabric is evenly distributed along the entire length.
- Installation by the principle "by eye" is the wrong option. Before installing the cornice, you need to symmetrically mark the joint of the structure with the ceiling.
- Self-installation of the cornice is not desirable and complicated. After all, you cannot simultaneously fix the screws with a hammer drill and ensure that the cornice does not deviate from the line.
- Different ceiling finishes require different screws. For example, a plastered base requires plastic fasteners, while a concrete base requires steel ones.
- It is important to use additional fastening to the ceiling in the middle of the cornice if it is medium or large in size.

By choosing a suitable mount for your ceiling cornice, you can hang your curtains and enjoy a cozy home interior. - The cornice itself should be longer than the width of the window: at least 20 cm on each side.
- The distance from the window to the curtain should be at least 10 cm so that the fabric does not touch the radiator.
- Self-tapping screws must be installed into the wall together with dowels.
- You need to measure the length of the fabric not from the base of the cornice, but from the junction of the fabric and the fastening.
- The main mistake of incorrect measurements is that many do not take into account the width of the curtain tape, which is included in the curtain length indicators when ordering. Thus, most curtains are of the wrong length.

VIDEO: How to hang curtains on a ceiling cornice.
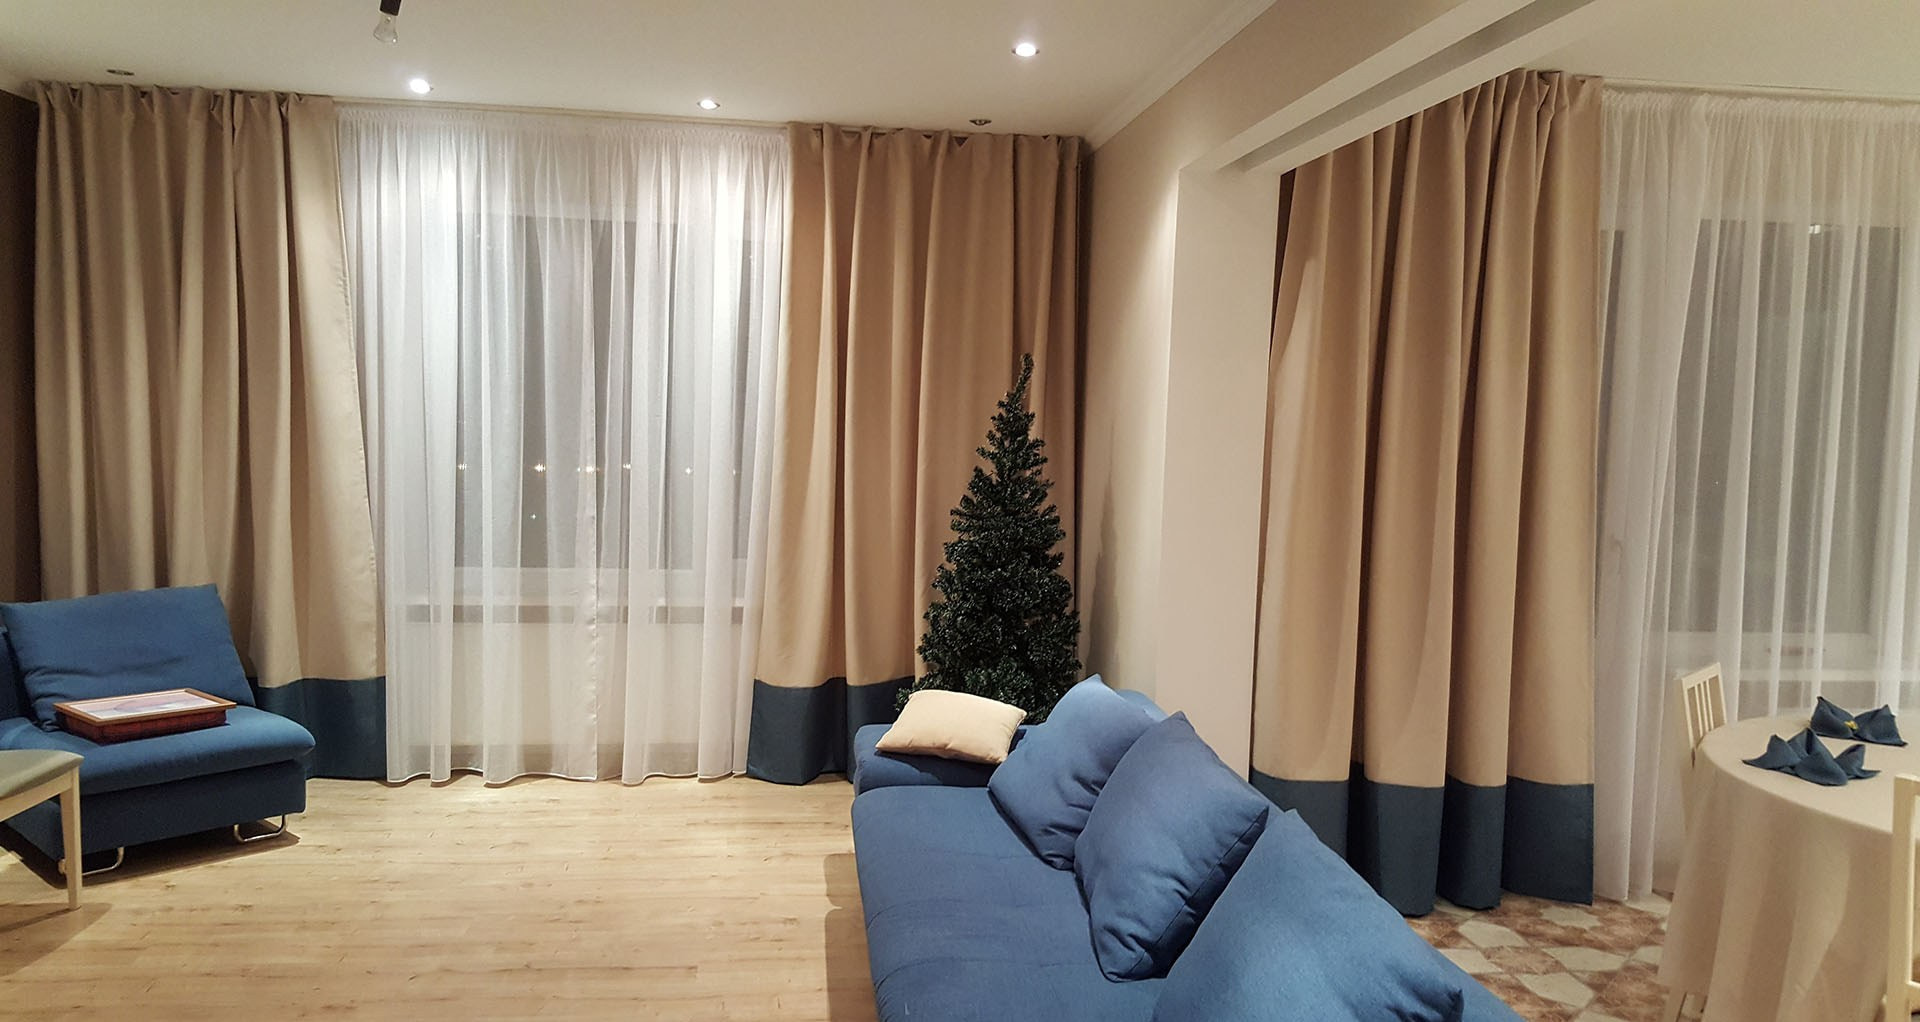
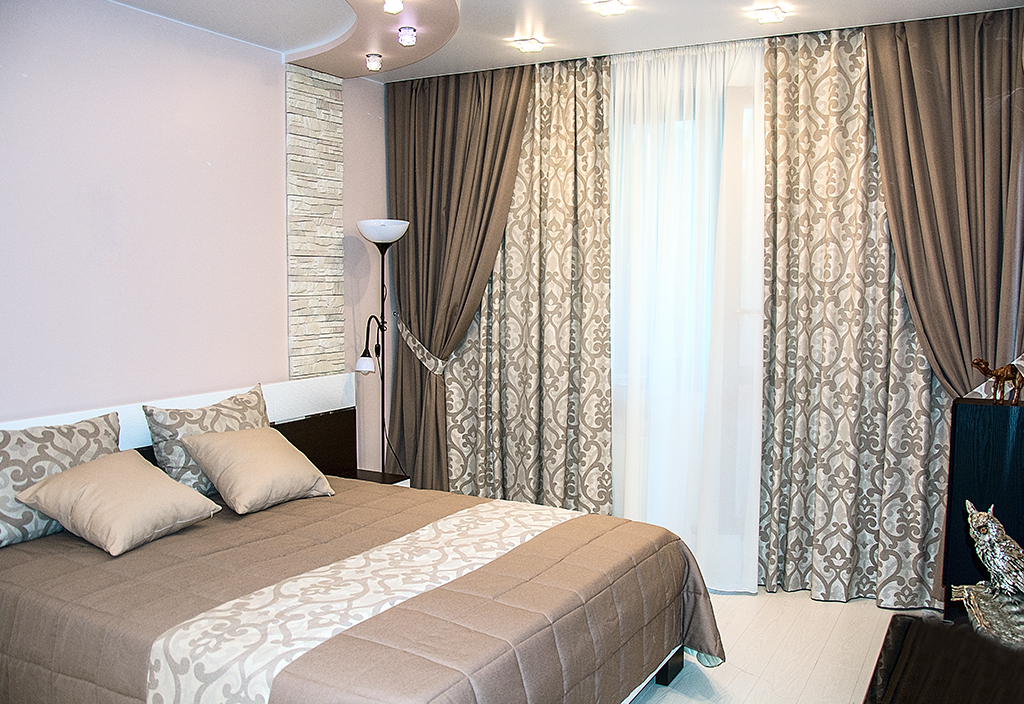
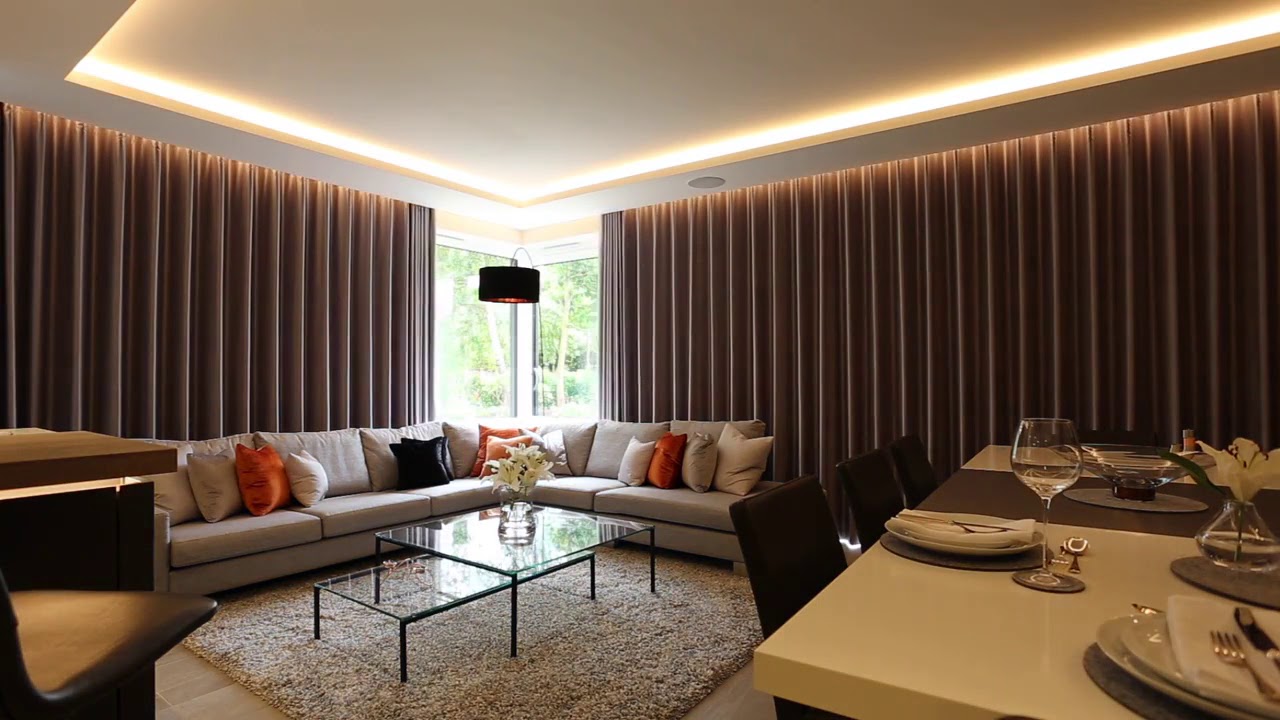
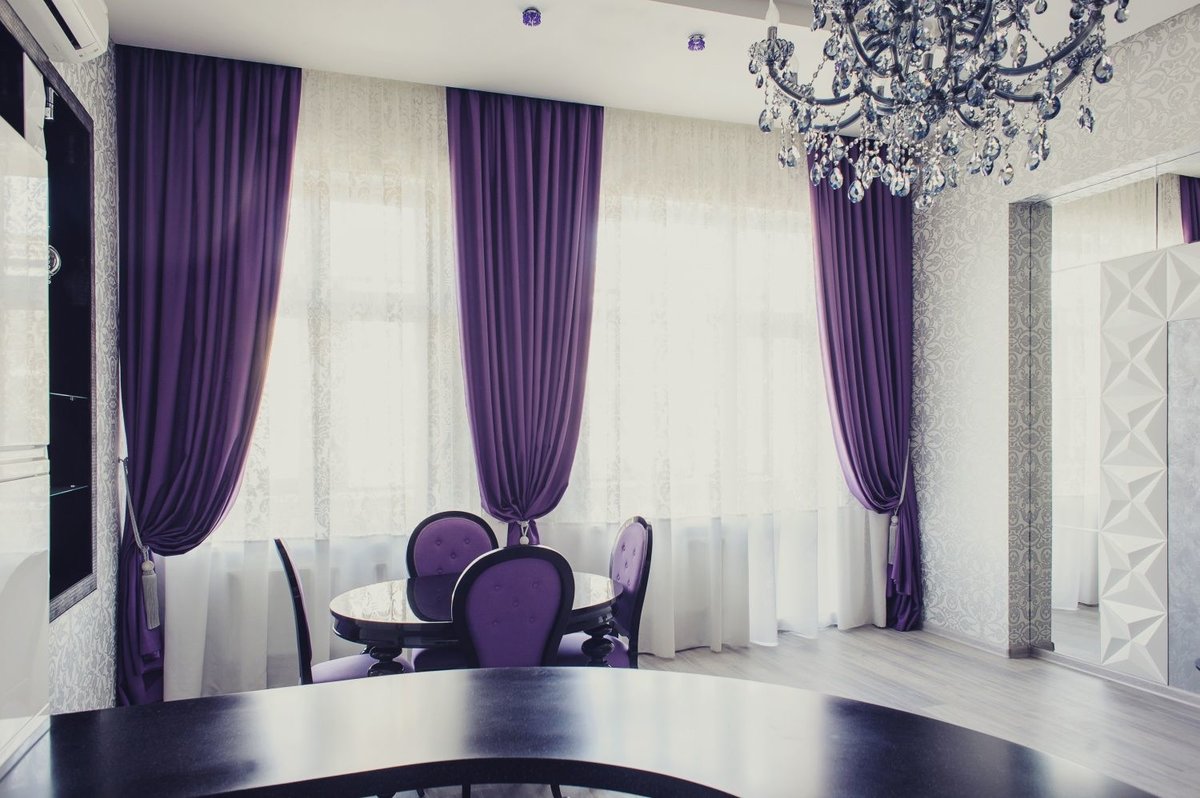
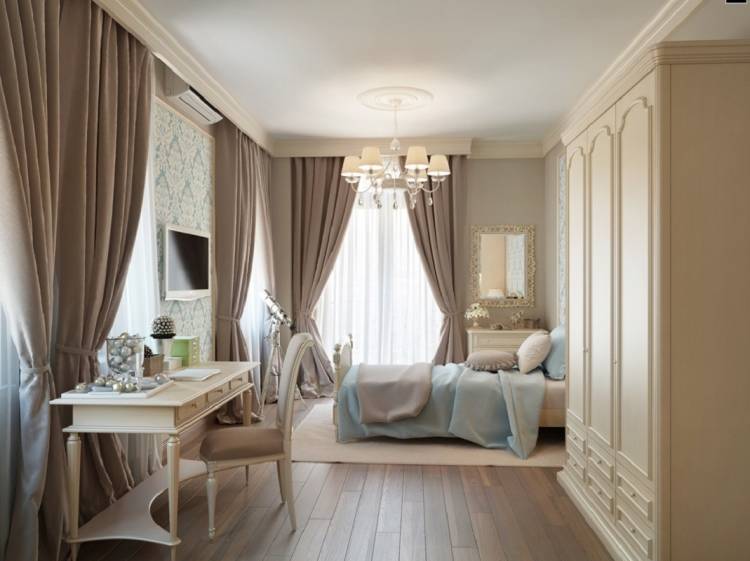
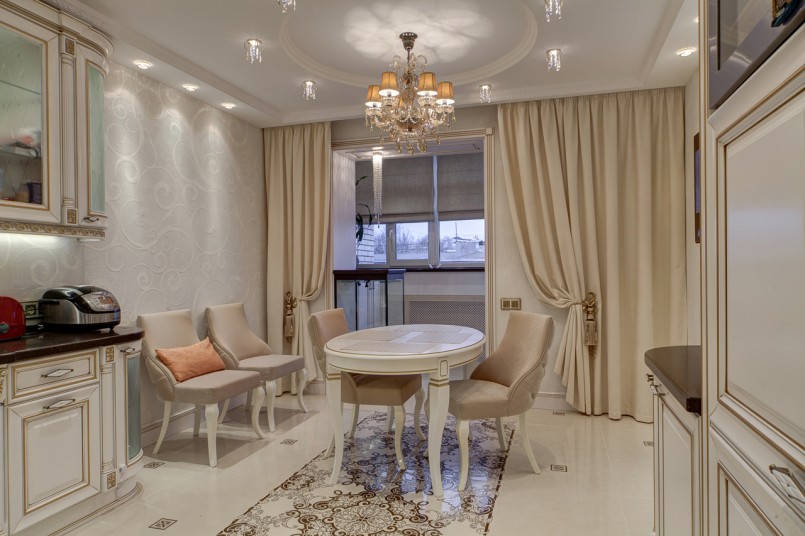
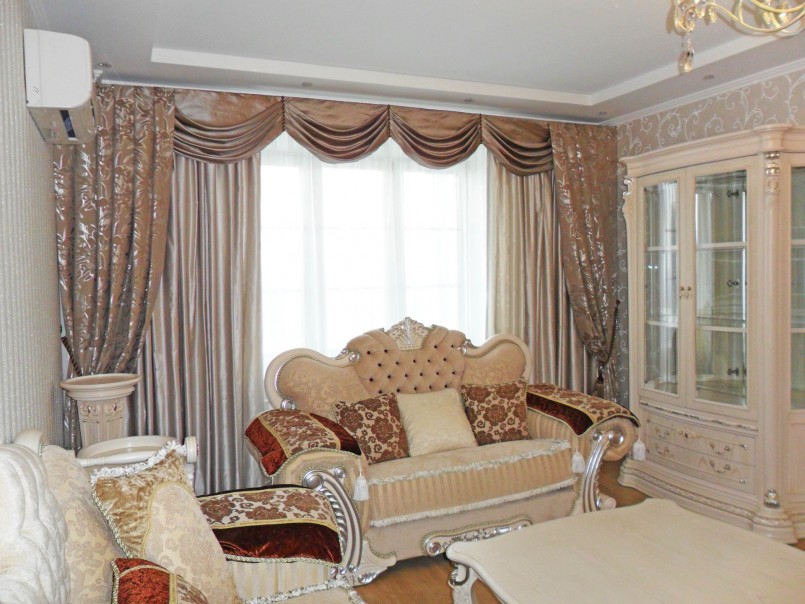
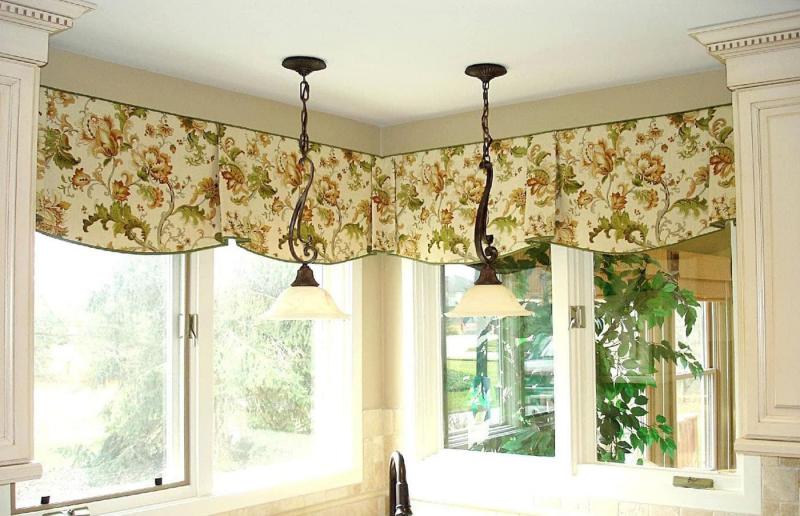
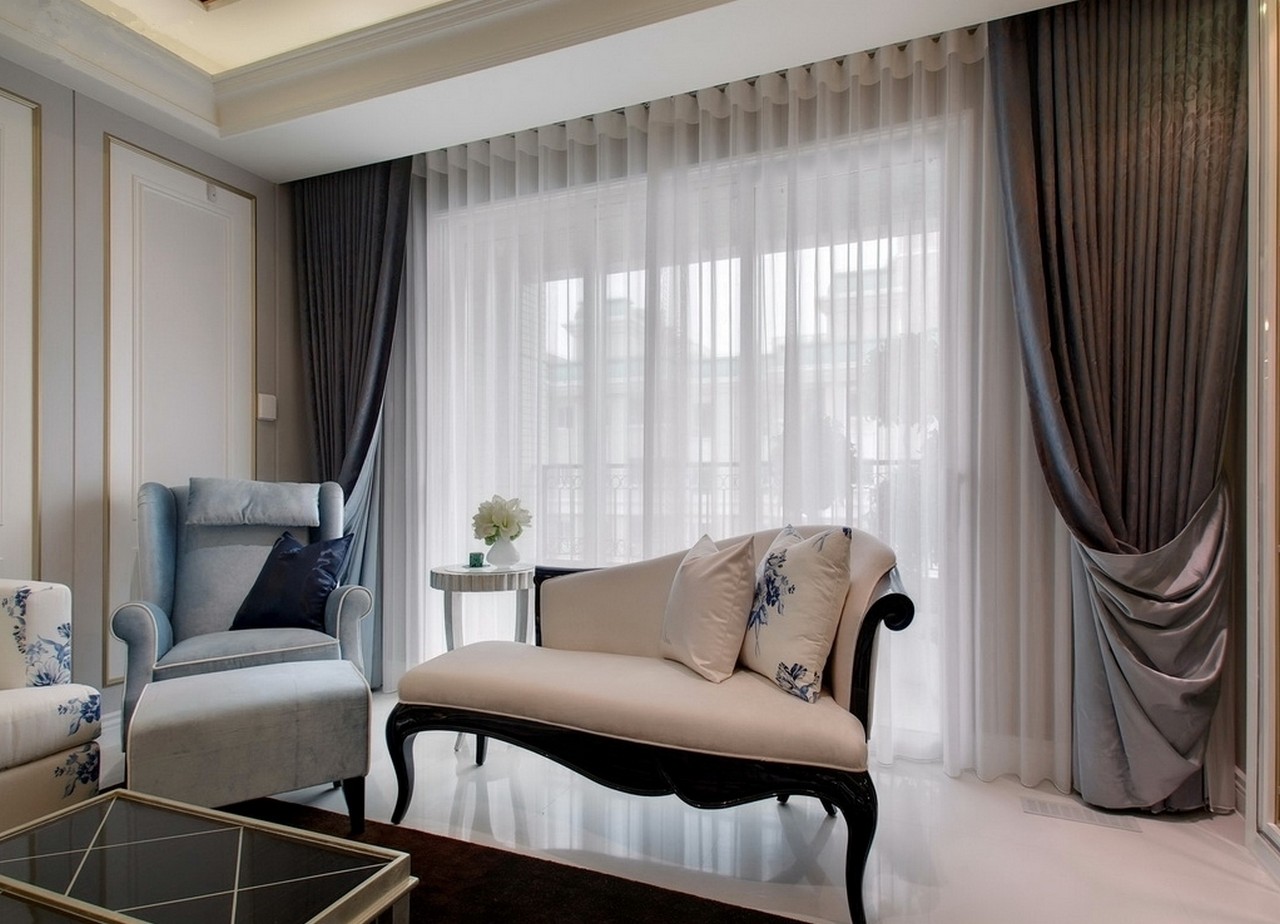
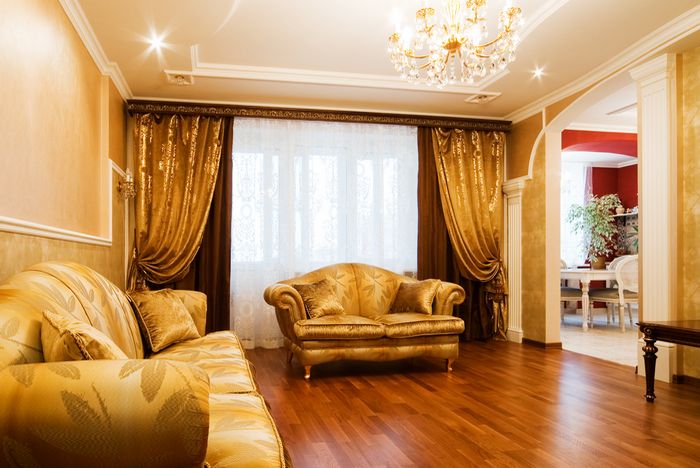
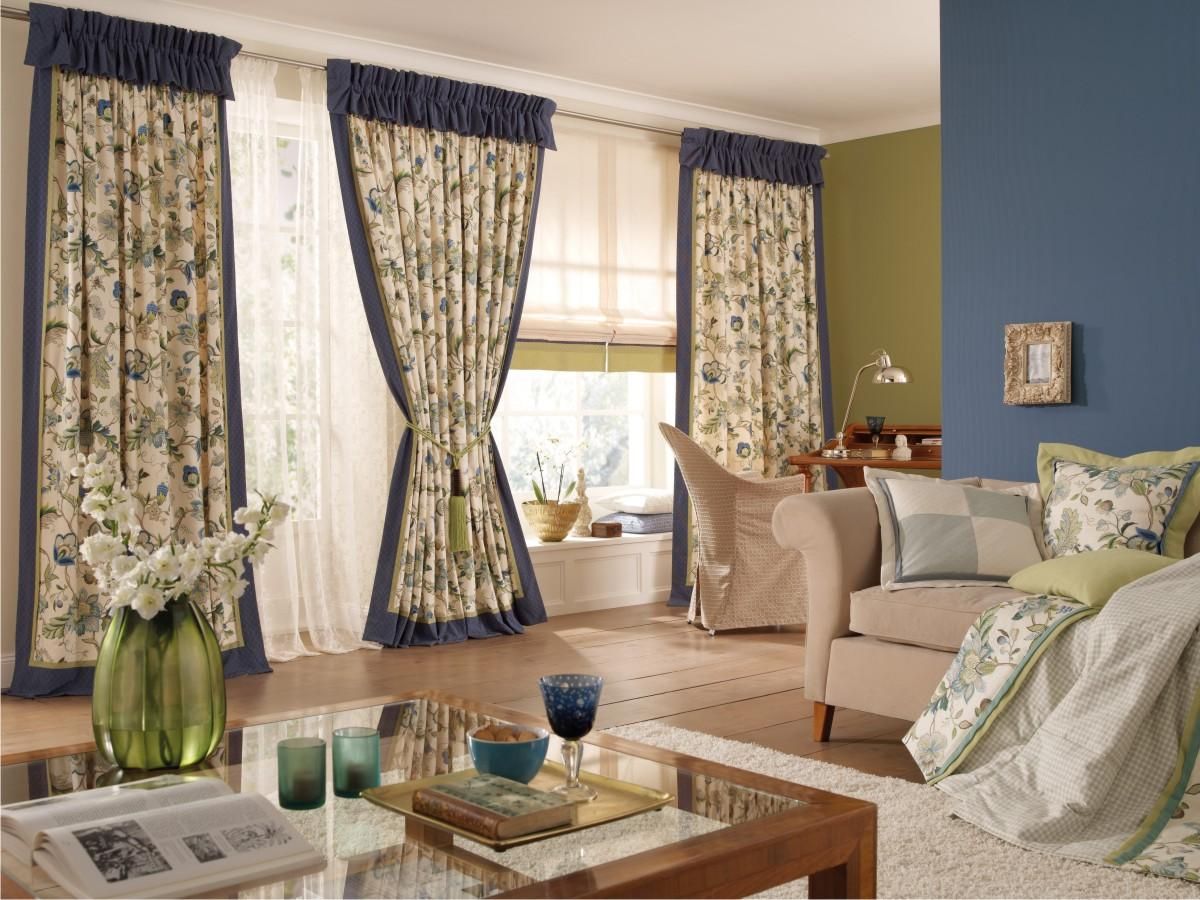
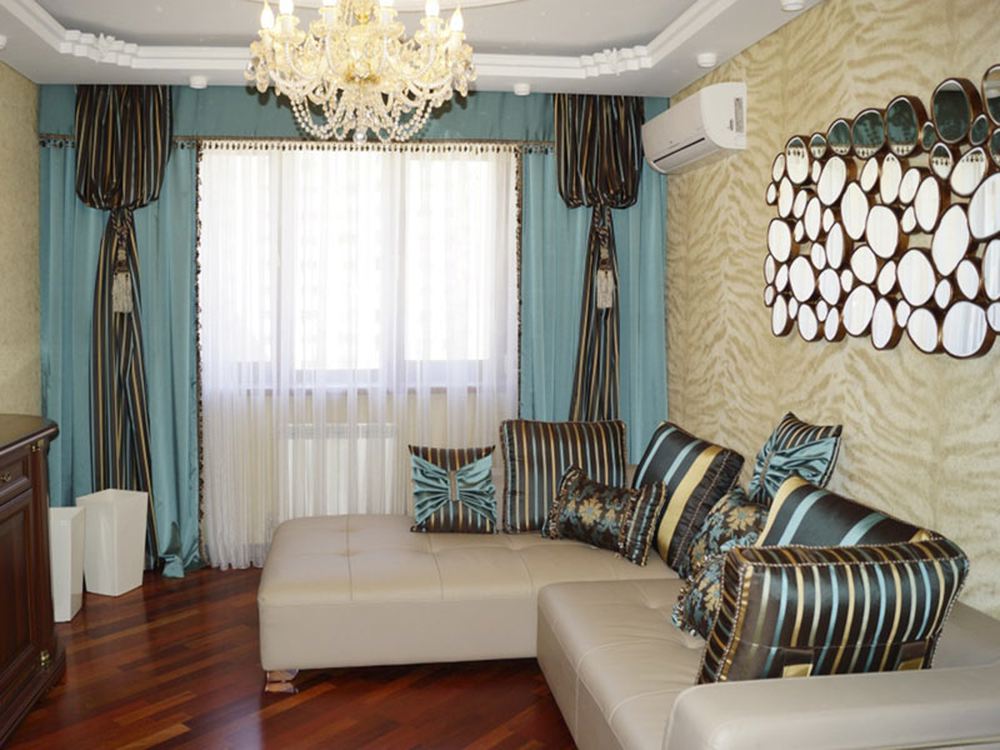
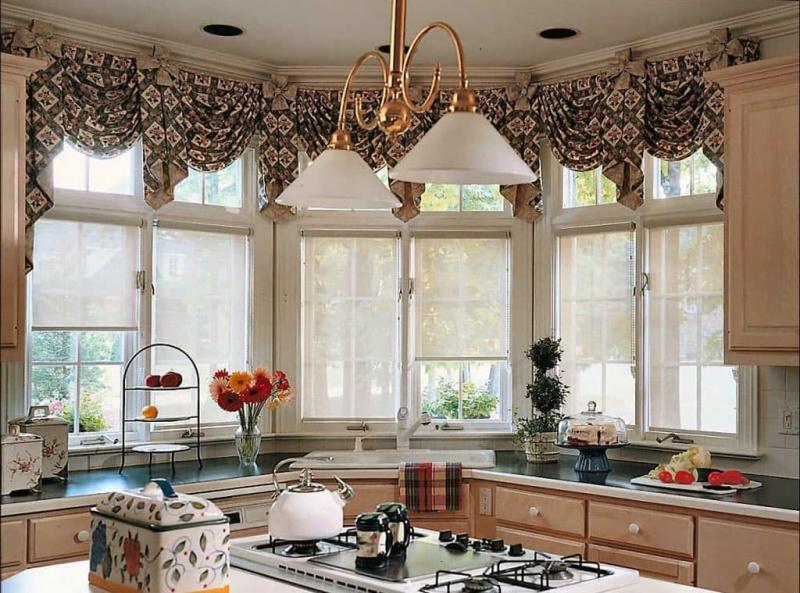
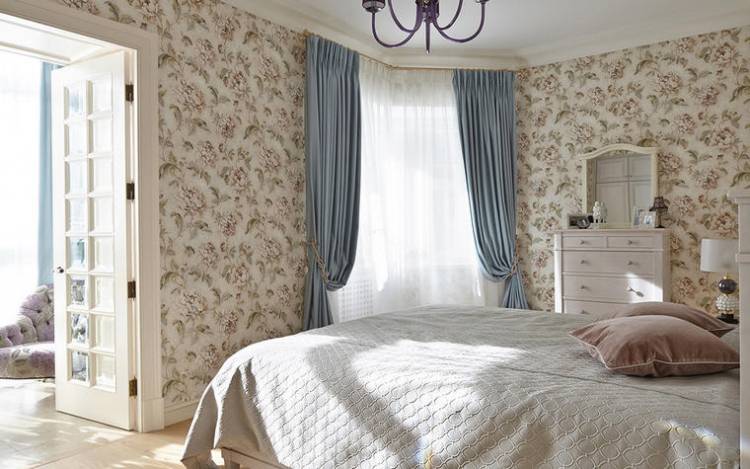
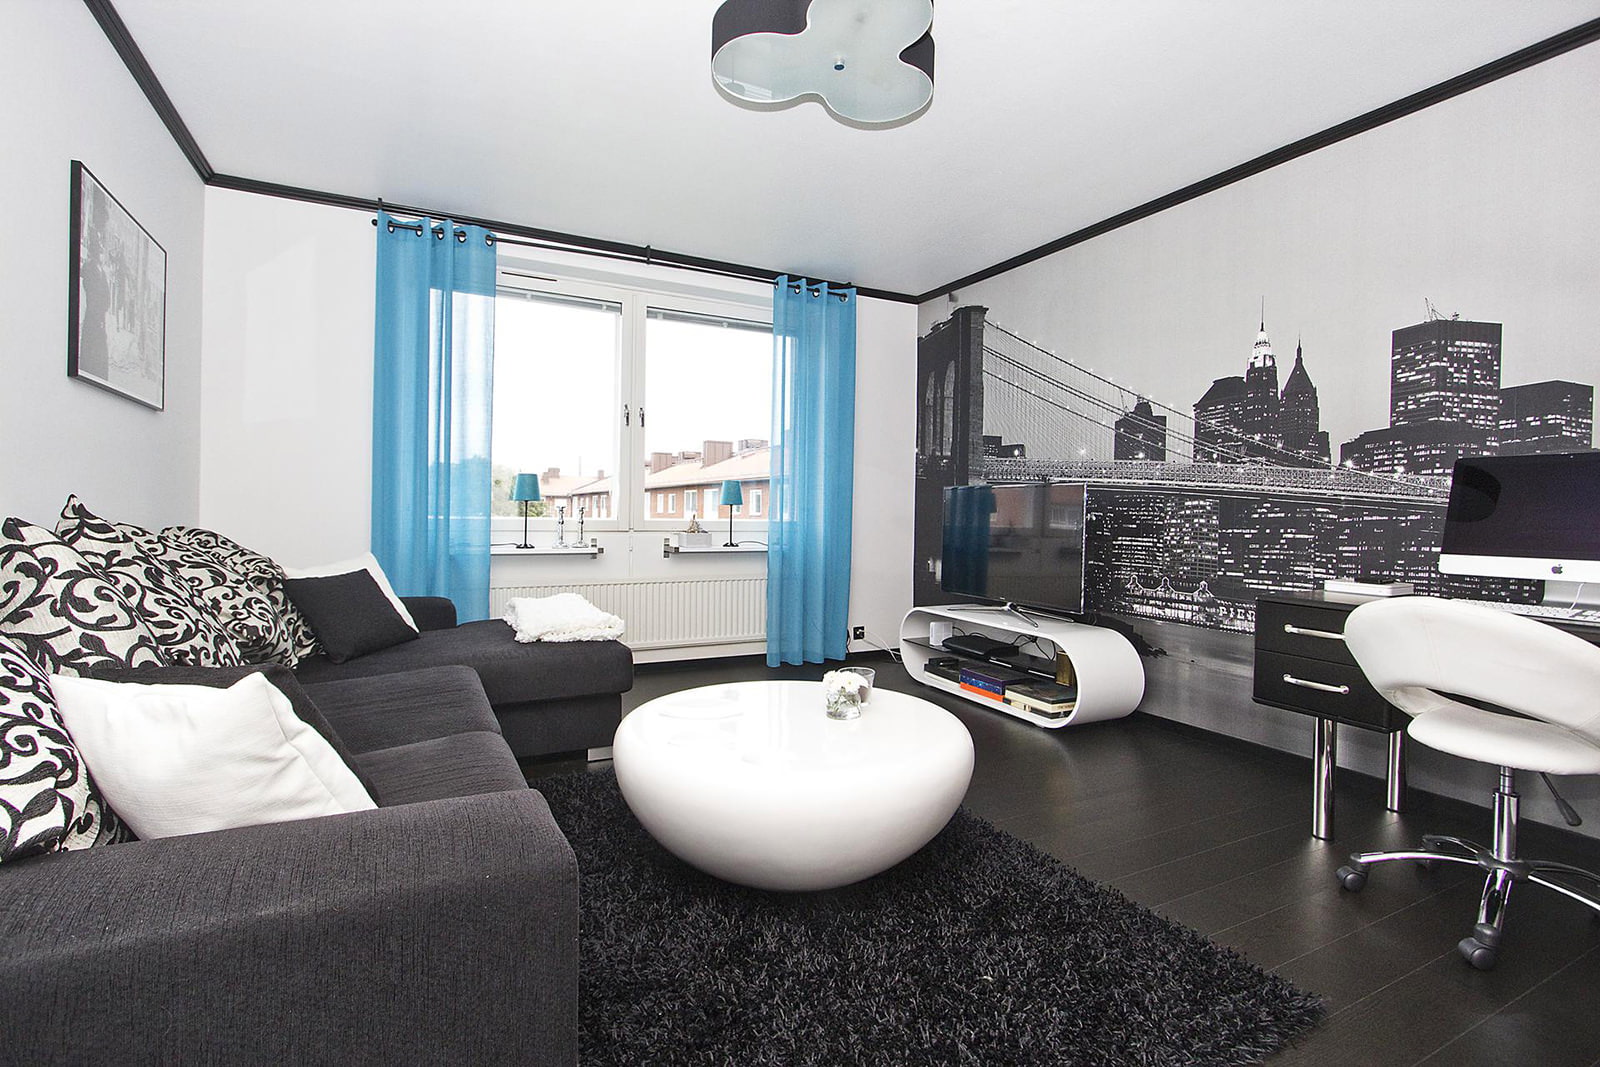
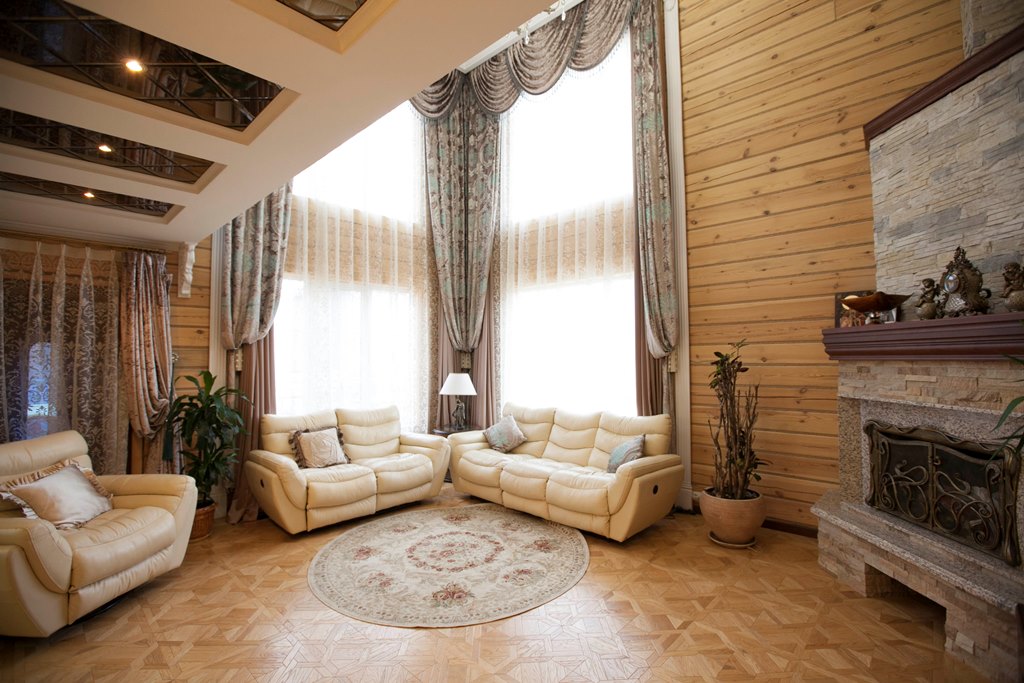
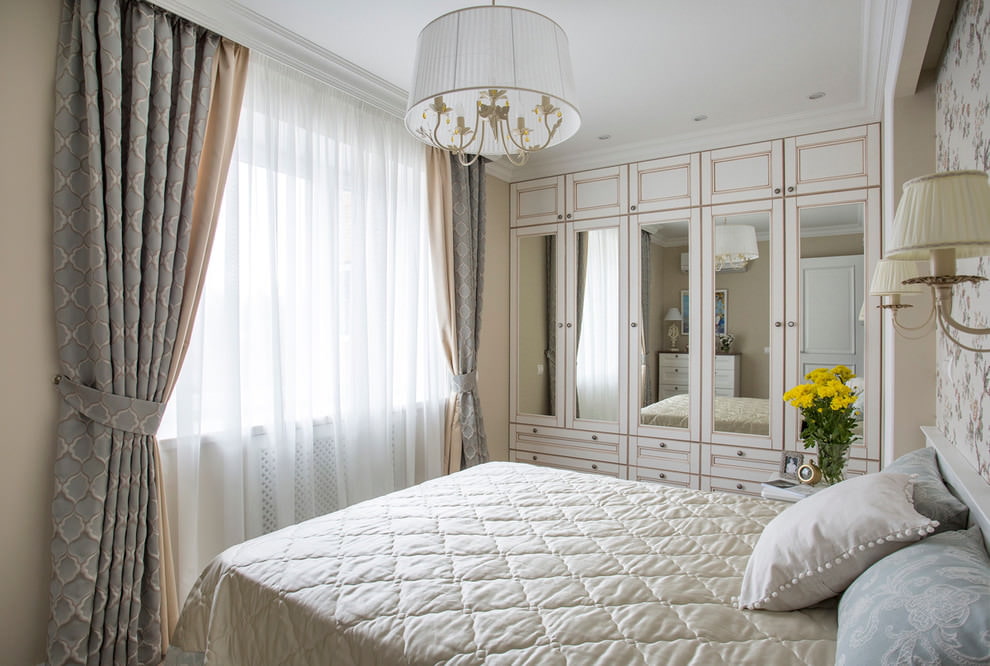
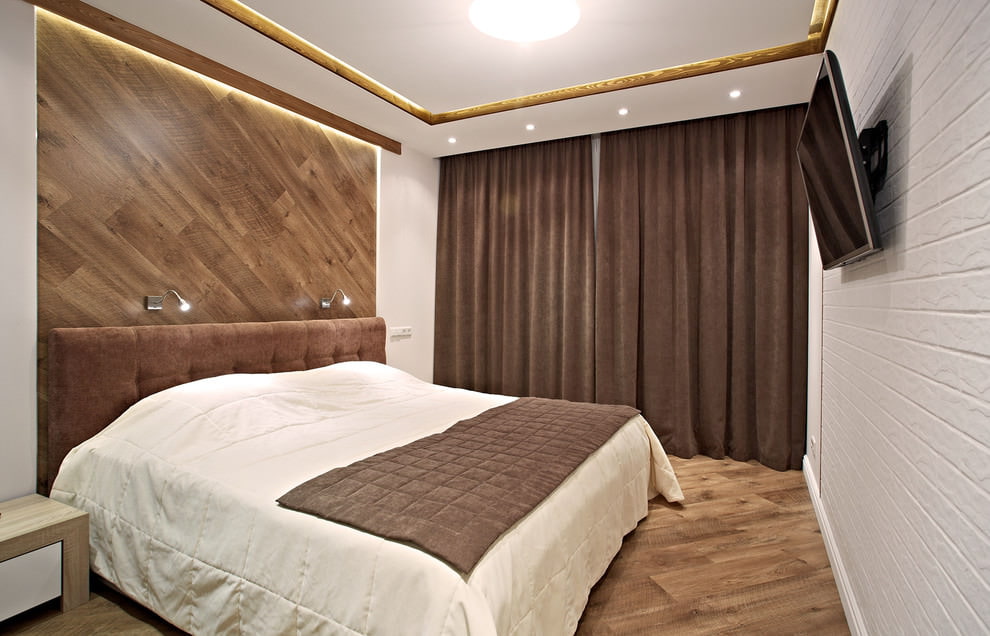
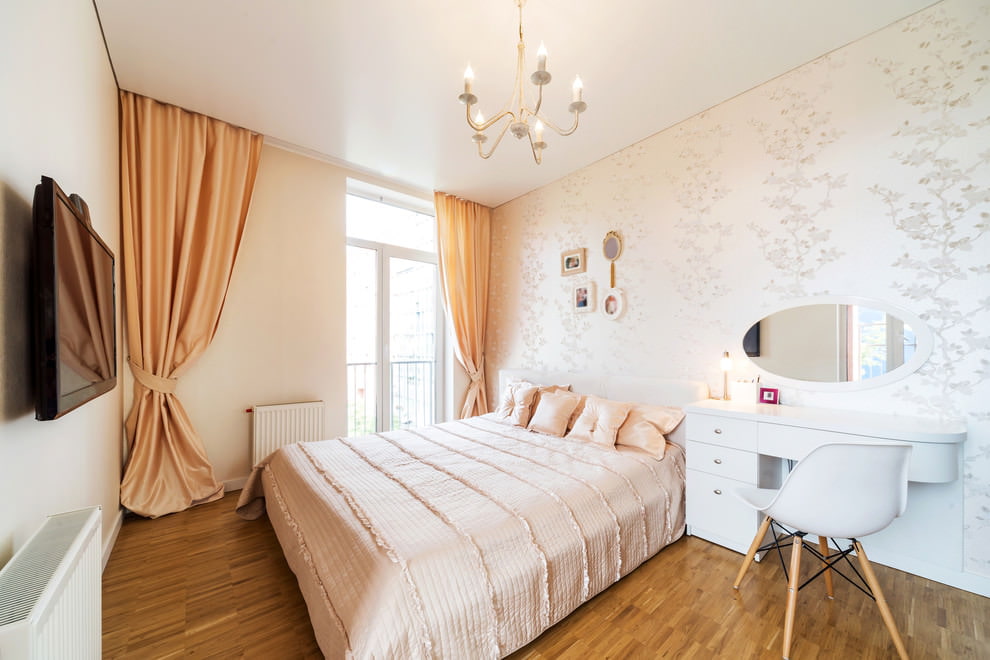
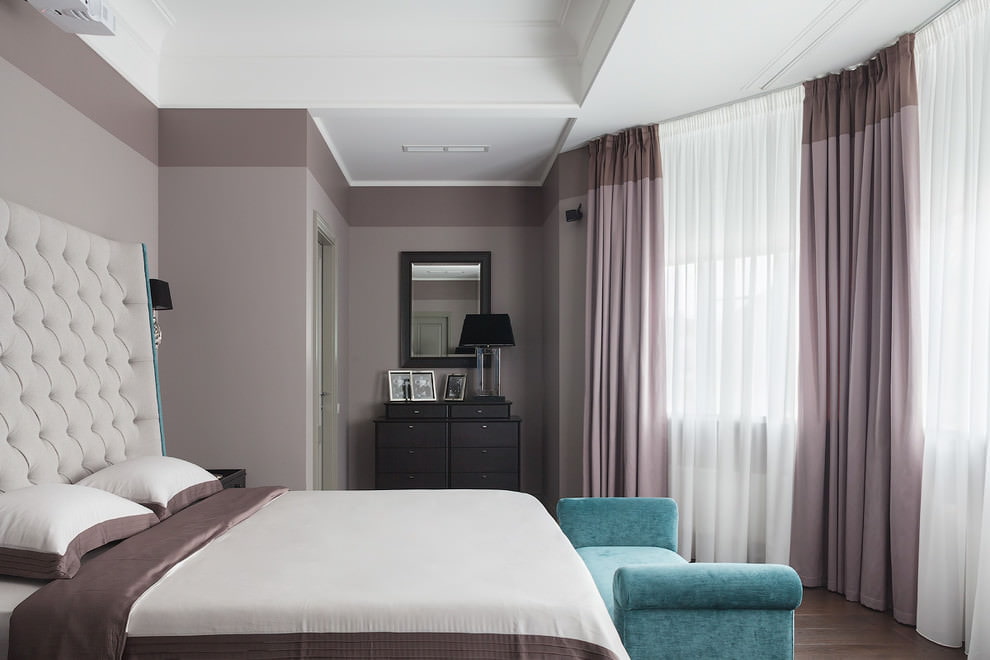
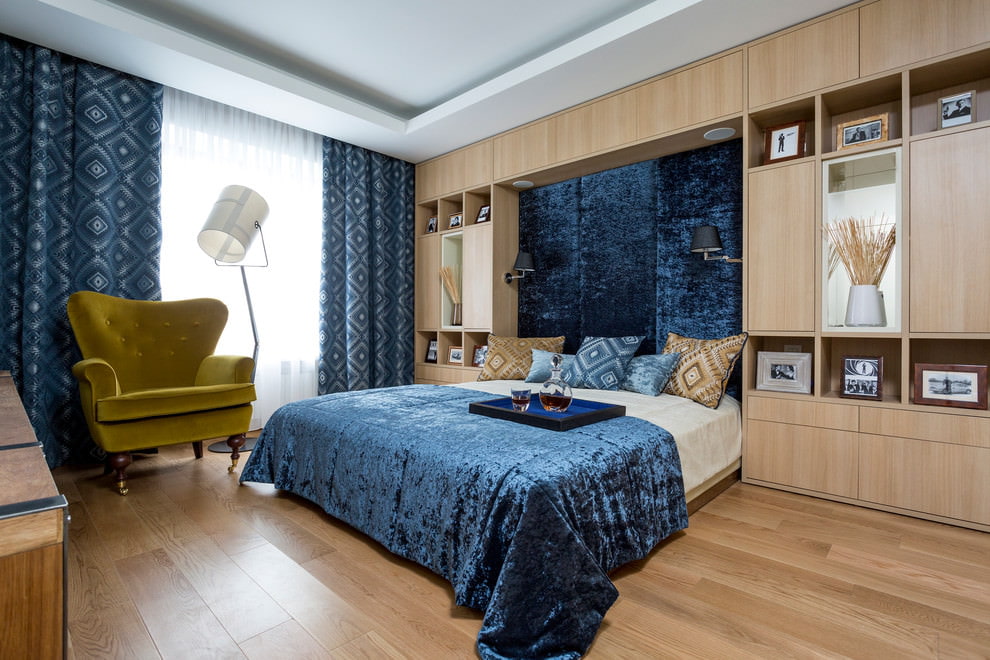
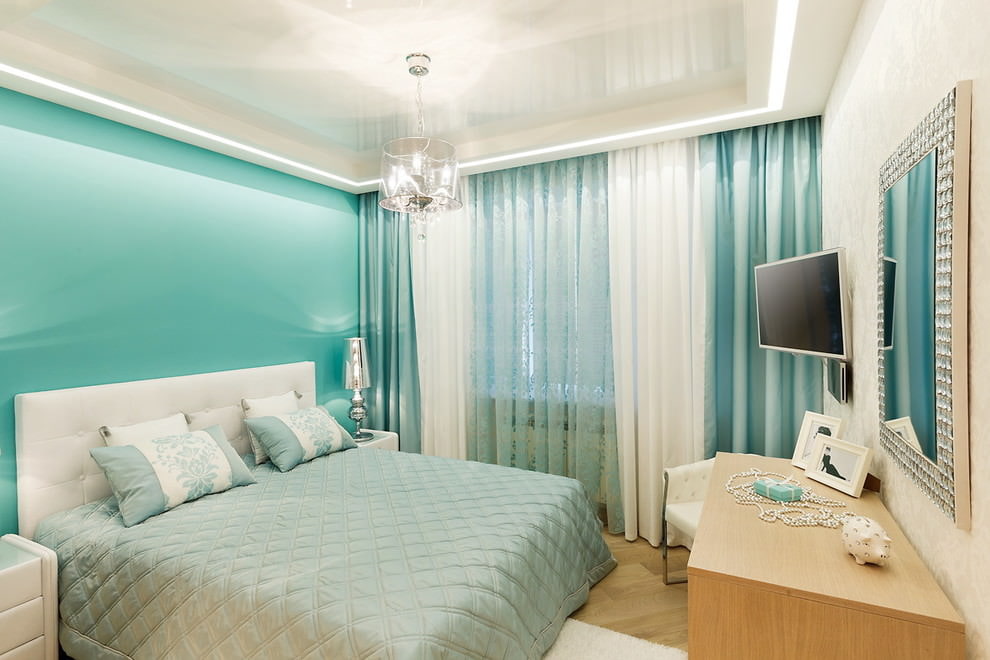
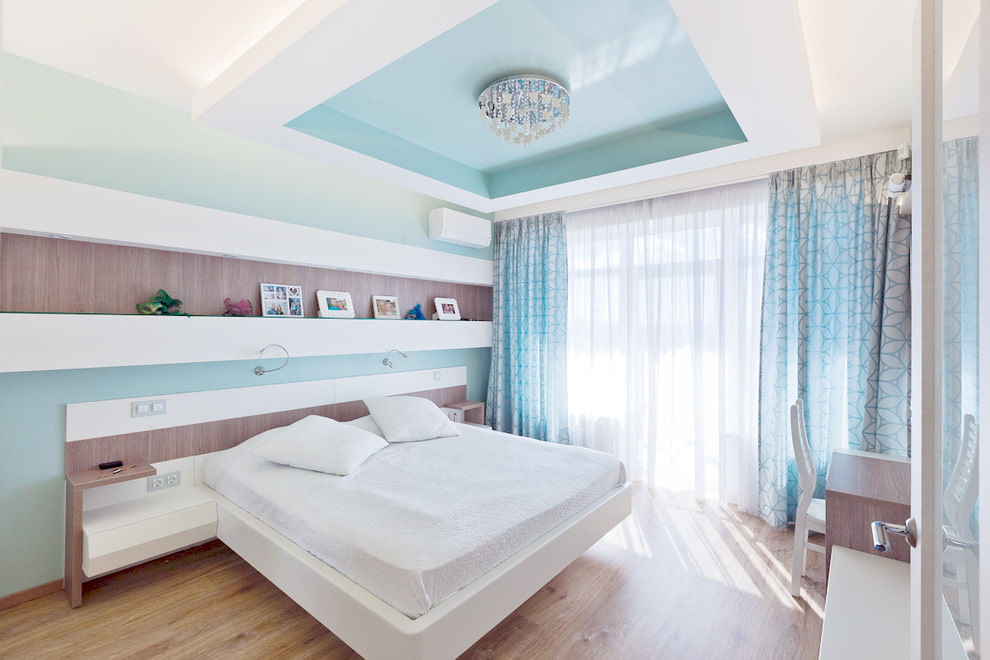
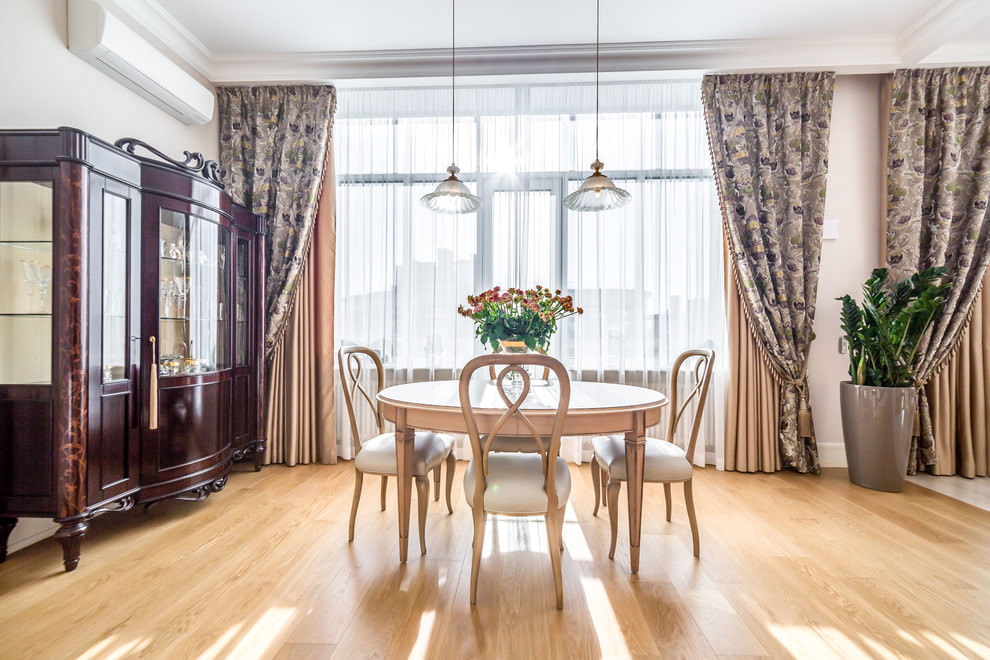
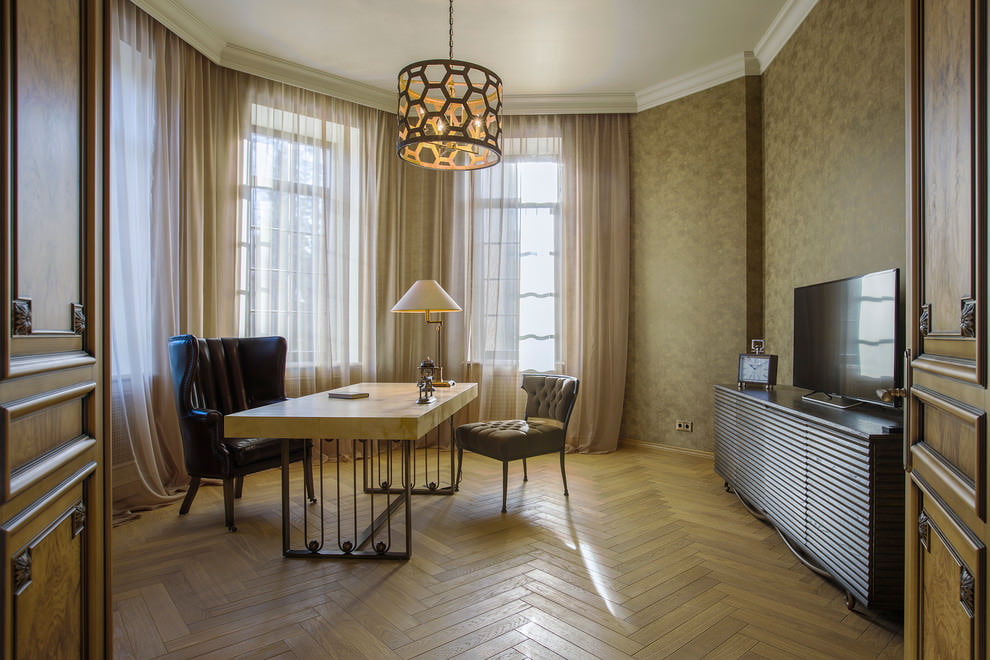
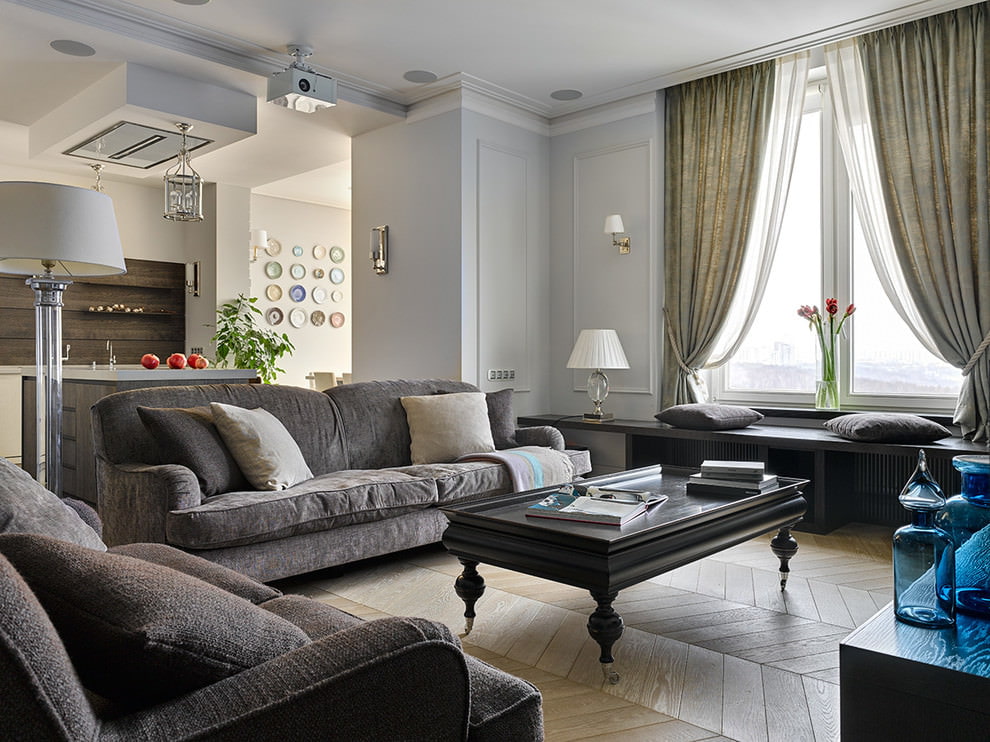
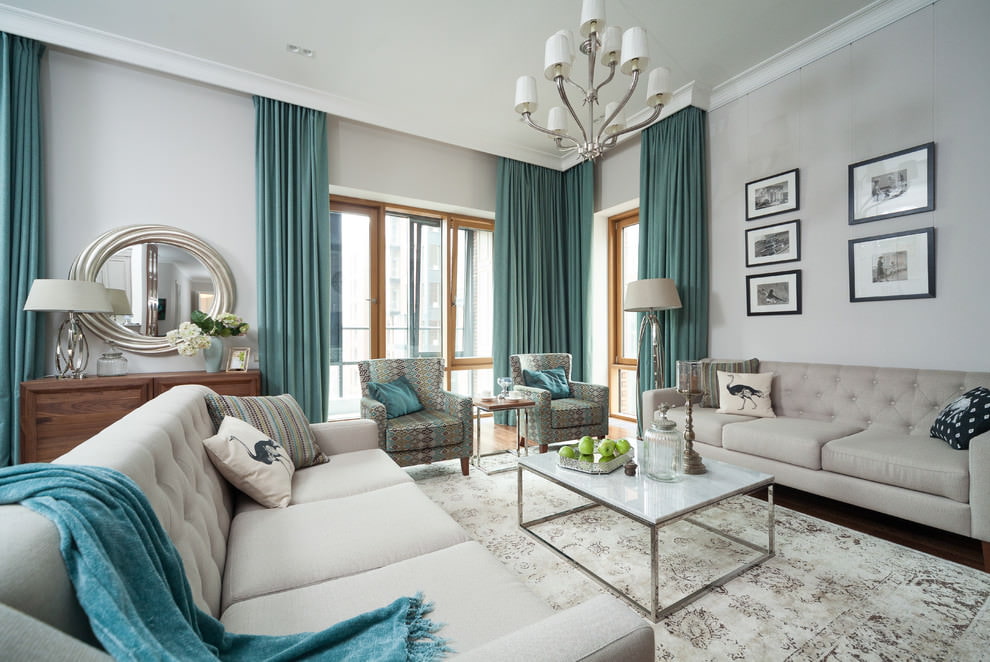
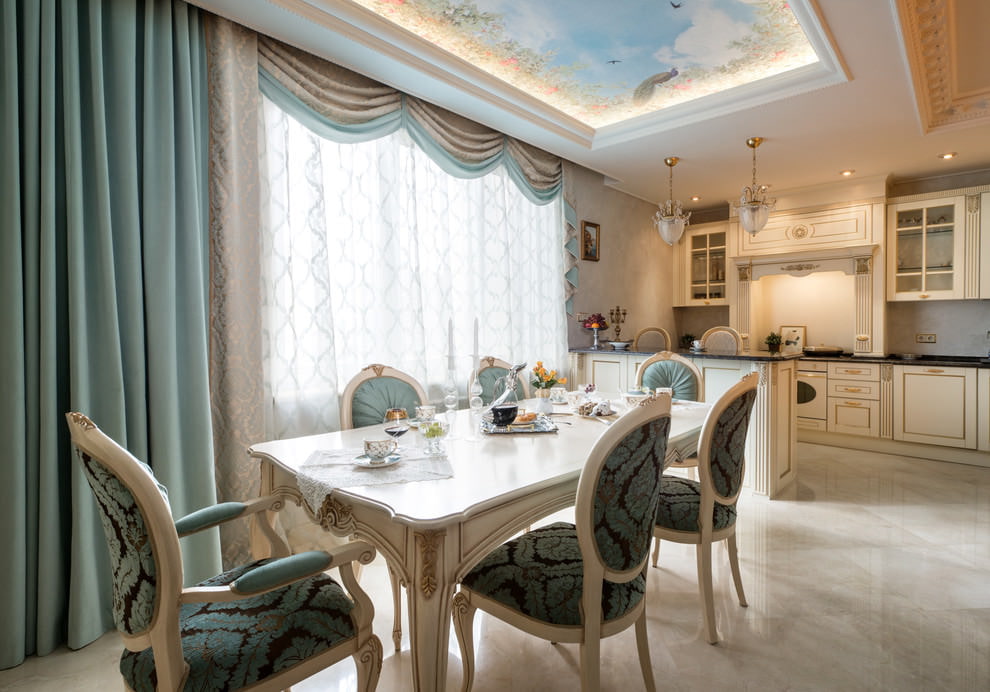
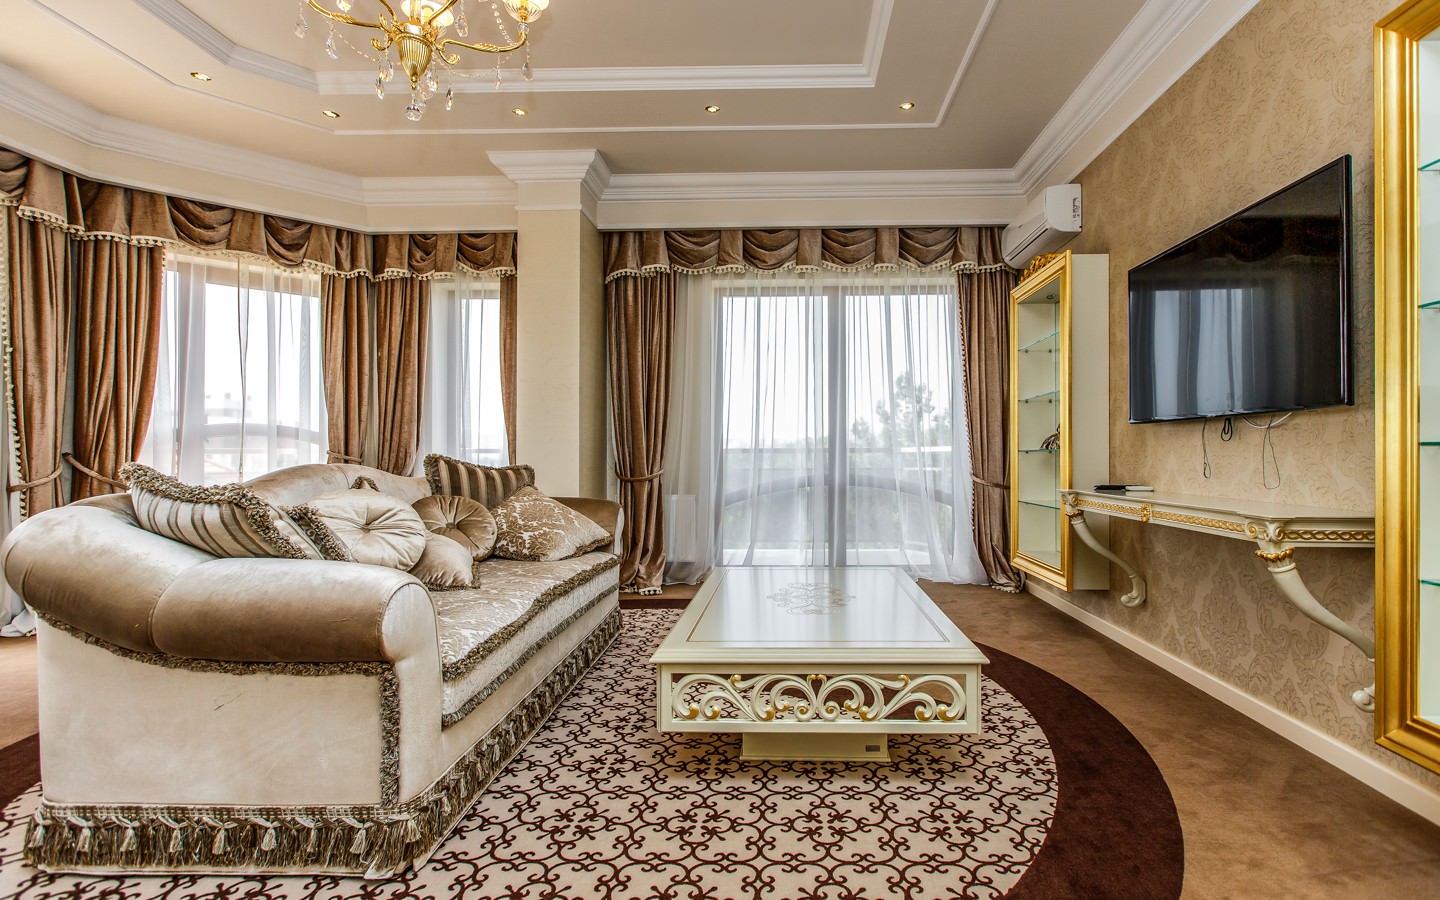
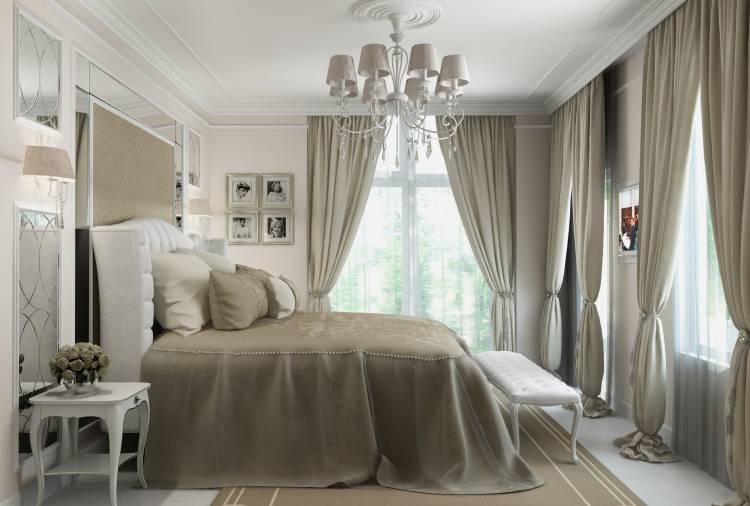
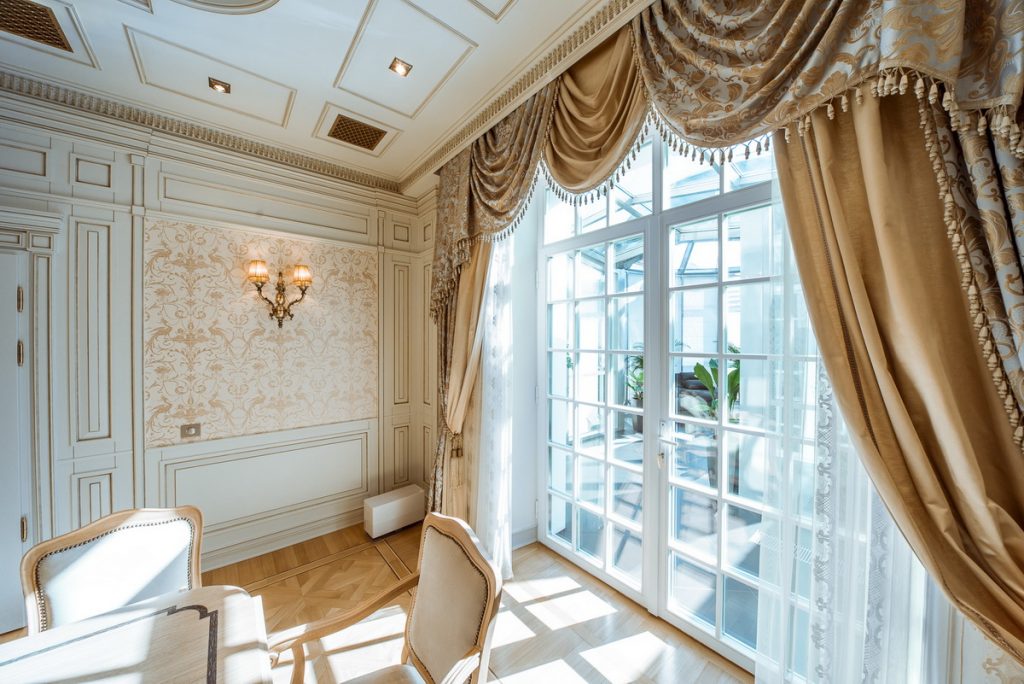
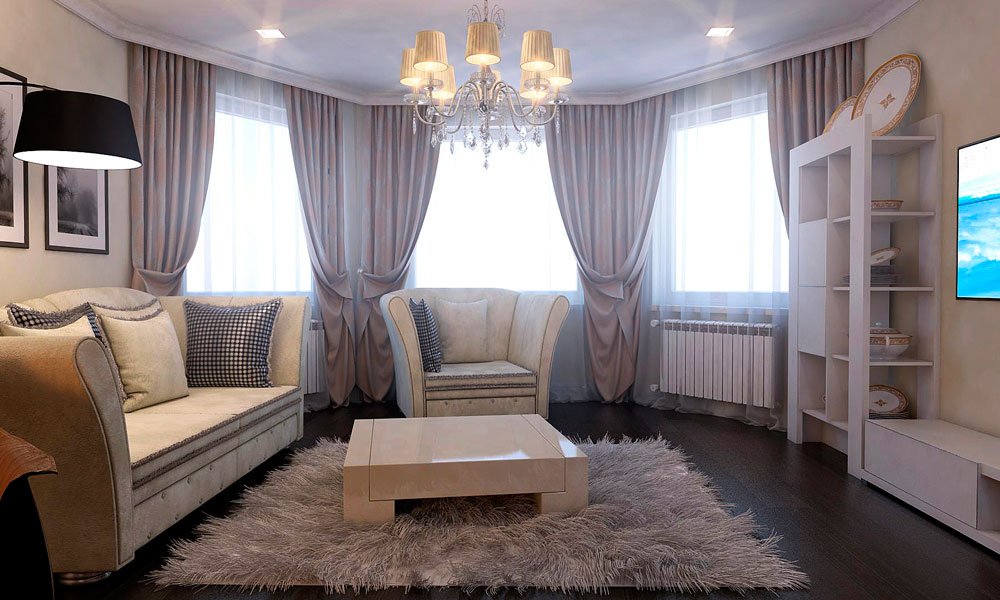
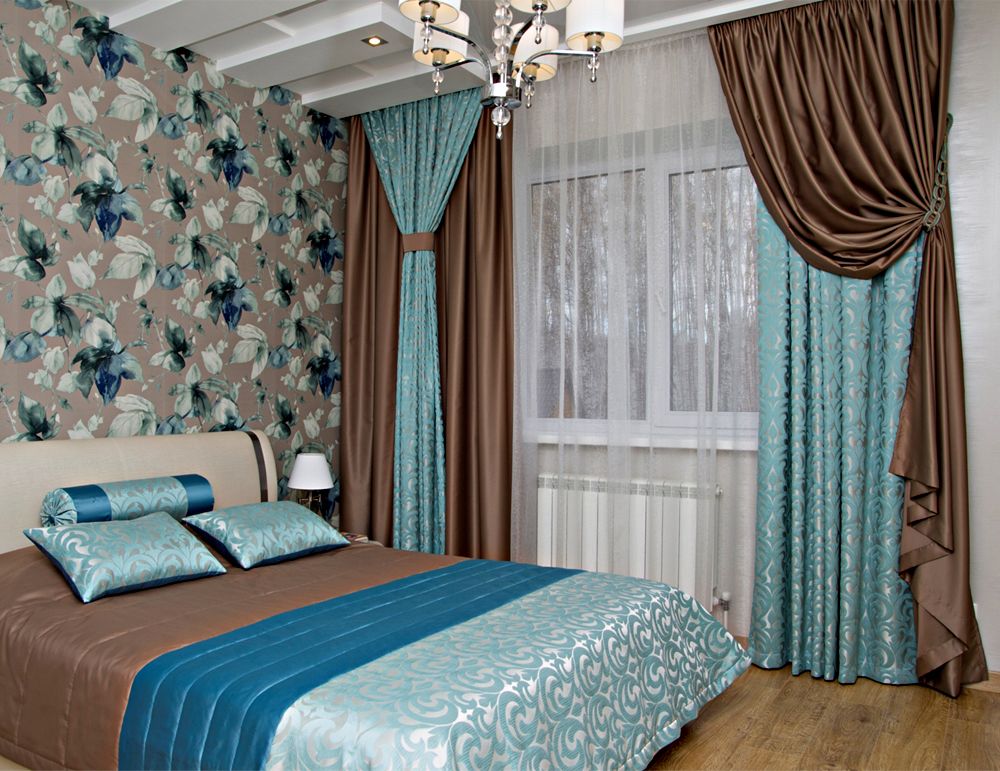
Curtains on ceiling cornices – 50 photos in the interior: