Depending on the design of the stretch ceiling, the method of installing the cornice changes. Naturally, it is physically impossible to attach a cornice to a thin film, and attaching it to the wall in a modern interior is not always justified. Therefore, this article discusses two types of fastening curtains under stretch ceilings.
Important! It is necessary to decide in advance (before installing the stretch ceiling) on the type of fastening of the cornice. For example, installing the cornice on the embedded parts will become impossible after the finished ceiling repair.
Content
- Features of installing a cornice under the mortgages
- The process of installing a ceiling cornice on embedded parts
- Features of a hidden niche under the cornice
- Installation of a hidden niche and installation of a ceiling cornice
- Advantages of hidden placement of cornices
- VIDEO: Creating a hidden niche in a stretch ceiling.
- 50 photos of curtains on a hidden cornice in the interior:
Features of installing a cornice under the mortgages
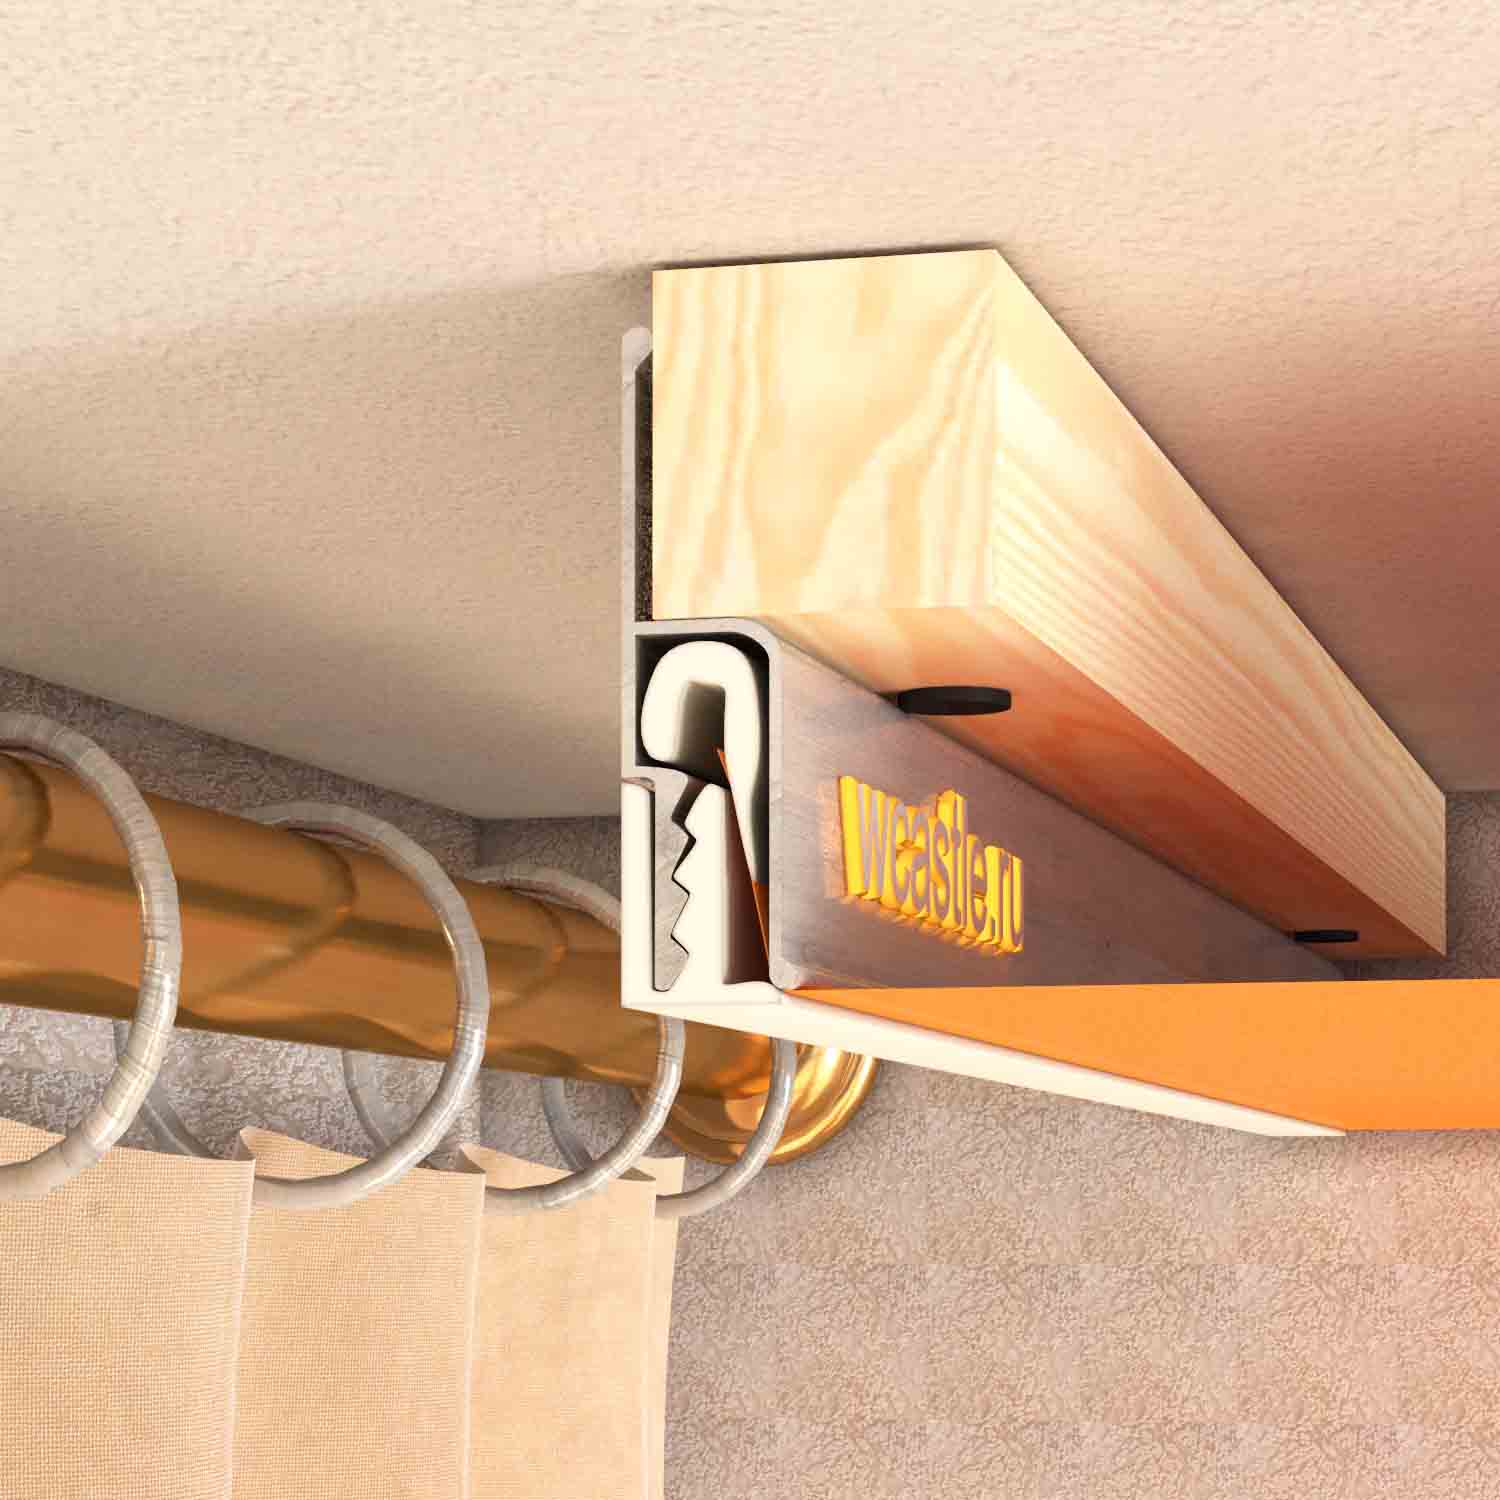
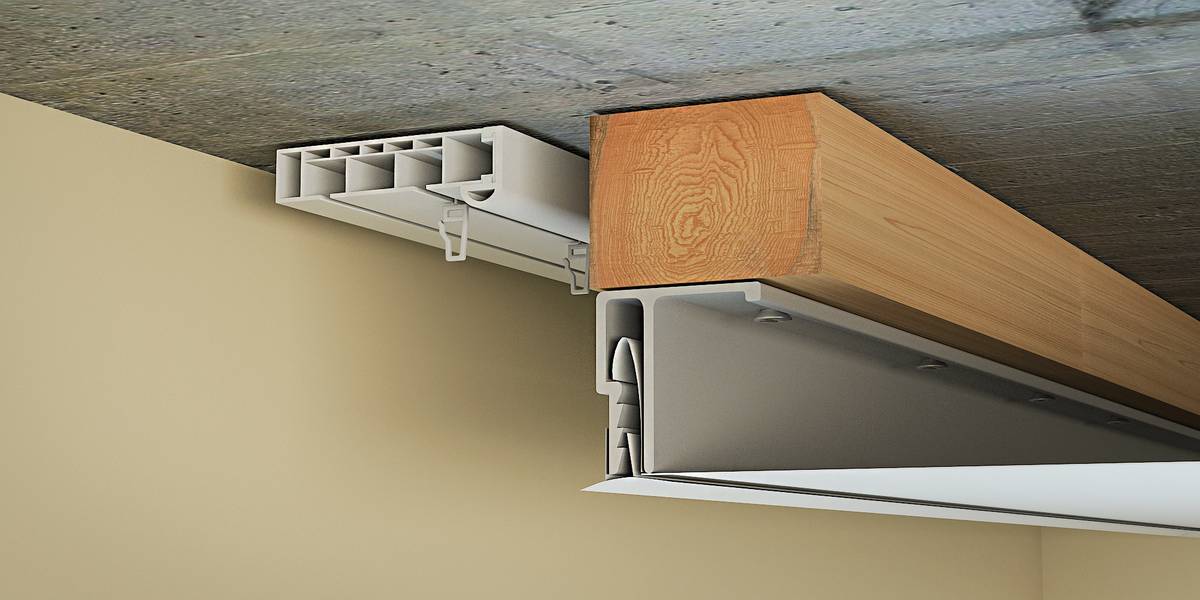
The main difference in installing a cornice under a suspended ceiling is the need for a reliable support for its fastening. In the future, it will “hide” behind the suspended structure, so that only the cornice will remain visible. The function of the support is performed by embedded parts - a metal profile or wooden beams attached to the concrete ceiling.
Please note! If wooden embedded parts are used in repair work, they must be treated with a special antiseptic before installation, which will protect the wood not only from fungal damage, but also from insect pests.
If a repair team is going to install the stretch ceiling, then all the nuances of installing the cornice should be discussed in advance. Most likely, professionals will recommend pre-strengthening the canvas at the places where the cornice is attached to the beams.
The process of installing a ceiling cornice on embedded parts
You can install the embedded parts yourself - this will give you an advantage over taking measurements, as it will allow you to immediately mark the location on the drawing. Without professional skills, it is difficult to install the cornice in this way, but it is quite possible if you carefully follow the instructions.

The installation process is as follows.
- The first thing you need to do is mark off the ceiling level, and then install a wall baguette along the marked line - an aluminum profile to which the ceiling will be attached (harpoon system).
- Next, in the place of the future cornice, embedded parts are installed along the window or the entire wall. Regardless of the chosen material (metal or wood), the support can have a different design - either a solid platform or consisting of several separate elements. If the first option usually uses a long wooden beam or a metal profile, then the latter can use small wooden beams placed in a parallel chain in the places of attachment to the future cornice.
- After the ceiling is stretched, the mortgage will disappear from view, but will remain a reliable base for attaching the cornice. On the ceiling sheet, you need to make markings by attaching the cornice to the already hidden mortgage and make marks through the holes for fastening. To prevent stretching and spreading of the sheet in the places of fastening with screws, you can install reinforcing rings made of plastic around the marks.
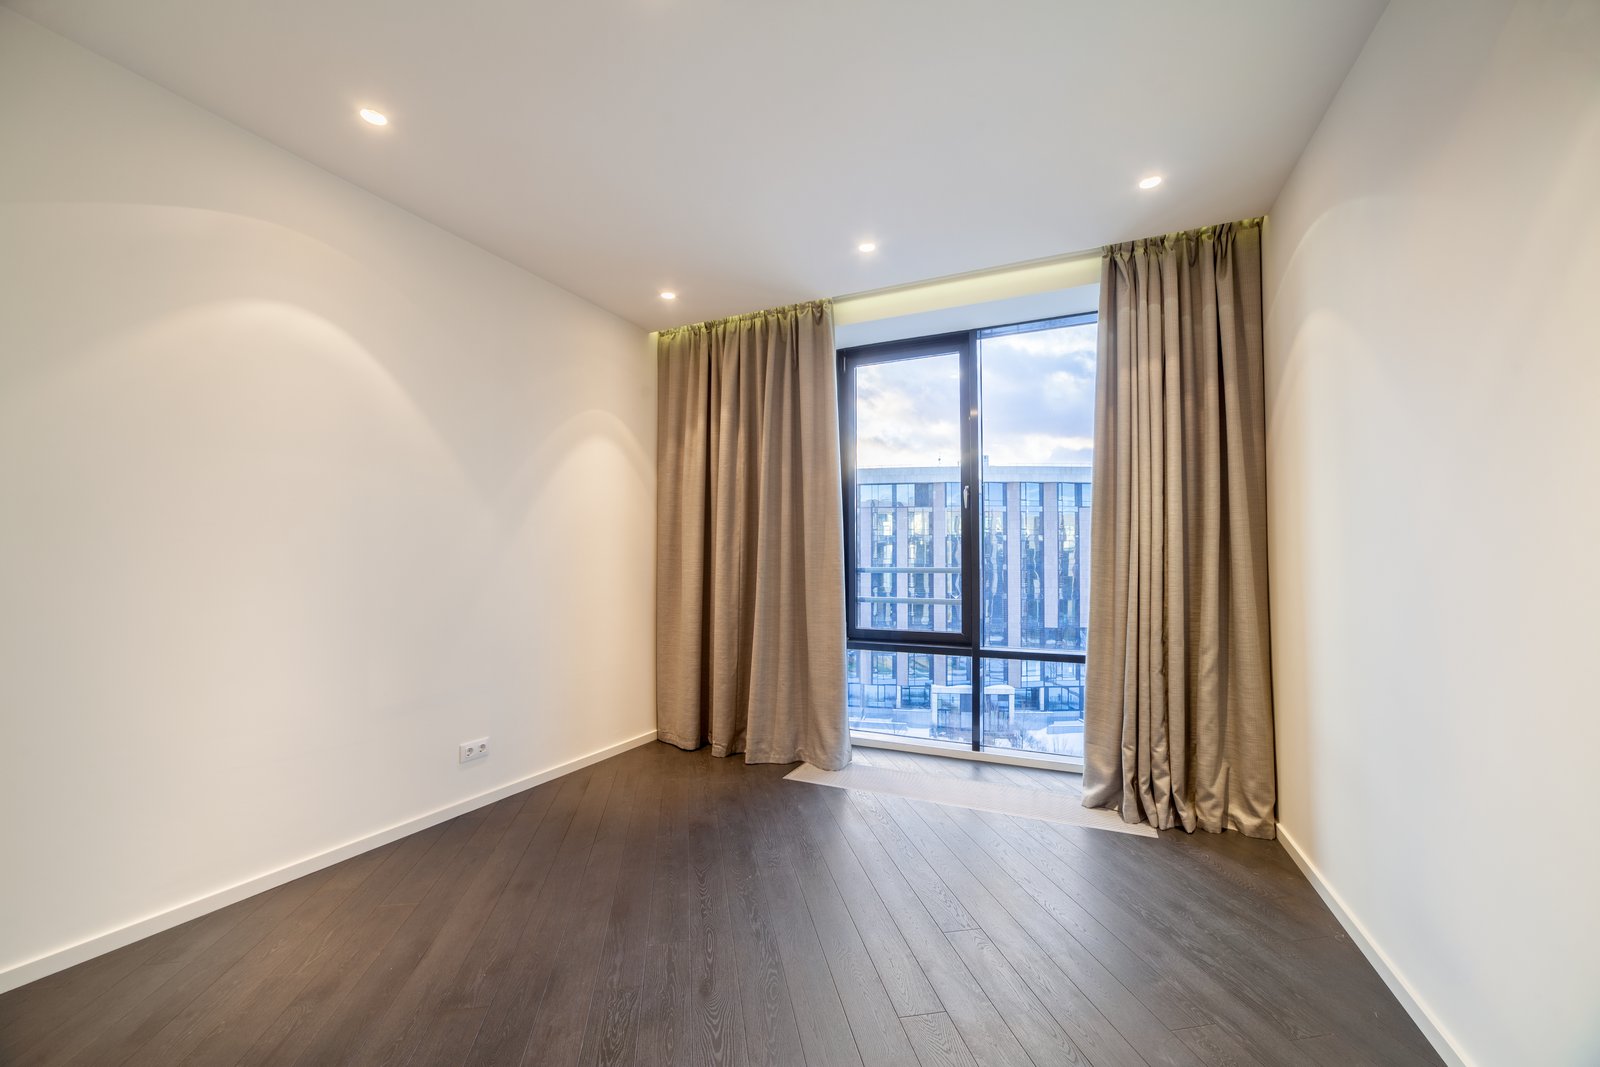
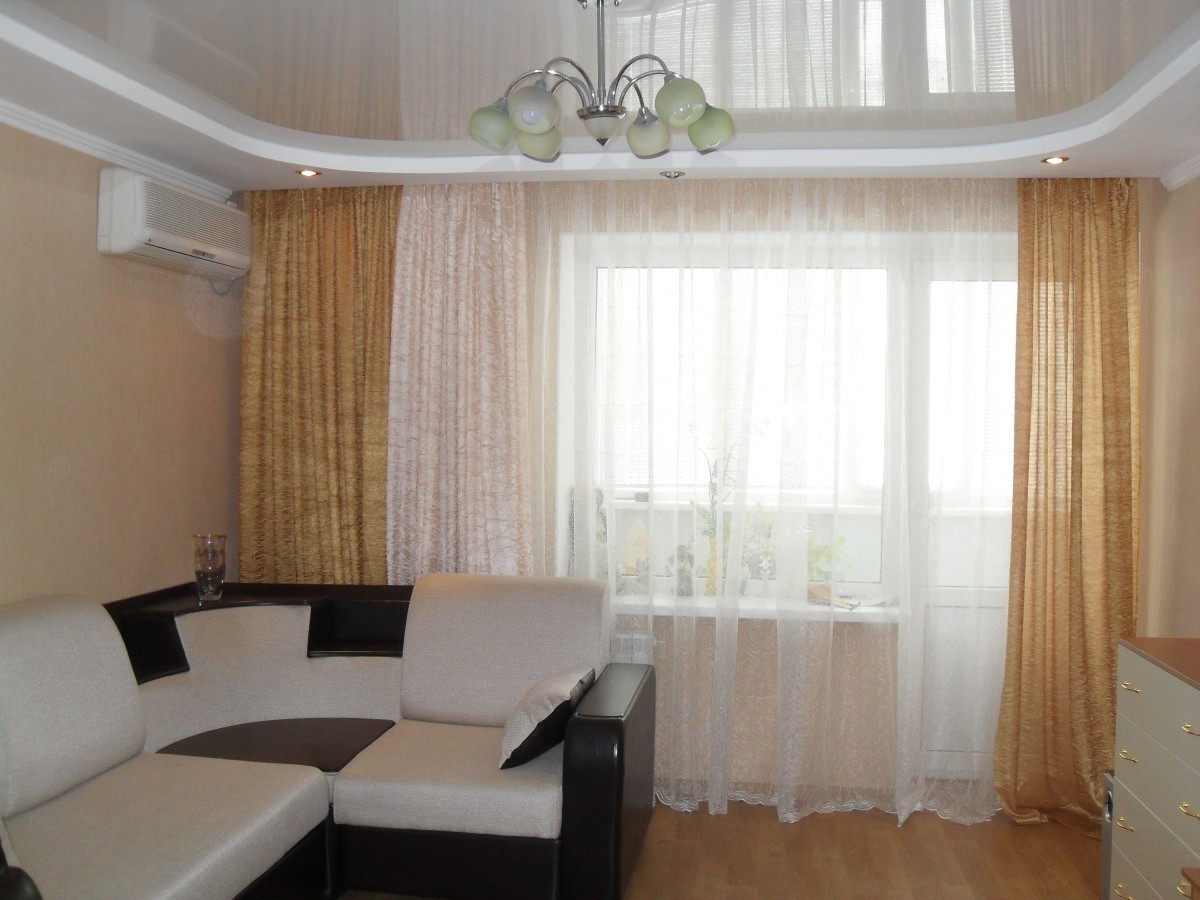
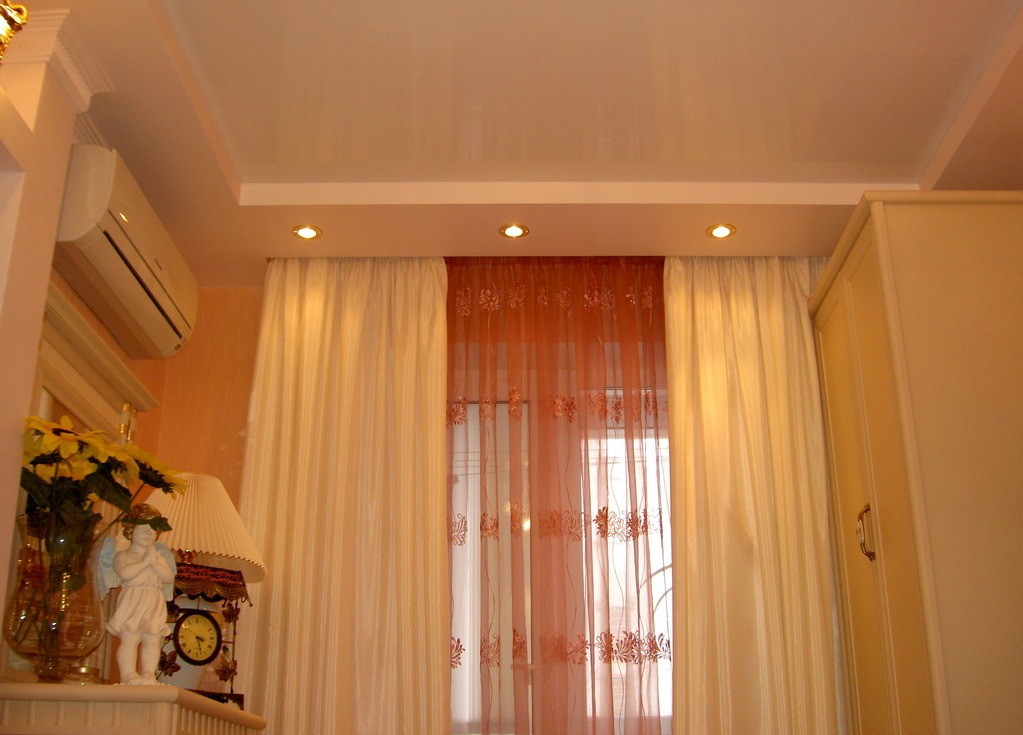
That's it! Having fixed the ceiling cornice to the suspended ceiling, it remains to choose the "decoration" for the windows. A pastel curtain or a bright curtain - it all depends on interior preferences. Since the cornice is located a little lower, the hand easily reaches the hooks.
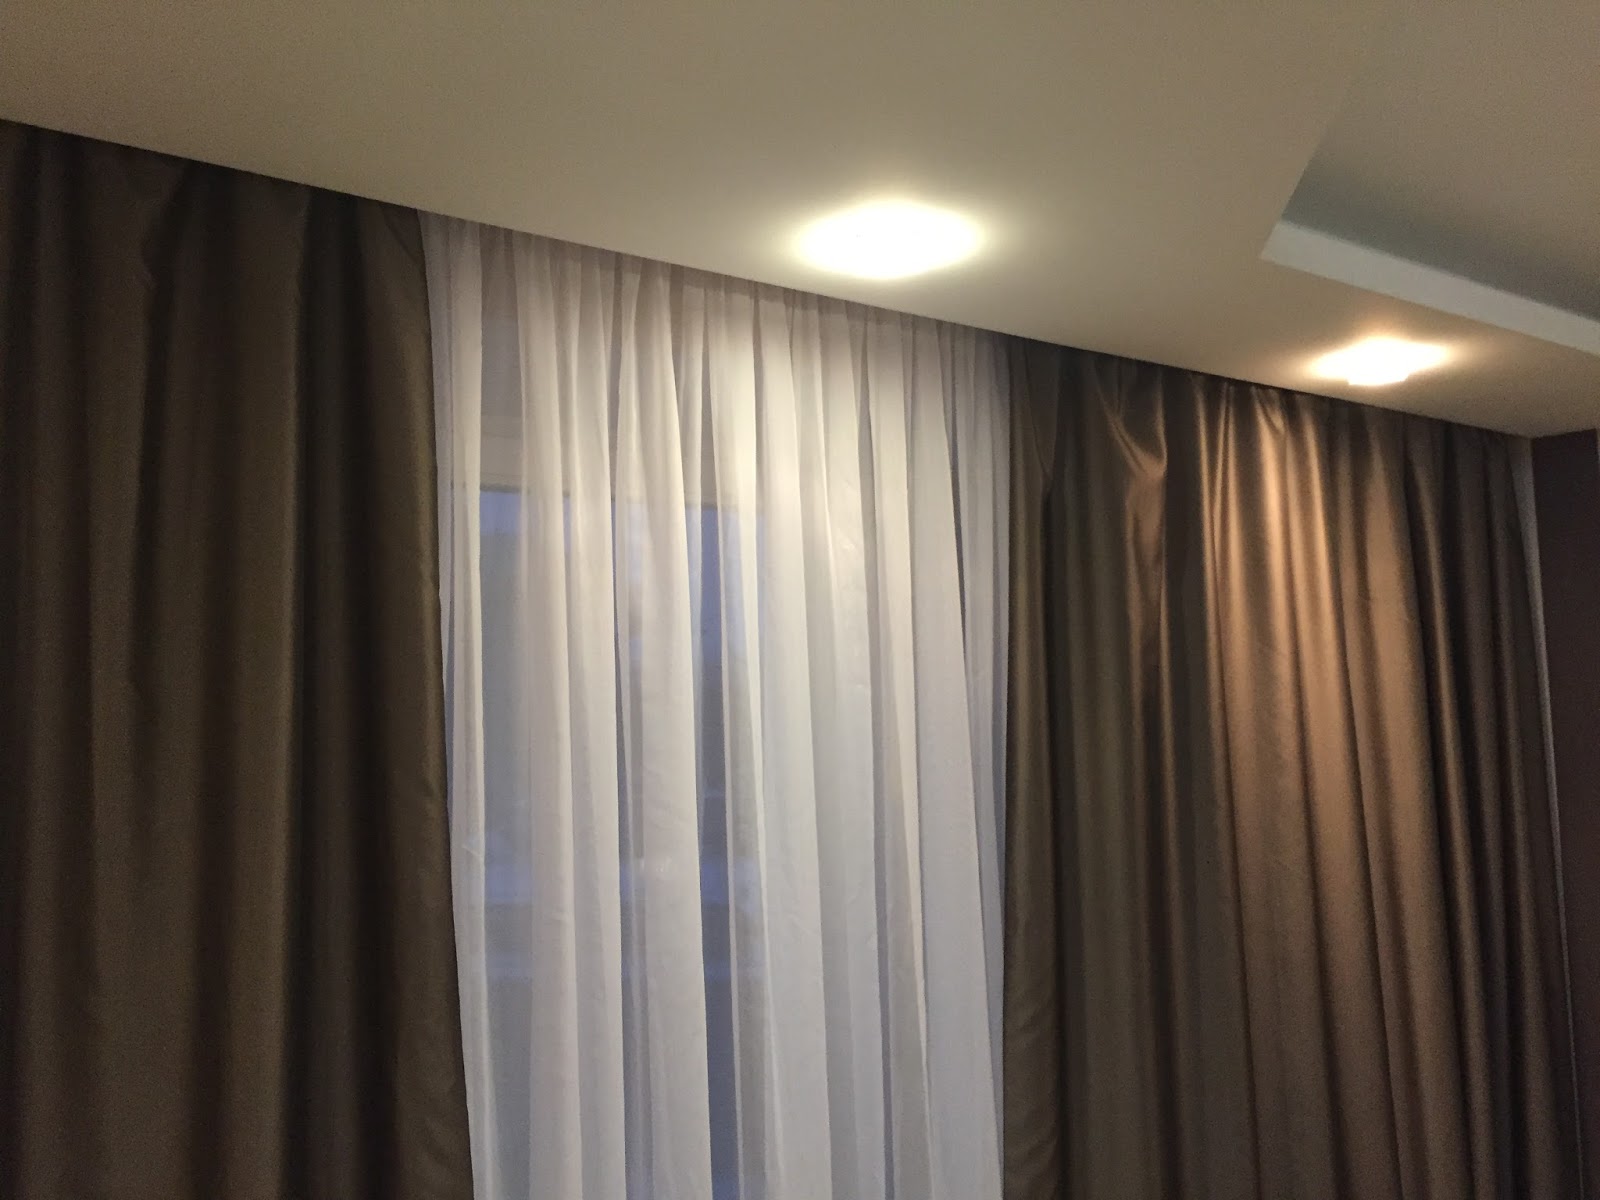
Additional information! After installing the hanging structure, the ceiling height in the room has dropped slightly. If the curtains have already been purchased, their size will need to be shortened.
Features of a hidden niche under the cornice
If you have some experience in repair work, creating a niche will not be difficult. But without any knowledge or skills in this matter, difficulties may arise. Fortunately, having understood some nuances, it is possible to relatively easily and quickly assemble a niche yourself.

Usually, a room with a ready-made stretch ceiling has a special gap (10-25 cm) between the window and the suspended structure, designed for installing a curtain rod. The niche for curtains in a stretch ceiling can be of different lengths.
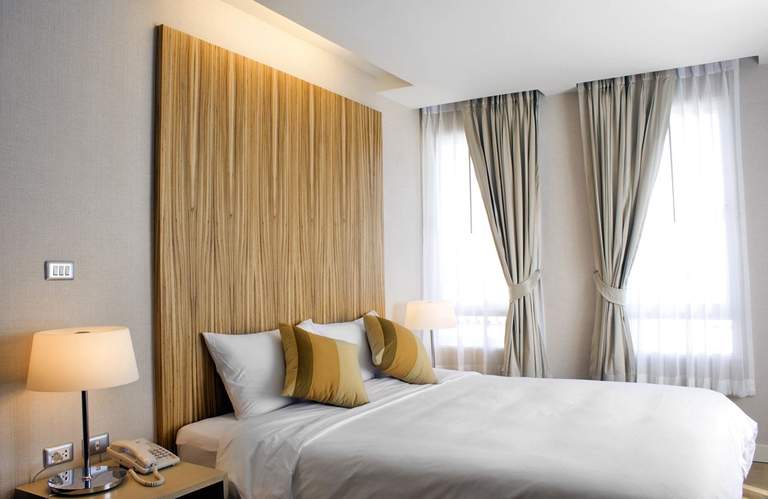
- Correspond to the width of the window opening, a reserve of 40 - 50 cm is possible (an additional 20 cm on the left and right of the window is necessary for comfortable movement of the curtains).
- Placed along the window wall (this option is often used by designers in narrow rooms, where the wall with the window opening is visually expanded by curtains placed along the entire perimeter of the cornice).
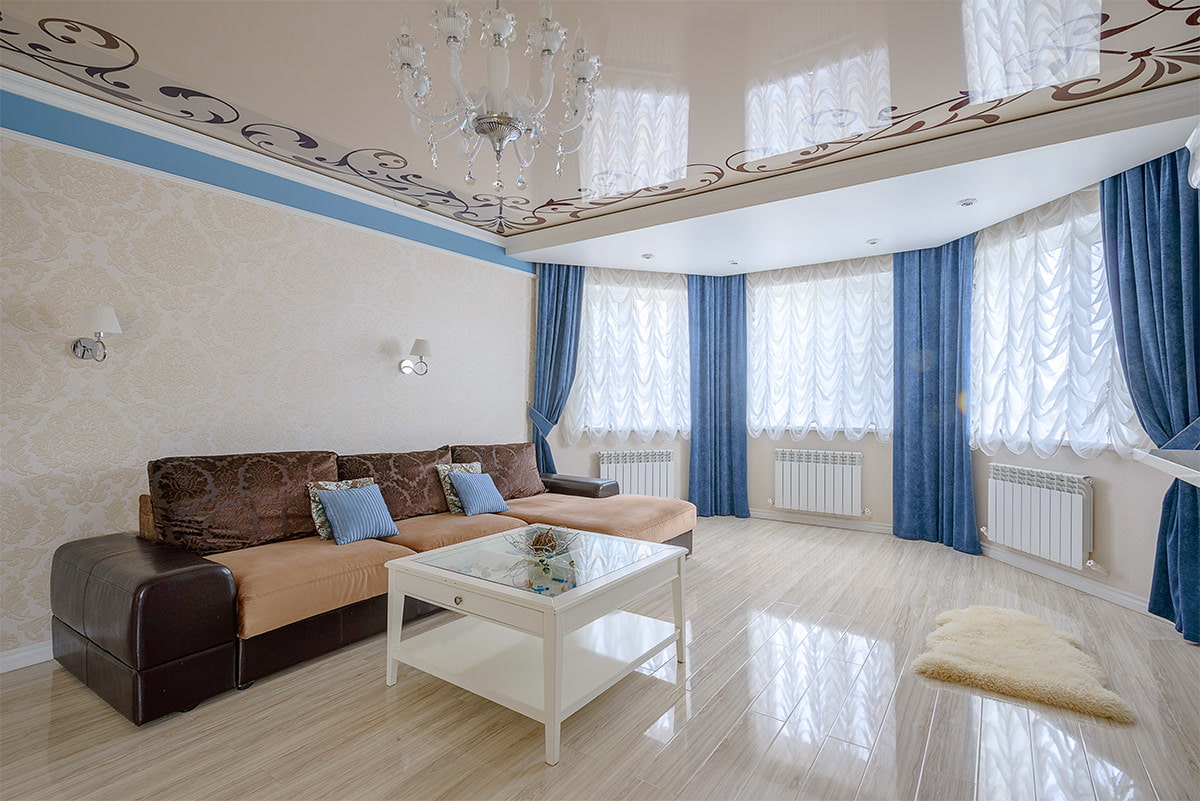
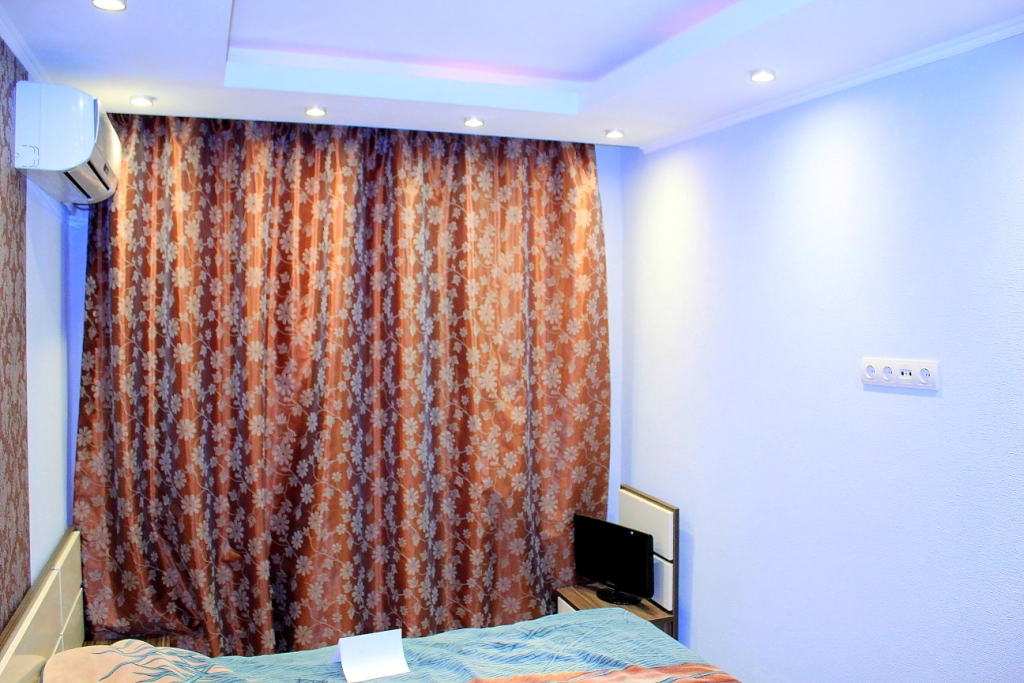
- Placed along all walls (this design is used in rooms with corner windows or windows placed on two or more walls. This helps to implement various design solutions, for example, installing additional lighting).
Installation of a hidden niche and installation of a ceiling cornice
It is necessary to take into account the presence of a balcony outside the window, which also affects the design of the niche. Heading from the balcony back to the room, you will definitely want to take a look at the new ceiling. The first thing that will come into view is the cornice niche in the ceiling for curtains, and here an unpleasant oversight can be found - an open back side through which the "insides" of the stretch ceiling are visible.
Important! To prevent this from happening, you need to take into account the design features in advance and install a two-level ceiling. The point is that installing additional fasteners helps to stretch the canvas to the inside of the niche.
Instructions for creating a ceiling niche and attaching a cornice.
- A mounting baguette must be installed around the perimeter of the room (except for the wall with the window). To do this, you need to decide on the ceiling height in advance. The main thing is not to overdo it with the gap size, otherwise the low ceiling will visually hide the room.
- Next, you can start working on the ceiling: an aluminum profile or a wooden beam is mounted along the window at the same level as the baguette. The distance under the niche is selected individually - depending on the width of the cornice (single, double, triple or quadruple) and the presence of lighting. For light curtains and tulle, 5 cm is enough, heavy curtains will need about 15 cm, and for multi-layer drapery it is better to allocate up to 25 cm.
- The bottom of the curtain niche will either have to be plastered or drywall installed. This is done so that all the corners are perfectly straight, which will allow you to fix the edge of the canvas by attaching it to a wedge profile or glazing beads.
- A baguette is attached to the fixed wooden beam, after which you can proceed directly to stretching the canvas. In this version, the stretch ceiling does not reach the end of the wall, leaving the cornice hidden behind the niche.
Additional information! In order to glue the ceiling plinth in front of the niche, it is necessary to attach a sheet of plasterboard to its inner wall, stepping back from the edge of the ceiling exactly the distance of the plinth itself.
Advantages of hidden placement of cornices
Not only does the installation of a niche not take much time and effort, but the option with a hidden cornice also has a number of advantages.
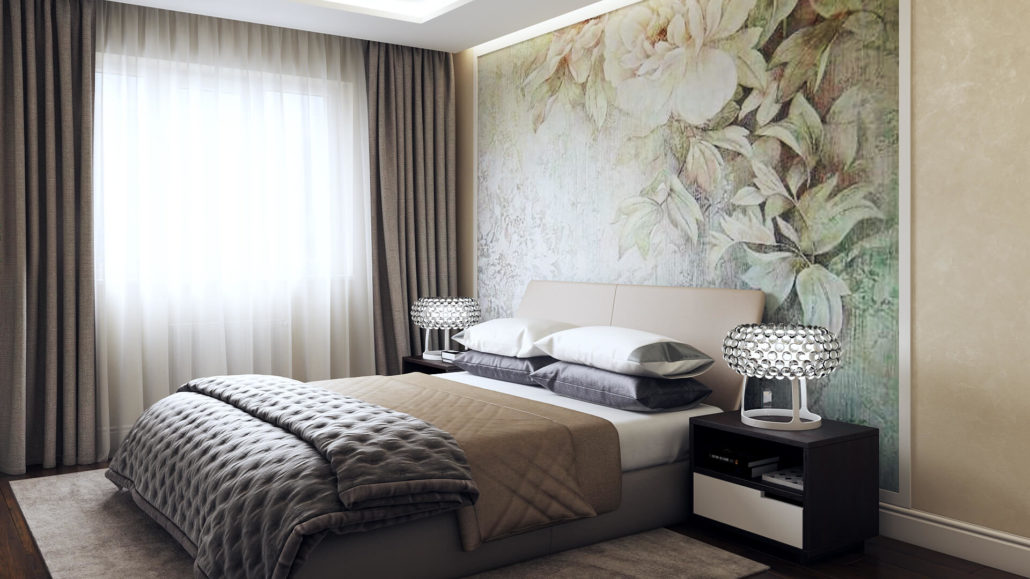
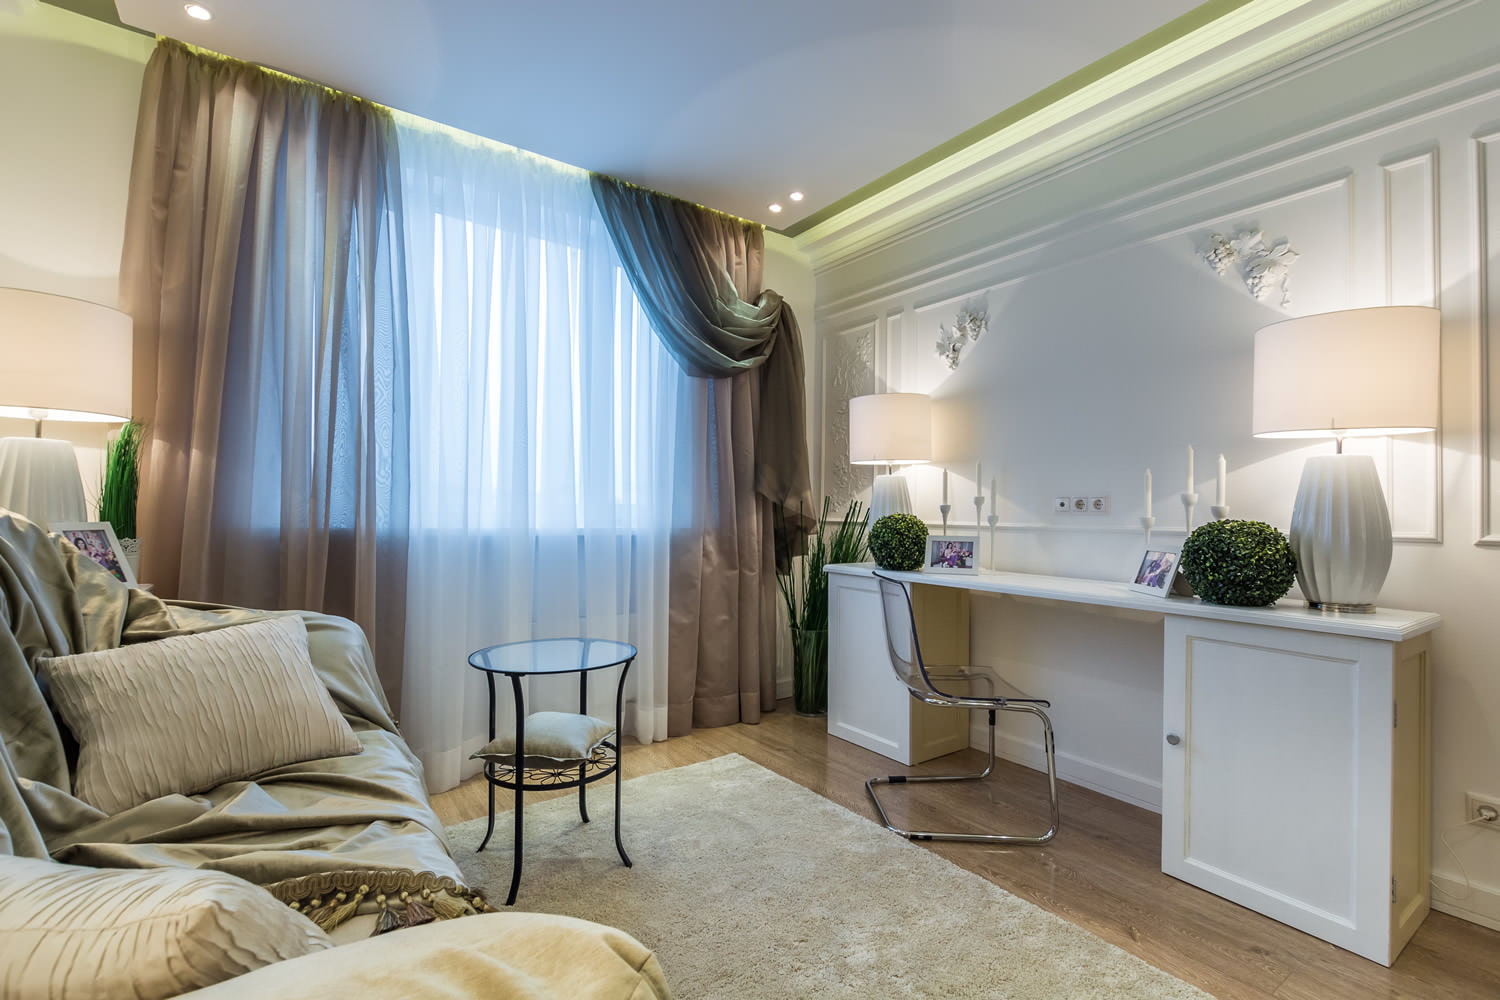
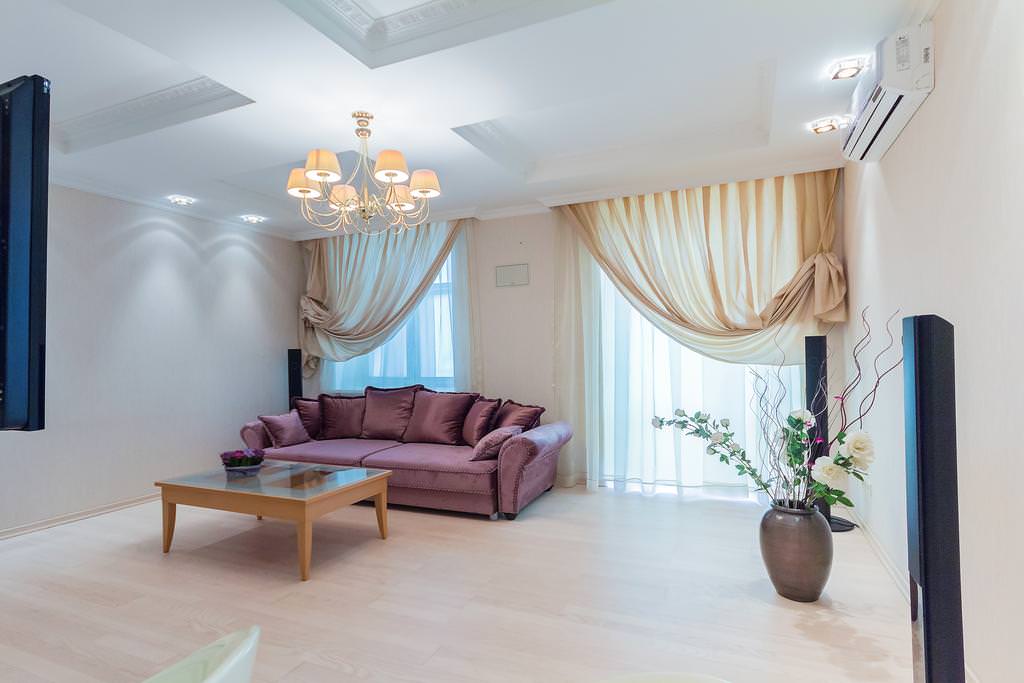
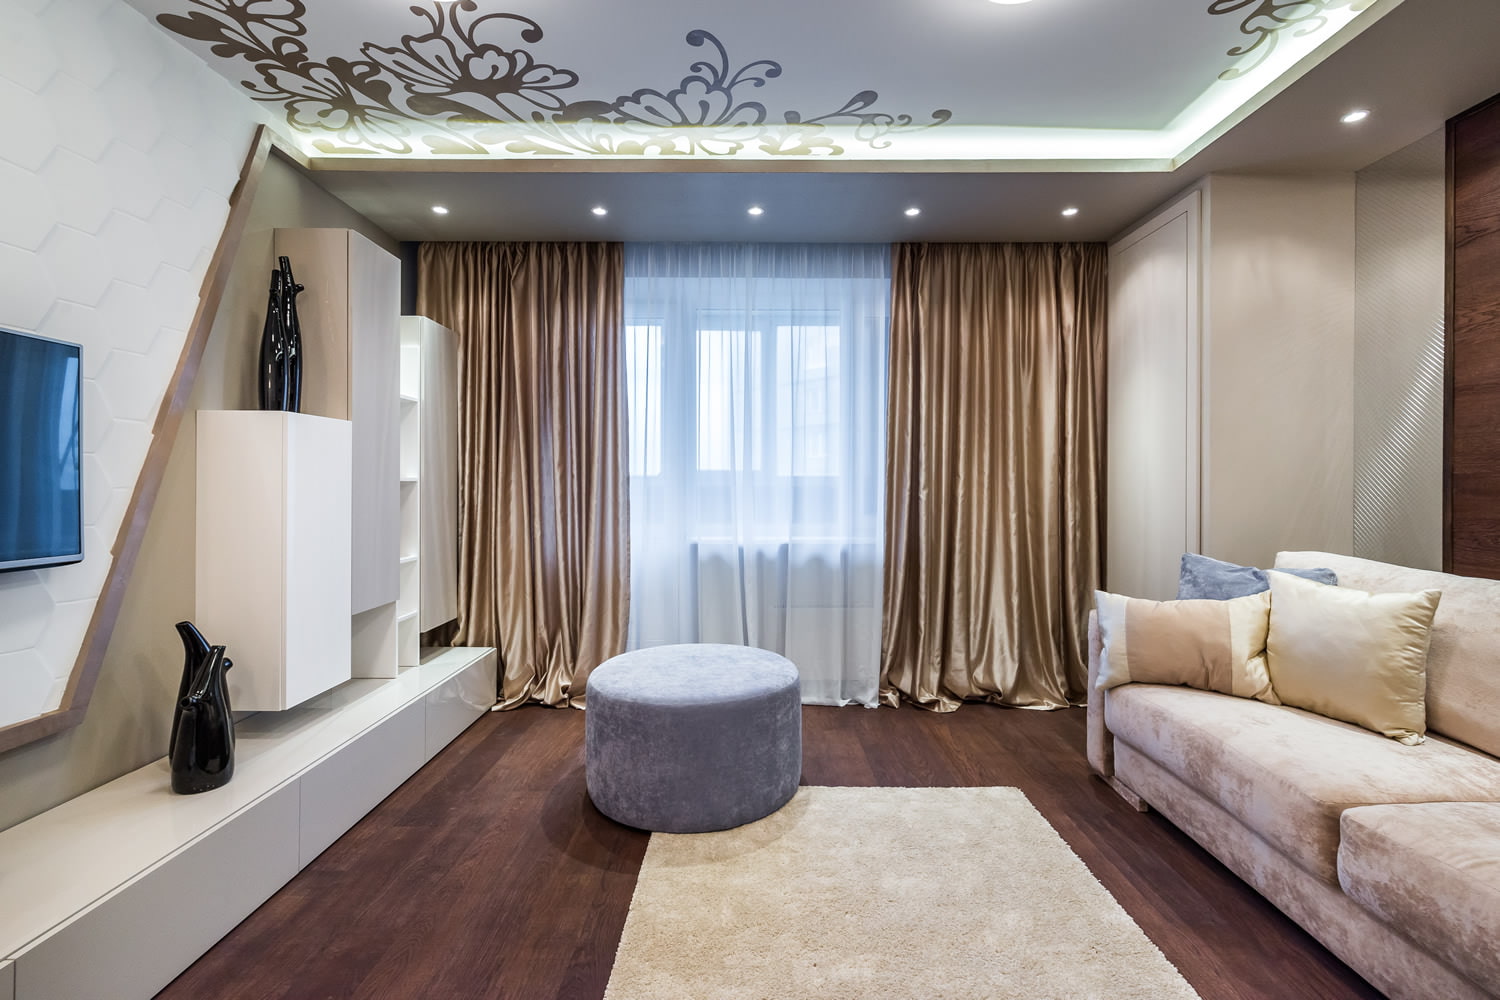
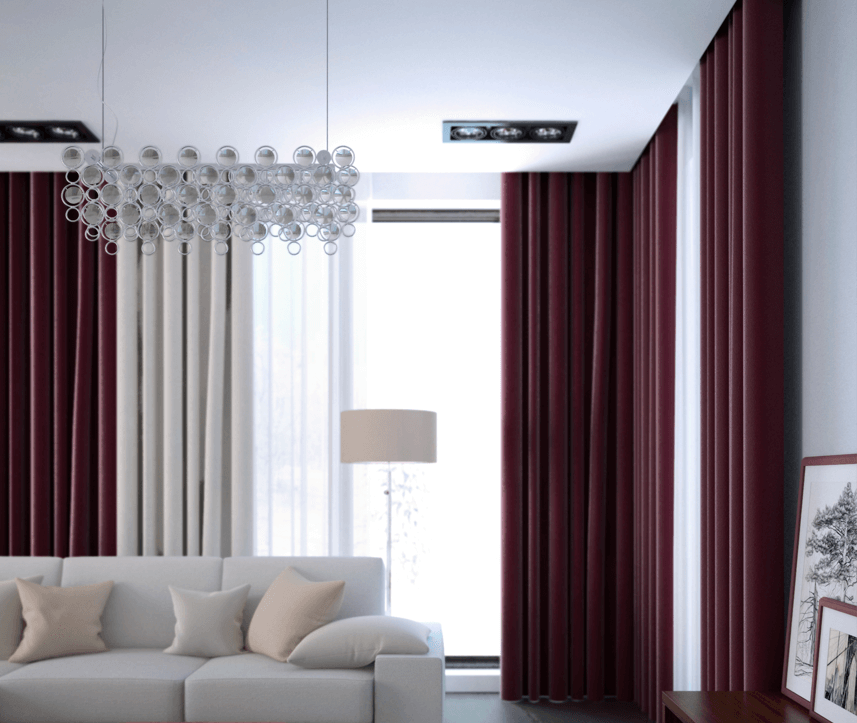
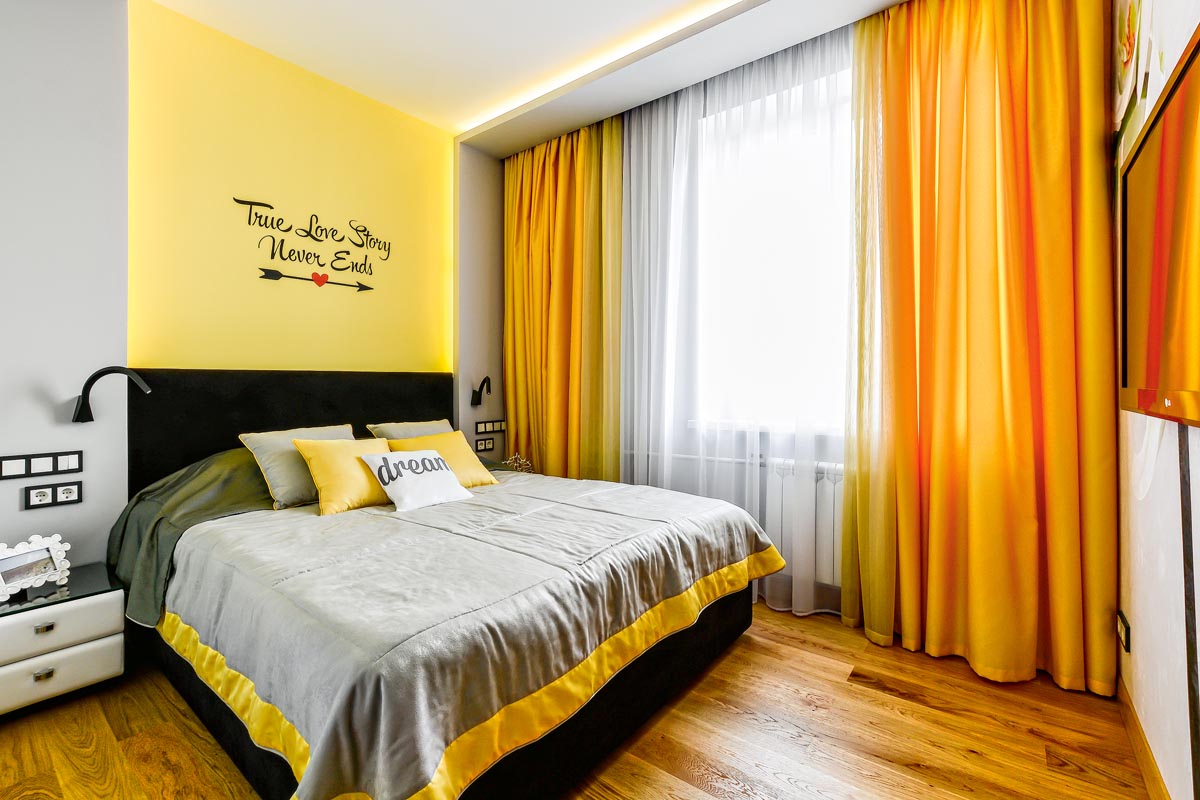
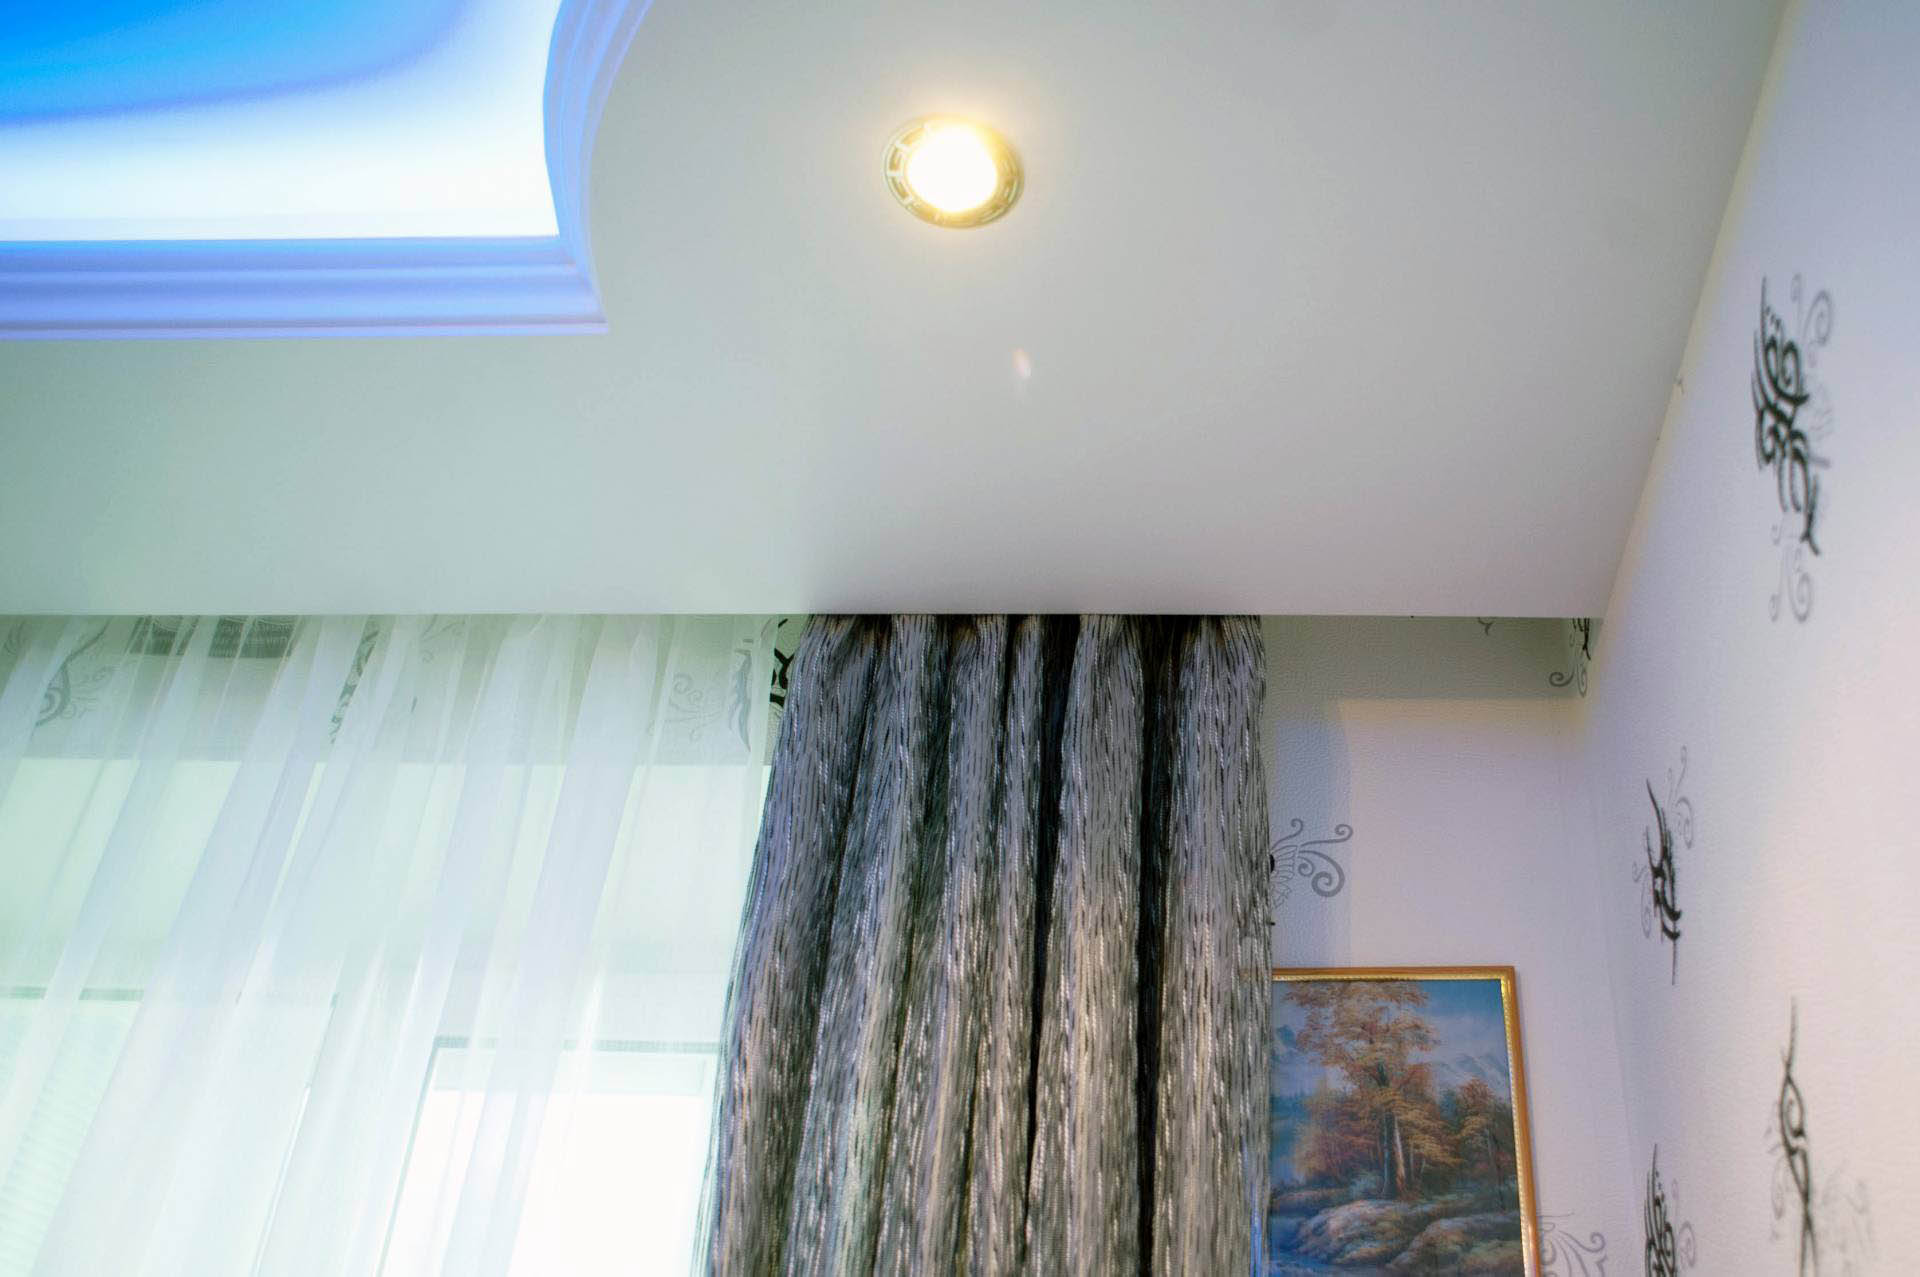
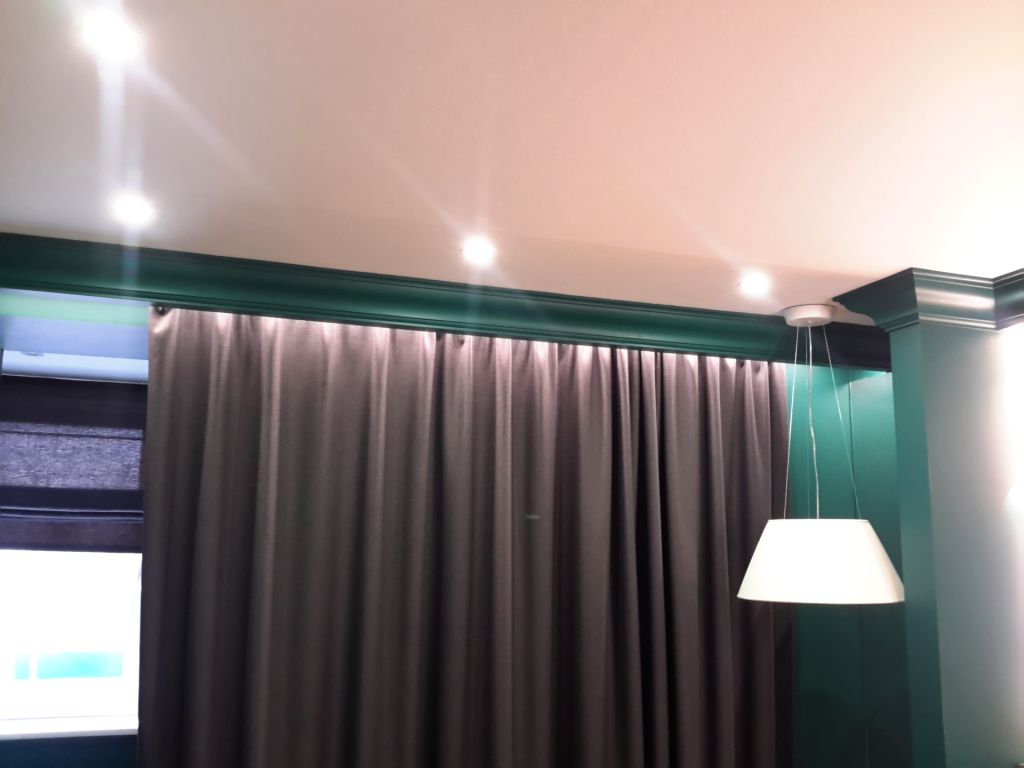
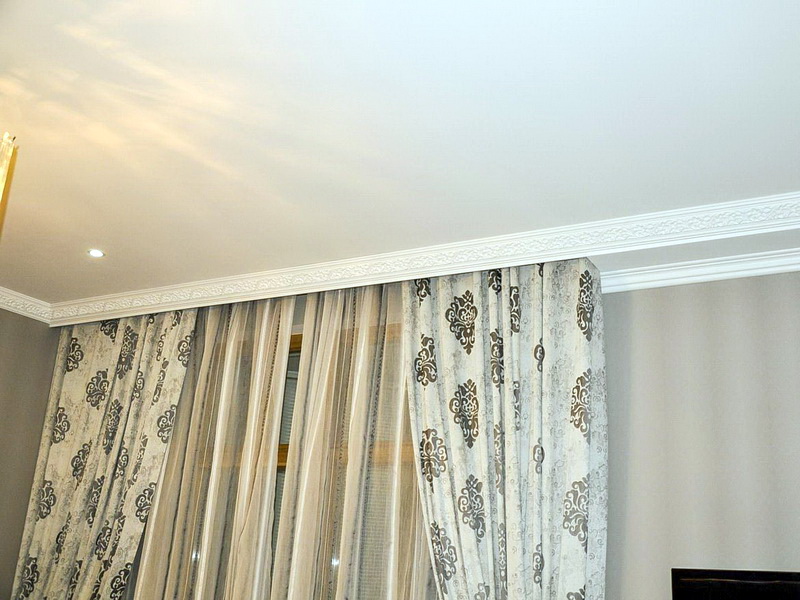
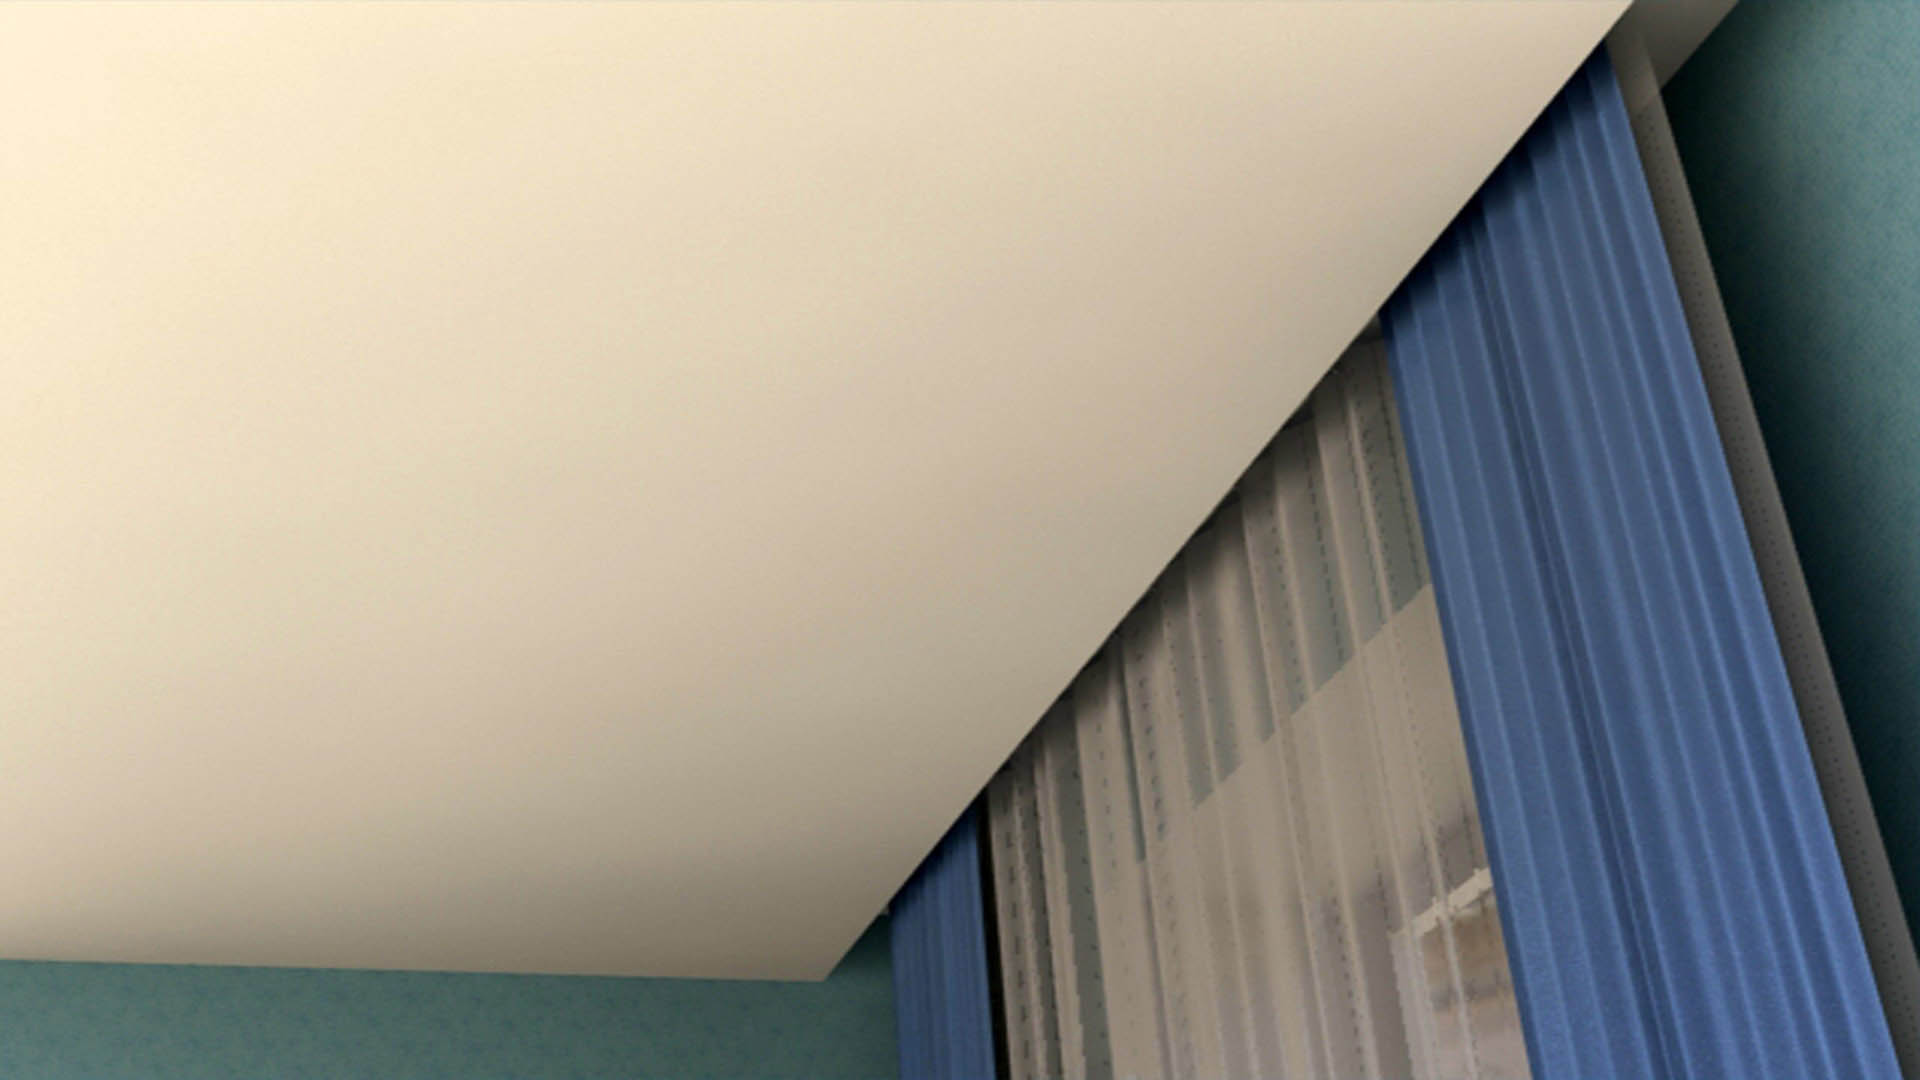
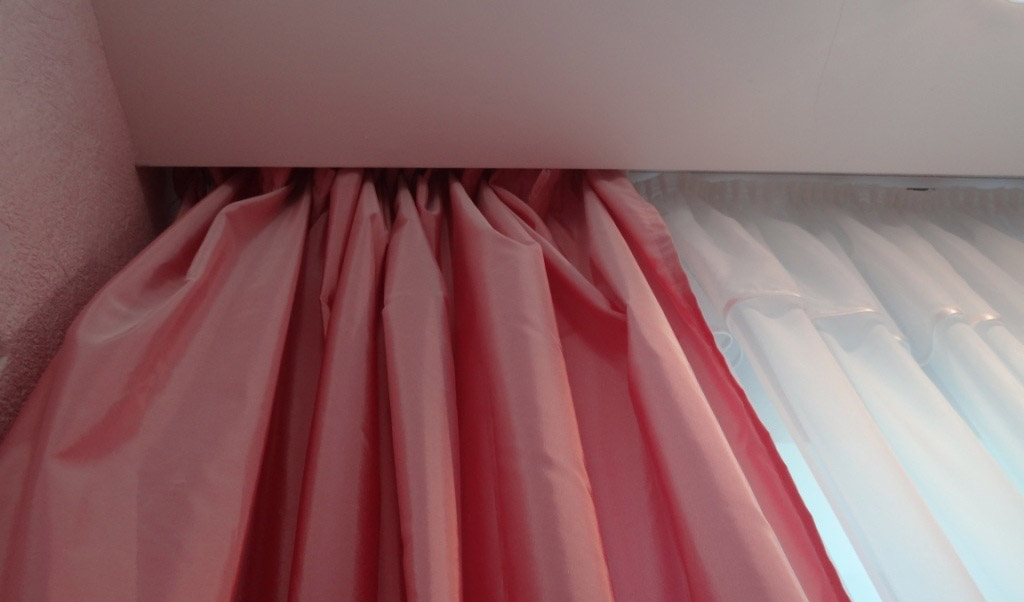
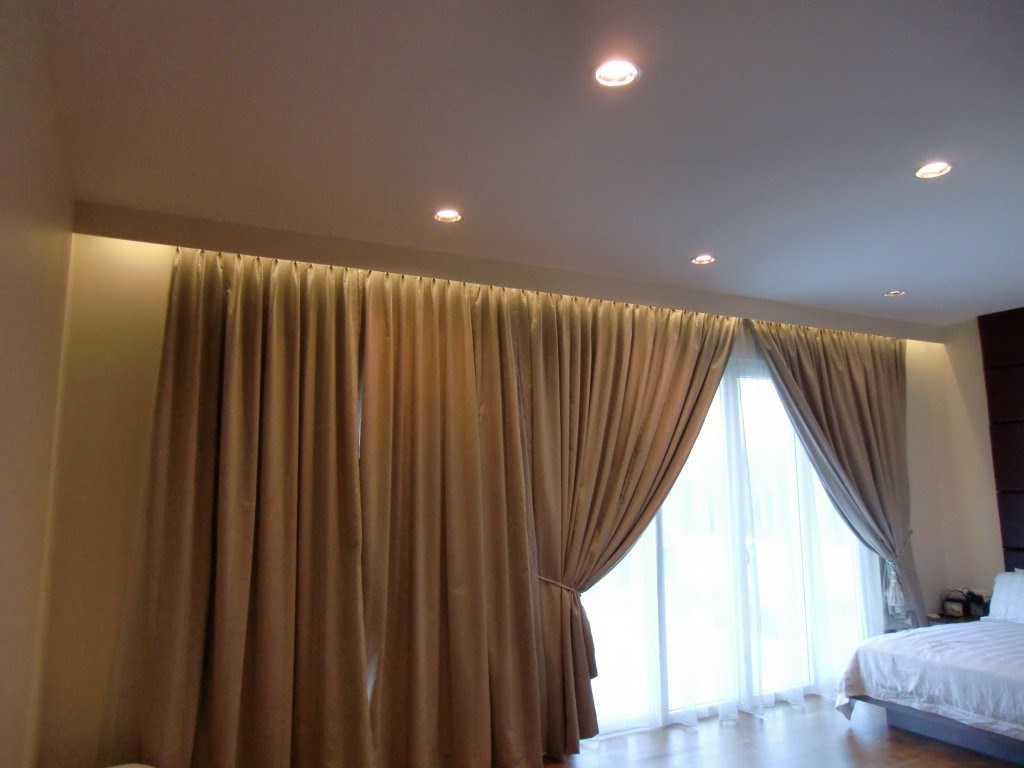
- The flowing fabric from the ceiling itself creates an illusion called “floating curtains,” which visually increases the space and significantly refreshes the interior.
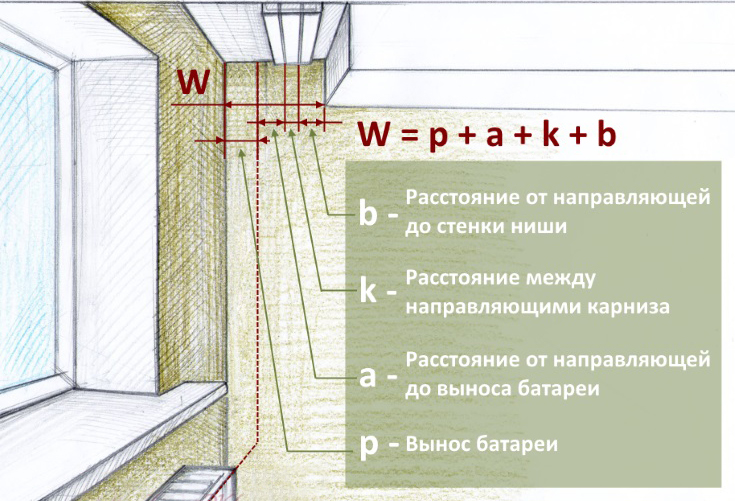
- The niche for the cornice can be made of any length, width and height. This is very convenient if the room has very high walls (the suspended ceiling can be lowered to an acceptable height), there are wide window sills or a huge radiator (a wide niche allows you to place the cornice at a convenient distance from the window).
- If the curtain rod was previously attached to the ceiling, there is no point in removing it. Before carrying out repair work, it is enough to simply remove the curtains to prevent contamination.
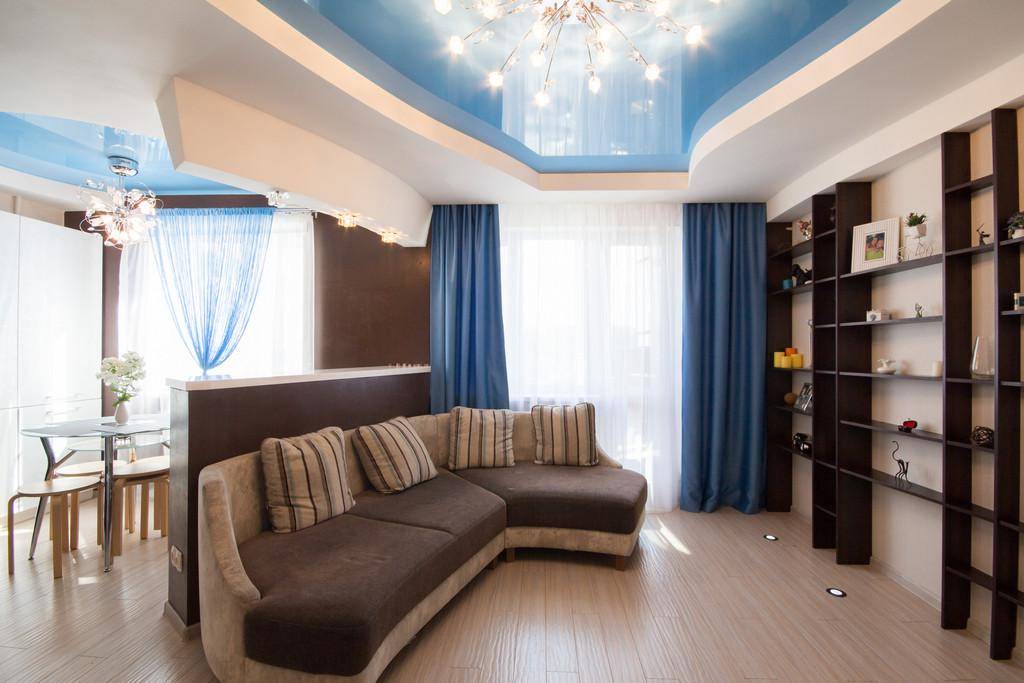
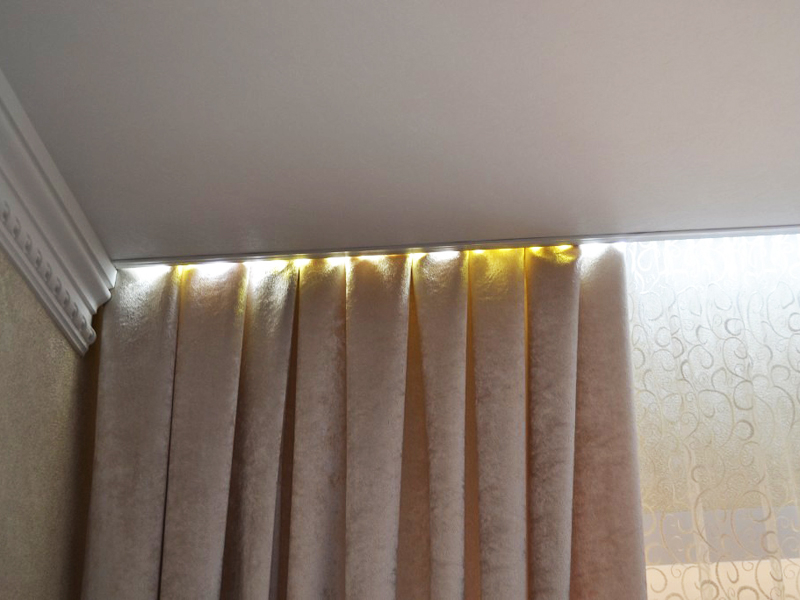
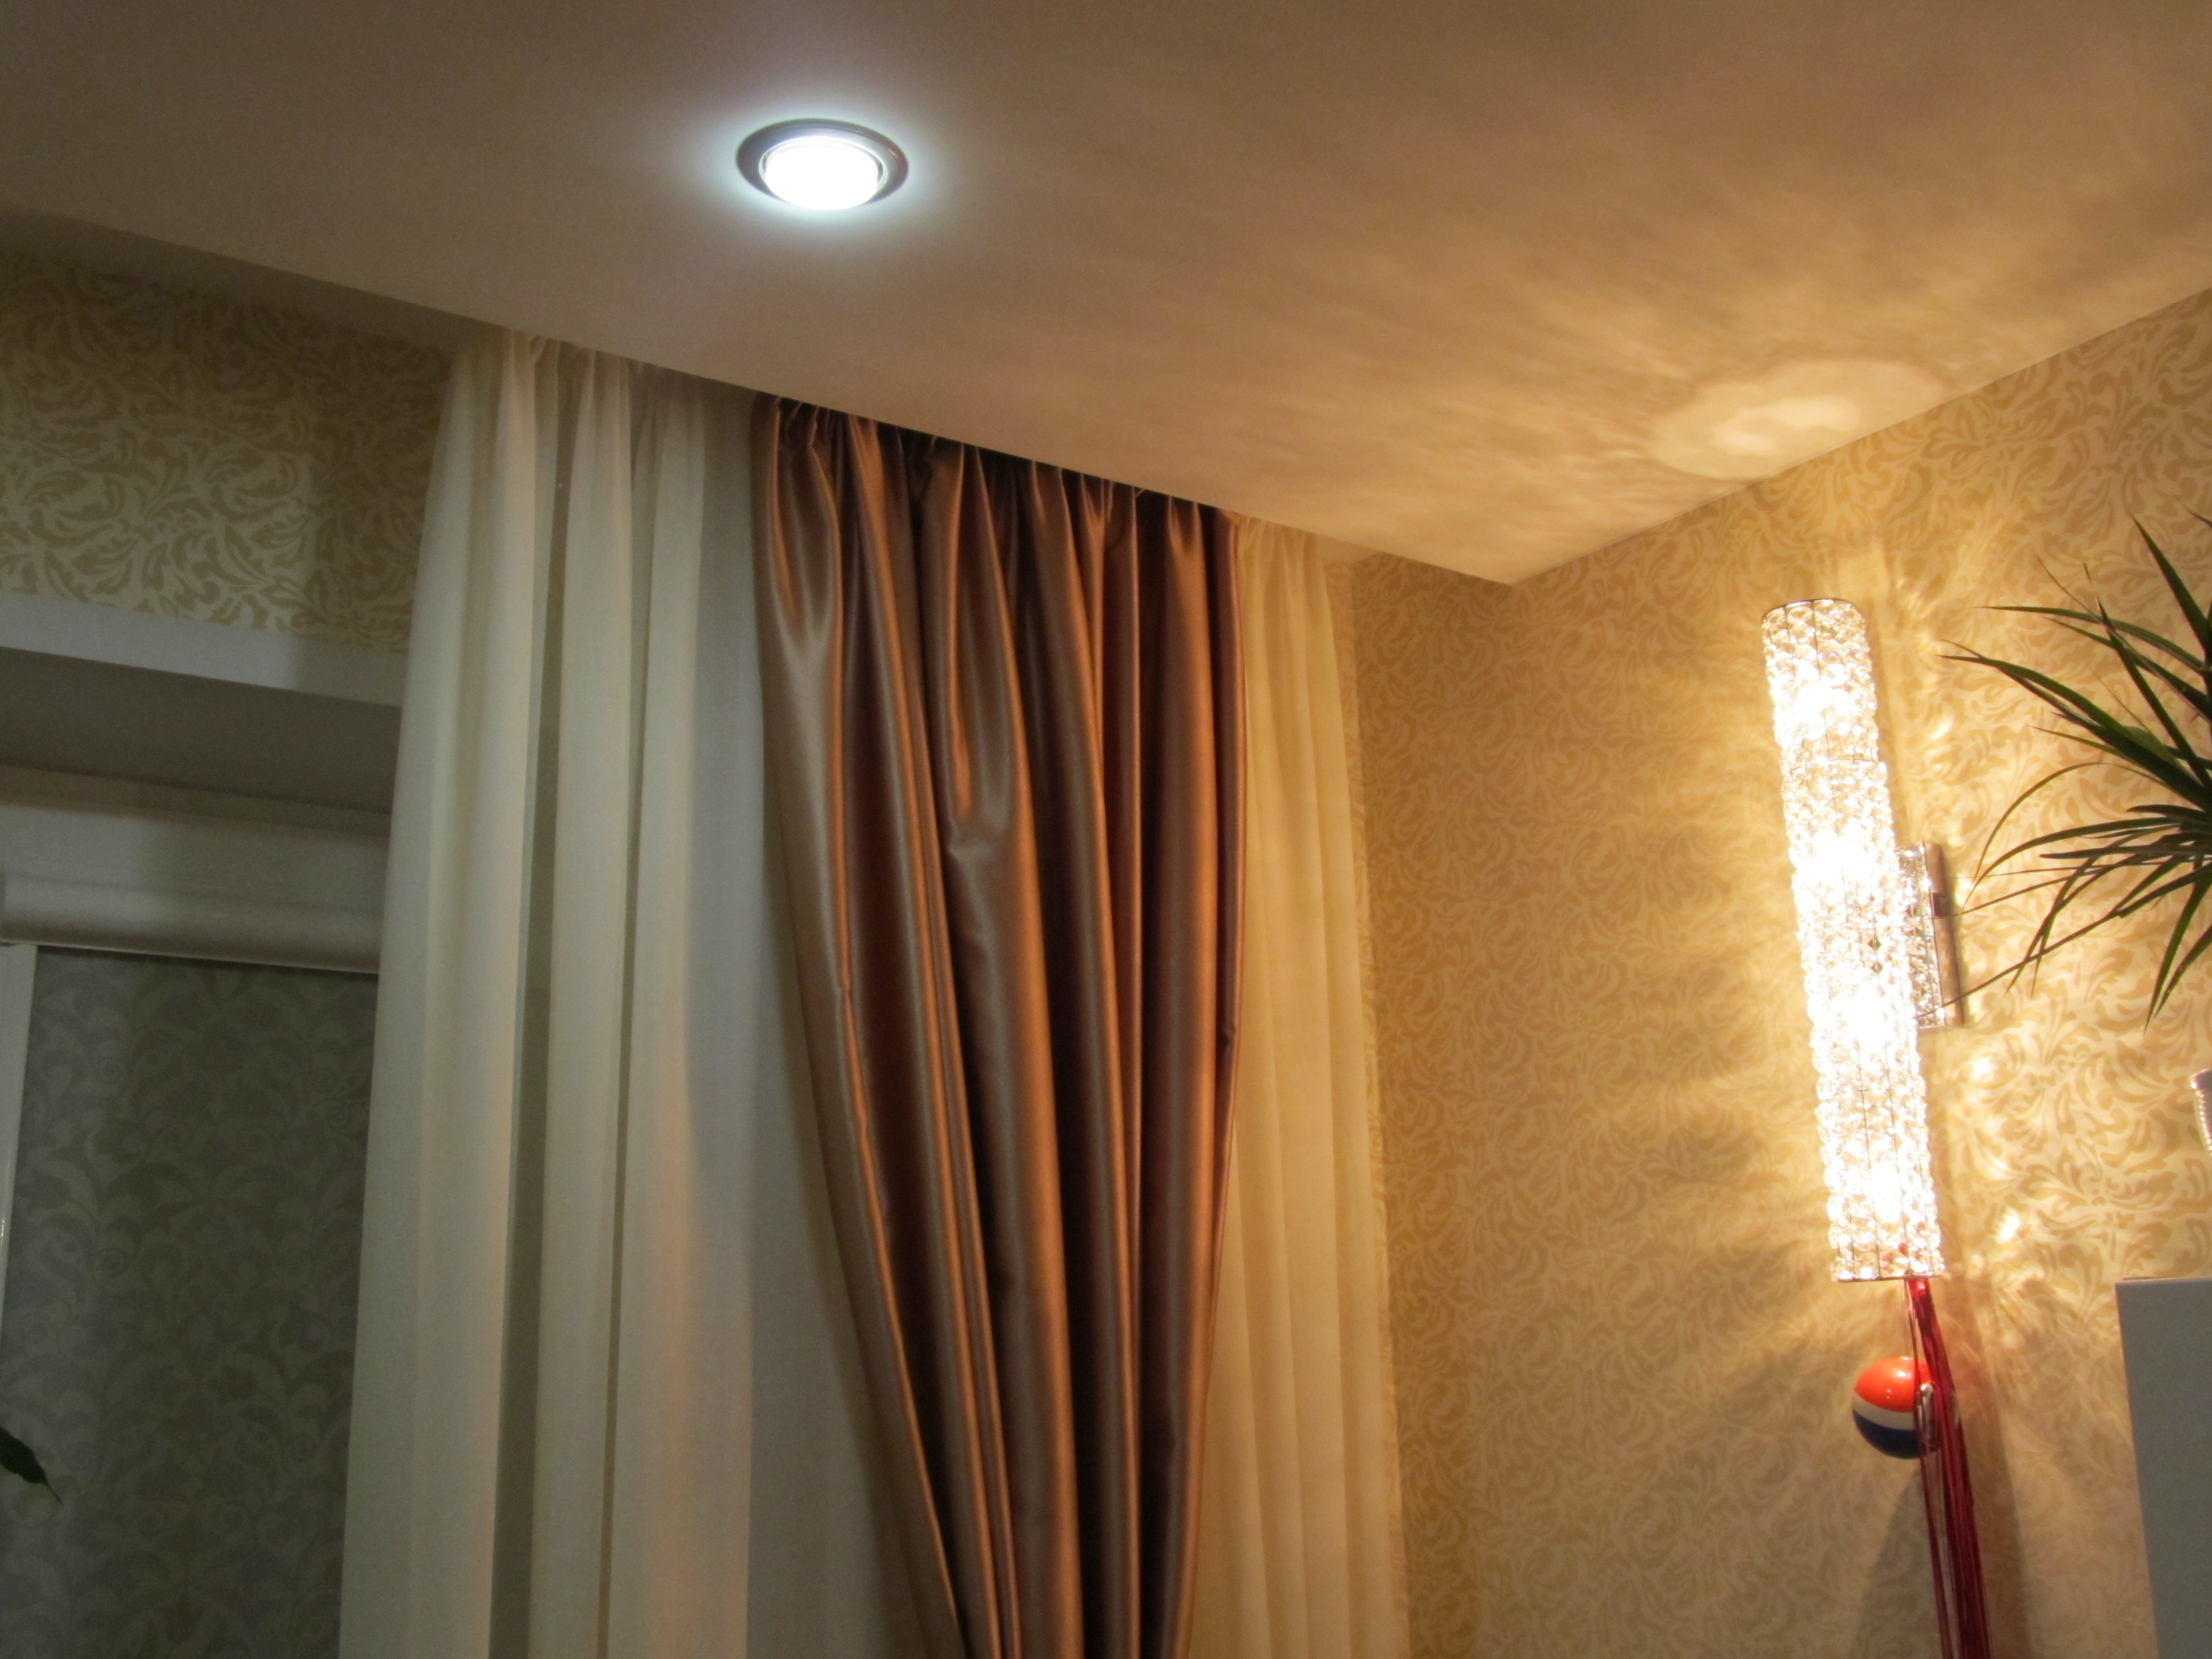
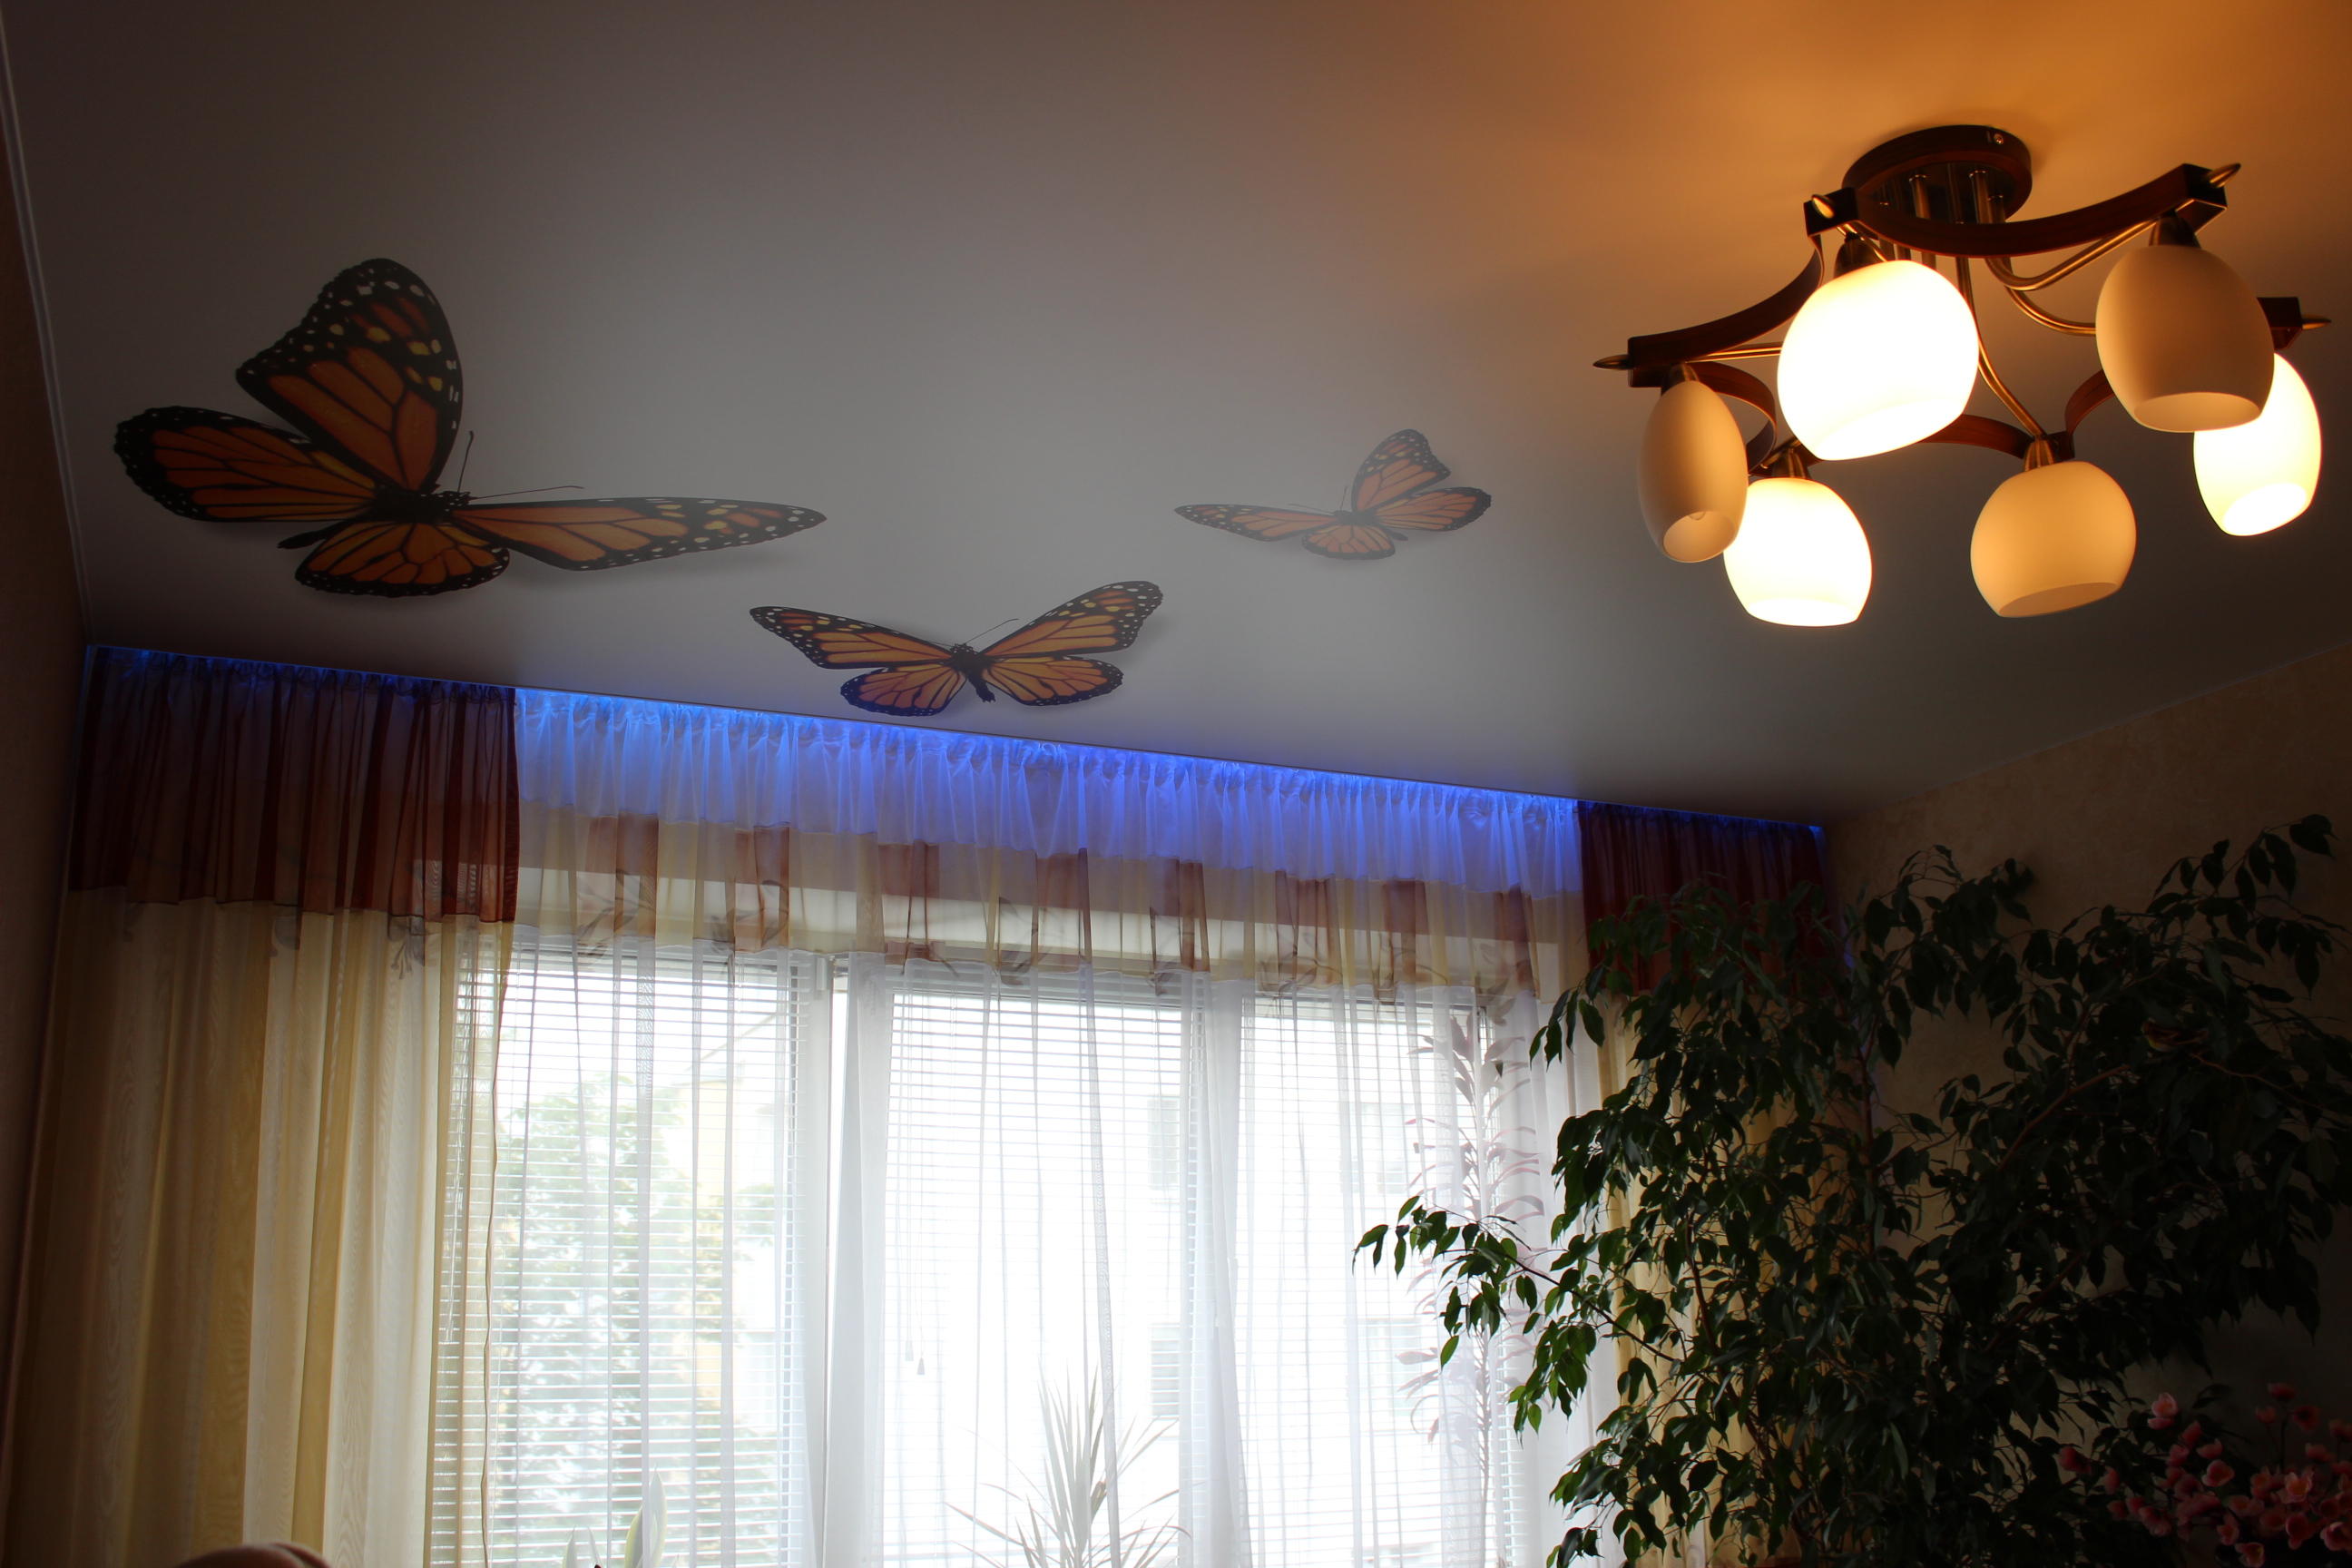
- The lighting of the niche for the cornice looks very beautiful, which enhances the already present effect of air curtains. An LED strip of any color you like is inserted into a special groove - it all depends on your imagination.
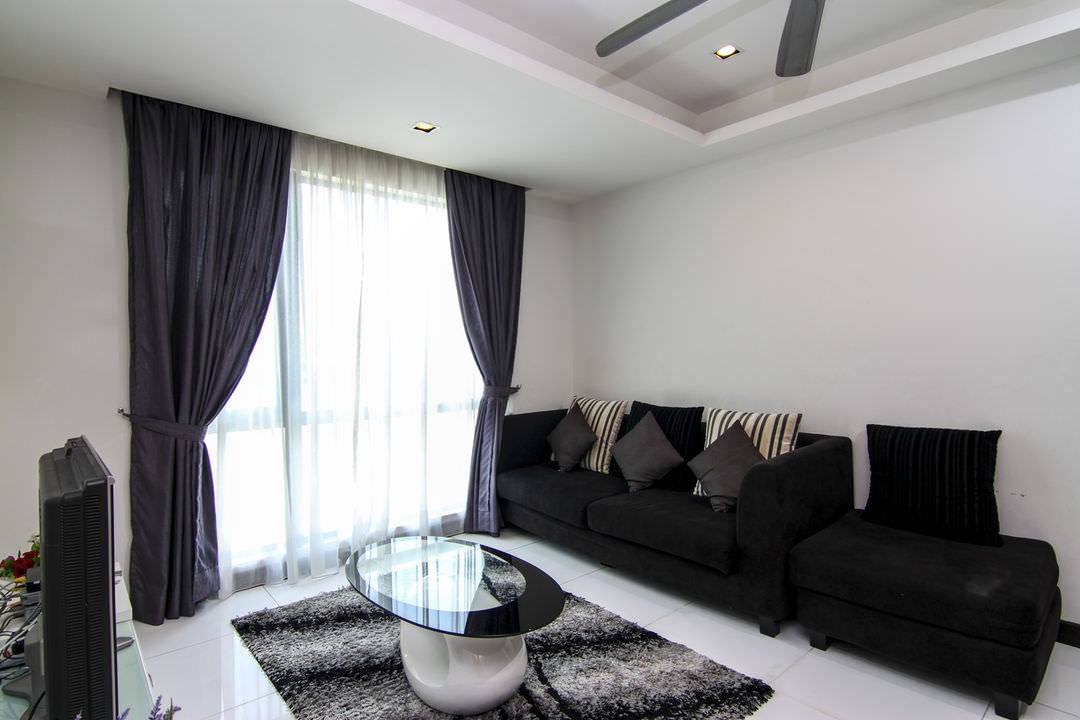
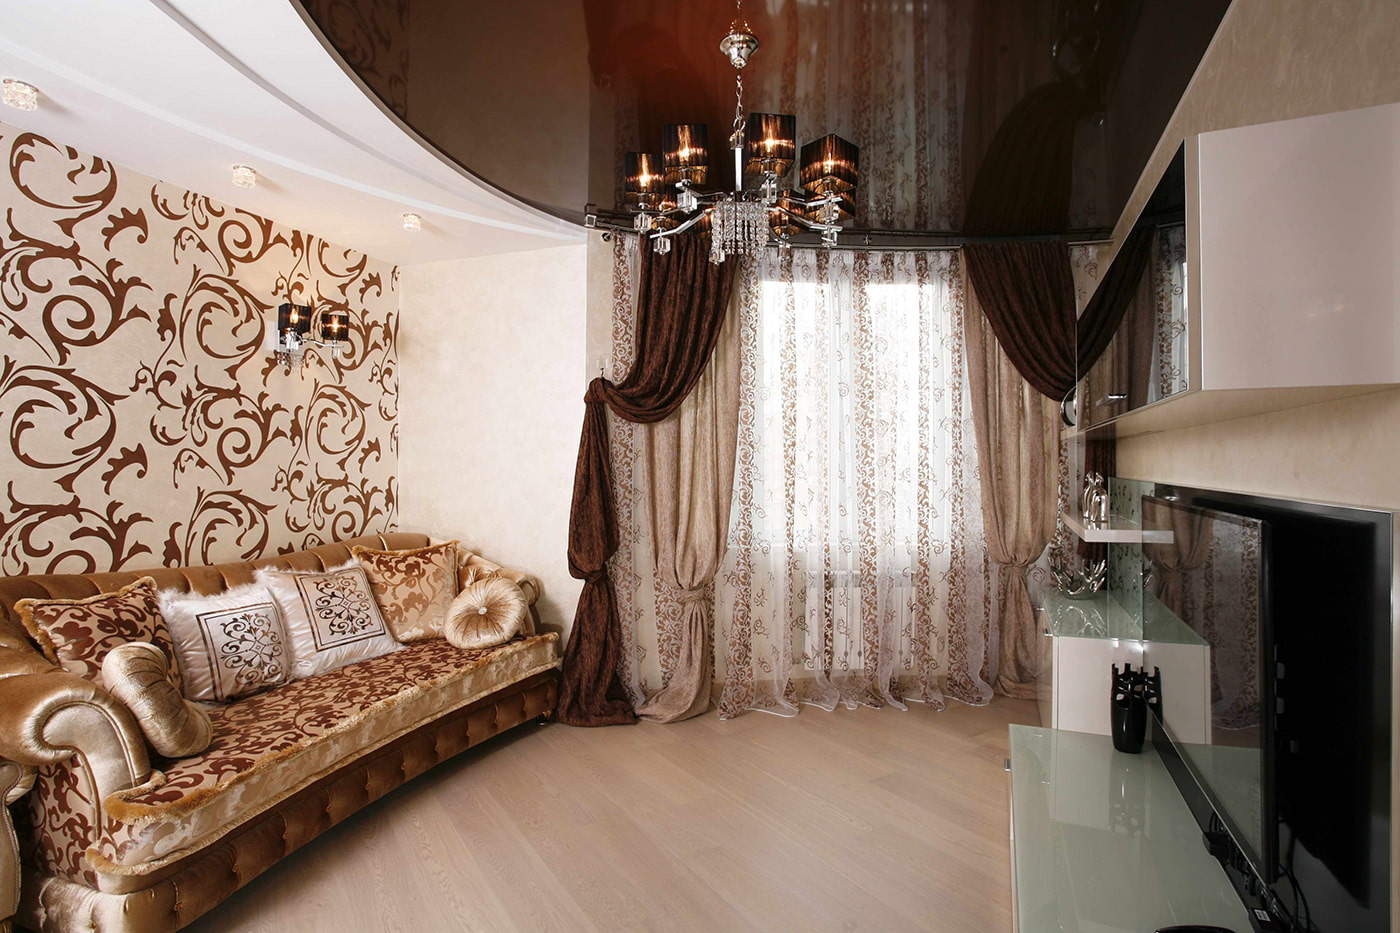
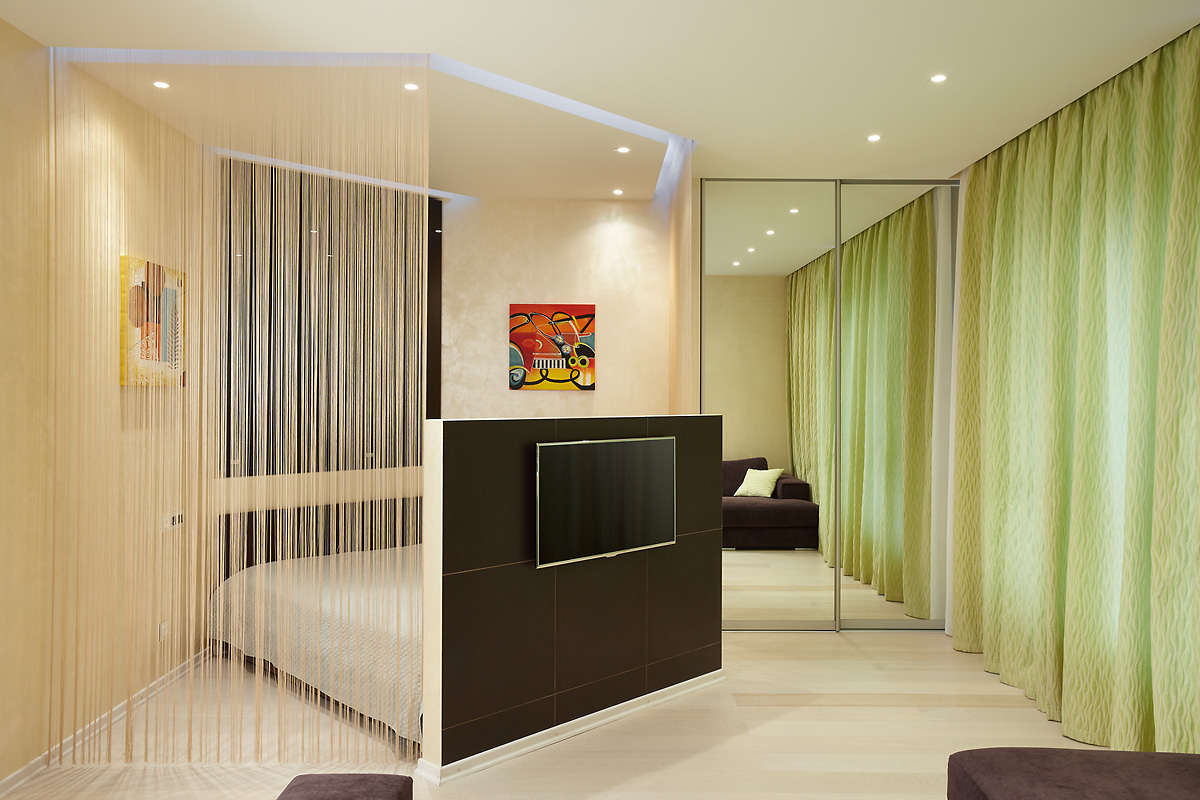
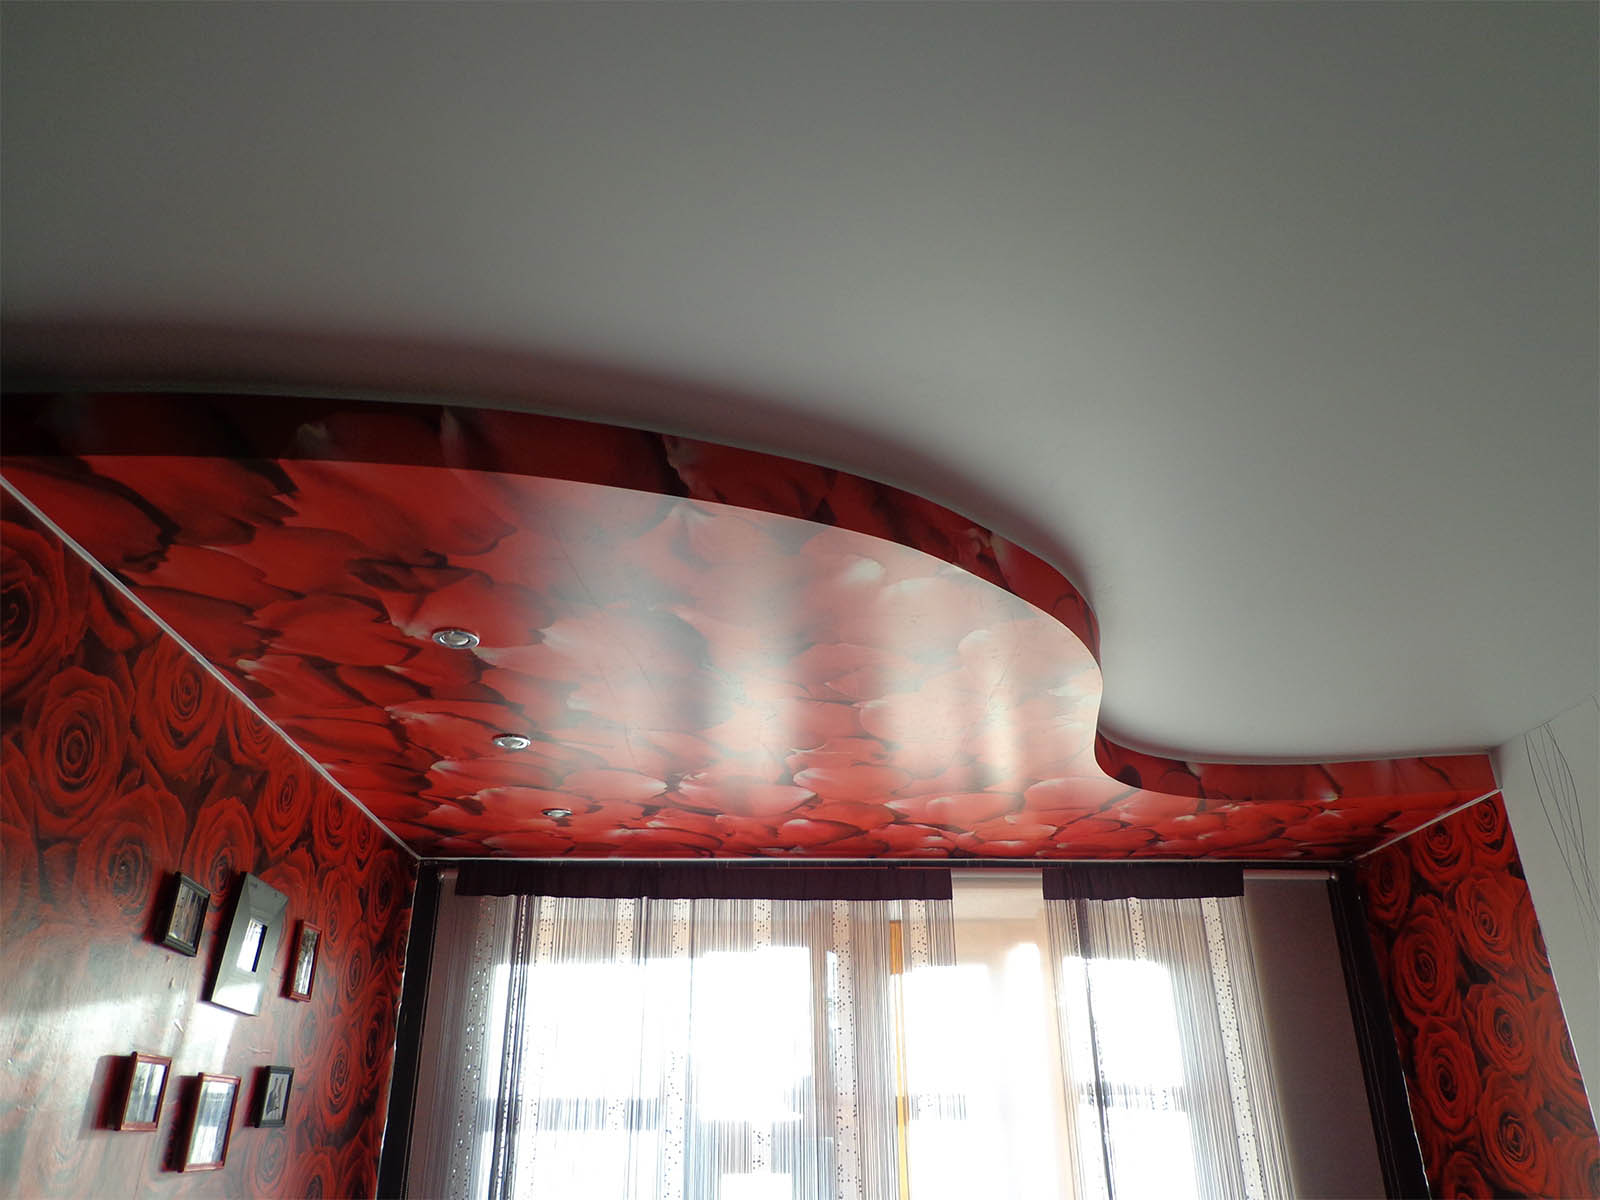
- The stretch ceiling box will help to implement bold design solutions. Since the cornice is hidden from prying eyes, you can create the illusion of visual unification of the ceiling and curtains. A stretch fabric of dark colors made of satin or suede will fit perfectly into a room with similar curtains. The interweaving of motifs looks original - the pattern from the ceiling can smoothly move to the curtains.
VIDEO: Creating a hidden niche in a stretch ceiling.
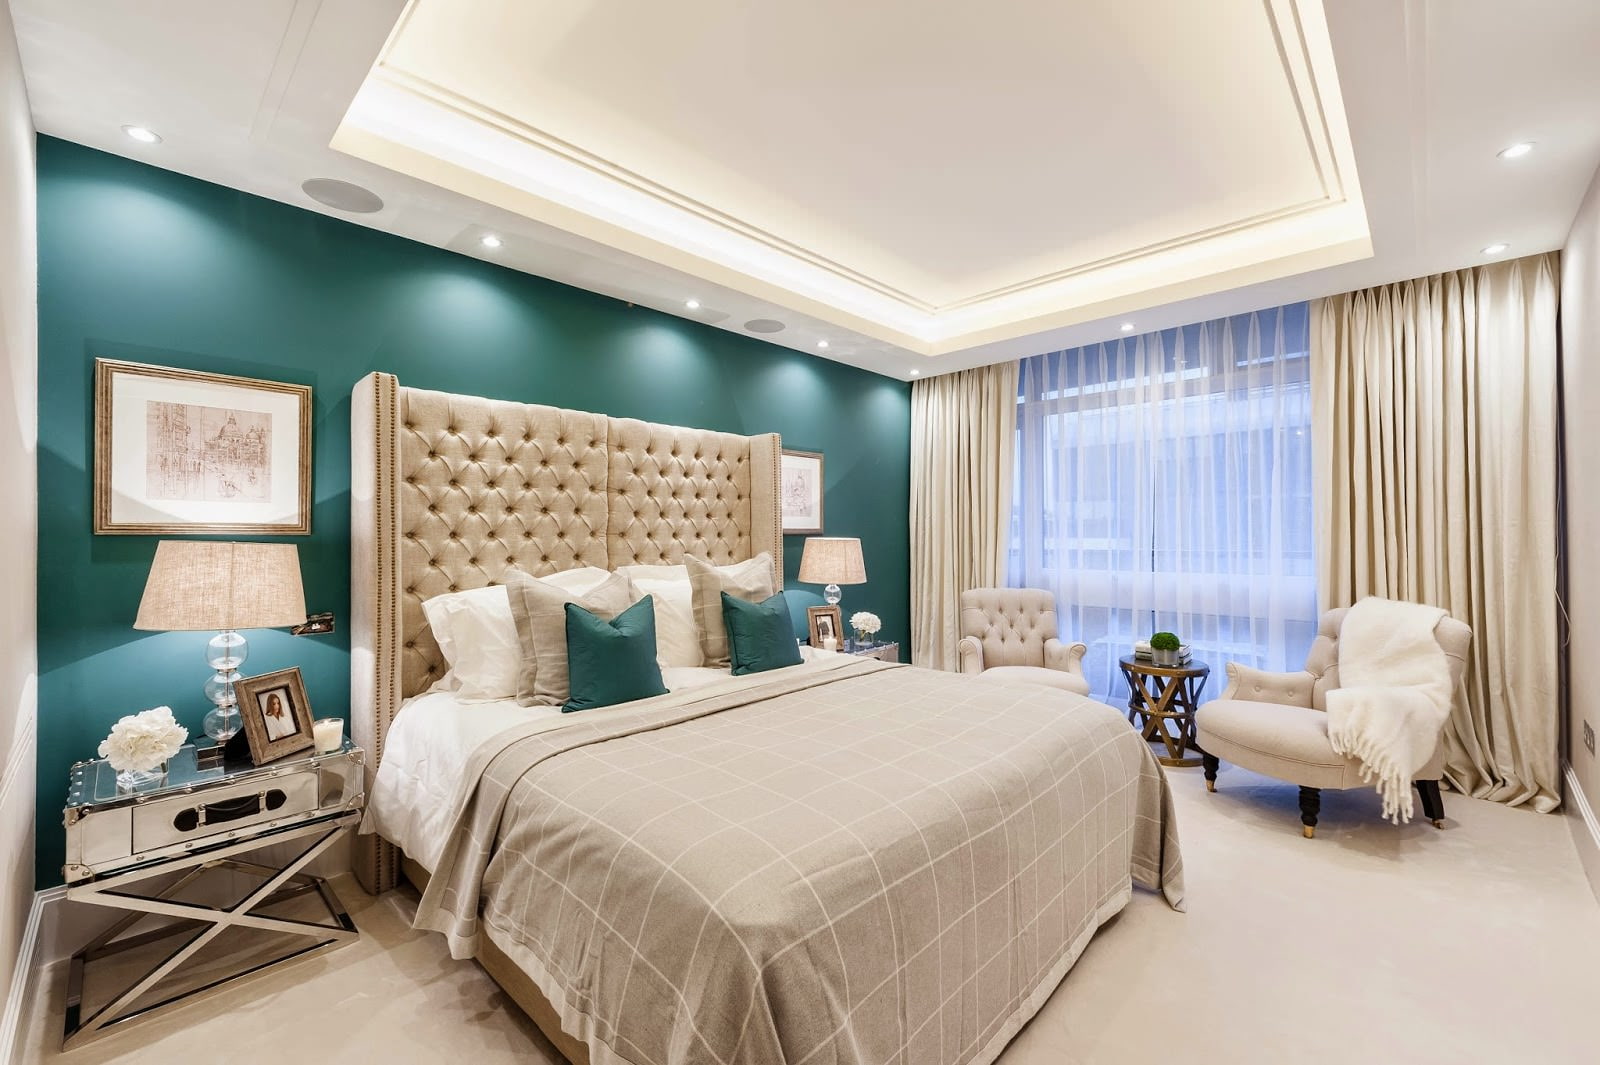
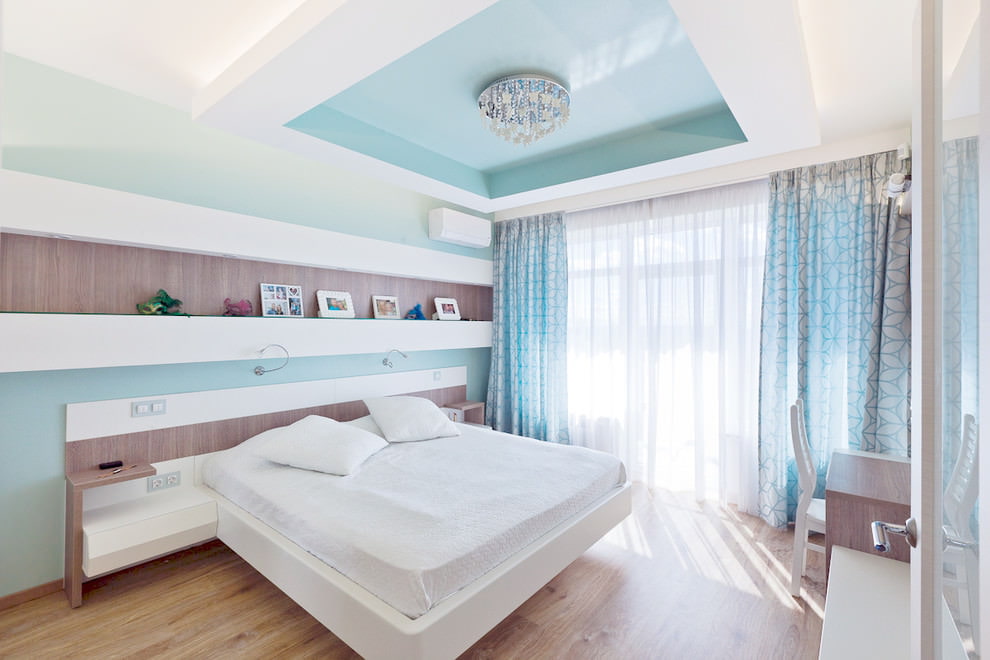
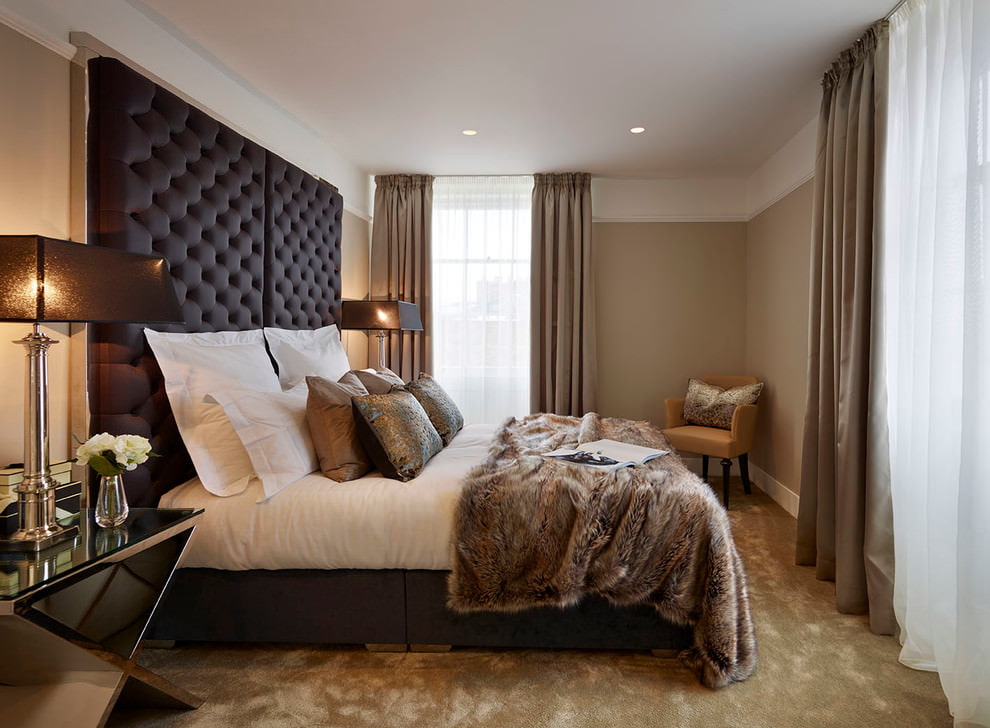
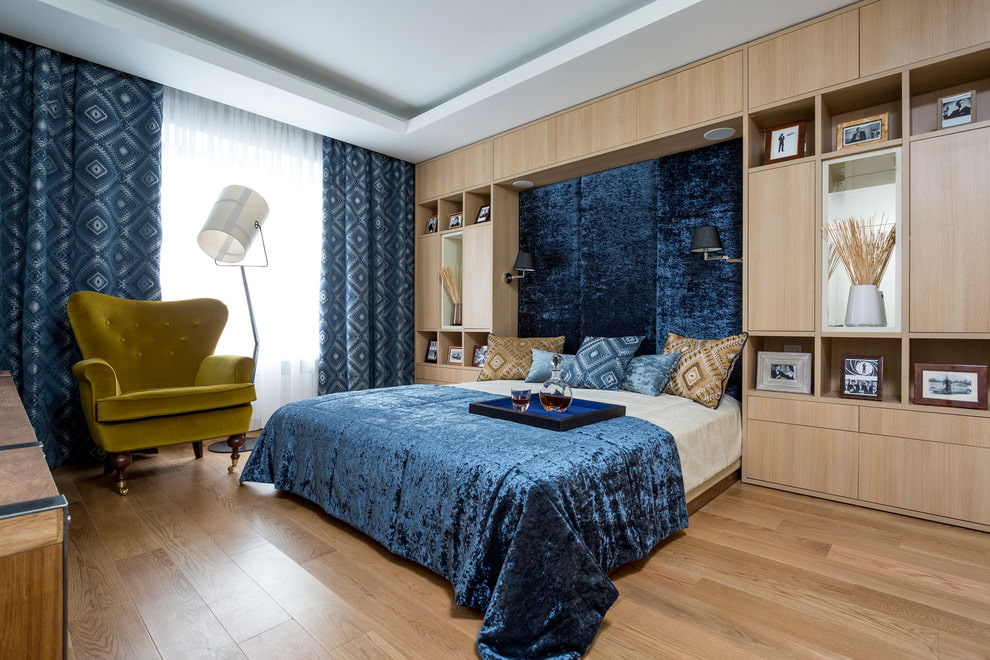
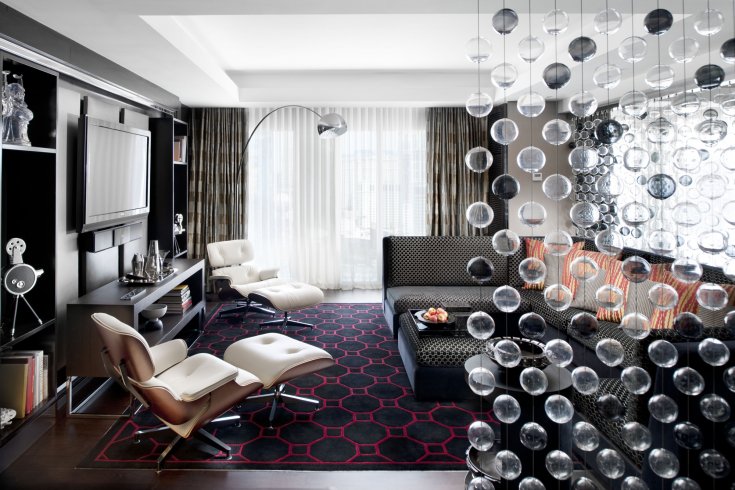
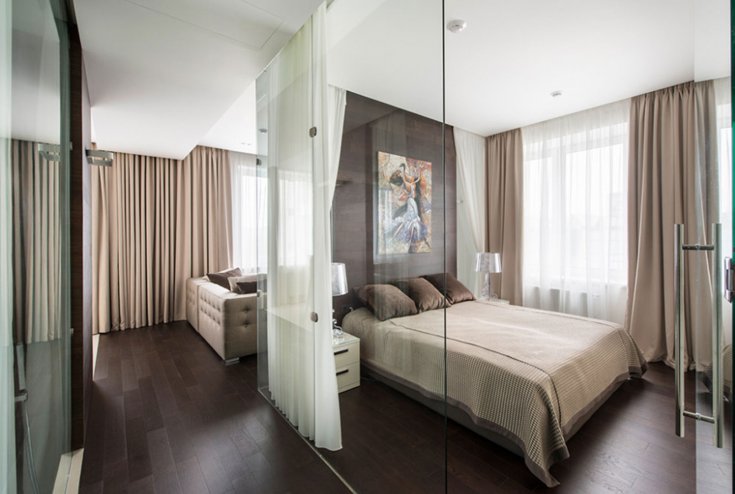
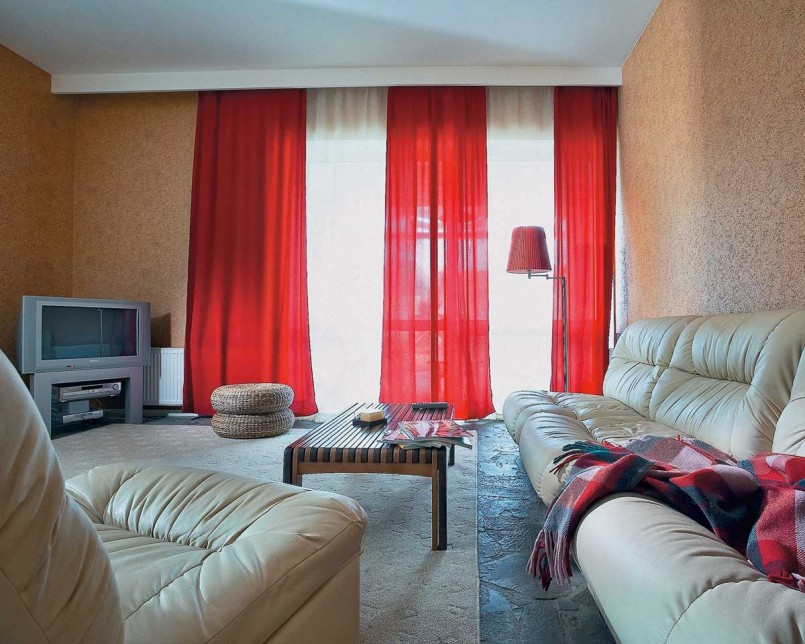
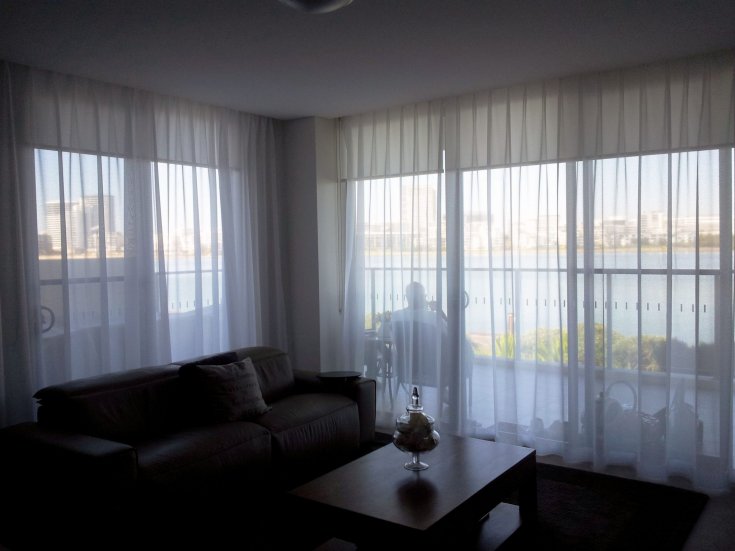
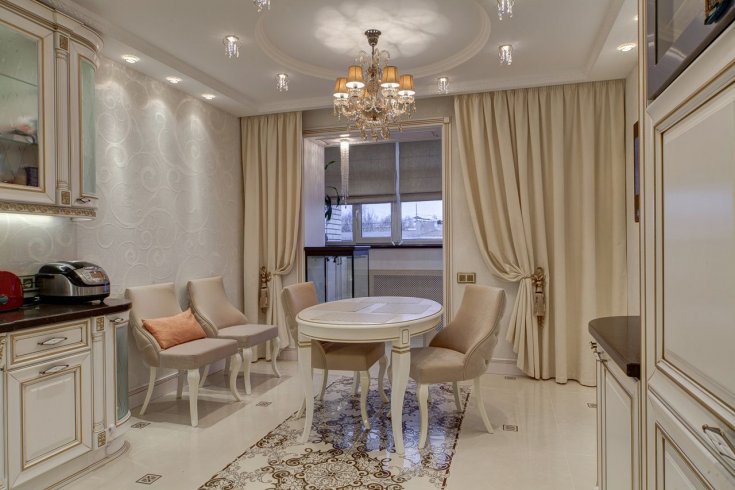
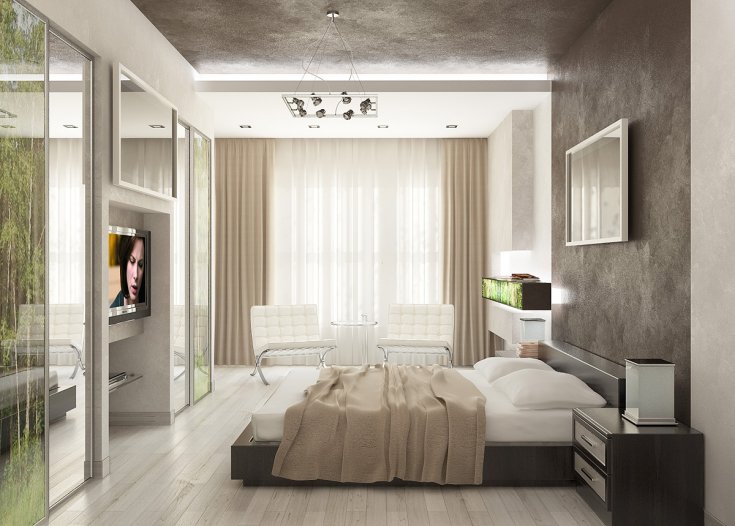
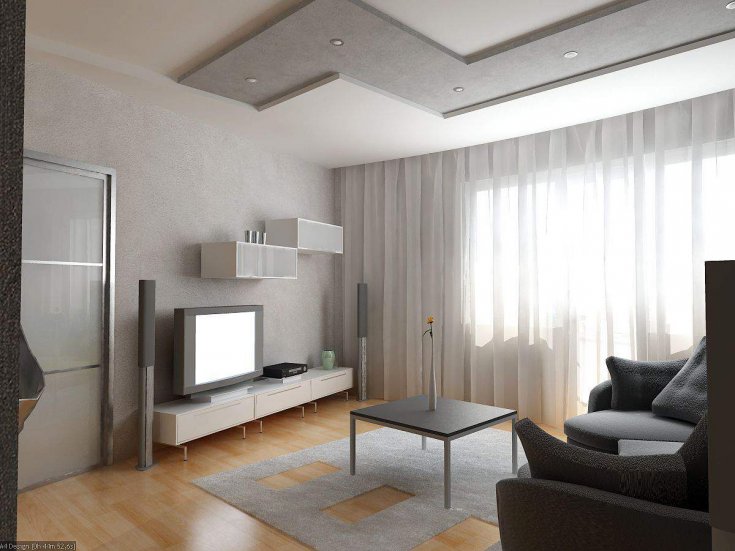
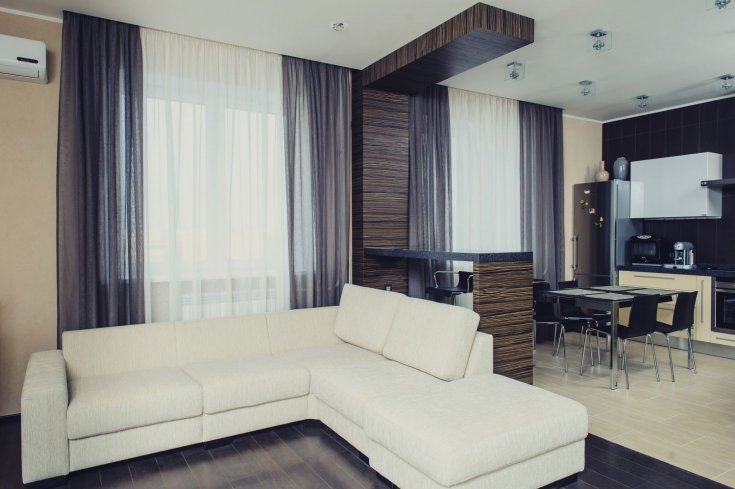
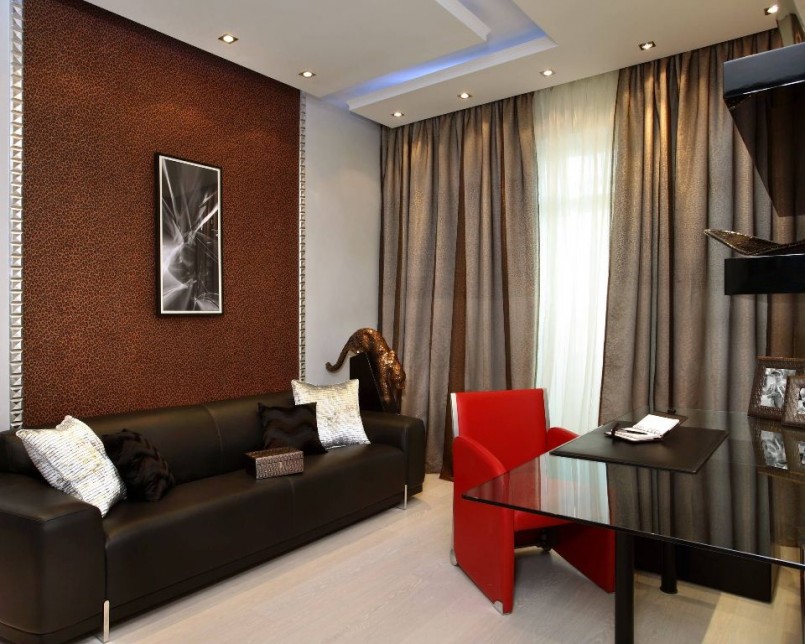
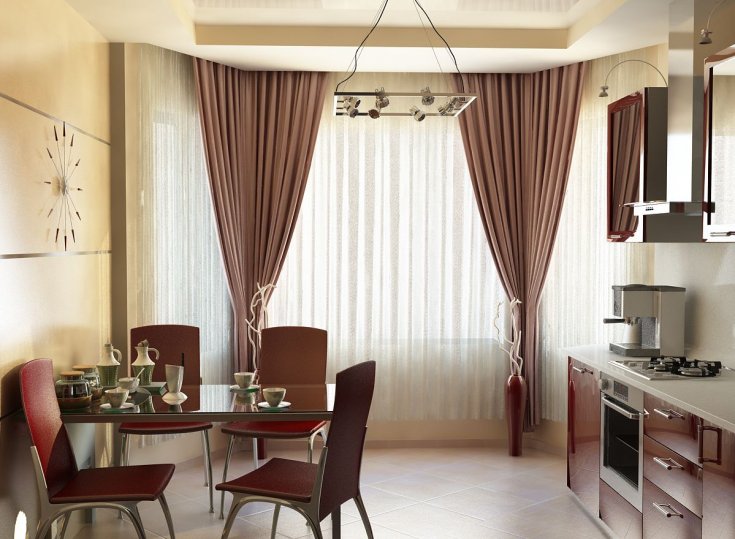
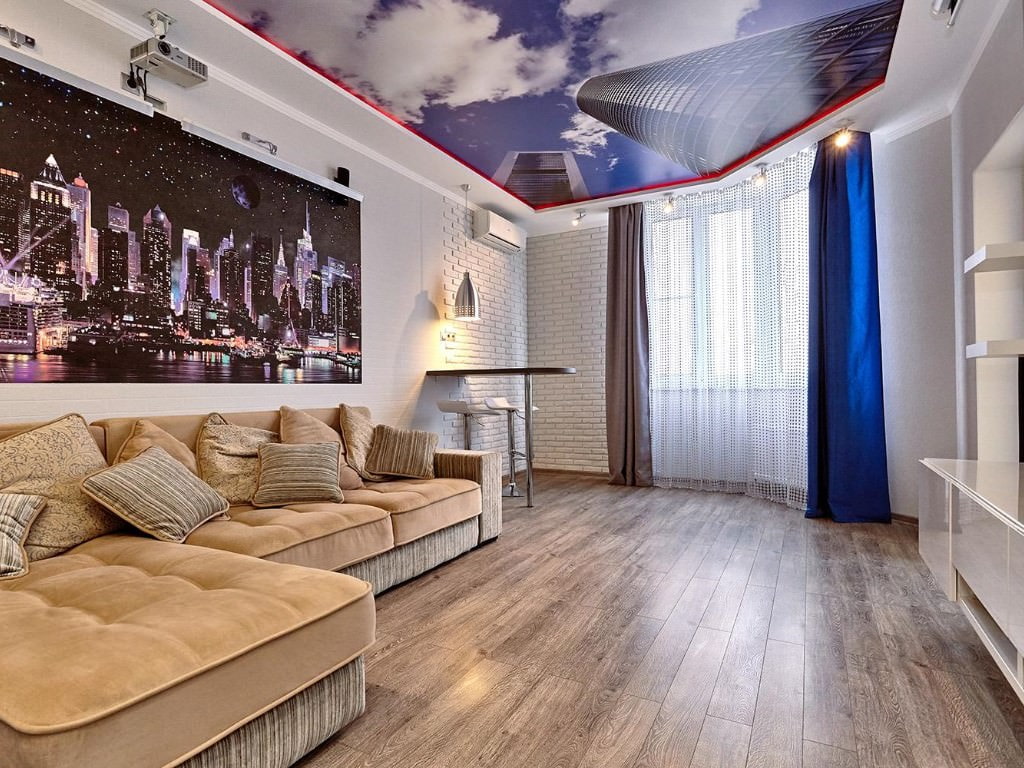
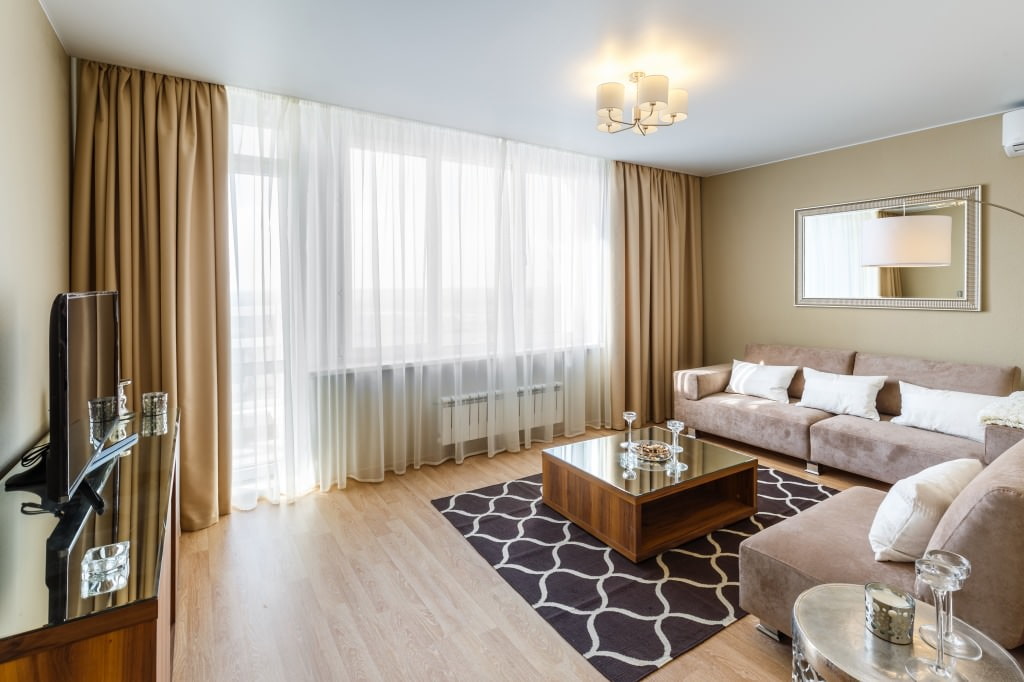
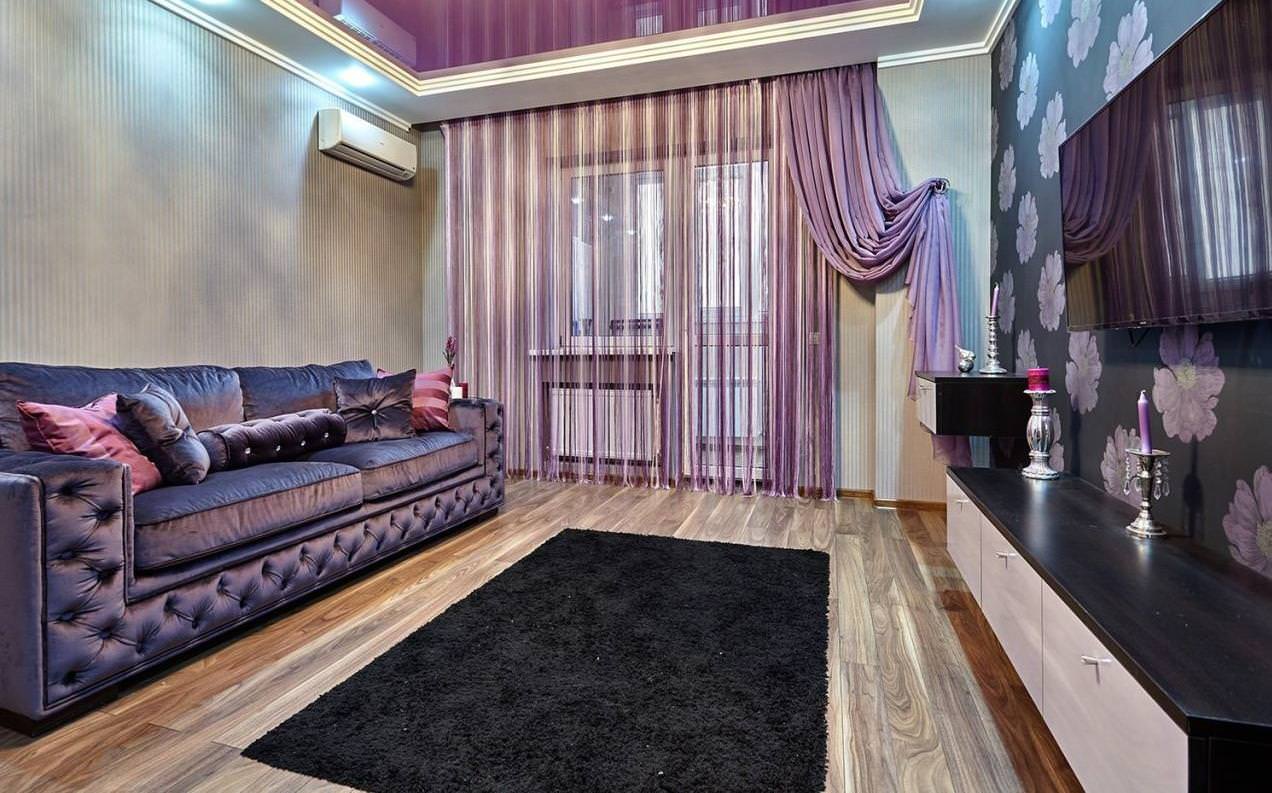
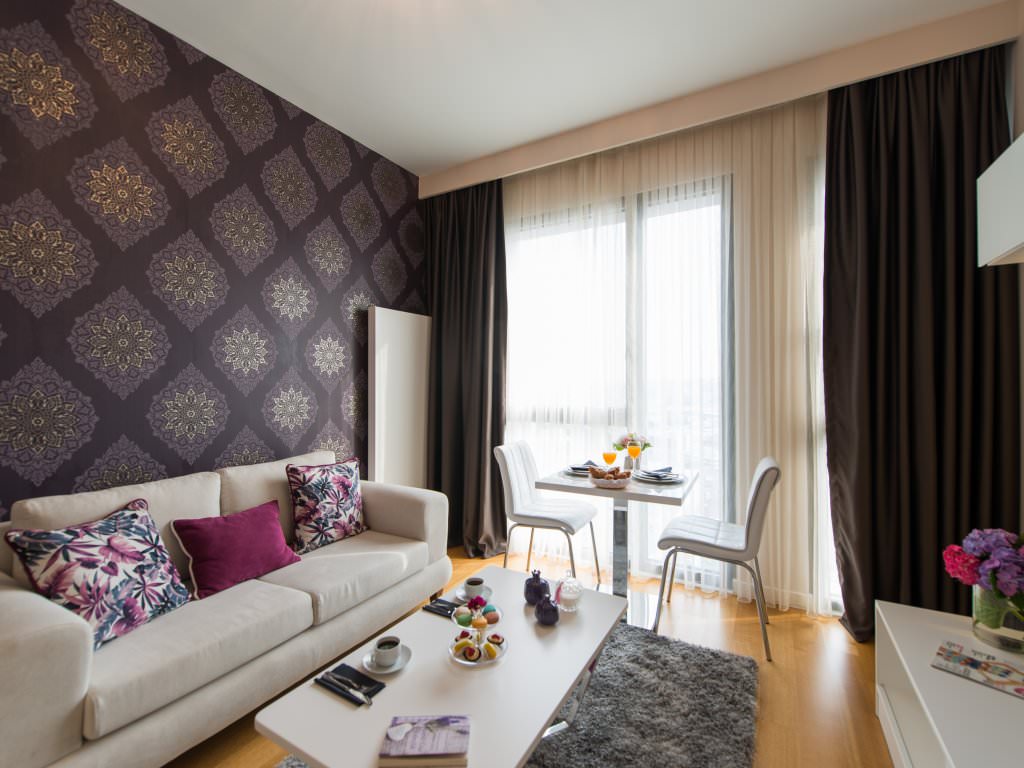
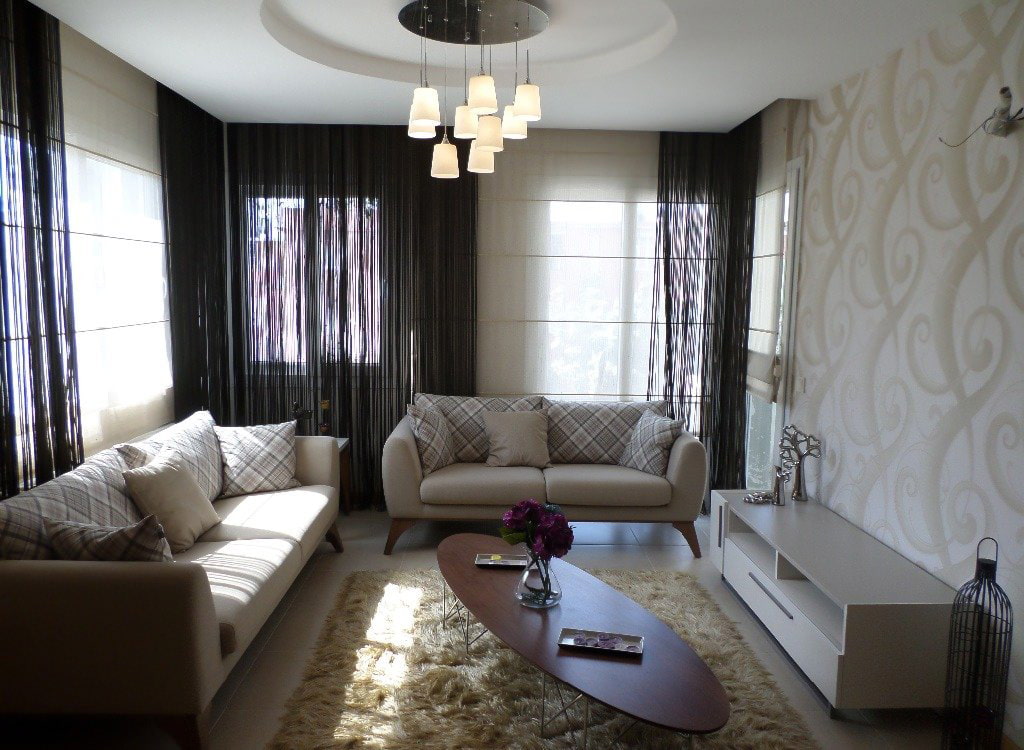
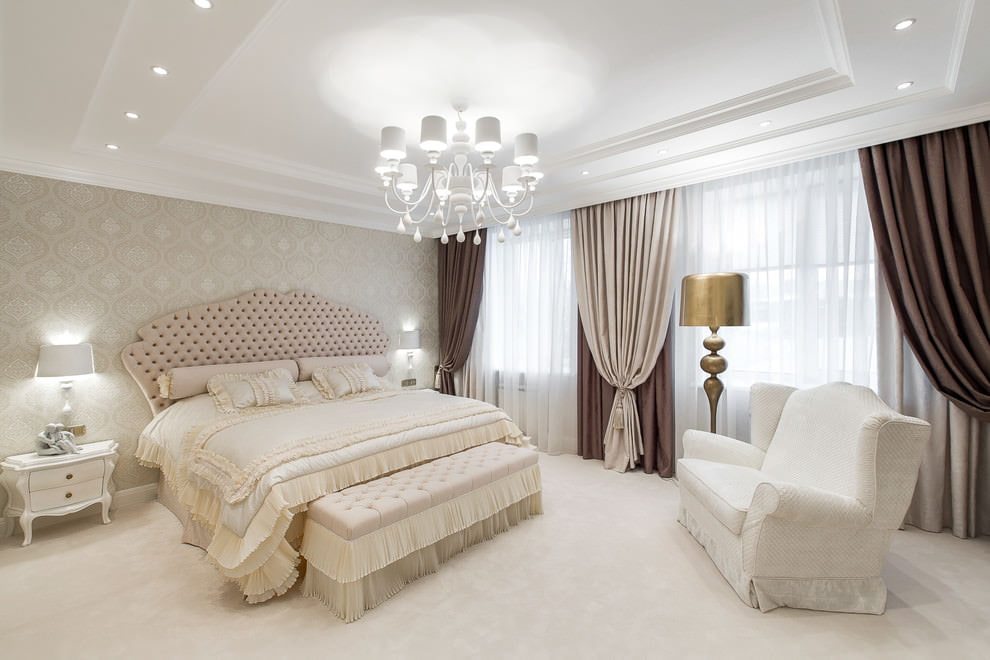
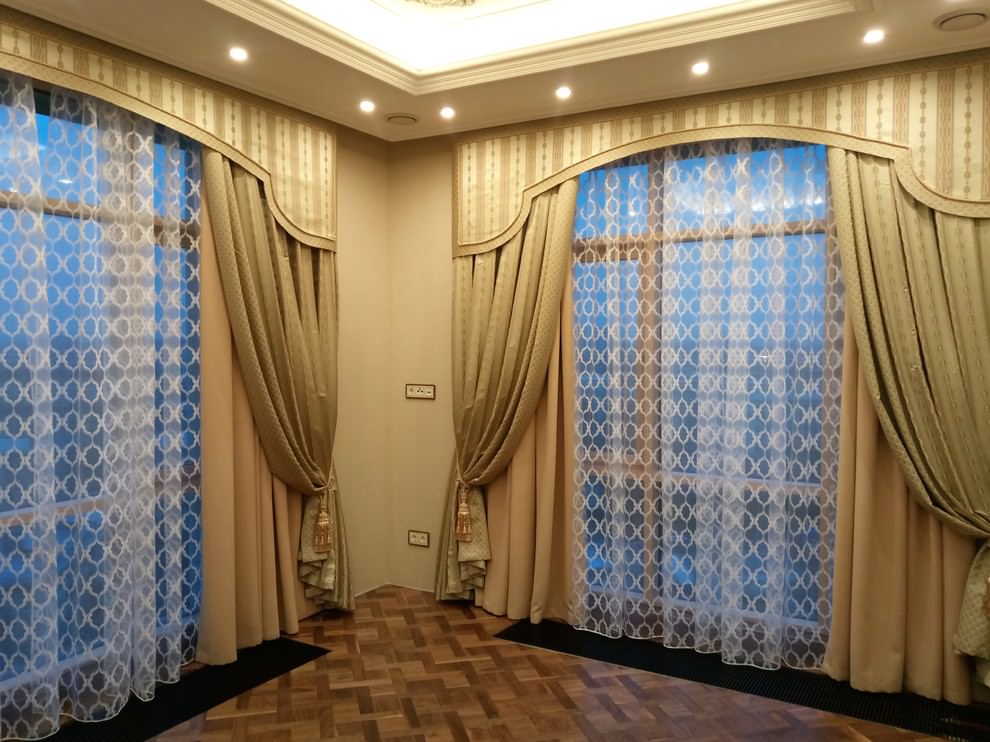
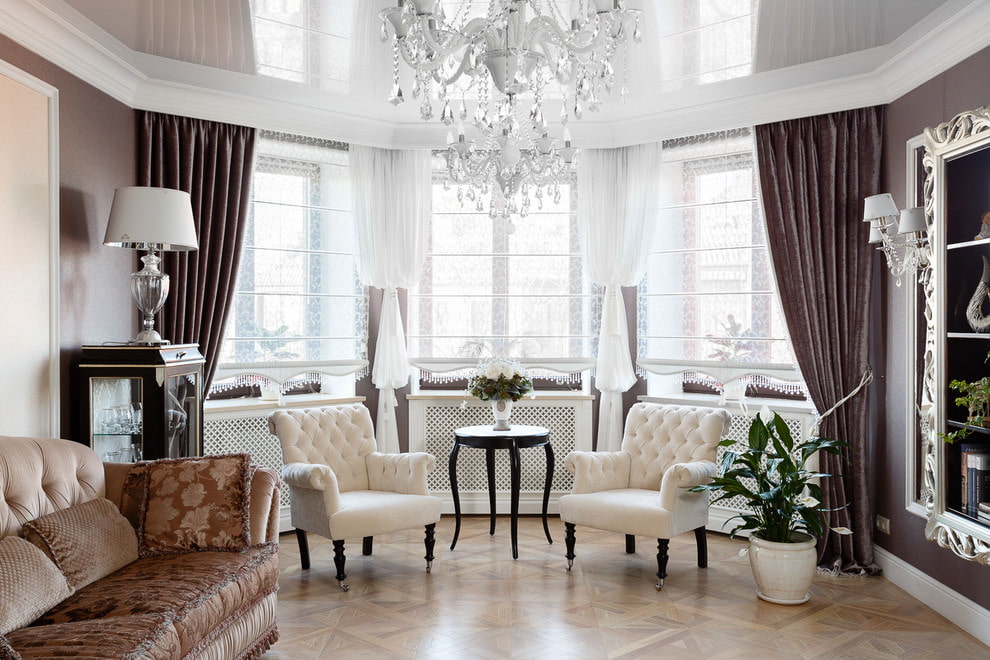
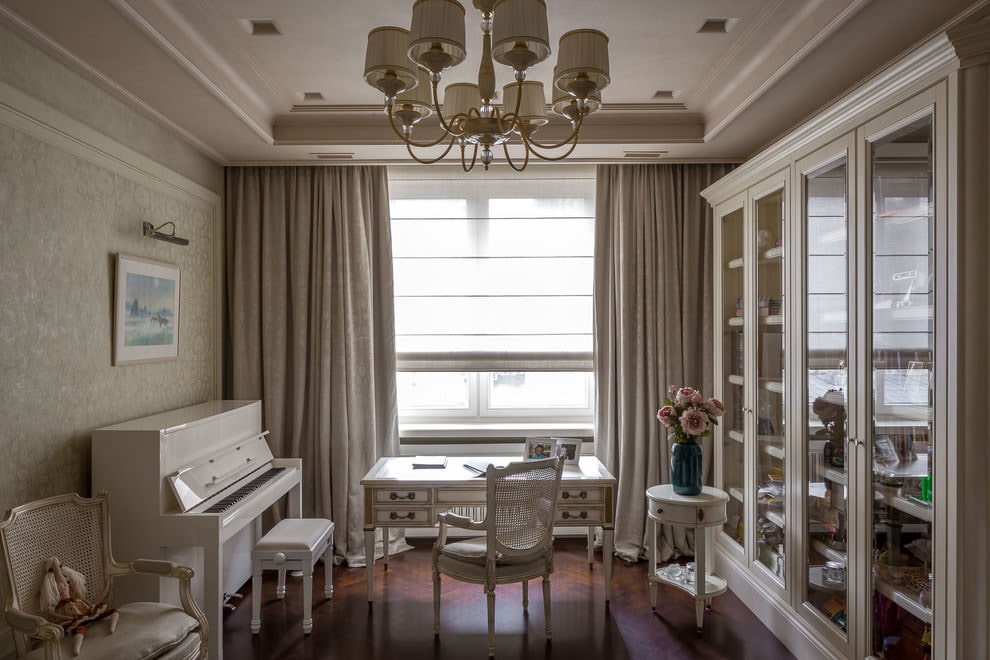
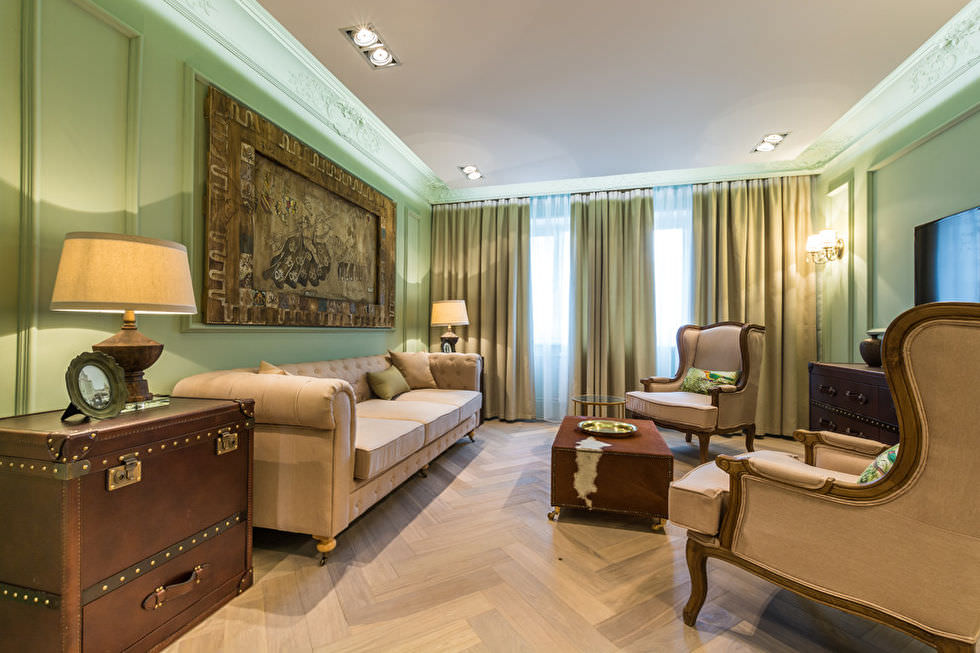
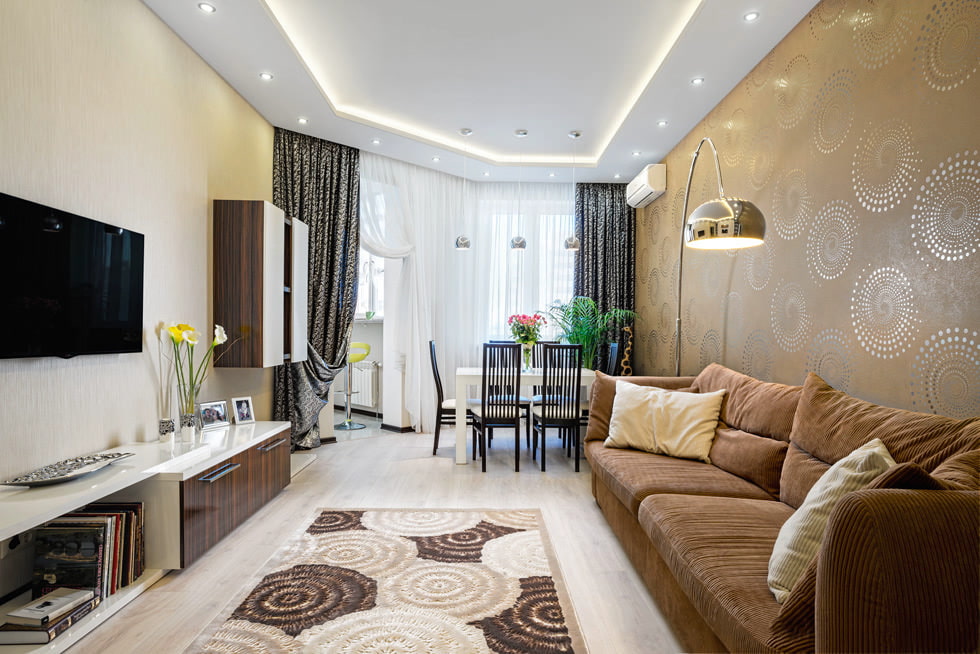
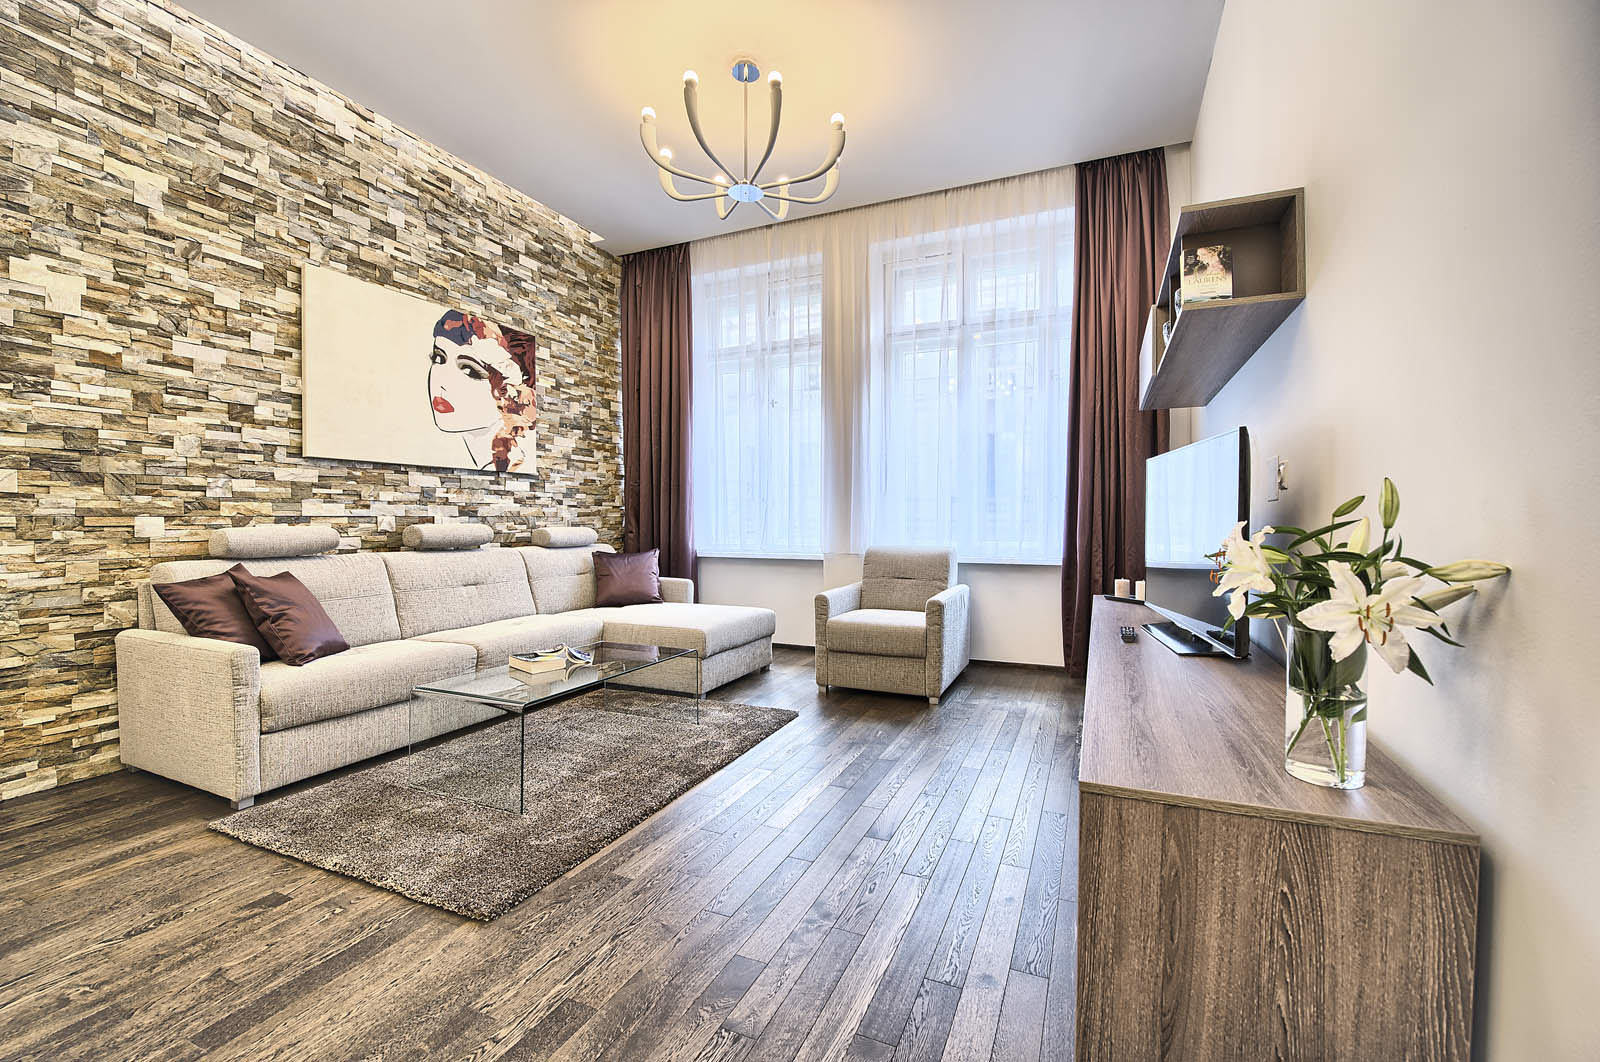
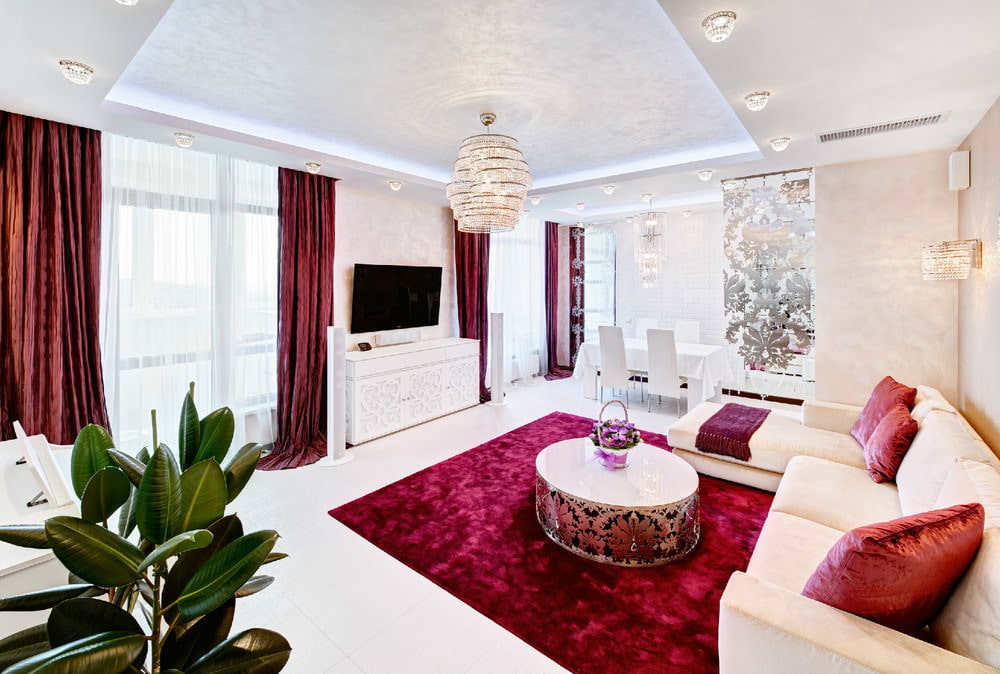
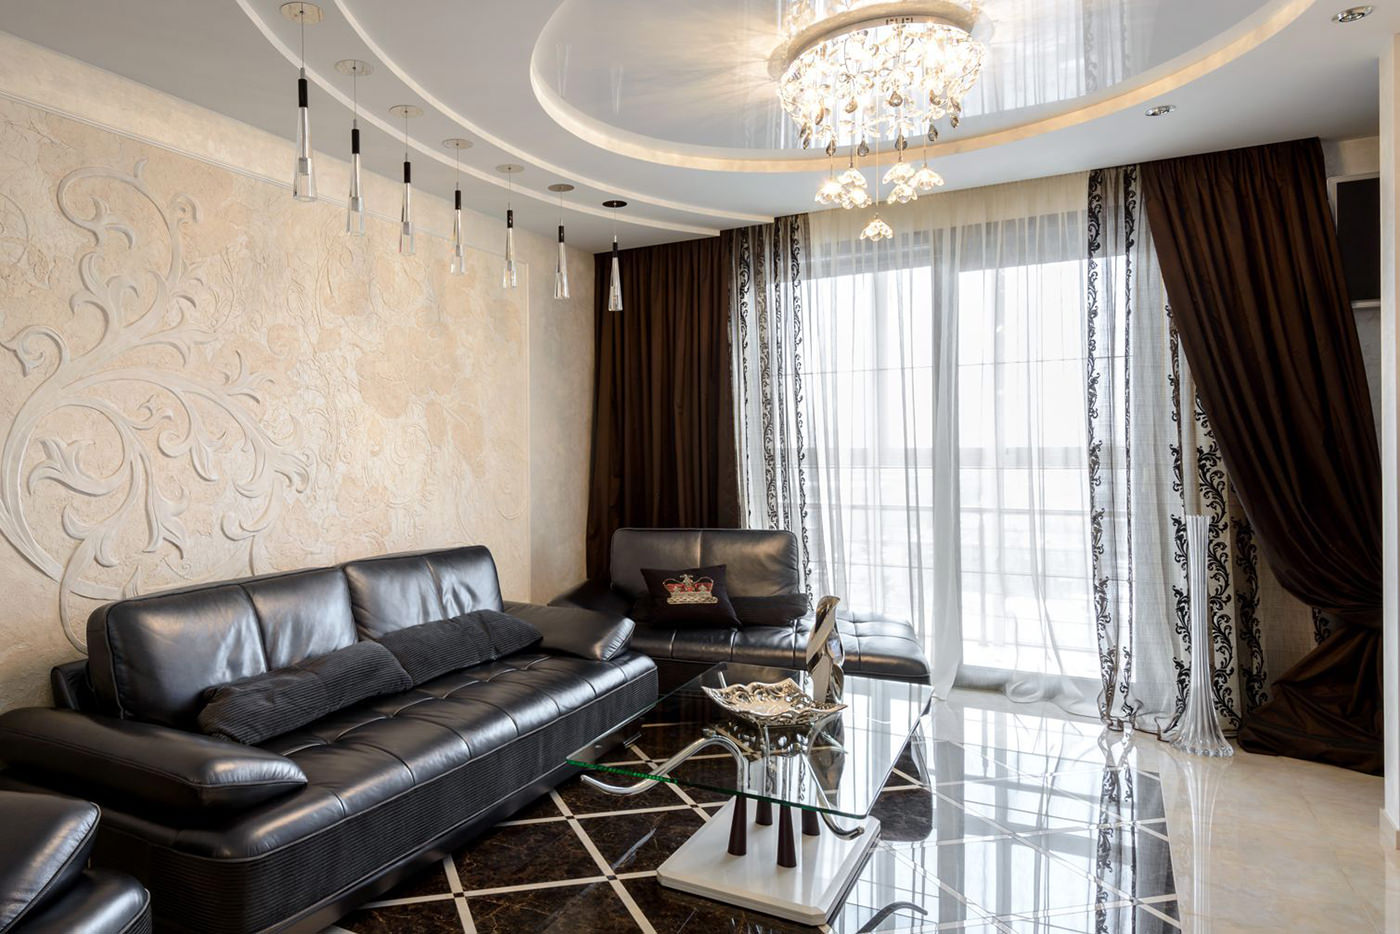
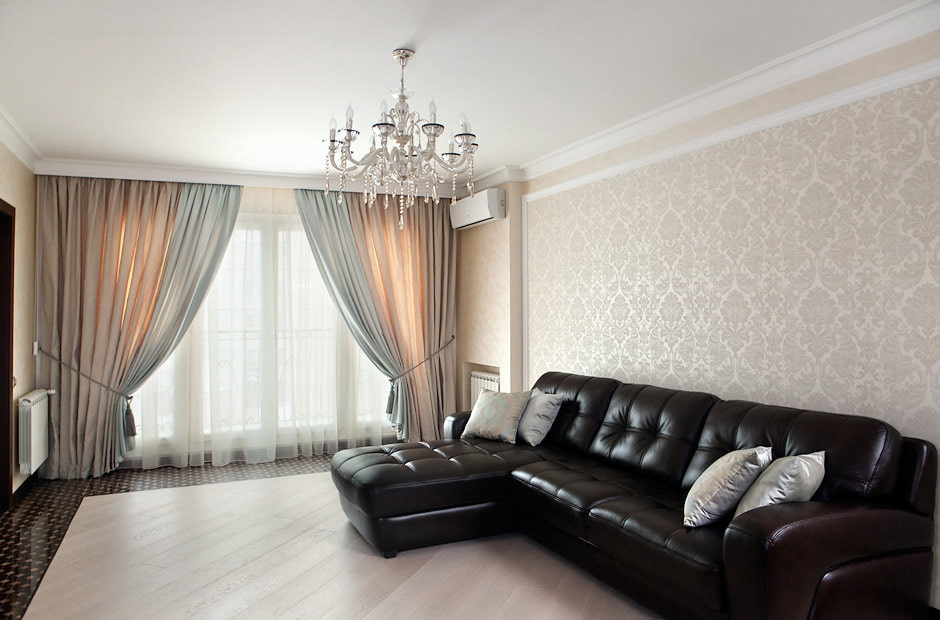
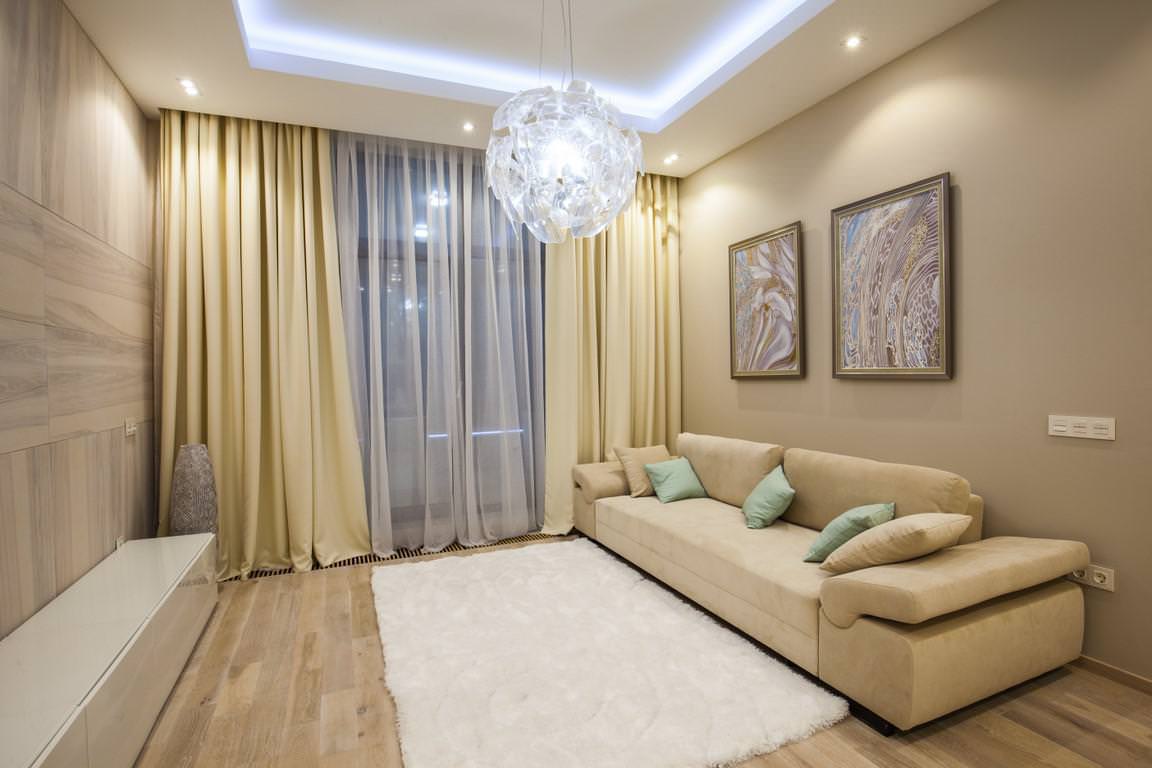
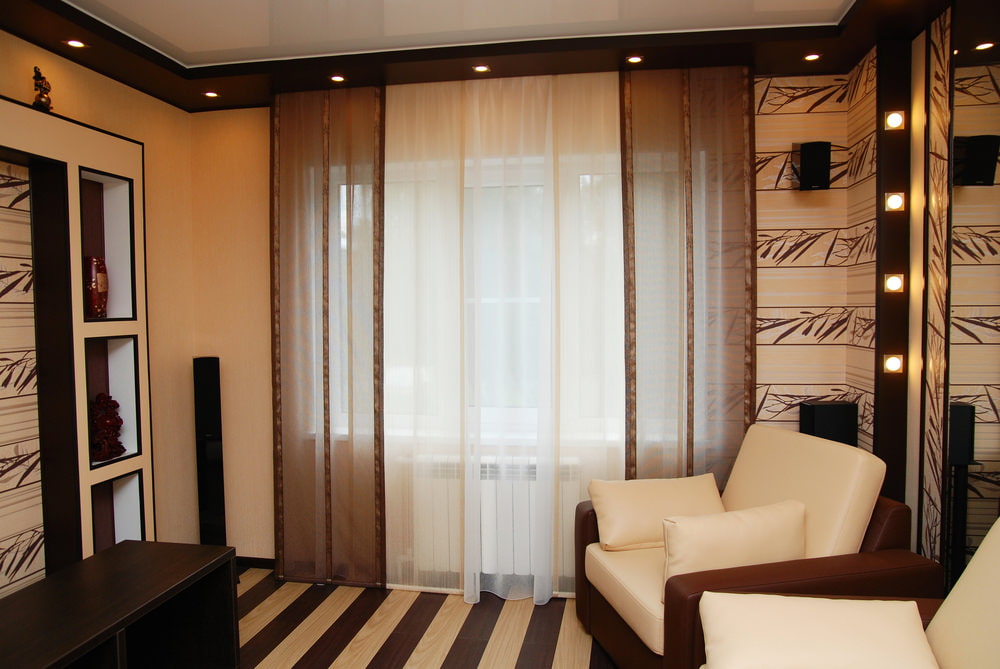
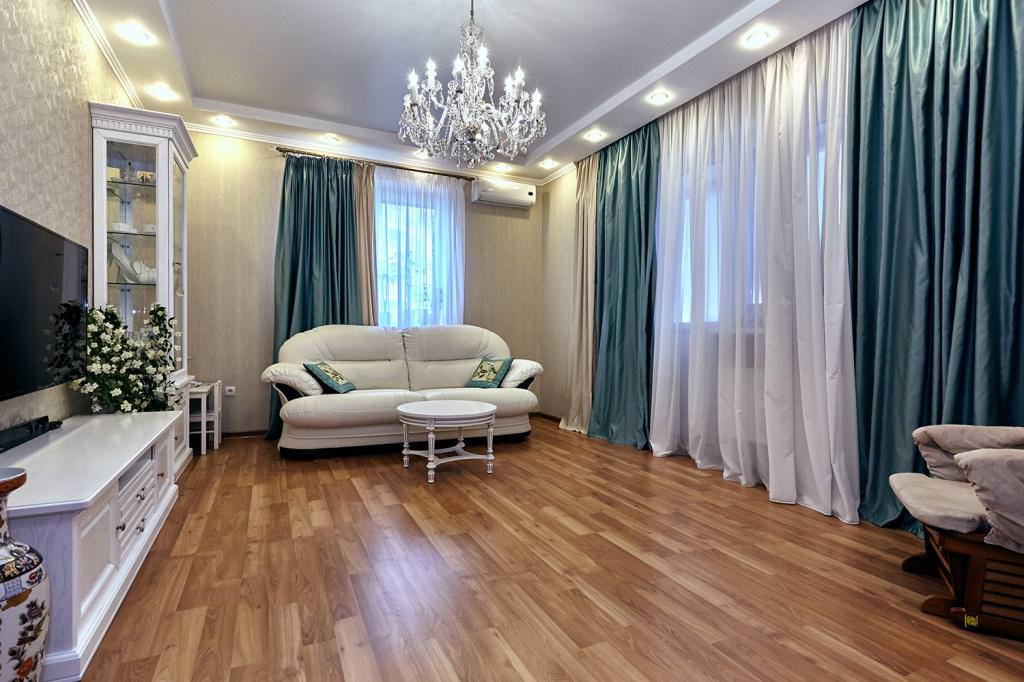
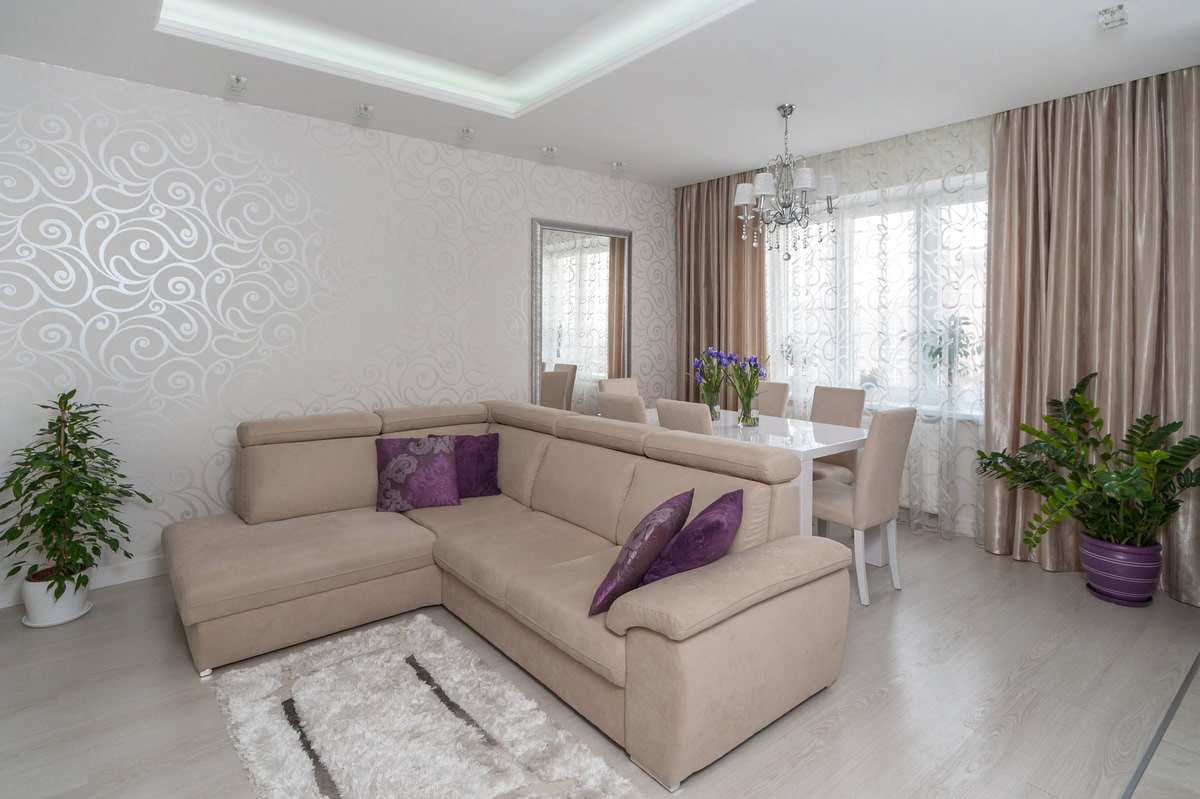
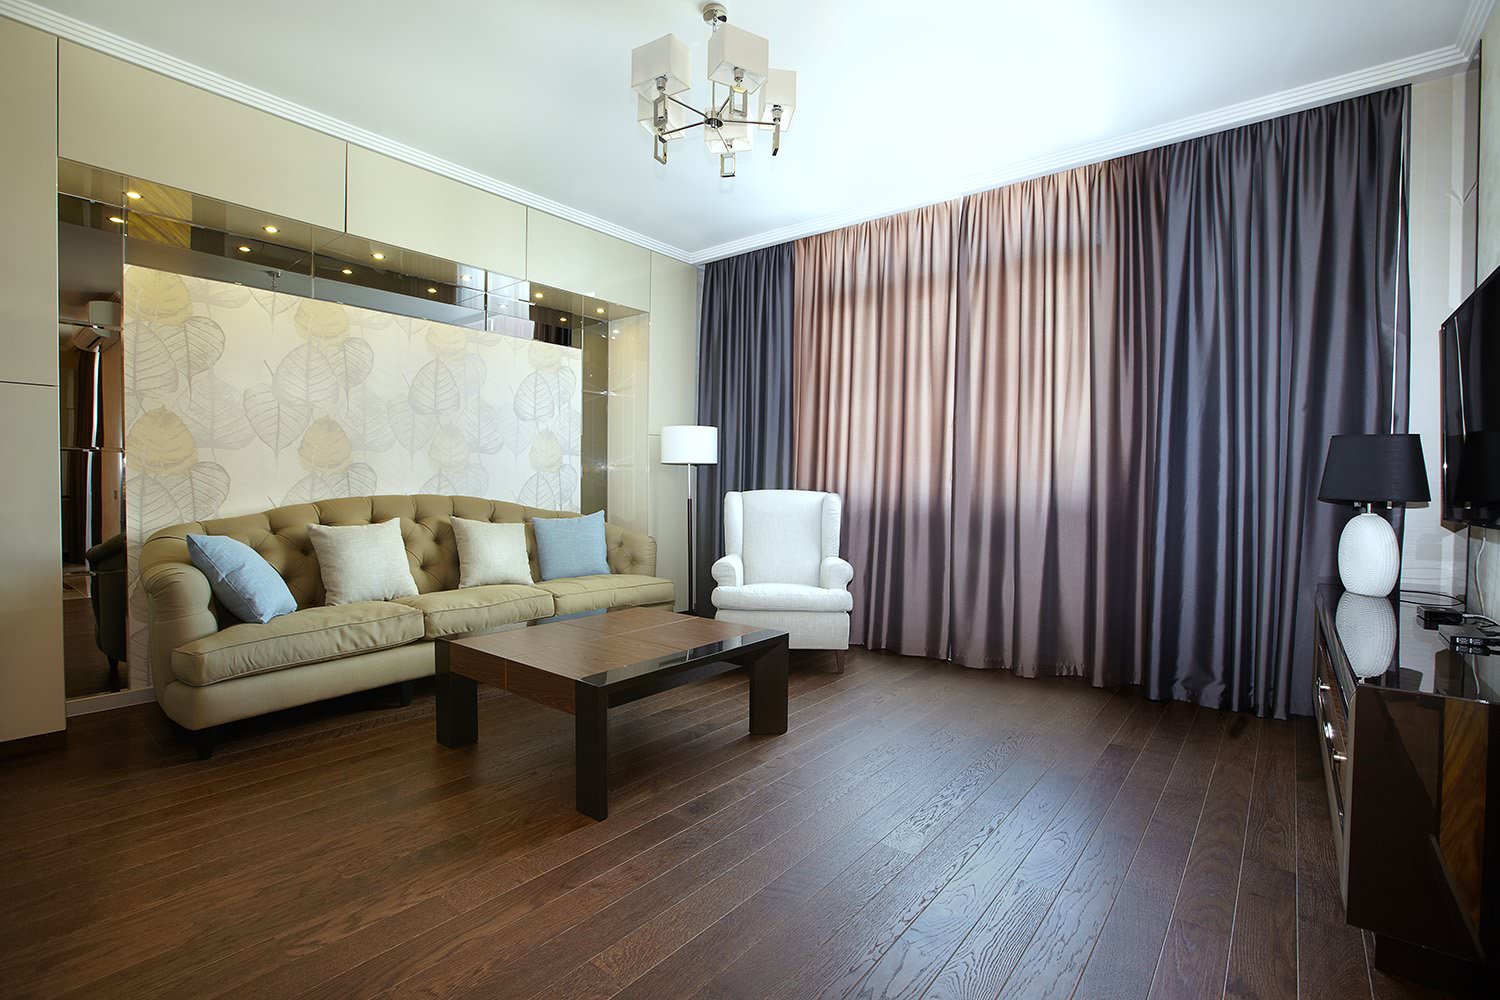
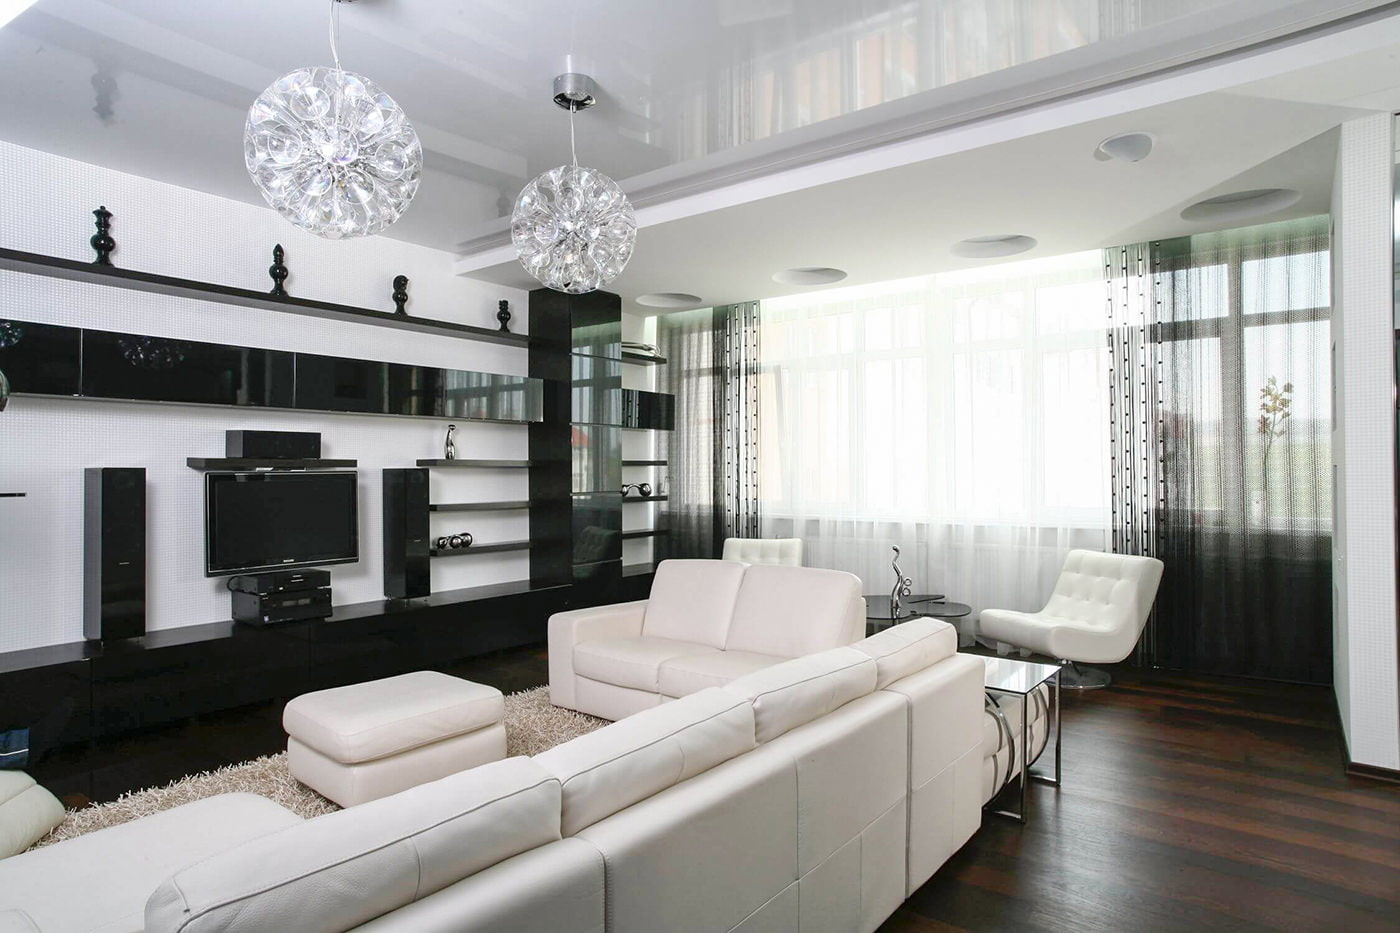
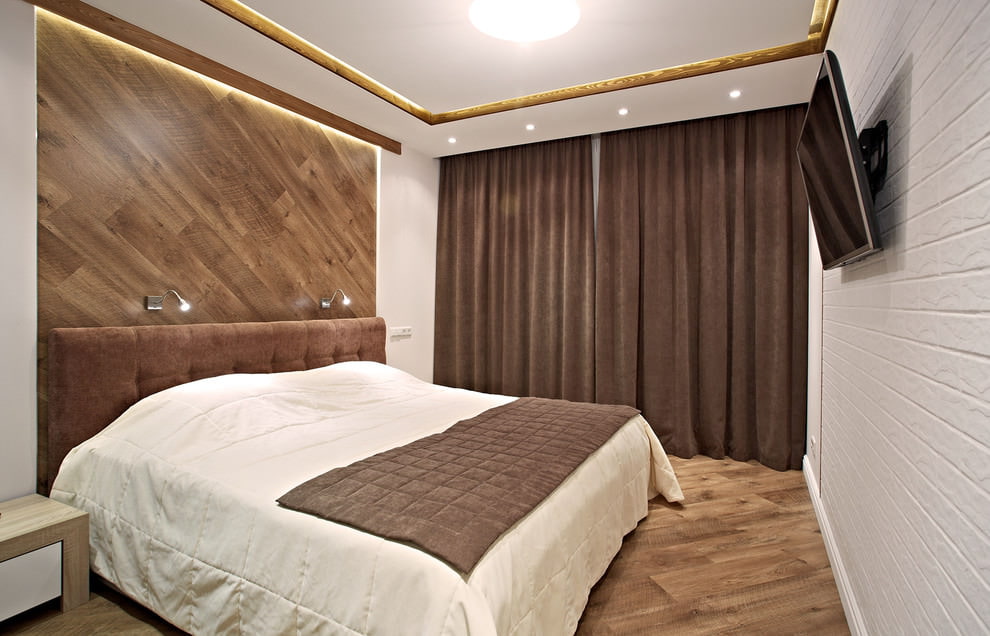
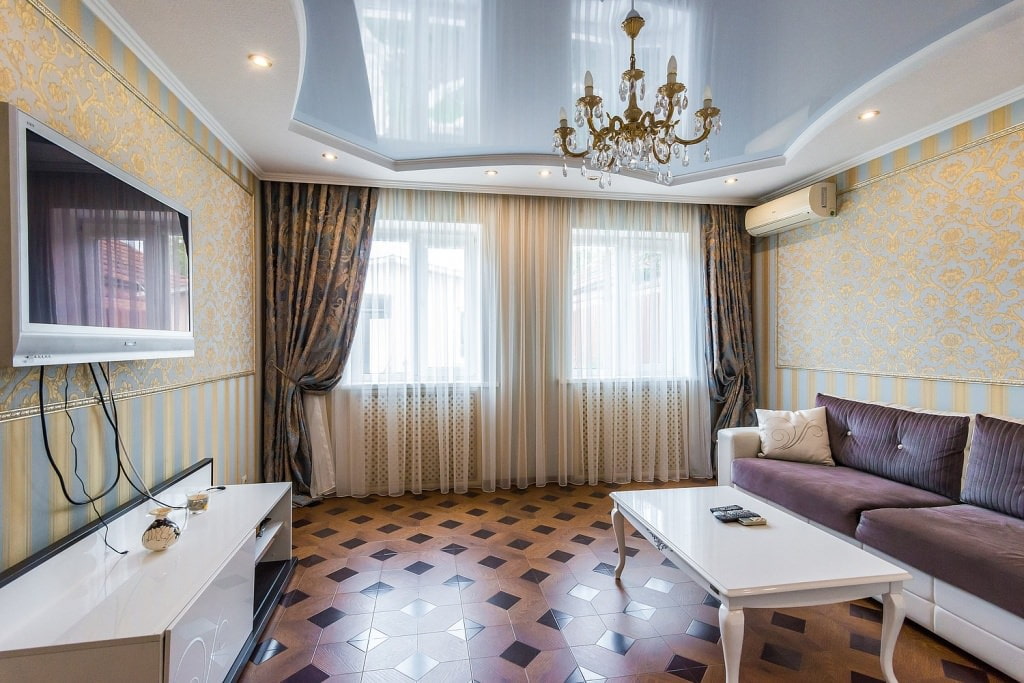
50 photos of curtains on a hidden cornice in the interior: