Housewives sometimes have a question about how to make loops on curtains manually, when the original version is not very pleasing or you need to come up with a decent fastening for new curtains. There is more than one way to do this, depending on what materials and skills are available. Therefore, everyone chooses for themselves the level of complexity, style of decoration and detailed calculations.
Content
Methods of hanging curtains: loops made of threads
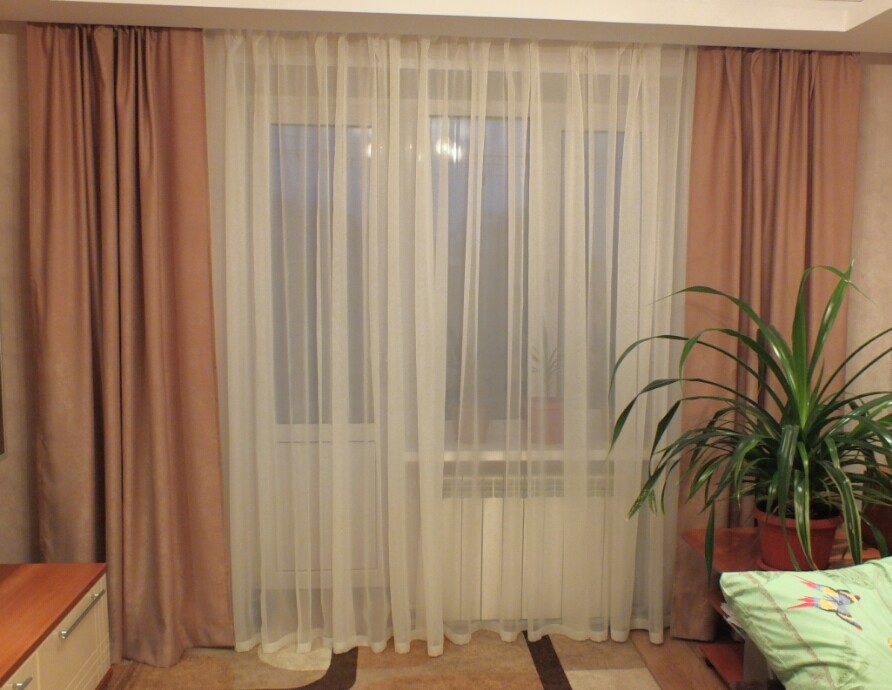
Curtains are hung in a variety of ways, and usually the priority is not the method itself, but the design, that is, how well it looks in the end. Therefore, in such a matter, the main thing is rational use. In general, the following curtain fastenings are most often chosen.
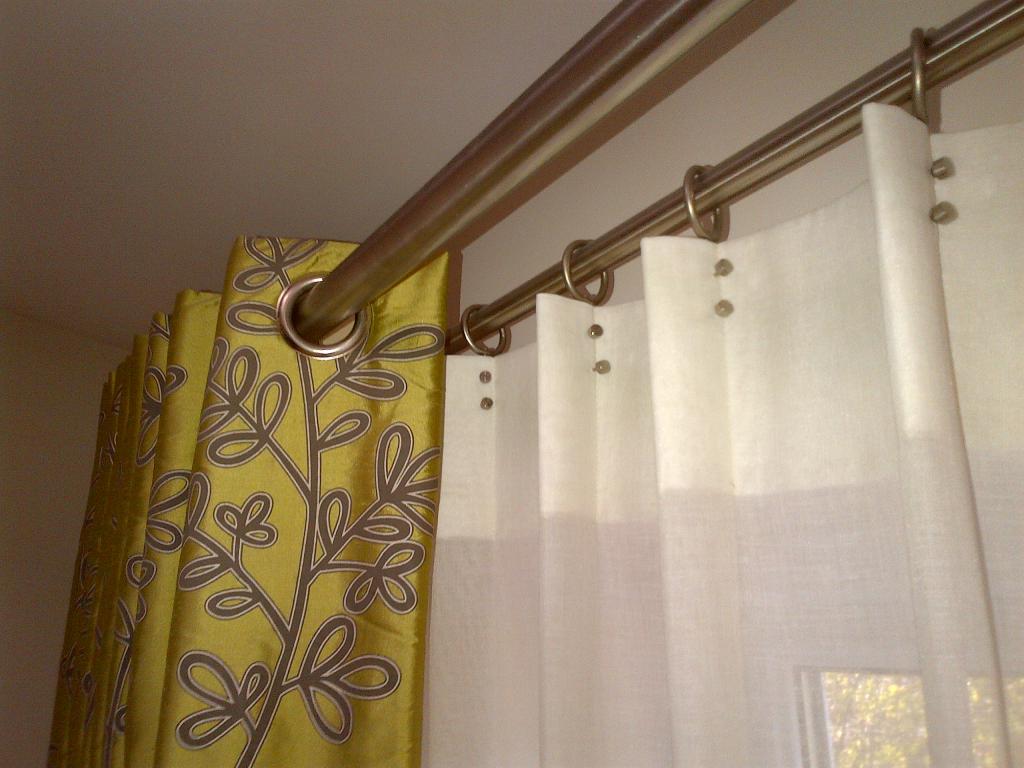
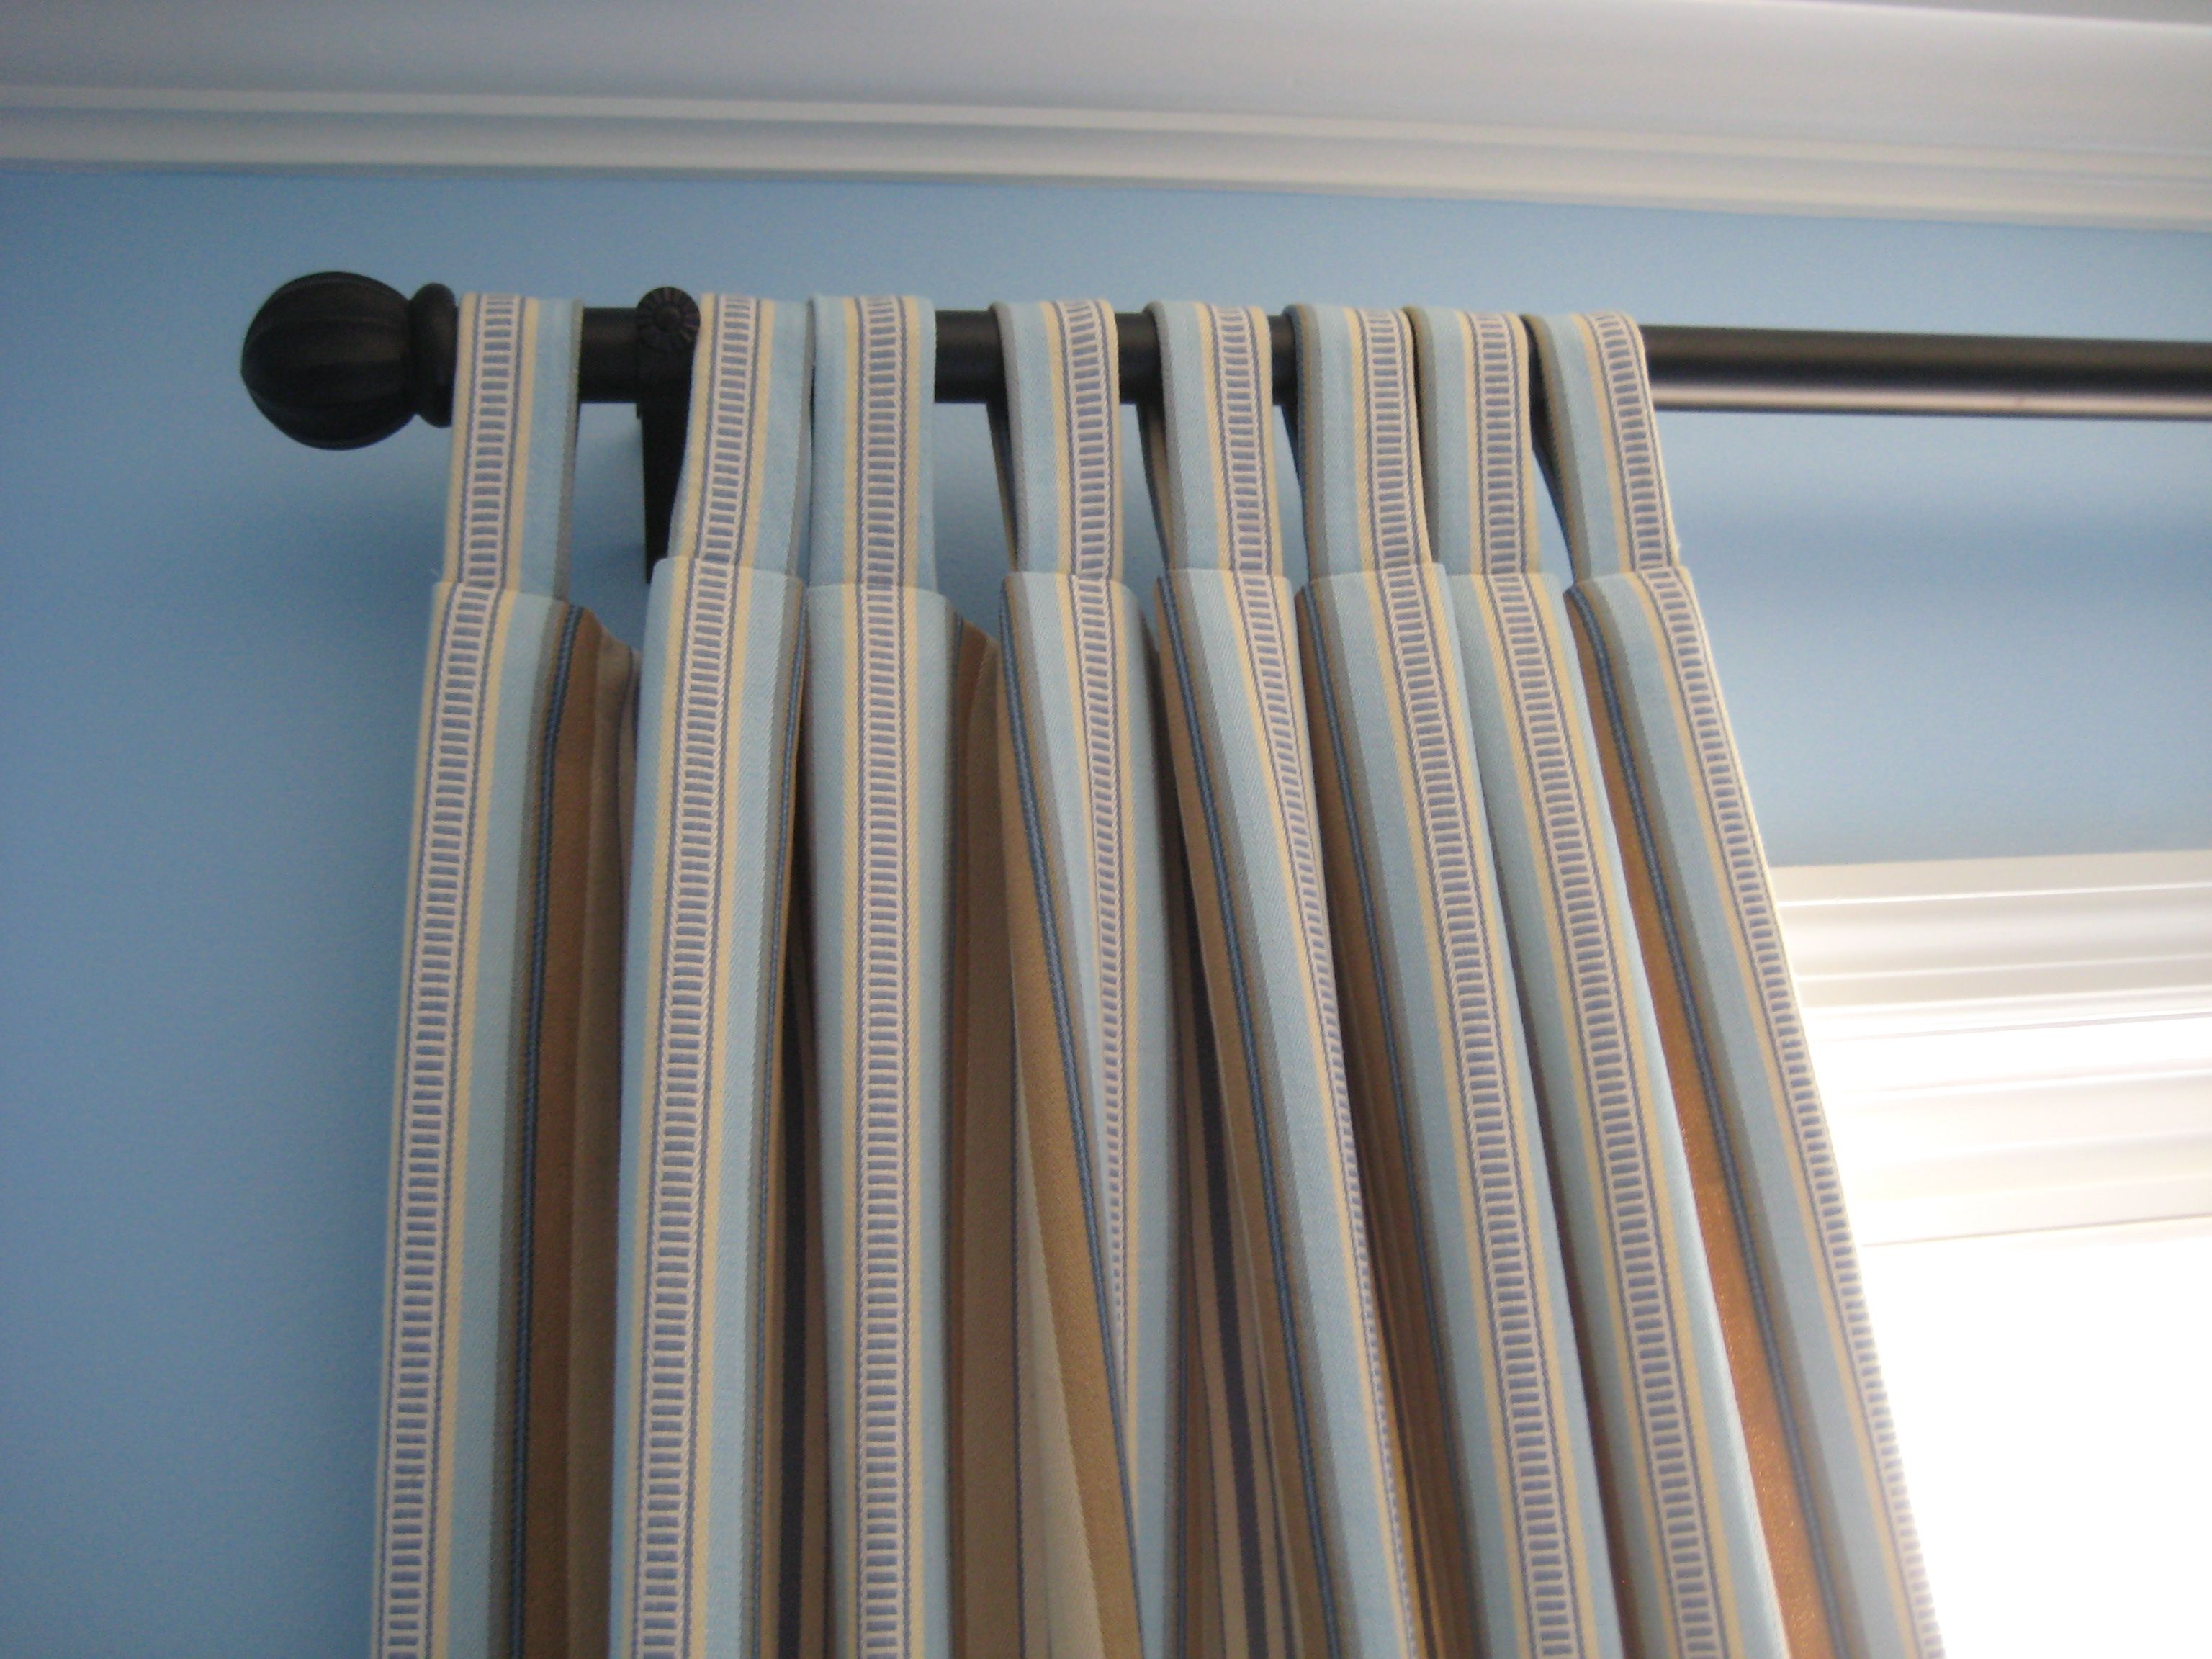
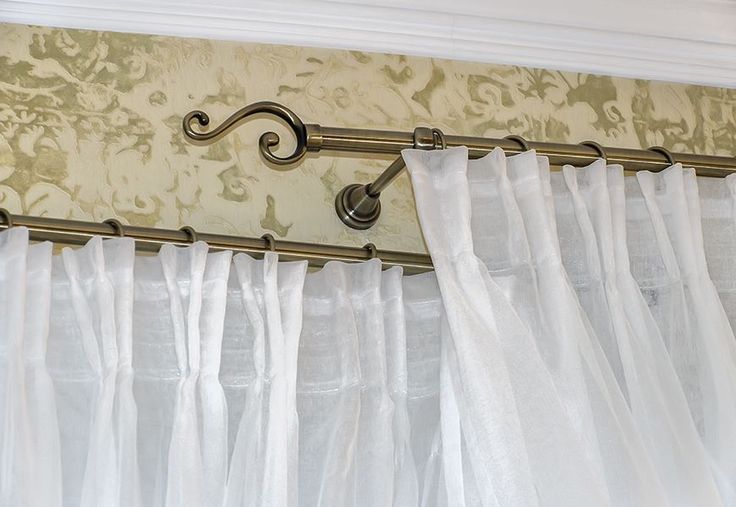
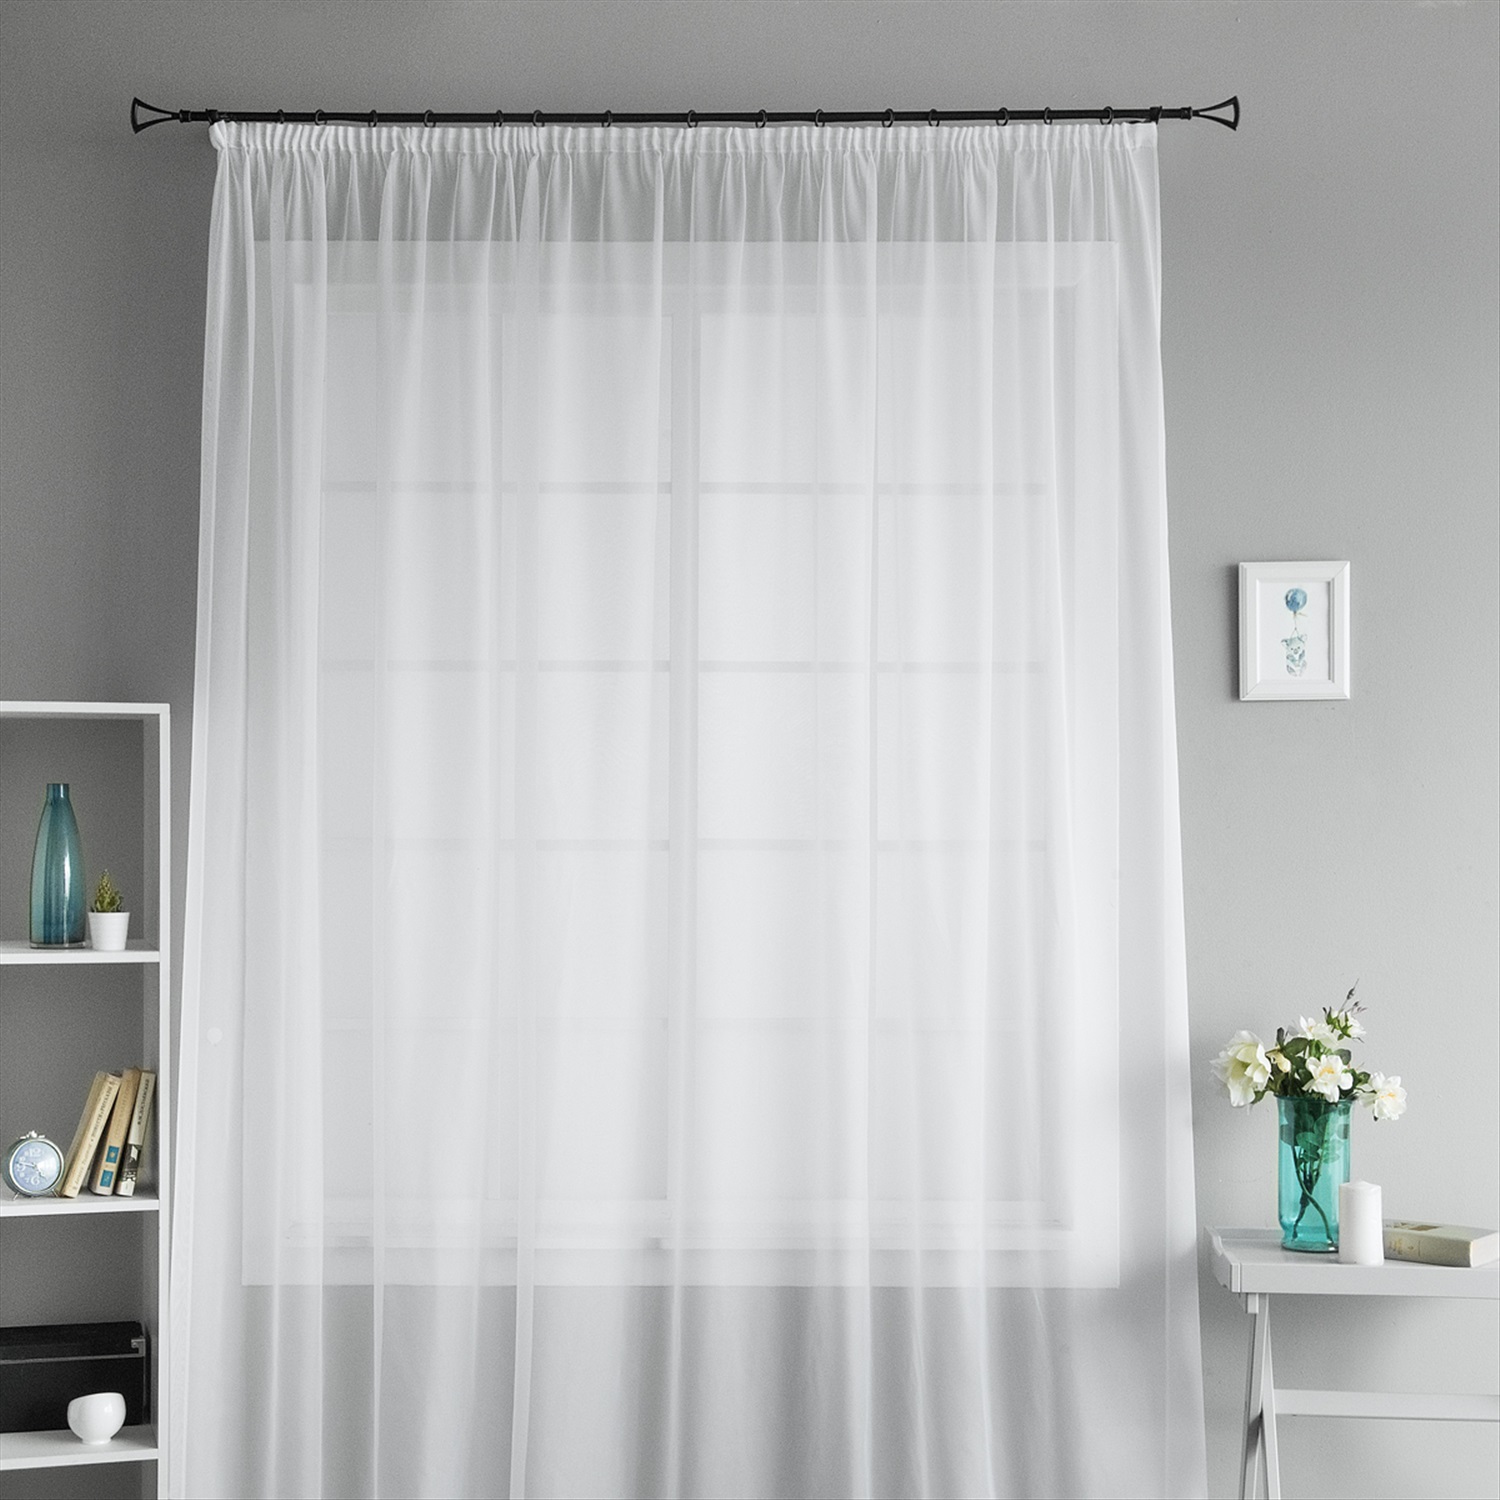
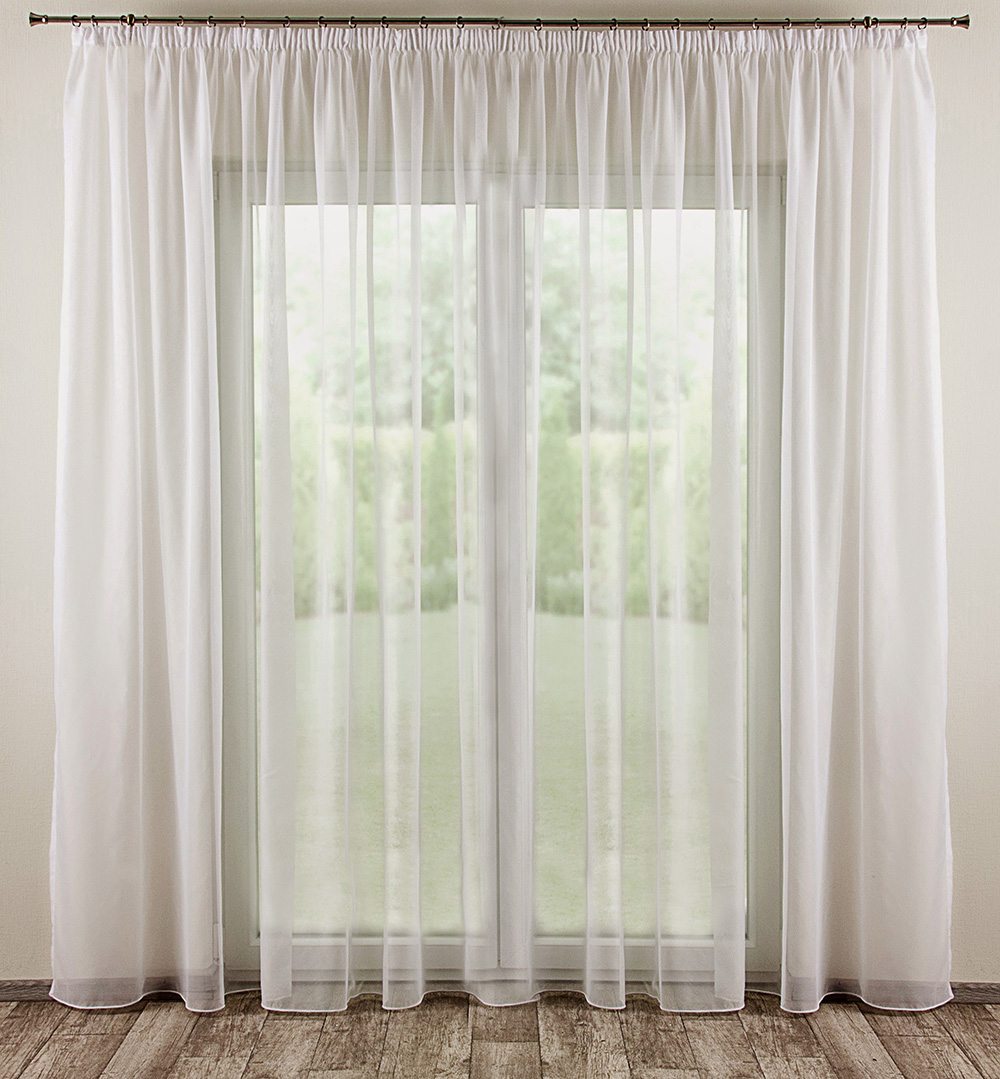
- On eyelets.

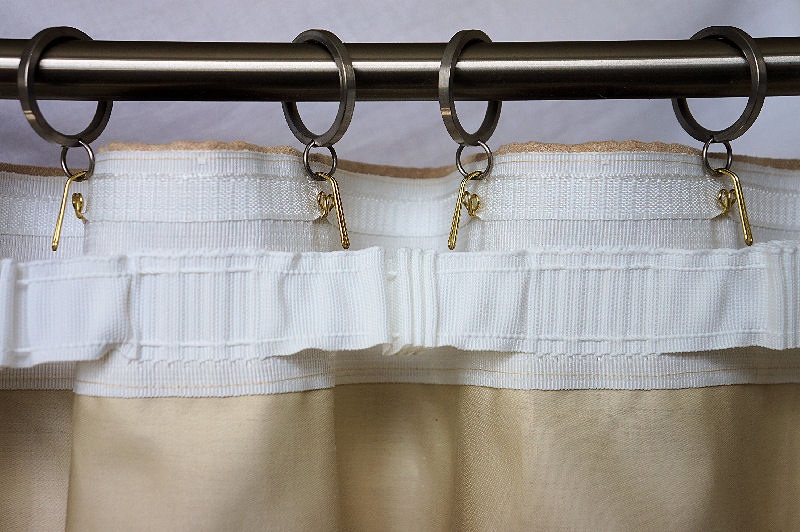
These are metal rings that compress the material on both sides, and are empty in the middle for threading onto a pipe. - On hooks.

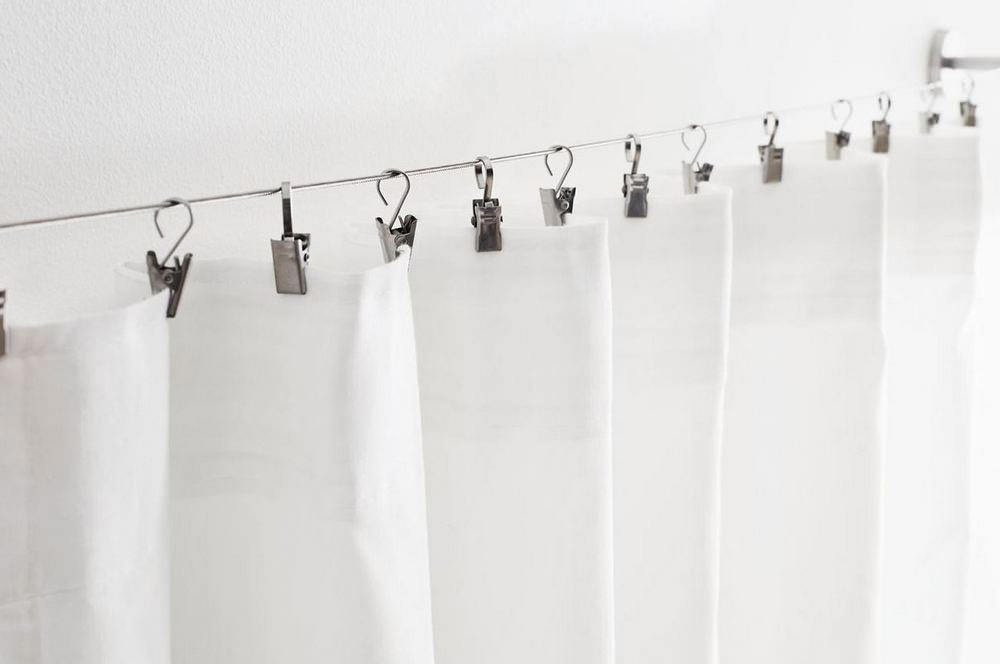
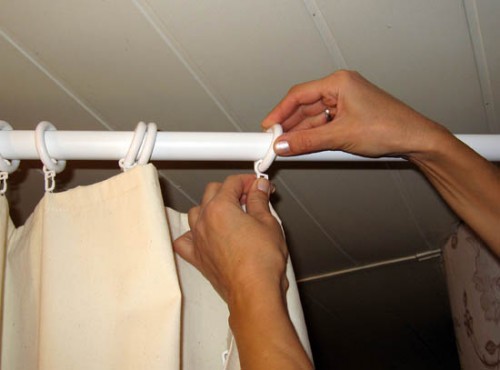
They are purchased and sewn onto non-stretchy ribbons or rings of the same material, which can be metal or plastic. - On rails or strings with clamps. These are metal beams with movable elements – clamps.

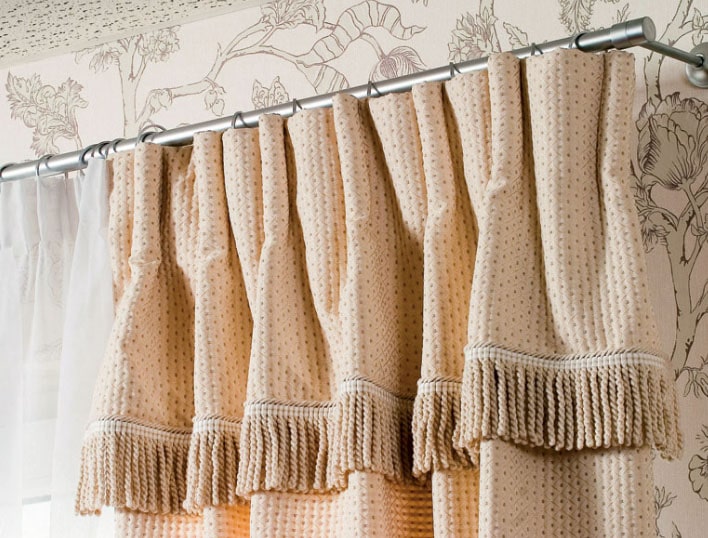
The edges of the curtains are captured and secured at the same distance. - On loops.

These are strips of different materials with different methods of attachment. - On threads.

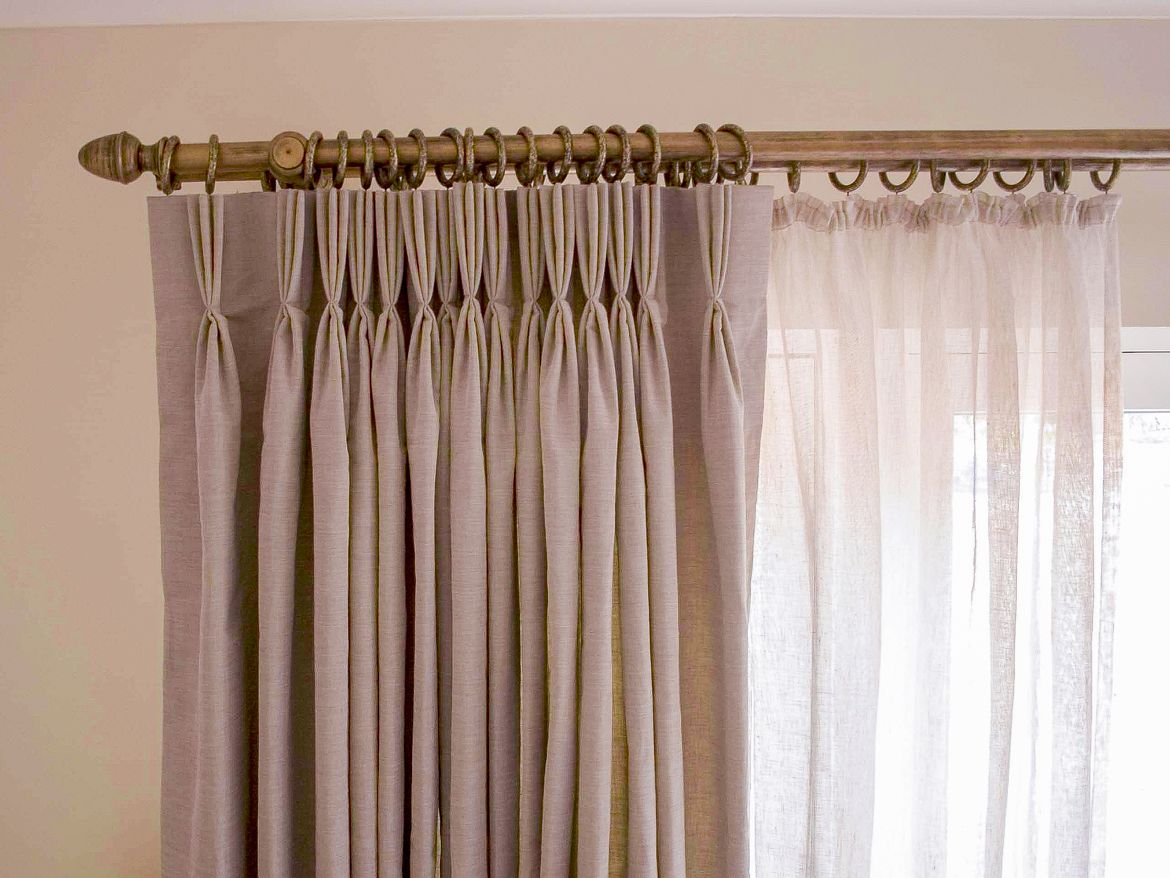
The creation of loops from intertwined threads, they are strung on the cornices themselves or hung on hooks.
Housewives often think about how to make interesting loops for curtains, because this is a universal way to hang the canvas. Plus, the result looks stylish, without excesses, gives the room a sense of completeness.
Advantages of Thread Loops
If you have basic sewing skills, yarn loops are a quick and easy way to hang curtains, drapes, or regular tulle.
Advantages
- Practicality. Some variations of thread fastening suggest simple replacement, restoration of the element.
- Safety. If the yarn is selected correctly for the base fabric, then the probability of breakage is very low. Even if there are small children and animals in the house.
- Aesthetics. It always looks stylish and beautiful, especially if the fabric fastening has a “character” that consists of emphasizing either complement or concealment.
- Versatility. If after moving it turns out that the cornices have a different structure, or the original ones do not perform their function, then this variation of fasteners will still be able to help the owners.
How to make loops on curtains from threads and not only
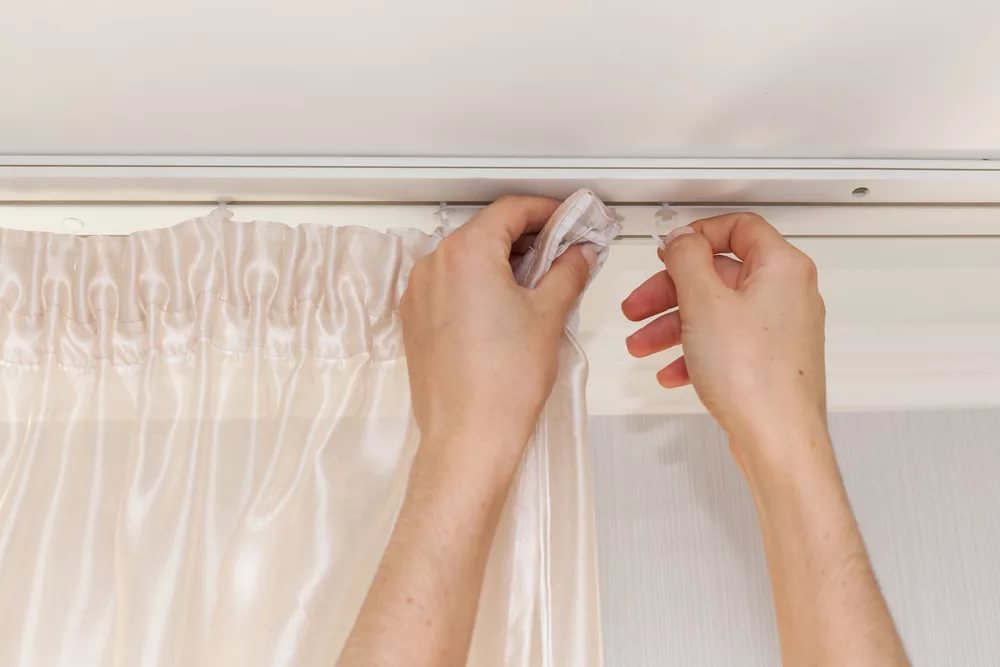
This is a manual labor enterprise, so to create loops you will need: a needle, in some cases a hook, thread, scissors, a ruler (or a tape measure), the main material and step-by-step instructions. Basic skills are also important, you need to be able to: make a knot, know the common types of seams, be able to perform and make markings with special chalk (soap).
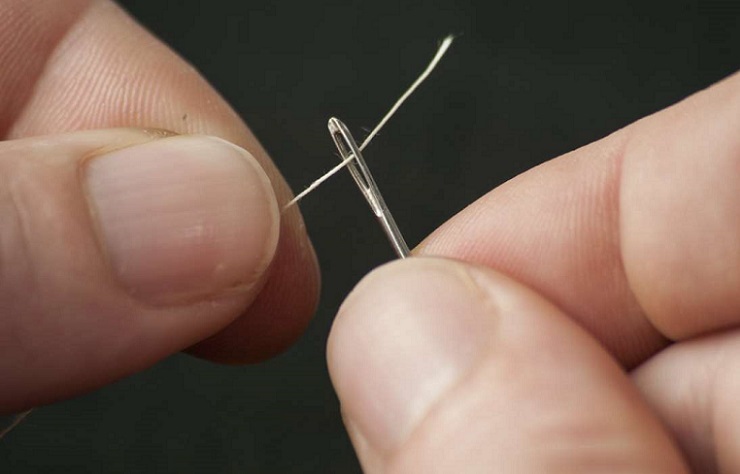
Method of making from threads with a needle
There is more than one way to make loops from threads with a needle. Each of them deserves attention, since usually the process of creation involves careful selection and production of even those elements that will not be visible.
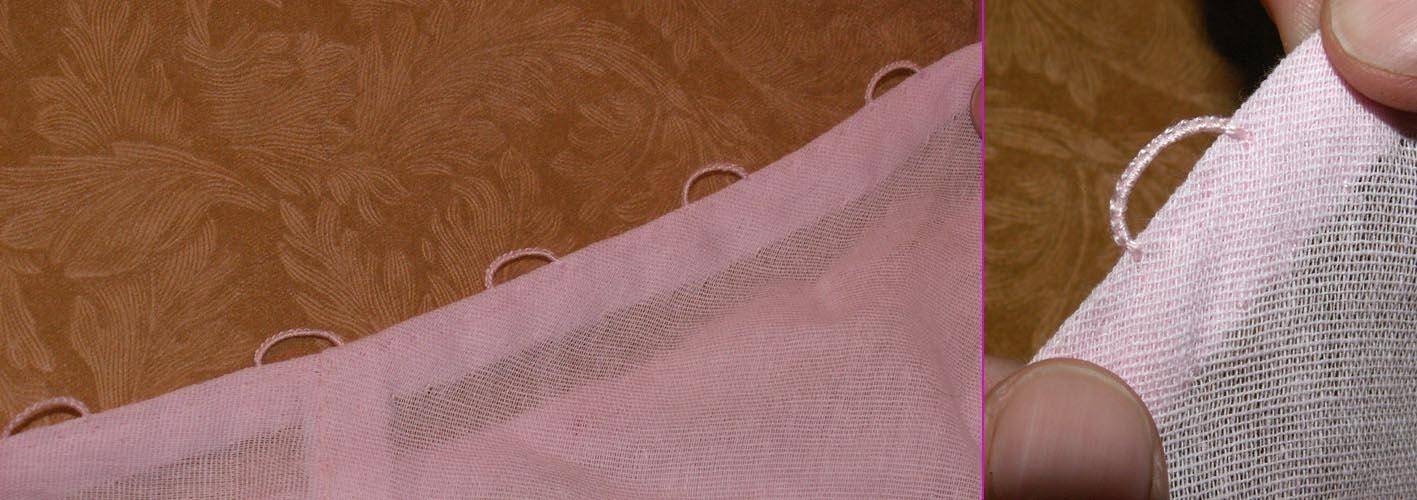
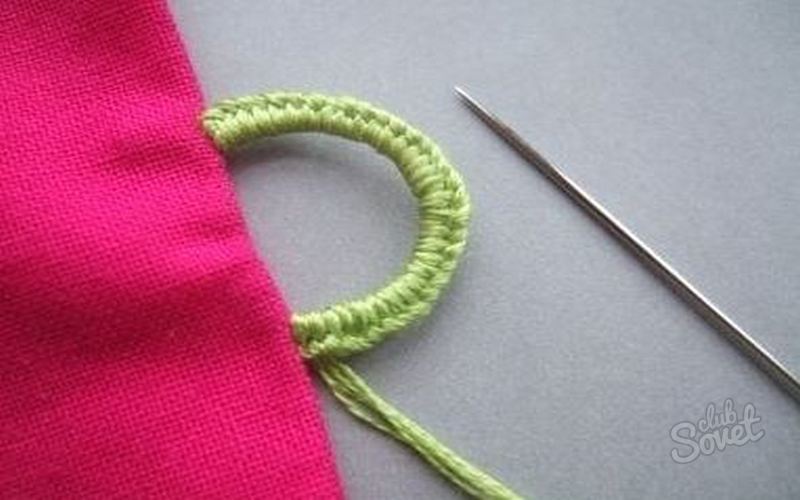
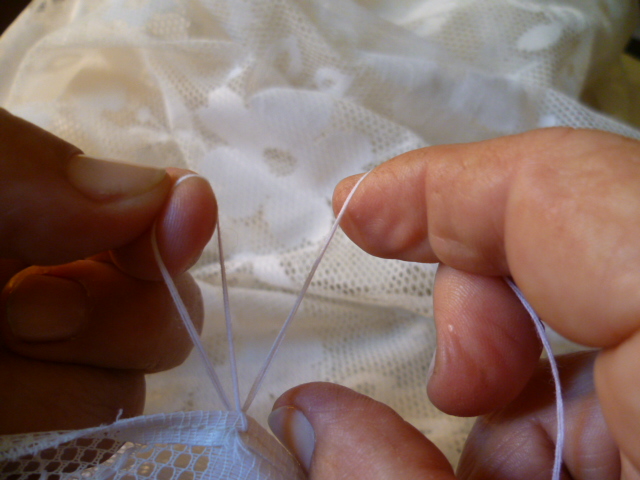
The standard method is an air loop.
- Mark the beginning and end of the work with chalk.
- Determine the length of the chain.
- At the very beginning of the mark, you need to make a horizontal stitch, leaving a "thread tail" of a couple of centimeters. Now make a few more stitches.

We determine the locations of future loops by dividing the distance into the required number of equal intervals. - The next stitch is needed so that it is not completely tightened, but to leave an air loop.
Sew twice without tightening the loop. - Now let's work with our fingers, the phalanges of the left hand (thumb and index finger) need to be threaded through so that an eye is formed, it resembles a cowboy rope thrown over them.
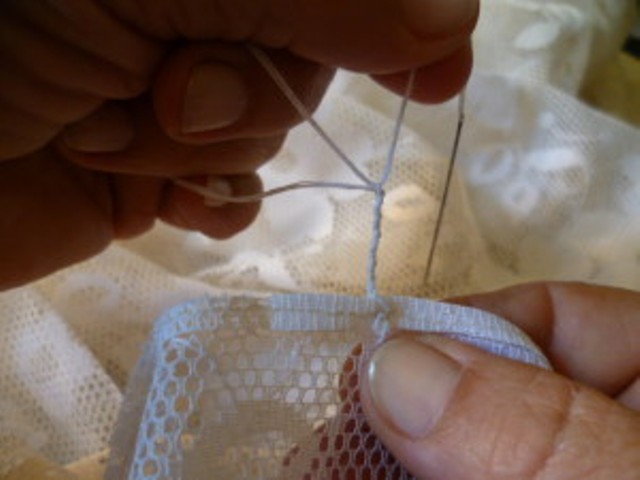
We pick up the thread from the needle with our fingers through the loose thread. - Meanwhile, with your right hand you need to pull the end of the thread that has the needle on it. With your left middle finger, "hook" the right thread, threading it through the ring, pull it out, allowing the knot to tighten.
Pass it through the thread and tighten it to form a loop of thread. - A new loop automatically remains in the hand, and the procedure must be repeated until a column of “chain links” of the length intended by the hostess is formed.
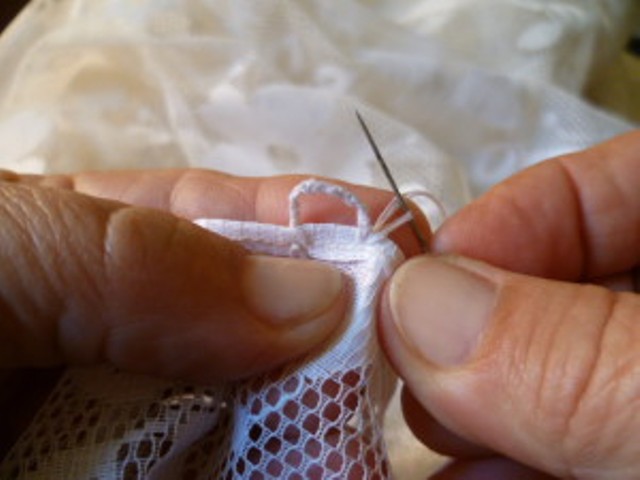
So we weave a rope of the required length (approximately 1 centimeter). - All that remains is to secure the result and pass the needle through the thread ring, thus tying a knot.
We insert the needle into the loop and tighten the thread. - And make three or four stitches at the end of the line marked with soap, placing the end for beauty in the inner space between the layers of material.
All that remains is to sew the second edge of the resulting loop and tie a knot.

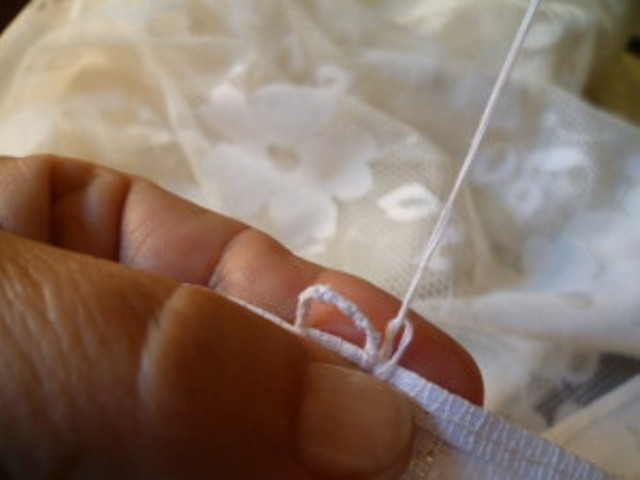
If you get the hang of making curtain loops from threads, you can make one such element in two minutes. The overall result of the work will be limited to half an hour of sewing.
The second method is a serged loop
Part of the pattern is similar to a standard air loop, but there are nuances. After securing the first thread at the beginning of the mark, you need to measure the desired length and secure it on the second side. These two points will become reference points for creating a 0 or 8 shape using yarn. It does not matter which one you choose, the result after the next stage will be the same.

After forming a loop in several layers, it is necessary to wrap it along the entire length with special overcast loop stitches. It is usually used to process the edge of the material so that it retains its appearance for a long time and does not crumble. To do this, you will need a needle and thread and a little patience.
First, you need to place the marking horizontally in relation to yourself, then pass the needle under the layers of threads from top to bottom, forming a loop. Then you need to make sure that the tip enters the loop, and a beautiful knot is tightened. And so you need to repeat until the end of the length, after which you should secure the thread with a couple of stitches and "tuck" the tail inside.
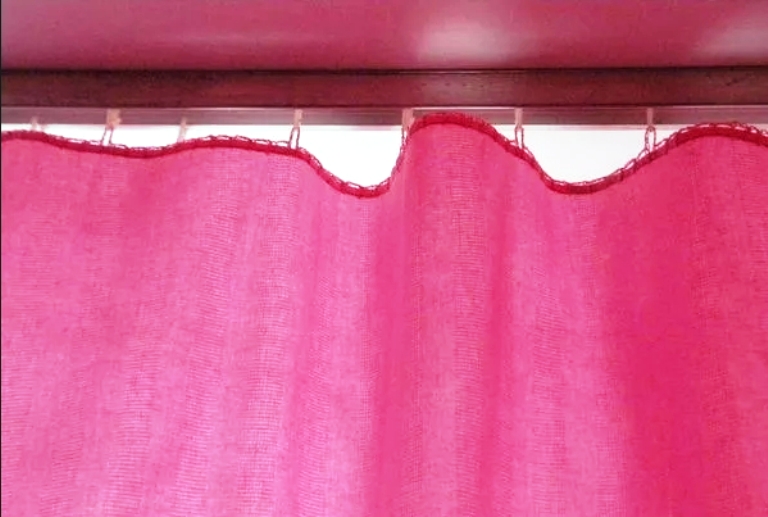
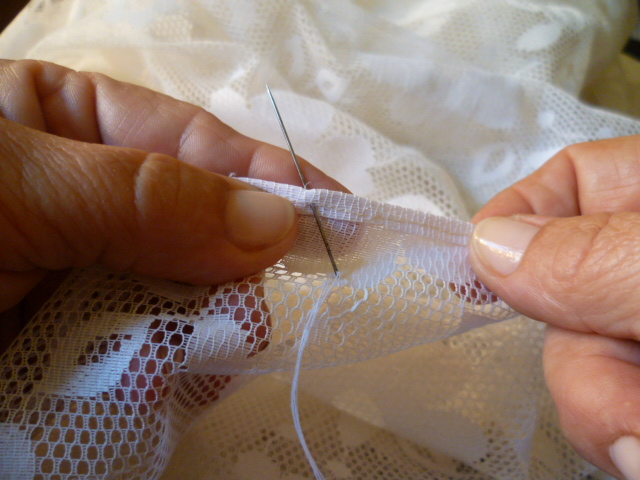
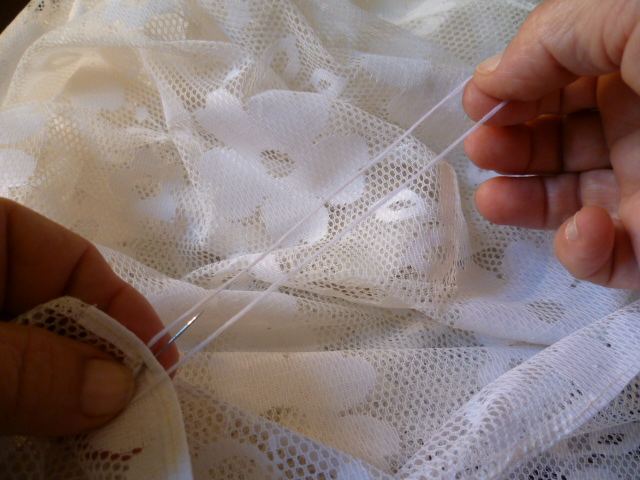
How to create loops on tulle from threads
If for curtains and drapes you usually need to use strong threads or medium thickness, but in several layers, then for tulle you don't need much. There are some nuances here, and they consist in the need to do the work especially beautifully, because everything will be visible on thin material.
For each element, you need to take care of the next one.
- According to the load. Each curtain has its own weight and area, this must be taken into account when calculating and selecting yarn (curtain fabric of 1 meter is much heavier than curtain fabric of the same size, and tulle of one meter is lighter, but not always by much, depending on the composition of the material).
- Symmetry. This is not only about the equidistance of each detail, but also about the size, which implies the same height of the bottom edge in relation to the floor.
- Aesthetics. Everything should look beautiful and elegant, so loops should be made with equally tightened knots and their sizes, neatly hidden tails of threads, etc.
Usually, the technique for creating such things does not differ from the instructions described above, where the links in the column were created. For tulle, it is necessary to select more elegant threads, therefore it will be difficult to work with them with only your hands. But the hook method of tightening air knots will come in handy. It's just that now it is tightened not by the middle finger of the left hand, but by a crochet hook.
General recommendations
The process of creating a curtain or tulle fastening is not difficult to perform, you just need to gain some skill. But there are still nuances that come only with experience - calculation. This is the determination of the length of the curtain, the distance of the lower cut from the floor, the need for edge processing and methods, sequence. It is imperative to take into account that if there is an additional folded seam at the top, the length of the product is shortened and may look untidy with too large a gap.
A more even canvas on the window opening is made by sewing on a large number of identical loops. It is difficult to name specific numbers, but it is necessary to take into account the total length of the material, its weight and tendency to form folds.
If we talk about the length of the loops themselves, how to choose them, then here it is worth starting from: the length of the material and the highest point of the loop capture. In other words, the length should be selected individually, taking into account whether there are restrictions on the distance from the floor, if it is necessary to raise, then the loops are shorter, but to make the curtains visually longer, the loops will be calculated differently.
Important: the distance by which the fabric needs to be raised or lowered is not equal to the length that the housewife will add or shorten, so it is better to play it safe and “try on” the product in its future place before sewing.
Conclusion
Curtains made of any material require fastenings that will advantageously emphasize the advantages of the fabric and highlight its features: sophistication, refinement or playfulness, as well as severity and restraint.
Curtain loops made by hand can contribute to this in the best possible way, since the craftswoman herself chooses what to emphasize and what not to highlight. Only for this it is necessary to calculate all the nuances, plan correctly and implement into reality without defects and errors, so that the result brings pleasure as long as possible.