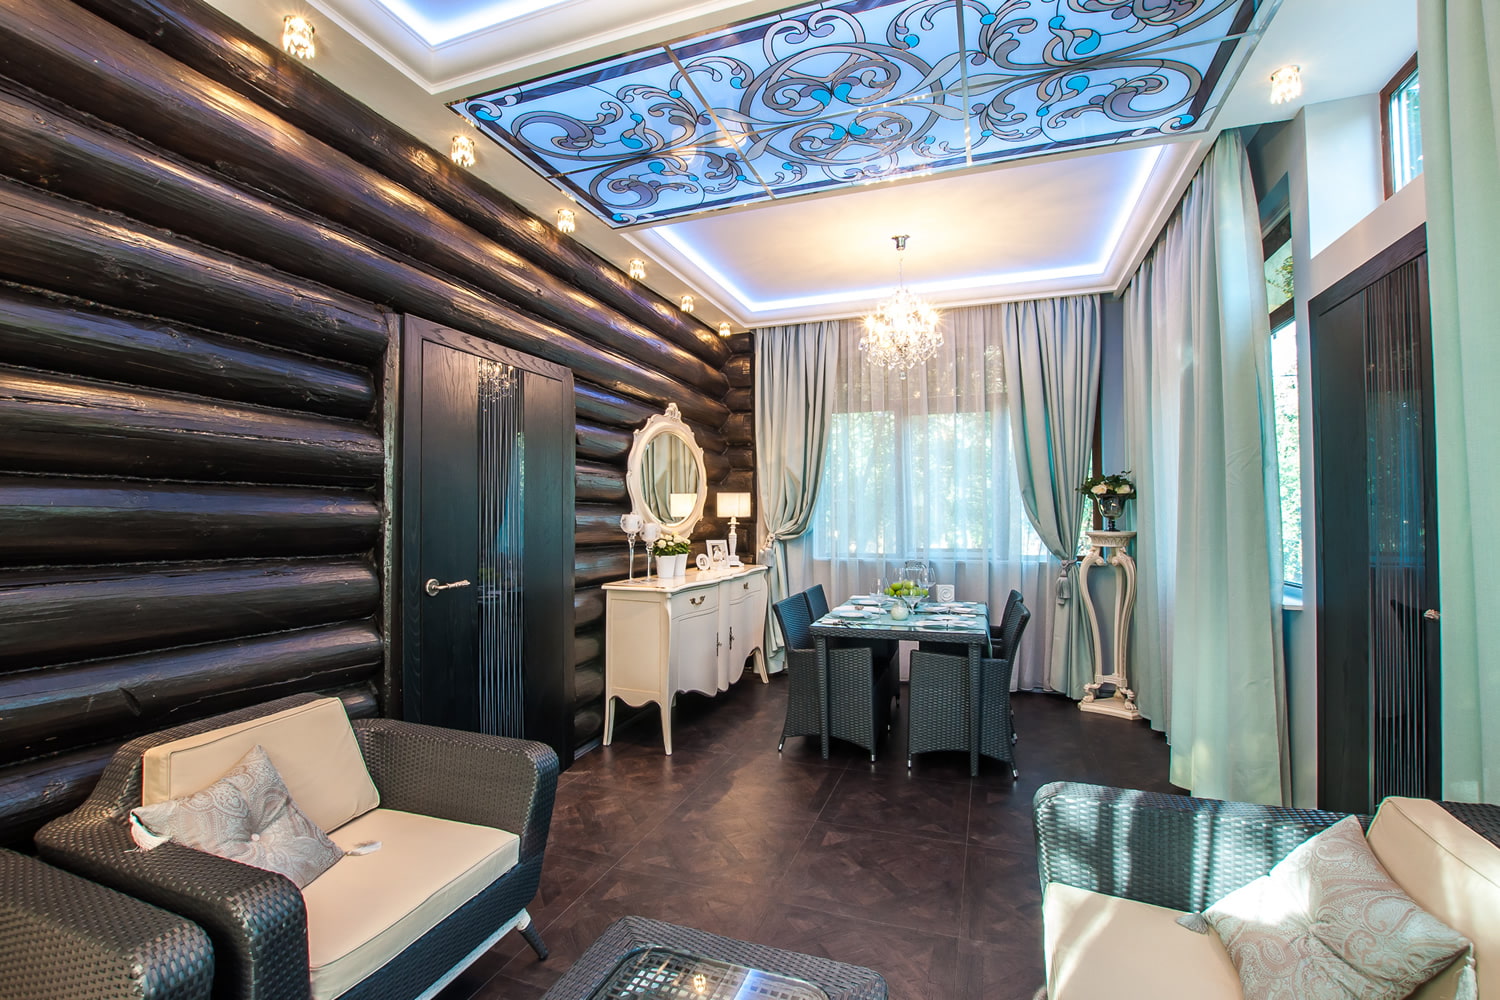
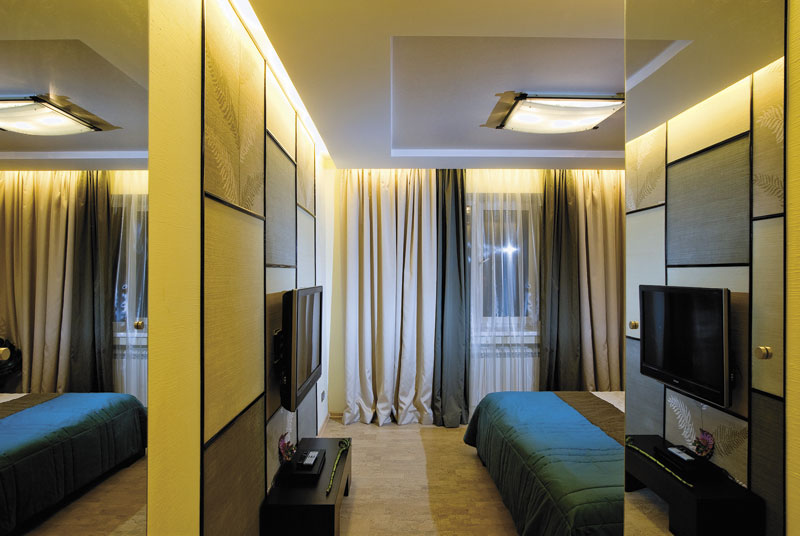
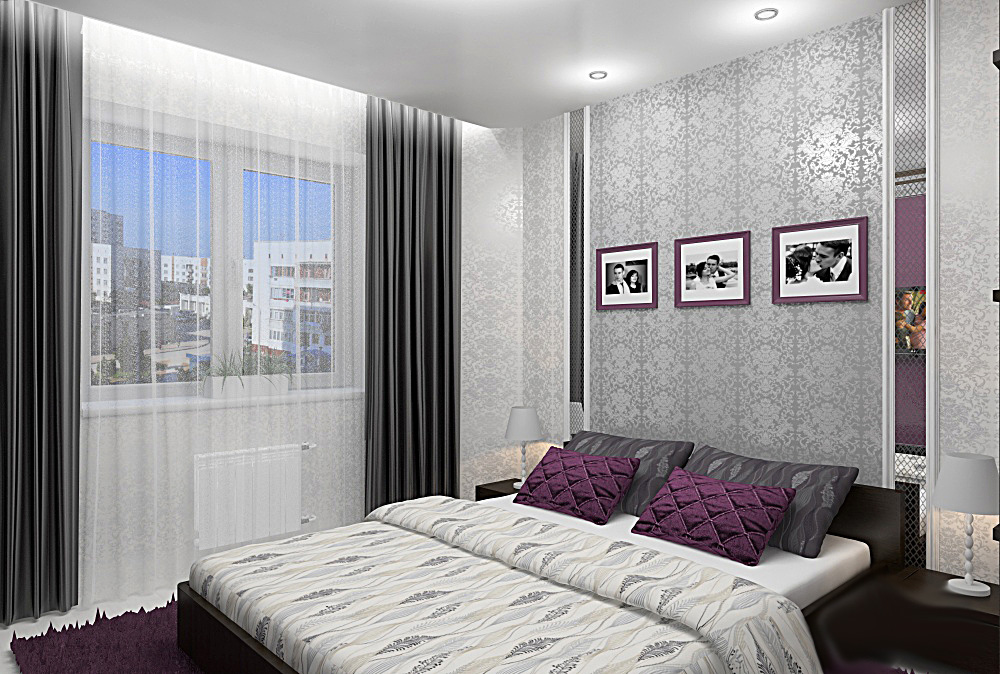
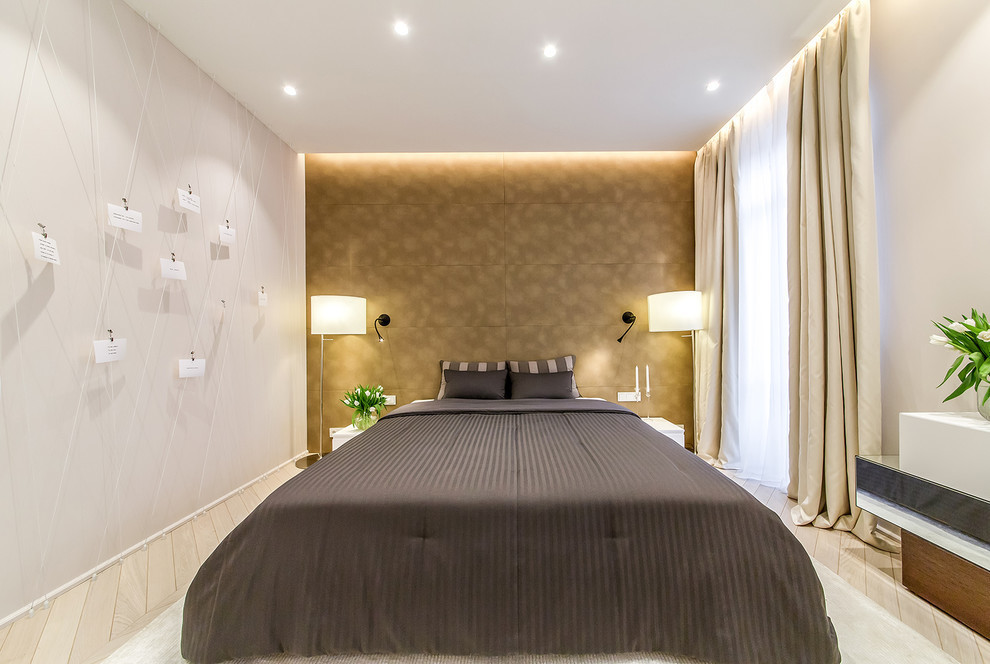
A well-thought-out interior is one that combines comfort and functionality, but at the same time has a beautiful appearance. For example, modern lamps not only provide light and save electricity, but also often become decorative elements, giving a completely unusual look to ordinary things. All kinds of lighting today can be directed to the functional decoration of curtains, one of the popular options is a night light on curtains.
Content
An option to suit your taste
There are indeed quite a few ways to “light up” curtains and make an original night light. Among the most popular are:
- garlands,
- LED curtains,
- lighting built into the cornice,
- curtains that themselves are LED “waves” (they are also called “waterfalls”).
But first things first.
Types of garlands
You will definitely not encounter a lack of choice in this matter, there are many, many varieties of garlands and light structures with which curtain lighting can be implemented. Let's list some of them.
- universal linear garland (lamps arranged in series on a long wire)
- curtain garland (long wires not connected to each other)
- fringe garland (branches of different lengths from the main wire)
- net (looks almost like a fishing net, only with little lamps)
- duralight (flexible cord with LEDs, especially suitable if you need to give the light picture a certain shape)
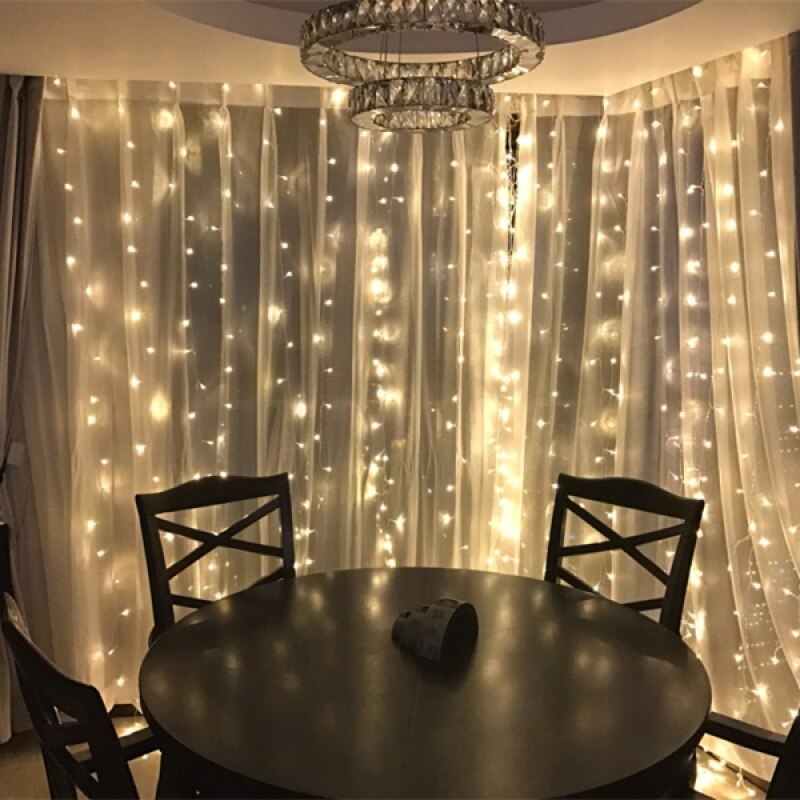
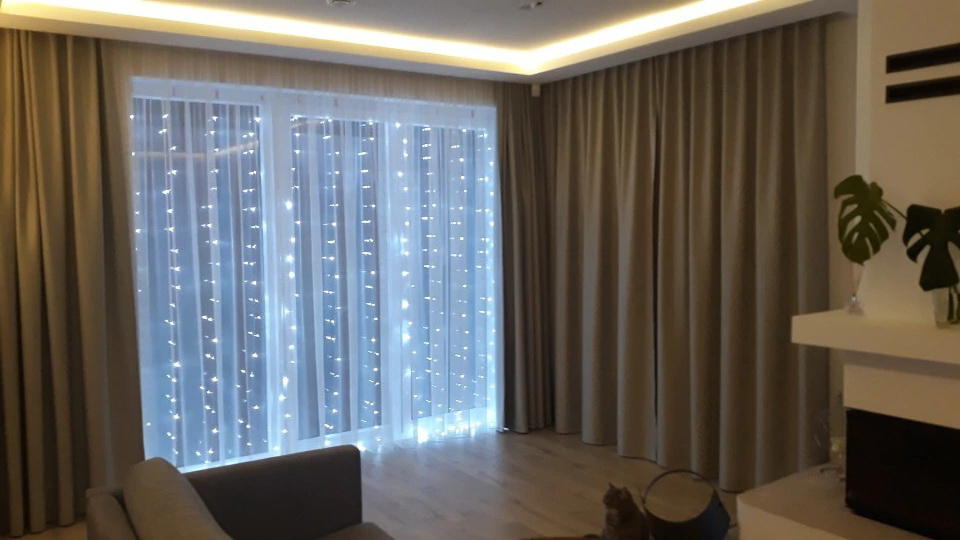
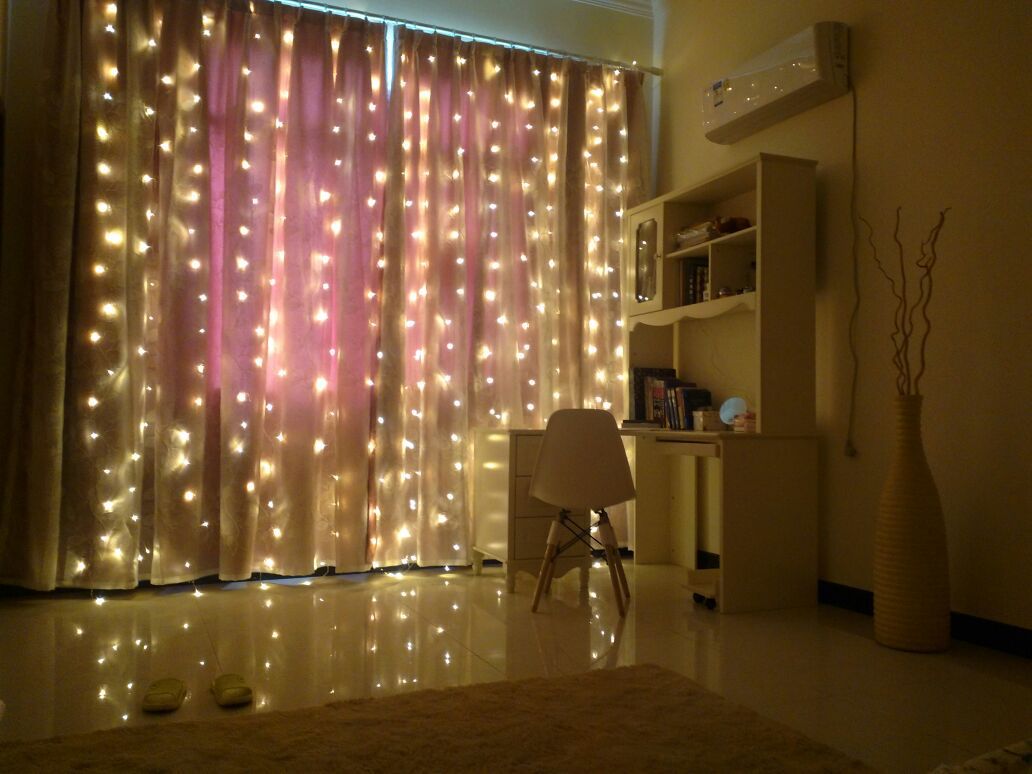
Garland for curtains
How much the garland will fill the area of the curtains is up to you. Some people prefer that the curtains are illuminated entirely and look like brightly glowing curtains, for some a couple of single garlands are enough, and some get creative by laying out a light pattern on the curtains.
What to attach it to?
The method of attaching the garland to the curtains depends on its weight and your idea.

- If the garland is not very large and light in weight, then you can attach it trivially - with double-sided tape. At the same time, if you decide to make the window the basis for fastening - first wipe the desired place with alcohol. You can install lighting on the curtain itself, both in front and behind it on the window.
- A more reliable option is to fix it with a hot glue gun.
- If the basis of the fastening is a cornice, hooks for tulle or threads can be used.
- Are you attaching it to a wooden window frame? Hammer a small nail into it, but not all the way in.
- If you want the curtain to have lighting, you can attach it directly to it.
Connection
There are also differences in connection types. If there is a free outlet near the window, choose a garland that runs on electricity. If there is none, it is better to choose a garland with batteries. By the way, it is better to stock up on the latter in advance, so as not to be left without a magical mood at the most inopportune moment.
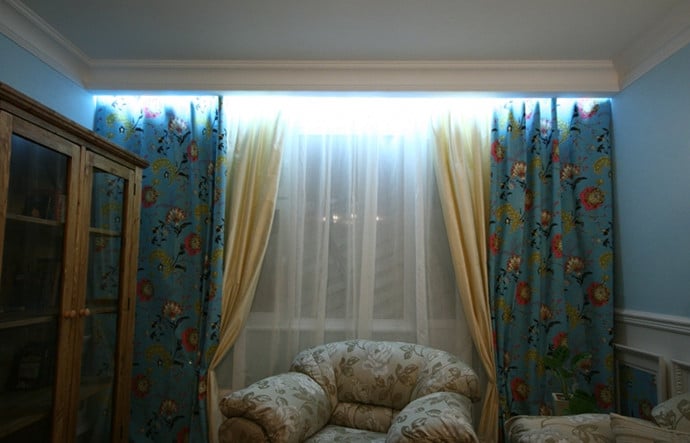
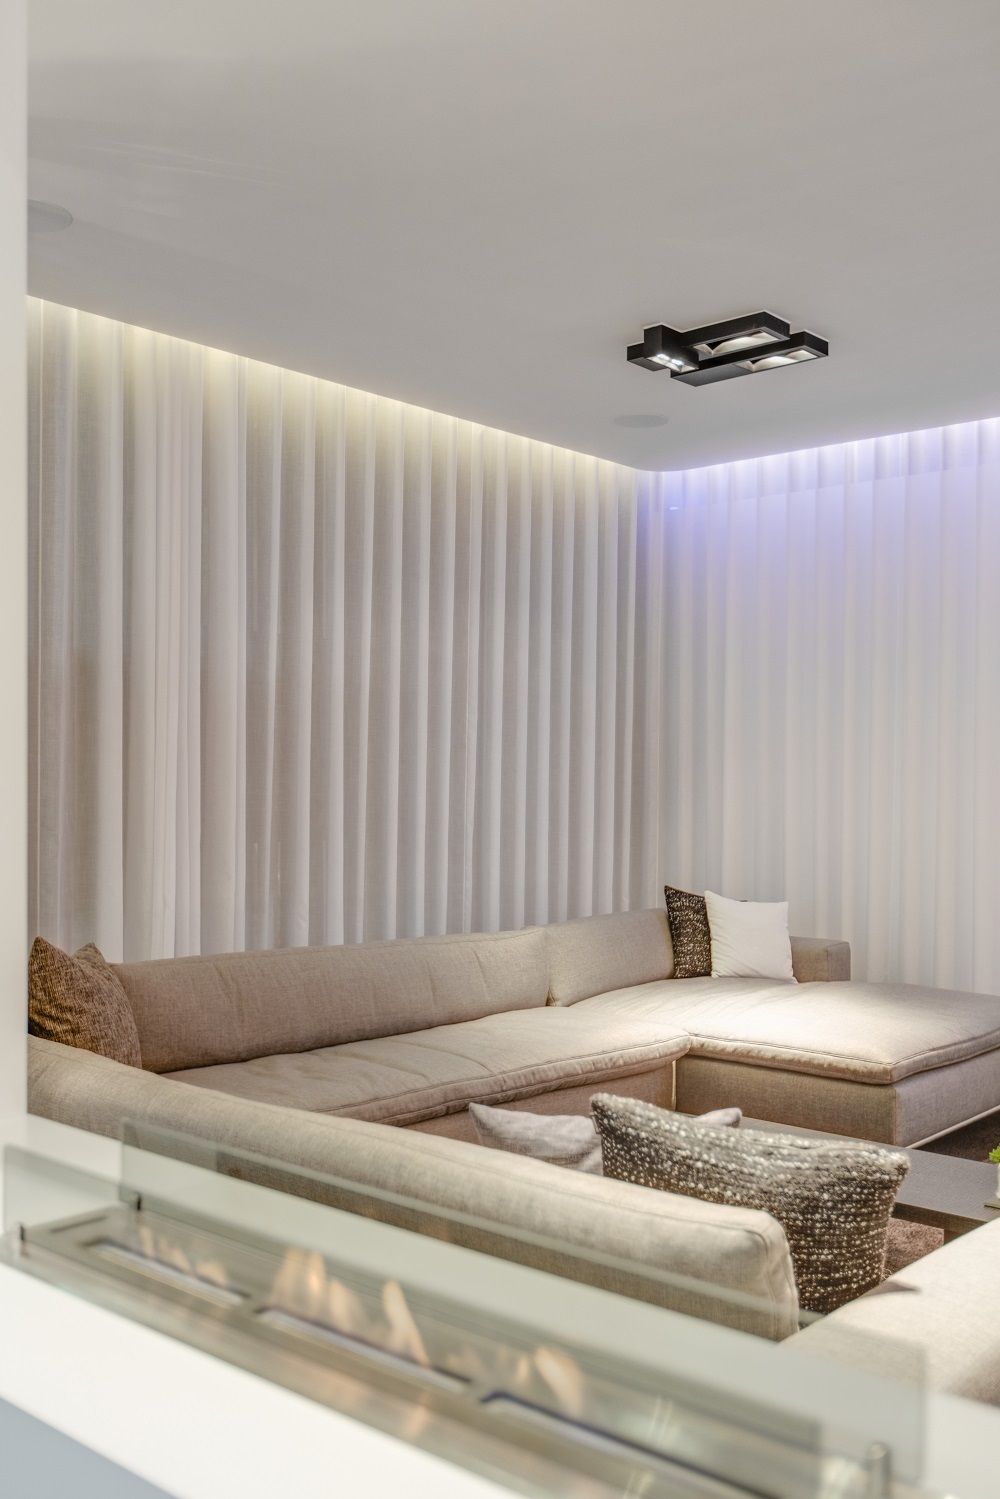
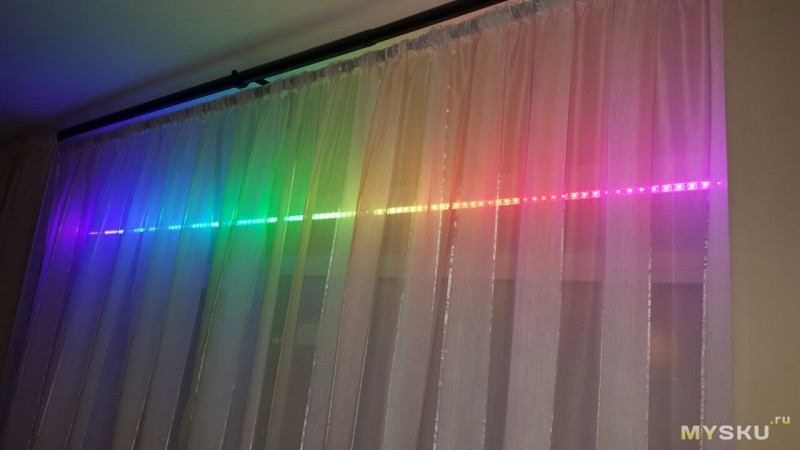
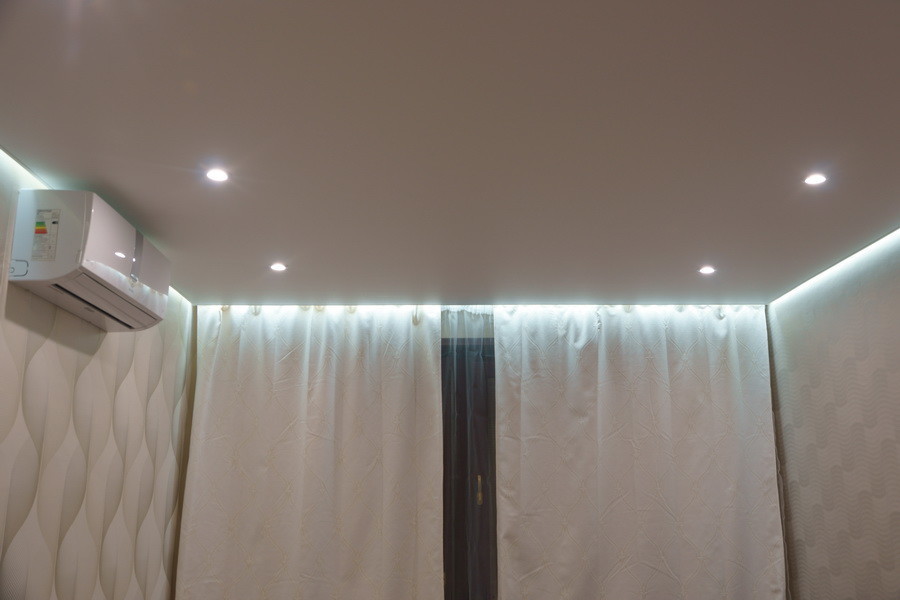
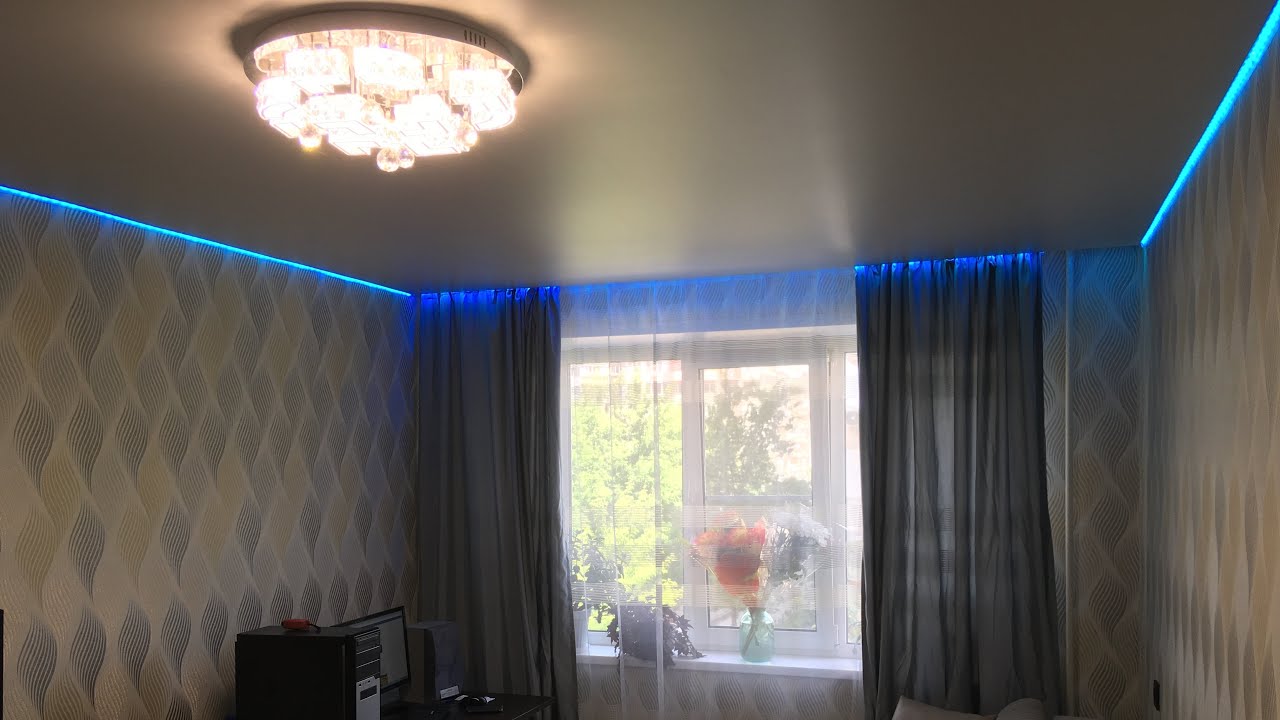
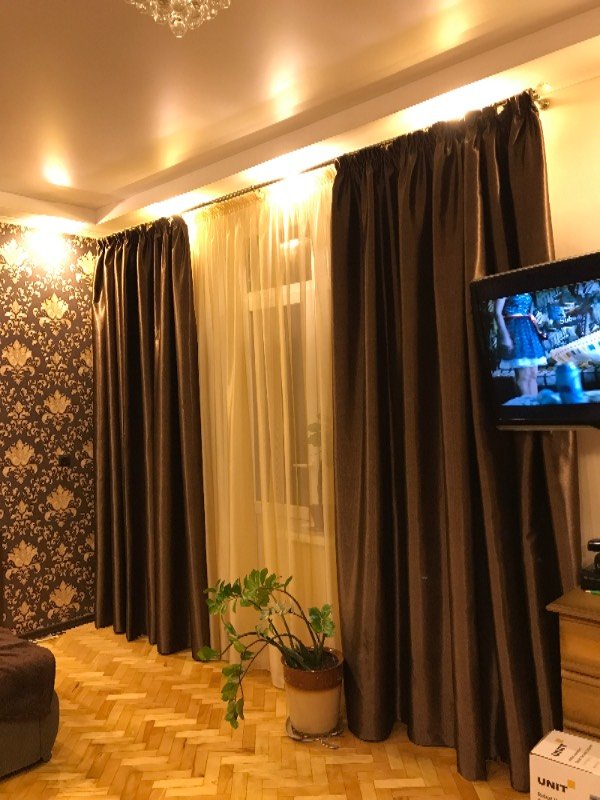
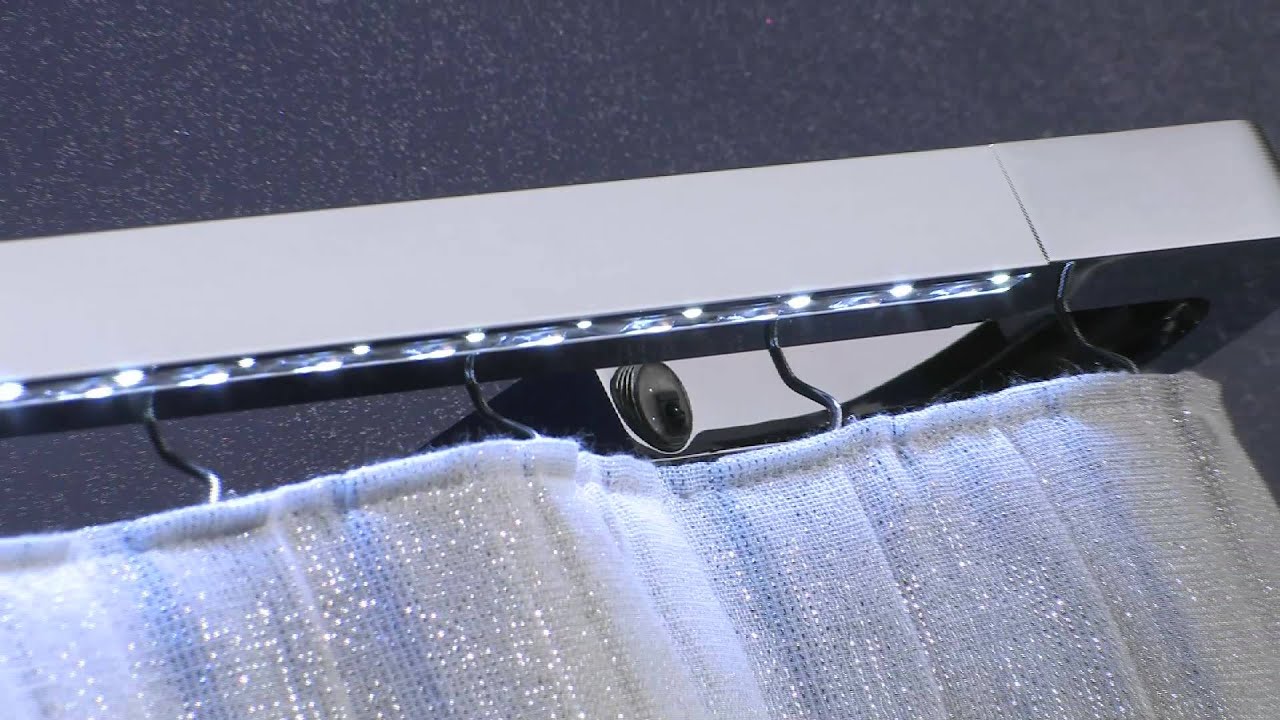
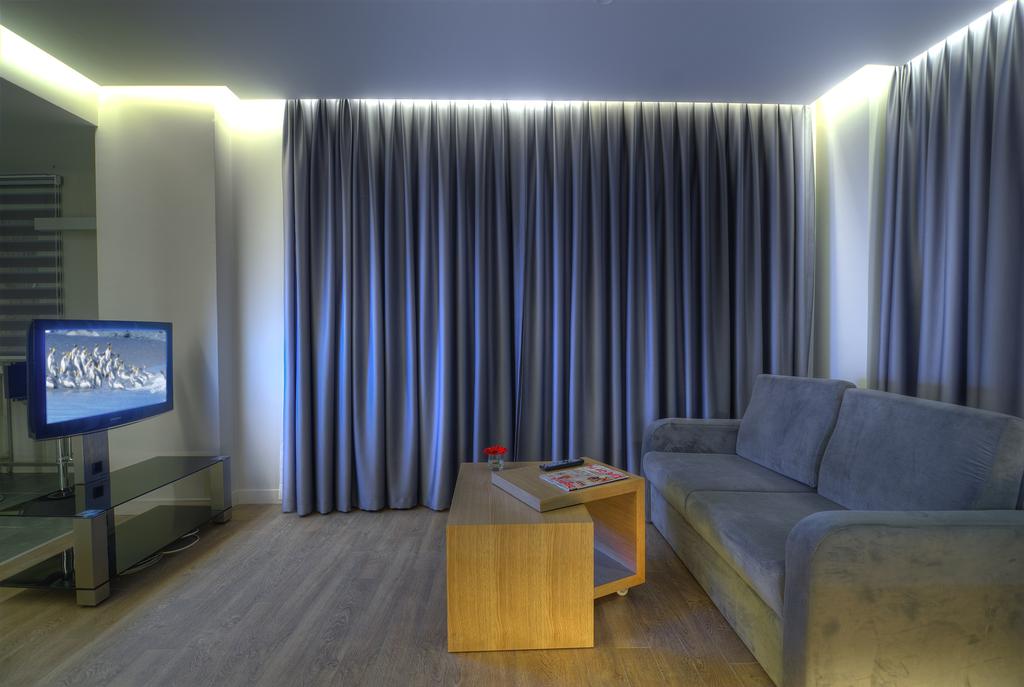
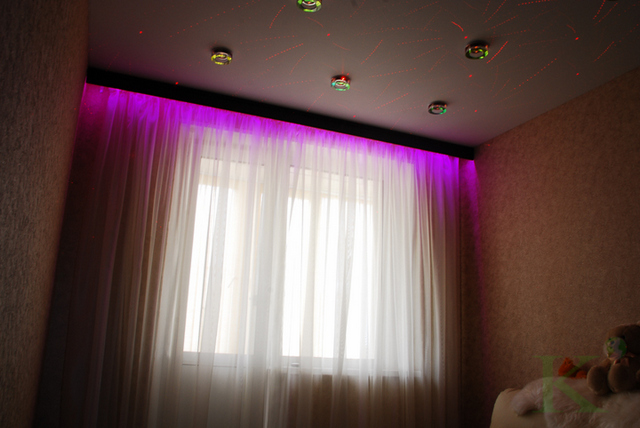
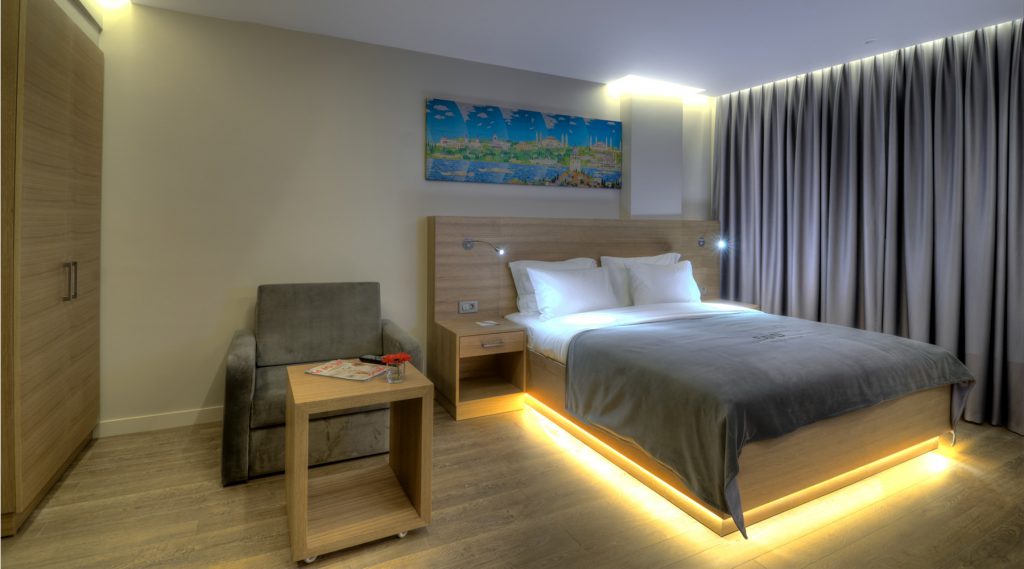
LED strip
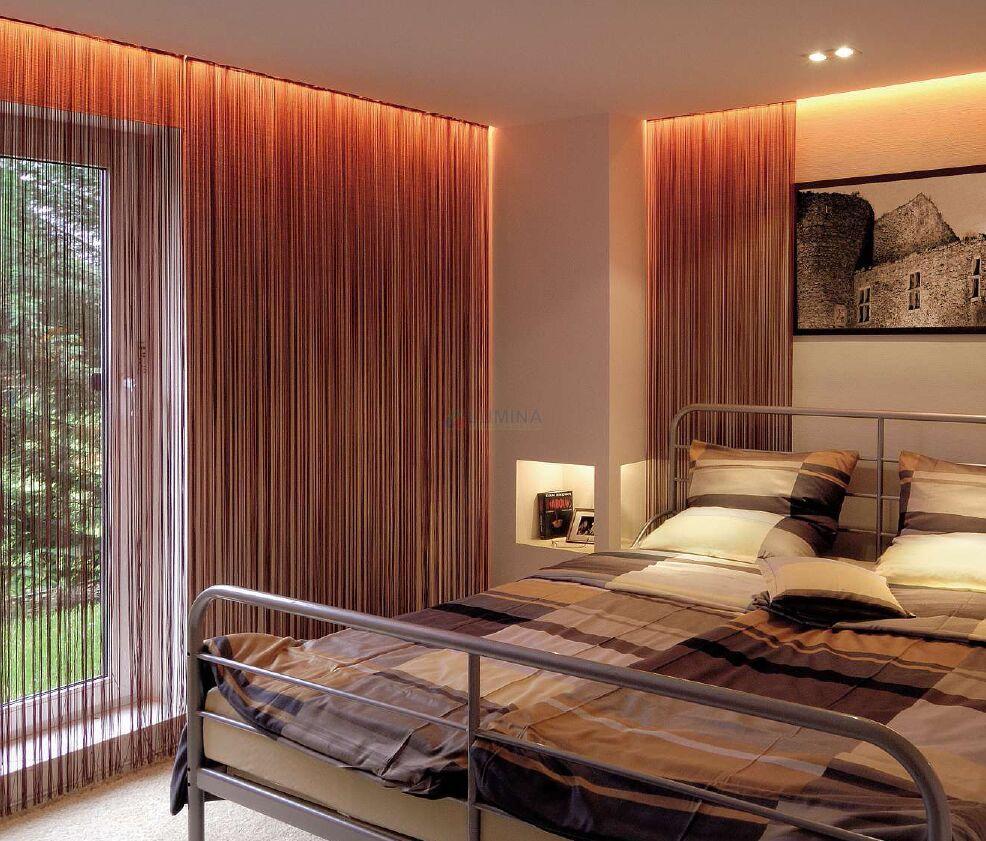
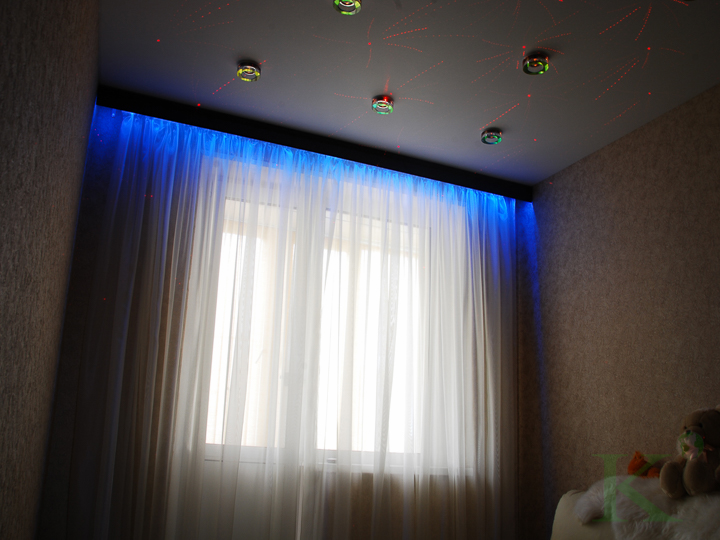
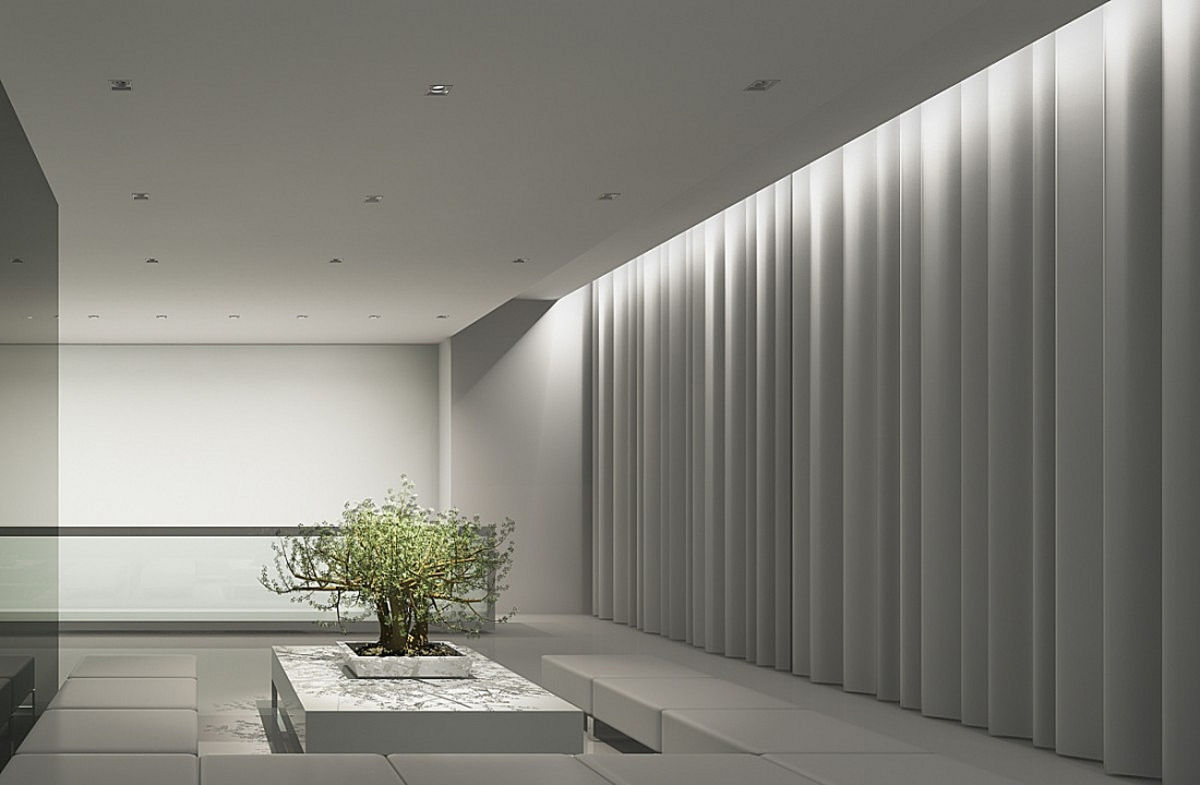
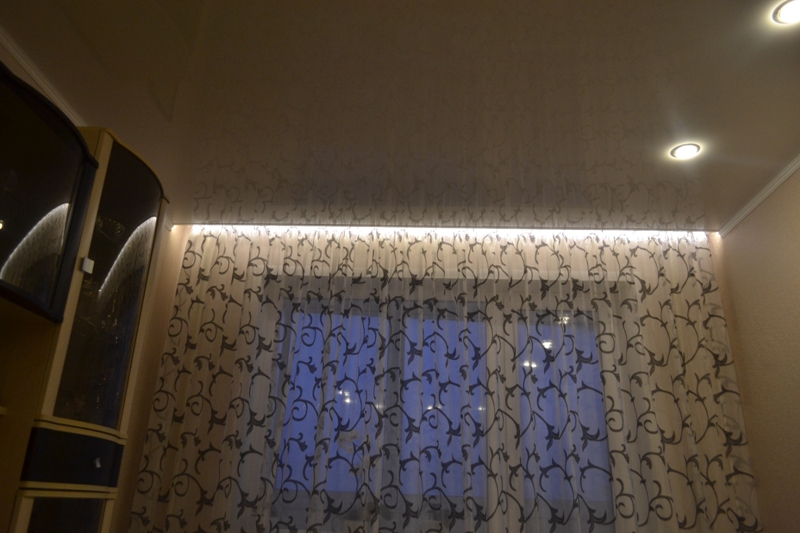
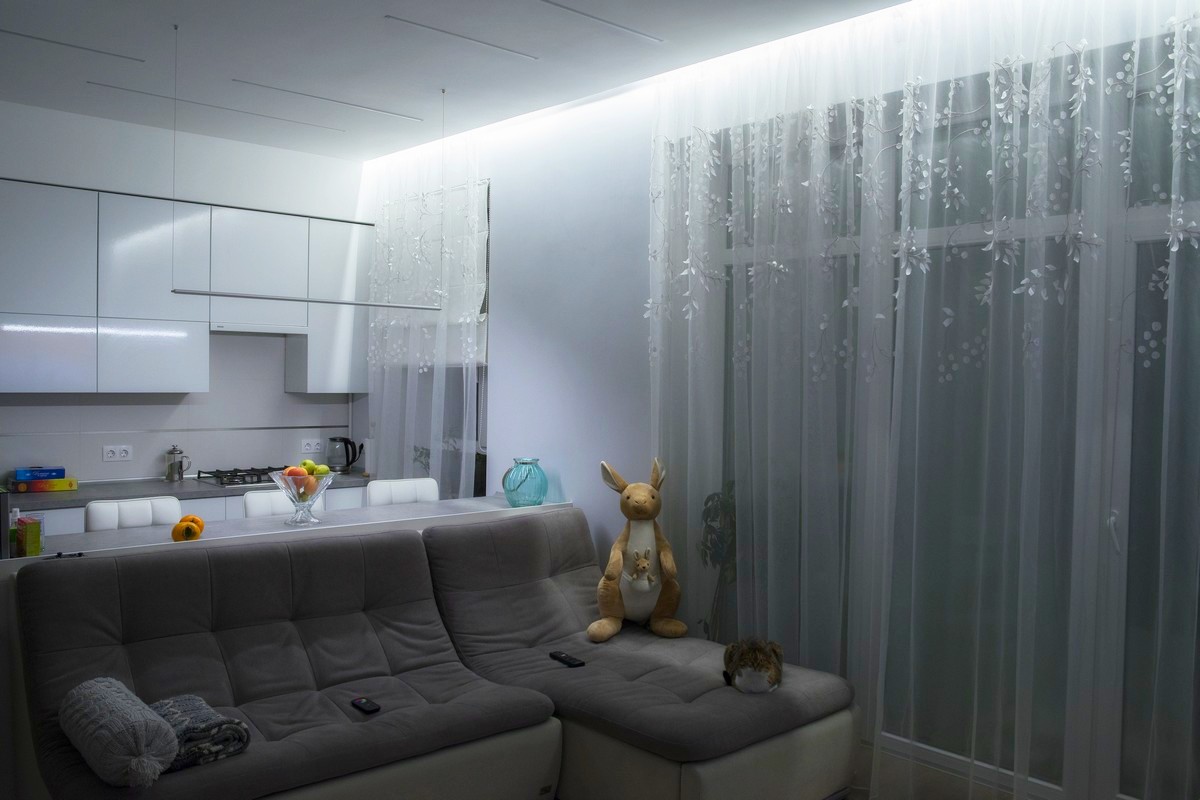
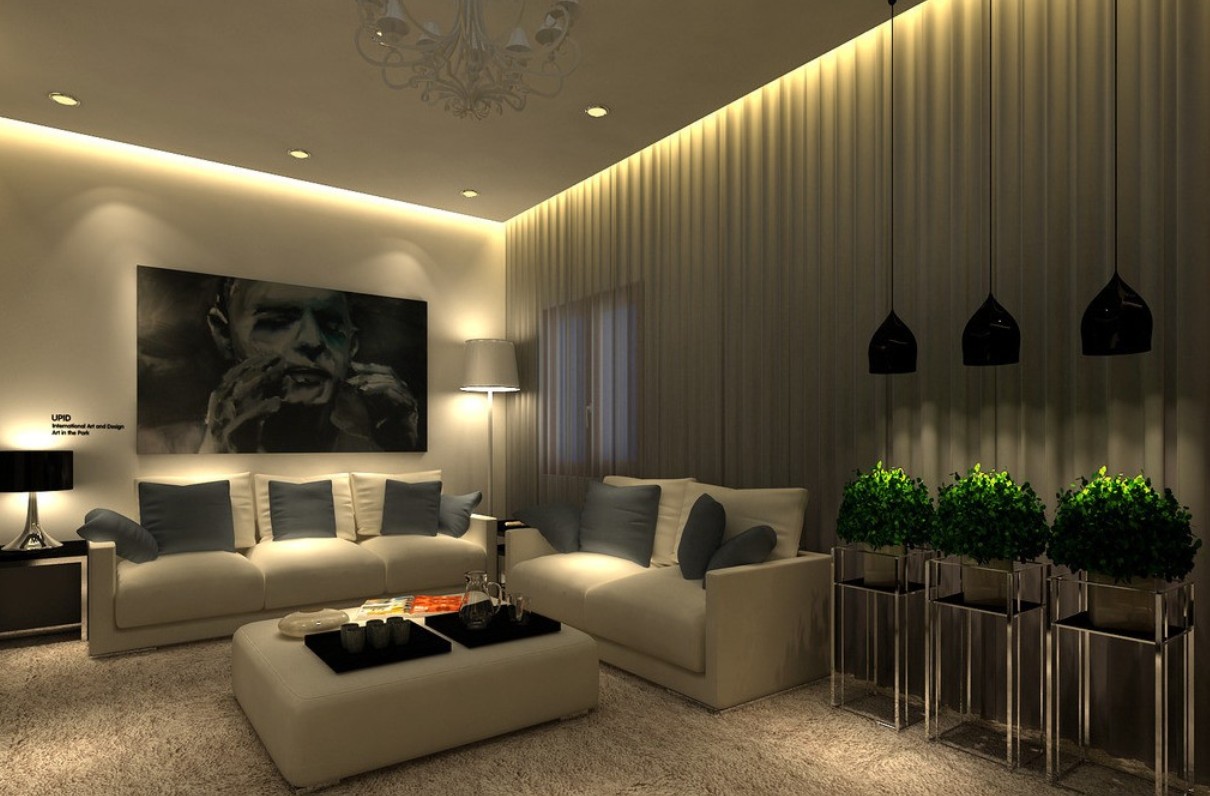
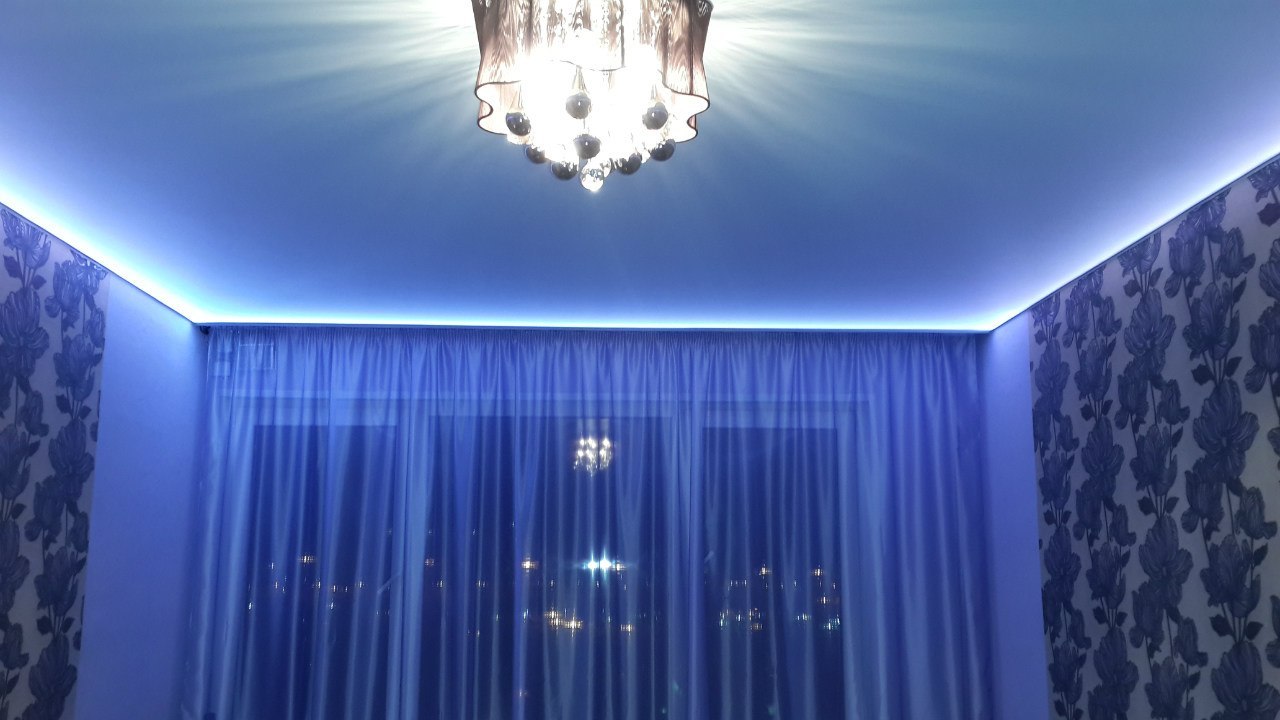
Backlighting curtains with LED strip creates a different visual effect. If the garland fills the area of the curtains, then the strip fills the space at the cornice, spreading its light in a gradient: bright at the top and calmer towards the bottom.
Types of tape
There are several models of LED strips. They differ in the types of LEDs and the frequency of their installation. Do not choose a strip with too high light intensity, it will blind your eyes and “eat” an unreasonably large amount of electricity.
For ceiling lighting, experts recommend installing SMD 5050 strip (30 warm white LEDs per 1 meter).
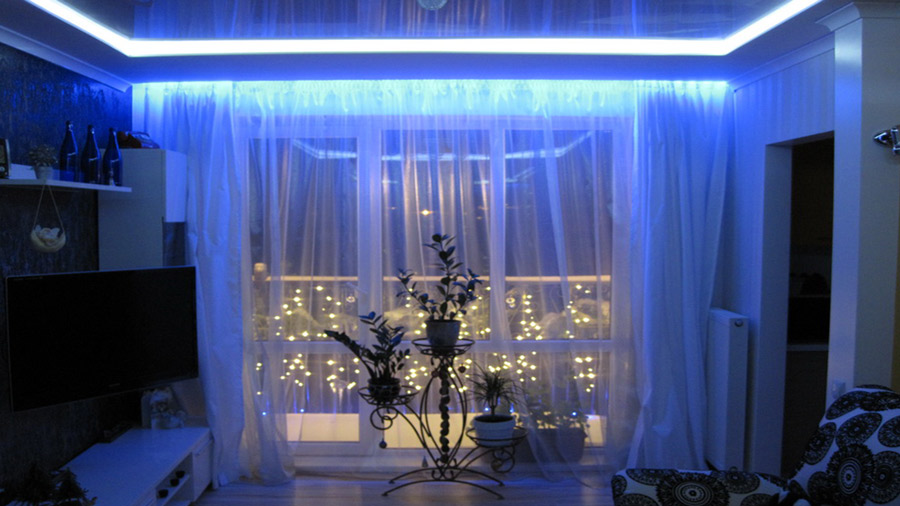
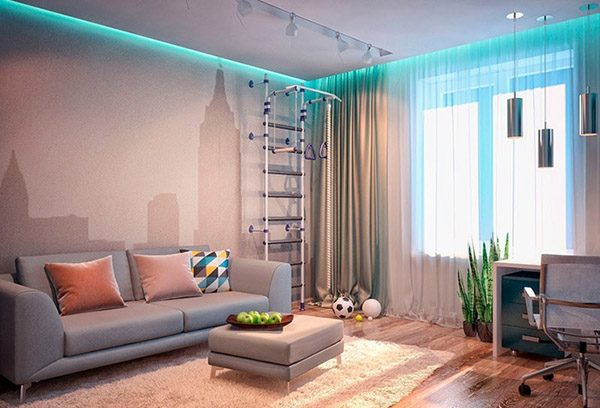
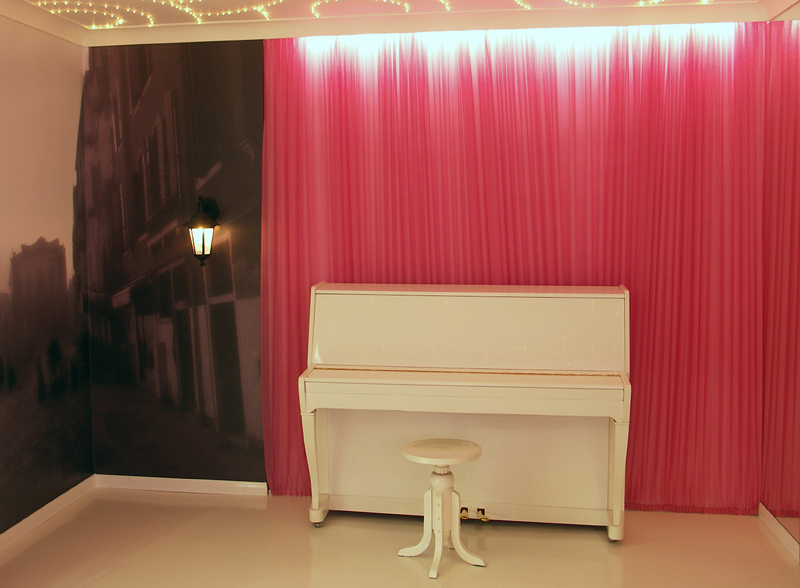
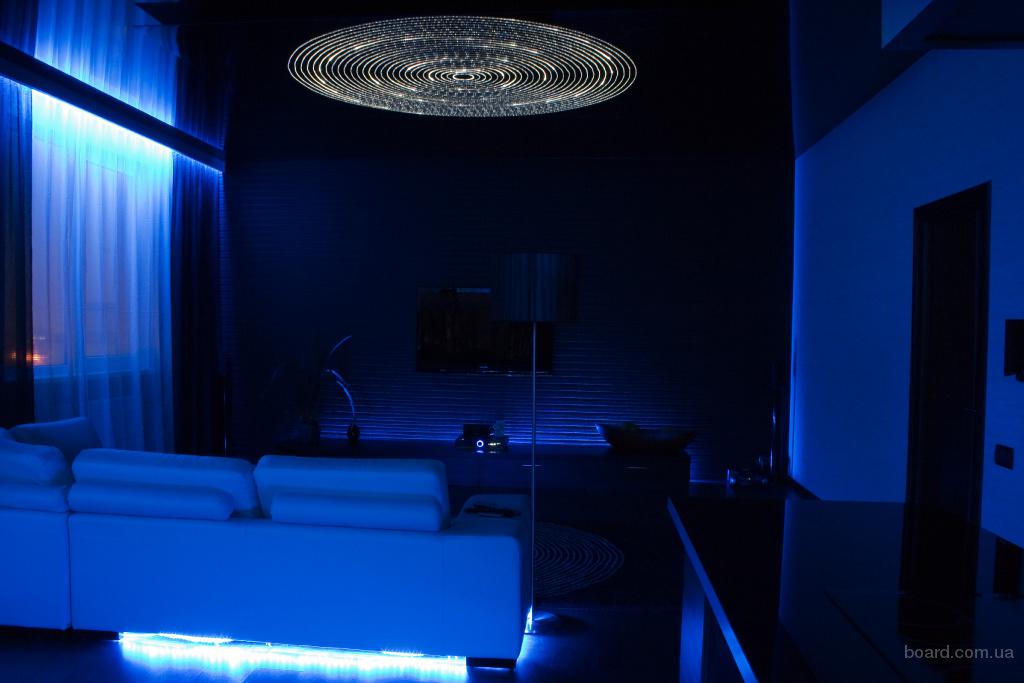
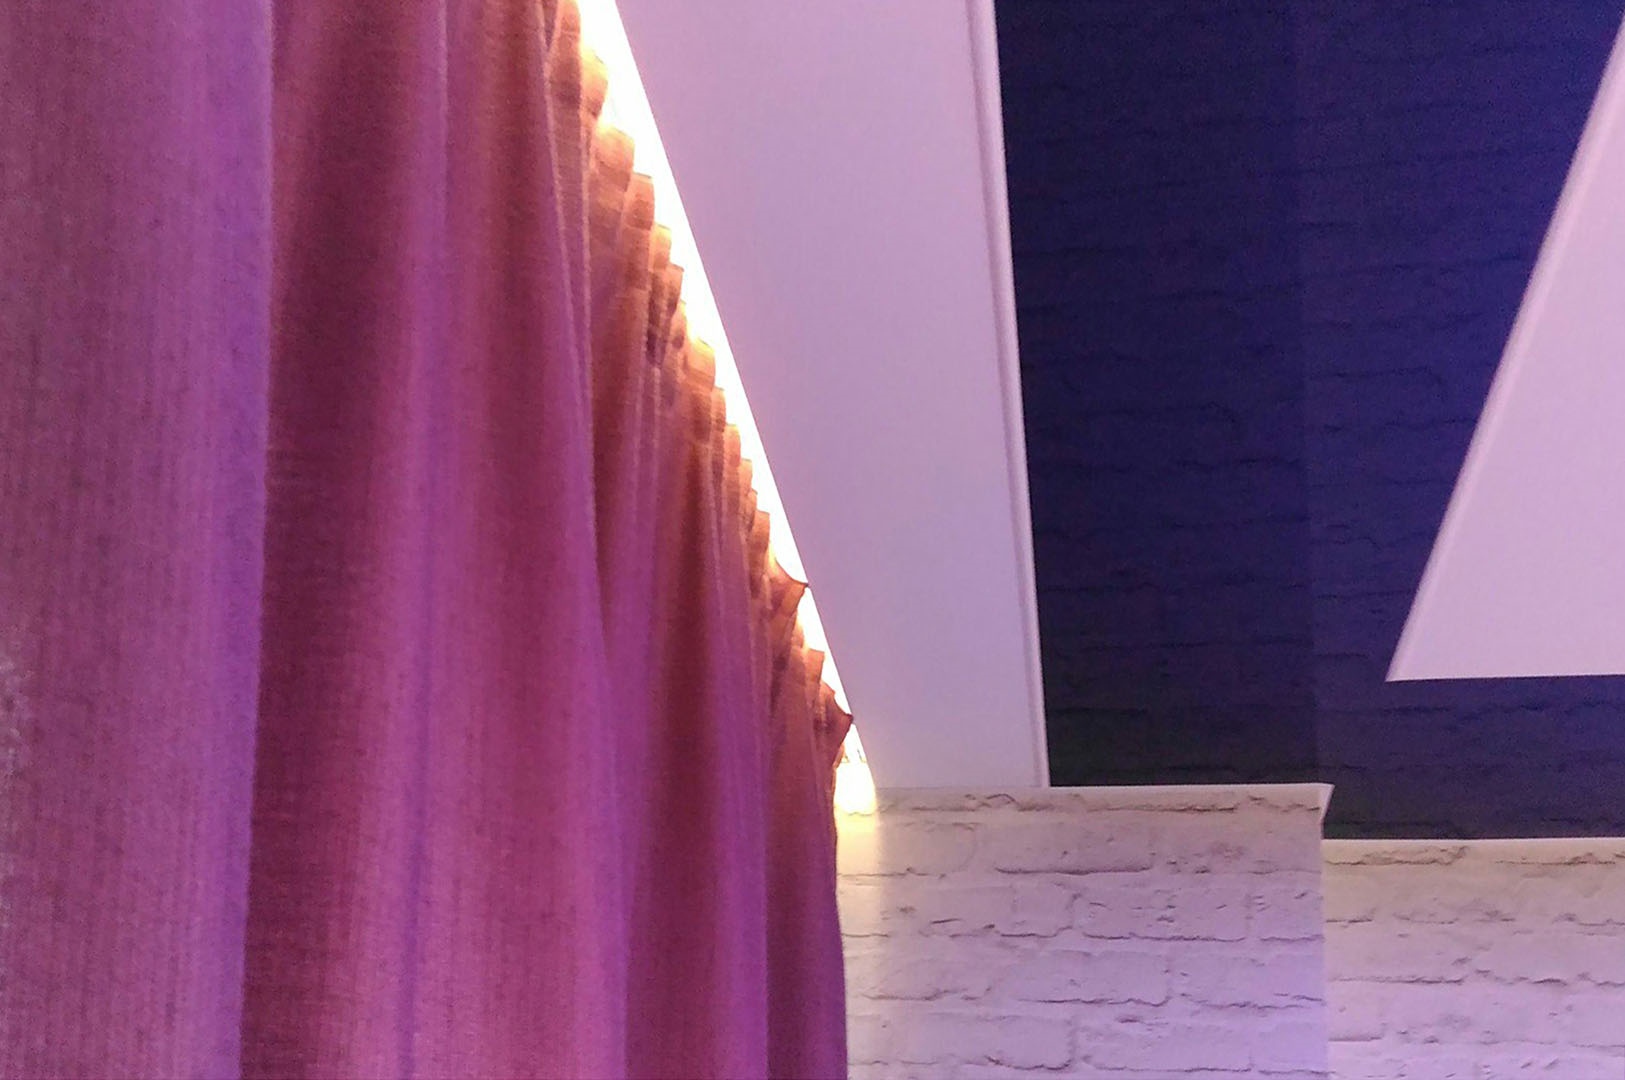
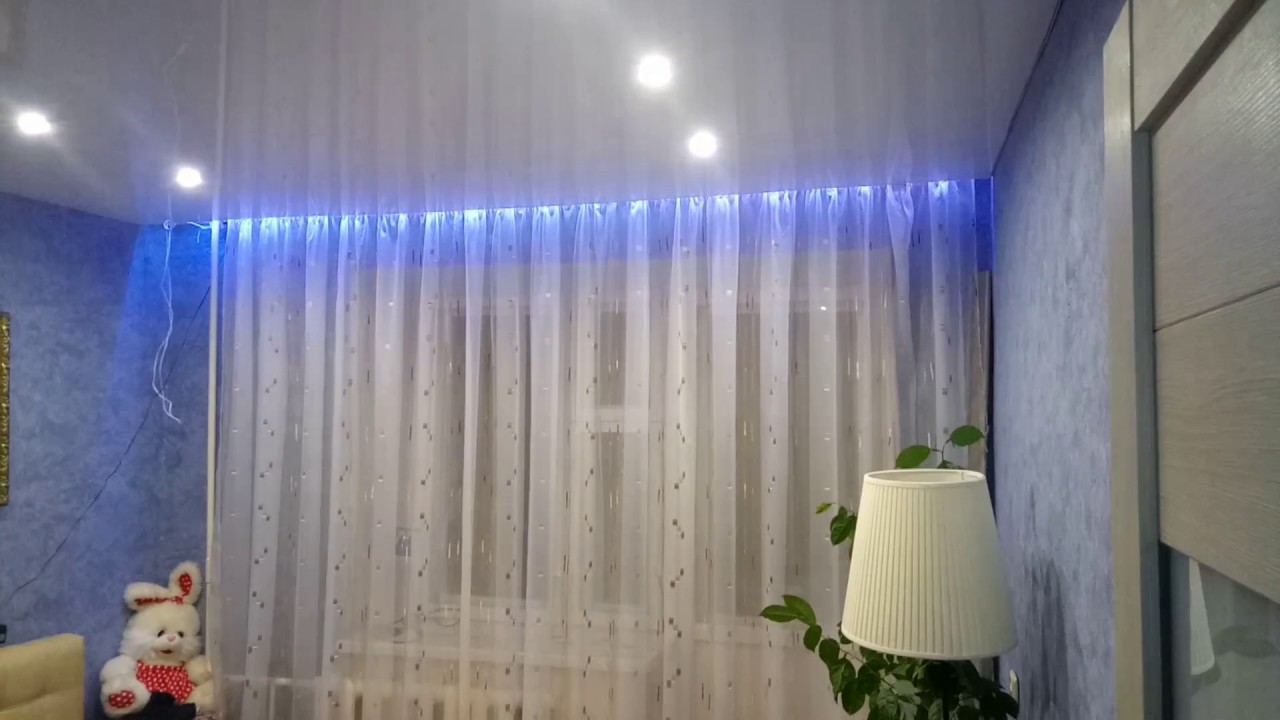
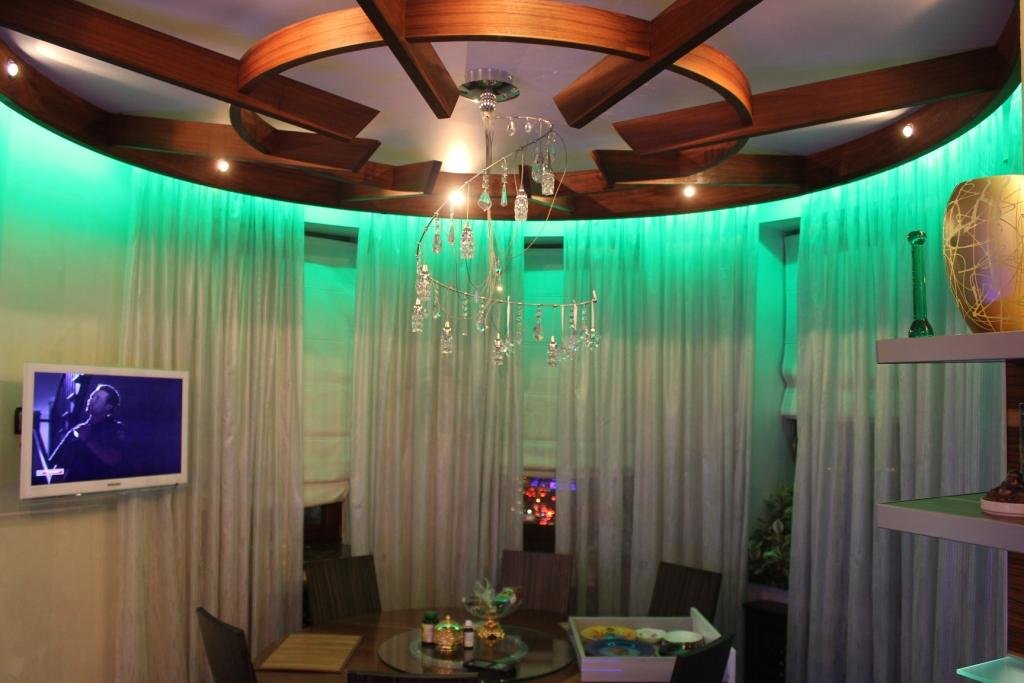
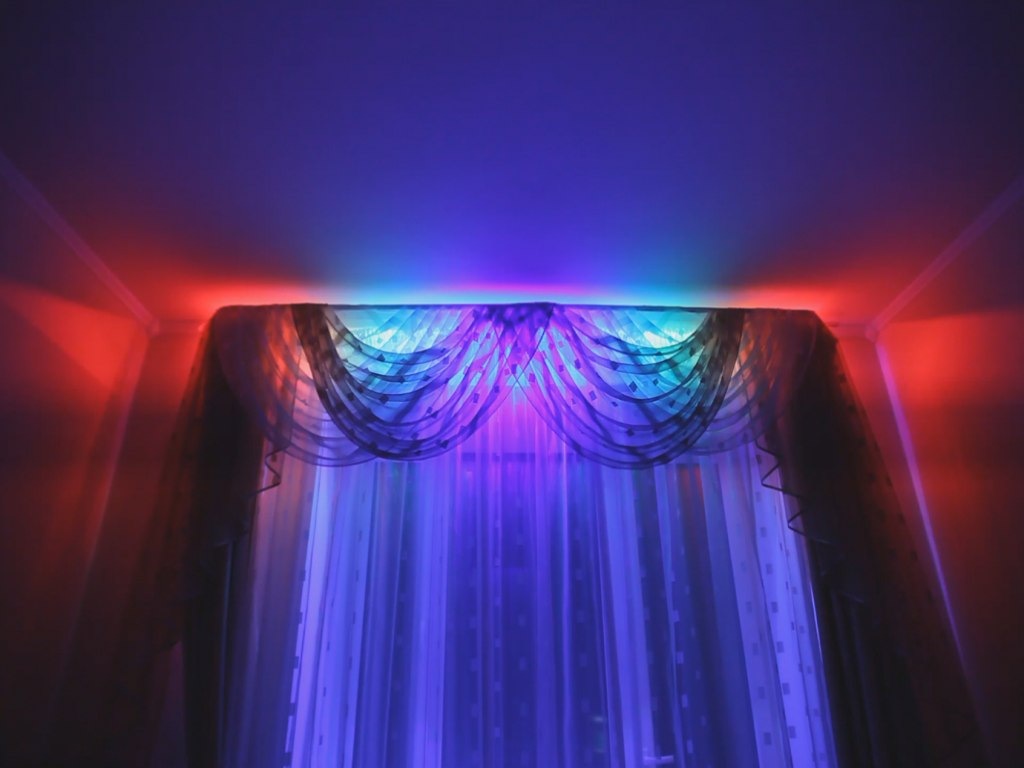
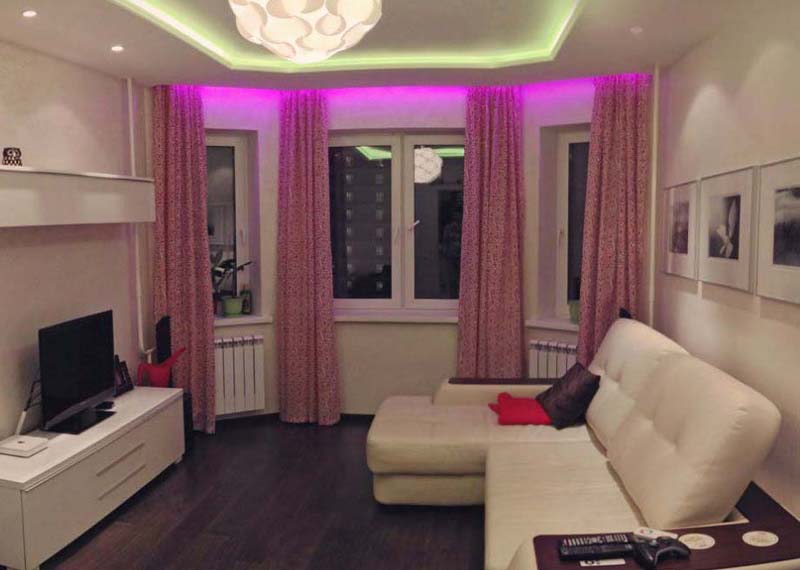
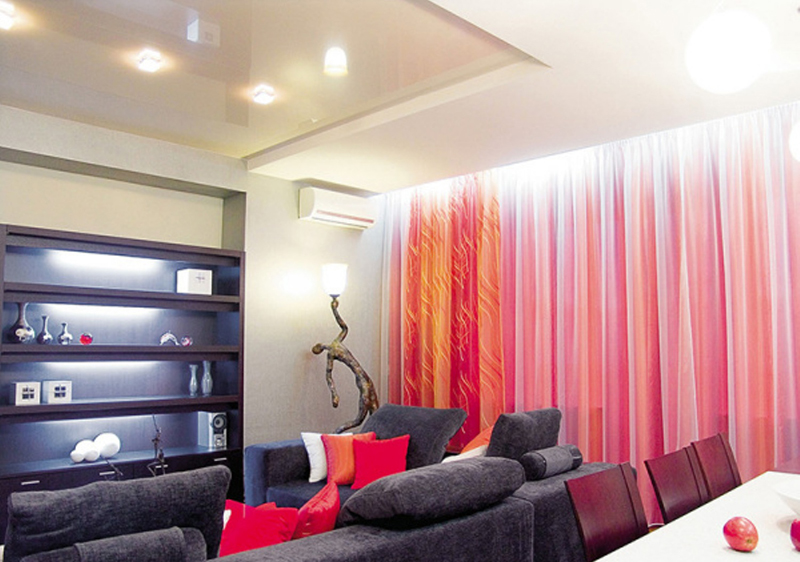
Color of mood
The advantage of LED strips is that they can emit light of any color, you can choose the one you need to suit your mood. Warm home gatherings? - use soft white or yellow. A small party? Neon blue or purple will create the atmosphere.
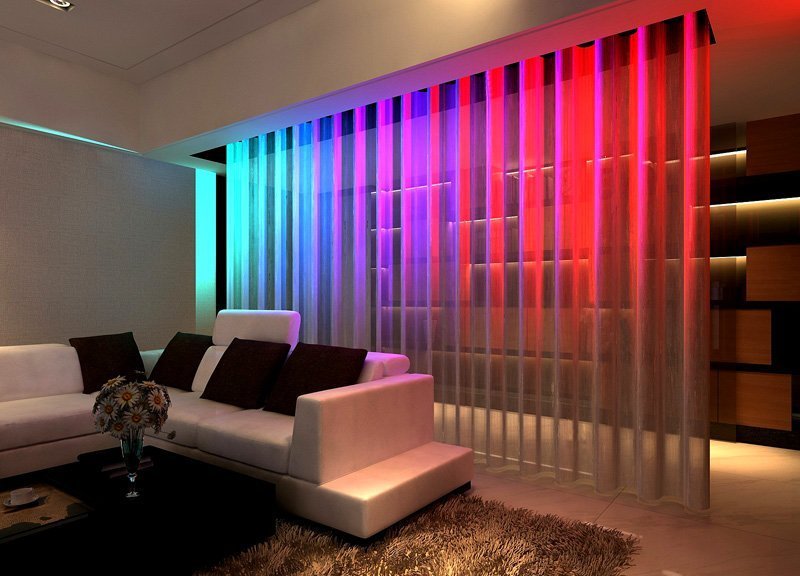
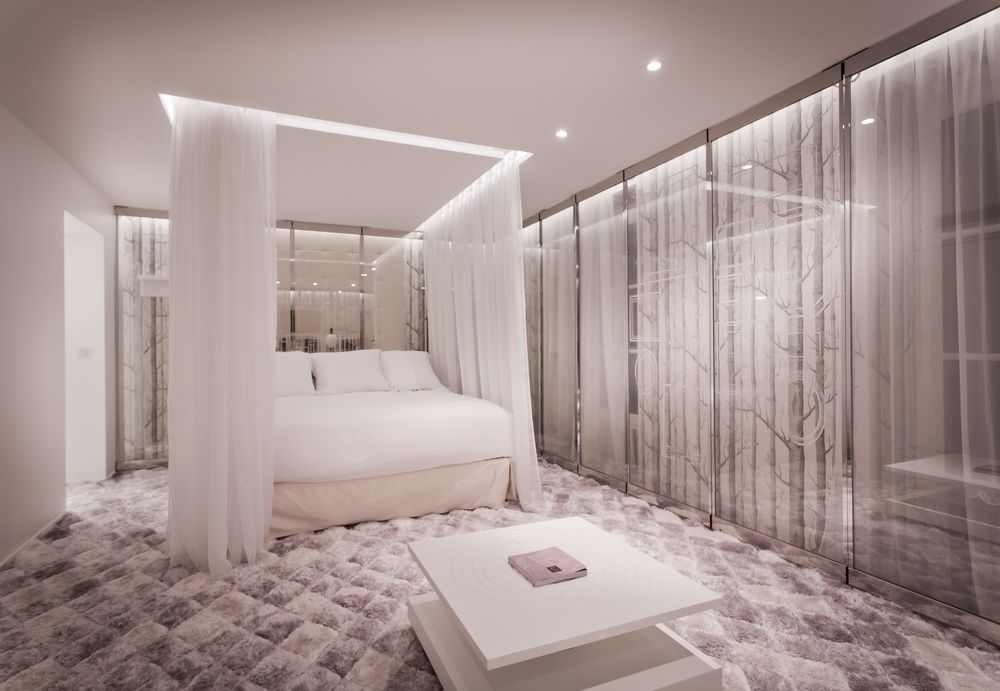
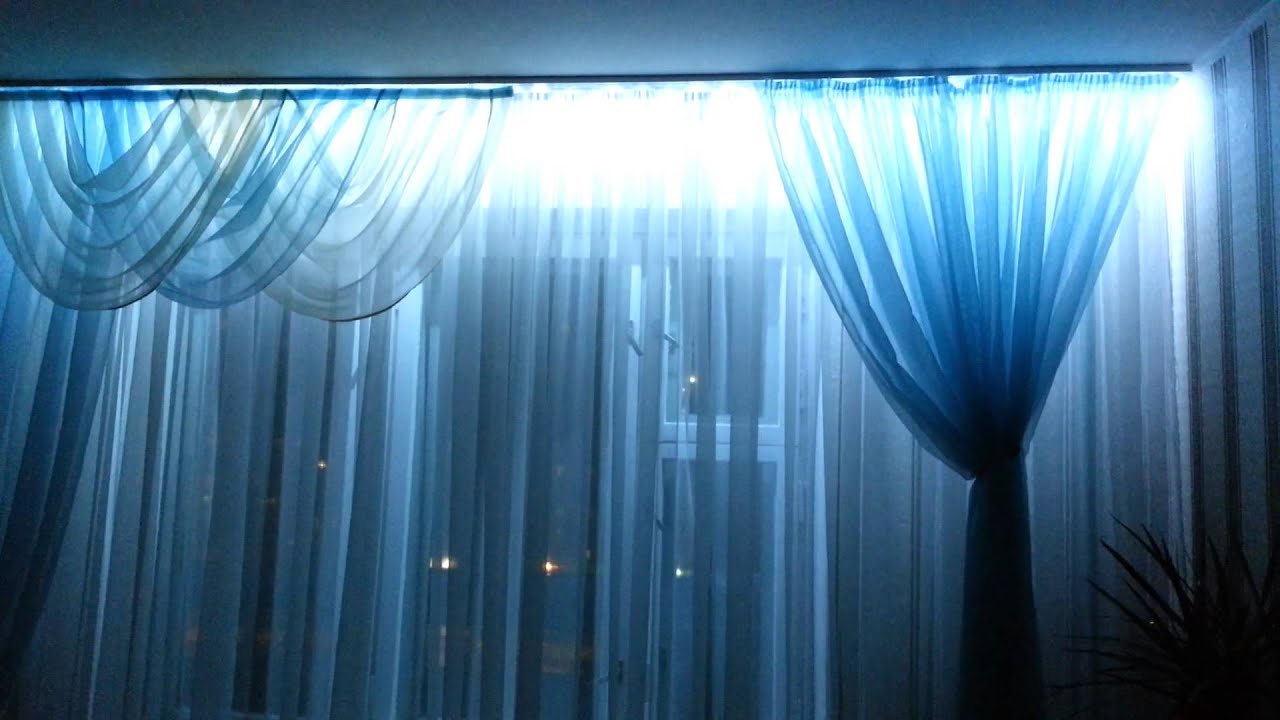
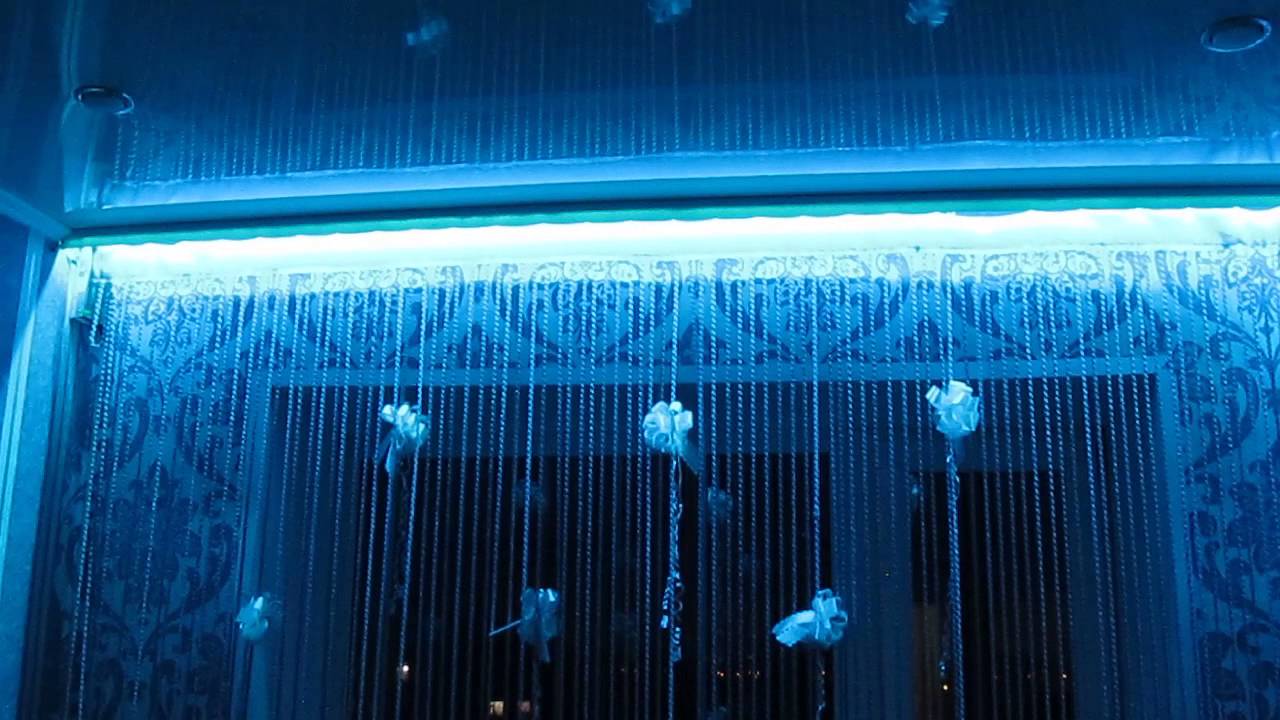
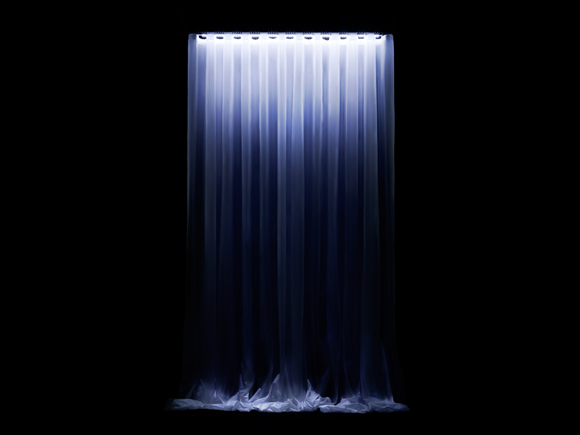
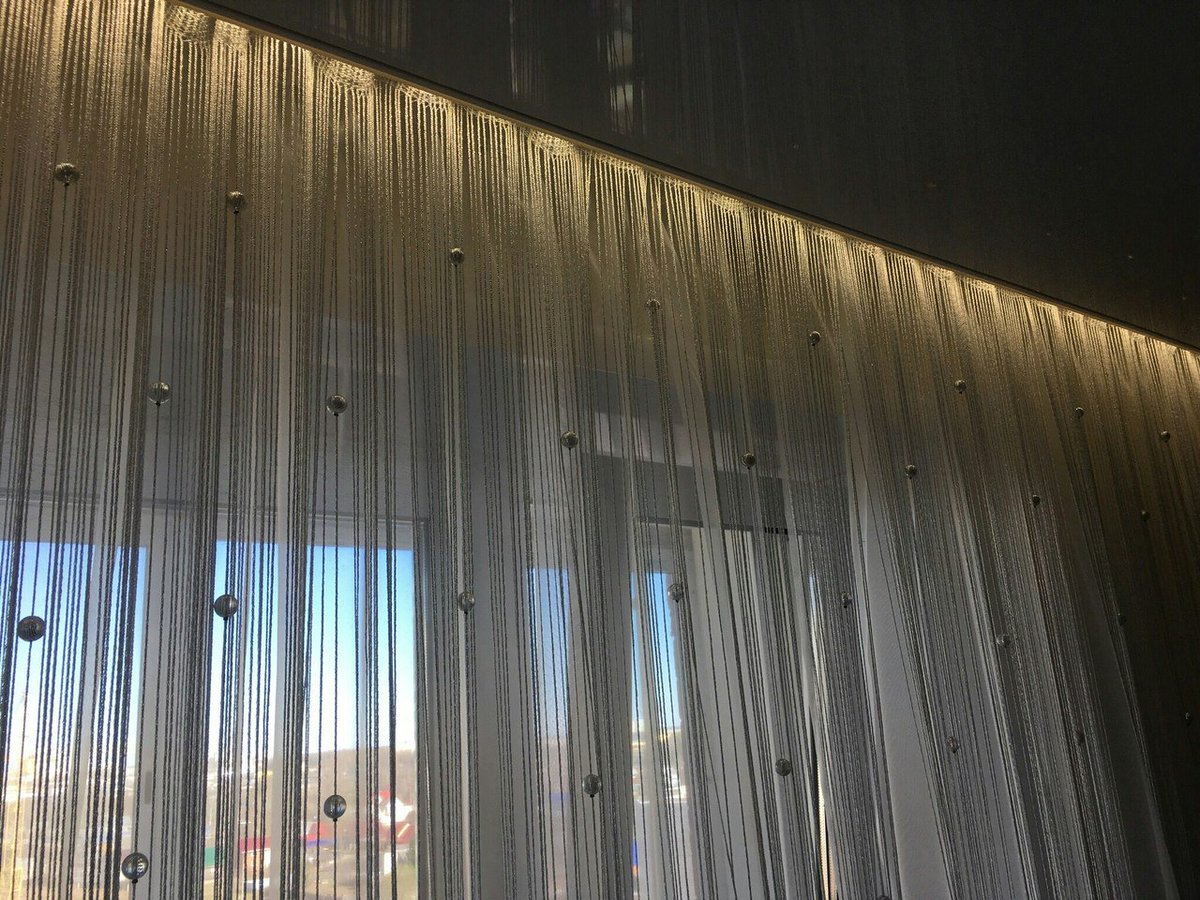
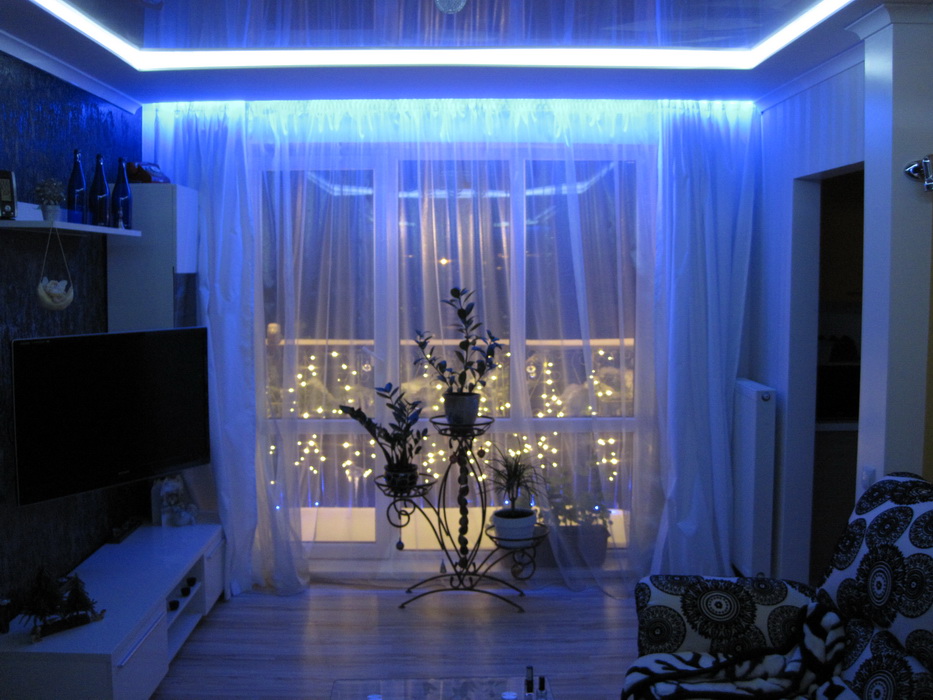
LED curtains "Waterfall"
LED garland that creates the effect of “falling” waves due to the play of light from top to bottom. Each wire looks like a separate stream of water.
Materials for installation
To make installation as hassle-free as possible, stock up on everything you need in advance. Don't forget about measurements, you need to know the width of your window before you go to the store.
- Transformer. It is necessary for the LED device to function. The fact is that LEDs will not be able to work if the standard network values are set. In our case, we need lower voltage and a different quality of current: voltage input is 220V with a frequency of 50 G, output is 12V and direct current.
- The waterfall itself. The length of the waterfall should match the length of the distance you want to illuminate, and the values should match the parameters of the transformer.
- Wire. Also remember about timely measurements. The cross-section of the wire approaching the transformer should be at least 1.5 mm2, from the side of connection to the tape - 0.75 - 1 mm2. The wire should have 2 multi-colored cores.
- Single pole switch (standard one will do) and RCD (for extra safety).
- Plastic boxes for wires. This point and the following ones are for those who want to hide the place of fastening and install the waterfall under a suspended ceiling.
- Drywall. You can make a niche out of it to hide unnecessary wires.
- Heat shrink tubing or insulating tape.
Let's start editing
Naturally, you need to start the work by disconnecting the voltage, otherwise the consequences may not be the most favorable. Well, and to do everything correctly, stick to a certain sequence.
- Install a plasterboard box as close to the curtains as possible. If you need it, of course. If you are installing lighting under a suspended ceiling, you can safely skip this step.
- We attach the transformer. It is better to install it where the LED waterfall will come from. You can attach it directly to the ceiling using standard dowels.
- installed a transformer - apply voltage. Here the nearest socket or distribution box will come to the rescue. Connection diagram: the wire with red insulation is connected to the phase, the wire with blue insulation - to zero. To determine the phase and zero, use an indicator screwdriver.
- Now you can start attaching our LED garland. You can use construction glue for this (we wrote about the attachment methods in more detail at the beginning of the article). The place where you will attach the waterfall must be cleared of debris and dust.
- Well, finally, we connect our curtain-waterfall through a transformer. There are 2 terminals on the transformer: V+ and V- from them to the corresponding terminals on the garland, connect a wire with a cross-section of 1.5 mm2.
- Well, to control all this beauty, install a switch. Make sure it is not set to zero, only to phase.
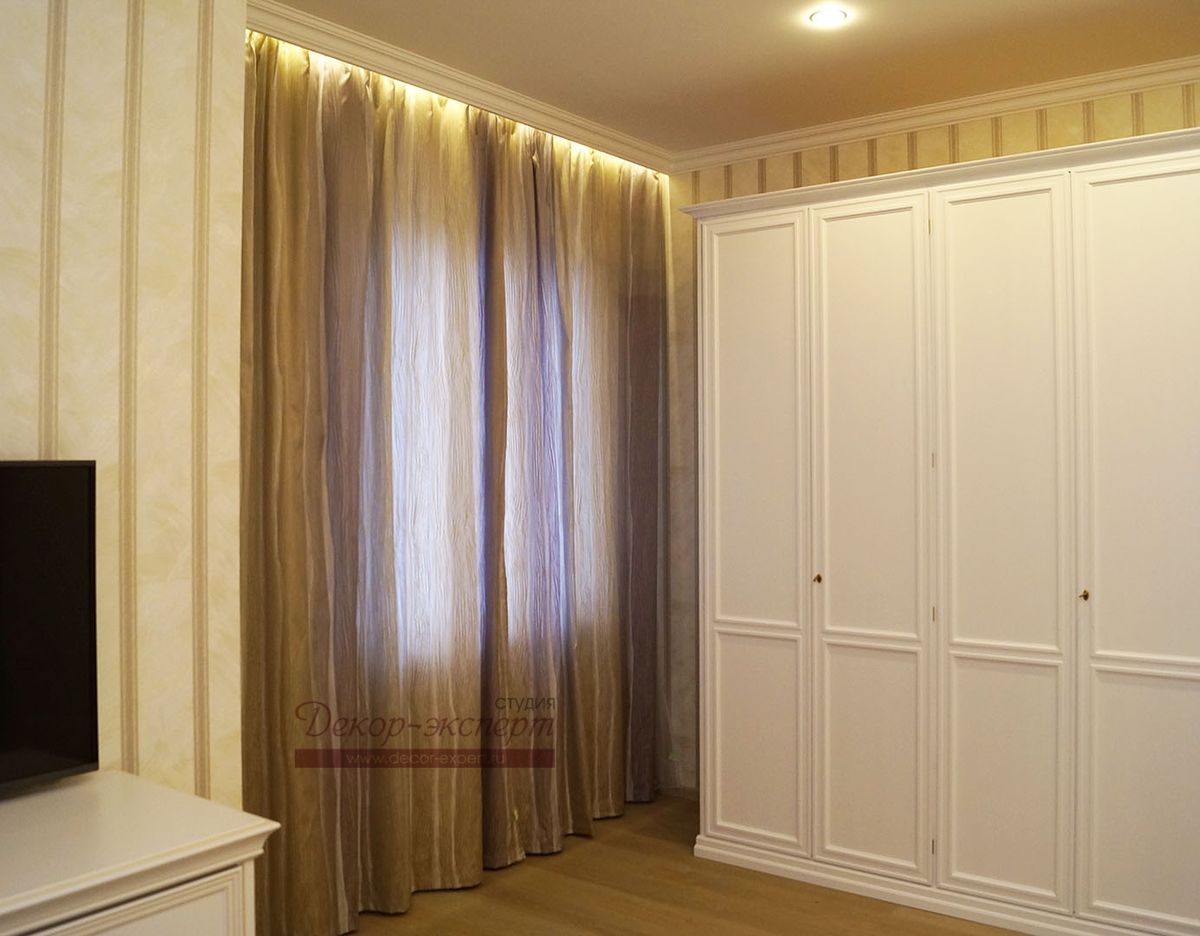
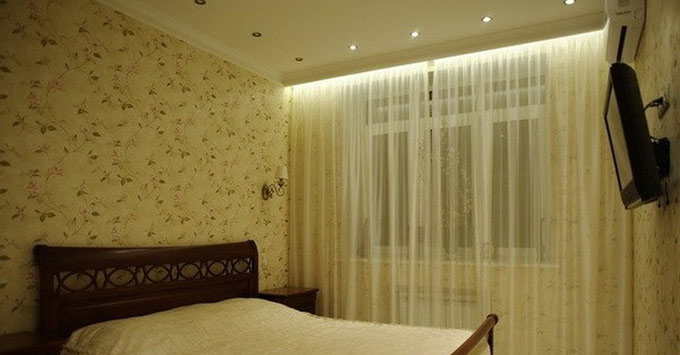
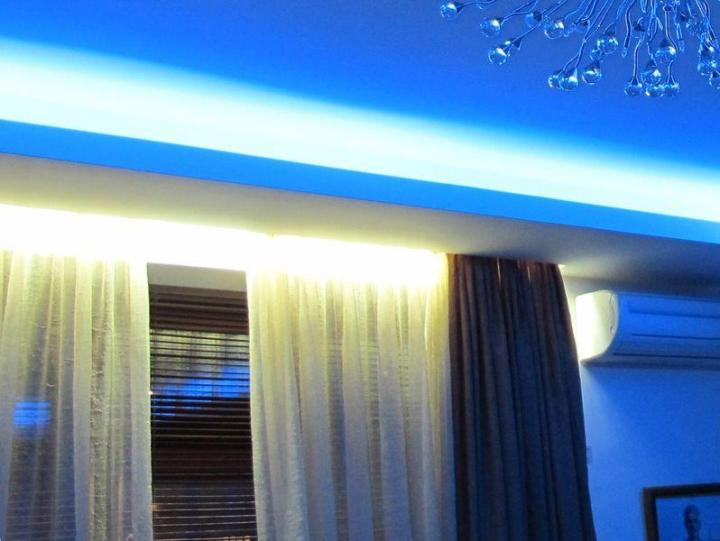
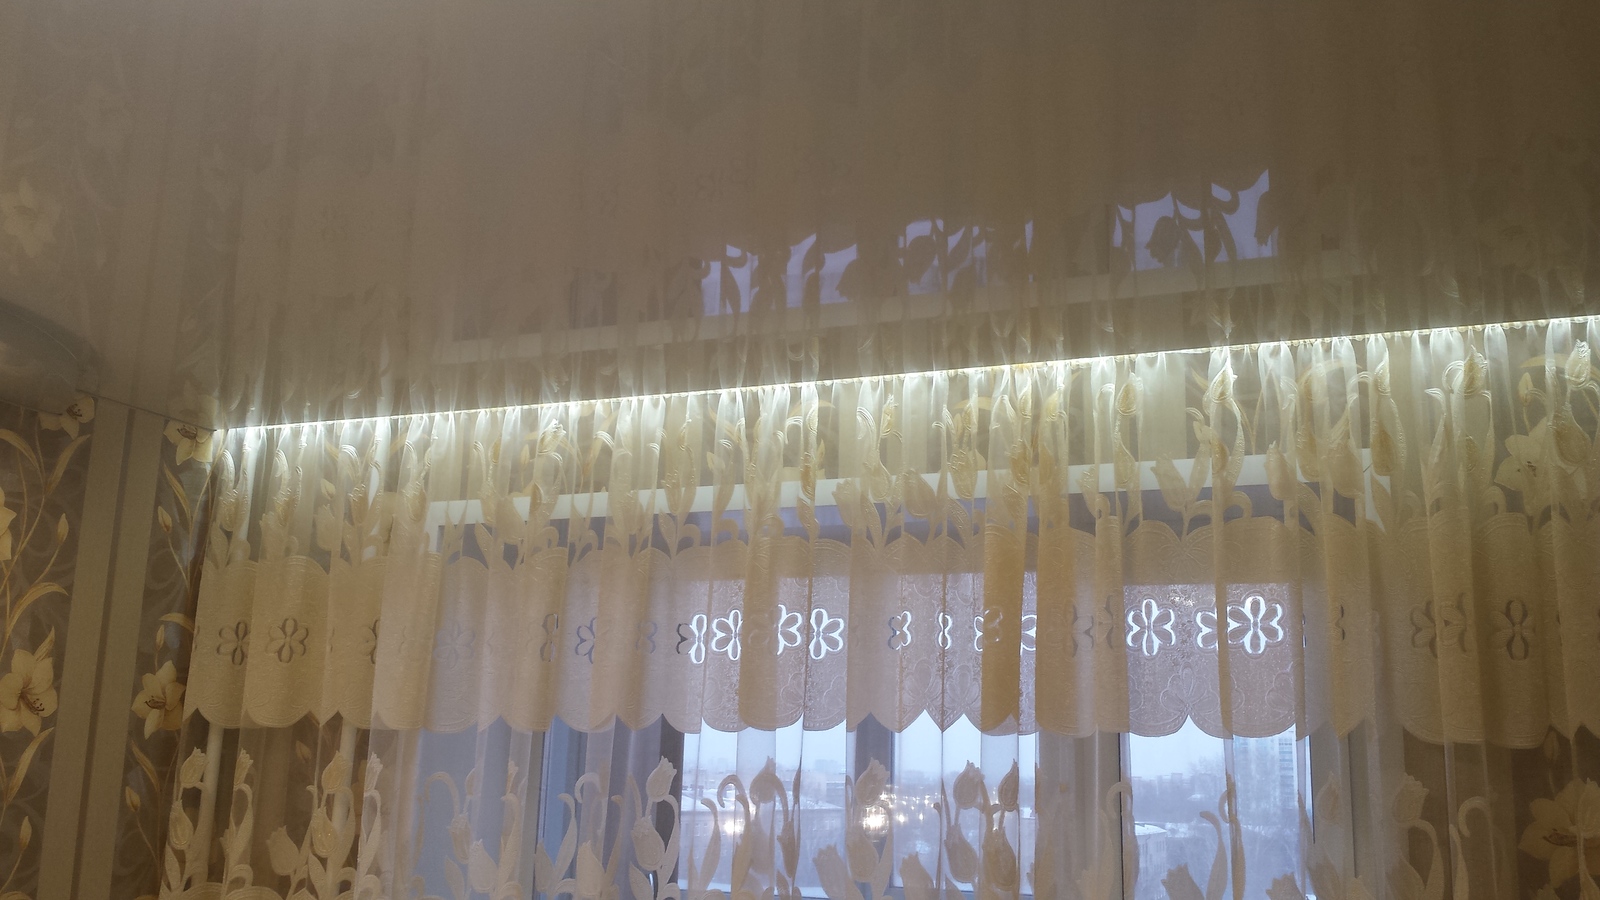
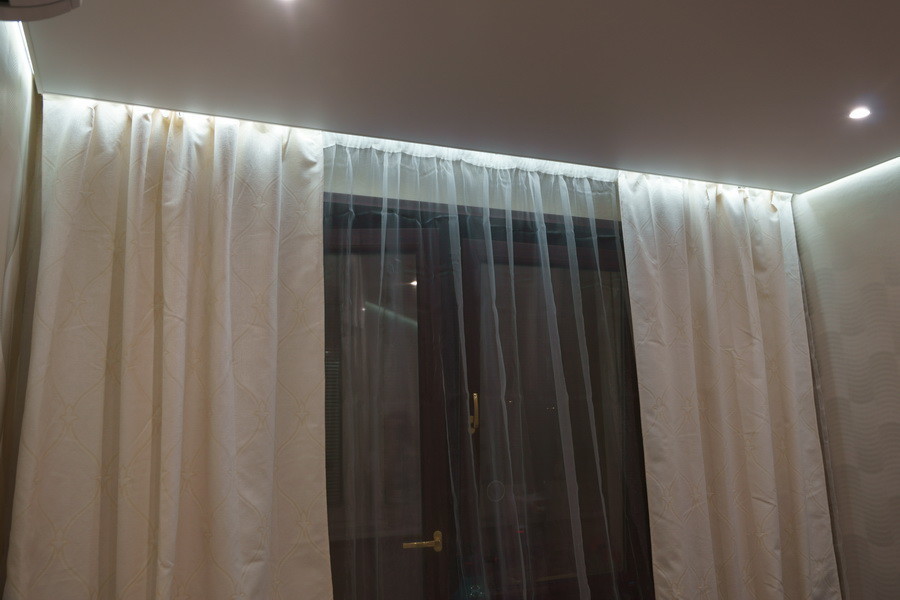
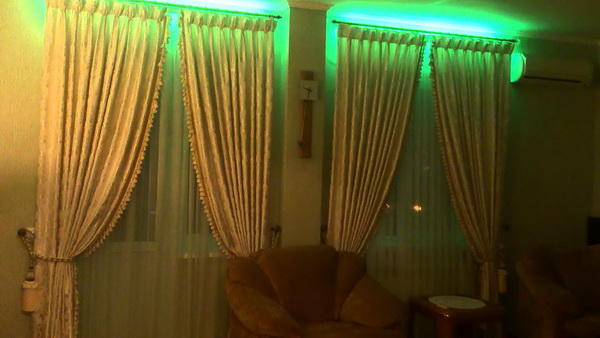
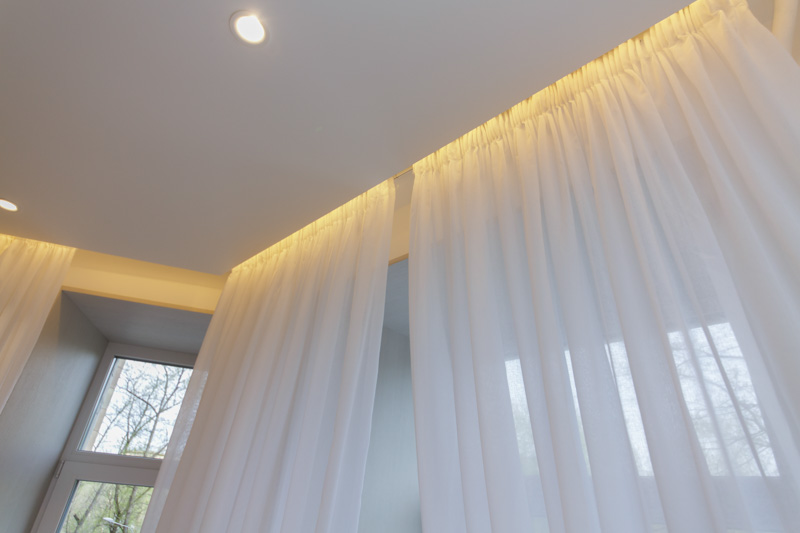
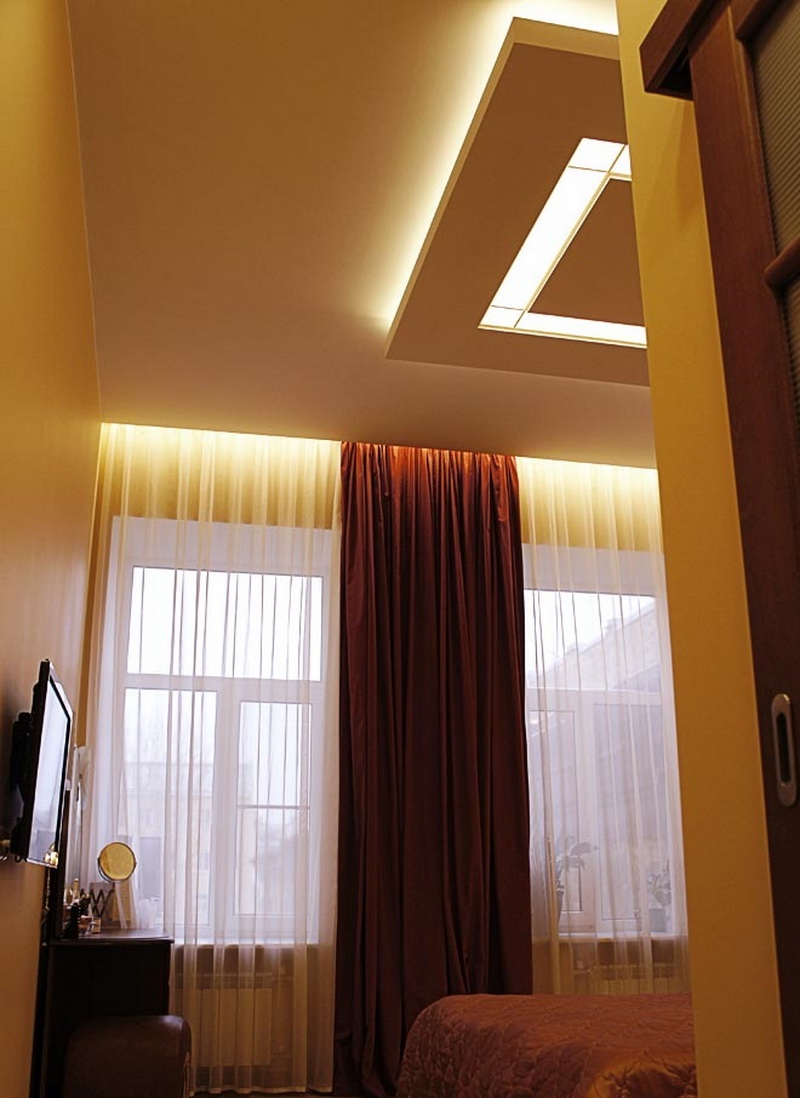
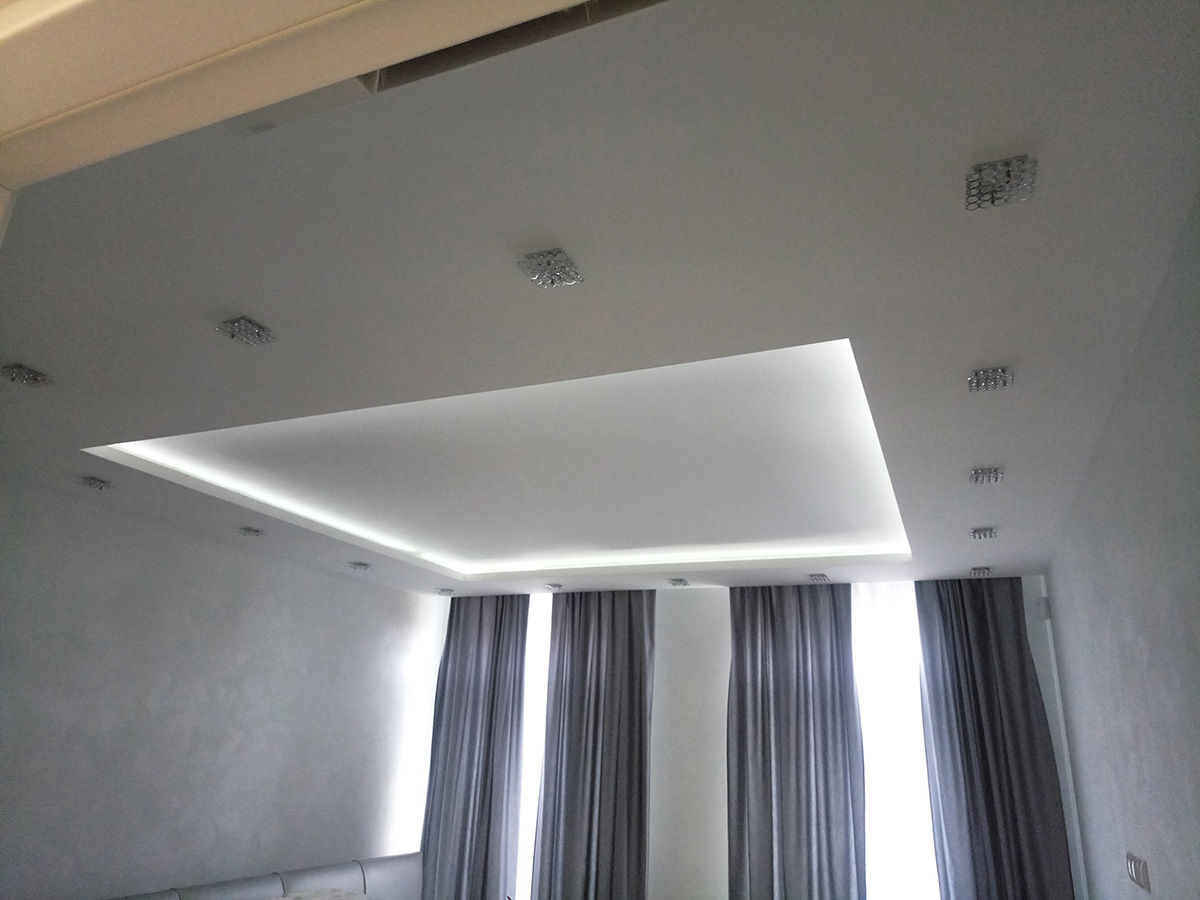
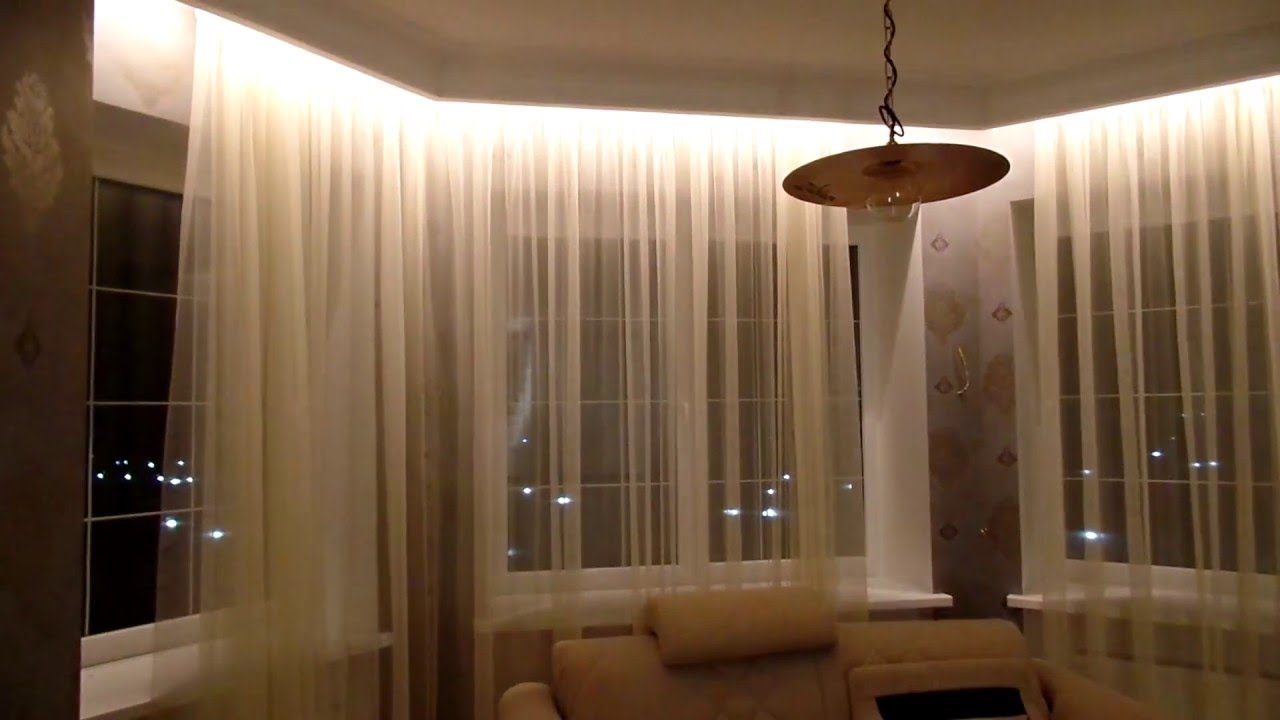
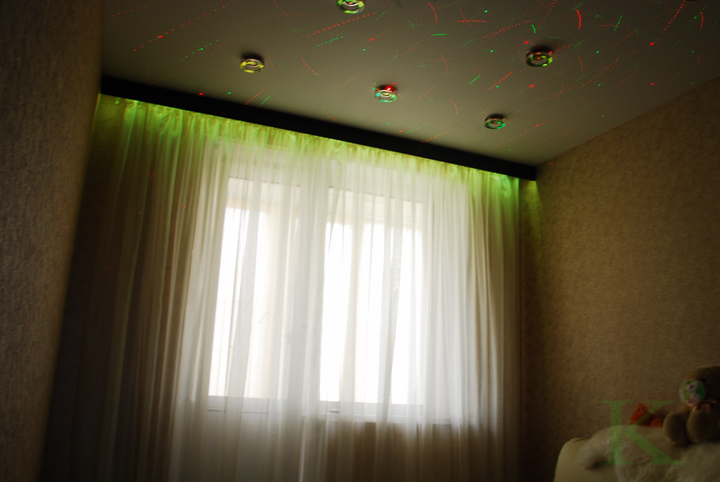
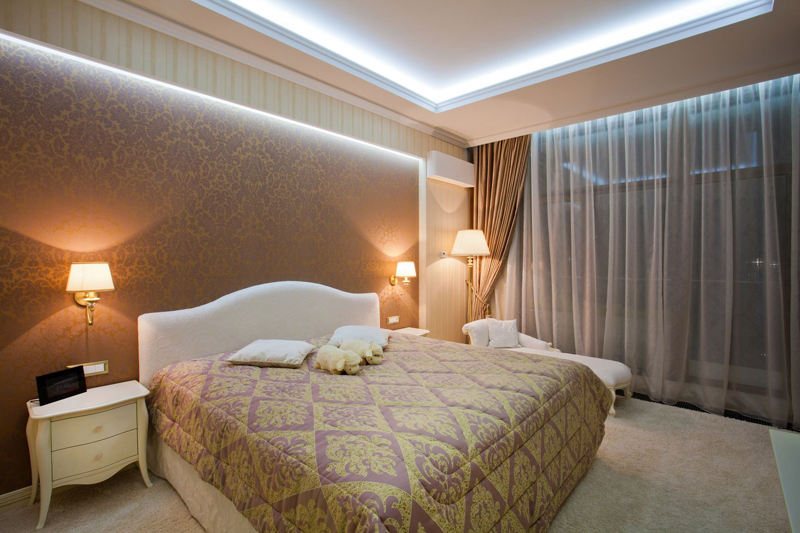
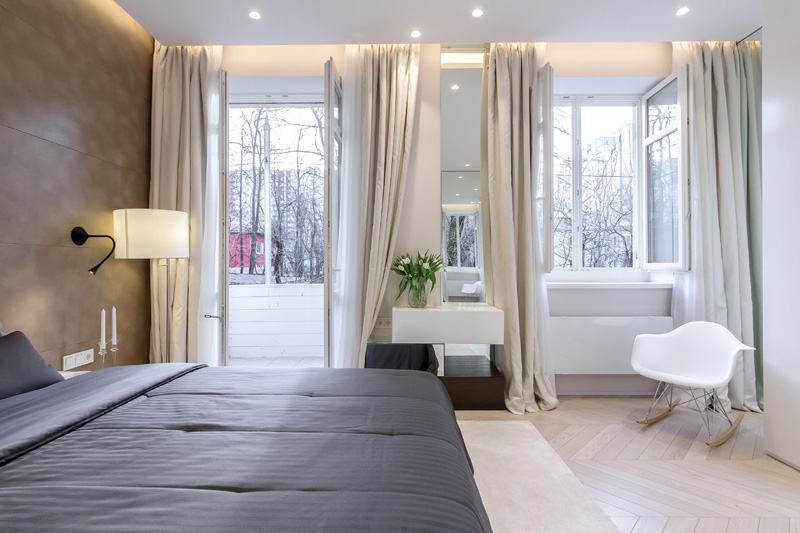
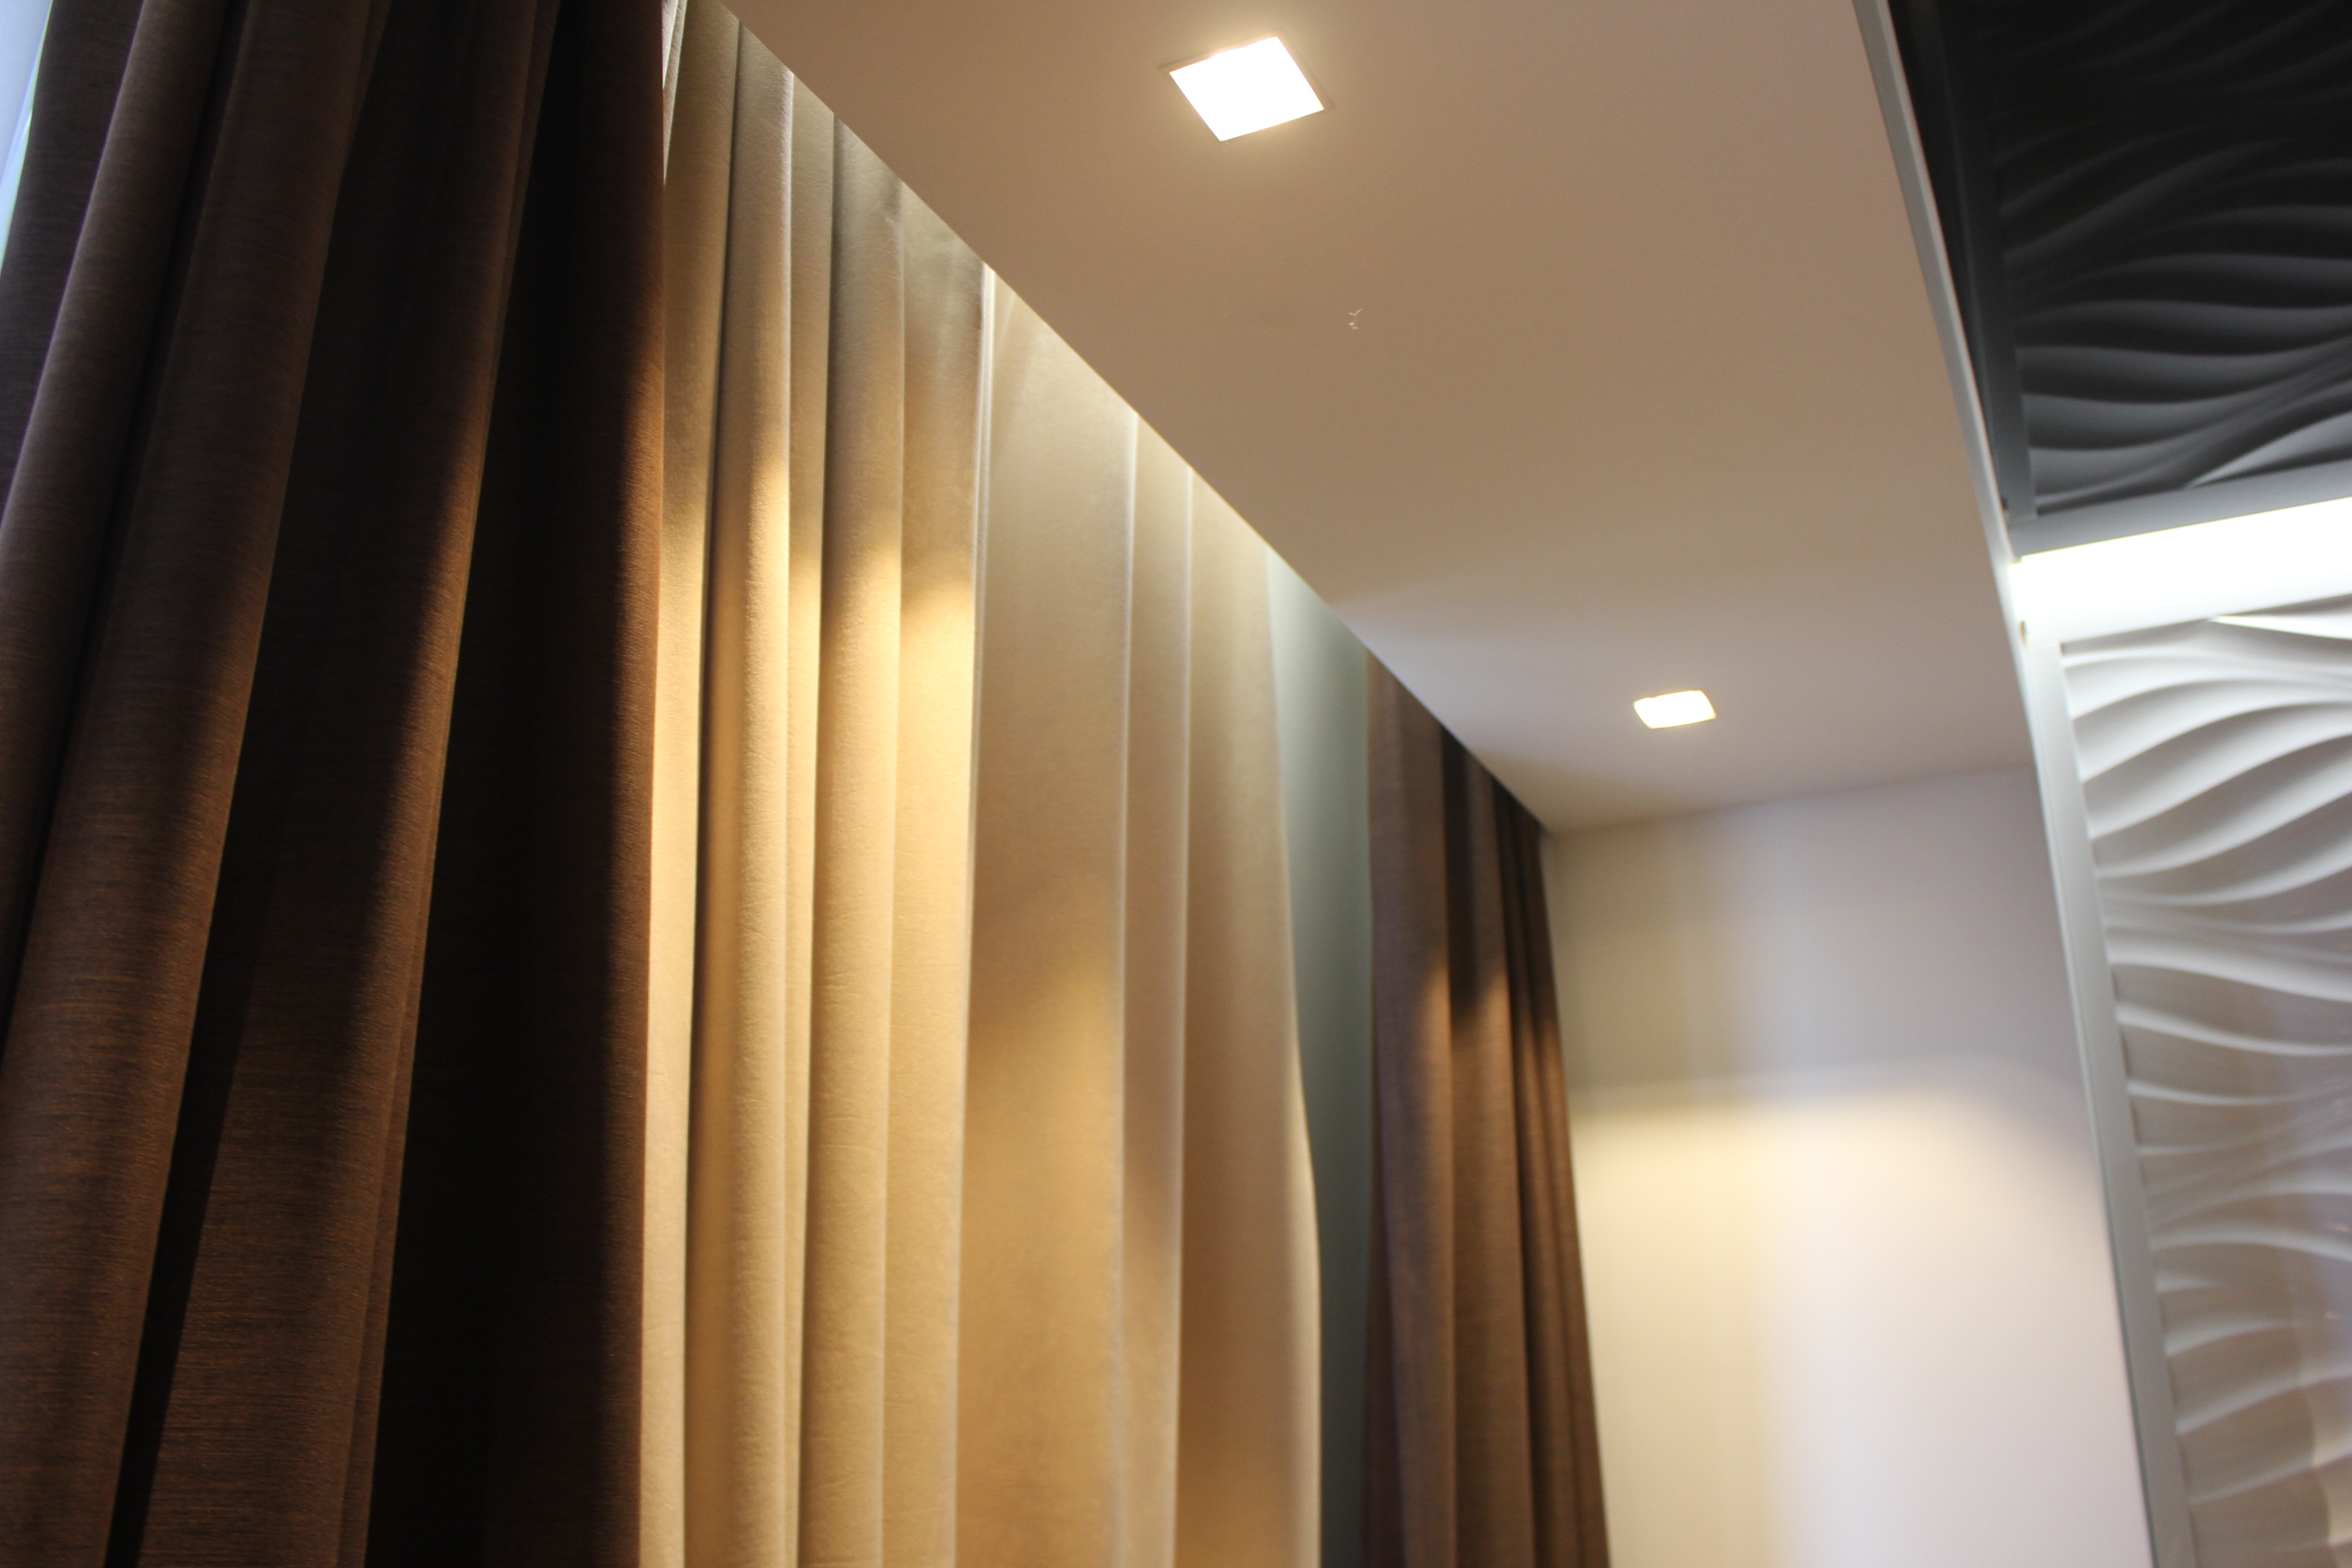
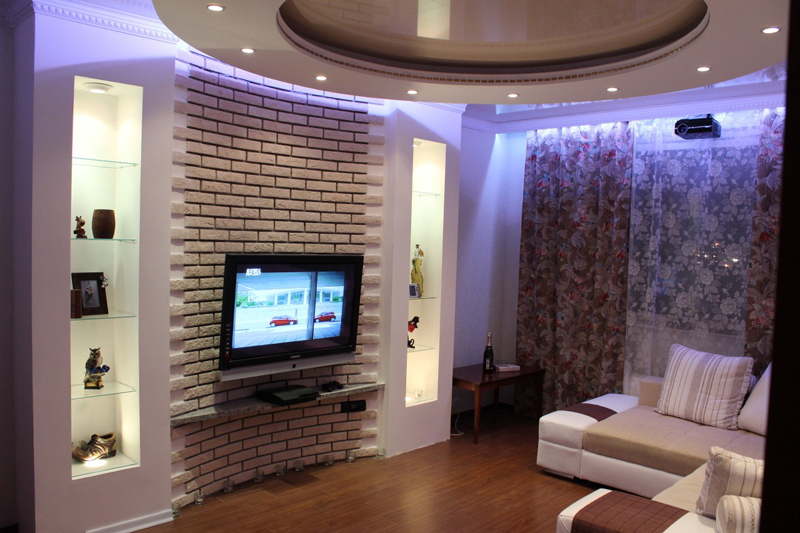
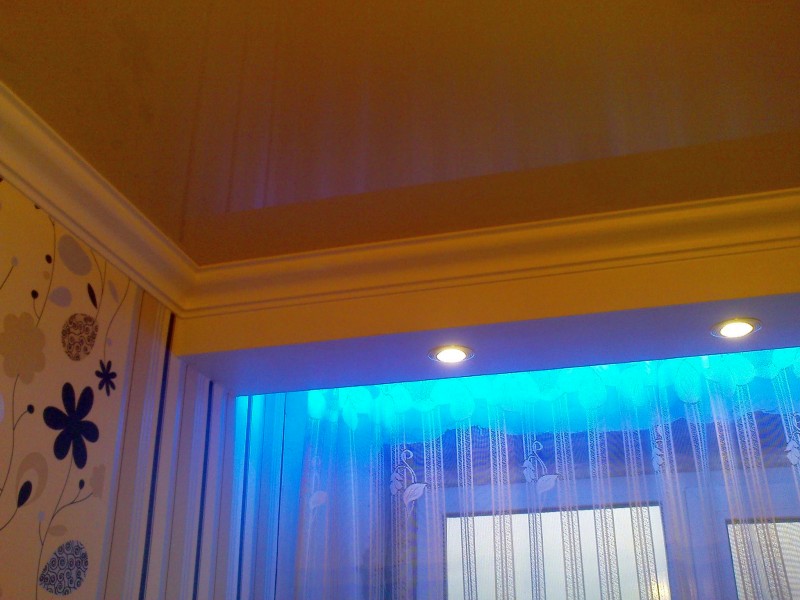
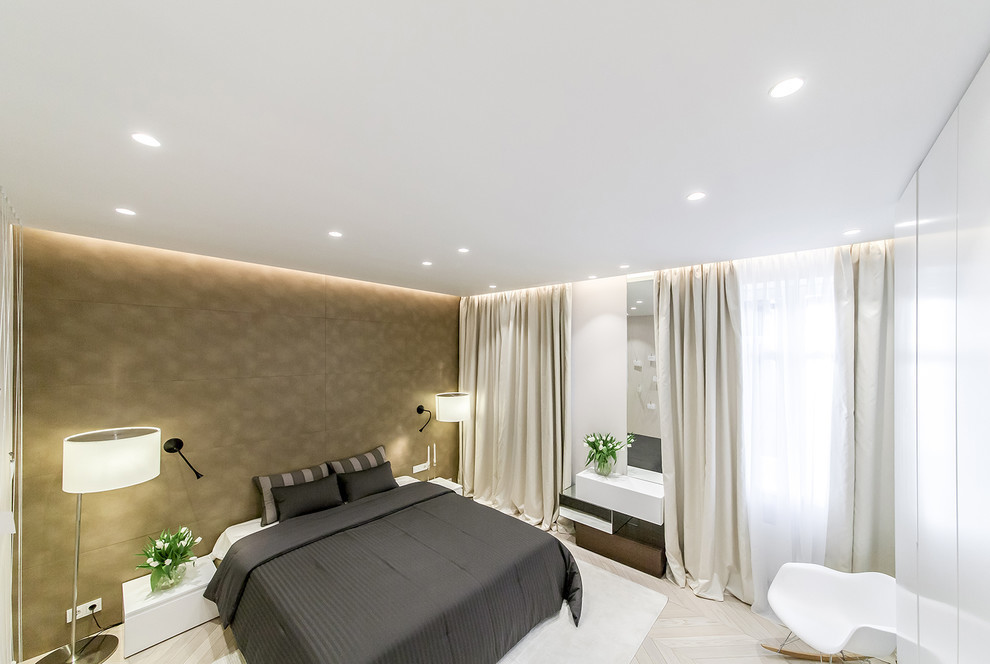
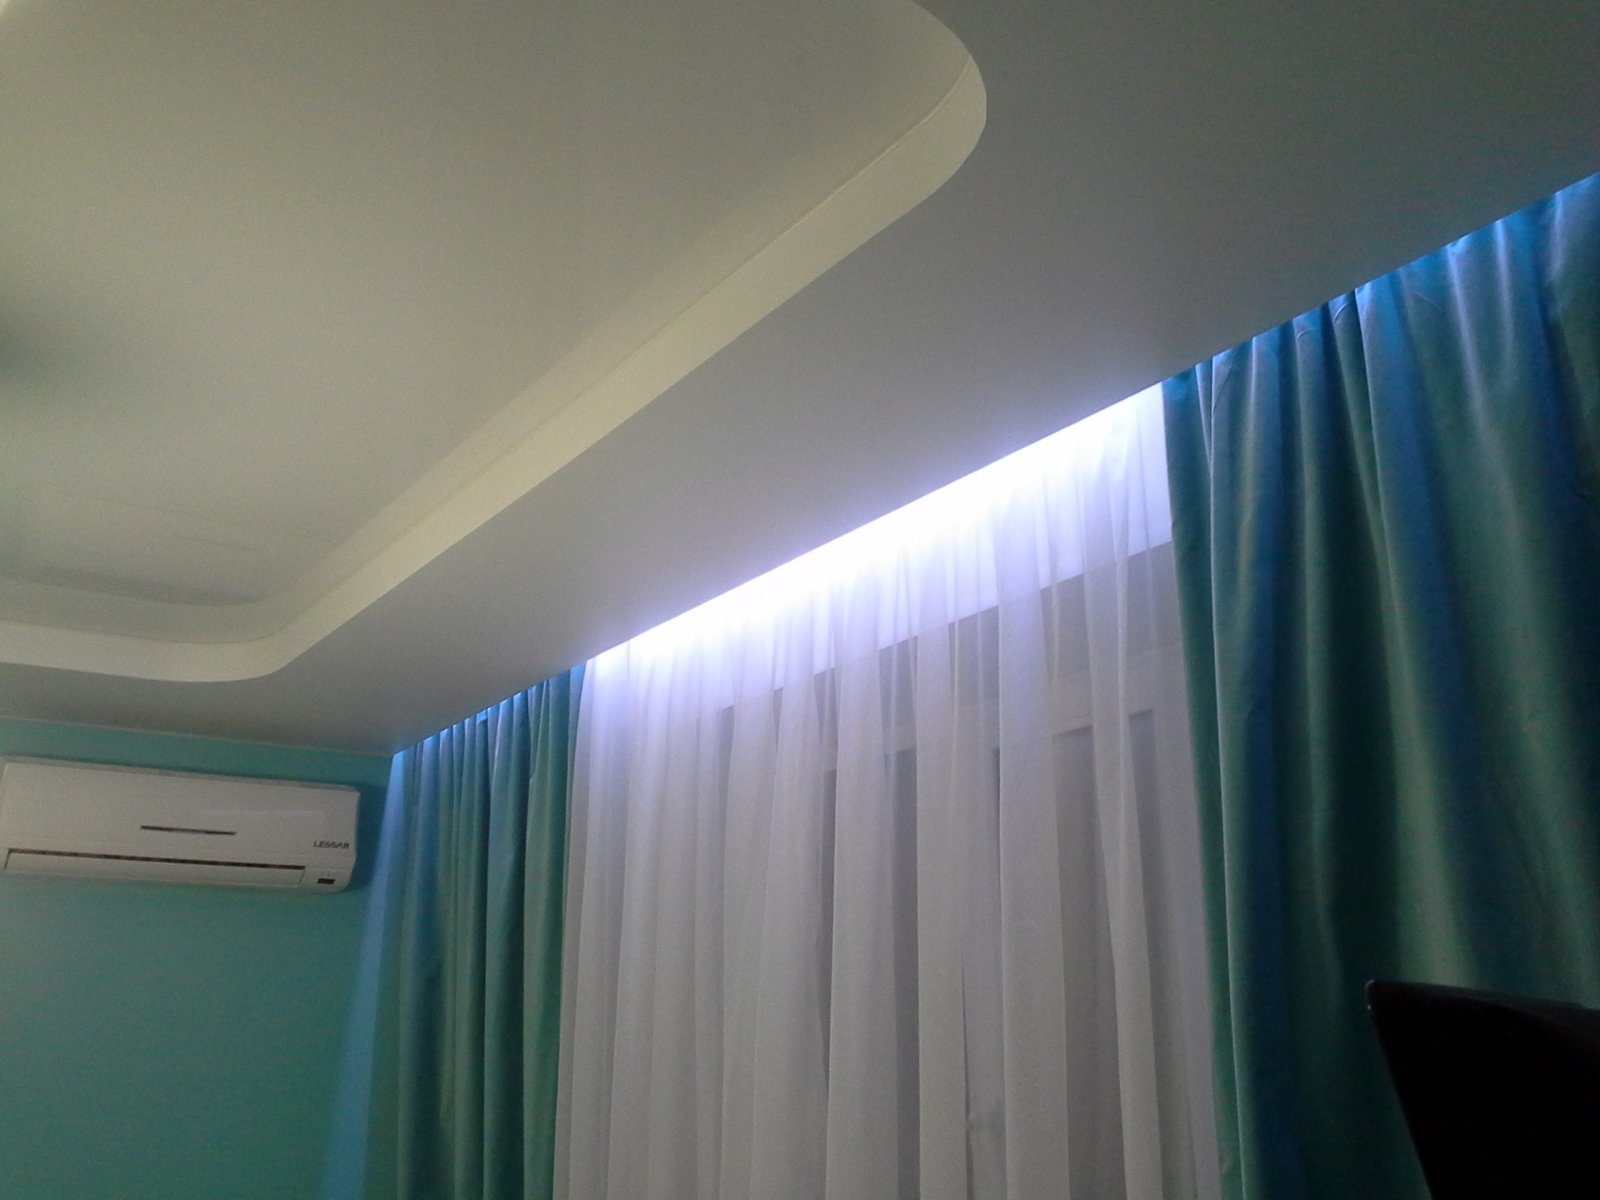
Cornices with illumination
Another effective and at the same time practical lighting option is cornice lighting. In the previous part, we considered the option of attaching a waterfall curtain, including under the cornice, and other lighting options can also be attached to it.
Any cornice can be illuminated:
- ceiling,
- wall-ceiling,
- wall.
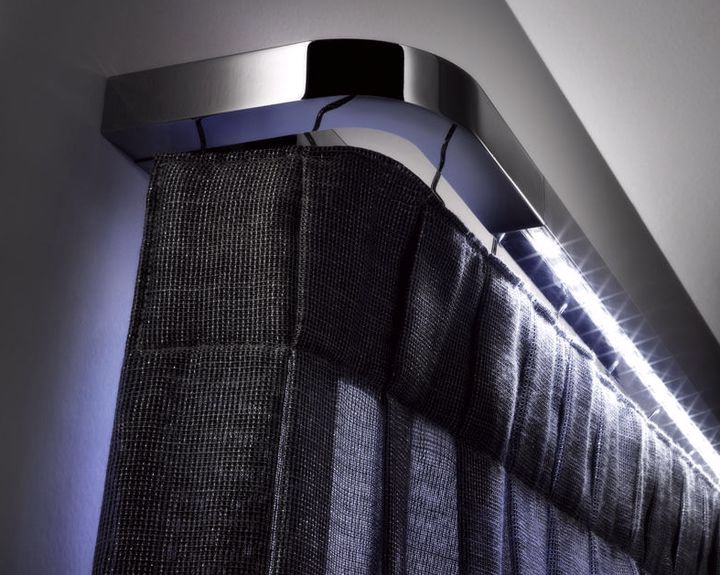
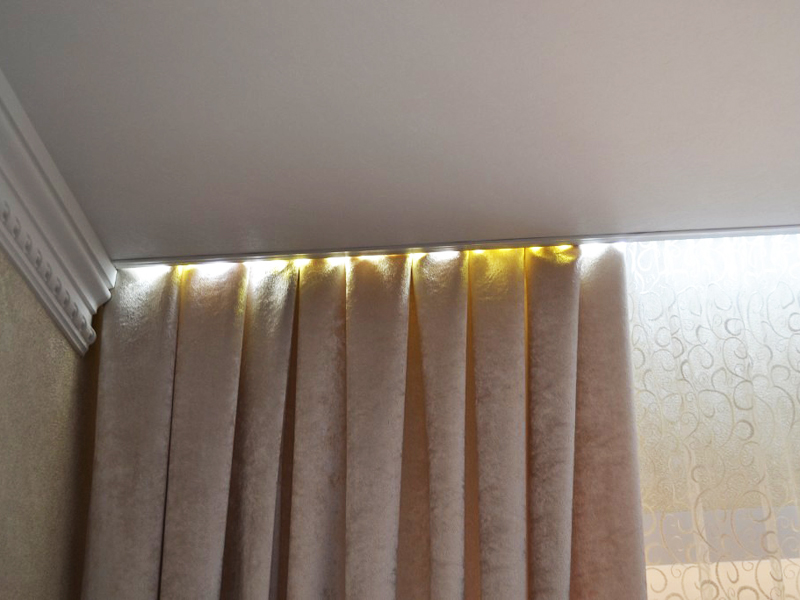
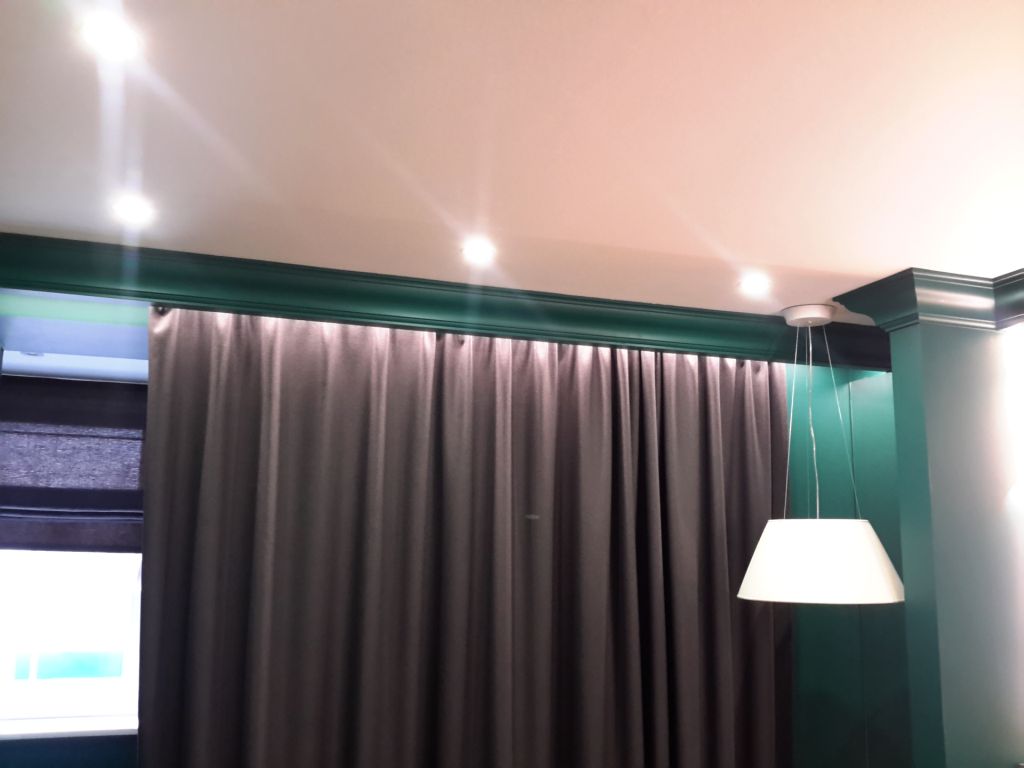
It is better to choose those models in which the part that is glued to the wall will be much wider than the ceiling part. That is, classic and decorative baseboards will not work, it is better to choose a wide molding. But even in this case, there are some nuances: make sure that the upper part of the molding is not horizontal and is not beveled downwards from the wall, otherwise it will eat up the light.
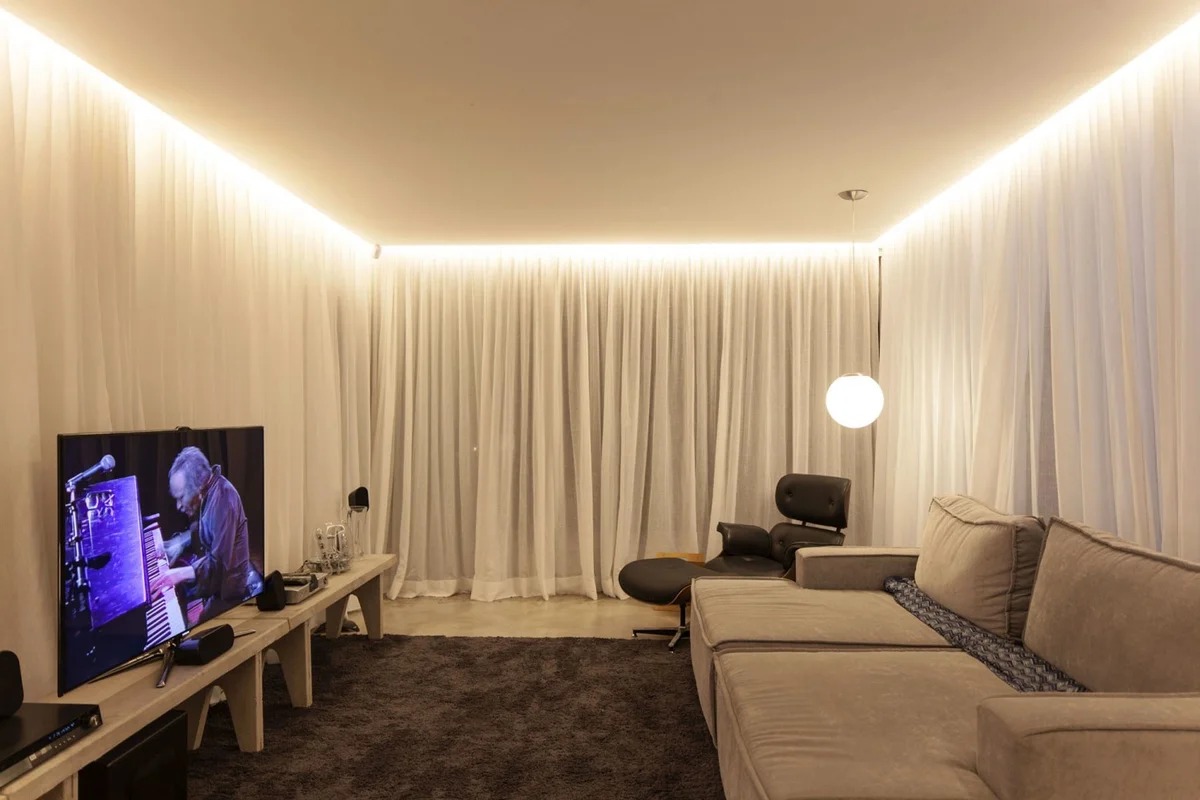
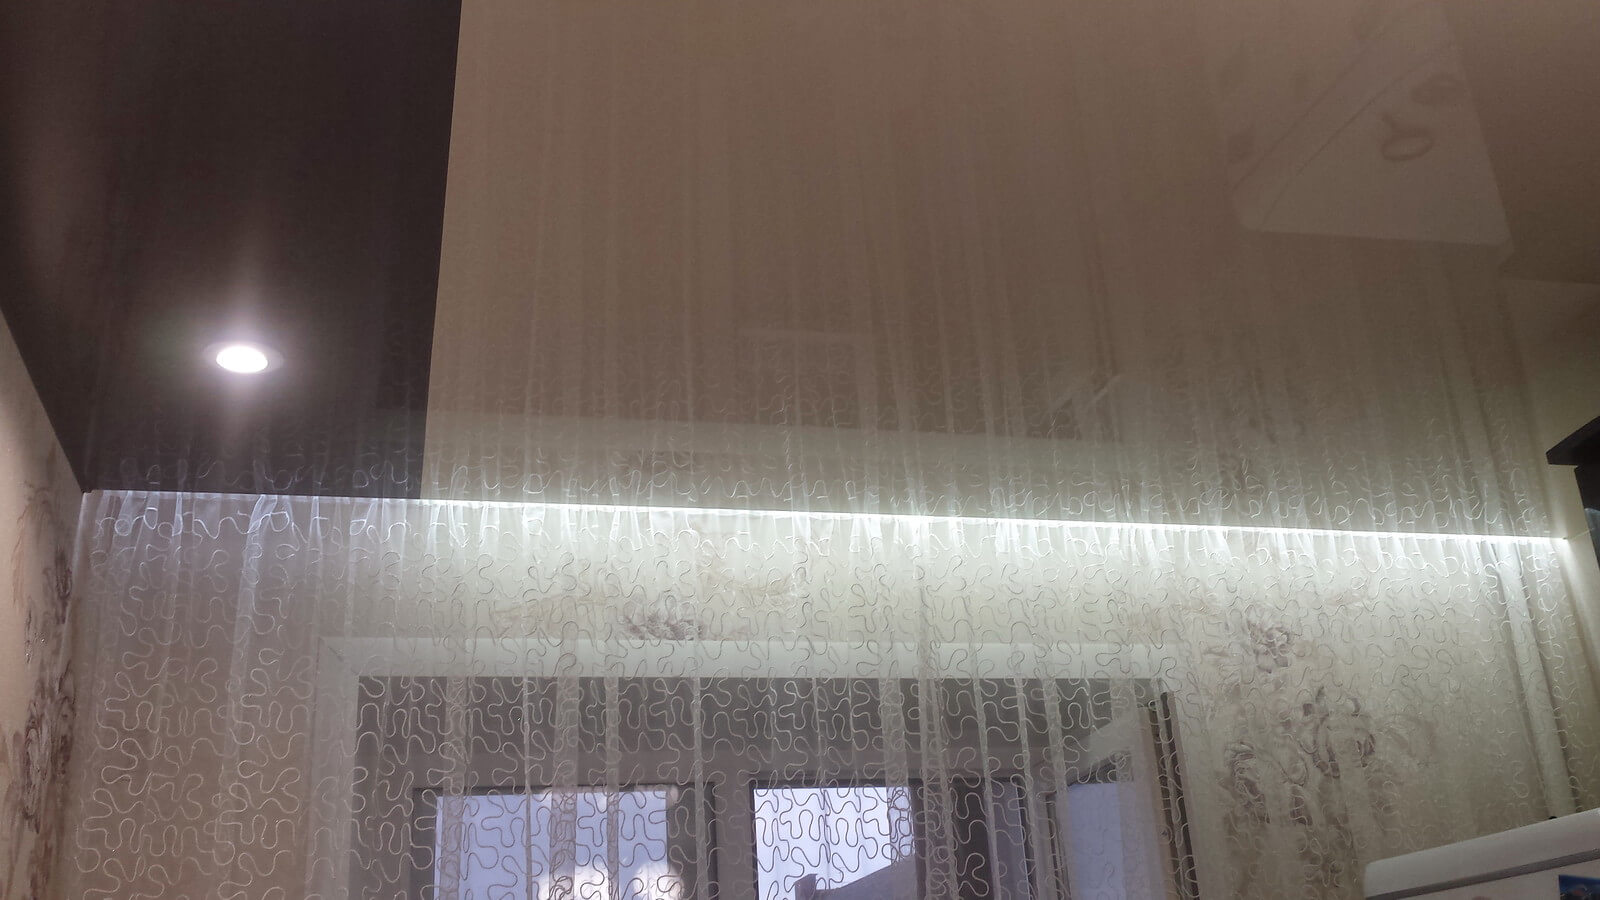
Selecting a lighting fixture for cornice illumination
Traditional lamps are definitely not suitable right away. They can direct the light with a fairly powerful beam, and therefore it falls unevenly. It is better to use LED strip or various types of garlands with LED lamps. It does not heat up as much and is more economical.

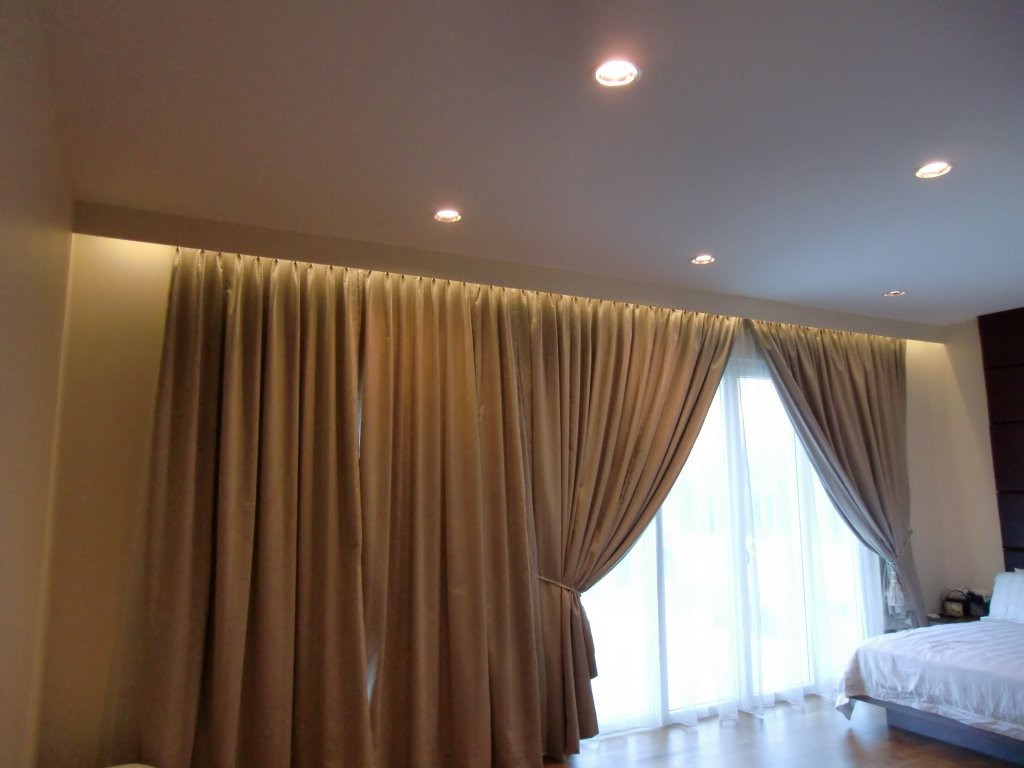
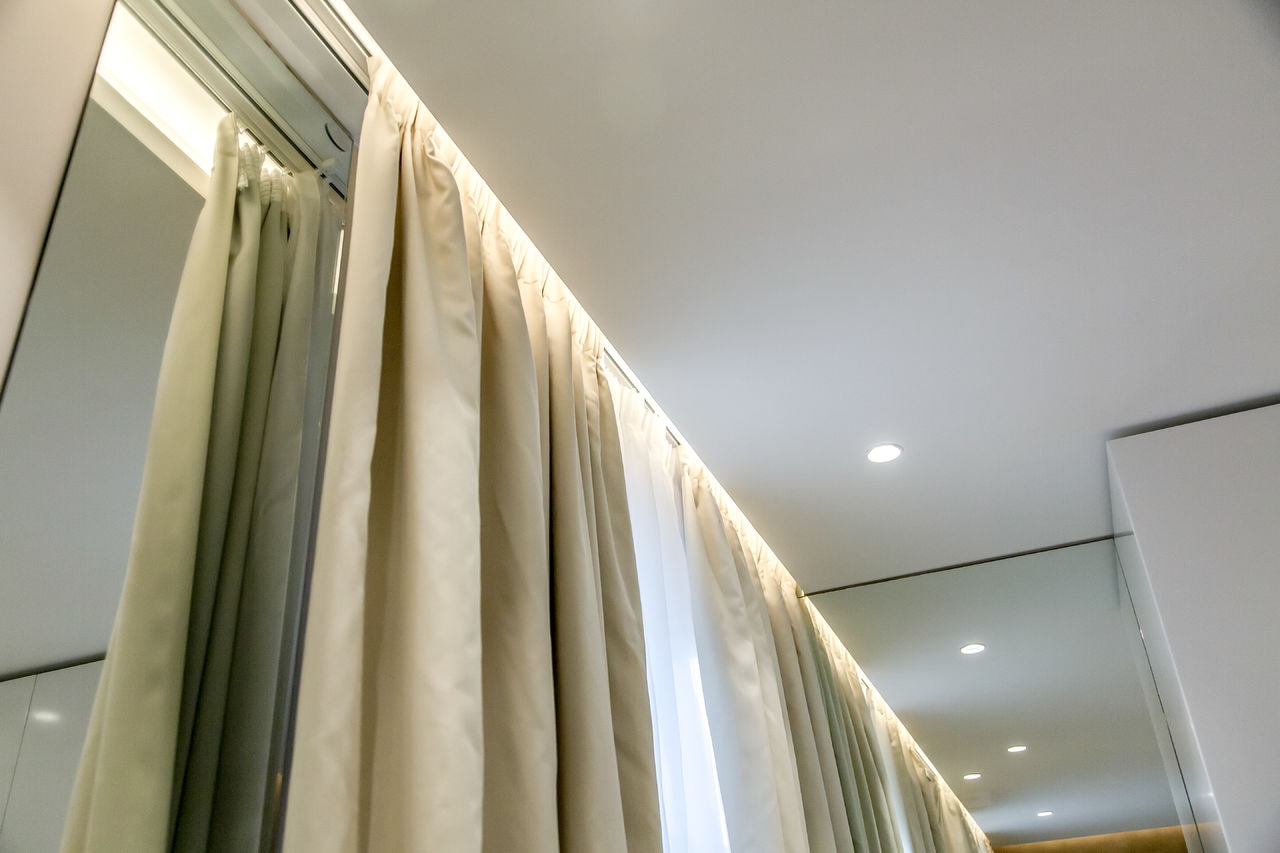
Installation of cornice lighting
- Glue the cornice to the prepared wall.
- The cornice should be installed at a distance of 5-10 cm from the ceiling.
- Glue the corners of the baguettes together (corner to corner).
- We glue the LED strip to the wall or install lamps. Or we “insert” it into the space behind the cornice.
- We attach the power supply unit next to the wall or below. It is better to place it where access to it will be as convenient as possible, in a place where the hand can reach.
- Ready!
Once again about the main thing
In order for the light decoration to really please you not only with beautiful effects, but also with ease of use and safety of operation, be sure to think through all the details before going to the store and starting the installation.
VIDEO: Installing LED strip in a curtain niche.
50 modern options for curtains with lighting in the interior: