Self-sewn curtains will become a unique window decoration for any room. It is not necessary to order ready-made curtains in the studio, it is enough to know the step-by-step instructions on how to sew original curtains with your own hands. There is nothing complicated in the technology of sewing curtains, even a novice craftswoman can take on the work.
The technology of sewing curtains with your own hands can be divided into several stages.
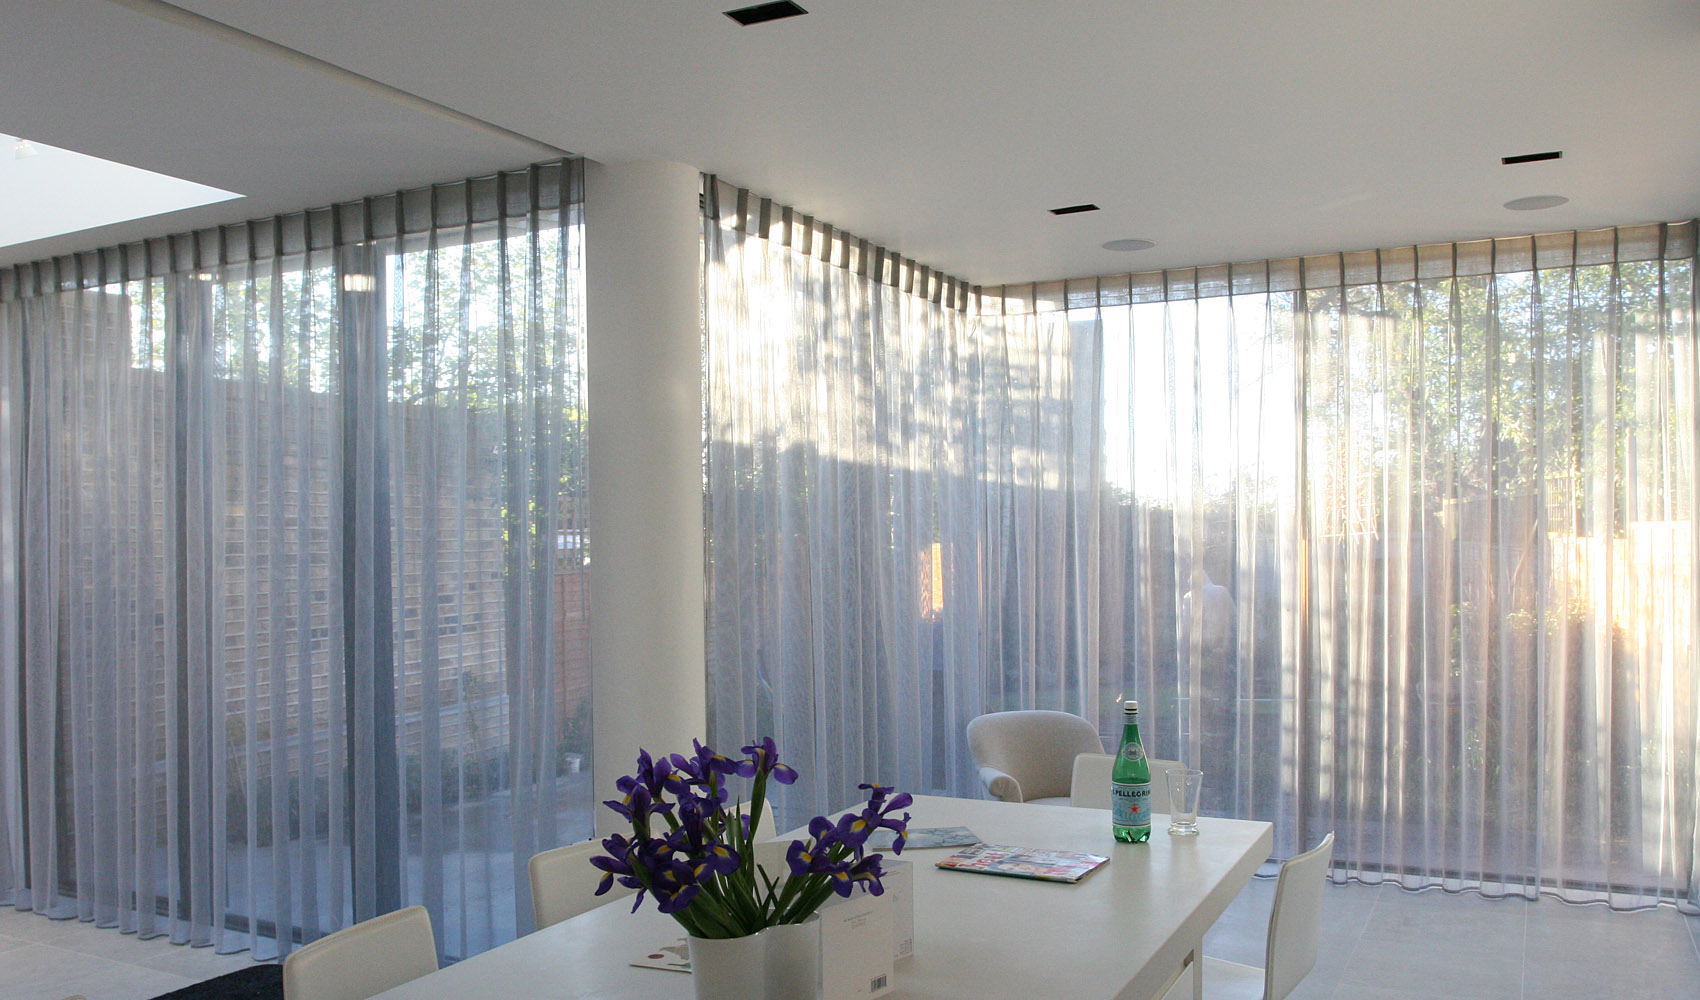
- Sketch and purpose of curtains. The product can perform several functions: visually expand the room, hide sunlight, brighten the space, place color accents in the interior.
- Selection of fabric. Any technology requires the correct choice of fabric, which determines: the style, the cut, the effect that the finished product will create.
- Checking the fabric: Before purchasing, be sure to carefully inspect the fabric sample for defects.
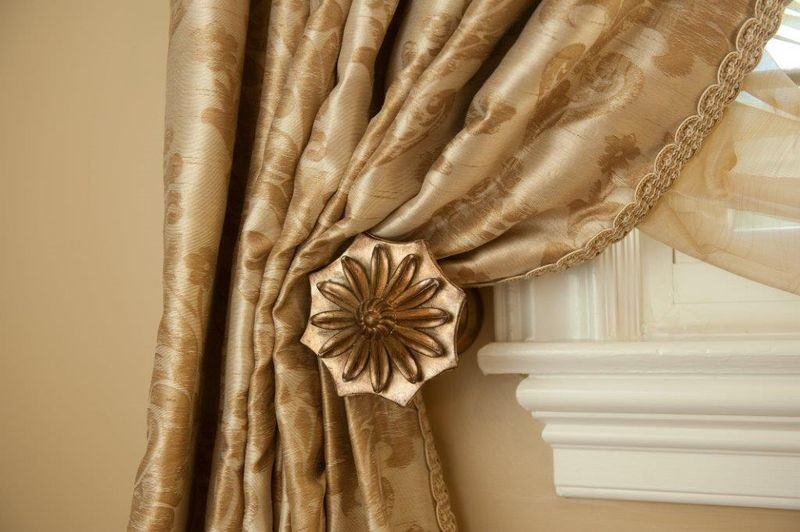
- Selection of accessories. Accessories are selected depending on the type, amount of fabric and style of the product.
- Sewing. Before sewing the product, the curtains are cut and made according to the sketch.
Attention! To avoid shrinkage of the curtain and its subsequent deformation in the finished product, wash and steam the fabric before work.
Content
- The main difficulties of cutting, depending on the chosen model.
- How to sew curtains with your own hands
- How to sew curtains: types of fabrics, differences from curtains
- How to sew double curtains: instructions, patterns for fabric, examples and photos
- Sewing curtains with your own hands
- Sewing curtains for a slanted window, patterns, examples, photos.
- VIDEO: How to sew French curtains with your own hands.
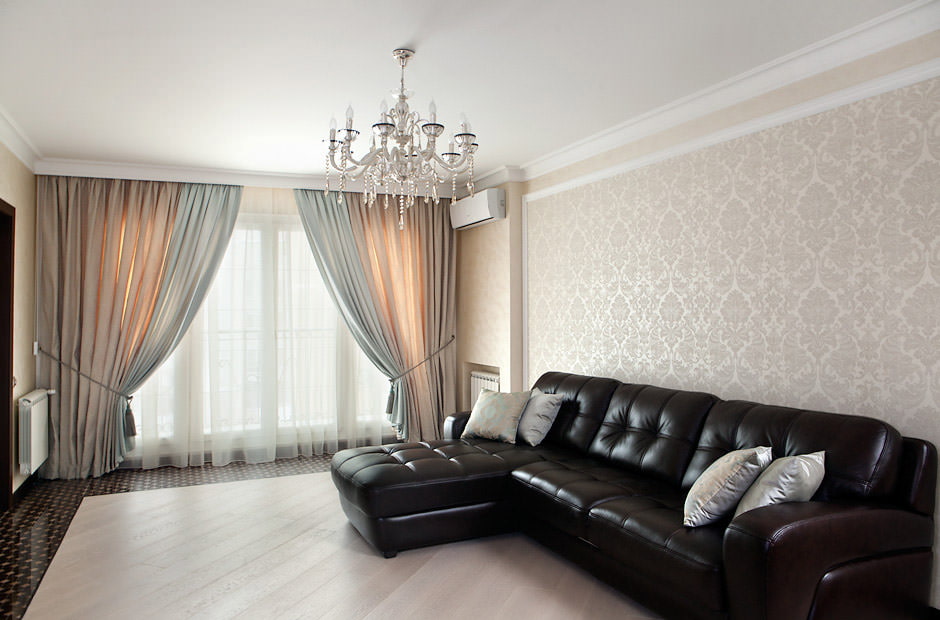
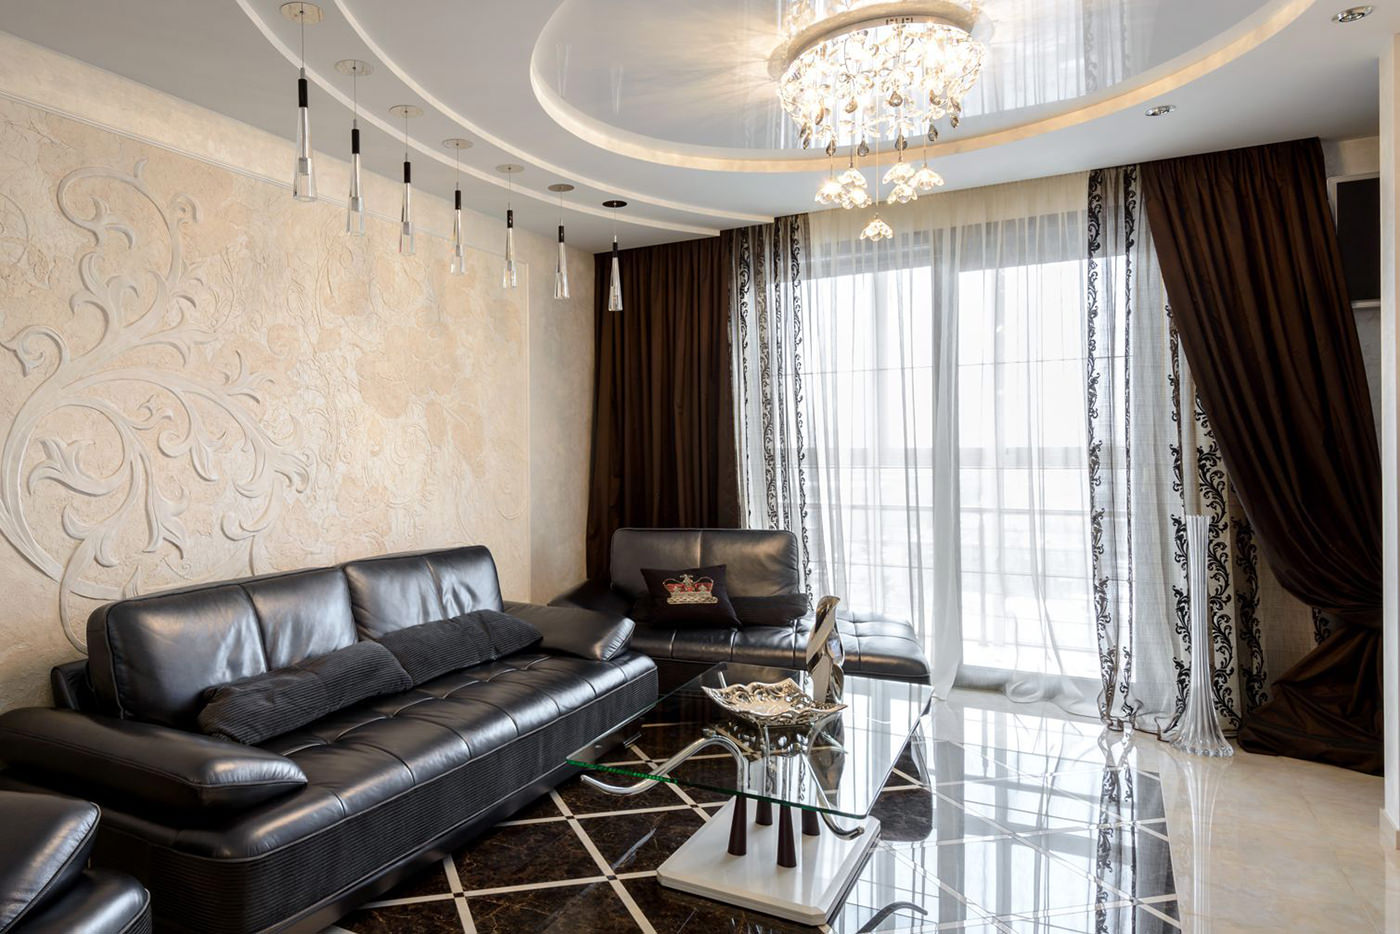
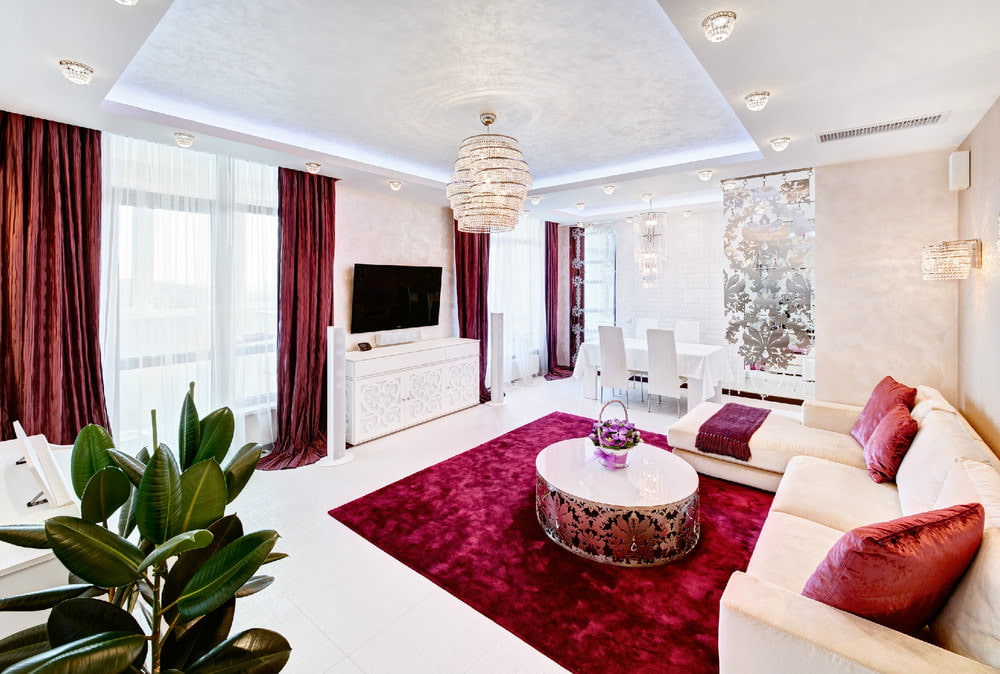
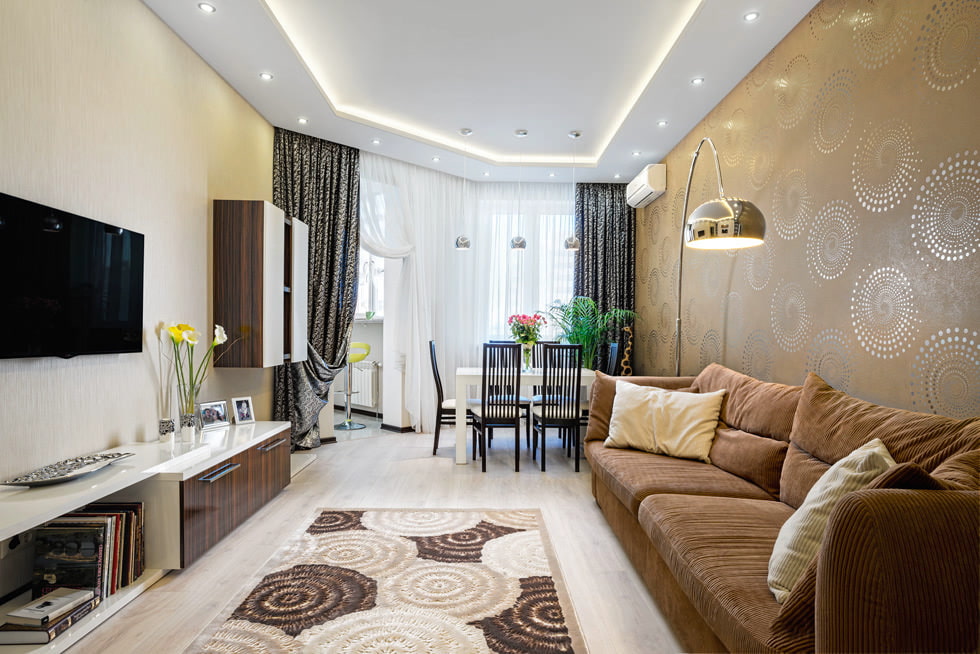
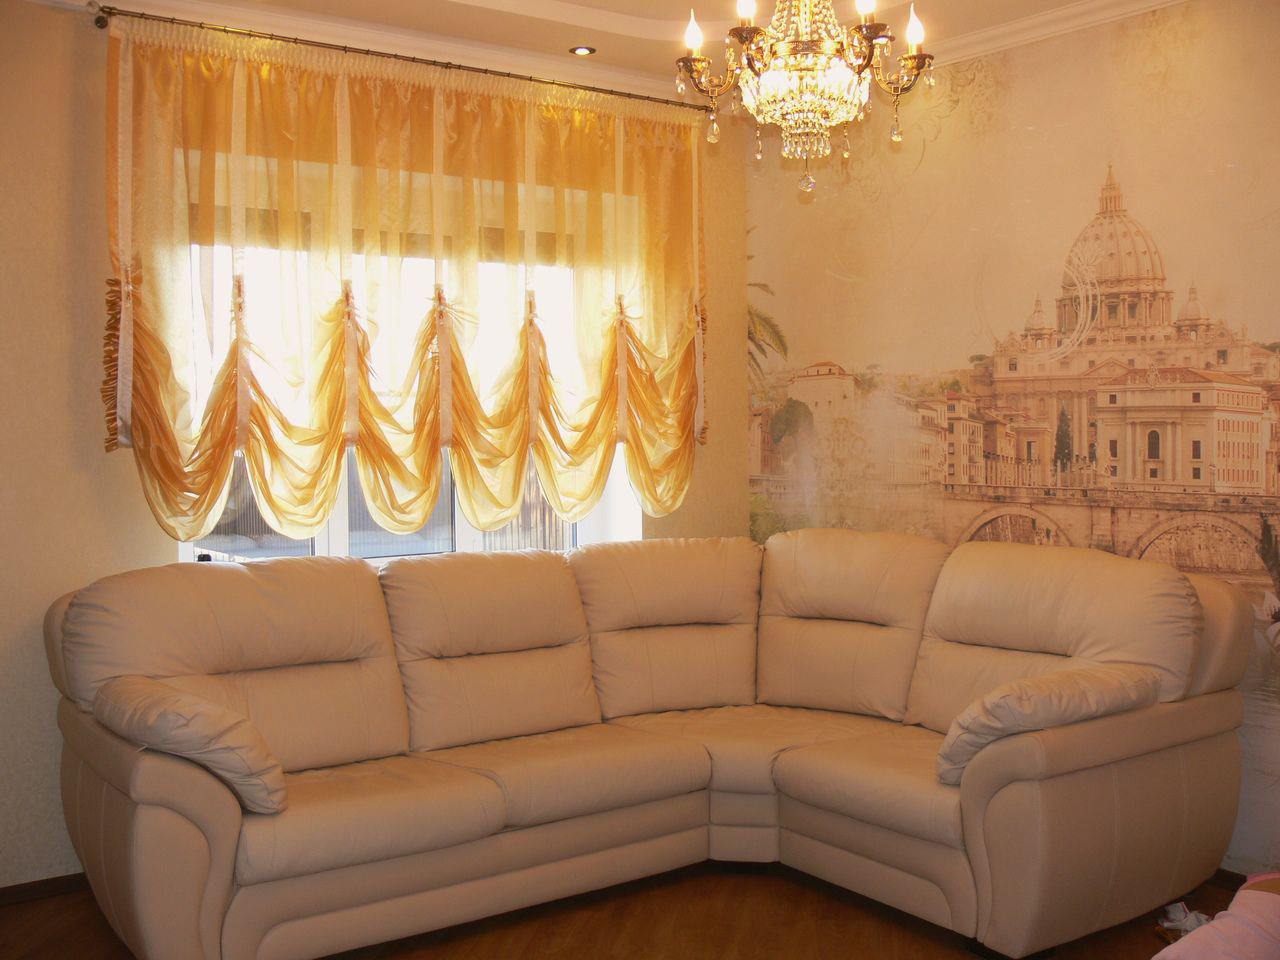
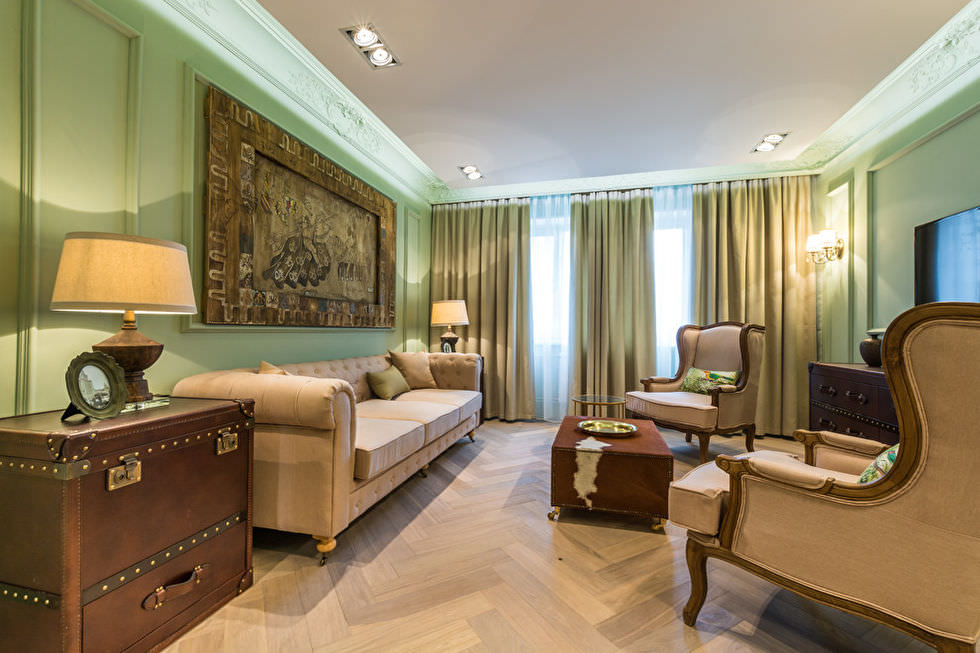
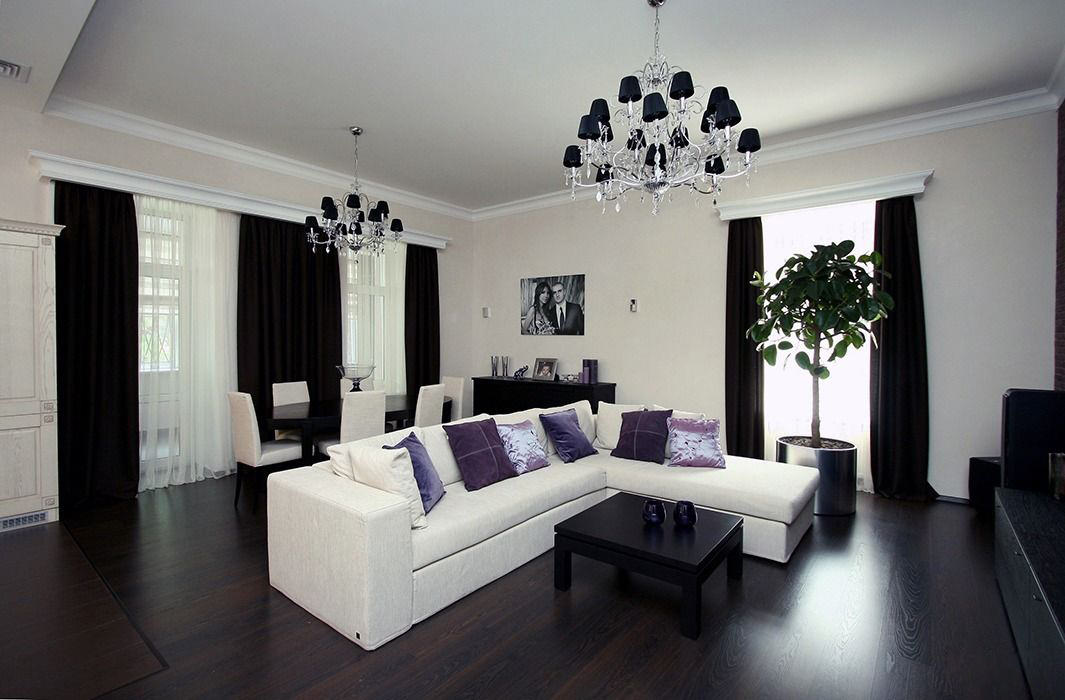
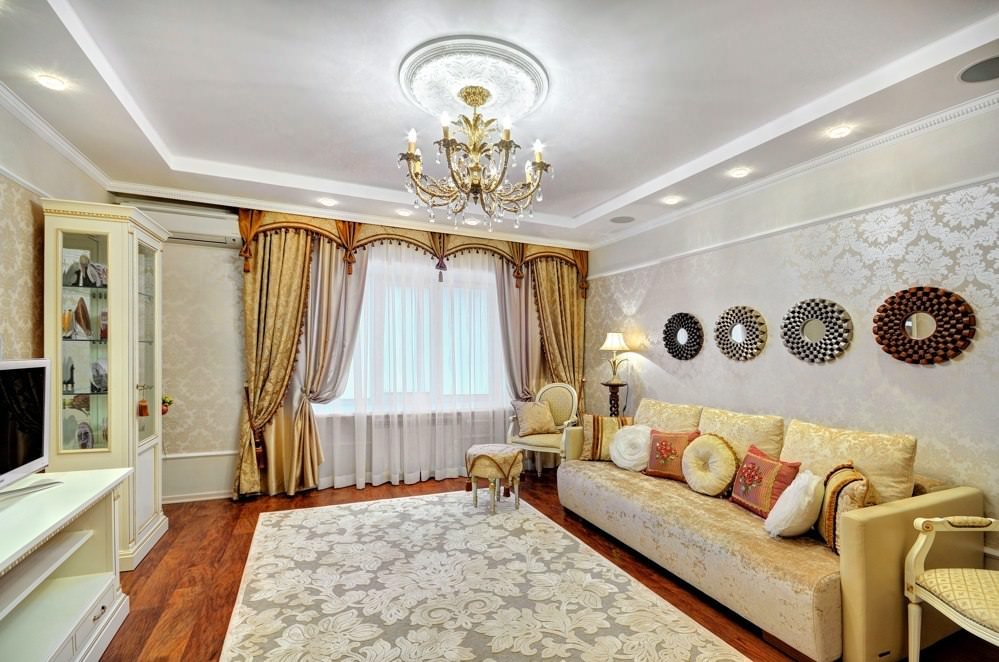
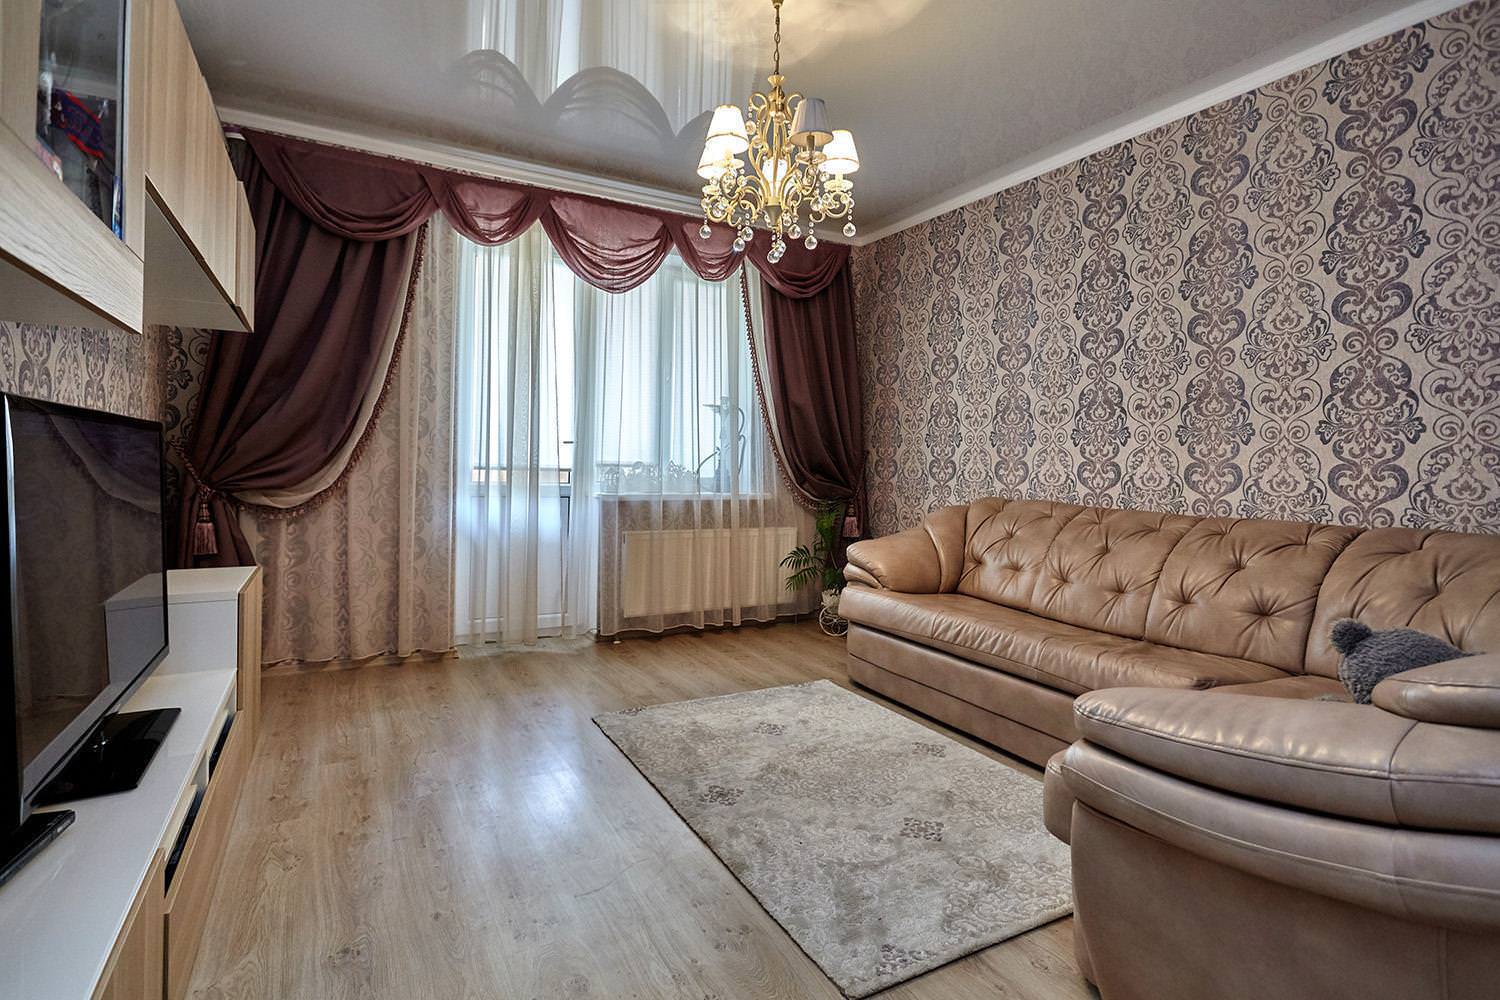
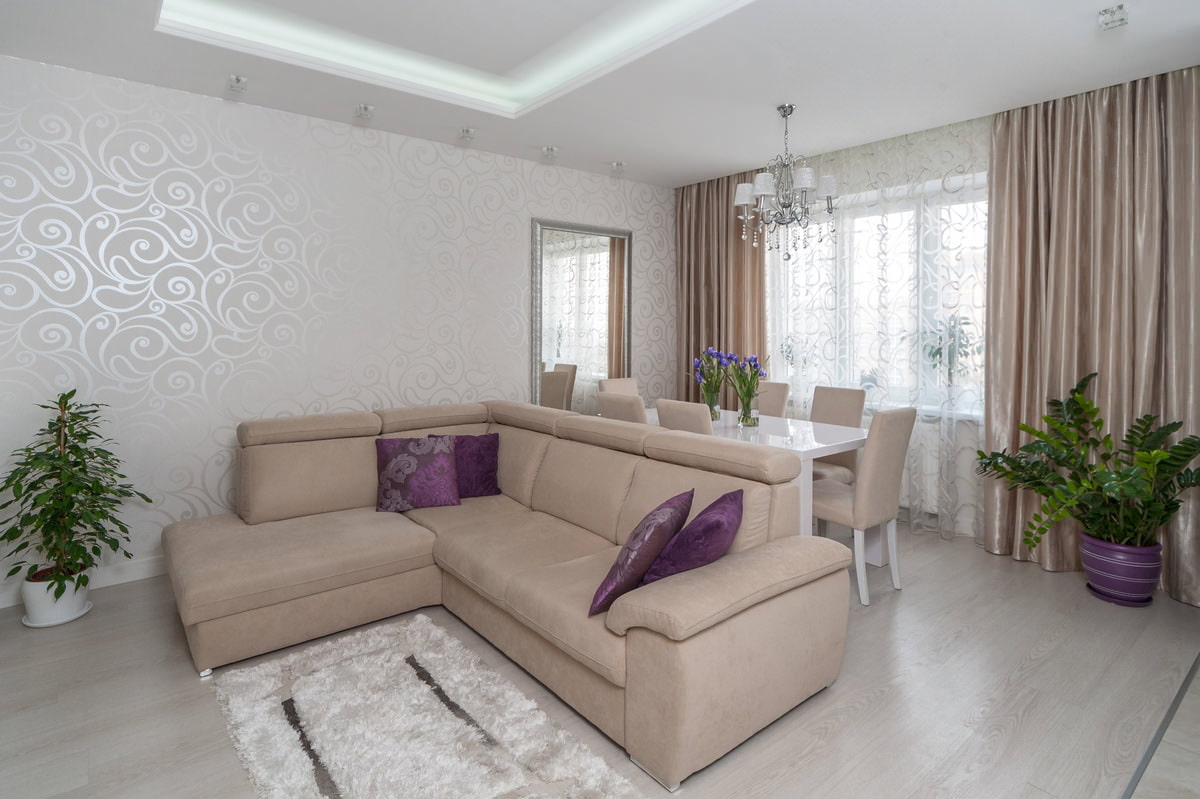
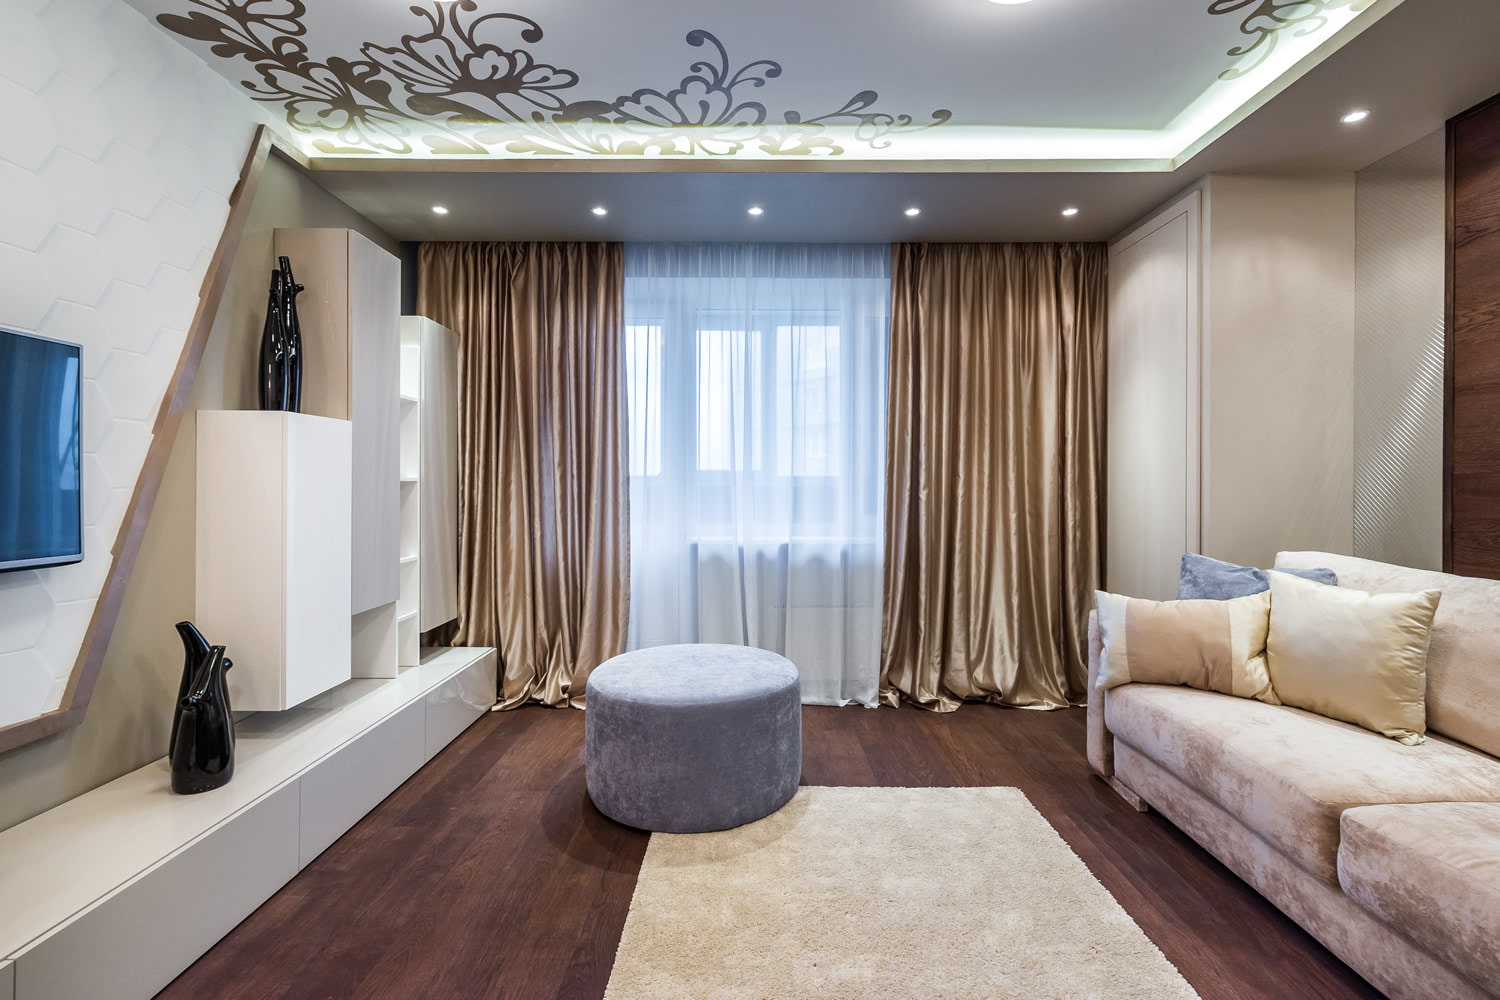
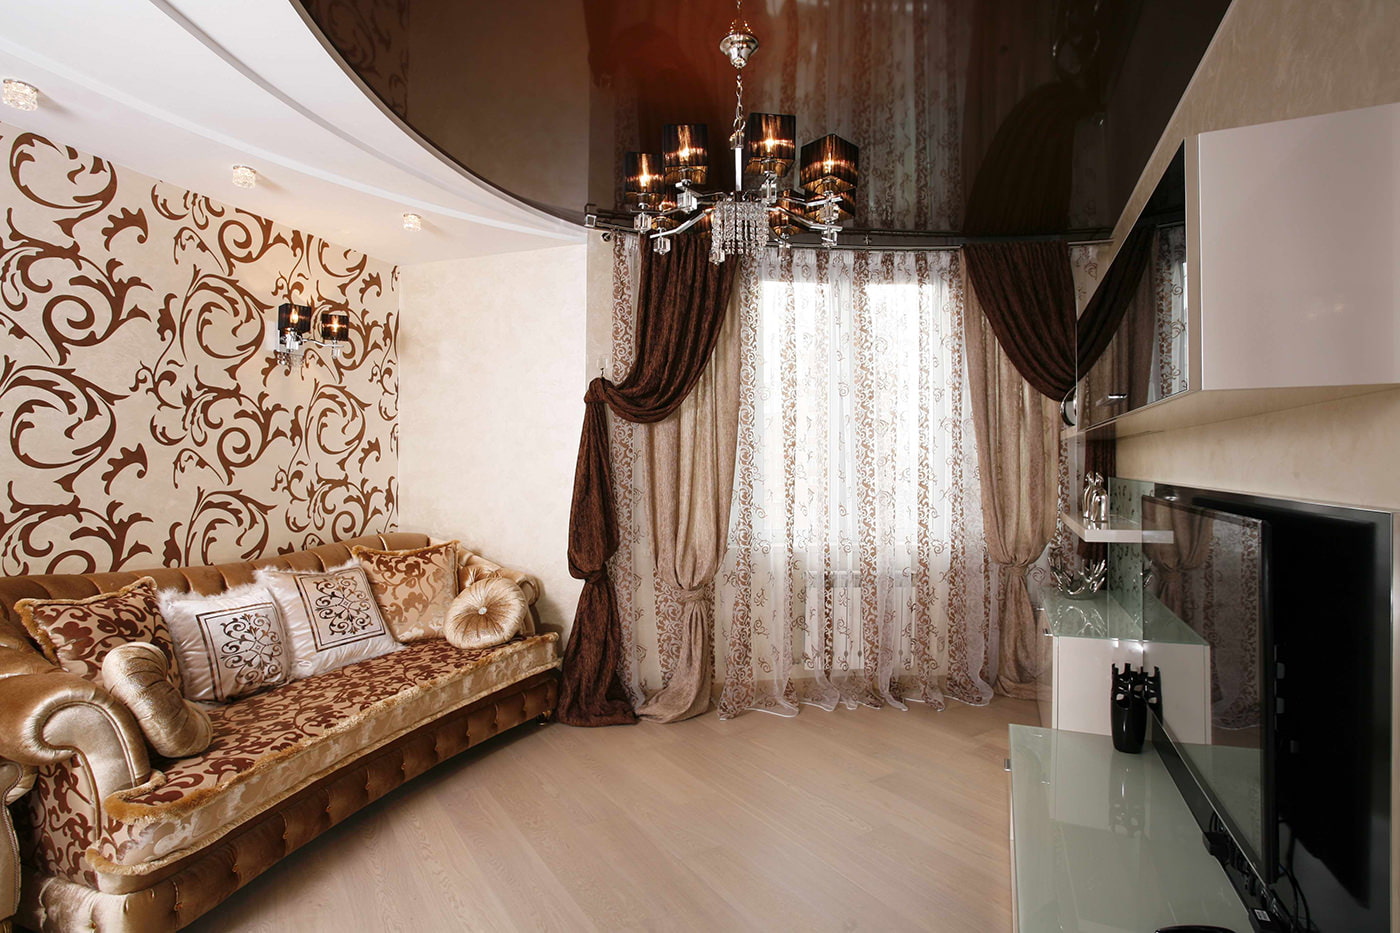
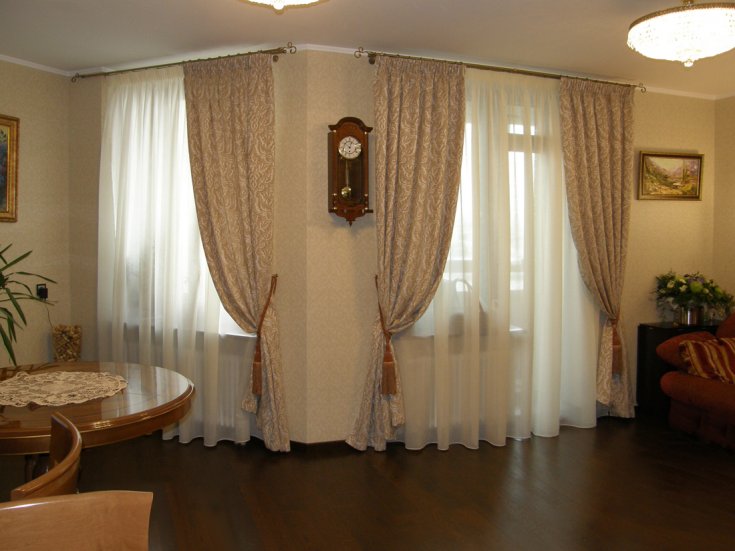
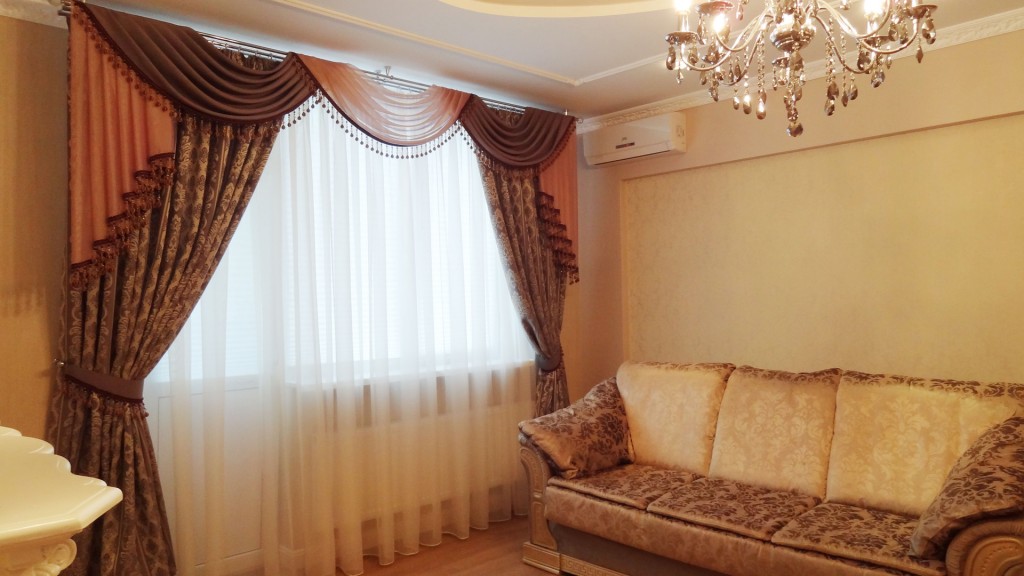
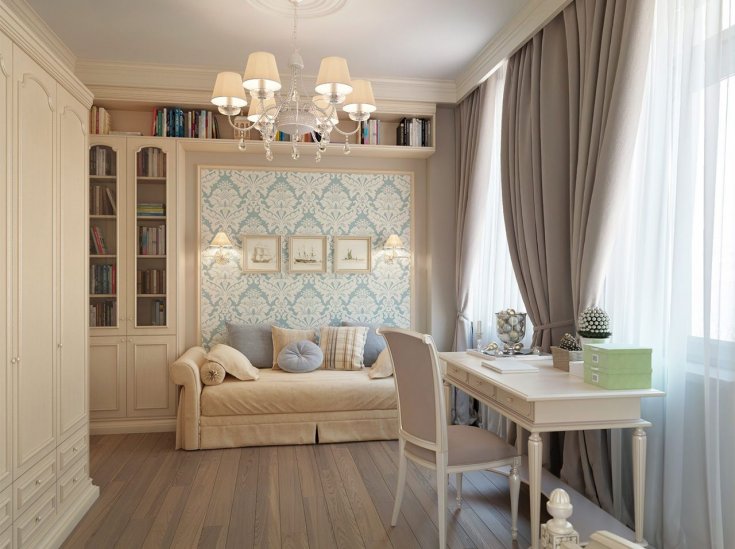
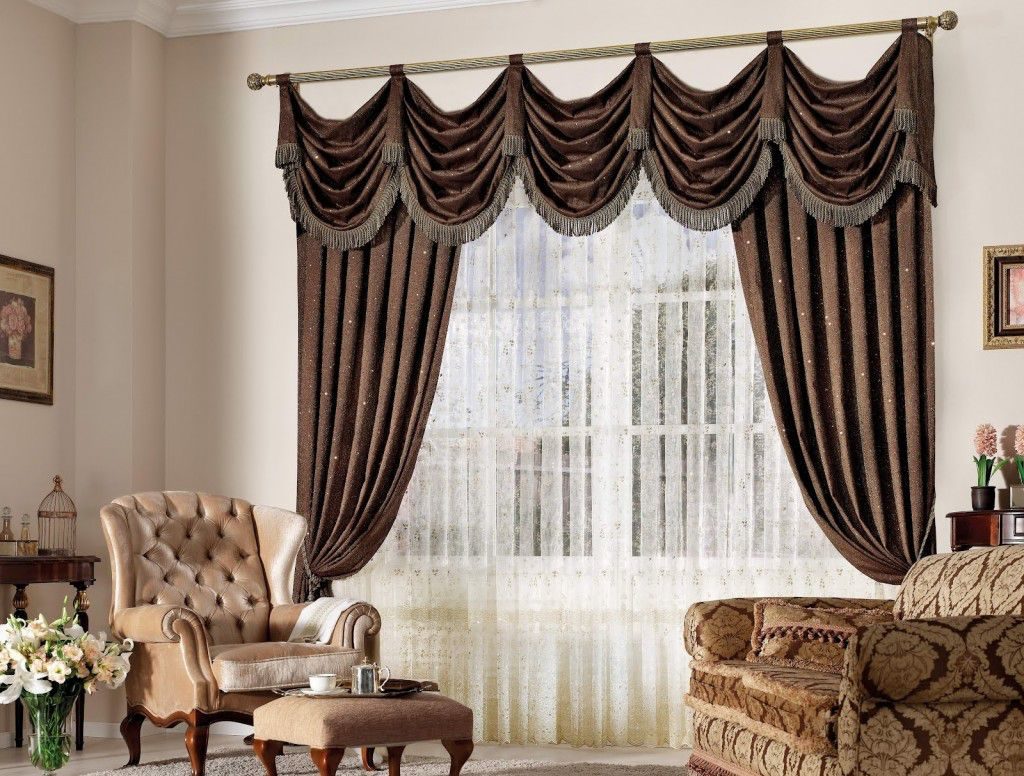
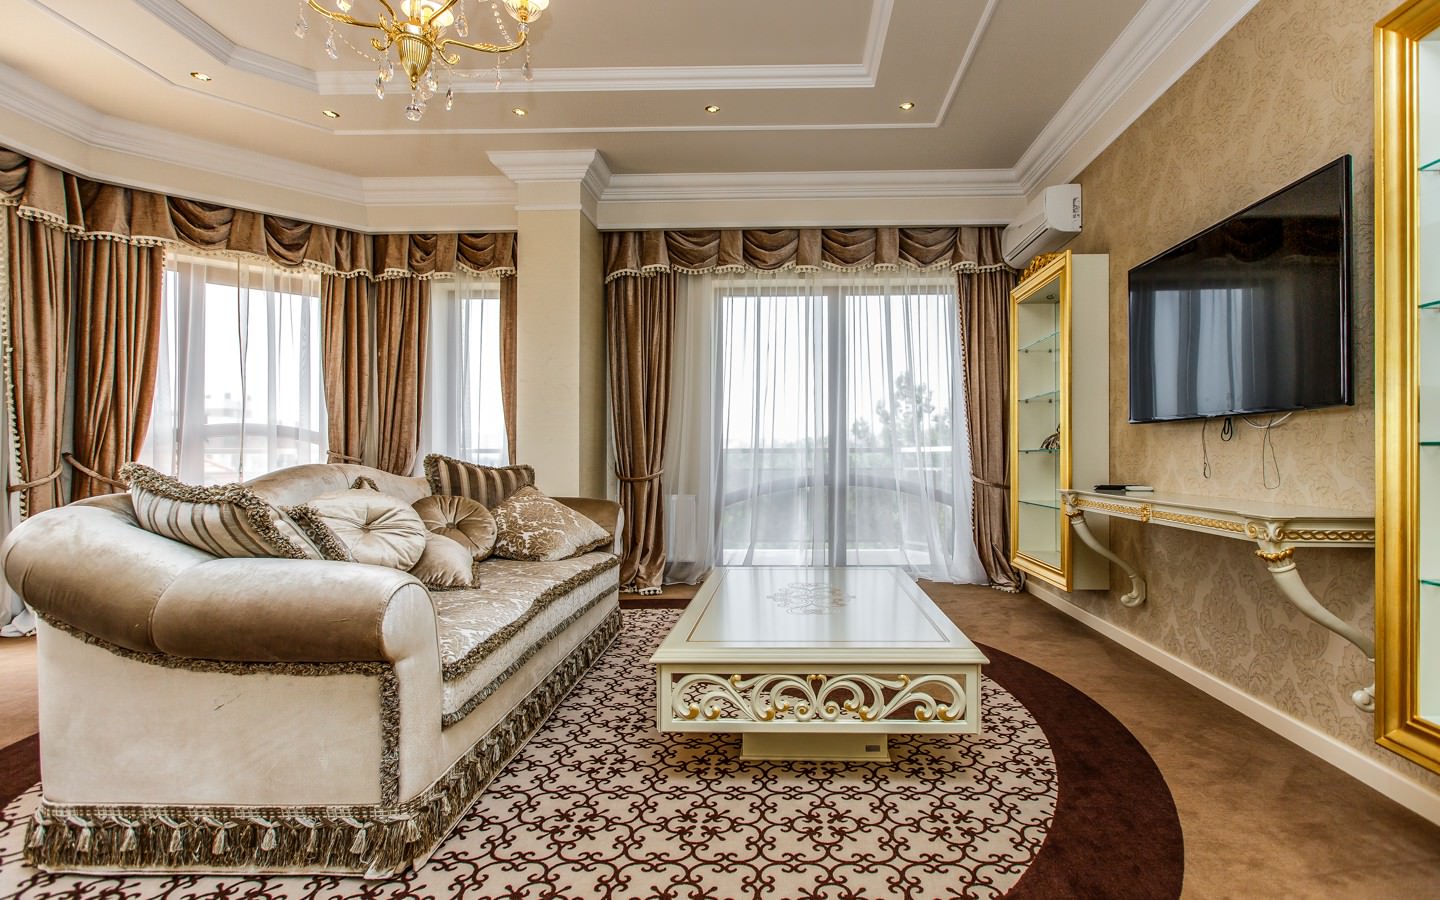
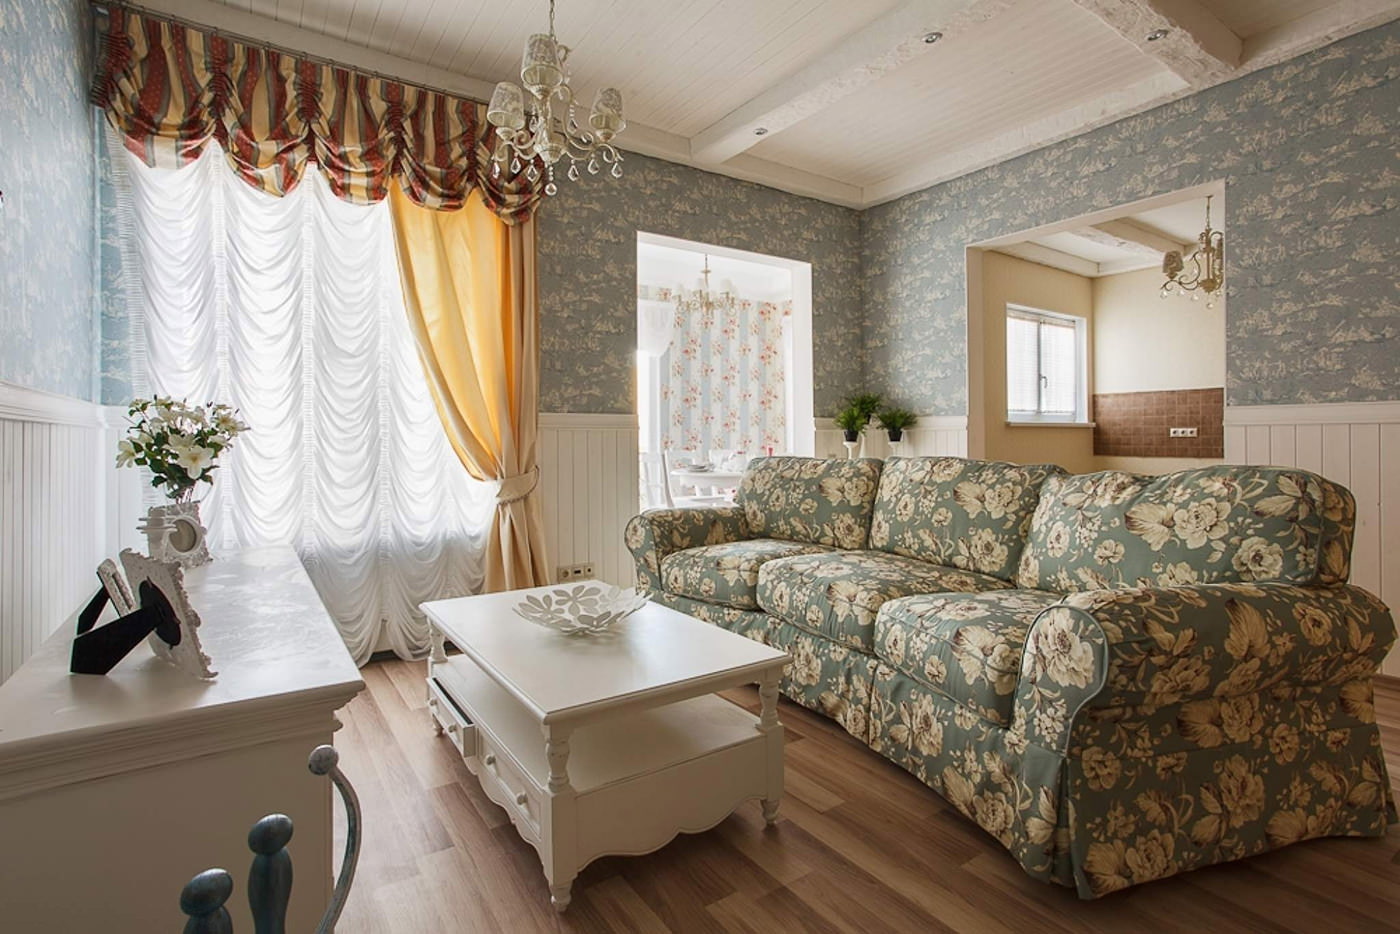
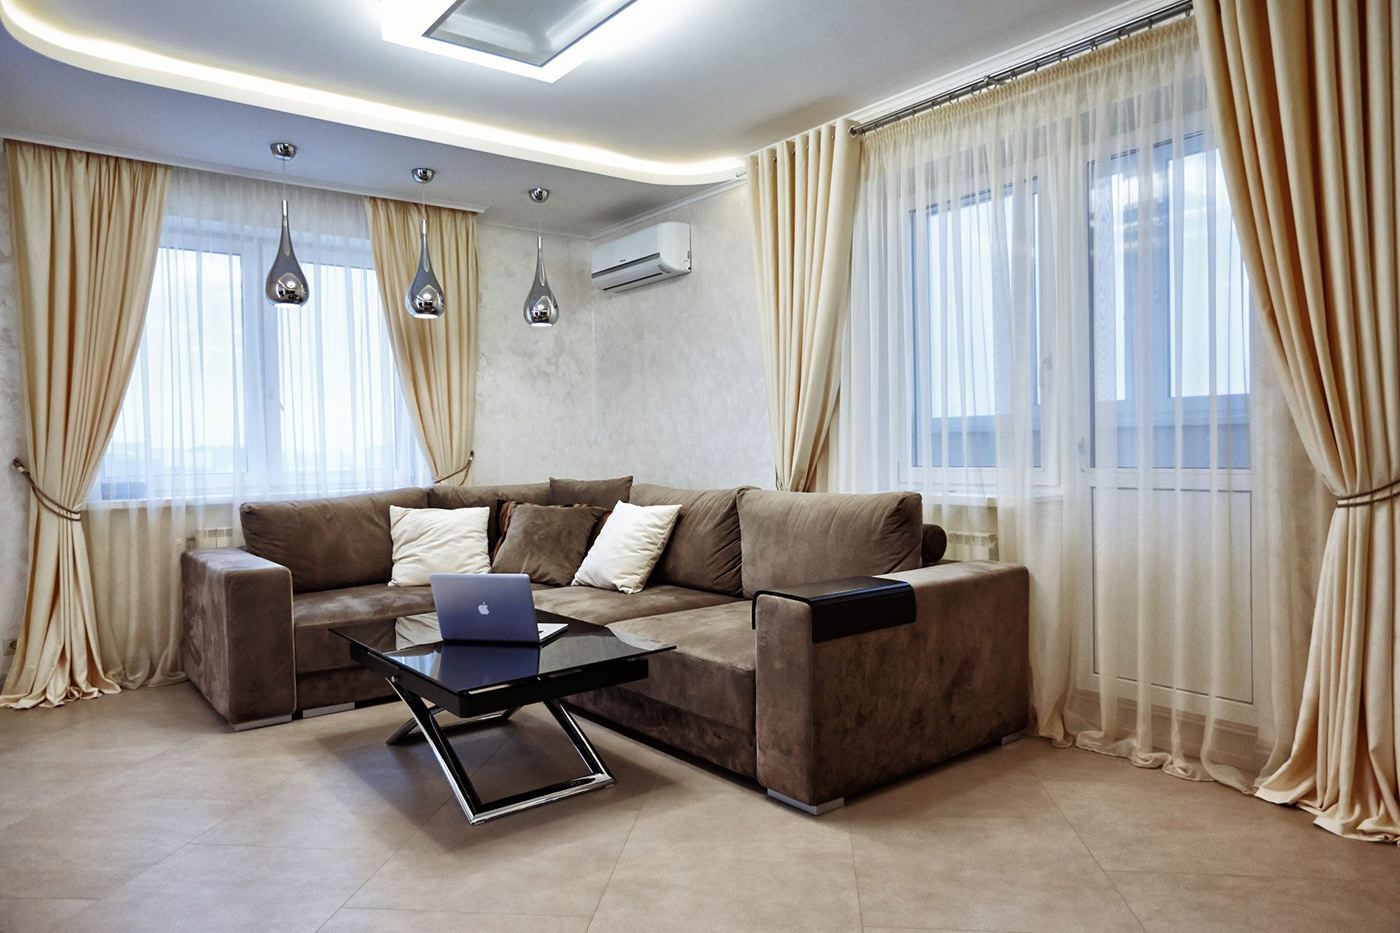
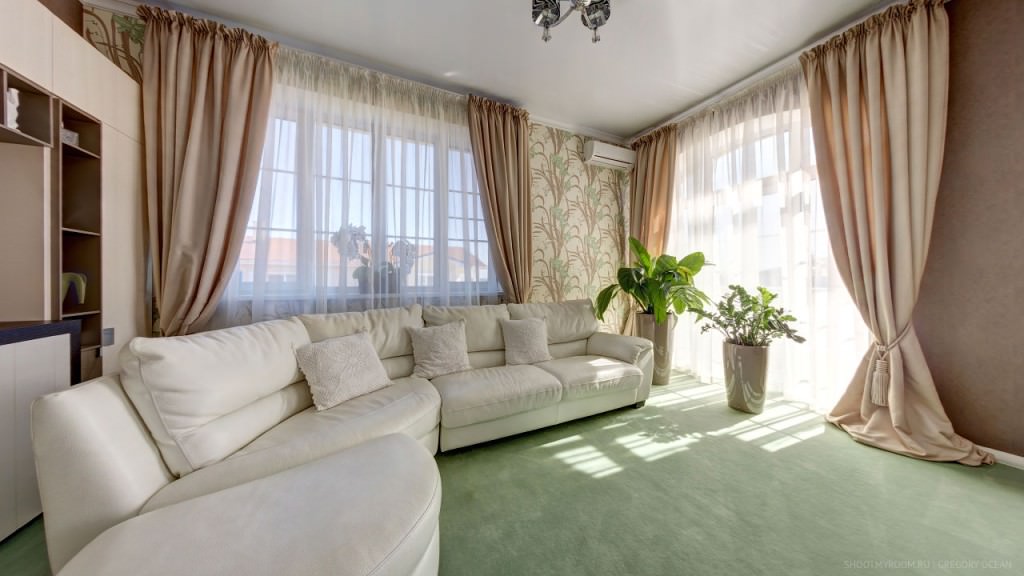
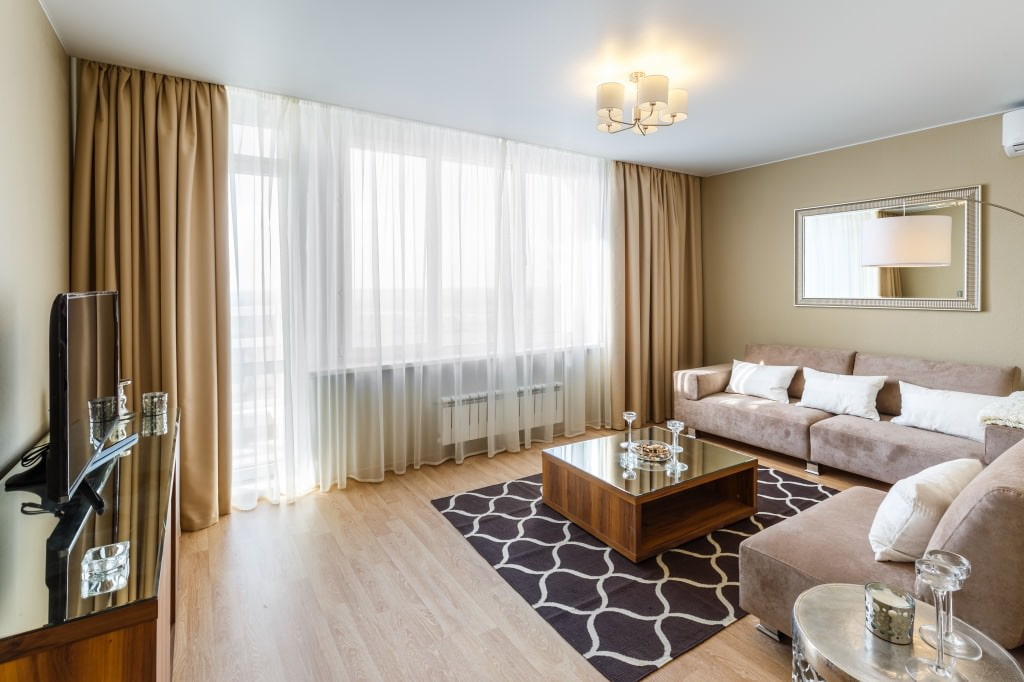
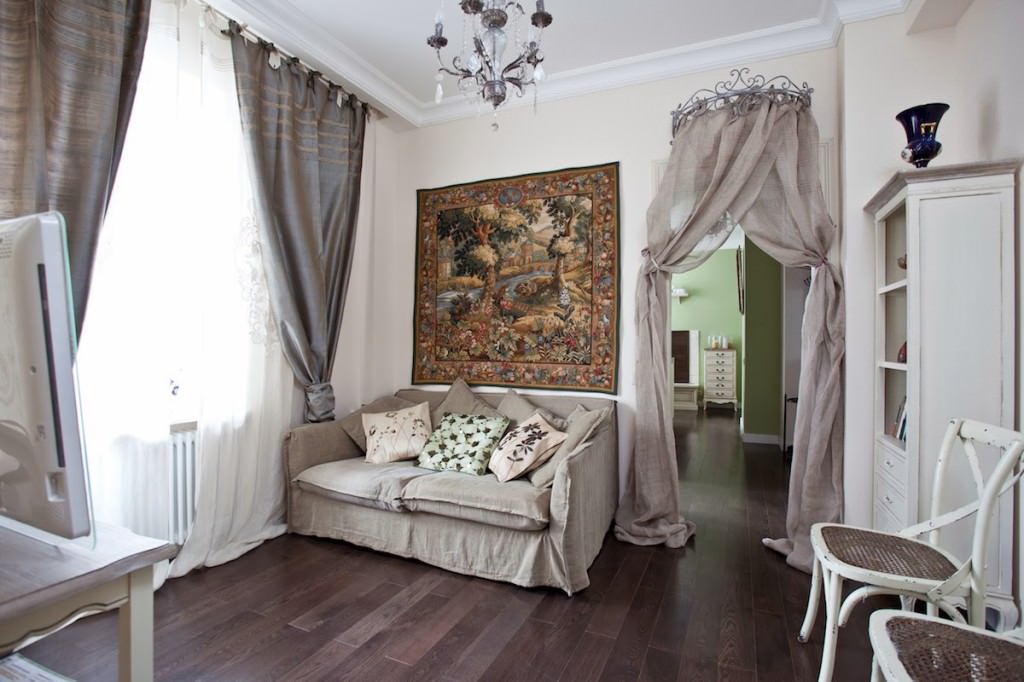
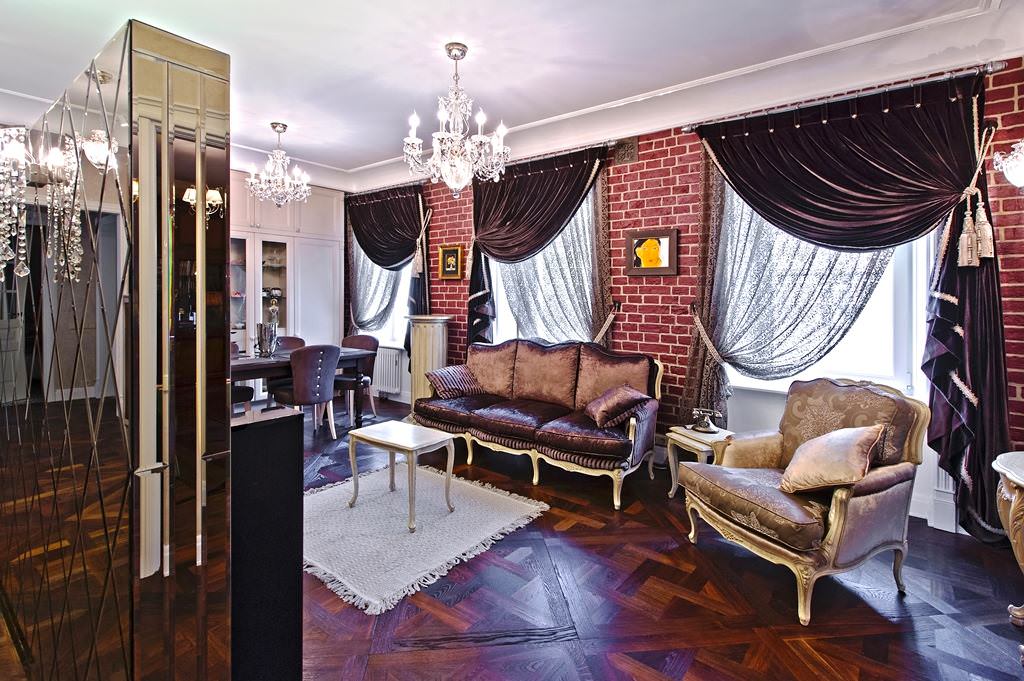
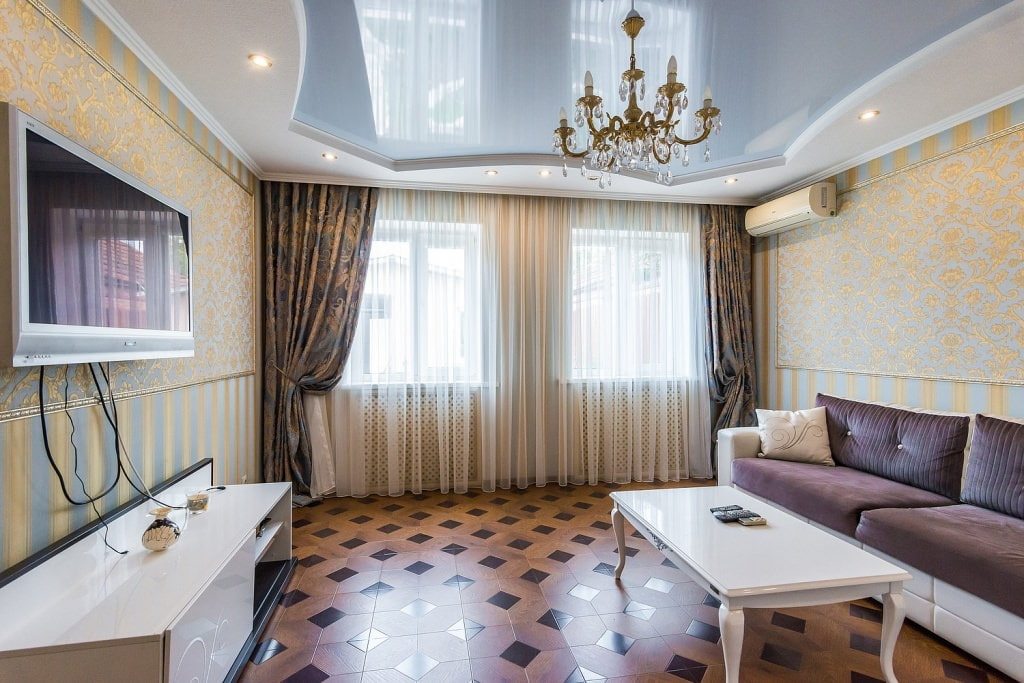
- 50 options for modern curtains in the interior:
The main difficulties of cutting, depending on the chosen model.
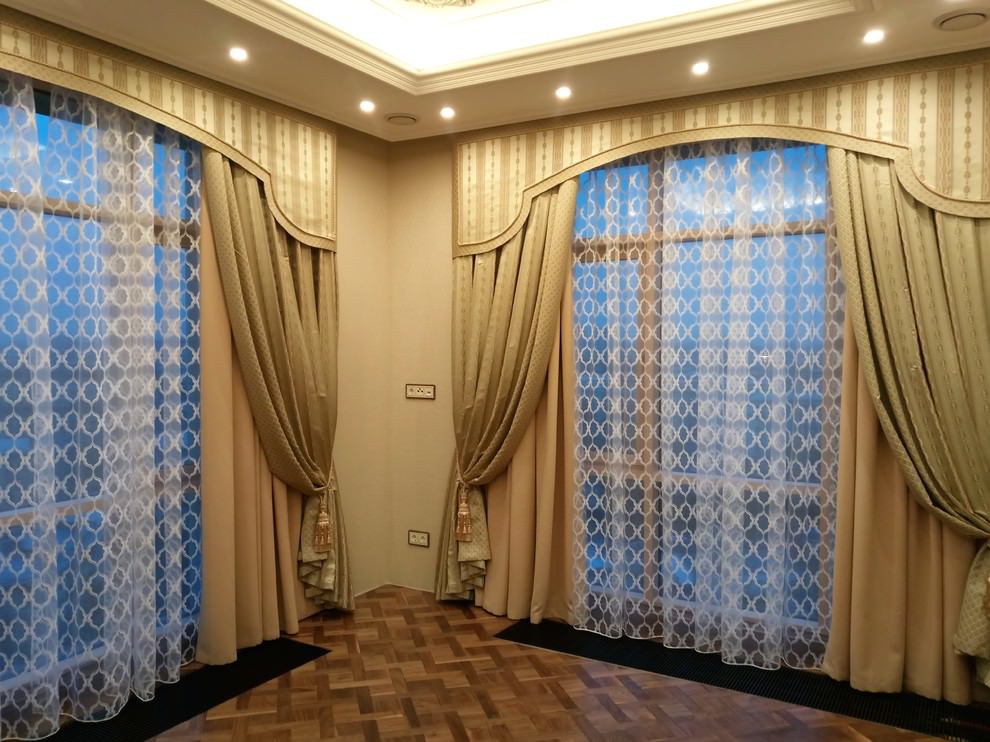
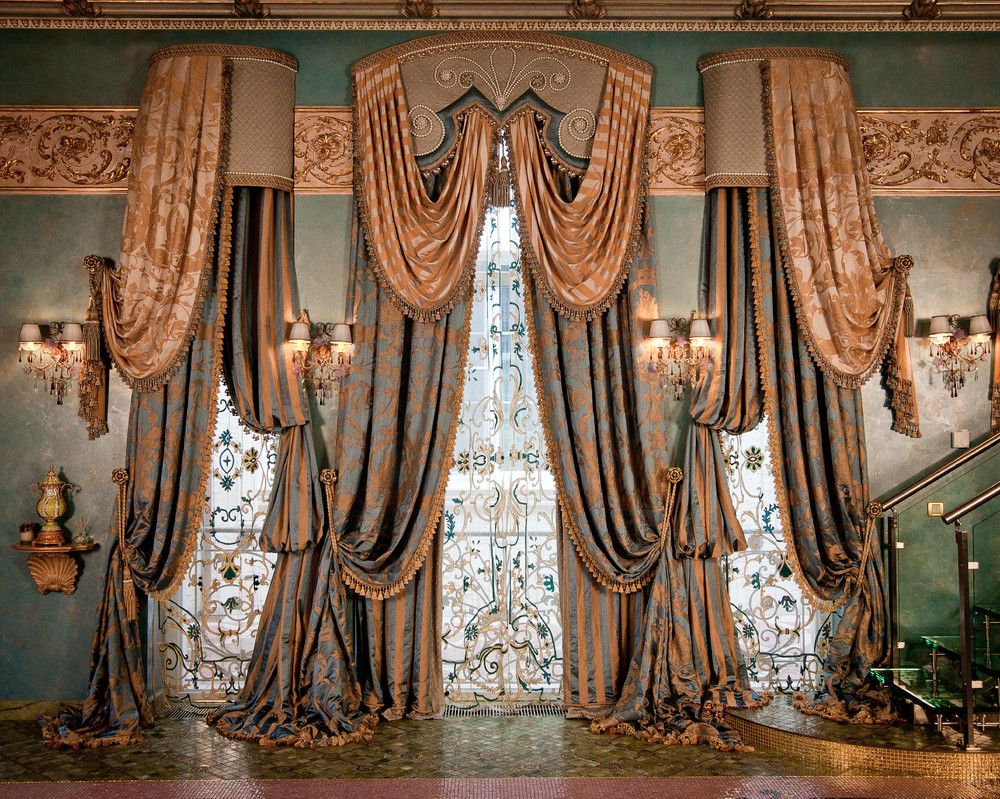
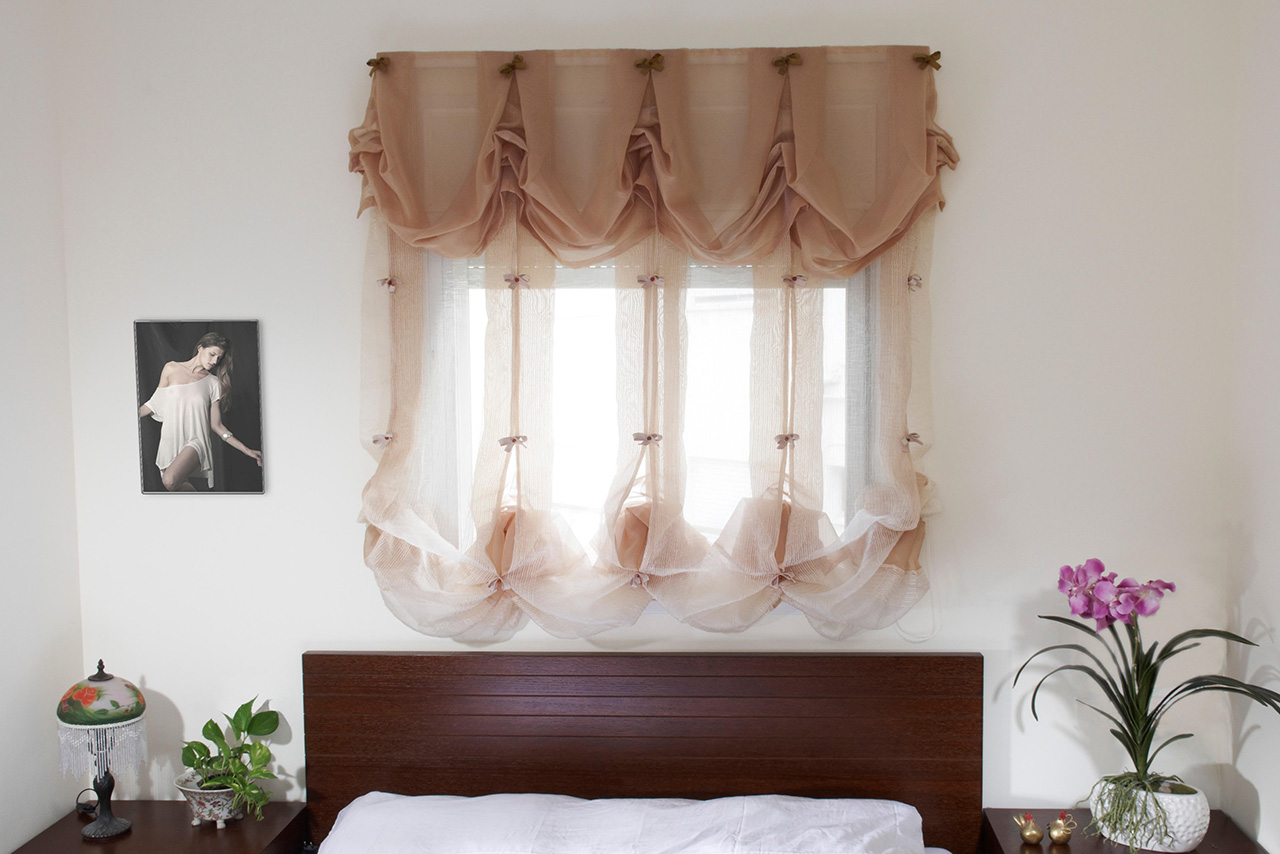
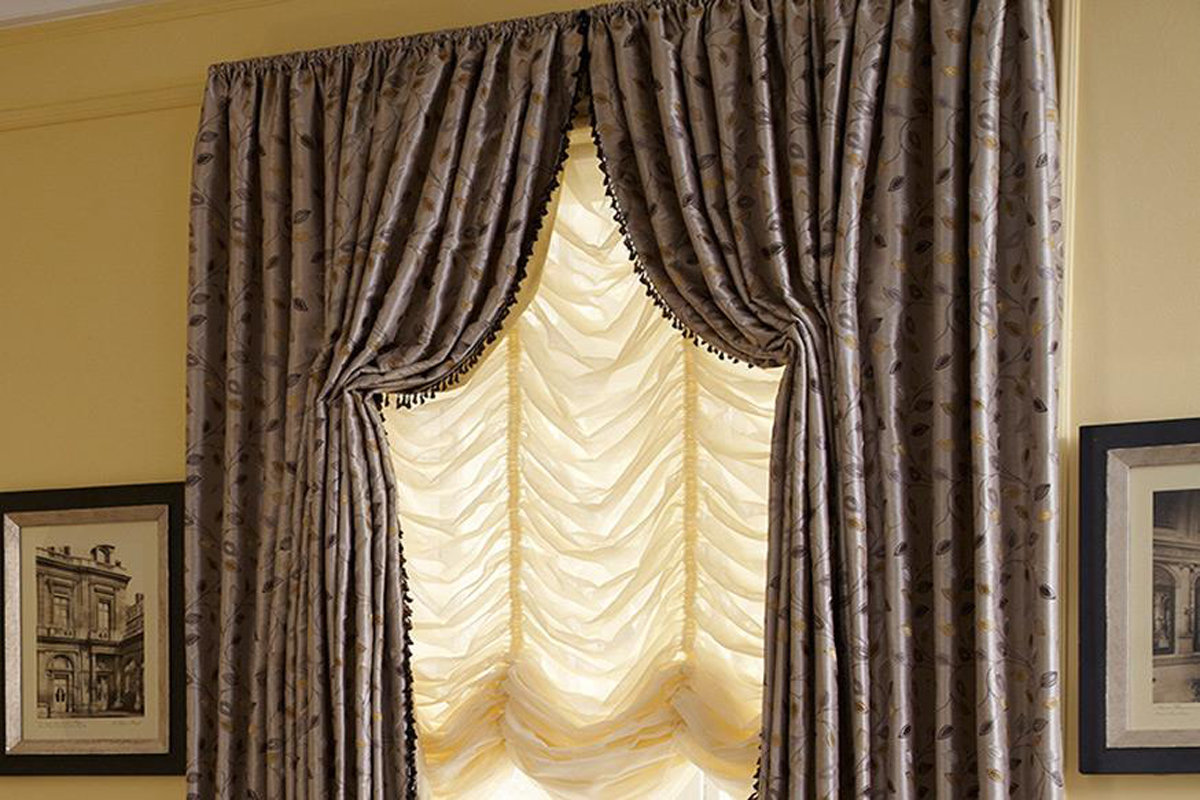
- French model.
Fixing special weights at the ends is a mandatory condition for manufacturing this model of product to avoid excessive lifting and scattering in a draft. Manufacturing a French curtain involves its subsequent fixation on a profile cornice, which is designed specifically for lifting structures.
- Imperial model.
The dart should be in the middle, perpendicular to the top between the main panels. The main feature of this model: the draping of the curtain will depend on the method and place of sewing on the tightening tape.
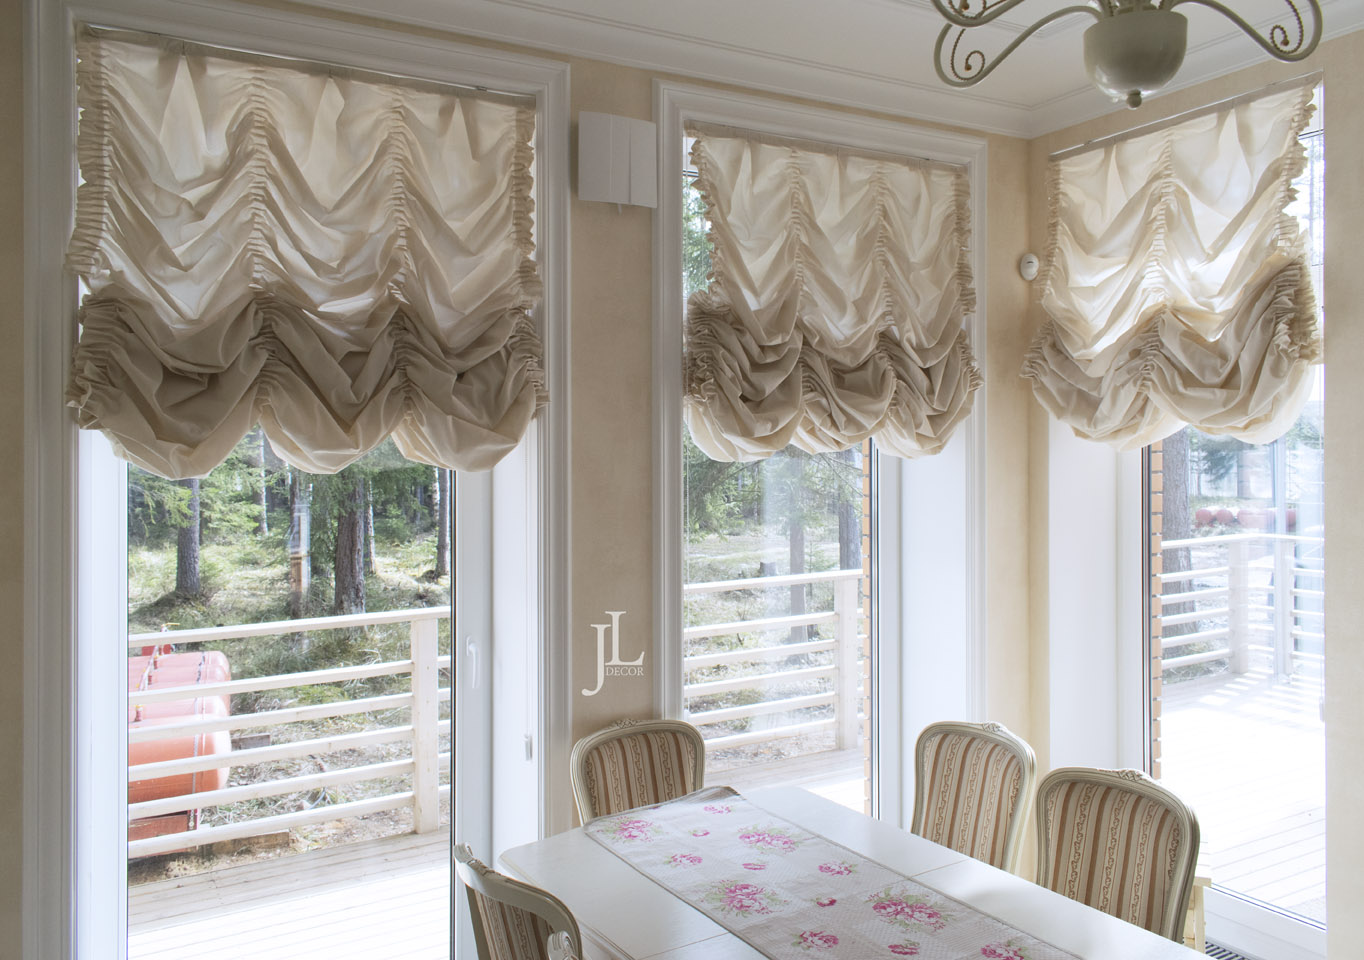
- Roman model.
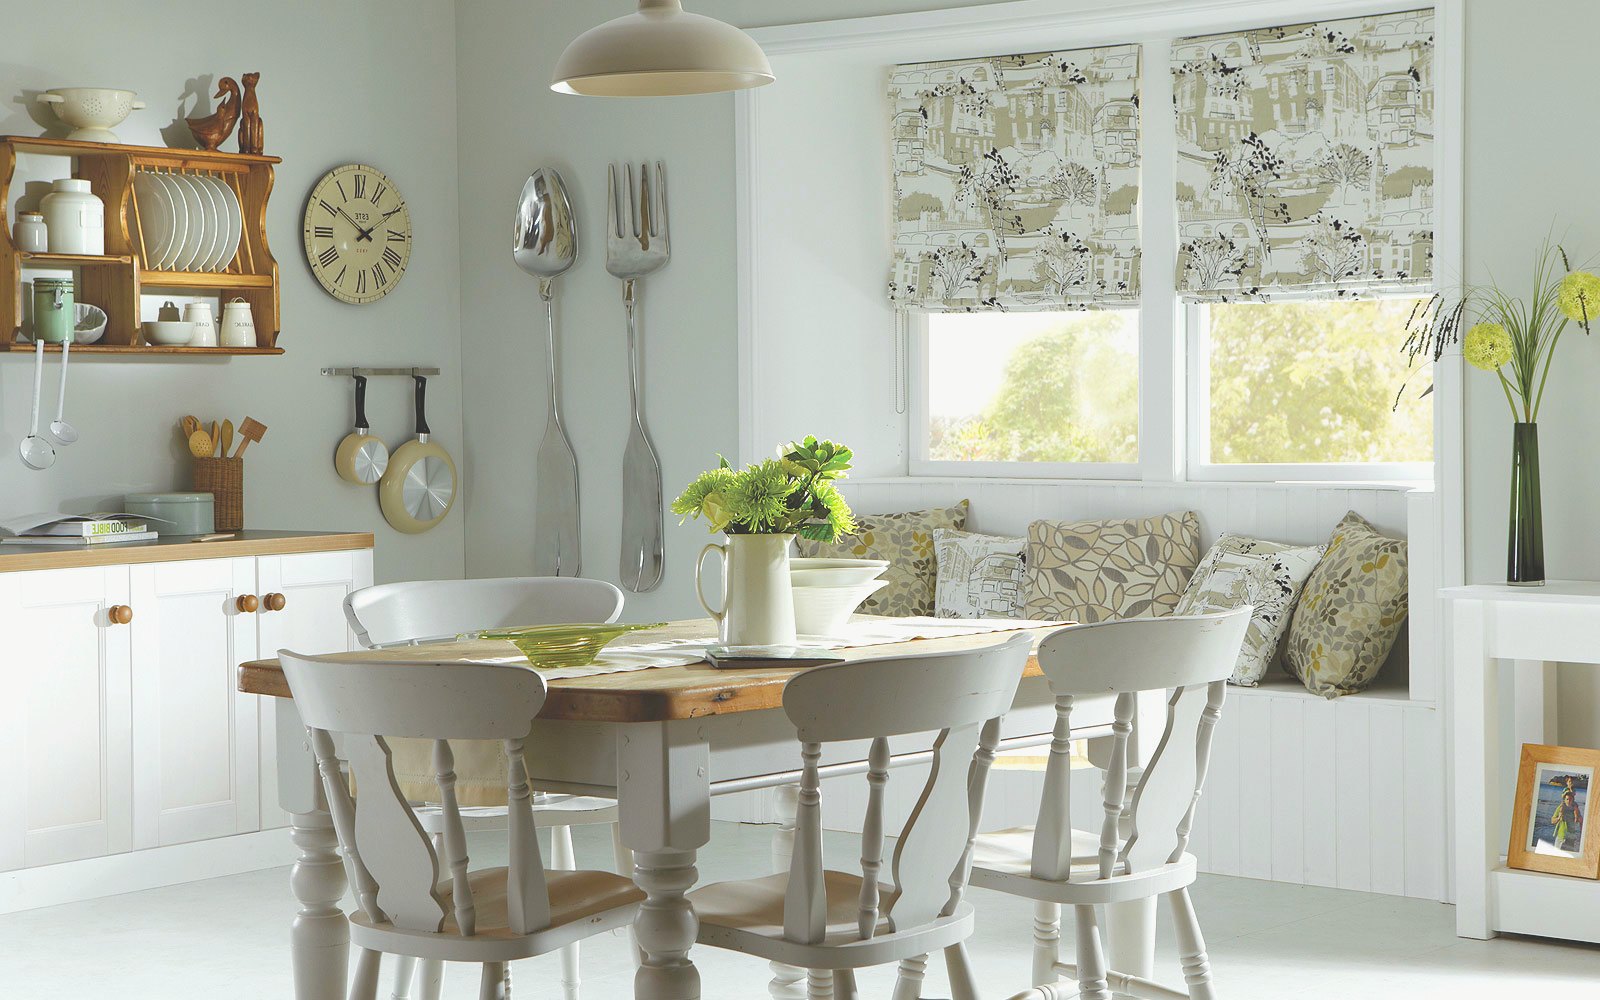
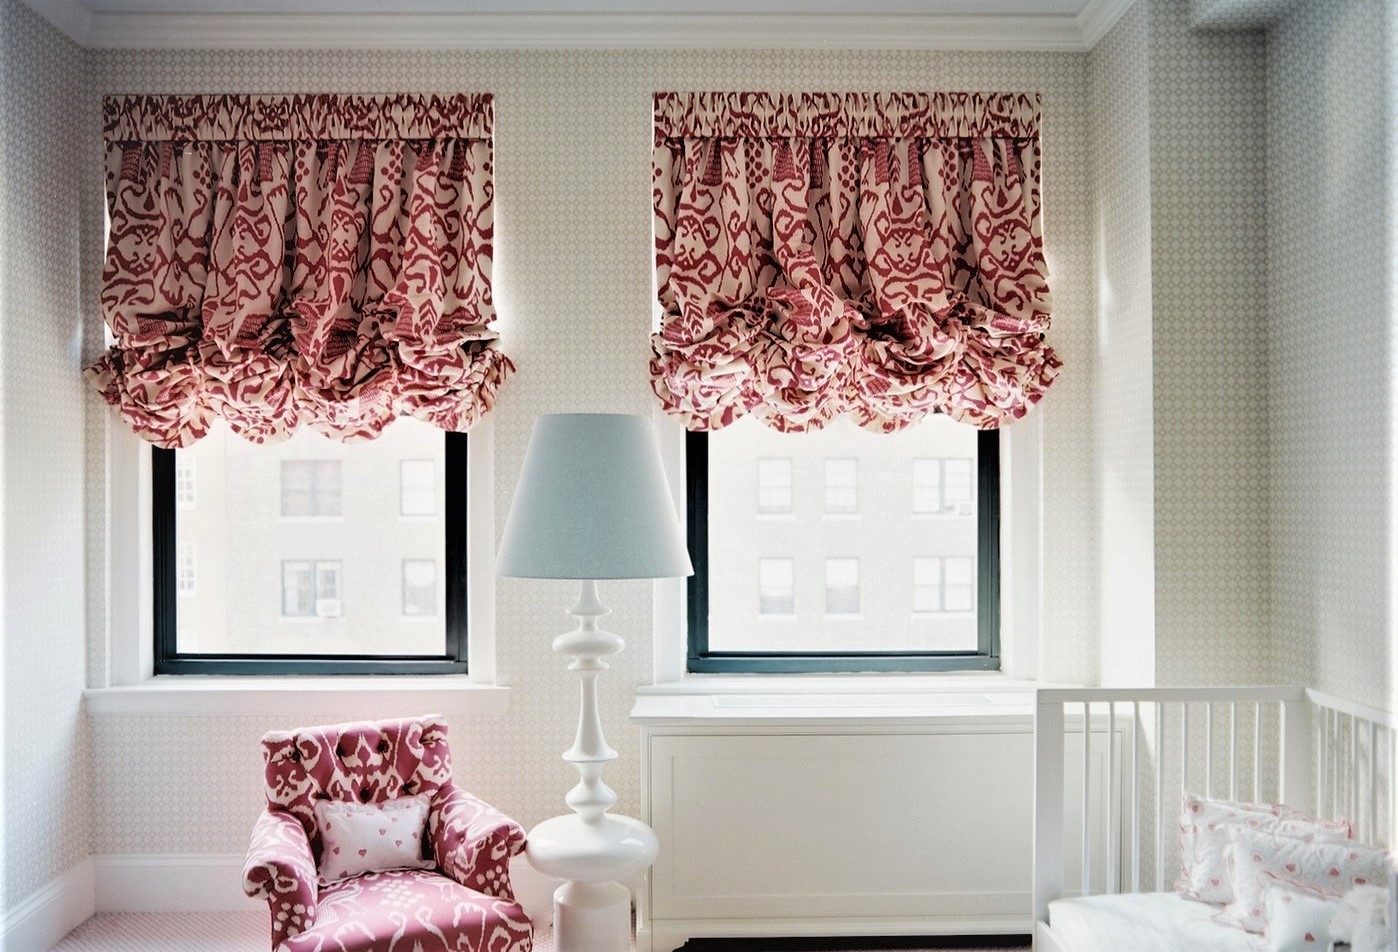
There are two types of Roman blinds, one-piece and made of several panels. Give preference to the cut of dense fabrics. The technology of sewing Roman blinds requires a large number of additional fittings: Velcro tape, timber, plastic rings, weighting strips, screws, bolts, hooks.
- Austrian model.
Another condition that should be taken into account when cutting an Austrian curtain is the size of the scallops, they should be at least 45 cm wide.
How to sew curtains with your own hands
Fabric calculation and pattern, detailed instructions, photos;
Before sewing curtains, you need to decide on the length. There are three classic lengths.
- Up to the windowsill.
- Below the windowsill.
- To the floor.
Once the length of the future product is known, it is necessary to measure the window.
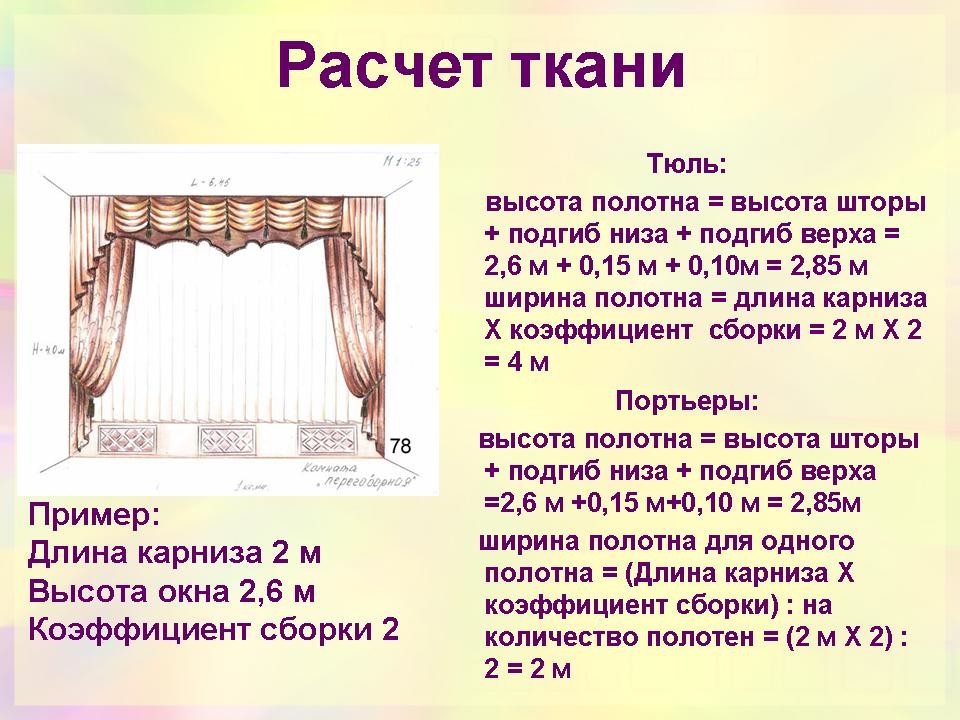
Measuring width and length.
- Measure the length of the cornice and multiply the resulting figure by two. Add 10 cm to the resulting number on both sides for edge finishing. Example: the length of the cornice is 150 cm. (150×2) +20 = 3.20 cm – the width of the fabric for the product.
- To obtain the length, you need to start measuring from the beginning of the loop, hook or base of the ring to the expected length of the product.
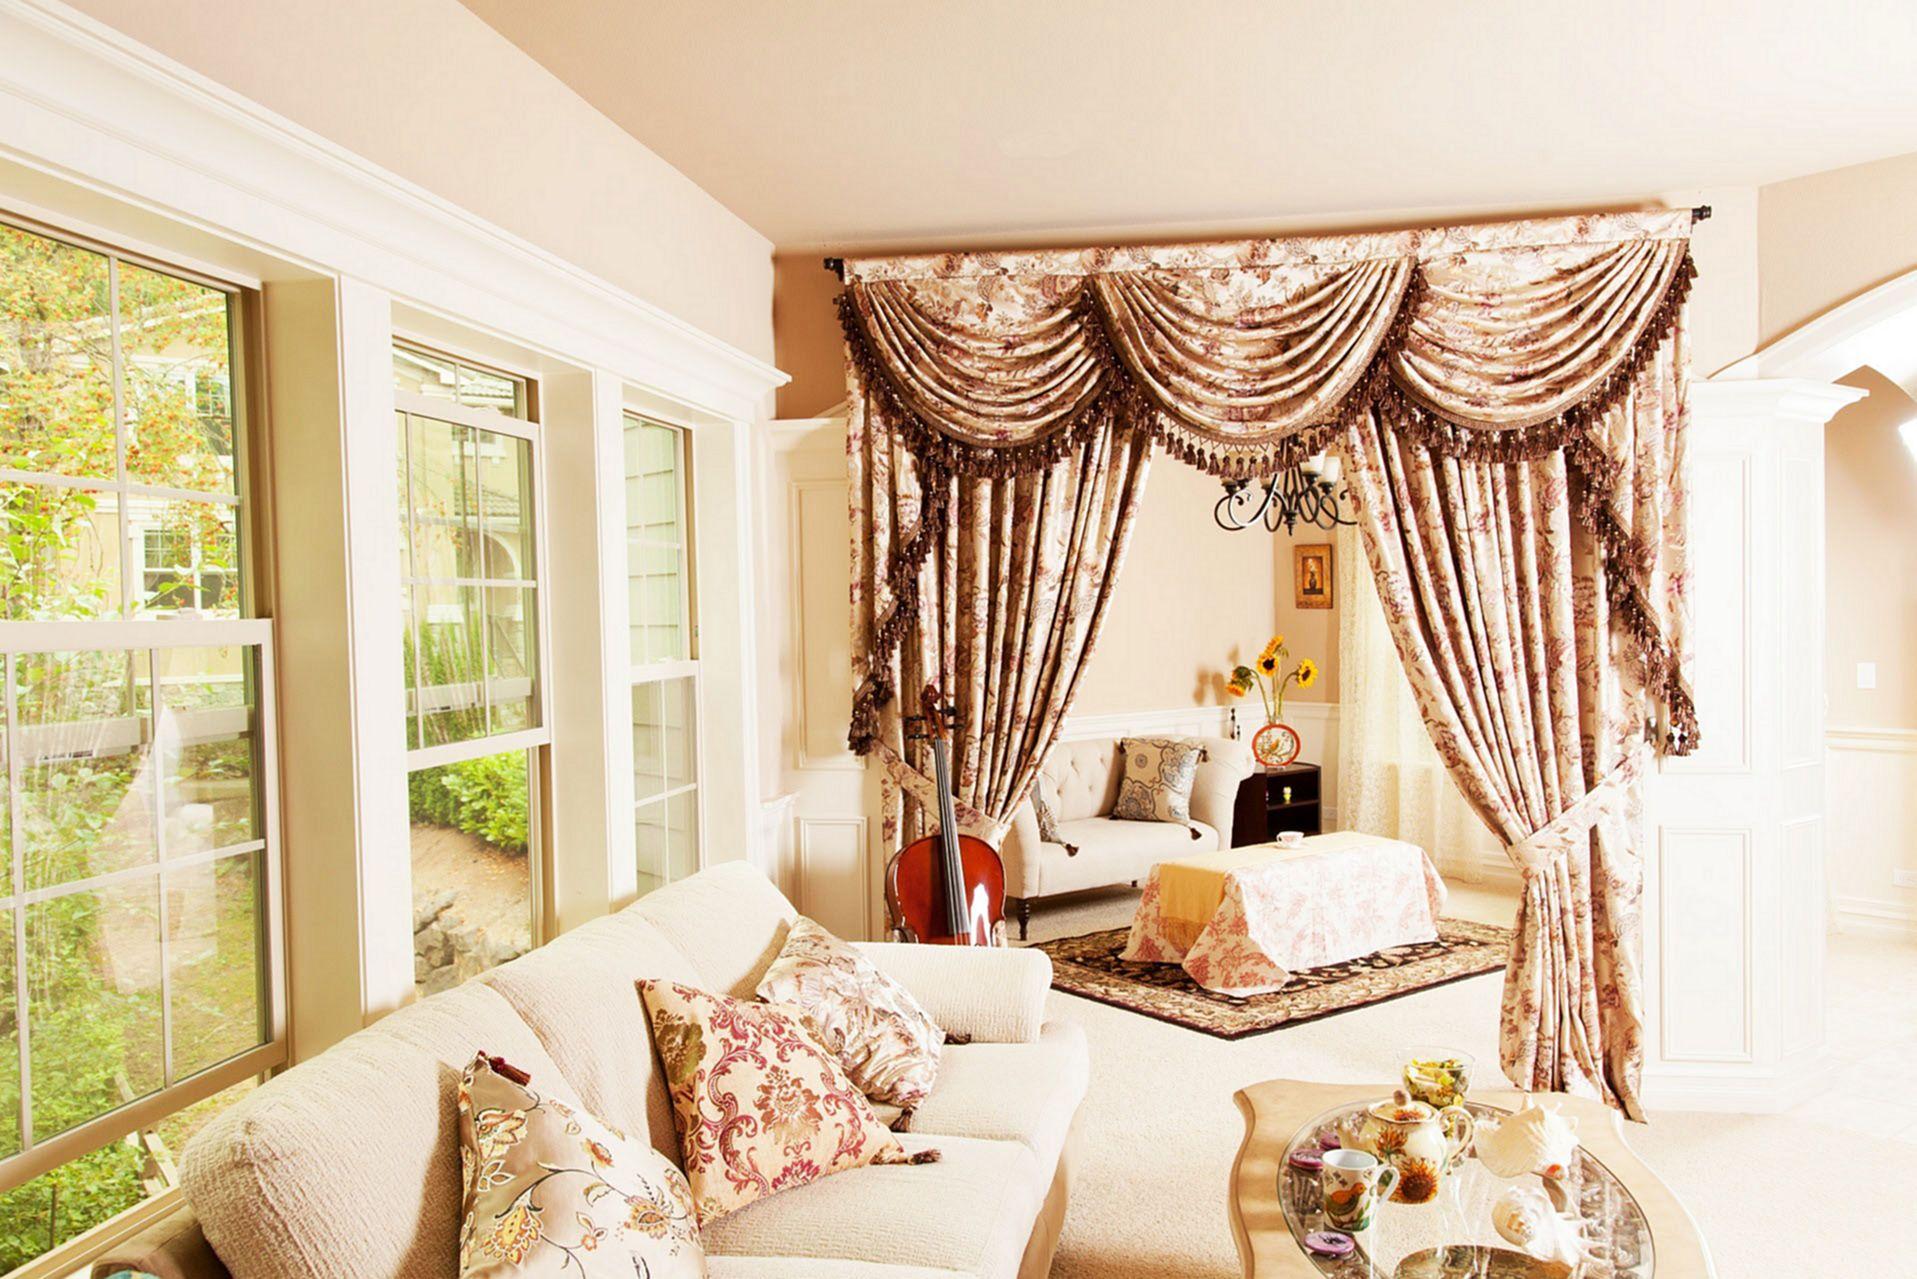
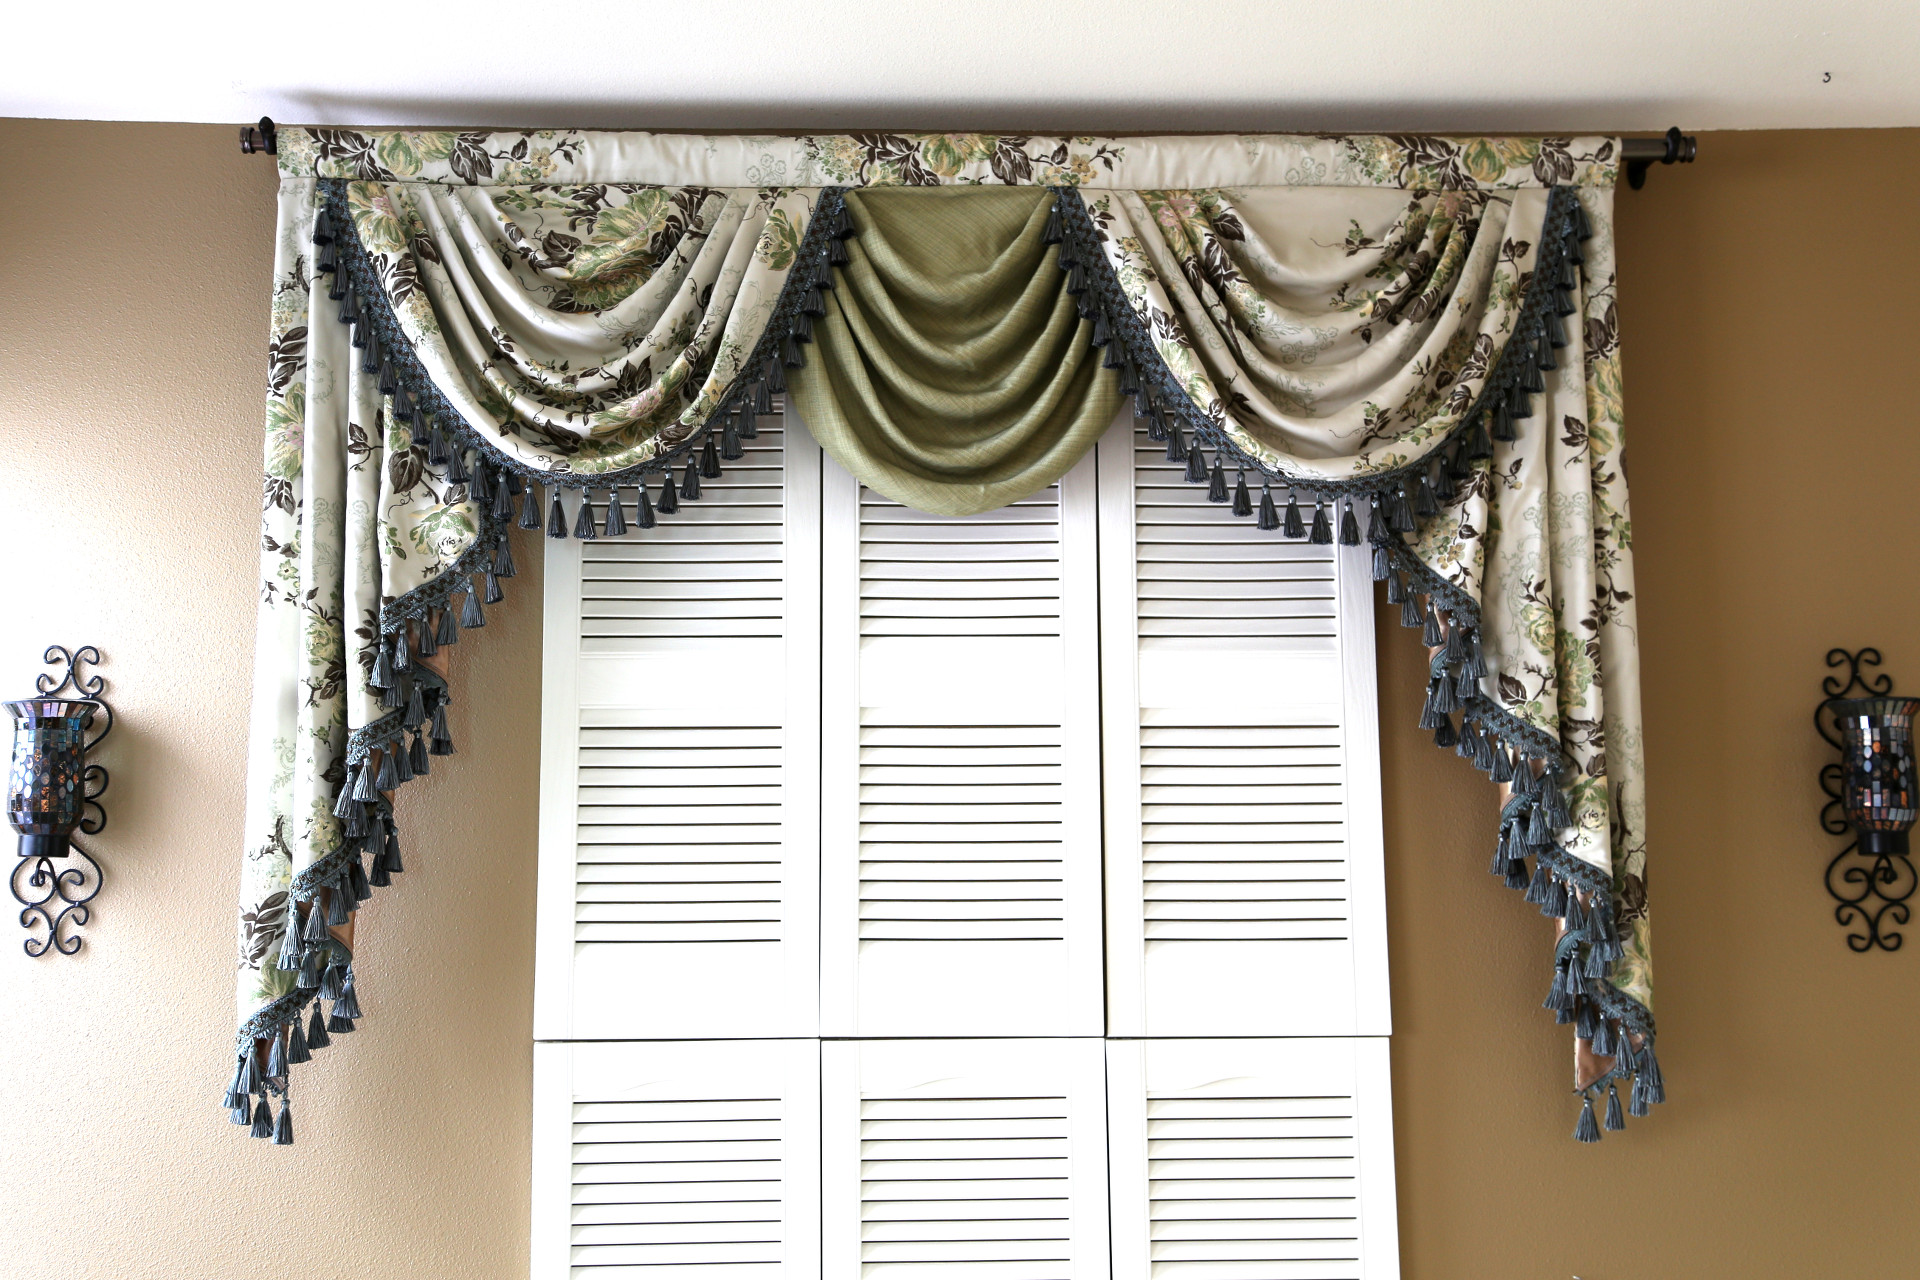
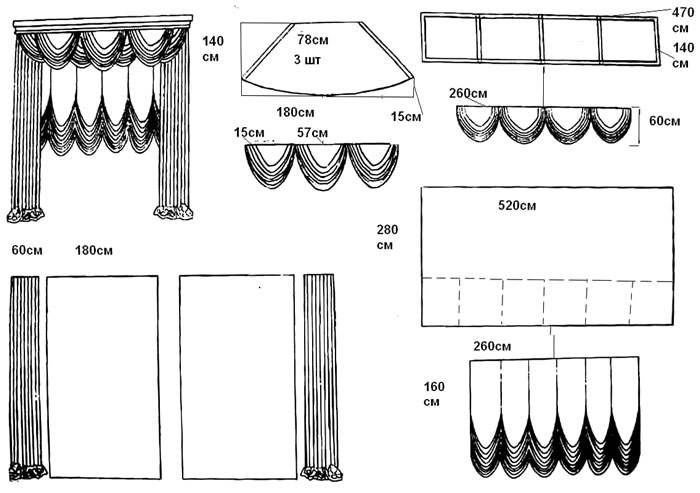
The complete image of the curtain can consist of: a lambrequin (swag, bandeau, throw), individual elements that go with it (jabot, tie, coquille, bell).
The calculation of fabric for a lambrequin depends on the number of expected swags and the length of the cornice. Swags that overlap the flounces by 1/3 will look harmonious. To calculate the amount of fabric in this case, the length of the cornice must be divided by five, and the resulting number must be multiplied by three. Thus, the required length of one element can be calculated.
Swag pattern, detailed instructions.
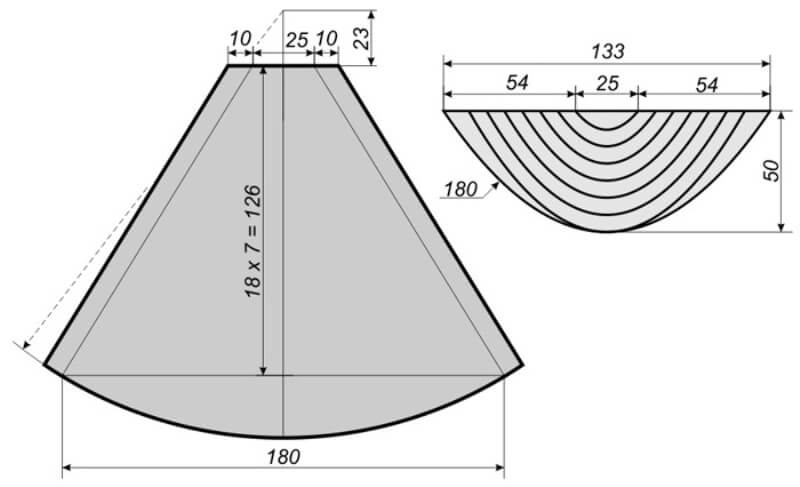
- Mark the width of the swag from the very top of the pattern and label it with the letters A and B. Mark the middle between them – C.
- Divide the distance between points A and B into three equal parts: mark them E, F.
- From the center point C, measure the length of the swag and mark it with point D.
- We get a semicircle by connecting points A, B, D
- From point D we retreat down to point D1, approximately half the width of the product.
- From point D1 we draw an arc on the left and right sides, marking points A1 and B
- Points E, F and A1 and B1 are connected, marking the assembly line.
- Round off corners at points E, F.
- When cutting out, leave 2 cm allowances.
Pattern of Austrian curtain.
- The rectangle is divided into three strips. The width of the rectangle is equal to the size of the cornice plus additional centimeters for allowances.
- A special tape is sewn onto the attached strips.
- The curtain tape is carefully pulled tight and fixed at the required fabric tension.
For a regular classic curtain, a pattern is not needed. The fabric is cut according to the dimensions.
How to sew curtains correctly, guide.
- Steam the material so that it does not warp when working. Lay out the canvas; if it has a print and two curtains are provided, the pattern must be matched.
- Mark the length and width of the product, indicate the allowances.
- Process the side and bottom seams. The thread color is selected to match the fabric. The side seams are processed with an allowance of 1 cm - 1.5 cm, and the bottom seam up to 10 cm. The bottom seam can be made heavier with interlining.
- A ribbon is sewn onto the top of the product, with which you can hang the finished product.
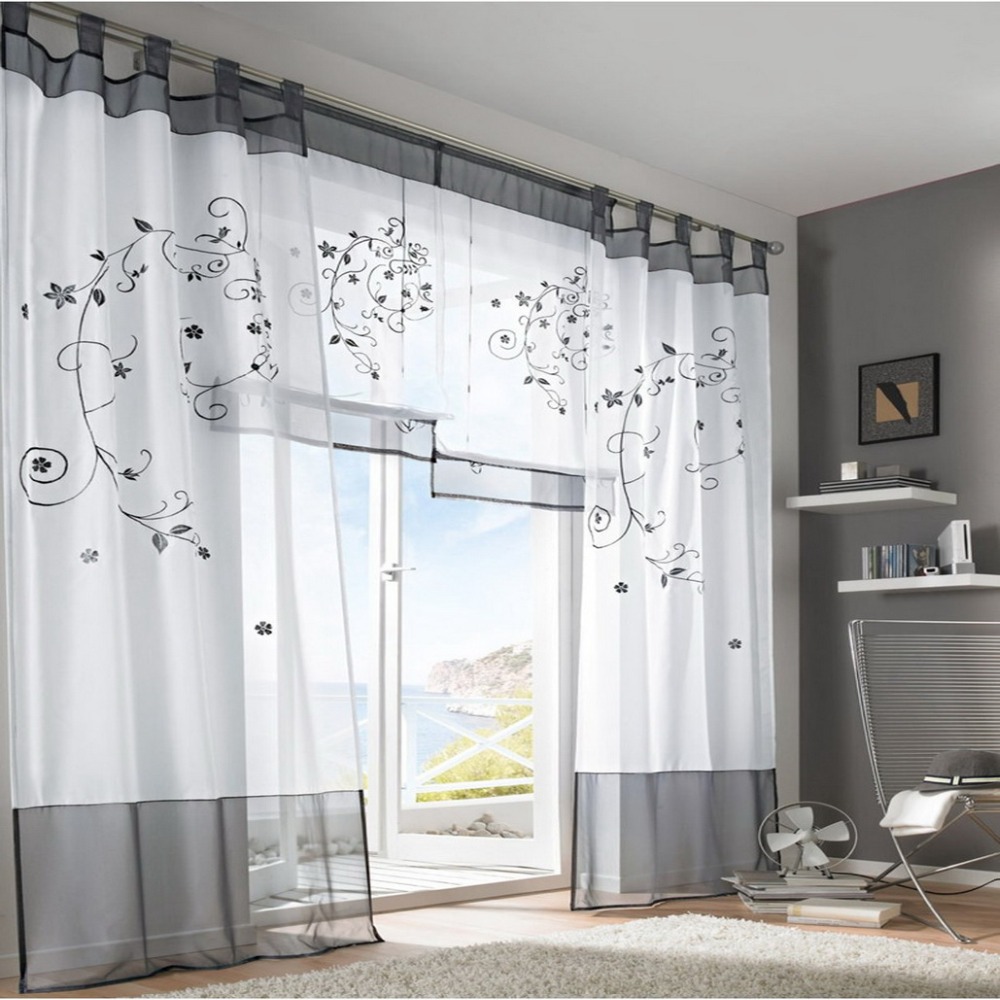
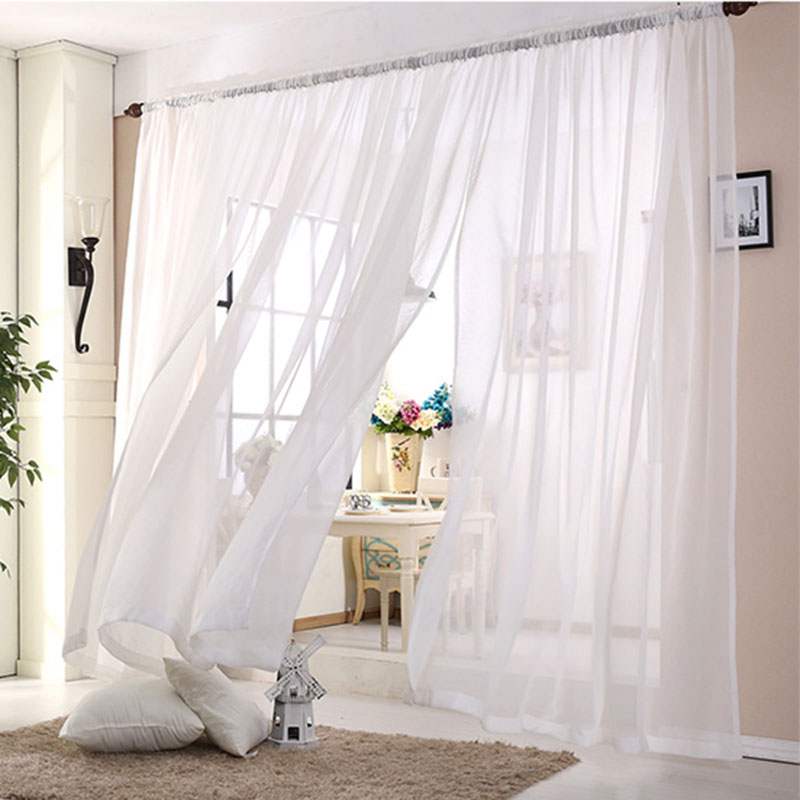
How to sew curtains: types of fabrics, differences from curtains
To create curtains with your own hands, it is better to use the following types of fabric: cotton, jacquard, linen, velvet, organza. Cotton and linen create a feeling of airiness and simplicity. They are often used in a rustic, country style. Organza is a universal option, often found in a classic interior.
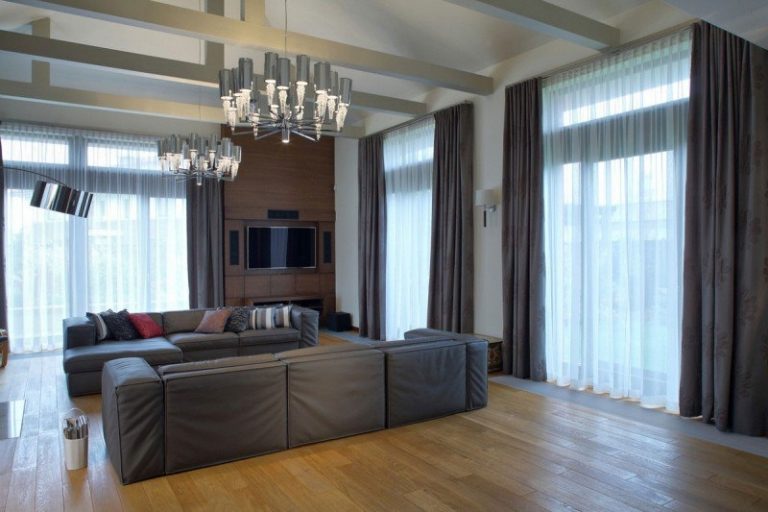
The main differences between curtains and drapes.
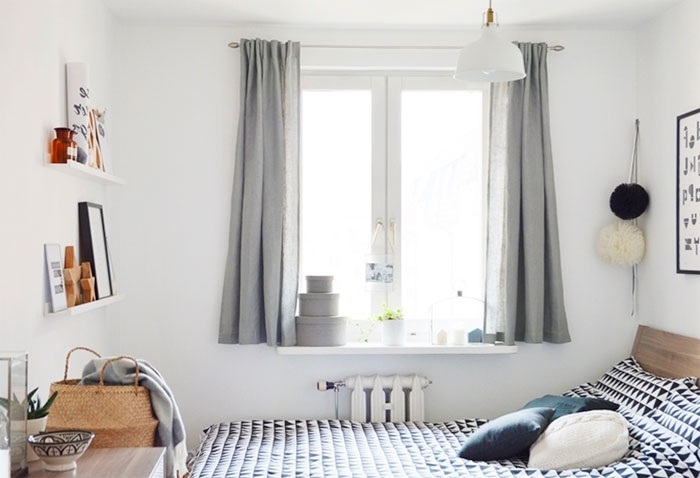
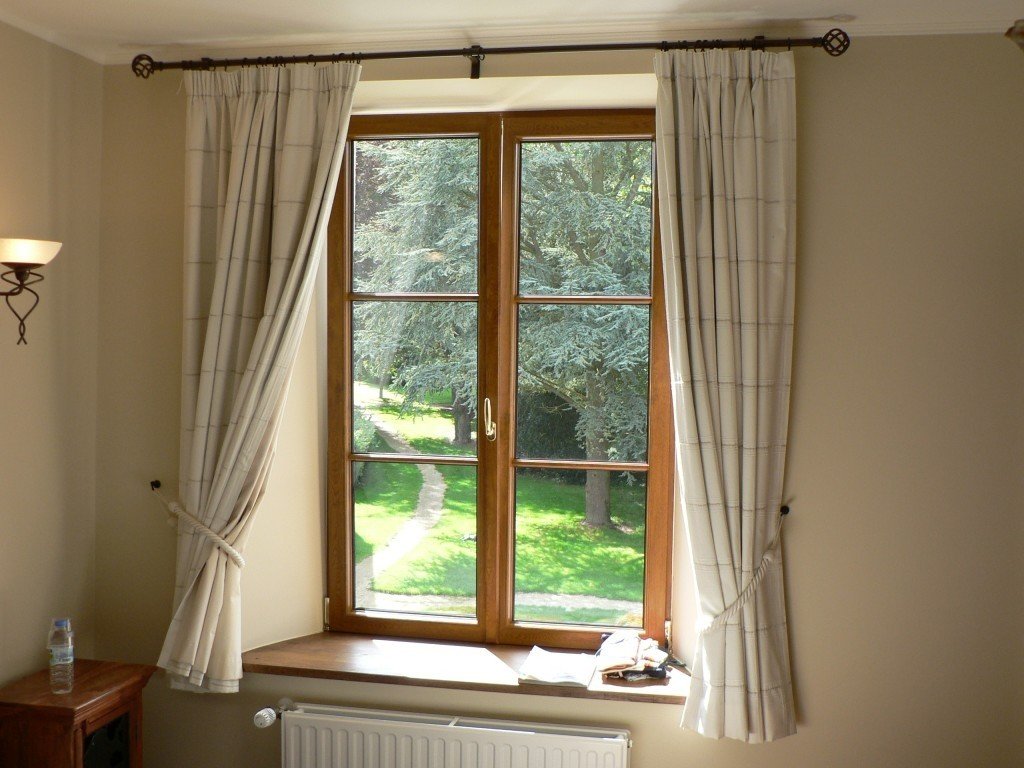
- Curtains made of thick material that does not let in light. The curtain is sewn from transparent materials.
- Curtains perform a decorative function, and drapes protect from light.
- Thick curtains need to be moved apart and moved together all the time: depending on the time of day. Curtains do not necessarily have to be moved to the side.
- The length of the curtains reaches the floor.
- The curtains are sewn up to the window sill and a little lower.
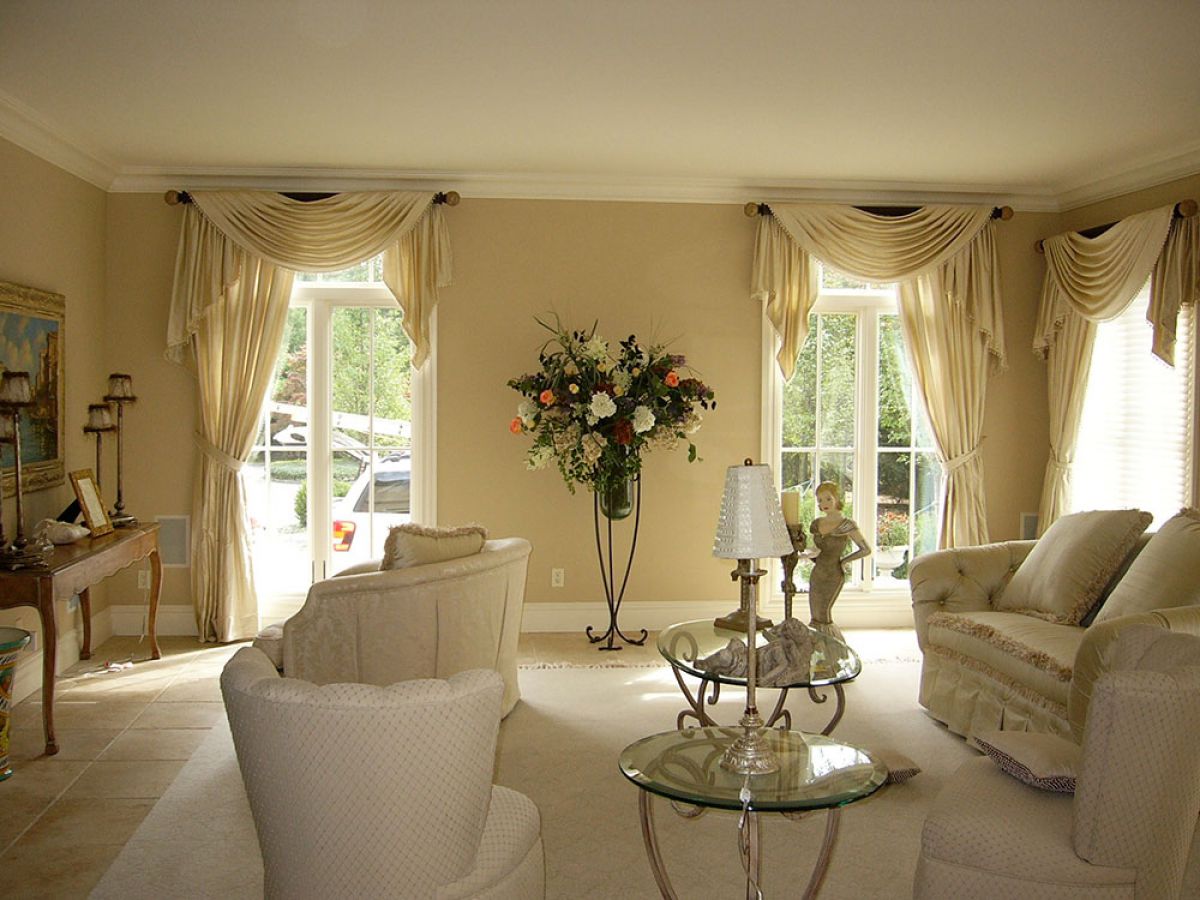
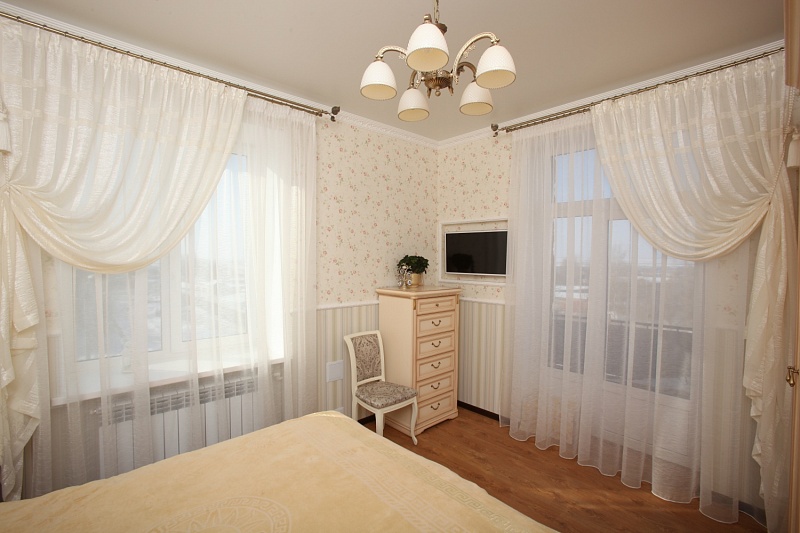
Sewing curtains for the hall.
- We take measurements and decide on the length of the curtain.
- We measure the length and height, and cut off the excess.
- To process the side and bottom edge of the organza curtain, you can use an overlock, or you can hem the fabric by folding it twice. We do the same with the bottom part of the curtain.
- A ribbon is sewn to the top edge of the product, 1 cm away.
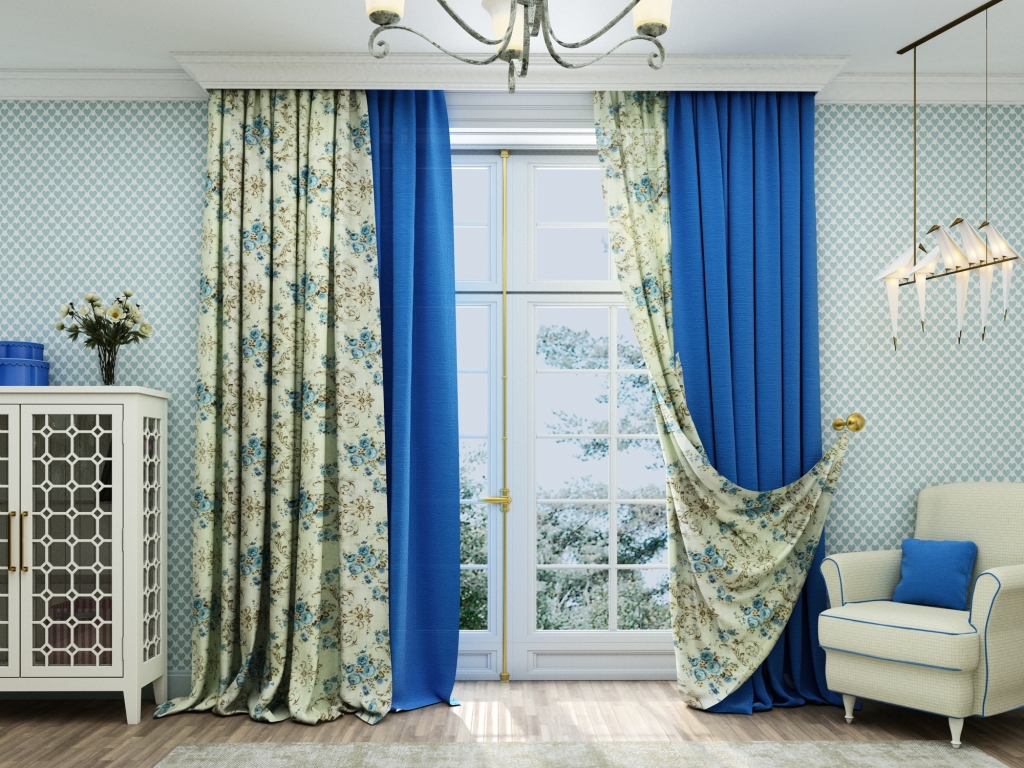
How to sew double curtains: instructions, patterns for fabric, examples and photos
Double curtains are a great option for the bedroom and living room. To sew them, you will need two types of fabric. One with a geometric or floral print, and the second one is plain.
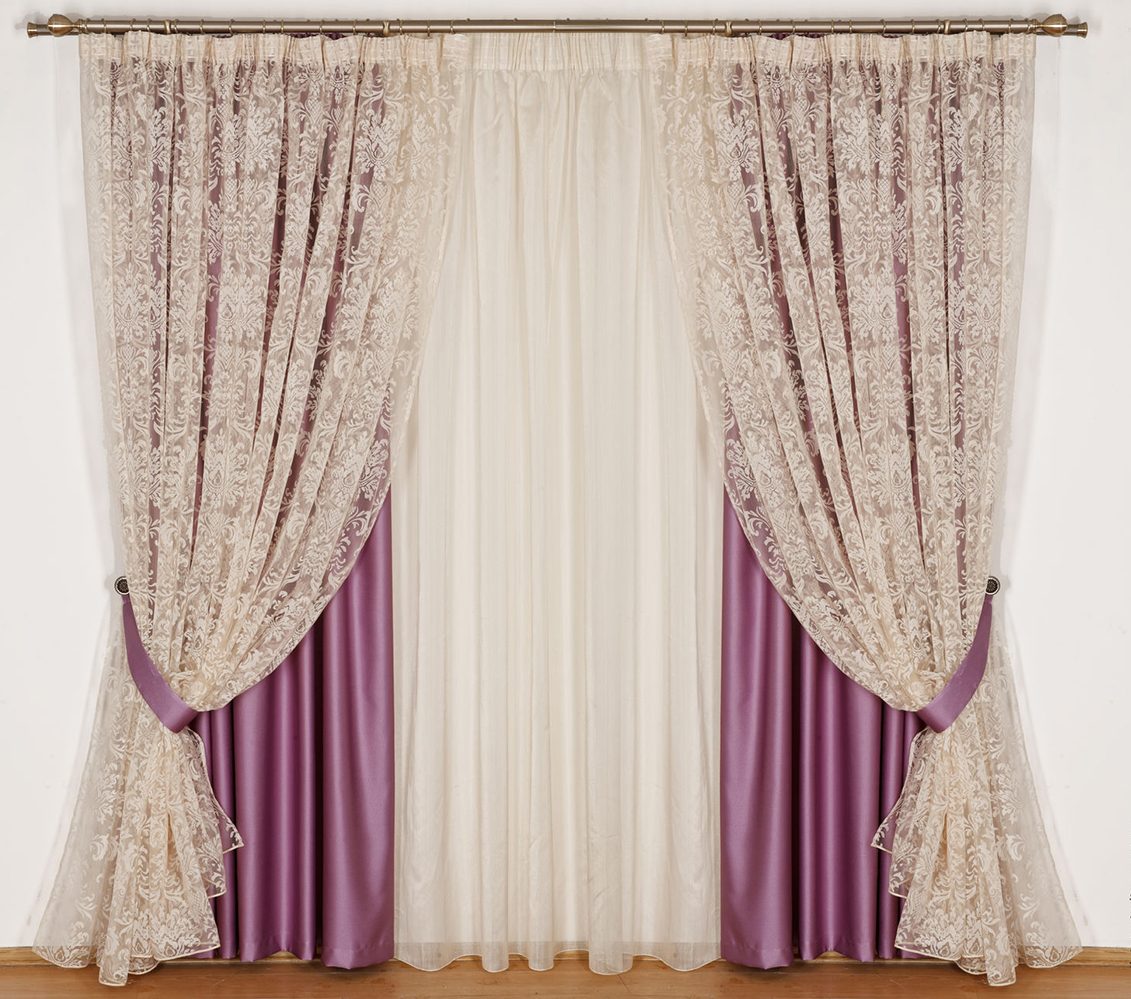
A brief description of how to sew double curtains.
- Determine the width and length of the product.
- Measure the length of a single-color product, taking into account allowances for processing the ends.
- Join the curtains with a short seam 1/10 of the total length.
- Place the bottom part underneath.
- Place the colored fabric on top of the plain fabric and stitch along the top edge.
- Sew each colored piece to the plain piece to give it volume.
- At the top, on the wrong side of the product, secure the tape with a few stitches.
Sewing curtains with your own hands
Curtains are made exclusively from dense fabric that does not let in light. Allowance for dense fabric should be at least 4 cm, otherwise the edges may turn out unattractively in the opposite direction.
Step-by-step tutorial on how to easily sew curtains yourself.
- We find the wrong side of the fabric, put it on top. We process the side seams: first we fold 2 cm, then another 2 cm. On one and the other side there should be 8 cm on the fold.
- We fold the bottom edge twice by 5 cm. In total, there should be 10 cm for the bottom seam.
- Iron the folded edges and sew a machine stitch, stepping back 0.1 cm from the edge.
- The tape is sewn with the right side up. Place the product with the right side up, place the tape under it from one edge and wrap the upper edge of the fabric by 1.5 cm.
- Sew the ribbon, stepping back 0.1 cm from the edge. Continue the stitch to the end of the product and tuck the second edge of the ribbon under the fabric in exactly the same way.
- Turn the fabric with the ribbon over to the wrong side, slightly lifting the edge up by 2 cm. Start the second line at a distance of 2 mm from the top. Do not allow the edge of the ribbon to peek out from the front side.
- The third line is stitched 0.7 cm from the edge of the tape.
- Carefully remove the laces from under the seam allowance.
- Next, at the same distance along the tape, we sew three more lines.
- Using laces, we tighten the ribbon, forming beautiful folds on the front side.
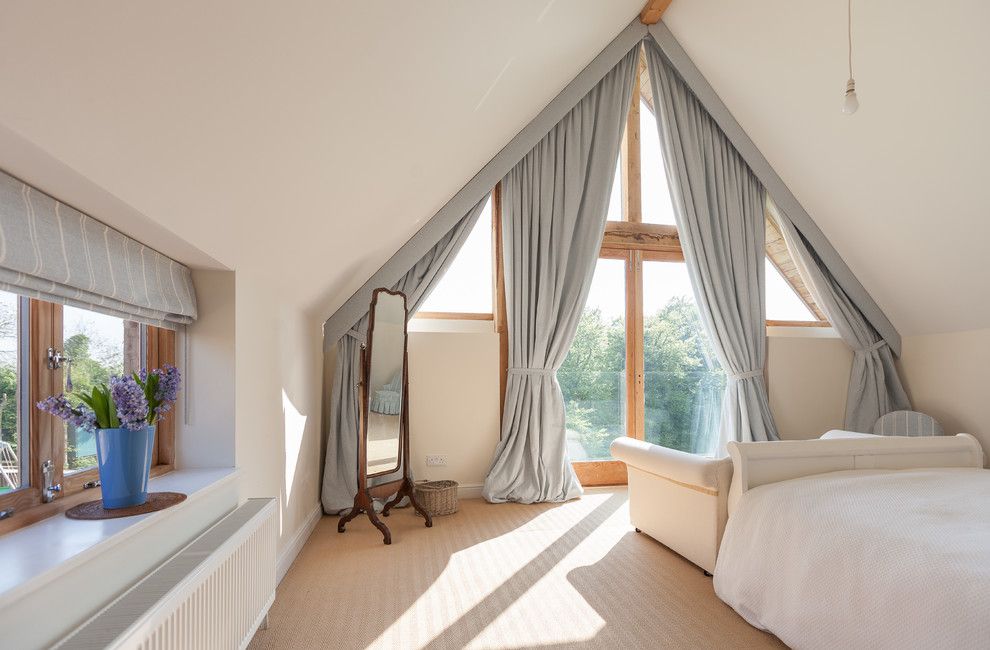
Sewing curtains for a slanted window, patterns, examples, photos.
Dormer windows in country houses often have a non-standard shape. Depending on the roof architecture, the windows on the second floor of the house will differ from the usual rectangular, square. Most often, you can find two options for a non-standard window in the attic: triangular or located at an angle.
Attention! Fabric for a non-standard window must be purchased with a reserve.
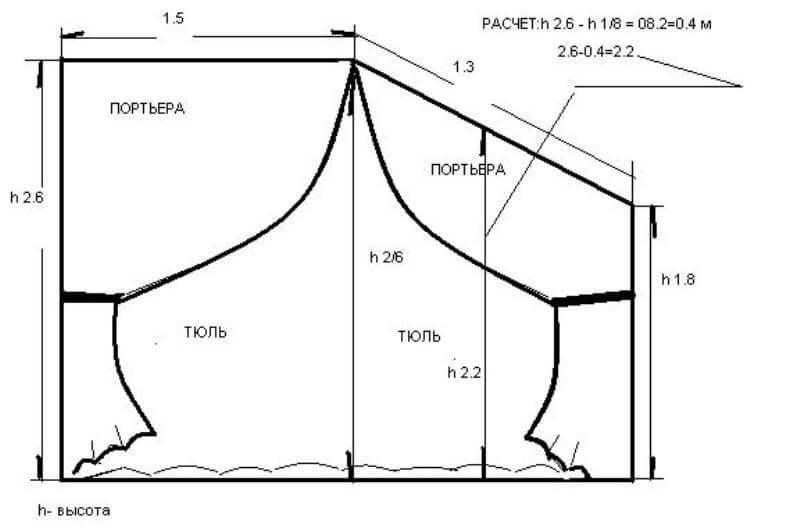
Let's look at creating a pattern for curtains for a slanted window.
- Take measurements from the window.
- We sew and cut the straight side of the window according to the standard pattern.
- The dimensions are taken from the bevel at three points: find the highest point A and the smallest point C. Subtract the smaller point C from the larger point A, and divide the result by two.
- Subtract the result obtained in the previous step from point A – this will be the middle of the beveled part of the window, the fabric (point B).
- If the product is supposed to have drapery, multiply the width of the fabric by two.
- Processing should begin with the side seams, then we put the bottom under.
- At the top we put aside an allowance for the braid and sew it on.
Important! For the beveled side of the window, it is better to secure the hooks with stoppers in three places: at the top, bottom and in the middle.
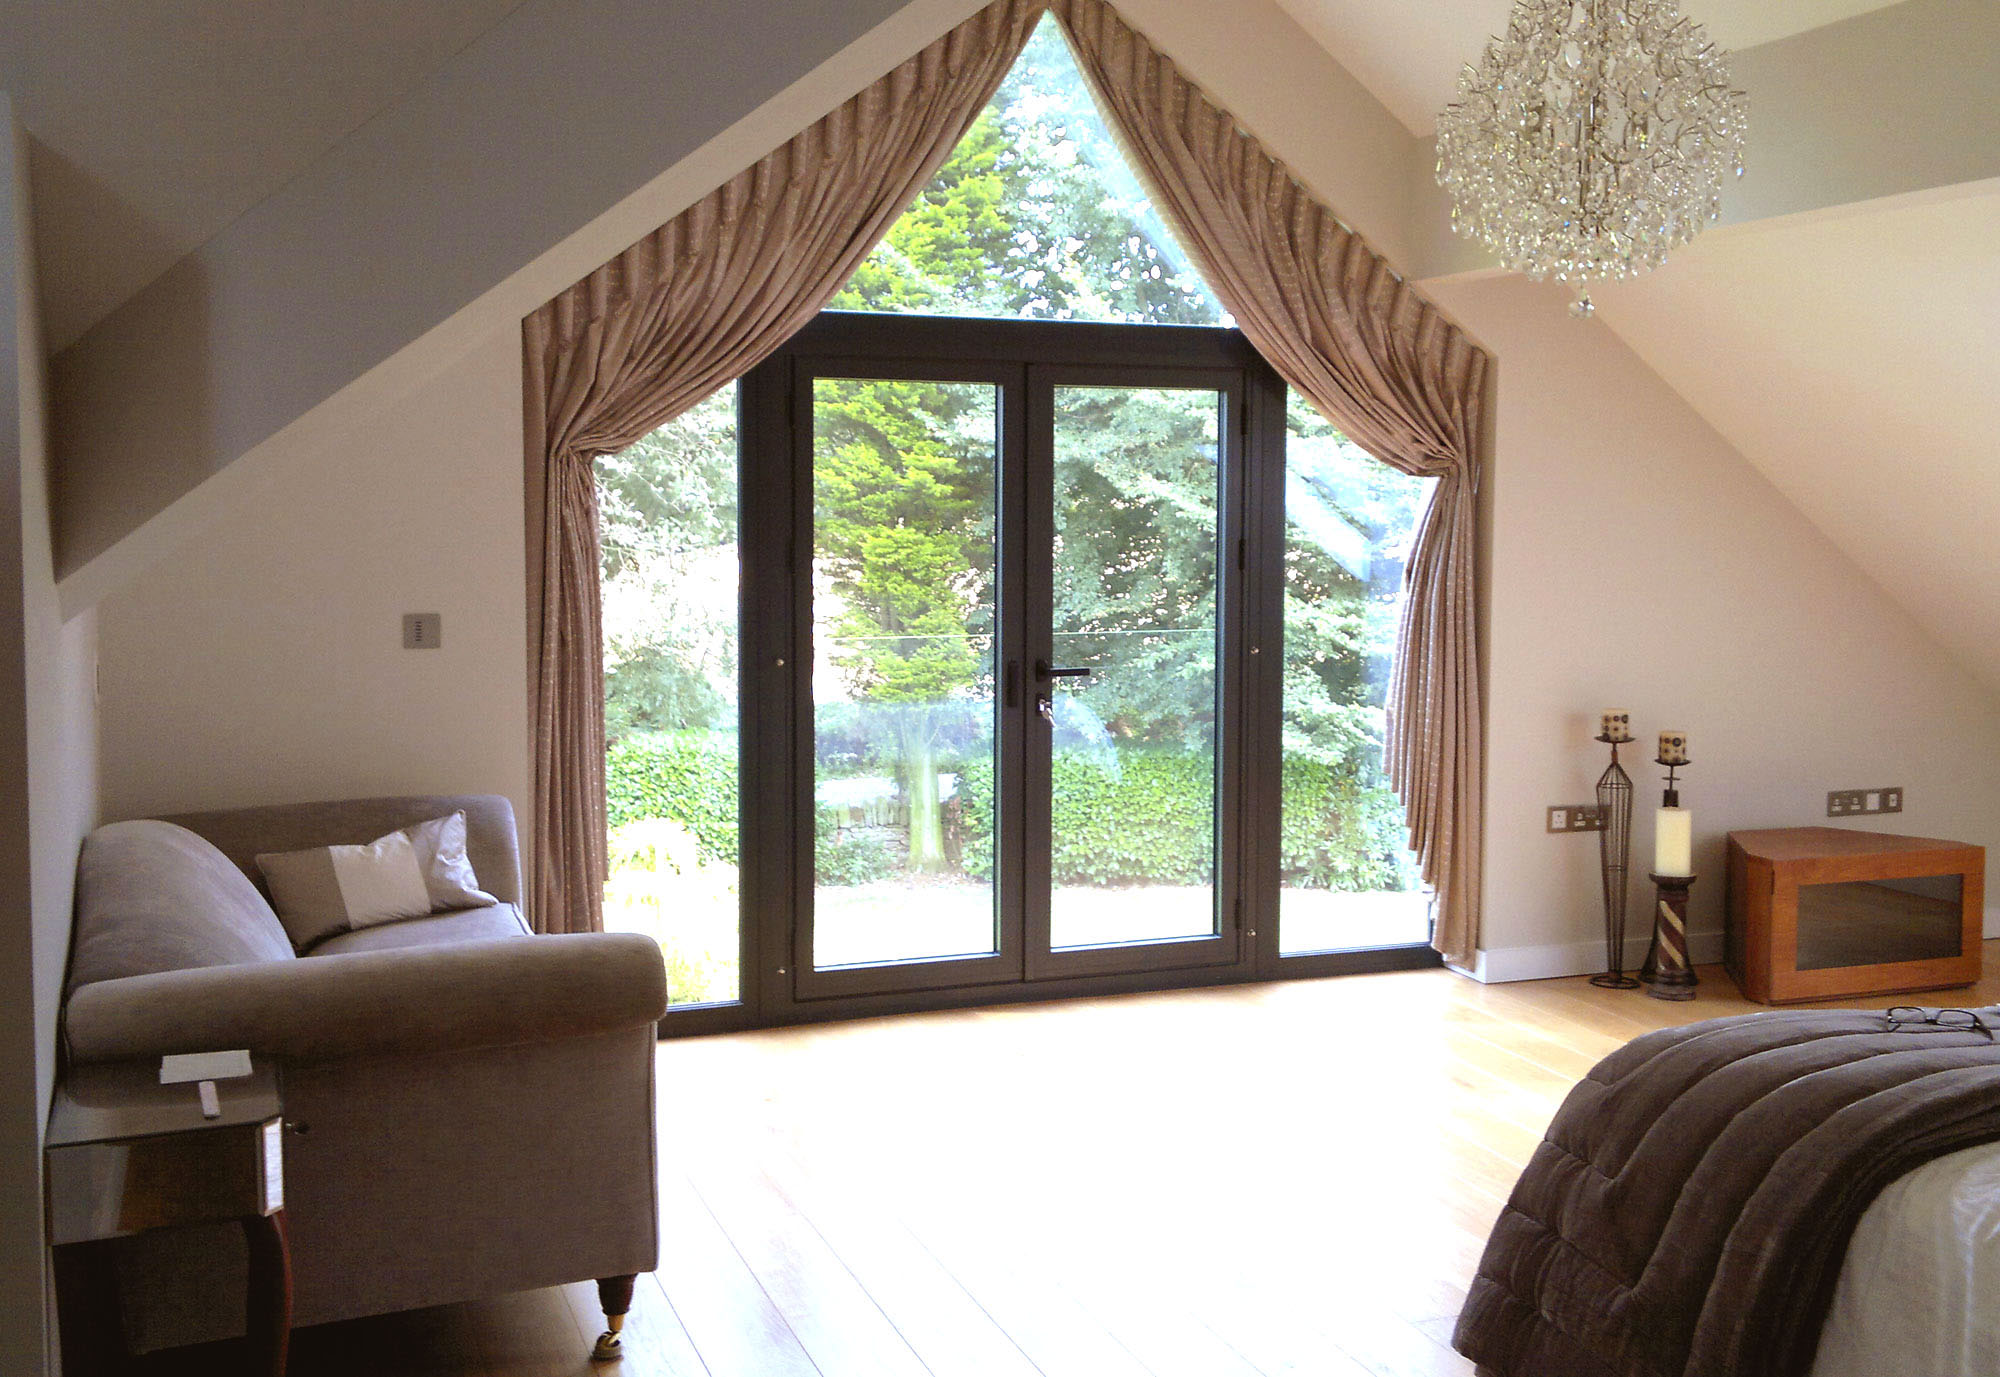
An example of how to make original curtains for a slanted window, creating the illusion of a regular one.
- Install a level cornice and take measurements.
- It is necessary to cut and sew two curtains that will slide apart.
- Install a lambrequin on top: it will mask the uneven upper part of the window.
VIDEO: How to sew French curtains with your own hands.
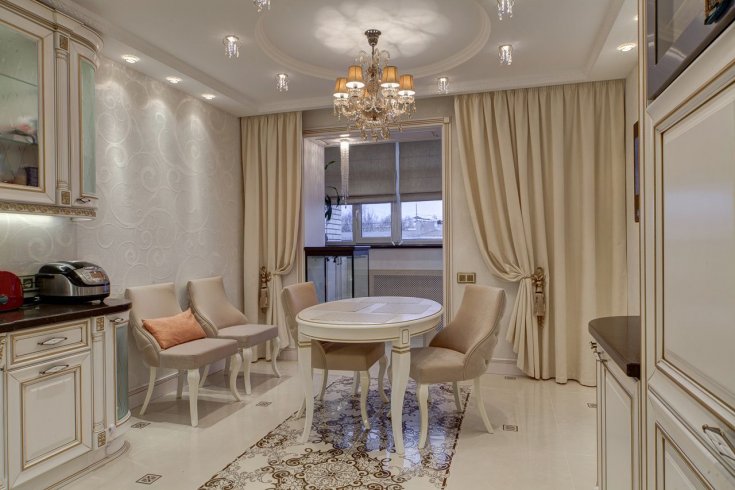
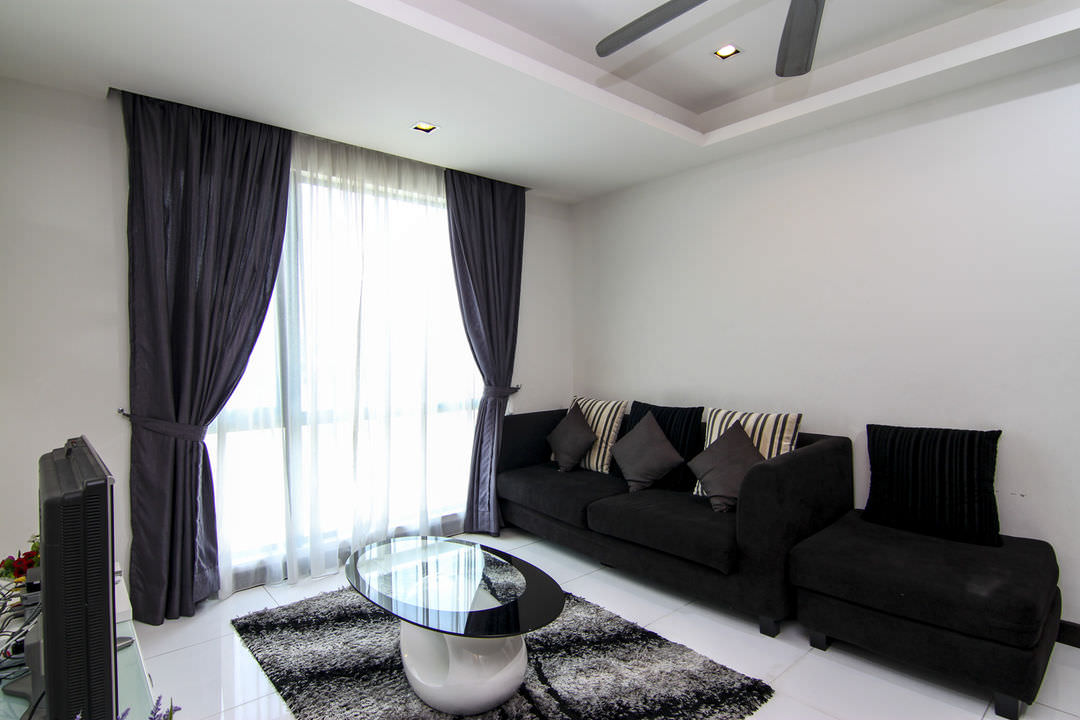
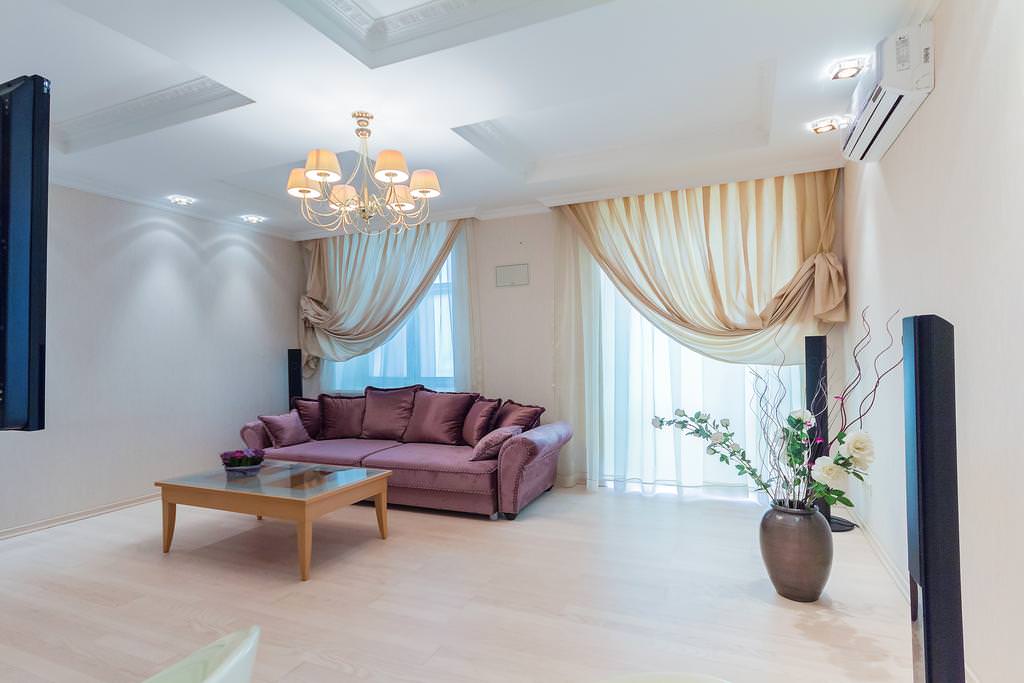
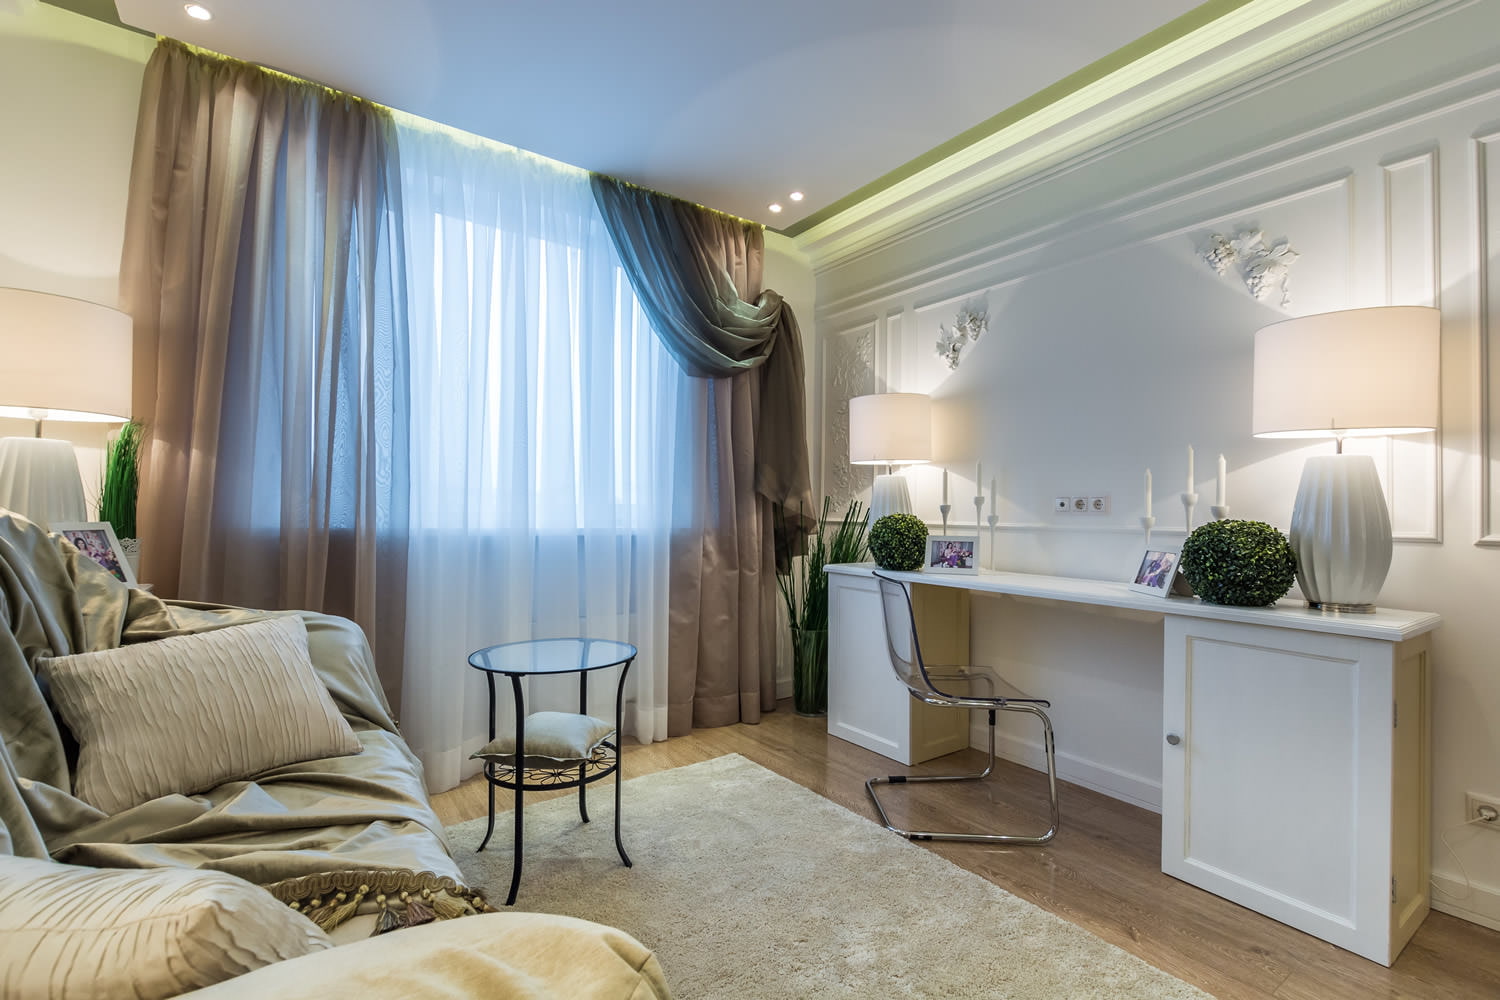
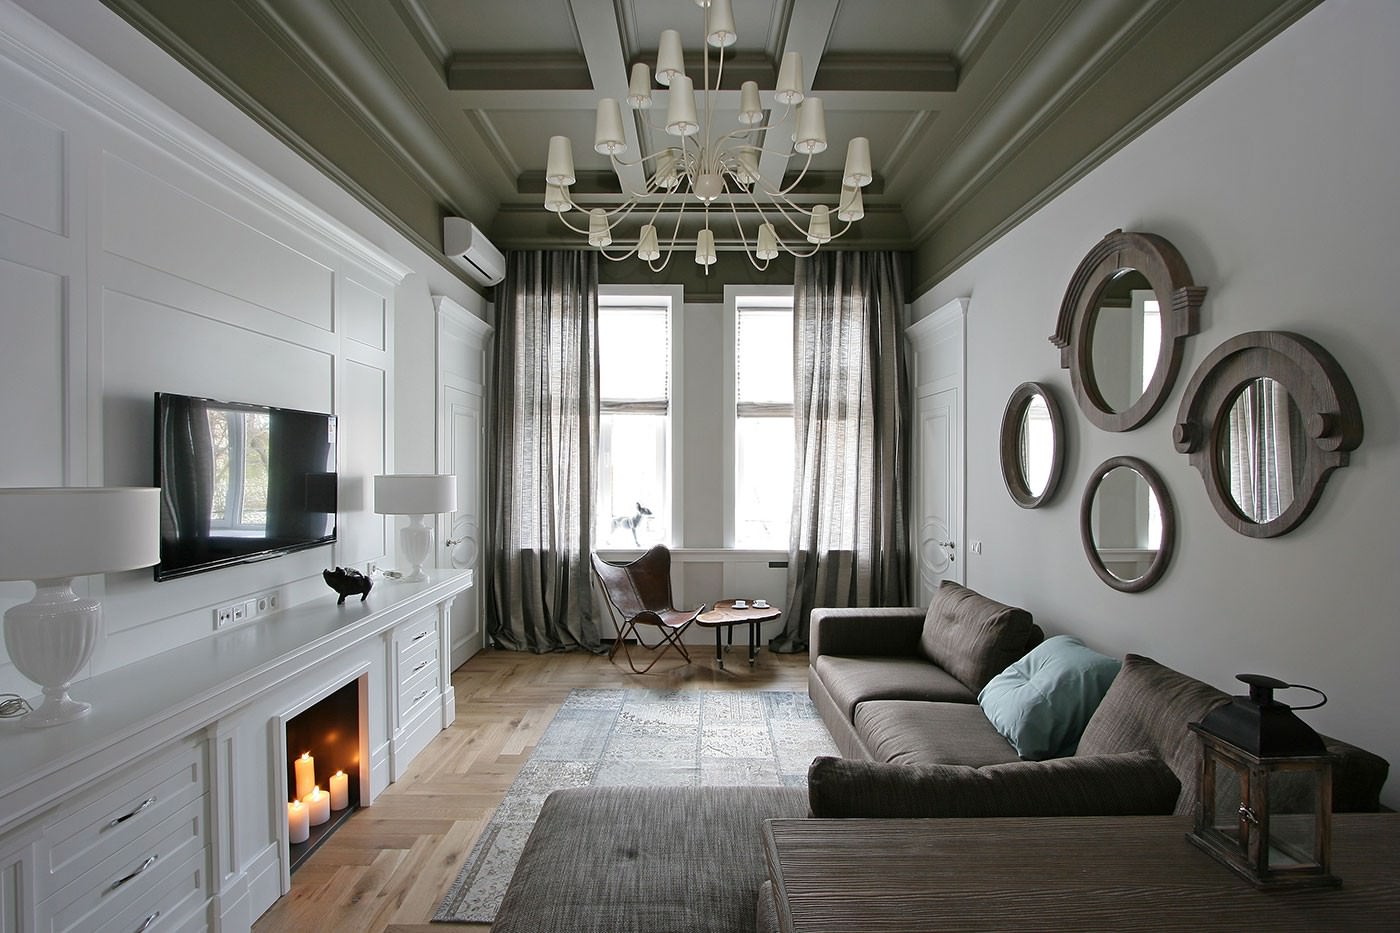
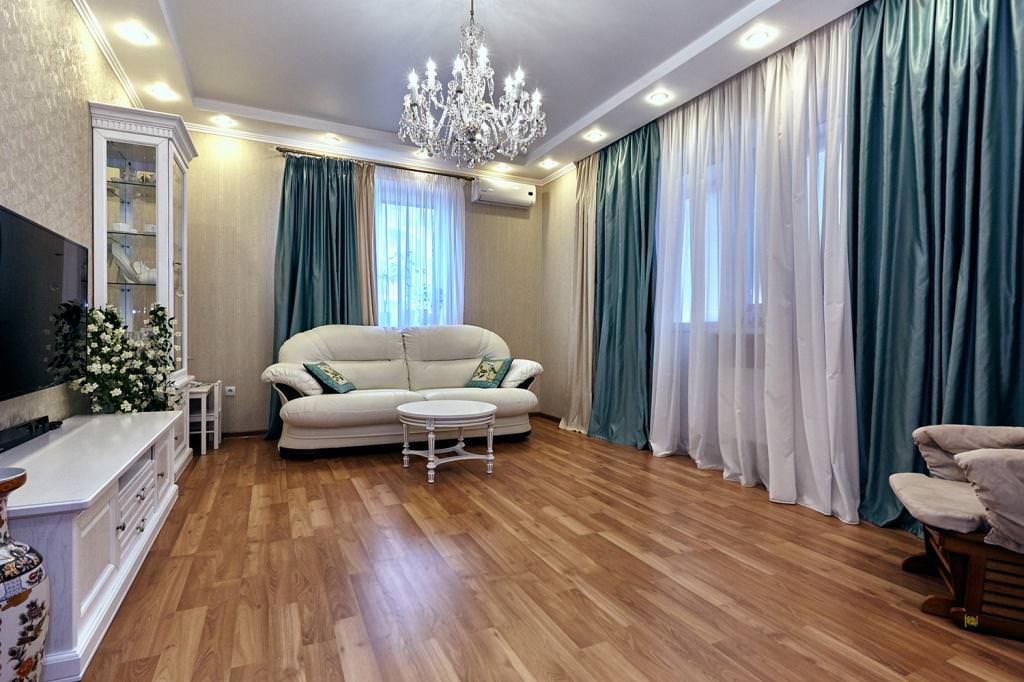
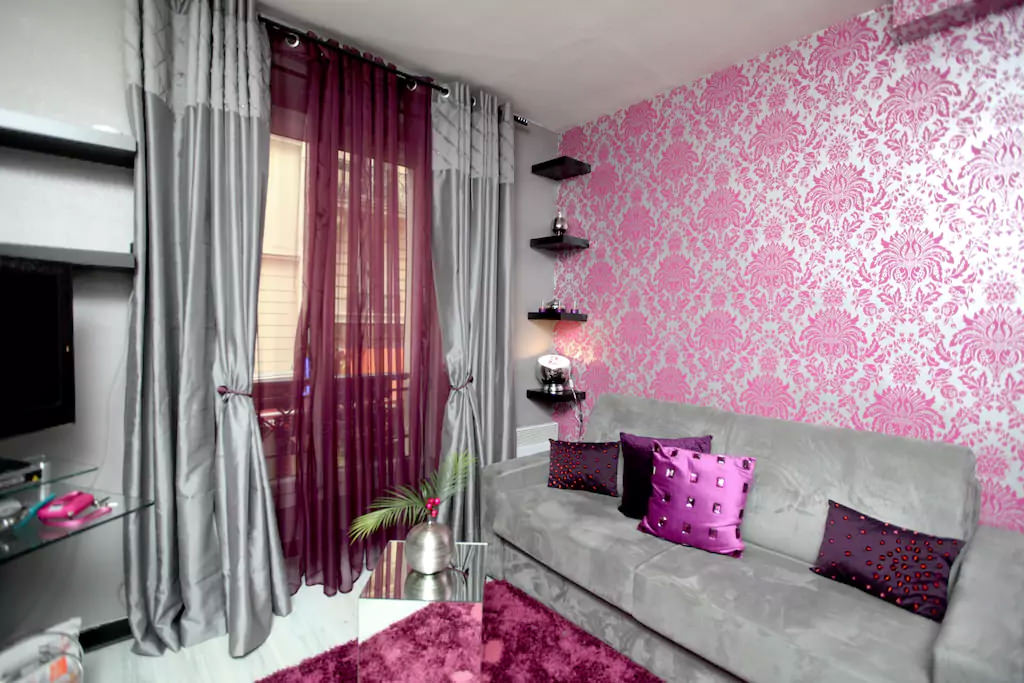
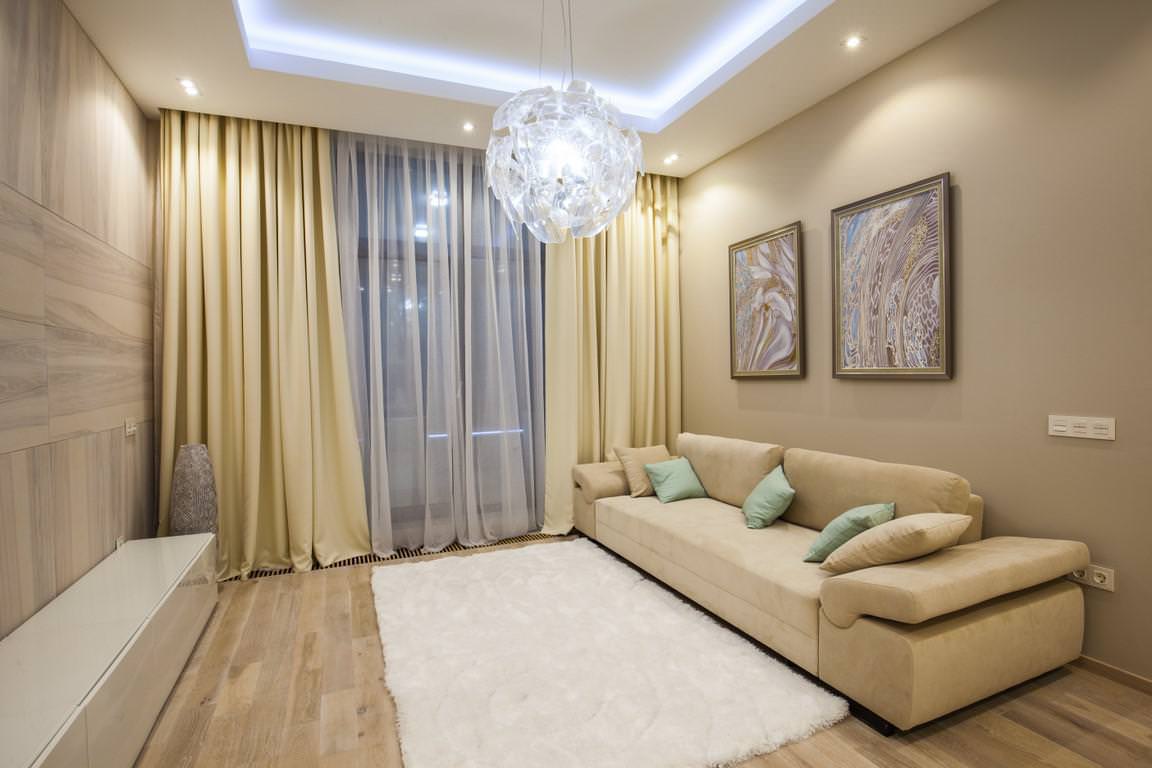
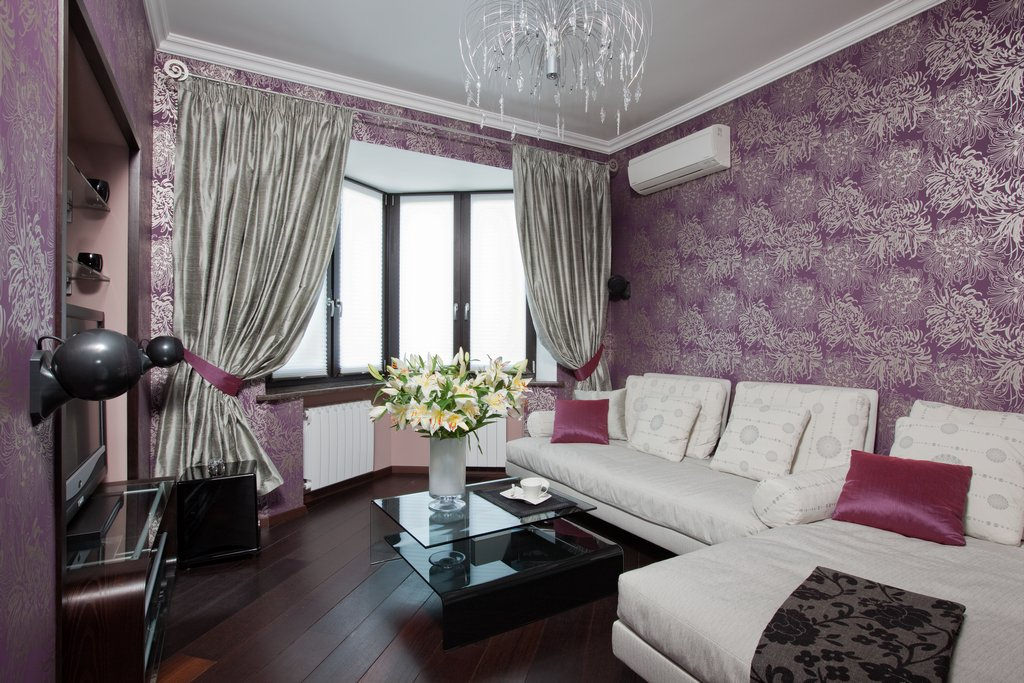
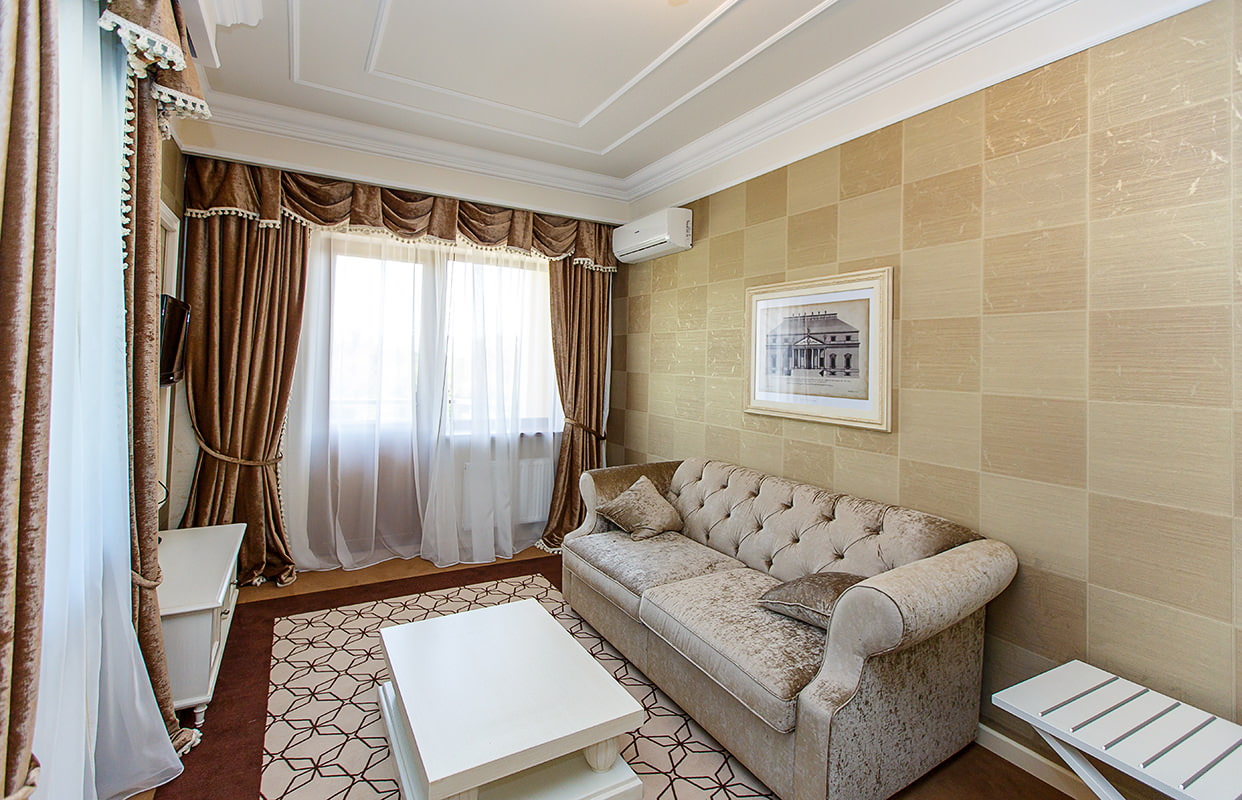
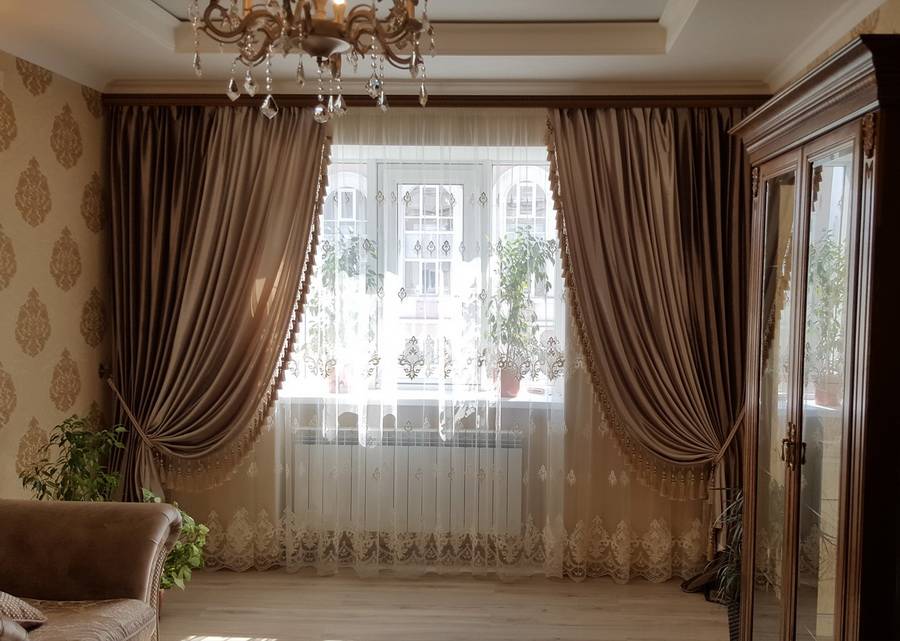
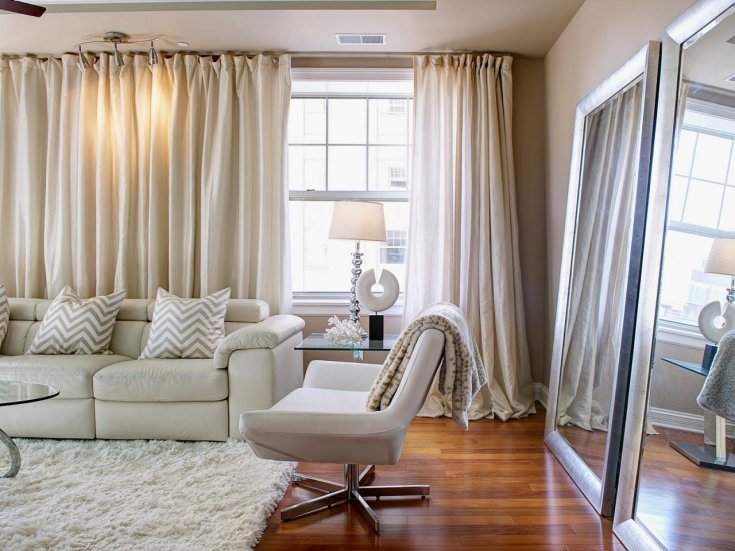
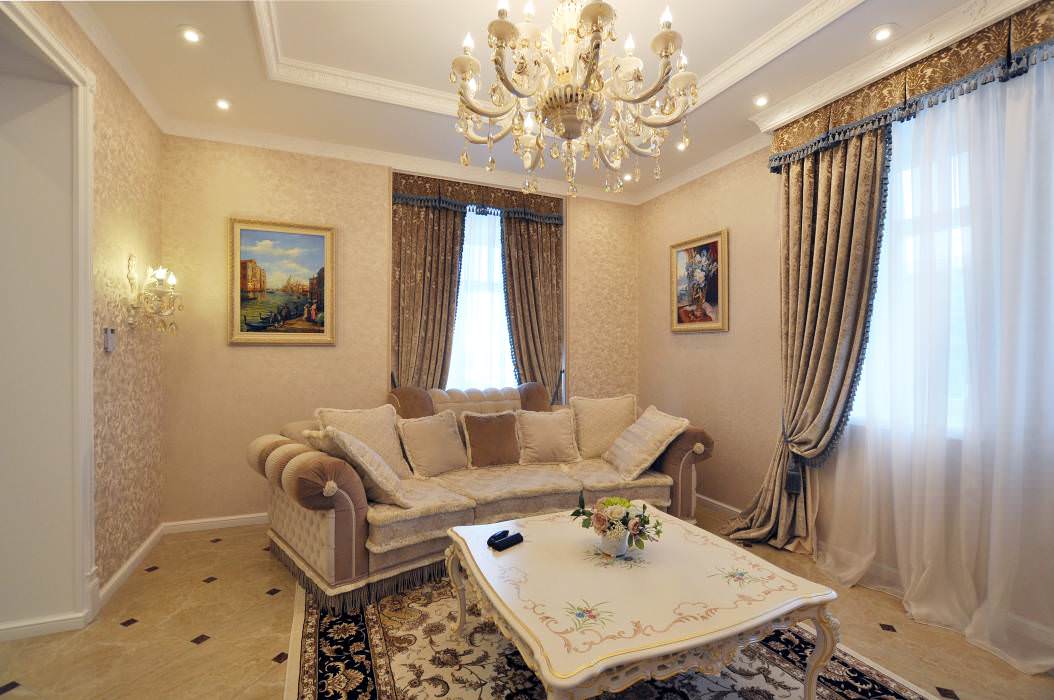
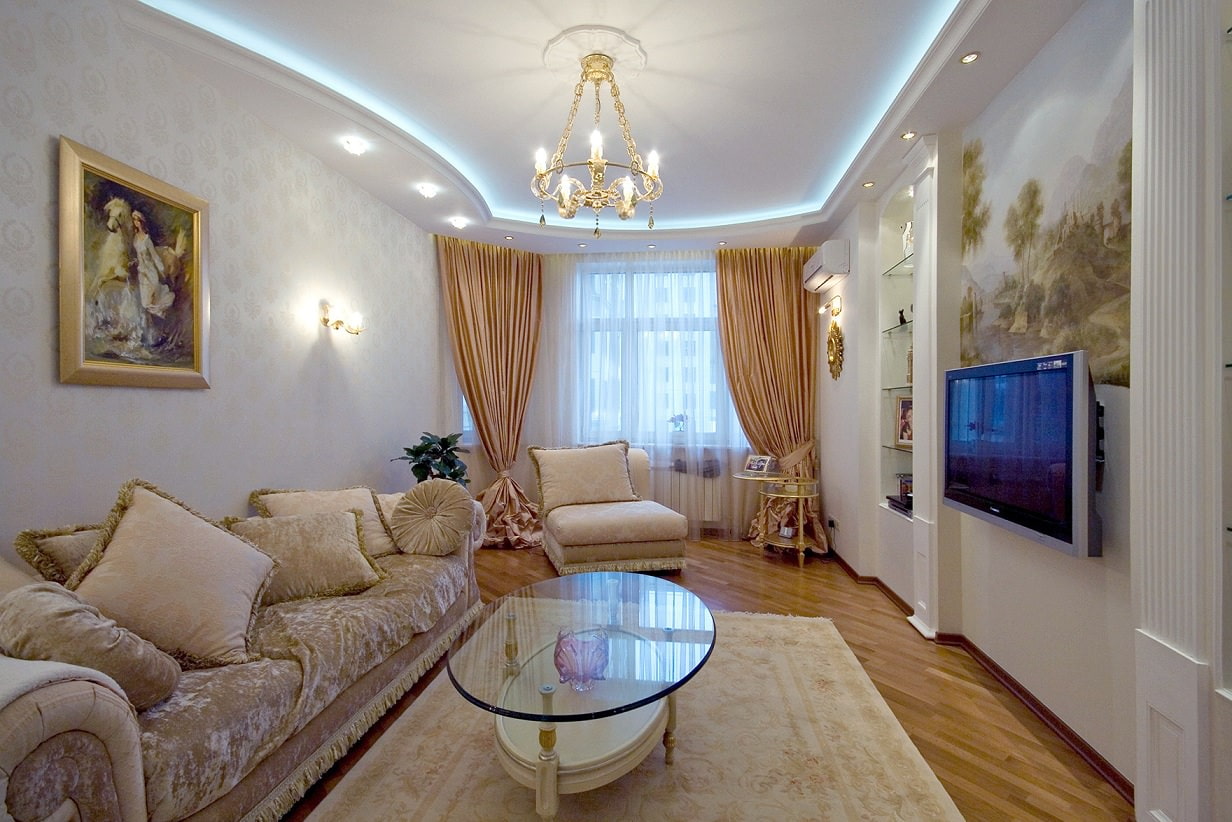
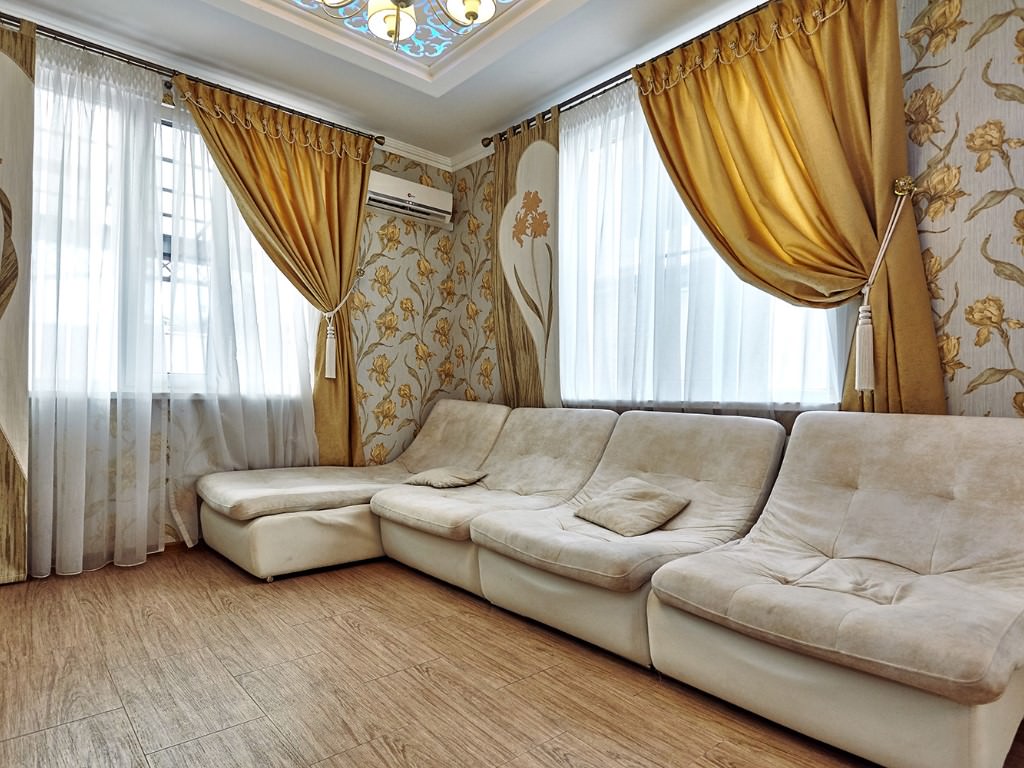
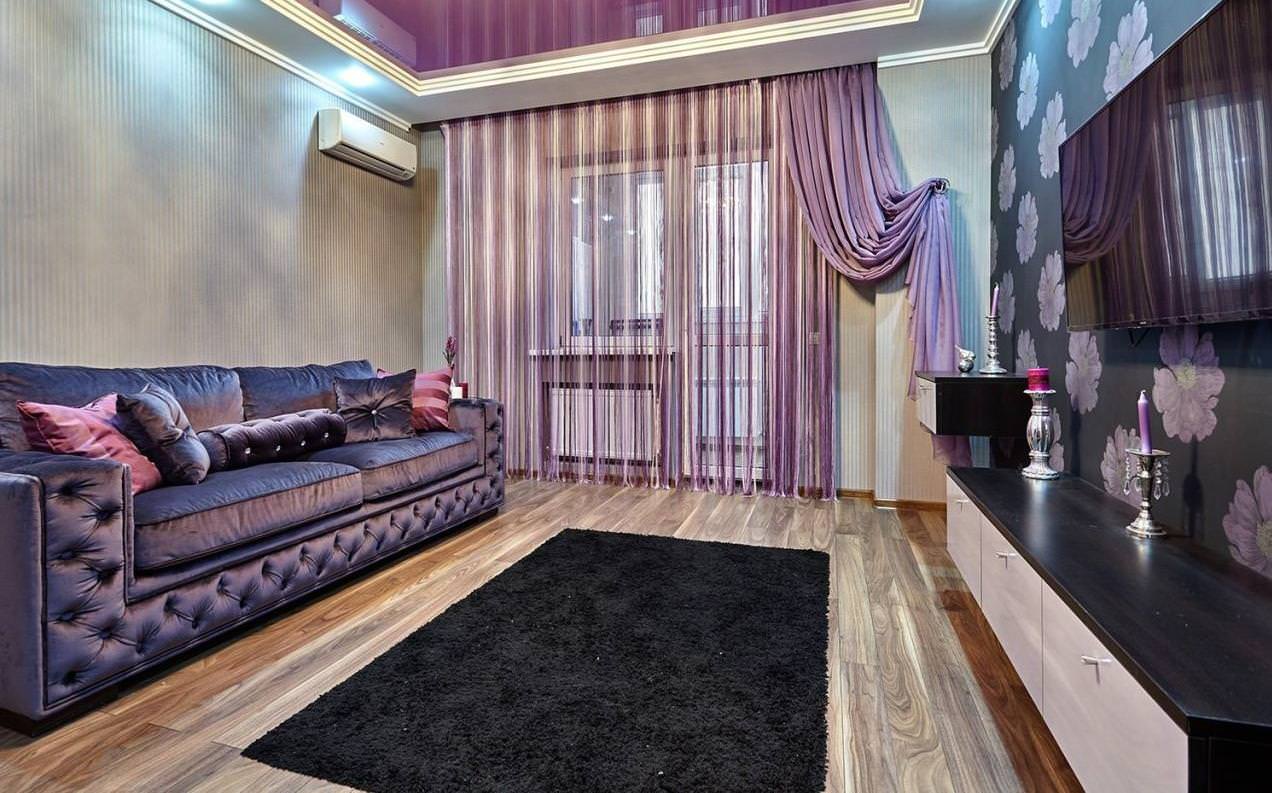
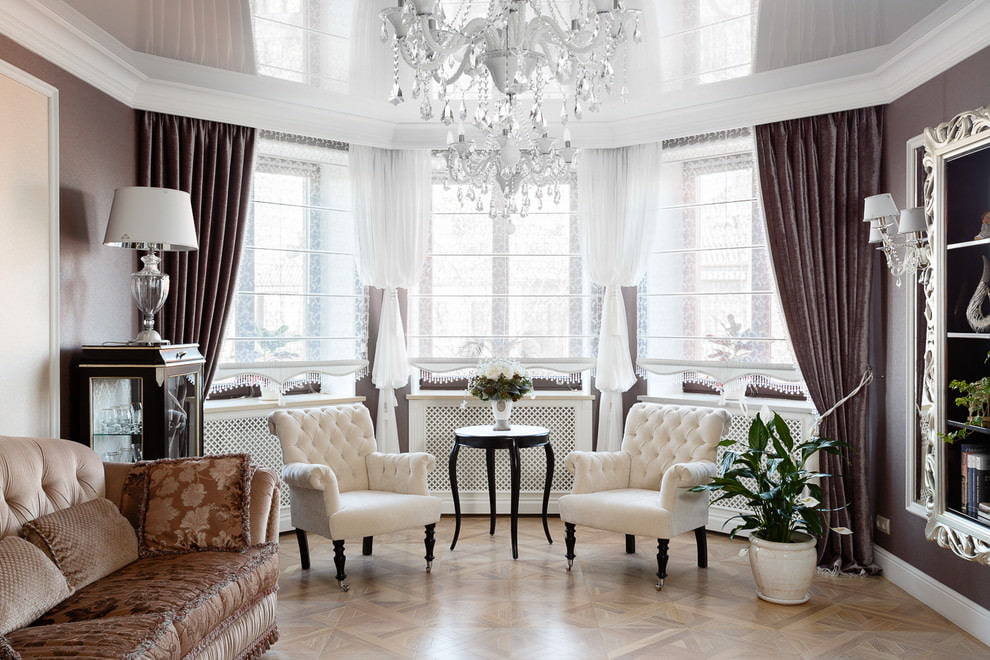
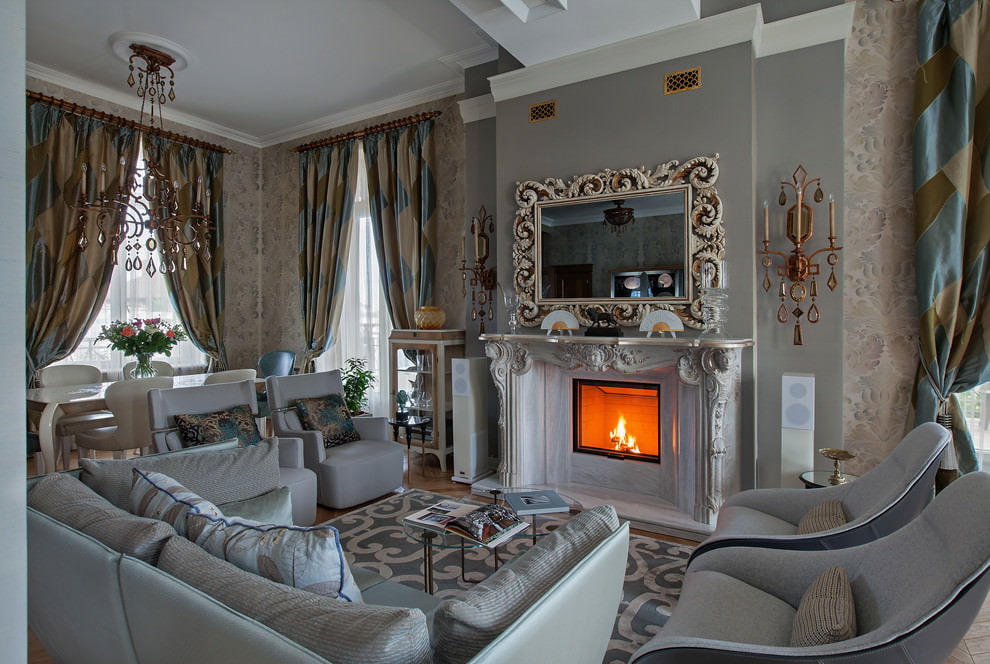
50 options for modern curtains in the interior: