Over the past 10 years, industries in various fields have developed greatly. Consumer goods with various attributes and accessories are selling like hot cakes in stores. Clothing, home textiles, country and tourist products have such an element as eyelets. In order to find out what eyelets are, how to install these products yourself, what they are used for, when they originated, what types there are and many other questions, read this article.
Content
Description
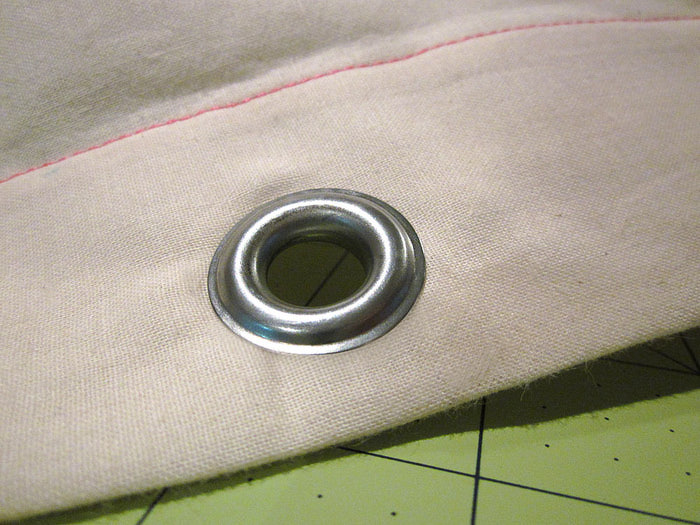
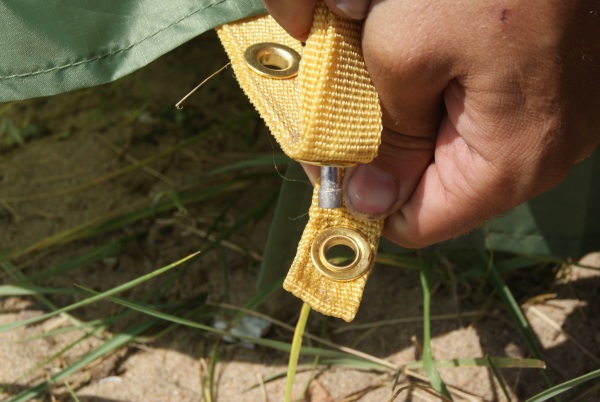
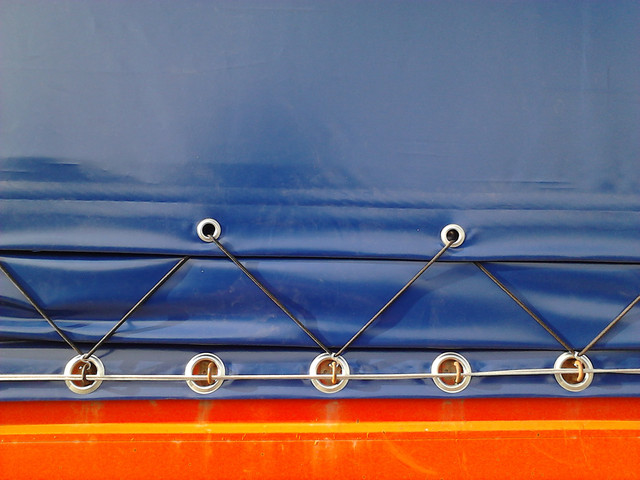
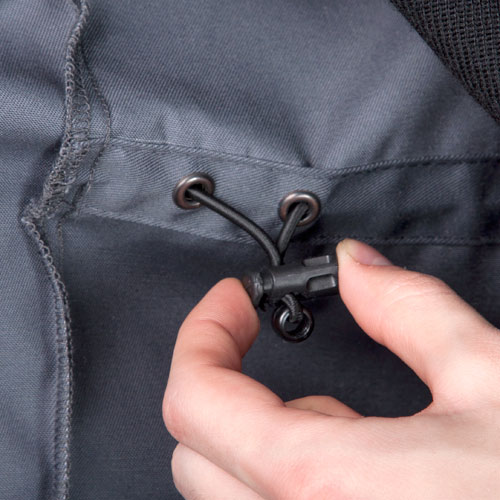
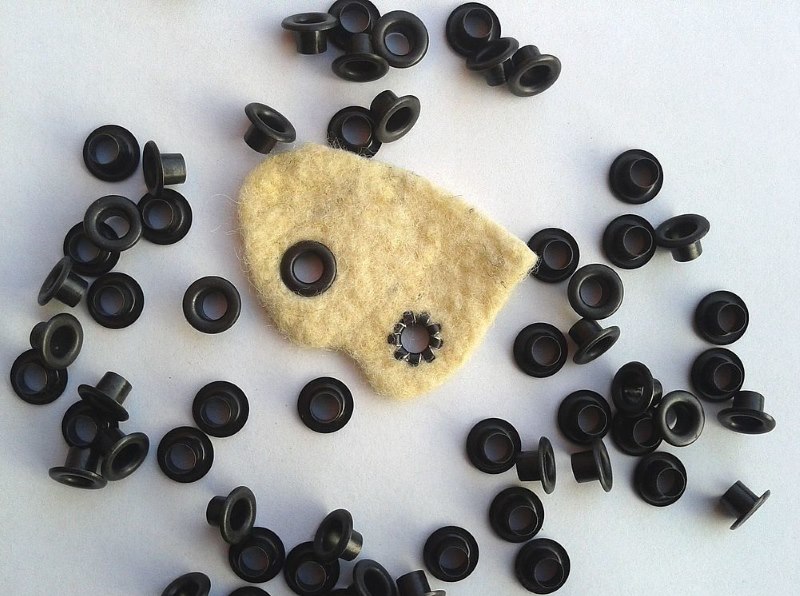
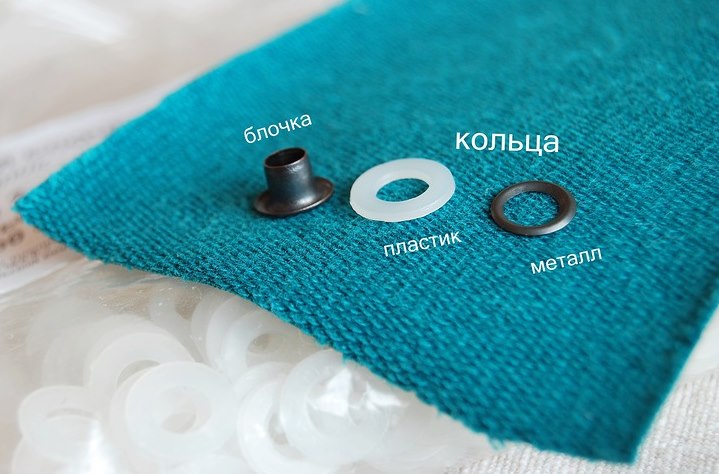
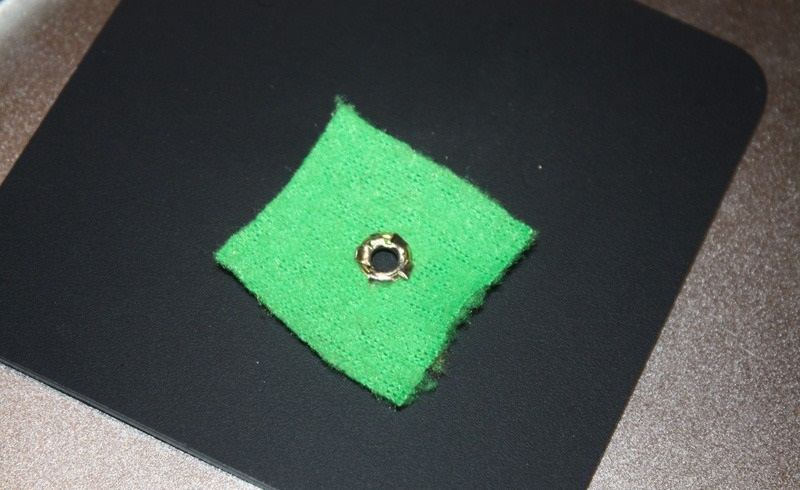
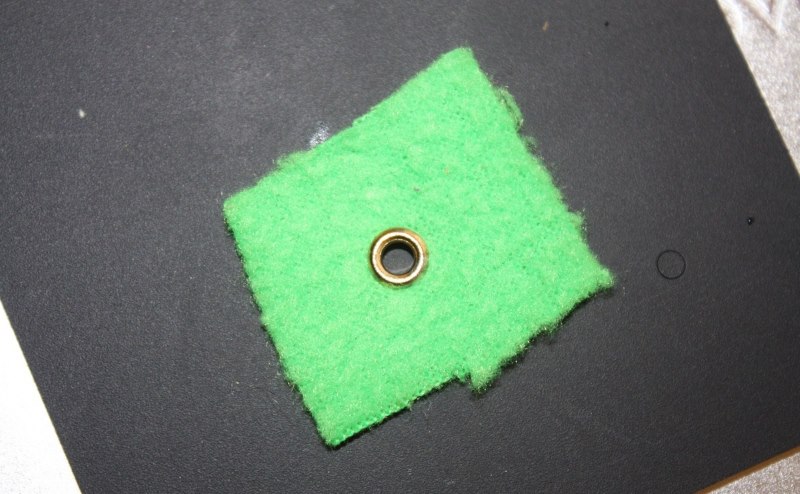
An eyelet is an element that allows you to strengthen the edges of any material. It is a sleeve with a cap on one side and an overlay washer on the other. Inside the product there is a hole that is used to thread a thread, rope, bowstring, or simply as a decorative ornament.

Eyelets are installed at factories or manufacturing plants of various products. Such an element of attributes of each individual item has received wide application in several industries at once. It is impossible to imagine ordinary shoes or a modern notebook with housewife recipes without this amplifier.
Eyelets are used:
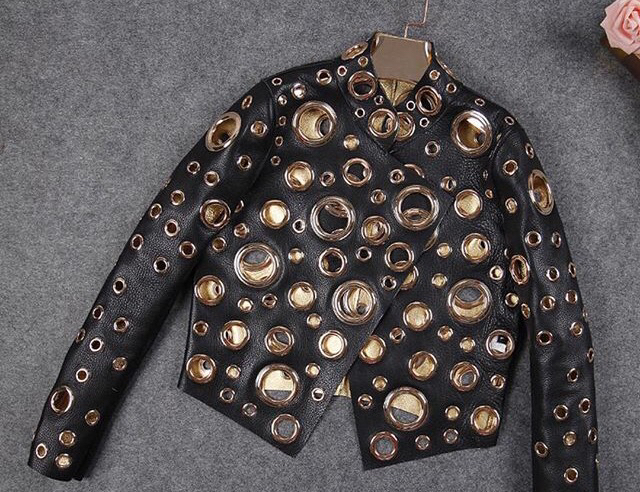
- in the production of outerwear;
- for the production of footwear;
- when producing home furnishings;
- for tourism and summer cottage purposes;
- in commercial activities;
- in the manufacture of shipping and marine products;
- in office and printing.
As can be seen from the description of the areas of use of this wonderful accessory, it has found wide application in almost all branches of production of goods. Basically, the device has a functional character, which consists in strengthening the edges of the material for subsequent threading of a rope, cable or thin thread through it.

To install eyelets yourself, you need to know what hardware factories make them from.
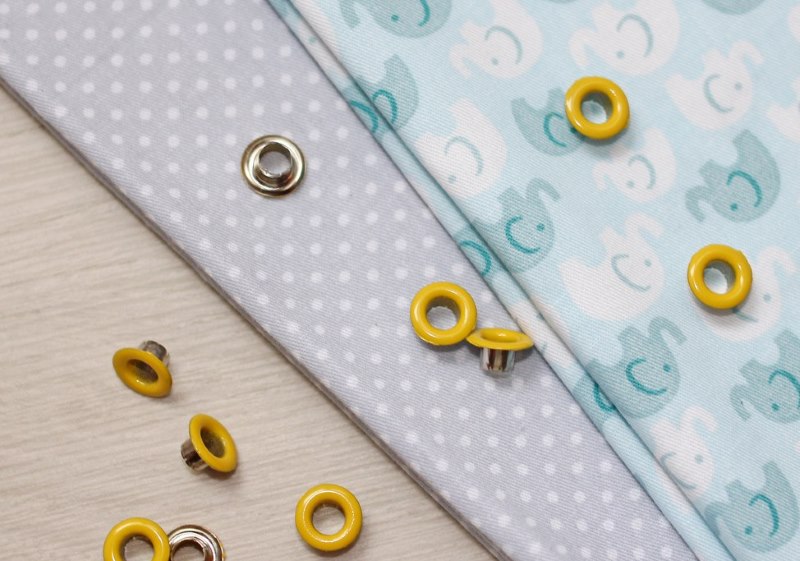
- Steel.
- Aluminum.
- Brass.
- Copper (rare).
- Silver.
- Gold.
- Tree.
- Plastic.
- Thread overcasting.
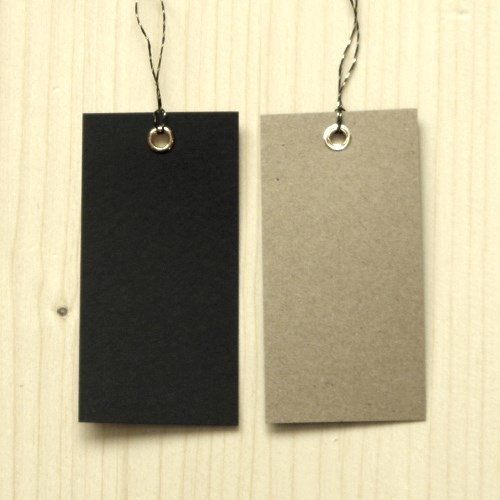
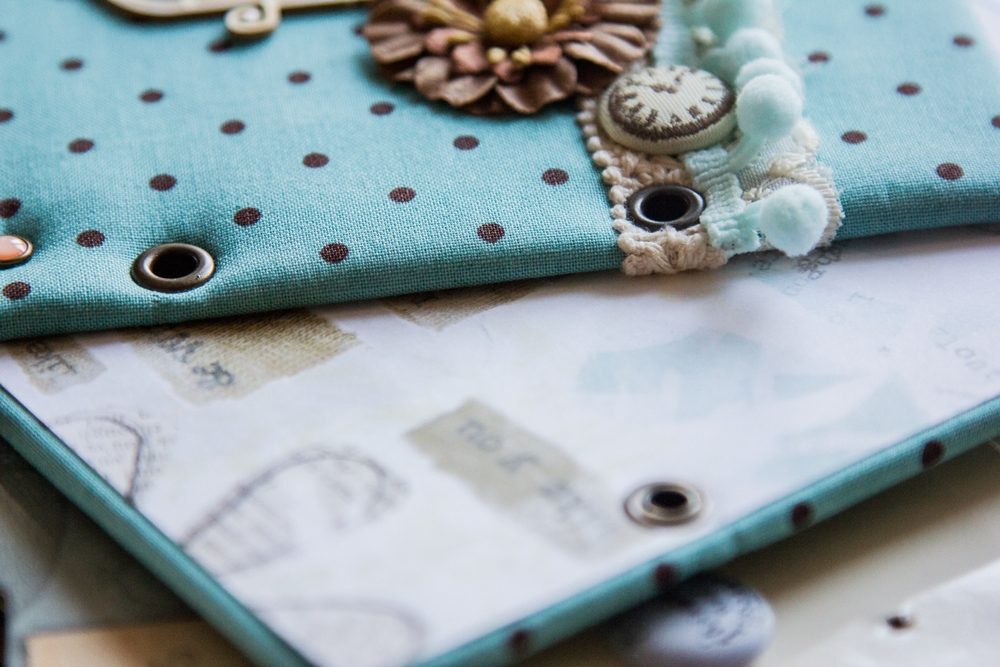
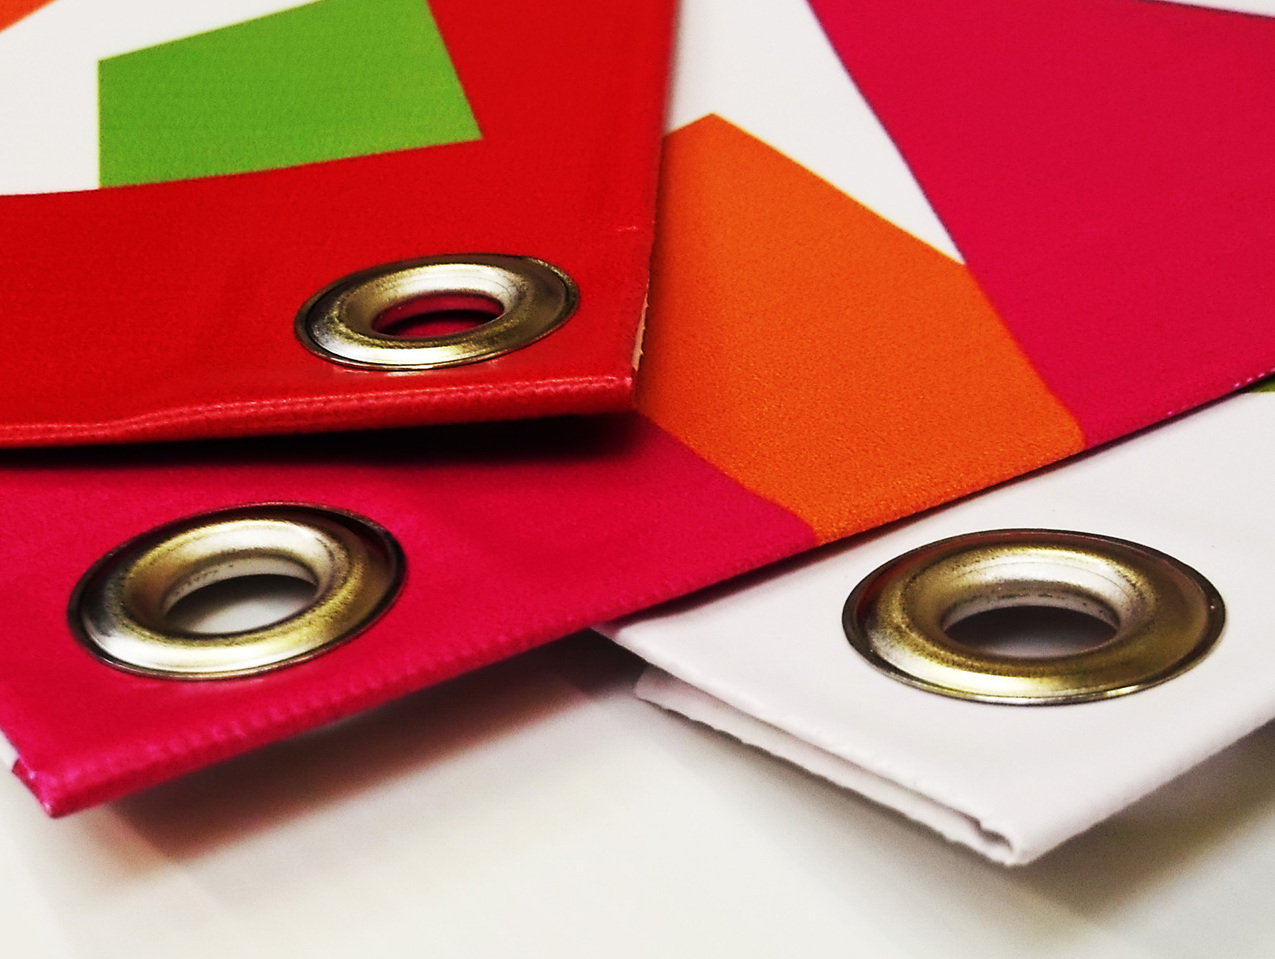
Enhancers are made from precious metals by jewelry craftsmen or jewelry factories. Such elements serve as decorations for bracelets, bag straps, shoes, and designer clothes. Aluminum products, as well as brass, are used for office/printing activities. Quarterly calendars, scrapbooks, notebooks, and other products are subject to modification with the help of eyelets.
Interesting. In office work, such a strengthening attribute is called a block. The printing industry itself calls it a piccolo ring.
Where are eyelets used?
To answer the question of how to install eyelets without a tool, you need to know what household items and clothing use this product. They are widely used for:
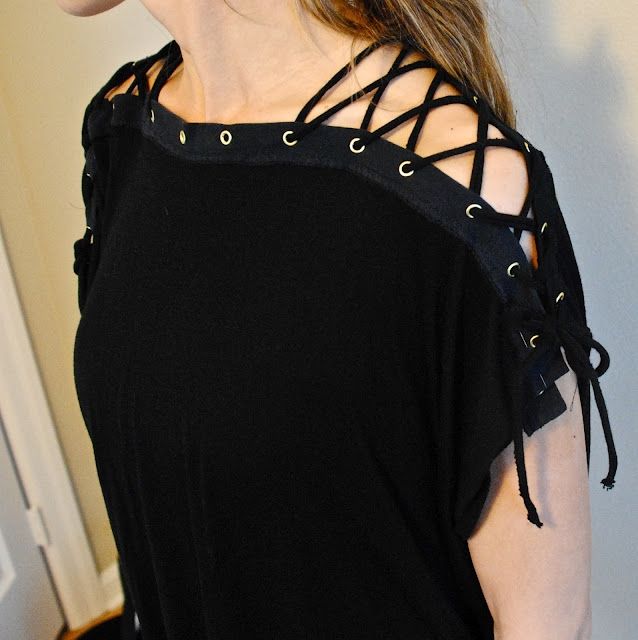
- T-shirts, sweaters, jumpers, cardigans;
- jackets, windbreakers, sheepskin coats, fur coats, capes, raincoats;
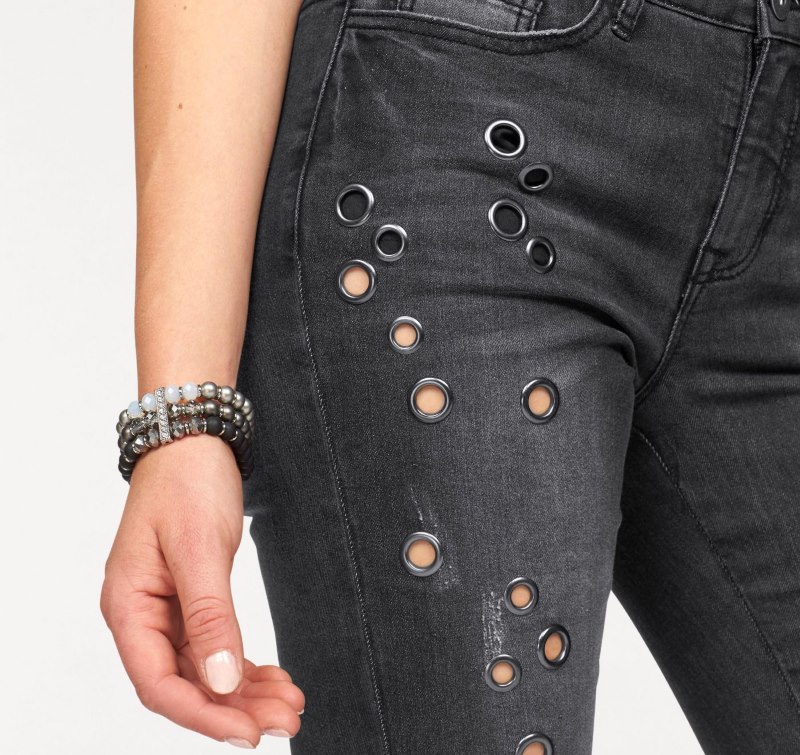
- trousers, jeans, shorts, breeches;
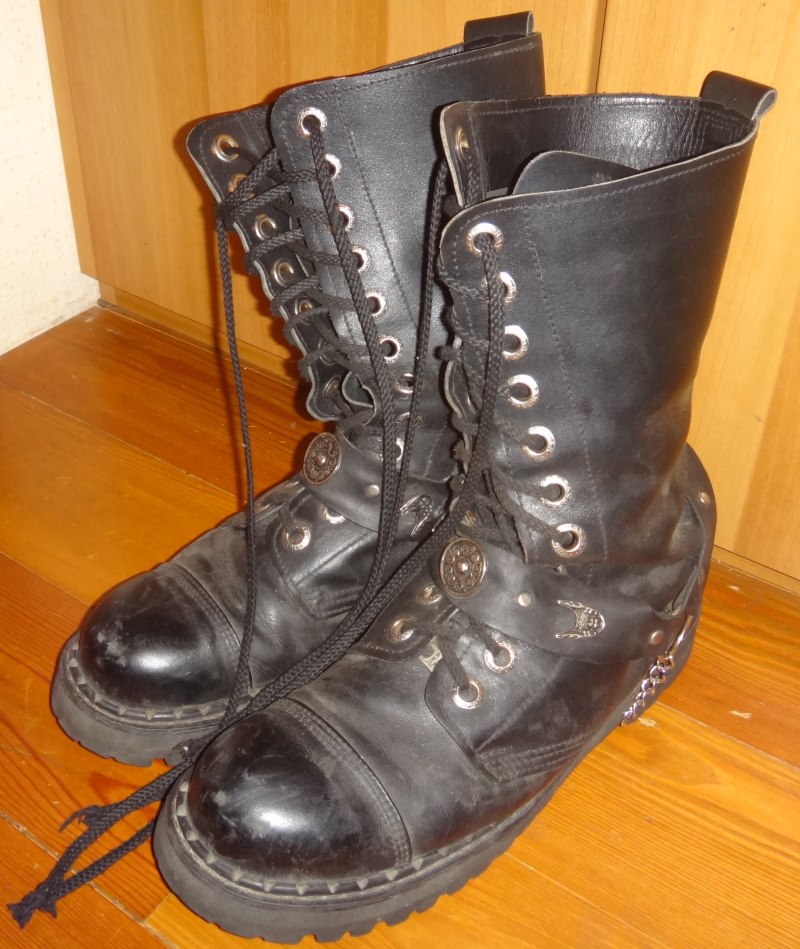
- boot, sneaker, trainer, shoe, moccasin;
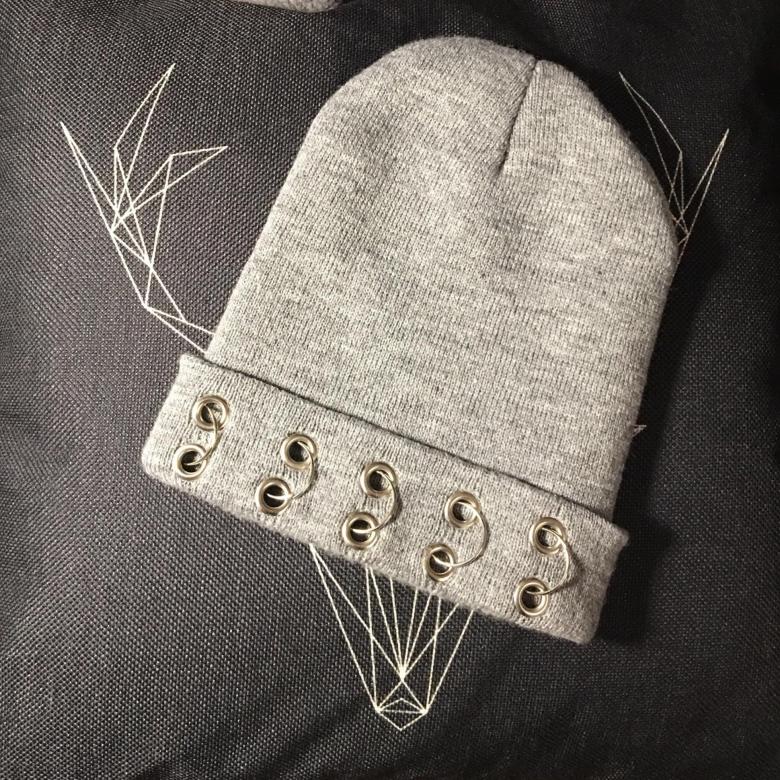
- headwear, caps, earflaps;
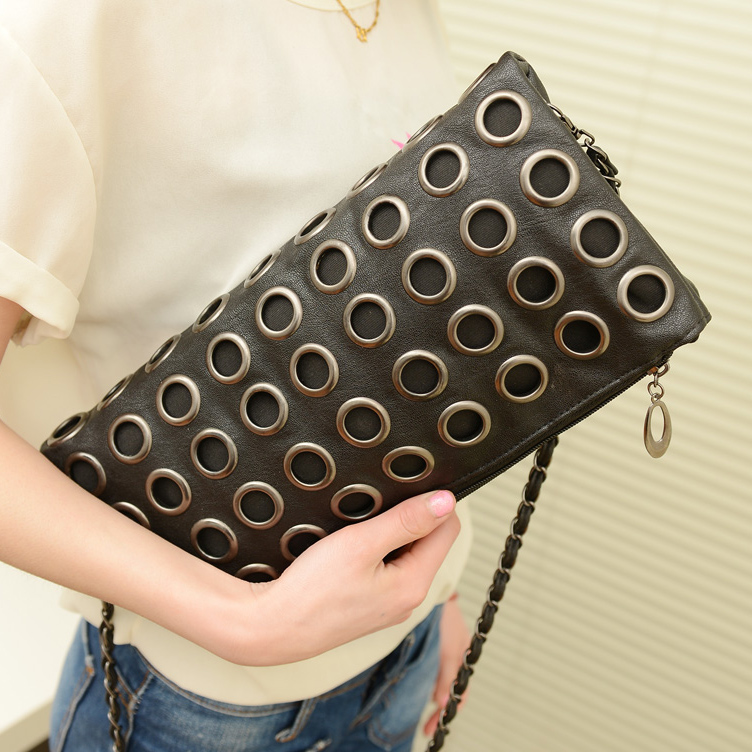
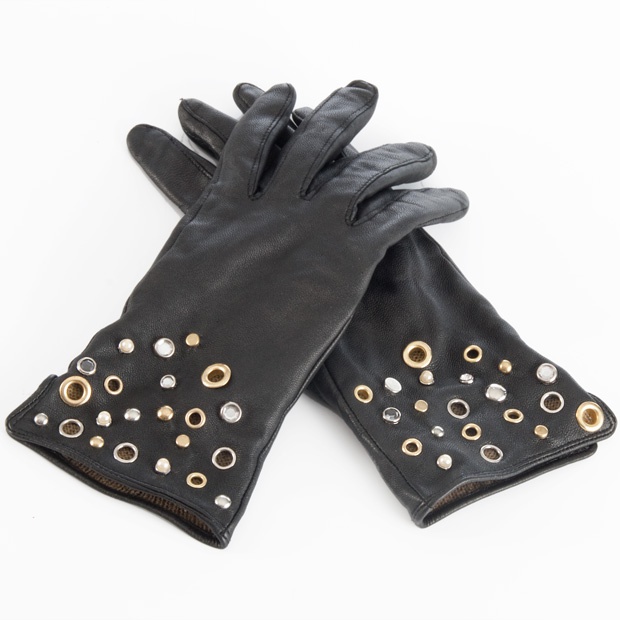
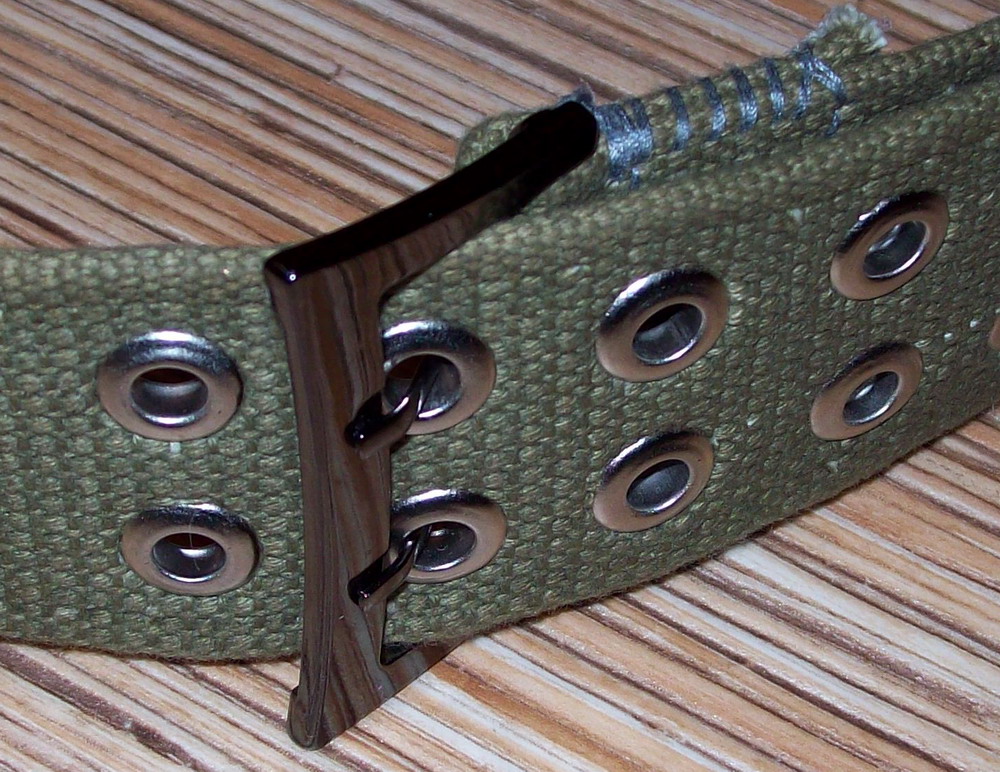
- belts, sashes, bracelets, bag straps, wristwatches;
- notebooks, books, calendars, decorative gift items, craft bags;
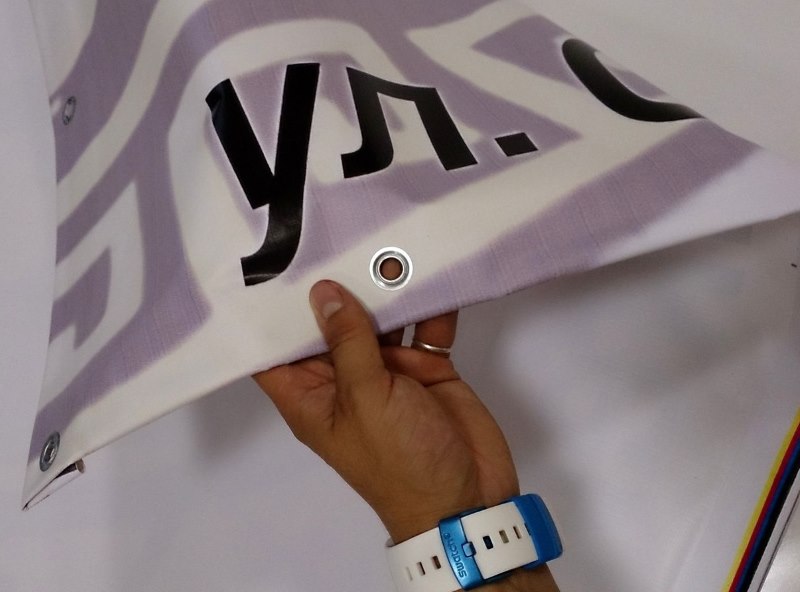
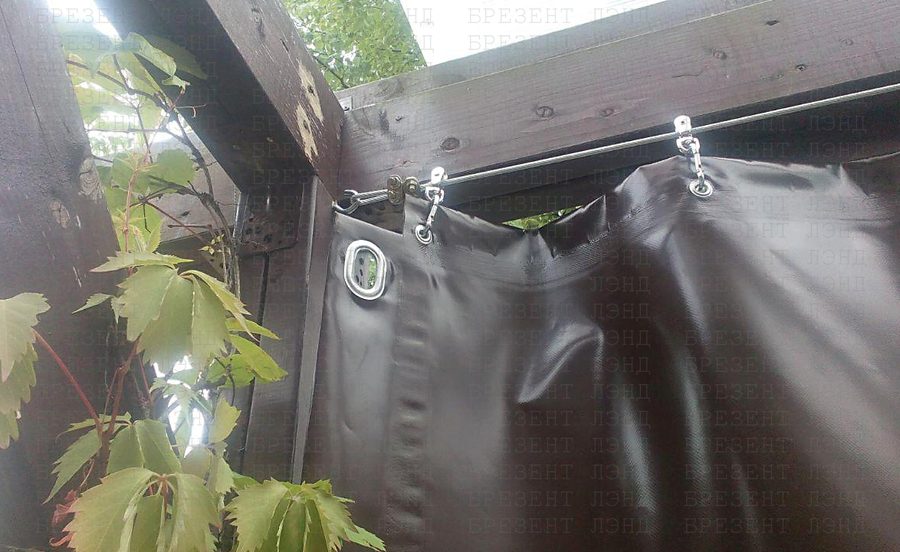
- truck awnings, tents, general purpose awnings;
- sails of sea ships;
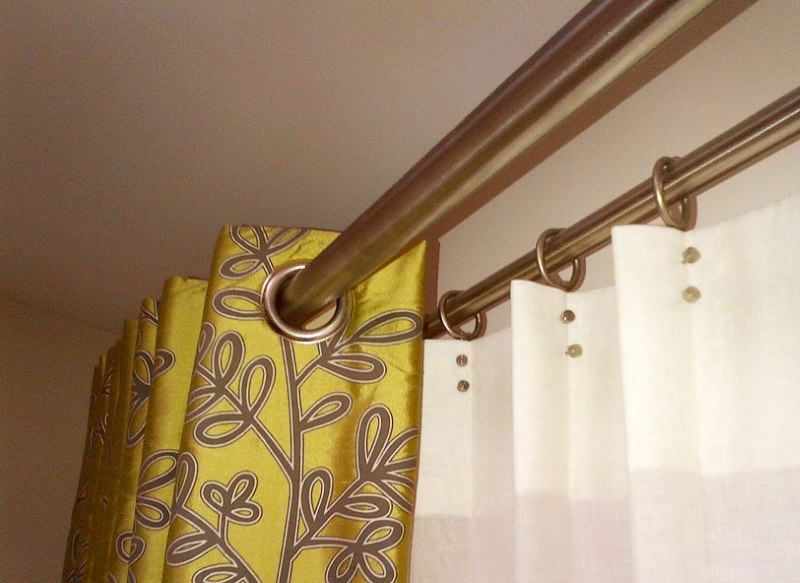
- curtains, curtains, porters, lambrequins;
- decorative finishing of home furnishings and clothing.
This list can be continued indefinitely, as the product is truly extremely popular.
For paper/cardboard products, blocks (piccolo rings) are used. Their main difference from eyelets is the absence of an additional washer on the back of the rivet. Blocks have one bushing, rounded at one end in the form of a cap. A special tool is used to install the rings.
Who invented the product?
Every person who wonders how to install eyelets at home is interested to know where this product came from. It is impossible to know for sure in which century the reinforcement was first used. But there is an area of application: for sailing. Sails required reinforcement of the edges so that the rigging of the entire vessel could be threaded through them.

Interesting. Rigging is the name given to all the elements of a ship that are used to control the sails.
The first rivets looked very simple. The edges of a sail made of a special fabric (cotton, etc.) were stitched with several ties of thick thread. The stitching methods were different: their choice largely depended on the required strength and durability of the structure. After this technology was fully mastered, as well as at the dawn of the metallurgical industry, metal rings began to be used for rivets. The entire process of their fastening was reduced to manual installation, since there was no specialized tool at that time that allowed a rivet to be installed quickly and without problems. People made do with improvised means.
So why don't we learn from our ancestors? Further in a separate section of the article, there is a detailed description of how to install a grommet at home, without using a specialized tool.
Characteristic
For each item, be it an element of interior decoration, interior furnishings, a piece of clothing or tourist paraphernalia, reinforcing rivets are produced completely differently. This is characterized by:
- reliability requirements;
- strength;
- operating conditions;
- visual qualities.
Taking into account the needs of each customer, the manufacturer constantly develops new products, improving its technologies.
To meet the needs of each industry, rivets are characterized by the following indicators:
- Attribute diameter. There are two numerical characteristics of this indicator: the internal and external diameter. The external size has more of an effect on visual qualities. But the internal diameter affects the choice of the size of the hole in the material, as well as the maximum permissible thickness of the rope/crossbar that can be passed through the holes in the bushing. The diameter size varies from 2-3 mm to 10 centimeters.

The inner diameter of the eyelet must be greater than the diameter of the curtain rod. - Product depth. Measured as the maximum distance from the top cap to the end of the bushing. This indicator determines the maximum possible thickness of the reinforced product, but which can be rivet without significant deformation of the fabric/paper, as well as without loss of visual qualities.

The thicker the fabric, the higher the height of the eyelet edge should be. - Manufacturing material. We have already dealt with this parameter earlier. It is worth noting that plastic and wood are usually used as a decorative component for window textiles (curtains, drapes, lambrequins), and the metal base has a more functional character (reinforcing the edges of tents, shoes, etc.).
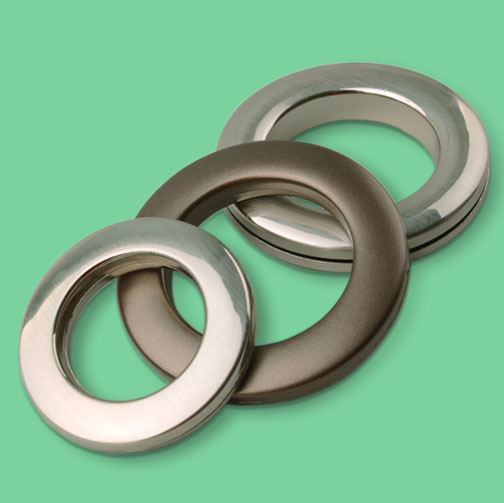
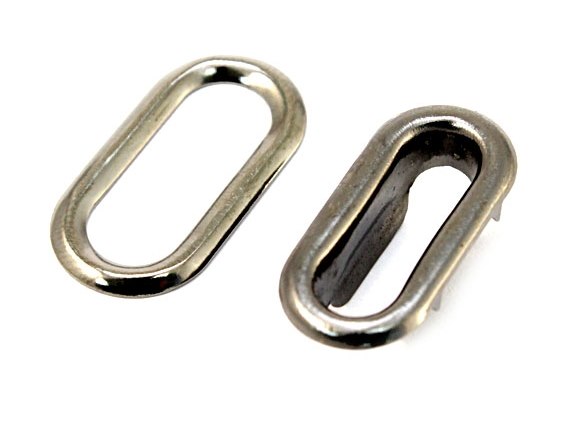
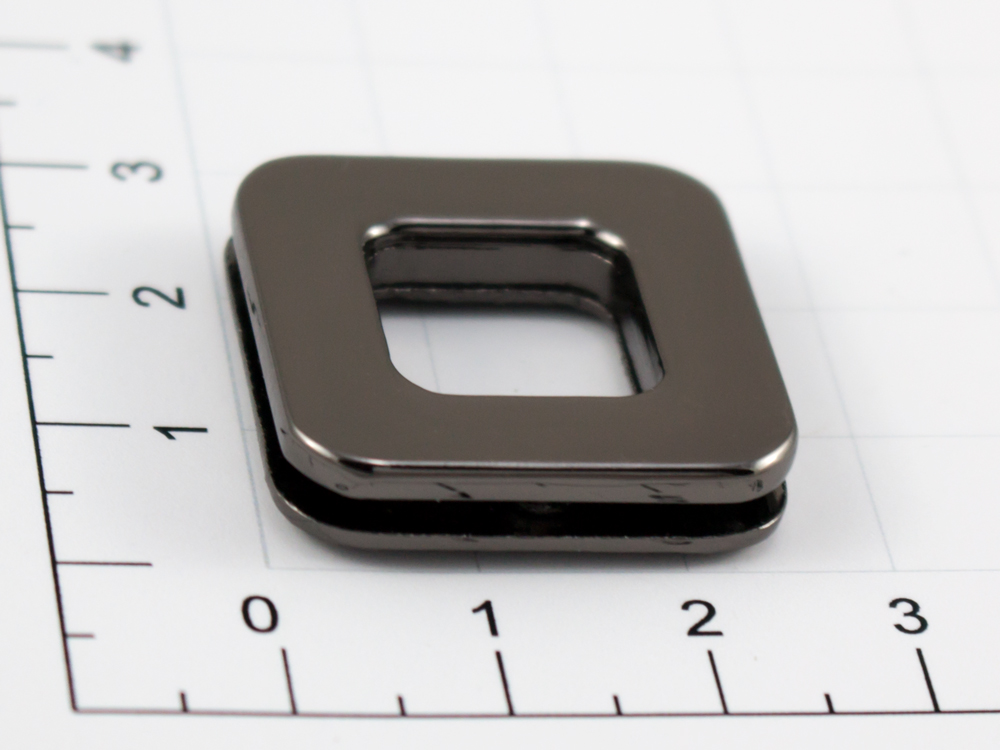
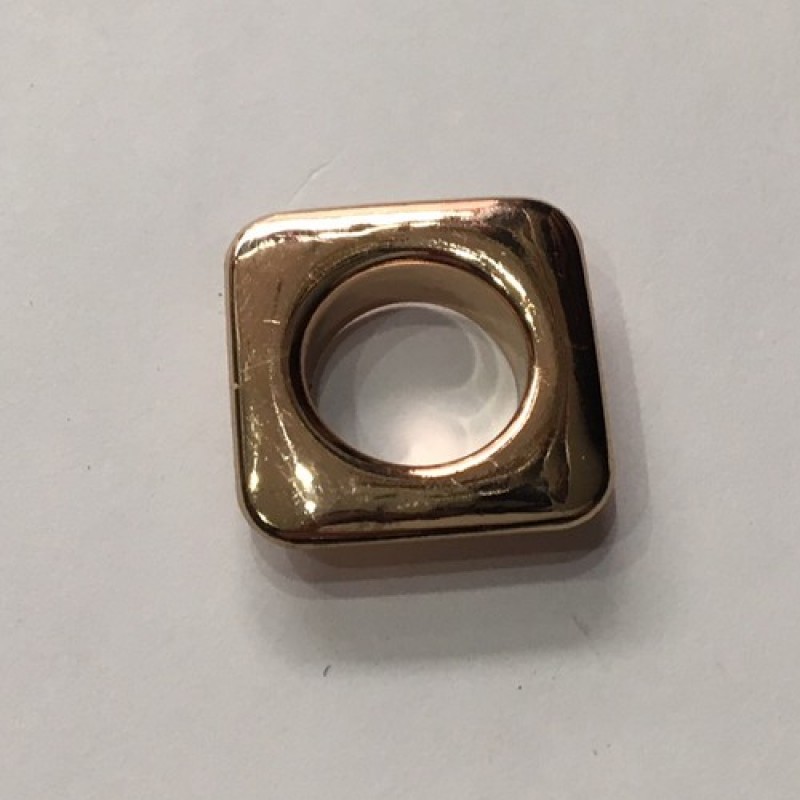
At home, metal eyelets are most often used. - Product shape. The shape of the top caps is not only standard round. Modern factories producing this type of fittings produce oval, square, rectangular, star-shaped rivets. In specialized stores, you can find even more unique interior items: for baths, sea lions and dolphins are typical, for children's rooms, these can be Disney cartoon characters.

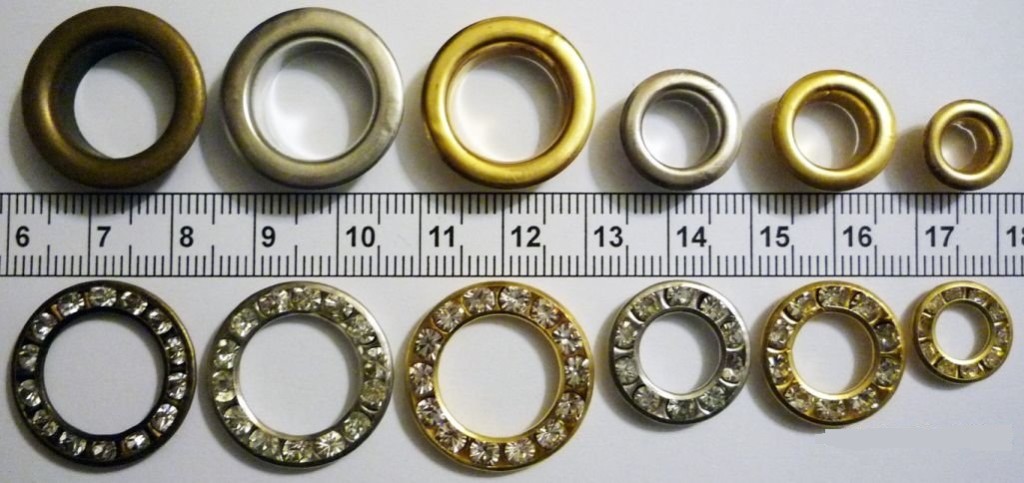
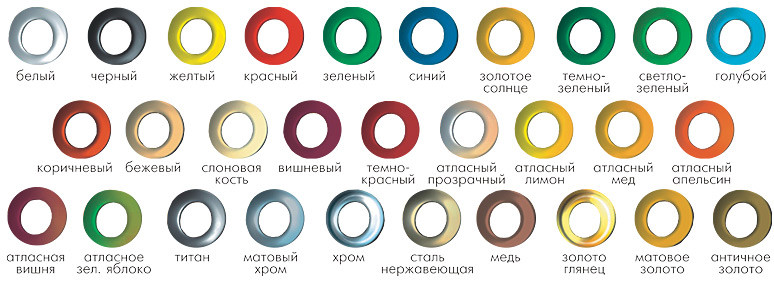
Round eyelet Oval eyelet Square eyelet Square with a round hole - Color. If we talk about metal rivets, their color range is diverse. In addition to all possible shades of the rainbow, patination, chrome plating, gilding and other methods of applying paint to the surface are used here. In addition, modern paint and varnish compositions allow you to give products an exclusive look like marble, wood, ceramic tiles.

The color range of eyelets is quite diverse, it will not be difficult to choose the right shade.
Before you start installing eyelets, you need to buy them in the store. And before buying, you definitely need to understand what you need them for, as well as understand the existing types and their characteristics. After reading this section, you will not have any additional questions for the seller. All parameters are listed above.
Attention! Before going to the store for riveted fittings, read the 5 main characteristics.
Self-assembly: step-by-step instructions
At home, there is a need to install reinforcing rivets yourself. For example, you want to give life to an old T-shirt by transforming it with the help of decorating it with multi-colored holes, or you are going to sew a curtain for the kitchen yourself. In all cases, it will be useful for you to study the method of installing rivets yourself.
Let's look at step-by-step instructions using the example of installing rivets on a curtain. To do this work, you will need material and some tools.
Here's what you need:
- Fabric for sewing curtains. Choose it based on the element being created, i.e. if it is a curtain, then tulle, for a drape, then thick satin, silk.
- Multicolored threads.
- Overlock.
- Strip for strengthening the bushing installation locations.
- A set of needles, a thimble.
- Marker, chalk.
- Sewing machine (if available).
- Large and small scissors.
- Directly, the bushings themselves with caps.
The first thing you need to do is make the curtain. To calculate its dimensions correctly, you need to take into account all the necessary reserves. The curtain hangs freely on the cornice, with evenly distributed folds, without any tension. This determines the length reserve. It should be 50% of the length between the walls of the window opening. That is, the length of the curtain should be increased by one and a half times.
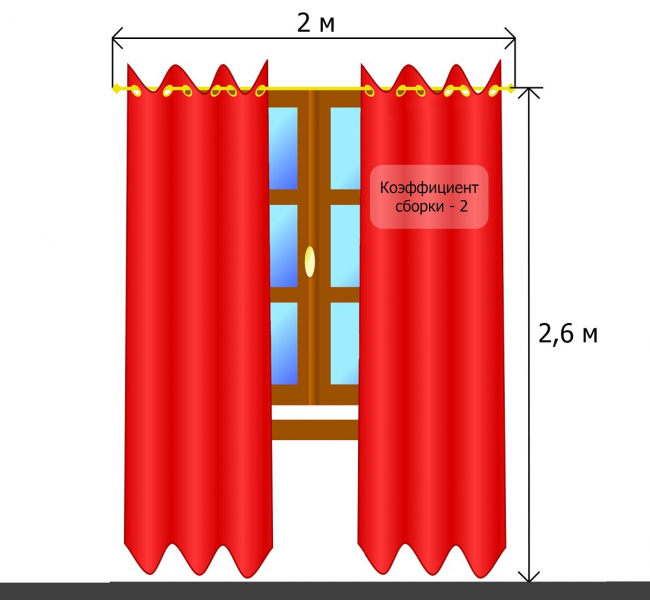
The height of the curtain also needs to be taken higher. This is necessary for the reserve for folds at the bottom and top. In places where the bushings are installed, the fold is made based on the diameter of the fittings, plus the necessary reserve of 1 cm from the edge of the curtain.
Once you have finished sewing the curtain, you can proceed to installing the rivet fittings.
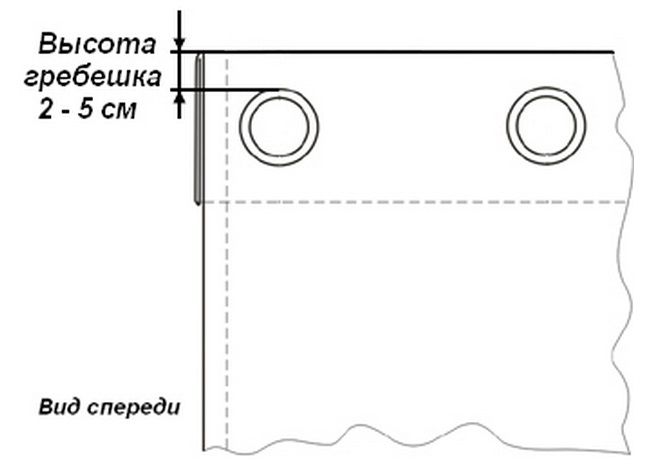
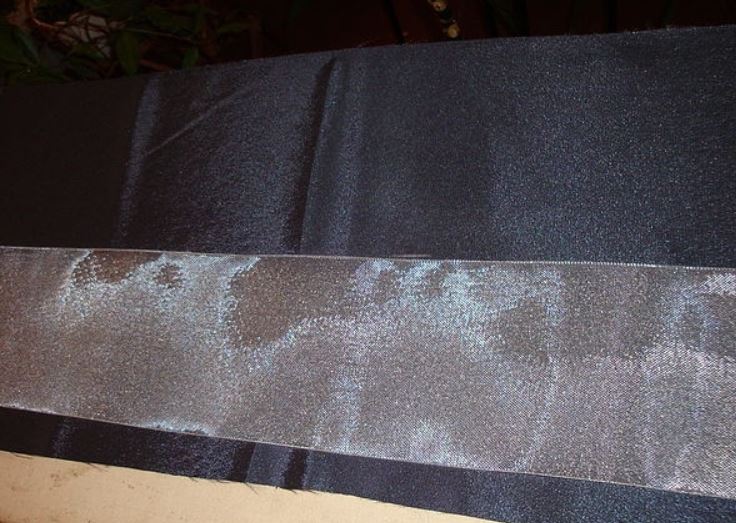
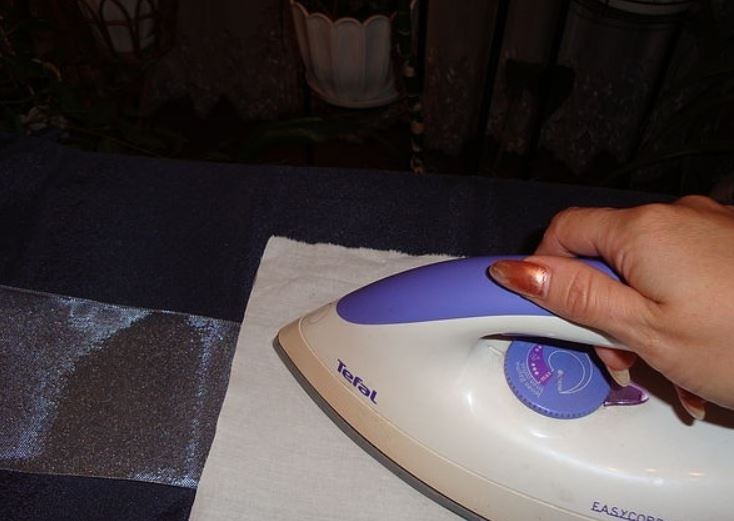
First, you need to cut off a special tape, which is needed to eliminate possible pinches, unnecessary folds, distortions, and also to visually improve the appearance of the curtain. You need to cut it according to the size of the curtain, multiplying by 2 (since the tape is sewn on each side). Do not forget to leave allowances for high-quality framing of the edges. One centimeter will be enough.
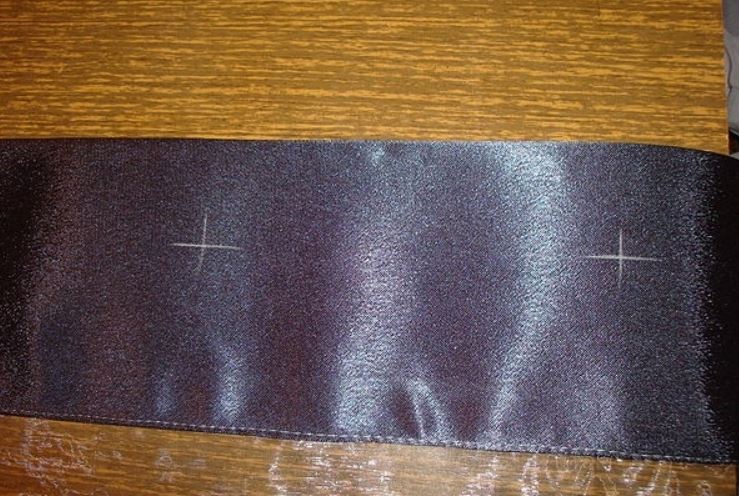
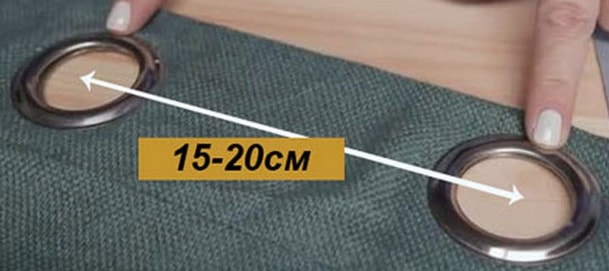
Marking is the main stage on the way to effective work. As described above, between the edges of the curtain you need to step back 1 centimeter. Between each future hole there should be 15-20 centimeters. This size is measured from the centers. To achieve symmetry, make an even number of holes.
Use a marker or chalk to mark the center of the holes. Do not apply too much to the fabric to avoid residue on the surface.
To make holes, use regular manicure scissors. A mandatory requirement for scissors is that they should be sharp enough. Make the hole carefully, eliminating the possibility of damaging the surface of the fabric in the adjacent place.
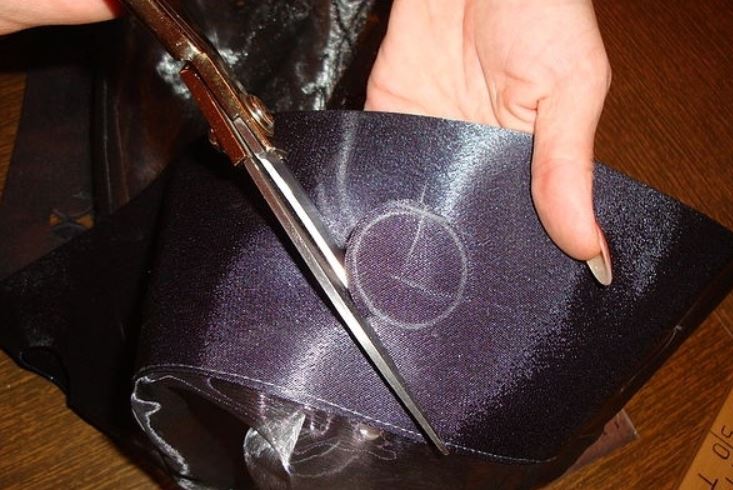
The diameter of the hole is an important parameter that determines the efficiency of the work. The aesthetic appearance of the curtains, as well as the duration of their use, depend on the correct choice of the hole size. There is one rule here: if the fabric is elastic, the diameter of the hole should be 1-2 mm smaller than the internal size of the sleeve. But for a dense material, the hole should be made the same size as the sleeve.
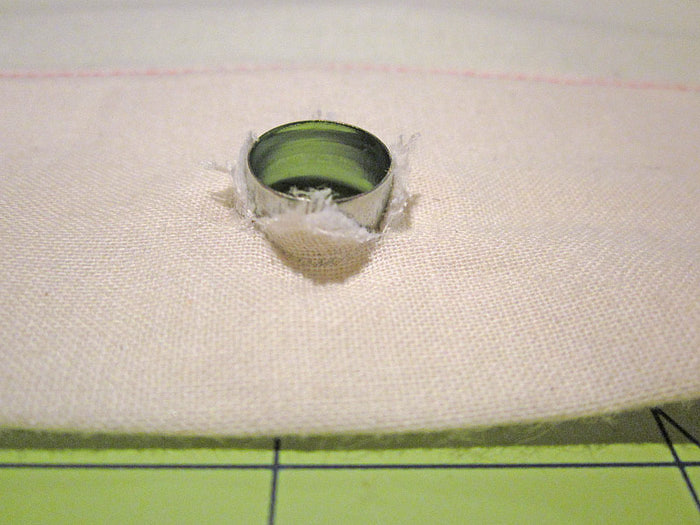
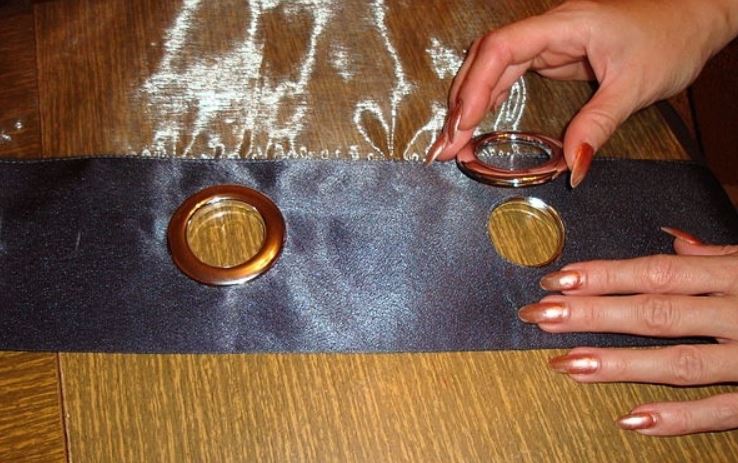
Next, proceed to installation. Before installing the eyelets, experts advise treating the edges of the hole with a special tape or glue. This procedure can also be used as resuscitation if the hole is larger than the diameter of the fittings.
Installing fittings is not a complicated task, but it is not easy either. To do this, you will need:
- comfortable large table;
- backing sheet of hard material (wood, sheet metal);
- hammer;
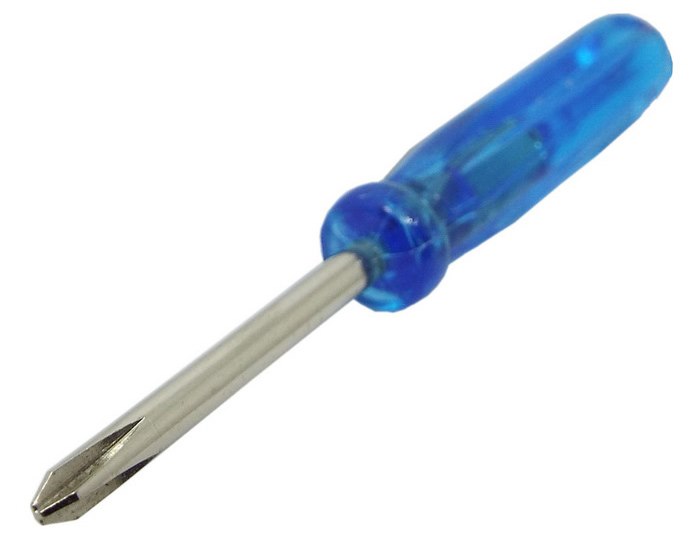
- Phillips screwdriver;
- metal bolt.
The diameter of the working edge of the Phillips screwdriver is selected 2-3 mm larger than the inner size of the bushing. Be sure to take a Phillips screwdriver. You need to achieve the effect of tearing the edges of the metal rivet.
The fittings are inserted from the front of the curtain. Once the first piece is in place, the curtain needs to be turned over, placing the front side on a hard lining sheet.
Place a washer on the protruding metal part. Take a screwdriver with a hammer and place it in the hole, and use a few blows of the hammer to break the metal edges.
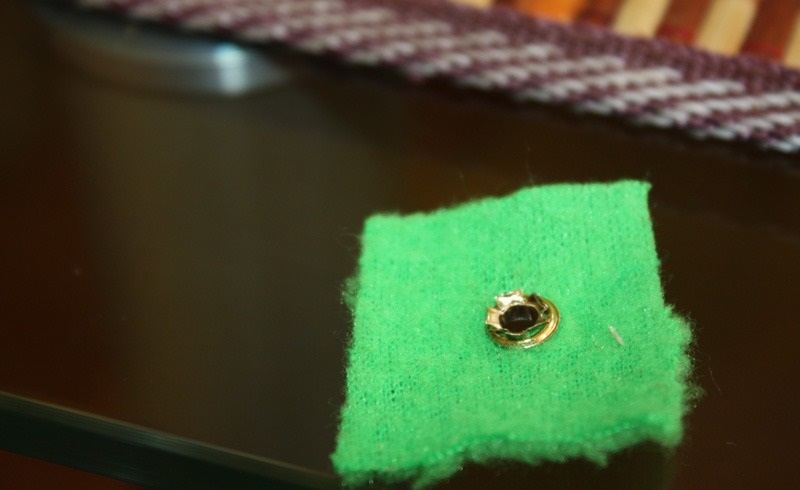
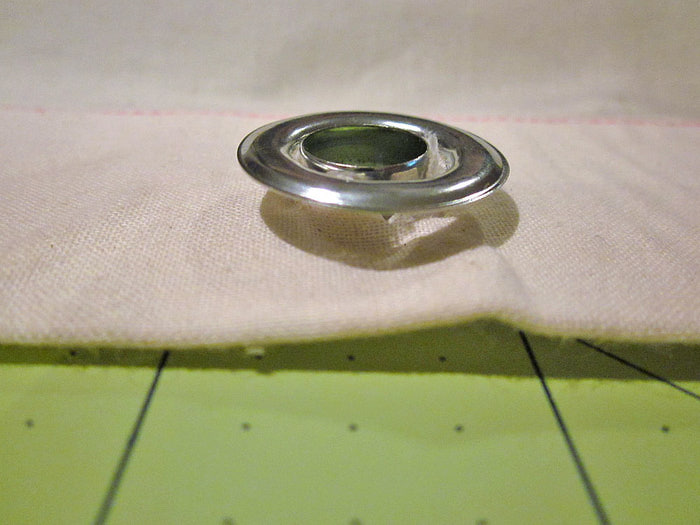
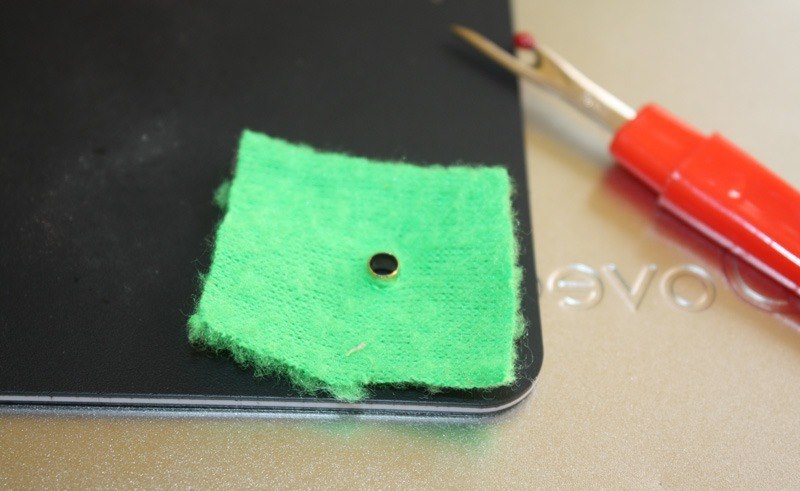
Use a bolt until the fastener is completely aligned. Place its wide edge on the washer and use hammer blows to give the fastener a finished look. This process is called flaring.
The entire process of working on each fastener takes no more than 5 minutes. So don't be upset if you can't do it right away. After installing 3-4 pieces, you'll get the hang of it, and the work will go like clockwork.
The same method is used to make eyelets on clothing.
Shops and factories use special tools. These are punch-pliers for making holes, as well as installation-cores. There are also universal tools that include two purposes at once. But it is not advisable to buy such devices for home use. It is easier to use the advice of our article and do the installation yourself.


Long and boring! Lots of unnecessary water.
When a boring woman is asked how she lives, she begins to tell:
how does she live, who does she live with, how often does she live…