Sewing curtains on eyelet rings yourself is not as difficult as it may seem at first glance. The main thing is desire and free time. If you have both, then watch the step-by-step master class on how to sew curtains on eyelets with your own hands.
Content
- Materials for sewing
- Sewing curtains with eyelets with your own hands: pros and cons
- What are eyelets?
- Eyelet tape: how to sew it to a curtain with your own hands
- How to install eyelets on curtains with your own hands
- Which rings are better - metal or plastic?
- Marking holes and installing rings: detailed instructions
- Features of sewing curtains with eyelets. Sewing tips
- VIDEO: DIY curtains with eyelets.
- 50 options for curtains with eyelets in the interior:
Materials for sewing
A piece of fabric (the future curtain), eyelets, a pencil, threads, a needle, eyelet tape, scissors, a ruler or tape measure – a set of materials that will be needed for sewing. A sewing machine and minimal skills in working with it are also necessary.
Sewing curtains with eyelets with your own hands: pros and cons
It is worth noting right away that spending time on taking measurements, sewing, selecting the necessary materials are the main points that can become an obstacle to starting to sew curtains on eyelets personally, with your own hands. However, all this is incomparable with the following points.
- The ability to select and purchase fabric of the desired size, color and quality.
- A real chance to save money without having to send the fabric to a tailor to have it sewn with eyelets.
- A manifestation of creativity and skills, the result of which is a unique author's performance.
Please note: To save time before you start looking for curtain fasteners and fabric in stores, take measurements of both materials, mentally imagine their color scheme and quality.
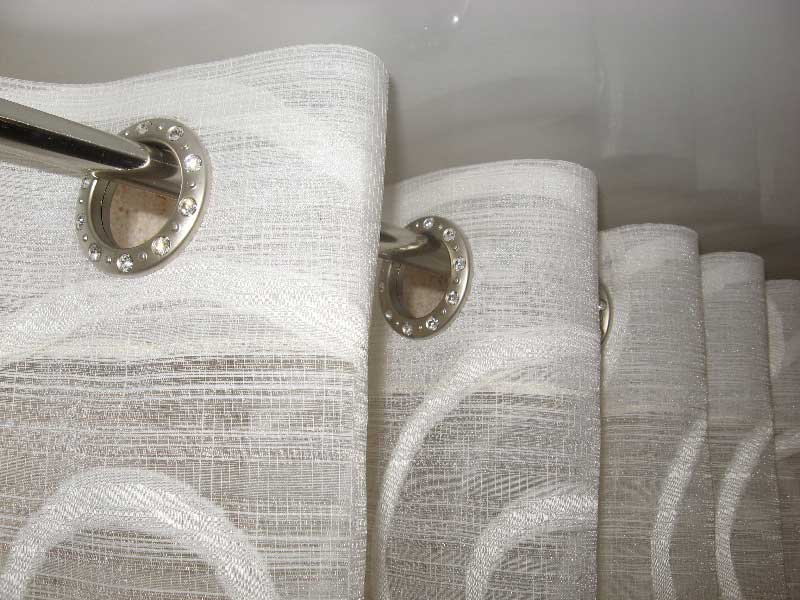
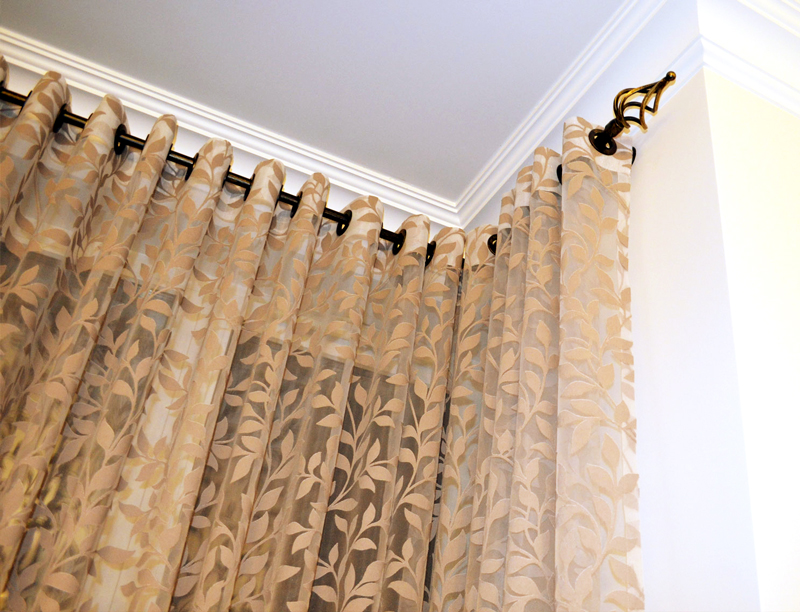
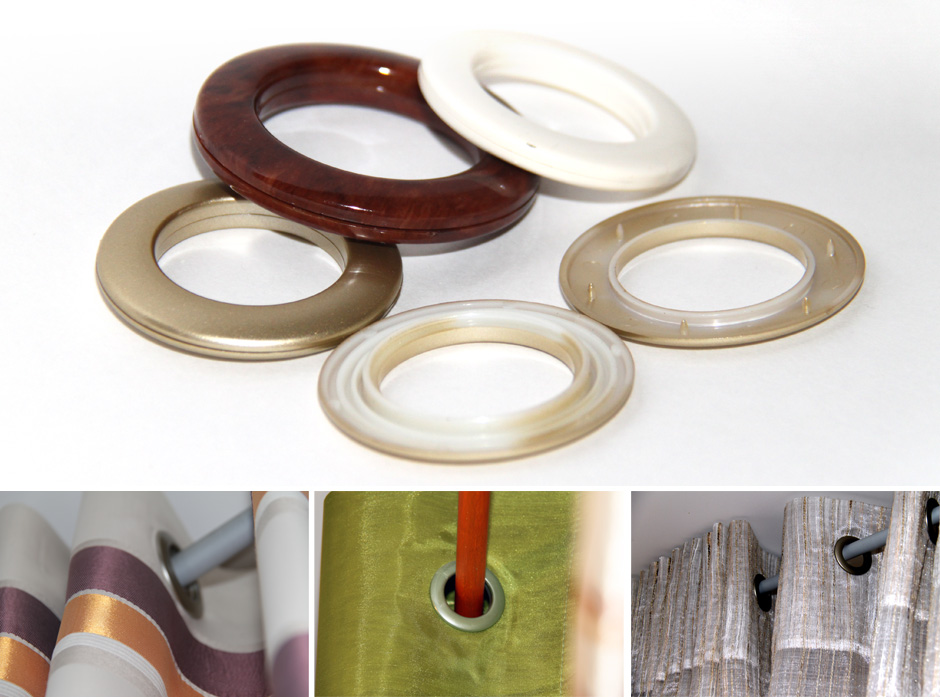
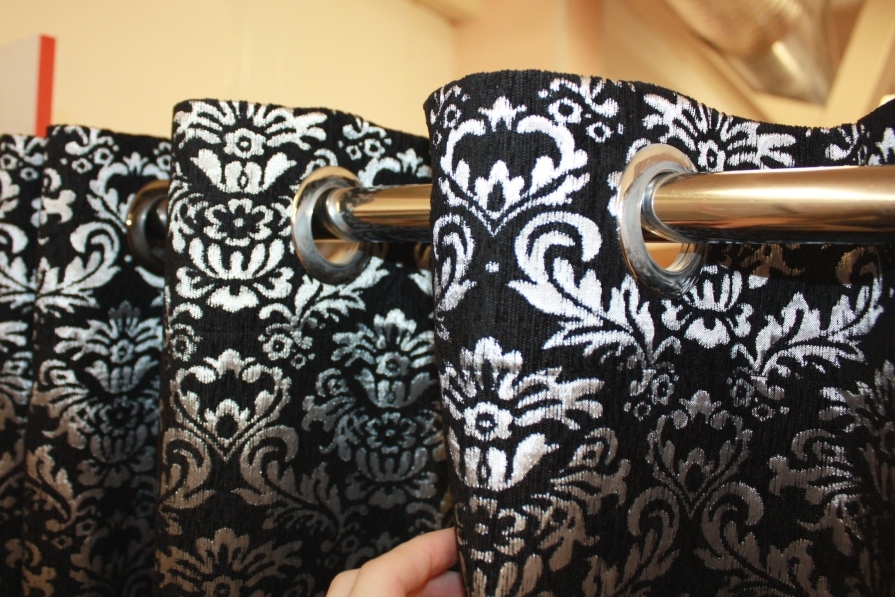
What are eyelets?
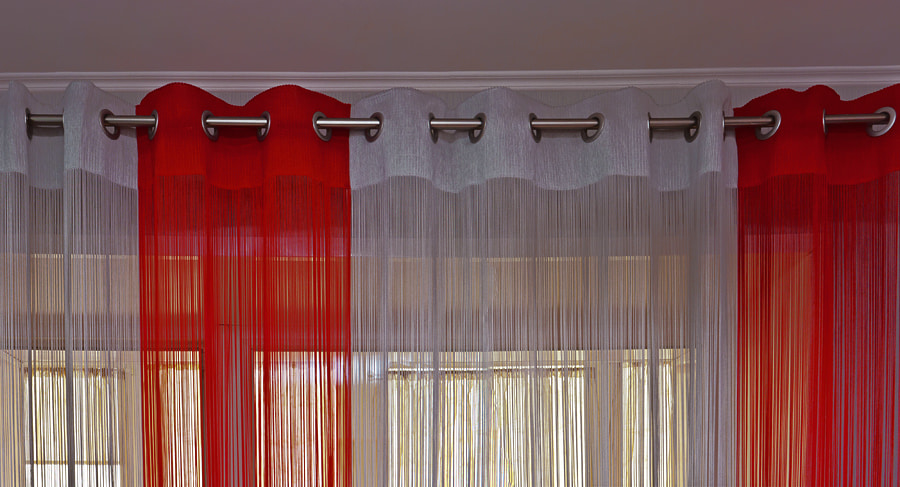
Eyelets are fasteners with a groove, with the help of which the curtain fabric is put on the cornice. Round eyelets are often chosen, because this shape easily slides along the rod (string) of the cornice. Each circle consists of two separate parts. When connected, they create holes in the fabric, necessary for stringing the curtain on the cornice.
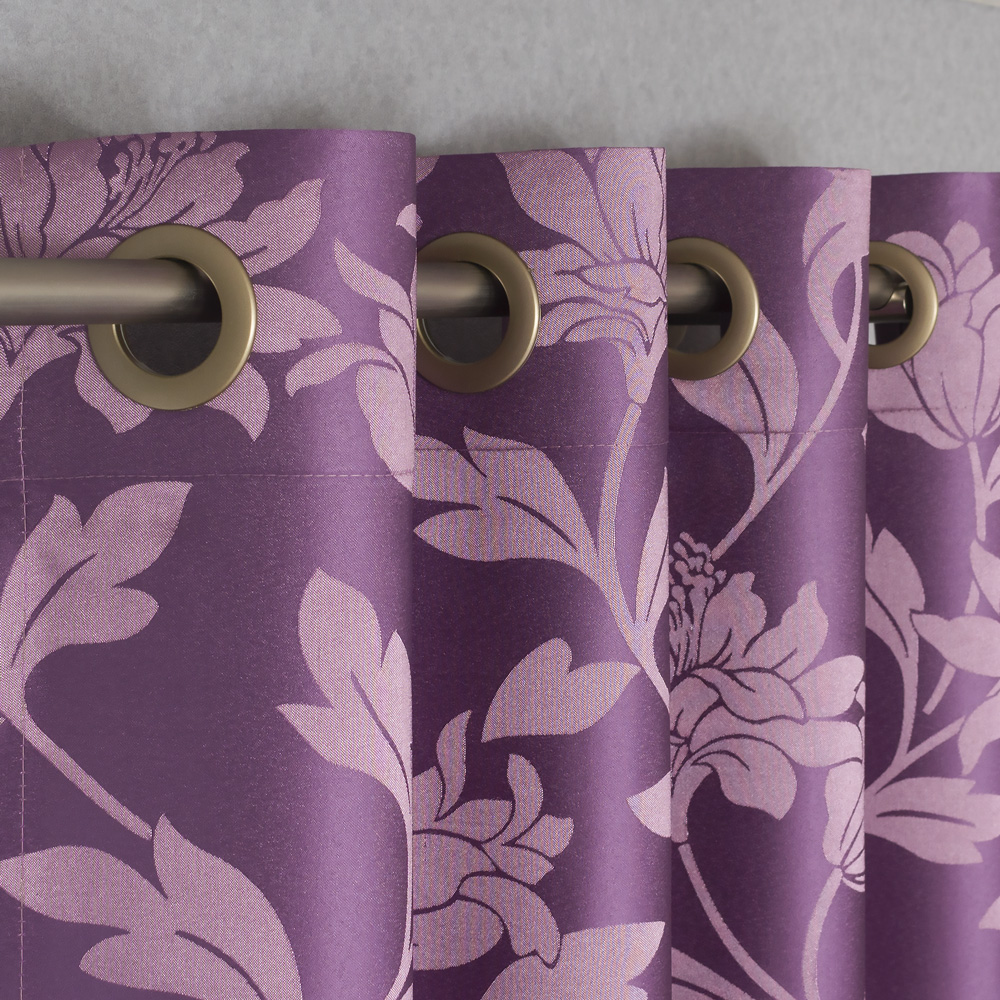
The main advantages of eyelet fasteners, which serve as a reliable fastening for both thick curtains and thin tulle:
- evenly distributed waviness of folds;
- long-term preservation of the material in its original form;
- quick and easy opening and closing of the curtain;
- laconic look, suitable for any interior.
Important! The height of the rings should be chosen 2-3 mm more than the thickness of the fabric. The internal diameter should be at least 1 cm greater than the thickness of the cornice.
Eyelet tape: how to sew it to a curtain with your own hands
At the very beginning, you need to sew the eyelet tape correctly, since it is the basis for these fasteners. It makes the upper edge of the fabric denser so that the curtain gathers beautifully and forms wave-like folds.

Please note! The tape should be purchased no wider than 8 cm. Otherwise, it will need to be either cut or used for smaller rings, no more than 4 mm in diameter.
So, how to sew a grommet tape on a curtain? Detailed instructions:
- Step back 1 cm from the top edge and place the tape with the adhesive side (on the wrong side of the fabric!);
- Use a well-heated iron to iron the tape, thereby gluing it;
- Carefully cut the remaining part of the tape with scissors without damaging the curtain fabric;
- Fold the remaining top edge onto the eyelet tape and iron it;
- Fold the top edge with the ribbon, iron and stitch along the bottom edge.
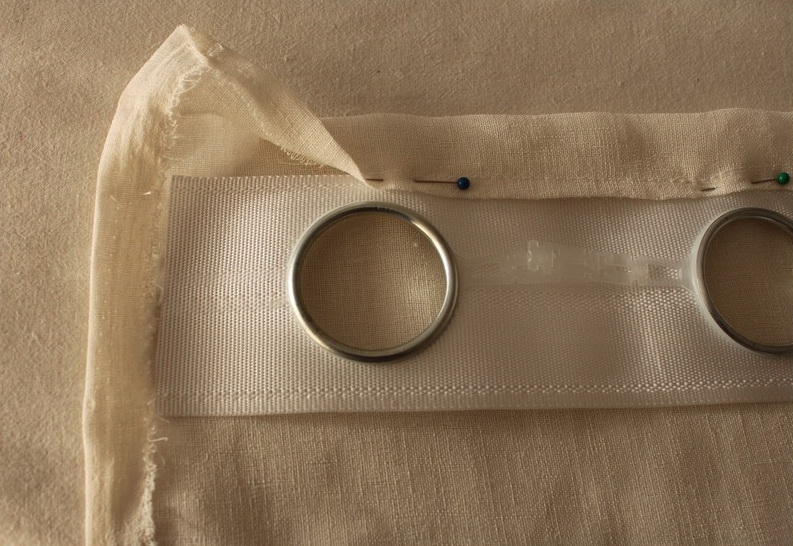
Important! The eyelet tape should be sewn along the edge, carefully pulling the curtain fabric from below. The stitching should not protrude onto the fabric, but should go strictly along the eyelet tape. Therefore, you need to sew carefully, without rushing.
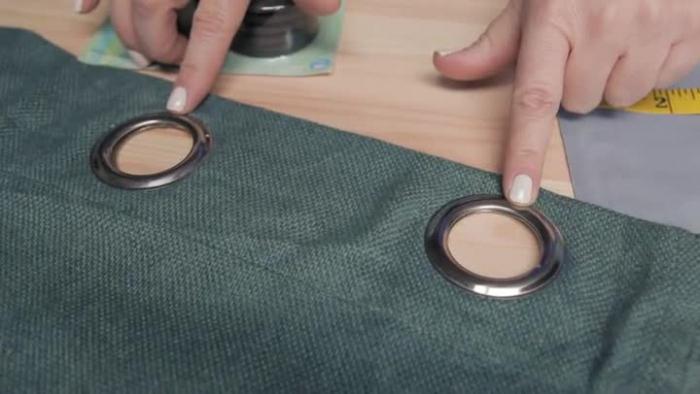
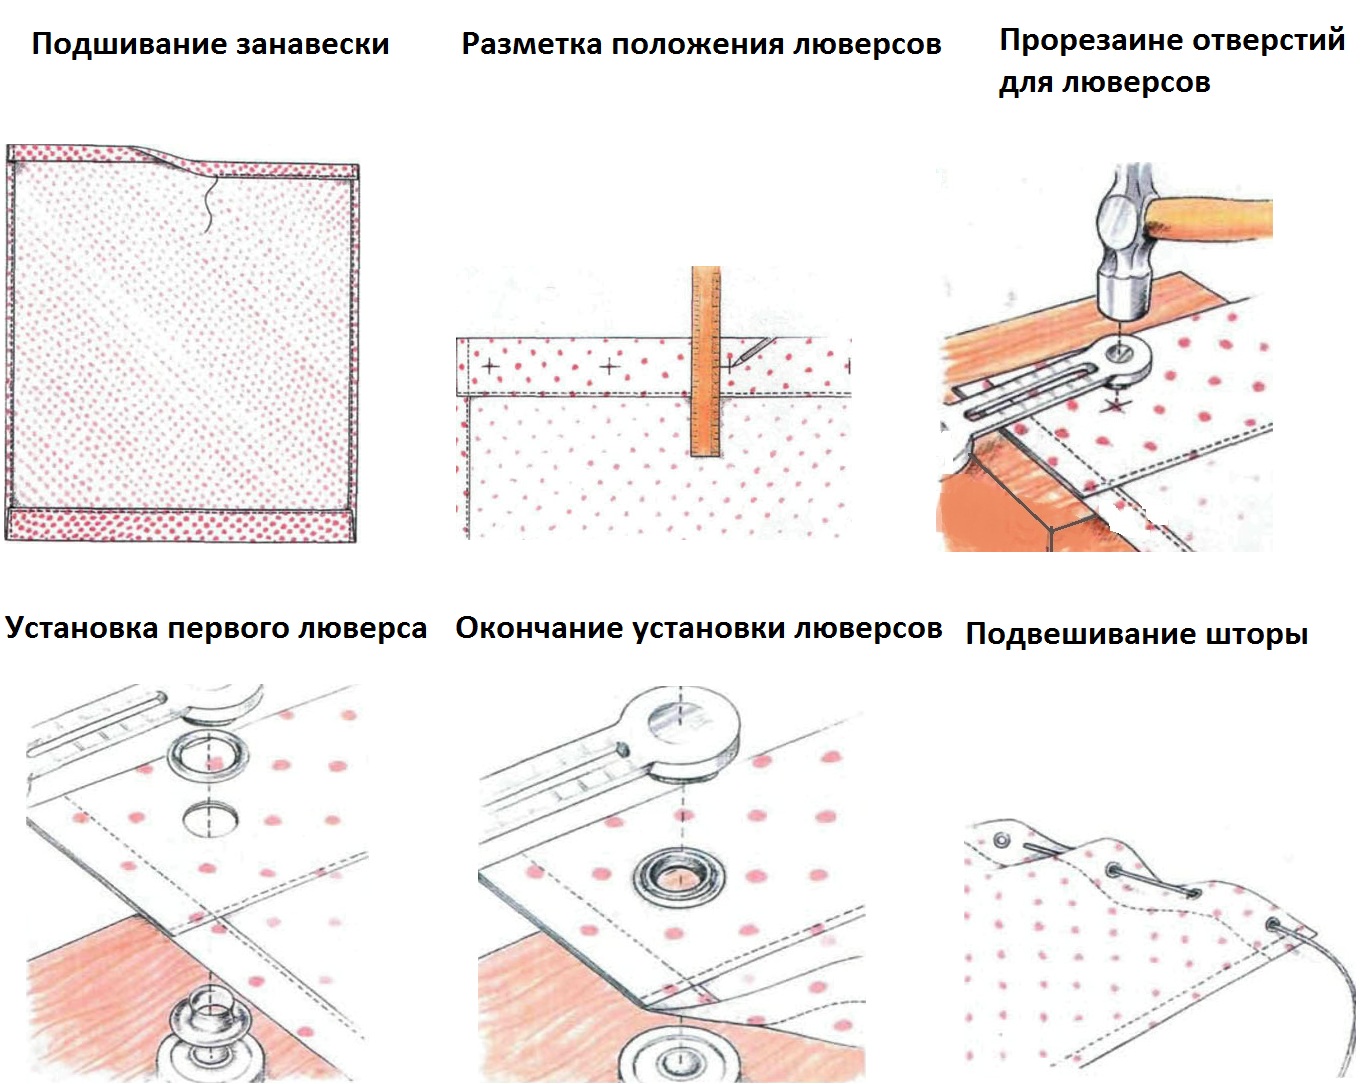
How to install eyelets on curtains with your own hands
Having sewn on the eyelet tape, the final step remains – installing the eyelet rings. To do this, you need:
- Select eyelets of the required material and size;
- Make the markings correctly for installing the rings;
- Securely fasten the eyelet rings into the holes.
Important! To perform the marking, you need to lay out the top of the curtain fabric perfectly evenly, prepare a pencil, scissors and a ruler.
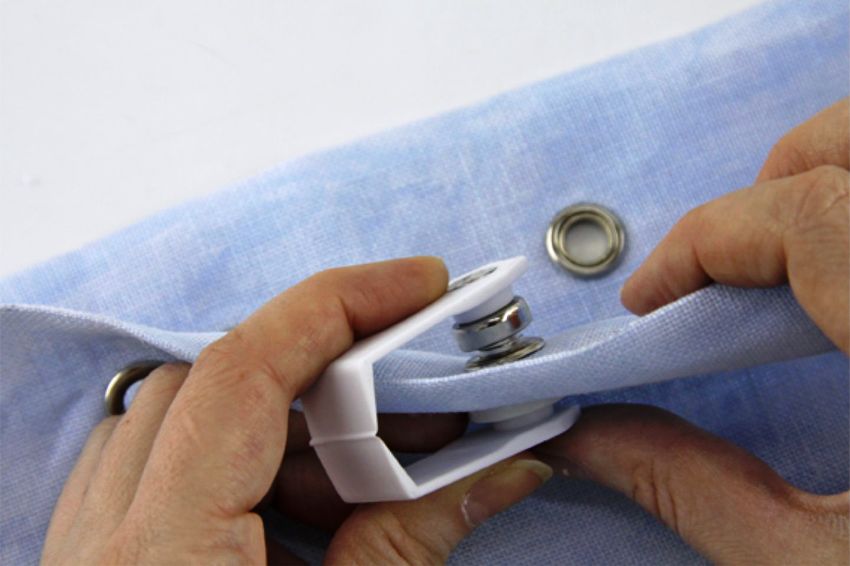
Which rings are better - metal or plastic?
When choosing eyelet fasteners for a future curtain, it is worth knowing that:
- metal ones are suitable for dense, single-color canvases;
- plastic ones are suitable for absolutely any fabric.
In this case, it is better to give preference to plastic fasteners. They are silent, easy to maintain, do not rust or peel, and come in different colors and shades. In addition, plastic fasteners can be snapped in place independently without additional equipment.
Additional information. When choosing between matte and shiny eyelets, it is better to give preference to the matte shade. Shiny eyelets quickly lose their shine due to constant mechanical impact - the movement of the curtain along the cornice.
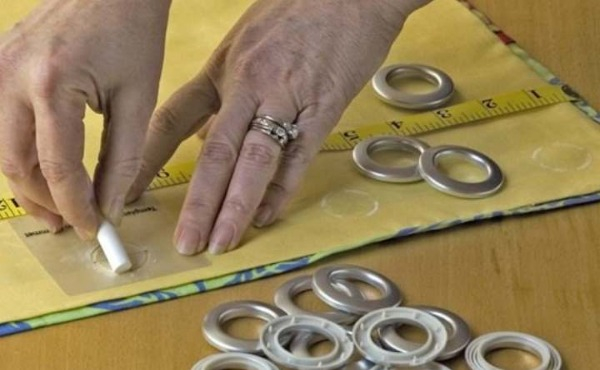
Marking holes and installing rings: detailed instructions
So, when the eyelet tape is sewn on, you can move on to the most important thing - installing the eyelets. To do this, you need to prepare an even number of eyelets based on the marking of the holes on the curtain.
To make the markings you need to:
- Measure the length of the fabric from one edge to the other;
- Determine the desired depth of the folds;
- Determine the indent from the top edge.
Important! For light fabrics (tulle, organza, muslin) the ideal top margin is 4-6 cm, for thick fabrics – no more than 7 cm.
The distance between the rings, which will give the desired depth of the folds, is determined as follows.
- On both sides, you need to mark half of the specified distance. That is, if you decide to take 15 cm between the rings, then you need to mark 7.5 cm on both sides.
- From one of the edges (from the given initial mark) measure the selected number of centimeters and put a new mark. Then repeat the marking to the other end of the curtain.
Important! Large intervals between the rings cause the fabric to sag. Therefore, the distance should not exceed 22 cm. The ideal distance is considered to be 15 cm.
To do this, you will need to perform the following steps.
- Measure the height of the sewn-on eyelet tape and divide by 2.
- At each distance mark, place a new mark for the center.
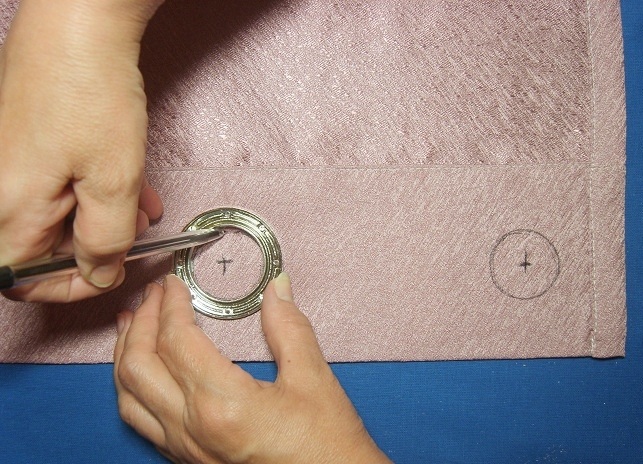
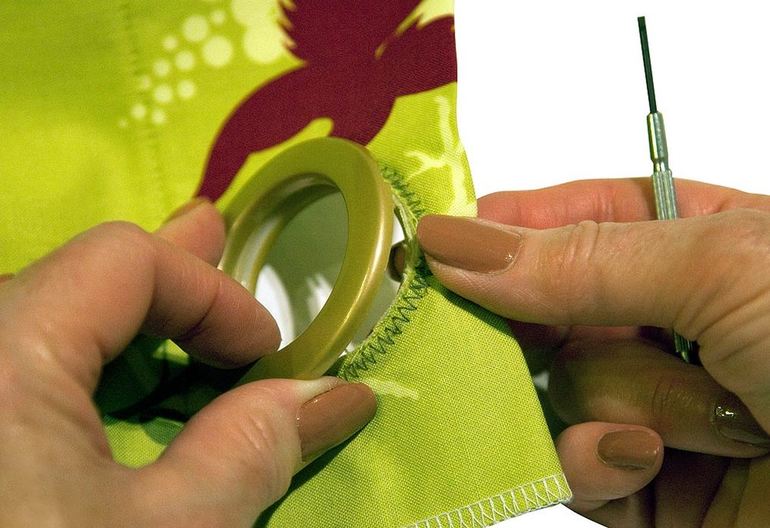
- Take the eyelet, place it in the center of the resulting marking and trace around it from the inside.
- Draw another ring on the outside at a distance of 0.5 cm.
- Make a cut from the center of the marking and cut out the fabric inside along the outer circle.
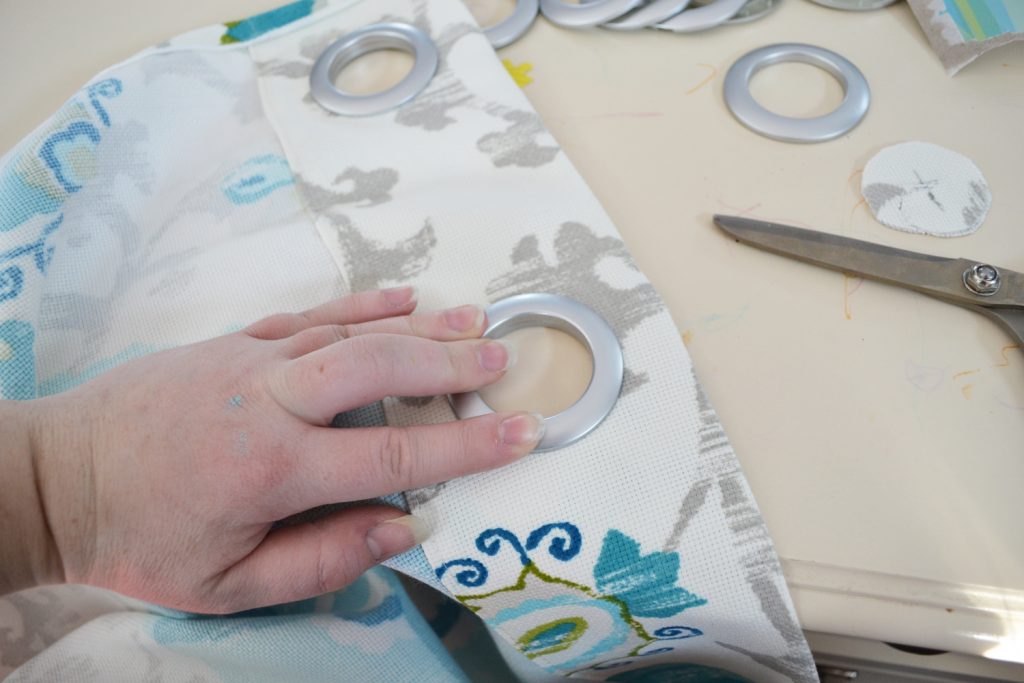
- Open the eyelet, insert it into the hole and snap it into place.
- Perform steps 3-6 along the entire length of the curtain.
Features of sewing curtains with eyelets. Sewing tips
Sewing curtains with eyelets at home is undoubtedly a good idea that will not take much time and effort. It is enough to follow the strict instructions given above and the recommendations.
- The piece of fabric should be at least 2 times longer than the cornice. The height of the fabric does not matter.
- Before you start installing the eyelets, you need to fold (by 1-2.5 cm) and stitch the edges of the fabric.
- The eyelet tape should be sewn on after processing the edges of all fabric edges except the top one.
- If the fabric is too thick, there is no need to glue the eyelet tape.
- When attaching two identical curtains, the folds should be made in a mirror image.
It is also worth remembering that soft material holds its shape worse than dense material. Therefore, it is better to make a bend from the top edge of about 5 cm, and install eyelets with a diameter of 3 to 4 cm.
VIDEO: DIY curtains with eyelets.
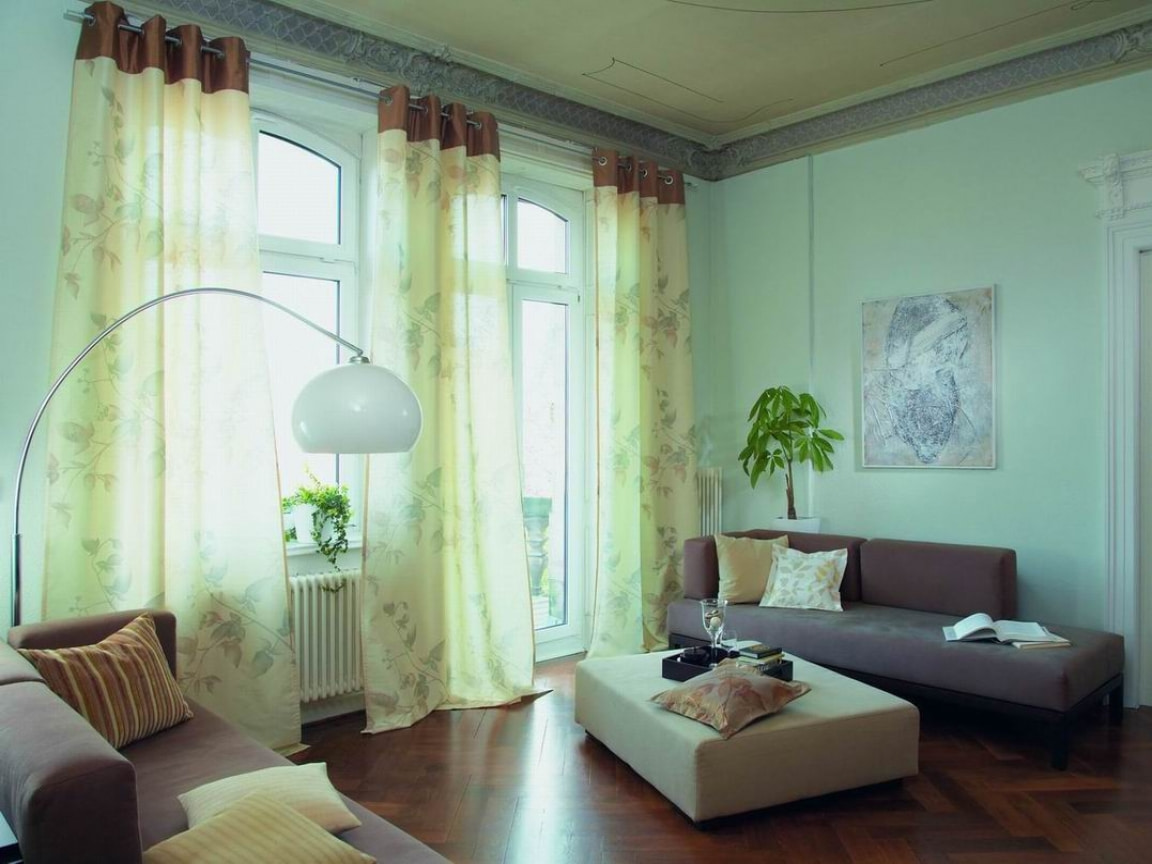
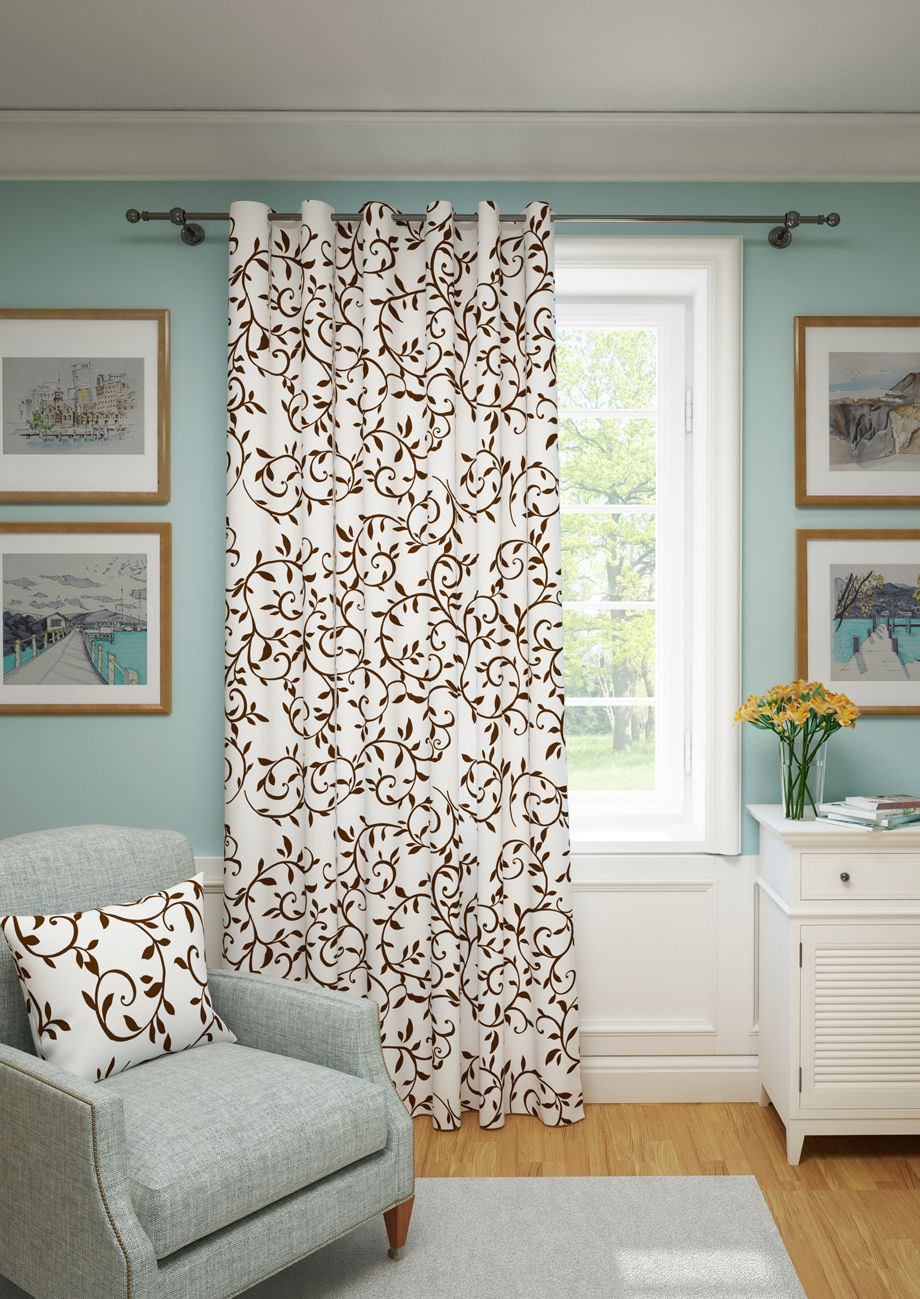
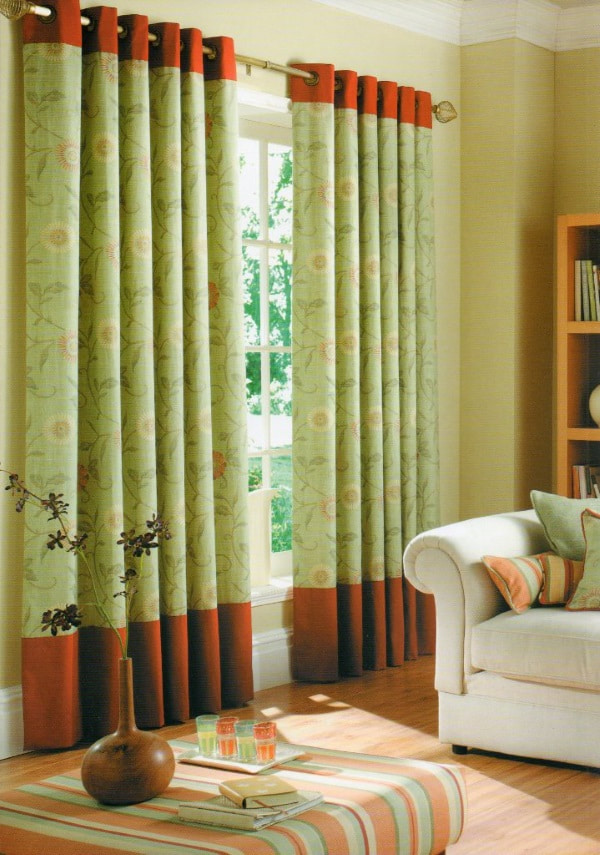
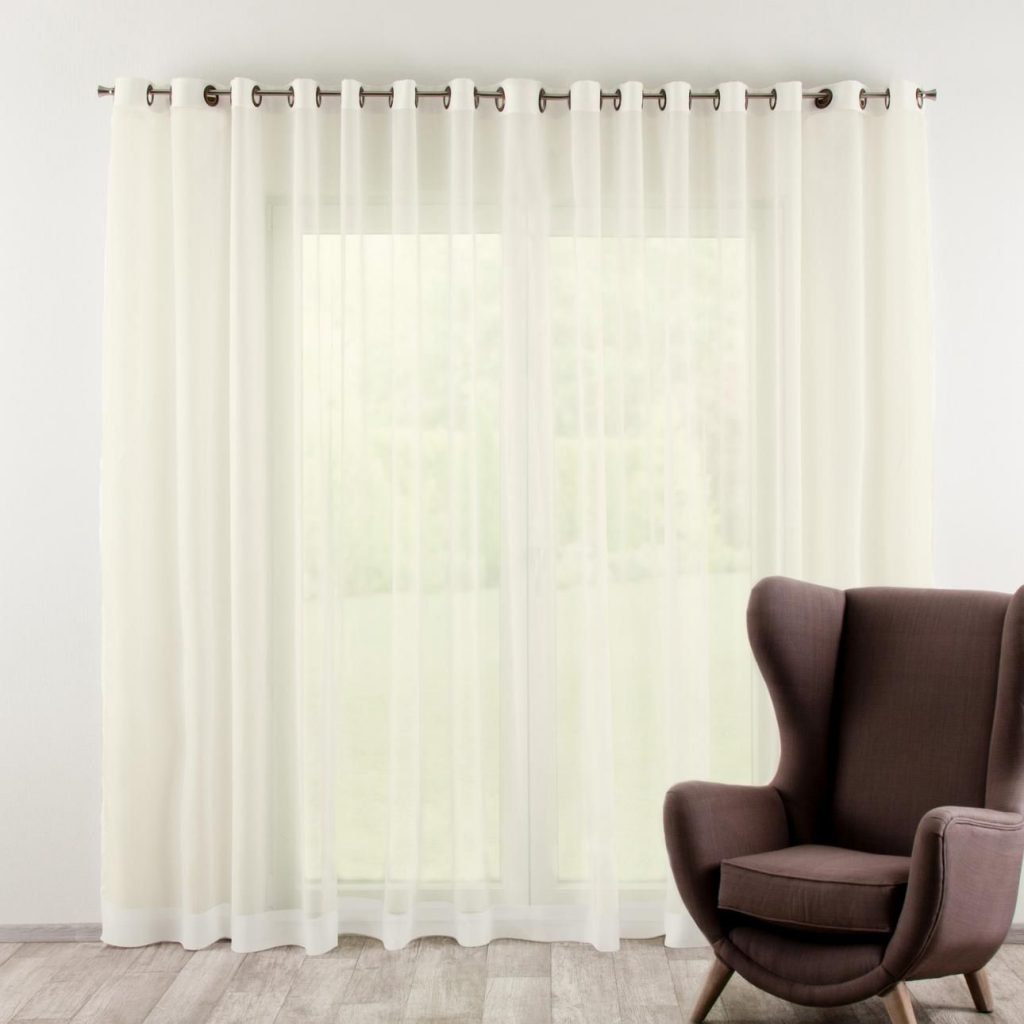
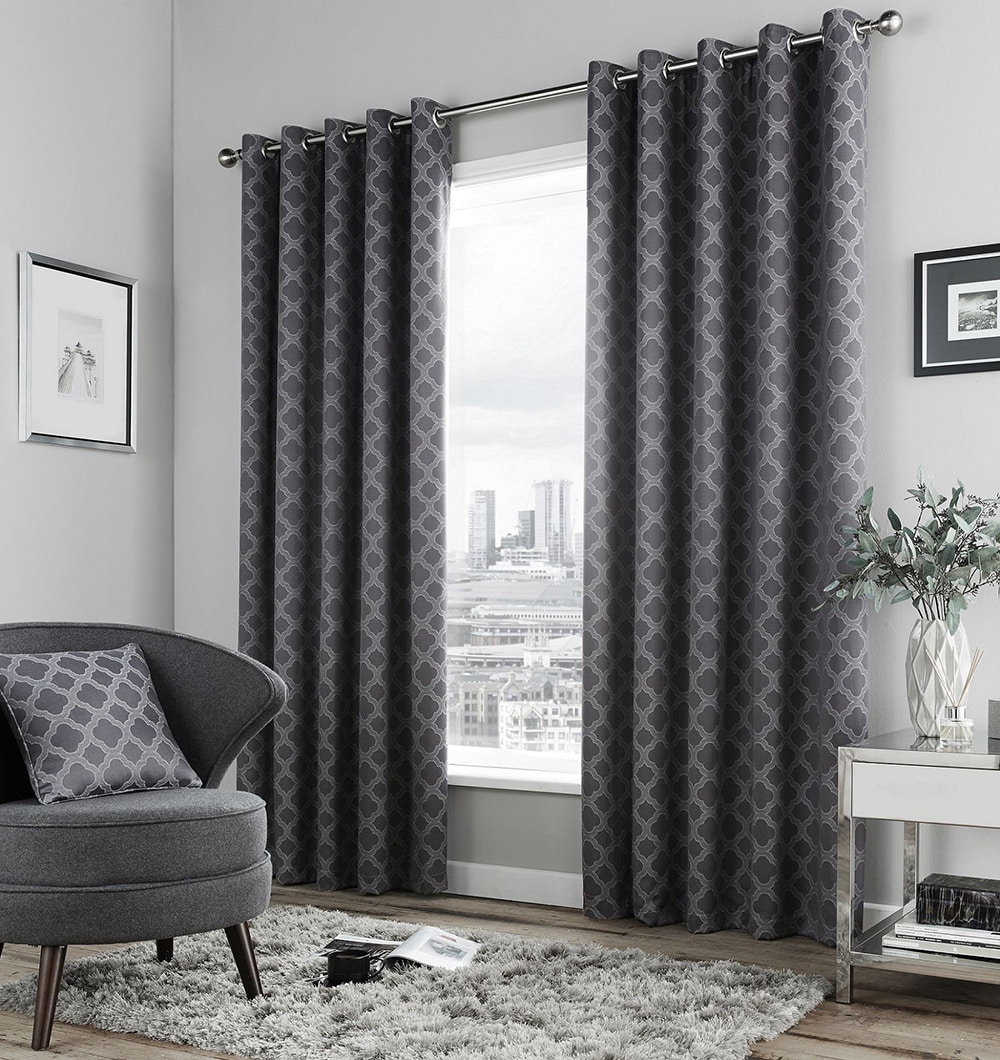
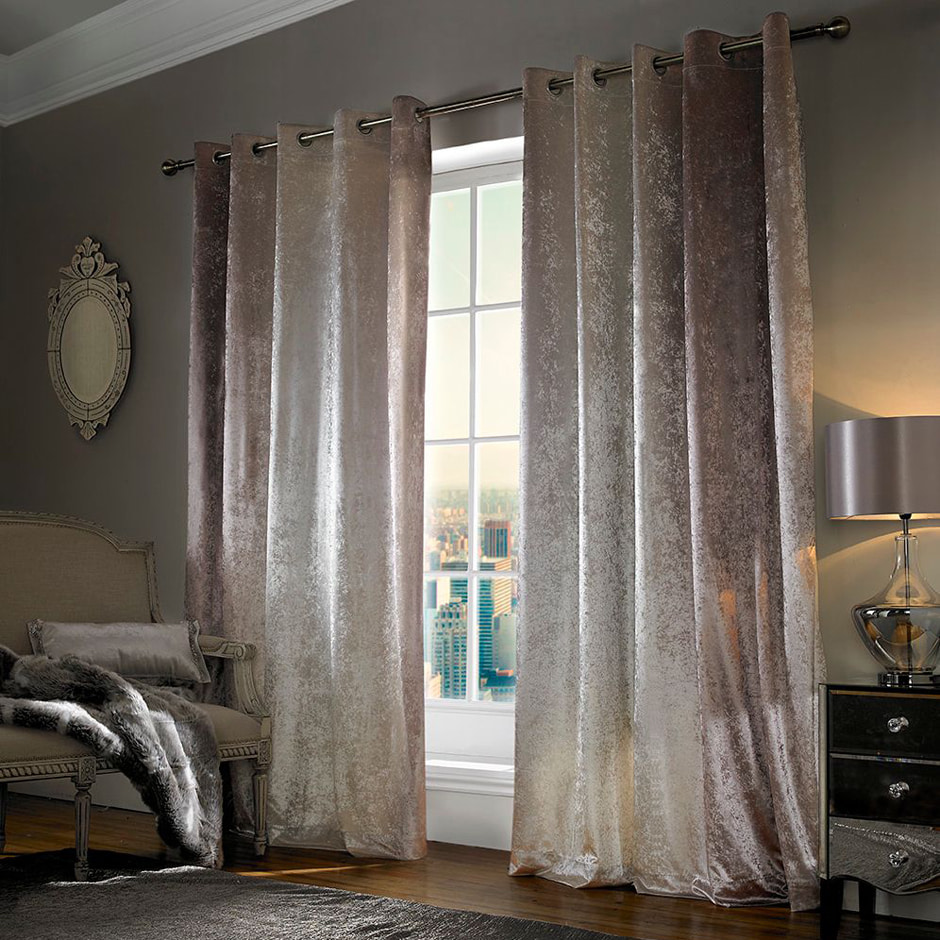
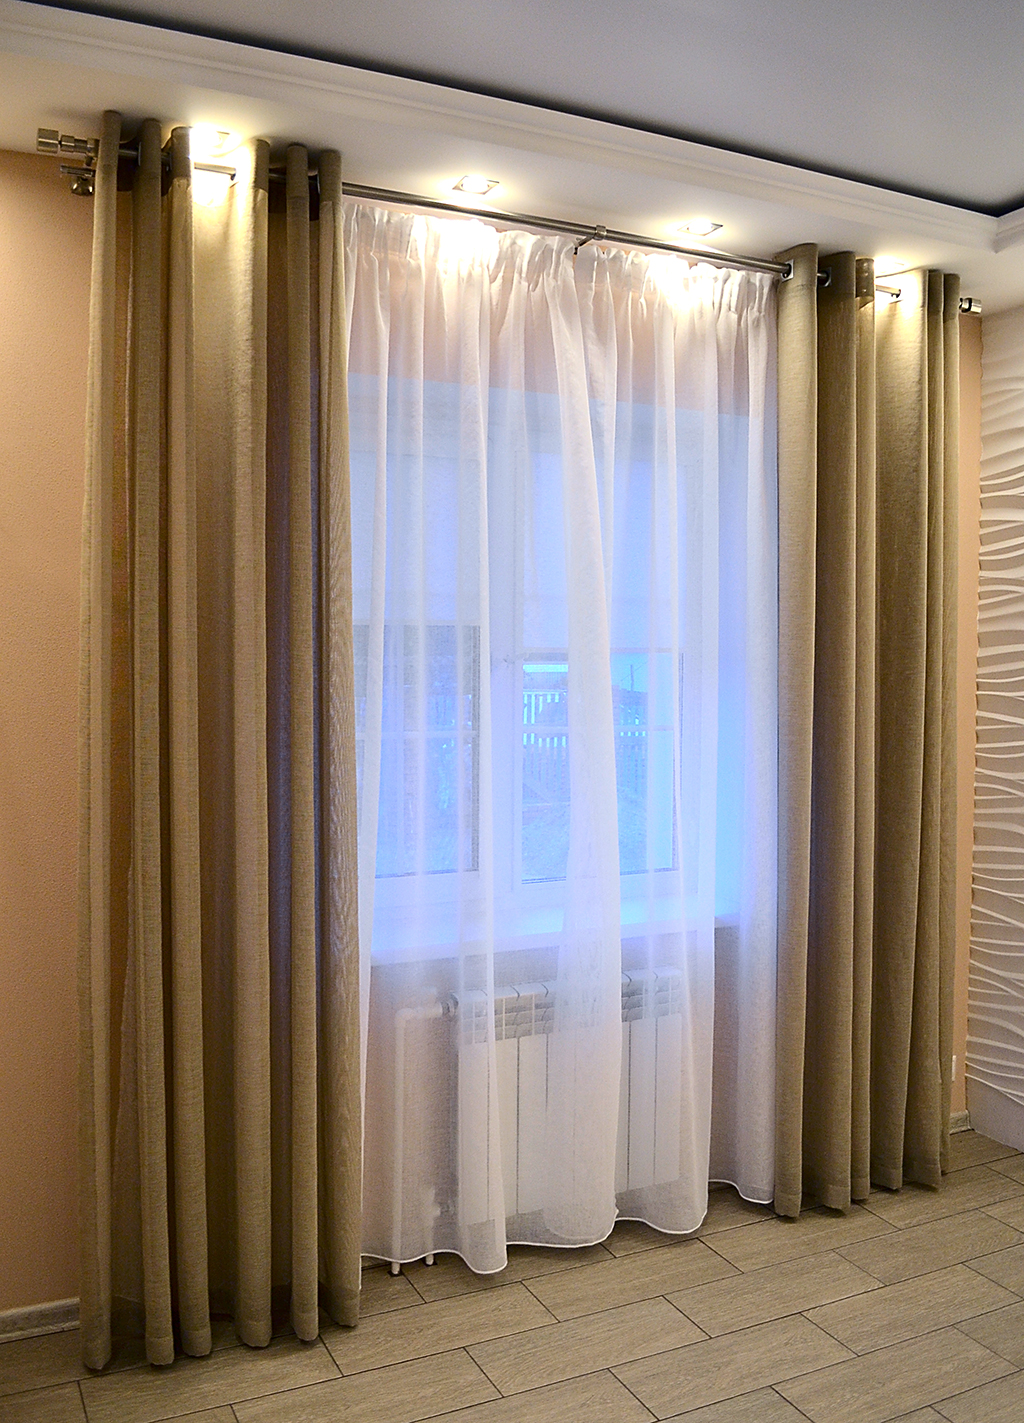
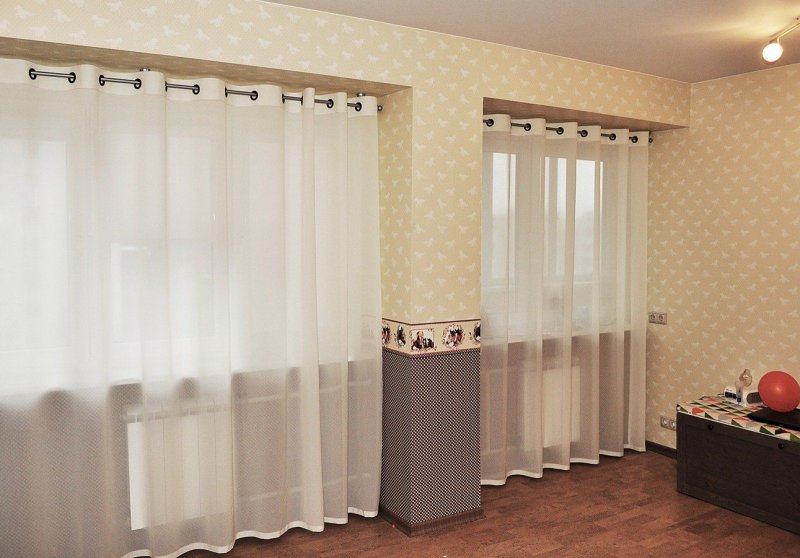
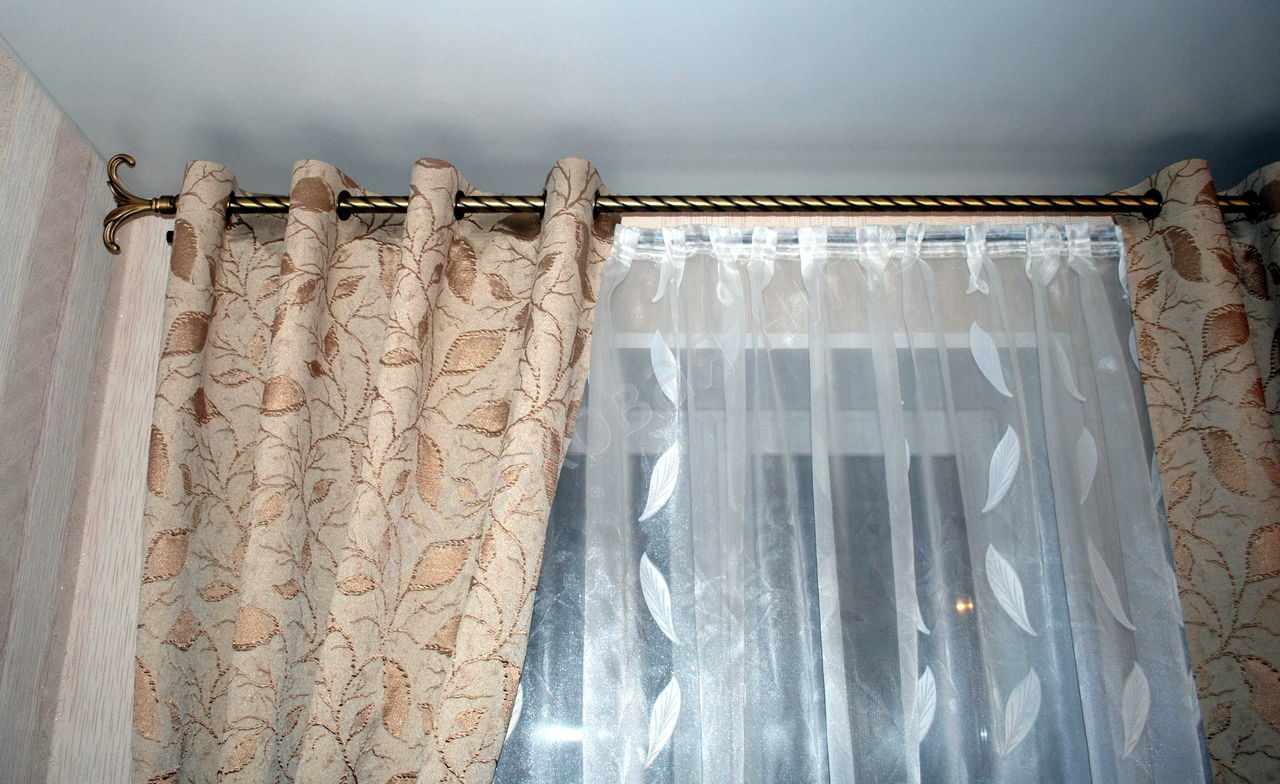
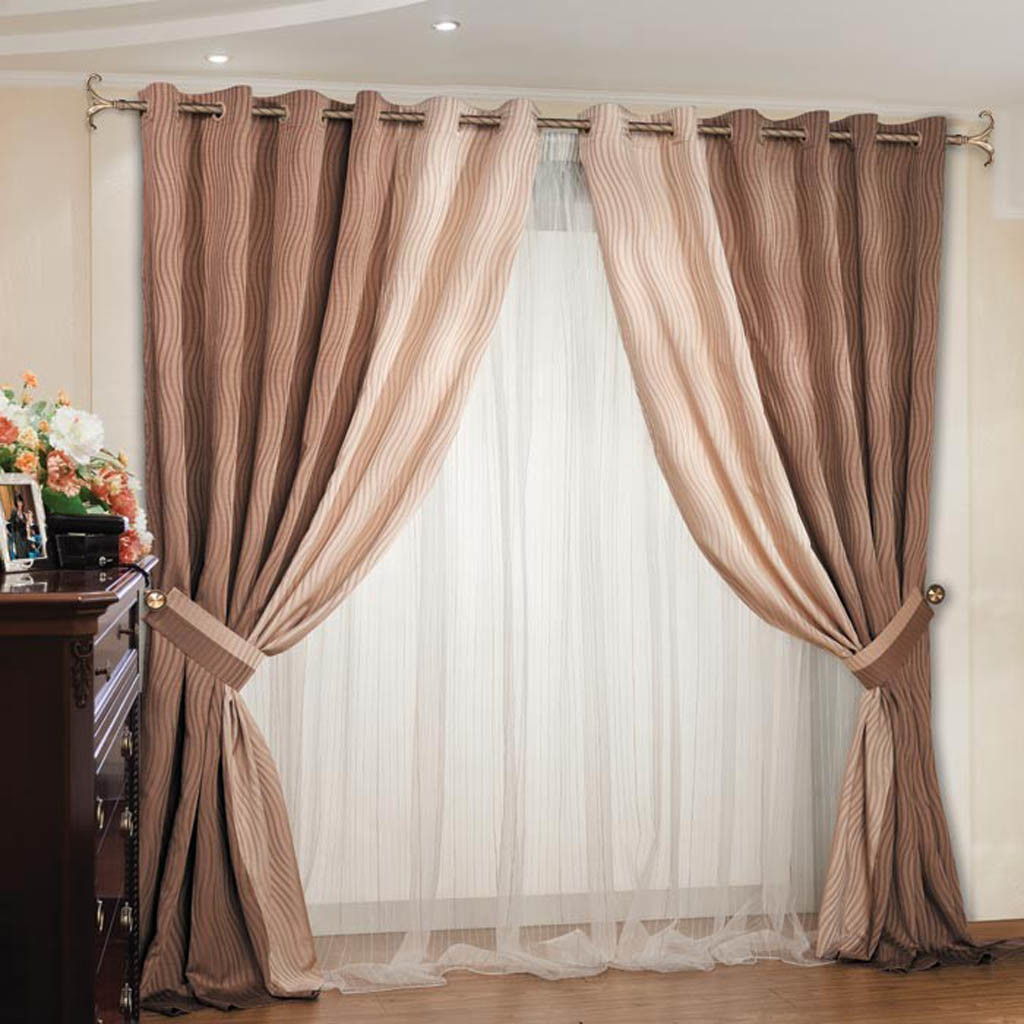
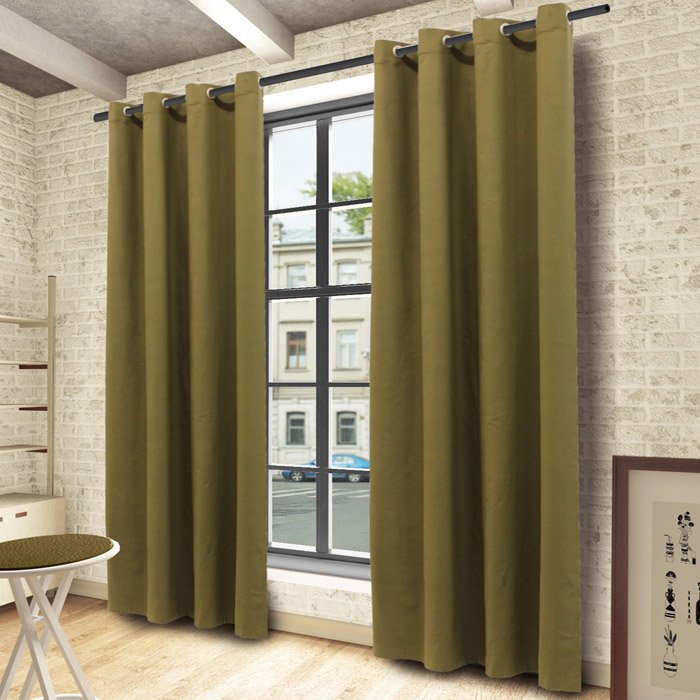
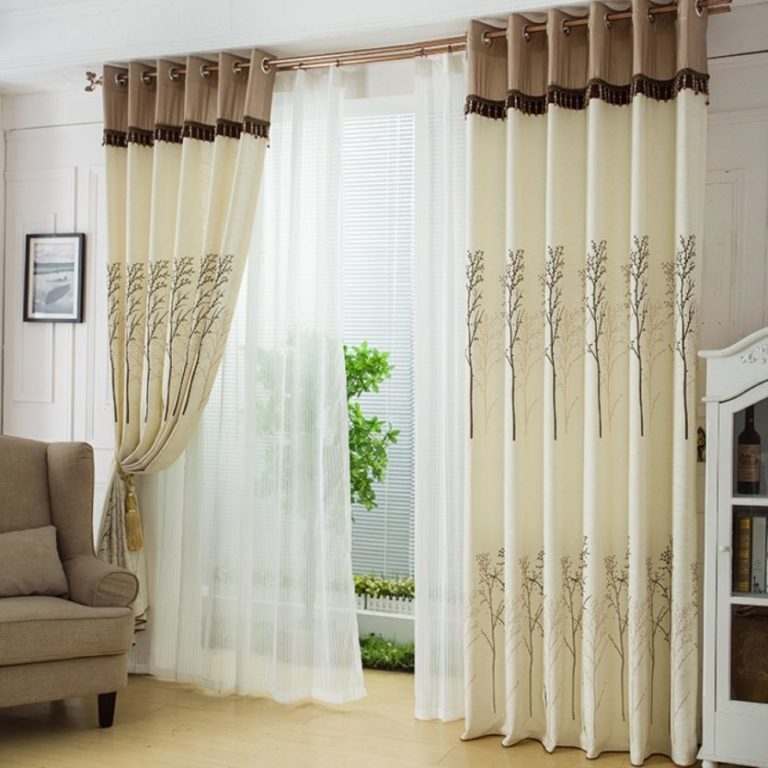
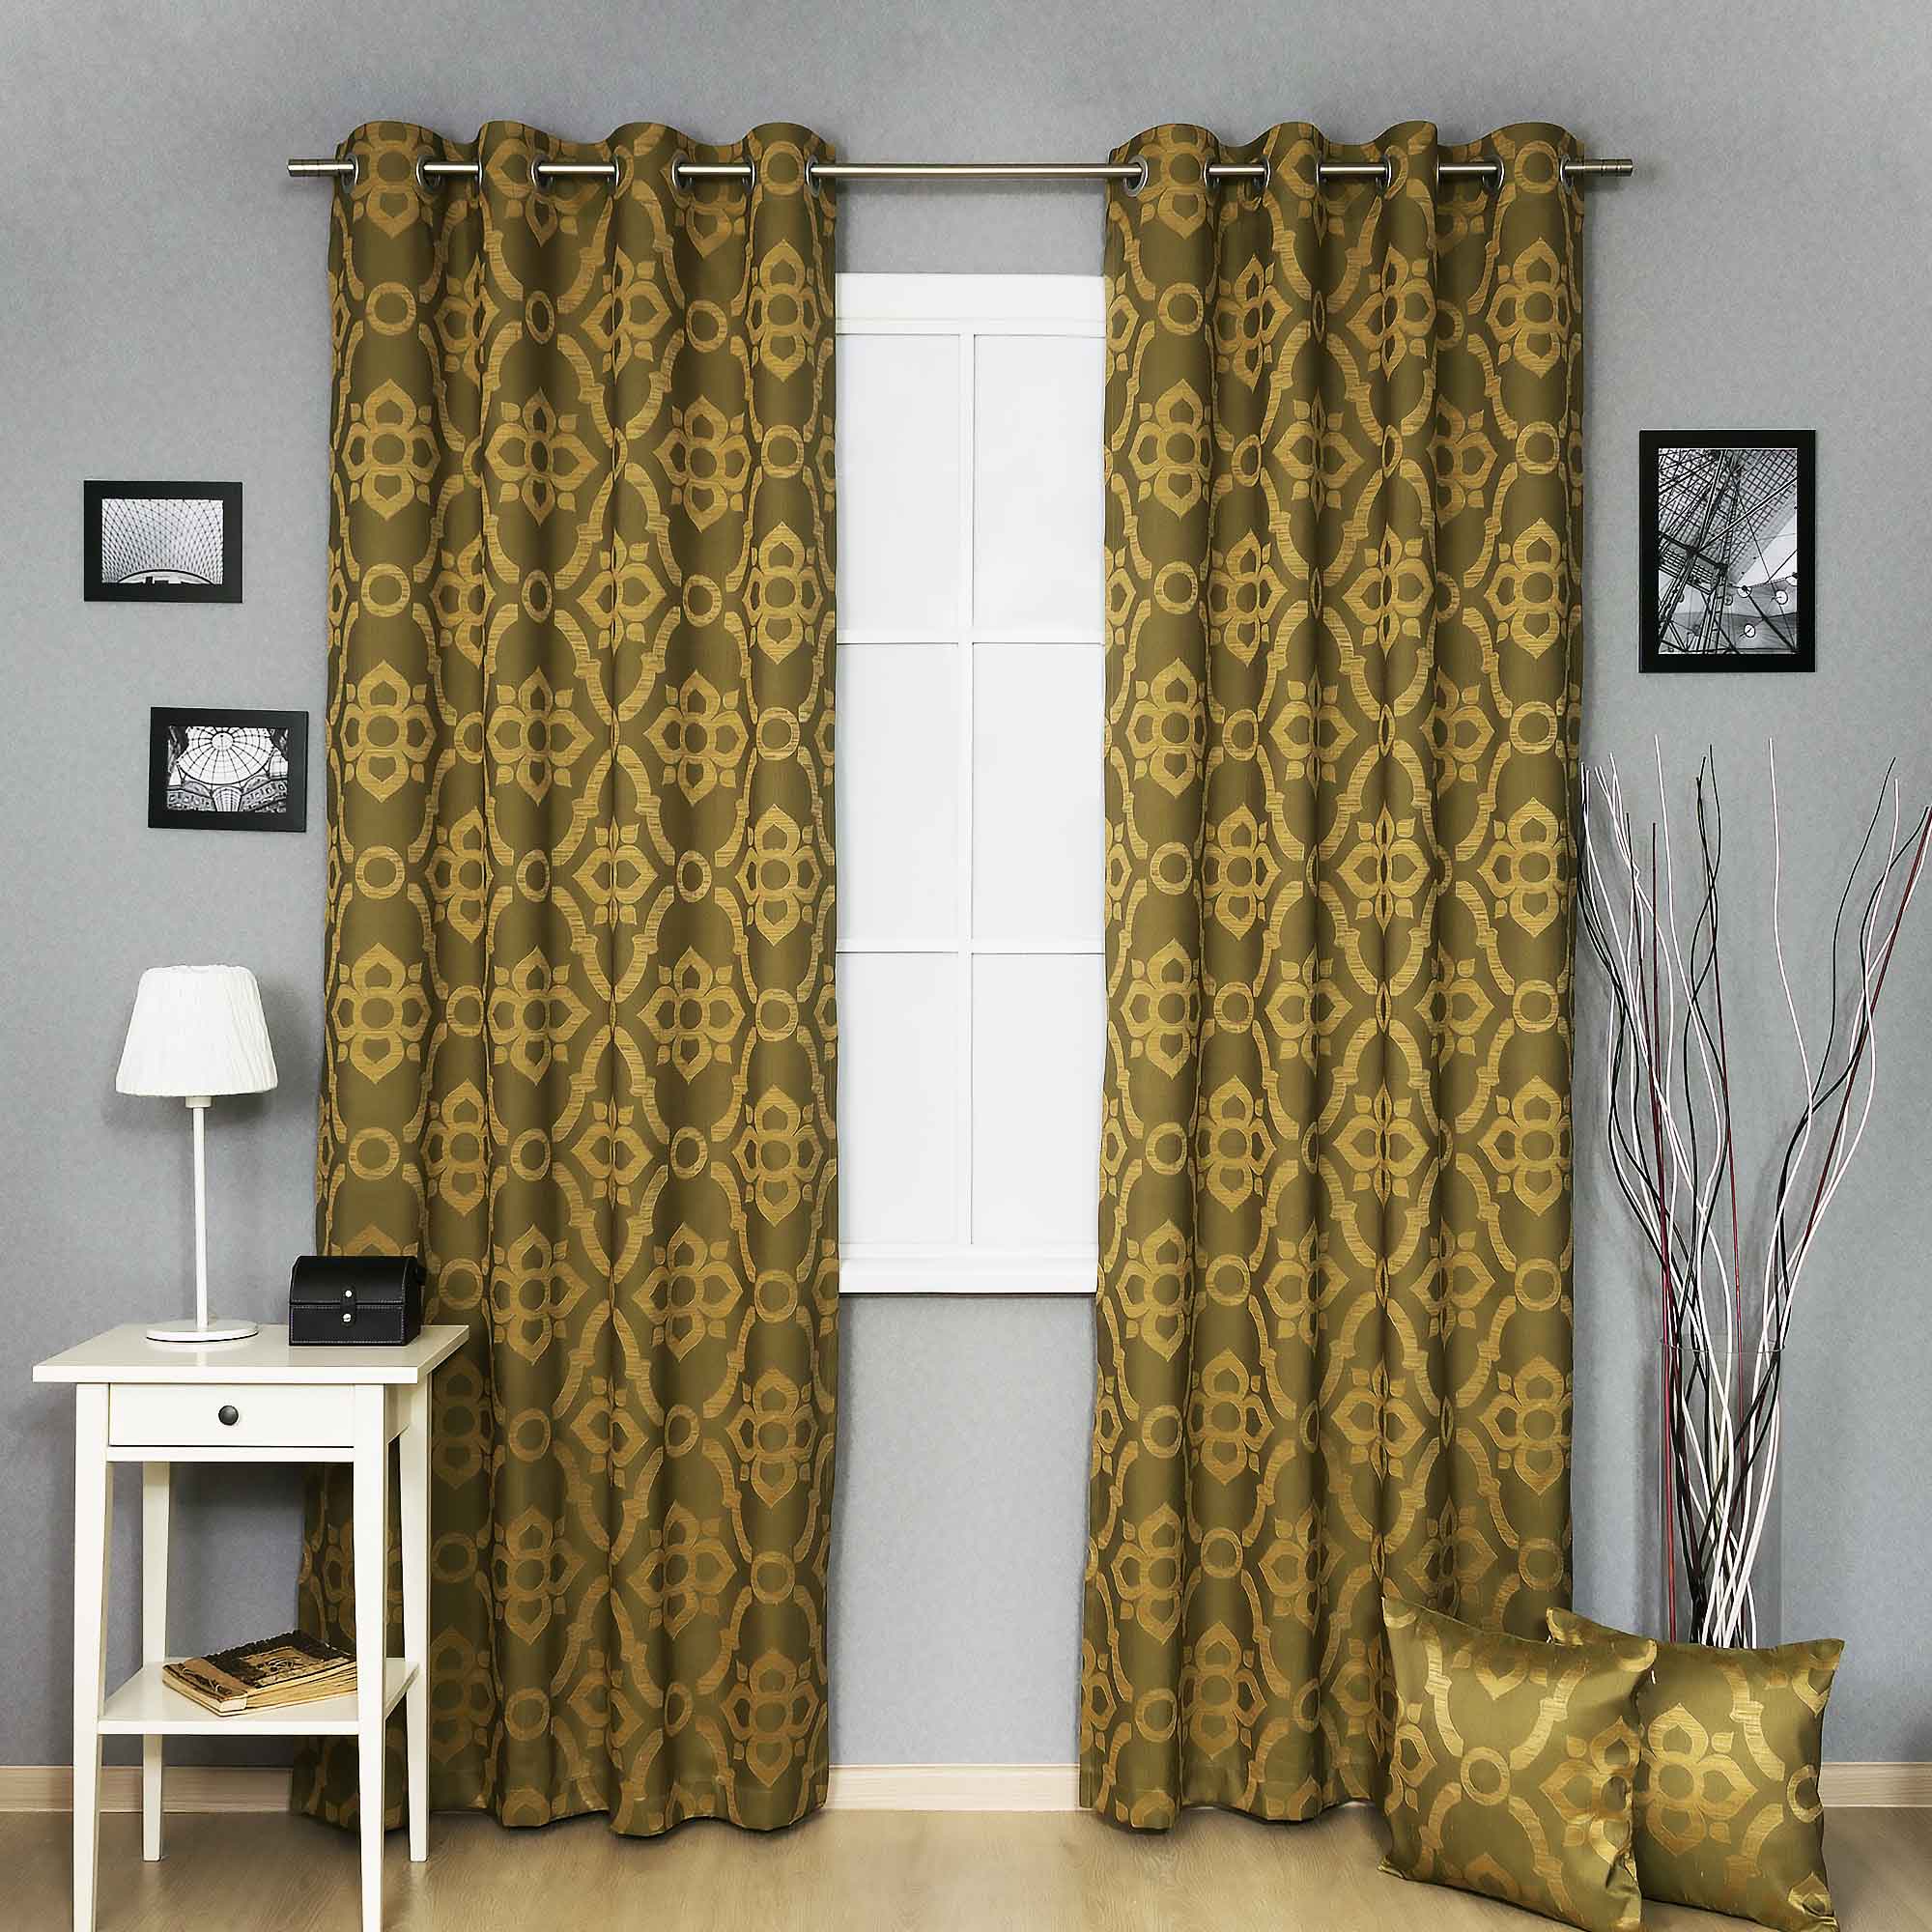
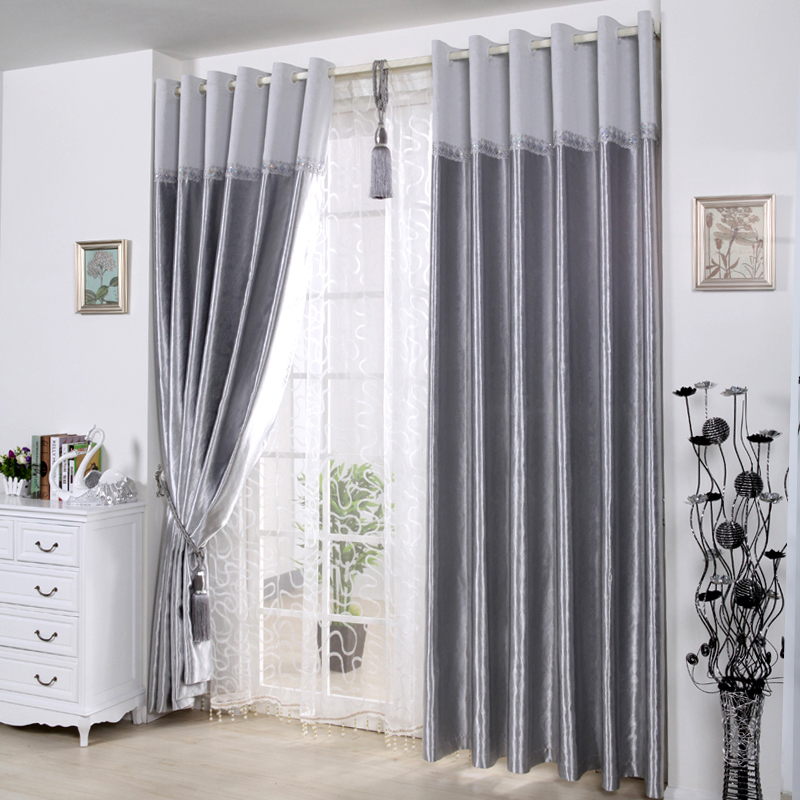
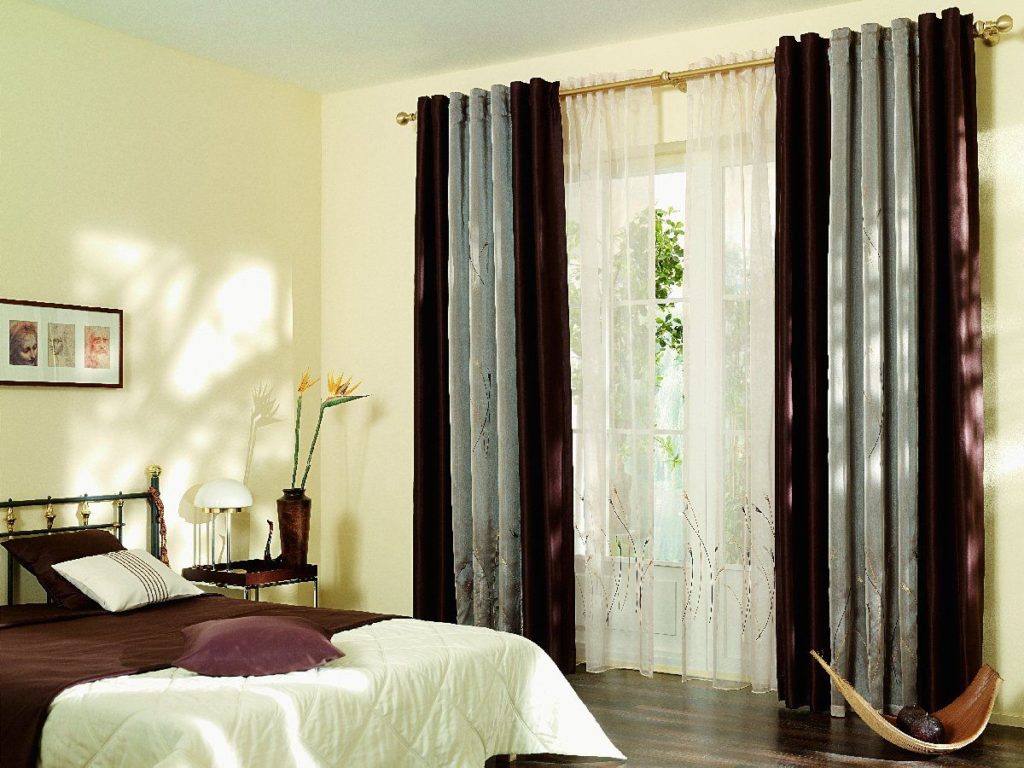
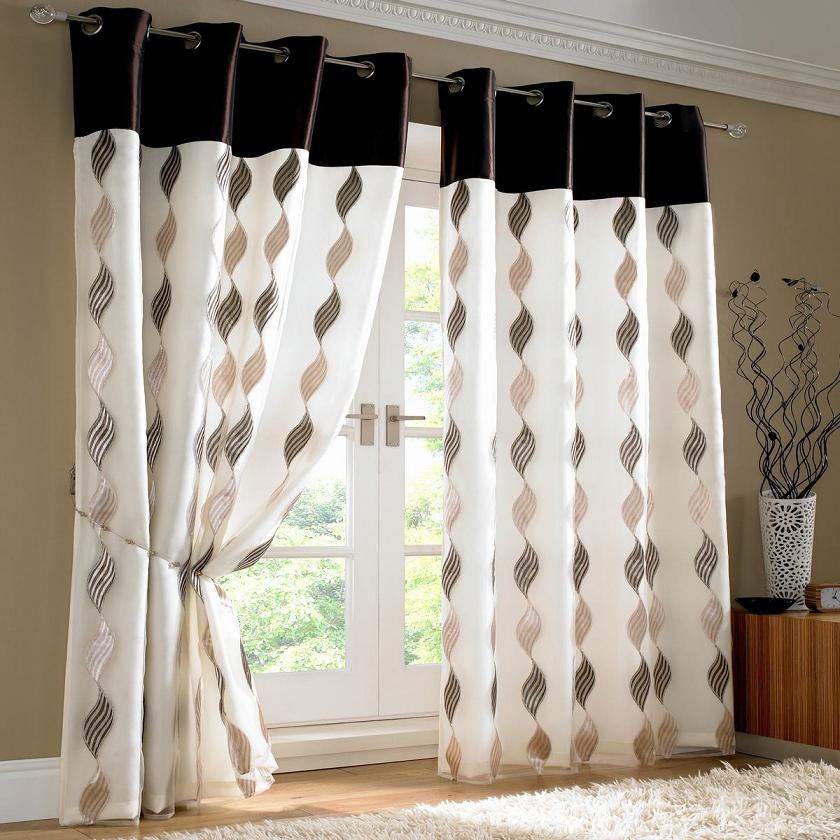
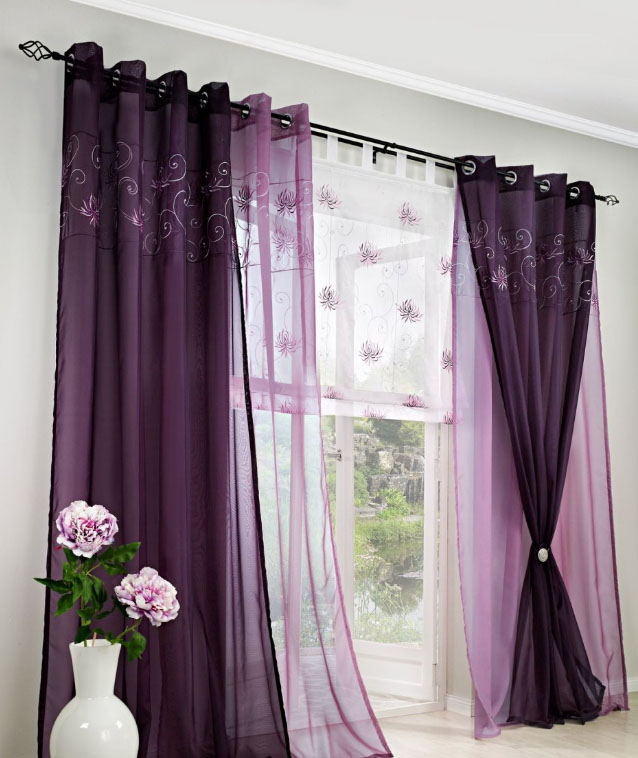
50 options for curtains with eyelets in the interior: