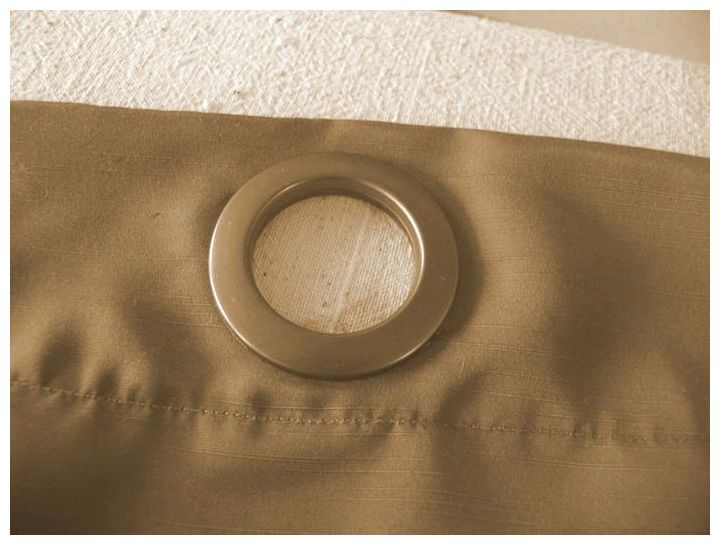
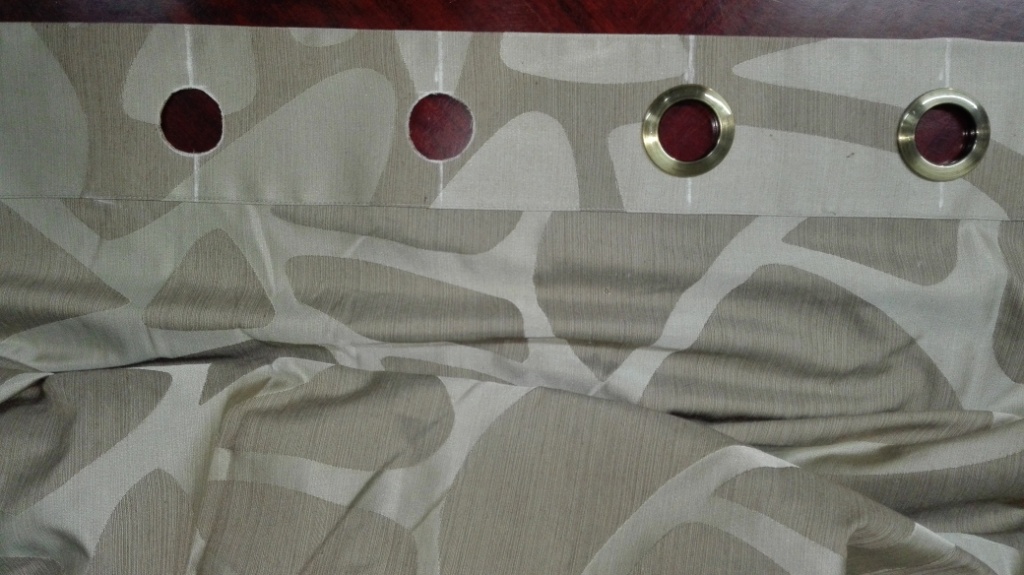
We come across eyelets everywhere in everyday life, but many do not even know what they are, it can be explained using the example of ordinary shoes. Round holes framed by metal inserts for laces are eyelets. This fitting has found wide application at home in sewing clothes, curtains, scrapbooking, etc.
How to install eyelets at home without damaging the original material? There is a specialized tool - a punch for eyelets. Let's try to figure out what it is and how convenient it is.
Content
- Eyelet punch: description, scope of application
- The principle of operation of the punch: description of the technology, features of operation
- How to install eyelets after a punch, how to use a riveter
- Examples of equipment for installing eyelets, general characteristics
- VIDEO: How to install eyelets on curtains with your own hands.
- VIDEO: Review of eyelet punches and setters.
Eyelet punch: description, scope of application
To install eyelets, round holes of a certain diameter are required, which are very difficult to make at home with improvised tools. Experience from industries where fittings are used in the production of footwear, printing, textile products and leather goods came to the rescue.

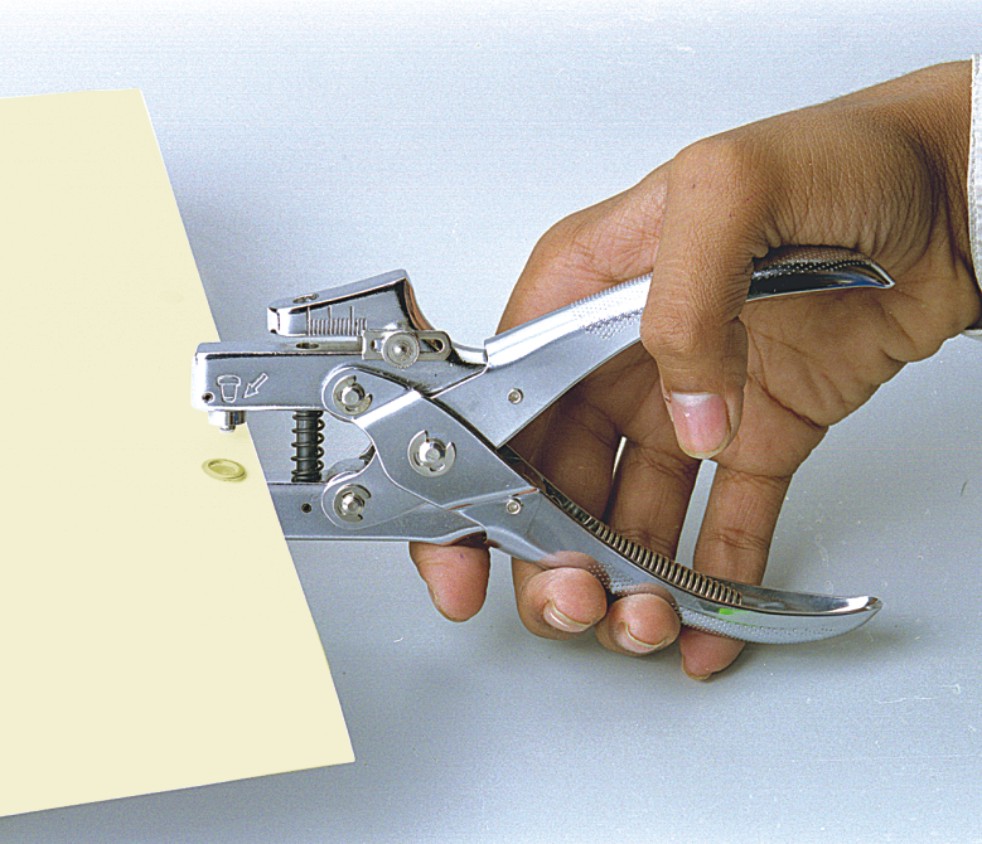
Large companies use a stapler for eyelets as a tool for filing documents, and the rivets are often decorated with corporate symbols. Industrial enterprises use punches for eyelets. Today, many companies offer punches for home use. Such a hole punch allows you to solve several problems at once, it perforates the material, bends its edges, so that no additional edge processing is required.
There are the following types of eyelet punches:
- manual;
- semi-automatic;
- automatic.

Let's try to figure out which option to choose. It is important to understand the material, what strength the work will be done with, what the eyelet itself will be made of, its shape and size range. The choice of ring size will depend on the functional load of the product.
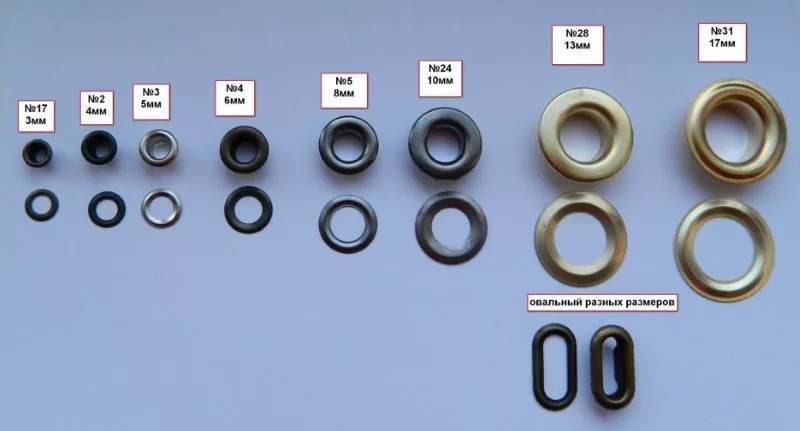
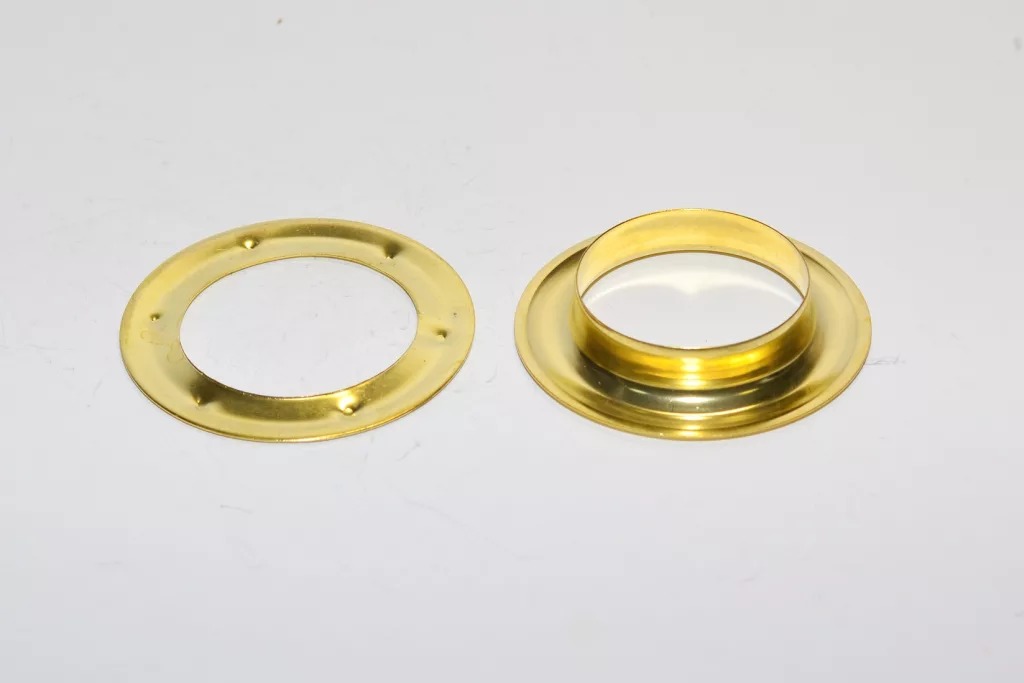
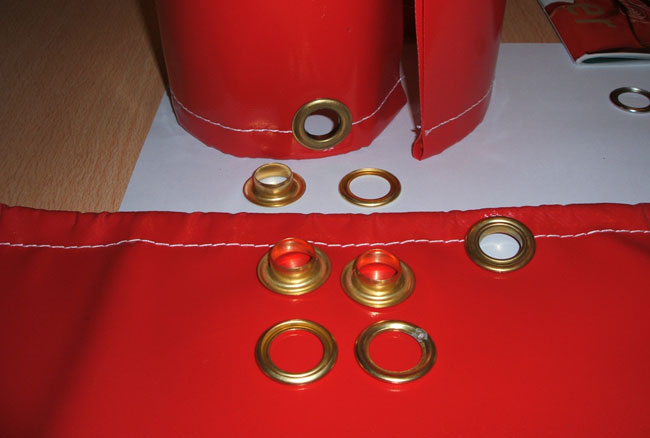
The variability of the eyelet itself will also affect the choice, you can use a metal version made of brass or steel, wood, plastic, with or without a coating, of various shapes and sizes. Regardless of the type and shape, the fittings consist of two components: a bushing and a washer, so the principle of operation of the punch is approximately the same everywhere.

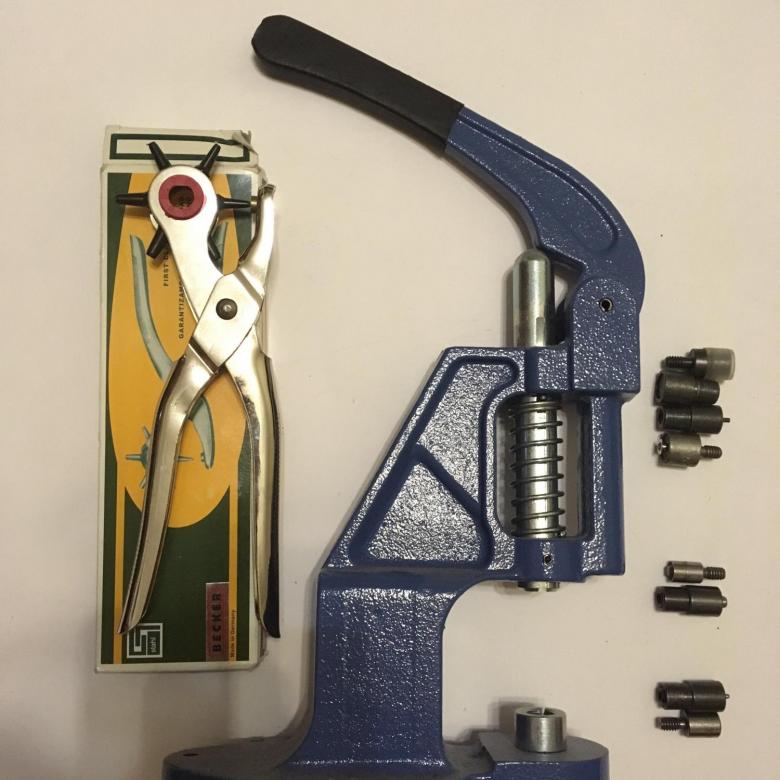
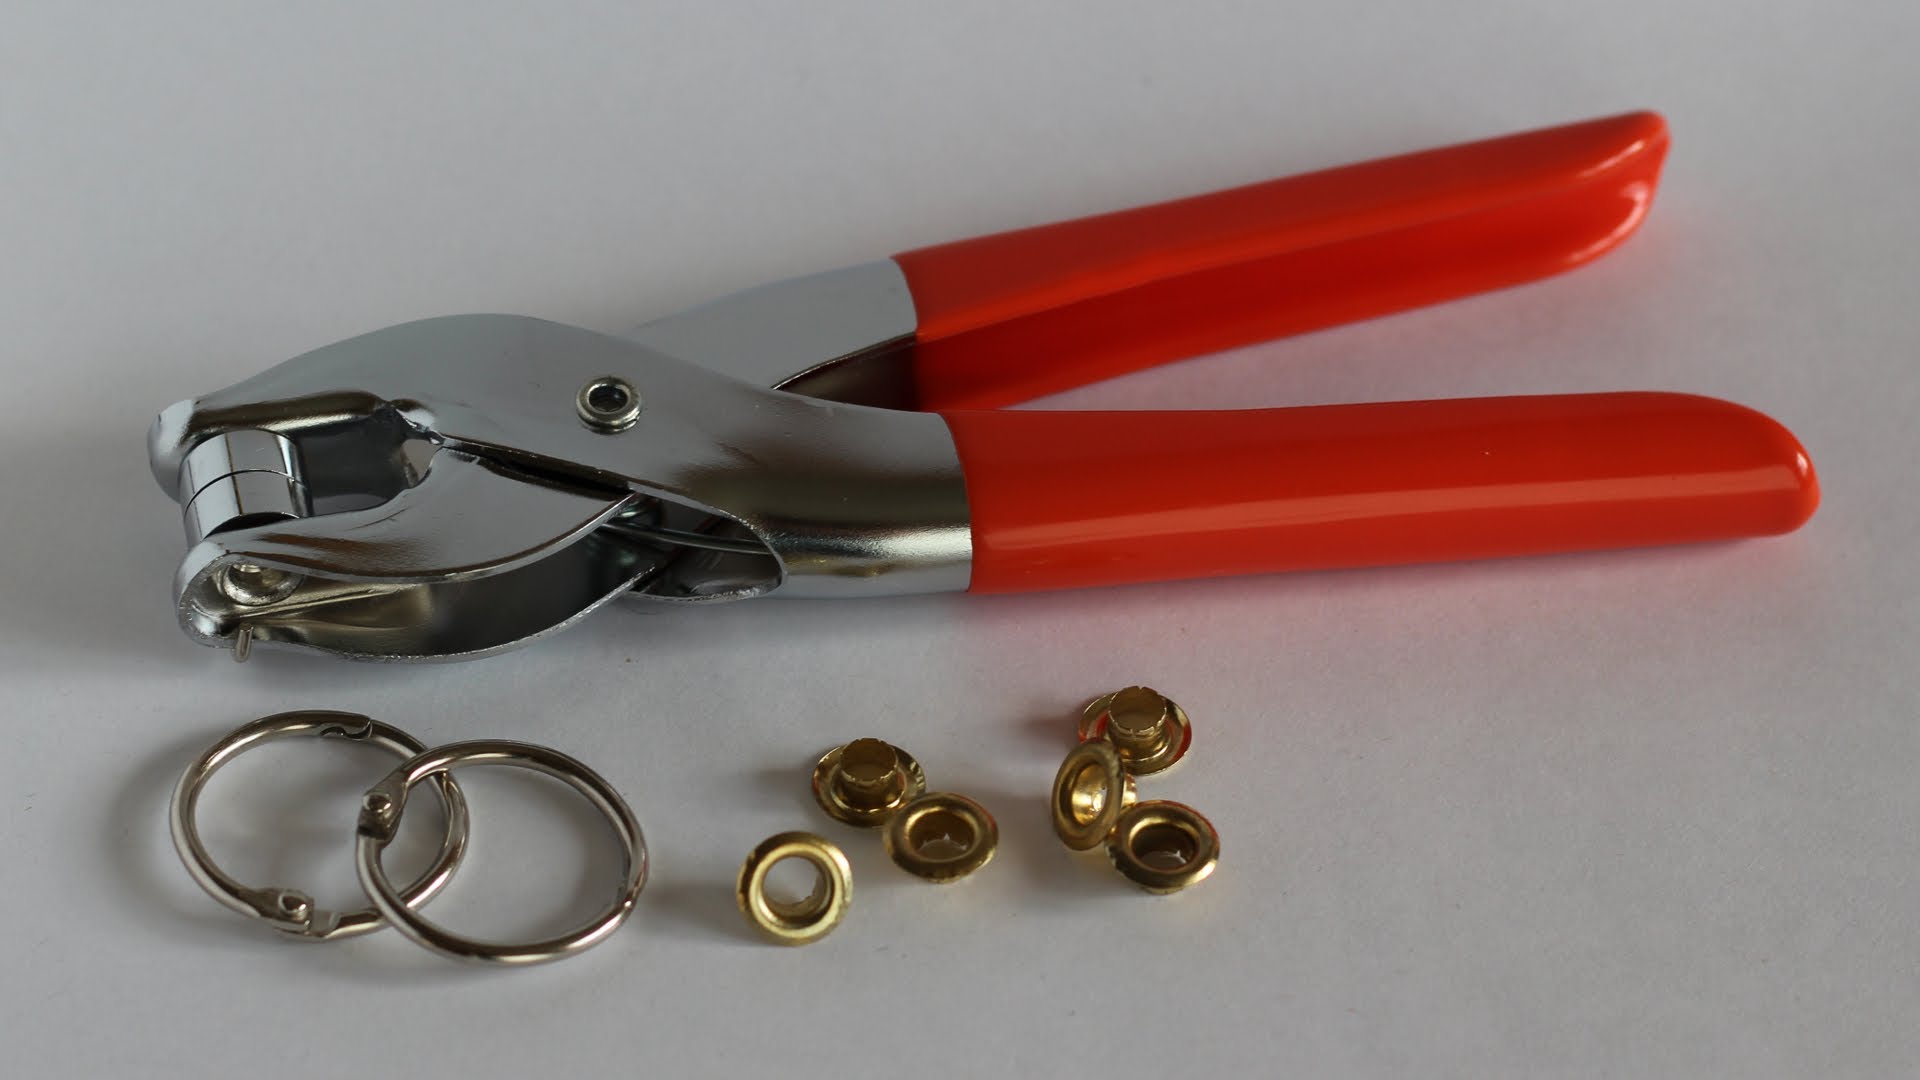
At the same time, the manual version of the hole punch is in great demand due to its low cost and ease of use in the original version. Usually, it includes a punch, with the help of which the hole itself is made, a matrix into which the bushing and washer are inserted, and a stamping, by pressing on which the components of the eyelet are fixed on the material.
Disadvantages of the manual option:
- For different types of eyelets, you will need appropriate attachments for the punch;
- with a high density of the material used, the process of piercing the material is labor-intensive;
- Not suitable for leather goods.
Pros:
- availability;
- home use.
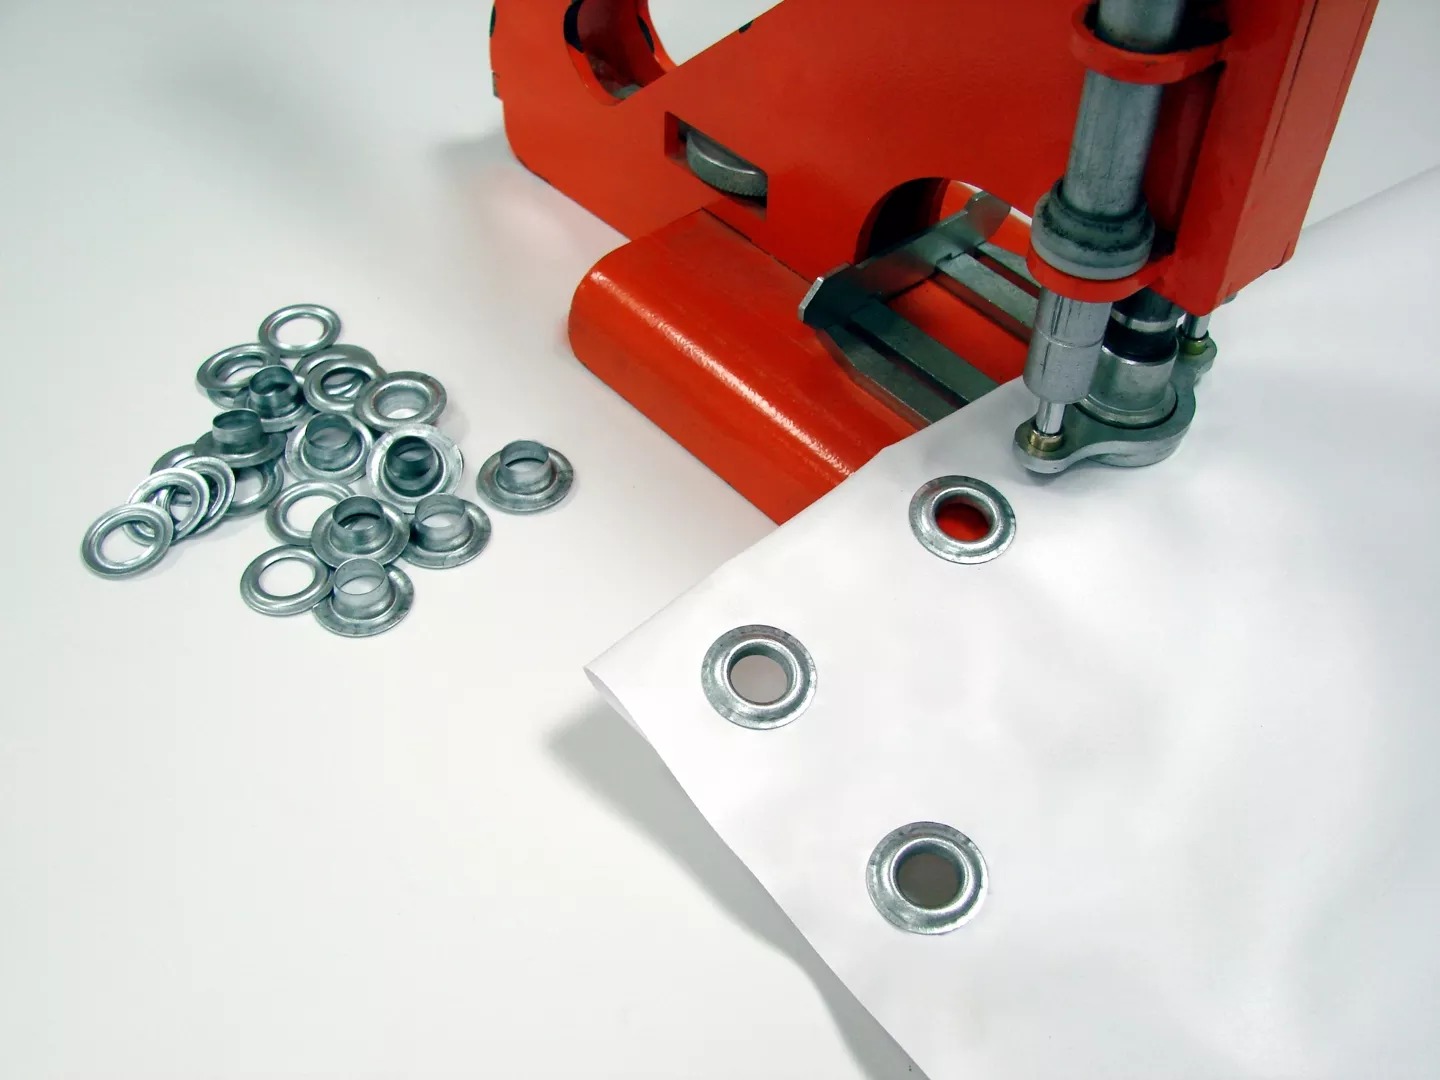
A semi-automatic hole punch is suitable for working with high-strength material, since the hole itself is punched automatically by the sharp edge of the bushing itself. If you decide to choose this option, the choice of eyelets themselves is of particular importance.
Cons:
- Purchase of specialized eyelets.
Pros:
- versatility (suitable even for working with tarpaulin);
- availability;
- minimum effort;
- performance.

Automatic punches are used in industrial production.
Pros:
- versatility in materials and eyelet sizes.
High performance.
- cons:
- high cost;
- weight and dimensions of the punch.
The principle of operation of the punch: description of the technology, features of operation
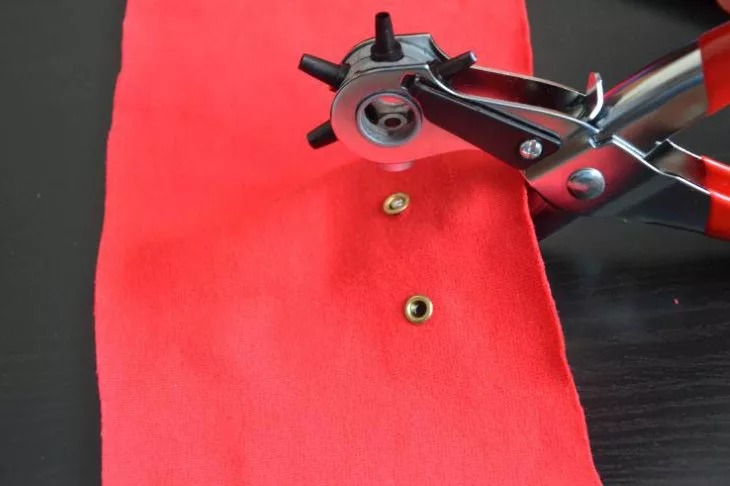
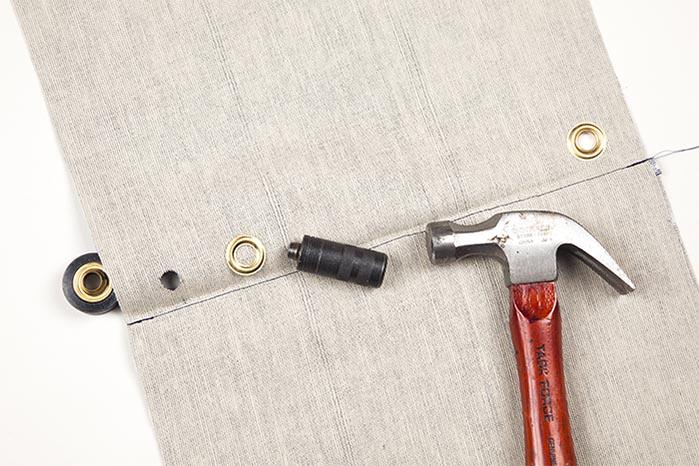
The main functionality of the punch is to prepare the hole. There are practically no difficulties in using a hole punch. It is important to clearly outline the future location of the fittings and correctly position the selected material. In addition, it is necessary to select the correct surface for installing the punch. The working area on which the holes will be punched.
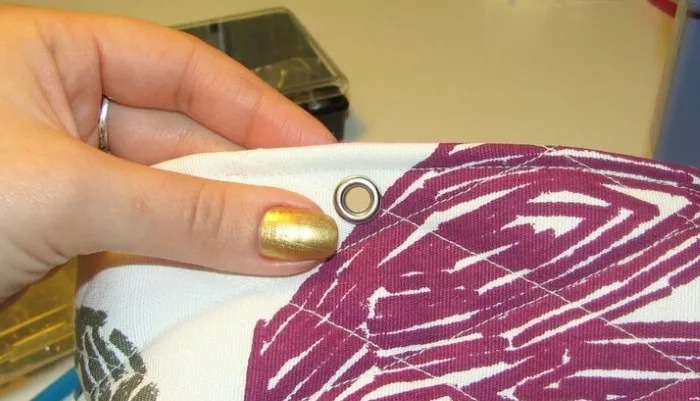
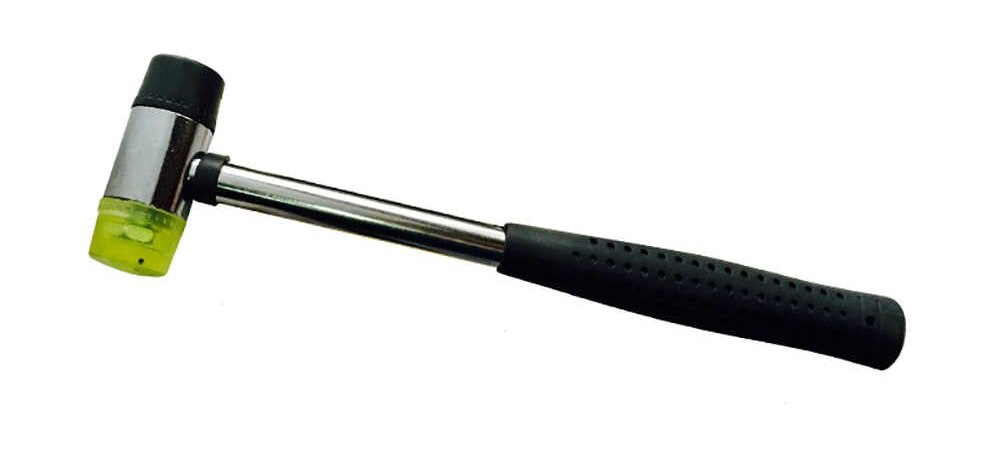
After determining the working surface, we continue according to the instructions, punch a hole, place the eyelet with the cap on the front side, and the support ring on the back side. It is important to select a ball with a diameter greater than the diameter of the inner part of the eyelet and hit the selected ball with a hammer to fix the bushing on the product, while the eyelet rivet should flatten, if this does not happen, then you can repeat the hammer blow.
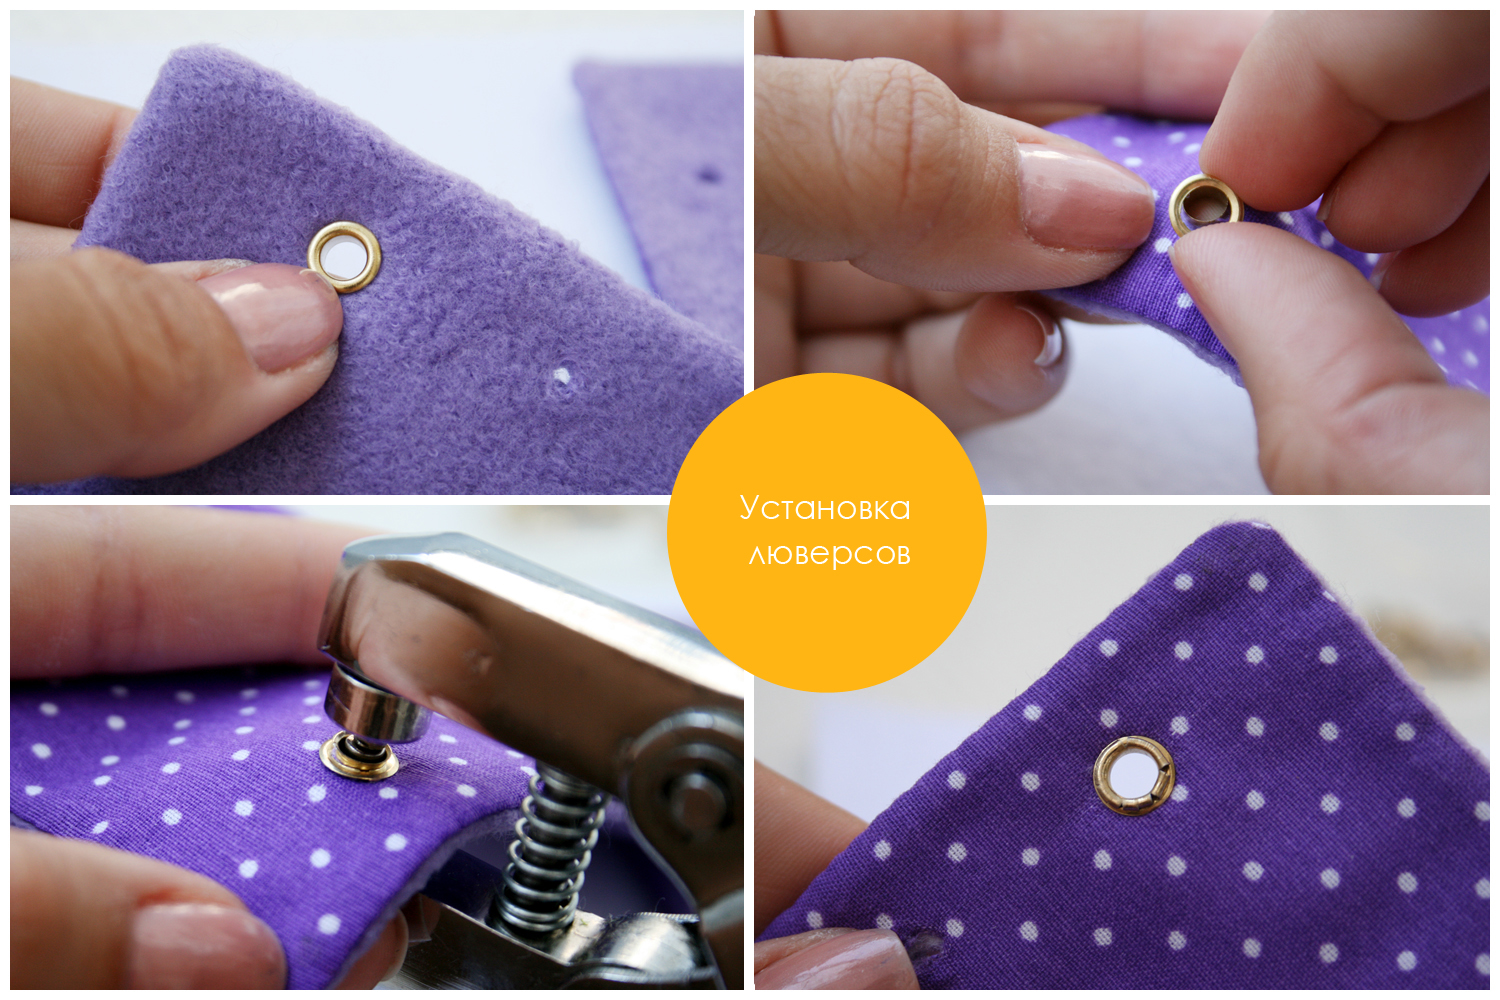
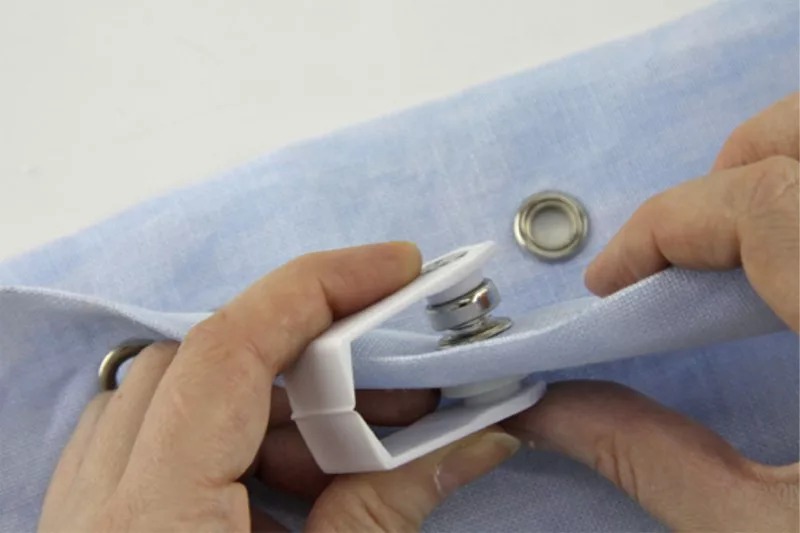
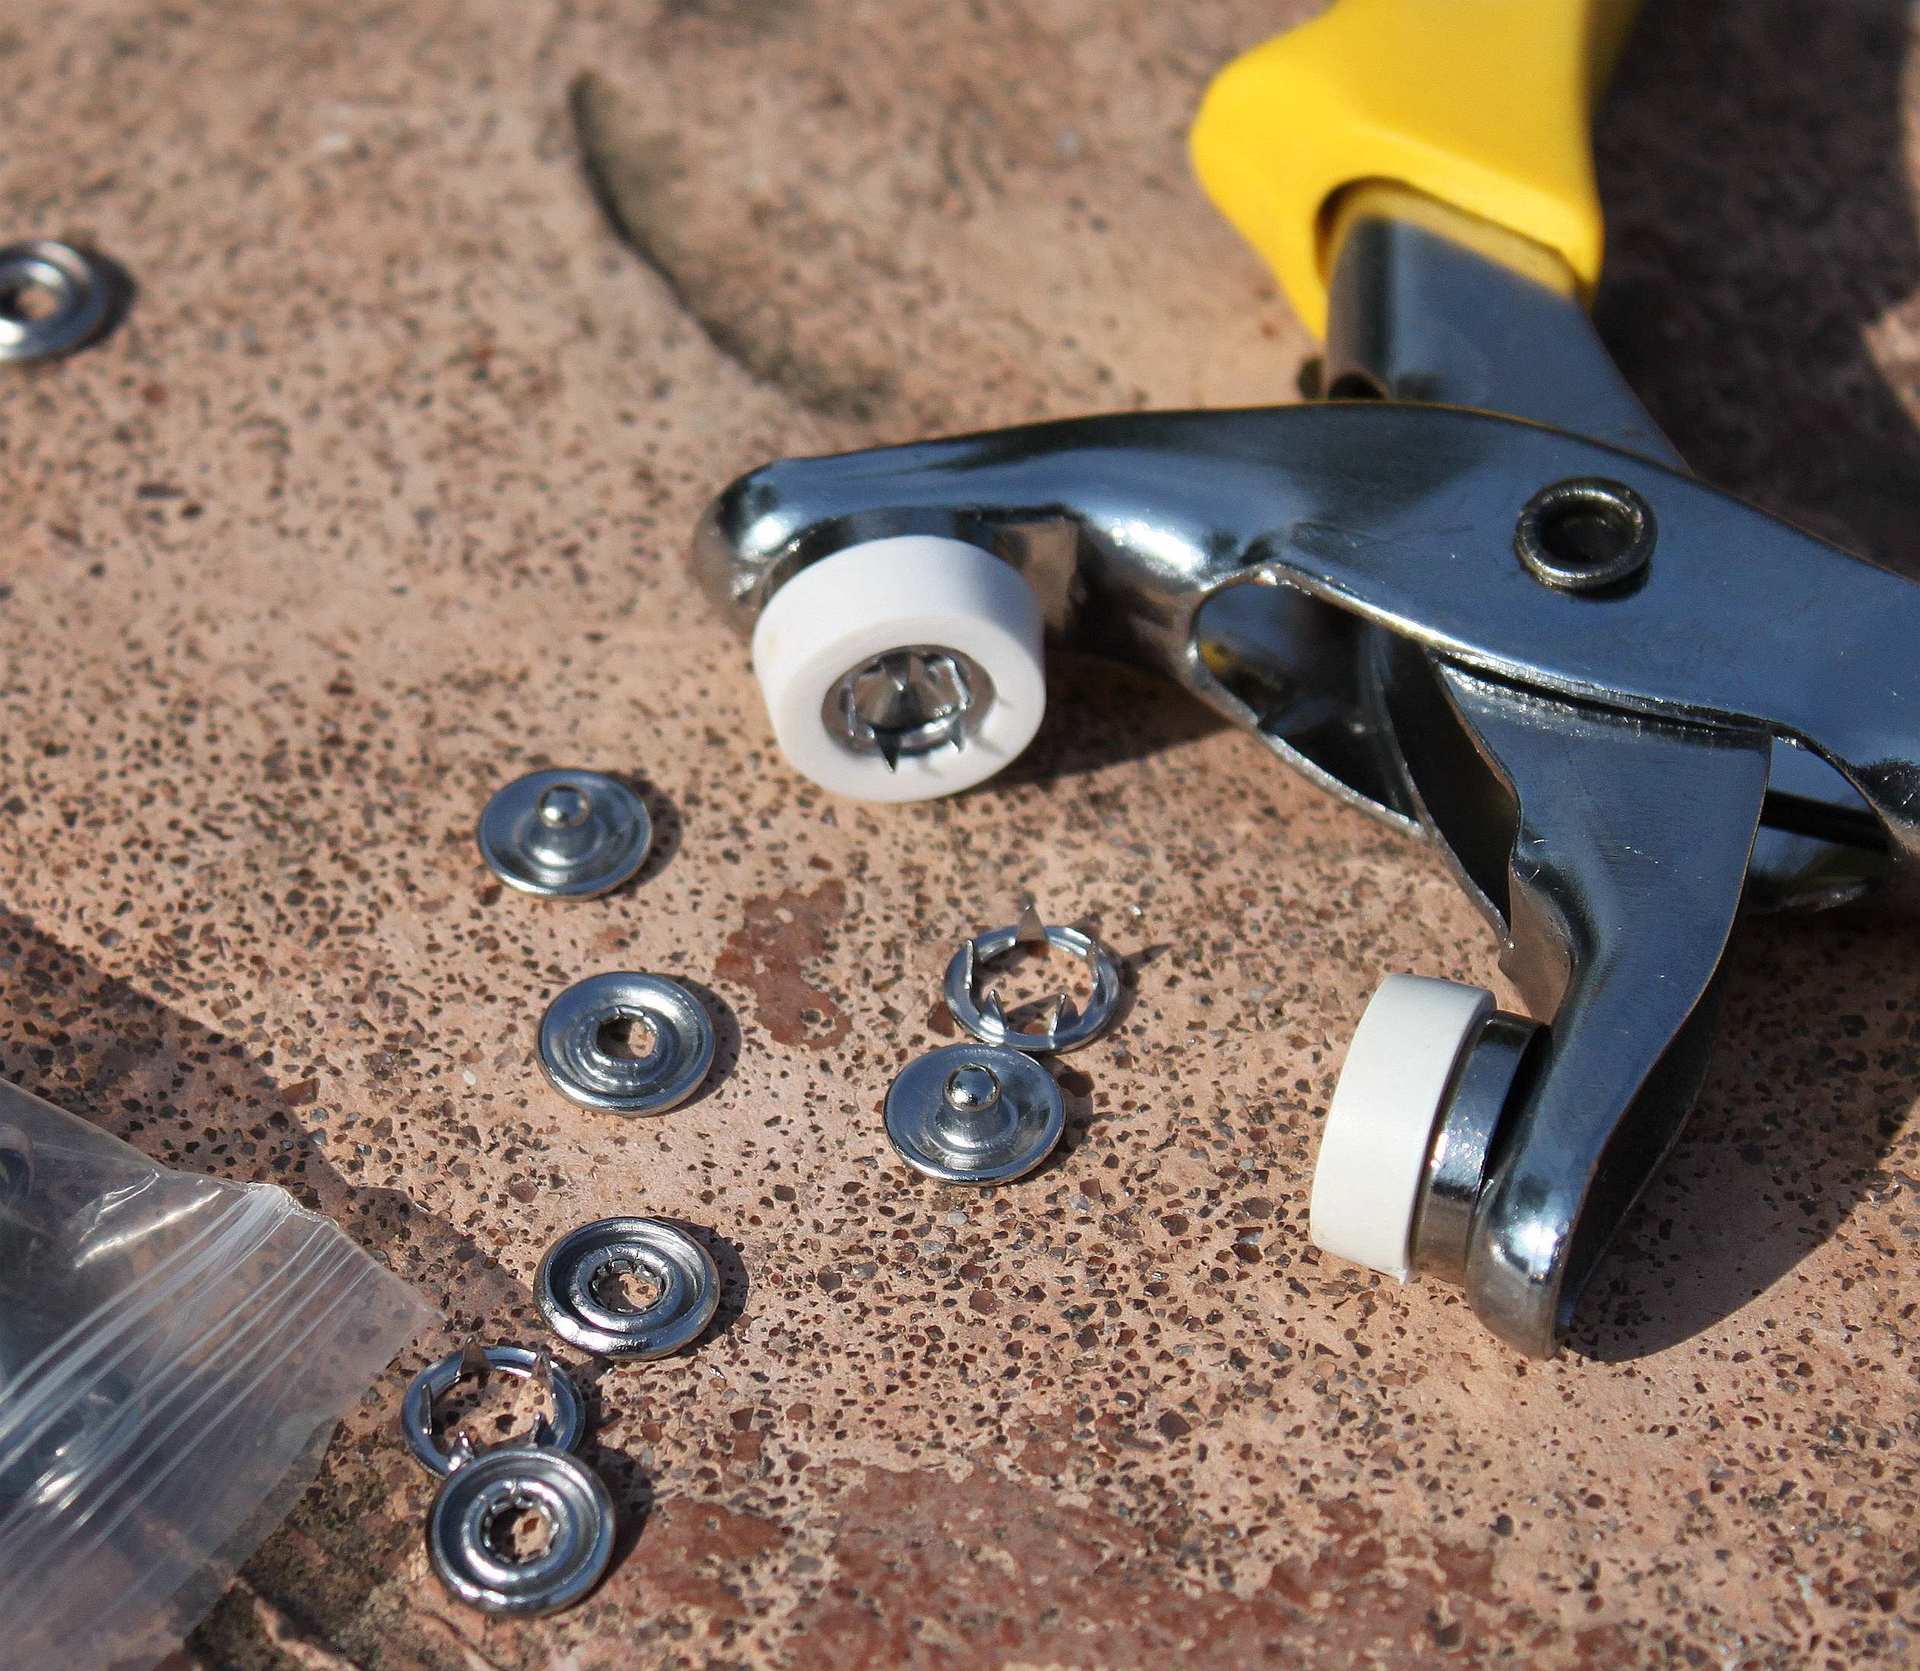
Special pliers for installation can significantly simplify the process at home. They allow you to correctly fix the support ring and the eyelet itself, which will avoid damaging the material.
In any case, experience with a punch will play a key role, since not everyone can calculate the force of impact the first time.
Experience with such devices will play a big role here, as it will help to correctly calculate the force of the blow.
How to install eyelets after a punch, how to use a riveter
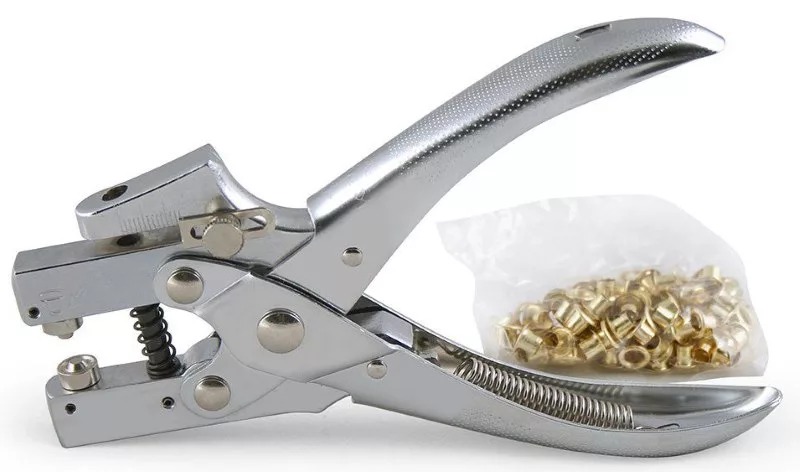
Let's try to figure out how to use a hole punch for eyelets. To install the fittings, you need a stapler and an installer. For home use, it is better to choose perforators in the form of pliers, since you can adjust the diameter of the hole with the help of a wheel on its body. They are much easier to work with. There are impact-type perforators, they come with several attachments of different diameters.
An important role in installing eyelets will be played not only by the punch, since by and large in home conditions, it plays the role of only a perforator, but also by the tools and attachments used in the process. Auxiliary equipment helps to significantly facilitate the work, place the fittings in any necessary place and prevent damage to the material.
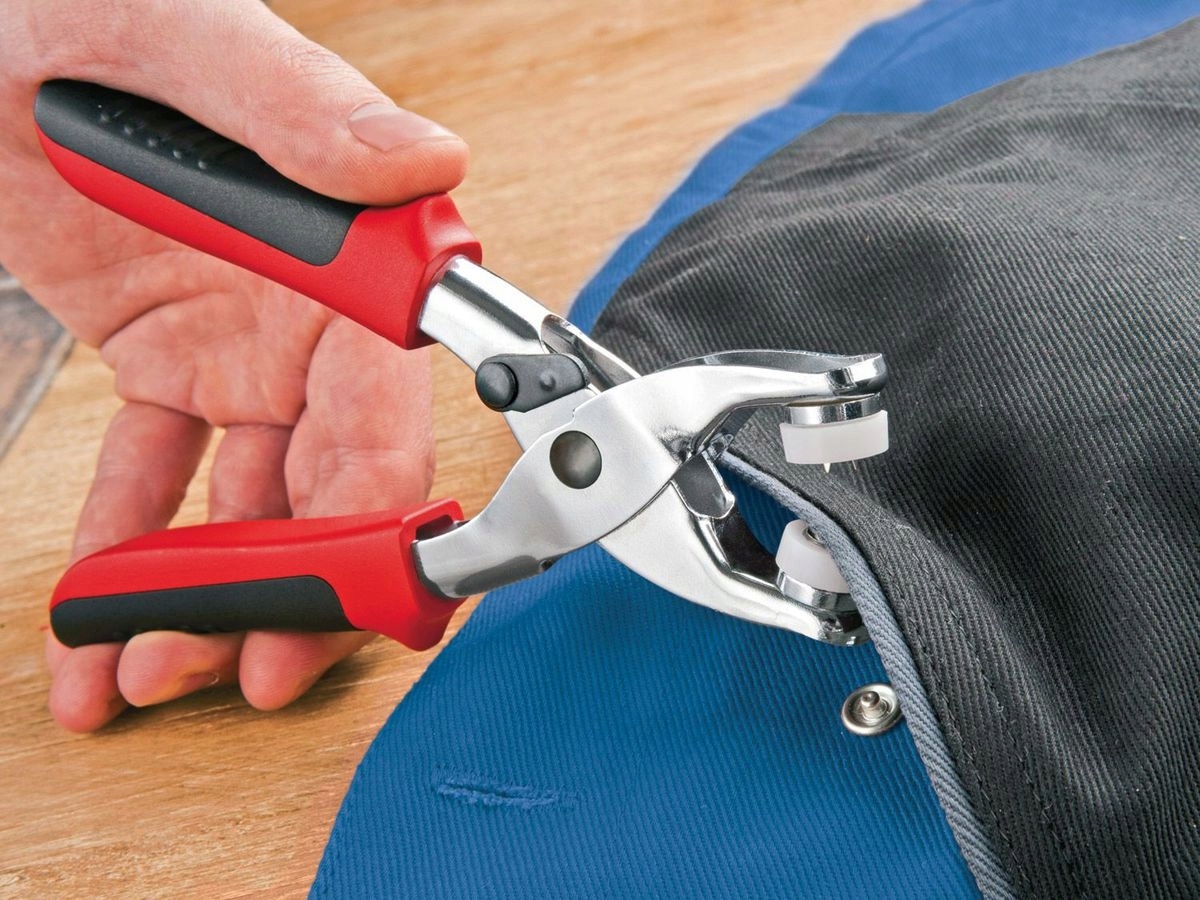
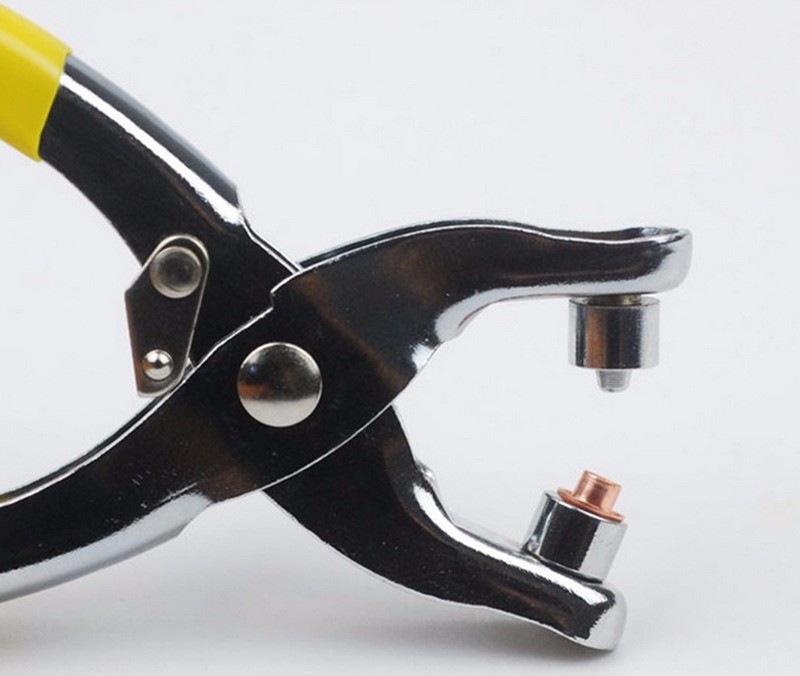
As with choosing a punch, the pliers are more convenient, they cannot be universal, you will need various attachments. In fact, the eyelet is clamped with pliers and thus fixed on the material, while the head of the eyelet should be located on the front side, and the support ring on the back side.
Examples of equipment for installing eyelets, general characteristics
Let's look at the most common tools for installing eyelets.
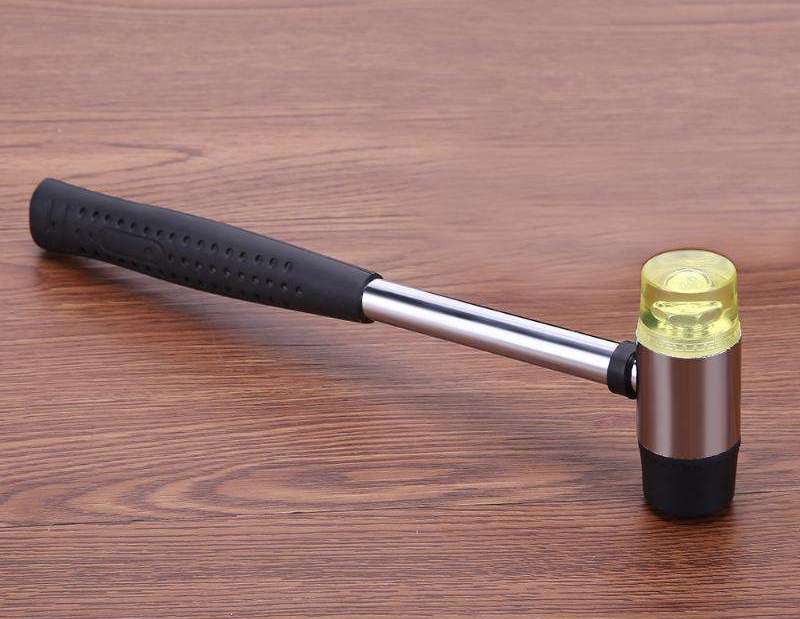
The "Colored Hammer" has earned its popularity due to its low cost and the quality of the material it is made of. It is made of steel, which makes it heavy, but the bright enamel often tends to chip off during use.
This is a 4-in-1 kit, which has all the necessary attachments that screw into each other. This tool is designed for 6 mm eyelets. It is very compact and allows you to install fittings in the right place, and not just along the edges, but it requires physical effort when working.
The Fiskars setter is more suitable for installing paper eyelets. It will allow you to use fittings with a diameter of 1.6, 3.2 and 4.8 mm, respectively. The punching capacity is limited, recommended for working with felt, paper, thin plastic, etc.
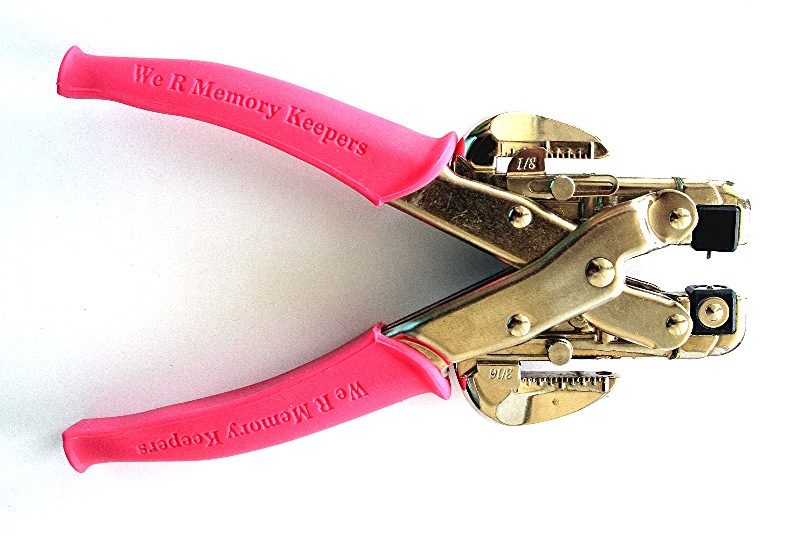
The most versatile tool that allows you to select fittings of any diameter is Crop-A-Dile. It has two versions, the first allows you to place the eyelet at a distance of 2 cm from the edge, the second, at other distances.
Very easy to use. Secures the eyelet by pressing the handle of the device.
The Micron NT-2 eyelet pliers, manufactured by Gamma, are very convenient for home use. They are equipped with a ruler, a set of 100 bushings and a punch in the form of a hole punch. The punch is located on the side of the device, and the eyelet is fixed directly with the pliers. The pliers are made of impact-resistant metal and have an anatomical handle shape, which simplifies the work.
The second version of tongs that have earned well-deserved popularity among consumers are tongs from the company "Kangaro". Limited by the diameter of the eyelet of 4 mm. The handles of the tongs have an anatomical shape.
You can also find punches for installing eyelets on sale.
For thick and particularly strong materials, the Kropodile tool is suitable for use. A universal tool, it makes holes itself, installs eyelets itself. The diameter range is from 3 to 5 mm. The installation depth is up to 2.5 cm. - this is a tool that makes holes and installs eyelets. It has a very deep gap, allowing you to install fittings far from the edge. The stapler for eyelets is located on the side of the body. However, the cost of the device is significantly more expensive than the options described above.
The use of eyelets in production and at home significantly simplifies the process of using the material. For the installation of modern fittings, there are currently various devices from manual to fully automatic. You can choose for any purpose and for any budget. It is important to choose devices that will not spoil the original material and ensure ease of use.