The idea of creating Roman blinds was invented by Roman sailors. This simple design is very old, during which it has undergone minor changes. Its principle is similar to that by which sails were set on ancient ships. Ordinary fabric attached to the yards, which can be unraveled or rolled up using rigging (ropes and cables). This type of space design is very popular in countries with a lot of sun, as it allows you to easily regulate the level of illumination, is compact and easy to care for. In Europe, Roman blinds are often used in rooms where there is little space.

The peculiarity of Roman blinds is that the fabric hangs absolutely straight, does not drape, which means that little material is needed. From a design point of view, this is the best way to show a beautiful texture or an original pattern. Roman blinds are made using a fairly simple technology, so they are often made independently using detailed step-by-step instructions with photos.
Content
- How to make a roman blind with your own hands
- Materials and tools that will be useful for making
- Roman blind calculation scheme
- How to sew a roman blind from fabric
- How to assemble and install a roman blind
- DIY Roman Blind Repair
- Conclusion
- Video: Roman blinds step by step instructions
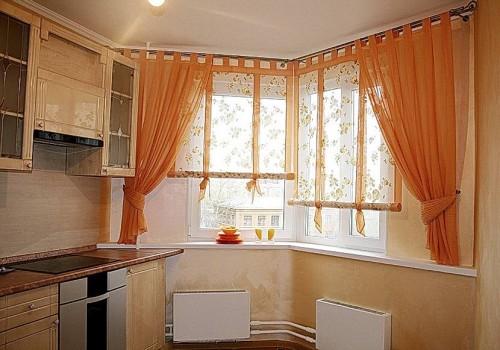
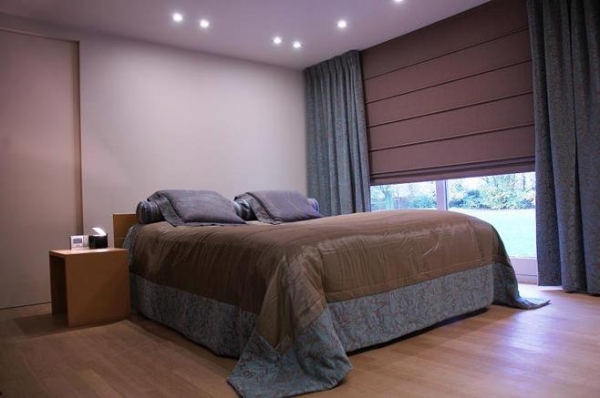
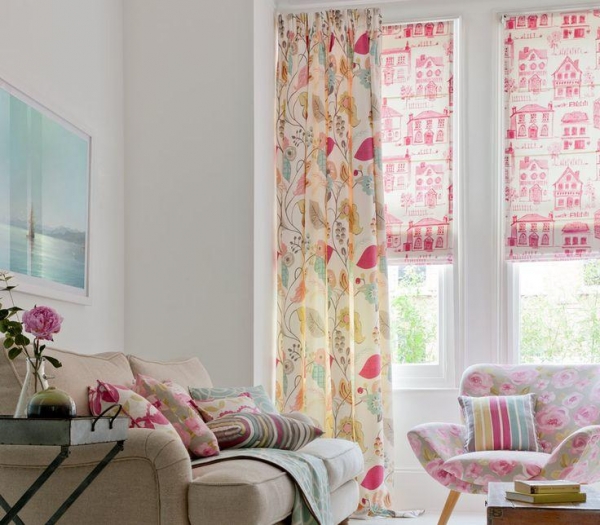
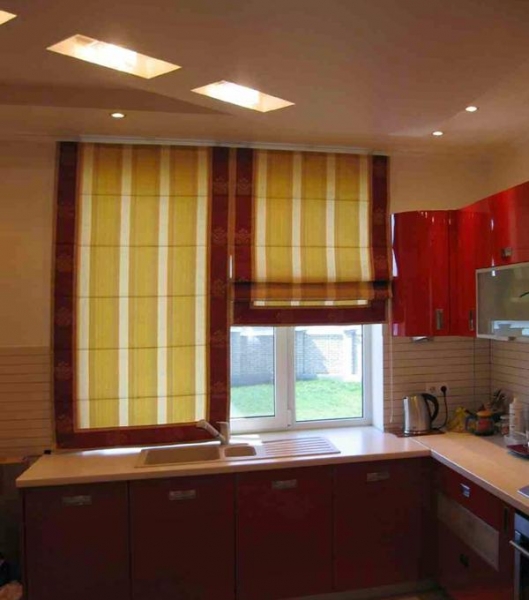
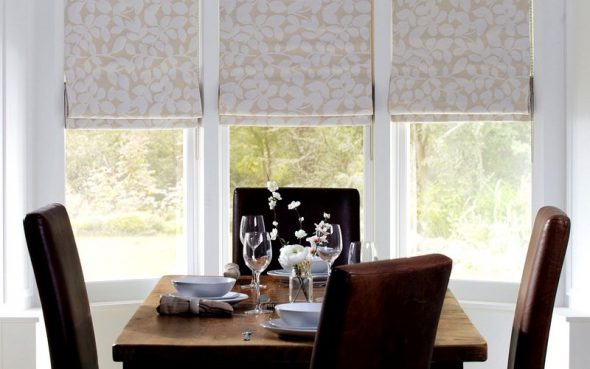
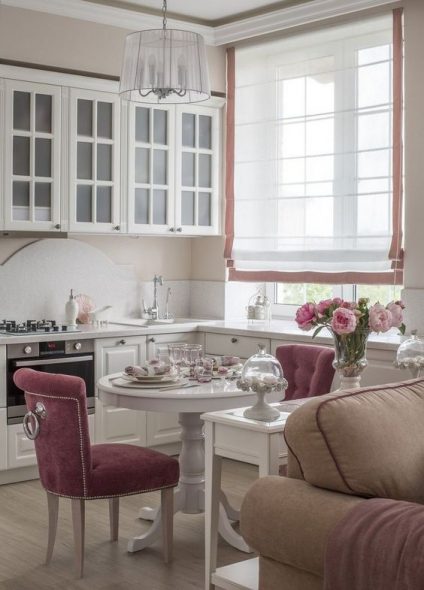
- Photos of ready-made Roman blinds, made for different interiors:
How to make a roman blind with your own hands
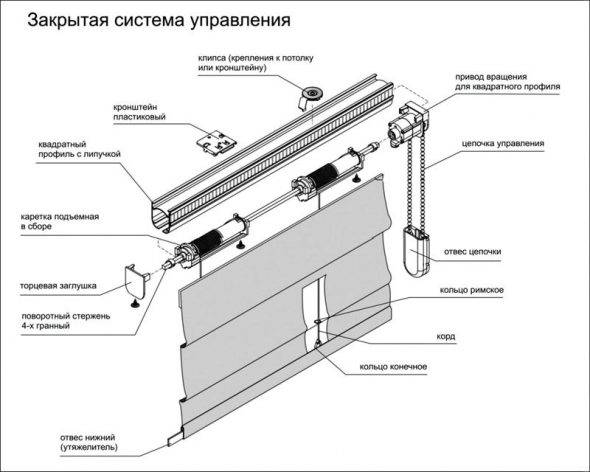
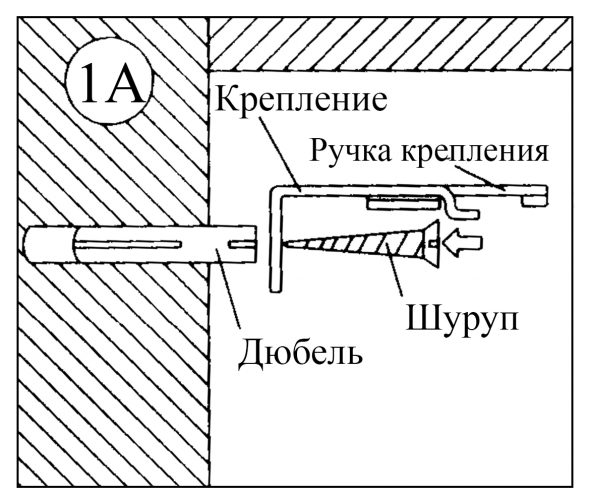
To understand how to make Roman blinds with your own hands, it is enough to know how they are constructed. In the simplest version, the fabric is attached to a rod installed at the top of the frame and is wound or released using a cord that rotates it. The main element is the fastening, which allows the structure to be rotated.
Today there is no need to “reinvent the wheel”; ready-made roller shutters are sold in repair material stores in a wide variety of designs:
- open;
- closed;

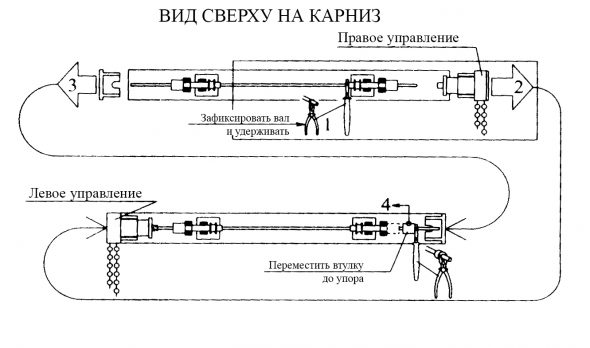
Main components of closed control systems - mechanical;
- electrical;
- with remote control.
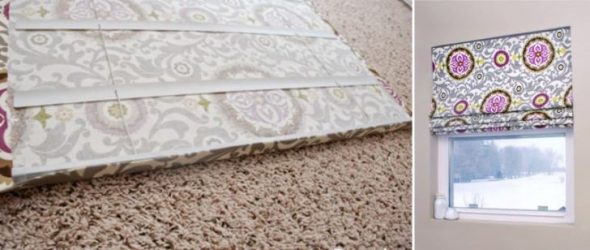
This curtain fits tightly to the glass, which reliably provides darkening. It takes up virtually no space, and the simplicity of the design is a guarantee of no breakages. The material can be removed and washed, but in most cases even dry cleaning with a brush from dust is sufficient.
Materials and tools that will be useful for making
The choice of fabric for Roman blinds is an important step, on which the result of the efforts will completely depend. In addition to woven materials, you can take thick paper, bamboo slats, wicker fabrics, wooden planks.
For industrially manufactured blinds, special dust-repellent impregnations, antistatic agents, and Teflon coating are used. Such fabrics are washed especially carefully so as not to damage the outer protective layer.
The most commonly used are:
- flax;
- hemp cloth;
- cotton;
- polyester;
- nylon.
Important: the fabrics used in production - fiberglass, polyvinyl chloride with fiberglass, polyester with viscose and Teflon coating - are difficult to find on sale, but they are very durable, easy to clean, do not accumulate dust and dirt.
Before you start working, prepare a window bar and elements for fastening it. A round wooden beam or a metal bar with a diameter of 3 cm will do. Its length should correspond to the size of the frame. For fastening, use self-tapping screws, double-sided tape, rings and strips for fixing the folds. You will also need textile tape - 3-4 cuts equal to the width of the material.
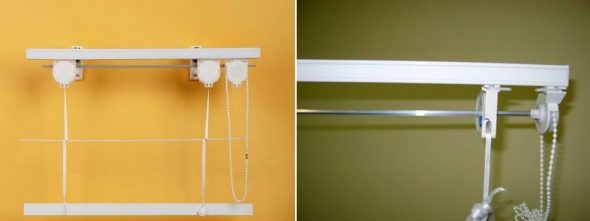
A chain or decorative cord, or tape with a weighting agent will be suitable as a control tool. This is the cord that will roll up the blinds and hold them closed. The fabric will be wound onto the rod by a cord or rotor-chain mechanism, which is purchased assembled. The cord mechanism is the oldest, but it has limitations - the weight of the fabric should not exceed 4 kg.
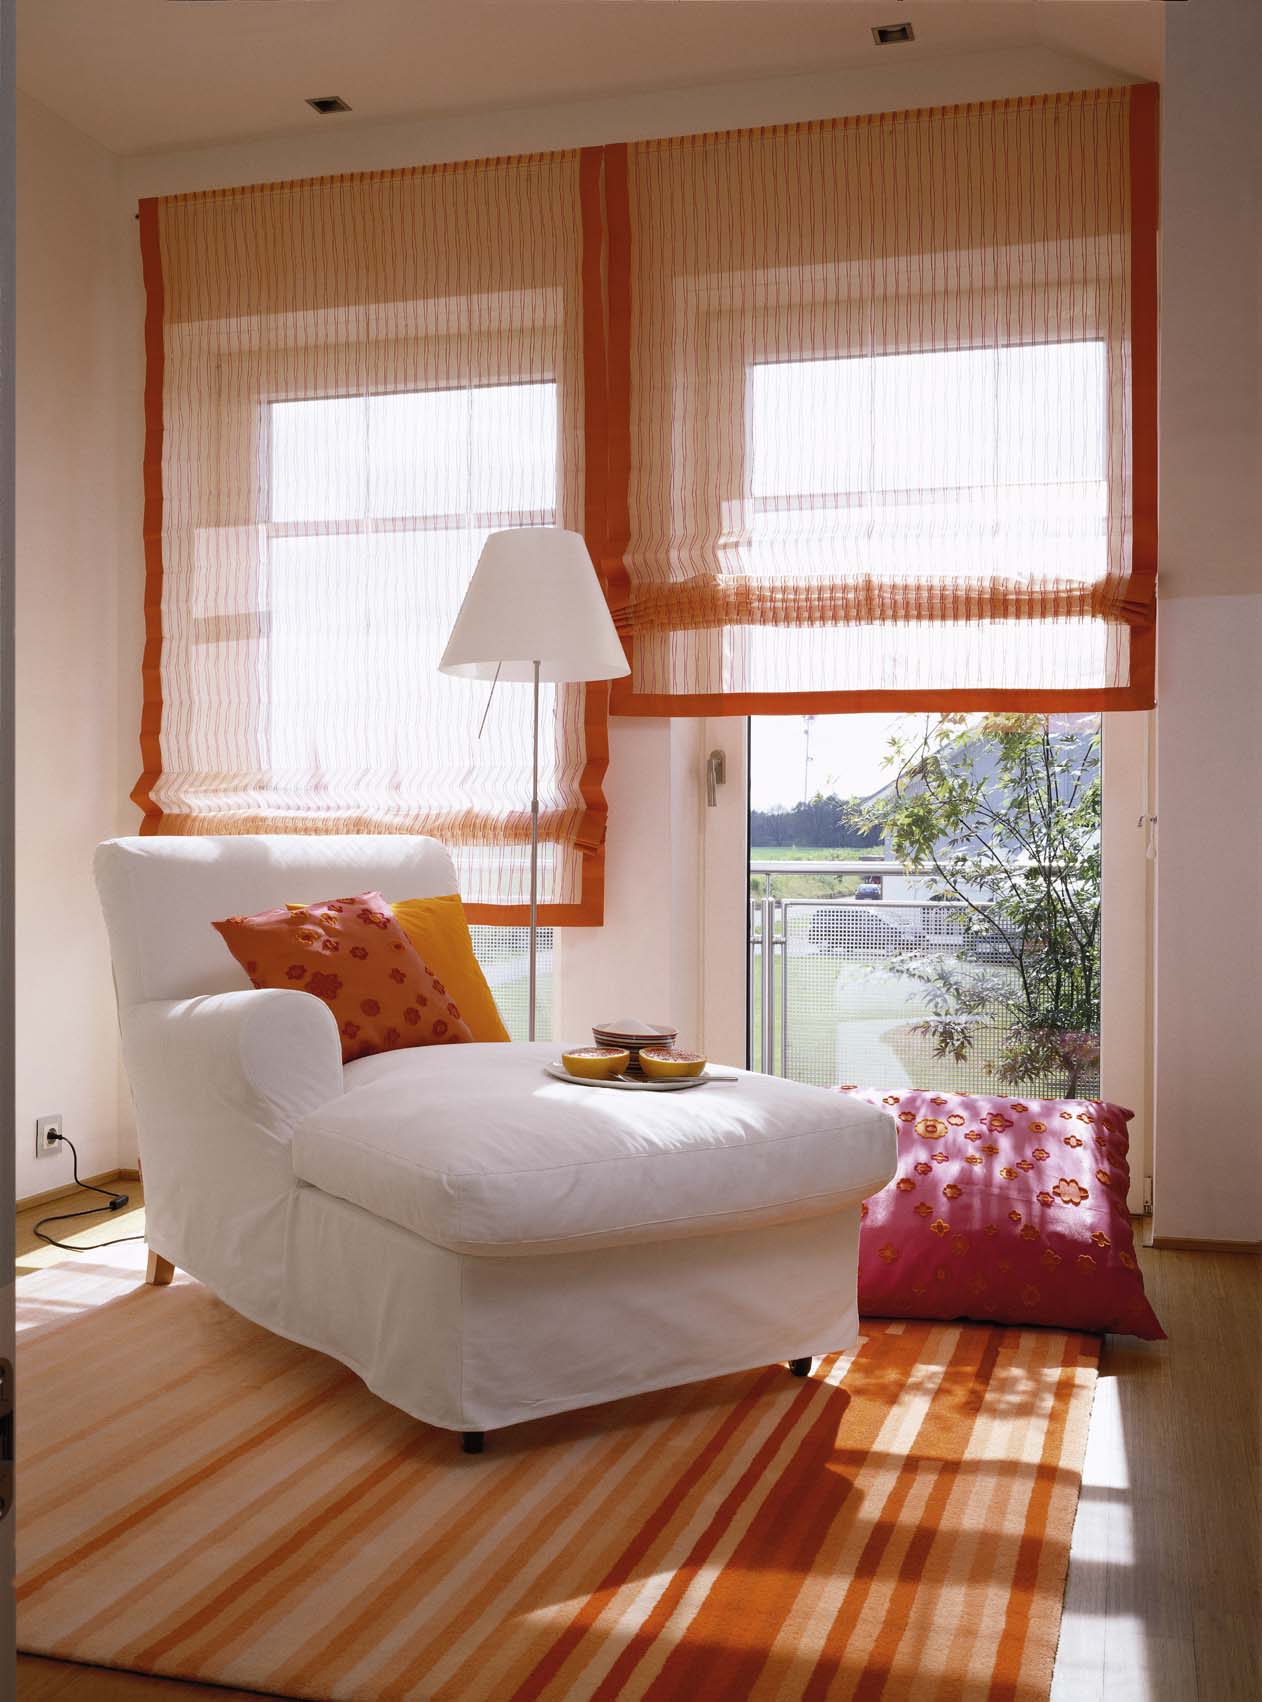
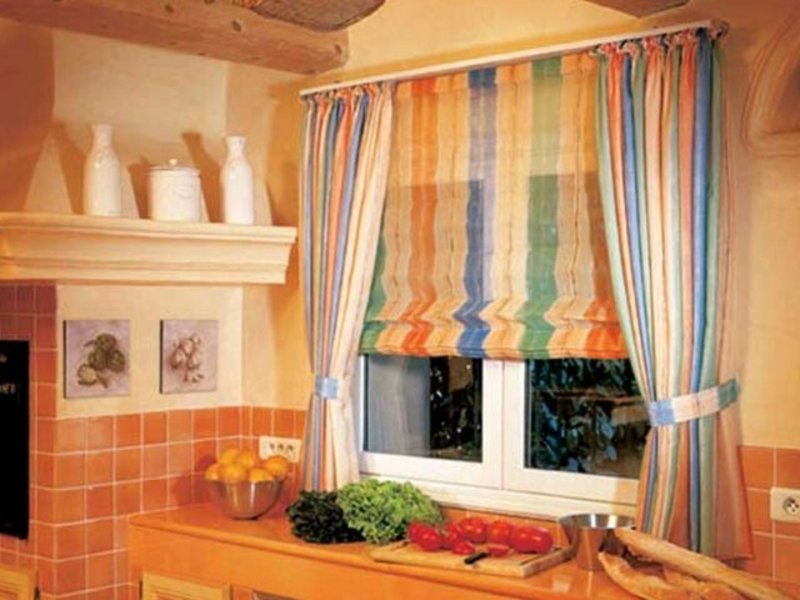
The transparency and color of the fabric are chosen according to the purpose of the room. The bedroom and children's room need beautiful, but completely opaque materials, perhaps with original patterns or original texture. In the kitchen, translucent Roman blinds made of synthetic materials can be used, which are easy to clean, bright and cheerful.
A classic interior requires restrained, natural colors, while a high-tech apartment requires steel shades, a zebra pattern, and original innovative materials.
Roman blind calculation scheme
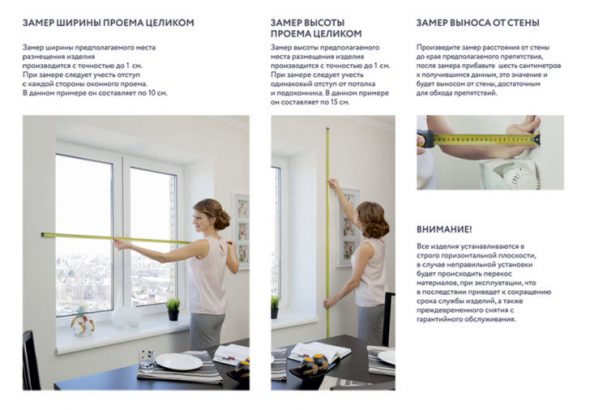
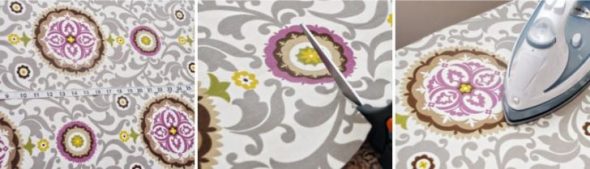
Below we will provide instructions on how to make a Roman blind with your own hands, step-by-step photos. To measure, you need a tape measure, a pencil and a notebook to write down the results of the measurements. The window should be closed, if it has a handle for opening, this must be taken into account. The accuracy of the measurement is up to millimeters.
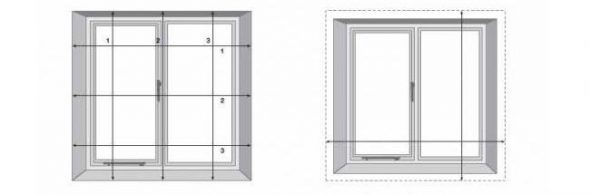
In an opening with two or three transoms, if one of them opens, the height of the Roman blinds is determined by the opening part, so that when closed they are all the same length.

The choice of location for mounting the rod depends on the availability of free space:
- on the window from the outside;
- on the frame as a whole;
- for each transom separately.
Measure the width and length of the curtains along the perimeter of the frame, taking into account the size of the glazing bead. If it is rectangular, then you can attach the rod without taking into account its height, and if it is rounded, you need to add 3-4 mm to the height of the window. Prepare three control cords, each twice as long as the curtain itself.
Important! A glazing bead is an element that fixes the glass in the frame in plastic windows.
The width of the blank corresponds to the width of the glass plus a reserve for hemming the material and processing the edge. The height is from the level of the structure fastening to the window sill minus 0.5 cm. When using a ready-made roller blind instead of a homemade rod, keep in mind that the end plugs should not touch the window opening when opening and closing the frame - make the width smaller by 5-7 mm on each side.
How to sew a roman blind from fabric

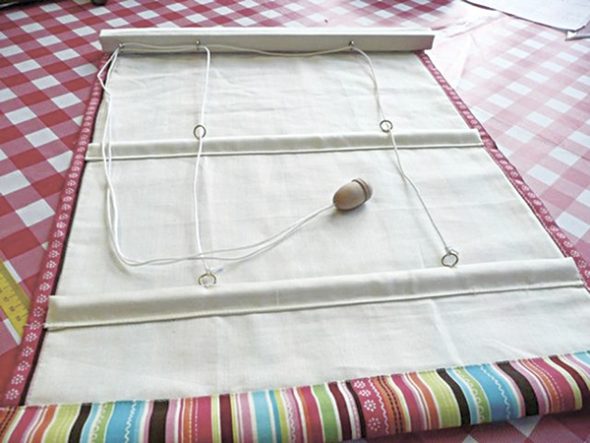
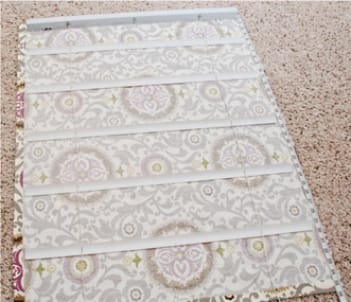
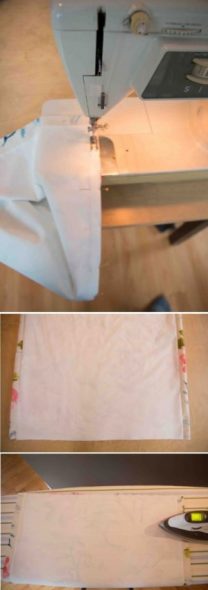
Having recorded the dimensions and determined whether the cut will not disturb the configuration of the pattern, cut out the fabric and process the edges. In some cases, it is permissible not to stitch the free side, but to fold it and glue it with a special sewing adhesive tape with an iron. The upper edge is folded to the width of the rod on which the Roman blind will be attached.
The side edges of the hem are not stitched so that the fastening elements can be threaded through. The textile ribbon is stitched on, dividing the curtain into ¾ or 5/6. Rings for ribbons or chains are attached. After this, the side parts are processed.
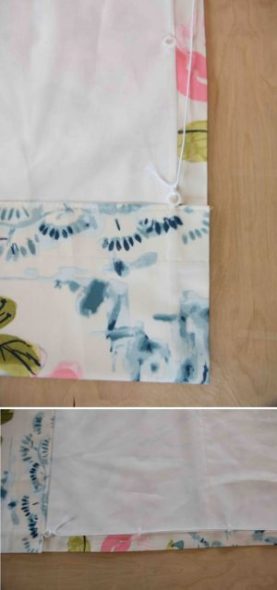
Please note: you can make a 3 cm wide drawstring at the bottom for a weight or magnets.
If the fabric is one-sided, then cut out two layers, which are sewn together on three sides, folded face to face. Then turn inside out, fold the remaining open edge twice and form a drawstring 3-5 cm wide. It will be used for the weighting.
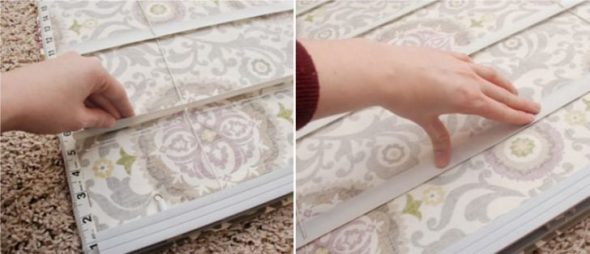
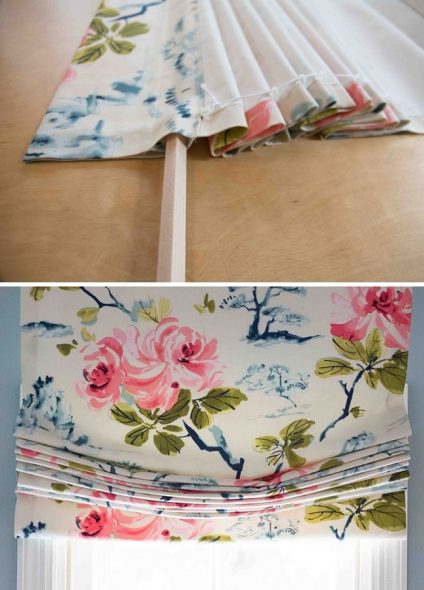
To attach the rings and fix the folds, use a textile tape, which is stitched onto the back side of the fabric at an equal distance (3-4 strips).
Rings for cords are sewn to the ribbon.
How to assemble and install a roman blind
After the material has been processed, proceed to install the roller blind on the frame. The material is put on after the work is completed. Pay attention to the plugs and secure the control chain.

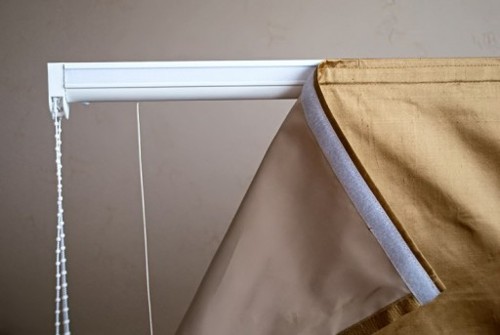
The homemade holder is attached to screws or loops on a screw base. The curtain is hung on the rod using Velcro tape (one side of the tape is firmly glued to the rod, the other is stitched to the fabric). Then the cords or ribbons are hung, passed through the rings sewn on top, fixed or left to hang freely. At the bottom of the window, prepare a hook for tying the cord. This way the blinds will stay open.
If you choose a commercially manufactured roller blind, you must strictly follow the attached instructions.
For homemade curtains, one of two systems will work:
- spring;
- on an electric drive.

Roman blinds of large area and weight (up to 7 kg) are best hung on an electric drive system. It is not cheap, but it is sold ready-made, it does not need to be assembled, you just need to fix it on the window. The canvas rises and falls without effort, remote control is possible. The built-in electric motor is turned on by a regular remote control or a standard switch.
DIY Roman Blind Repair
Blinds installed on ready-made mechanisms can be given to professionals for repair. The design of roller blinds is quite simple - most often, parts of the control system fail. They are easy to replace, but it is more difficult to find a spare part on sale, because these mechanisms are sold assembled everywhere, completely ready.
A homemade mechanism does not need repair, except that the fastening may be torn off. It is enough to replace it to restore the normal functioning of the blinds. For washing and cleaning, the curtain must be removed from the window. This is easiest to do if the curtain is attached with Velcro. When removing the fabric from a finished roller blind, first remove the plugs, then remove the fabric.
The fabric for Roman blinds should be washed in accordance with the recommendations for its composition. If the curtain has special impregnations, then machine washing is not allowed. Dry the curtain in a straightened state.
Conclusion
Roman blinds are quite easy to make, to make them with your own hands you will need only one day. Some components can be purchased ready-made, for example, roller blinds. In the design and decoration of the canvas itself, there are no limits to imagination, everything from hand drawing to applying photos and prints will do.
Video: Roman blinds step by step instructions
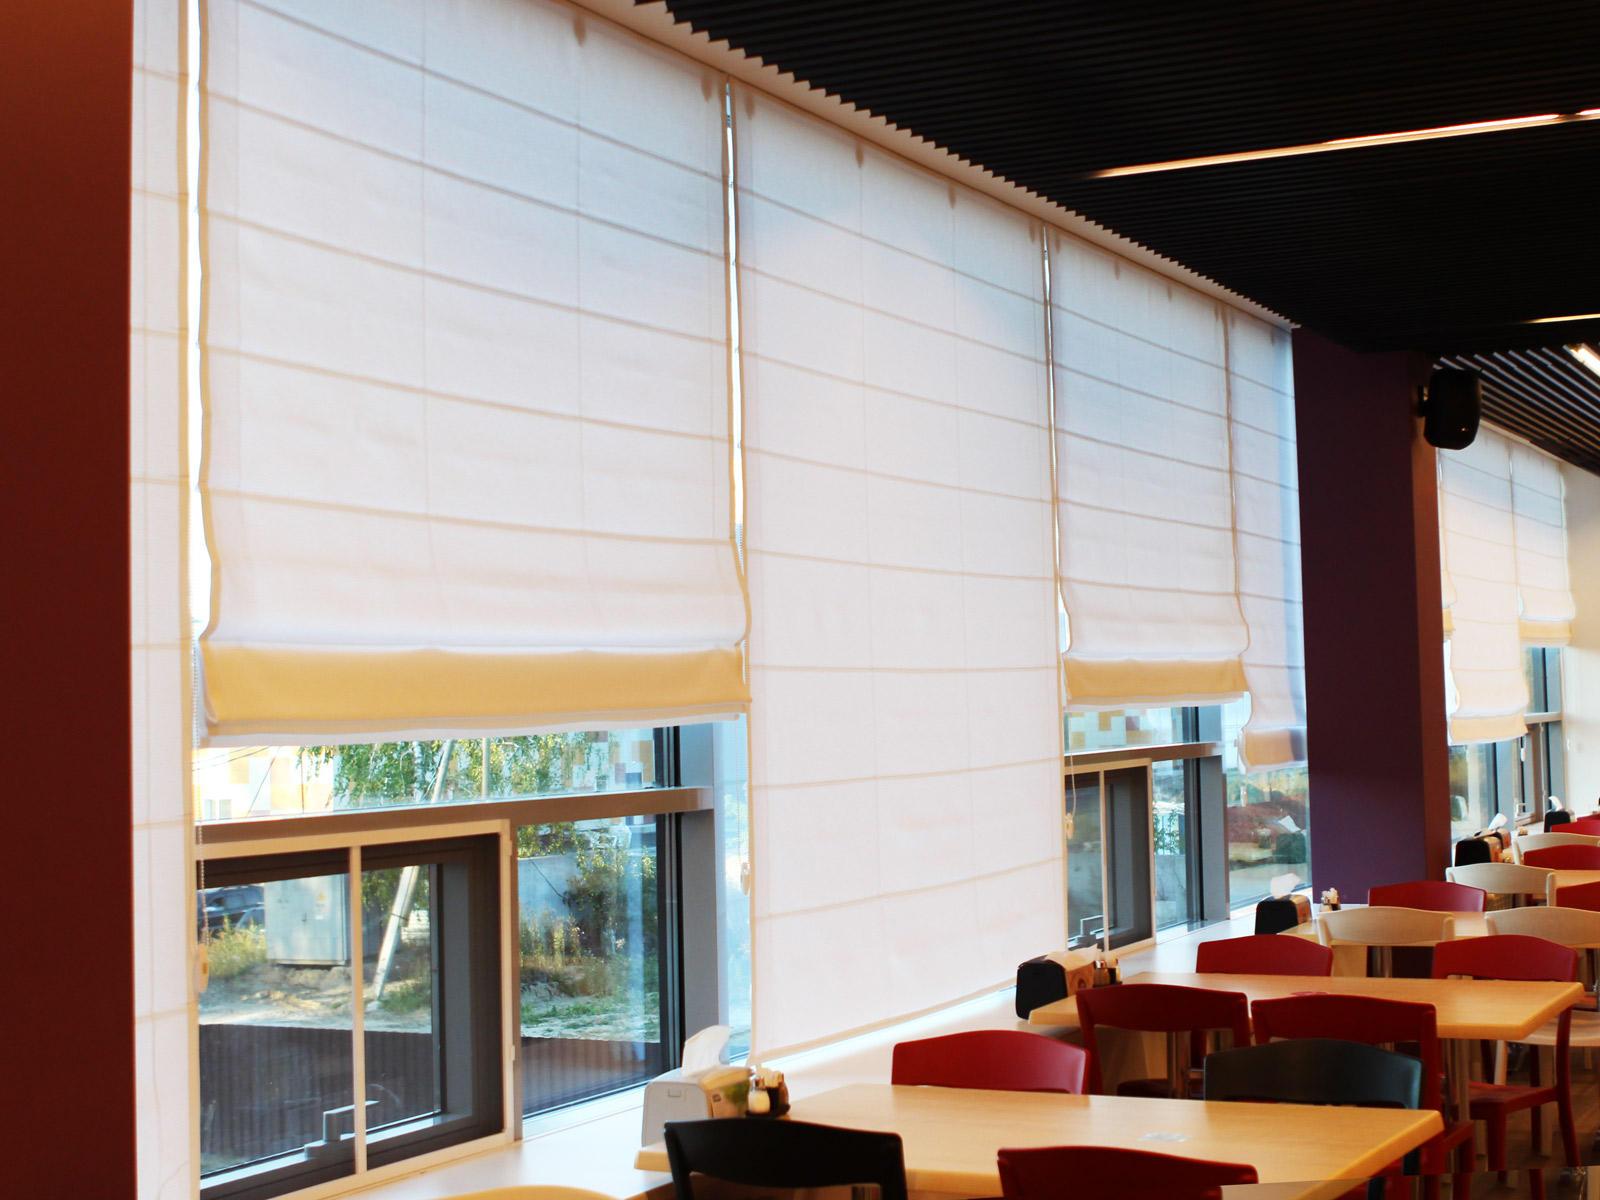
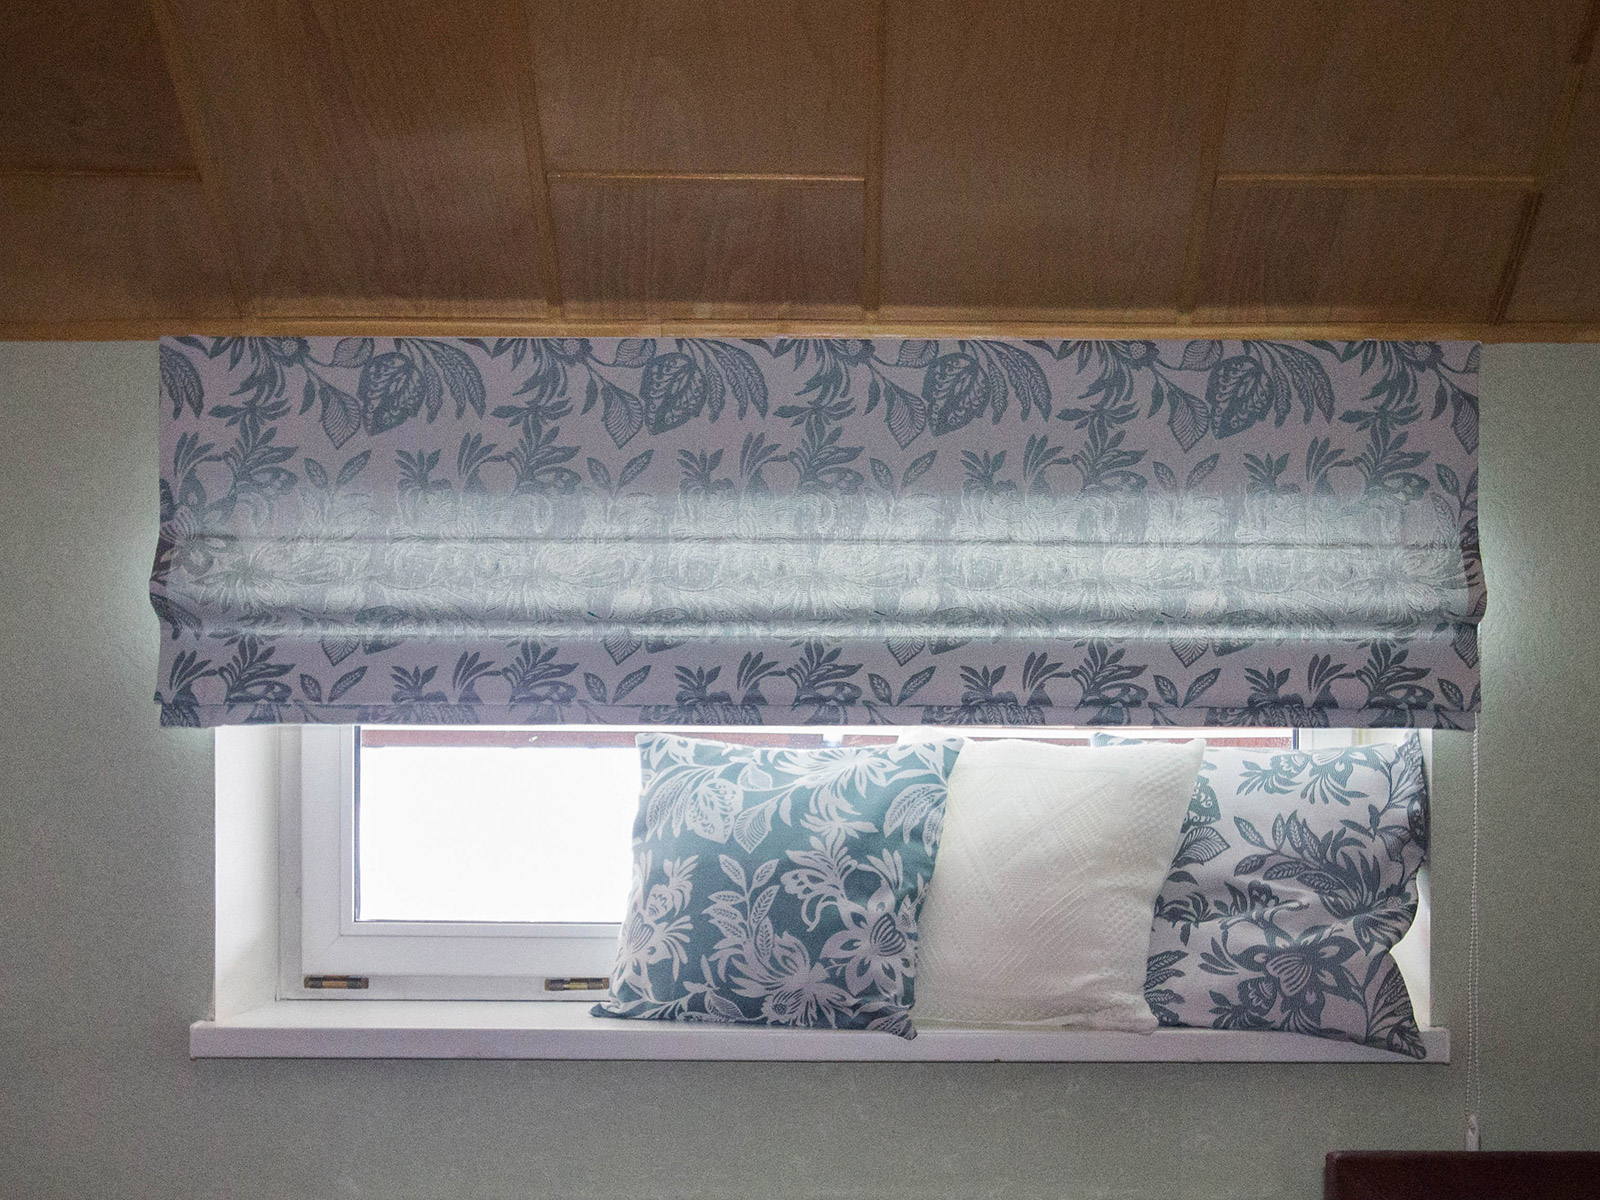
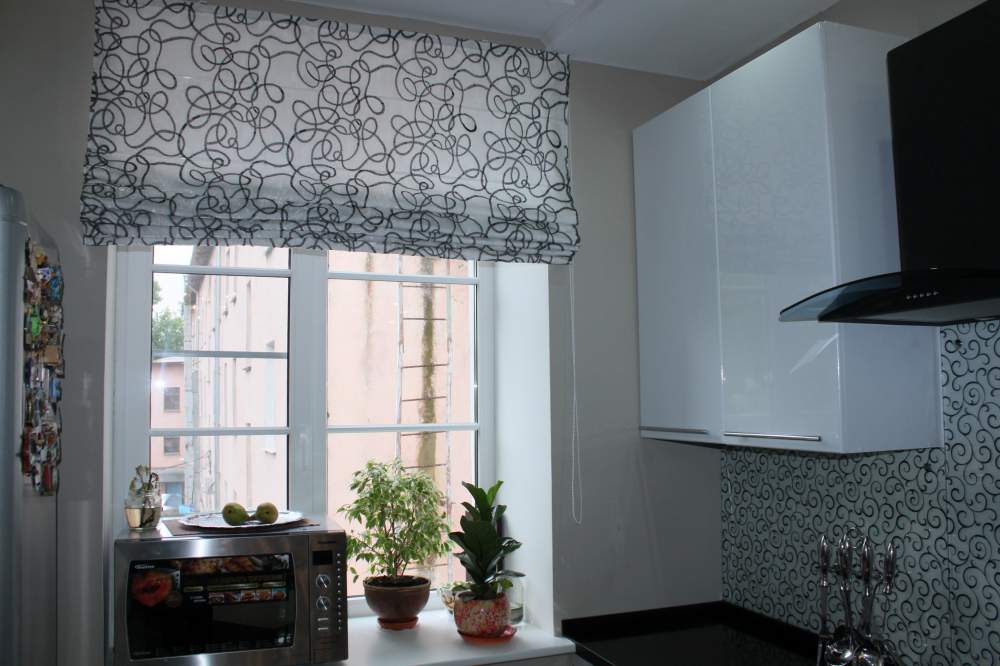
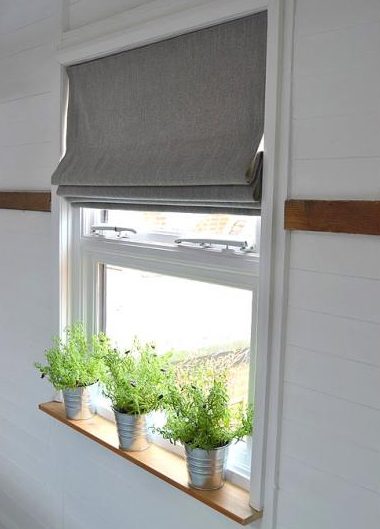
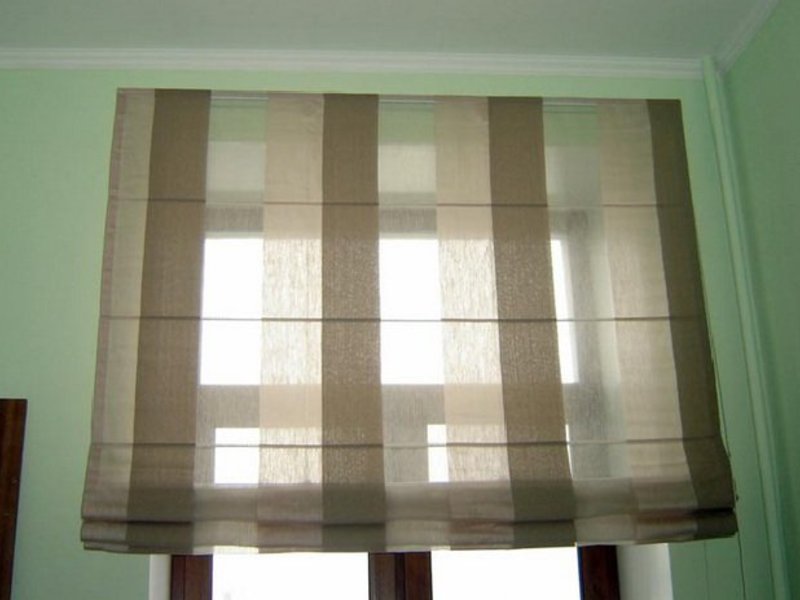
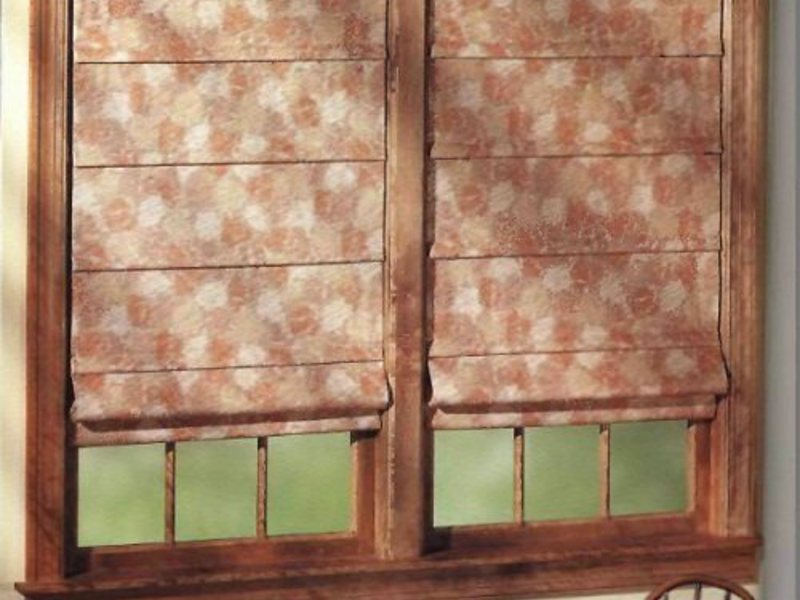
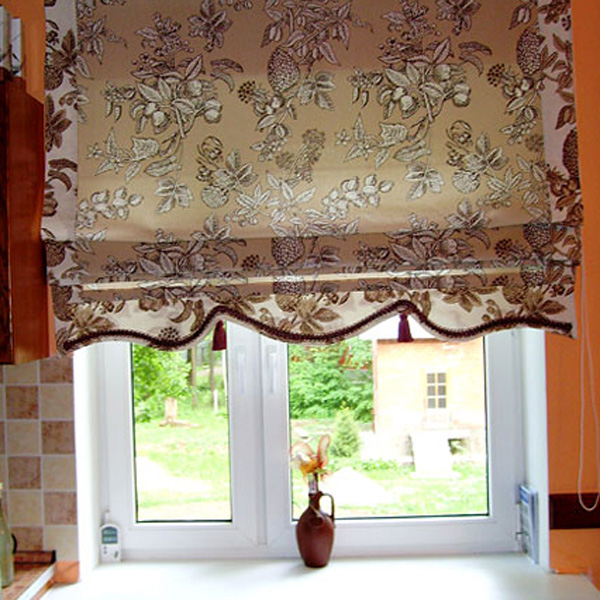
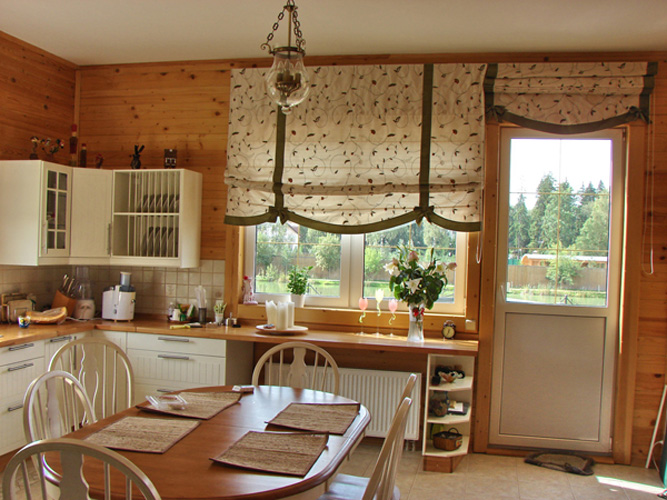
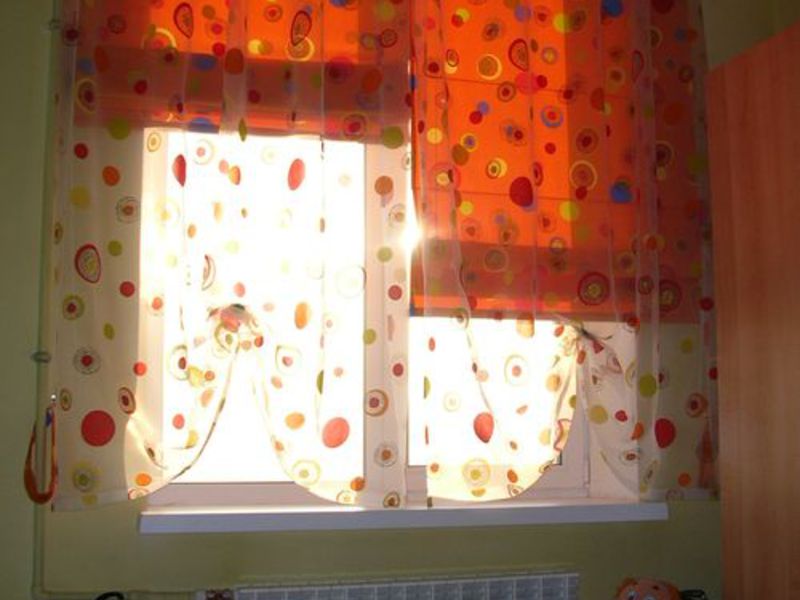
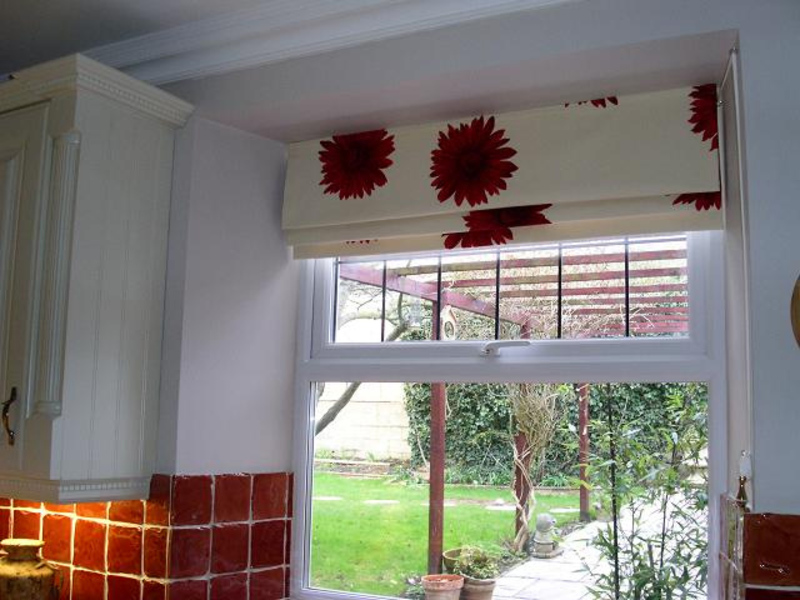
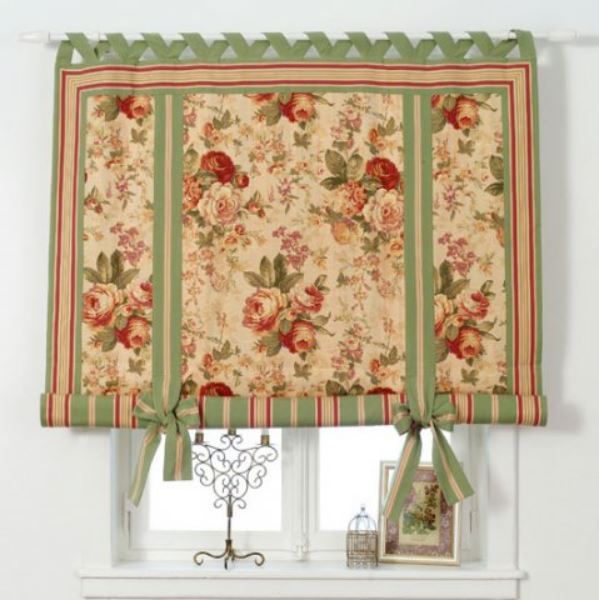
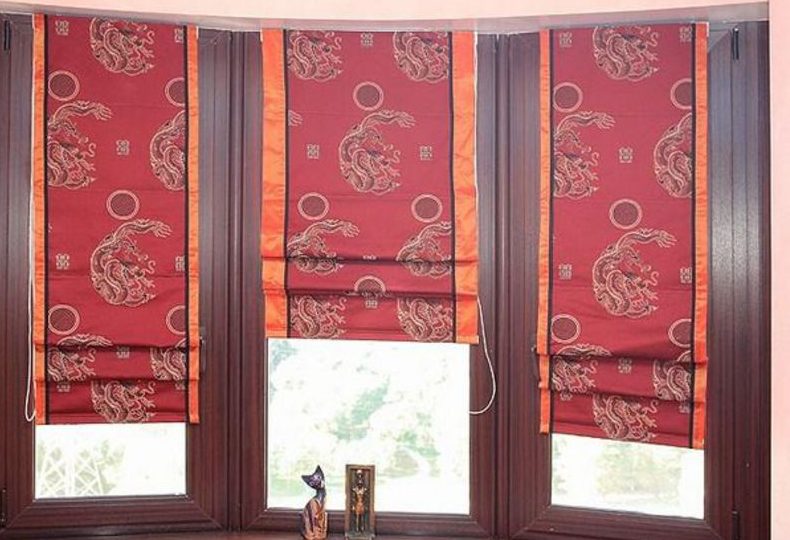
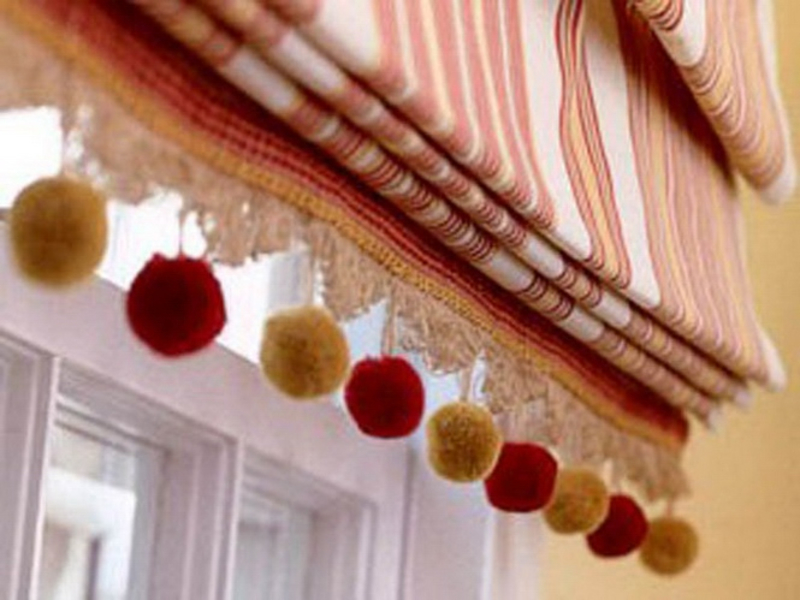
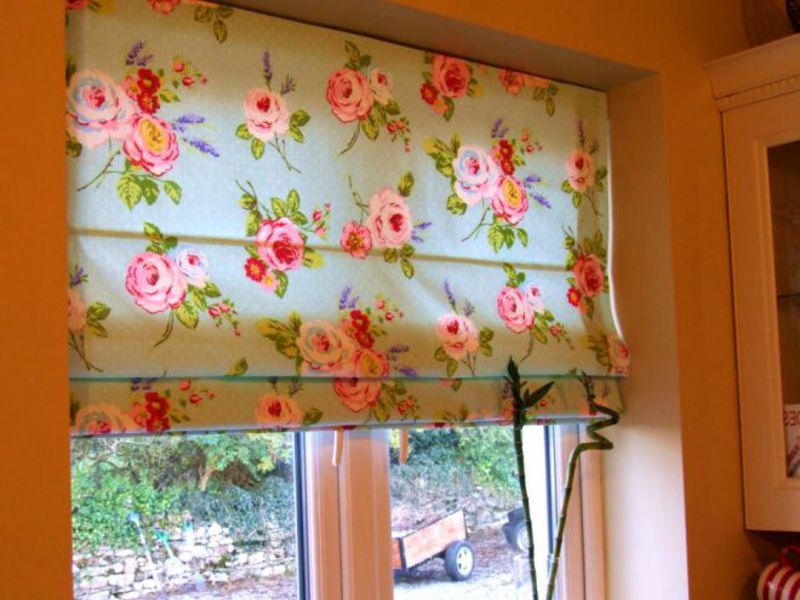
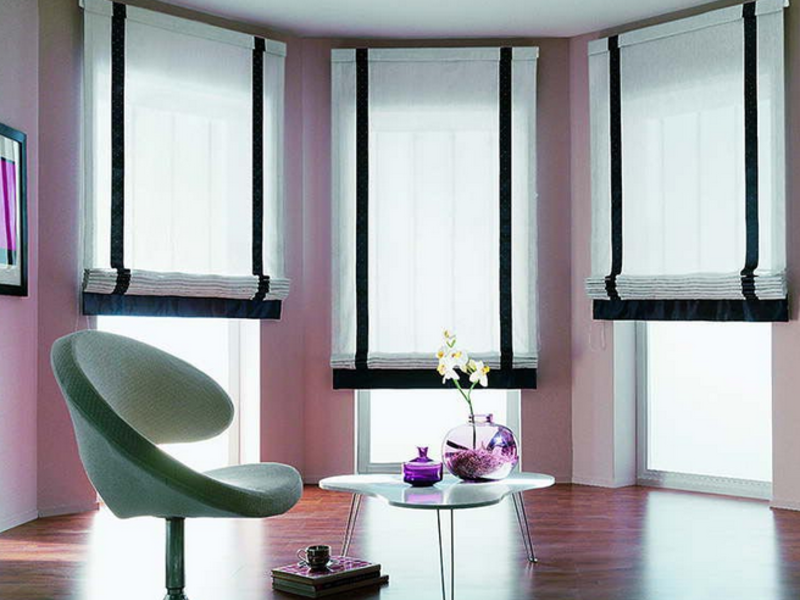
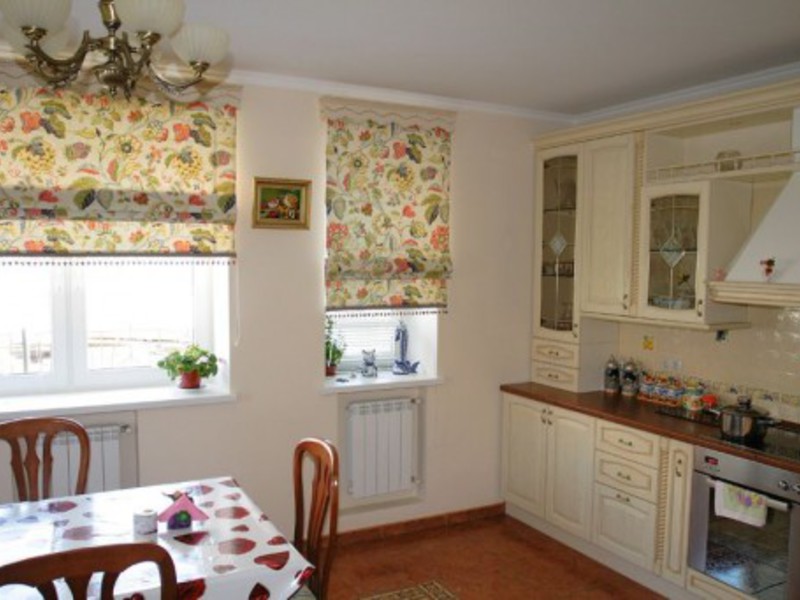
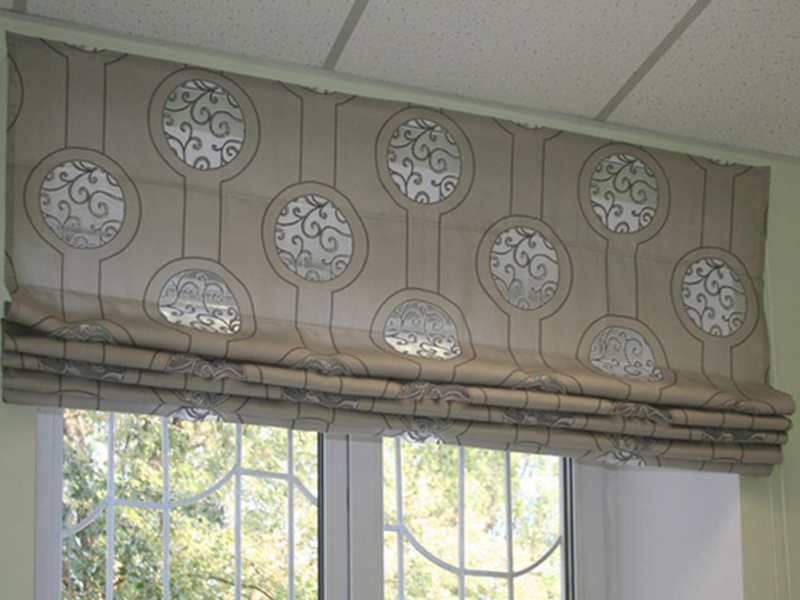
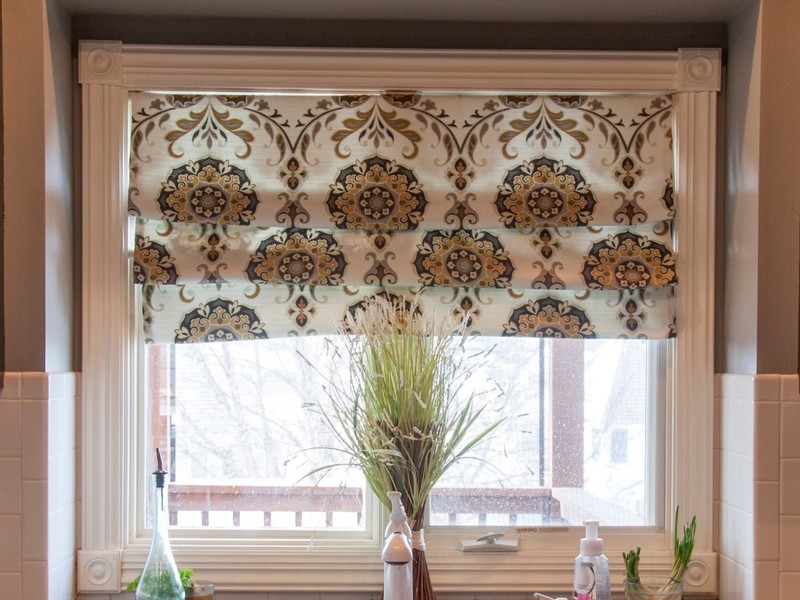
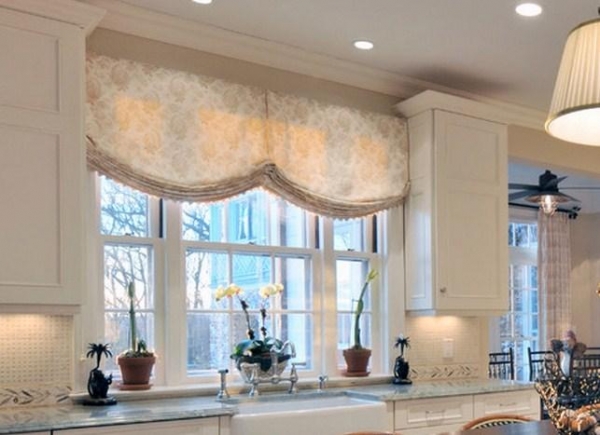
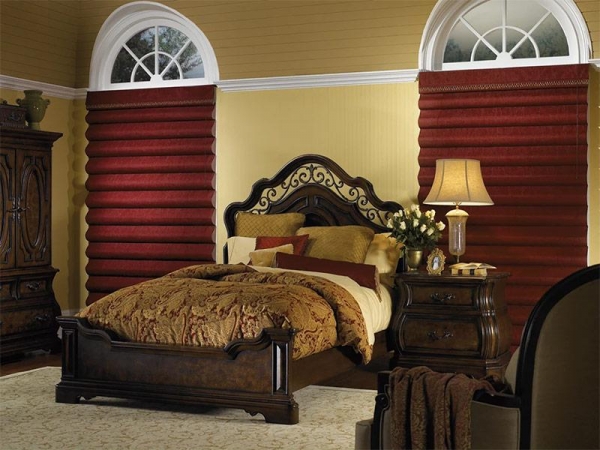
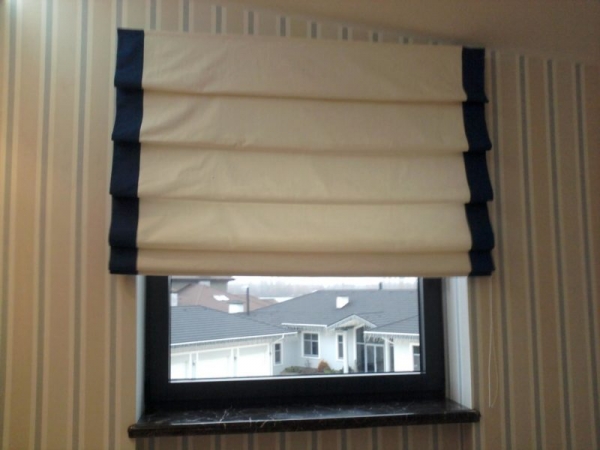
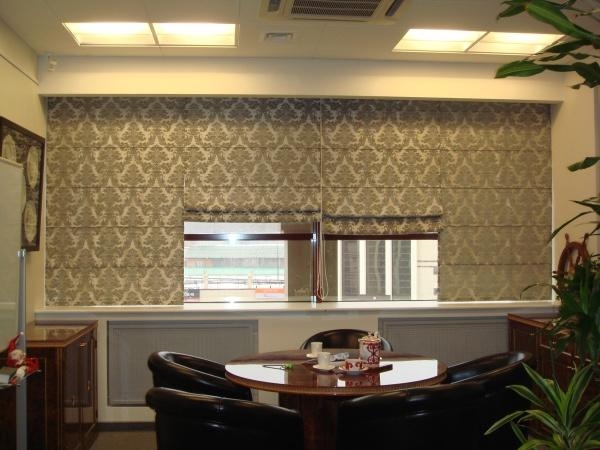
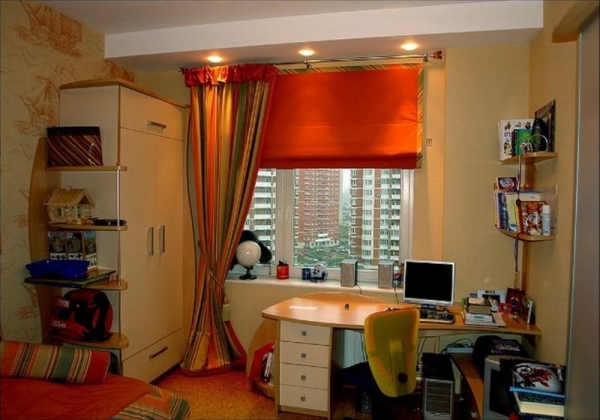
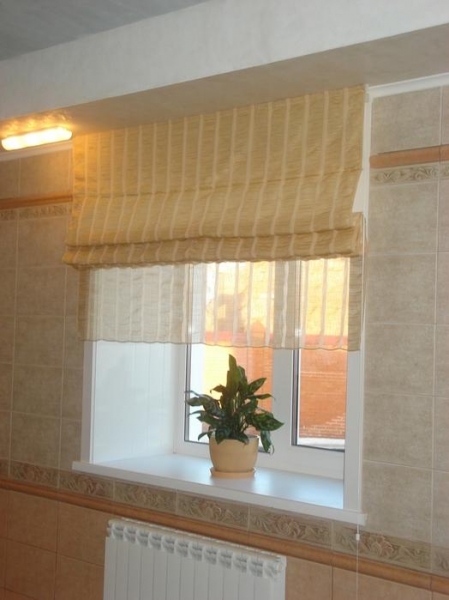
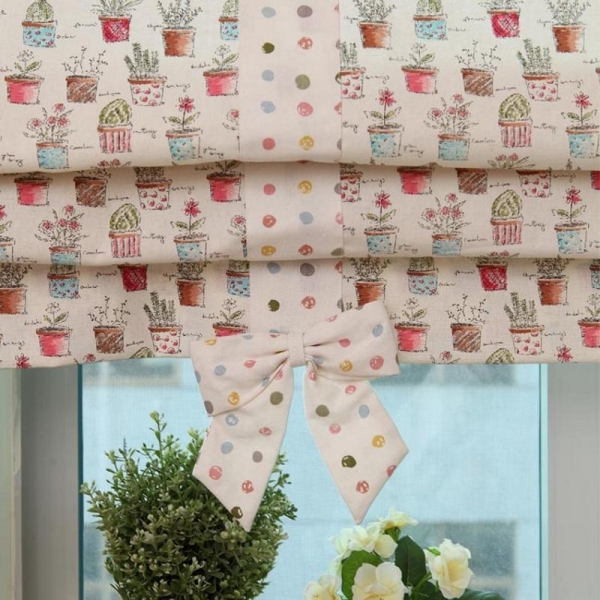
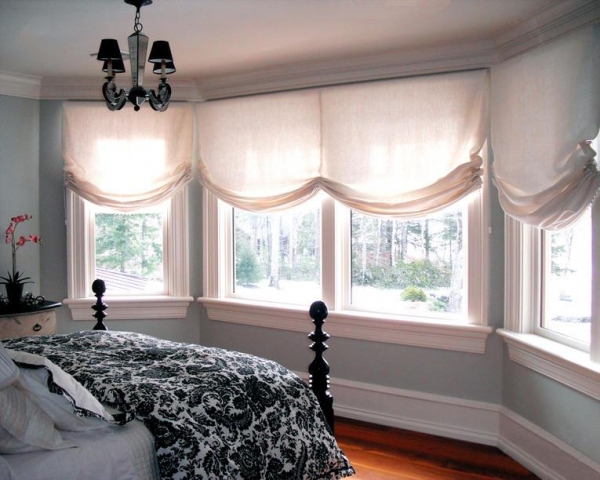
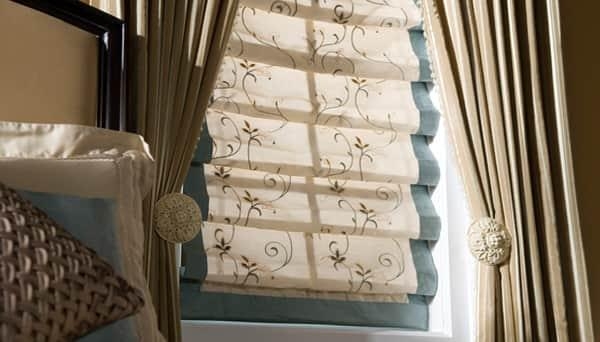
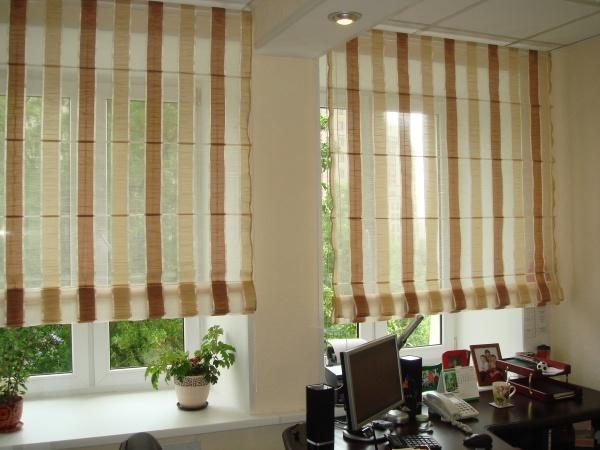
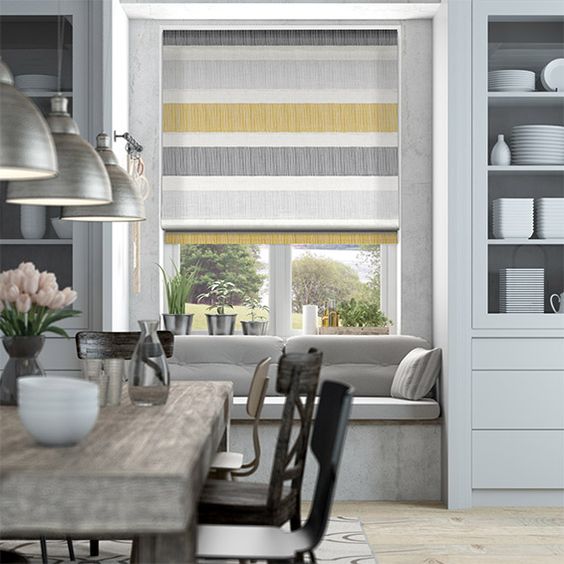
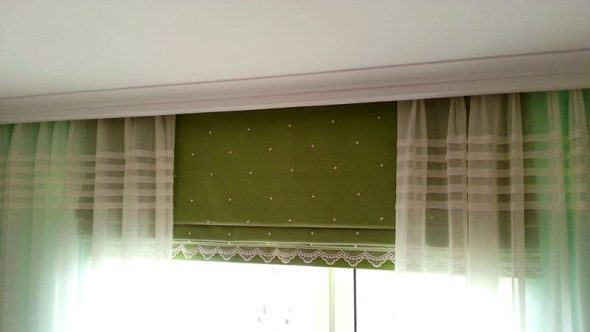
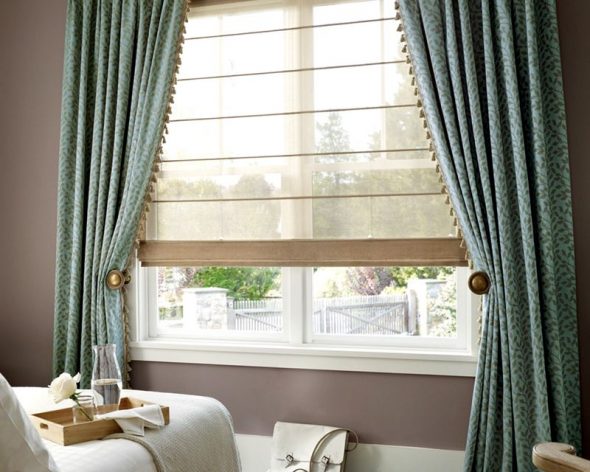
Photos of ready-made Roman blinds, made for different interiors: