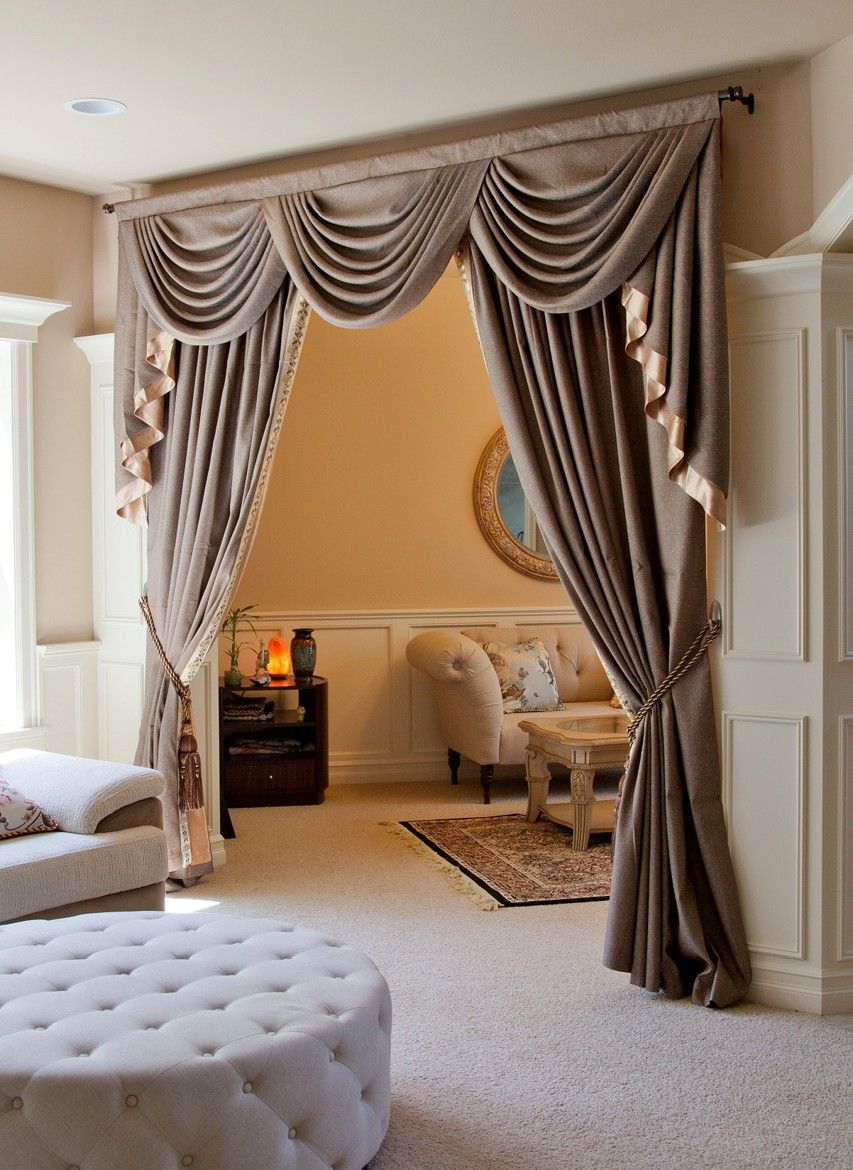
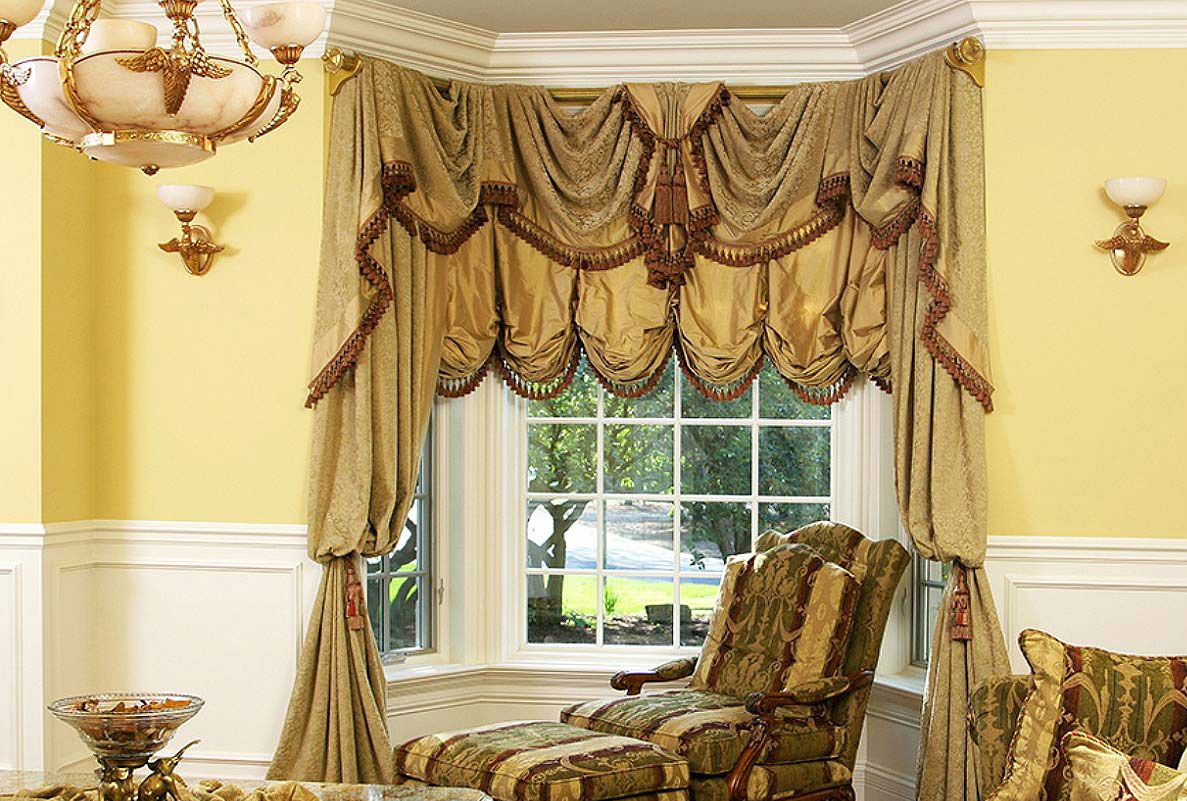
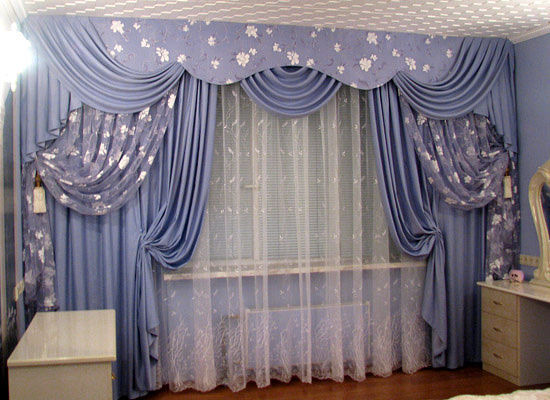
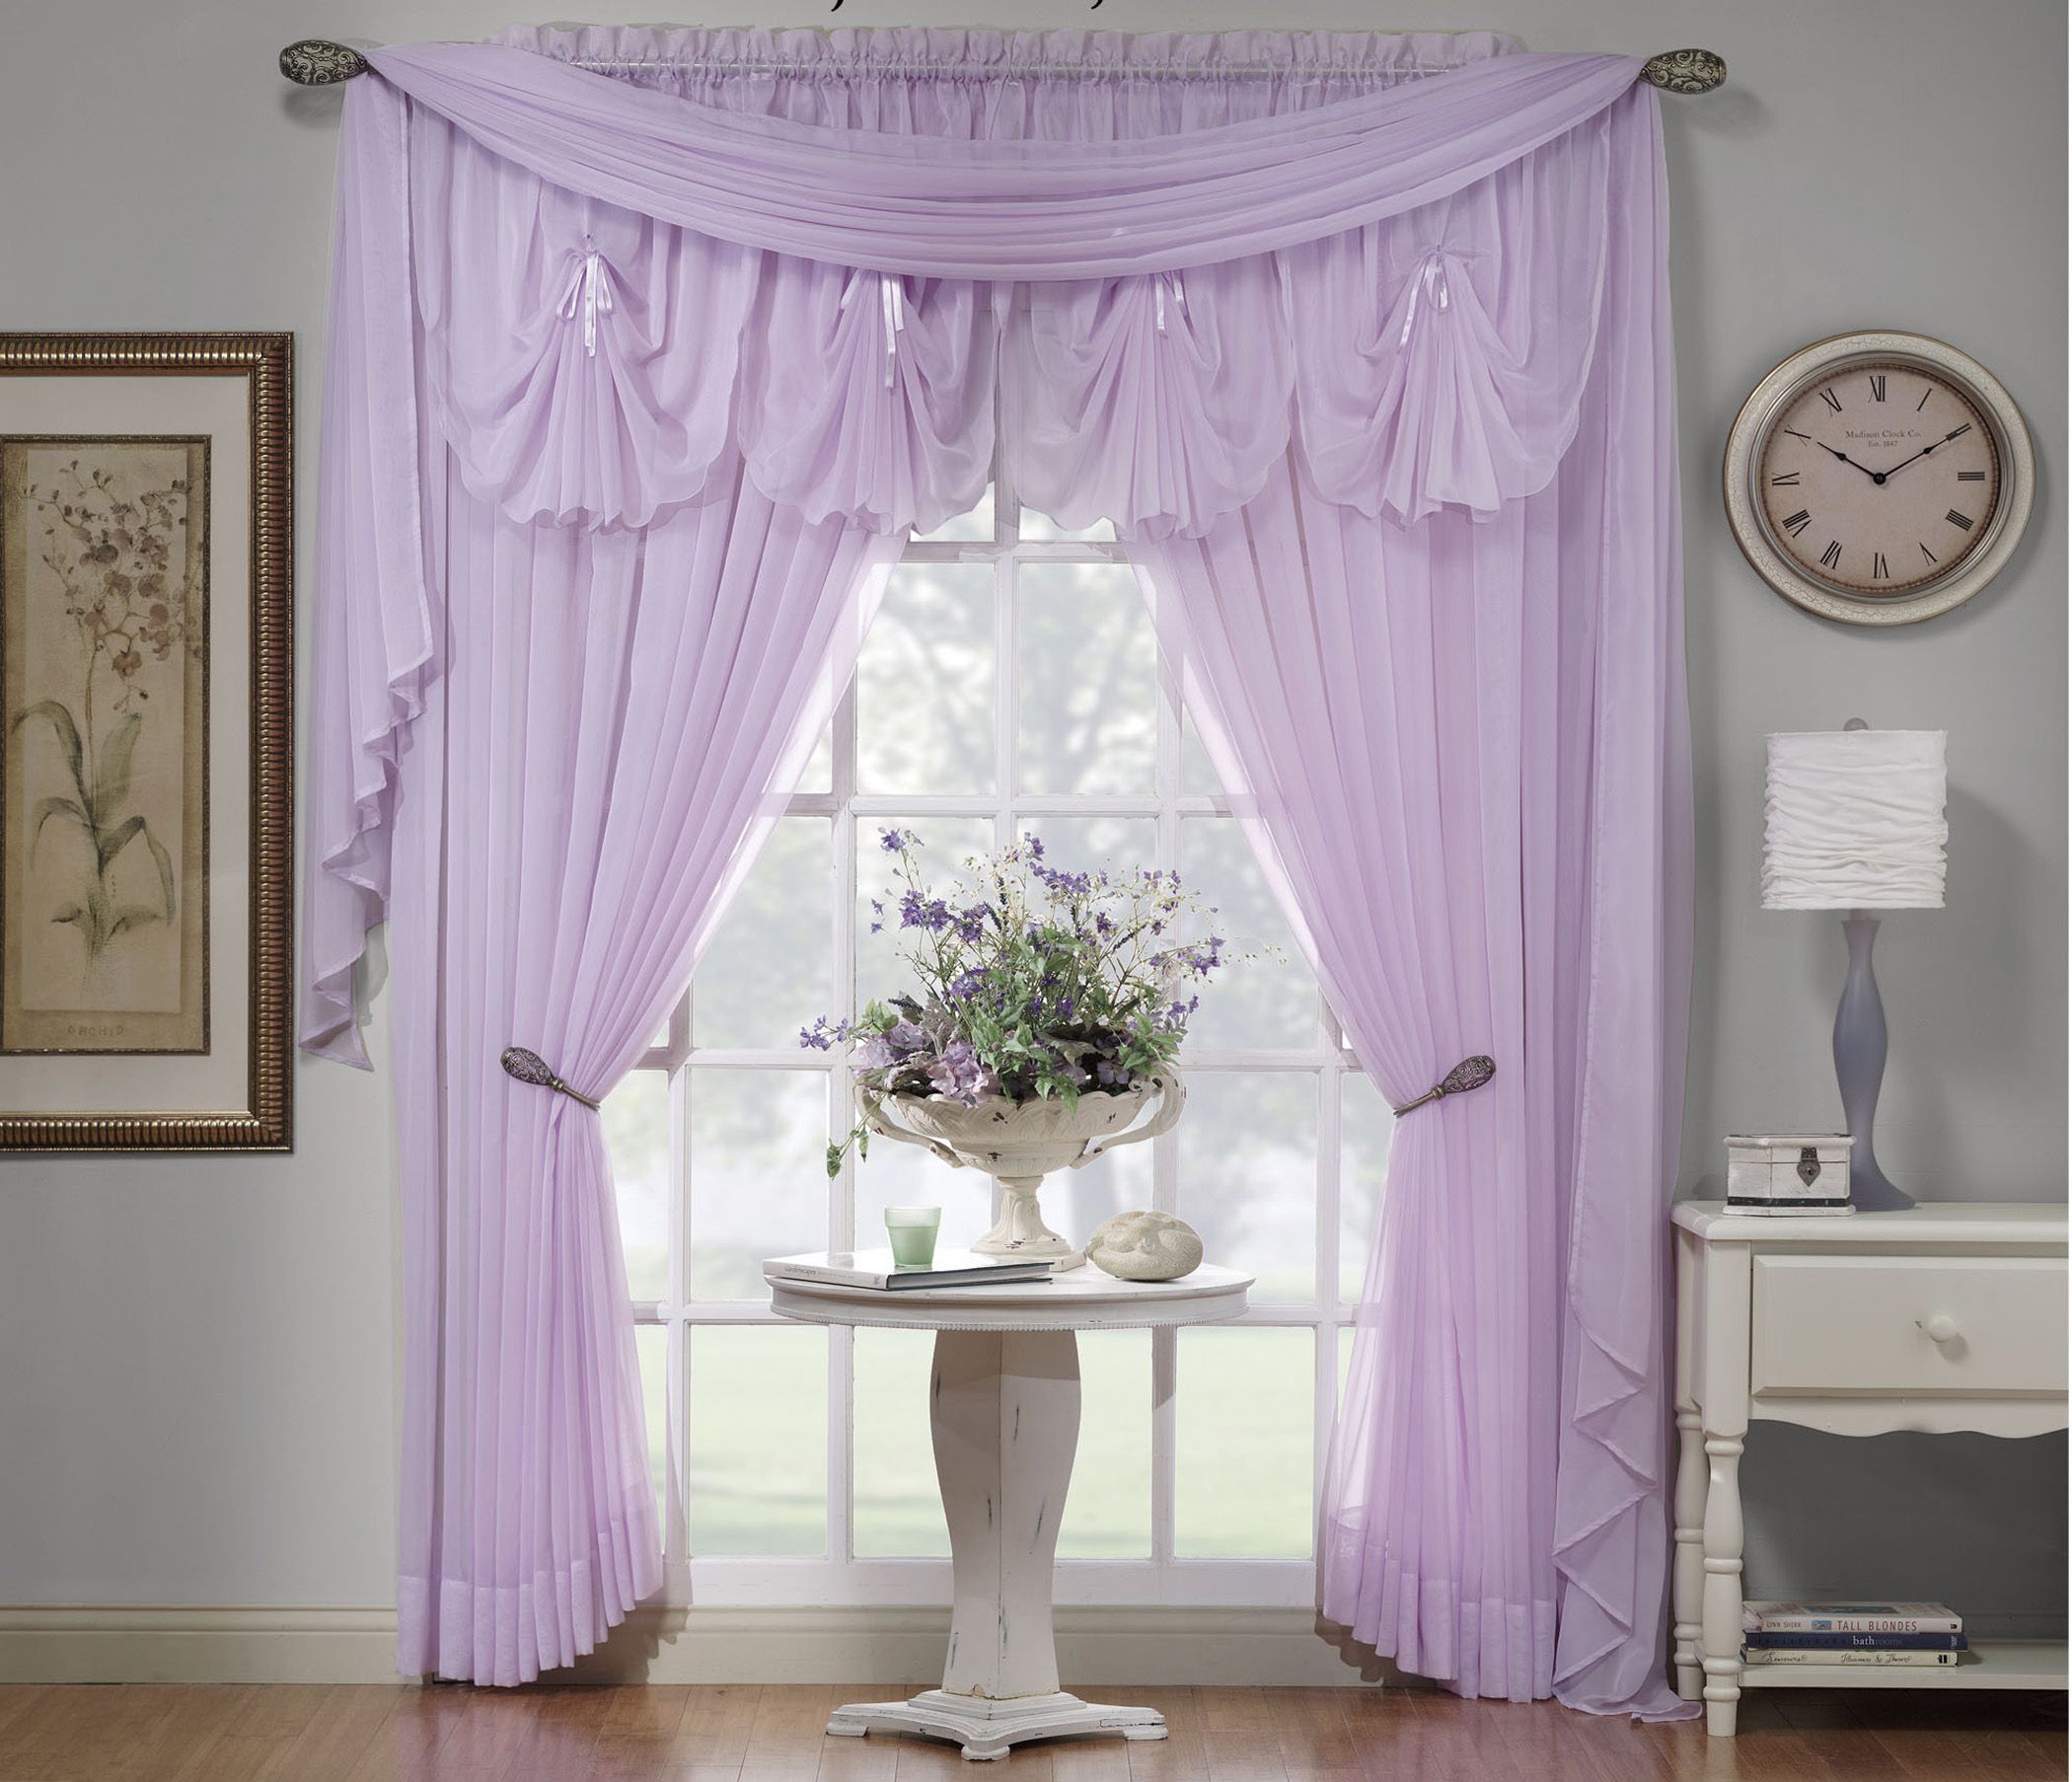
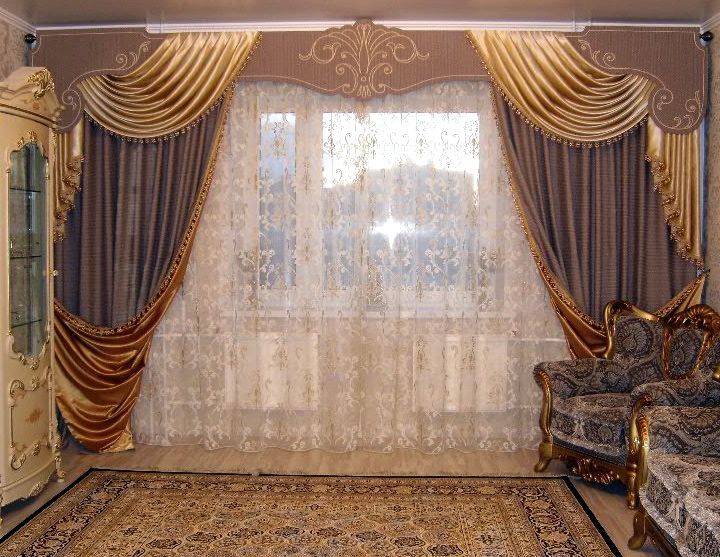
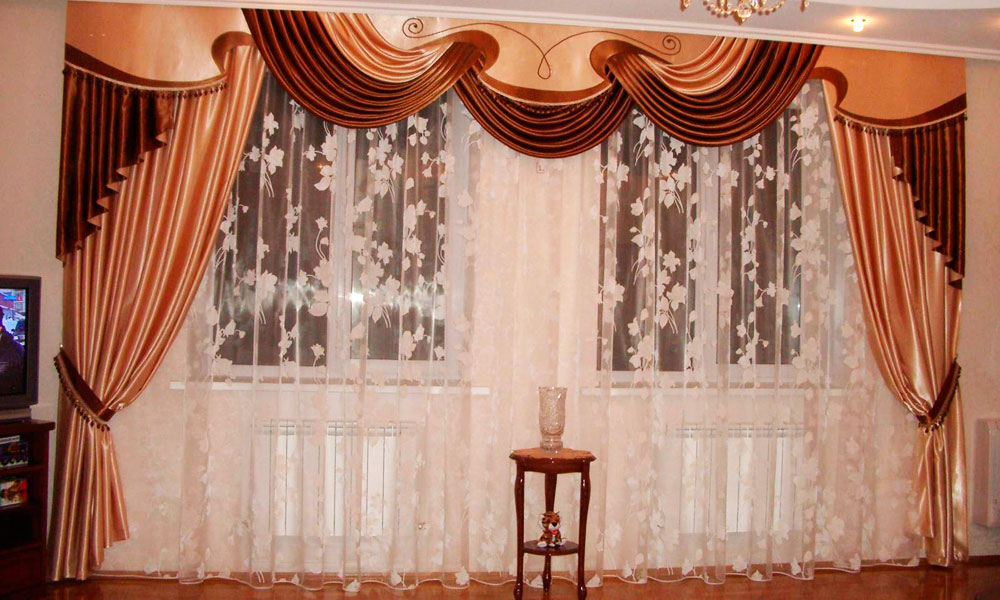
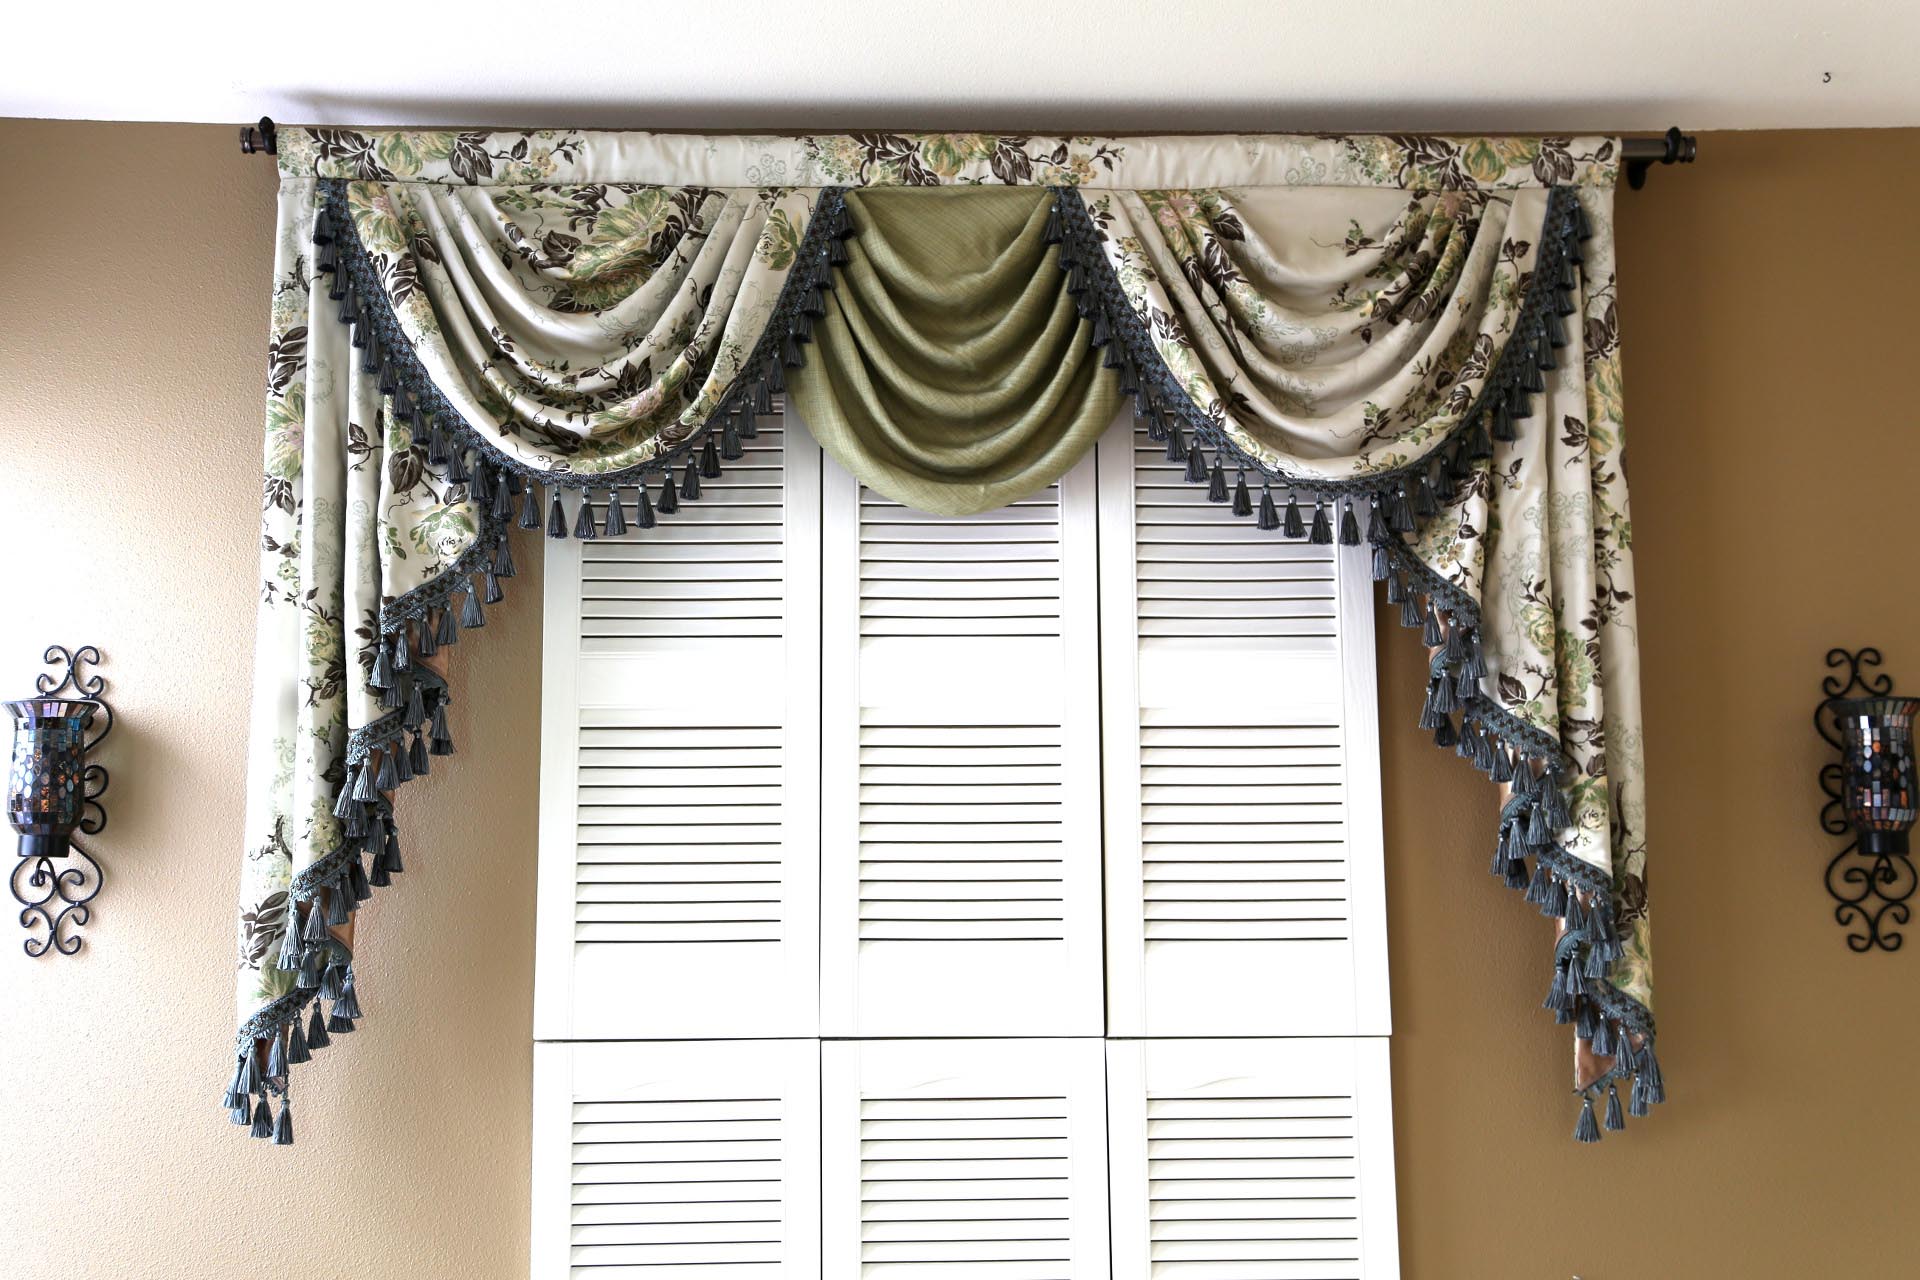
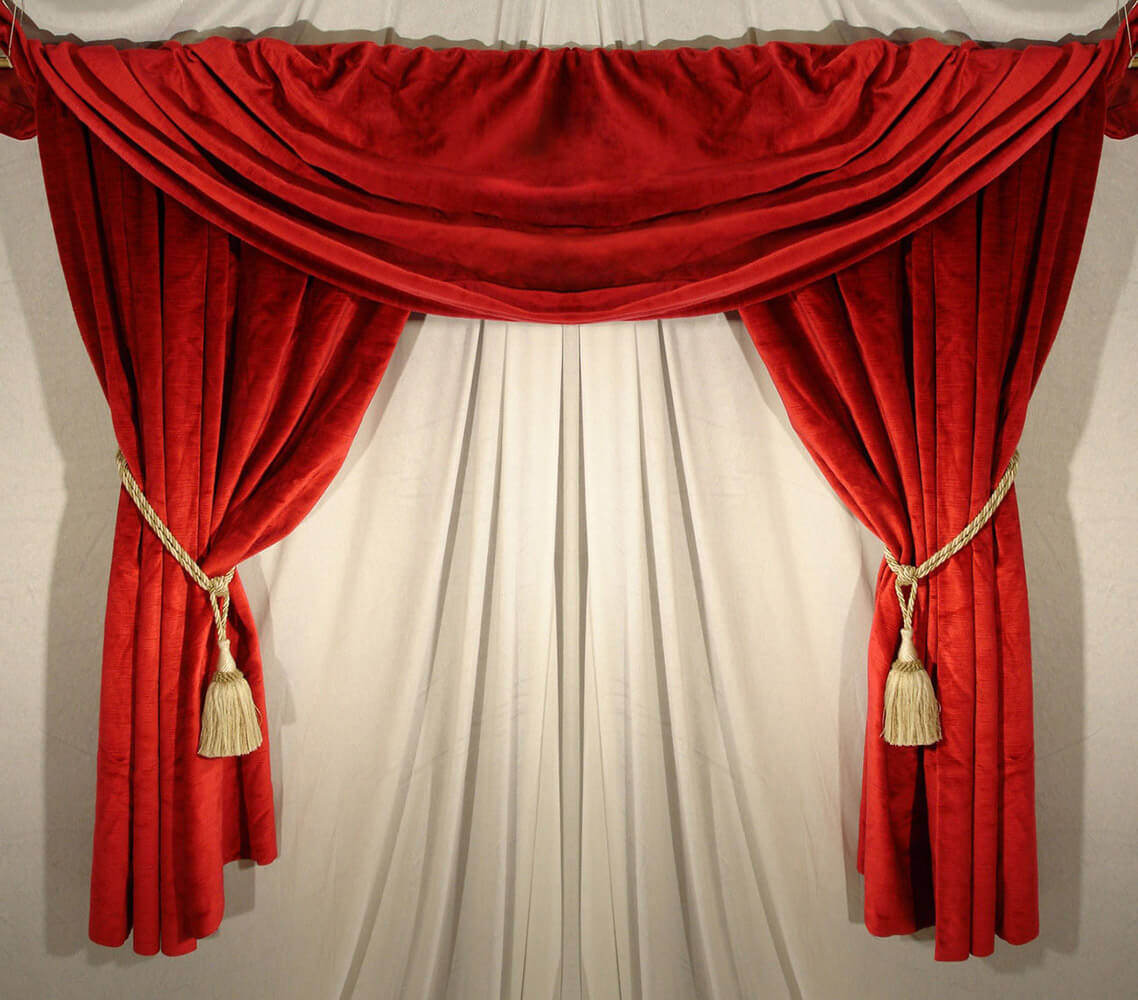
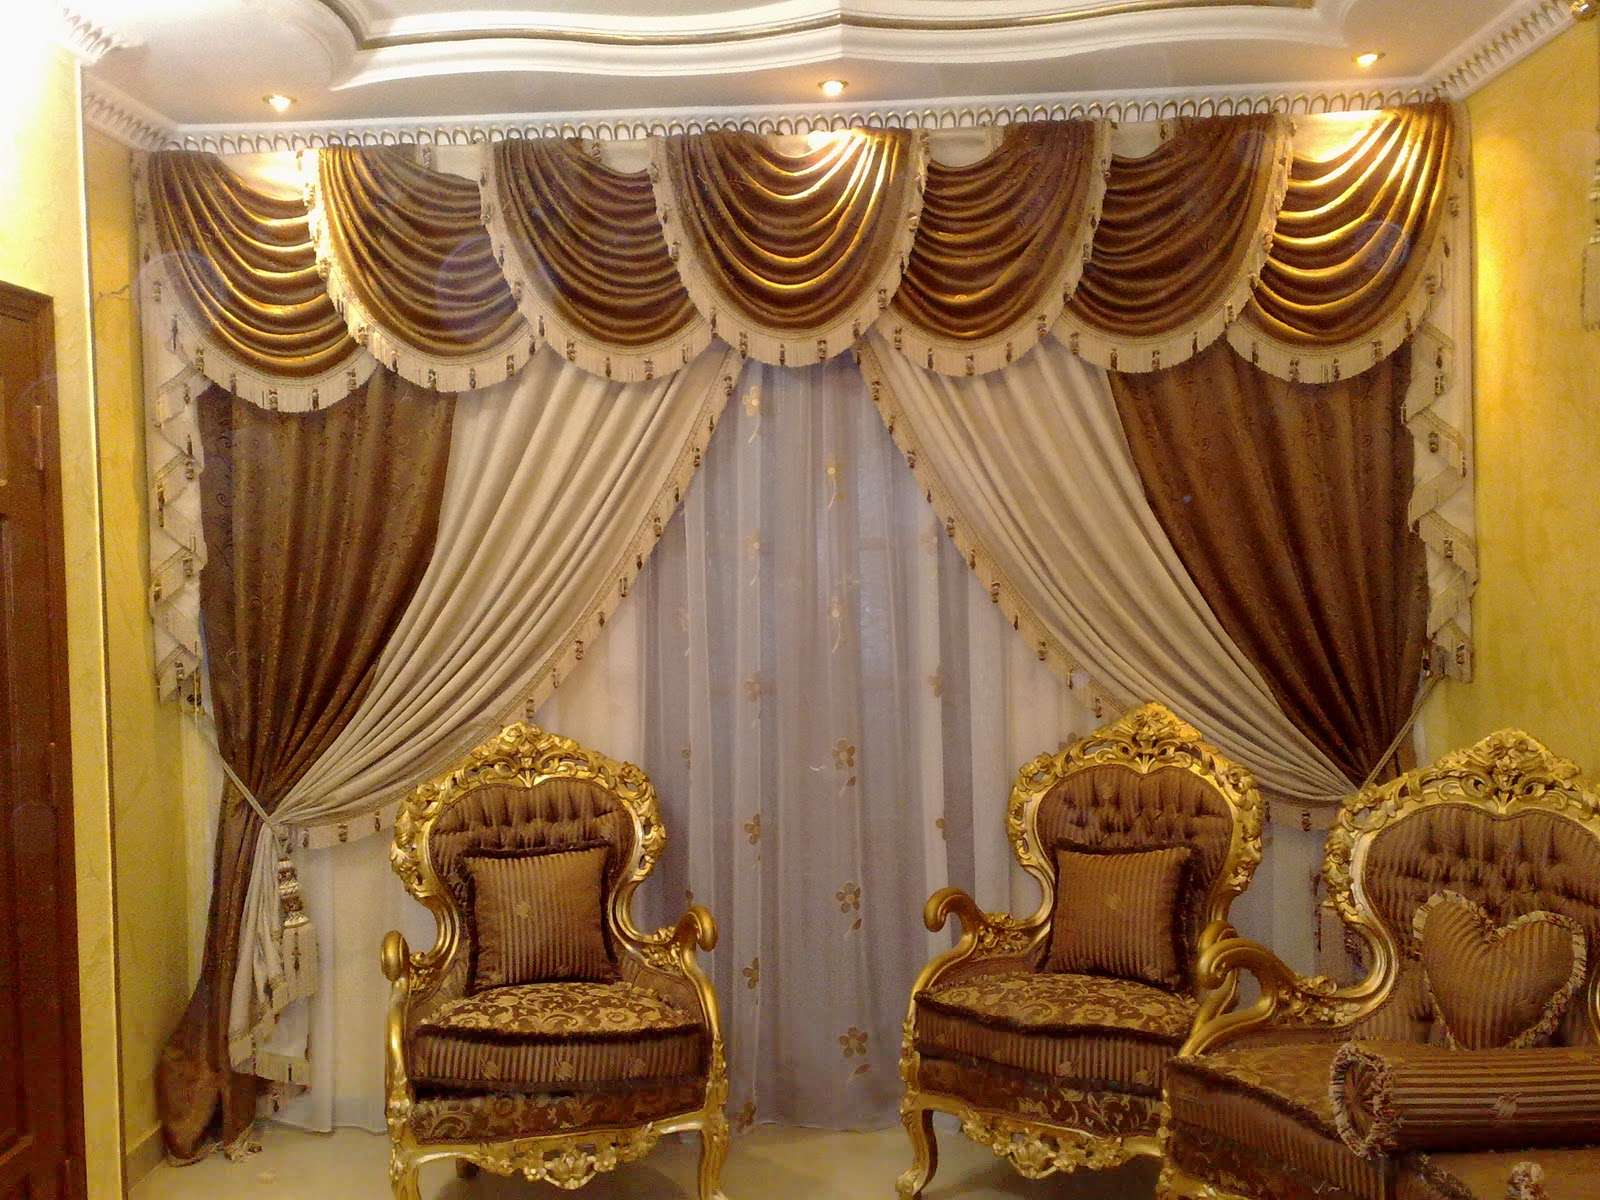
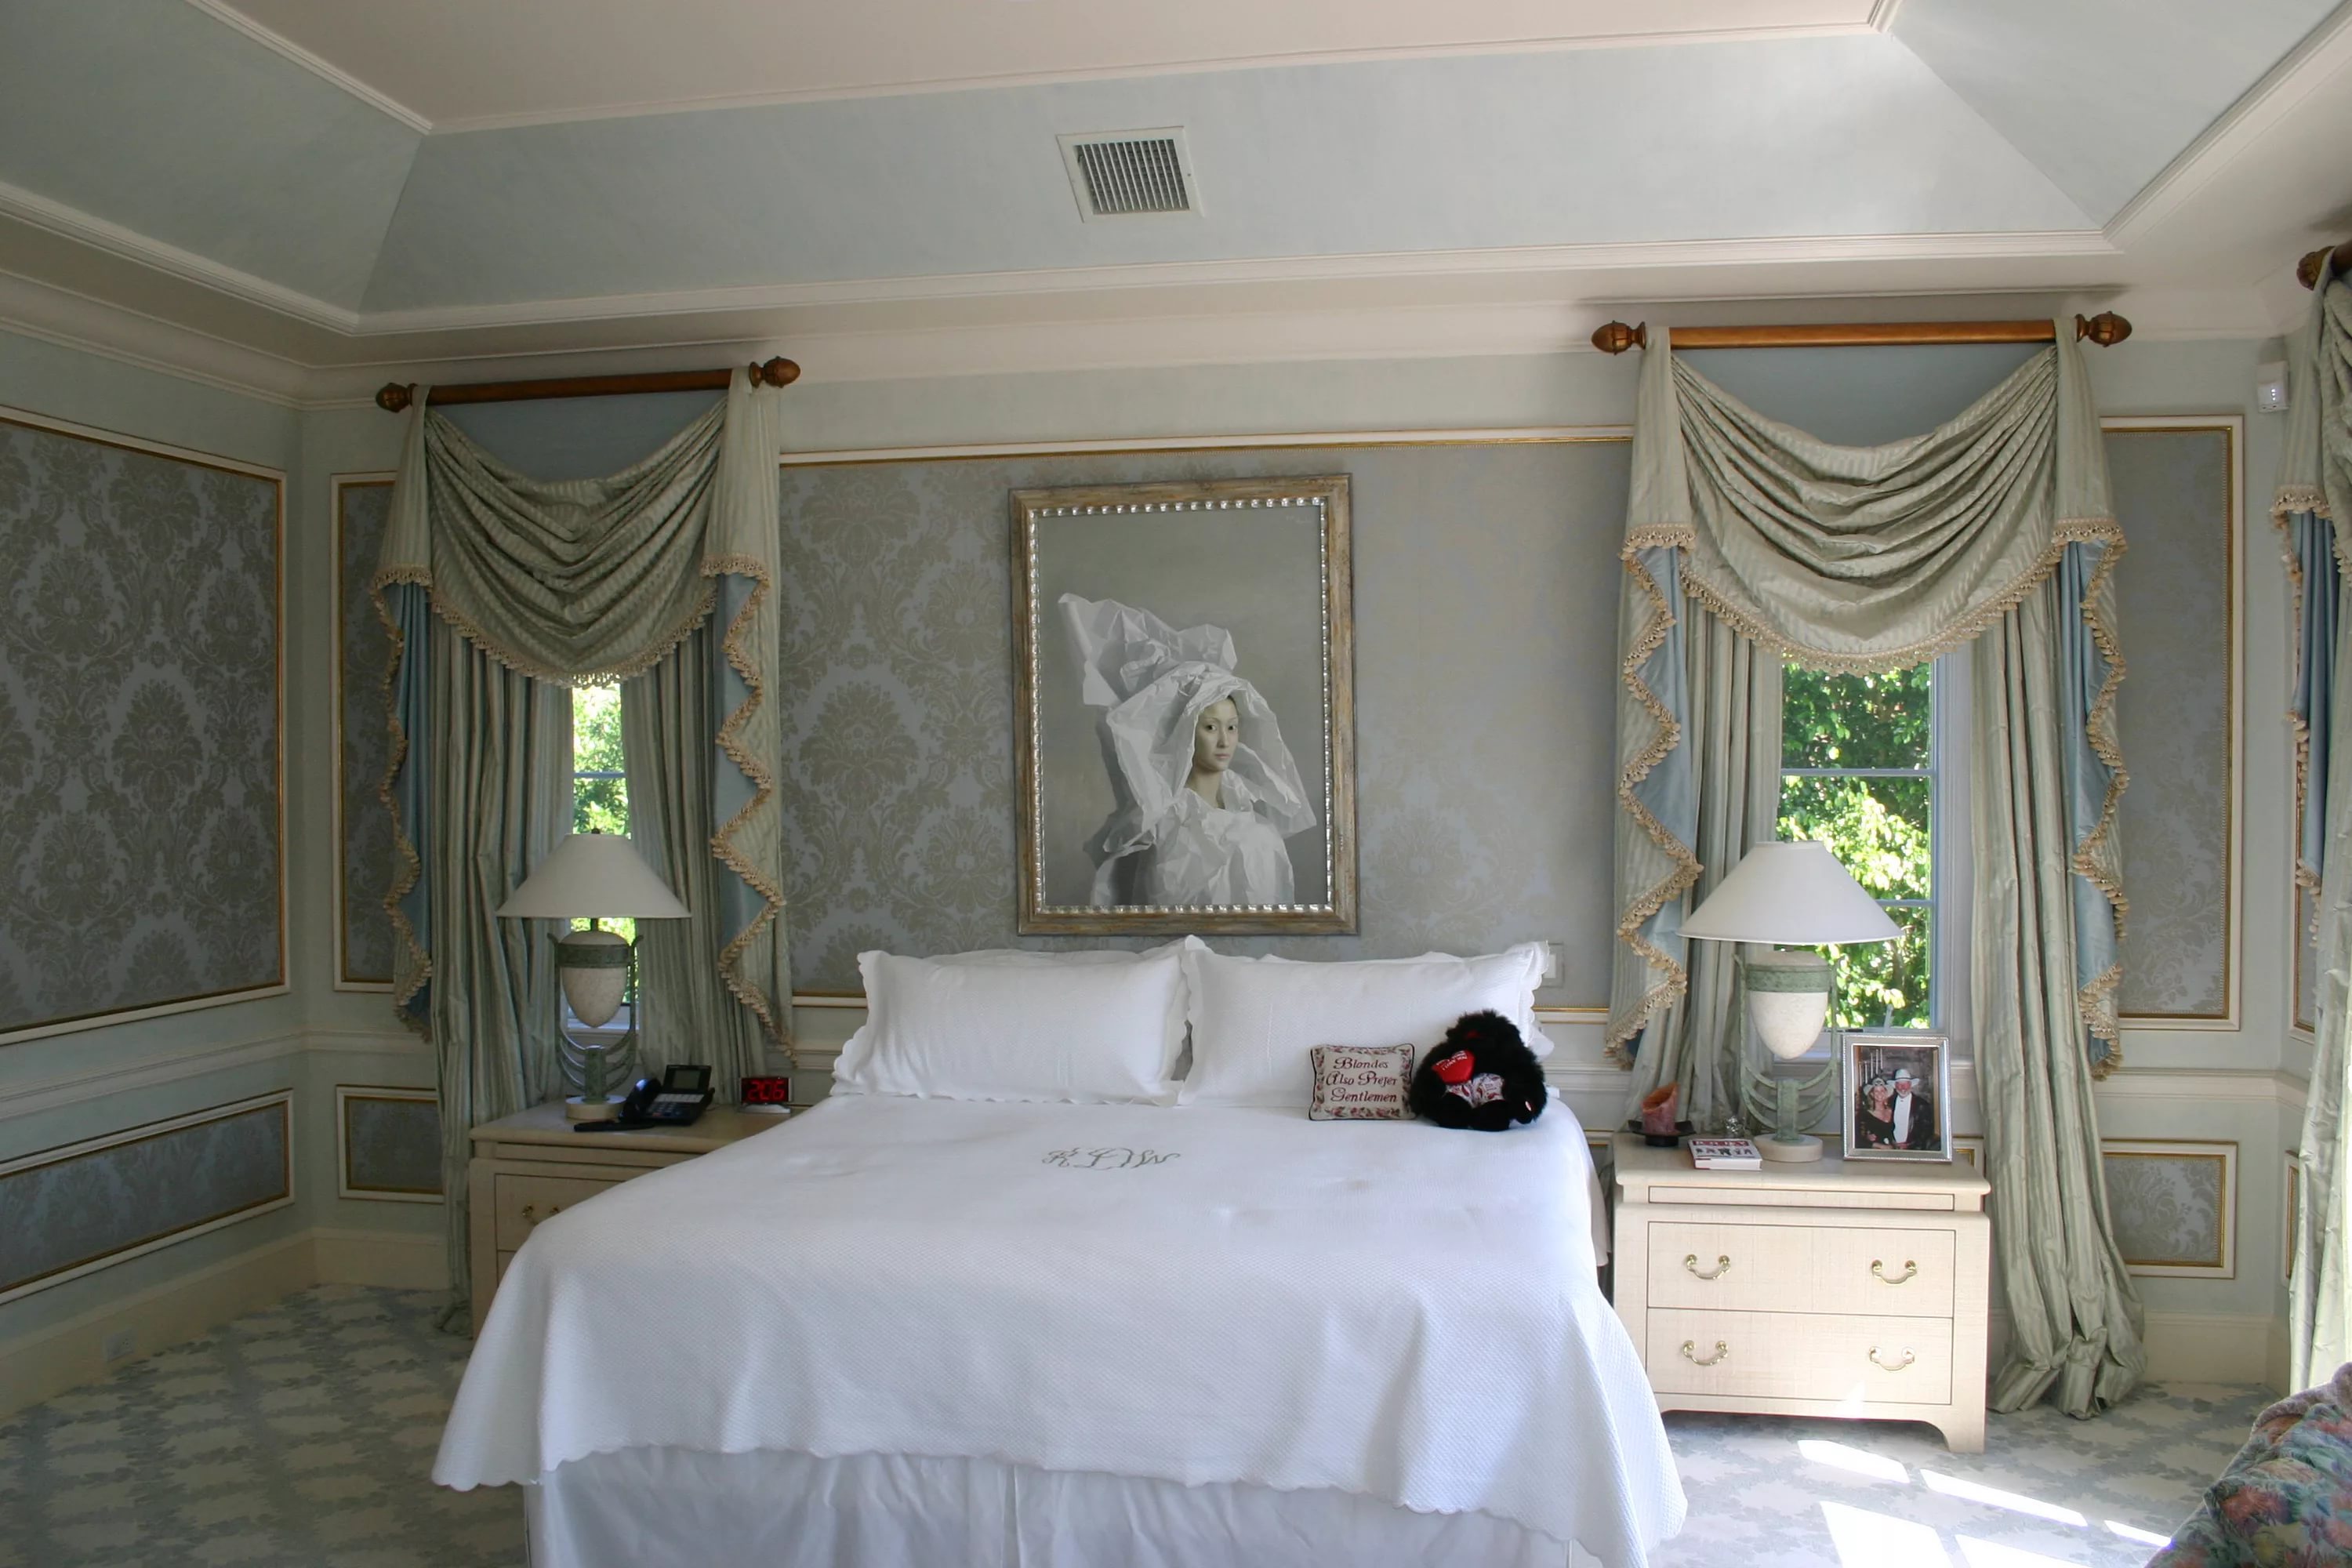
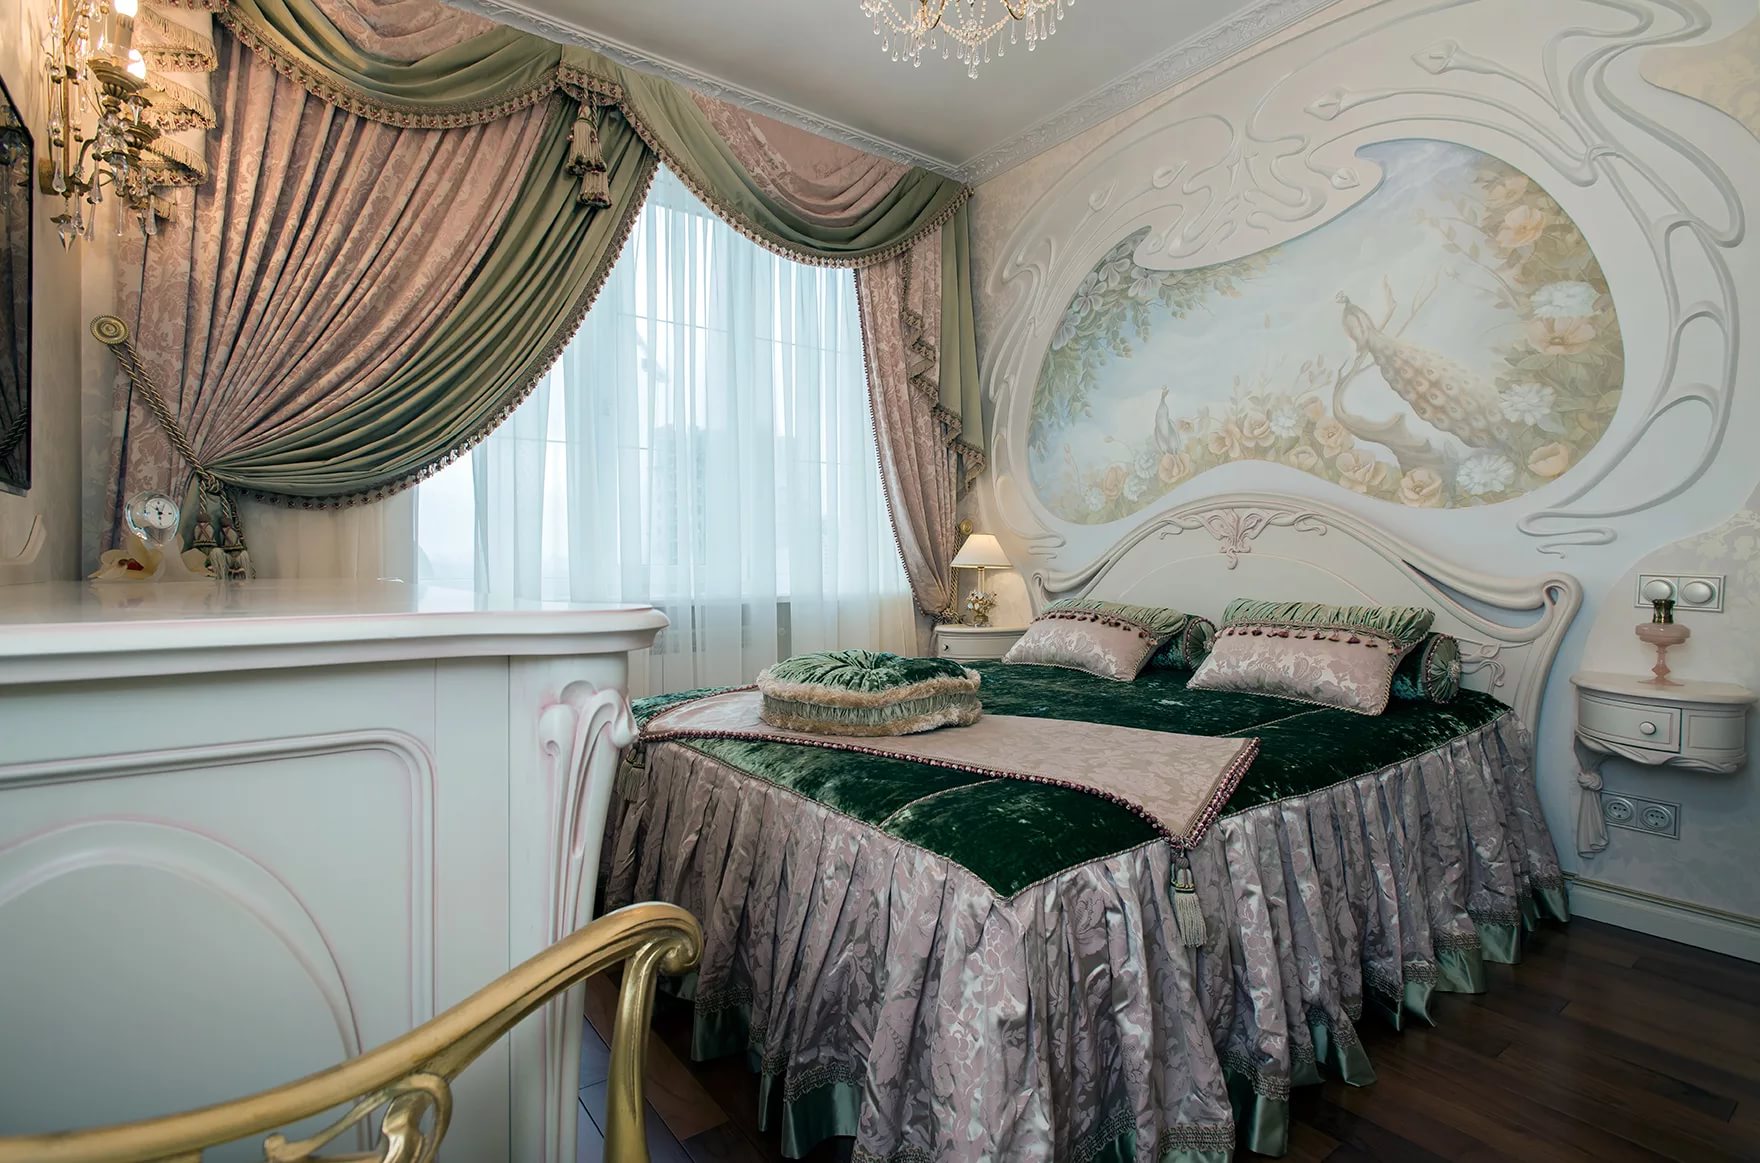
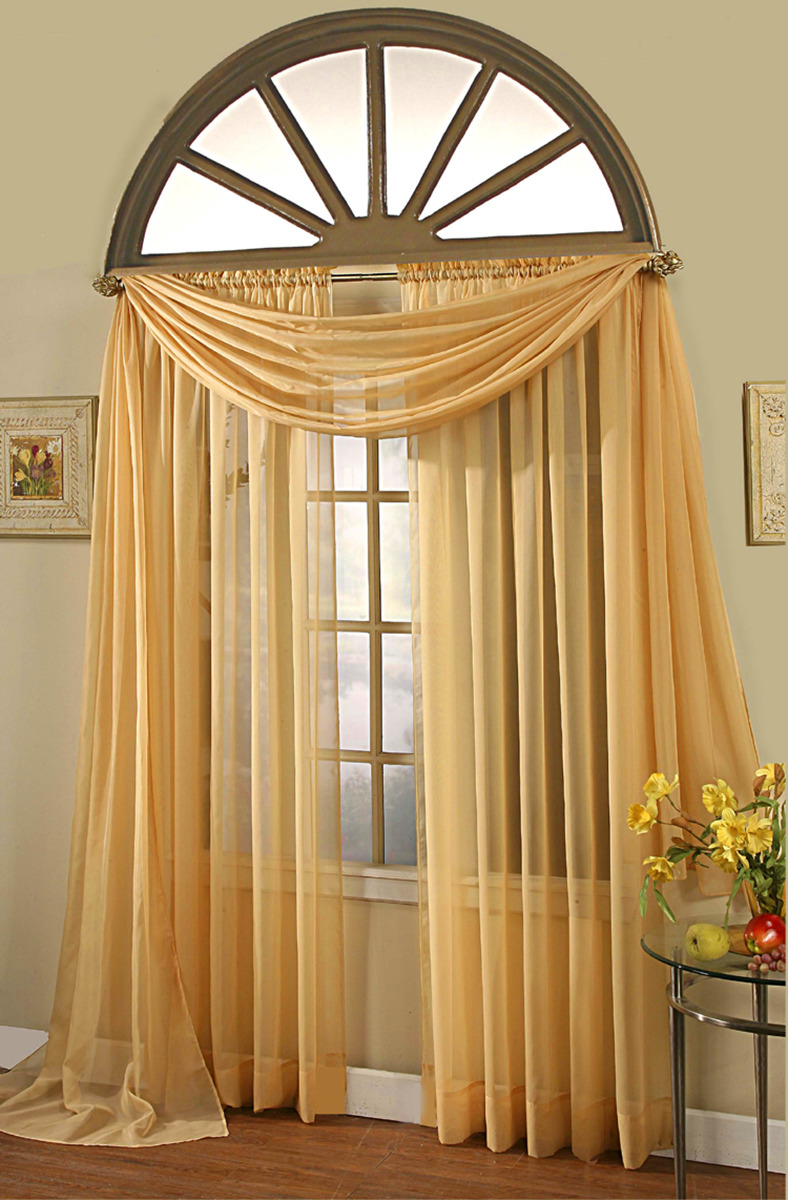
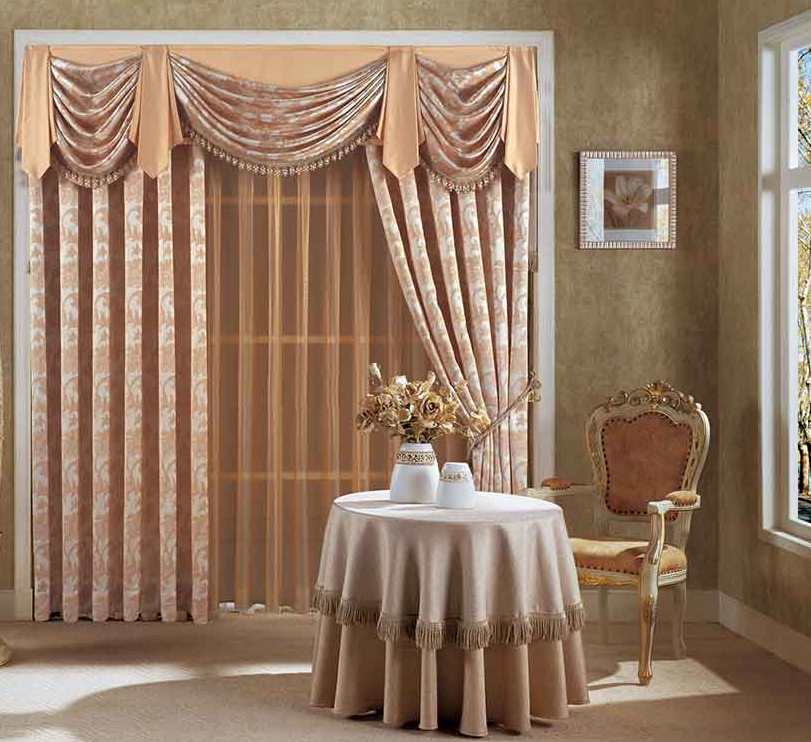
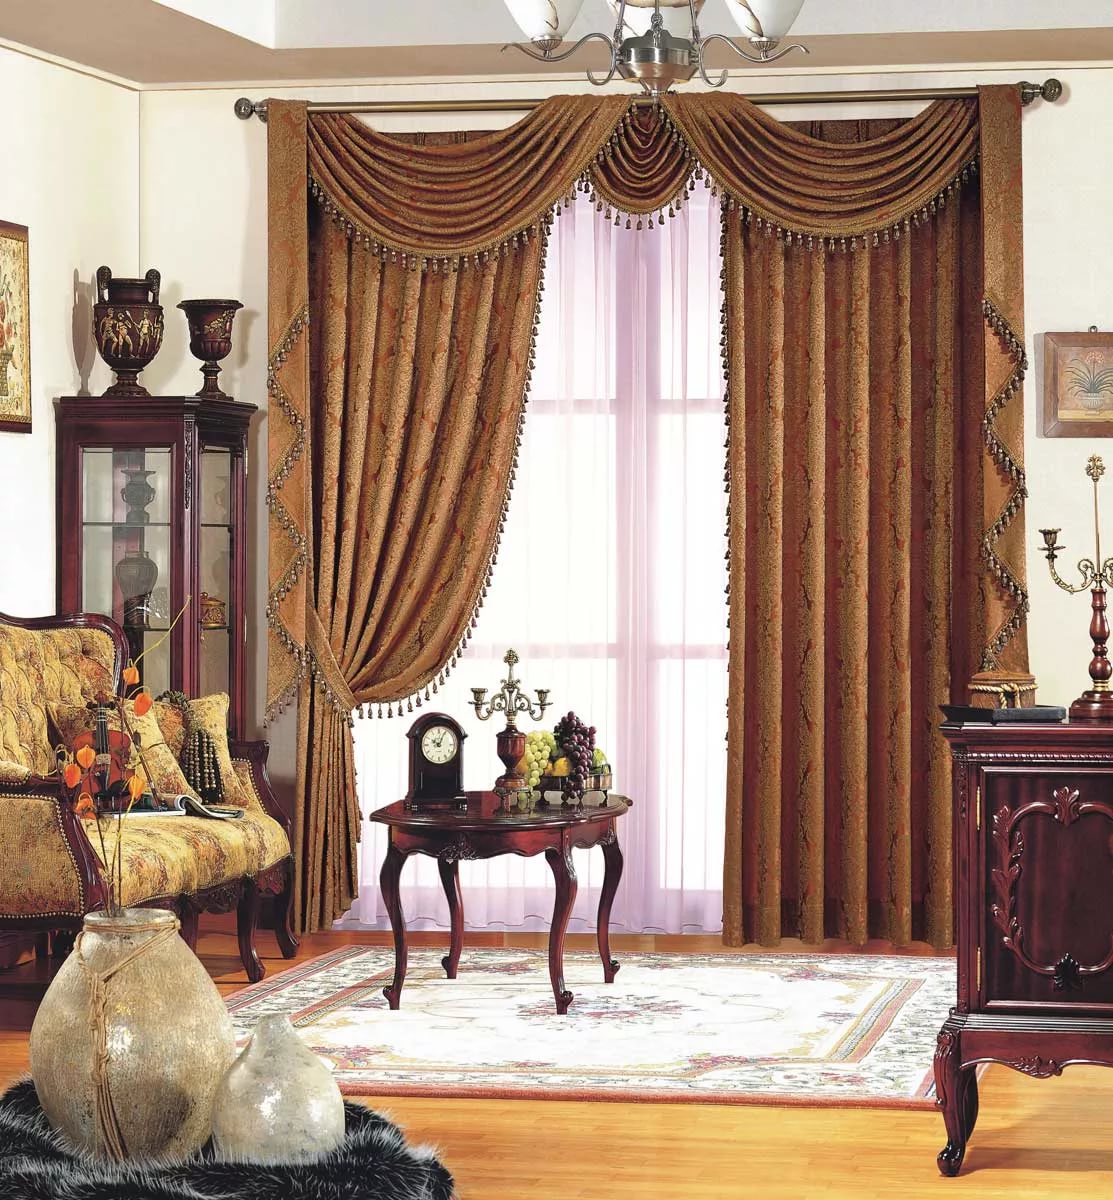
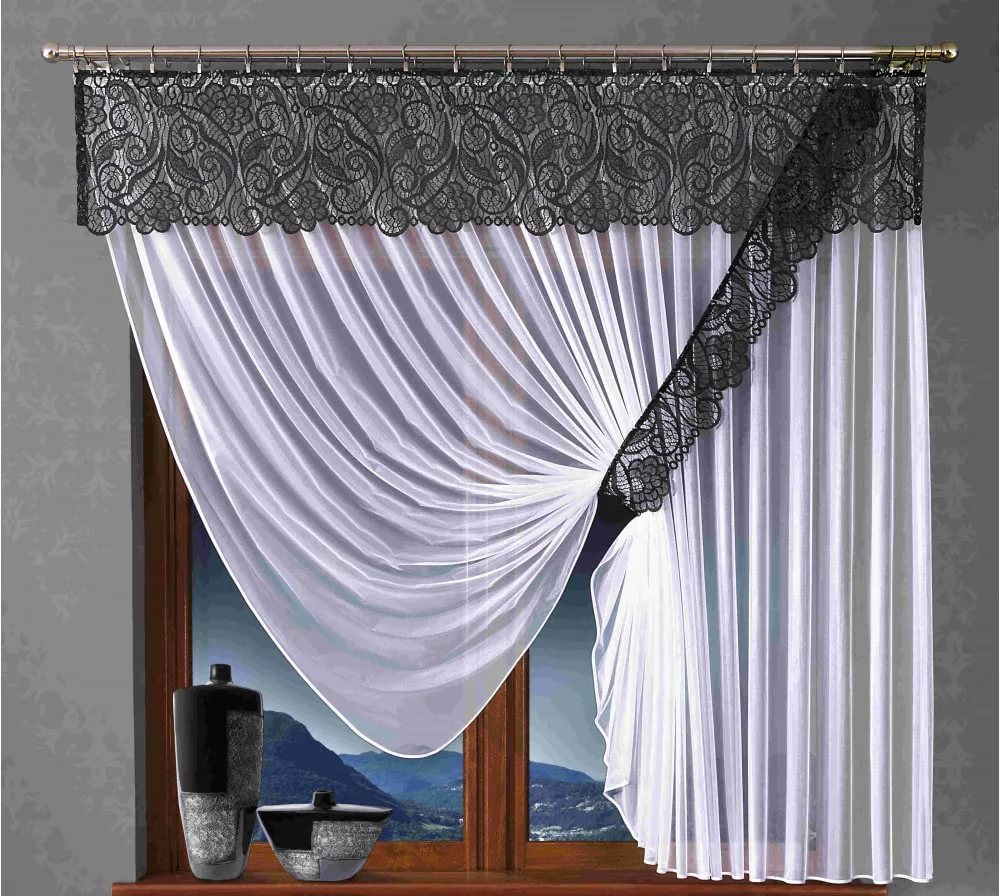
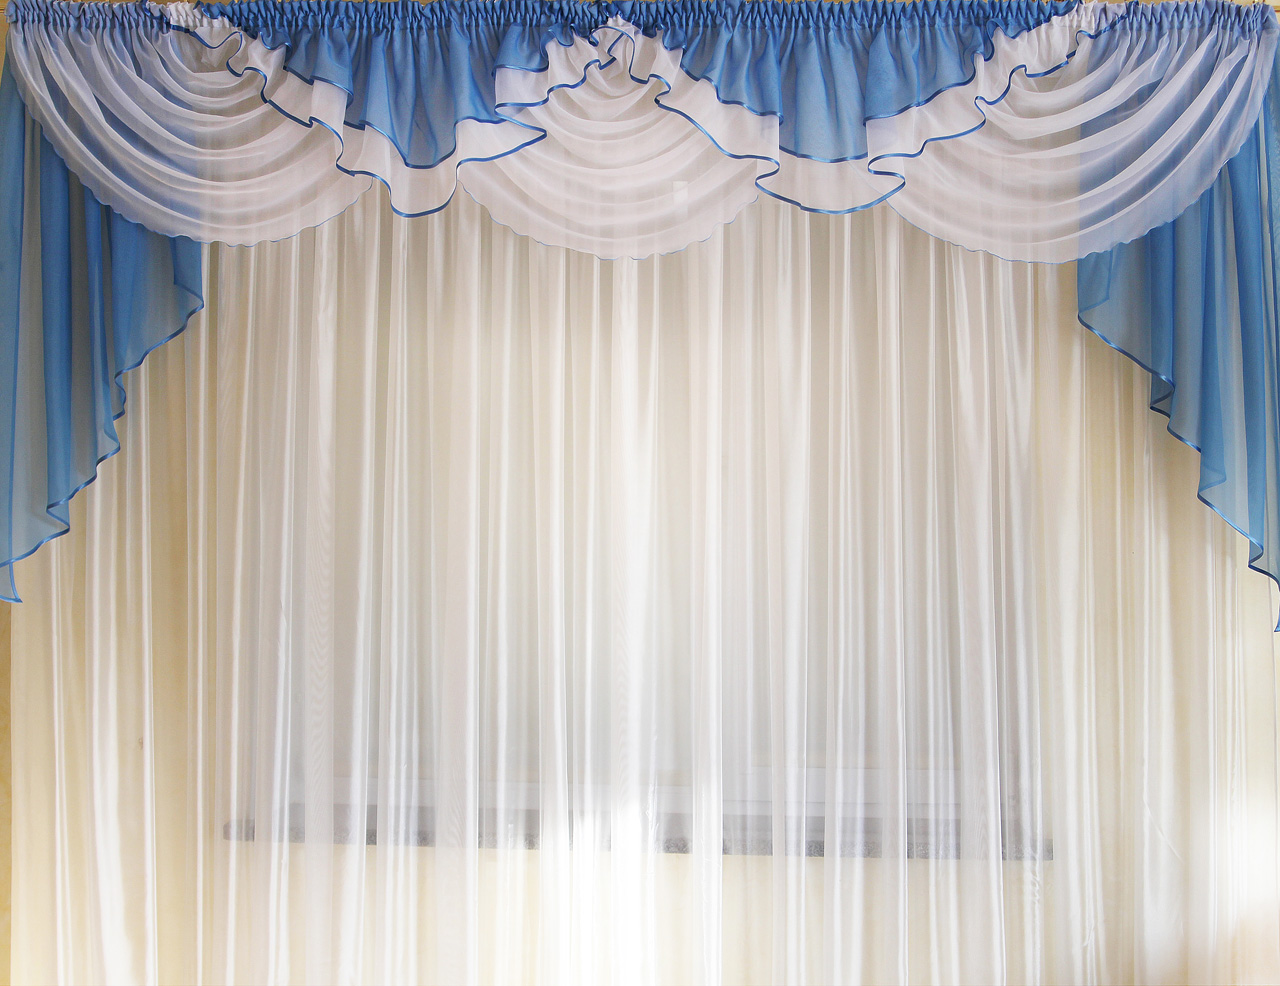
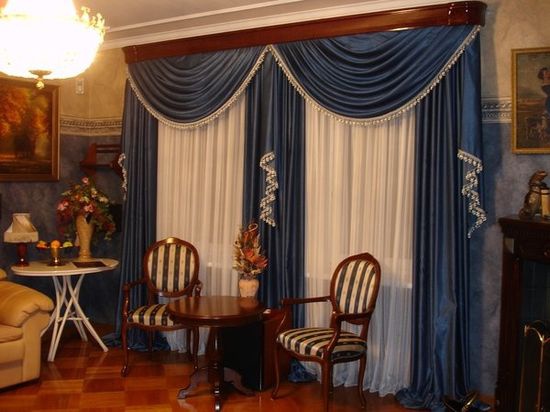
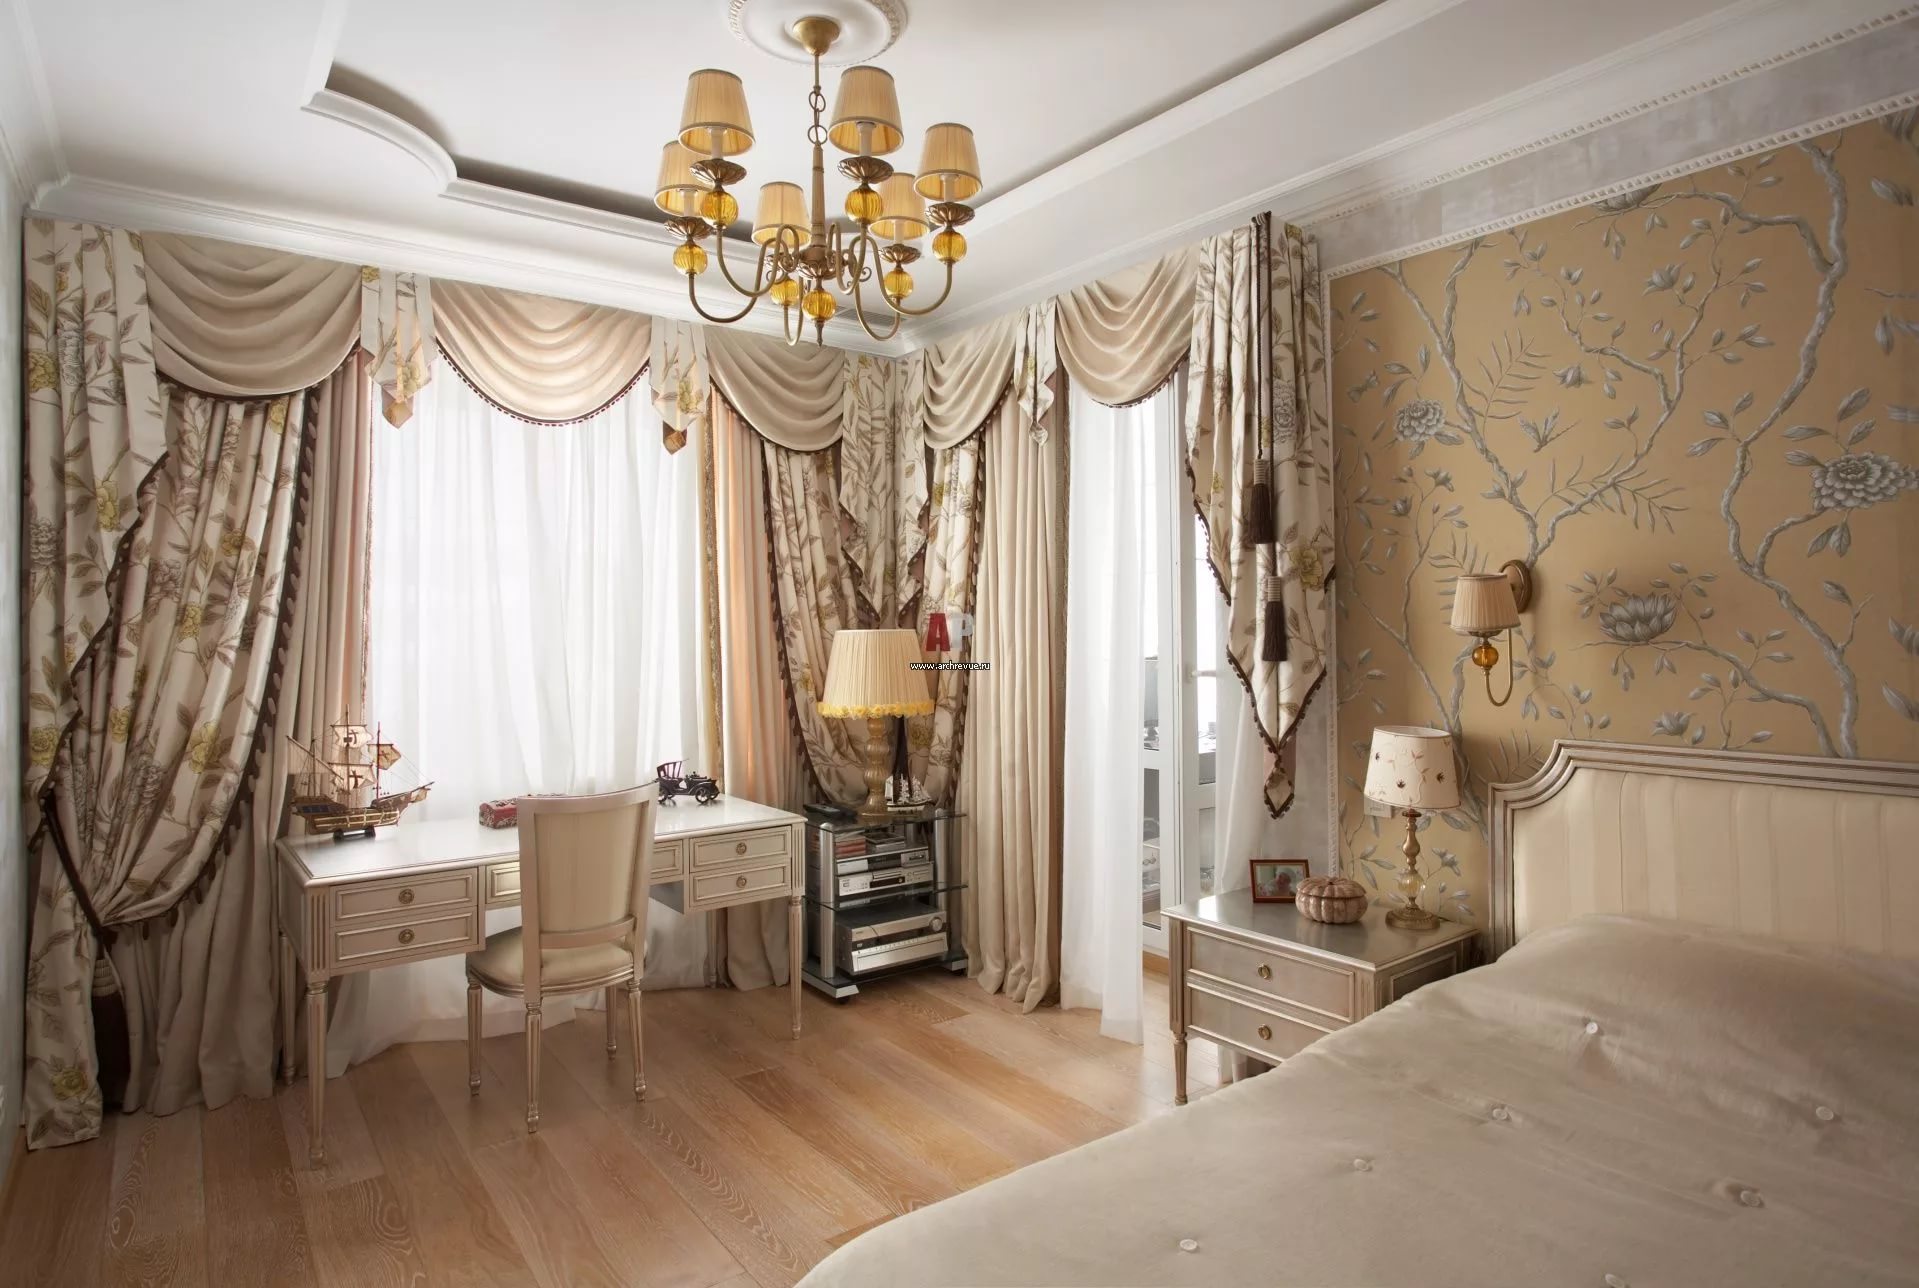
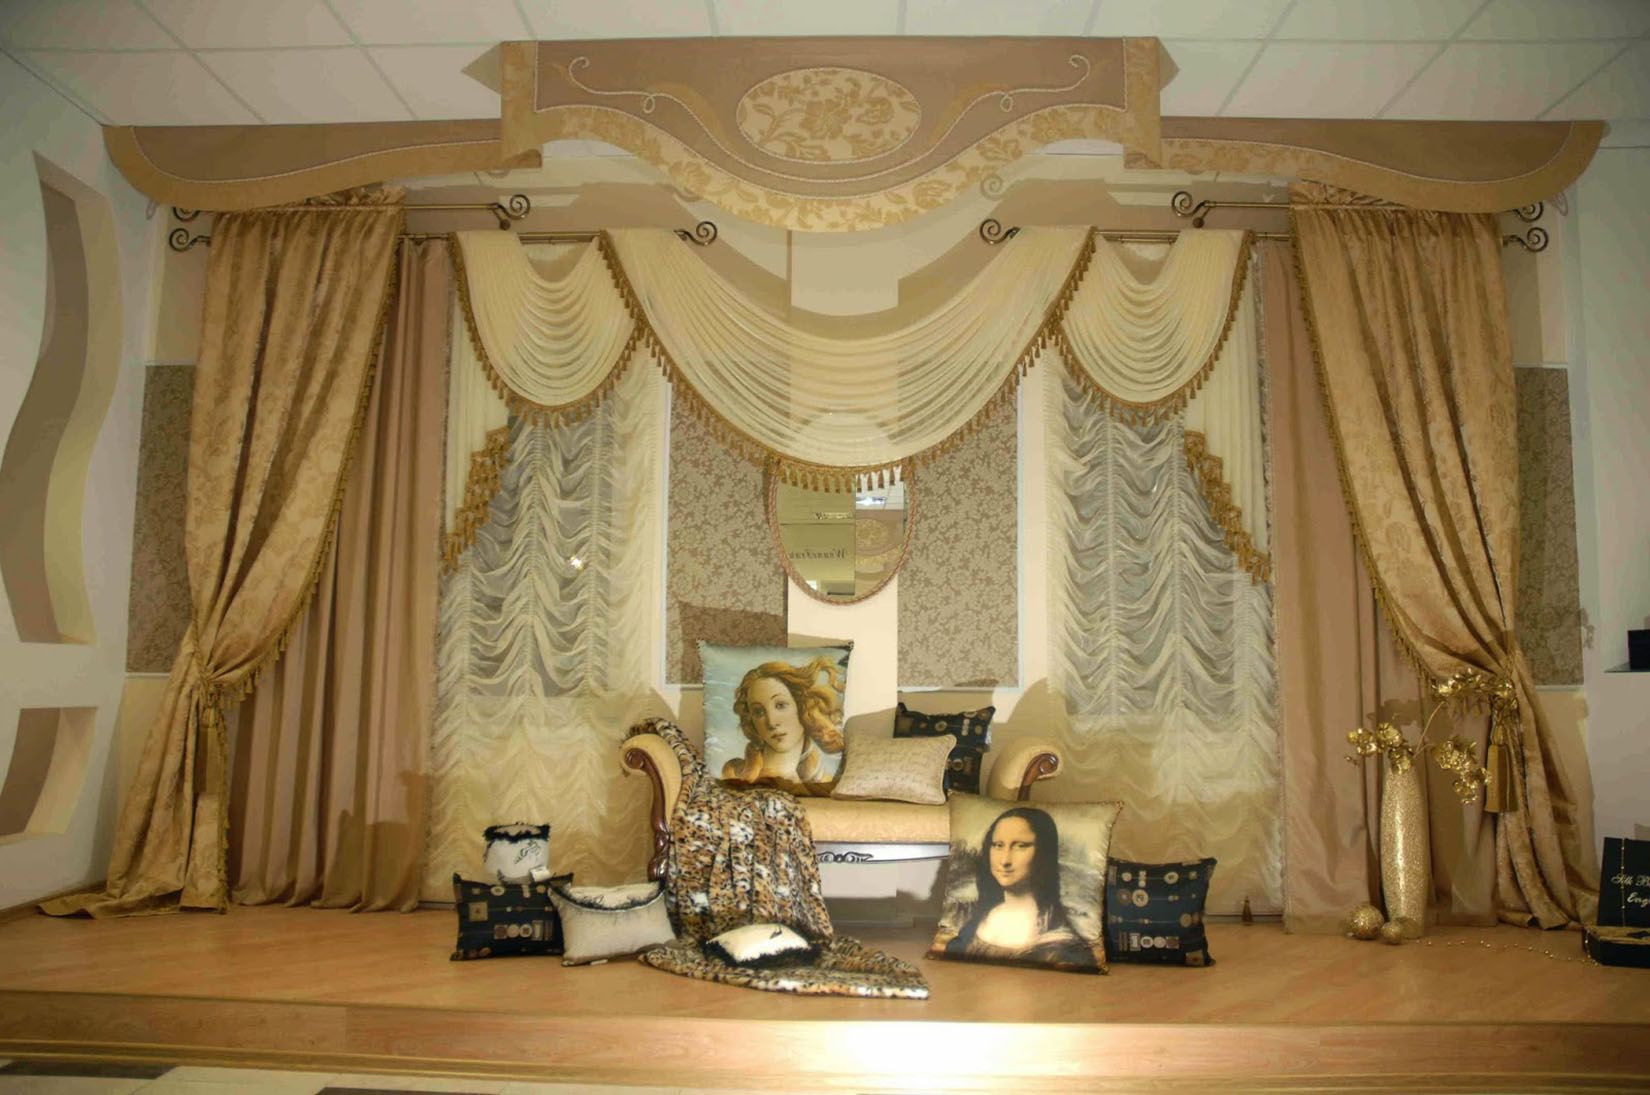
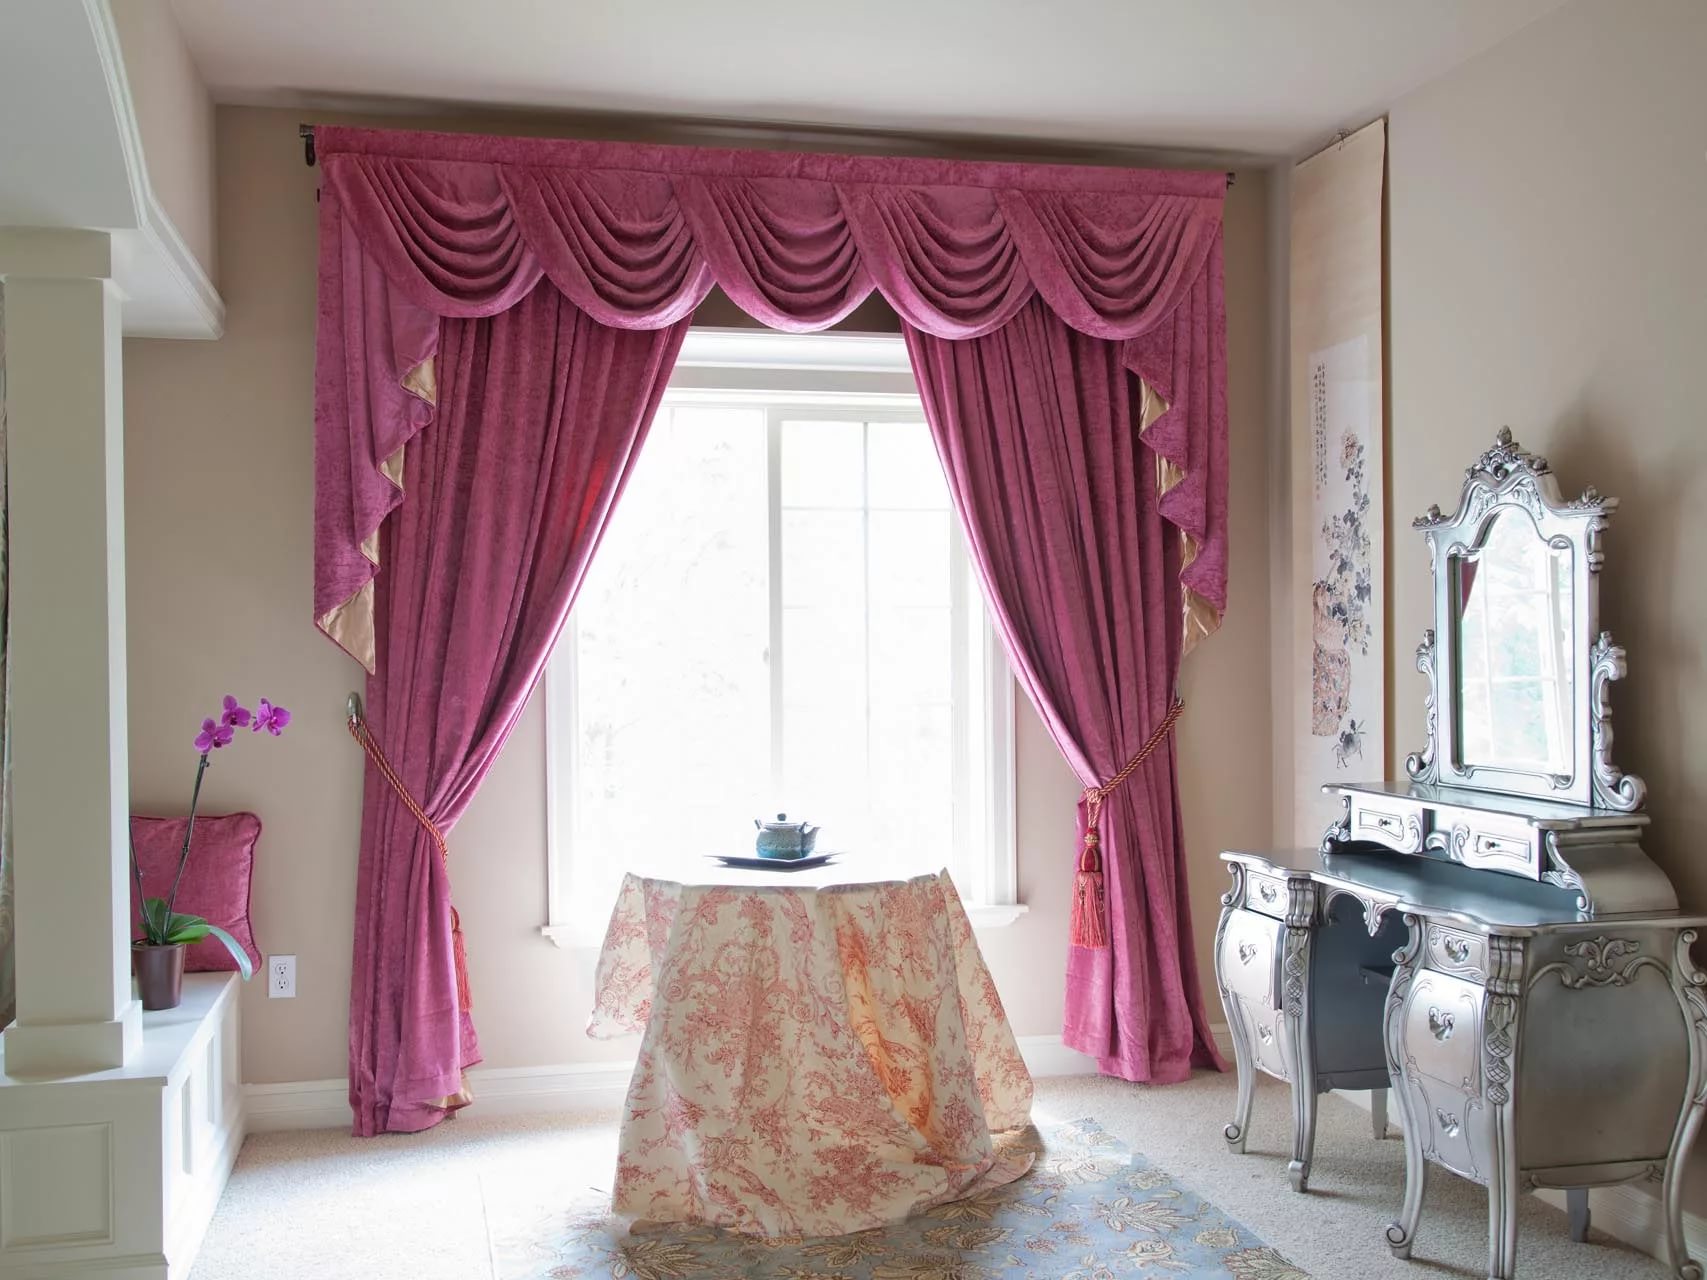
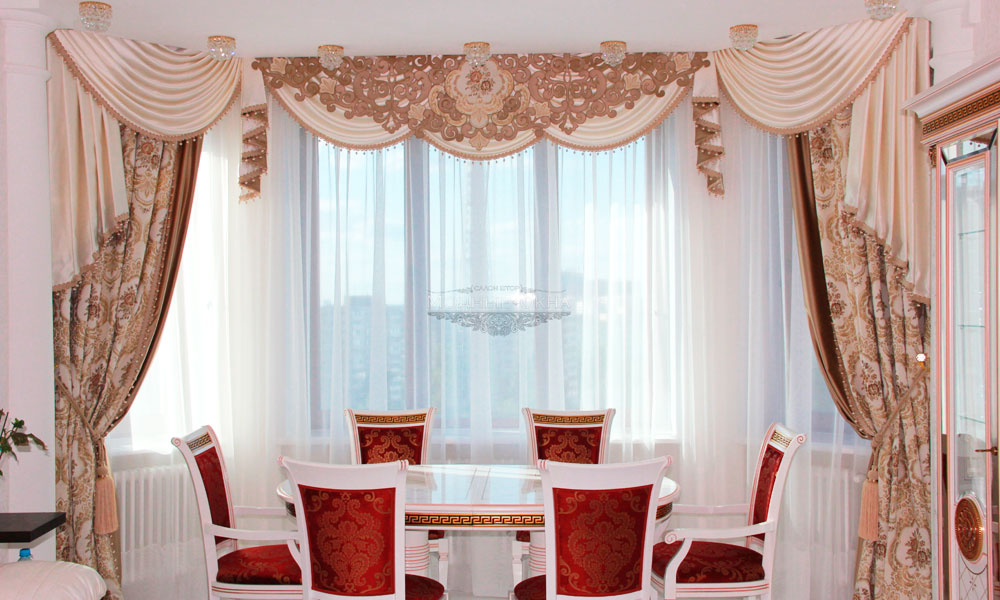
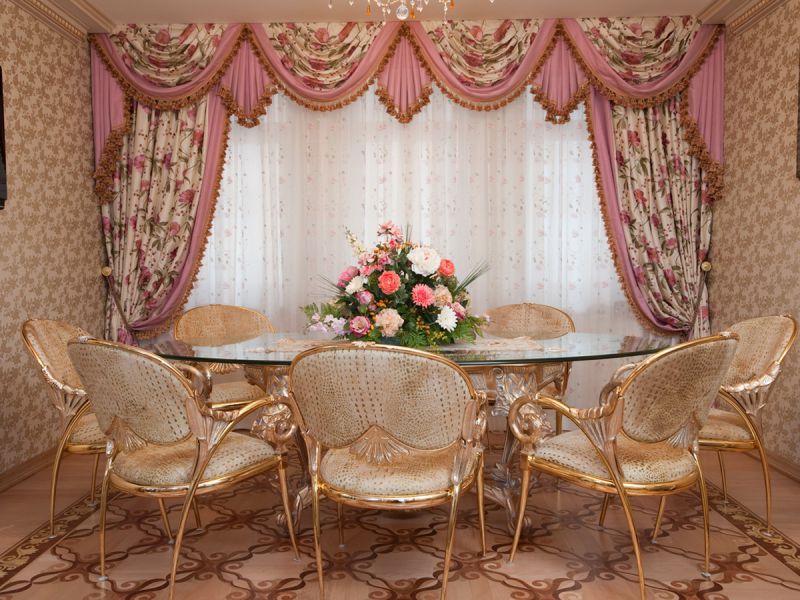
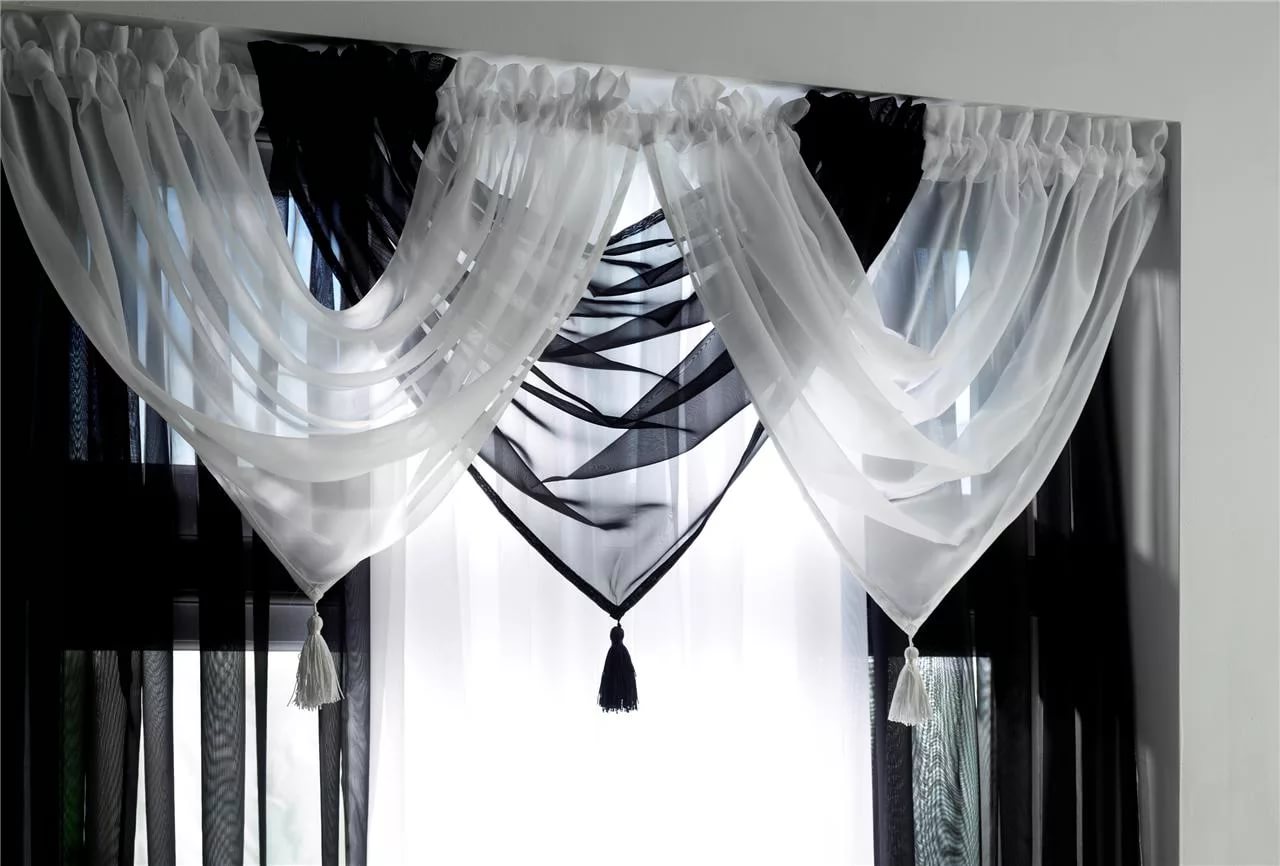
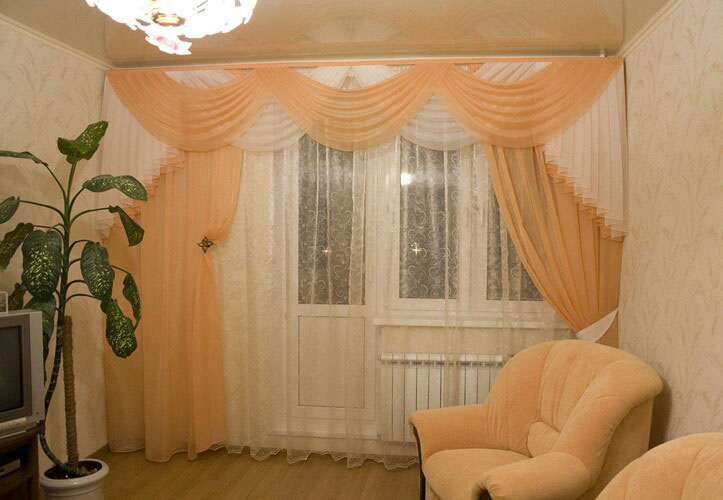
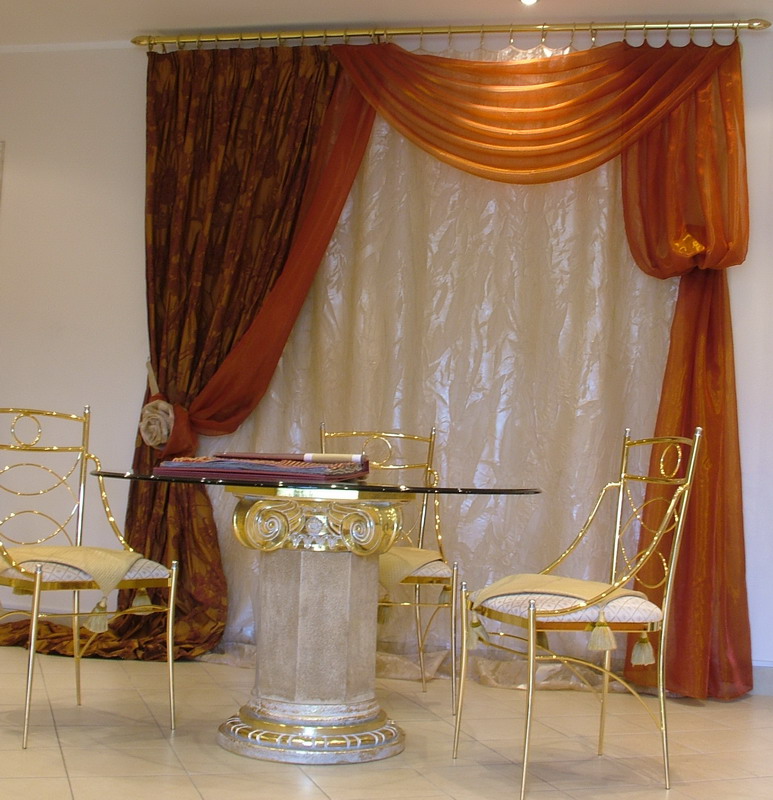
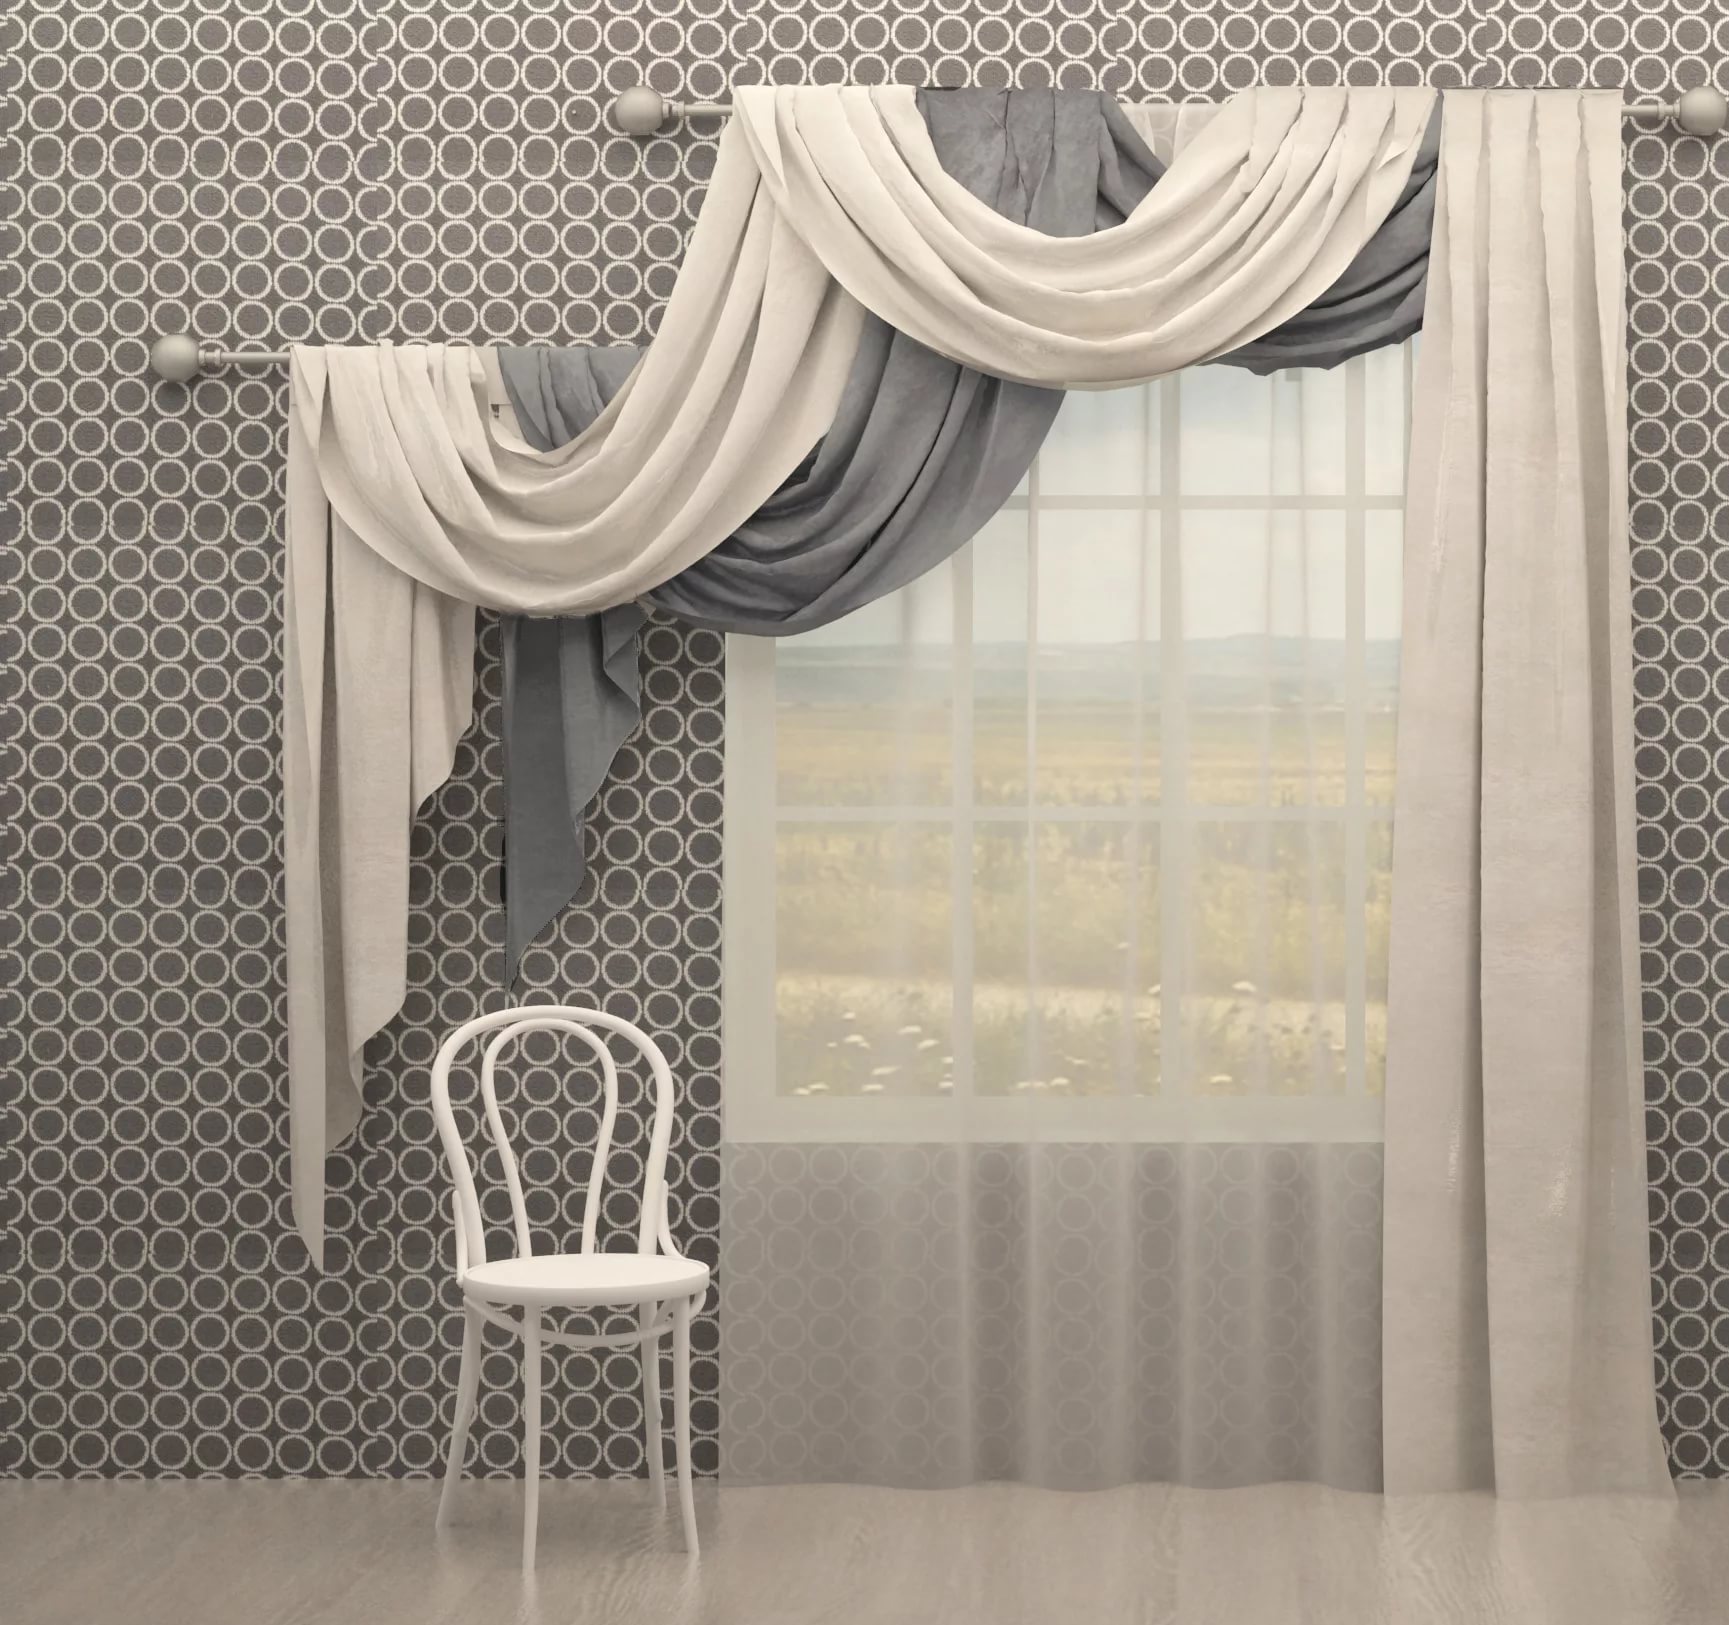
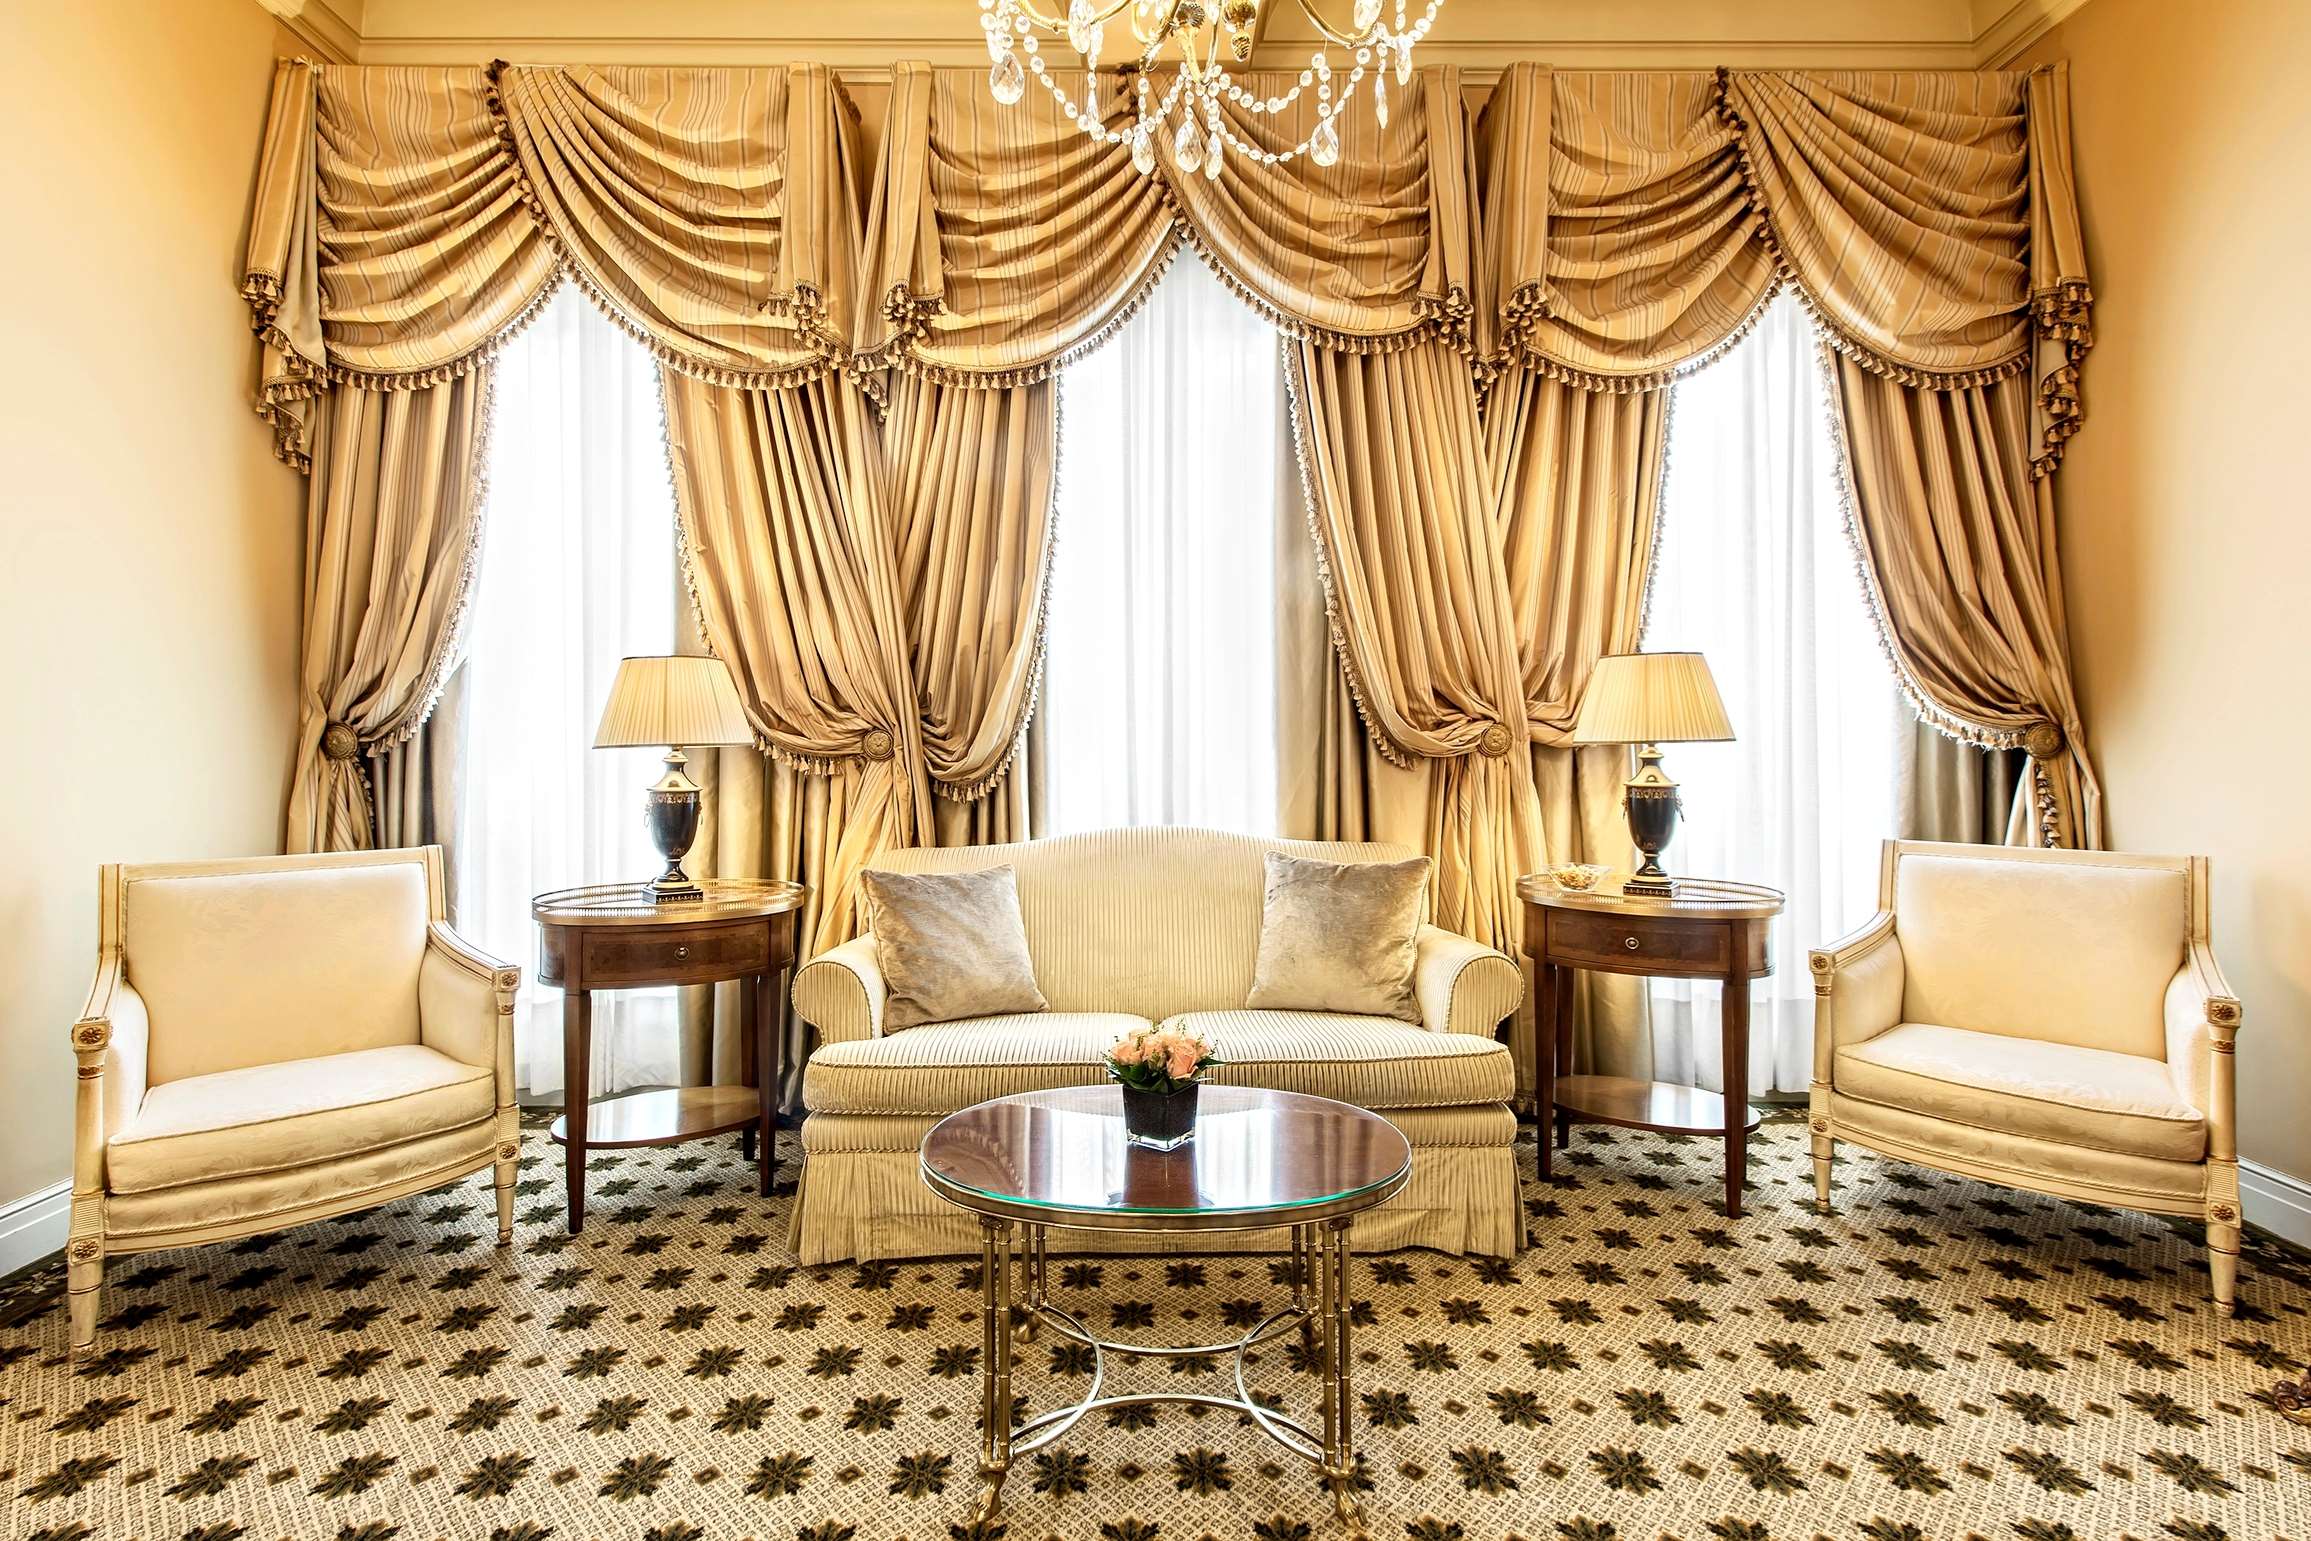
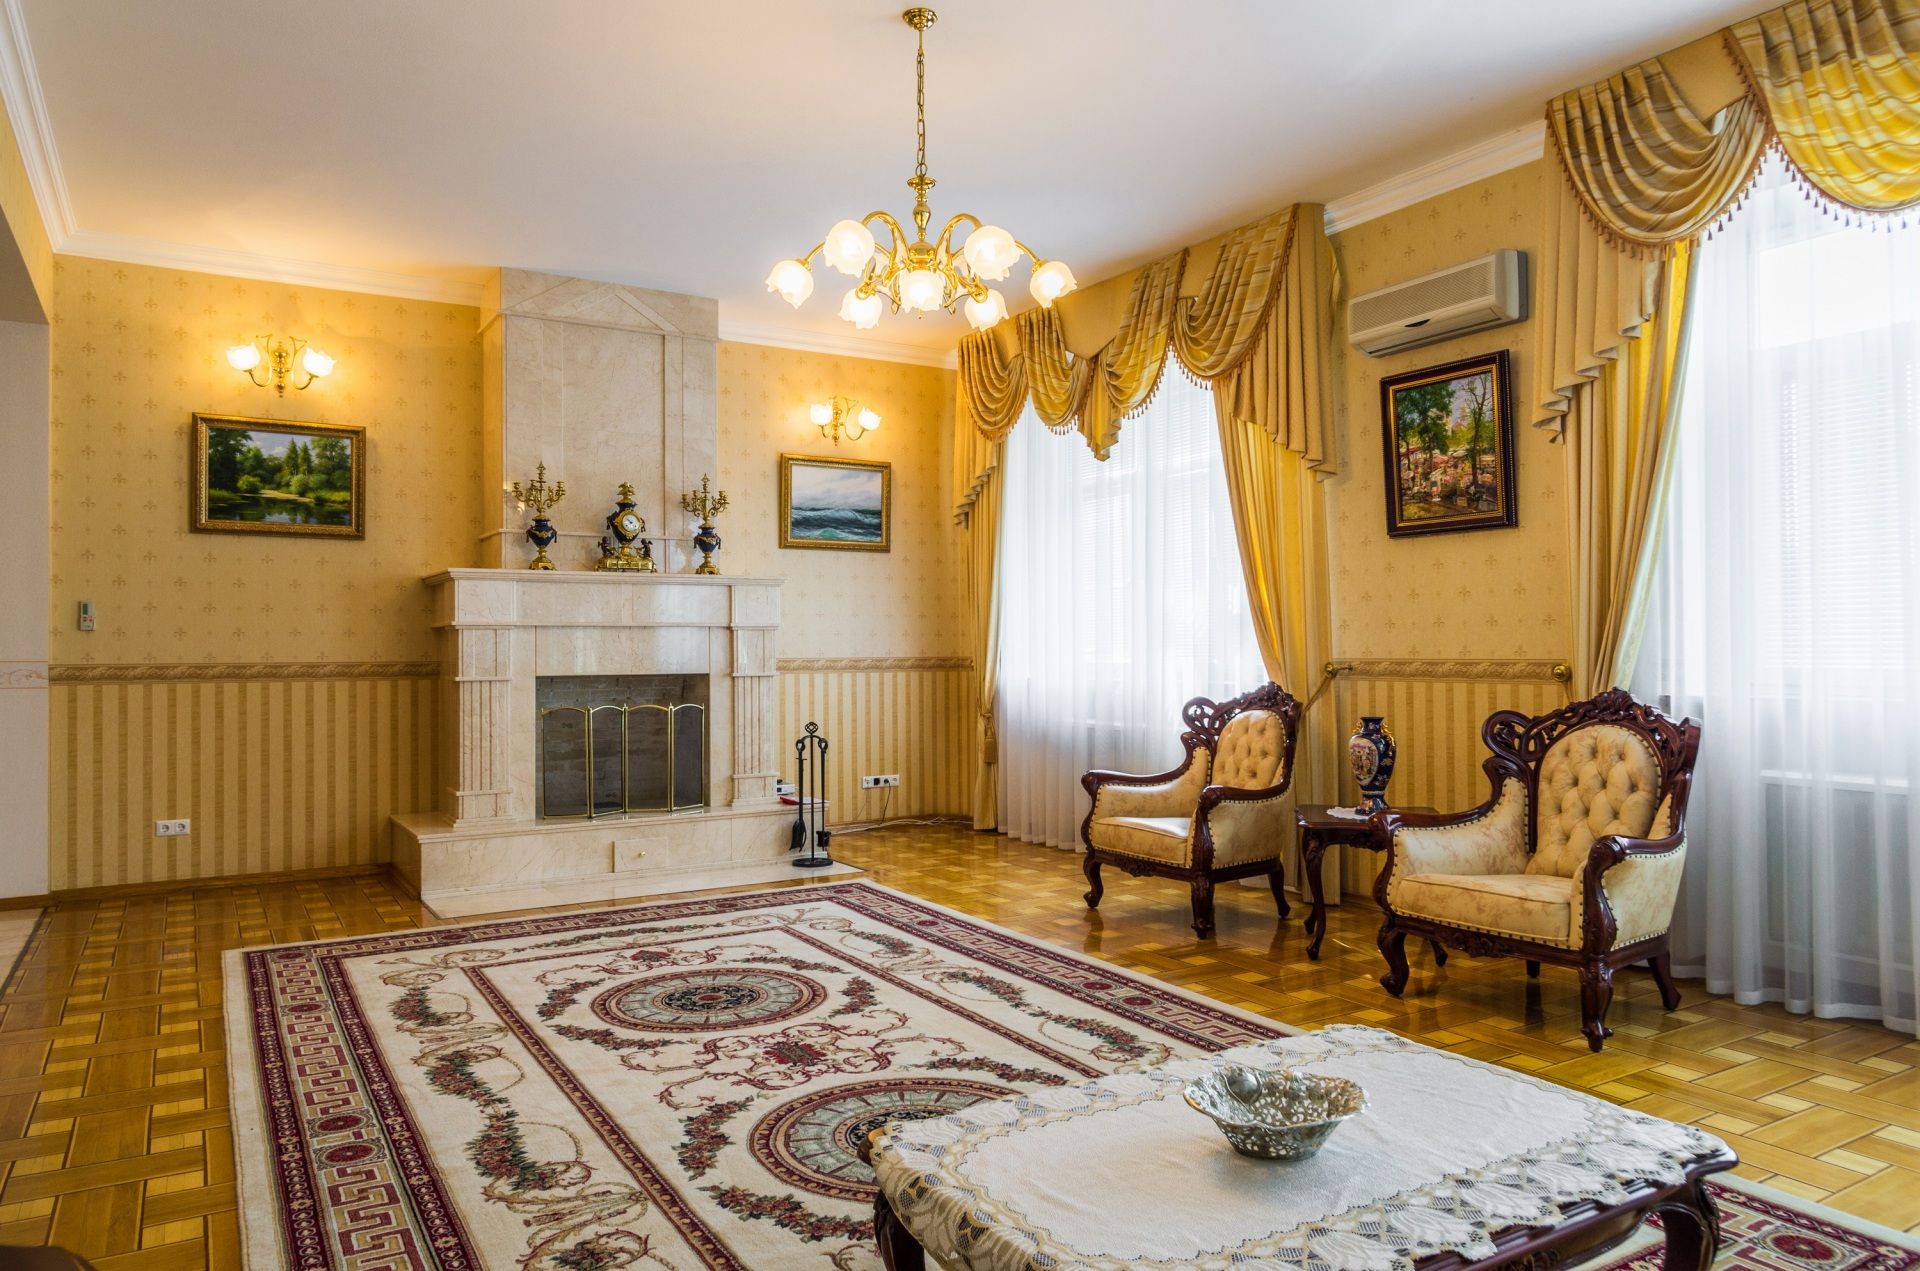
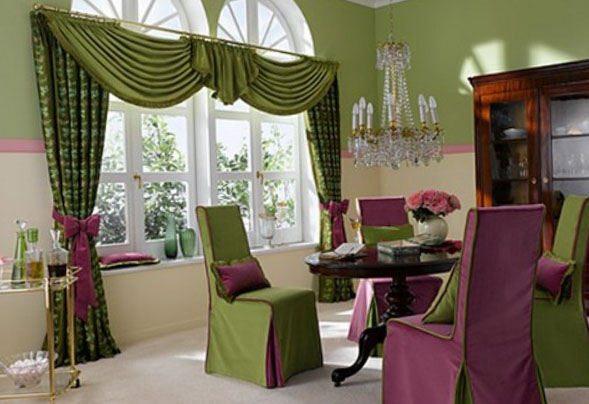
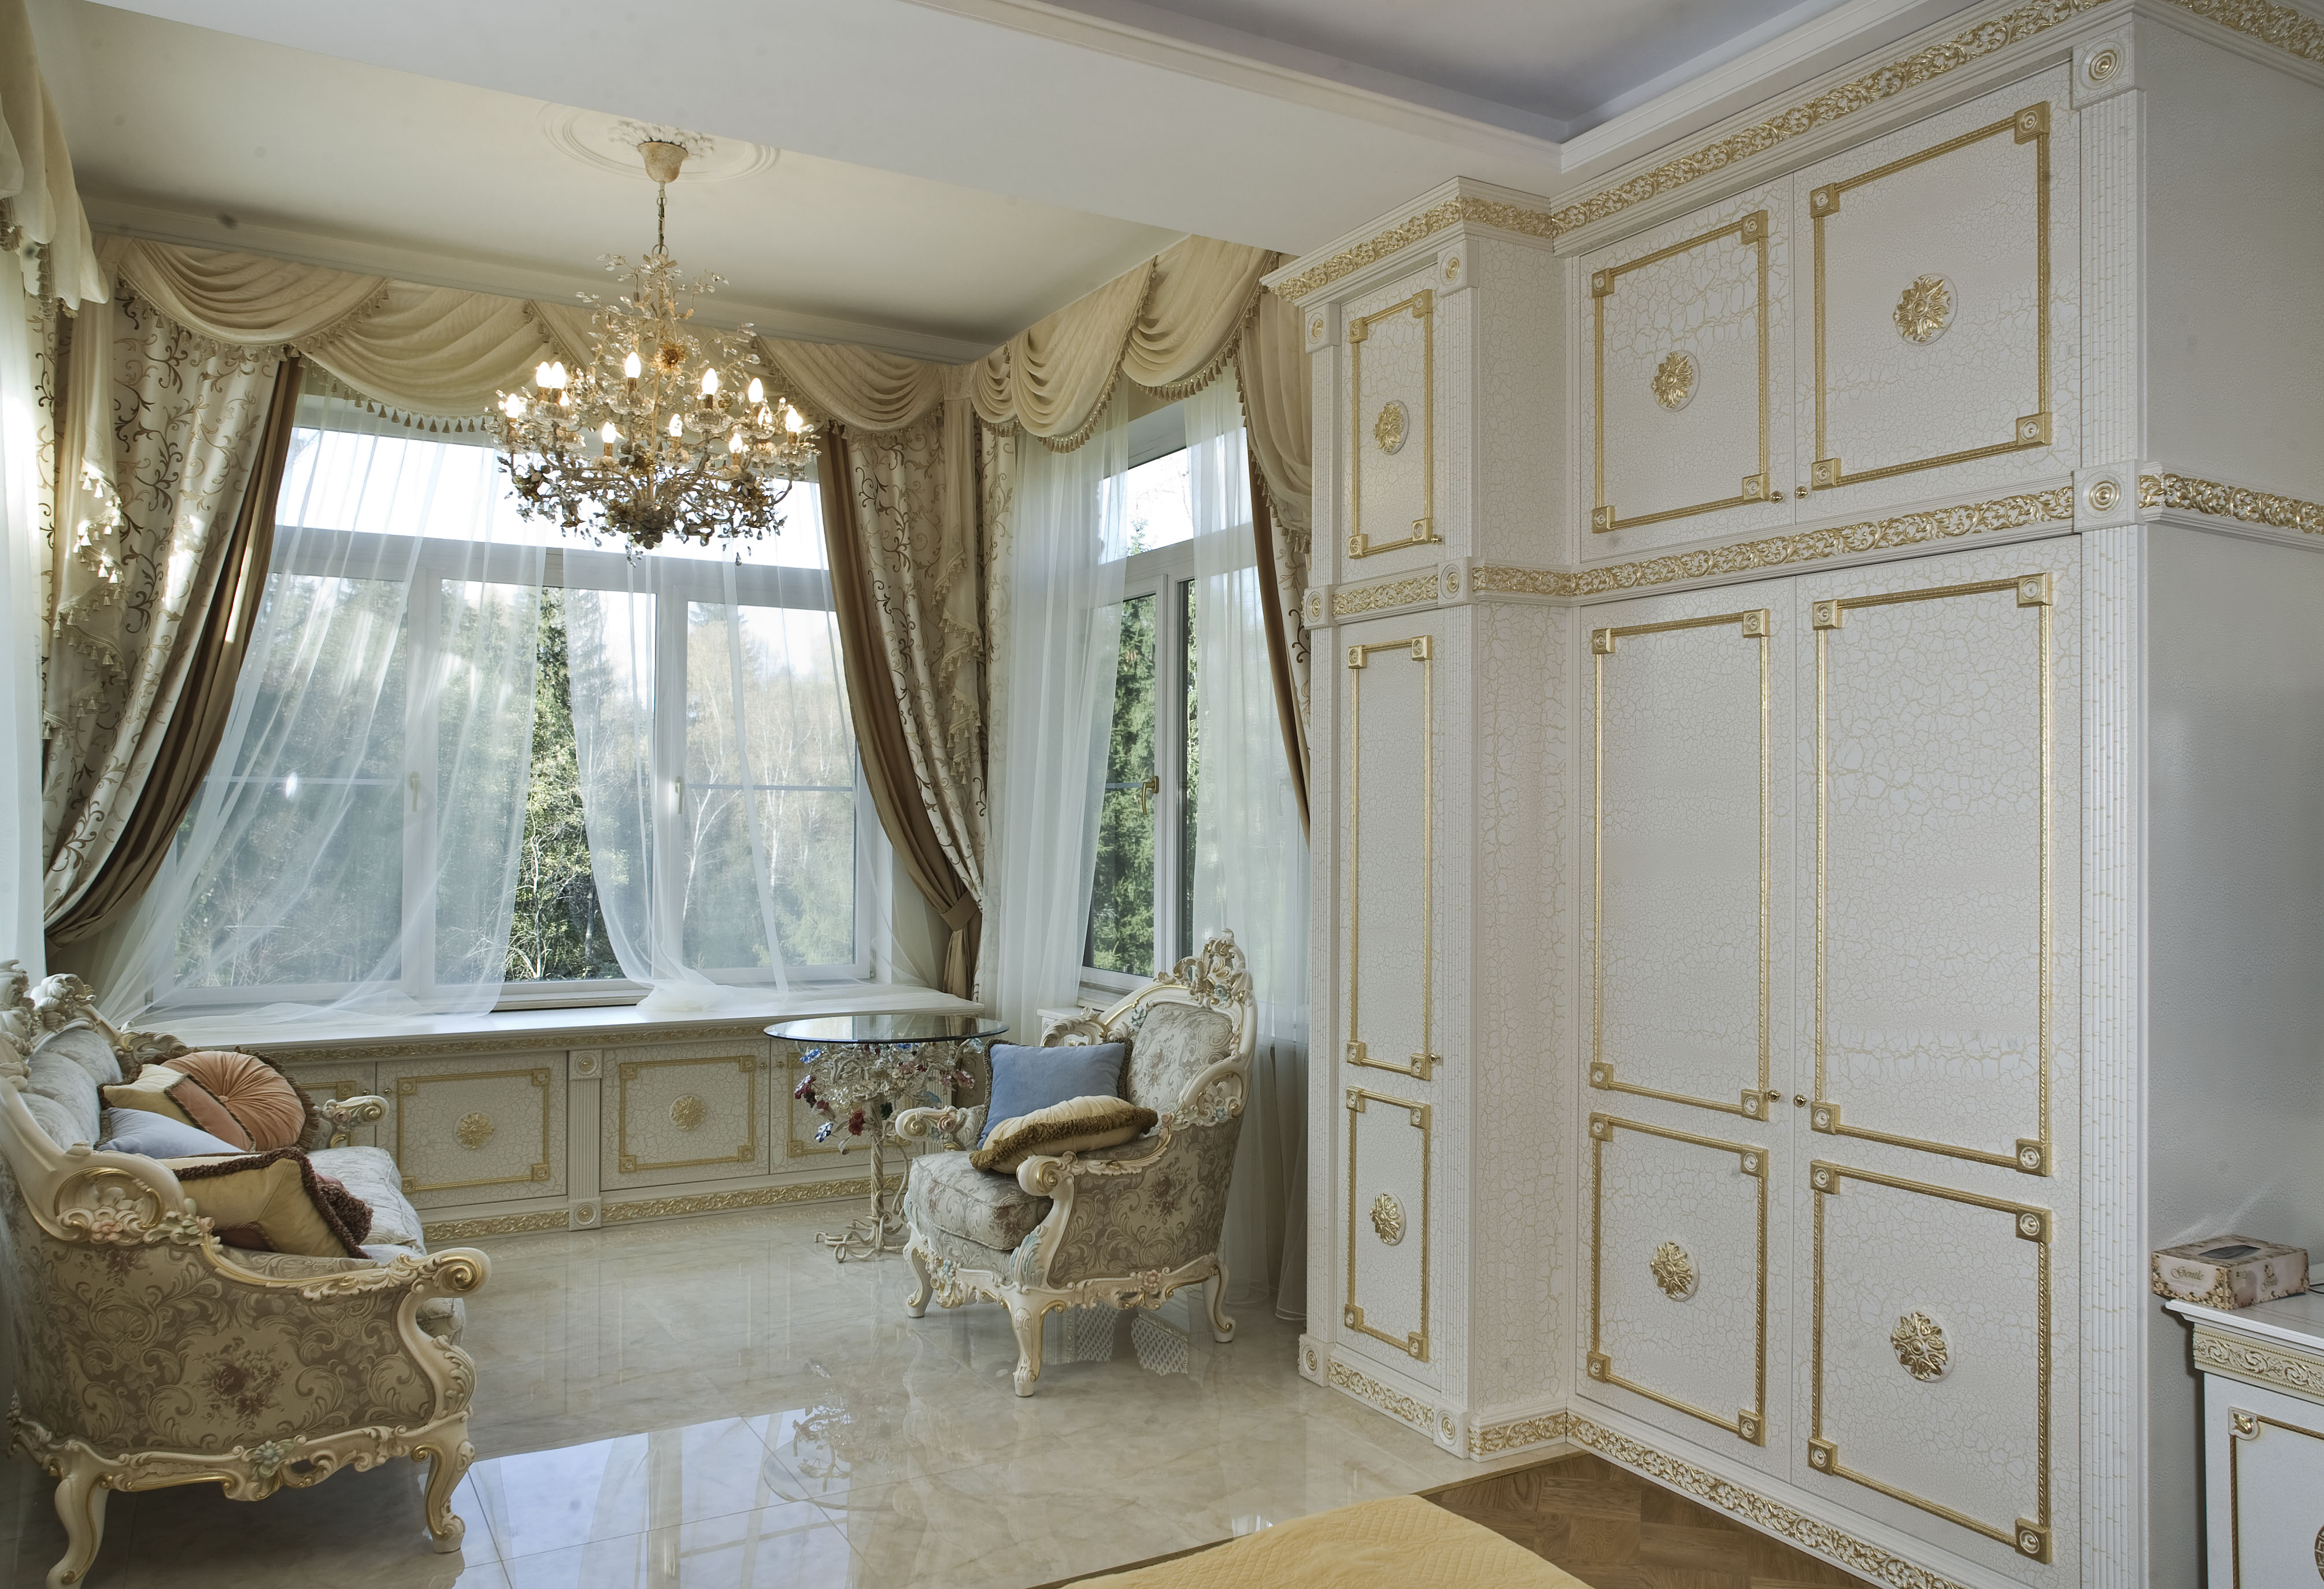
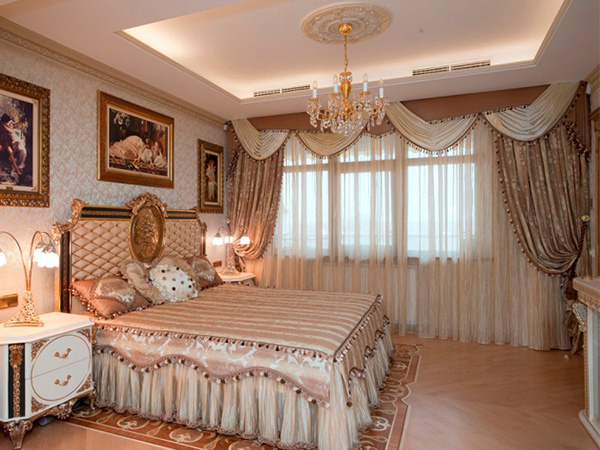
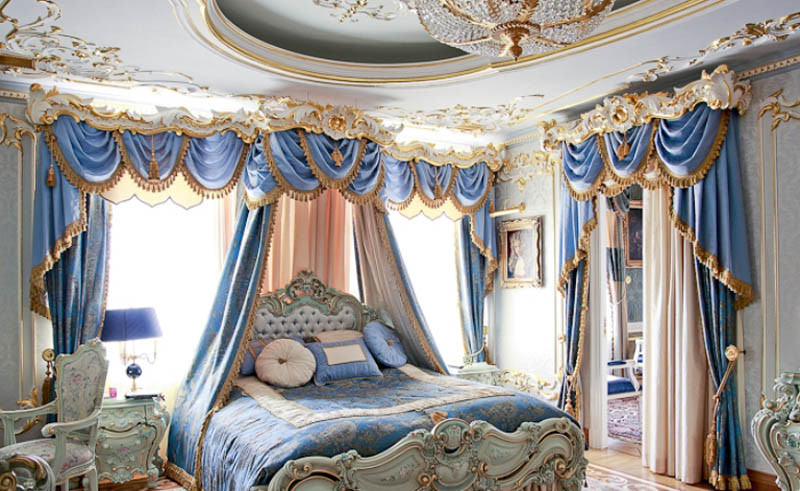
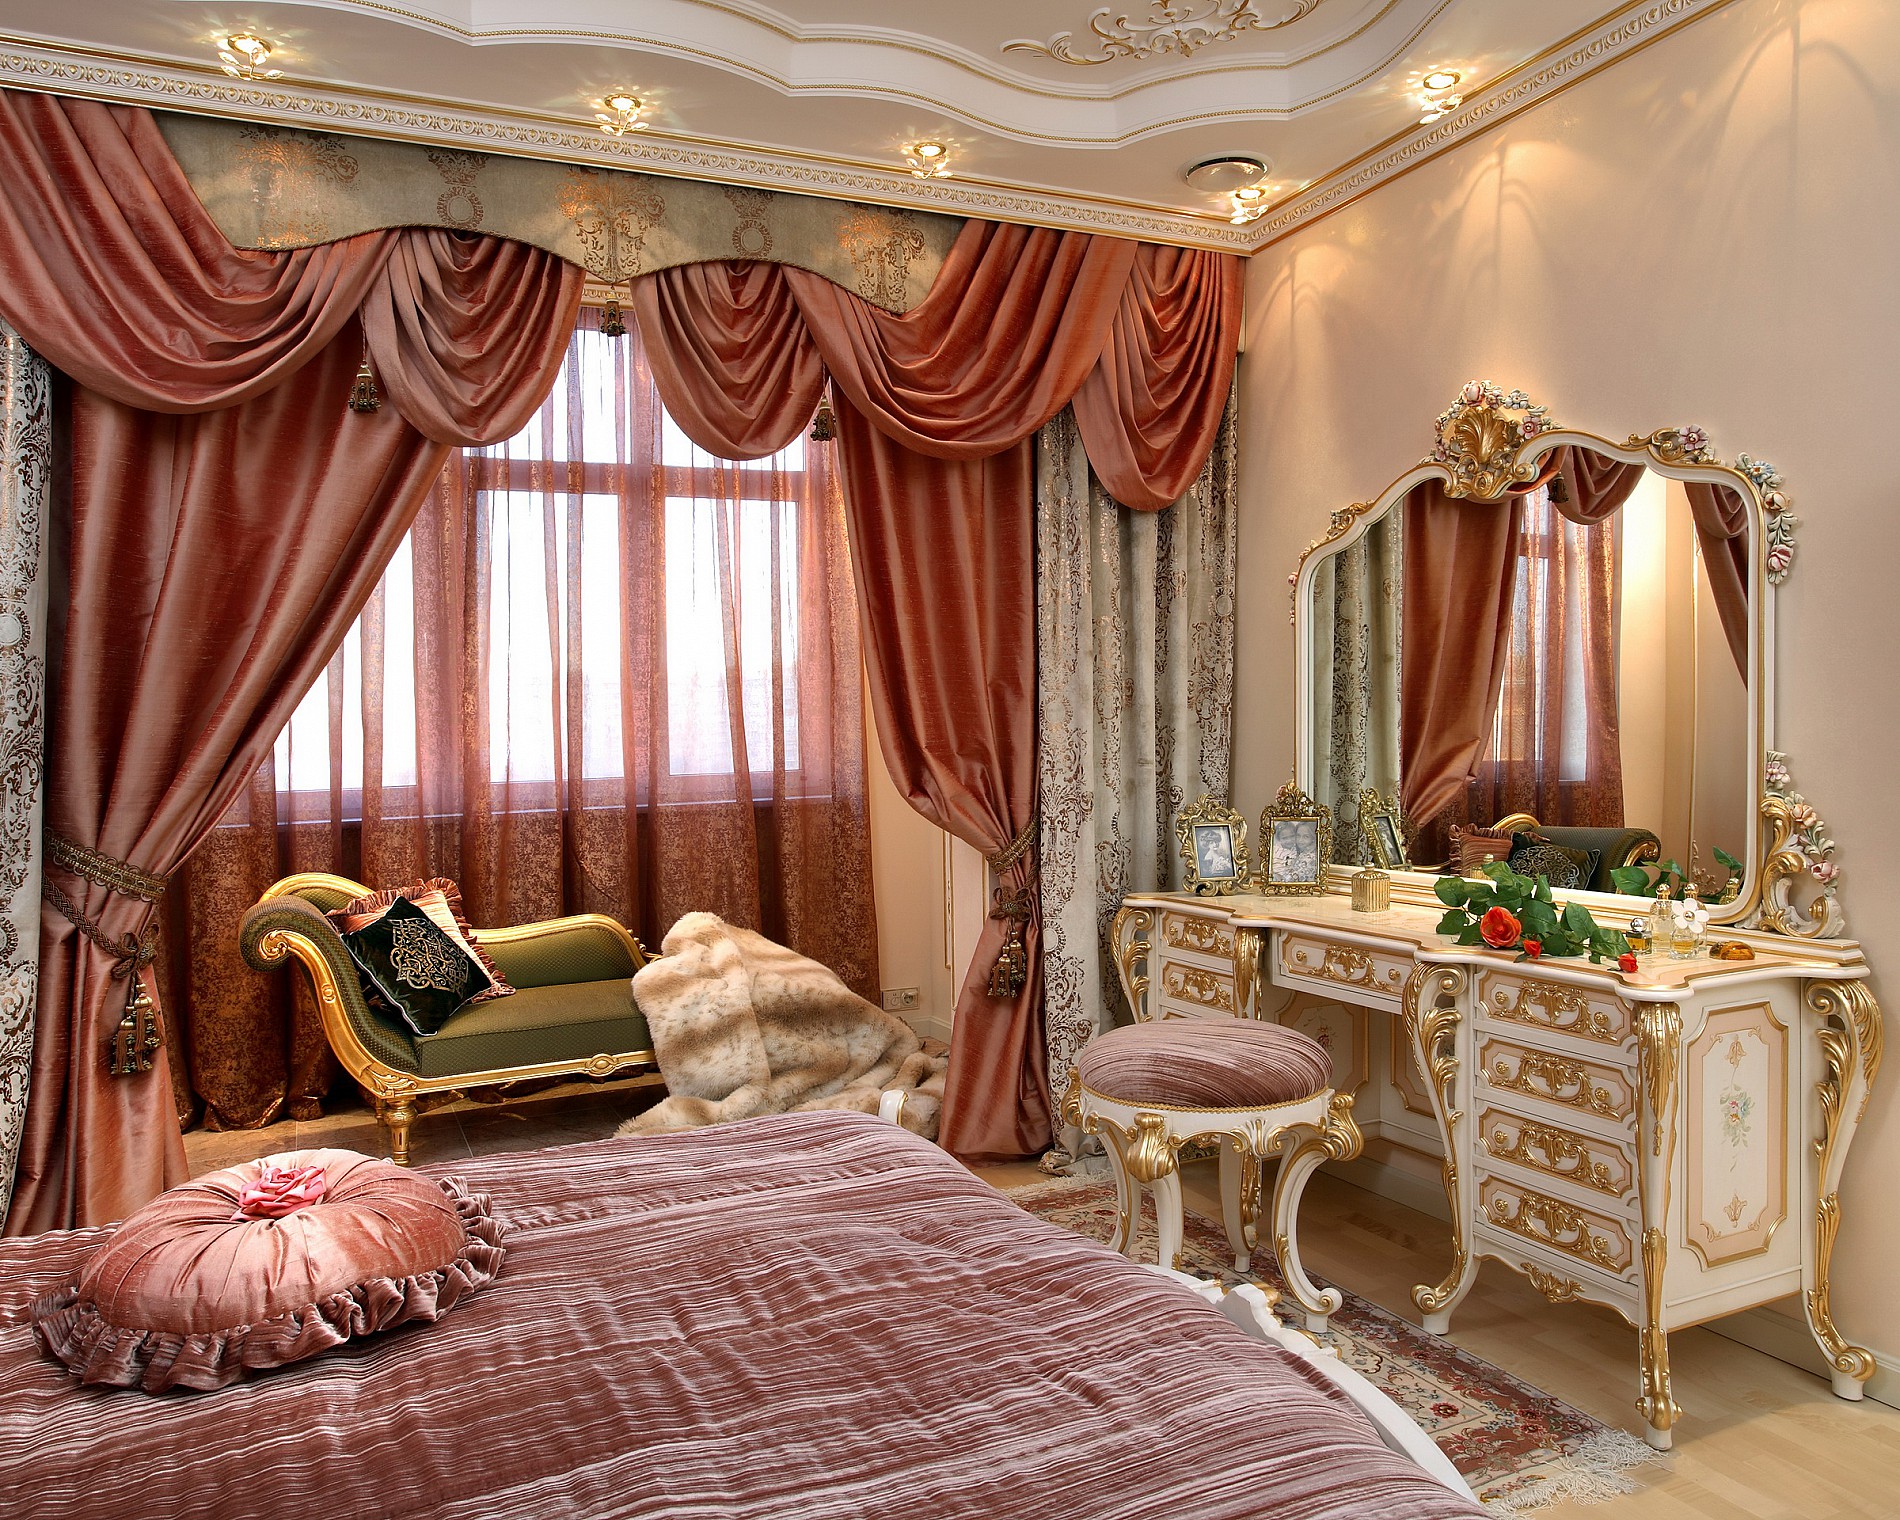
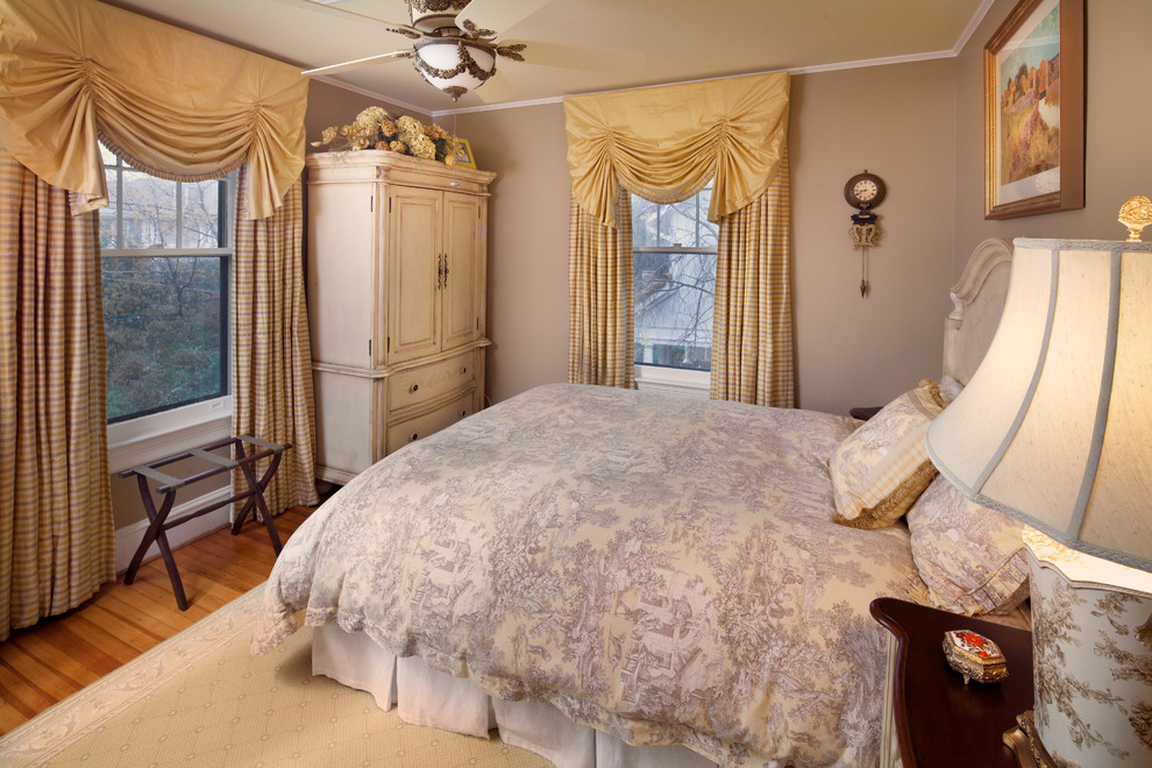
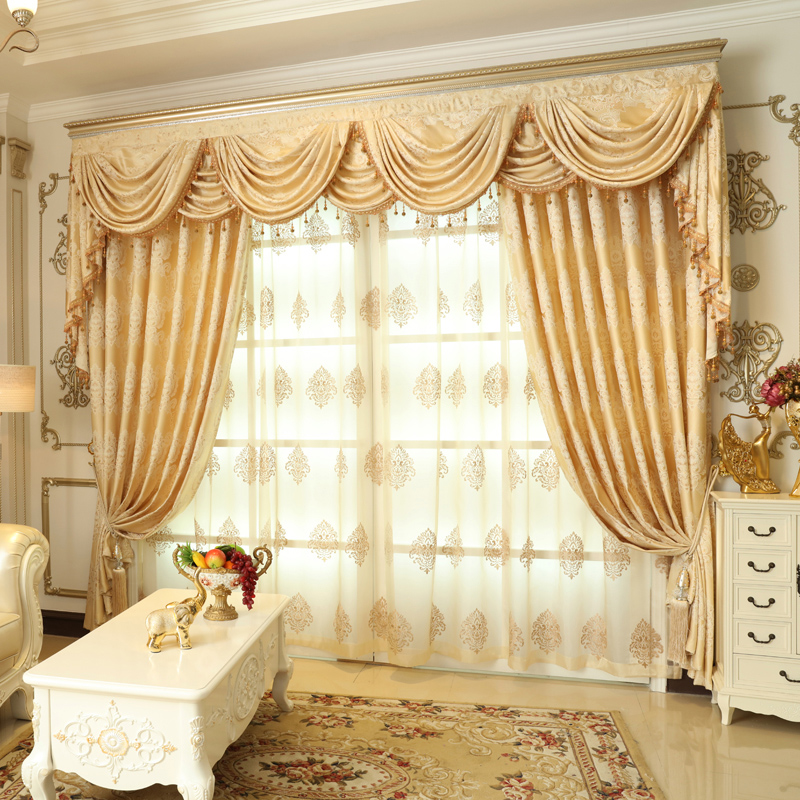
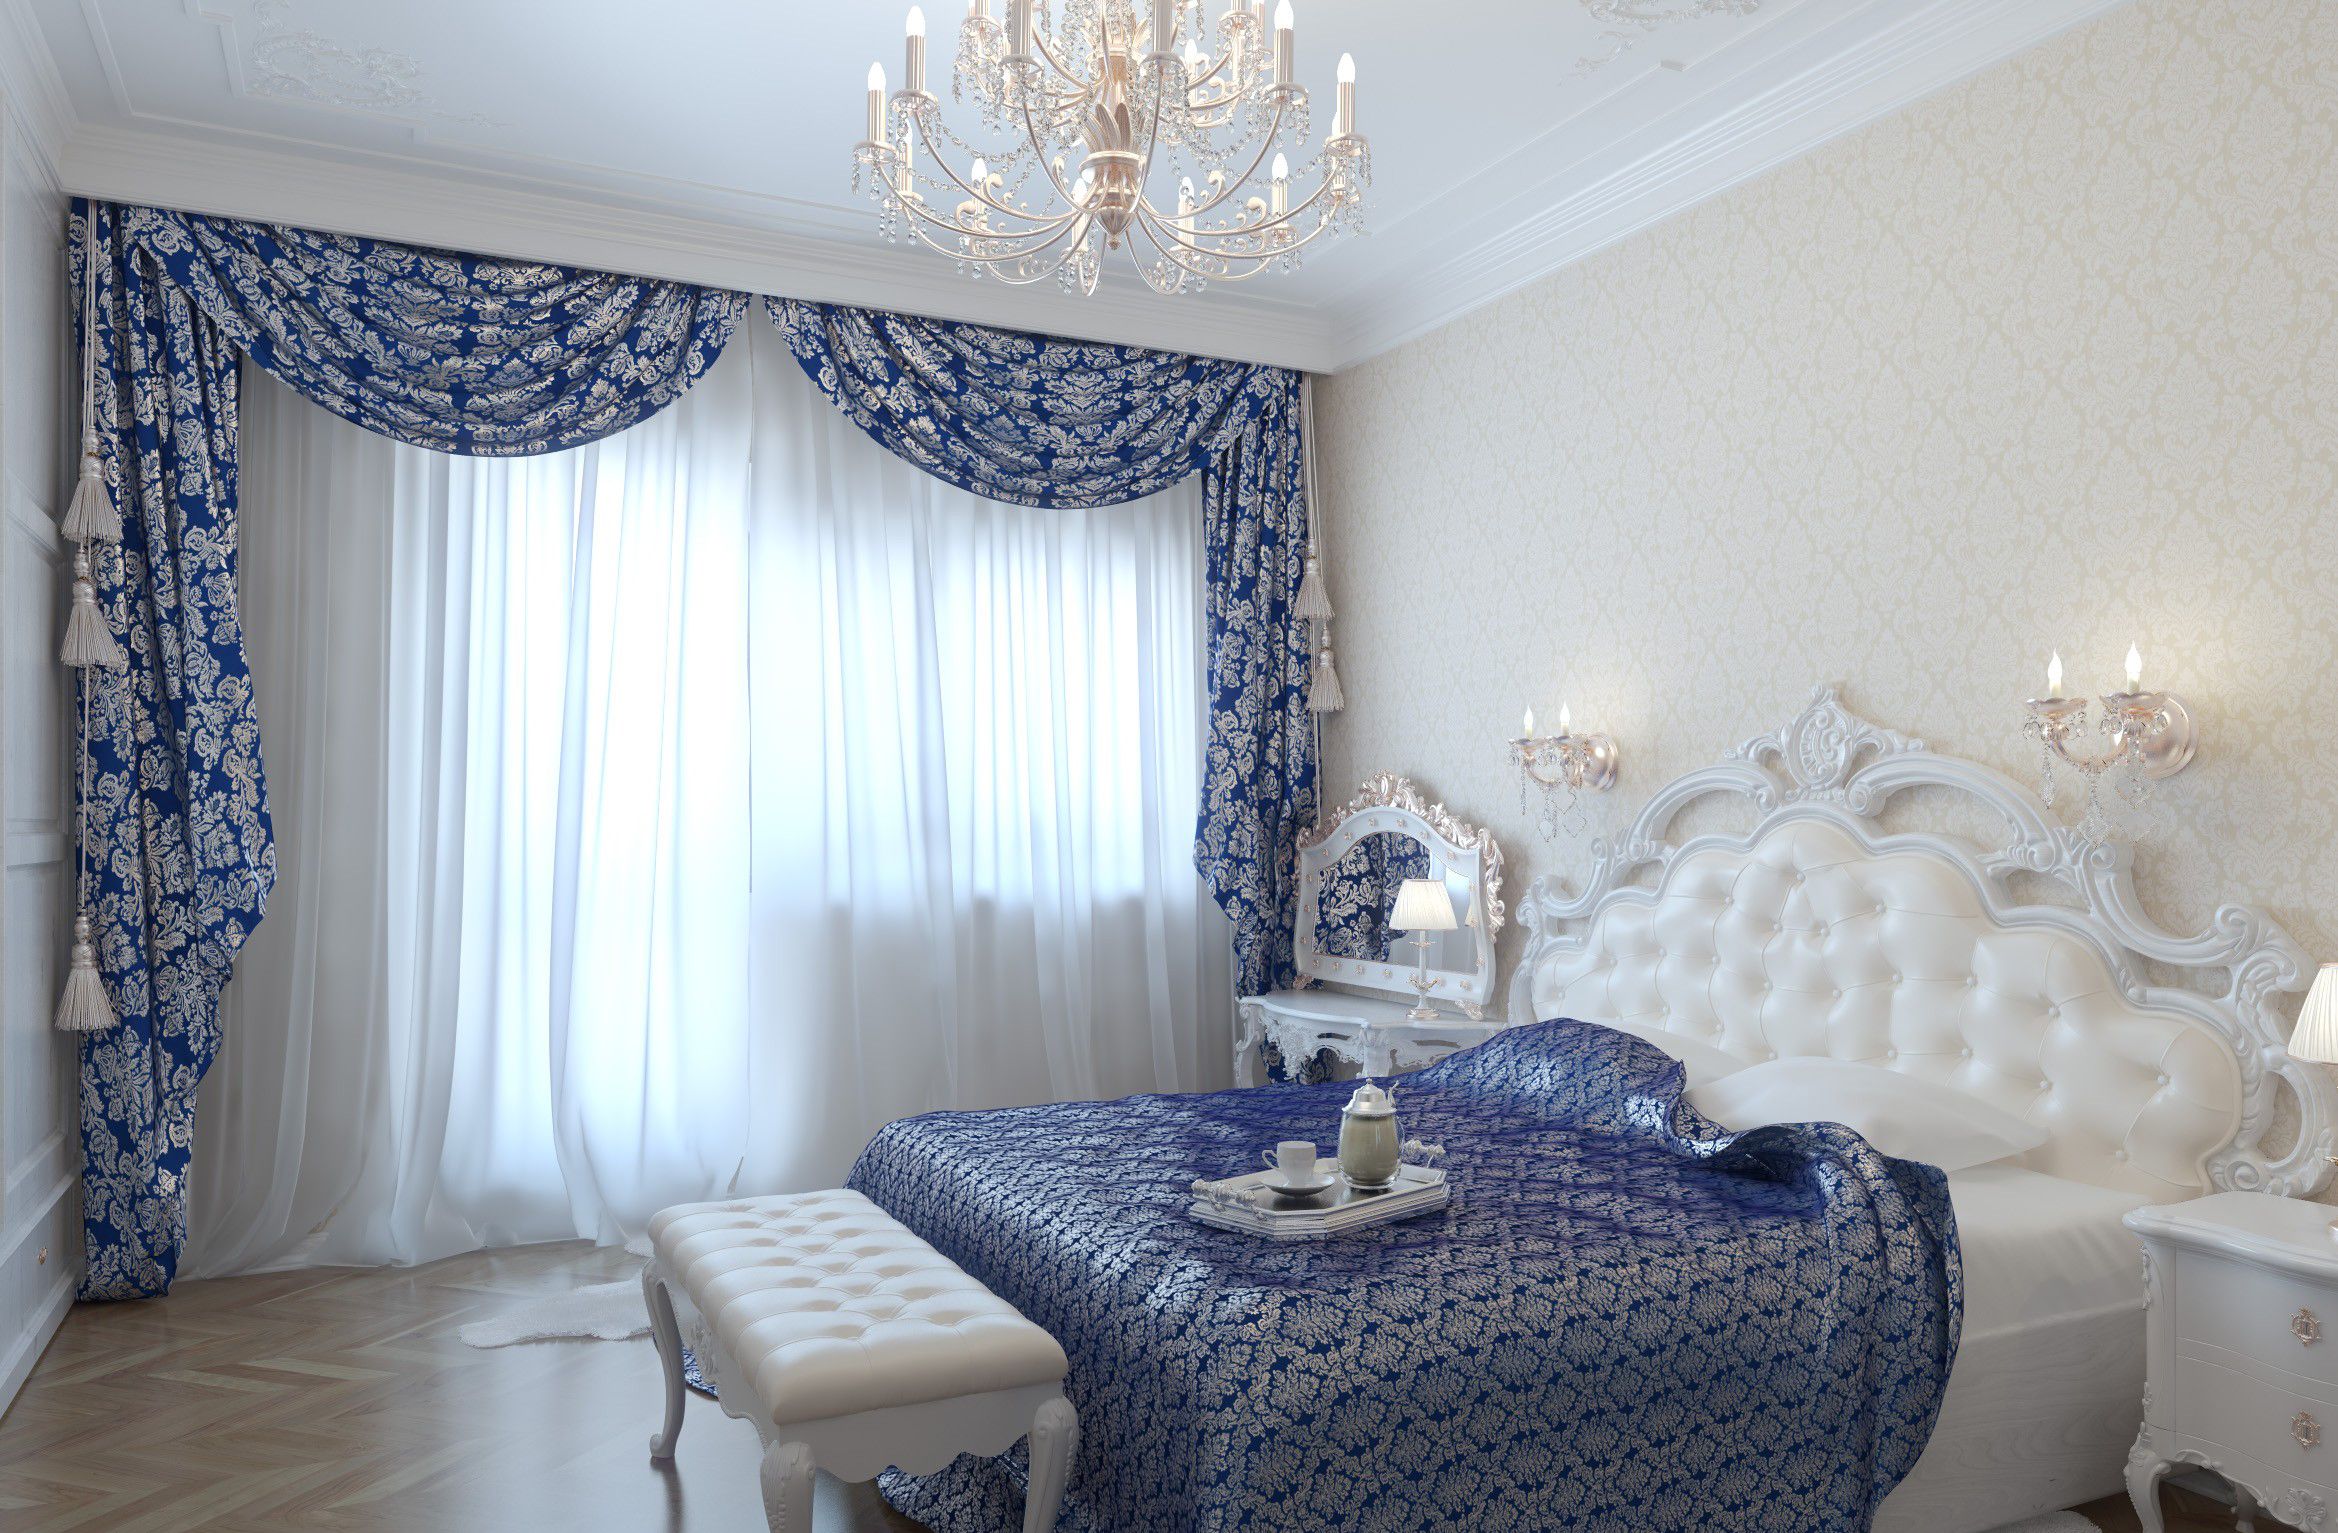
It is difficult to imagine a beautiful, full-fledged interior without ideal curtains. The market offers such a wide selection of types and colors of window decoration that it is easy to get lost in it. Some resort to the help of designers, and some manage on their own. In the second case, you can pay attention to such a detail as swag. Such curtains can be made independently, the main thing is to stock up on advice from specialists.

Content
What is swag?
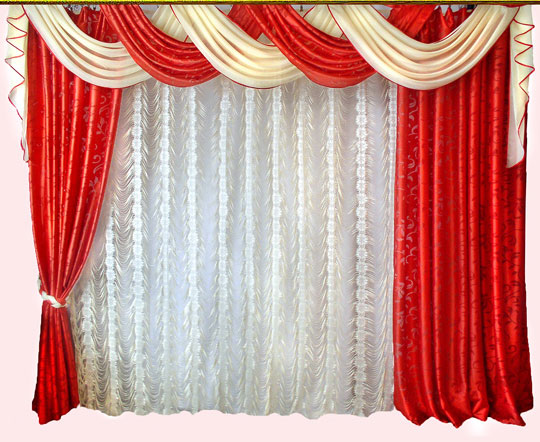
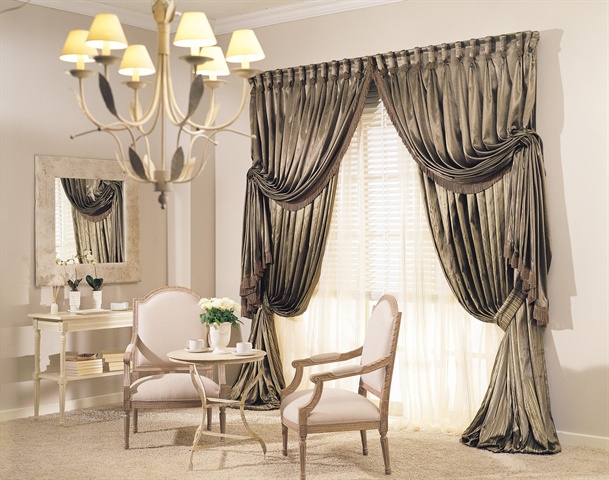
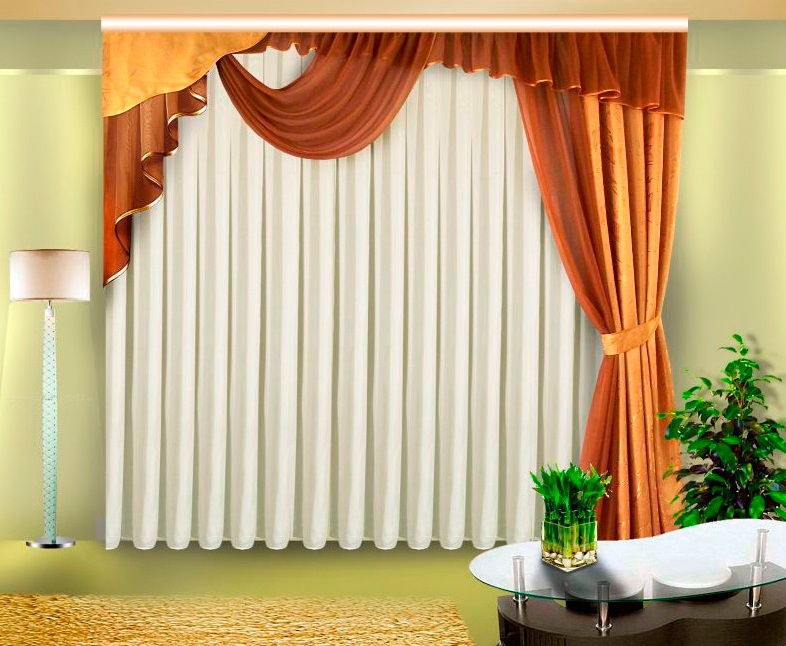
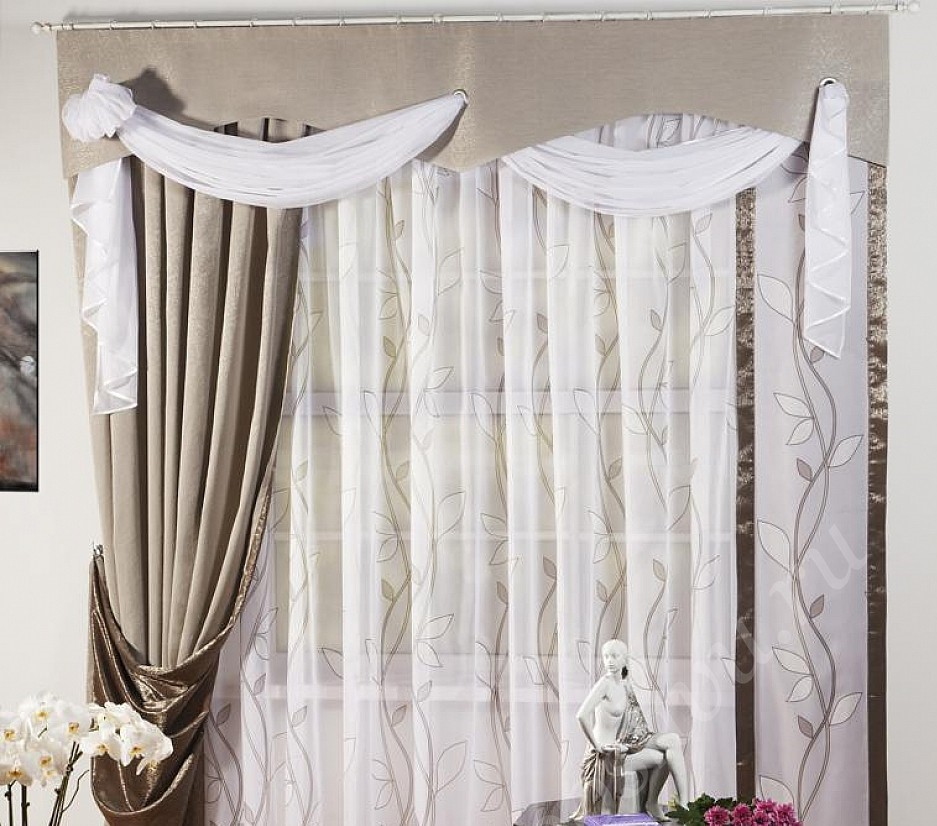
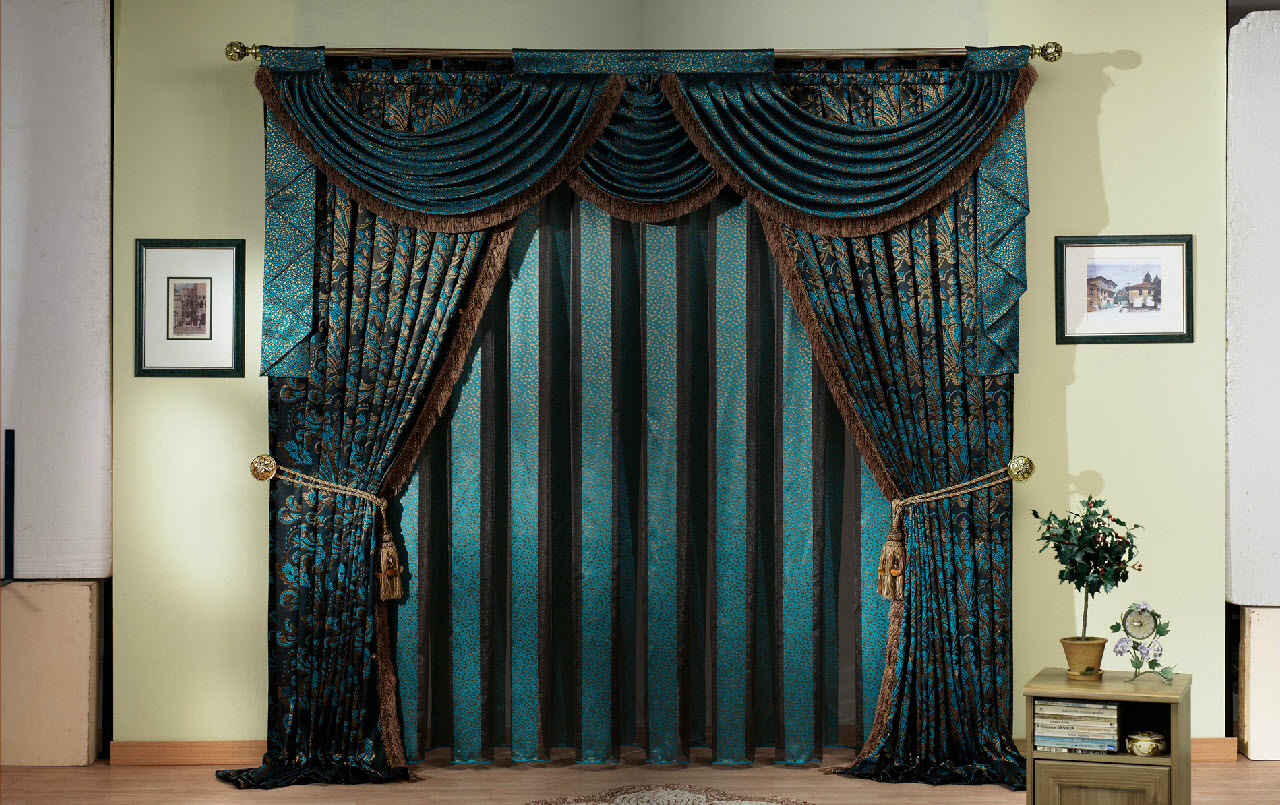
Those who are faced with the process of choosing new curtains for the first time often ask the question “What is swag?”. Swag is one of the elements that can be used to decorate curtains, namely an addition to the lambrequin (its upper part), it is draped in a special way. It looks like a semicircle on which folds are located. It consists of a head and shoulders (some call them wings).
Depth is the degree of its sag, length is the length that this element occupies on the cornice. Next comes the middle part - the middle along the cornice. The shoulder is the part with drapery folds and other fabrics. Even when preparing a pattern, the concept of "sag" (also called "depth") is encountered, this is the length to which the lower part can drop from the upper one. Usually the difficulty is in laying them correctly, but if everything is done correctly, they will become a real highlight in the style of your room.
Types: what are they?
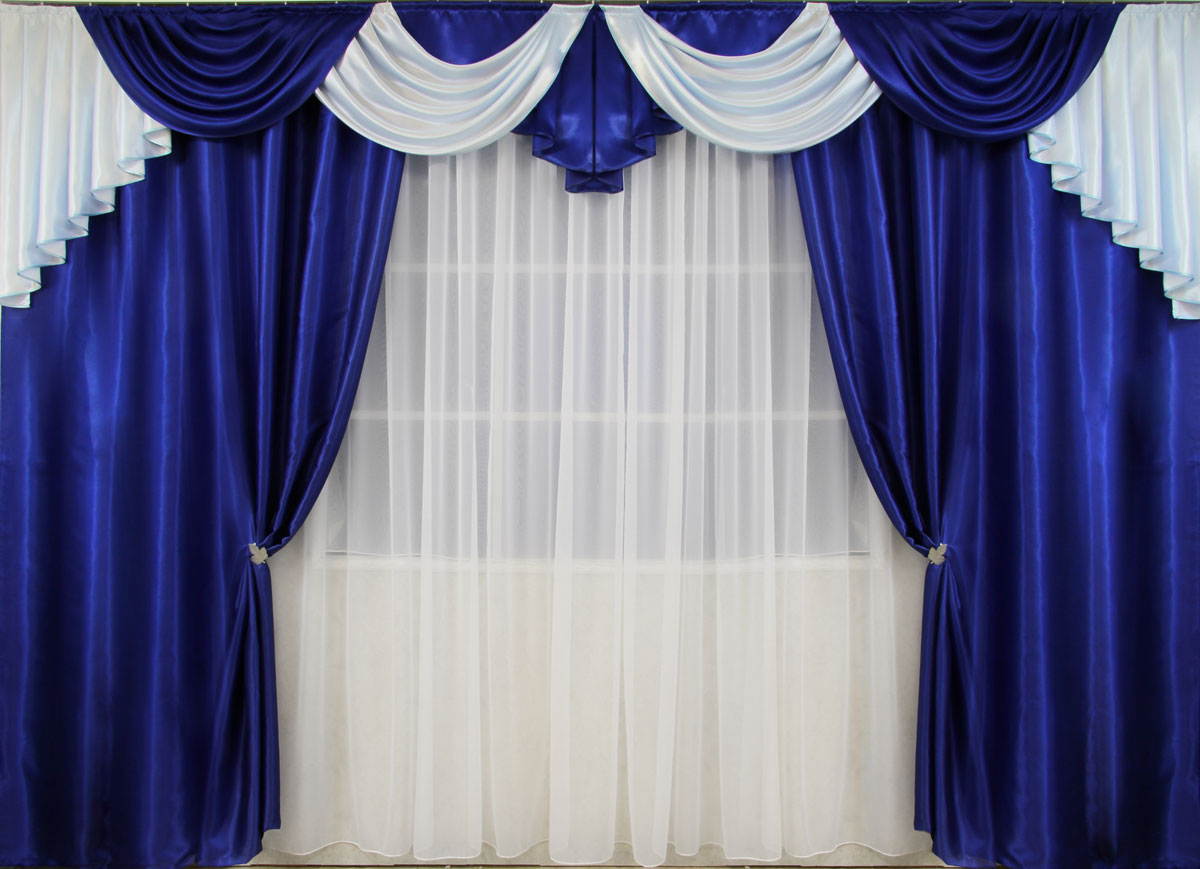
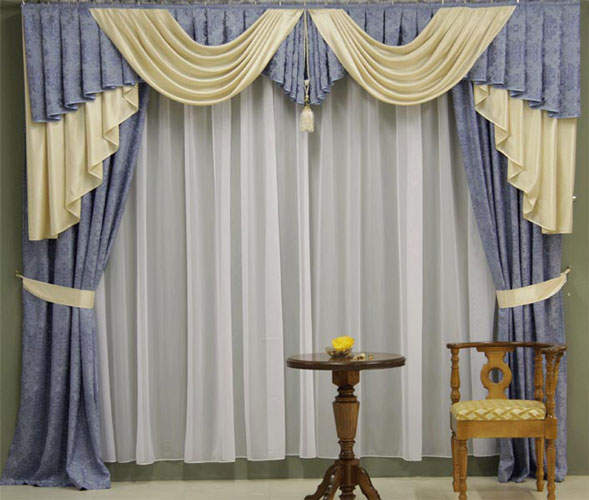
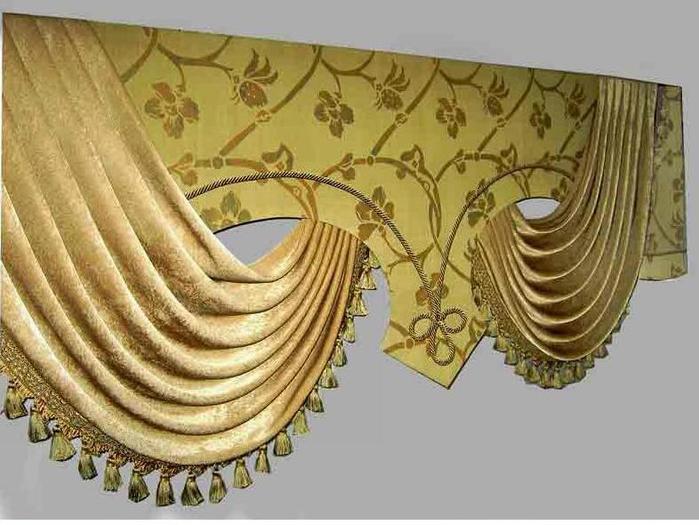
Equilateral swag
This is usually used if there will be other decorative elements on the curtains, as it does not overload the composition and looks symmetrical, its shoulders are the same.
In order to speed up the sewing process, you can use a ready-made pattern. List of basic parameters that need to be taken into account when sewing a swag with equal sides:
- Middle;
- Shoulder;
- Depth;
- Length of the lower sag.
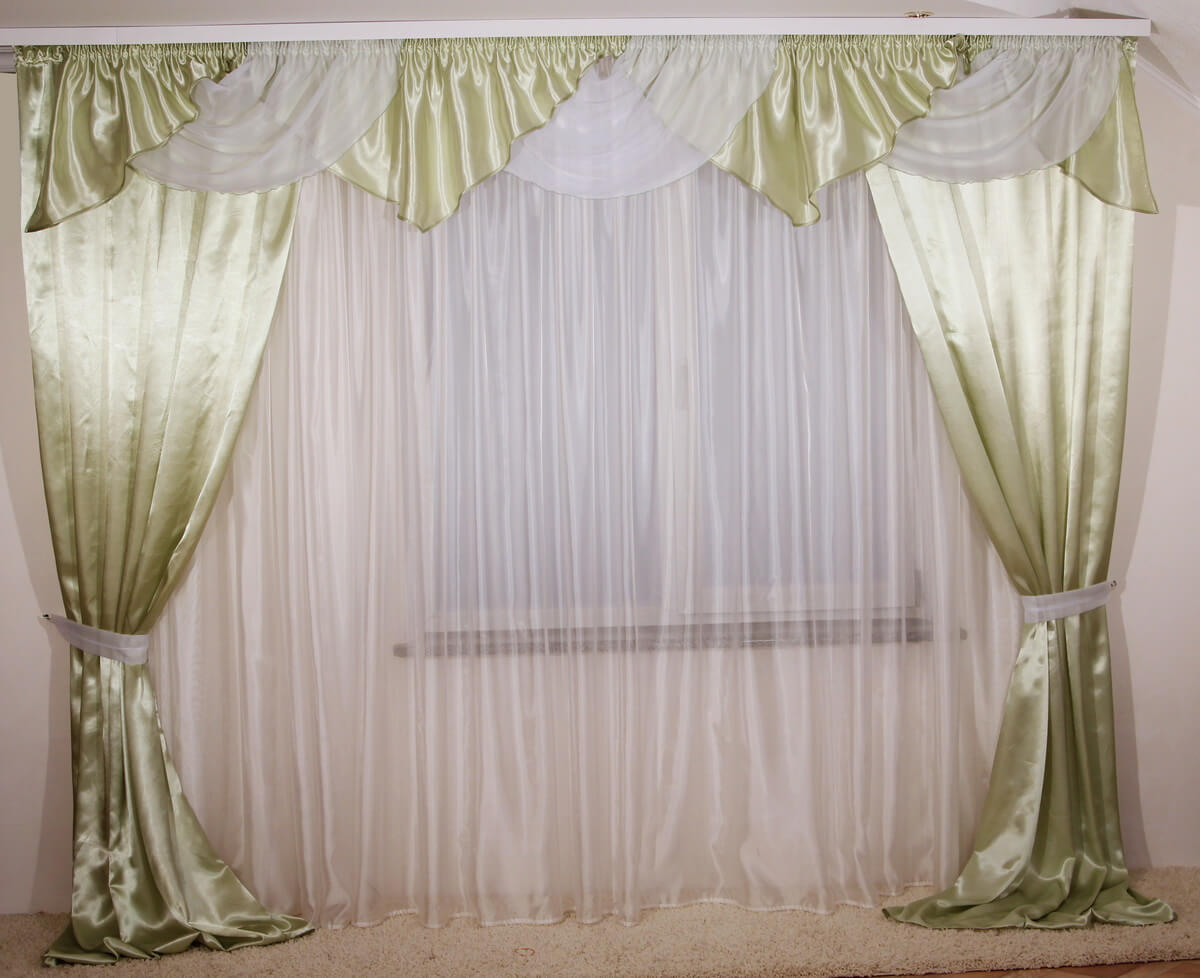
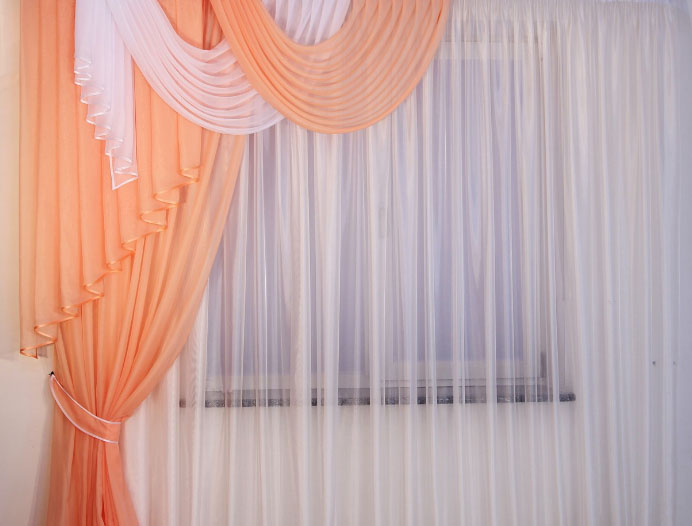
Asymmetrical swag
This type will have different shoulders: one wider and the other narrower.
We will describe how to cut and calculate the parameters of the swag. To construct this element, you can choose a fabric measuring 140 * 140, then divide this segment with chalk into two halves diagonally. After that, you need to draw lines in both directions that will be equal to half the length of the element, do this perpendicularly. At the ends of the resulting line, put point No. 1 and point No. 2.
Important! It is necessary to take into account the allowances in order to process the edges later (approximately 05, - 1 cm).
At an angle of 15 degrees from points 1 and 2, you need to put off segments that will be the same length as the shoulder of the swag (if you don’t trust your eye, use a protractor). At the ends of the segment, you need to put point #3 and point #4.
On the diagonal itself, you need to cancel the sag depth (let it be marked as point A), connect points A and 3 with an arc, as well as points A and 4. The pattern is ready.
DIY Swag: How to Make Patterns? Step-by-Step Description
Sewing this element is a rather complex and multifaceted process. It may take a lot of time to master the art of sewing and become a professional in it, but for beginners and amateurs there are simpler methods with which you can sew a curtain.
There is no need to be afraid, because anyone can sew such curtains using the instructions of this easy method. The whole point is that you can sew not only the classic swag, but also a simpler one - mechanical. Its peculiarity is that the folds can be made not by hand, but by resorting to trickery and using mounting tape, or you can come across such a name as curtain tape. At the same time, it is almost impossible to distinguish this option from the one created manually. Therefore, such an alternative is not inferior to the classic method. So, a small master class on sewing equilateral swag.
Parameters:
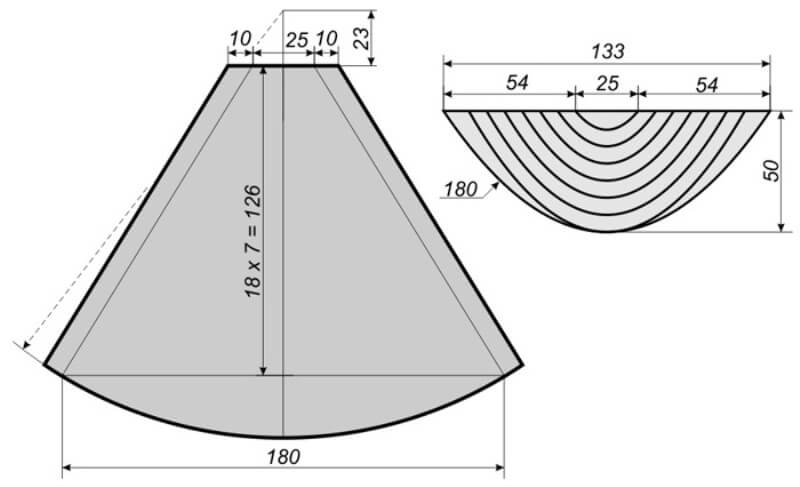
These elements are usually sewn 35 cm high and 60 cm wide. These dimensions may vary slightly depending on the size of the window and the desired effect. We will use the following parameters:
- length 90 cm;
- depth 45 cm;
- the bottom sag is 140 cm.
From these measurements it follows that:
A – half (of its middle) – 15 cm
B – depth – 45 cm
B – shoulder – 30cm
G – half of the lower sag – 70cm
You can decide for yourself what size your swags will be by slightly editing the patterns.
We create patterns to sew swags
First, you need to build an angle with a vertex (1). From it, to the right, you need to put off a segment that will be equal to half the middle + 3 cm for processing. It turns out 18 cm. The second end of this segment will be point No. 4. Then, from point No. 1, we also measure a segment, the length of which will be equal to the depth parameter multiplied by k, where k is 2 - 2.5.
Additional information! This indicator depends on the selected fabric: if we are working with dry fabric that is hard enough for draping, then it is better for this indicator to be equal to 2. But if the fabric is soft and easy to drape, then it is better for k to be equal to 2.5.
The next step: draw a circle from point 2. Instead of a compass, you can use a thread, applying it to point №1. After that, on the resulting arc from point №2, mark point №3. It should be in half of the lower sag, and, of course, do not forget about the additional 3 cm for processing. Connect points №3 and №4 with a straight line, and the angle that is obtained at point 4 will be slightly rounded. As a result of the work done, we get a figure (1-2-3-4) - it will be the basis of our pattern. We will sew on the mounting tape along line 1-4-3, and tighten on section 4-3. The middle (1-4) is not tightened, but only processed.
Usually this element is sewn on a lining, but using soft fabric, you can do without it. So, we have half of the pattern ready.
Additional information! In this case, you can cut at an angle of 45 degrees, or along the warp thread, which is even more convenient.
When you start sewing, process the side that lies between points 2 and 3, using bias flannel or double fold. On those sides to which the curtain tape will be sewn (1-4-3), fold the seam allowance inside out, and then iron. From the wrong side, make a seam of the curtain tape. Pull side 4-3, and leave the middle (1-4) not pulled. Now the pattern is ready!
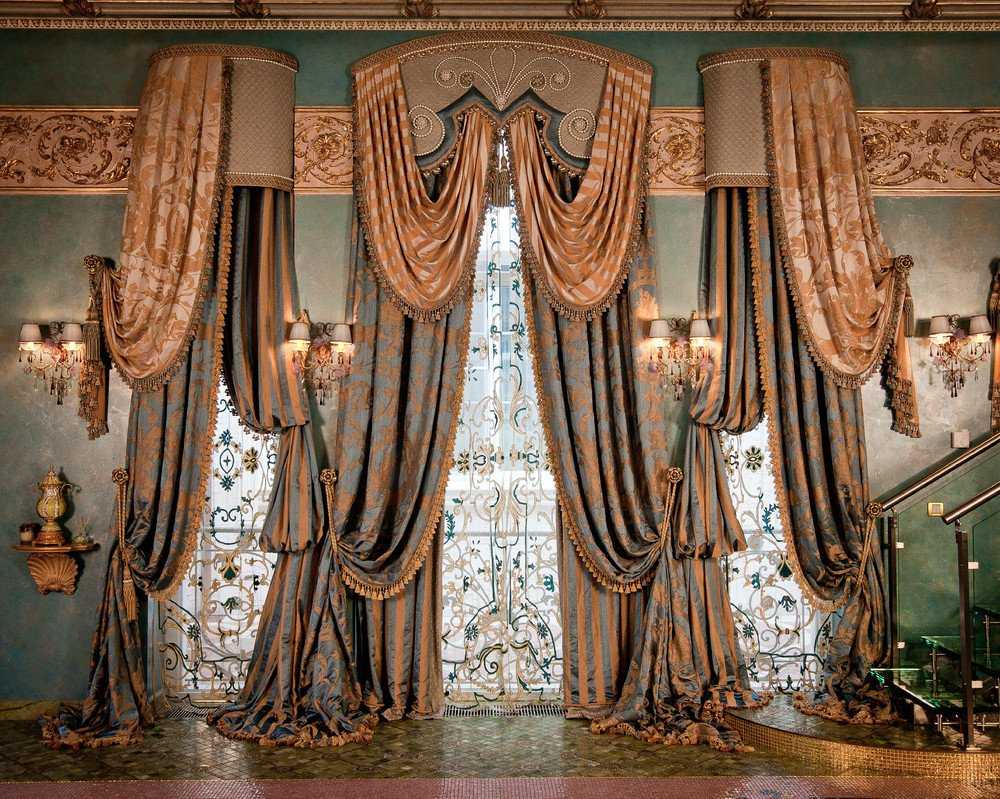
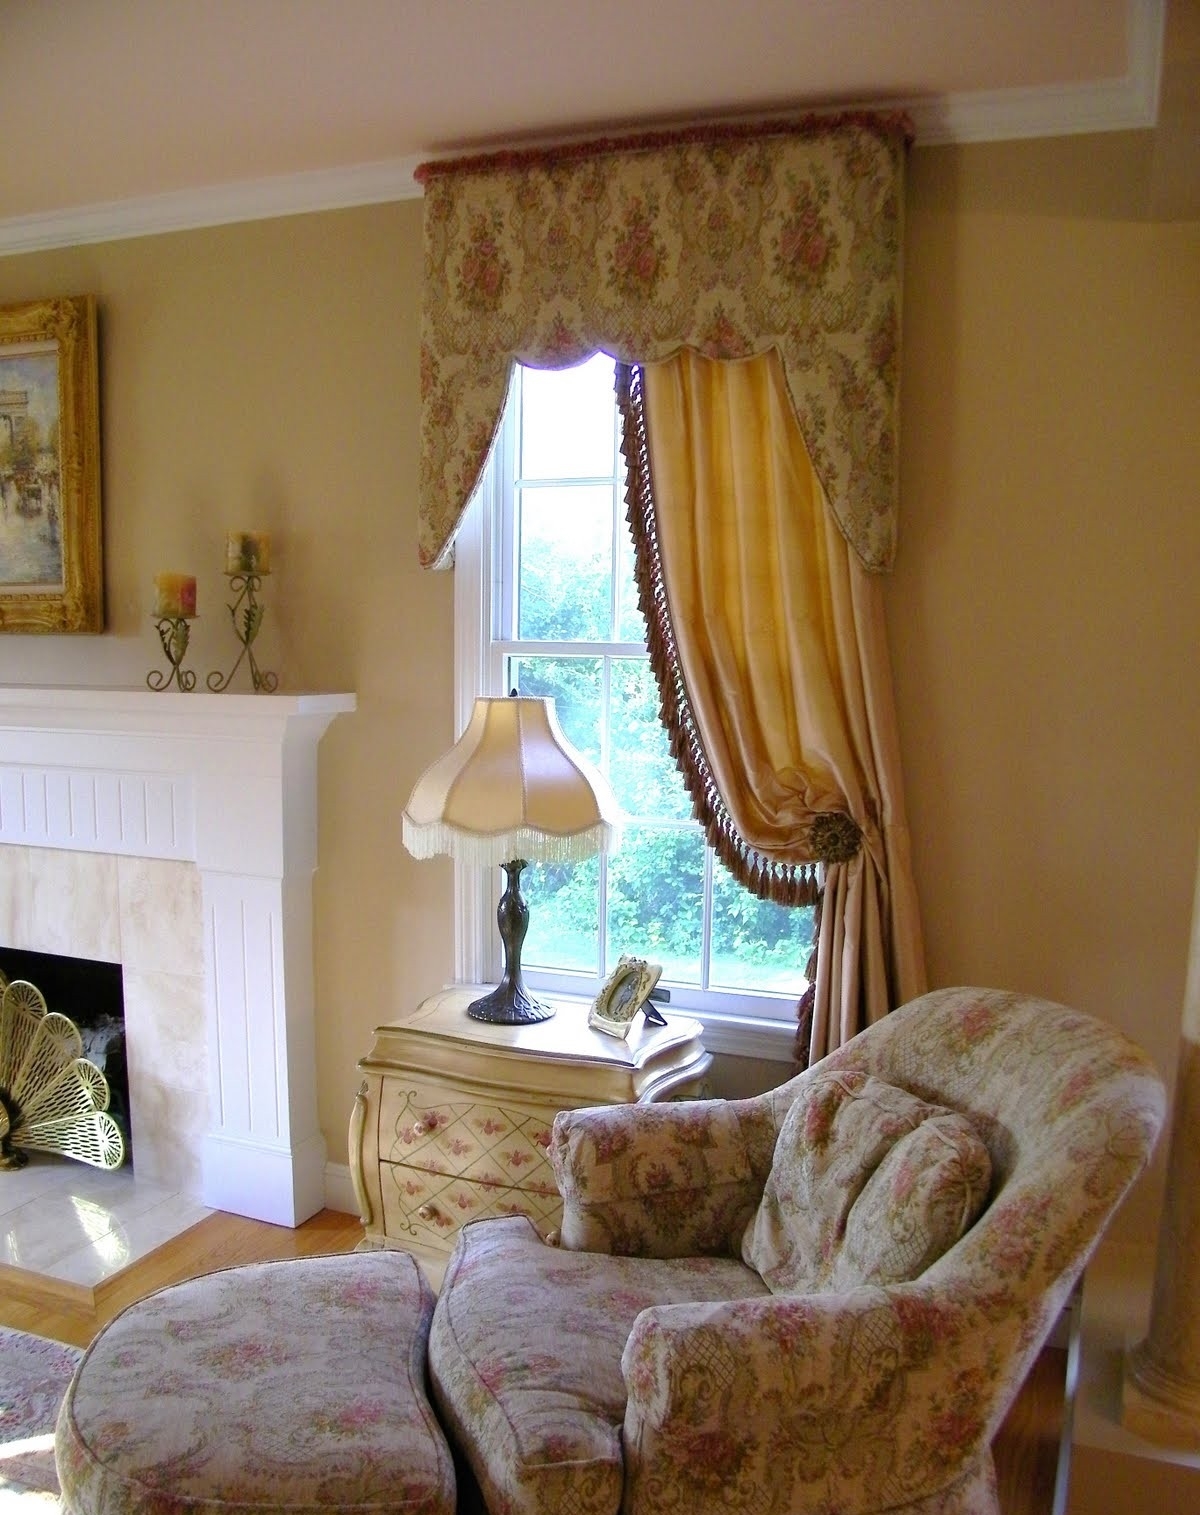
With the transition to de jabot
Curtains can be made even more unusual and original if you use the technique of transition into de jabot. This option can replace two components of the lambrequin at once, and also allows you to avoid primitive and boring design solutions.
Accordingly, the pattern will consist of two parts: the swag pattern, which will be attached to the jabot pattern. So, let's get started.
- We are constructing a swag pattern. In the previous points we have already considered how to make a pattern for an asymmetrical and regular element.
- We are adding a jabot element to this pattern. How to make a pattern for it? See below.
- On the perpendicular to the fold of the fabric aB from point G1 we mark the distance G1D, it will be equal to the length of the finished element of the jabot along the cornice taking into account the folds.
- From point D, draw a perpendicular to line G1D and measure the height of the jabot on it (in the figure, this is point DD1)
- All that remains is to draw the sag line.
The pattern of the swag with a transition to a de jabot is ready!
Conclusion
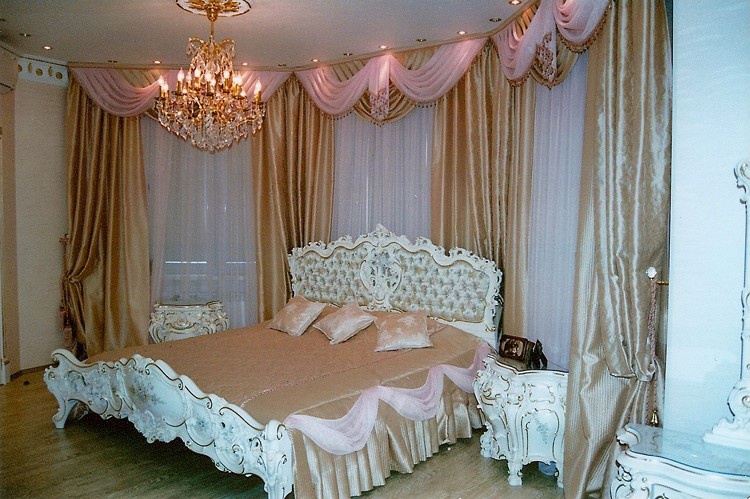
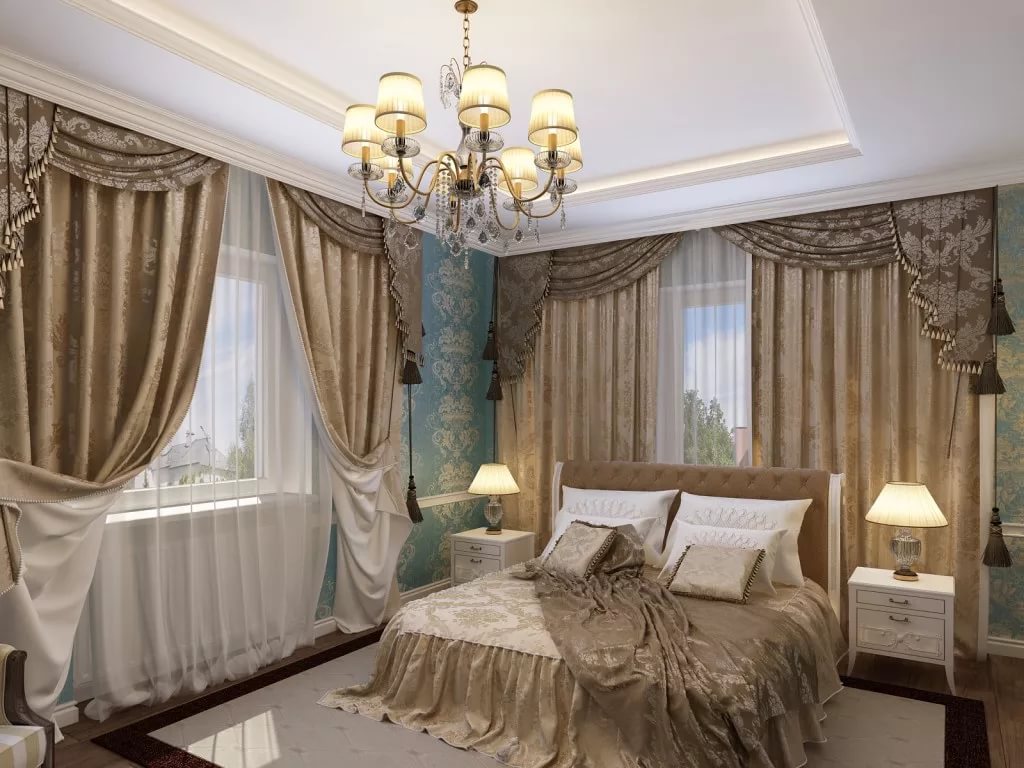
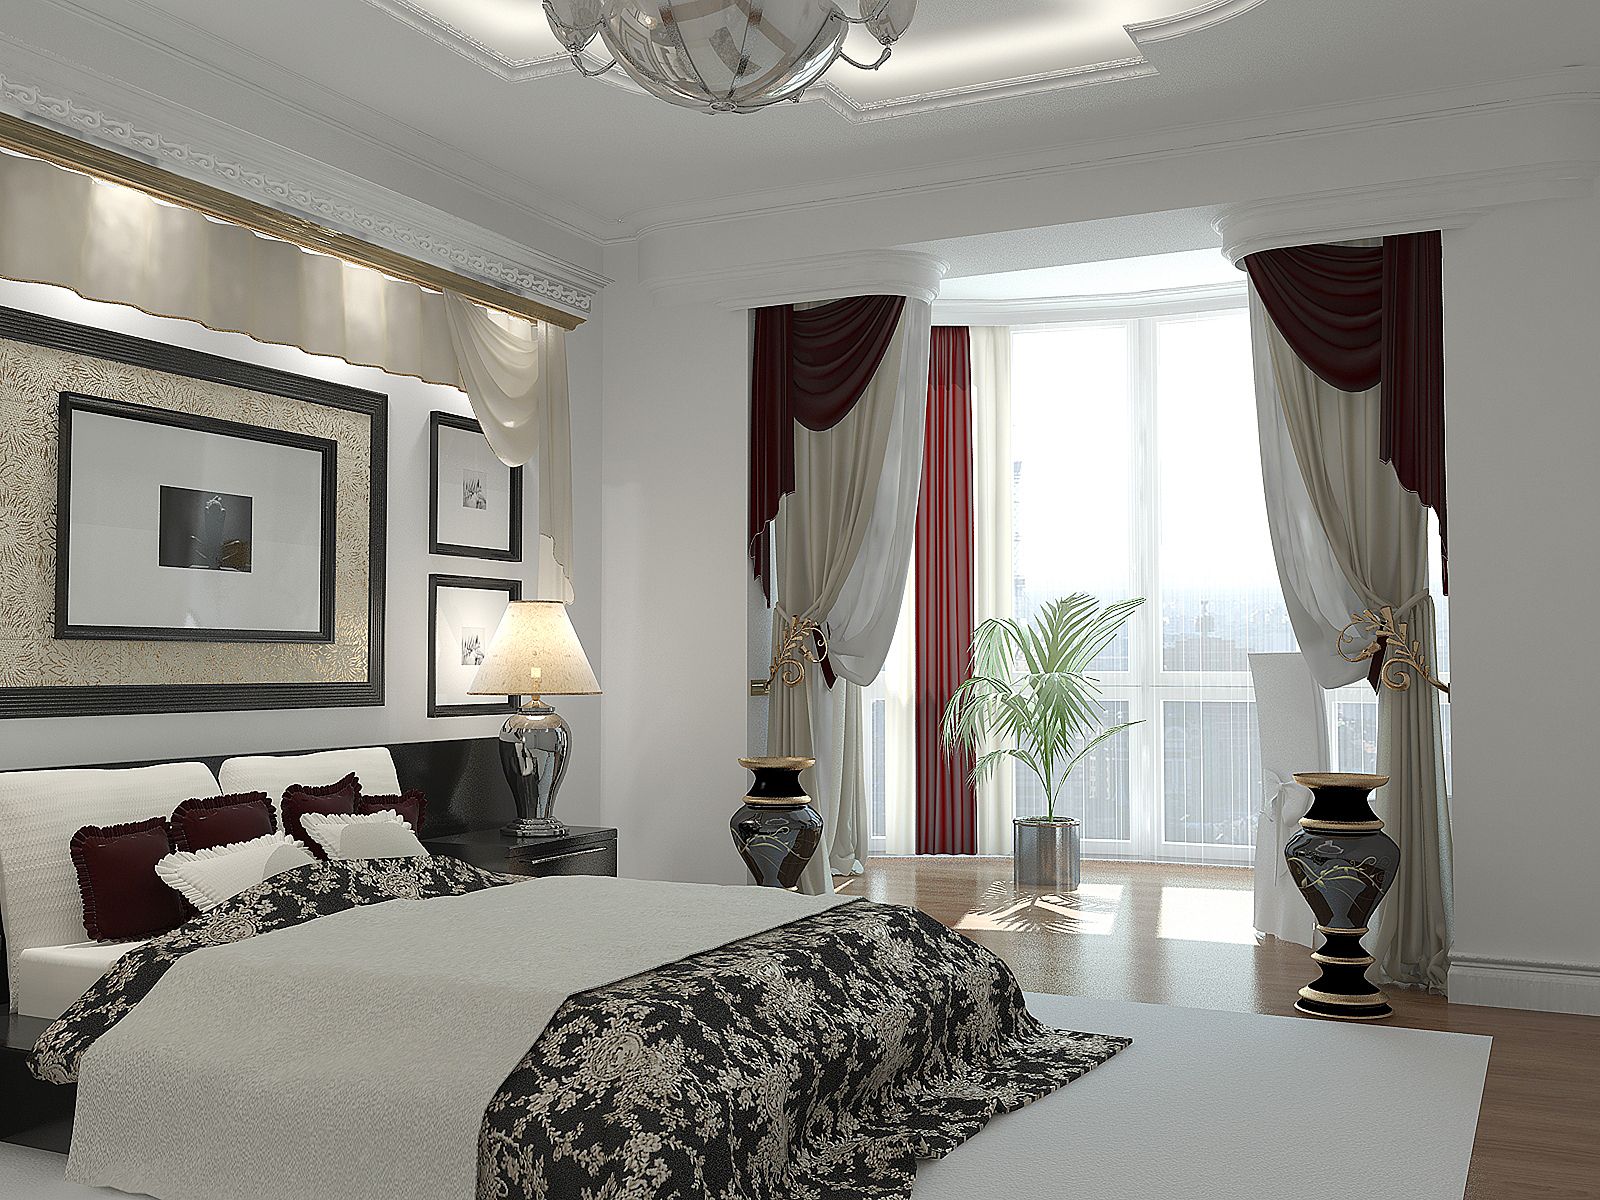
Such curtains can really add variety to the interior. Many housewives note that swags give a fresh effect to the room, adding freshness, novelty and unusualness to it. Some note that they are convenient for room decoration, for example, it is convenient to attach New Year's decorations to them. In general, this can become not only an aesthetic addition to the decor in the room, but also a functional element for additional decoration of the apartment.
VIDEO: How to create an asymmetrical swag.
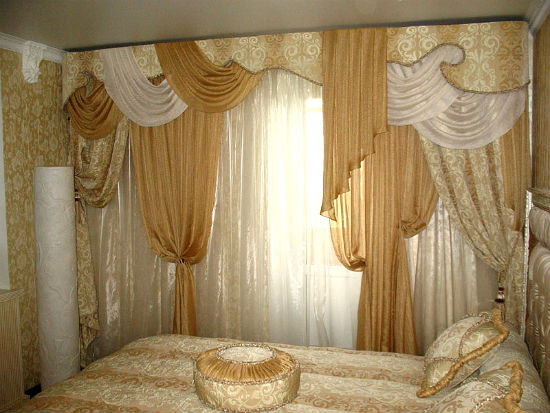
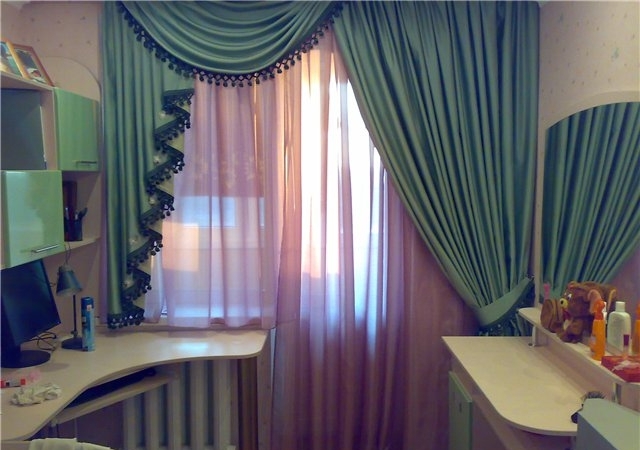
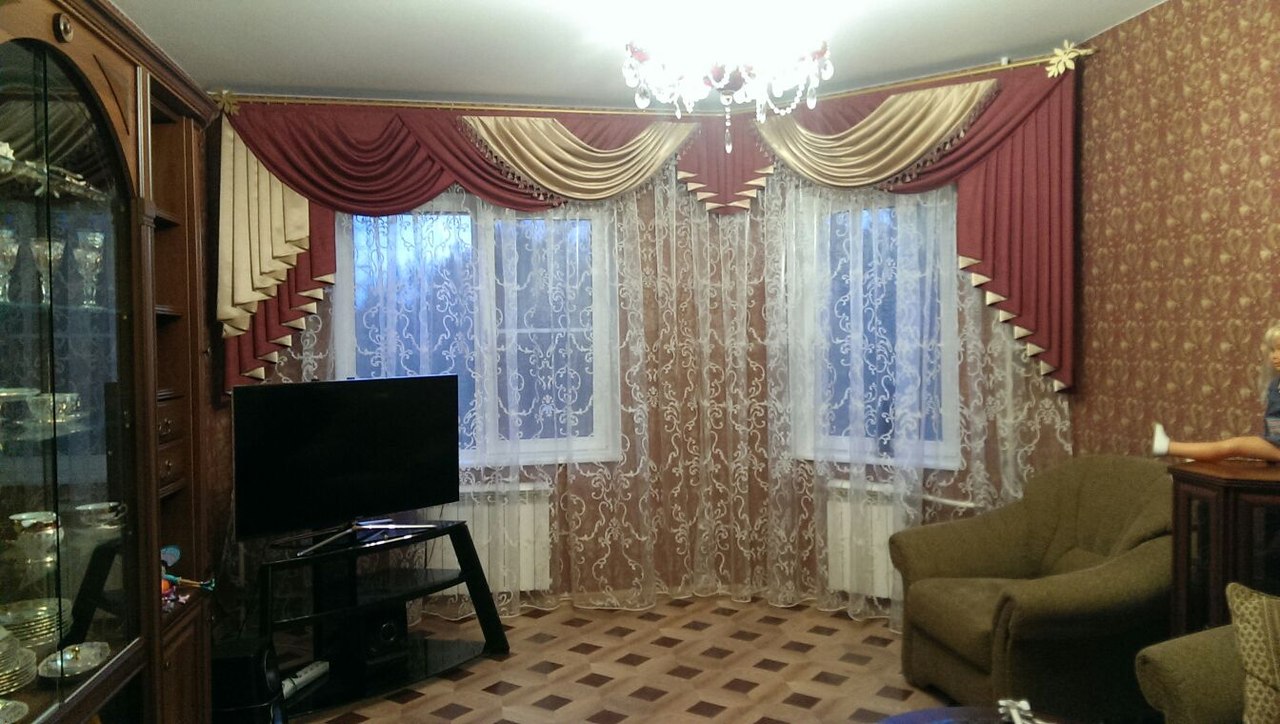
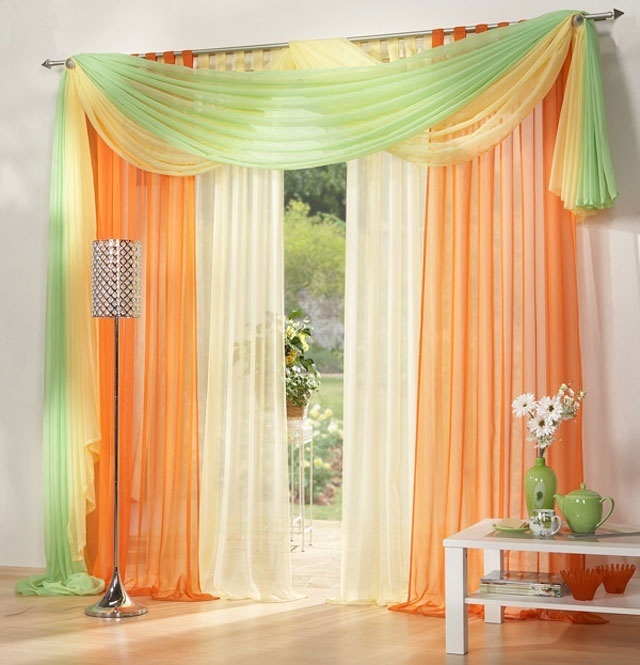
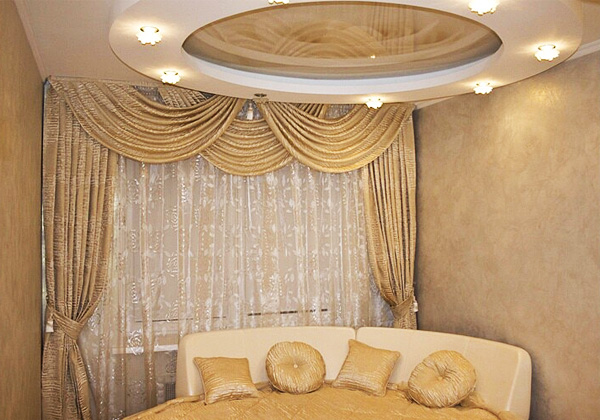
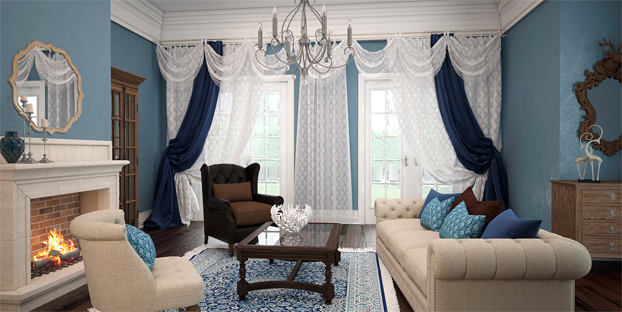
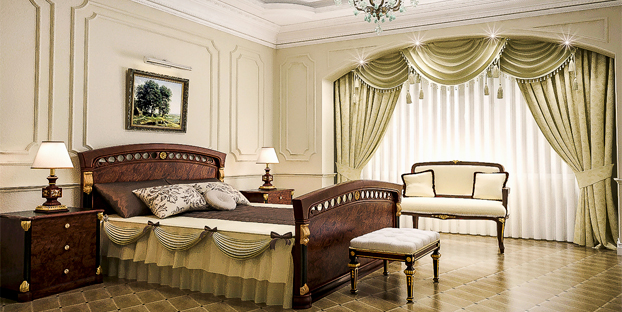
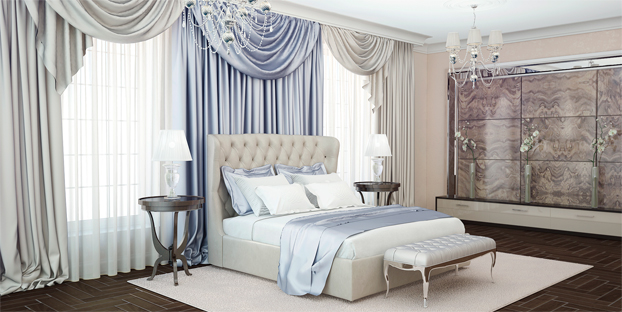
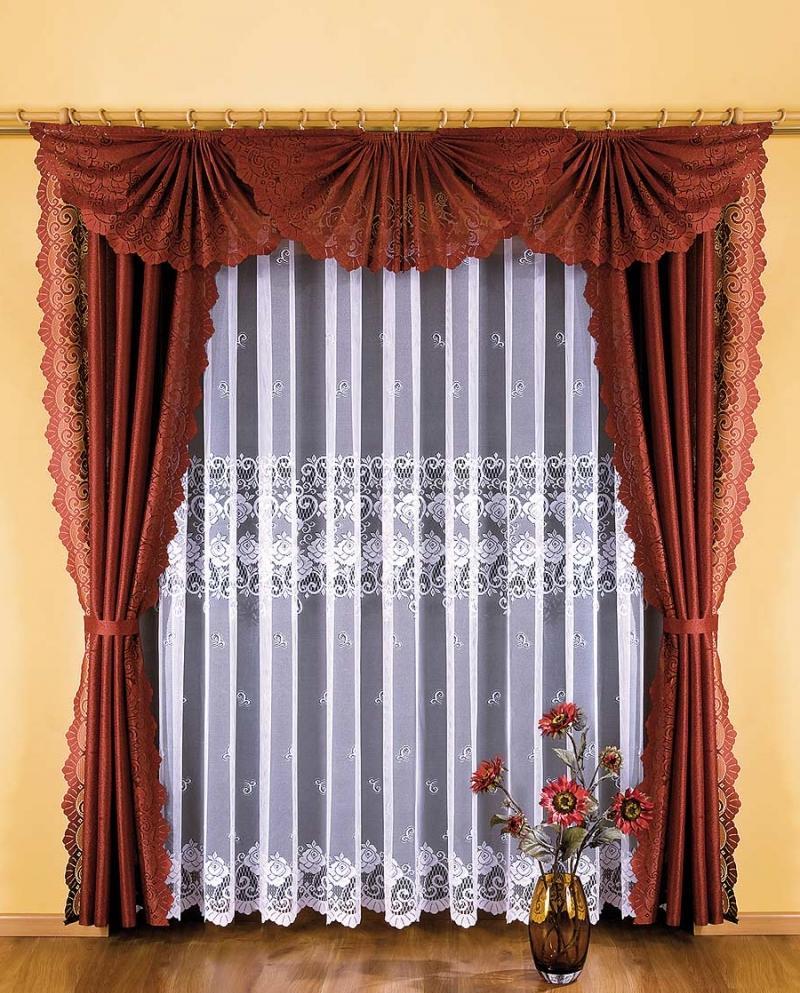
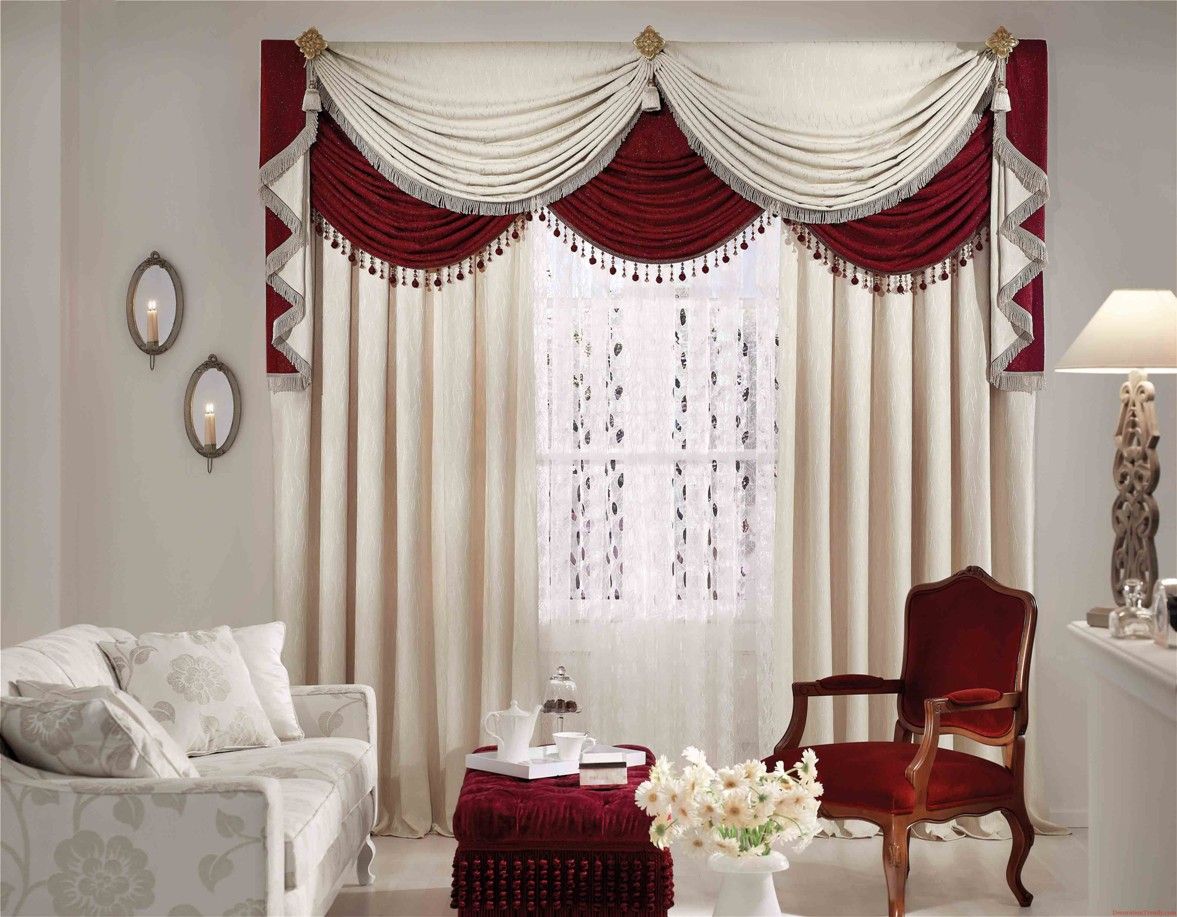
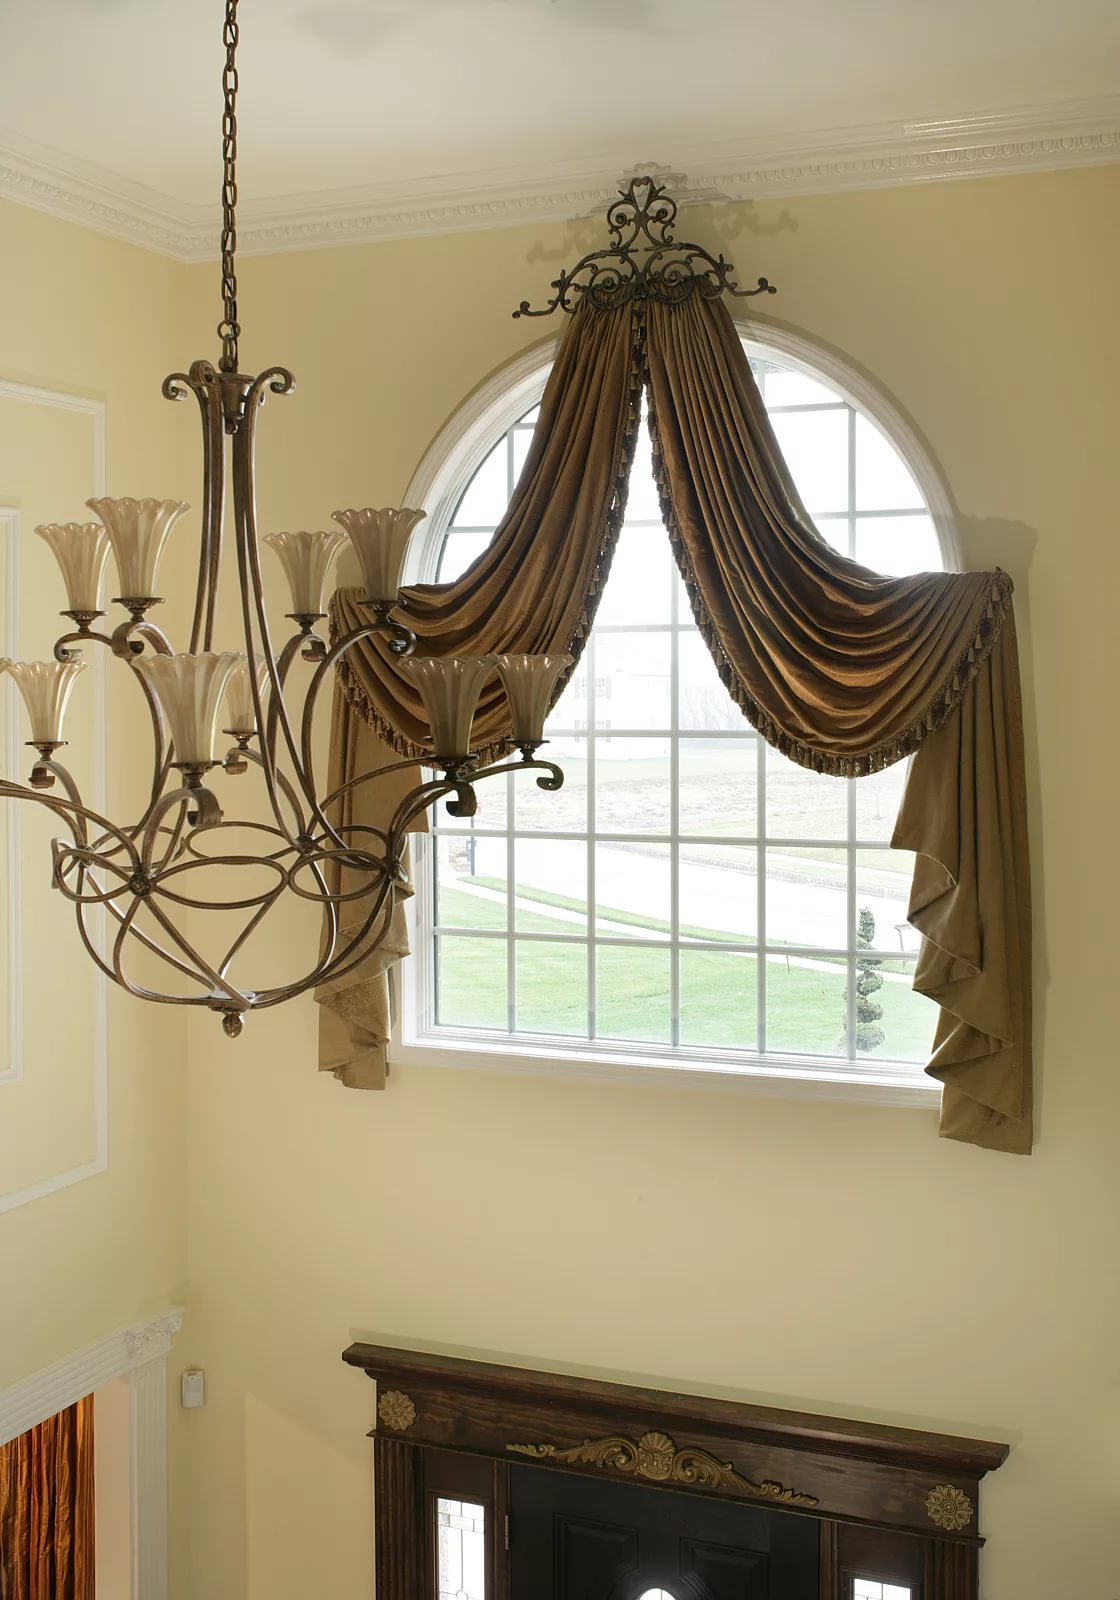
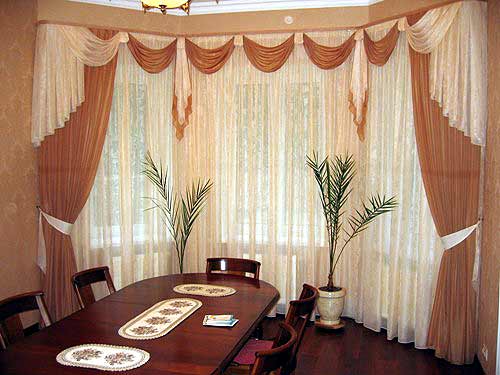
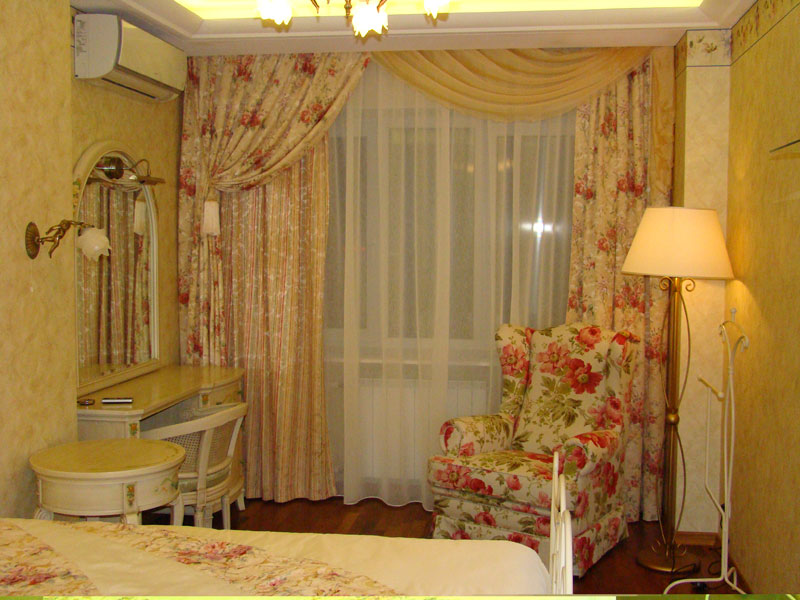
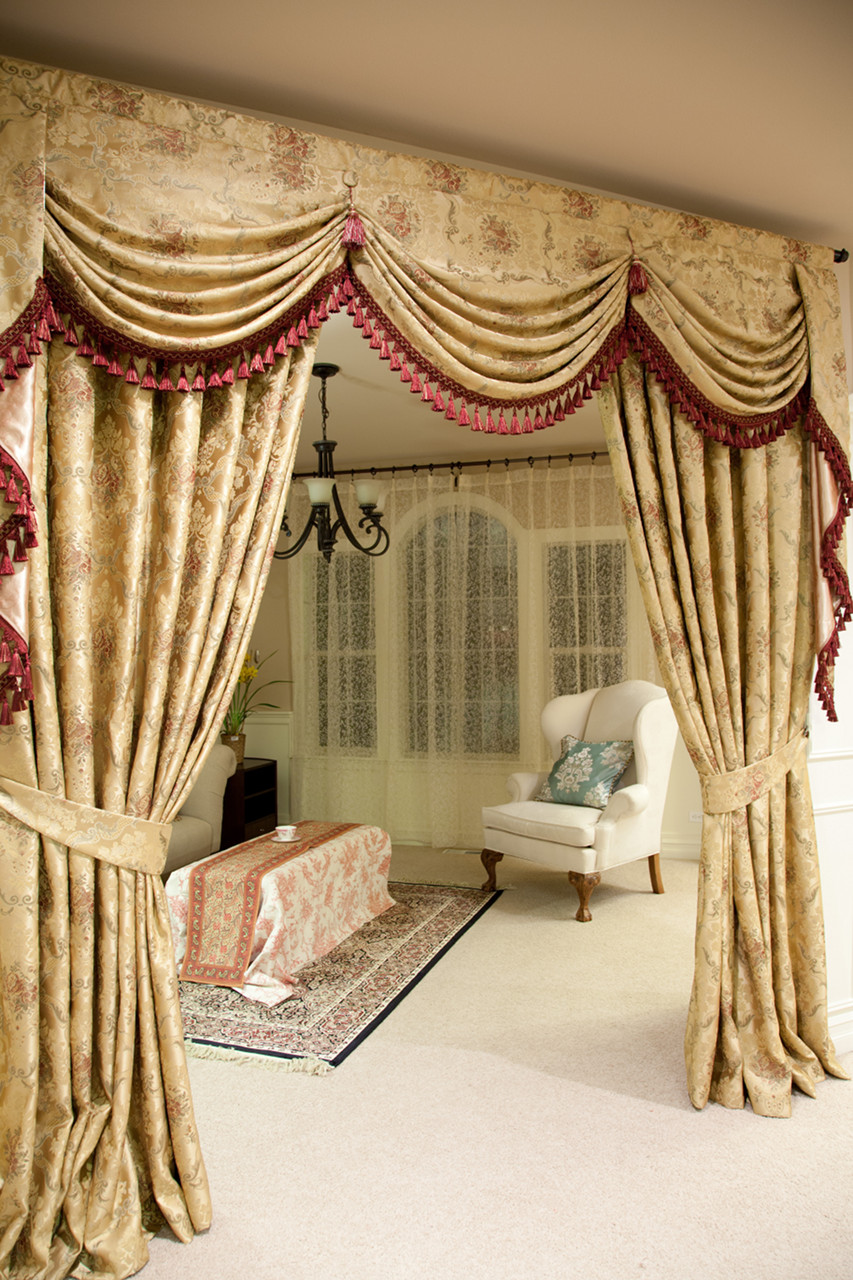
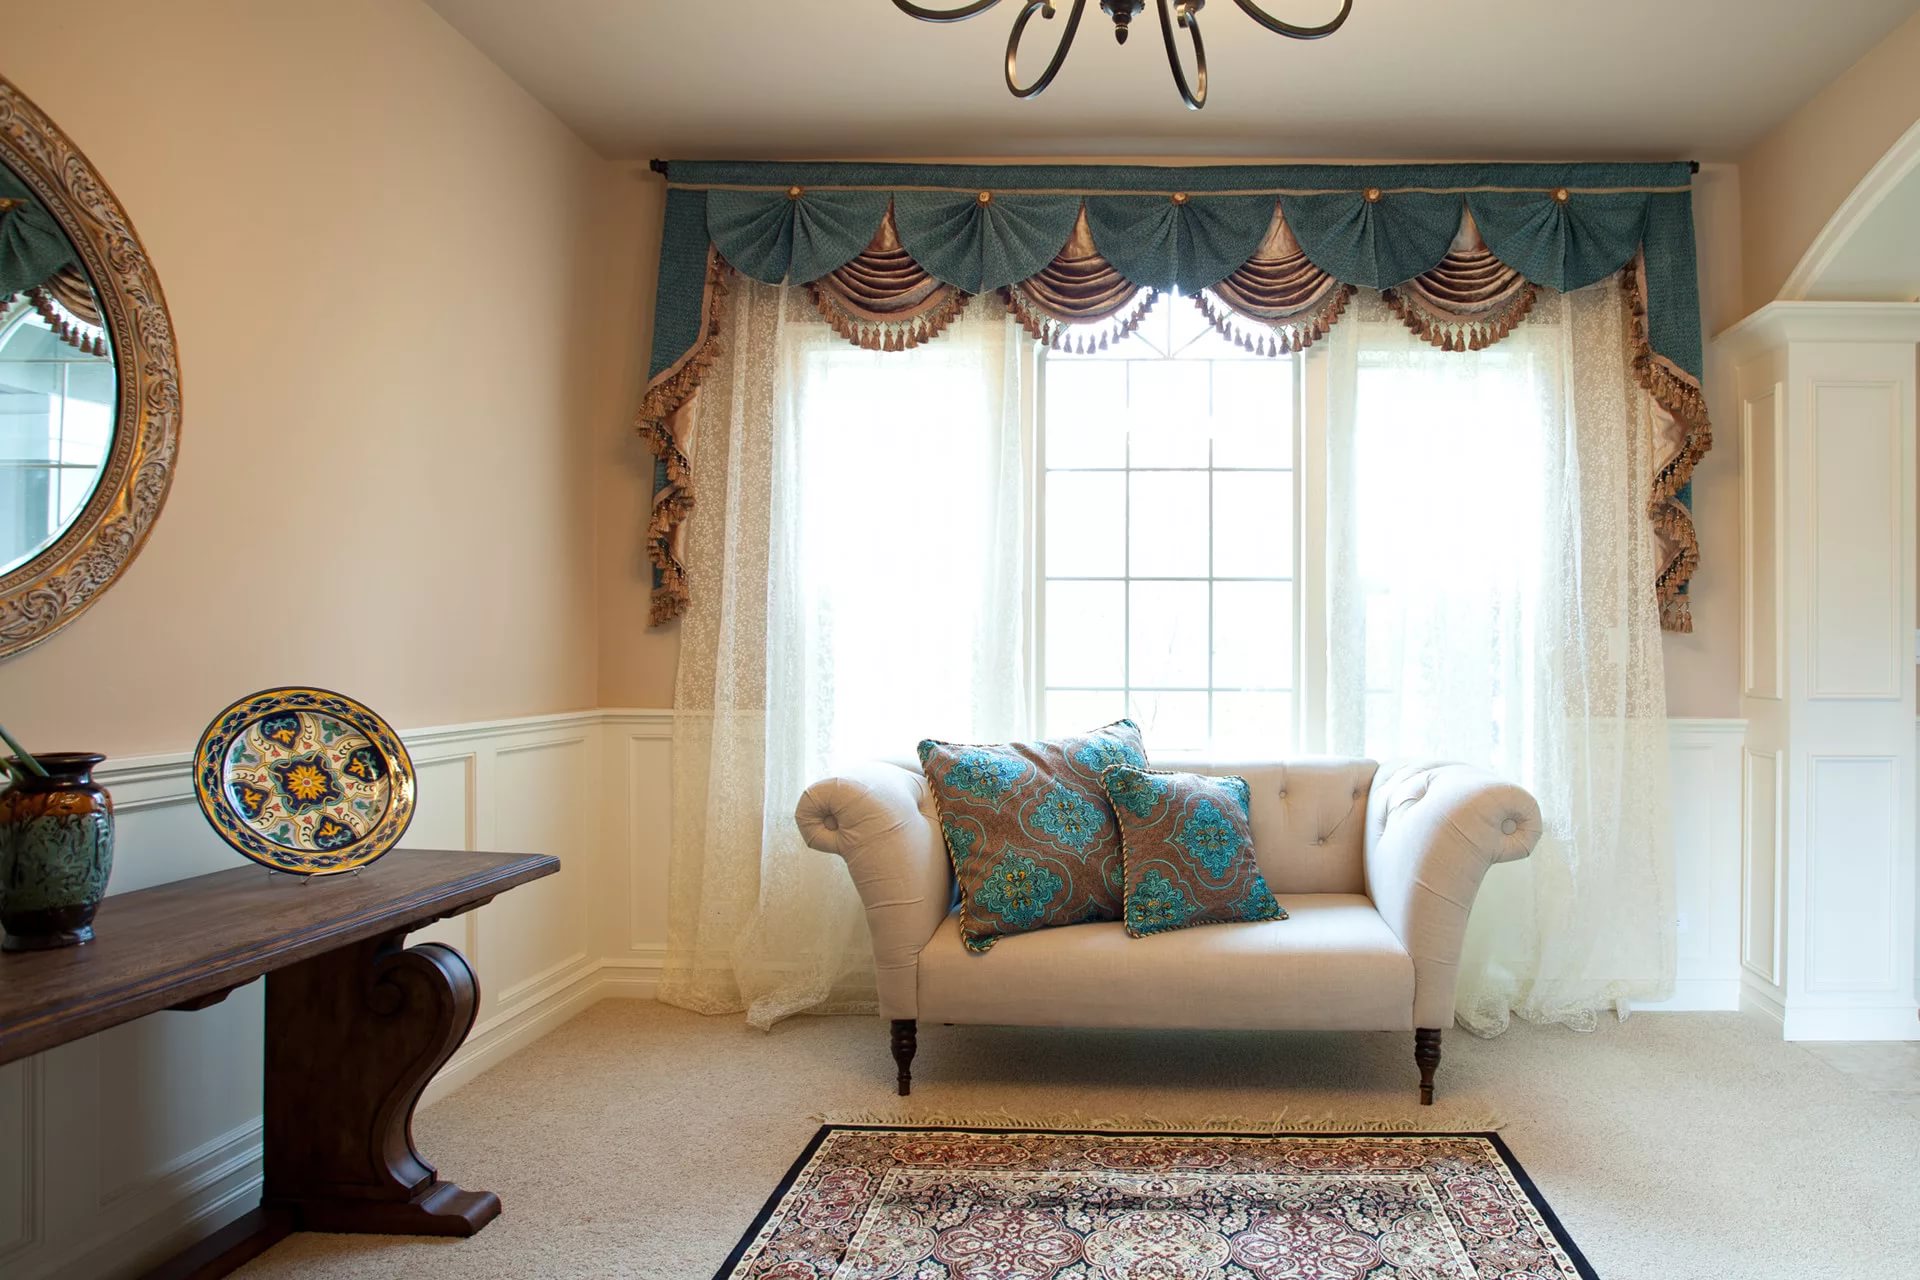
50 options for curtains with swags in the interior: