Today, the market offers a wide range of furniture of various designs, models and purposes. Manufacturers also take into account the financial capabilities of buyers, so in furniture stores you can find products made from various materials. And in exhibition pavilions you can see products with a variety of designs and design features: from the cheapest and simplest to exclusive models made from expensive wood species and decorated with original fittings.
But household members can consider furniture items made by the hands of a home craftsman to be especially chic. Experts say that learning how to make it yourself is not that difficult: the main criterion here is desire.
Content
The benefits of DIY
Of course, in addition to the desire to do something yourself, you also need some skills in handling tools. And if you master them, you can feel the significant advantages of making any furniture with your own hands. To form them, it is recommended to start with making simple items, which include a table, for example, a desk. At the same time, its design can be elementary, without a pedestal or drawers. If an experienced home craftsman takes on the matter, he will be able to make exclusive furniture. The advantages of independent work on its manufacture can be noted:
- significant savings in the family budget;
- the ability to choose the material for the future table according to your taste;
- develop a user-friendly design;
- take into account the layout of the apartment and its interior.
In addition, a home craftsman can realize his creative energy, but do it slowly, taking into account his existing skills and the availability of free time.
We decide on the design and construction
Before you start making a desk with your own hands, you need to decide on the design of the future product and its design.
The design should be chosen taking into account skills, abilities and capabilities. If the skill is still small, do not take on a complex scheme - work on it will not only take a lot of time, but can also become a source of disappointment, since problems will inevitably arise that a novice home craftsman is unlikely to be able to solve right away, and the work may stop.
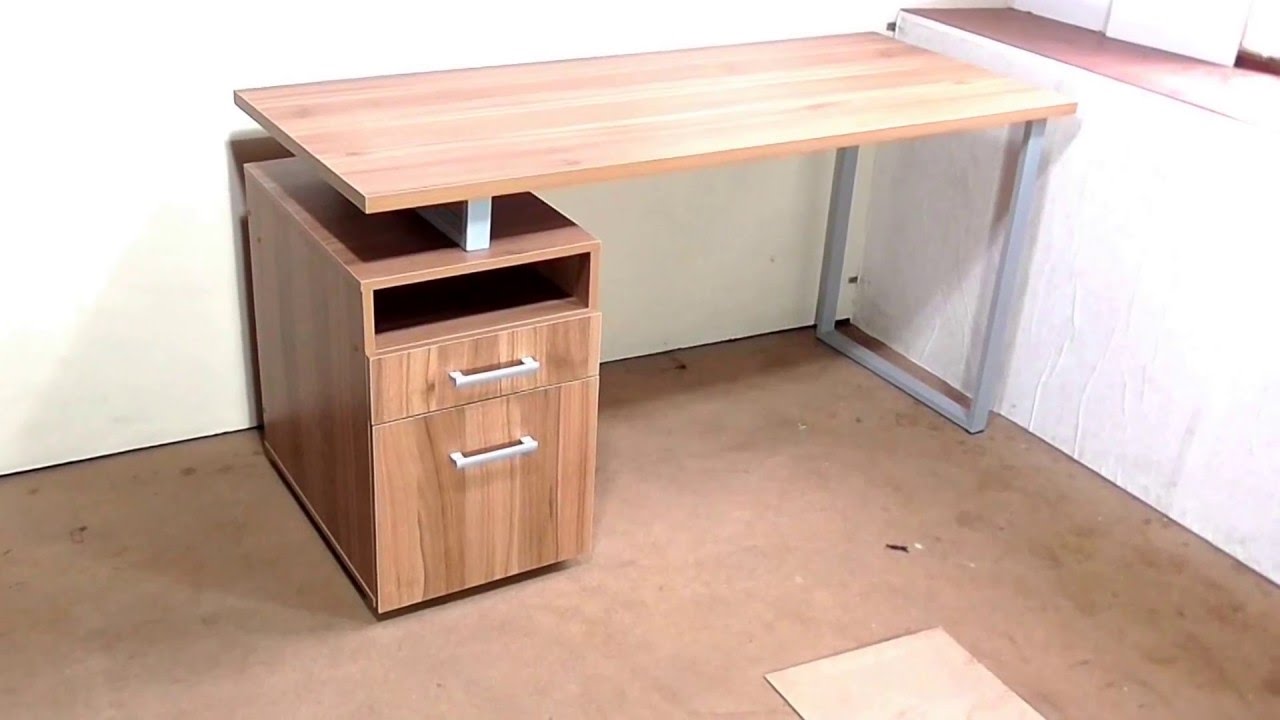
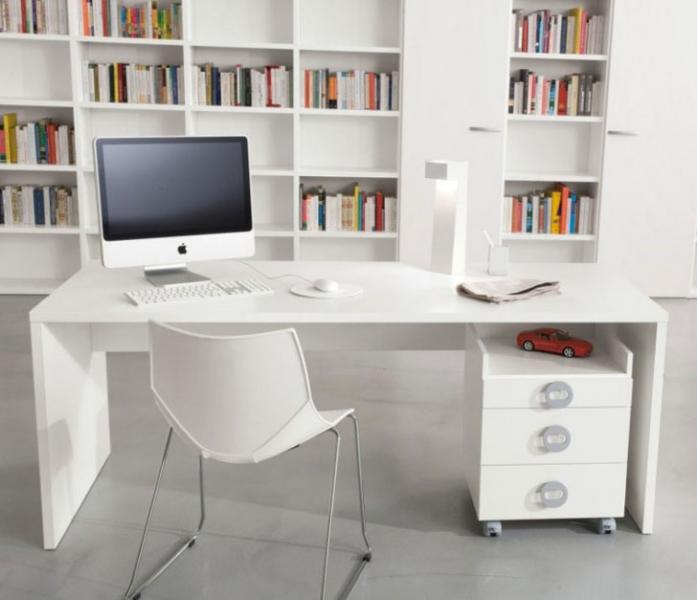
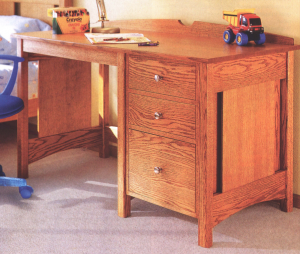
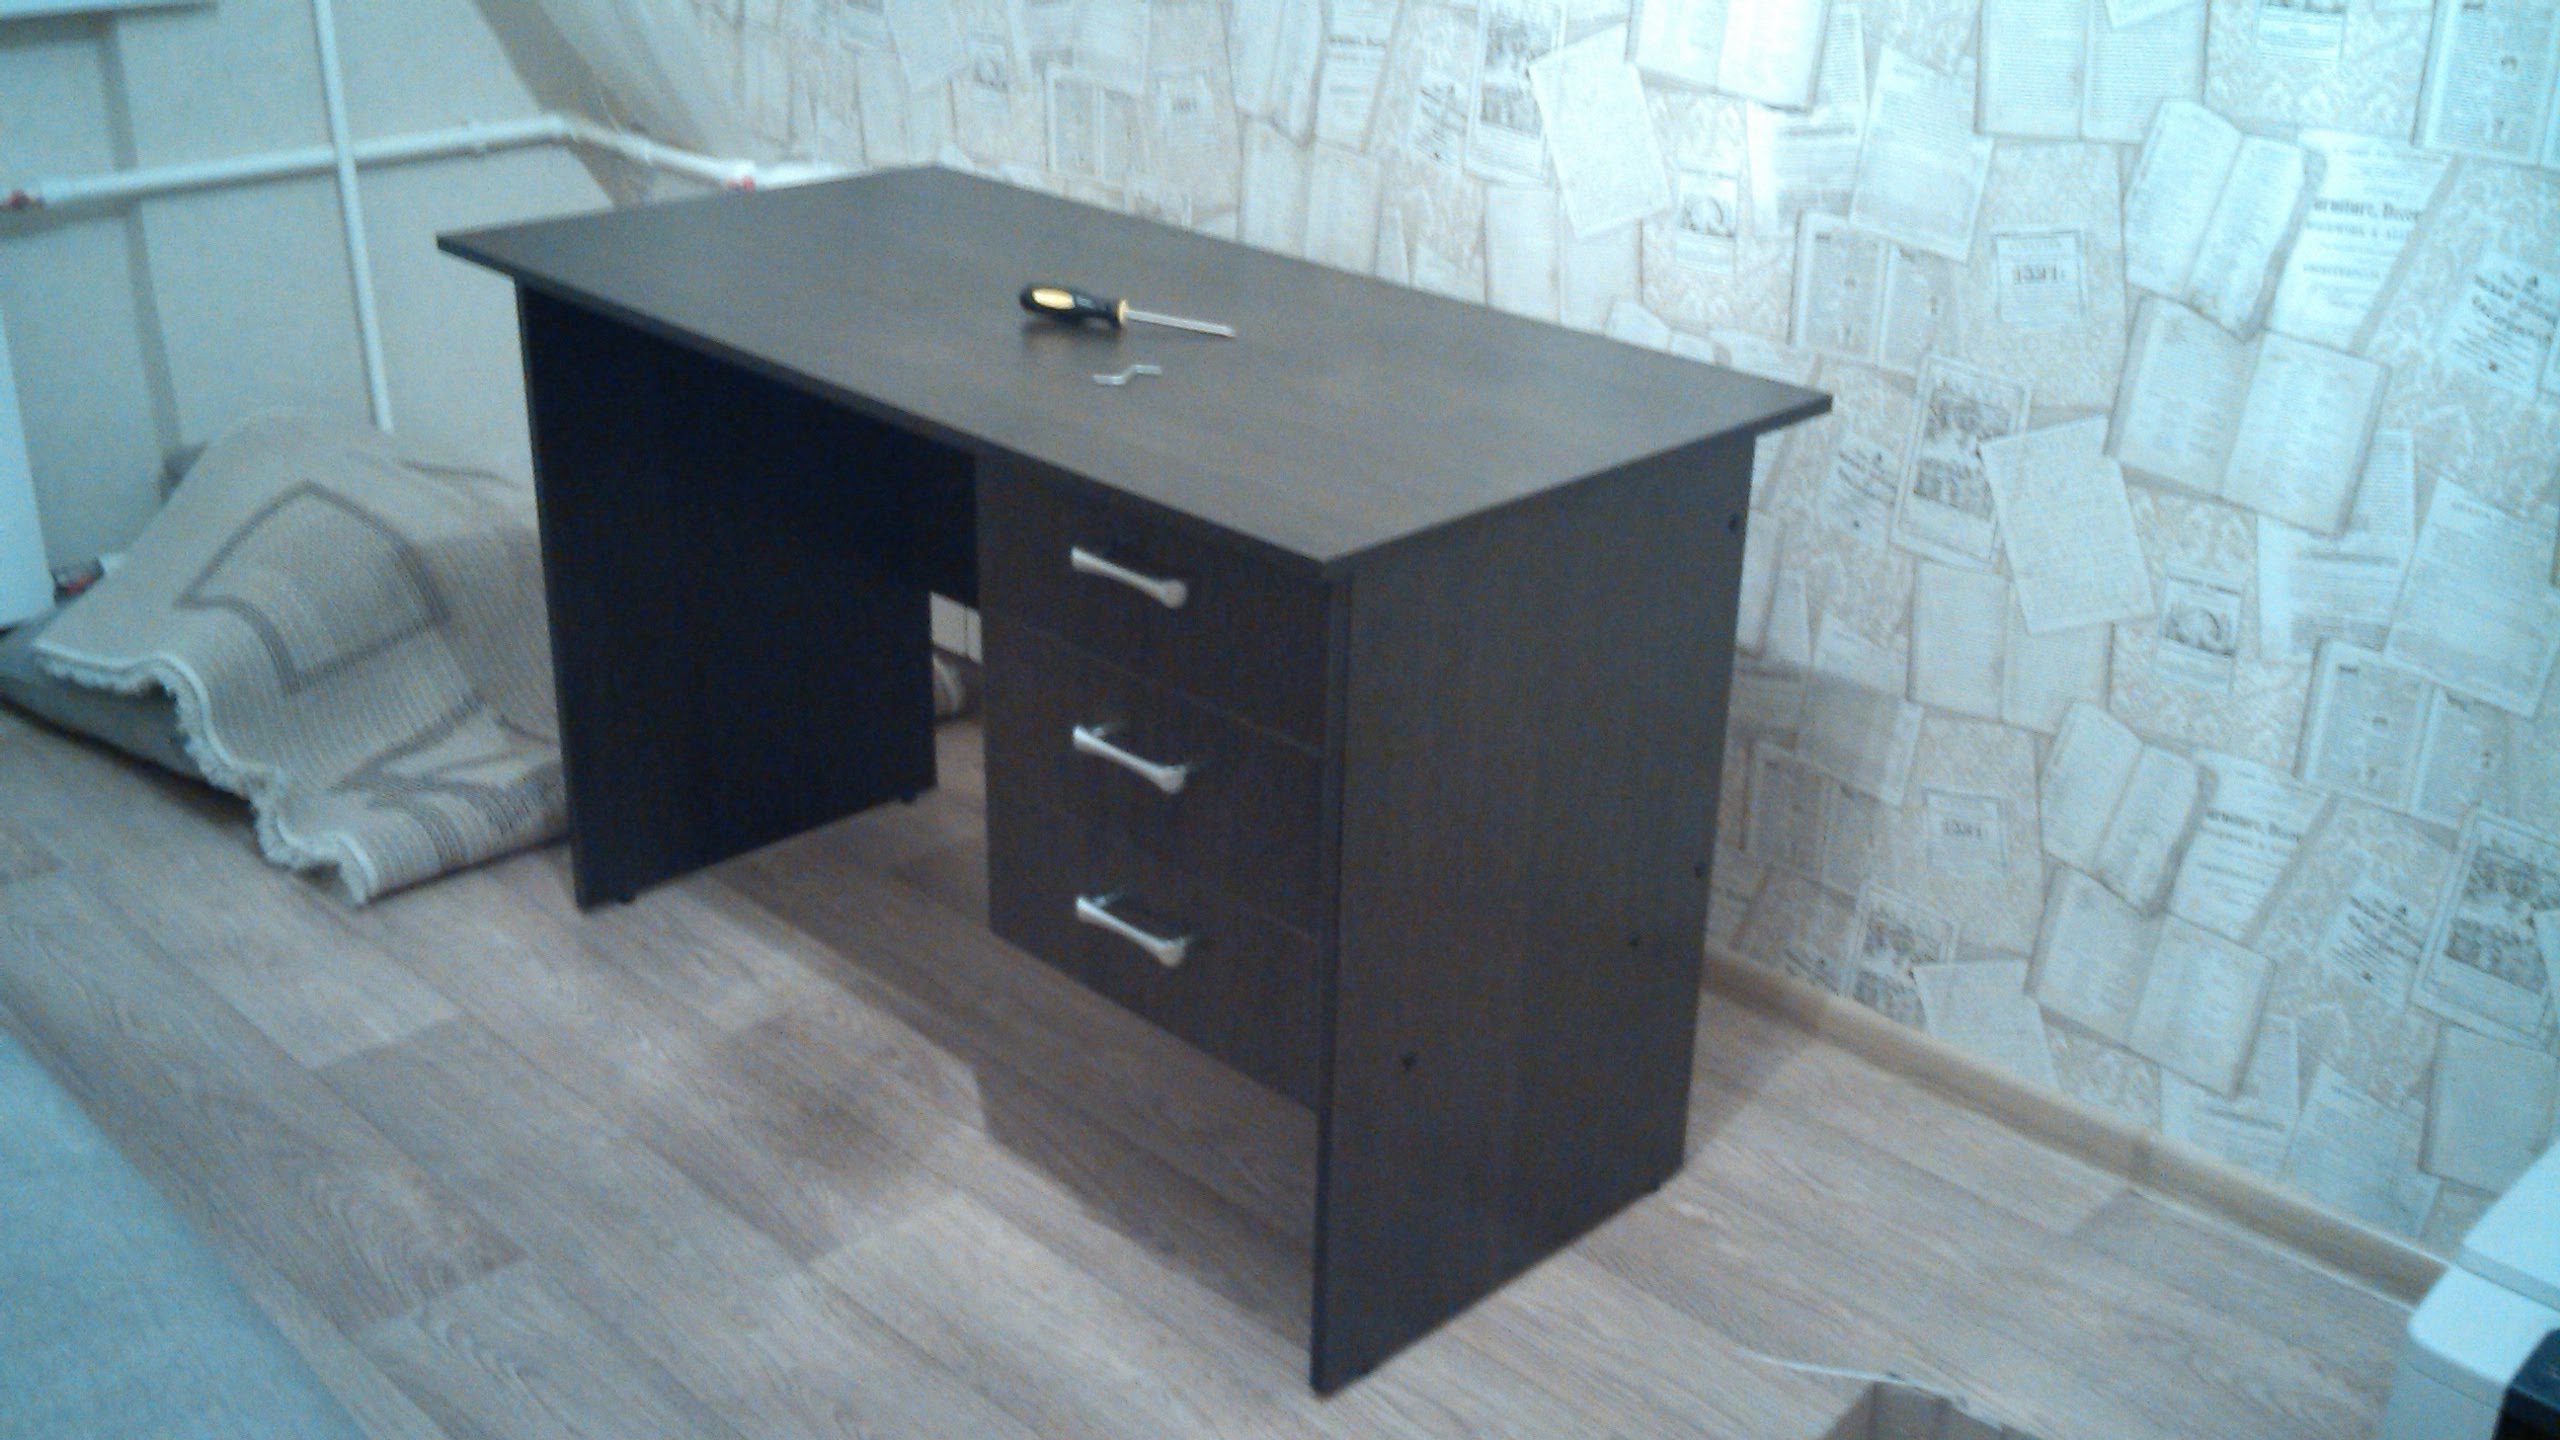
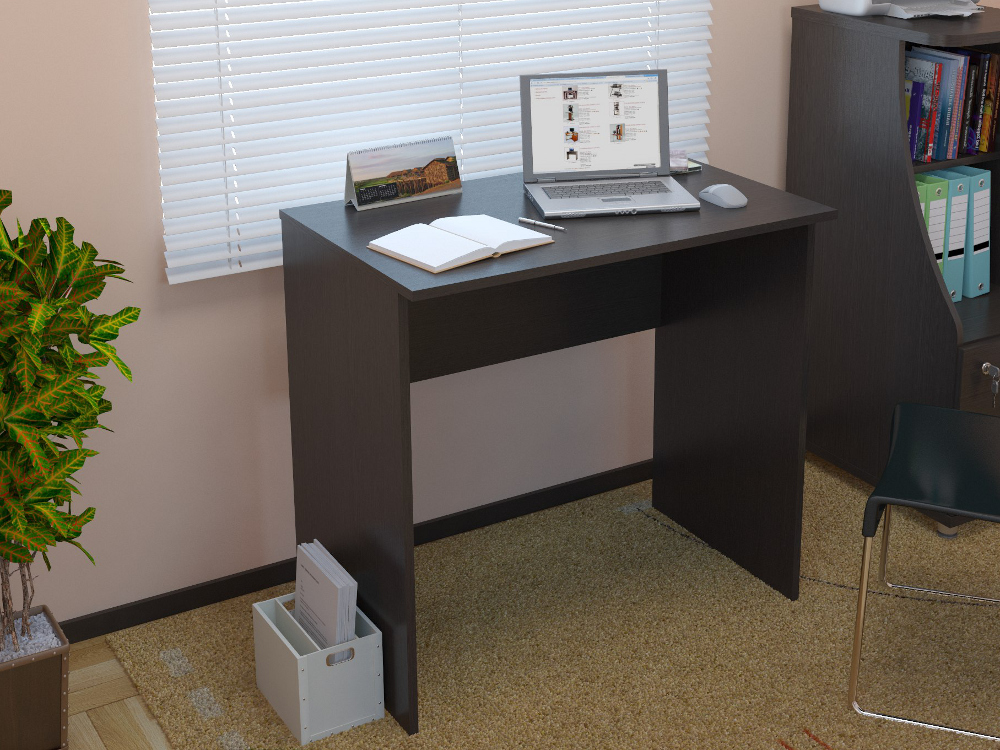
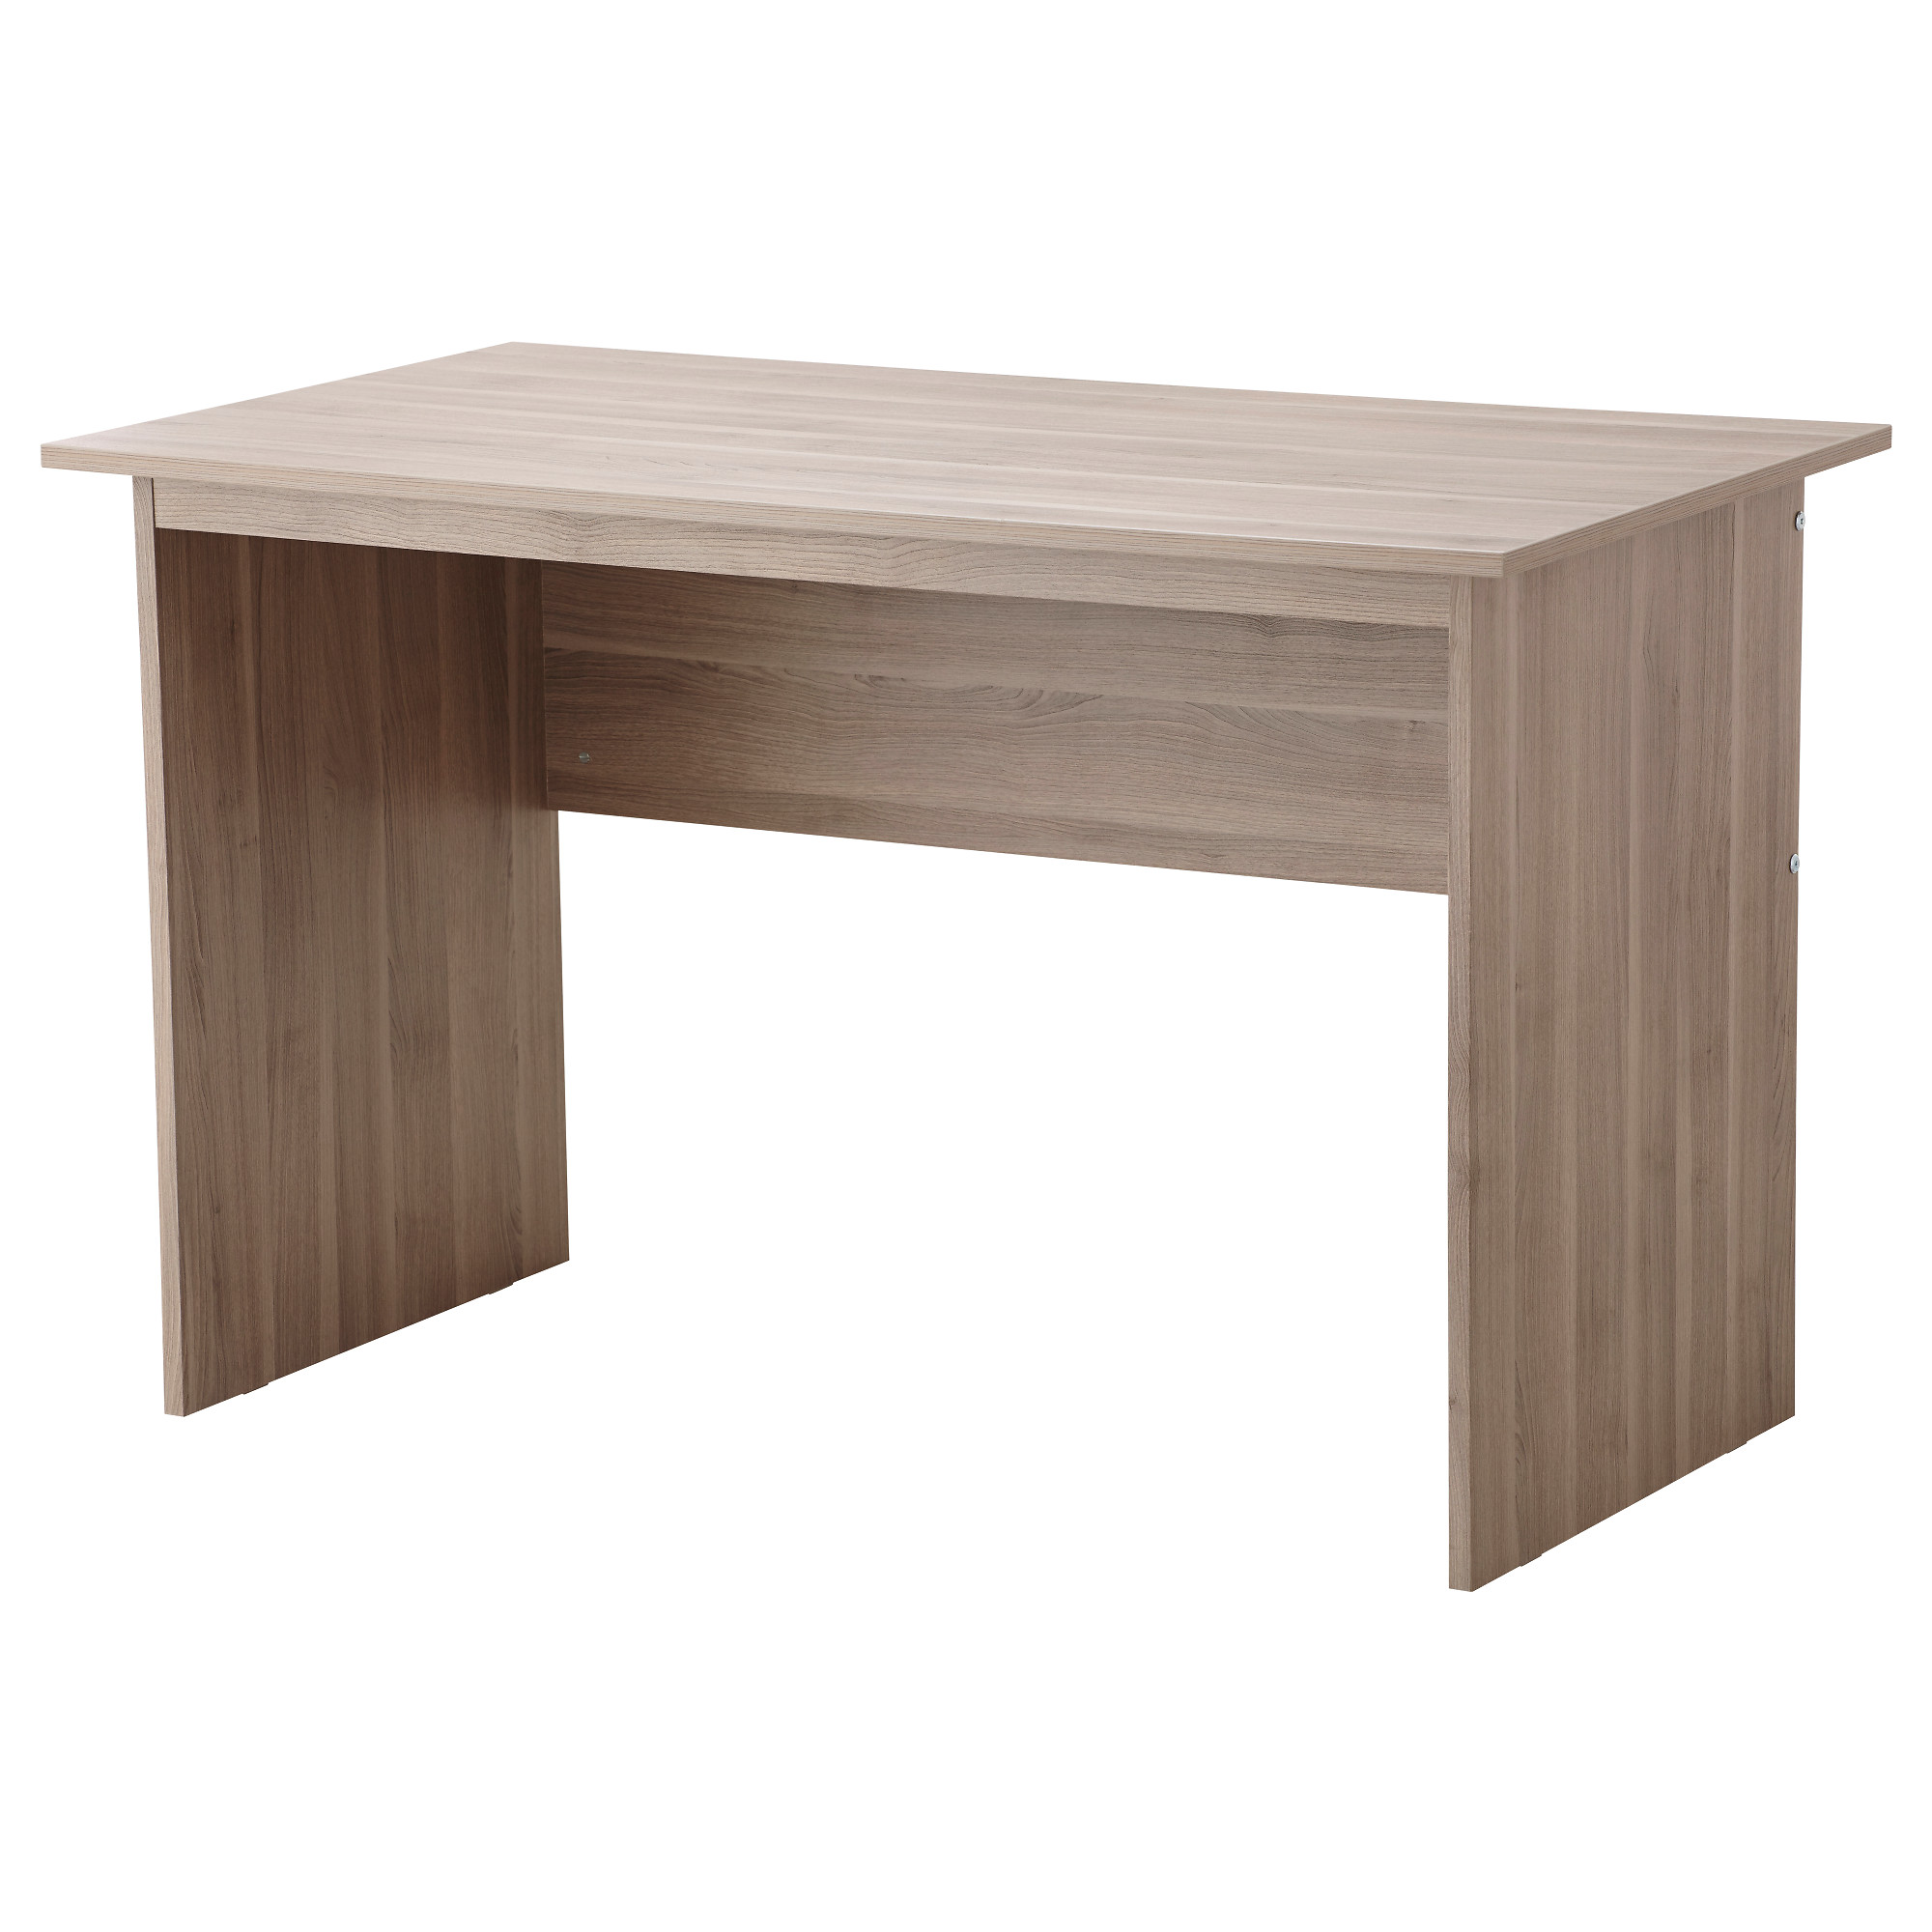
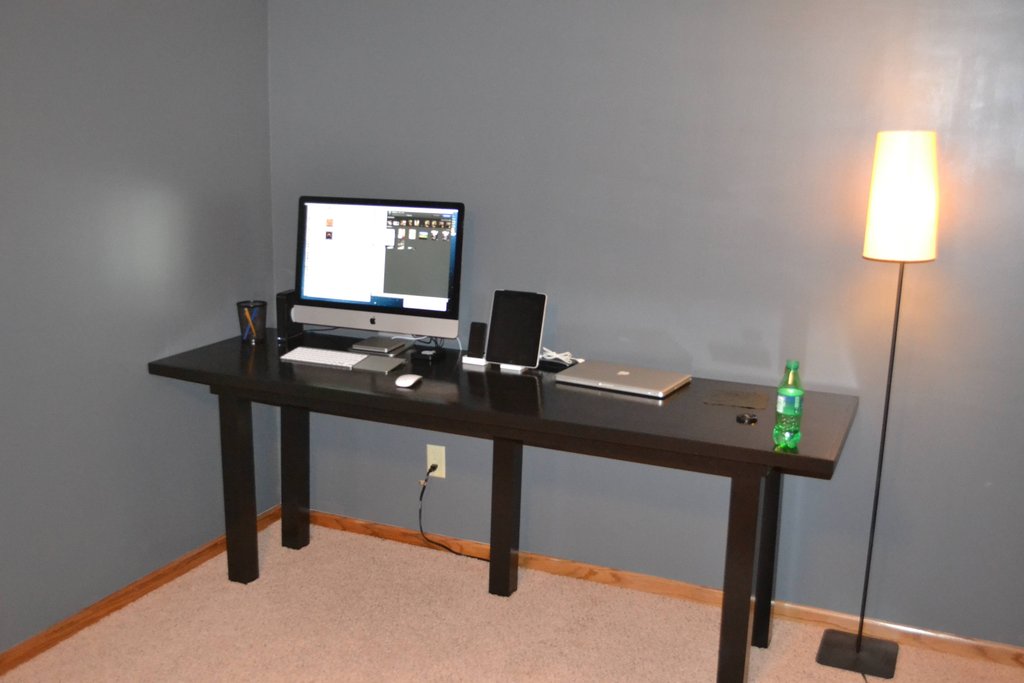
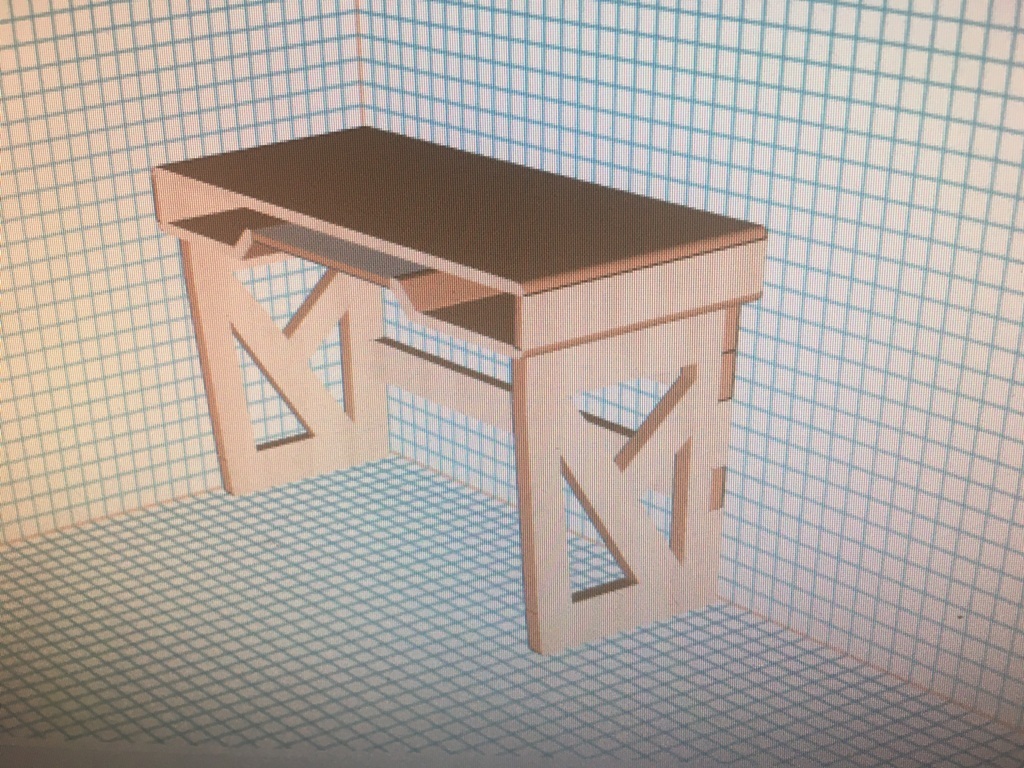
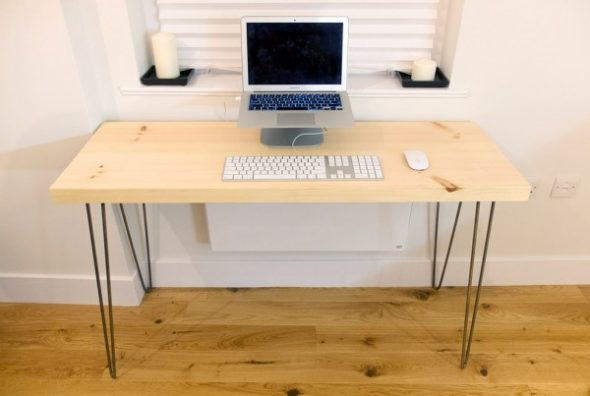
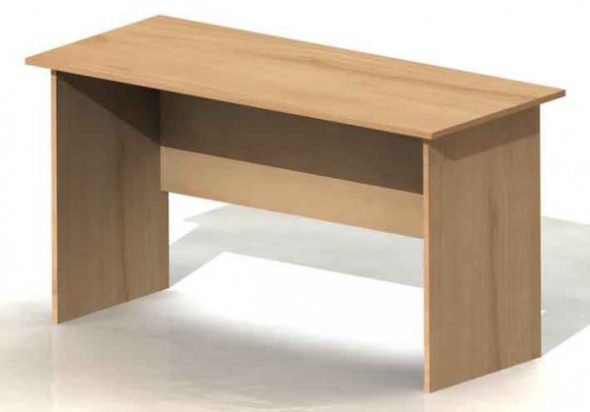
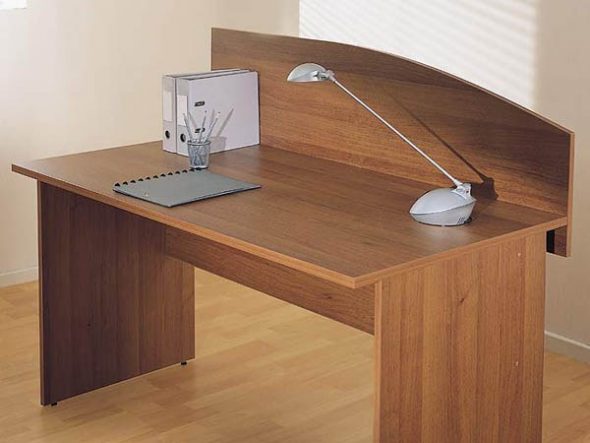
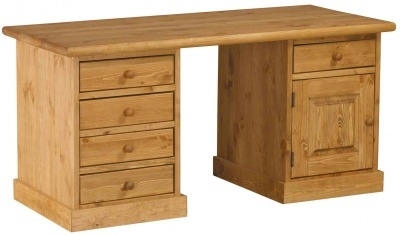
In order for it to bring joy, and the result to become a subject of admiration for the whole family, you need to first choose the simplest table design - without many additional elements. This can be an elementary classic table, consisting of a tabletop, two side panels and a back wall, made without excesses and refinements. The first experience will take a lot of time; failures and unforeseen problems are possible. Therefore, having undertaken to make a desk with your own hands, it is worthwhile to refuse to equip it with drawers and add-ons for now. But if the skill of the owner of the house is not in doubt, you can let your imagination run wild, and here can be:
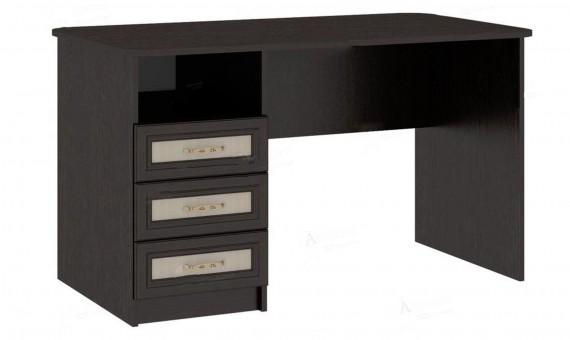
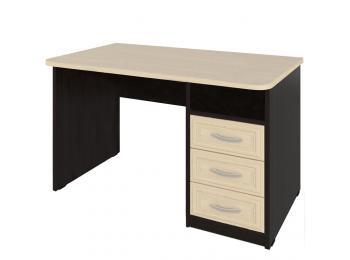
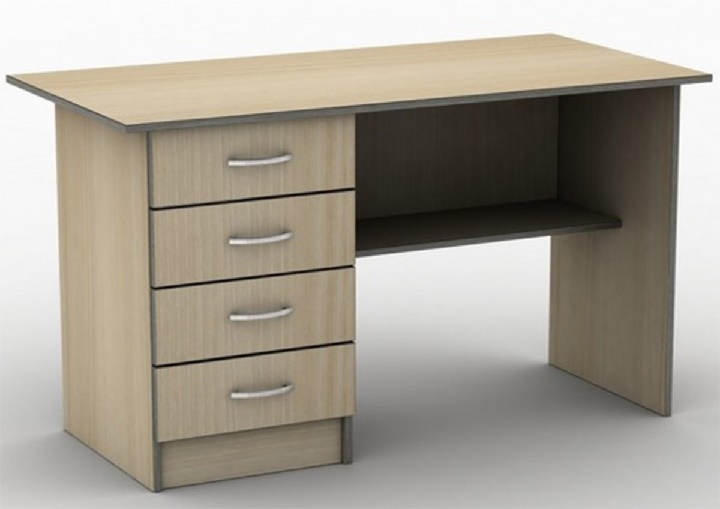
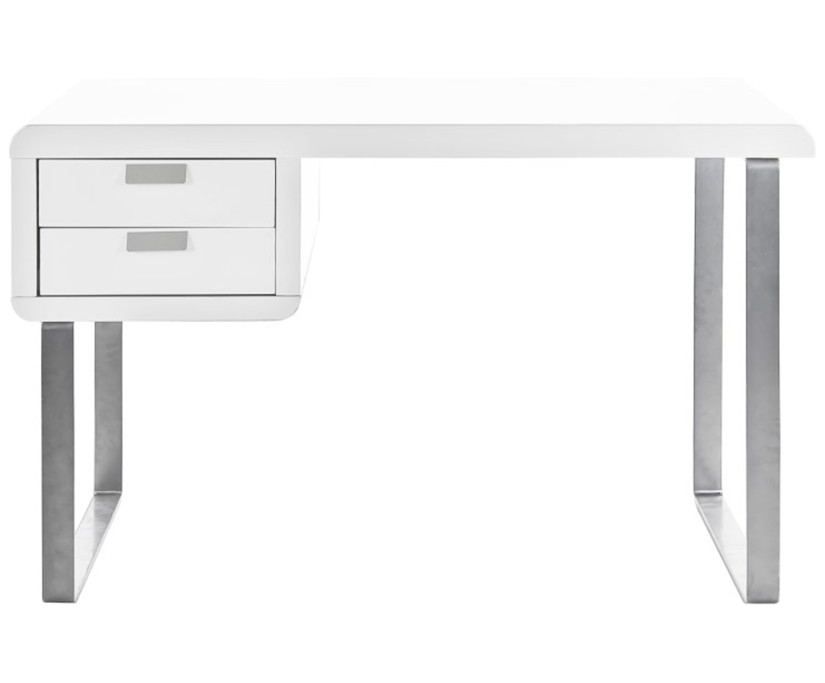
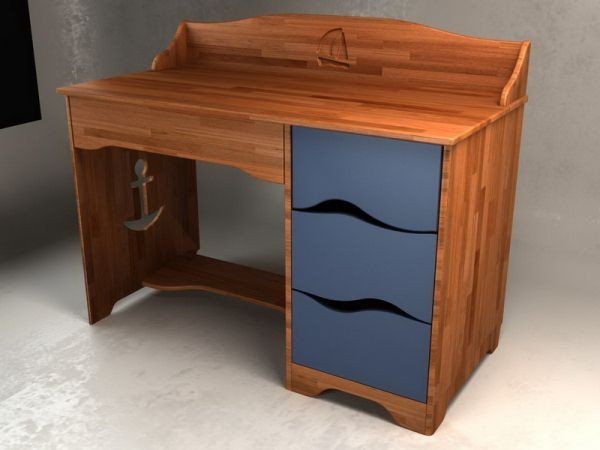
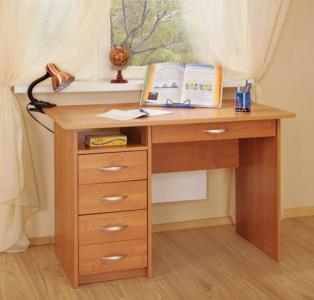
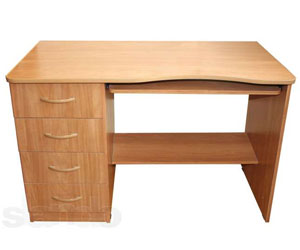
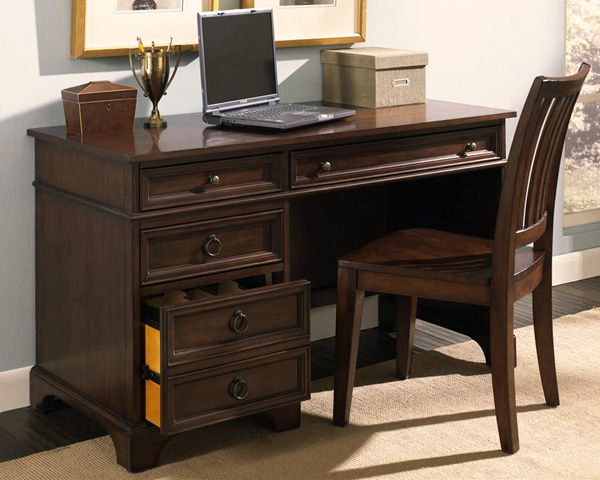
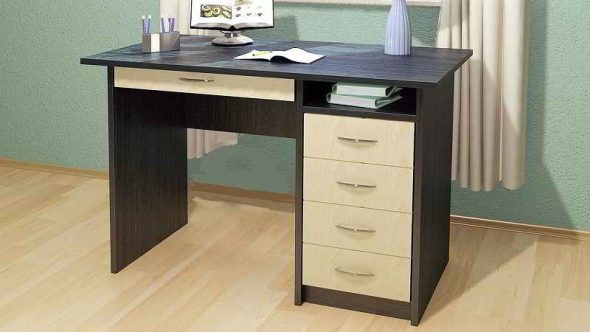
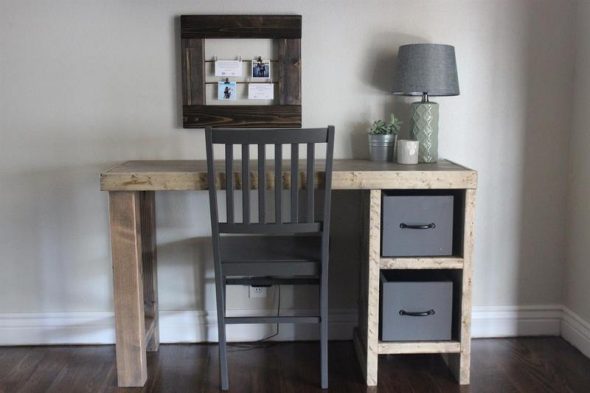
- a school desk with drawers on one or both sides;
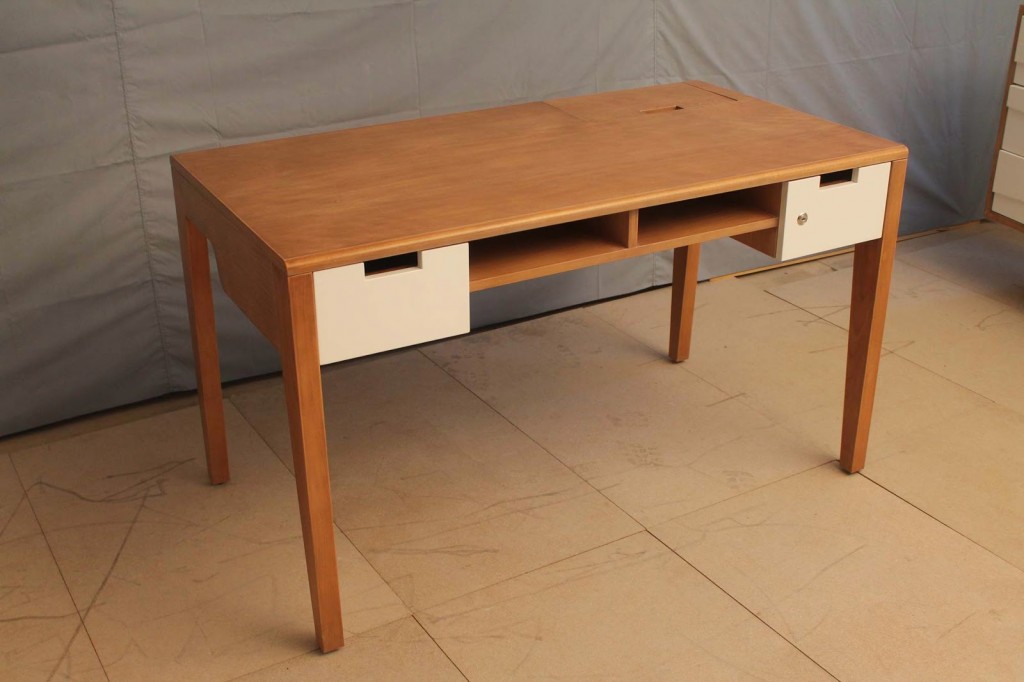
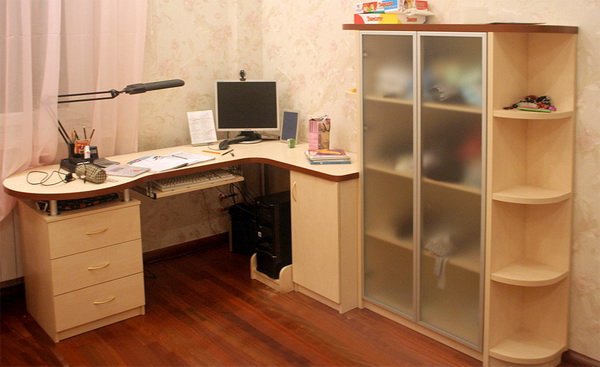
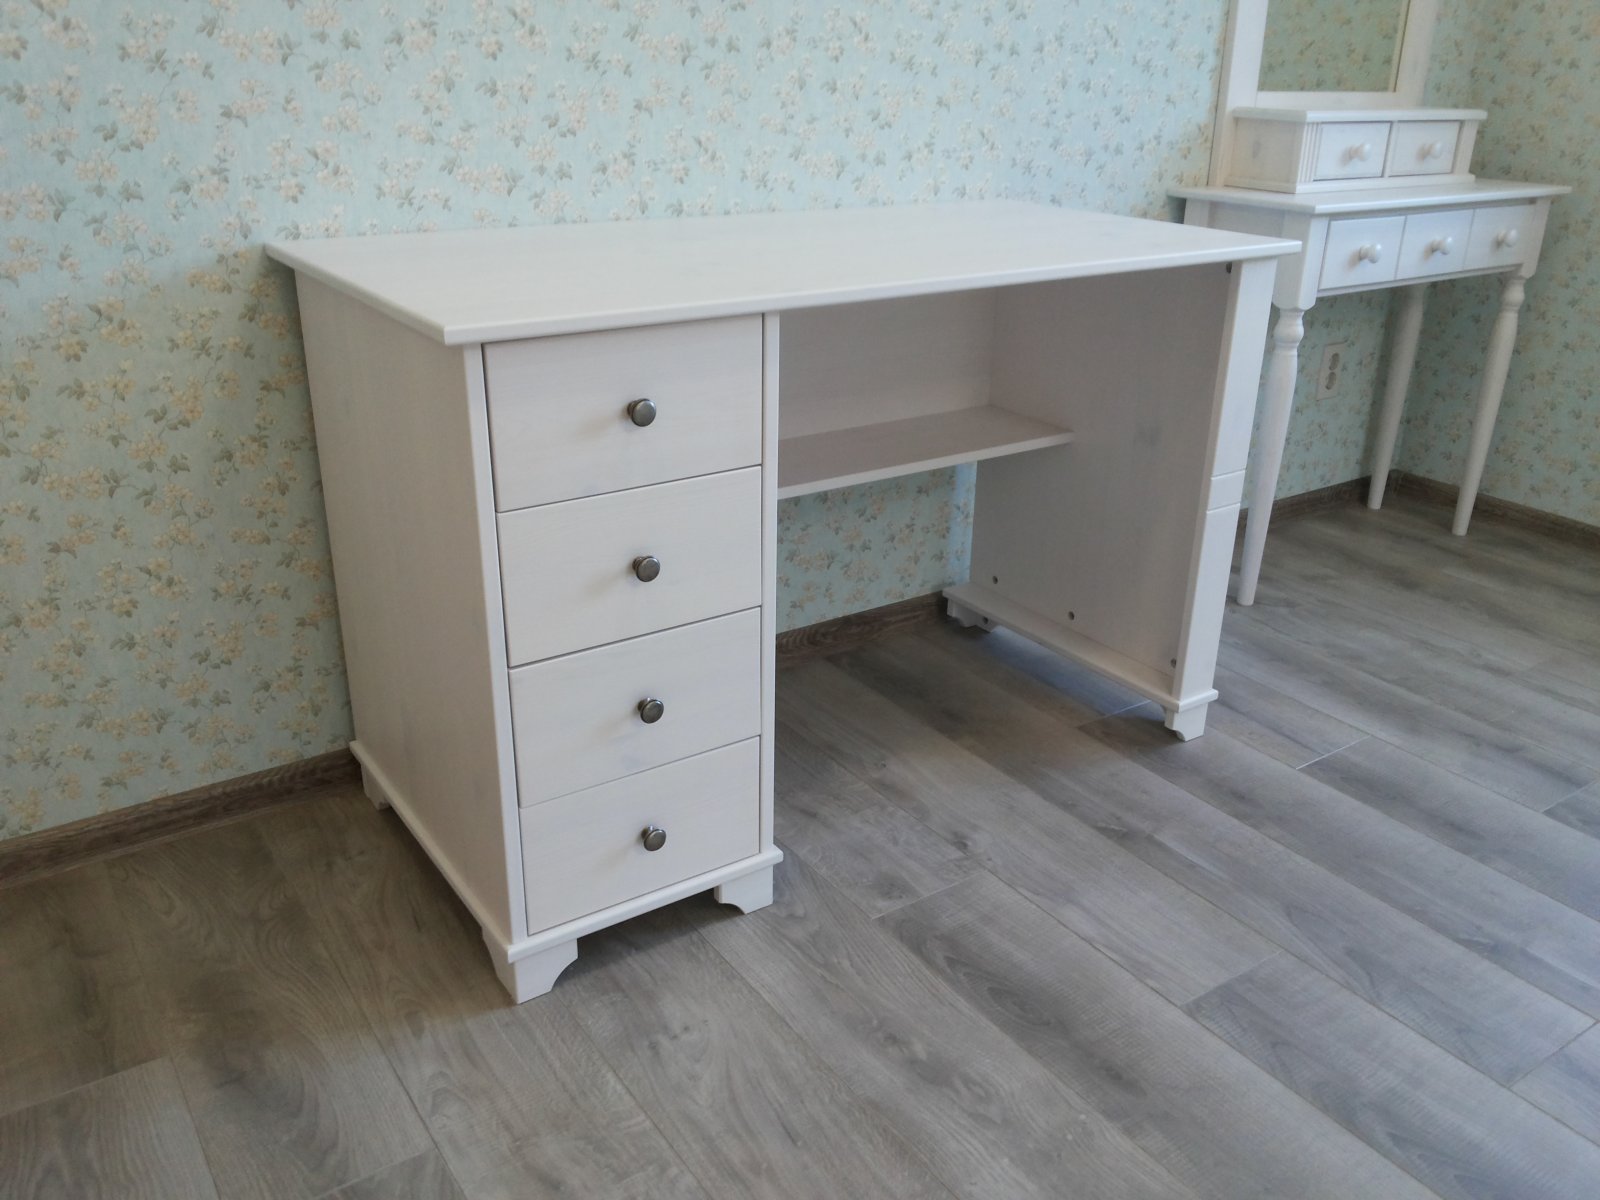
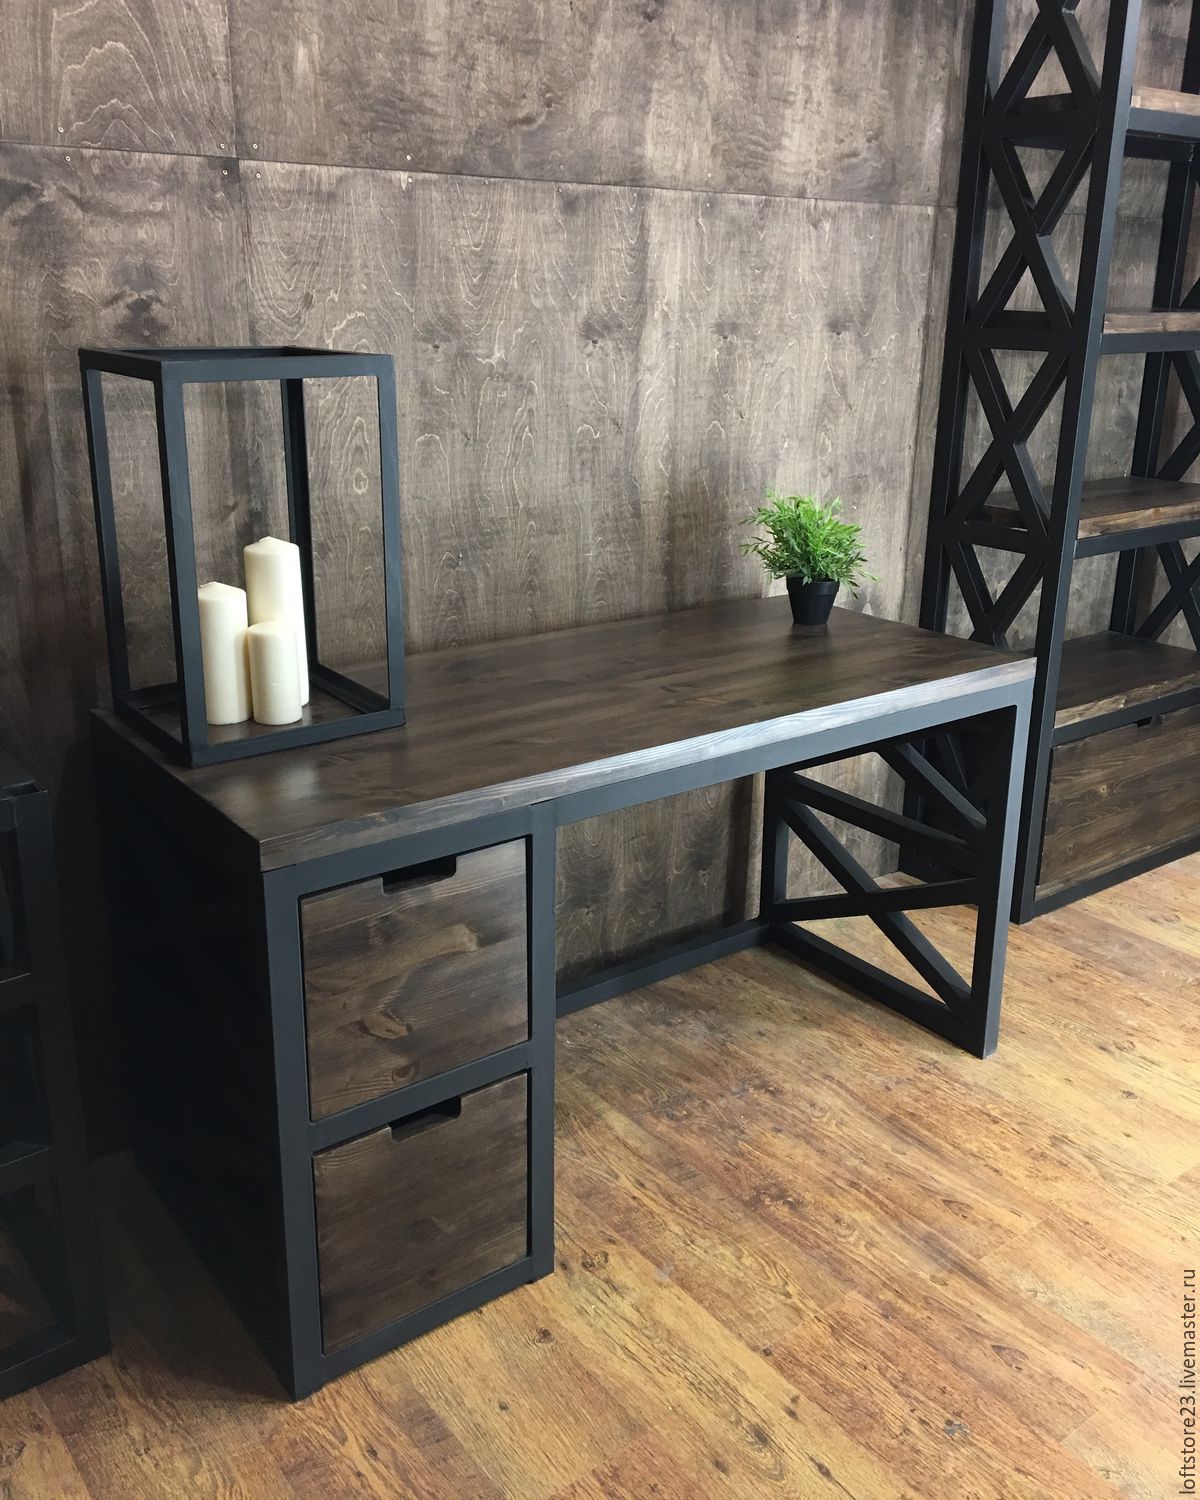
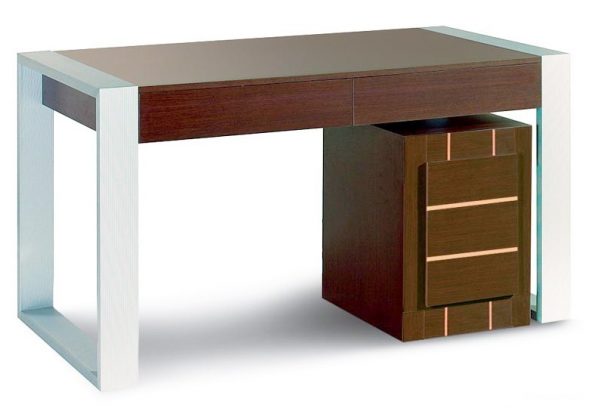
- table with drawers and a bedside table;
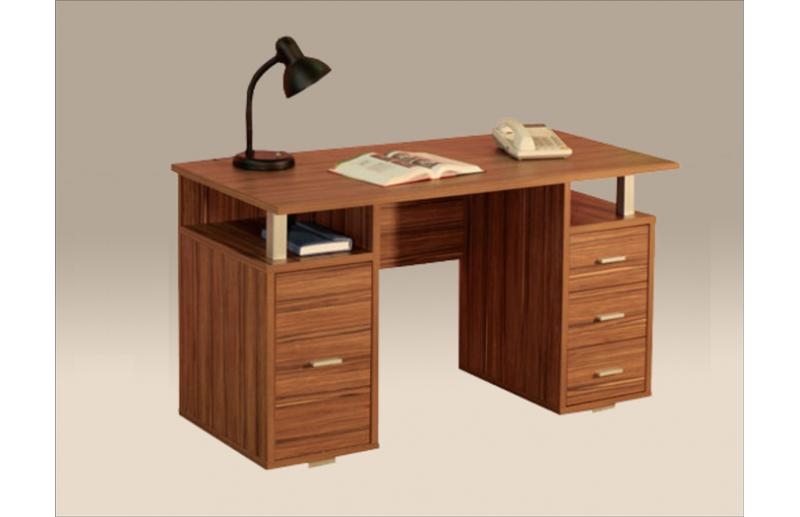
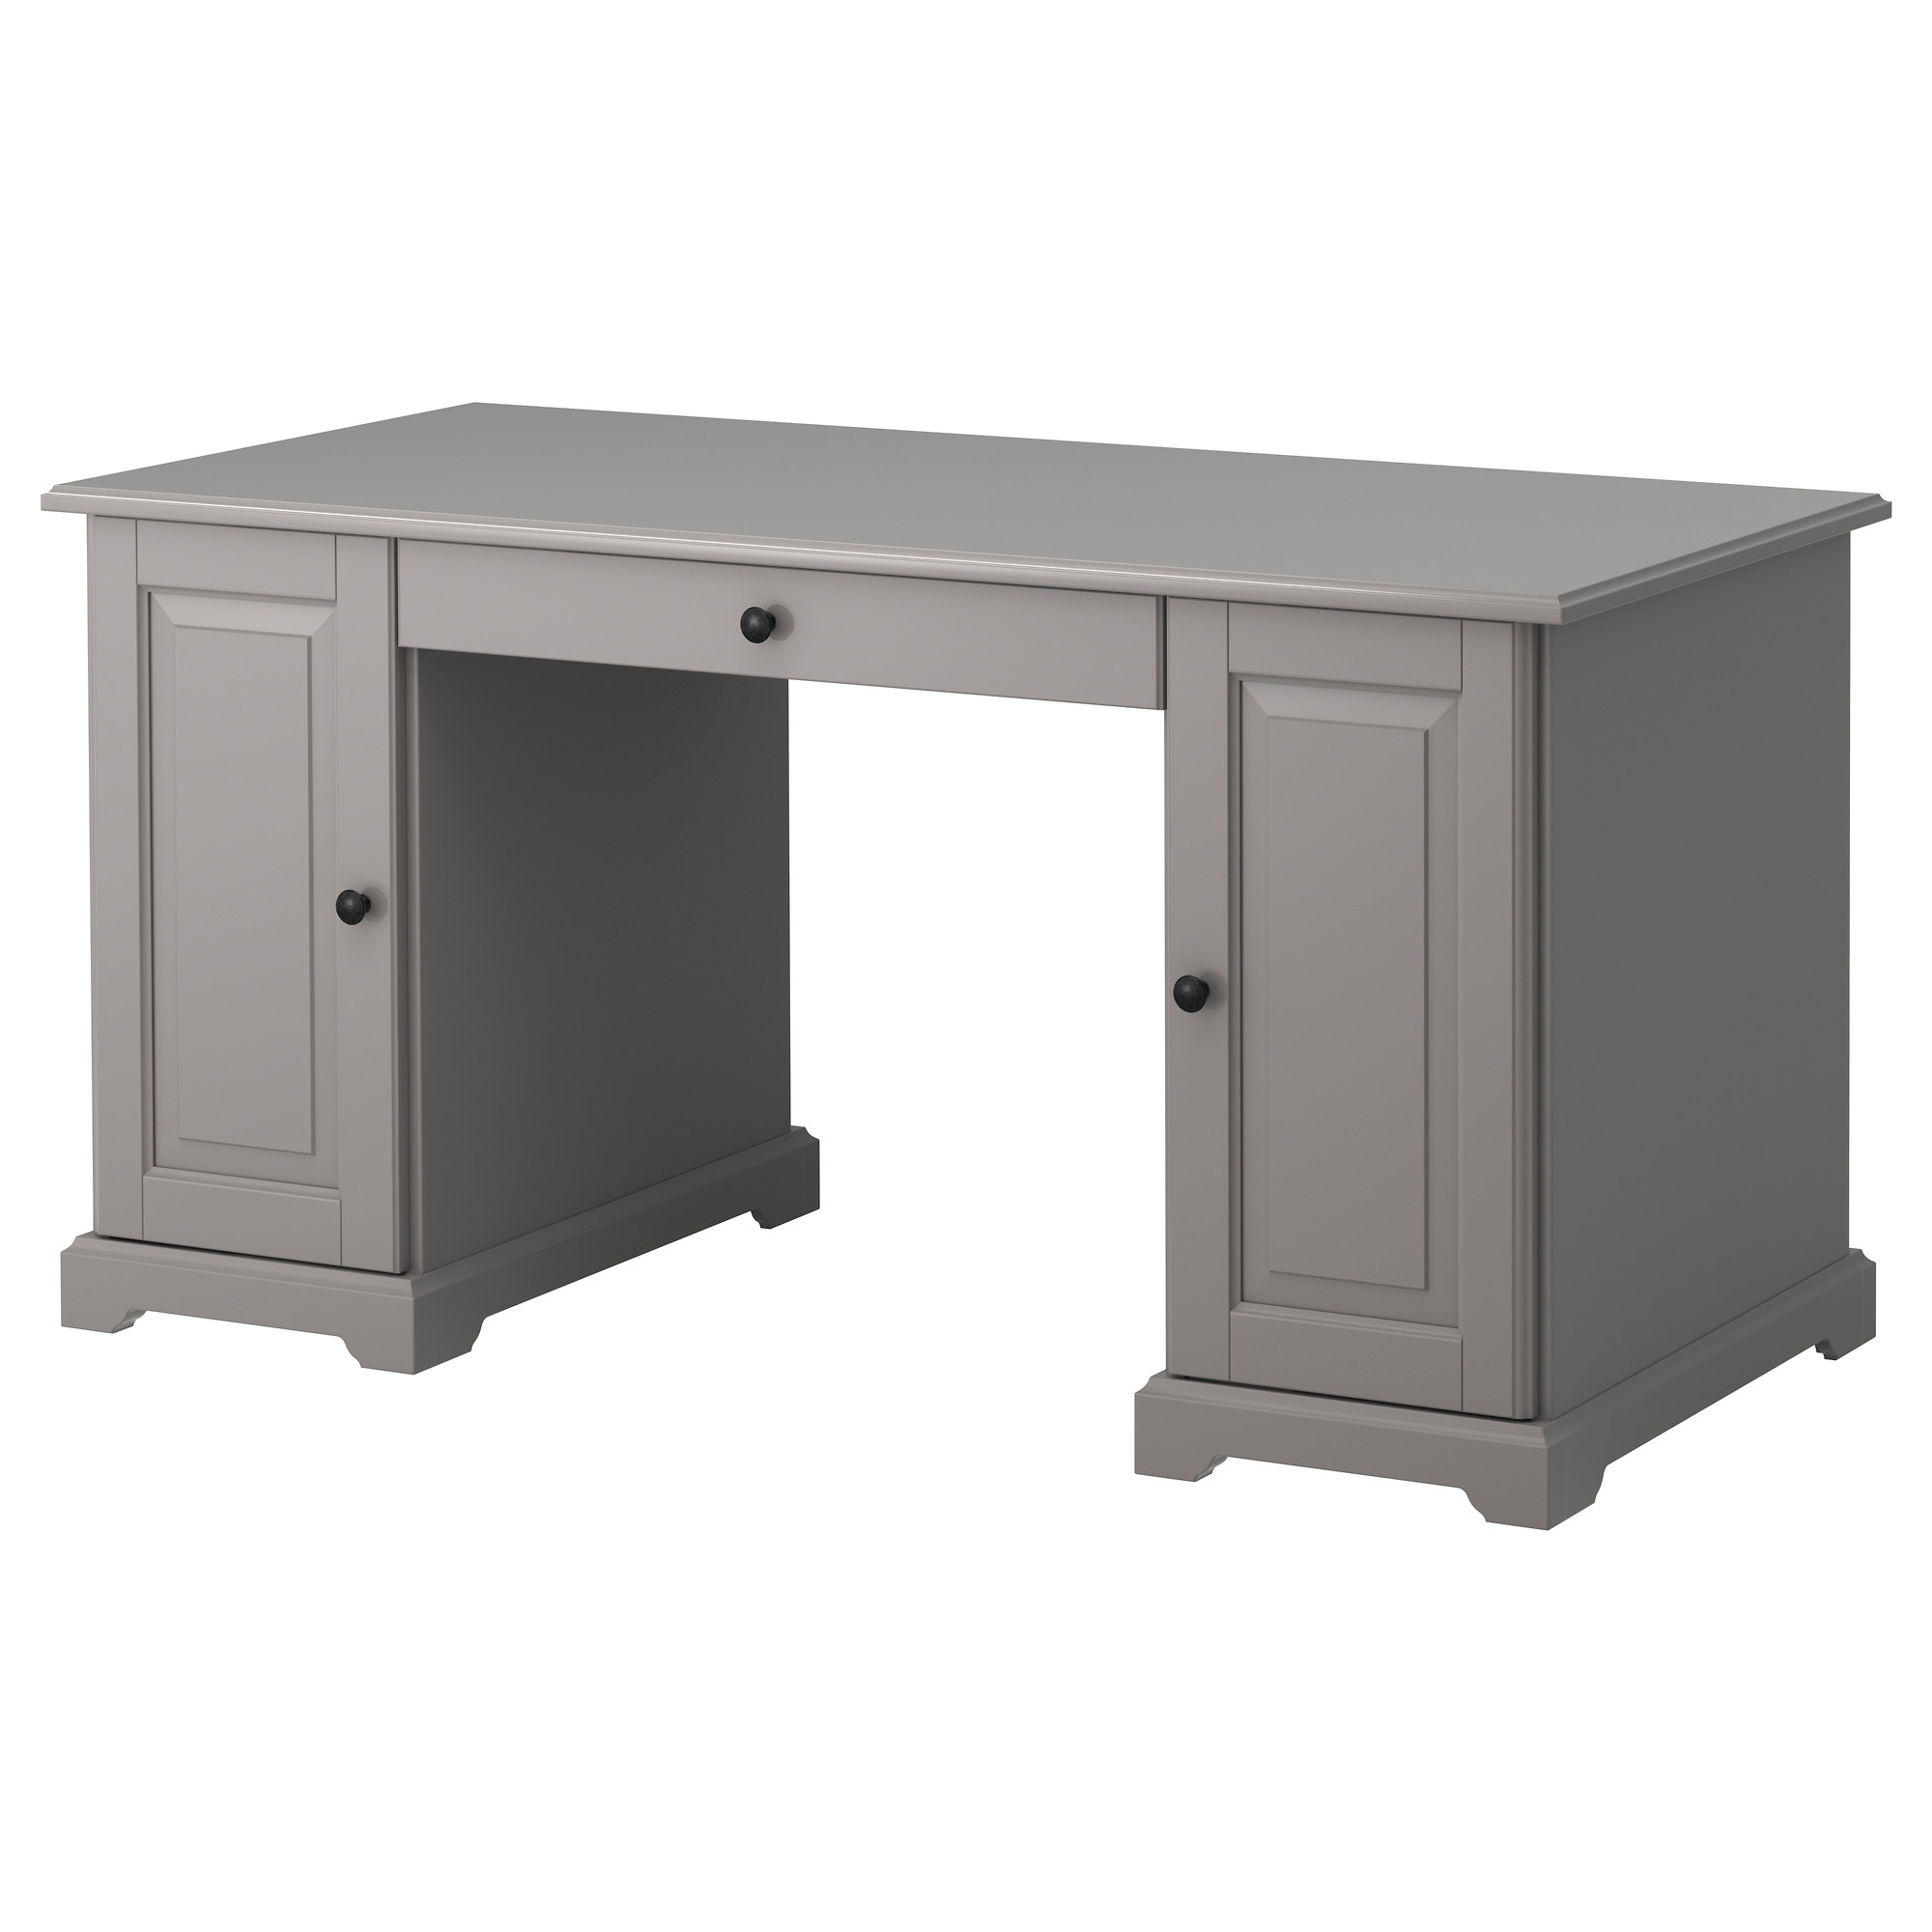
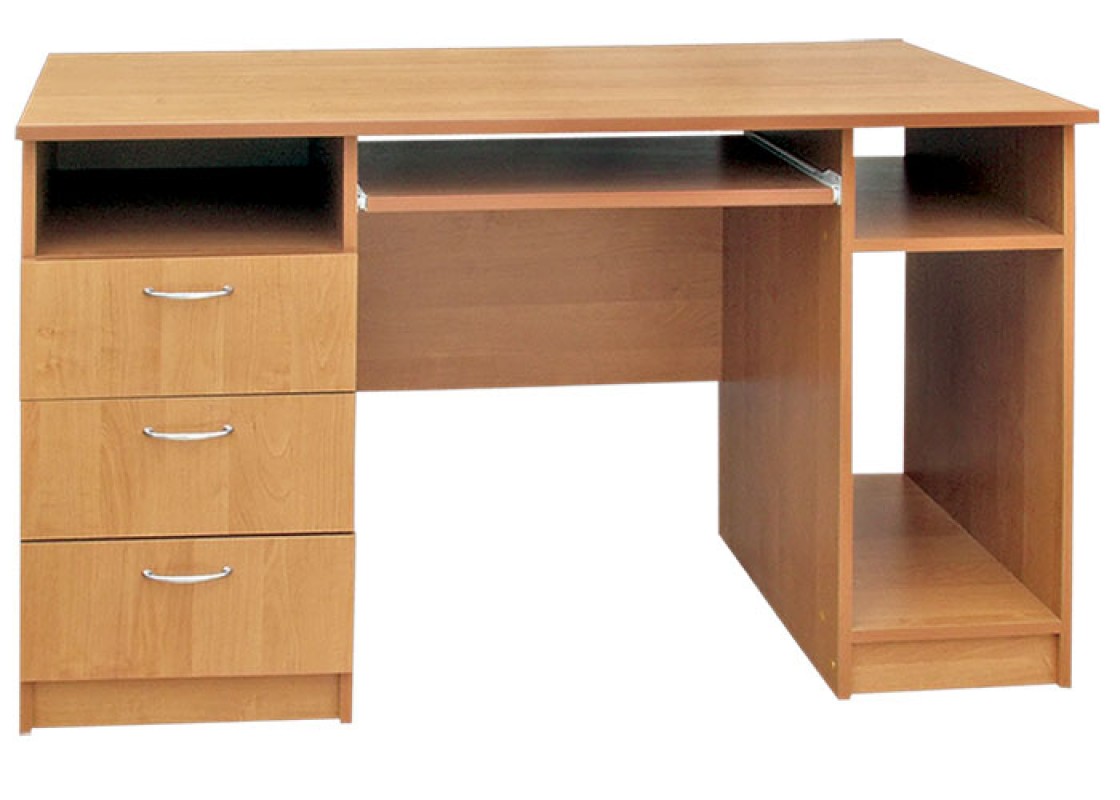
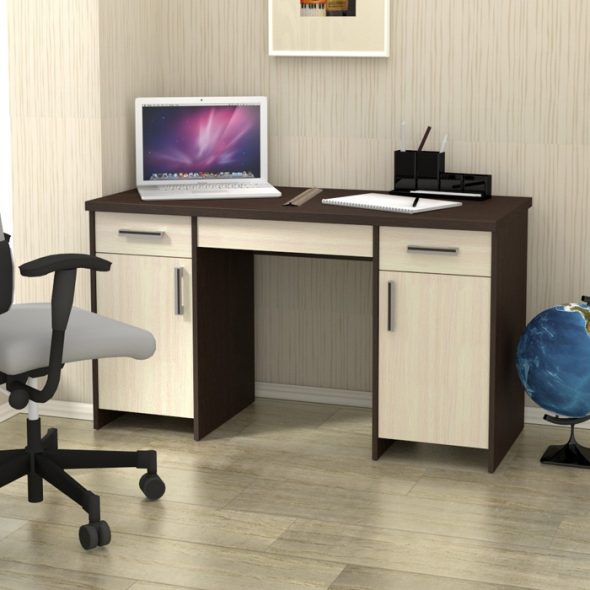
- two-pedestal design;
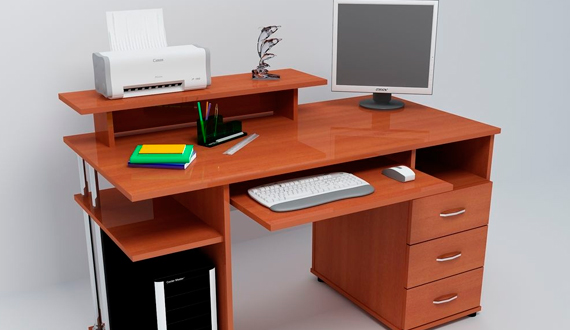
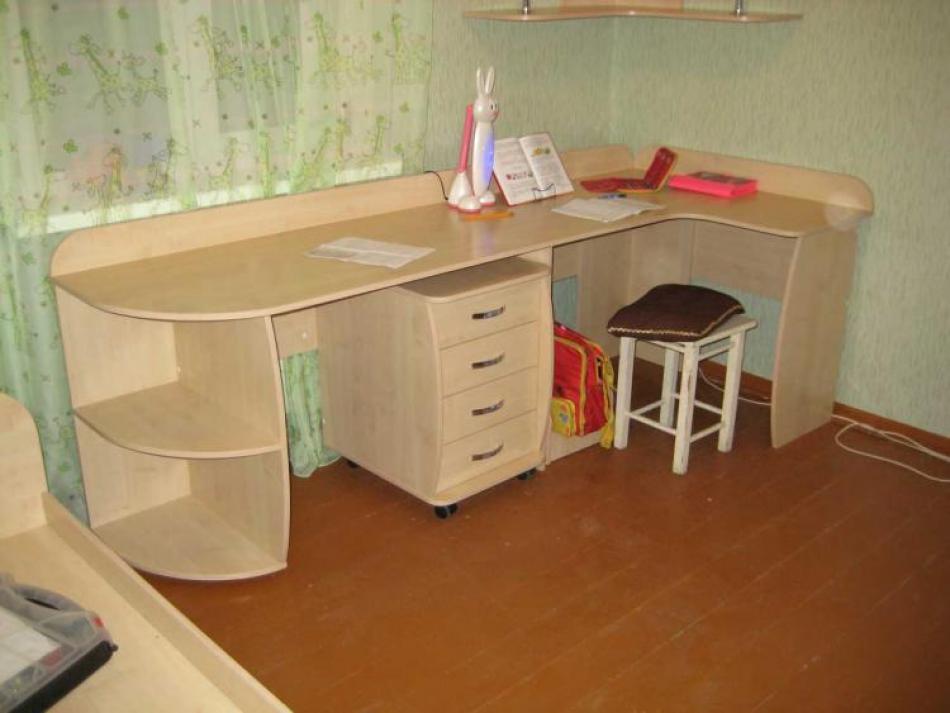
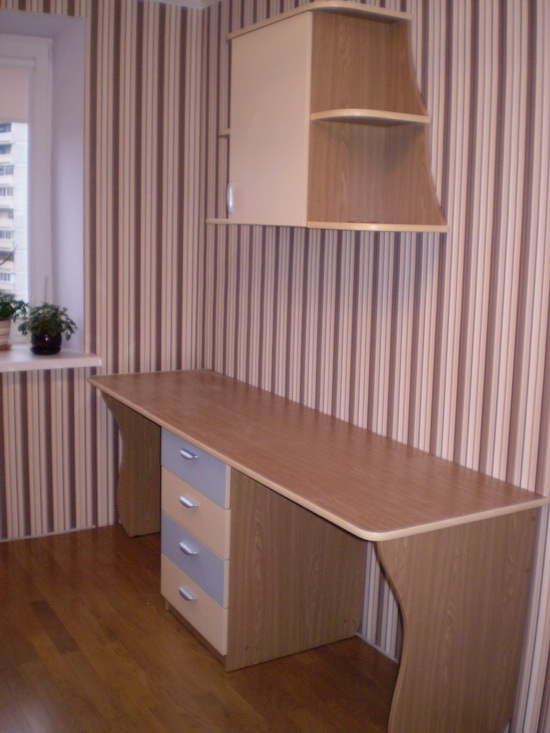
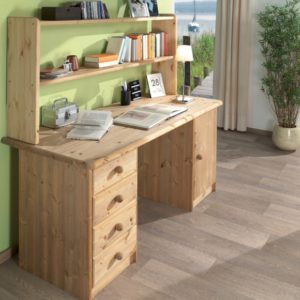
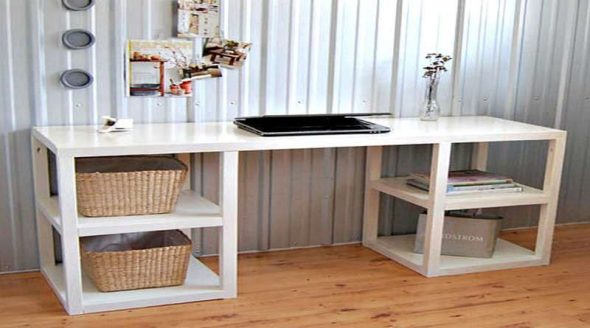
- with “superstructures” of shelves, drawers, racks;
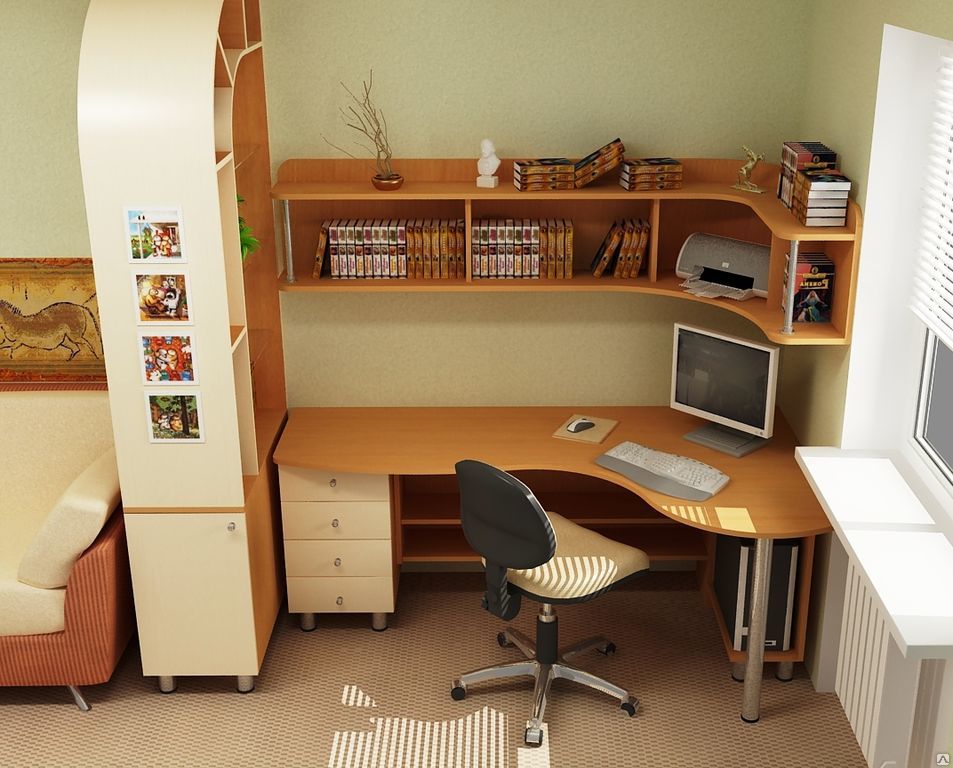
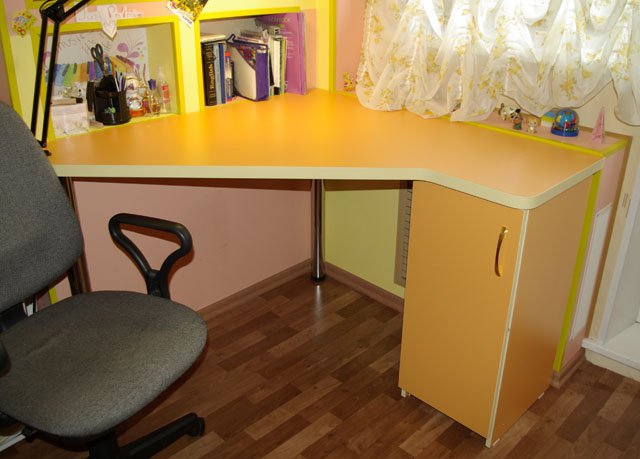
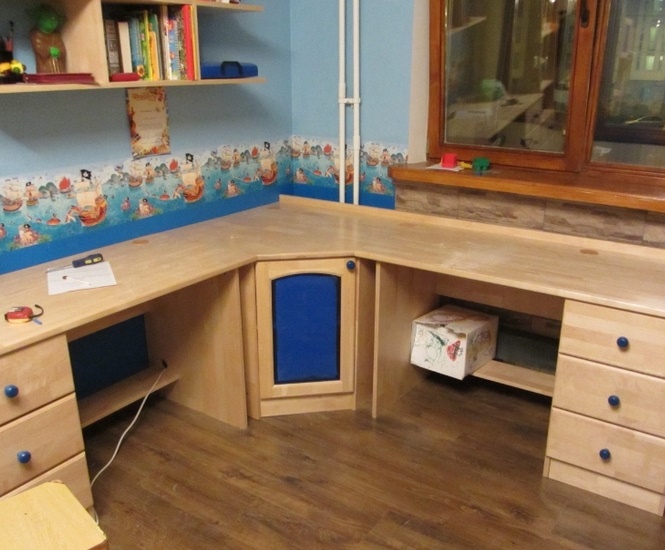
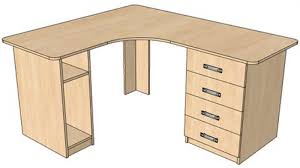
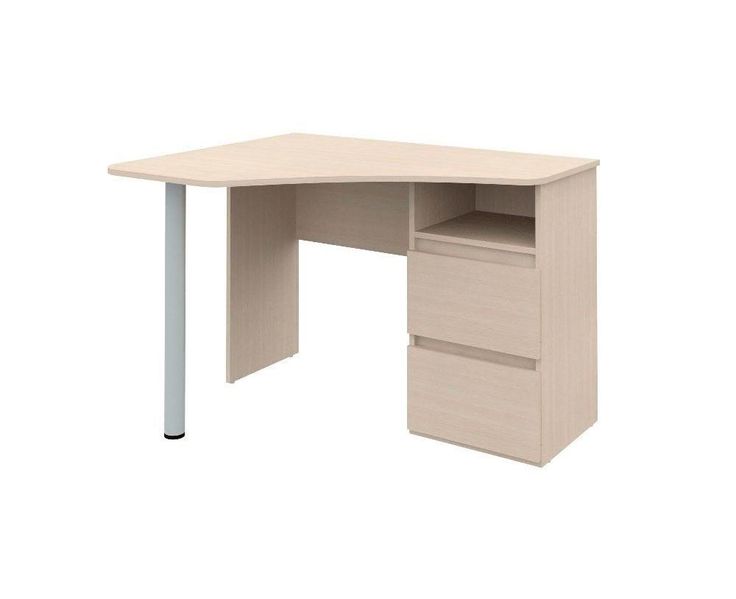
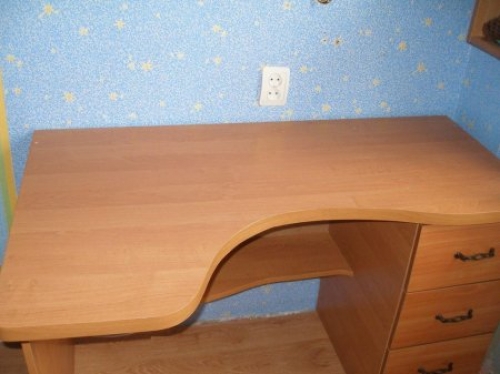
- compact corner;
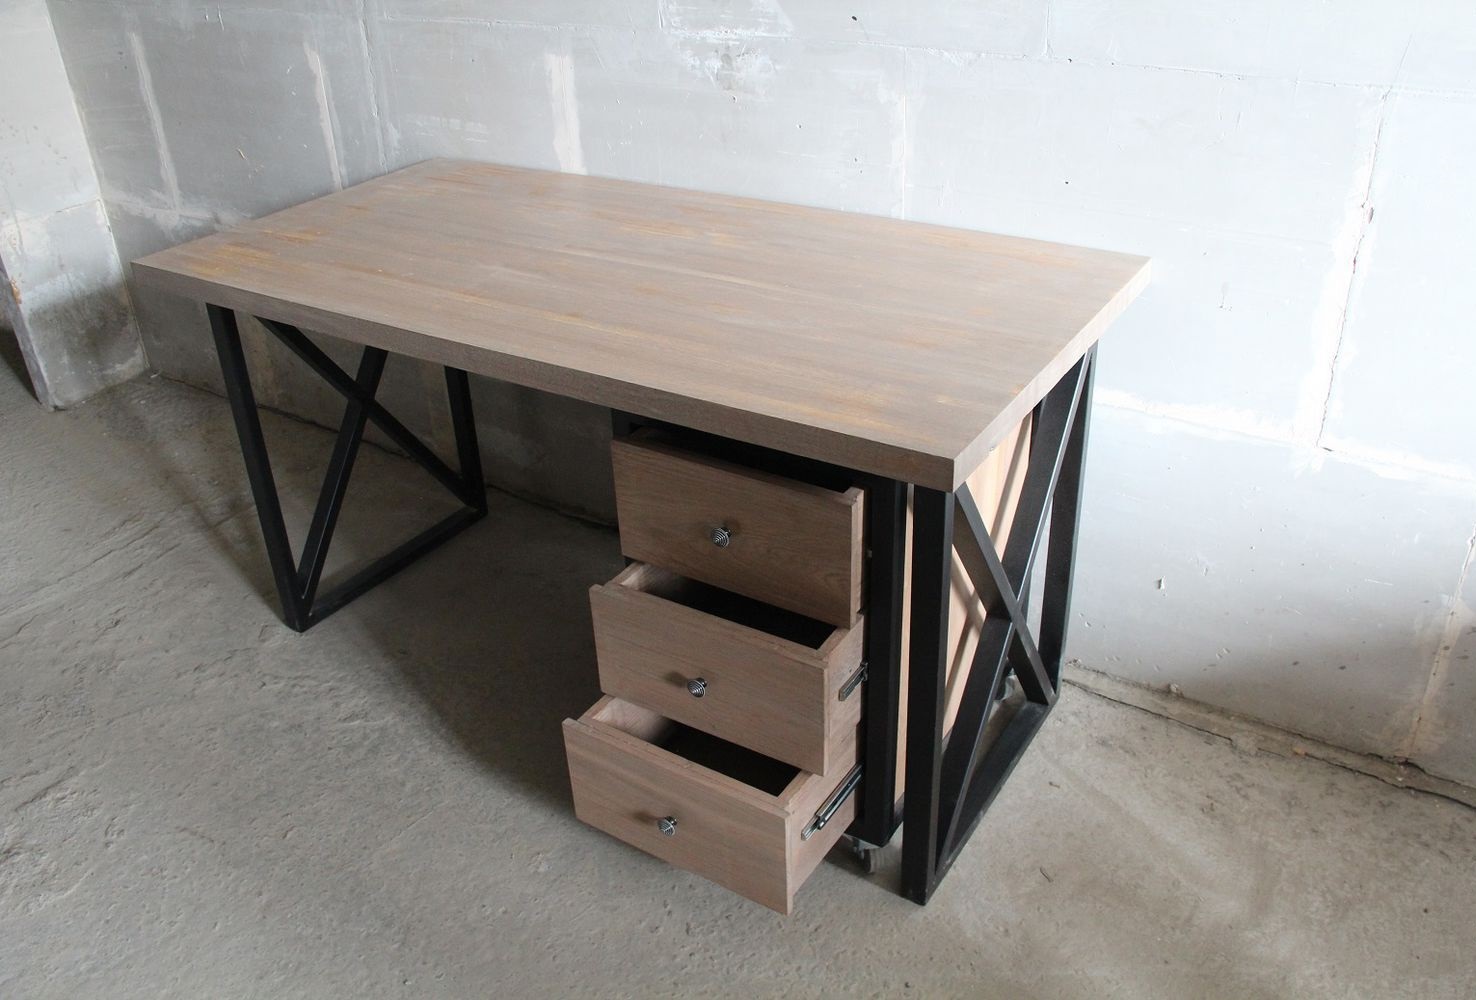
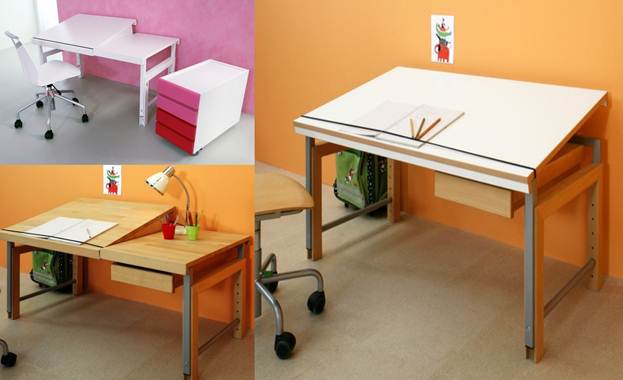
- with a niche in the space under the table top and others.
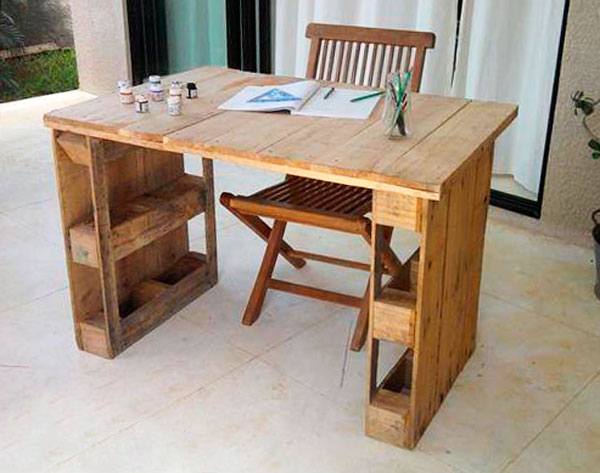
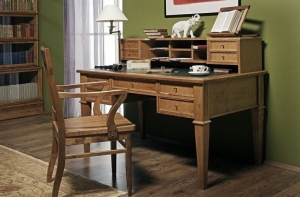
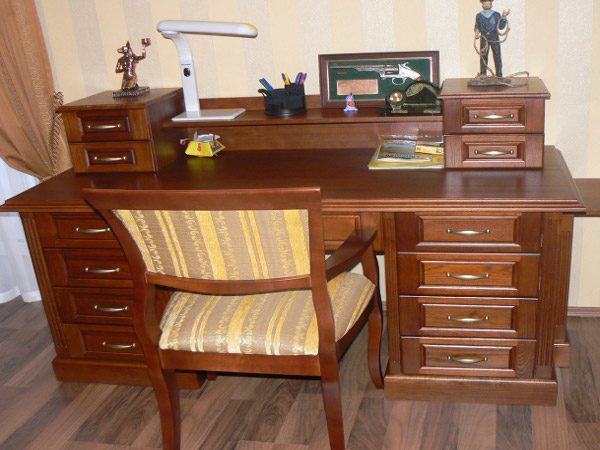
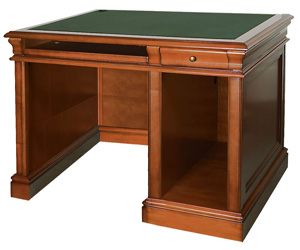
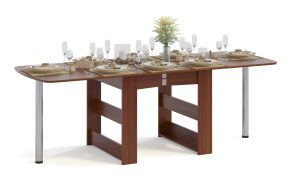
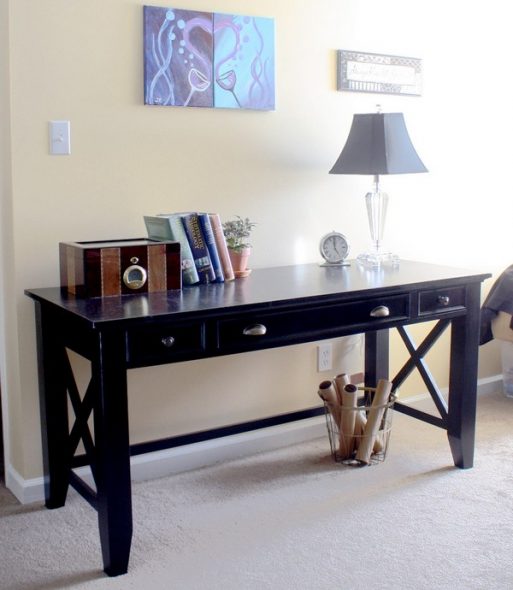
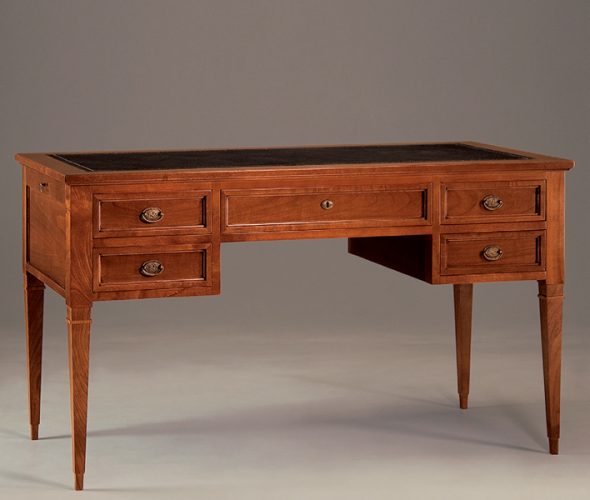
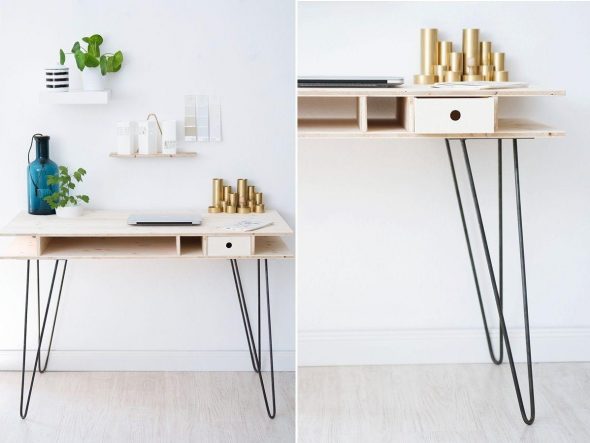
You should not refuse to choose an original design in the style of the 19th century, equipping the table with curved elegant legs, or design in the form of a bureau or "desk". The more boldly the home craftsman experiments, the more original the interior of the office or work corner will look.
Necessary materials
Along with the design and construction, you need to choose the material for making the table to your taste, from traditional wood to a glass tabletop. Of course, the right to choose remains with the master, but in order for the product to be durable and functional, you should not refuse traditional materials that have proven their strength and reliability.
| Type of material | Peculiarities |
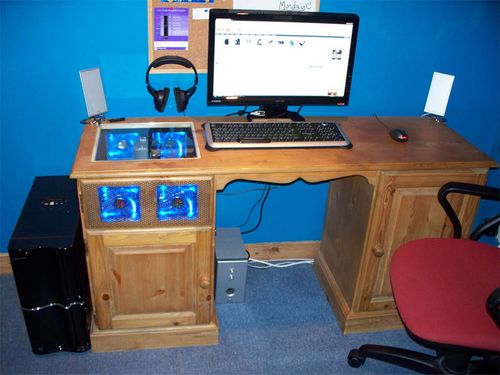
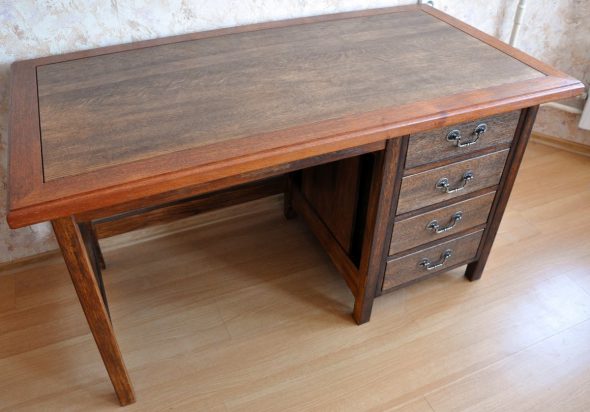
| Natural wood | An environmentally friendly, prestigious and expensive material. It has a huge palette of shades and unique wood pattern. Experts recommend pine, alder, oak, as well as birch and beech for making the table. Additional strength is provided by varnishing the product.
|
| Chipboard (chipboard) | Despite the cheap base, which includes small chips and shavings, it is durable. Decorative veneer lining makes it aesthetically attractive.
|
| MDF, considered a new generation of chipboard | They successfully combine the best technical properties of chipboard and the environmental friendliness of wood.
|
Necessary tools
Once the design features have been defined and the material has been selected, it is necessary to prepare the tools that are essential to the work. The "mandatory minimum" used by experienced craftsmen includes a fairly large number of different tools. But for those who are just trying their hand at making furniture, you can limit yourself to a minimal set that will include:
- screwdrivers or a screwdriver;
- hammer;
- drill and drill bits of different sizes;
- furniture bolts and screws;
- PVA wood glue;
- a building level or a sturdy ruler;
- tape measure, pencil, set square.

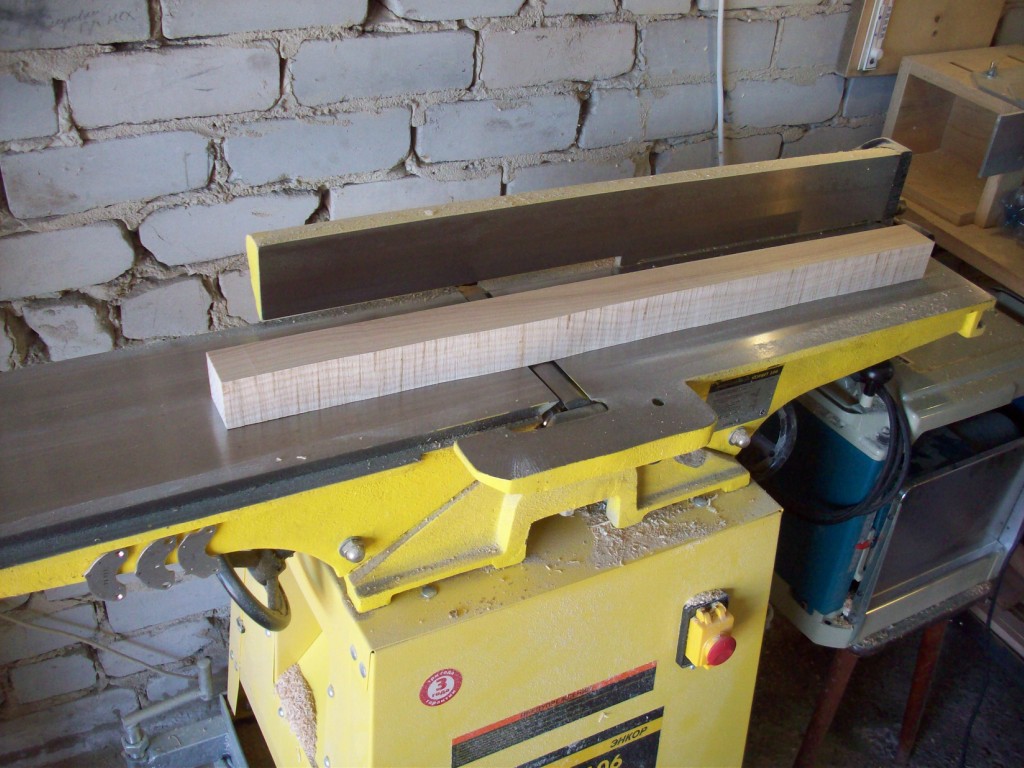
If you plan to make more complex models, you will also need a milling and grinding machine and clamps, and the entire set will be supplemented with other tools and additional devices.
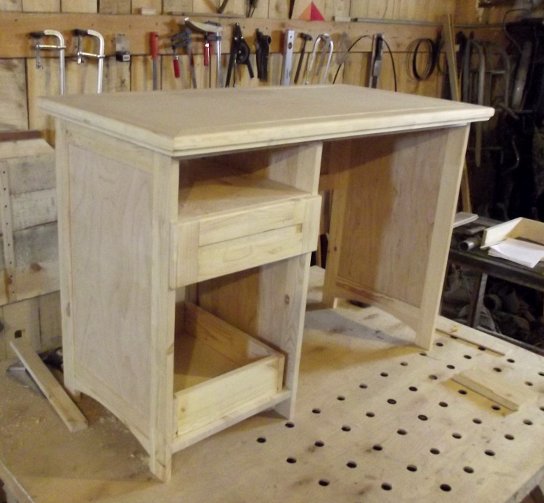
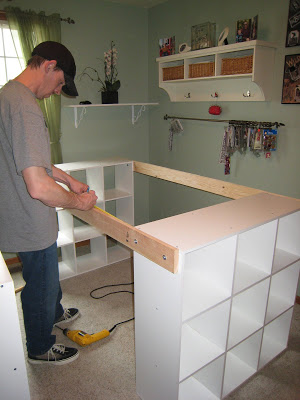
Manufacturing process: step-by-step instructions
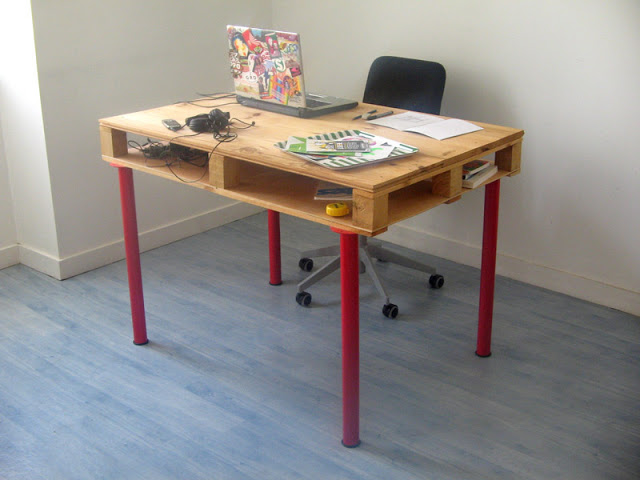
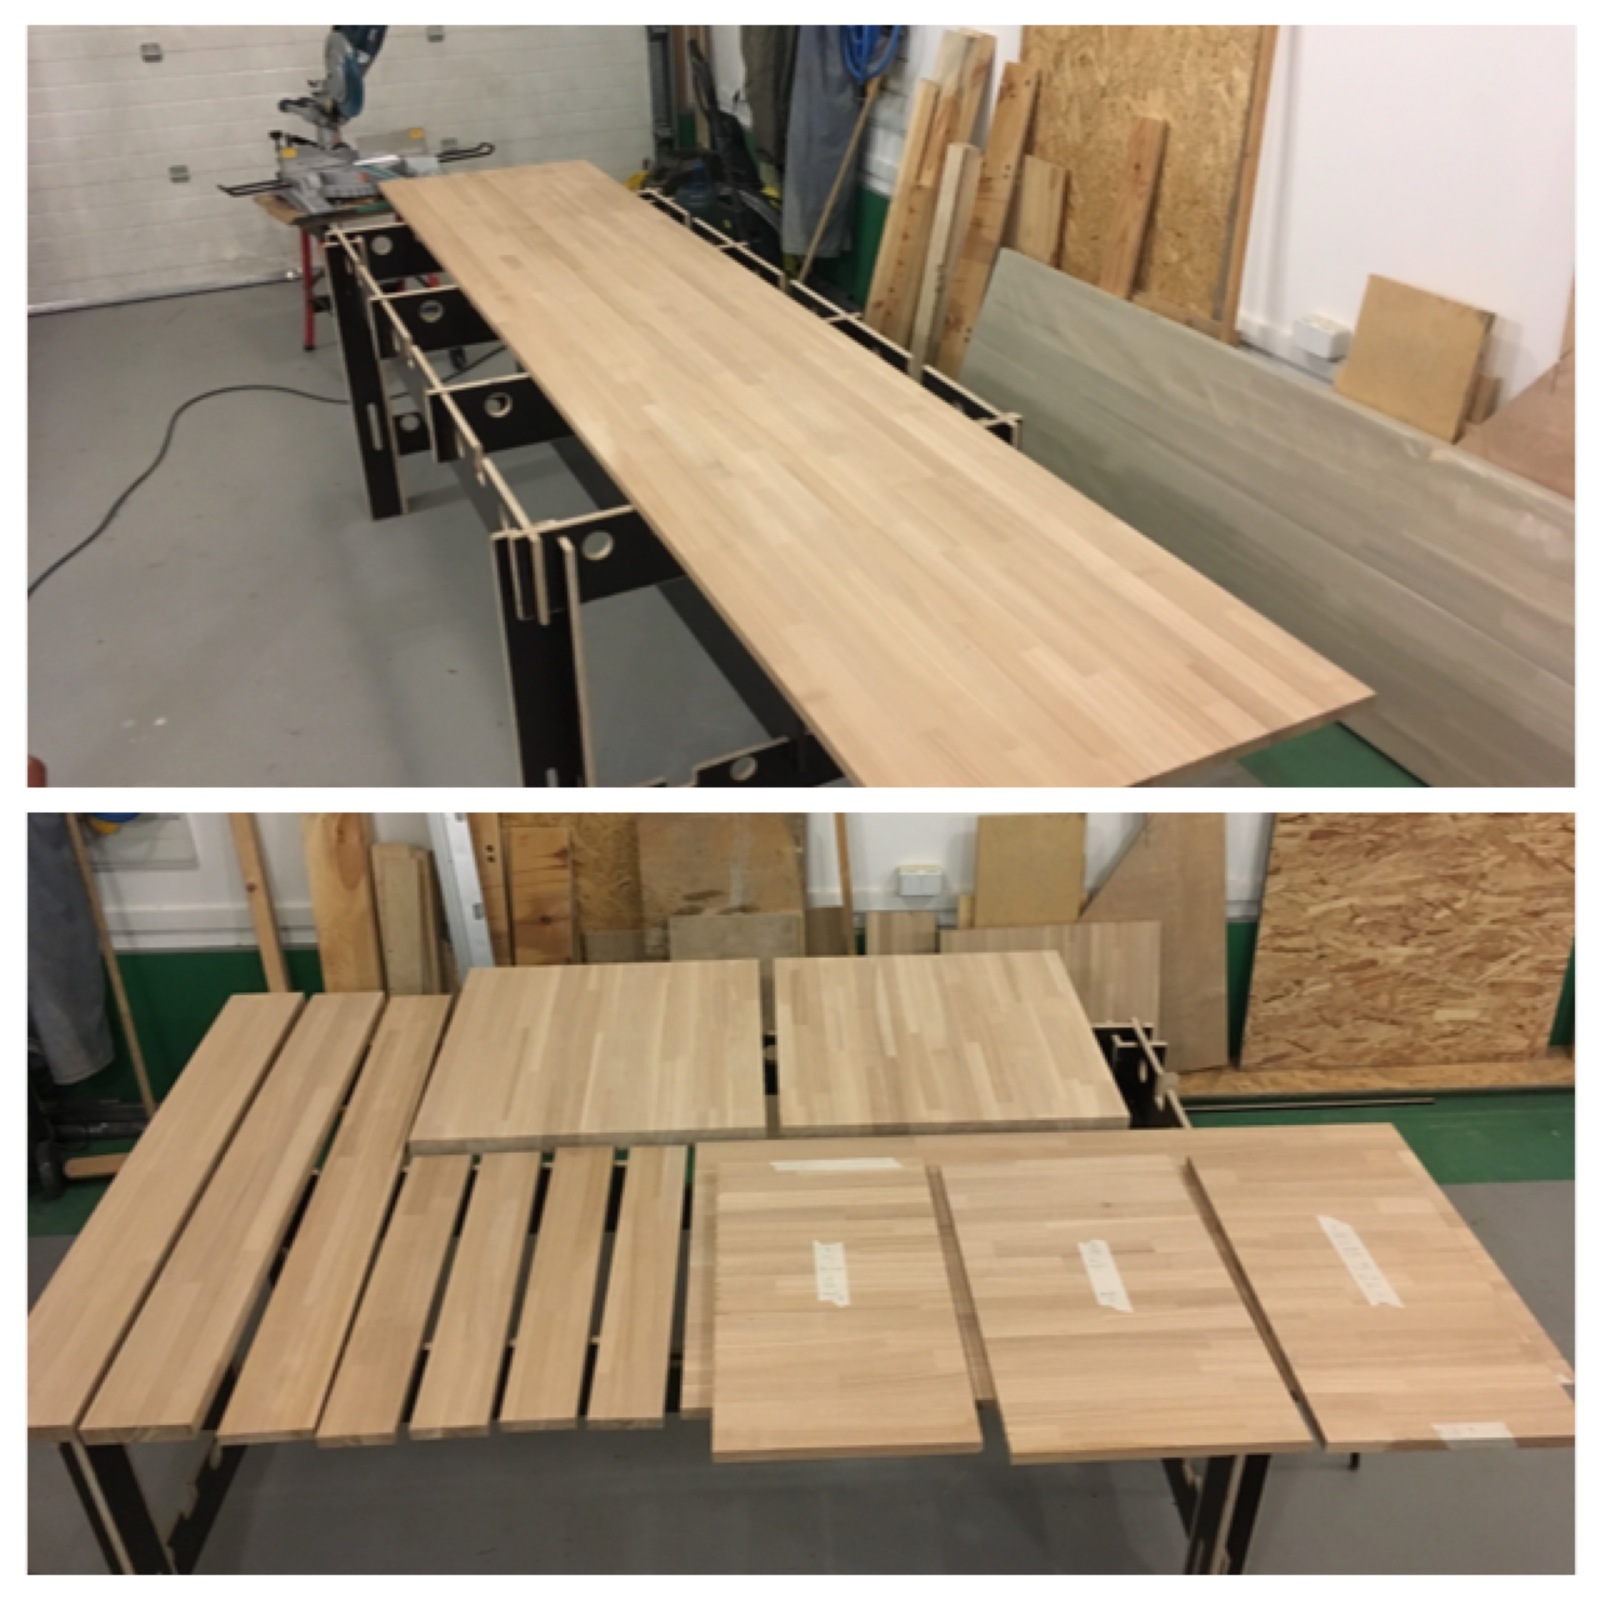
If a home craftsman is just trying his hand at making furniture, it is best to use laminated chipboard as the material for its manufacture. At the same time, it will not be superfluous to know that some hardware stores can not only sell the material, but also cut it to the specified dimensions, which will make the work much easier.
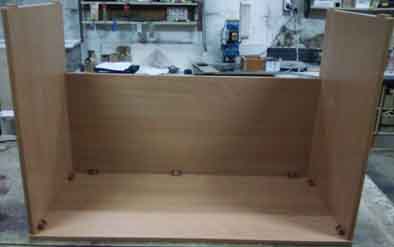
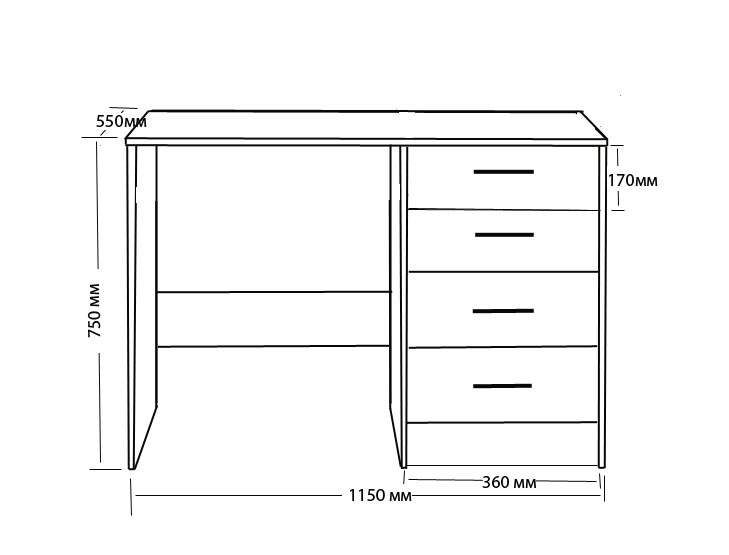
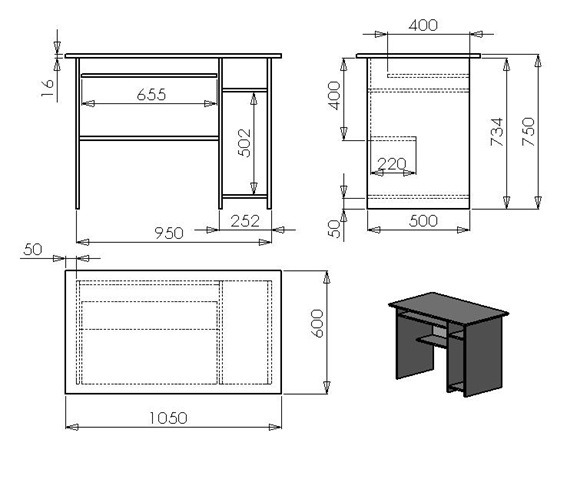
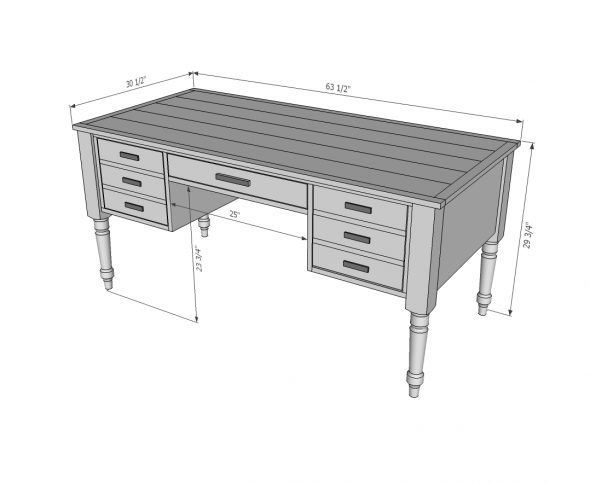
The basis of the assembly should be an elementary drawing, which can be easily done even by those who have never been friends with drawing. It should depict a tabletop with the selected dimensions, a side panel (there will be two of them) and a crossbar.
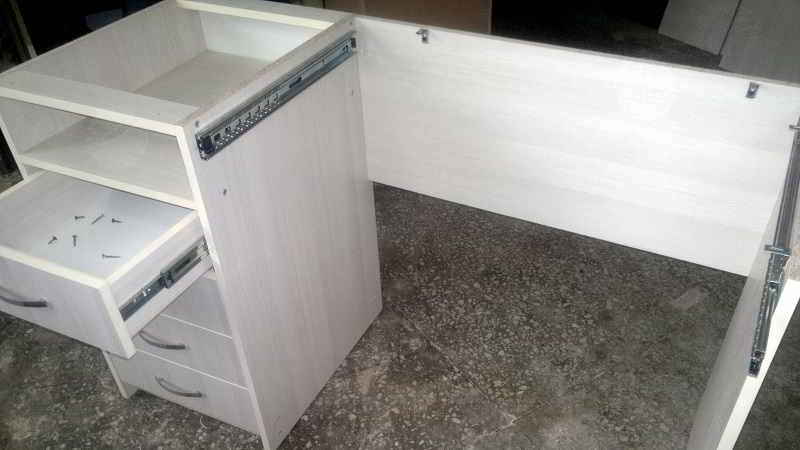
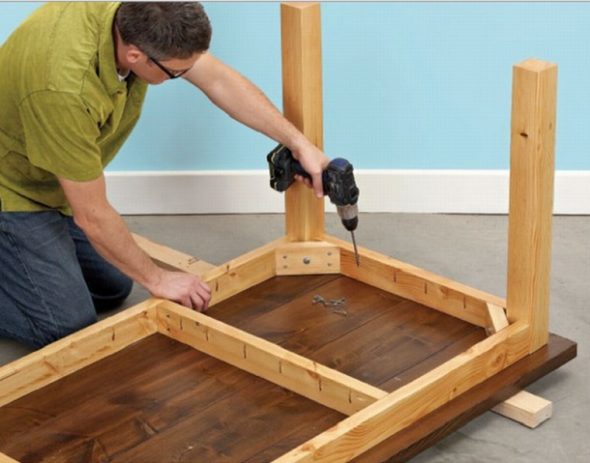
It is better to assemble the table using furniture screws, which are easy to use and provide durability of the product. The order of assembling the desk is as follows:
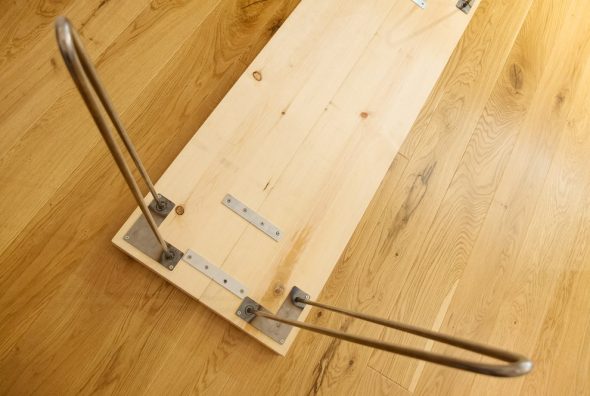
- First, you need to use a drill to drill small holes on the ends of the walls and the legs of the table;
- then use a drill of a larger diameter to drill so that a small groove is formed into which the screw is inserted;
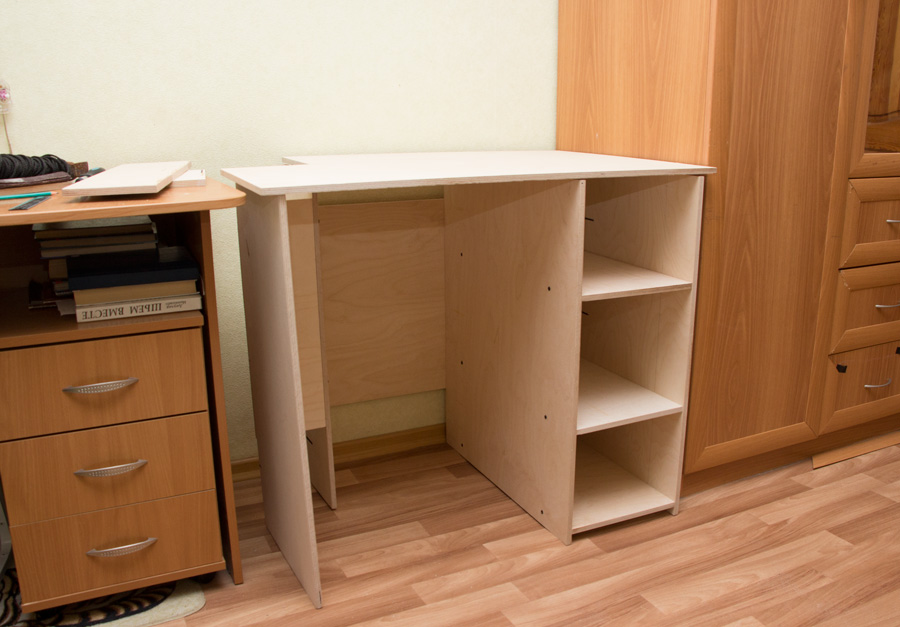
- the side part of the table is connected to the inner wall; in this case, it is necessary to connect carefully and accurately so that the upper ends are located at the same level, otherwise the table will be skewed;
- The second side wall is attached in exactly the same way.
The tabletop is attached in the same way. A novice craftsman should remember that its size should be such that the edges protrude beyond the "borders" of the sidewalls: this is not only beautiful, but also convenient, because the resulting protrusions allow you to conveniently place the table in any part of the room. To make the table look more aesthetically pleasing, the places where the screws are located can be covered with decorative plugs. The simplest desk is ready, and although its design does not include drawers, cabinets, superstructures, it is made with love. If you work slowly, then the furniture "first pancake" will not be a lump.
The final stage is decoration
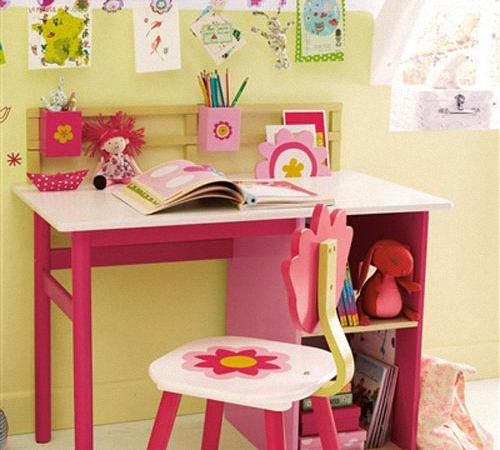
This part of the desk manufacturing process may look different for different craftsmen, depending on aesthetic tastes, the interior of the room where it will be installed, and the "addressee": a desk for a preschooler and a student will differ in design. The decoration may include:
- coating a wooden product with varnish of various shades;
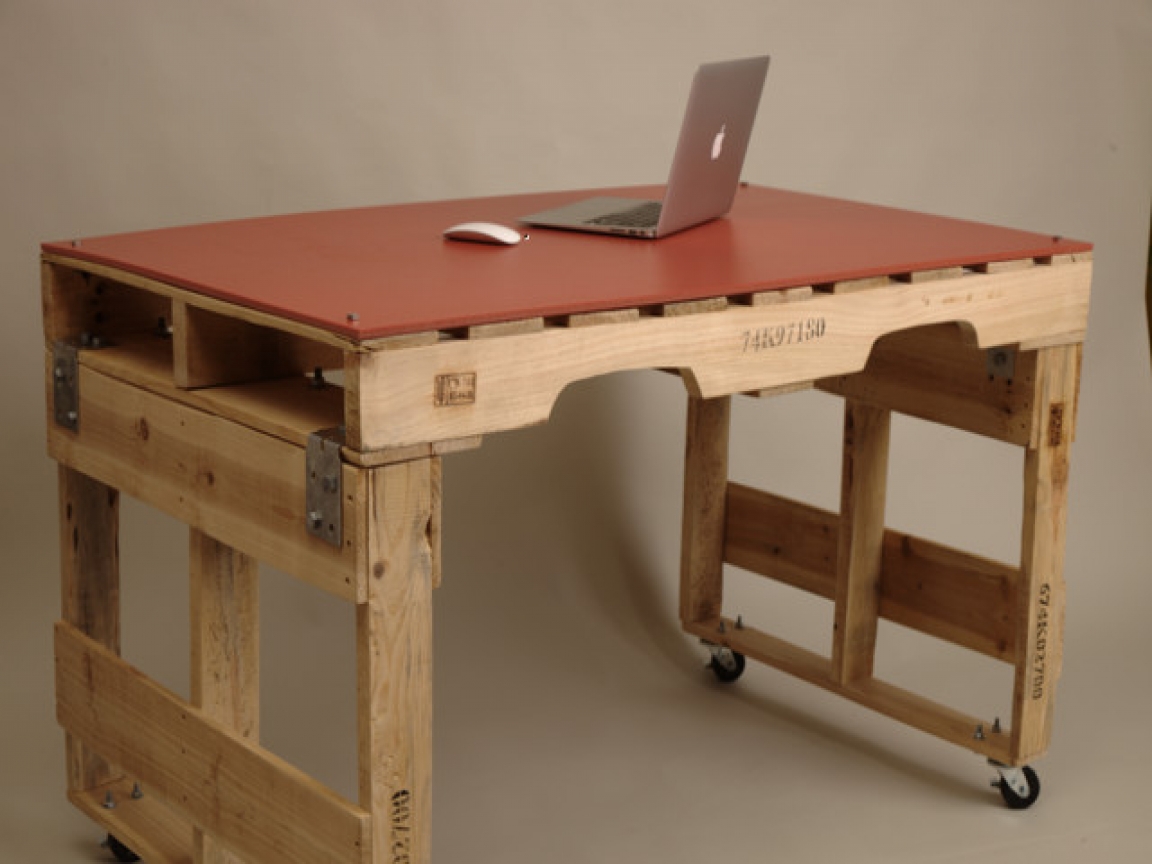
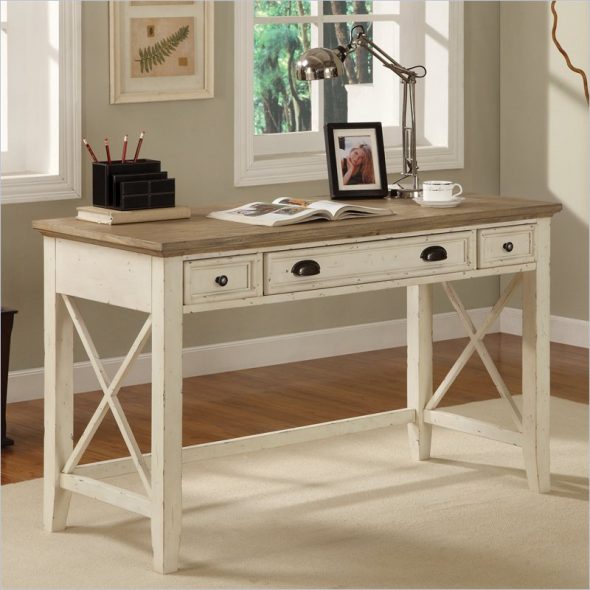
- installation of a countertop made of a material of a different texture or a contrasting color scheme;
- painting, single-color or multi-color;
- decoration with self-adhesive film of various colours and patterns;
or wallpaper;
using decoupage napkins and other decoration methods.
If the master or household members know how to draw beautifully, the table can be decorated with bright pictures.
The tabletop made for a child can be decorated with multi-colored strips of fabric or ribbons, securely fastened to the tabletop, and then varnished. Or covered with pictures of favorite cartoon characters.
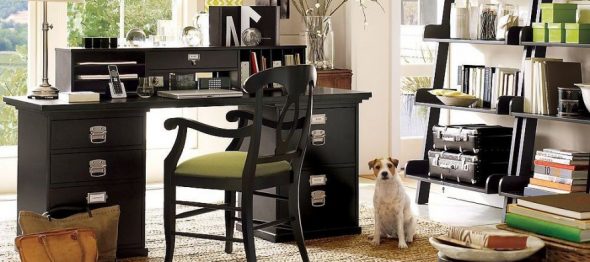
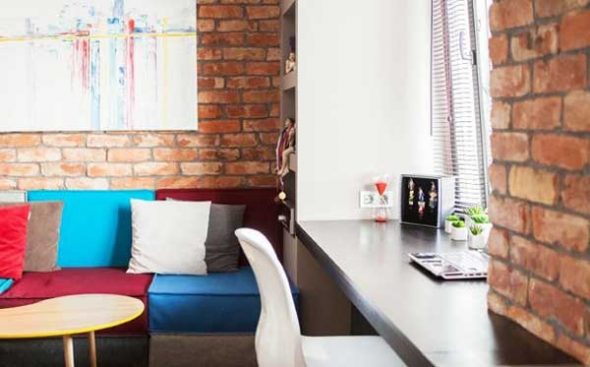
A desk is a rather strict product, so the decorating possibilities for some may be quite limited. But this does not mean that it is impossible to make the table elegant and attractive. In addition, nothing prevents you from creating a work corner and decorating the space near the table, as well as decorating the lid with interesting things. And here the female half of the family can join in.
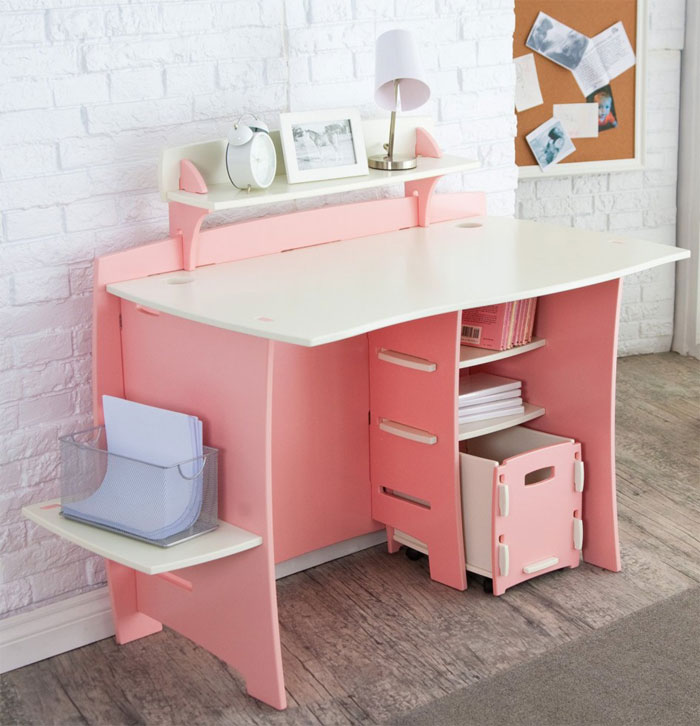
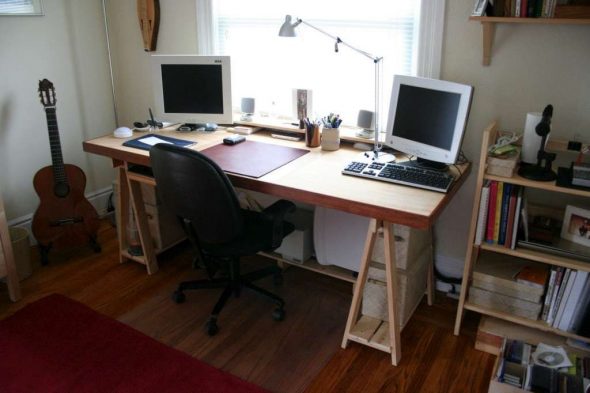
You can install a hand-made original organizer on the tabletop, decorate it with a homemade cup for pens and pencils. On the open shelves fixed above the table you can place boxes with stationery and toys, homemade items, and decorate the wall with drawings, a bright calendar, photographs.
If the table design does not include a pedestal or drawers, plastic drawers can be placed in the space under the lid, which can be removed at any time.
VIDEO: DIY Desk
50 photo ideas on how to make a desk with your own hands