Furniture made from solid wood has always been highly valued. Now it can rightfully be considered a luxury item. However, anyone with basic carpentry skills and sufficient desire can make table from an array with minimal investment.
Content
5 Reasons to Make a Table with Your Own Hands
Of course, buying a ready-made product is much easier and faster, but making it yourself has a number of advantages:
- Price. The cost of a table made of natural wood is quite high.

However, when made at home, it will decrease significantly. - Quality. By selecting wood yourself, you reduce the risk of using low-grade materials.

You can choose exactly the breed that will meet all the necessary technical and aesthetic requirements. - Durability, directly related to the quality of the product assembly. When creating furniture for yourself, even a novice carpenter will assemble the structure carefully and reliably.

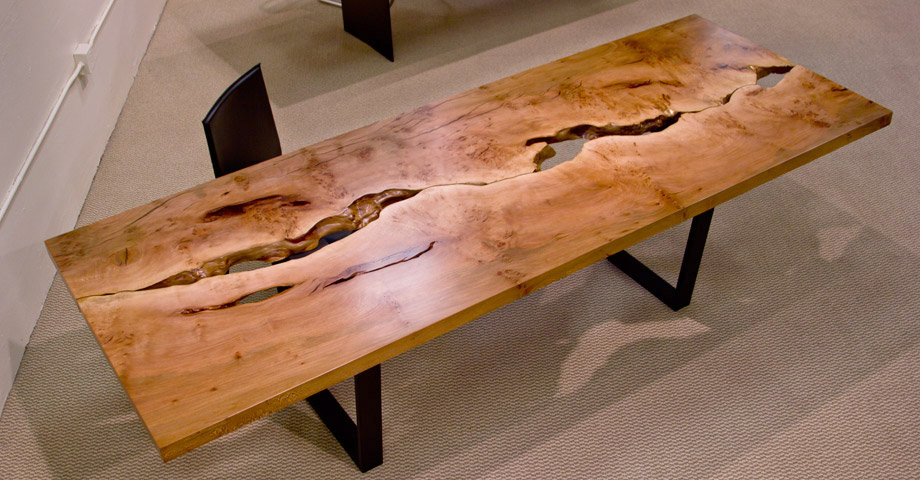
Pre-treatment of all boards with special protective agents guarantees a long service life. - DesignDespite the huge selection in stores, situations often arise when you like everything, but would like to change some small detail.

By making a table yourself, you can take into account all the nuances and create the ideal model for yourself. - And of course, there is nothing more pleasant than admiring and using your creation every day.
This is a great opportunity not only to save money, but also to bring a piece of your soul into your home.
Choosing a table model
Before you start selecting the material and directly creating a piece of furniture, you need to decide on its design. The model directly depends on the functional purpose and features of the room.
For example, if the room is small, it is better to choose compact products.
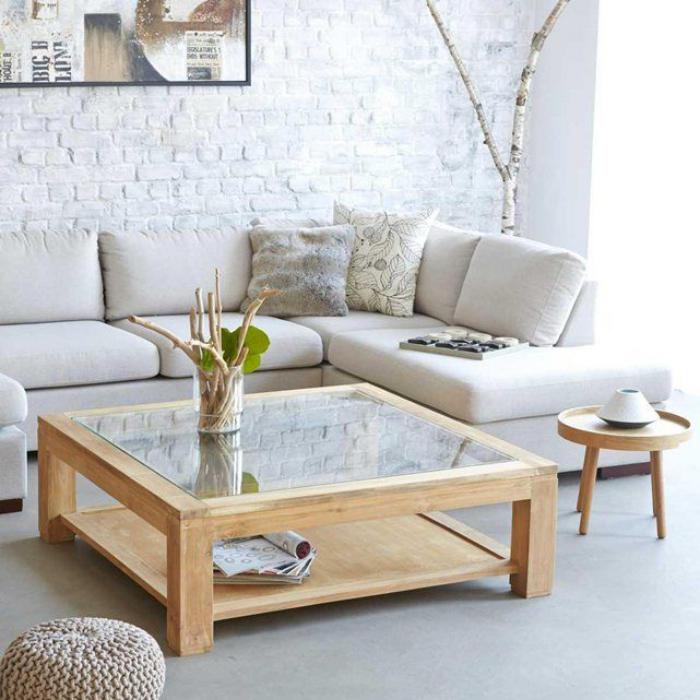
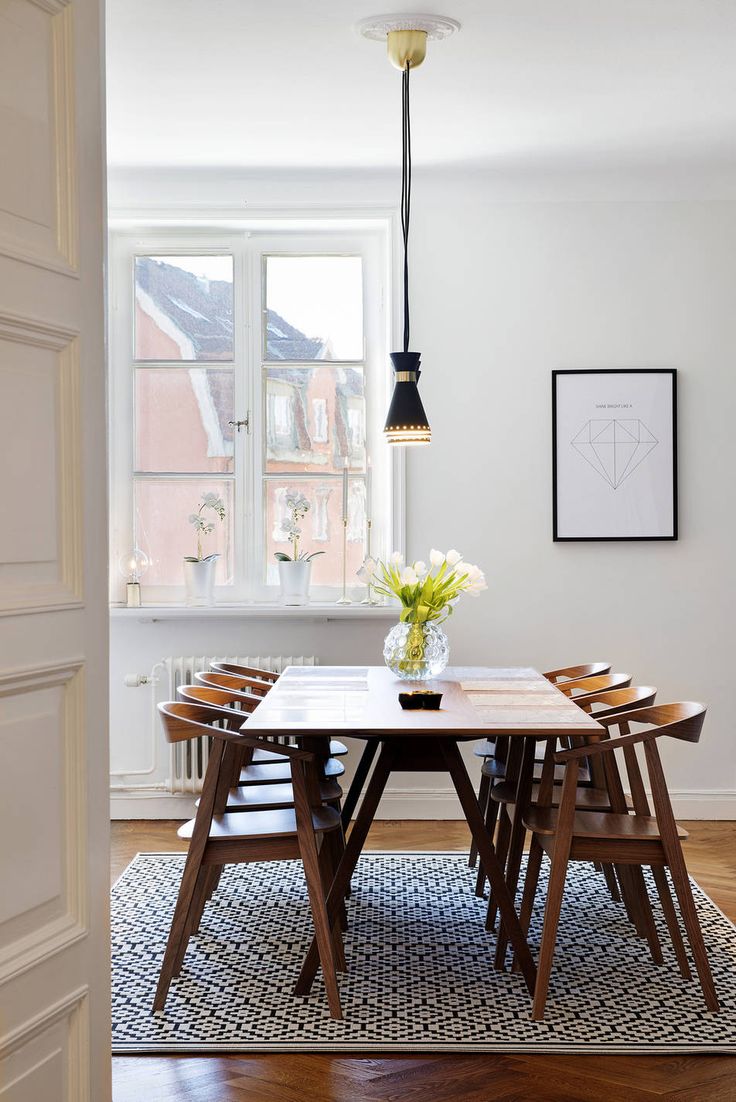
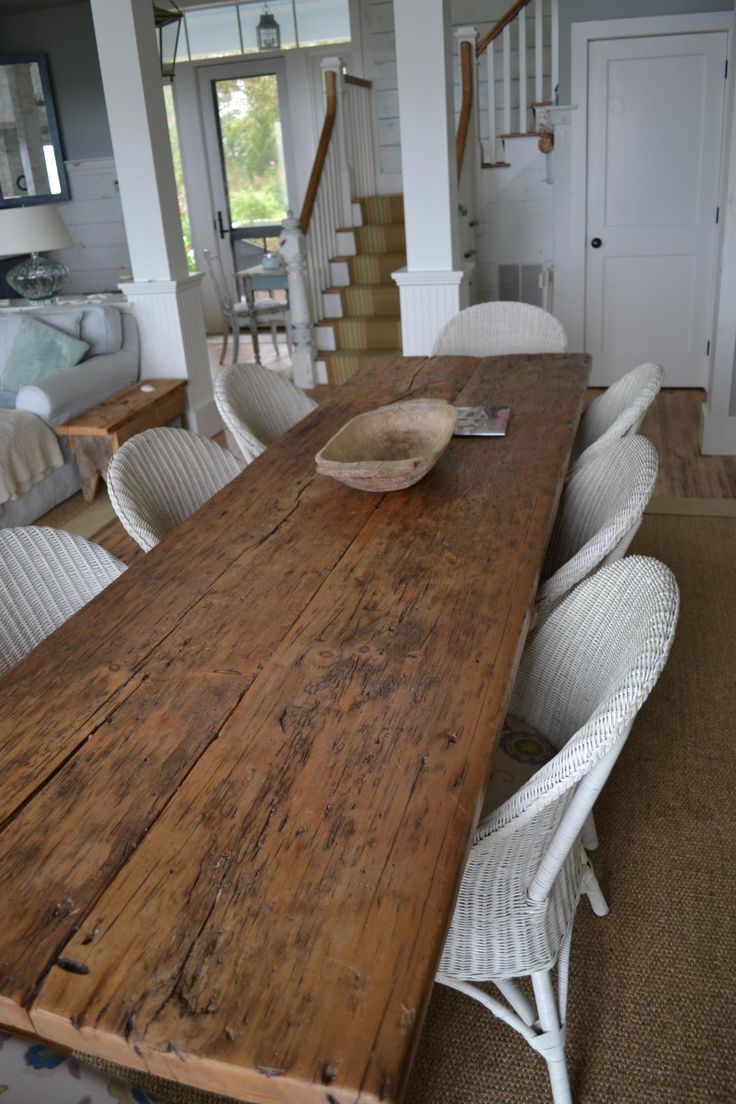
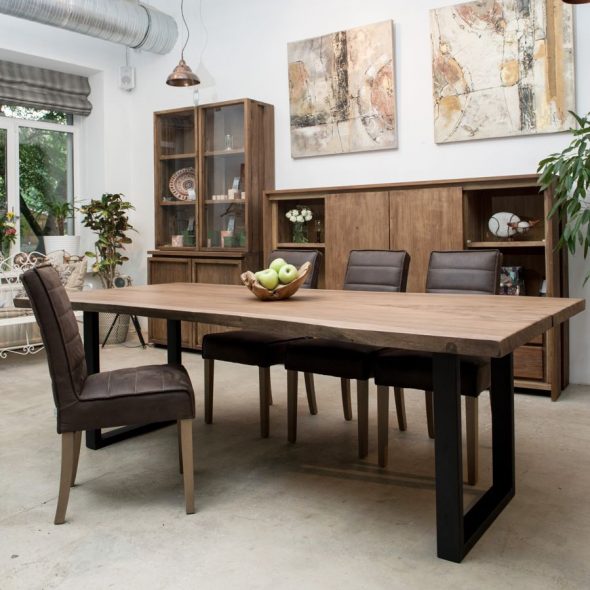
For a spacious dining room or living room, the ideal option is a classic rectangular table.
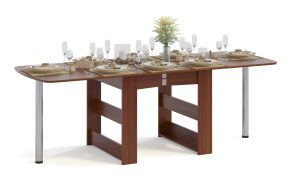
If there is a need for a product with a large capacity, but the room does not allow for the presence of large-sized items, it is worth considering a sliding or folding design.
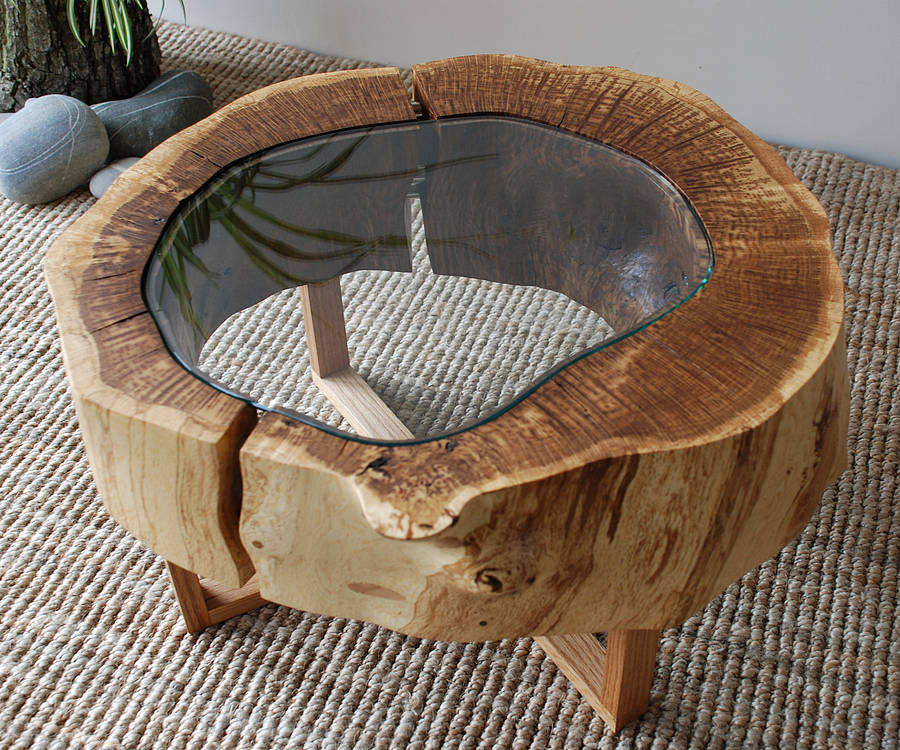
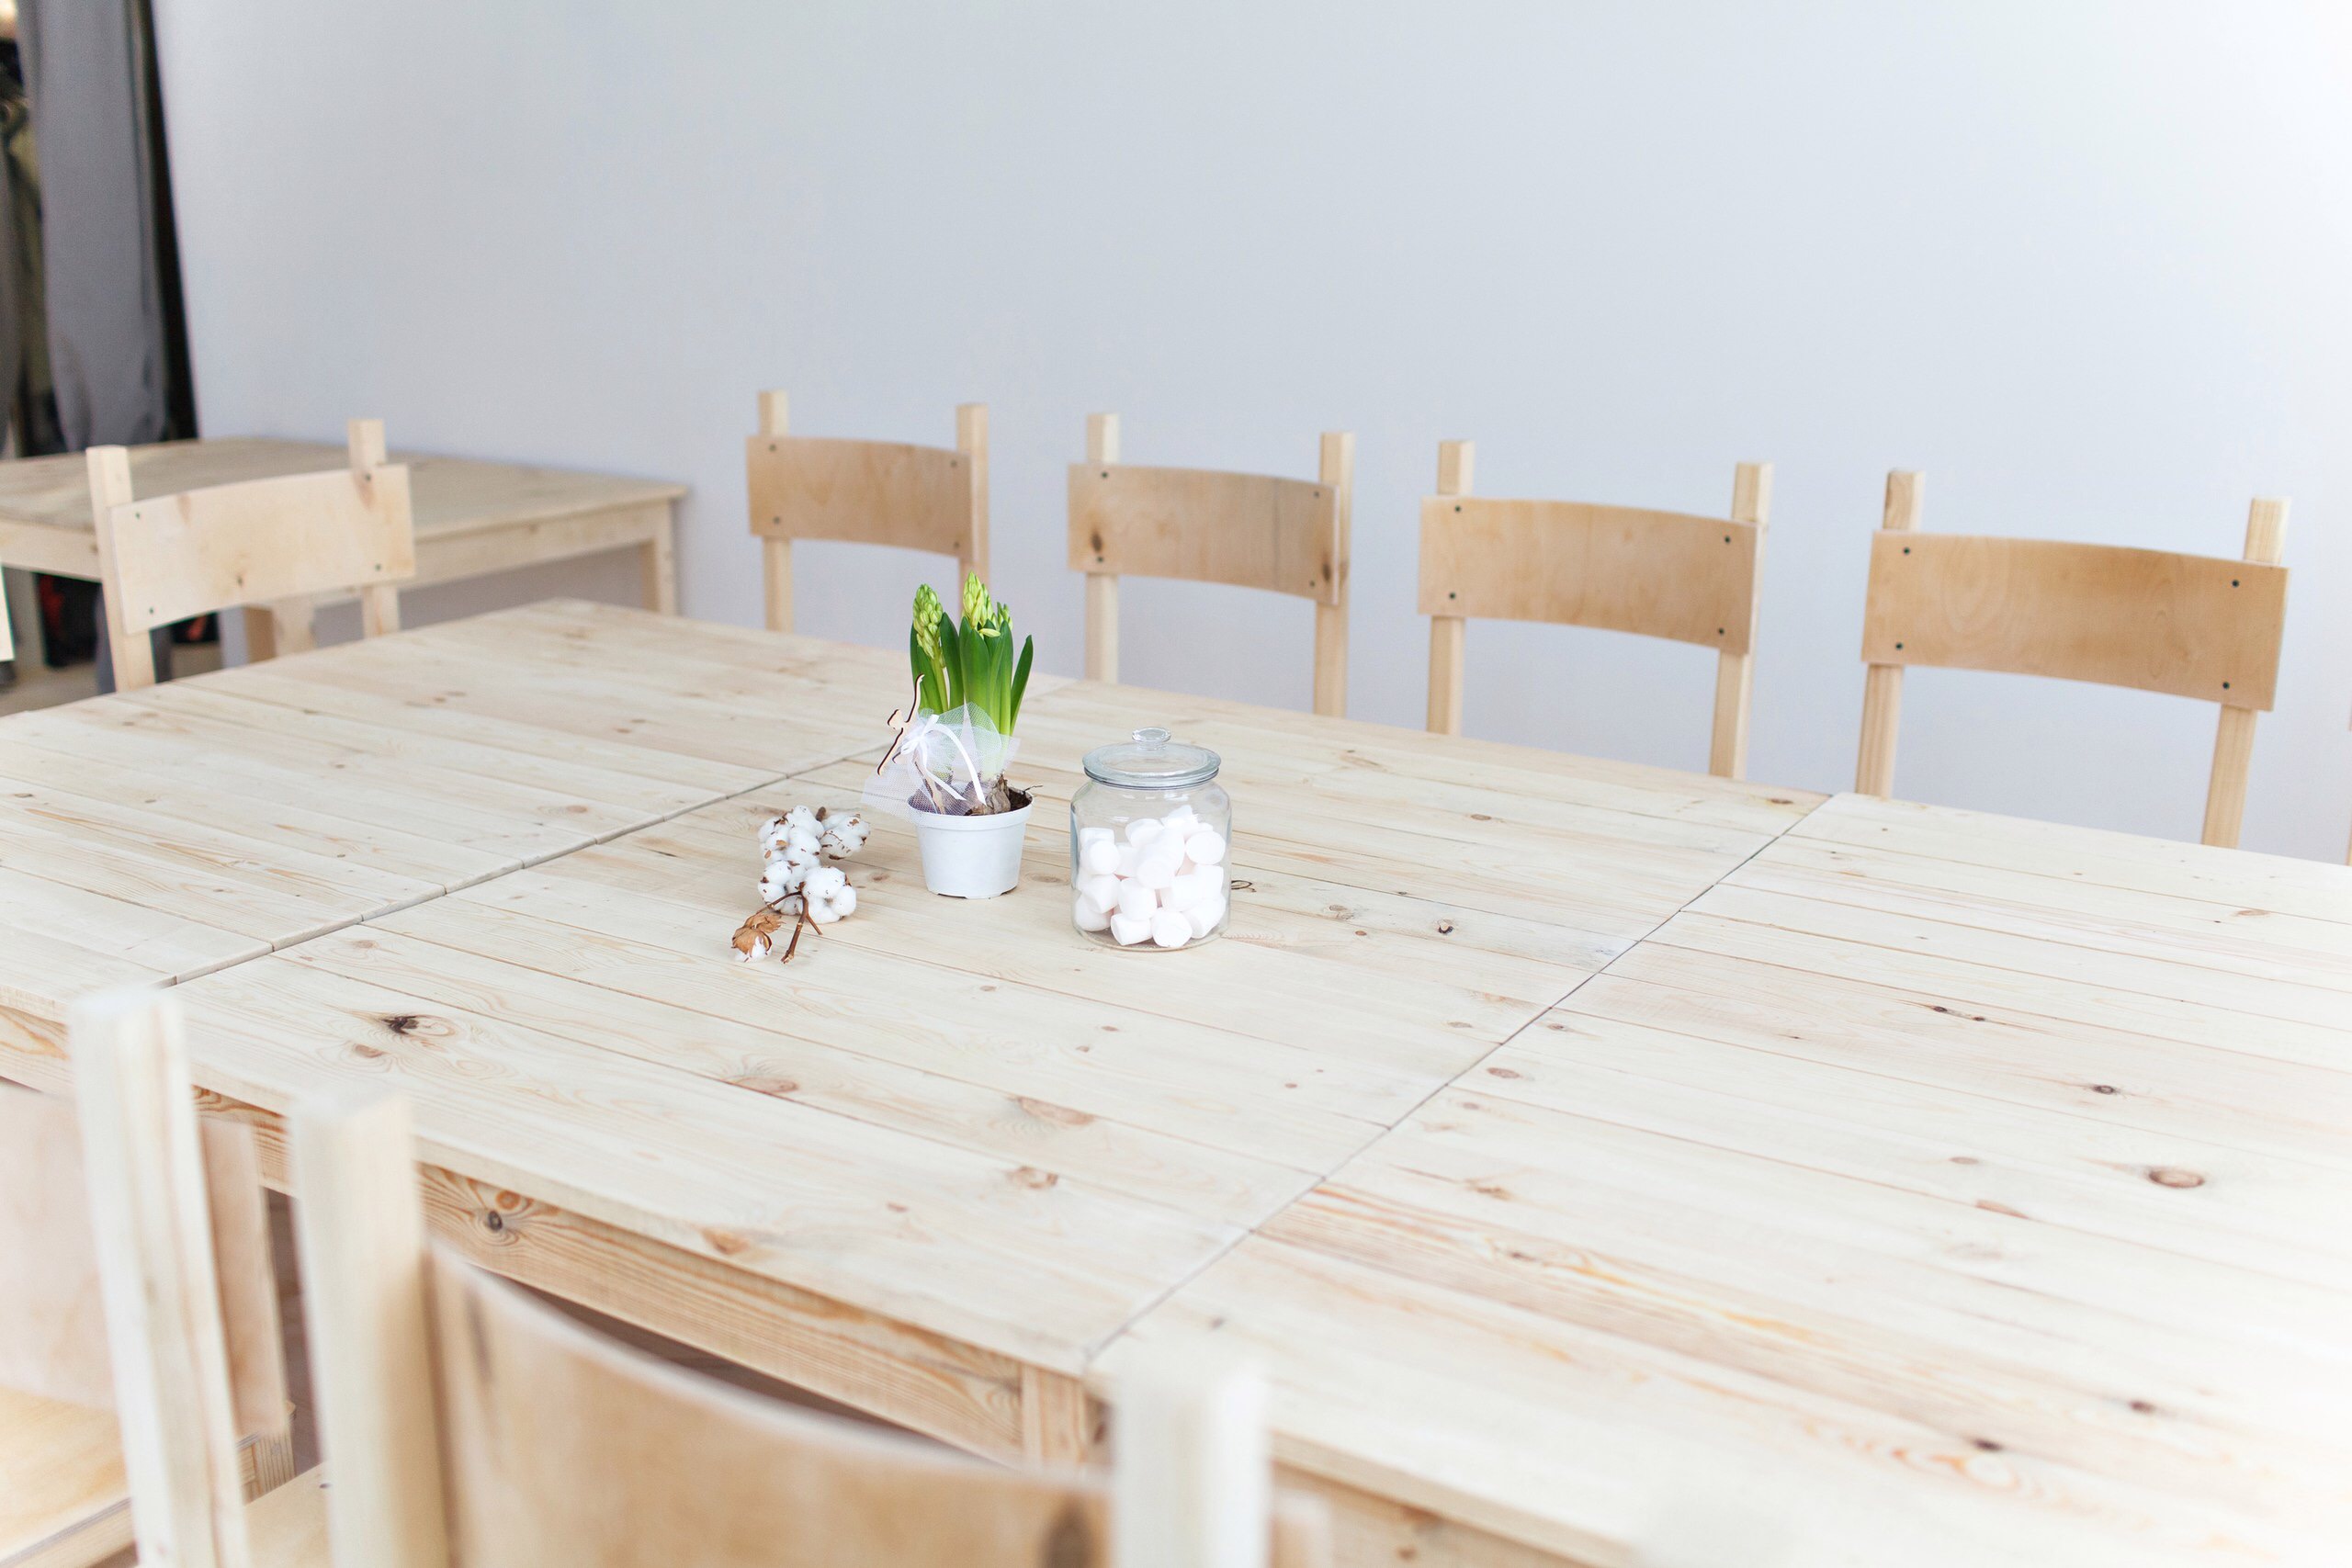
For beginners, it is easier to make a square or rectangular piece of furniture on 4 medium-sized legs.
Which type of wood is better?
Each type of wood has its own characteristics that should be taken into account when designing furniture.
For a more convenient and detailed comparison of characteristics, let's look at the table.
Table 1. The most common types of wood used in the furniture industry
| Name | Average density kg/m33 | Shear strength | Characteristics |
| Oak | 700 | 9.9 | A very durable species, resistant to rotting processes. It is distinguished by its beautiful, noble texture. |
| Beech | 670 | 12.1 | A representative of hardwoods, easy to process, pliable. However, it is prone to rotting, which requires careful antiseptic treatment. When drying, it deforms more than oak. |
| Larch | 660 | 9.8 | Durable, resistant to rotting and deformation, has a tendency to crack. Therefore, it is not recommended for rooms where humidity and temperature changes are constantly observed. |
| Birch | 630 | 9.0 | It is quite durable, resistant to deformation, chipping and cracking, but with constant humidity it has a tendency to rot. This disadvantage is easily neutralized with the help of antiseptic treatment, since the wood is easily impregnated with special compounds. |
| Pine | 500 | 7.4 | Durable, soft, lightweight, deforms to a small extent. Due to its natural characteristics, it is pliable when working. Easily impregnated with antiseptic compounds. |
| Spruce | 450 | 6.8 | Less even texture compared to pine, has more knots. Not so well treated with antiseptic, more capricious in processing. |
| Aspen | 380 | 6.5 | The texture is not particularly expressive, the color is whitish-green. Due to its softness, it does not crack, is easy to process, and is not susceptible to rotting. However, traces of mechanical impacts may remain on surfaces made of this material (for example, if a child draws with strong pressure on a pen or pencil) |
| Fir | 370 | 5.9 | Soft wood, does not tolerate moisture well, is subject to rotting processes, therefore it is not suitable for furniture that will be used outdoors or in rooms with high humidity. It is easy to process, which will simplify the work of novice carpenters. |
So, having carefully studied the table, it becomes clear that soft wood species (aspen, fir) will be easy to work with, but during service they may disappoint due to their susceptibility to mechanical impacts and low moisture resistance. It is better to opt for harder species, such as pine, larch, beech and oak.
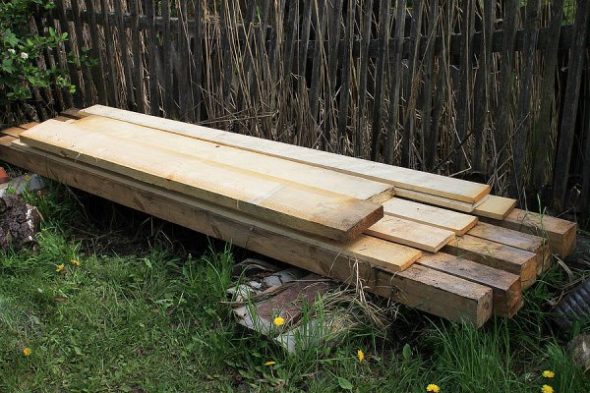
Necessary materials
To make the table you will need the following materials.
- 40mm x 40mm beam for attaching the support part to the table top and giving the structure strength and stability.
- 70 mm x 70 mm beam for making legs. If the design includes classic carved balusters, and your experience in wood processing does not allow you to make them yourself, you can always choose a suitable option in a furniture fittings store and purchase ready-made elements of the product.
- Boardsand for the table top (thickness not less than 40 mm).
- Wood glue.
- Furniture dowels and confirmants.
- Antiseptic.
- Varnish or glaze for treating wooden products.
Tools for work
All the tools necessary for work can be divided into 3 groups.
- Measuring tools:
- Metal ruler 50-100 cm;
- Roulette;
- Metal square;
- Manual level 50-80 cm.

- Tools for working with wooden surfaces:
- Saw/hacksaw;
- Jointer;
- Sanding machine, sandpaper.

- Tools for assembling the product:
- Wedge or screw clamps;
- Mallet (suitable with either a wooden or rubber head)
- Screwdrivers with different tips;
- Drill, screwdriver.
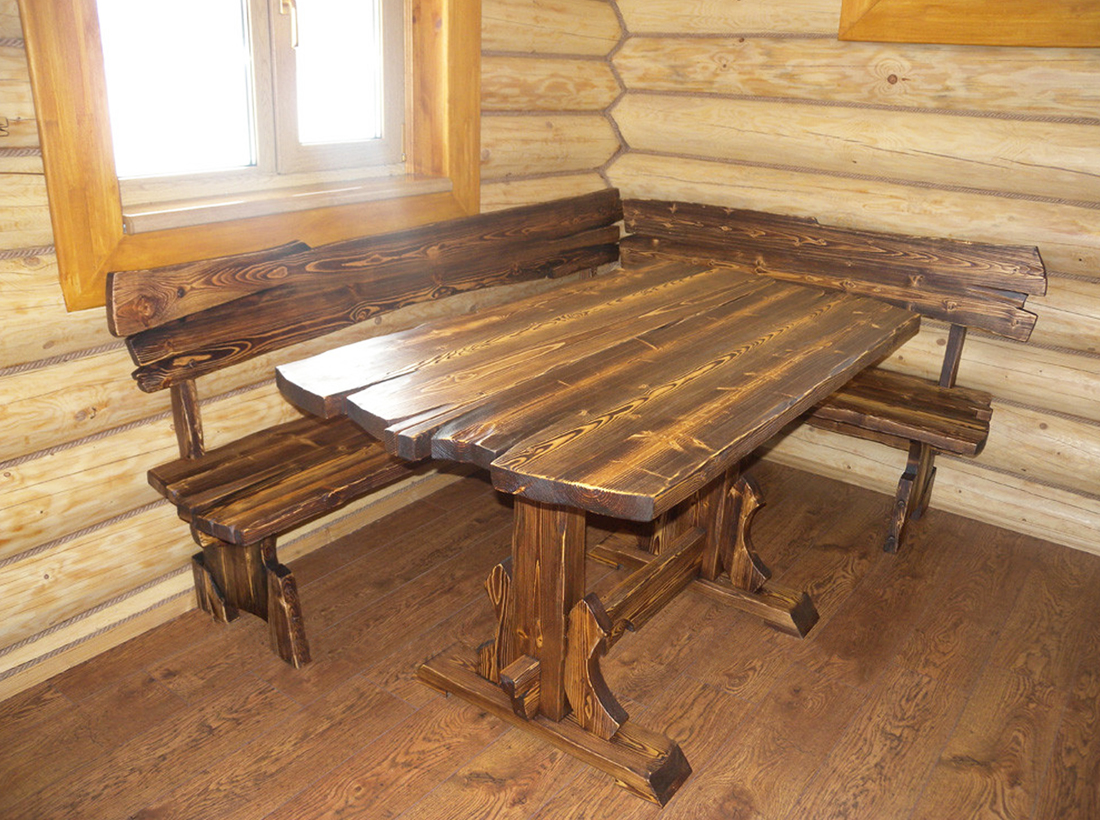
Making a Wooden Table with Your Own Hands: Step-by-Step Instructions
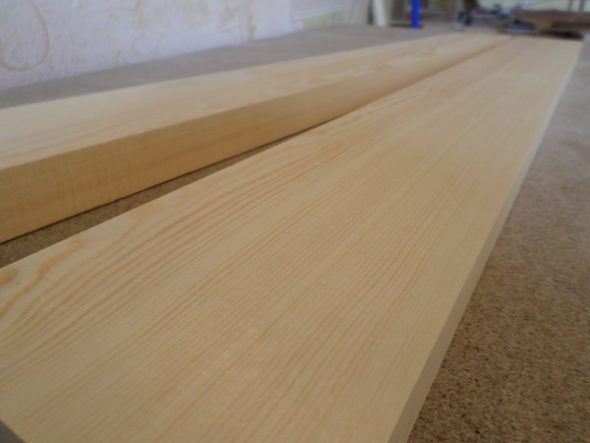
Table top
Treat everything thoroughly boardsAnd.
Having achieved a perfectly flat and smooth surface, drill holes for dowels in each end at intervals of 10-12 cm (for the outer boards, they should be made only on one side).
After thoroughly cleaning them from shavings and dust, they must be coated with special wood glue (it is possible to use PVA).
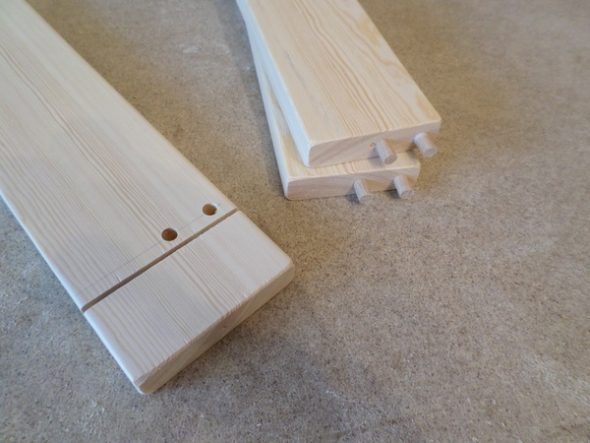
Important! When gluing, direct the pattern in different directions. This increases the strength of the product and reduces the risk of deformation.
After complete drying, cut off excess glue with a construction knife and process the surface with a sanding machine.Treat the finished shield with a special antiseptic.
Thus, it takes one day of work to make a wooden canvas.
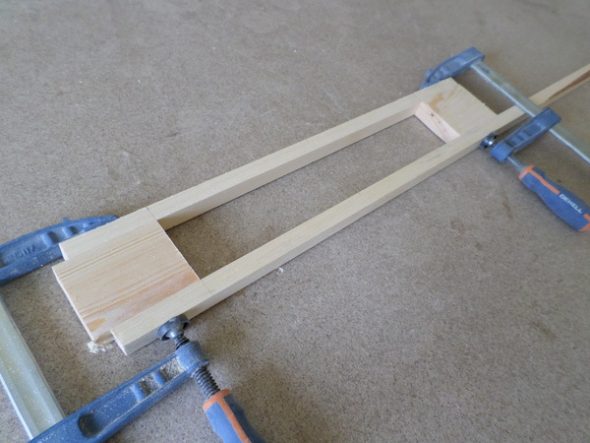
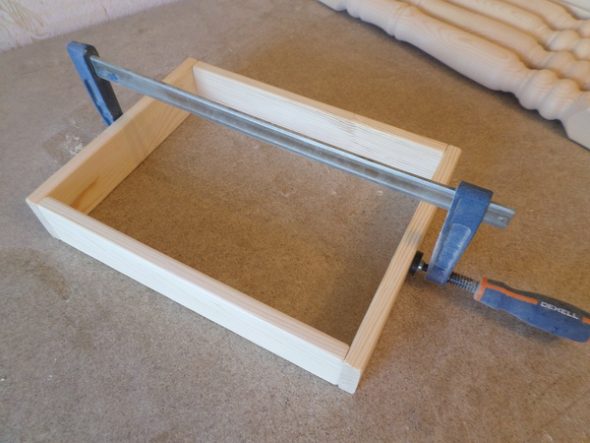
Pedestal
Let's look at the process of creating a standard table base (4 legs and a rectangular frame).
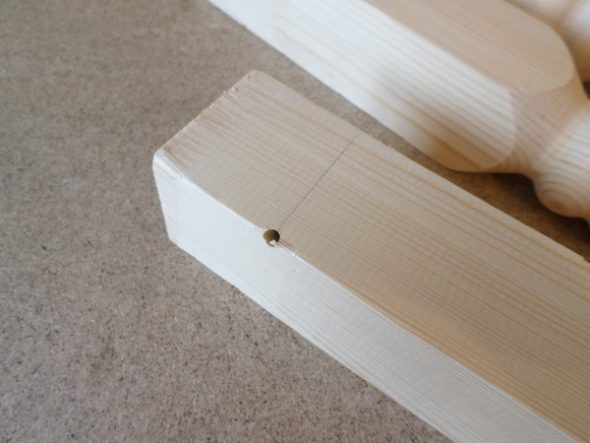
Cut the beams to the required size for all elements, process them using a grinding machine or manually with sandpaper and cover with an antiseptic.
Once the pre-cut pieces are ready, attach the pairs of legs to the smaller crossbars using furniture screws.
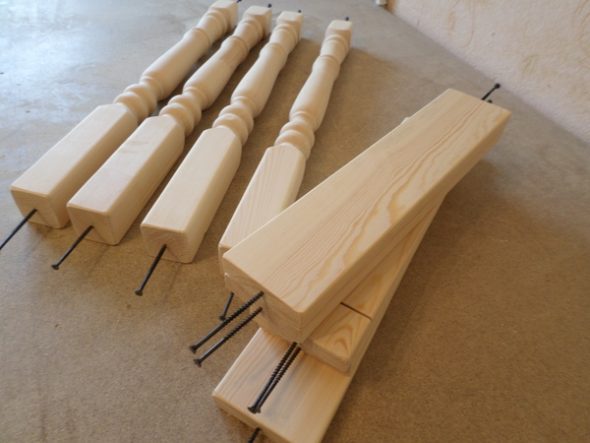
Important! Screws are screwed in from the inside at an acute angle to the surface.
In the same way, fasten the legs with long bars.
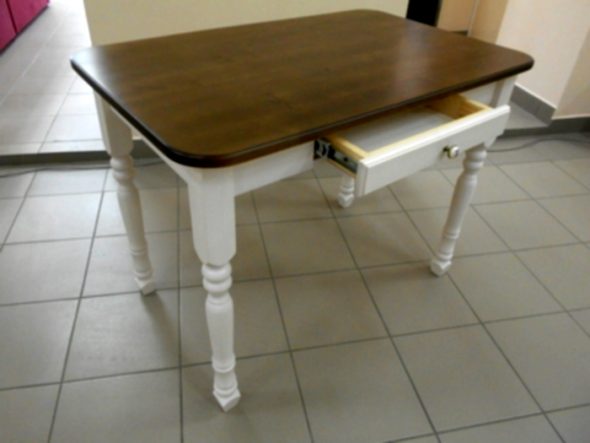
If you are planning to do table two-color, painting of the prepared elements should be done before final assembly. If the product is of one color, assemble the structure and paint it entirely.
Final assembly of the product
Place the countertop face down on a flat, clean surface and begin working:
Place the base on top as it should be attached and outline it with a pencil along the inside.
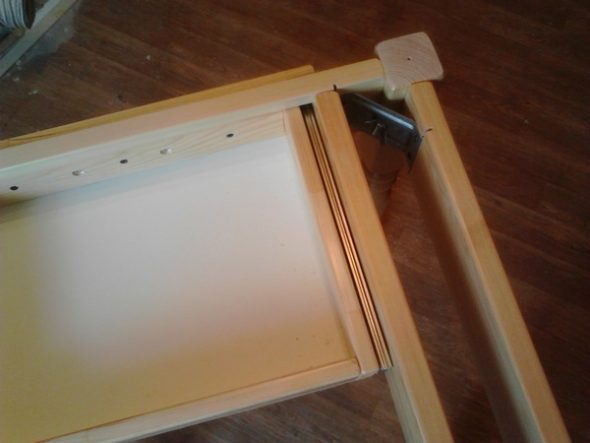
Drill holes in the base and tabletop, remove the shavings from them, coat with glue and assemble the product using special furniture fasteners (as when making a wooden panel). If necessary, use a mallet.
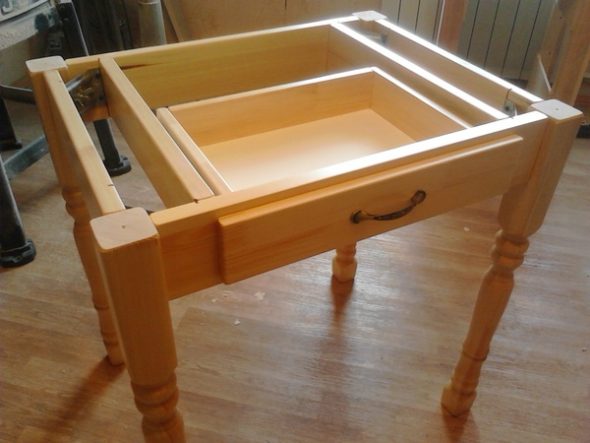
The final stage
Once the structure is assembled, perform the final sanding, apply decorative elements in accordance with the design project and cover with several layers of varnish or glaze.
Important! Each layer of coating must dry completely. Therefore, the final finishing of the table will take at least another day. Therefore, the process of creating your own masterpiece from solid wood will take you about 3-4 days.
By spending a minimum amount of money and a few days, you will receive a reliable and durable dining table from boardsand oak, pine or other material you like, and a lot of positive emotions.

VIDEO: DIY solid wood dining table.
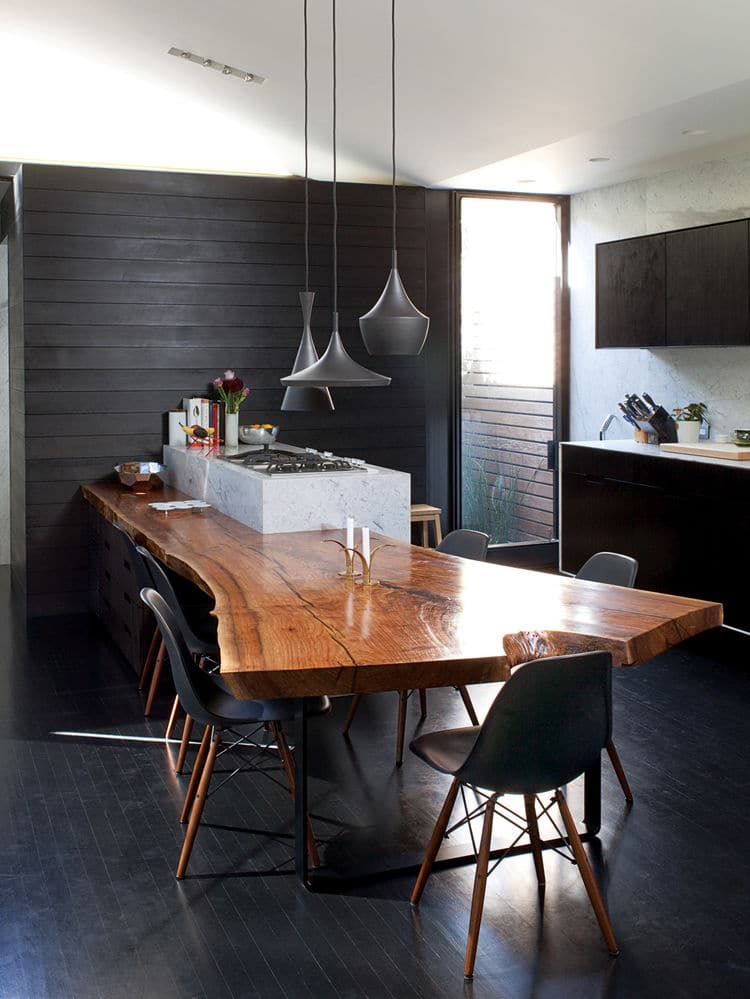
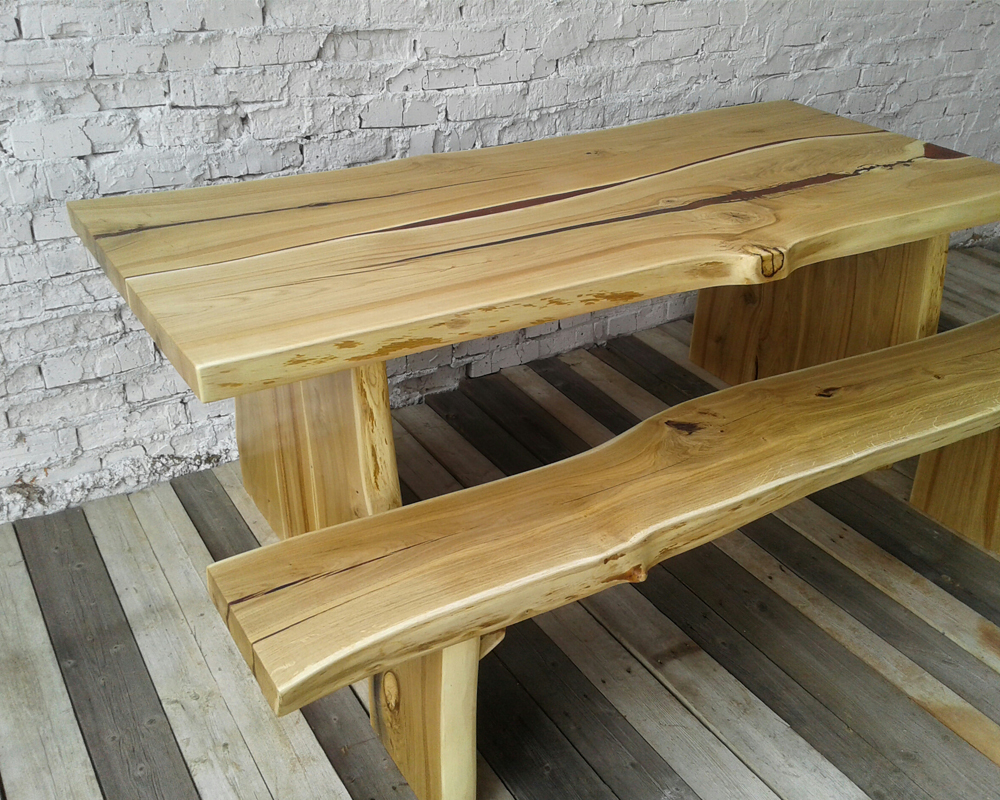
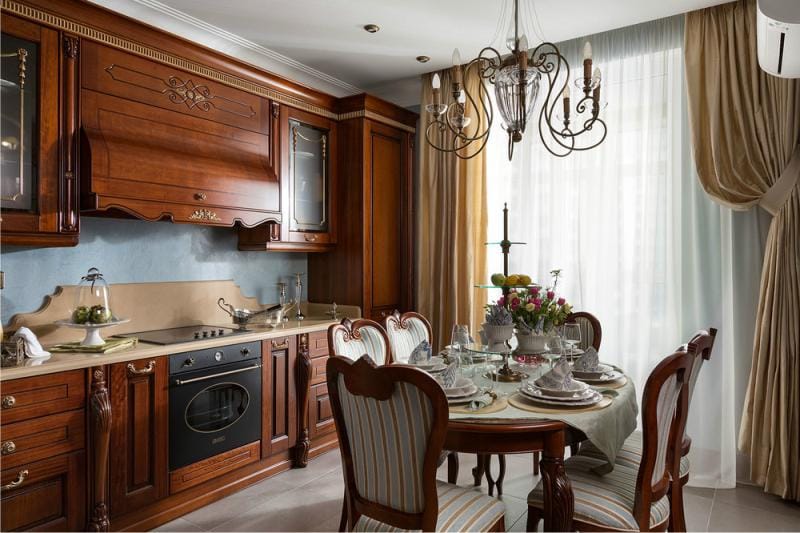
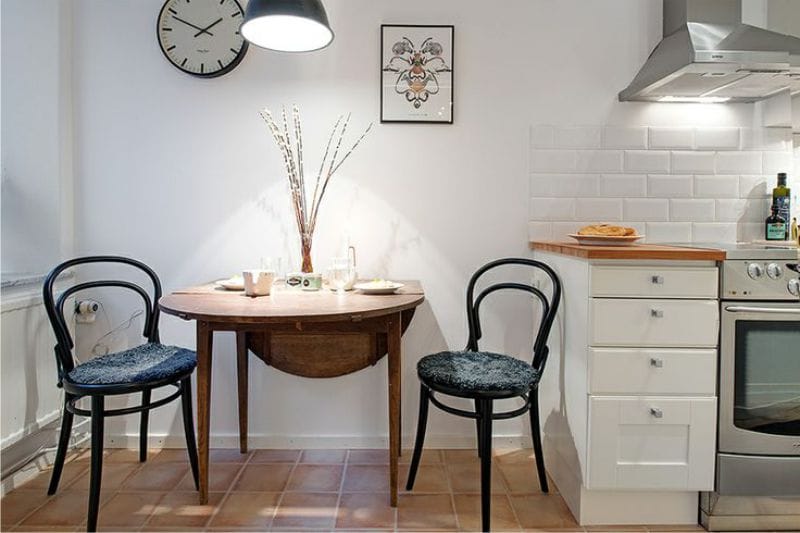
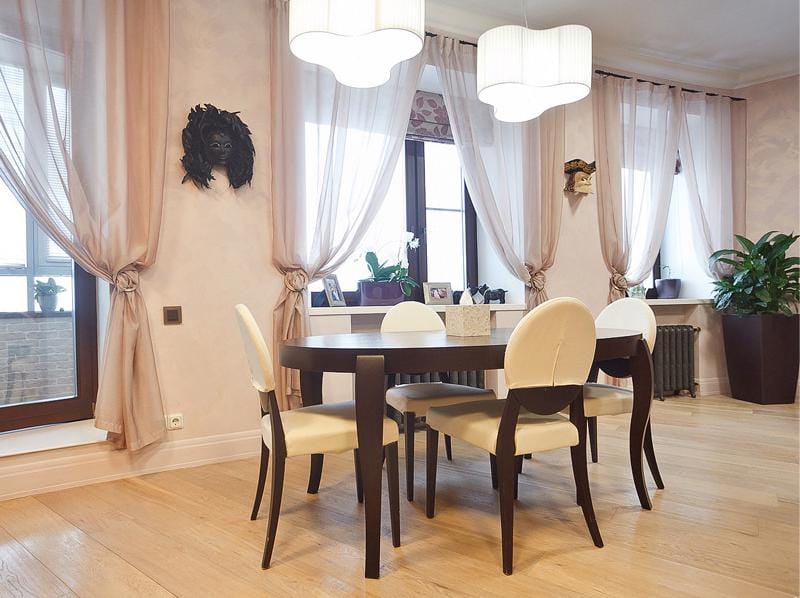
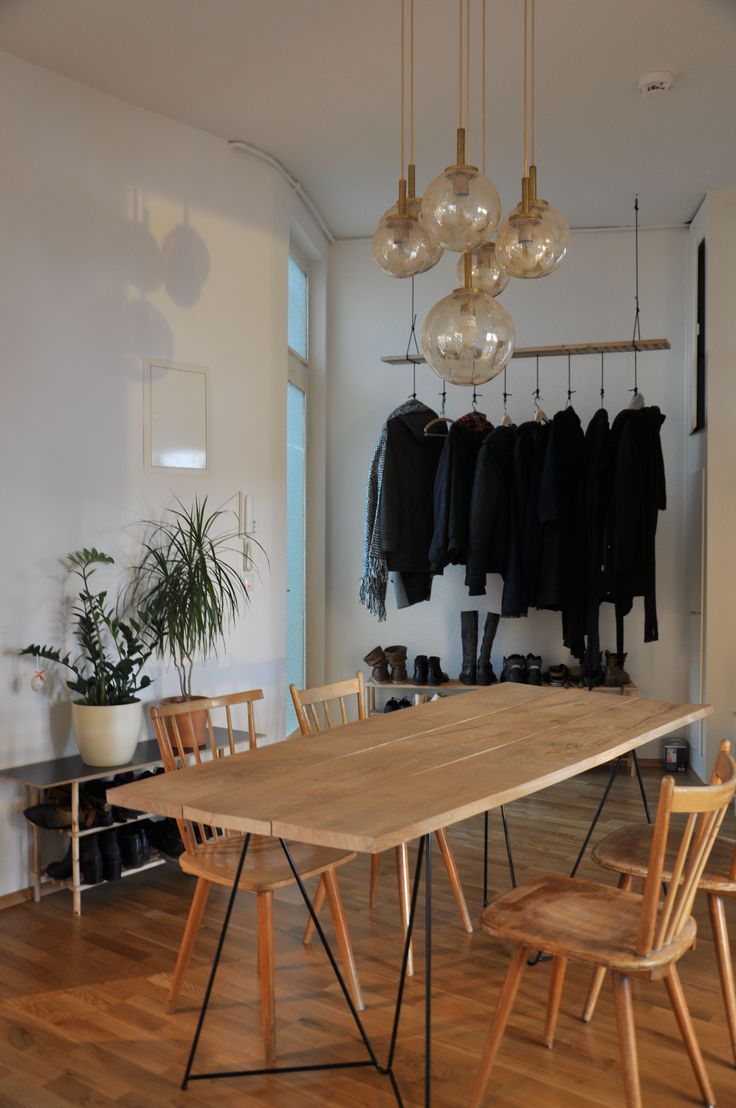
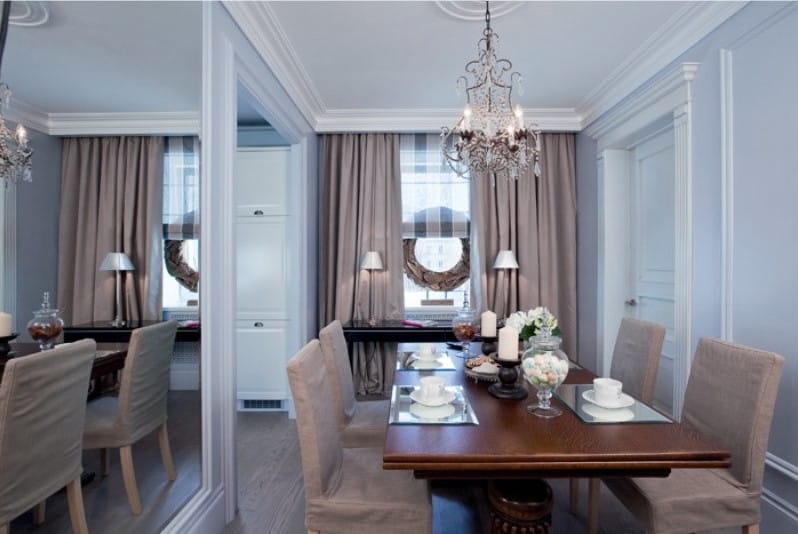
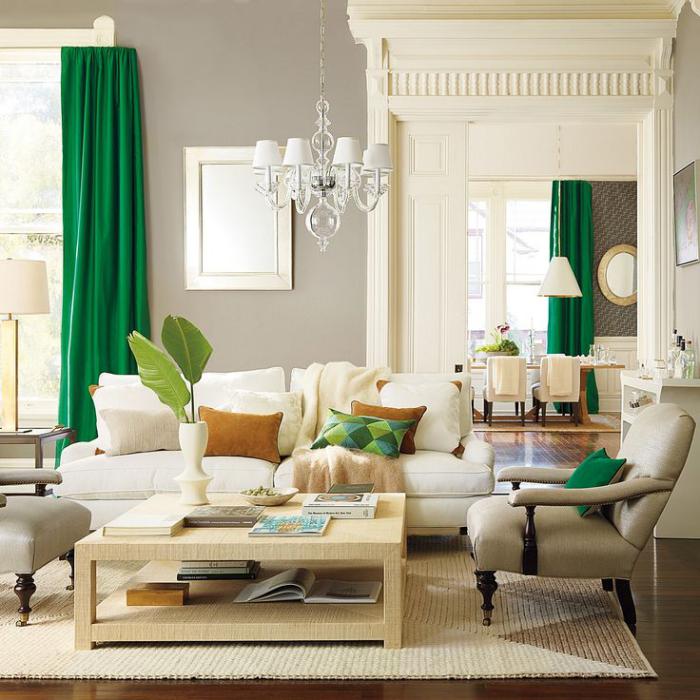
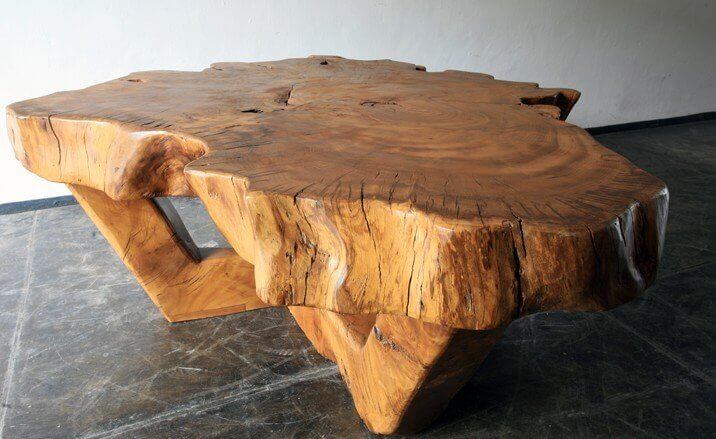
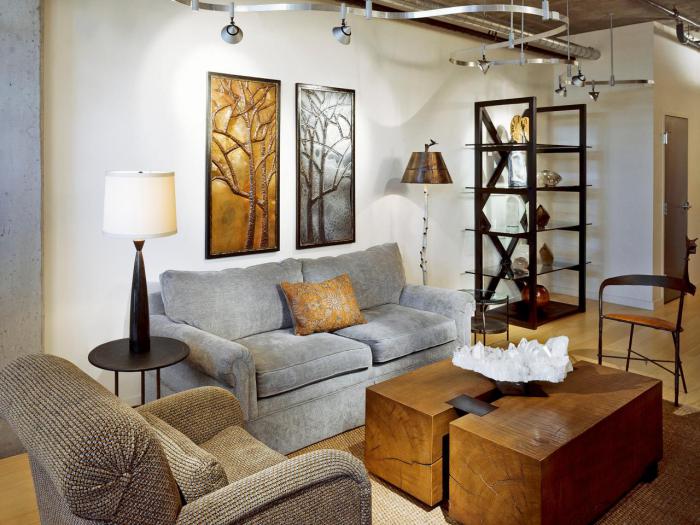
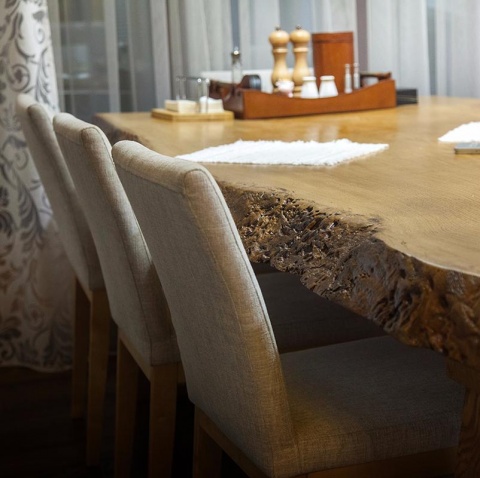
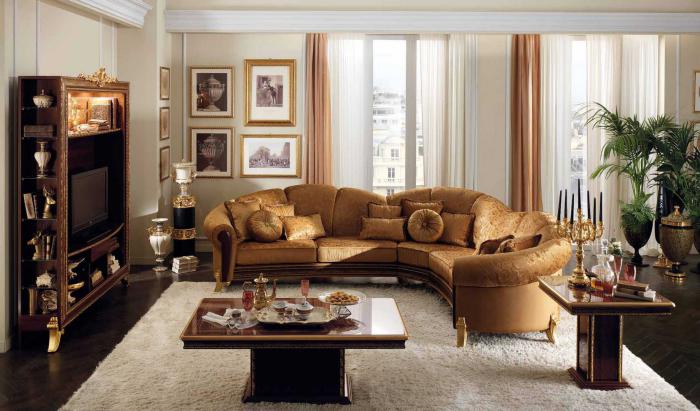
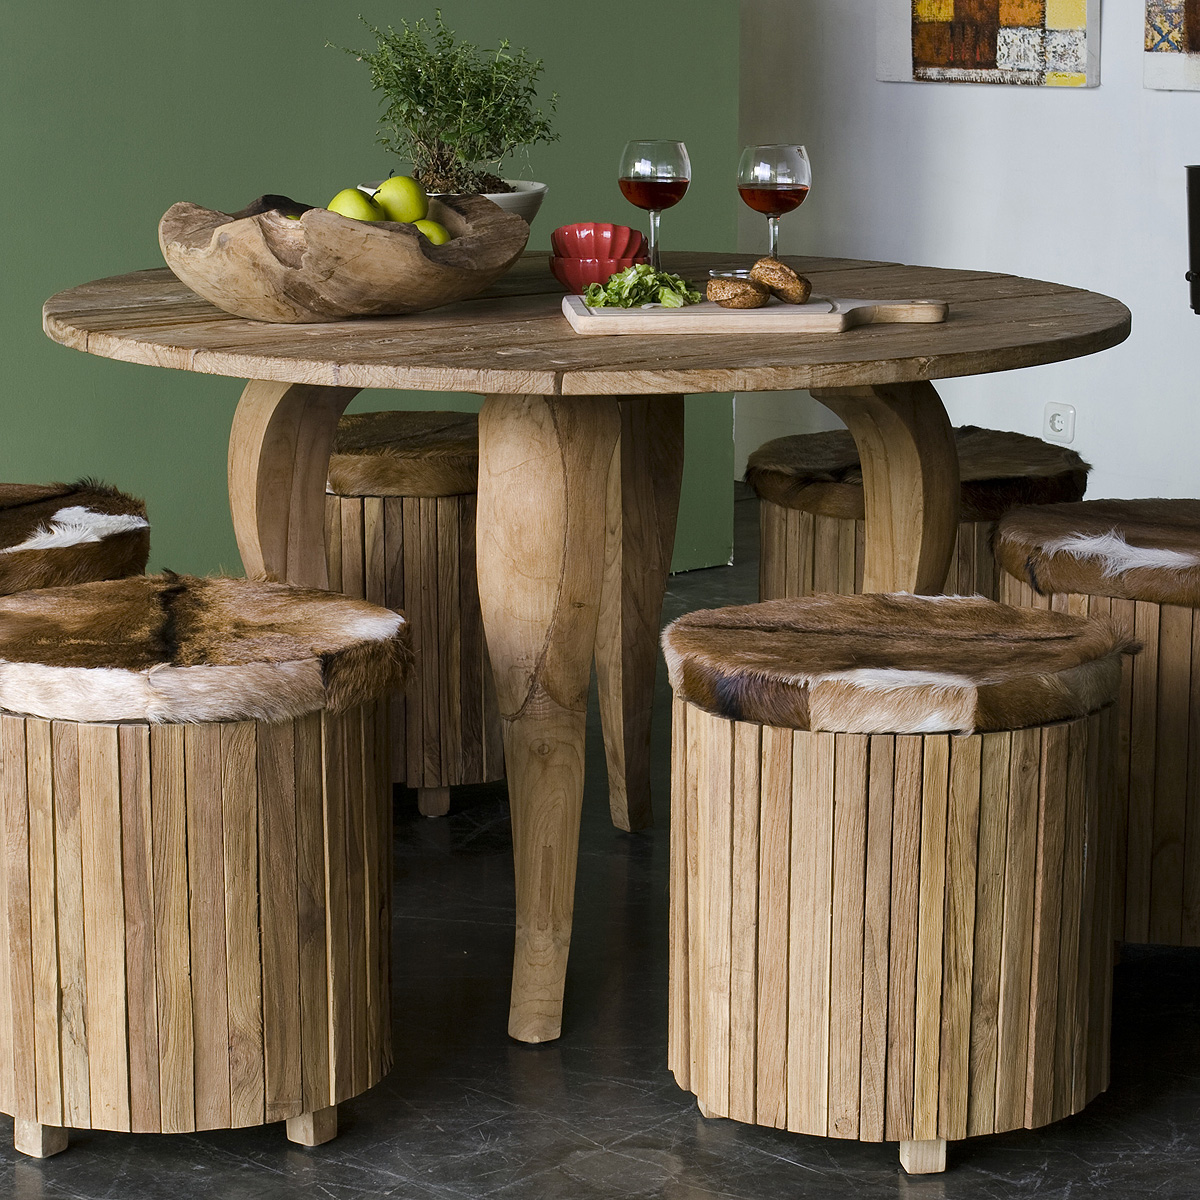
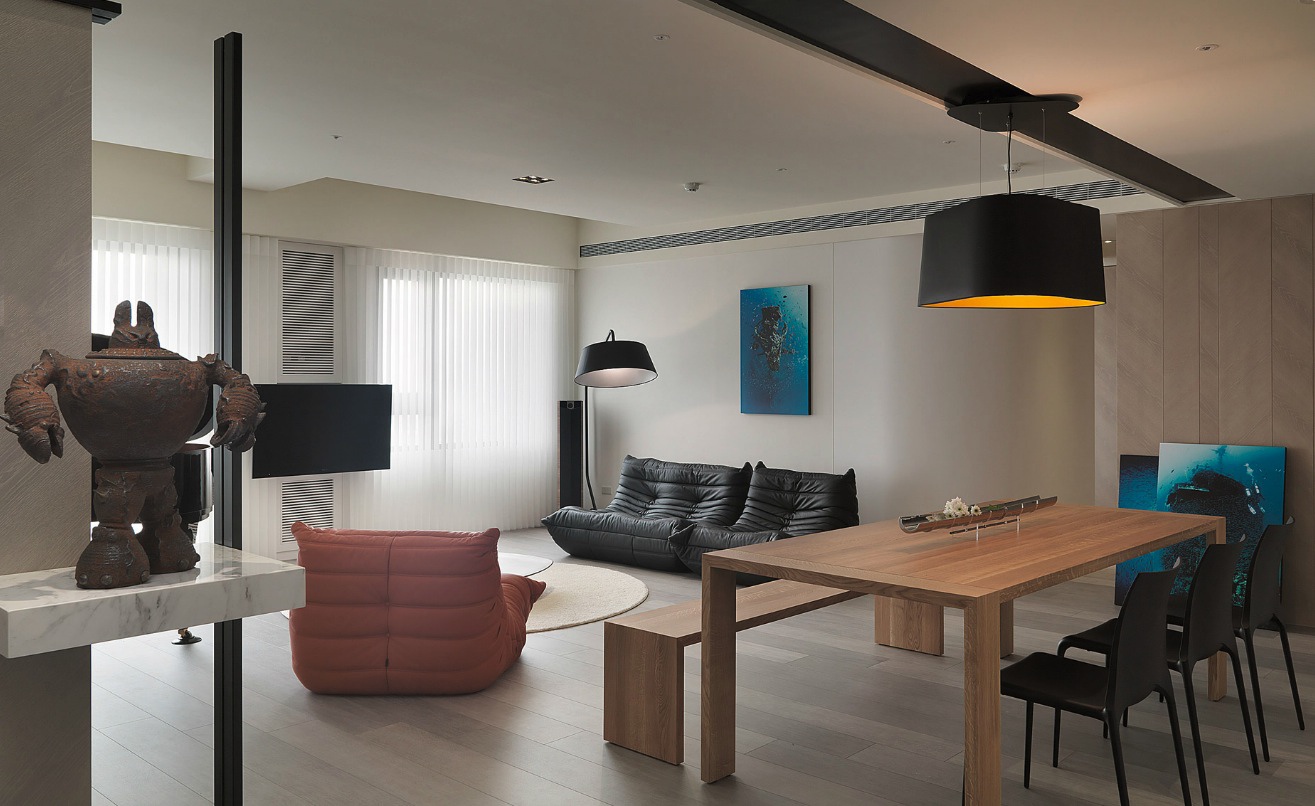
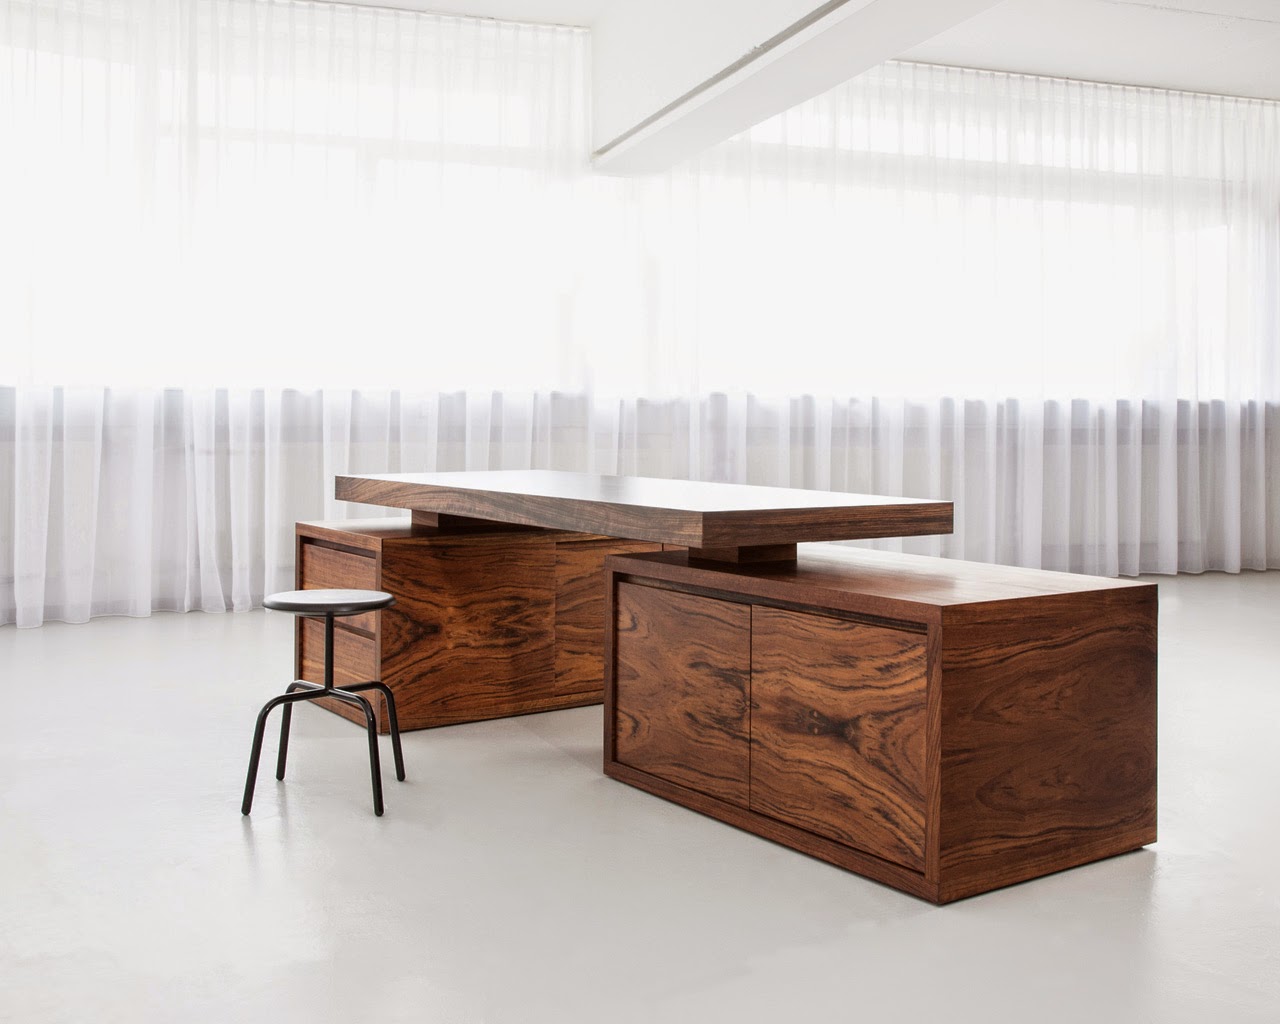
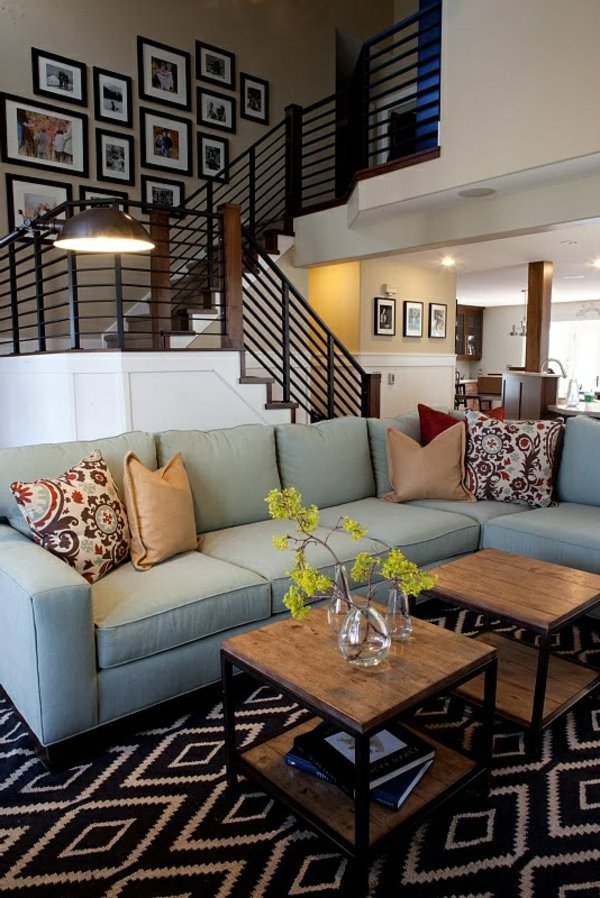
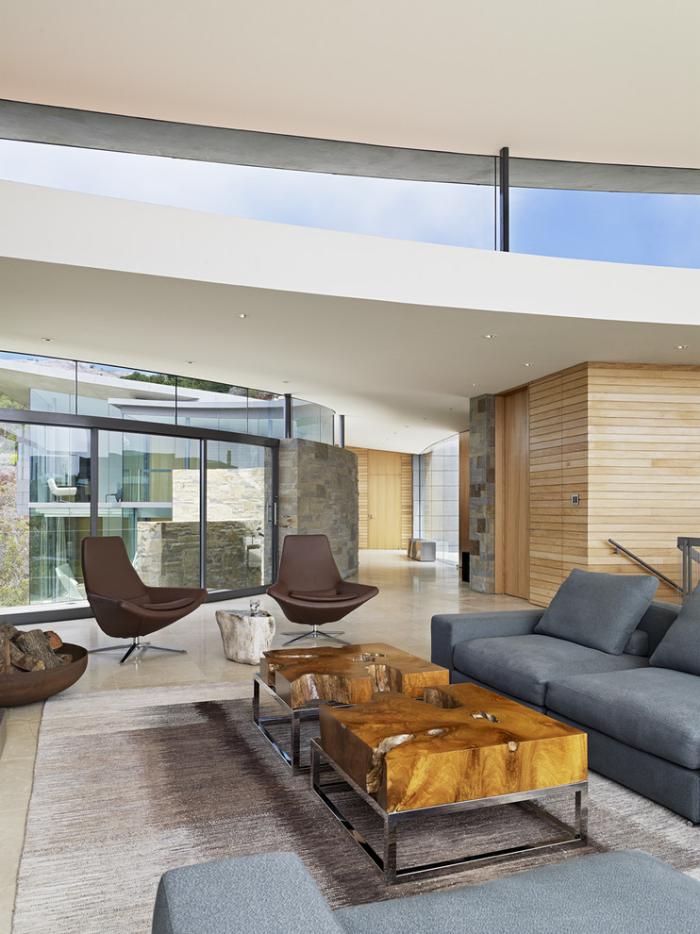
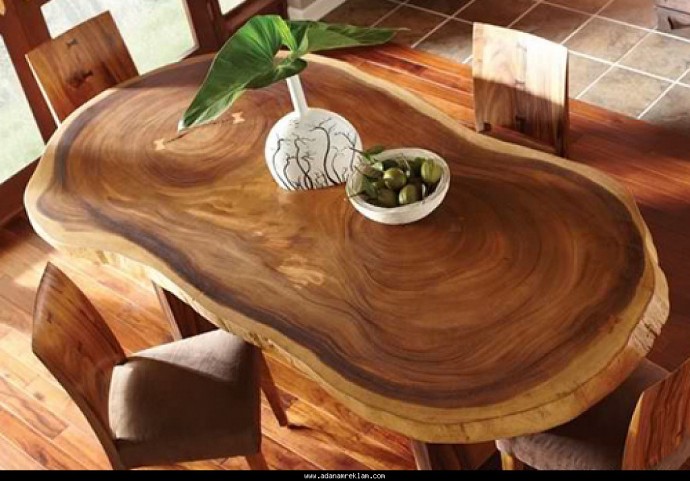
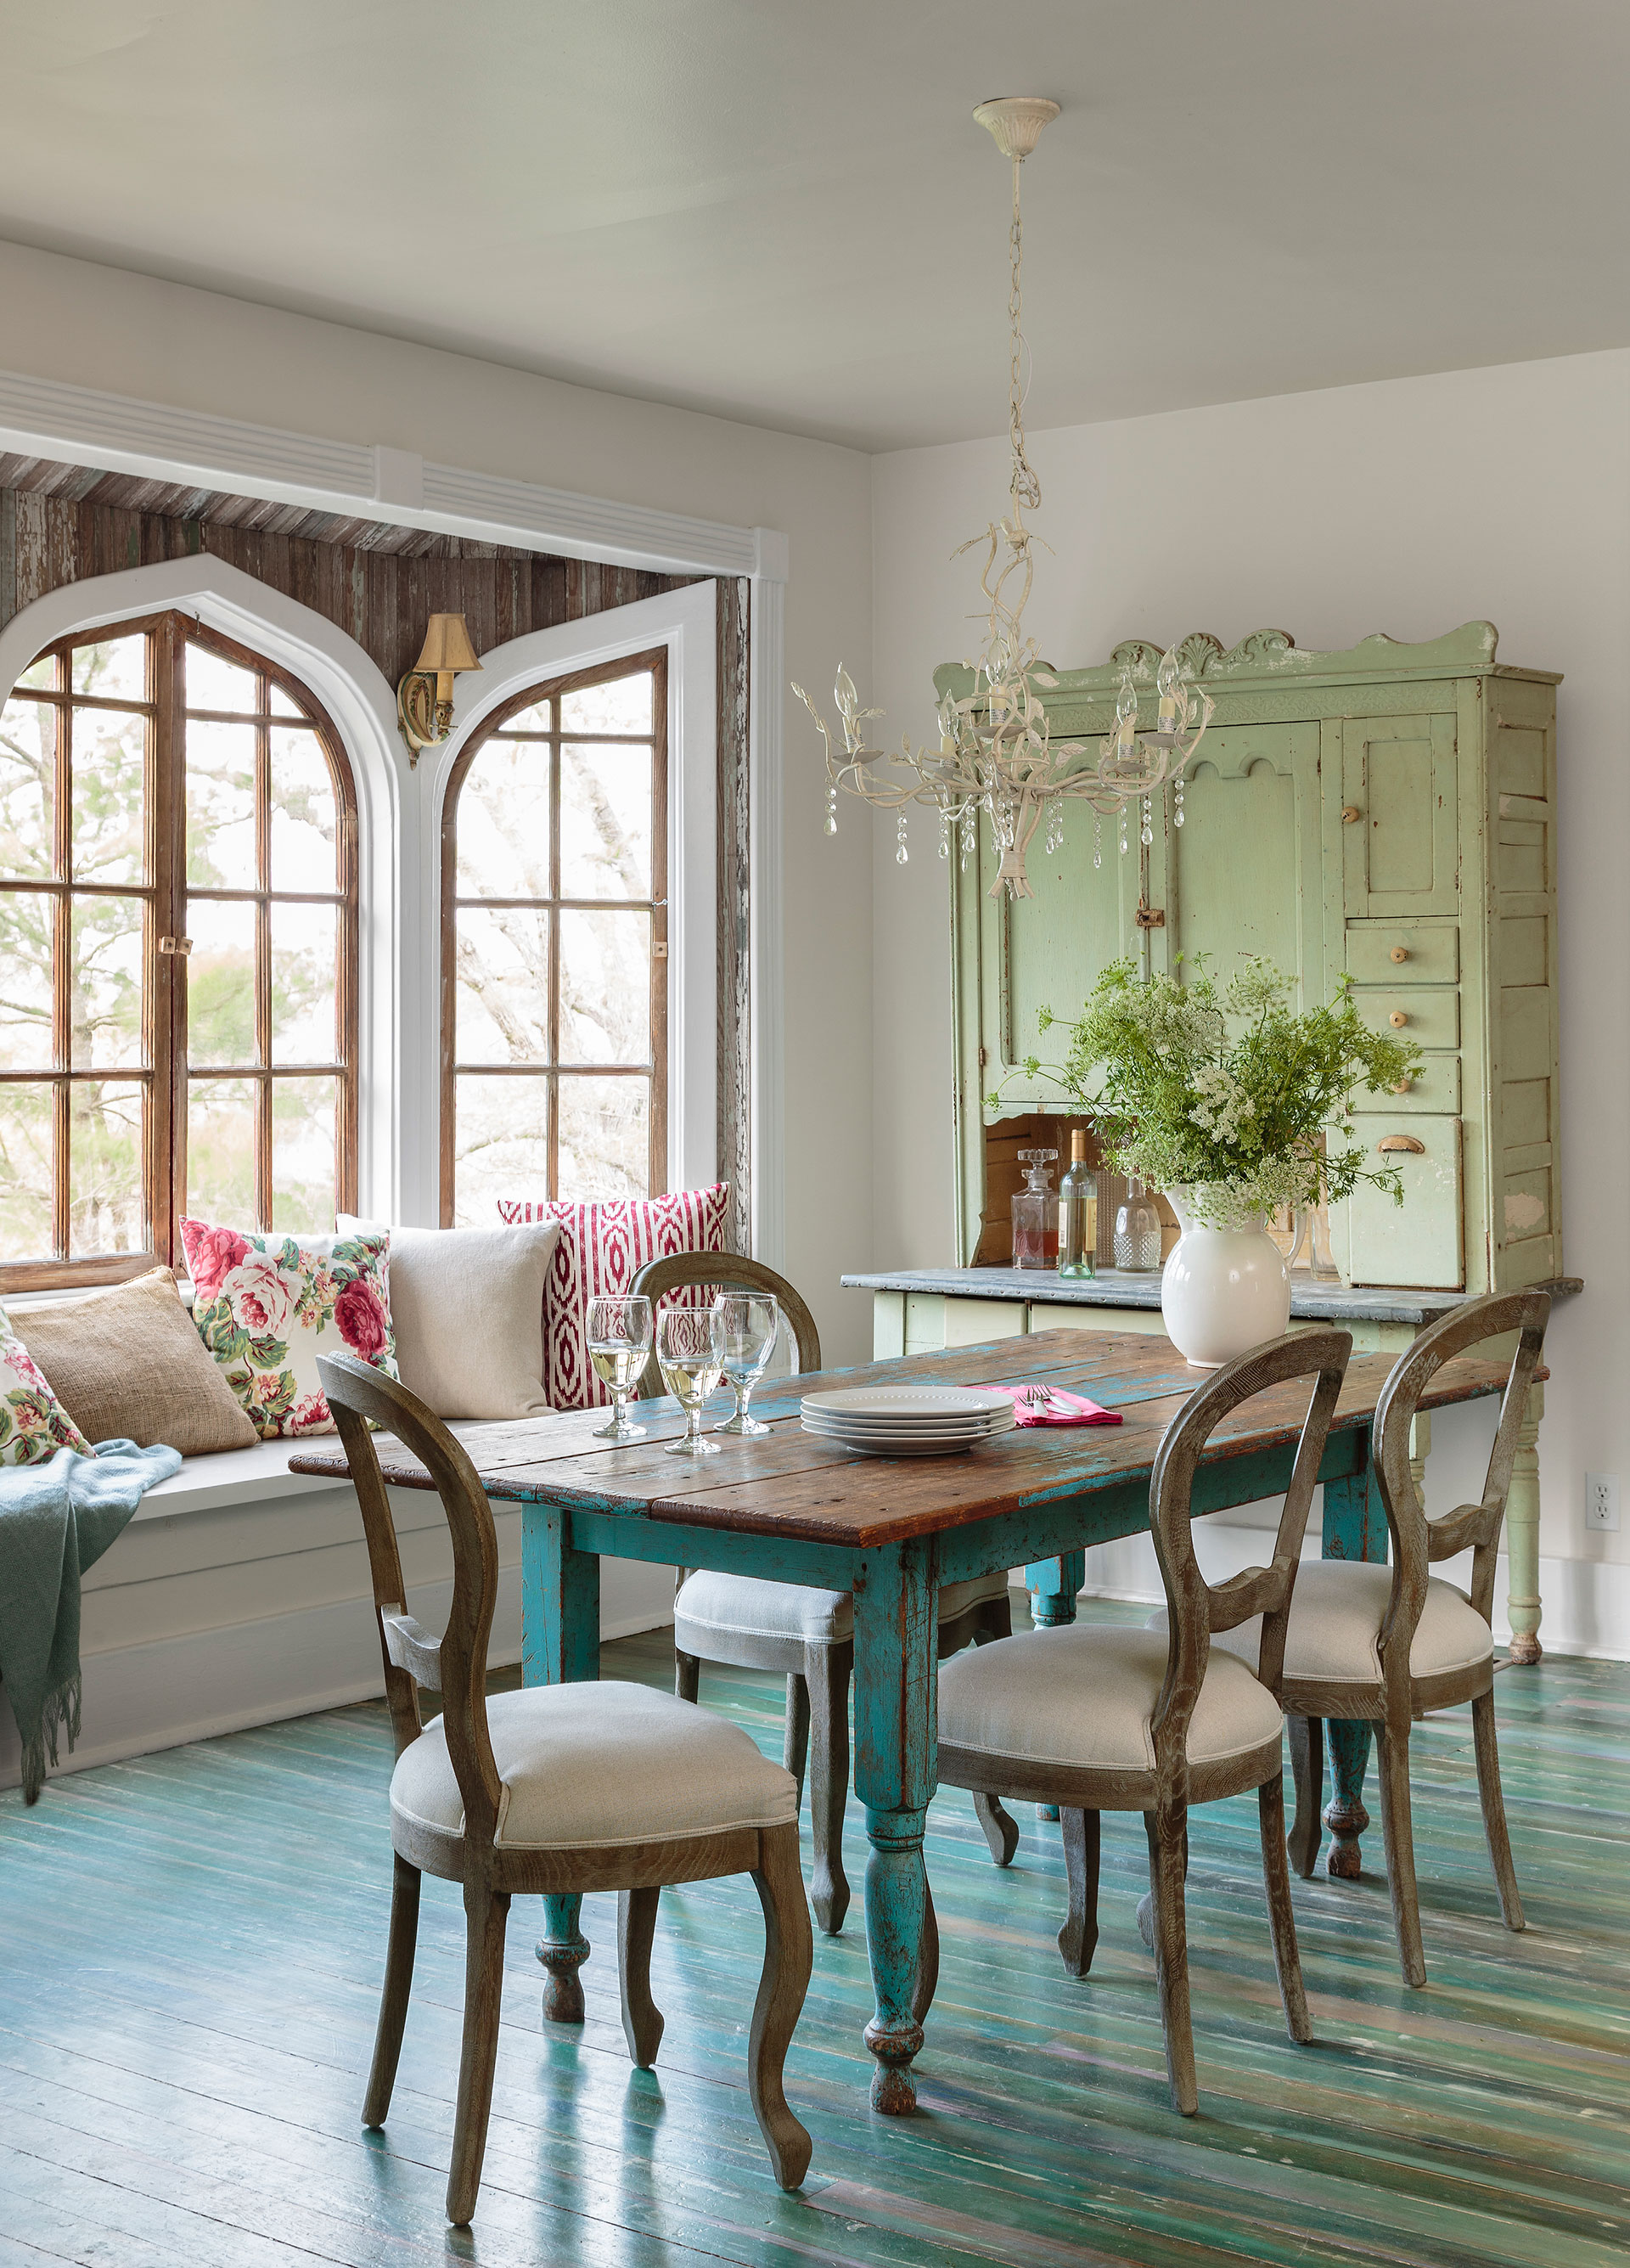
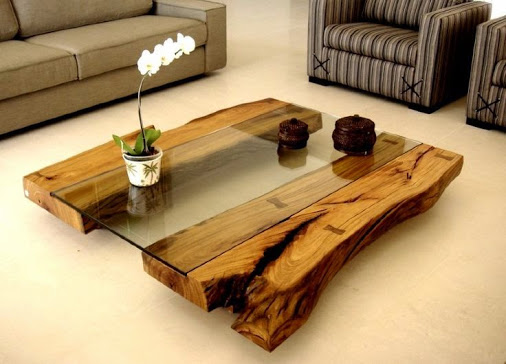
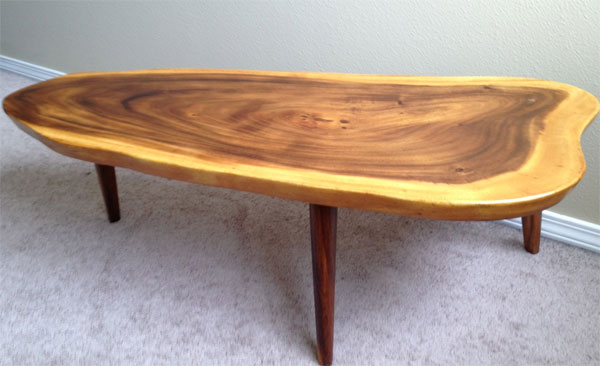
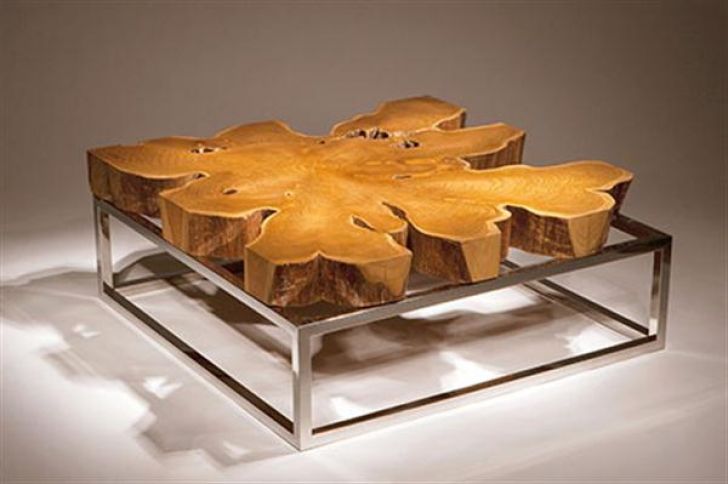
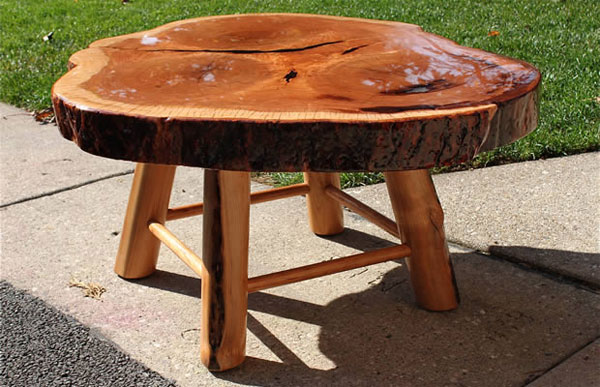
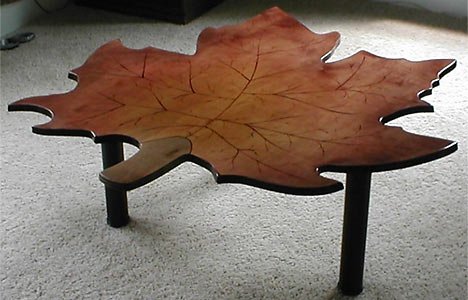
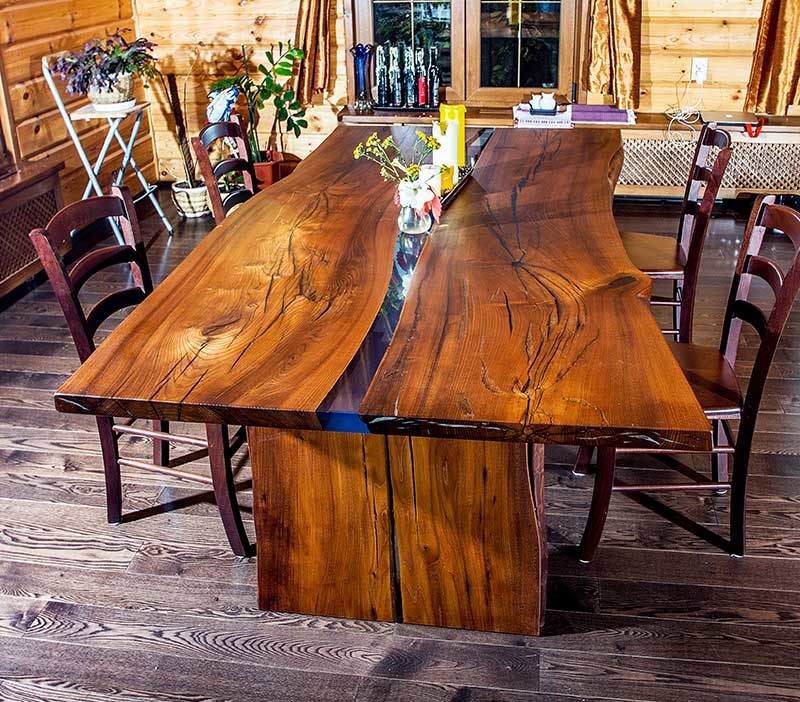
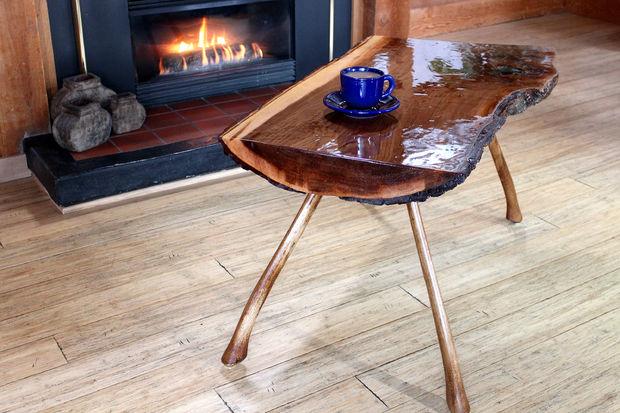
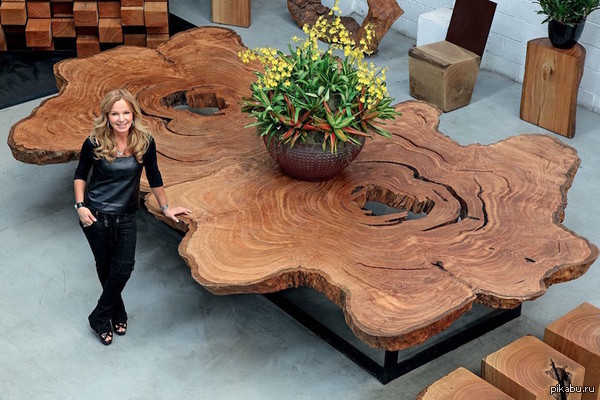
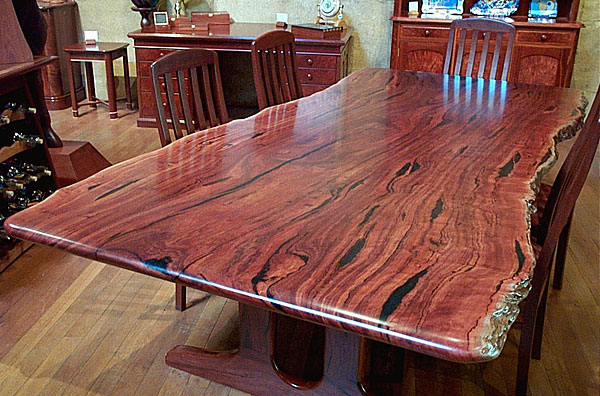
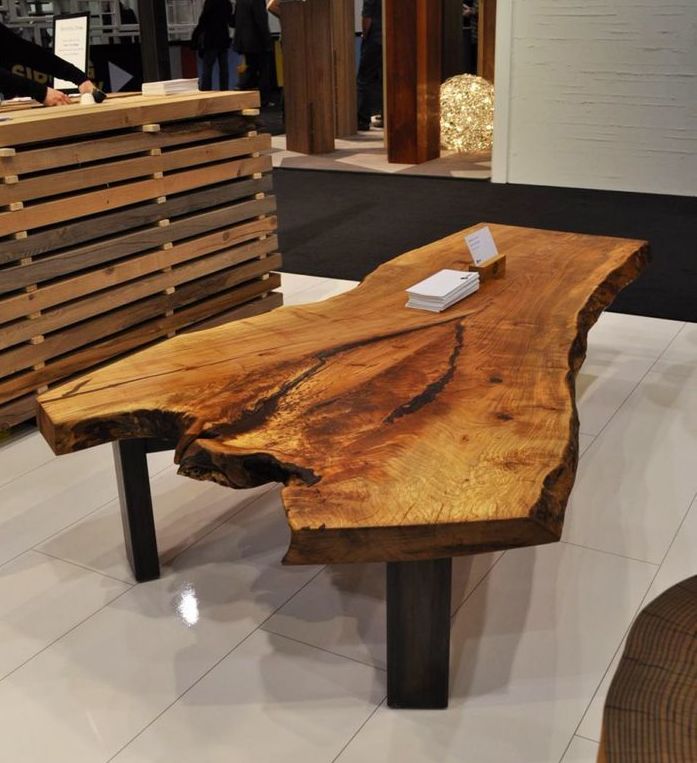
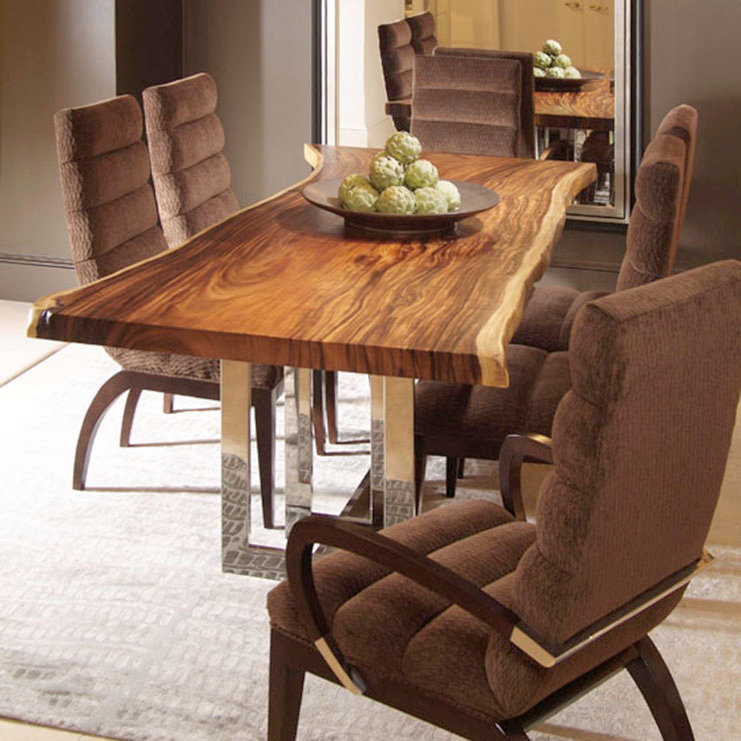
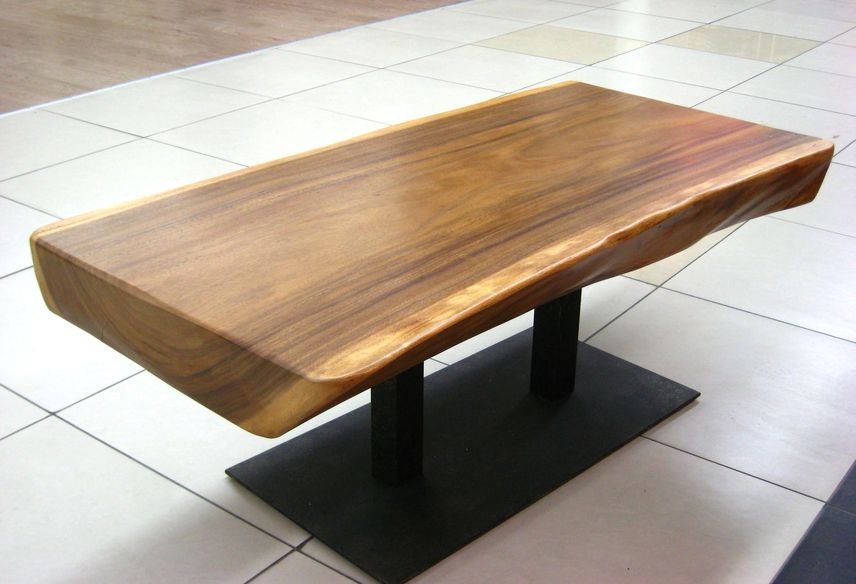
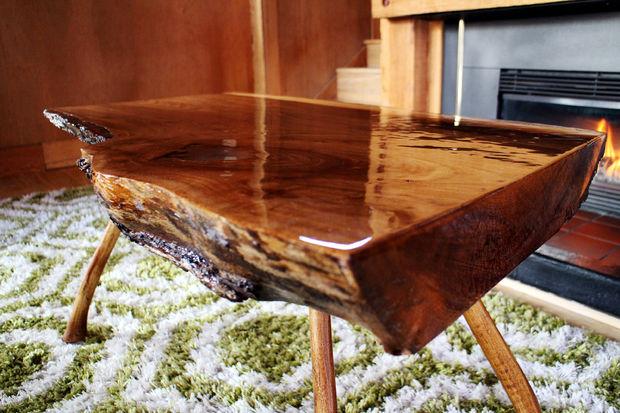
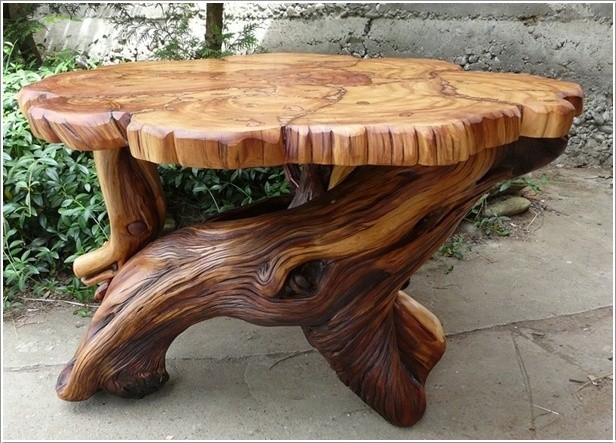
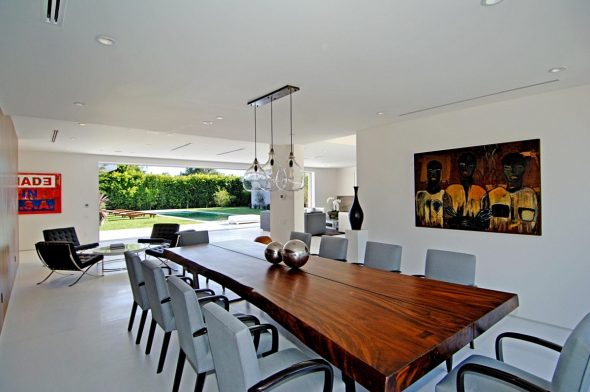
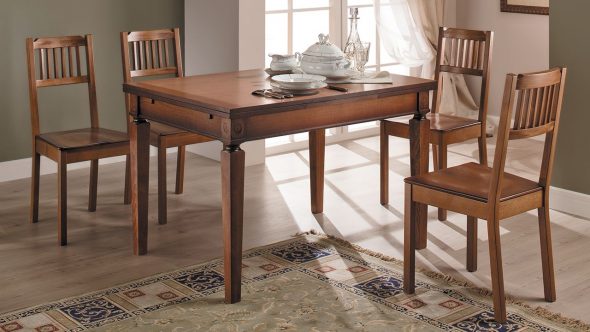
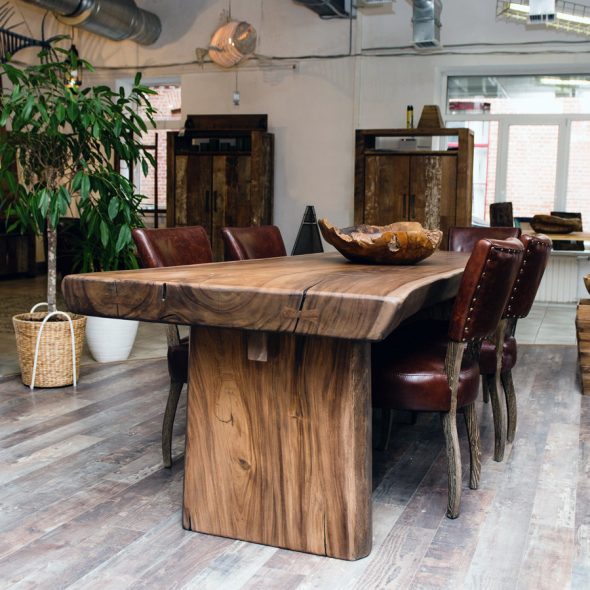
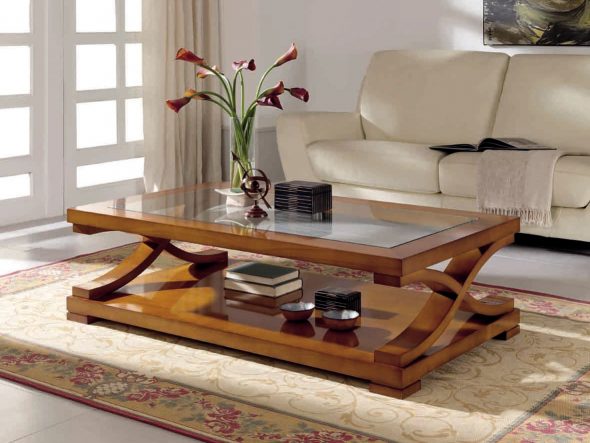
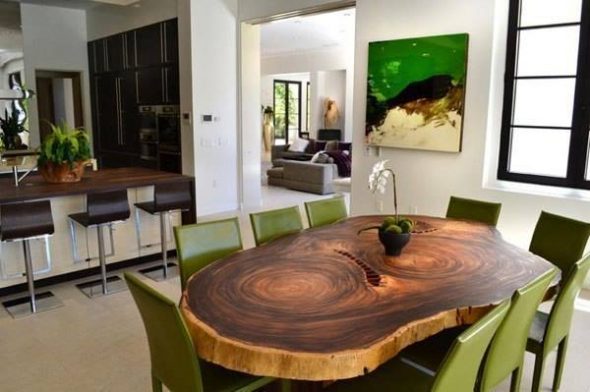
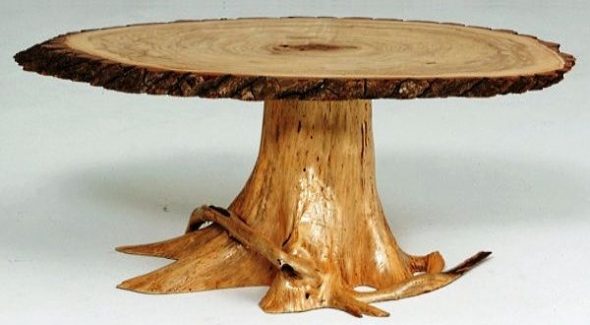
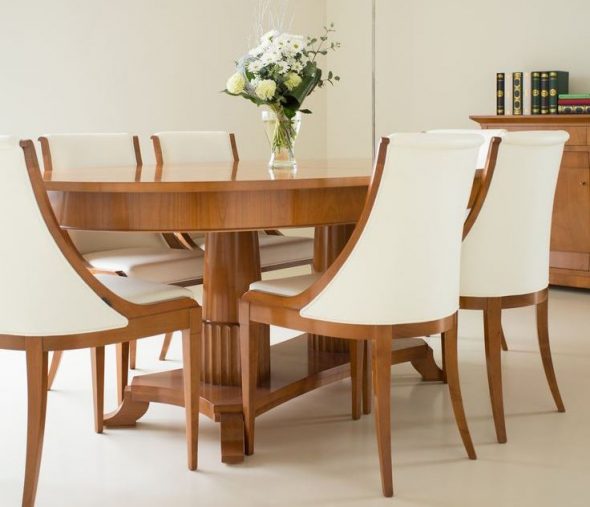
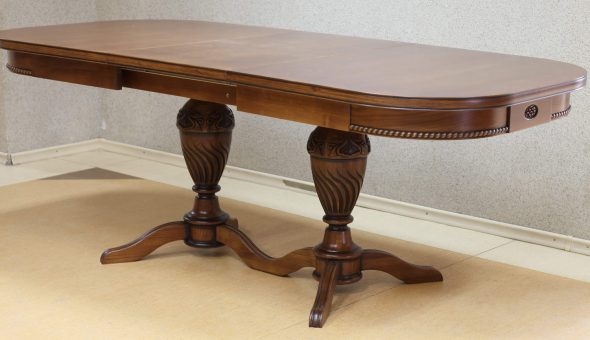
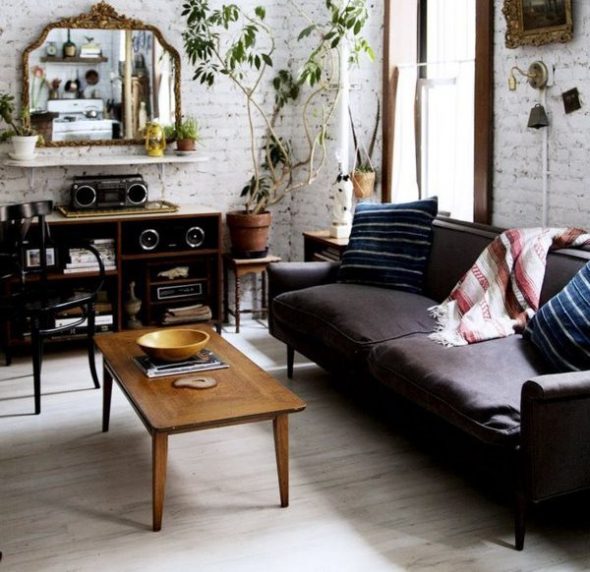
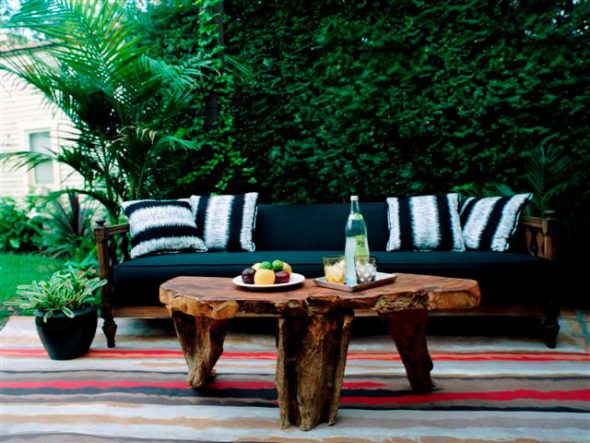
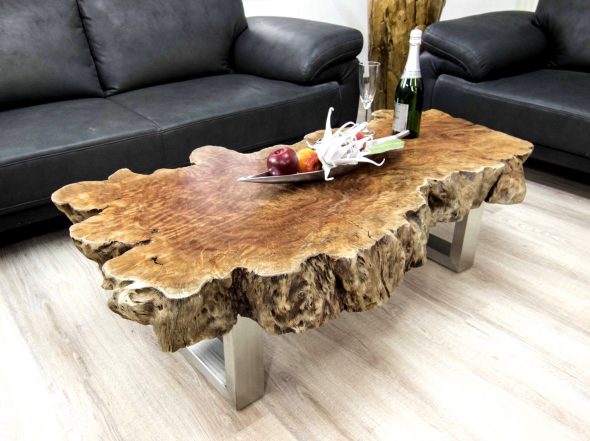
Wooden tables in the interior – 50 photo ideas: