Things made with your own hands will never go out of fashion. And this applies not only to jewelry. Garden and indoor hand made furniture is no less popular. This is explained by many factors, the most significant of which is cheapness. We will consider other advantages, disadvantages, and all the nuances of the design using the example of creating a table for a gazebo.
Content
Pros and cons
Before starting the process, you may be worried about the question: "Is it worth it?" Isn't it easier to order a design, or buy a ready-made one? It may be easier, but it is not the best option. And you will see this for yourself after reading this article.

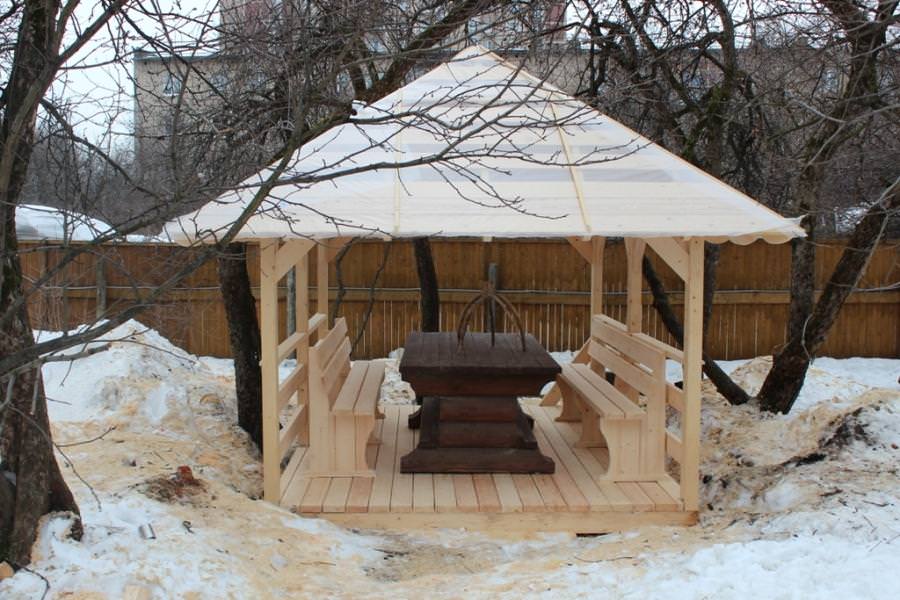
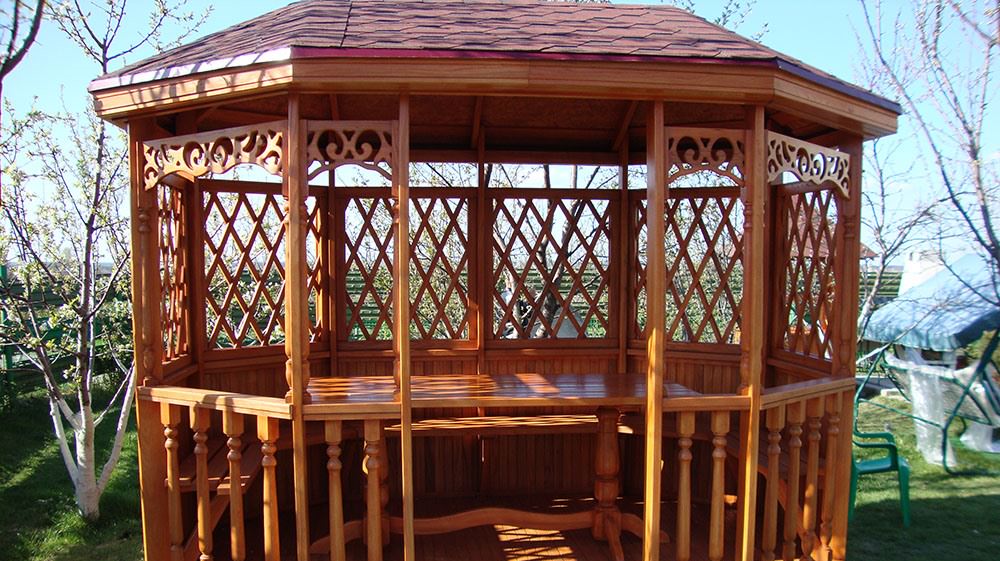
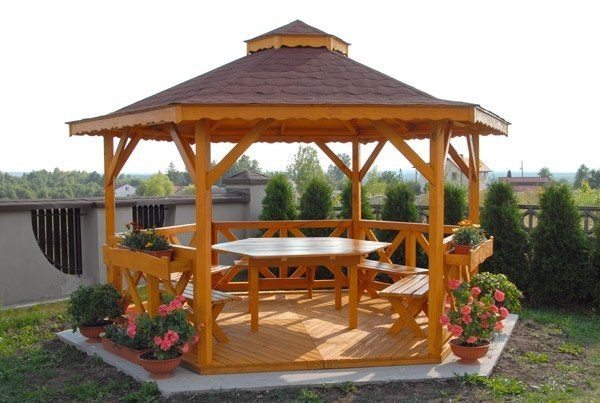
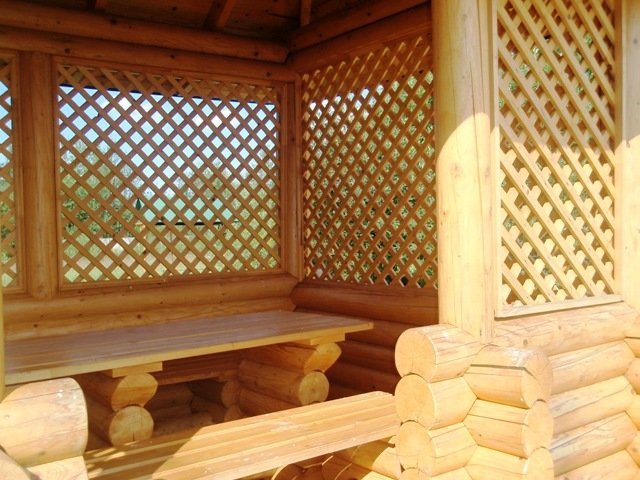
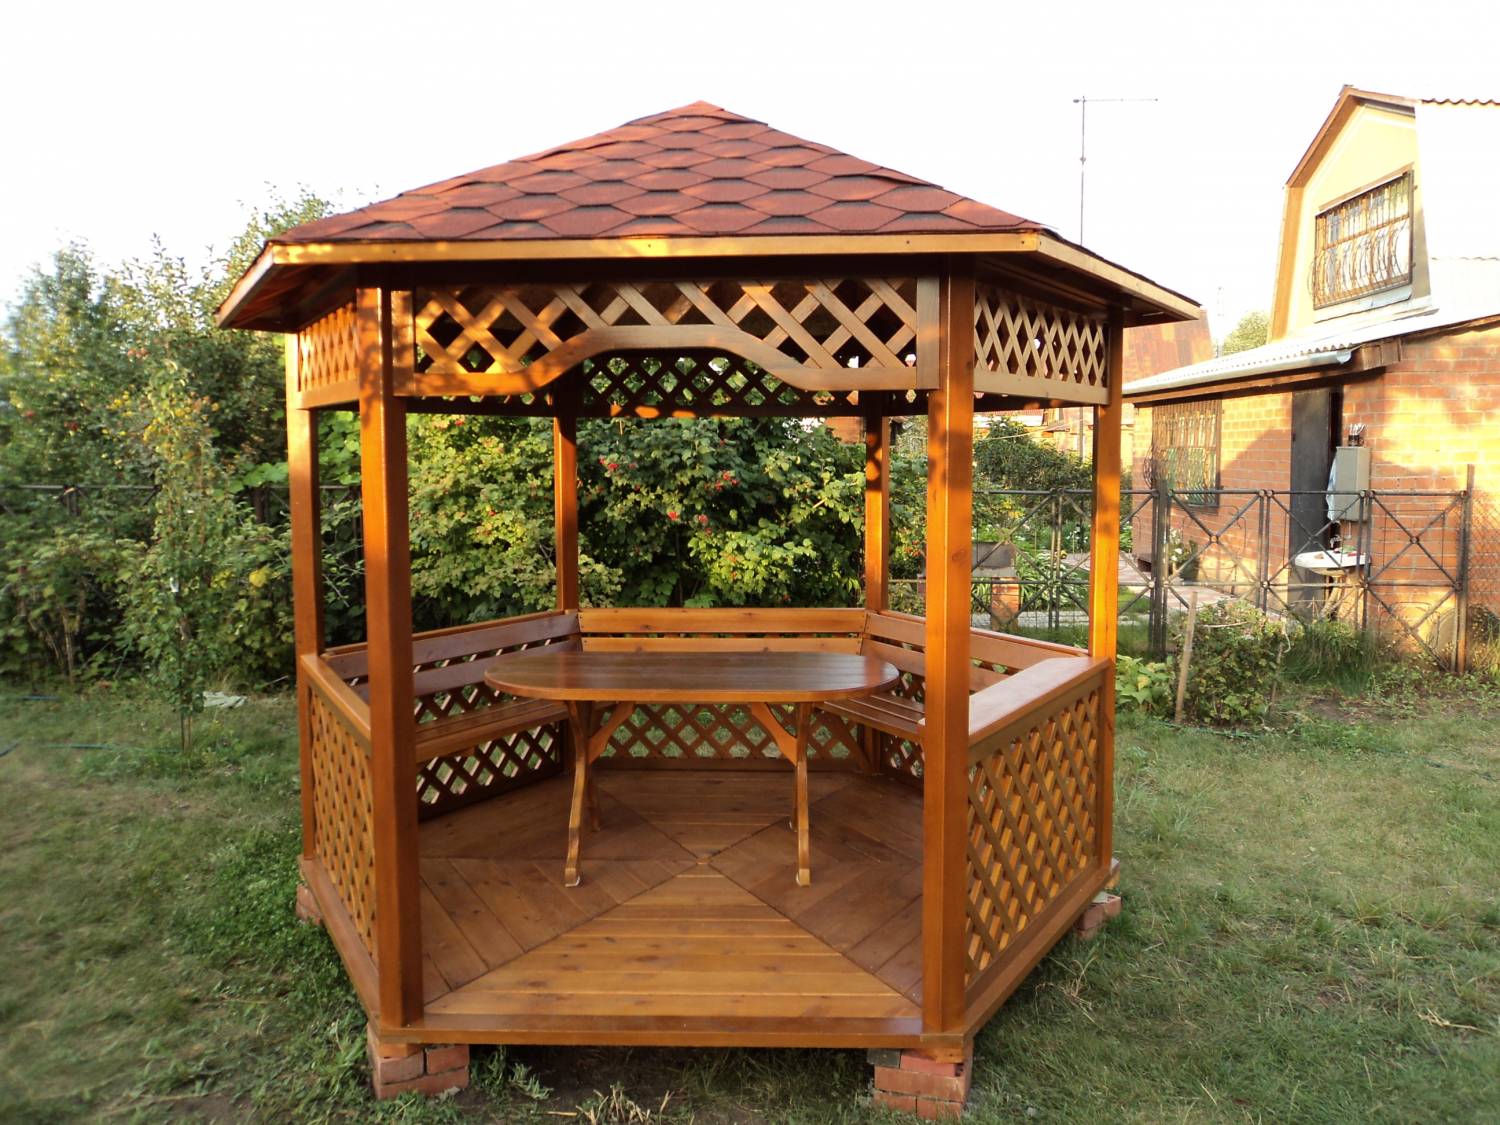
Let's start with the fact that the gazebo on the summer cottage has a significant place. It gathers all relatives and close people, and is also a subject of self-expression and pride of the owner. The table here should be solid, to accommodate all the guests, and at the same time masterfully made, preferably by the hands of the owner, which will indicate his care for his own home.
By making a table for a gazebo with your own hands, you have several more advantages.
- Cost. Of course, making furniture yourself will be cheaper. After all, you won’t have to pay for the services of a craftsman, and you can use improvised means and existing tools.
- Appearance. It is not always possible to find what you need in a particular case among the ready-made goods. By making everything with your own hands, you already have a completed idea in your head, and you will be able to accurately bring it to life.
- Dimensions. No less important factor. In the process of developing the project, you take into account all the dimensions of the pavilion and chairs or benches. You will not have to run around the shops in search of furniture of the right size. It will be enough for you to make the correct drawing.
Another plus is the pleasure of the process. Many owners like to make various items for their home, which will later become an object of their pride.

Speaking of the cons, we can only mention a lot of wasted time. But you will spend a lot of time driving around the shops looking for the right product. And can you consider time spent with pleasure wasted?
Selecting the type of construction
We have already decided: a table for a gazebo made by yourself is a win-win option. So let's get down to business.
First, you need to decide on the type of construction. Based on this feature, we can distinguish 3 options.
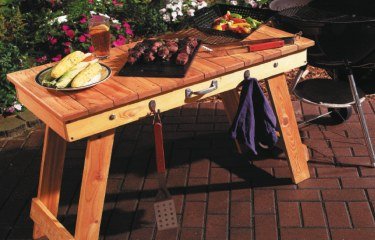
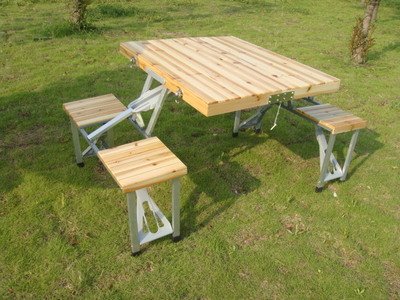
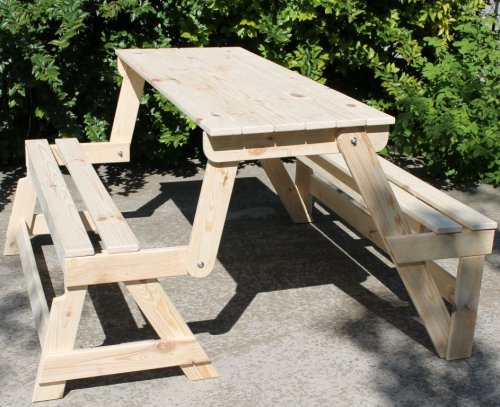
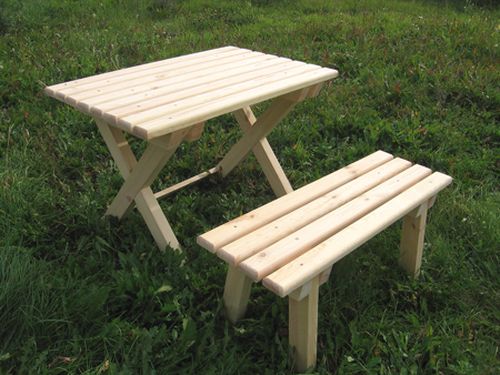
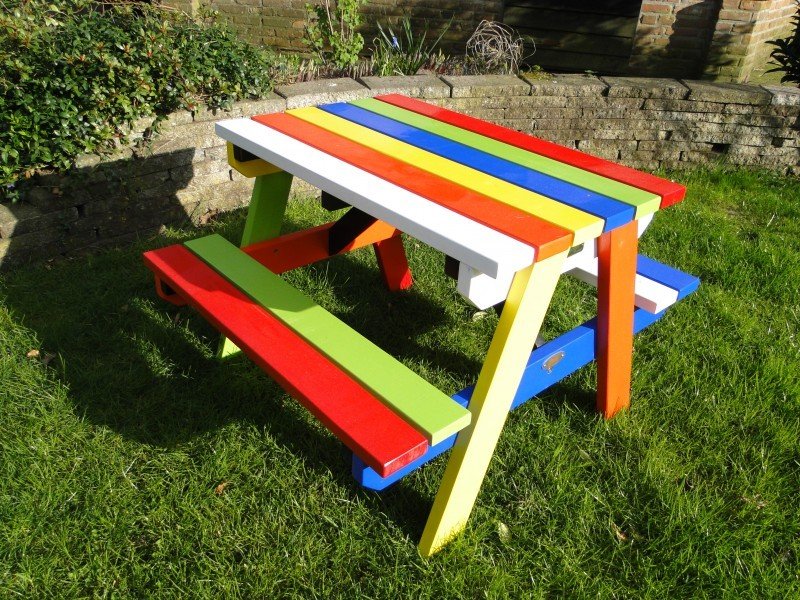
- Folding. Its main advantage is its compactness. The peculiarity is that it has folding or unscrewing legs and a folding tabletop. It is easy to transport or put away for a while.

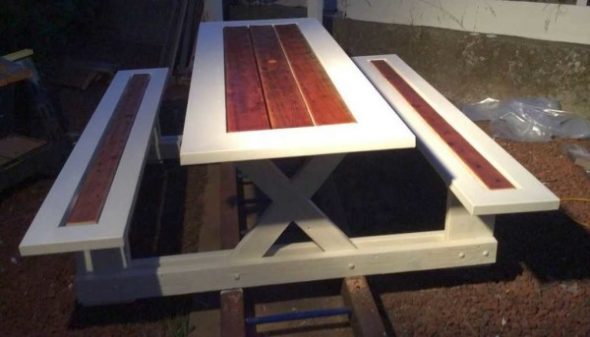
Folding picnic table - Transformer. This type of construction also has a folding mechanism. It differs from the previous one in that this type can be transformed into a bench or other furniture. This type is also quite convenient, but not so durable due to the large number of sliding mechanisms.

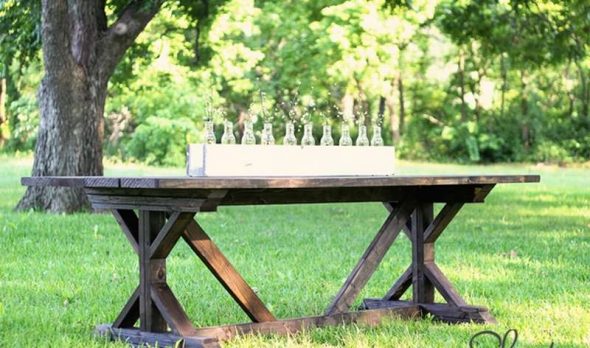
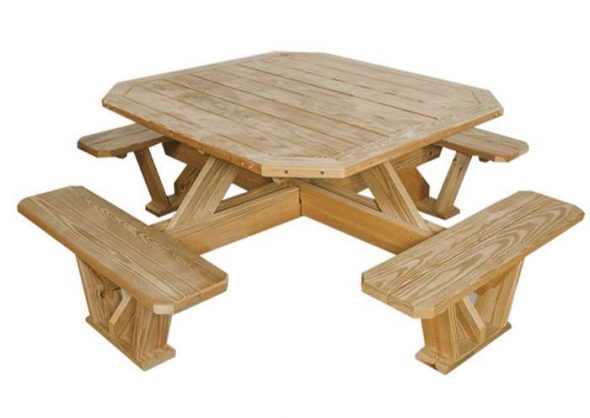
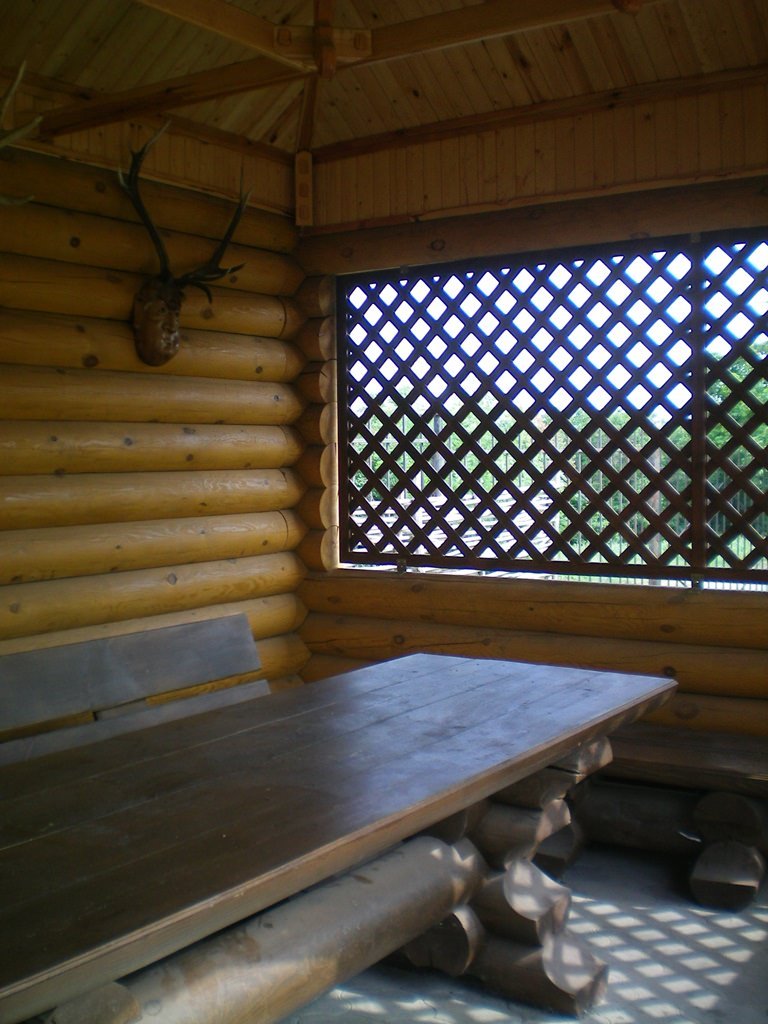
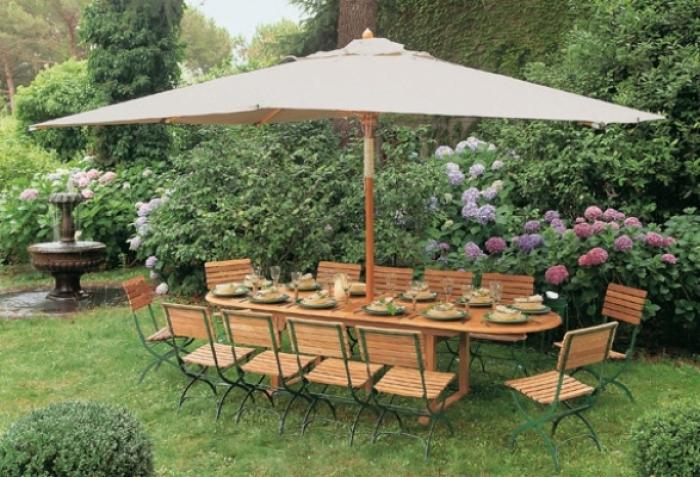
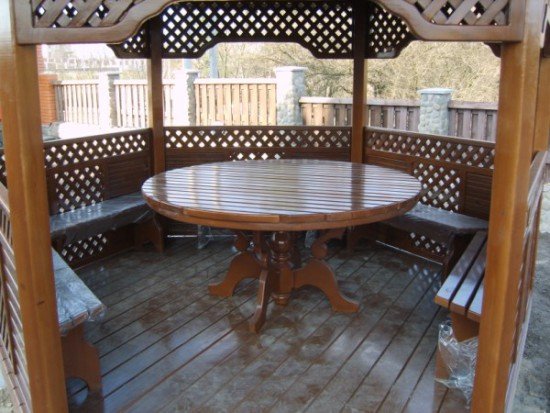
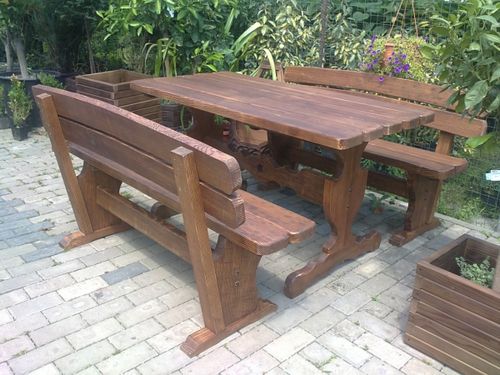
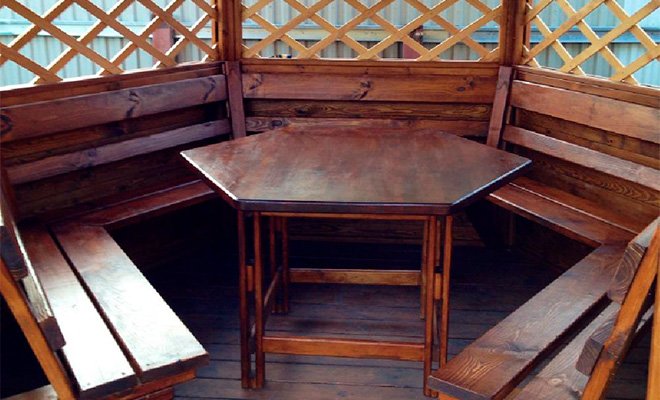
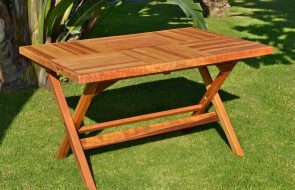
Transformer table with chairs for picnic - Stationary. Without additional mechanisms and the ability to transform.

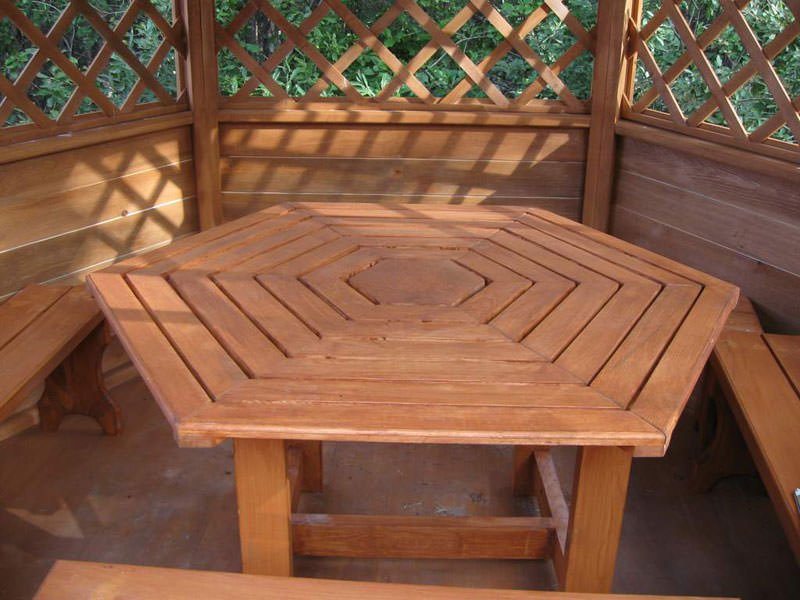
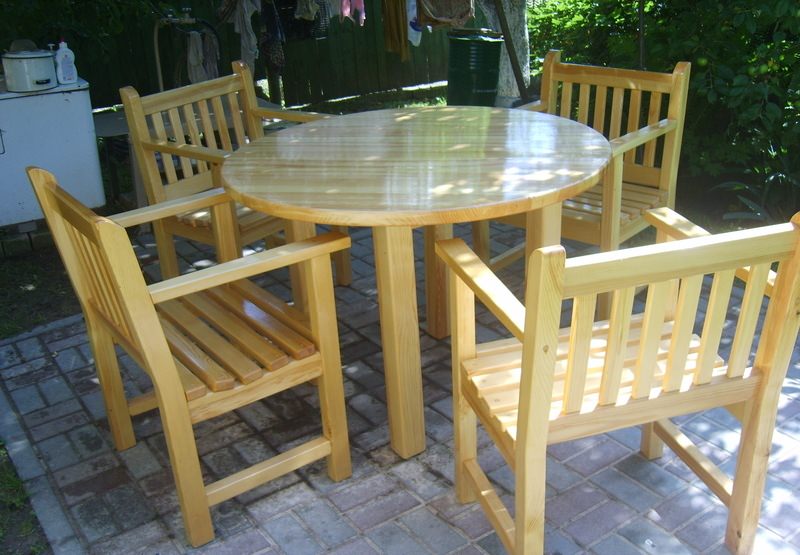
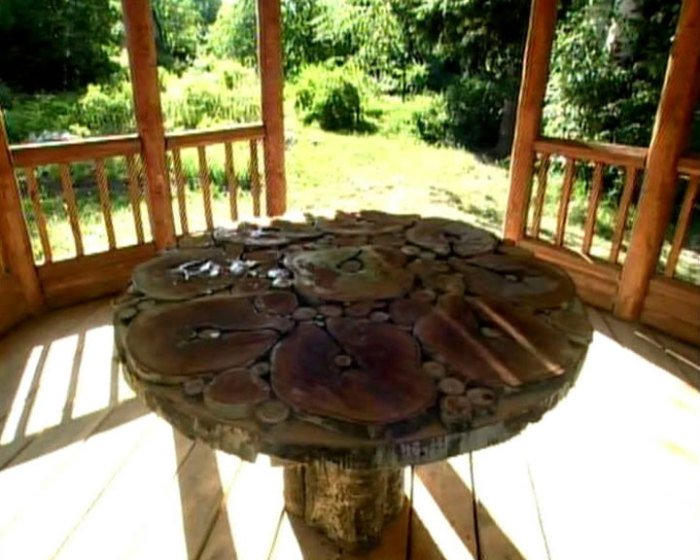
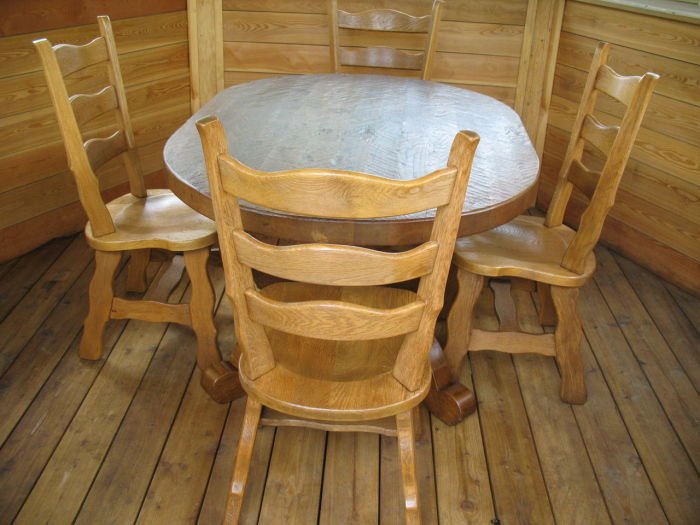
A round stationary table for a summer house will look great on a veranda or in a gazebo

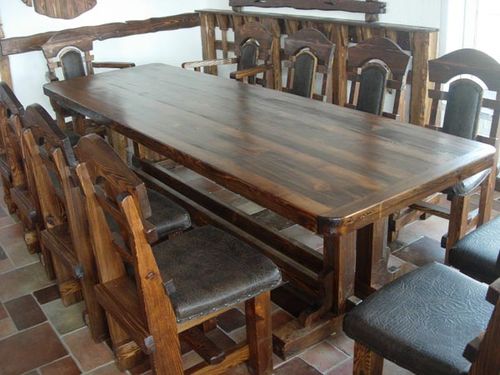
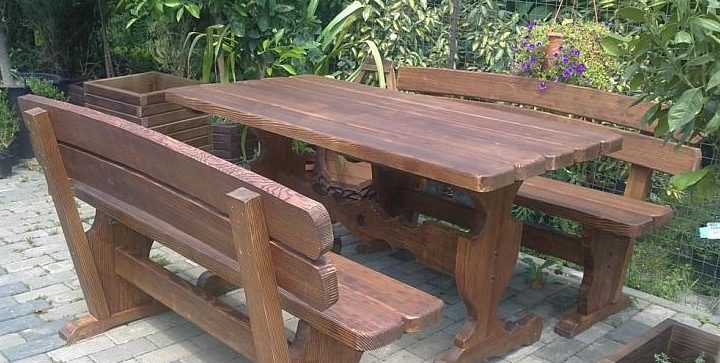
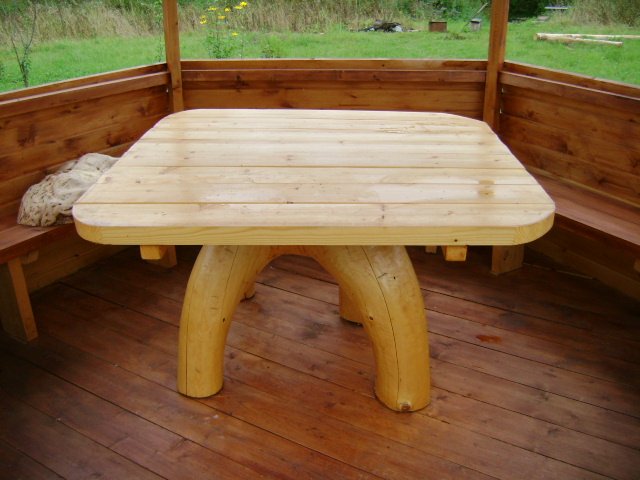
We settled on the last option because it is the easiest to manufacture and durable to use.
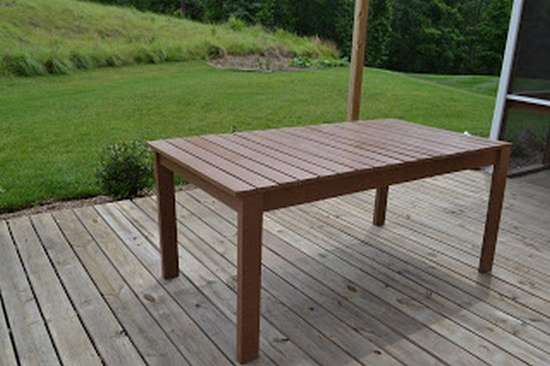
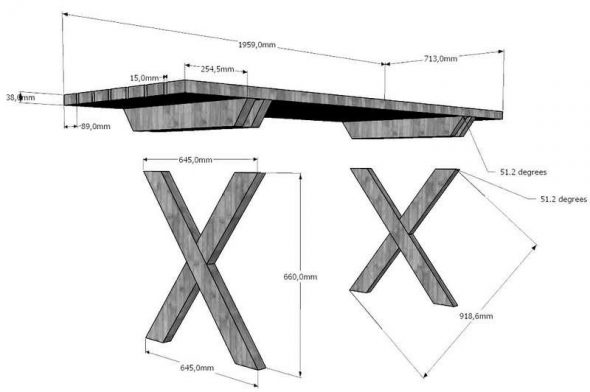
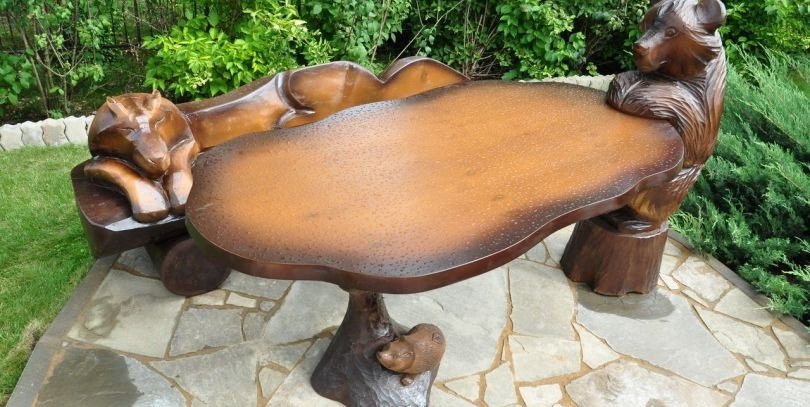
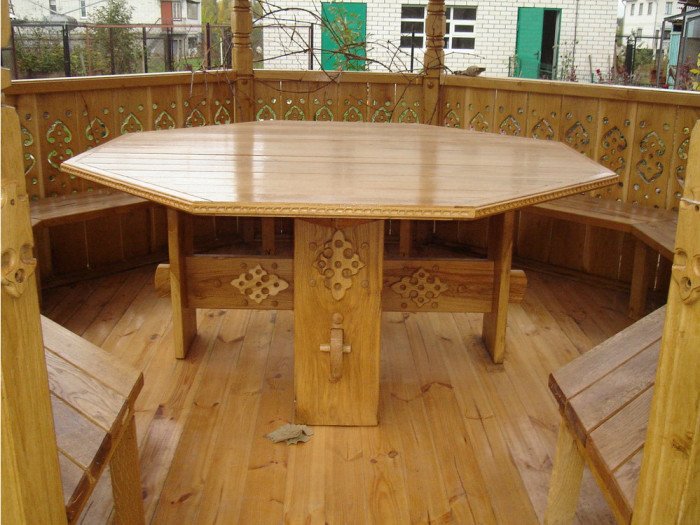
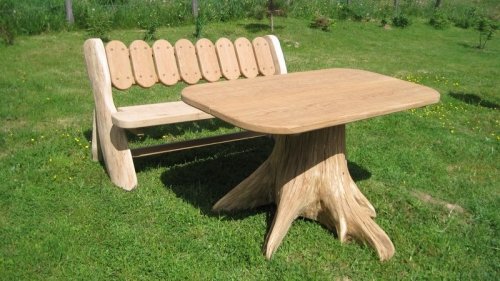
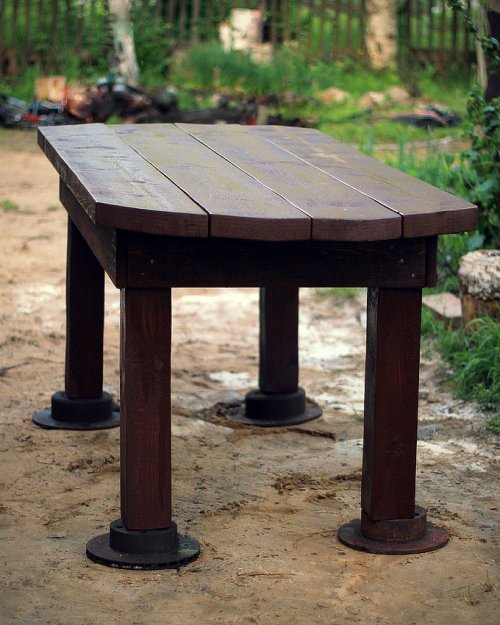
The products can also be divided by the shape of the tabletop. The most common are square. But round ones are also common. We intend to make a square table with obtuse angles.
Selecting material
No less important factor. The future material must meet the following criteria:
- strength;
- durability;
- reliability;
- ease of processing;
- naturalness.
This is an ideal set of qualities. However, in reality, sometimes you have to deviate from them. So, there are several options for the material.
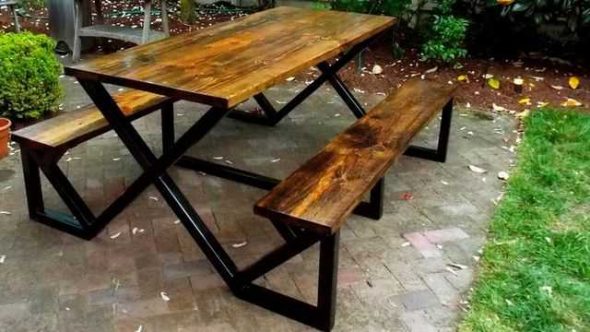
- Metal. The easiest to process for those who are friends with welding. It is not difficult to make a table out of metal. It will be really strong and reliable, but it has a significant drawback - its appearance. It is cold, both to the touch and to the eye. Metal furniture can create a somewhat unpleasant atmosphere. However, this option can be interesting and has a right to exist.

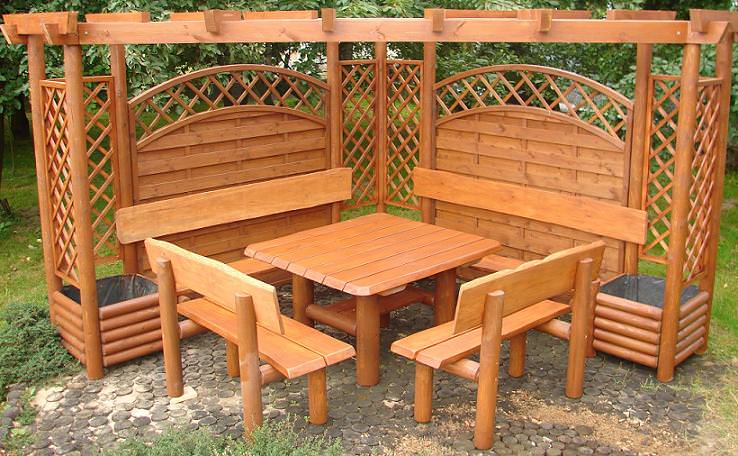
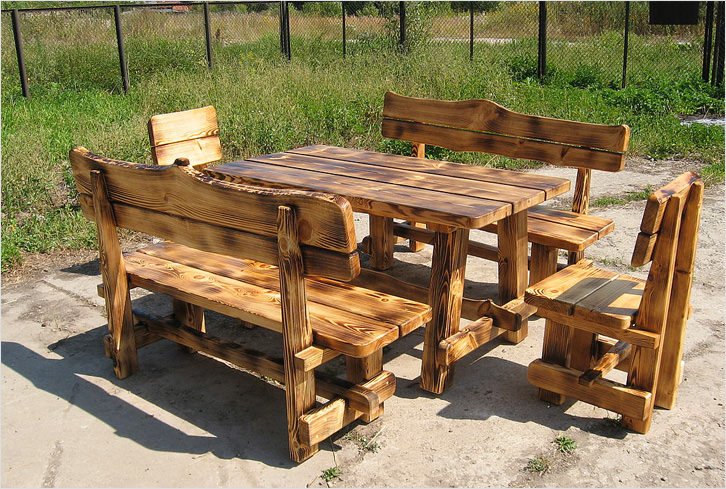
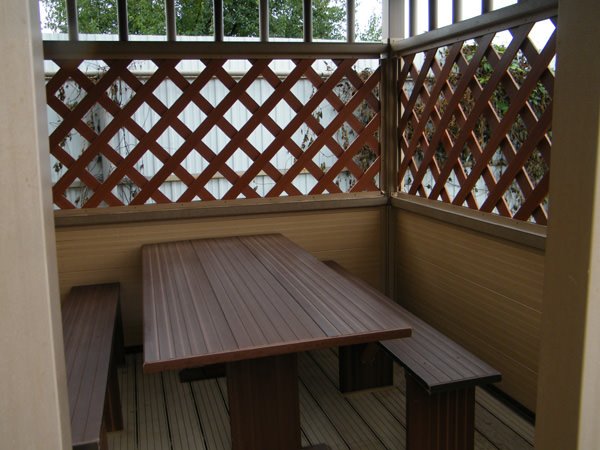
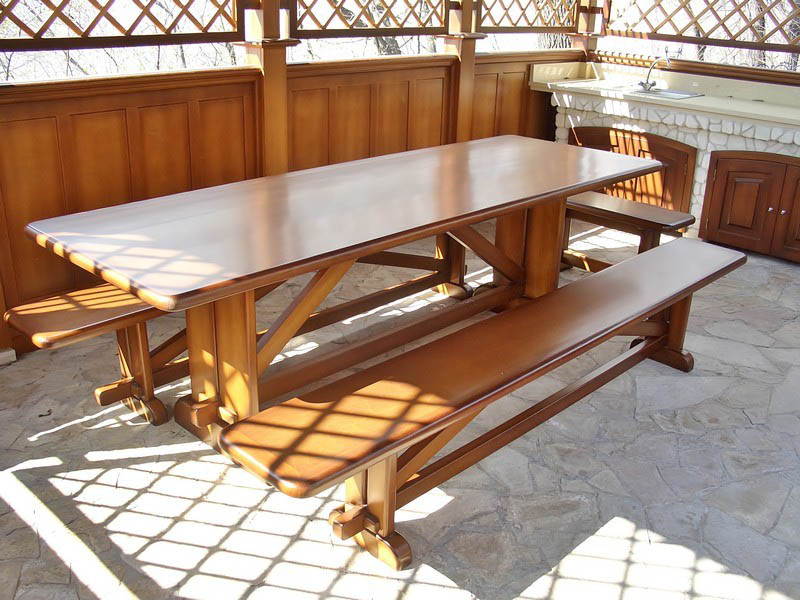
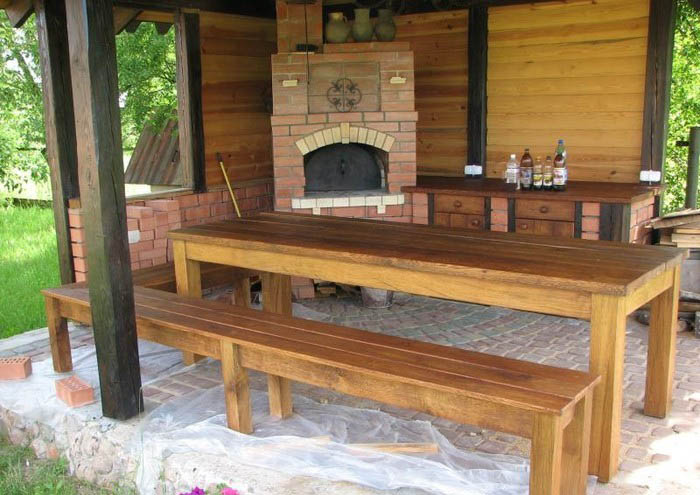
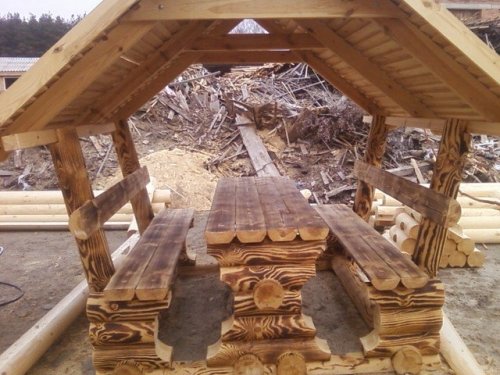
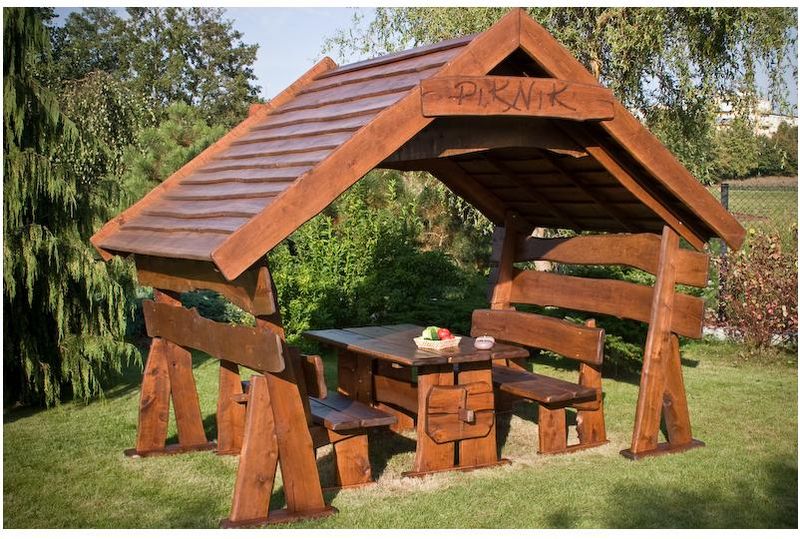
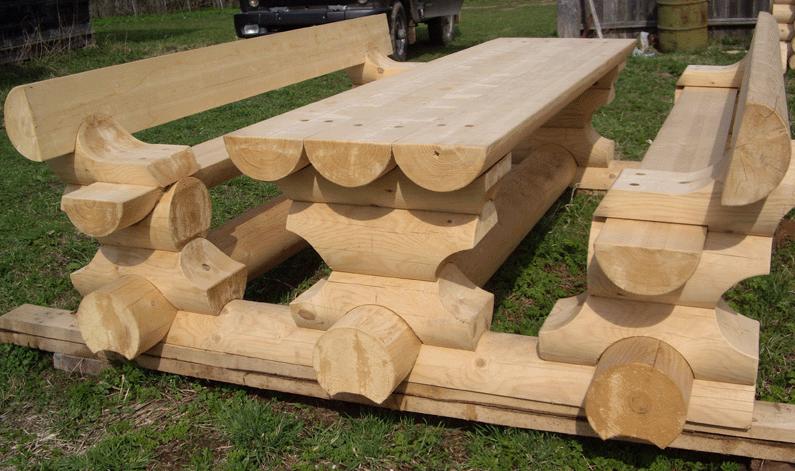
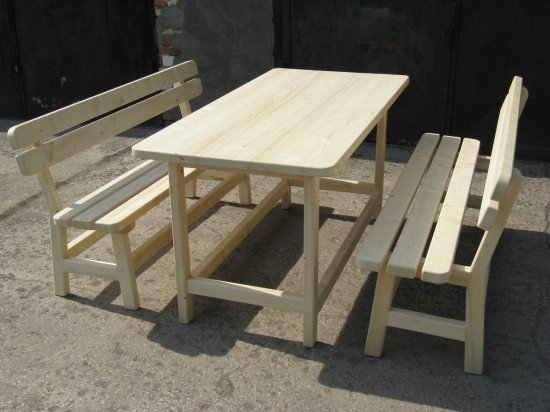
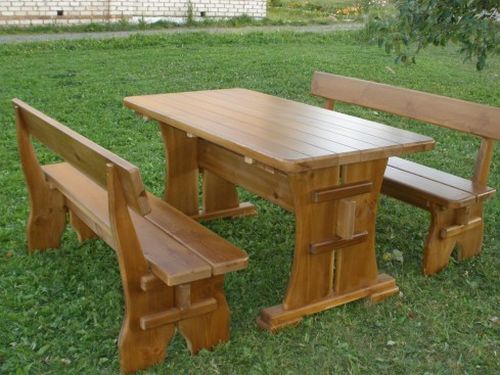
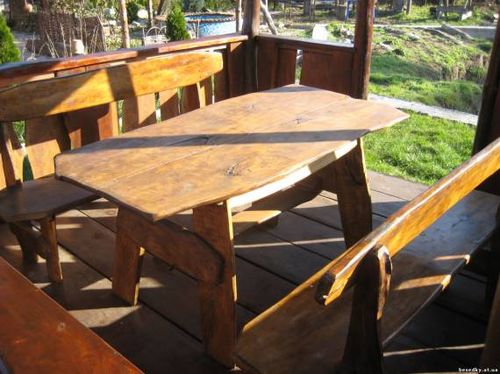
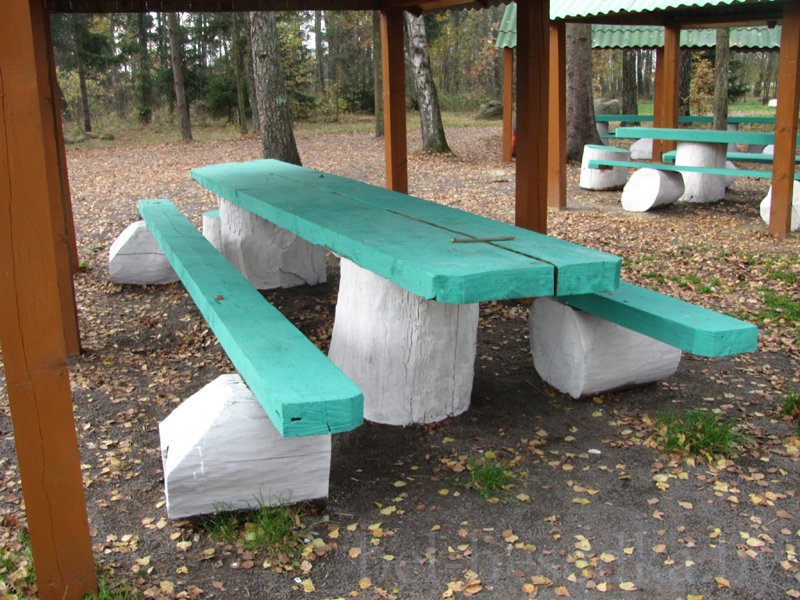
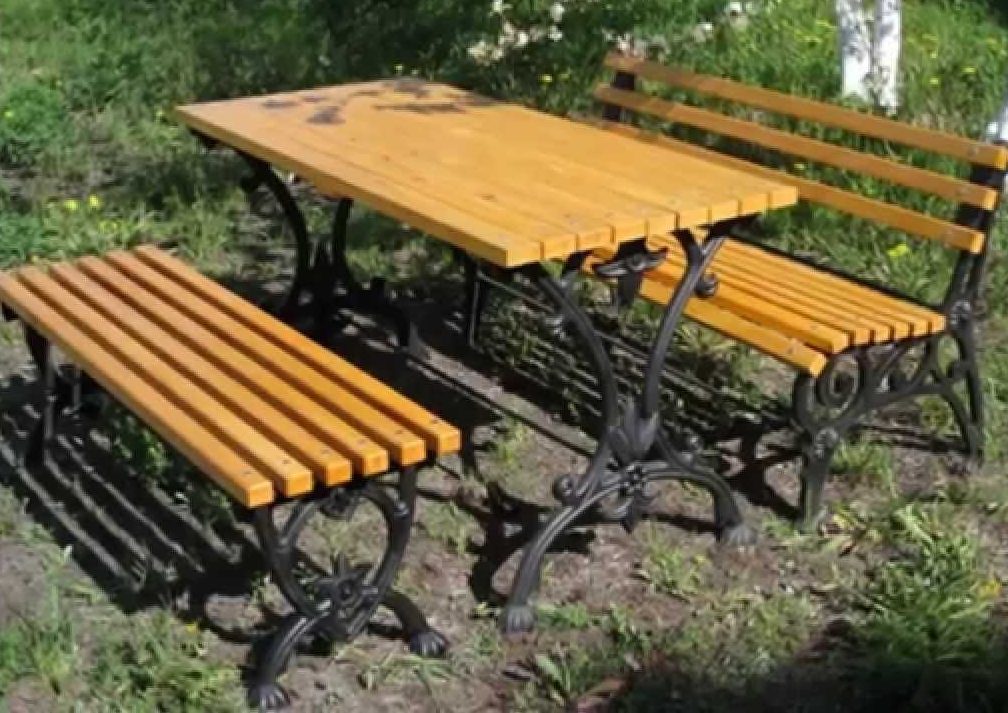
Bench with table on metal frame - Wood. The most common option. Often, furniture, like the pavilion, is made of natural wood.

DIY Wooden Table and Benches for a Gazebo
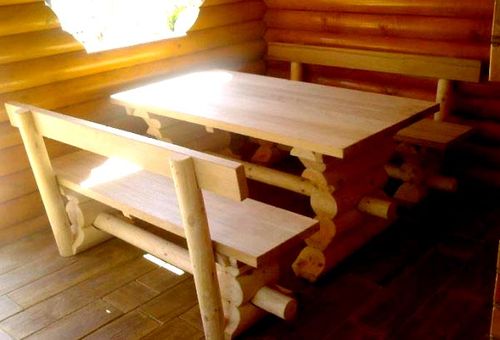
We will stop at the second option. And in this case we also have several options to choose from.
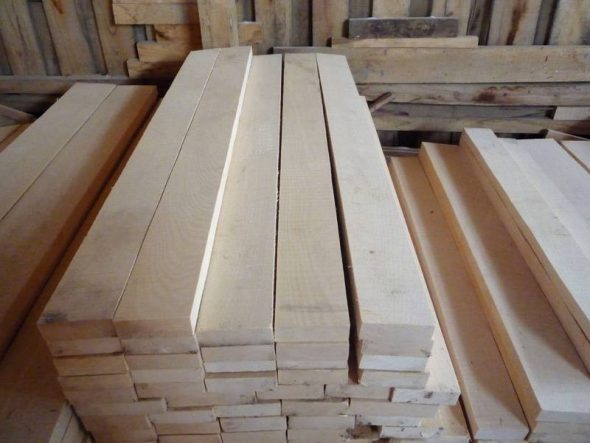
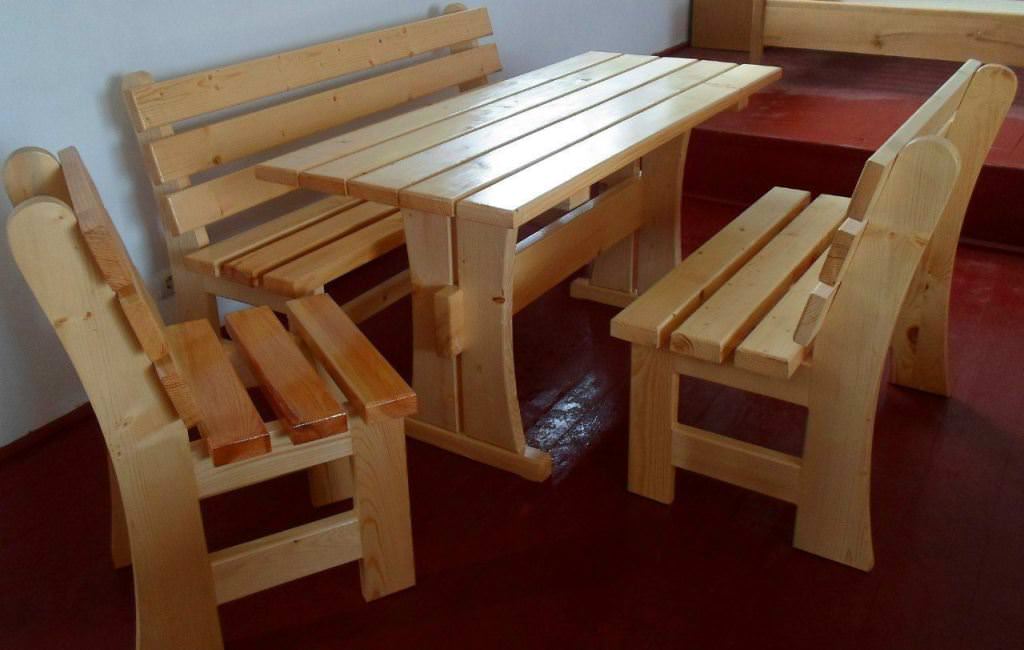
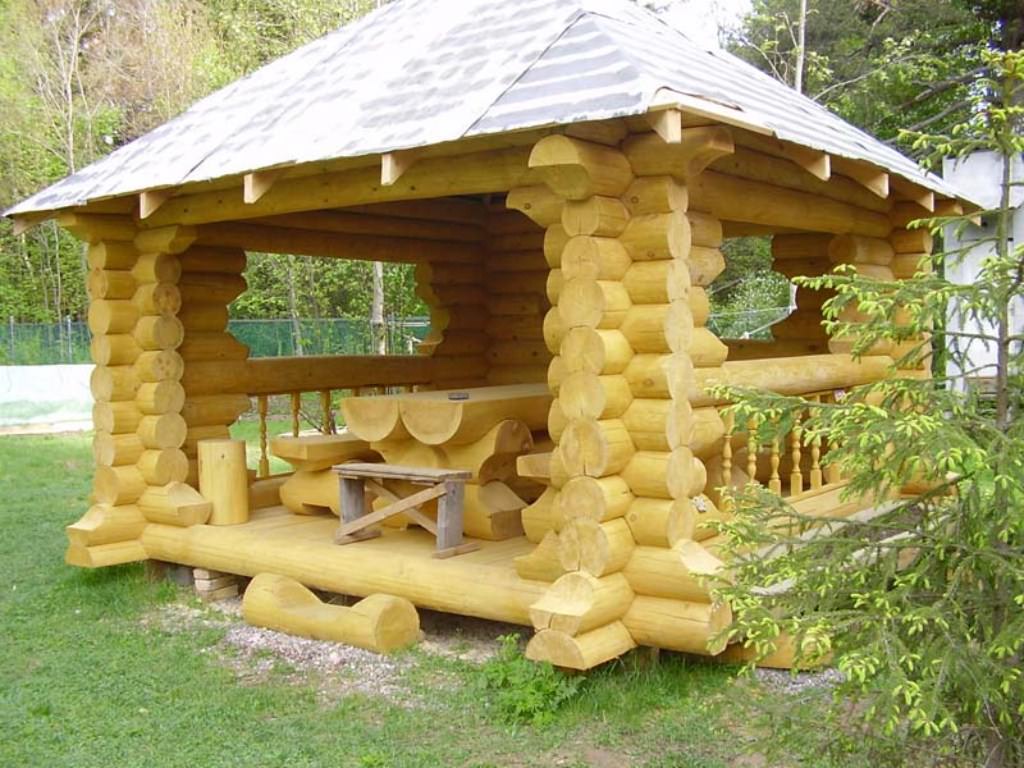
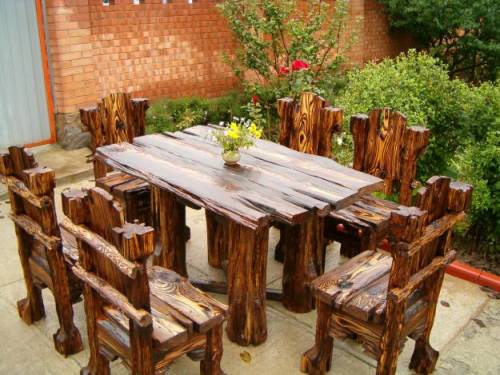
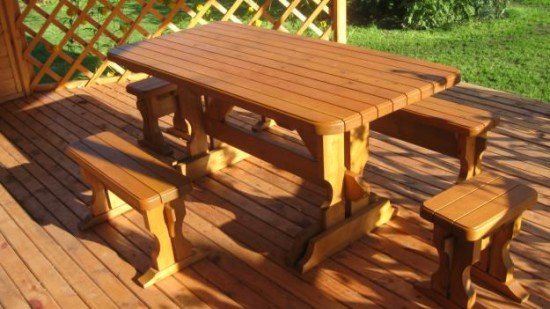
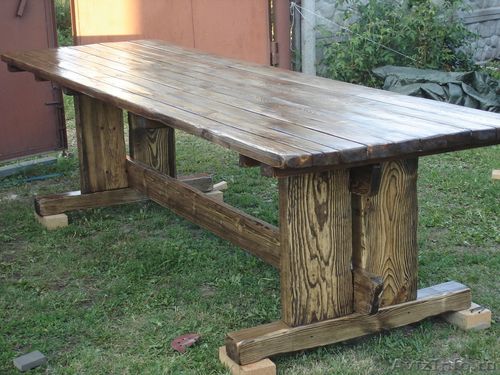
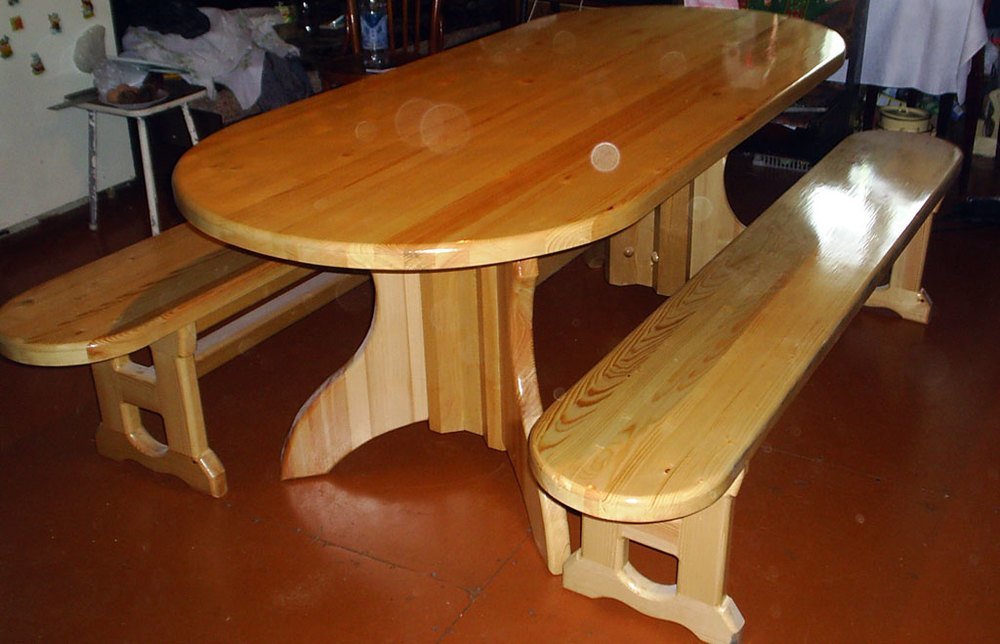
- Natural wood. Usually, gazebo furniture is made of pine or oak. Pay attention to other types of wood, but they must be durable. Natural wood has a special energy, smell and shape, thanks to which it will create a pleasant atmosphere for friendly gatherings.

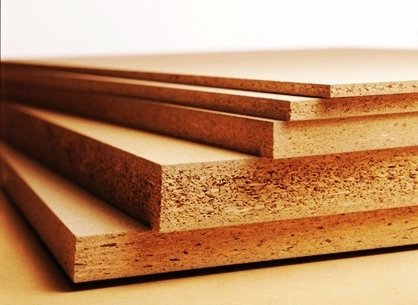
The best option for making a table for a gazebo with your own hands is hardwood - Chipboard. It is rarely used for garden furniture, as it is not particularly durable, but it is also found in such products. Most often, it is used in combination with other raw materials (wood or metal)

Chipboards are afraid of moisture, so they are not suitable for outdoor open gazebos
We chose natural wood for our work. Therefore, we will consider all the nuances of working with it.
Processing of the base
Since garden furniture is exposed to different levels of humidity and temperature when outdoors, not to mention surviving the winter, the wood must be treated with special means. This procedure is mandatory. It will help the product last a long time due to the fact that it will prevent the destruction of the base by moisture, temperature changes and insects.
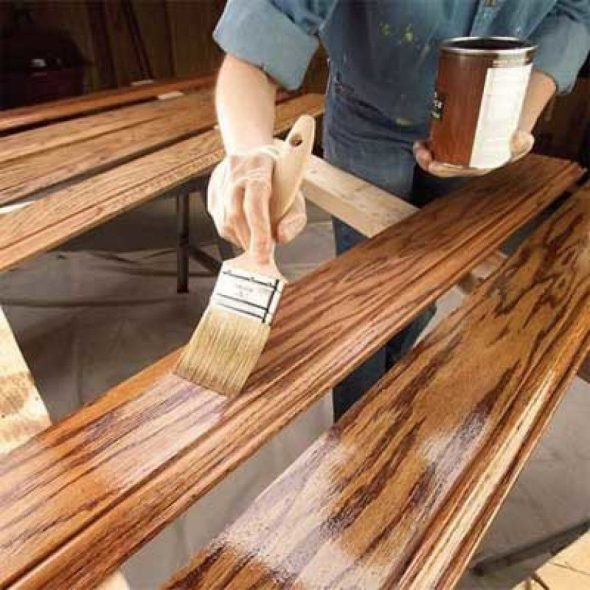
It should be remembered that wood processing is carried out before and after installation. At the end of the construction, the finished product is varnished twice.
Important! Choose high-quality products for treating the base, even if they are expensive. A cheap chemical will not protect the wood and will harm it.
So, we have chosen the material for the base and processed it. Now we can move on to constructing our creation and decorating it.
Step by step instructions
To do the job well and not miss anything, it is better to make a plan and indicate all the necessary details in it. We offer a step-by-step plan that you can use as a basis.
| Stage of work | Tools and materials | Expected result |
| Creating drawings | Whatman paper, pencil, ruler, tape measure | The project is completed with all calculations |
| Preparatory | All tools (we will consider below), sufficient amount of wood, fasteners | The groundwork has been laid for further action |
| Manufacturing of individual parts | Boards, woodworking tools, tape measure, pencil | All components of the future product have been made |
| Assembly | Prepared components, fastening tools | Assembly is complete, the surface is ready for final coating |
| Final coating | Varnish, paint, brushes | The creation can be used |
Now let's go through each point of the plan in more detail.
Creating drawings
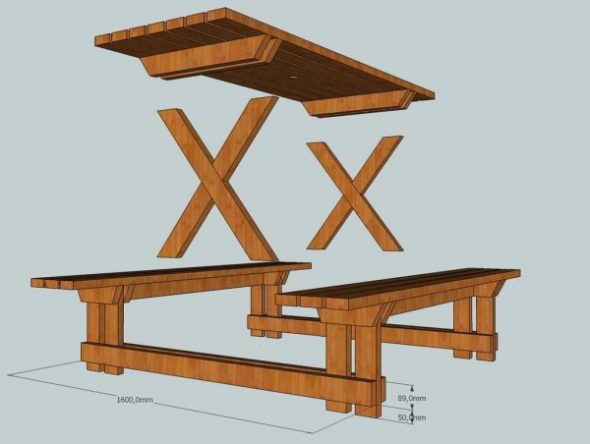
All work must begin with a plan and project development. At this stage, you can use the help of a professional, or make a drawing yourself. However, it should be remembered that they must be accurate. Any, even small, errors in calculations can lead to errors in manufacturing.
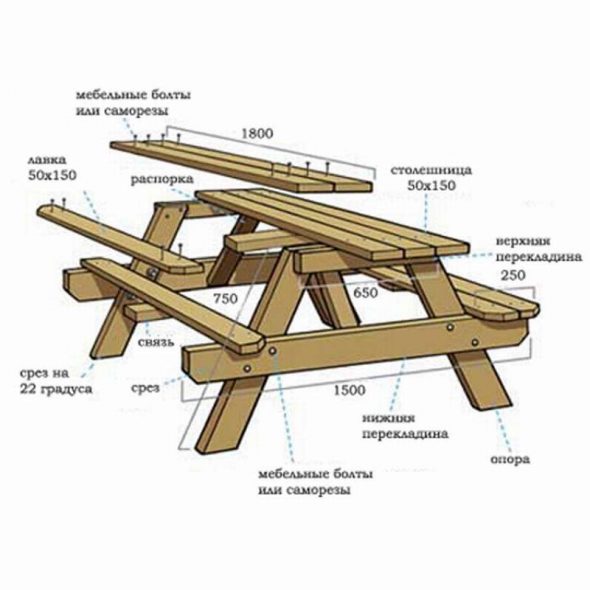
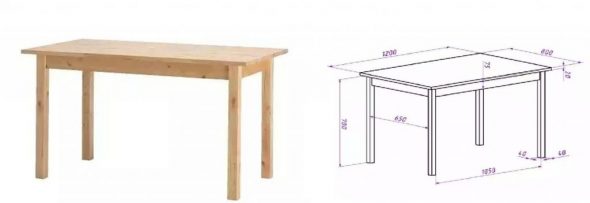
The dimensions are calculated based on the dimensions of the gazebo and benches. The optimal height is approximately 80 cm. The drawing must indicate all components of the future product, dimensions, mounting methods, and the cost of the project.
Preparatory stage
It will be easier to proceed further if you have a drawing. In it, we have indicated the required number of parts and measurements. Based on these indicators, we select materials and tools.
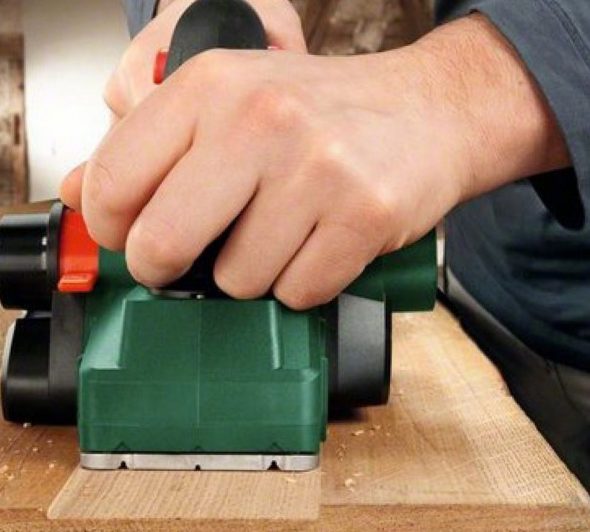
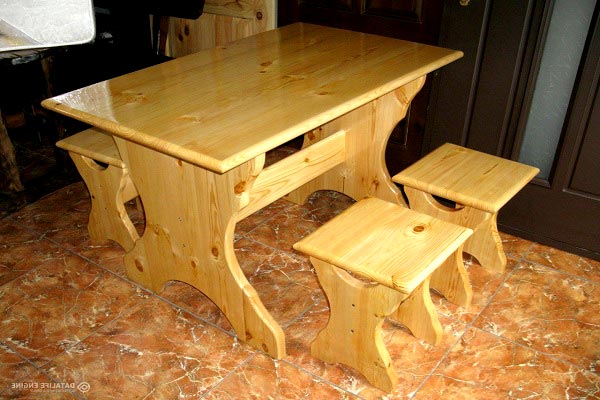
For work we will need quality wood. We chose pine board. Self-tapping screws and metal corners are also necessary. From tools we will prepare a saw, grinder, drill.
As we can see, we don’t need many tools and materials, and making a table with your own hands won’t be difficult.
Manufacturing of individual parts
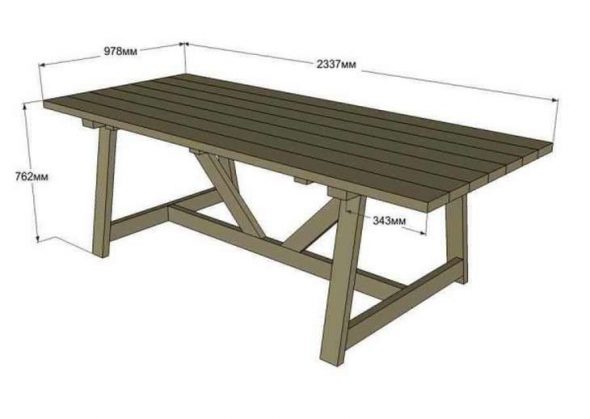
The actual manufacturing process begins with the processing of individual parts. We have a drawing that specifies which elements are needed, their quantity, size and other parameters. So, we need to manufacture:
- countertop,
- rectangular box;
- legs.
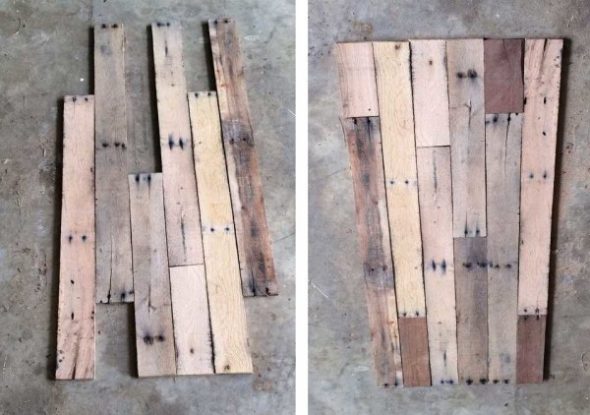
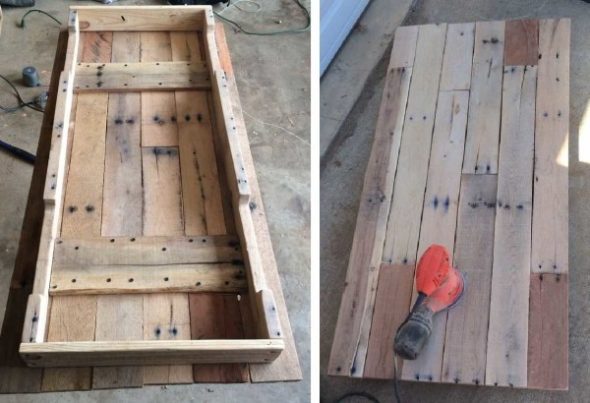
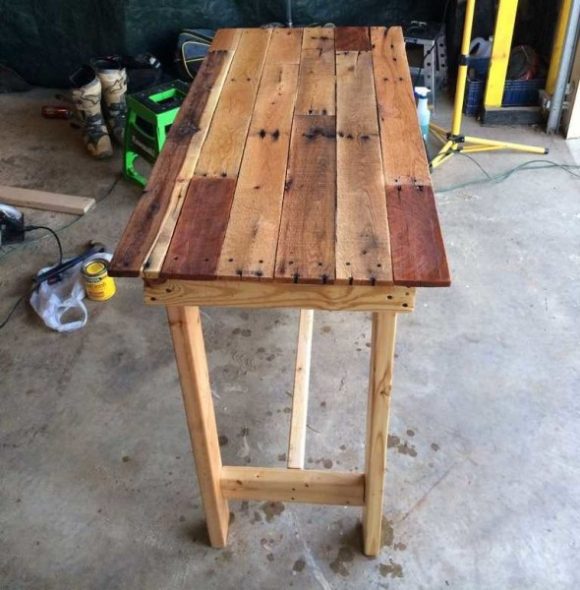
To make a table top, you need to place sanded boards close together and connect them with thin wooden planks.
The legs are cut to the required shape and size, and sanded. This is enough to prepare them for assembly.
Let's make the upper trim box. First, make a strong rectangular box slightly smaller than the tabletop size (take all measurements from the drawing). To do this, take strong and thick boards and join them together end-to-end.
Next we move on to assembling the parts.
Assembly
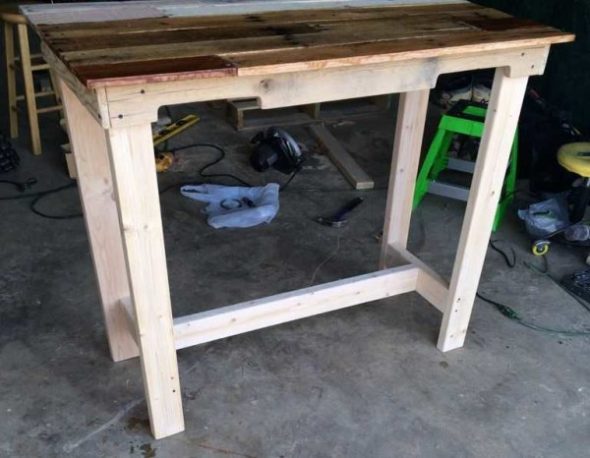
We attach the legs to the rectangular box. To do this, they need to be inserted into the corners of the rectangle and fixed with metal corners and screws.
To make the structure strong, it is necessary to add stiffeners. To do this, prepare boards that correspond in size to the distance between the legs. Attach them to the inside of the legs using screws. For strength, add another plank across the resulting square. Do the same with the upper square.
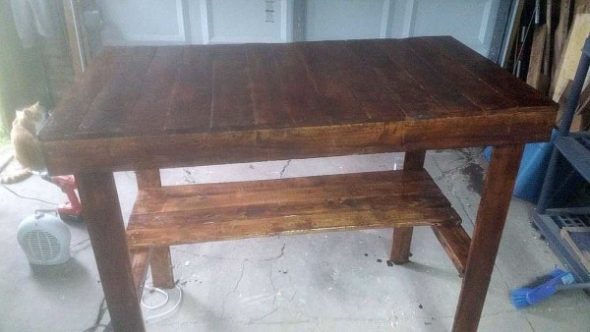
The last step is to install the tabletop. Attach the resulting plane to the box and attach it to it using a drill and screws. This is how we got a durable and simple table for the gazebo, made with our own hands.
Final coating and design
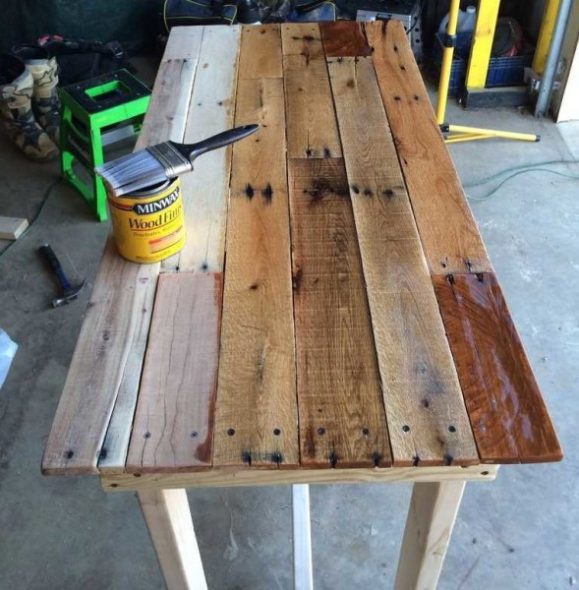
We are at the finish line. The product is ready, all that remains is to do the final finishing. Before starting the work, we treated the wood with special chemicals that prevent its destruction. After installation, another treatment is required – varnishing. This way, the product will last much longer and will be safer to use.
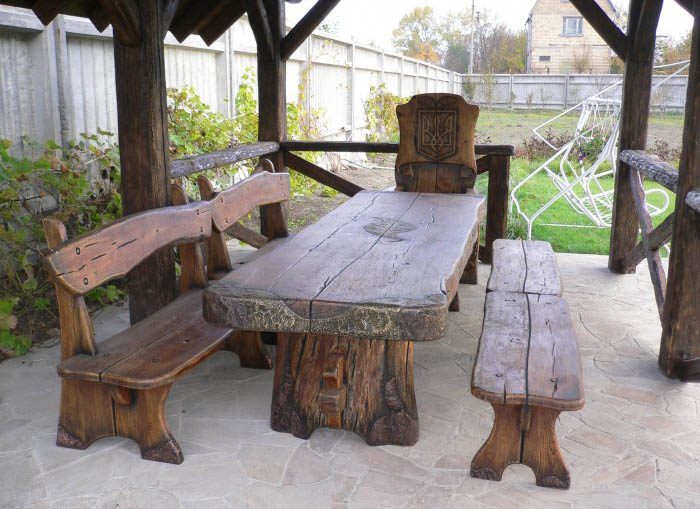
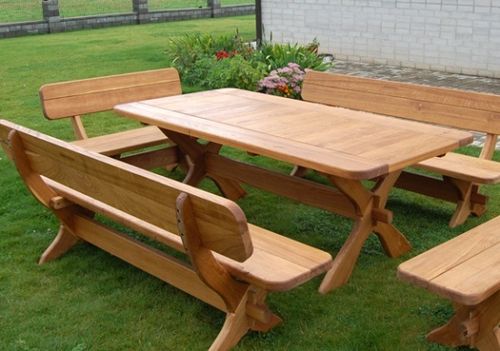
Our creation is ready for use. It can be left as is, because natural wood itself is a wonderful decoration for the gazebo.
You can paint it or draw it, and re-varnish it. There is another interesting method - burning. But it is done before coating, and it is better to entrust this work to a professional.
This is how we got a table for the gazebo. As we can see, it is not difficult to construct, and even fascinating.
Video: DIY Table
50 Beautiful and Functional DIY Wooden Tables for Your Gazebo:


Great