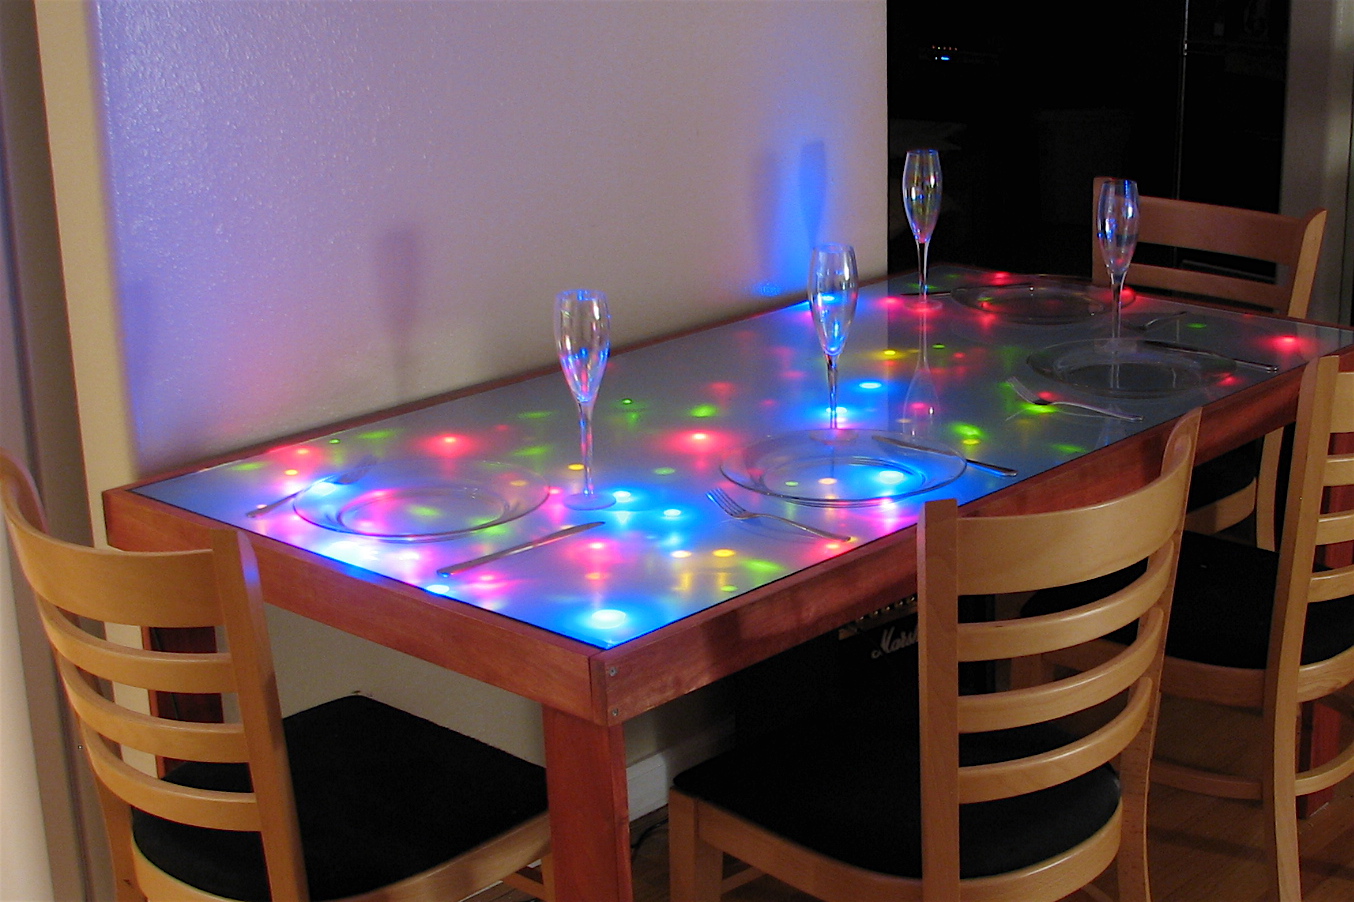
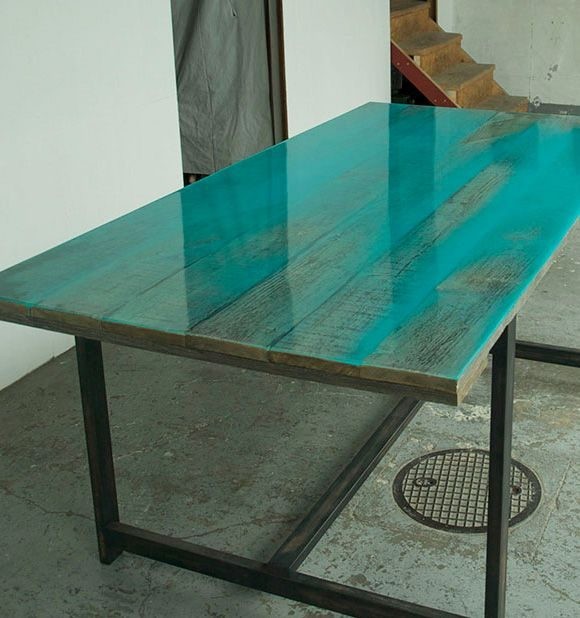
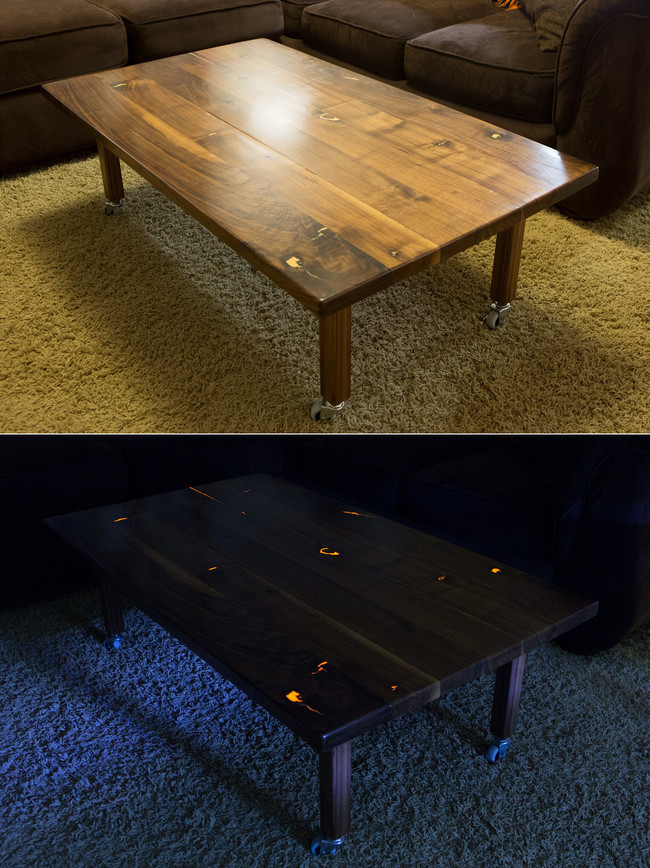
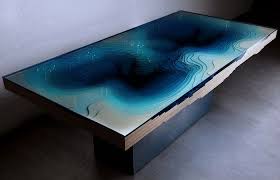
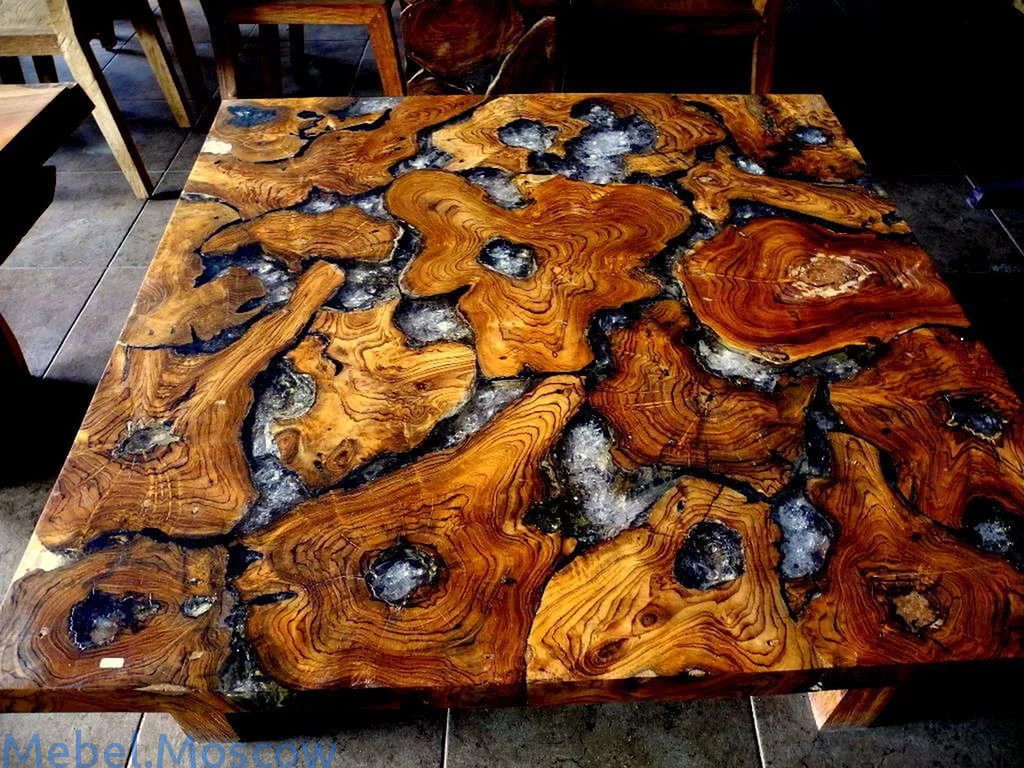
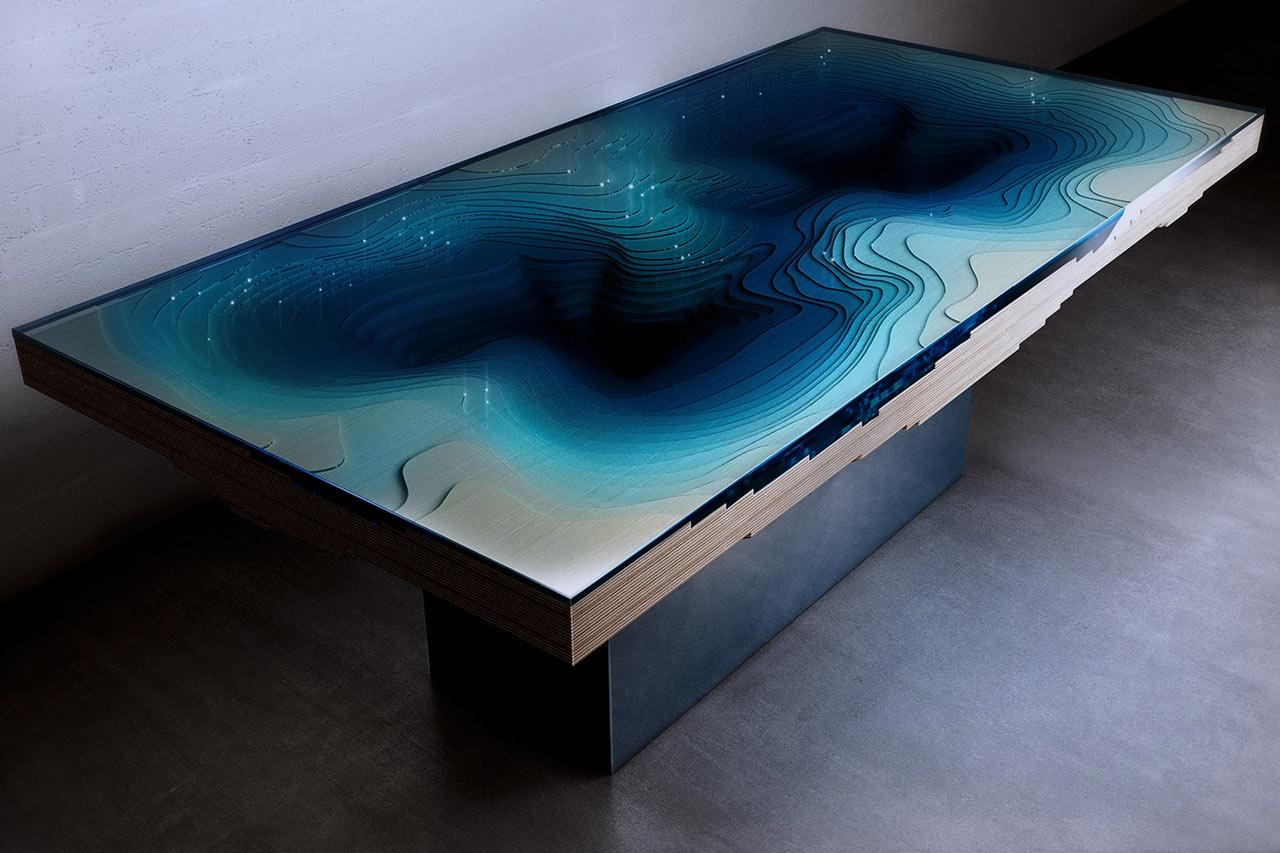
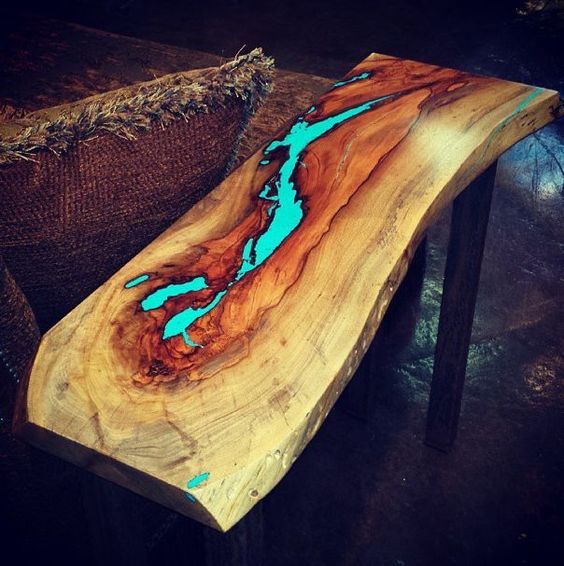
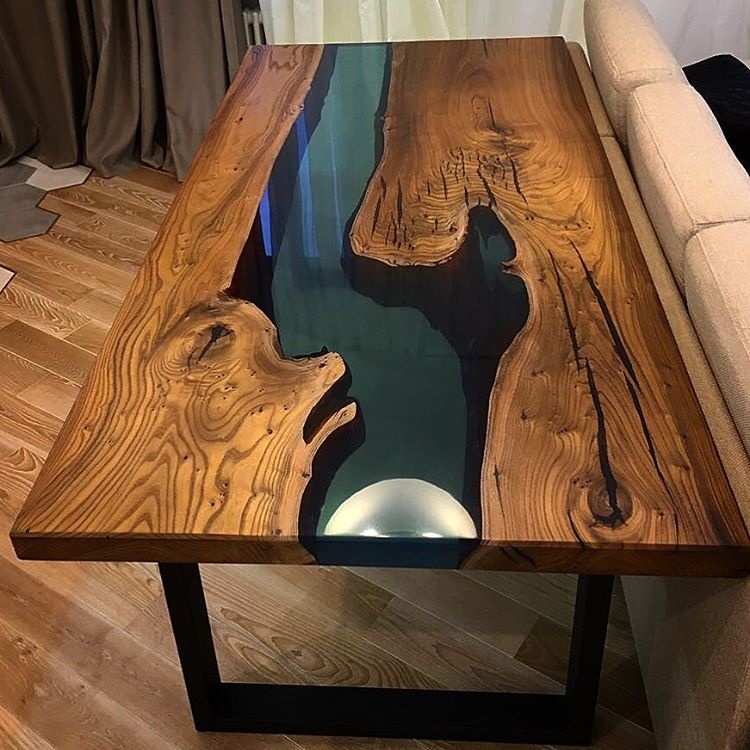
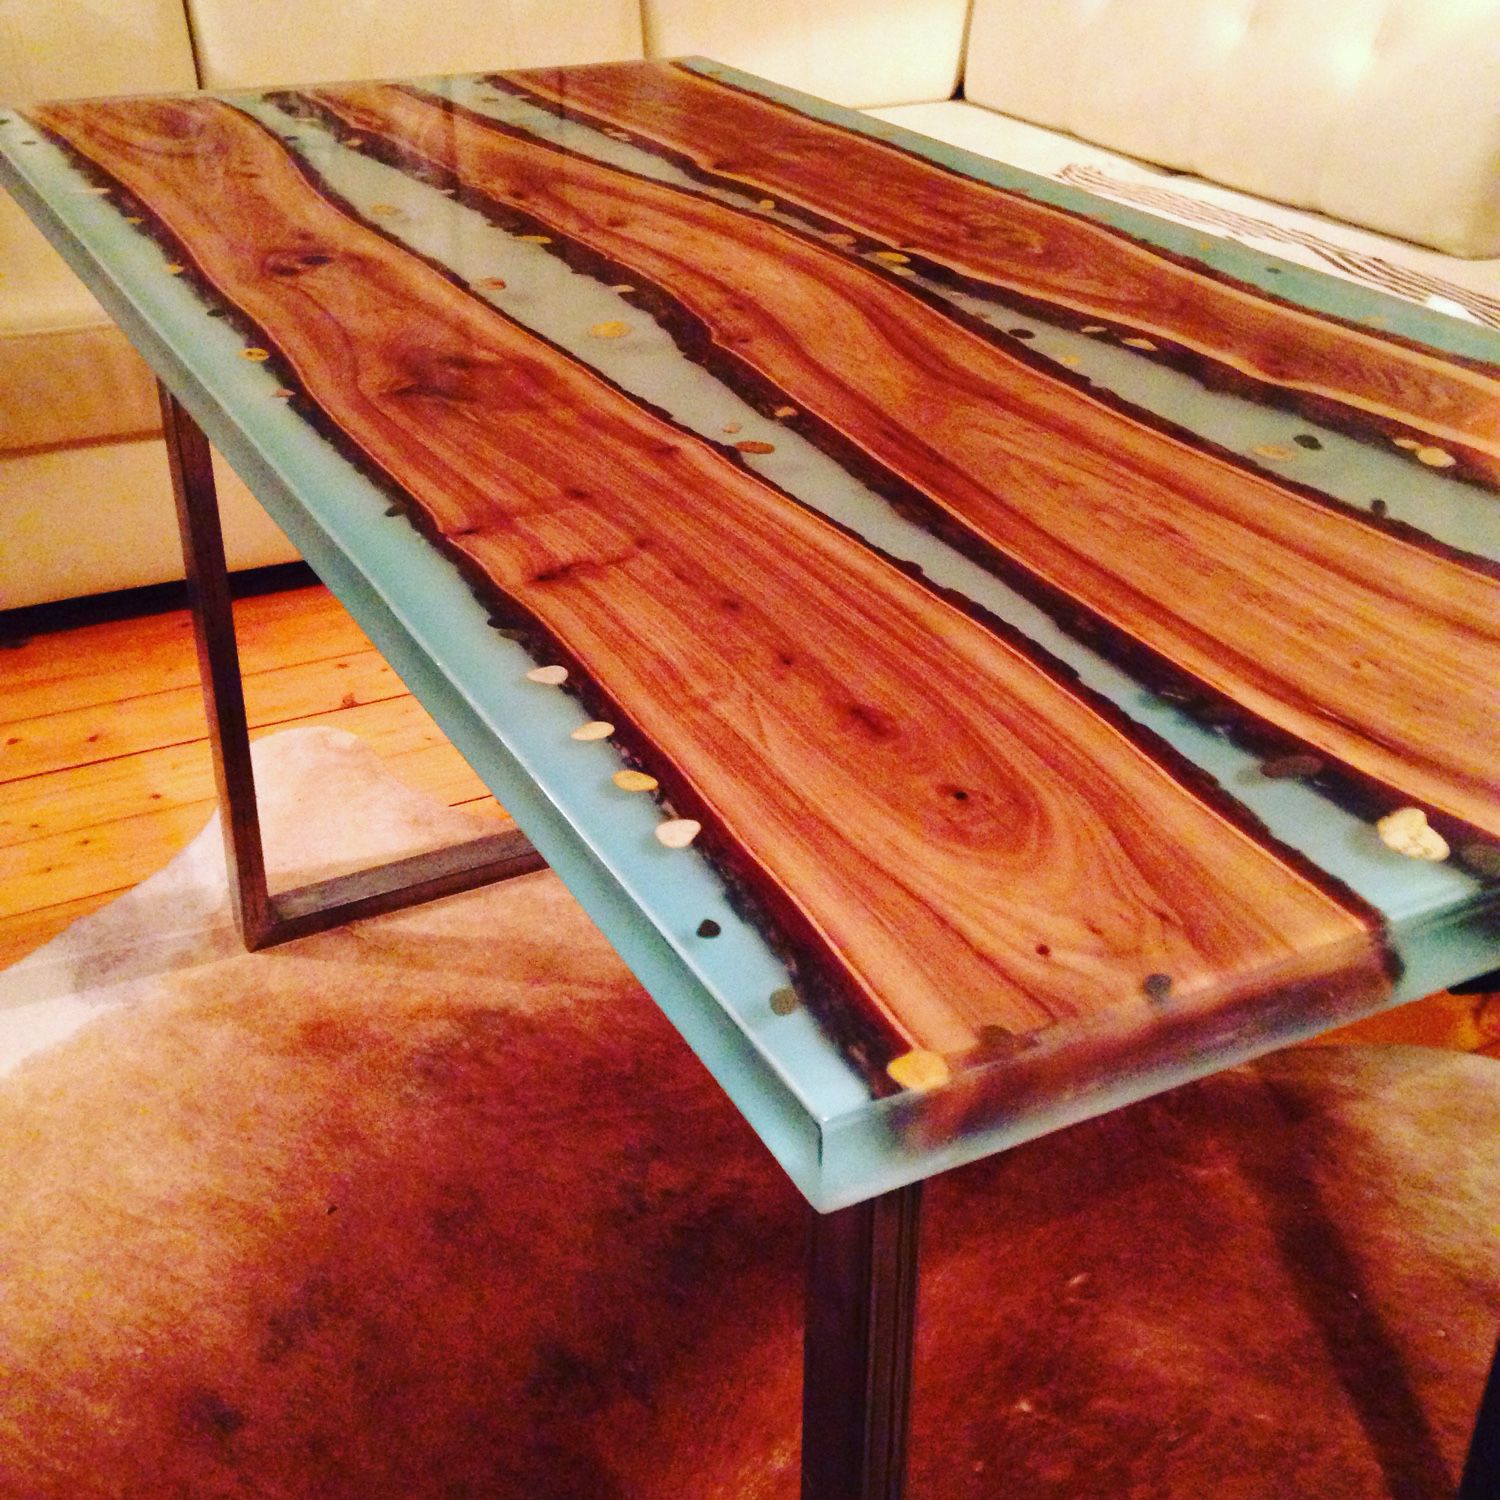
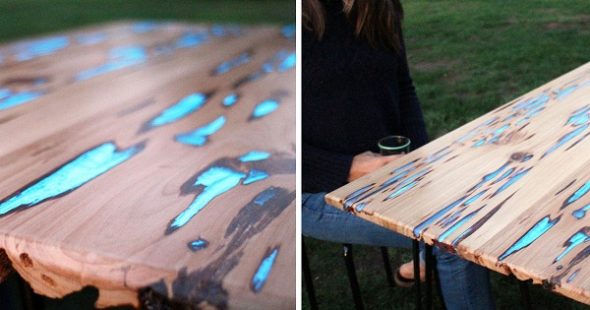
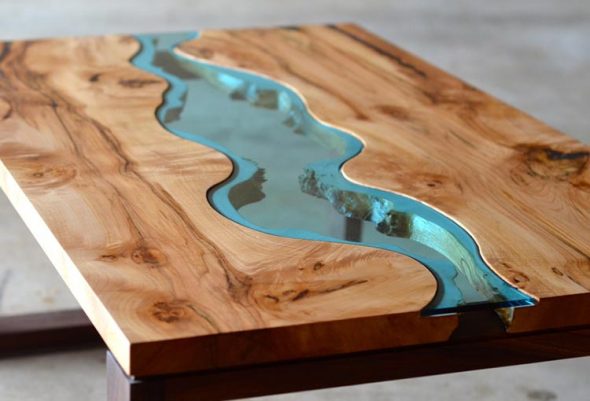
Furniture with a luminescent effect looks unusual and especially interesting. Those who want to make the interior of an apartment original or add a "zest" to the equipment of a summer cottage, this option is suitable - a table with "backlighting". The product is created using epoxy resin and two types of durable paints. All work - from grinding to cladding - is quite accessible to a beginner in carpentry.

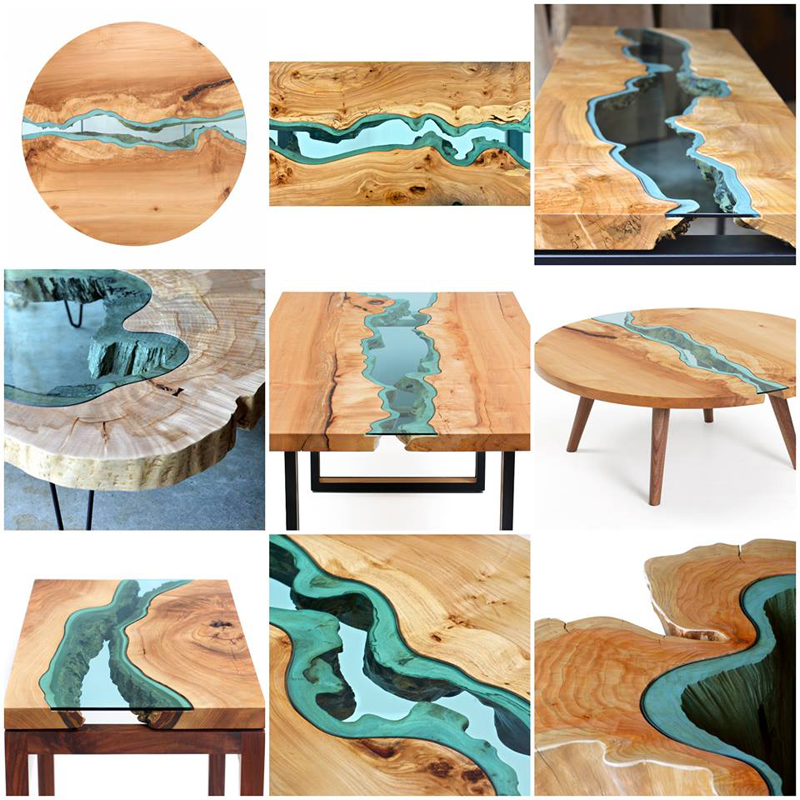
When decorating a table, you can come up with your own design based on the quality and texture of the material.

Content
The benefits of DIY
Making a glowing table with your own hands does not require special material and labor costs. Anyone who knows how to hold a tool can treat a wooden tabletop with a special resin.
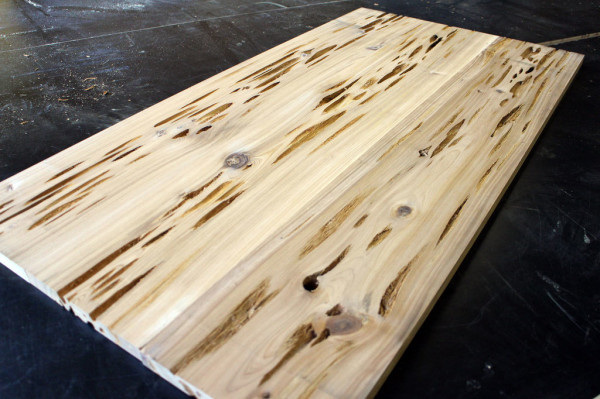
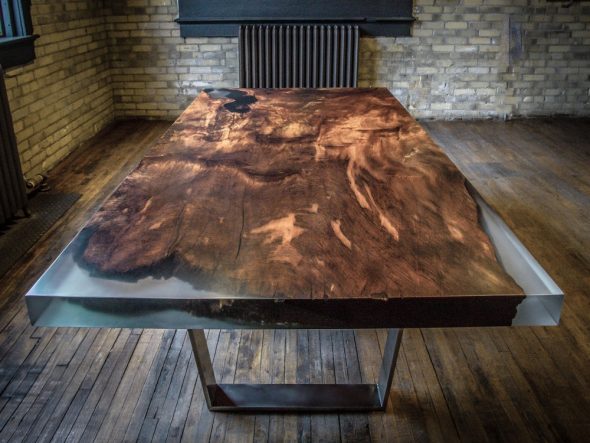
Making your own furniture for your summer house or home is a great way to save your budget. You are unlikely to see such items on the open market, they are usually made to order and are quite expensive, as handicrafts. Thick boards or a ready-made wooden table with an interesting texture are suitable for production. Applying epoxy resin is a matter of half an hour. After some time, if all stages of processing are correctly observed, you will get a table with a mesmerizing glowing effect.
We decide on the design and construction
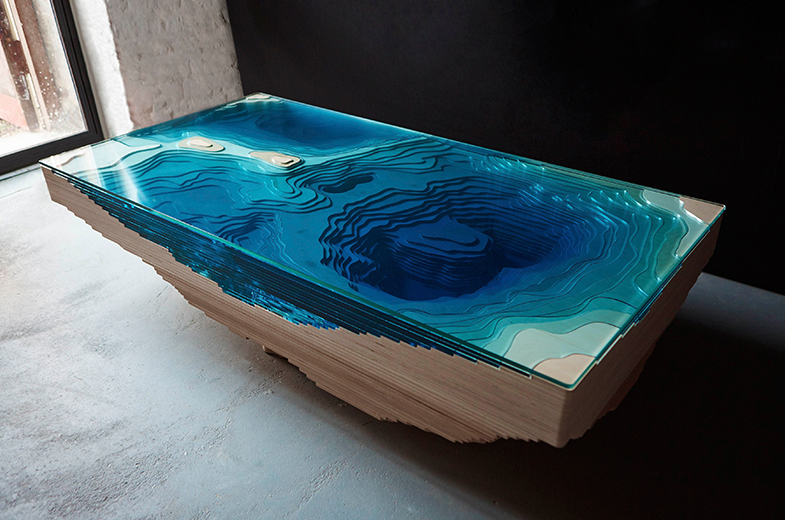
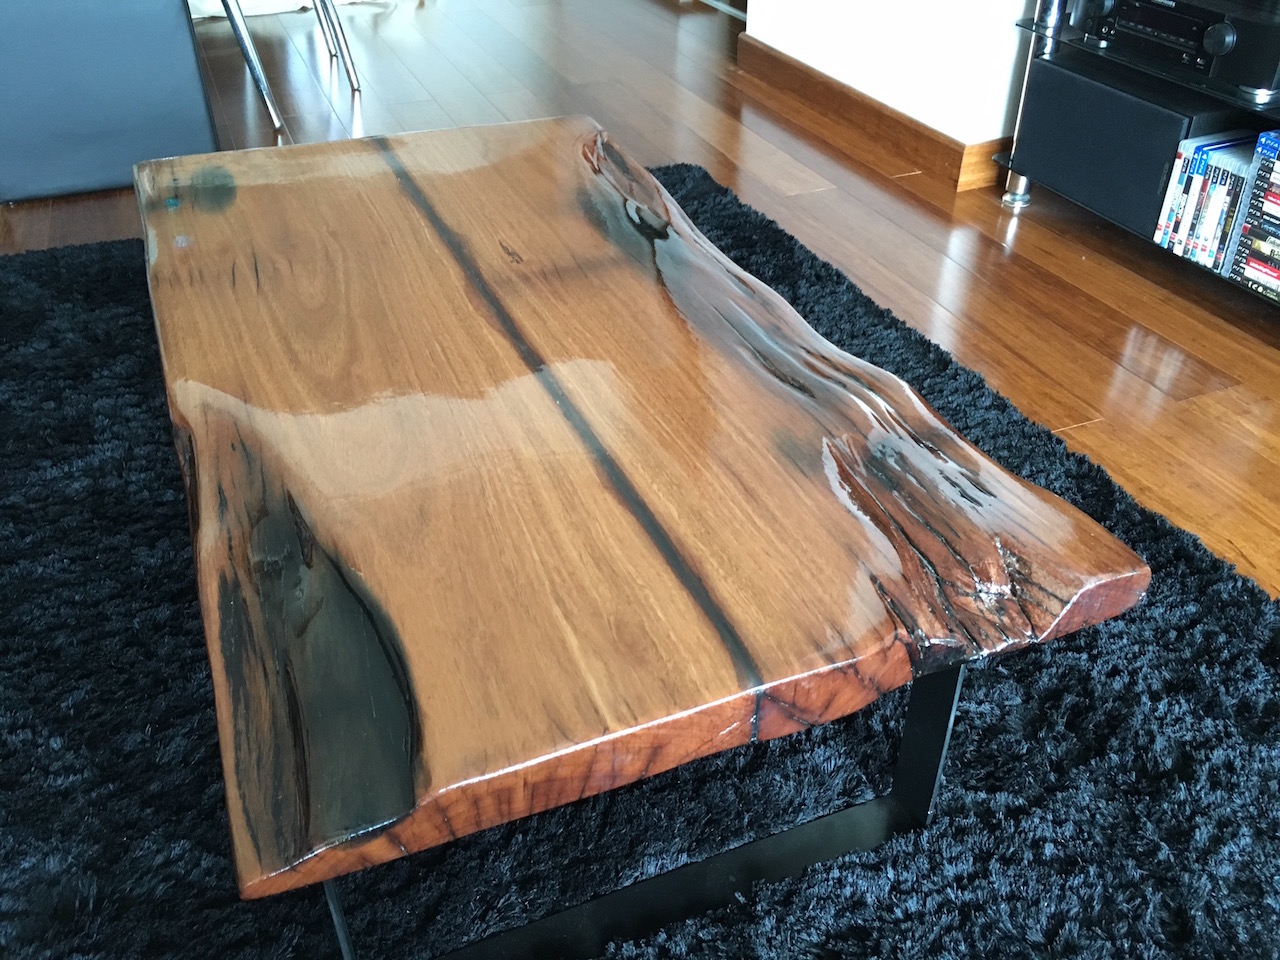
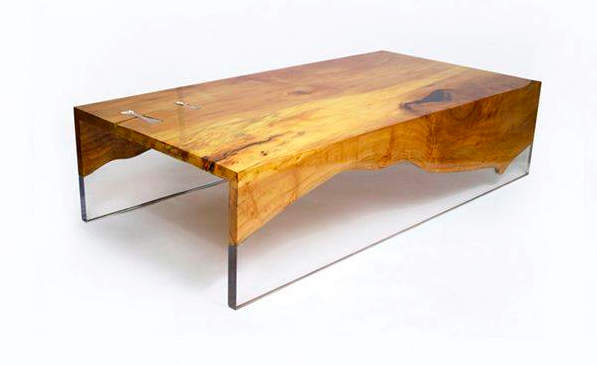
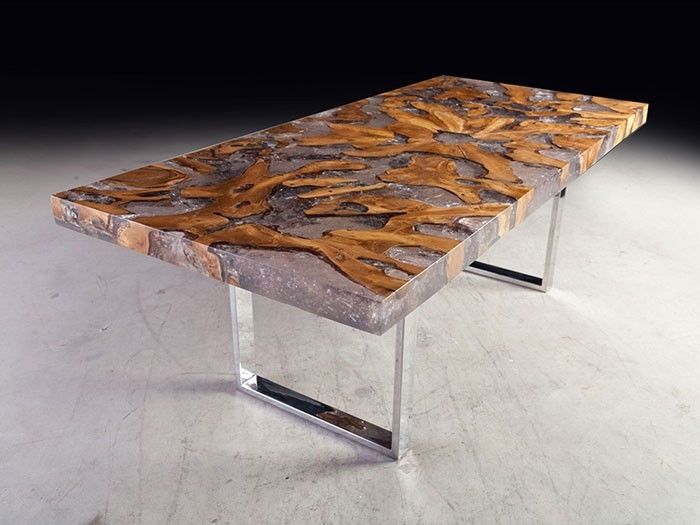
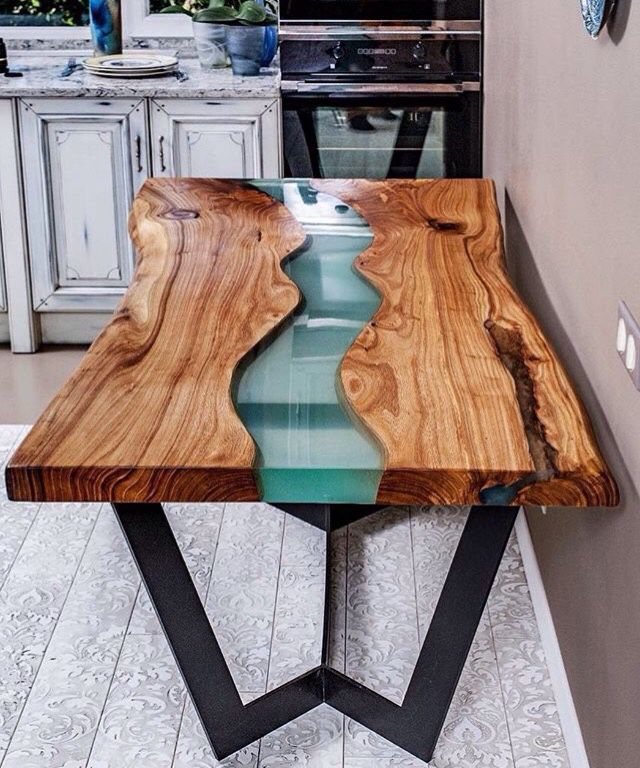
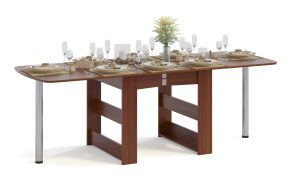
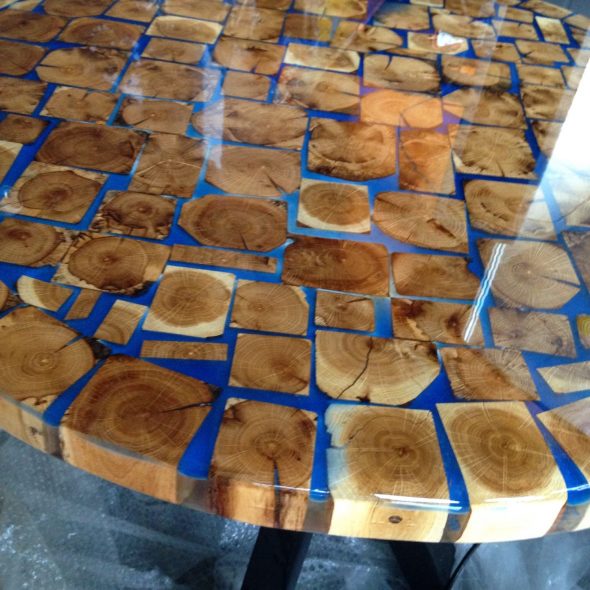
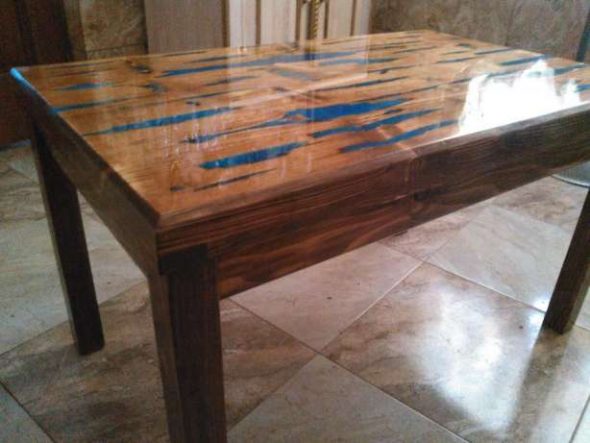
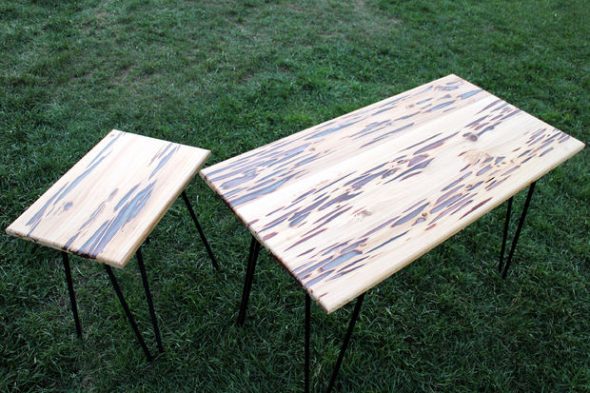
The luminous table can be made stationary or folding. When processing, the stage of furniture construction does not matter. To create a luminous effect, use only the tabletop, although you can make furniture completely with a luminescent surface. Designers agree that it is better to process individual panels - this way the product looks more interesting.
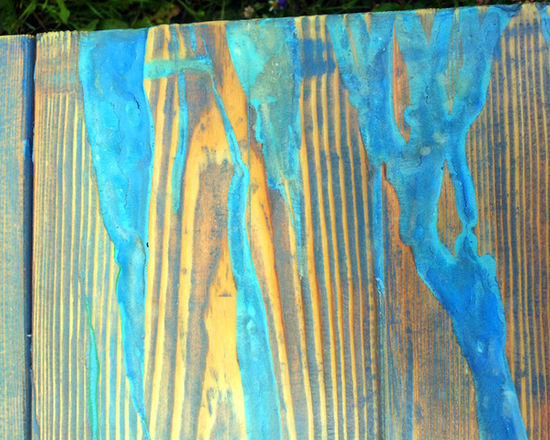
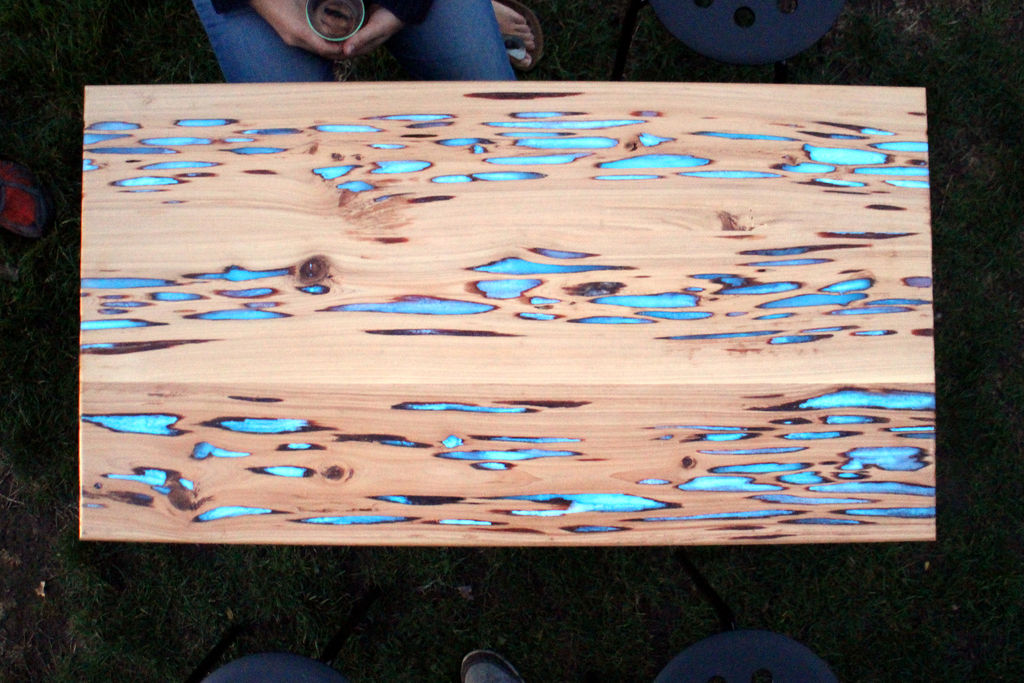
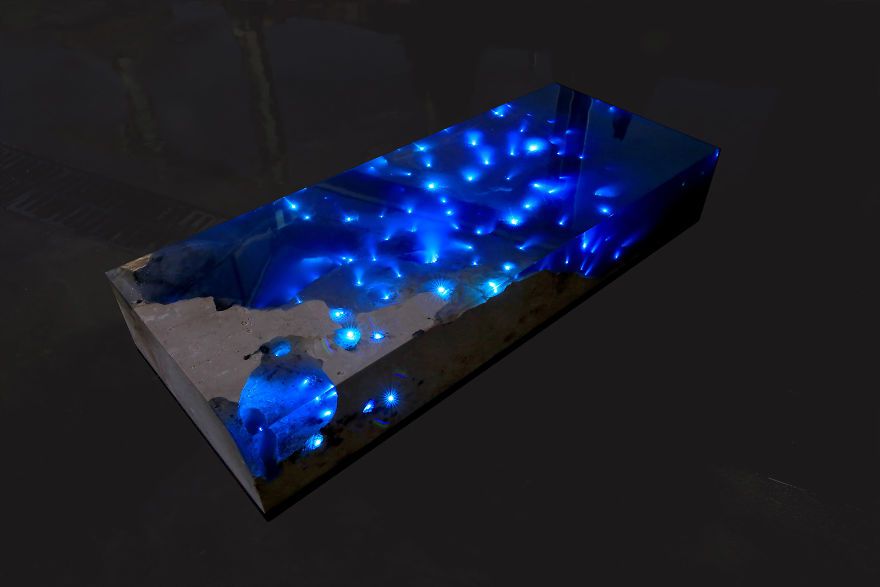
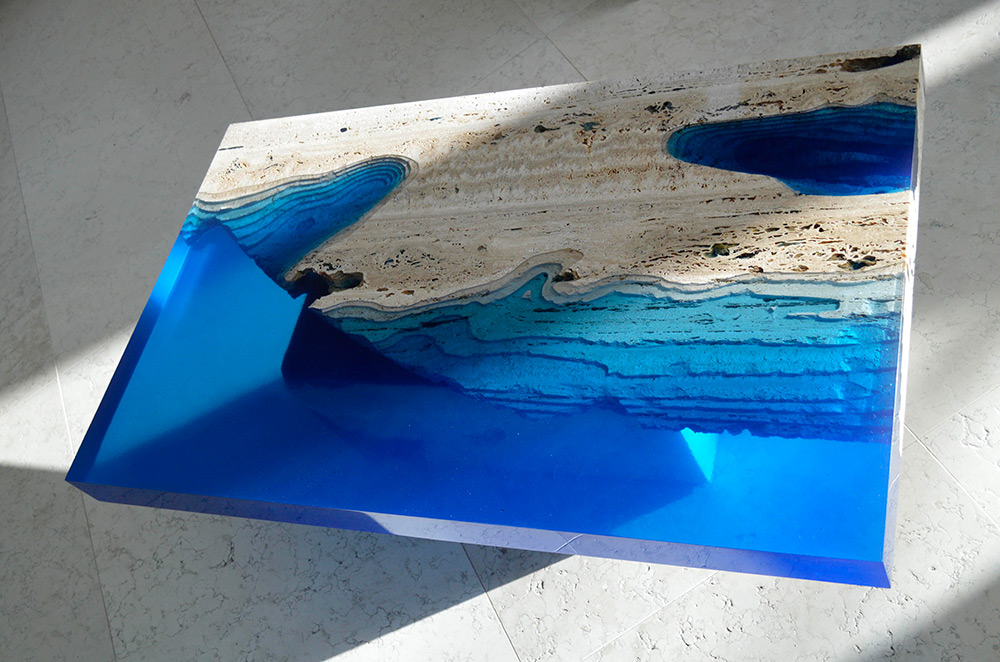
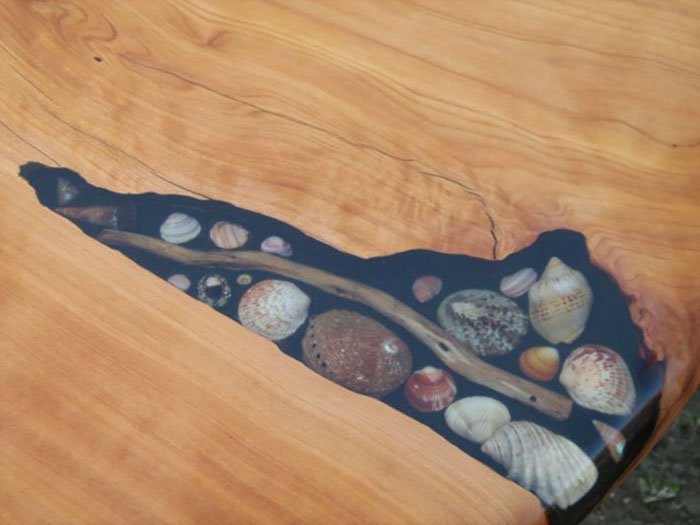
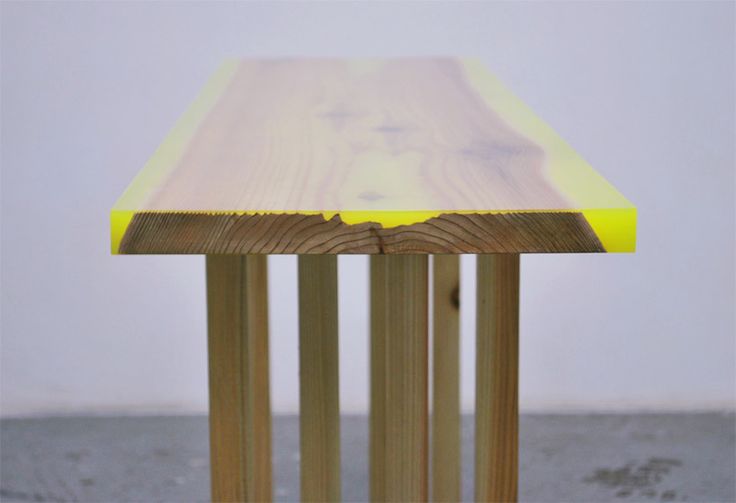
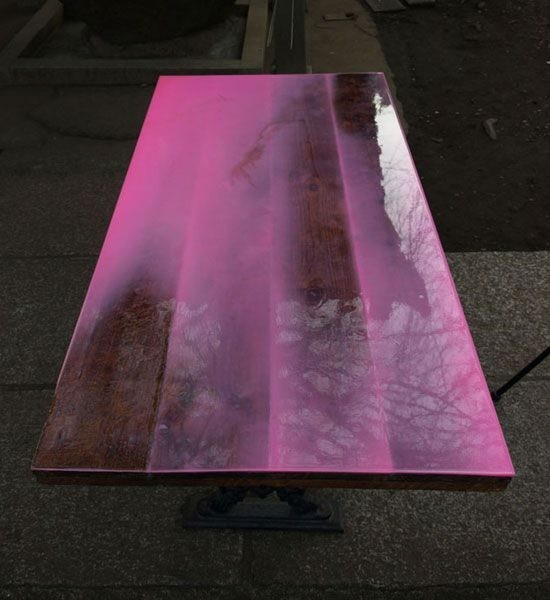
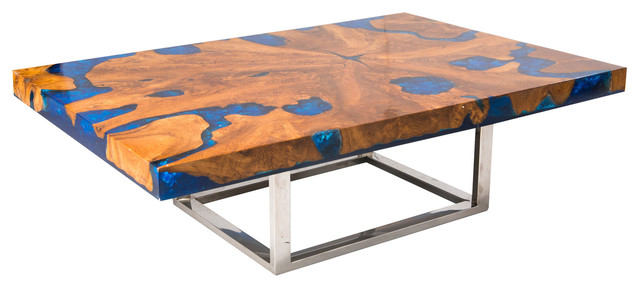
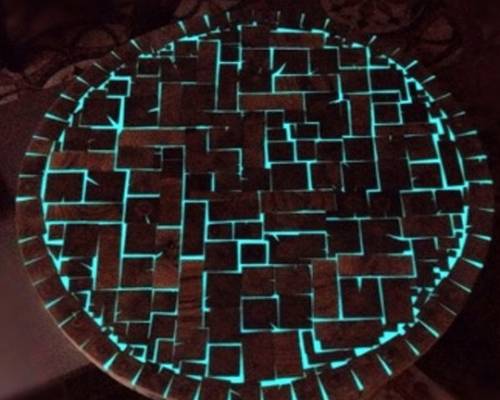
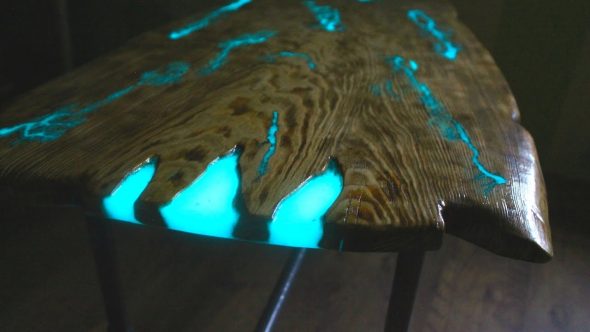
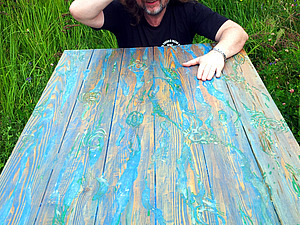
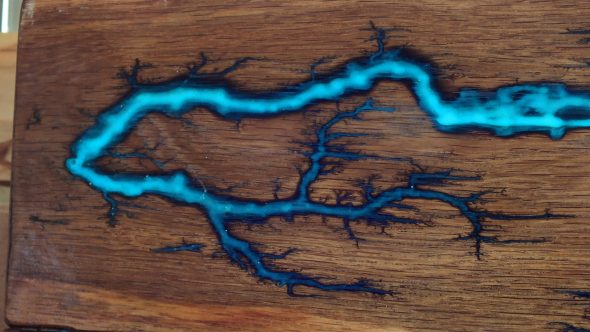
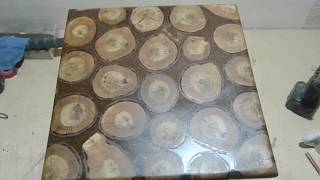
Depending on the texture, you can apply some resin to the cracks, or cover the entire tabletop, including the edges, with a luminescent composition (with a light blue or other shade). You should choose a “motley” option or a relatively evenly glowing one based on your taste and needs.
Necessary materials
To make a glowing table you will need the following materials:
- boards – 2 pieces (40-50 cm wide, 1-1.2 m long);
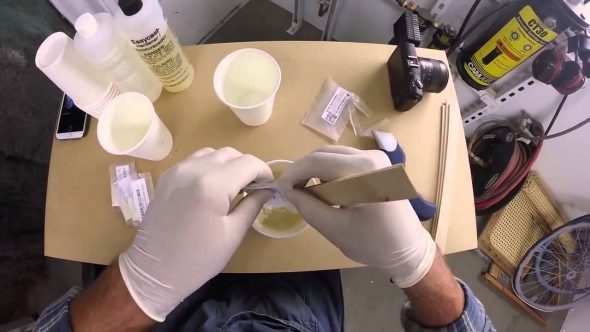
- epoxy resin;
- sticky paper;
- luminescent and transparent polyurethane paint;
- sandpaper.

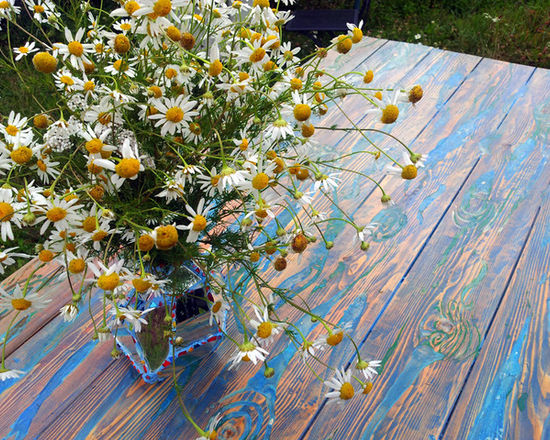
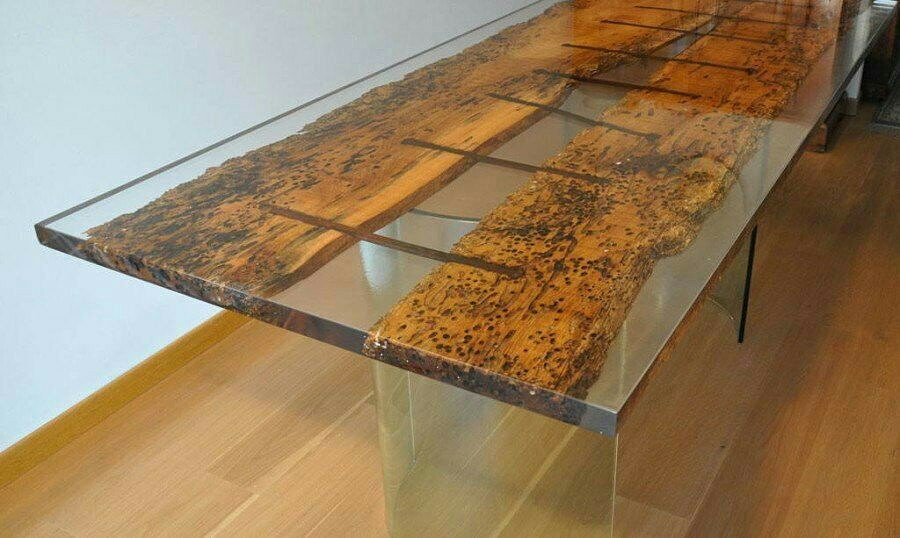
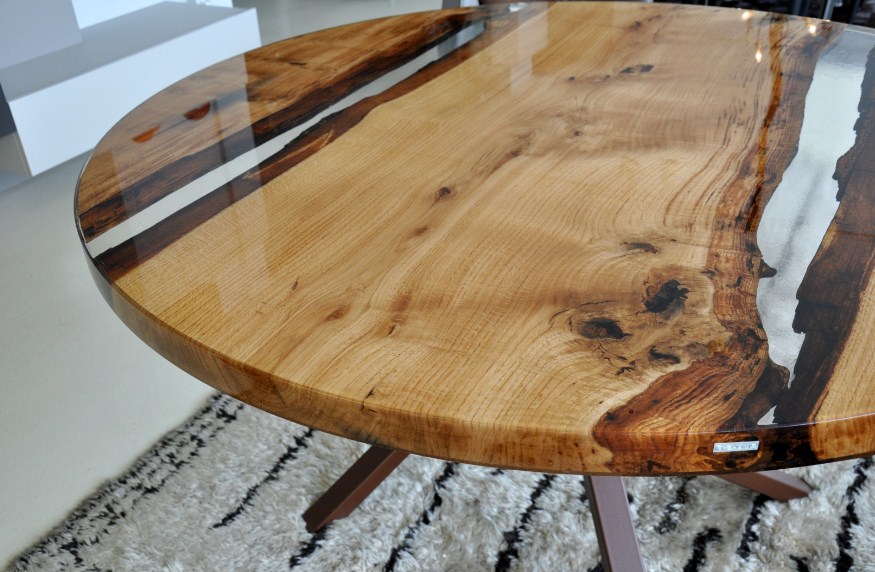
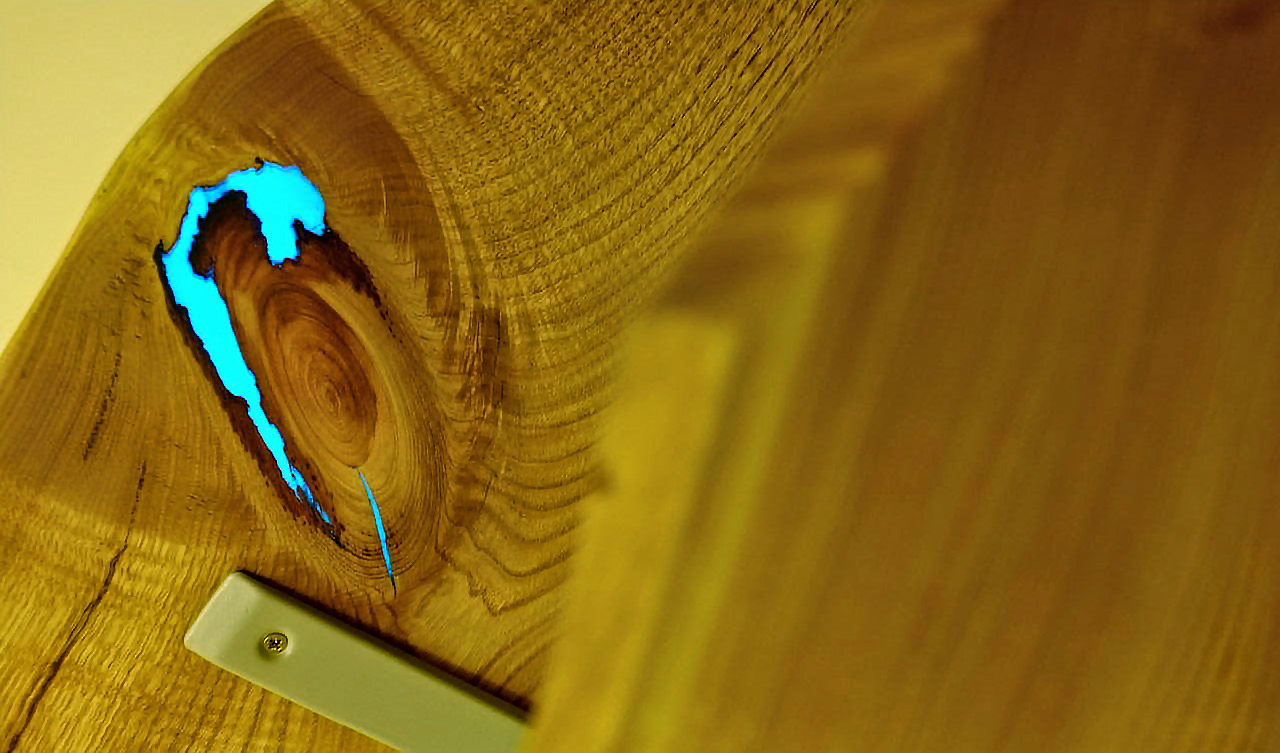
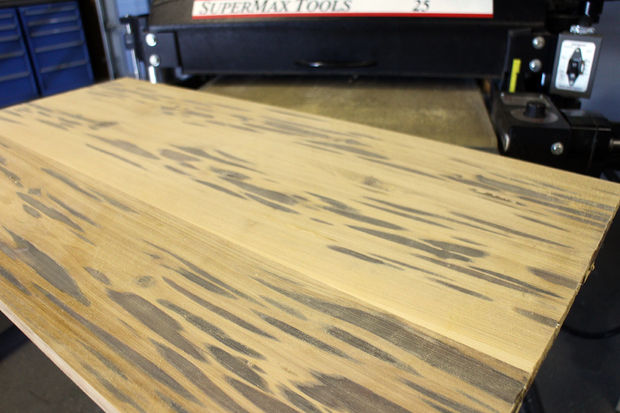
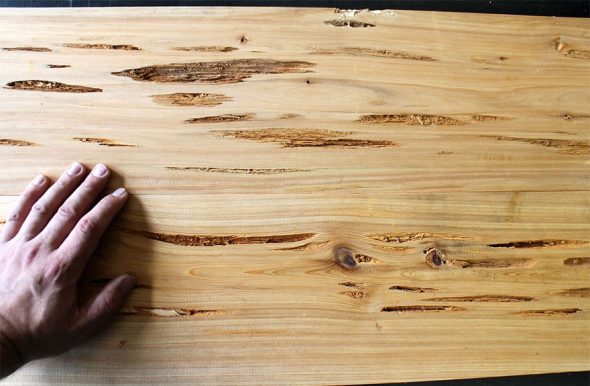
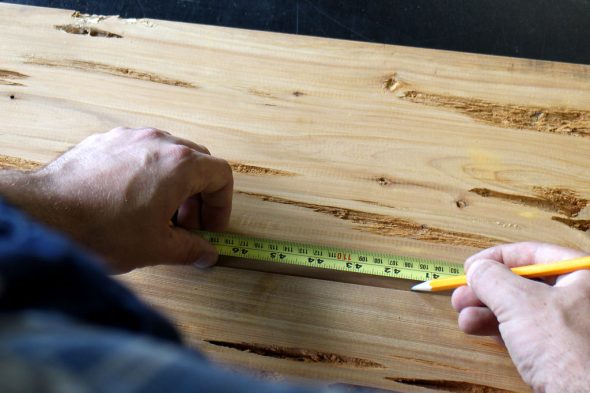
The wood is chosen with noticeable cracks of irregular shape. A board with visible places from the cut of knots and uneven texture is welcome. Cypress or oak are well suited. If the wood is not dry enough, expose it to the sun for some time.
You need to take enough epoxy resin to fill the cracks several times.
Necessary tools
To finish the furniture you will need:
- grinding machine;
- jigsaw.
The table is sanded both before and after the surface is coated with epoxy resin.
Manufacturing process: step-by-step instructions
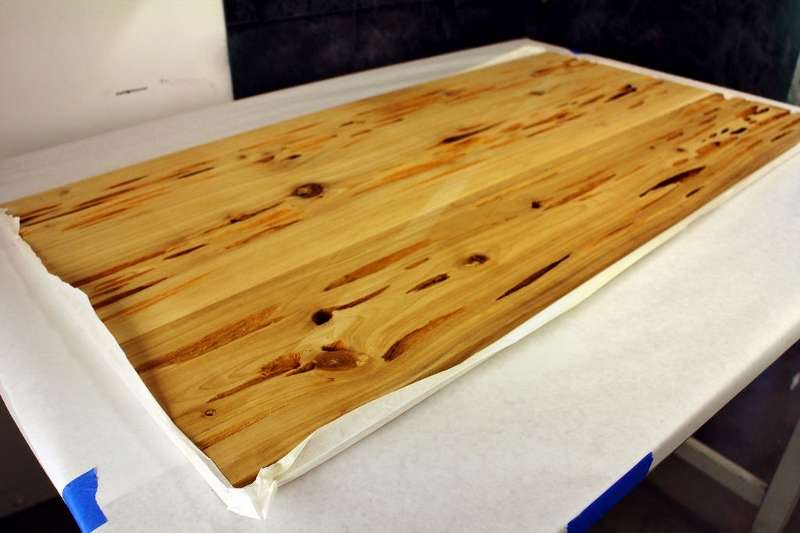
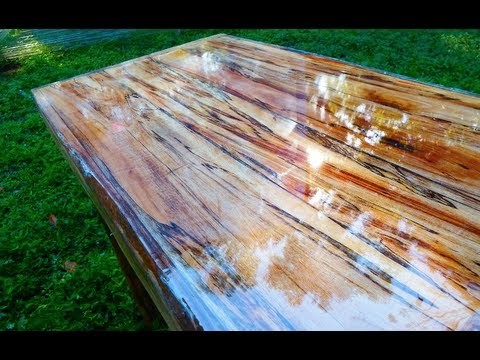
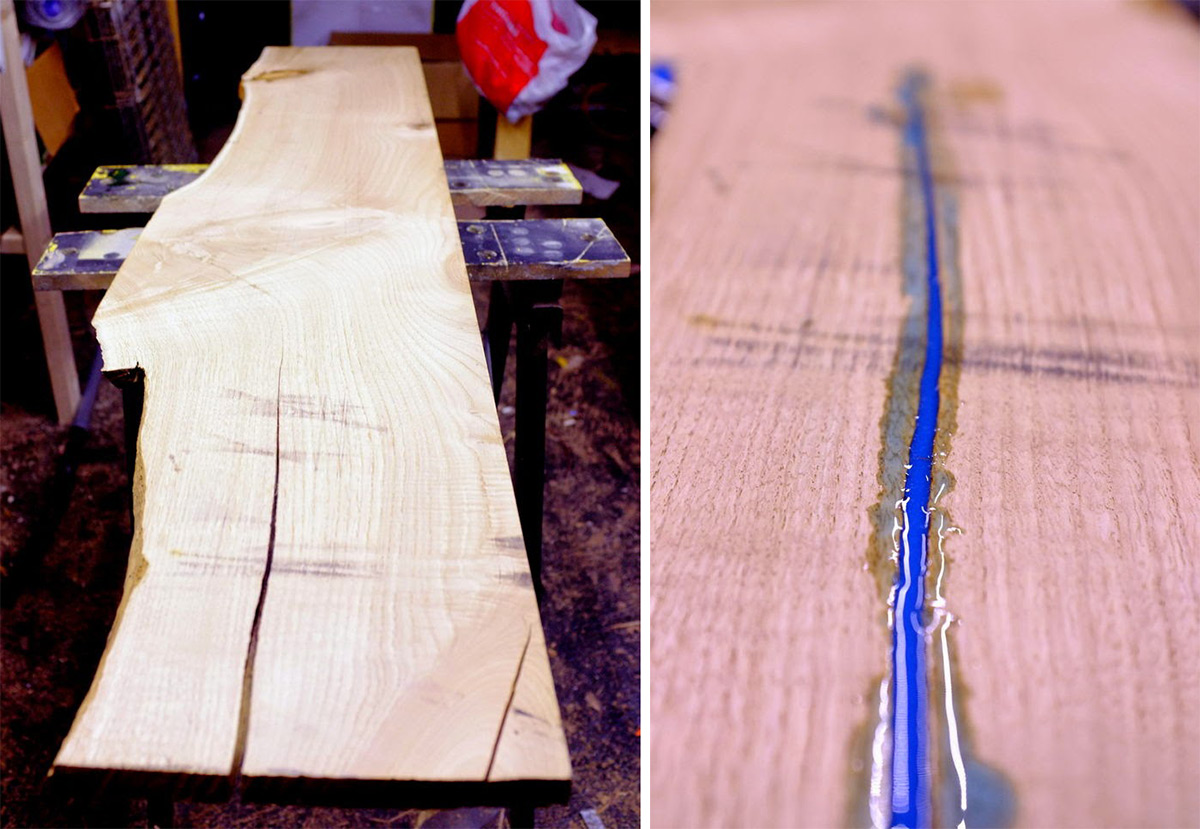
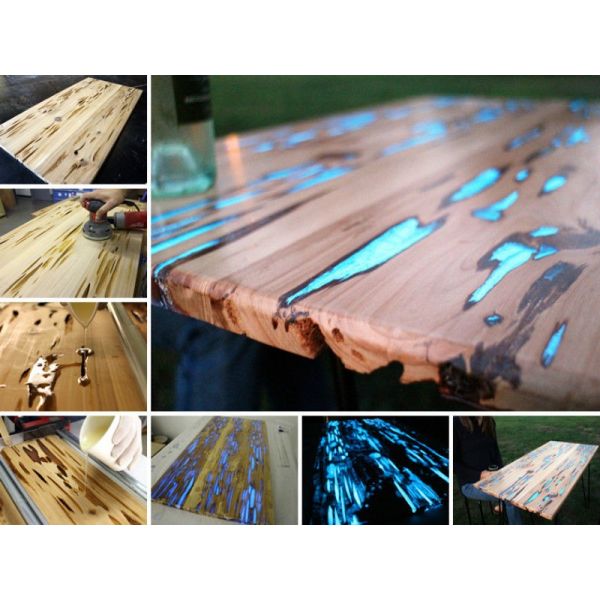
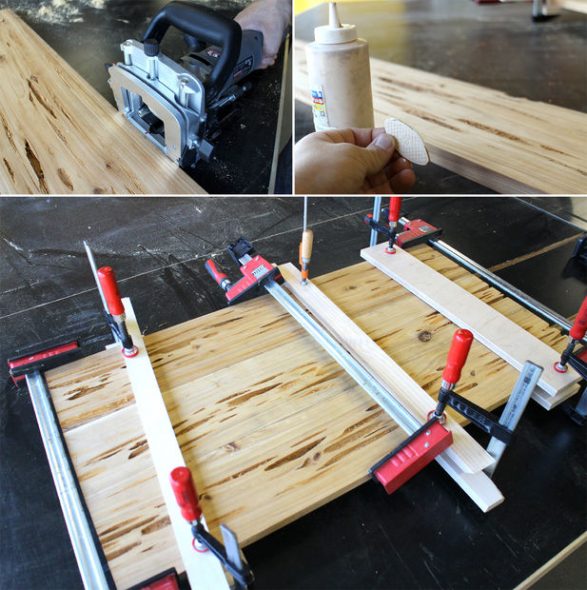
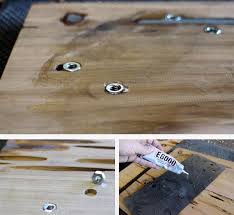
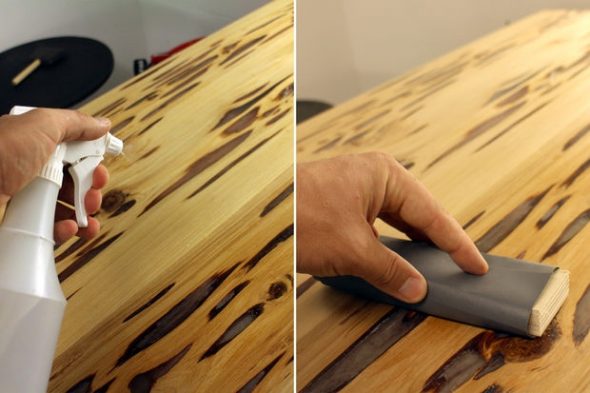
- Before processing the surface, the tabletop should be assembled from two prepared boards. After connecting them, sand the base.
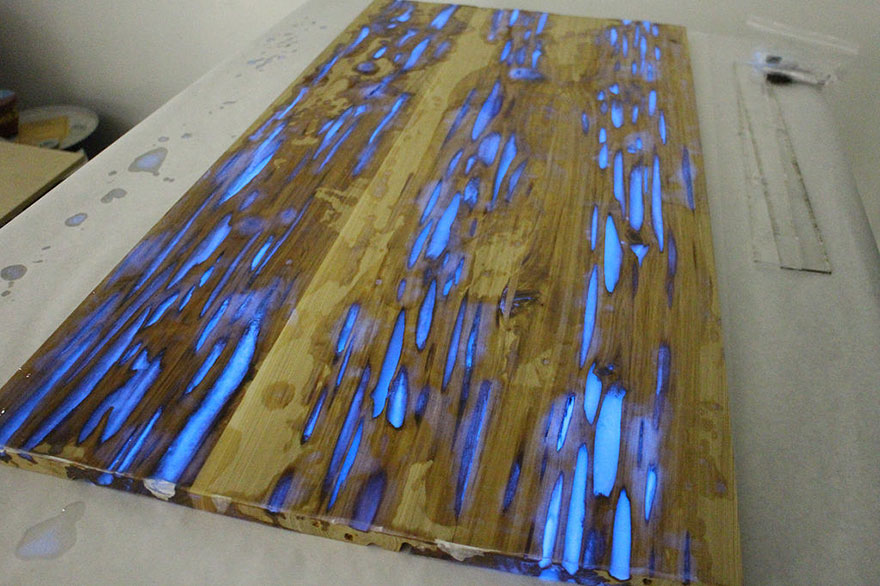
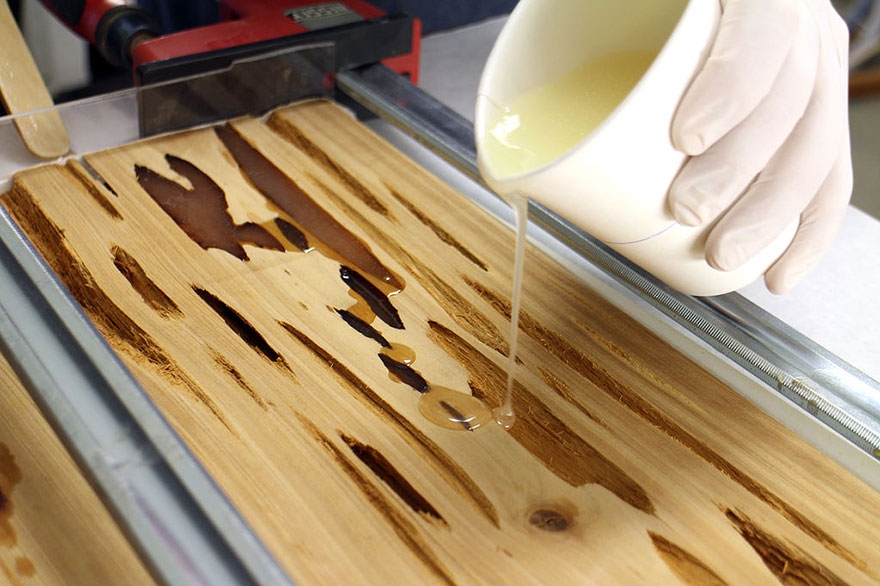
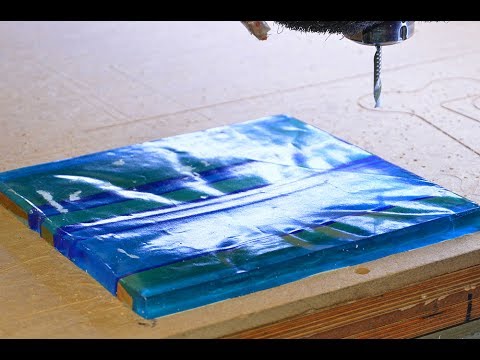
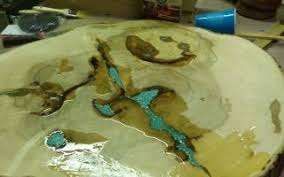
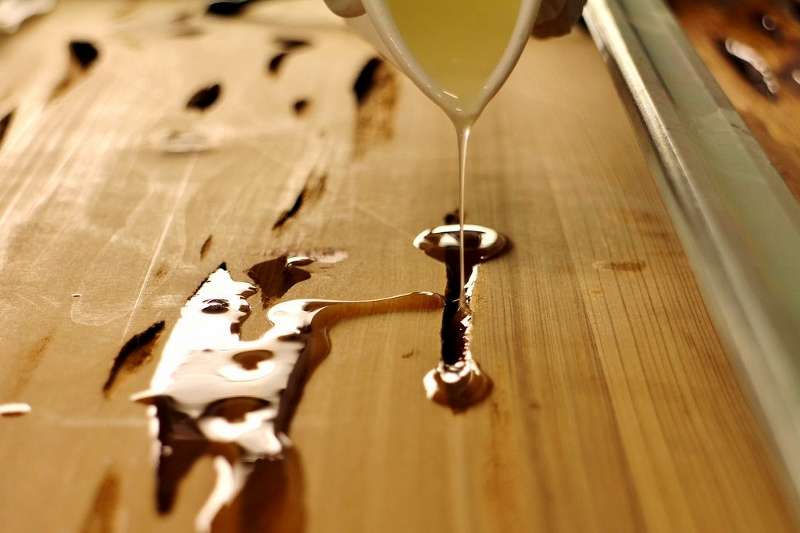
- Pour the prepared mixture of epoxy resin and luminescent paint onto the table. The mixture should fill all the cracks, so repeat the procedure 8-10 times. After that, cover the surface with adhesive paper and leave it to dry until the next day.
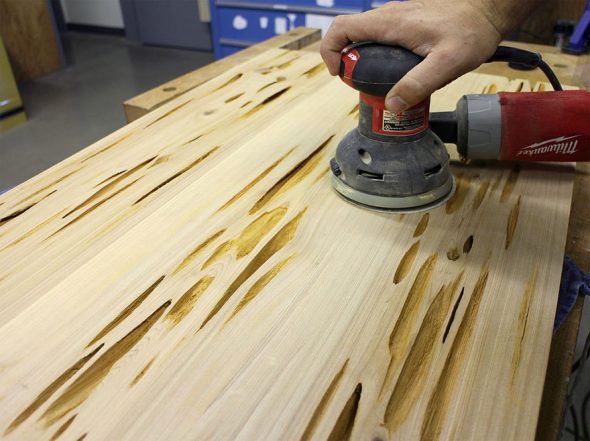
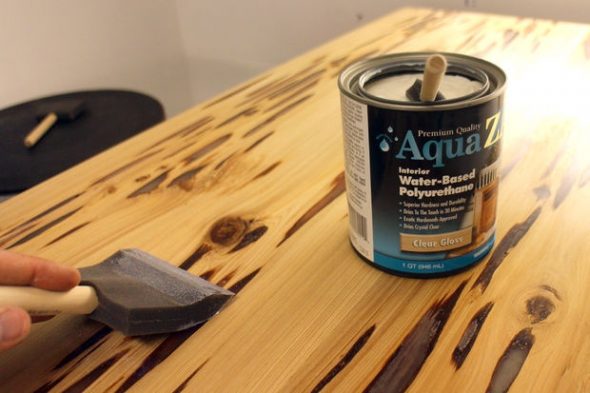
- Sand the finished surface after removing the paper. After cleaning, cover the base with polyurethane paint.
- Go over the still-wet surface with the sander again. Remove any remaining resin. If necessary, the edges can be cleaned and the corners can be rounded with a jigsaw.
The final stage is decoration
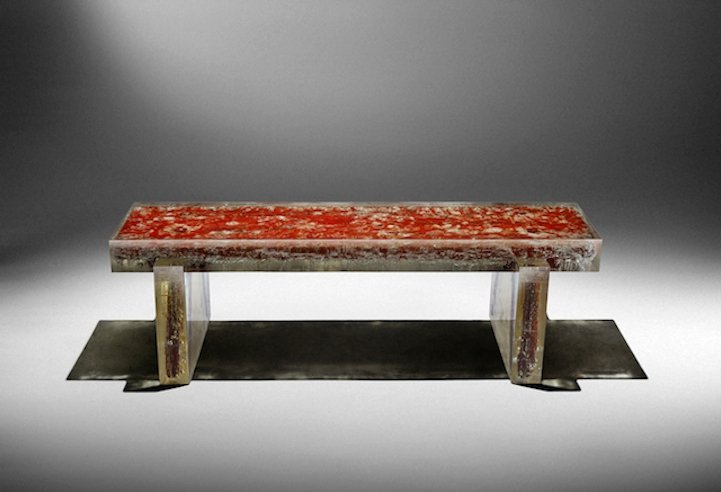
A table with a luminous surface can be decorated to your taste. A thick wooden board looks great both in a simple form (even with visible "defects") and in combination with carved legs. This can be done using a jigsaw. You can varnish them or use the remains of epoxy resin, like the tabletop, to give a uniform style to the product.
After processing, it is necessary to sand the furniture using a machine.
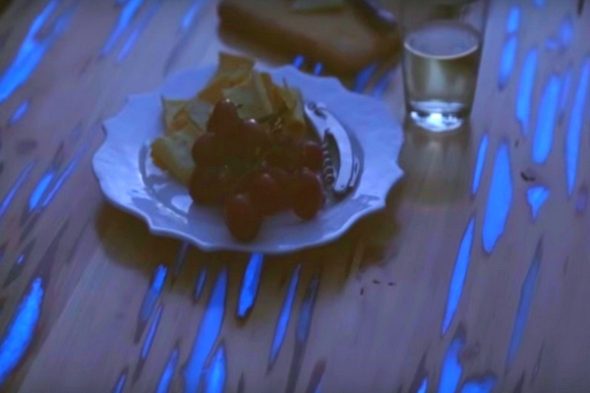
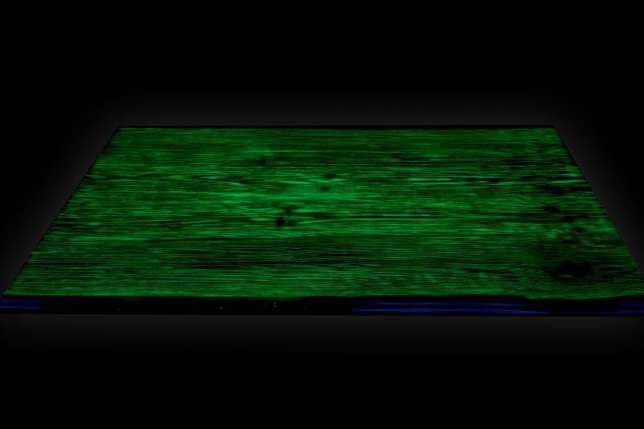
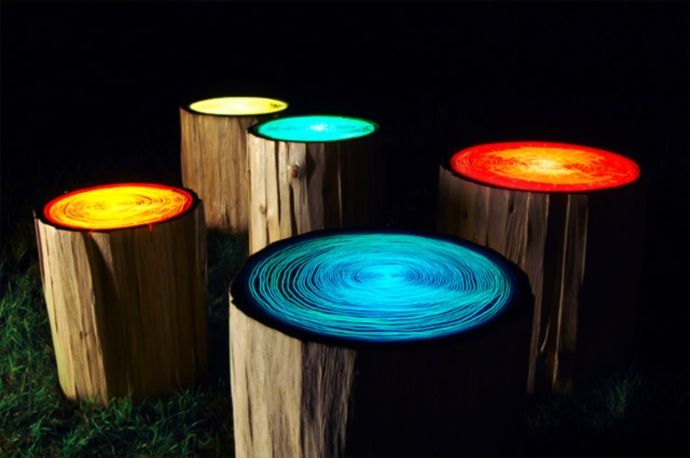
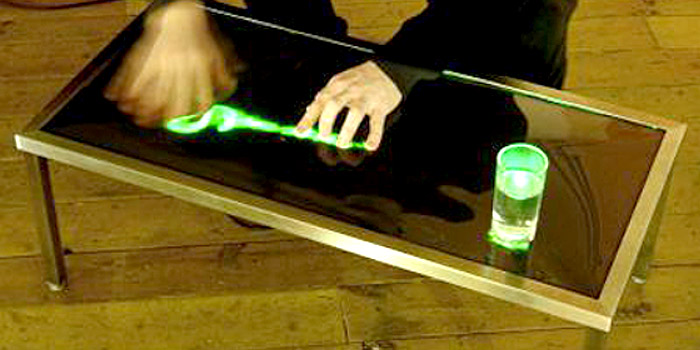
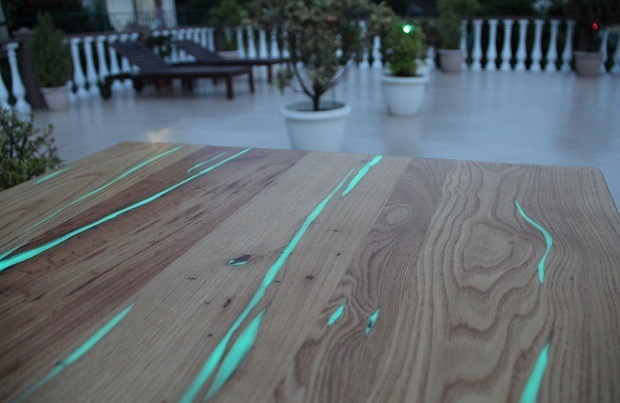
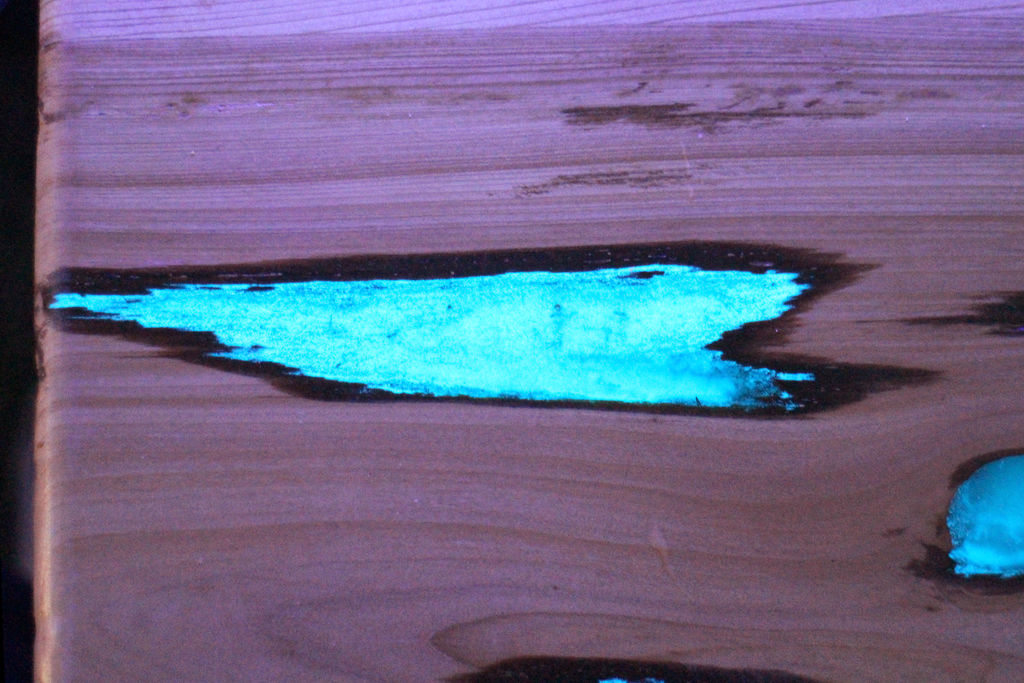
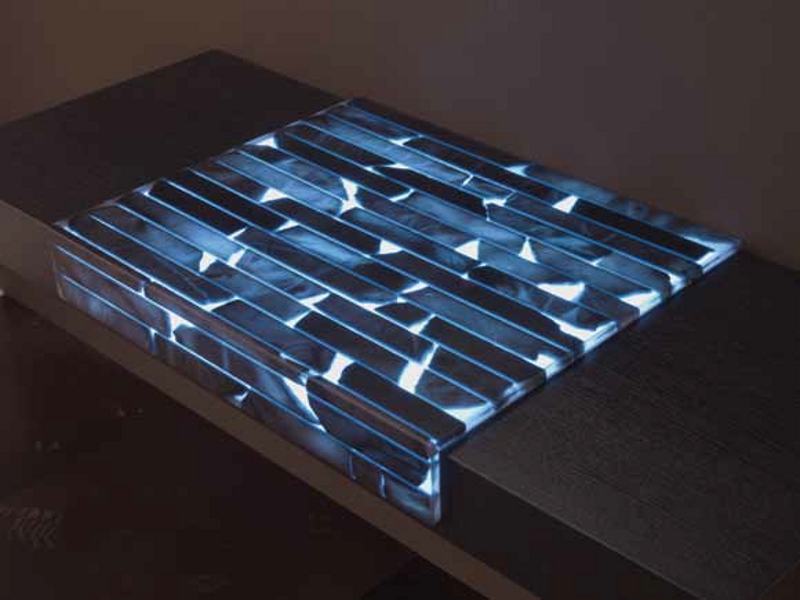
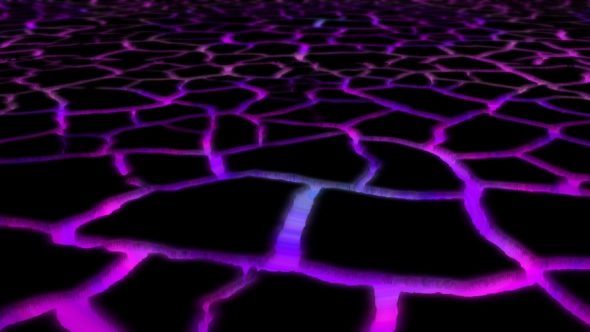
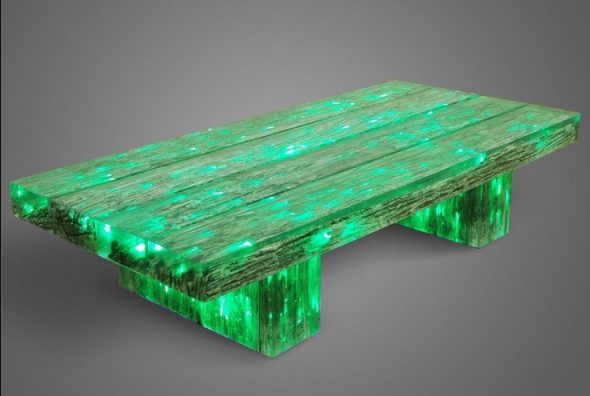
At night, the product will glow with uneven streaks, creating a “magical”, festive effect, which in itself is a decoration.
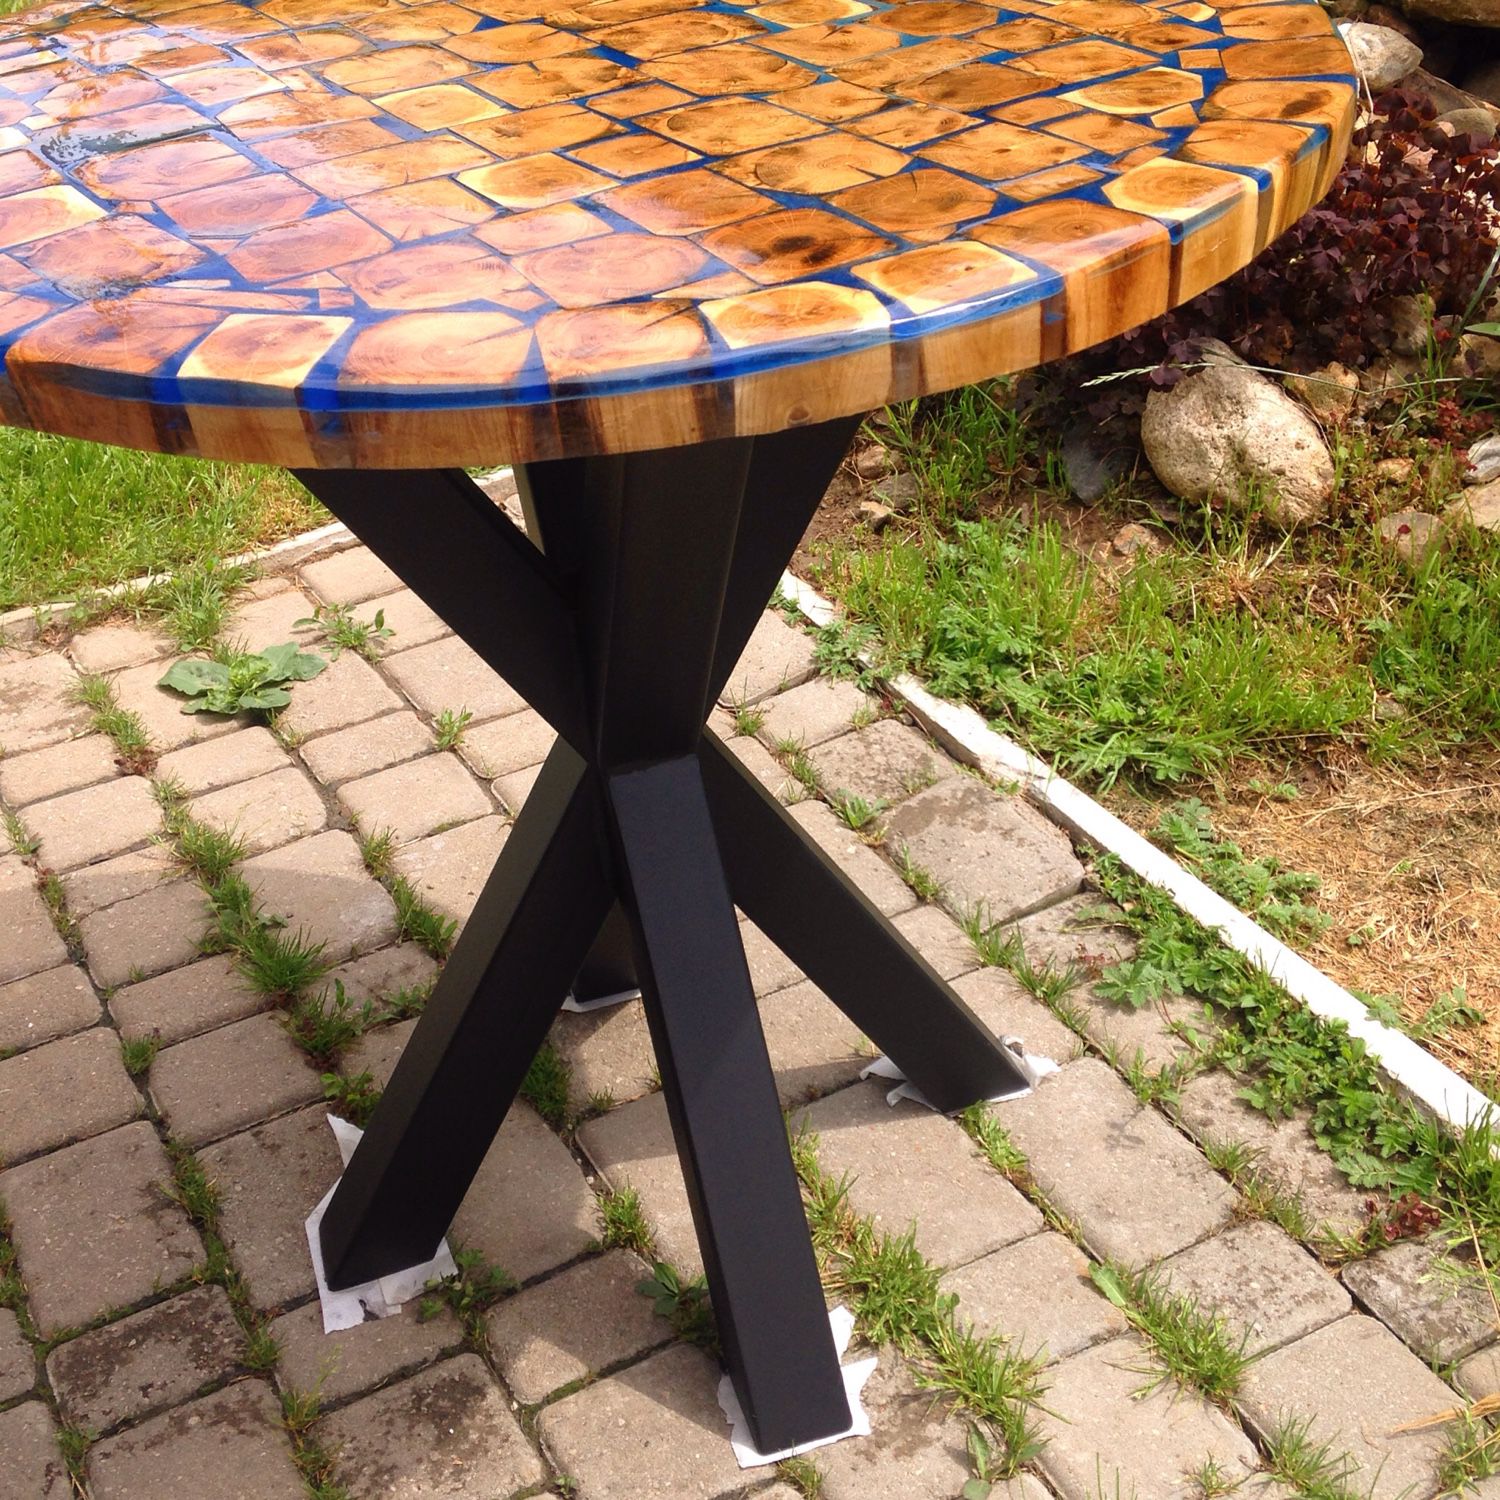
If contrast is desired, the supports are covered with paint that differs in color from the main palette.
VIDEO: DIY Glowing Table
50 Photo Ideas: DIY Glowing Table