The first means of preventing scoliosis among children is a properly selected children's desk. A lot of time is spent at it at school and at home. In educational institutions, specialists monitor the quality of children's work places, at home it is the responsibility of parents.
The ideal school desk is comfortable, safe, and environmentally friendly. But these indicators alone are not enough, because each child is individual.

Making your own desk will help you get the perfect desk. The main advantage is not so much saving money on buying a ready-made item, but the importance of matching the furniture to your child.
Content
Choosing a future table
The first question: design and construction features. There are several options:
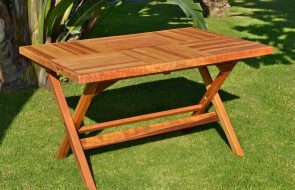
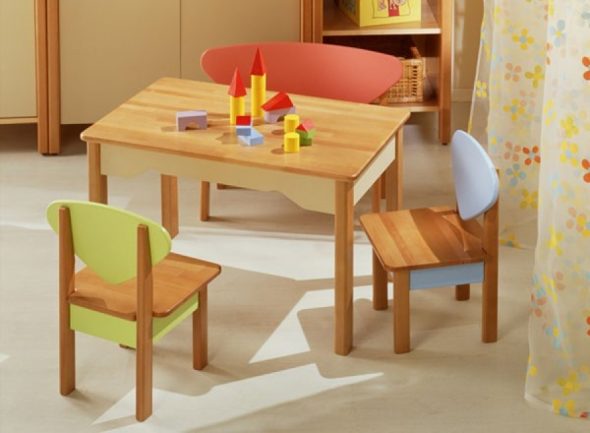
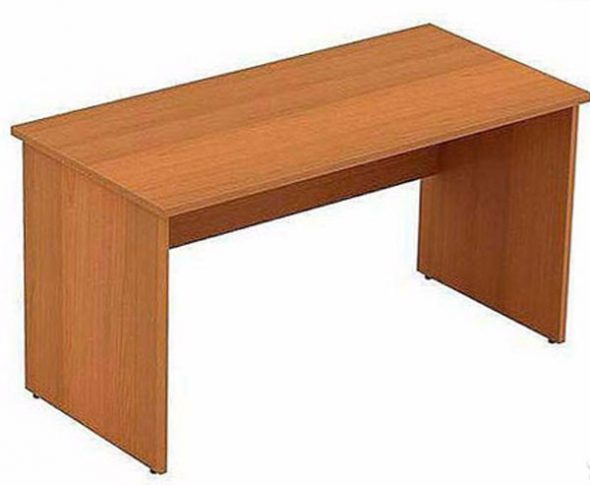
- classic rectangular table (easy to make and assemble);

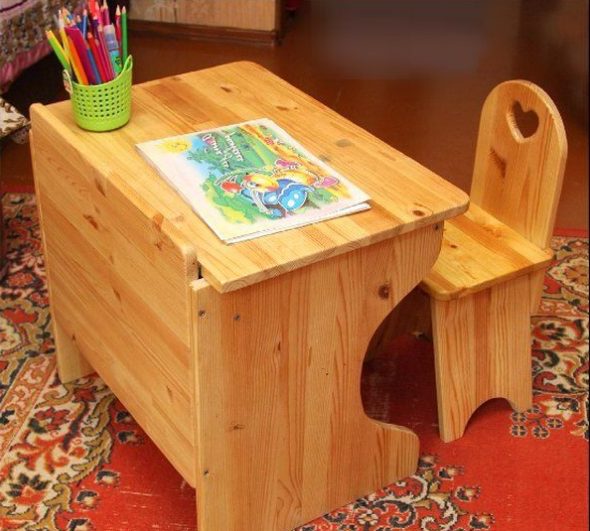
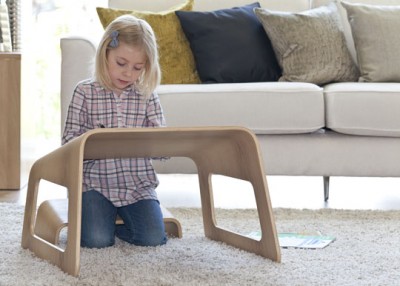
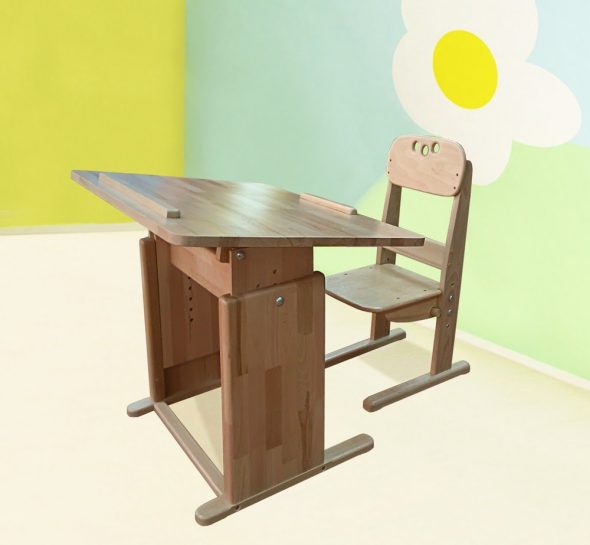
Rectangular table for studying with a baby - ergonomic (saving room space).

Simple and elegant ergonomic table for children
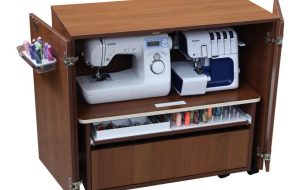
It is important to have drawers or a separate cabinet. They are convenient and necessary for storing writing utensils and educational materials. One drawer can be equipped with a lock, the child will be happy to hide his little secrets there.

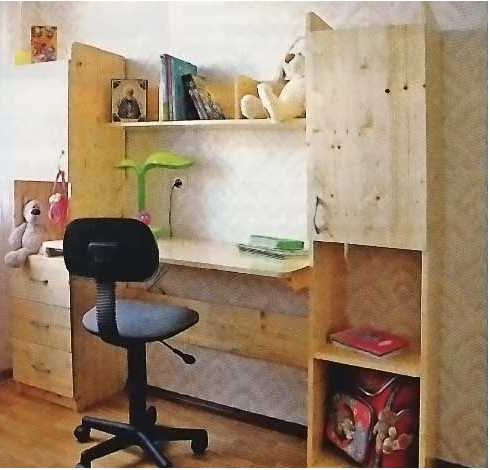
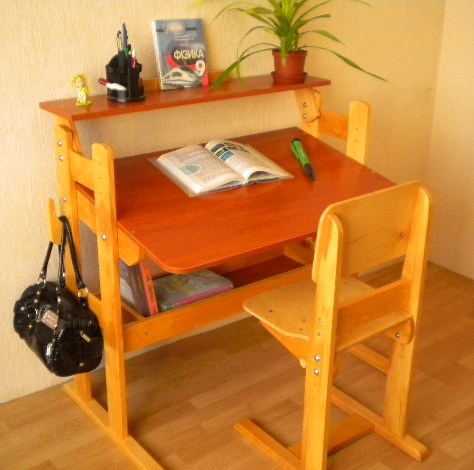
You can make a school corner yourself. The design comes with a bedside table, drawers, shelves, which you don’t have to additionally hang on the wall, spoiling the surface by drilling holes.
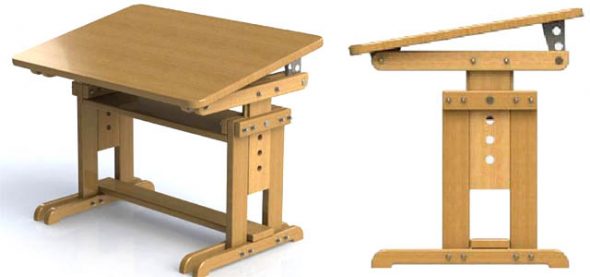
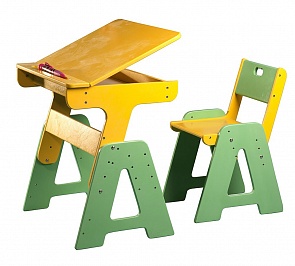
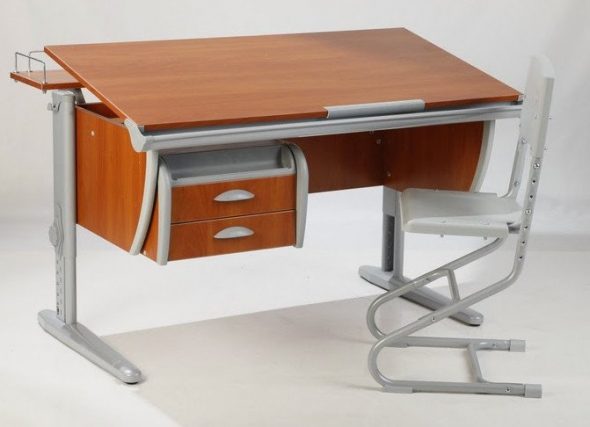
A difficult to make, but maximally functional option is the "transformer" type of desk. Such a desk, made with your own hands, will serve for many years, as it "grows" with the child: the height of the legs and the tilt of the tabletop are adjustable.
Preparation, assembly
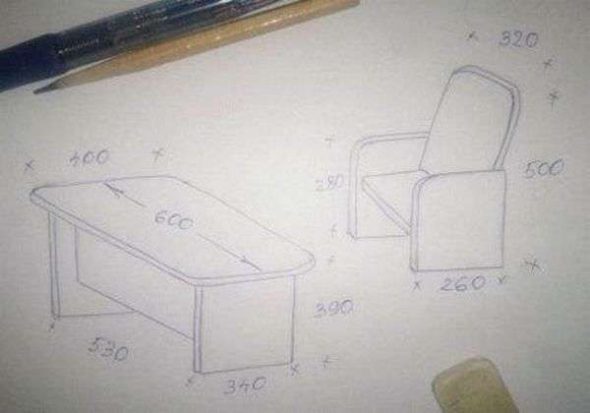
The first step after determining the design and construction is to search for the appropriate assembly diagram, drawing on the Internet. Having selected the necessary documentation for making a desk with your own hands, prepare the necessary materials, components, fittings.
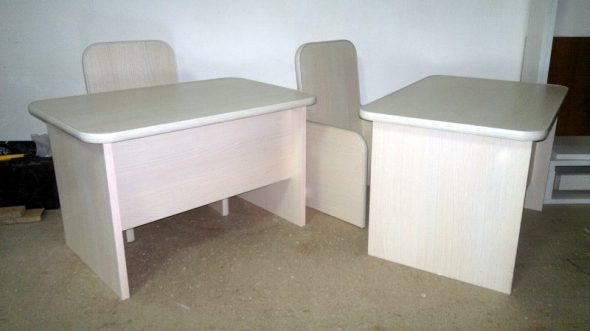
It's time to start the assembly process. Example - a desk consisting of four parts. Advantages - simplicity of design, strength, stability, significant savings in materials.
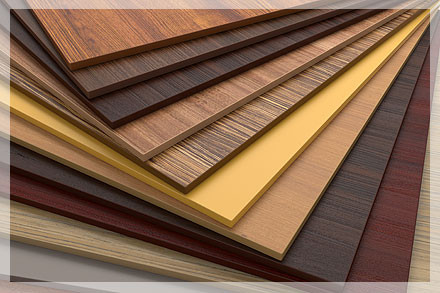
It can be assembled from sheets of laminated chipboard, MDF or solid wood.
- Chipboard is popular because it is cheap. The material looks simple, is short-lived, and its main disadvantage is harmful formaldehyde vapors that are released over time.

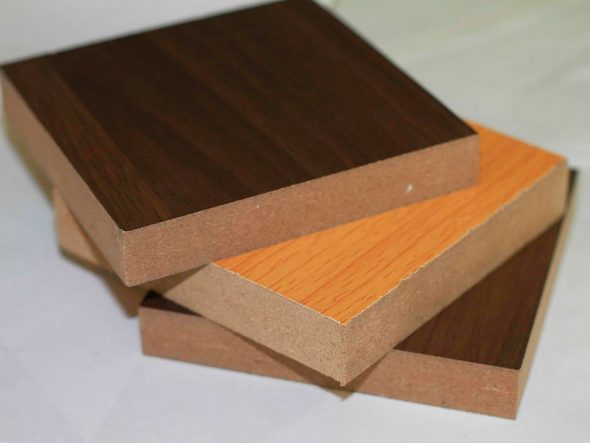
Chipboard is an inexpensive material for furniture production, available in any color. - MDF is more expensive, more solid, neat, and is close to natural wood in terms of environmental friendliness.

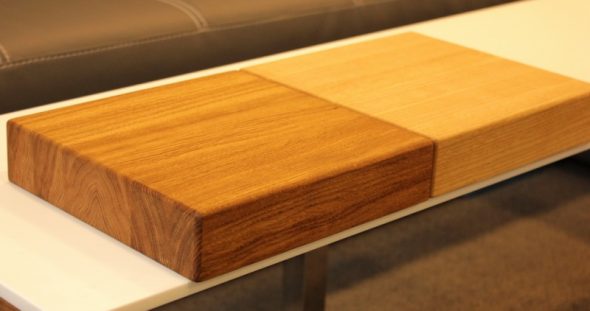
MDF is a more durable and practical material, but it is more expensive. - Solid wood is the safest, most beautiful, and lasts up to fifty years.

Solid wood is a noble, solid and durable, but the most expensive material
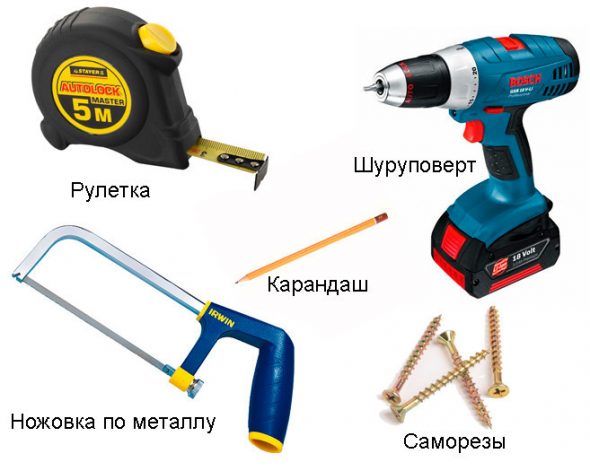
Once you have determined the material, prepare the tools. You will need:
- end grain finish, special glue (when using chipboard);
- screwdriver;
- furniture screws, decorative masking of screws;
- electric drill, drill set;
- measuring tape;
- sandpaper/sanding machine (when working with natural wood);
- paint, painting machine (MDF/solid wood).
Thorough preparation is the key to fast and efficient assembly.
It can be done in just 4 steps.
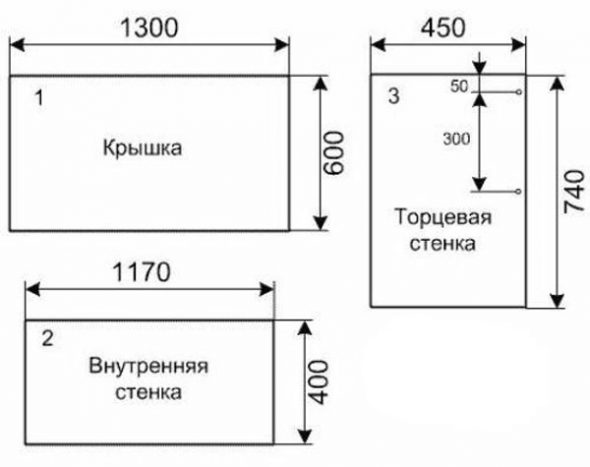
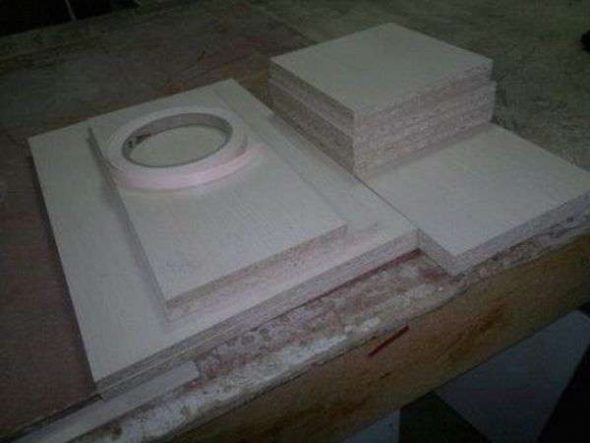
- Prepare 4 sheets of the selected material (chipboard, natural wood, processed MDF) for the lid, 2 end walls, 1 internal. Look at the dimensions on the selected drawing, or determine them yourself. According to standards, a student up to 115 centimeters tall needs a table height of 46 centimeters, up to 130 - about 50 centimeters. You can cut and paint (only MDF/solid wood) the material yourself, if you have the necessary equipment and a room that allows you to safely carry out the work. An easier option is to buy ready-made, processed boards.

Sawing parts for a table and chair 
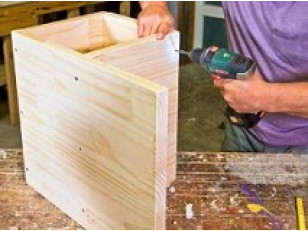
Rounding off table parts for child safety - On the side panels, first measure 5 centimeters from the top edge, then 35 centimeters there, but below. Absolute identity of the markings is important. In the designated places, drill holes for the screws on which the back panel of the future desk will be installed. To prevent the screws from protruding above the surface of the panels, widen the recesses according to the size of the heads with a larger diameter drill. Connect the end walls to the inner one, but do not tighten the screws too much until the end of the assembly process.

Drilling holes in the side panels - Drill similar holes in the tabletop. If all the dimensions are correct, it will be wider and longer than the previously assembled base. Before drilling, check again with a tape measure whether the lid protrusions are the same on both ends. Also leave an indent at the back, as a result, the desk will be placed close to the walls, despite the baseboard. Screw in the screws by 3/4 of the length. Finally, evaluate the geometric correctness of the product. If you are completely satisfied with the result, tighten all the screws. Mask the caps with plugs.
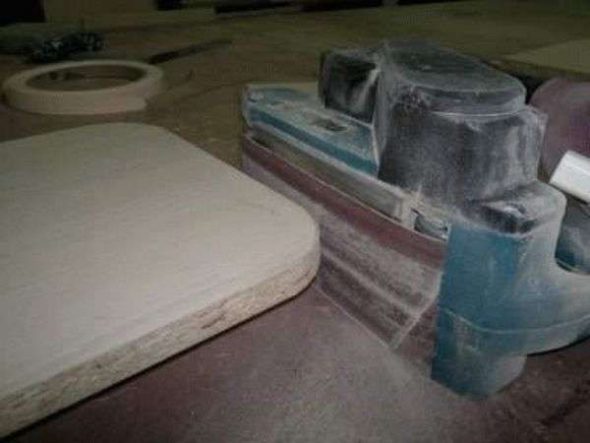
- Working with chipboard: protect the ends of all panels by gluing special finishing tape. When working with solid wood: carefully sand the wood with sandpaper/grinding machine. Cover the surfaces with special solutions that protect natural solid wood: varnish, special oil, paint.

We attach the edge to the ends of the blanks
If the final testing showed that the height of the furniture was not 100% correct, the excess can be corrected with the help of a suitable chair.
You should buy a chair with adjustable height and raise the seat to the desired level.
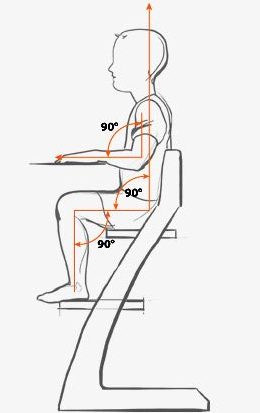
The elbows of a seated child should be freely placed on the tabletop, the legs should reach the floor (another support), and the knees should be bent at an angle of 90-100 degrees.

Follow sanitary standards, and then you will keep your student’s posture healthy!
Video: Effortless table for a child
https://www.youtube.com/watch?v=Jj86fnmS7K8