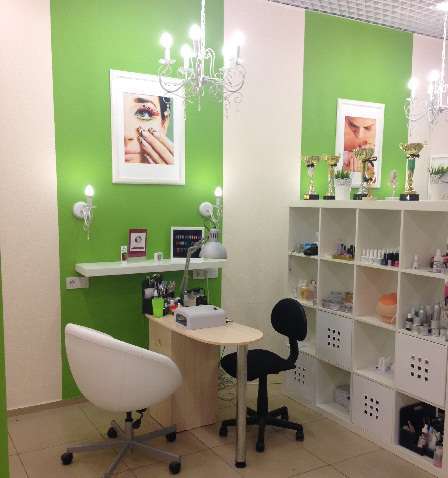
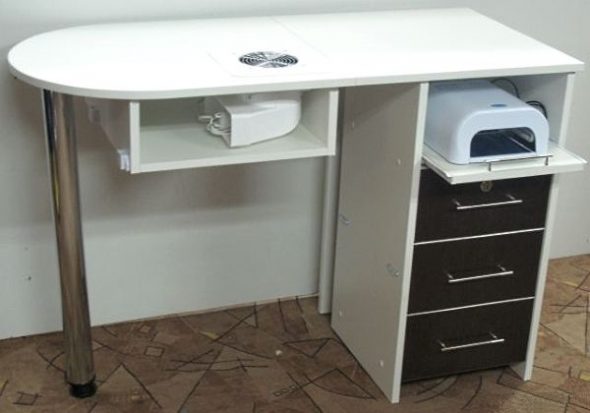
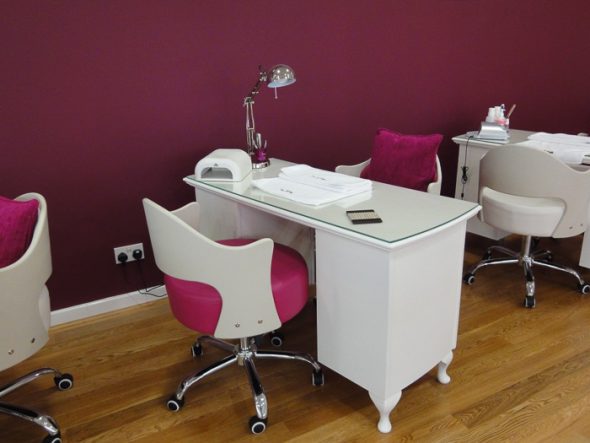
The main workplace of a nail service specialist is a manicure table. This item becomes an integral part when you receive your clients in a salon or at home. It is on a professional table that you can install special equipment that will allow you to collect nail cuts.
However, this item can be used not only for its intended purpose, this inventory can be used for procedures related to cosmetics. When faced with the need to purchase professional equipment, it becomes clear that in specialized stores it has a very high price and may not fit in size.
Don't get upset, there is a very simple way out. Make a manicure table with your own hands.

Now let's talk in more detail about what it consists of.
Content
Construction of a manicure table
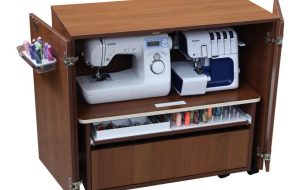
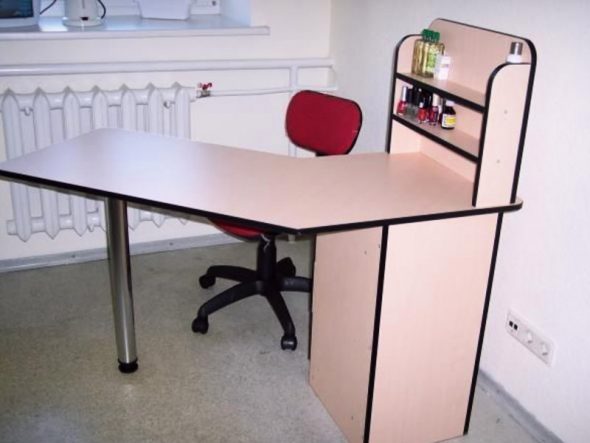
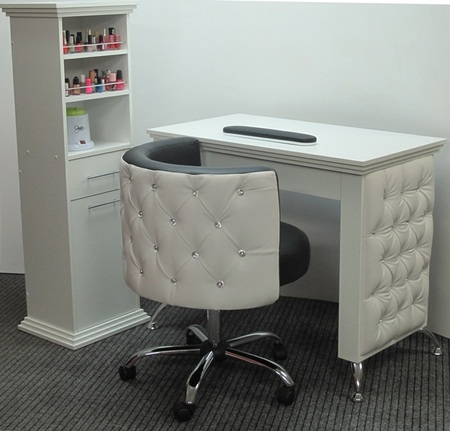
Any professional equipment consists of a tabletop, a cabinet with drawers and supporting legs. When manufacturing, it should be taken into account that the dimensions of the table's working surface should correspond to the possibility of two people sitting at it. On the one hand, the table must have a cabinet with drawers or regular shelves.
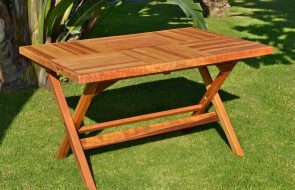
The best option is still a cabinet, where you can put larger items. The surface of the tabletop can be decorated with mini display cases. These are small crossbars that allow you to place frequently used work tools on them. It is important that the table does not have long bases that support it. To save space in a small room, you can use a table that will fold out. To make such a thing, you can use a design from a folding table as a base.
How to make a manicure table at home?
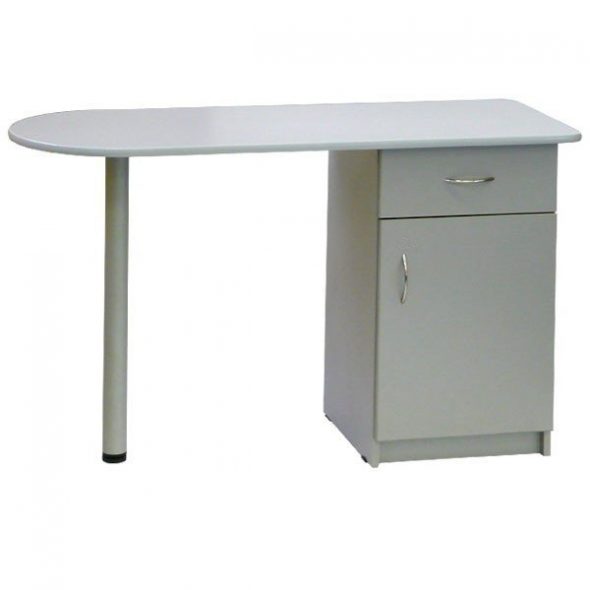
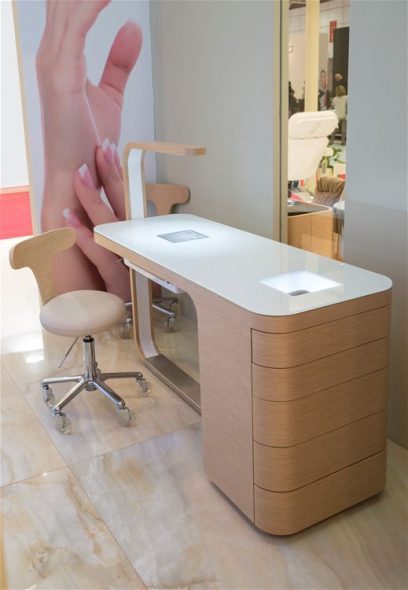
This article will discuss the production of professional equipment that has a bedside table and a support on one leg.
In fact, a manicure table can be made from any building material at hand. The best raw material for such work is sheet wood, which can be of the following types: MDF, laminated chipboard and chipboard.
What you need to make it
To make a table for a nail service technician you will need:
- Chipboard 16 mm;
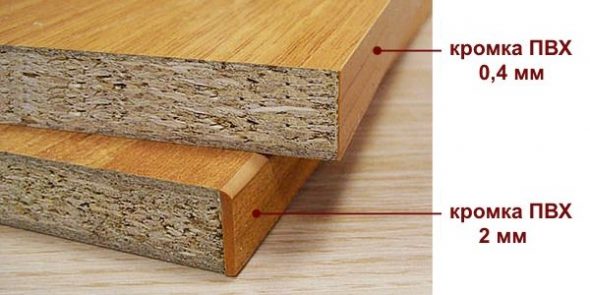
- PVC edge 2 mm (for table top);
- PVC edge 0.4 mm (for other parts);
- table leg (thick metal);
- cabinet handle;
- self-tapping screws, confirmats, eccentrics and rods for them;
- dowels 10 mm – 16 pcs.;
- four-hinge furniture hinges – 2 pcs.;
- shelf holders (can be replaced with dowels) – 4 pcs.;
- PVA glue (or wood glue).
Tools needed for production:
- scissors;
- metal ruler;
- drill;
- screwdriver or Phillips screwdriver;
- hexagons;
- iron;
- pencil, meter and tape measure;
- electric jigsaw
Detailed instructions
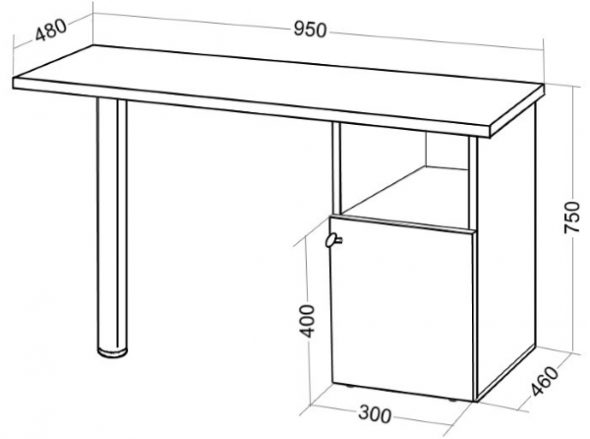
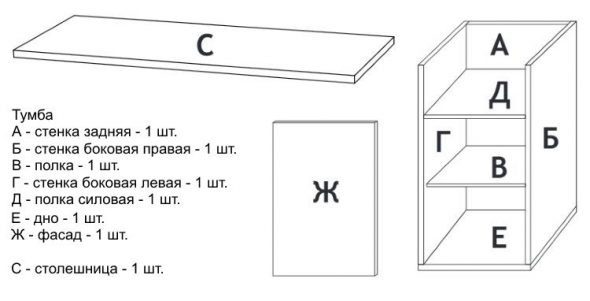
- Stage one. We cut out the parts for assembling the product according to the following parameters: door (40*30 cm), bottom panel (46*30 cm), back wall of the cabinet (75*30 cm), side walls (75*46 cm), large shelf (45*29 cm), small shelf (45*28 cm), work surface (tabletop) (95*48 cm).

Cut out parts from laminated chipboard for a manicure table - Step two. Glue the side parts of all the parts with PVC edge. For convenience, it is better to fix each part on special clamps. Apply the edge, cut with a margin, to the surface and put a heated iron. After the glue has melted, remove the iron and smooth the surface with a soft cloth. Since the glue hardens instantly, this must be done very quickly. Cut off excess parts of the edge with a metal ruler. It is very important to remember that thin edge is very easy to glue with an iron, when using a thicker edge, the edges are first processed with a milling cutter. To melt the glue, take a hair dryer used in construction work.

The ends of all parts must be covered with PVC edging. - Stage three. Assembling the nightstand. In order for the fasteners to tightly connect the parts, it is necessary to make two holes in the side machines for the 45*29 cm shelf and two holes on the other side. The shelf will be attached to dowels, and we also use them to assemble the nightstand completely. To ensure that the dowels are well secured, moisten them with glue.

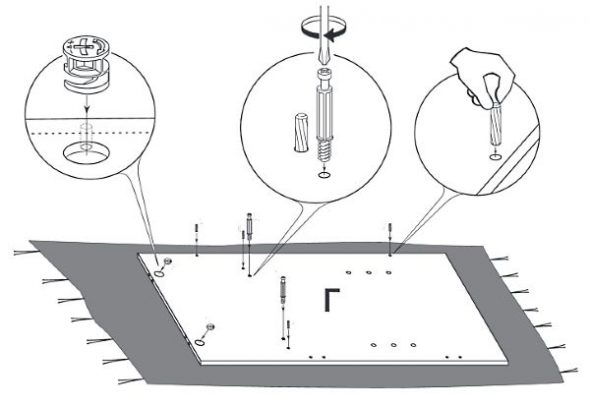
We make holes and insert dowels into them - Step four. We screw the eccentric rods inside at a distance of 1.5 cm from the hole made for the 45*29 cm shelf.
- Stage five. Drill four holes in the canvas prepared for the back wall, apply PVA glue to the fastening parts and place them in the holes. Drill holes in the 45*29 cm shelf part, stepping back from the edge by about 1 cm, make holes for the eccentrics along the side parts of the part.
We work with the back wall of the cabinet and with the shelf - we drill holes according to the diagram - Step six. We soak the fasteners located on the side with glue, install the shelf and secure it.
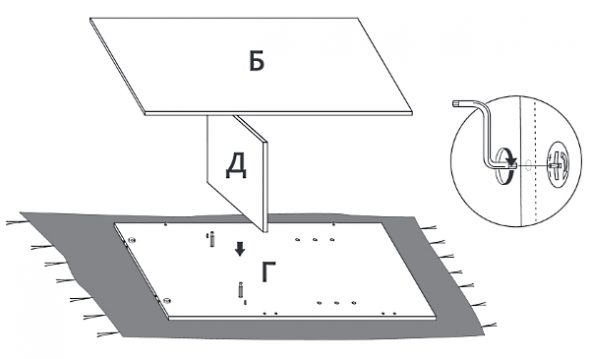
- Stage seven. We take the second part of the partition, coat it with glue and connect it to the shelf measuring 45*29 cm, using the previously prepared eccentrics.

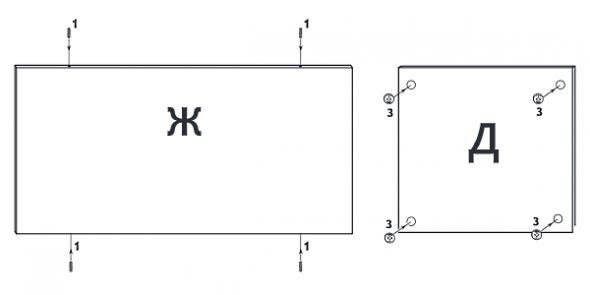
We attach the side to the large shelf - Stage eight. It is necessary to make holes, stepping back 20 mm from the edge of the part. For this, we use a Forster drill. Using self-tapping screws, we fix the door hinges, which have four hinges. In the same way, we fix the counter strips, stepping back from the edge approximately 3-5 cm.

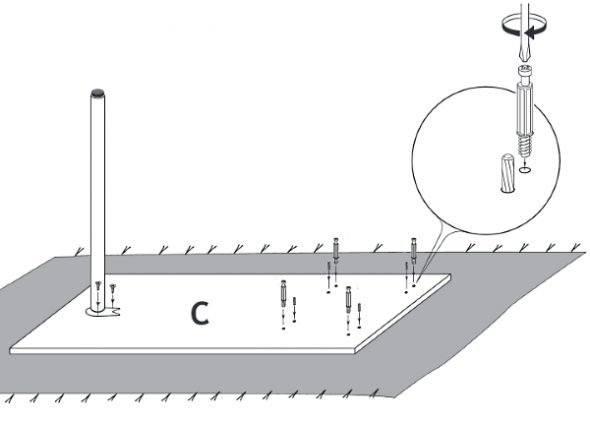
We make holes for the hinges and screw them in using self-tapping screws - Stage nine. We finish assembling the nightstand. It needs to be turned over and a 5 mm diameter hole drilled. The same holes should be made in the bottom for better connection. The strength of the fastening will be provided by dowels lubricated with glue. Eccentrics can also be used for these purposes. To use them, you need a Forster drill. As for the table legs, they can be bought ready-made or made from small bars and fixed to the bottom using self-tapping screws.

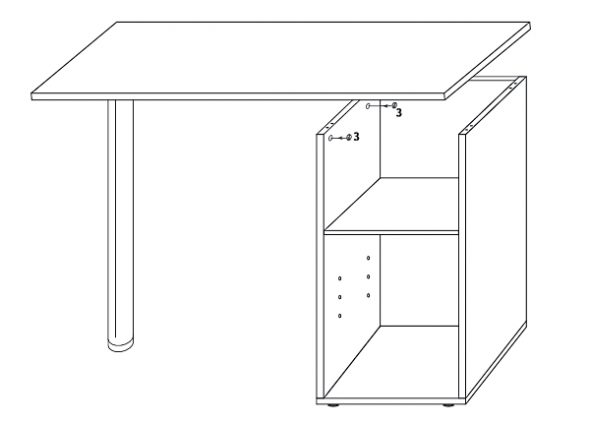
We turn the cabinet over and drill holes for the dowels, then we coat the dowels with glue and insert them into the side, and close the bottom on top. - Step ten. Now you need to attach the leg to the table surface. To do this, use a screwdriver to make two holes approximately 20-25 cm from the edge. Place a dowel and an eccentric in these holes. This type of fastening is suitable for portable equipment. When making this item for permanent placement in one place, you can use corners as fasteners, secured to the surface with dowels. Make sure that the places where the holes are made coincide with the sides of the cabinet. To be sure, it is best to mark them with a pencil.

We attach the leg to the surface of the table top - The final eleventh stage. We fix the tabletop on the cabinet. For a small shelf, it is necessary to insert the shelf holders into the holes made in advance and place it on them.
We attach the tabletop to the cabinet, insert the shelf holders into the holes and install a small shelf on them


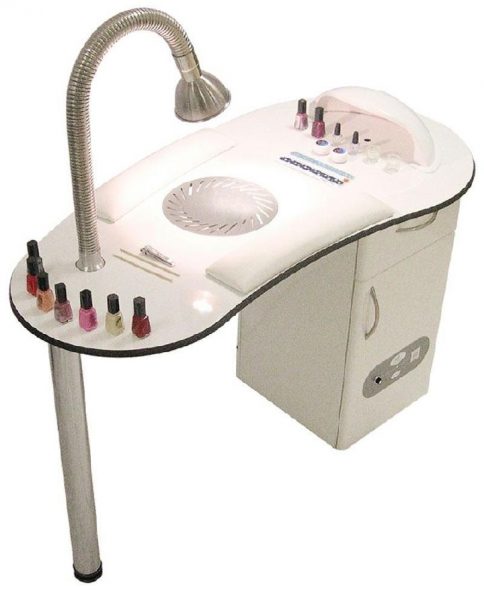
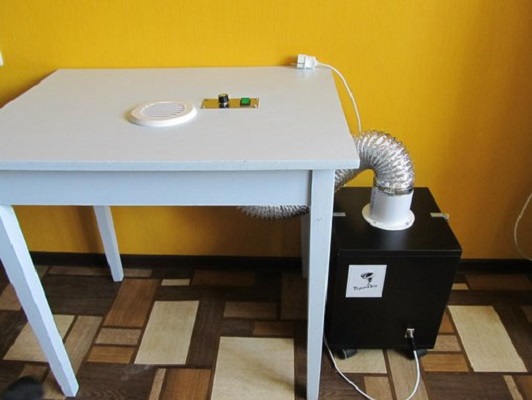
Manicure table with extractor fan
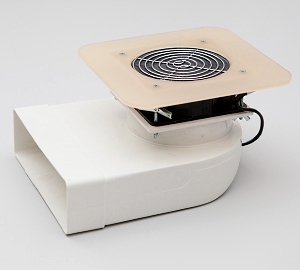
If you want to equip your table completely professionally and make an exhaust hood in it, you can buy it in a store or make it yourself.
Making an exhaust vacuum cleaner is quite simple. For this, you will need a small electric motor with a power of up to 60 W and blades. You can find it in any device. If you have an old kitchen fan or a computer cooler, they will be an excellent basis for making an exhaust hood. It is important to find a power supply that will have the appropriate voltage for this device. If you use a kitchen fan as a basis, you will not have to look for a power supply, since it is already equipped with one.
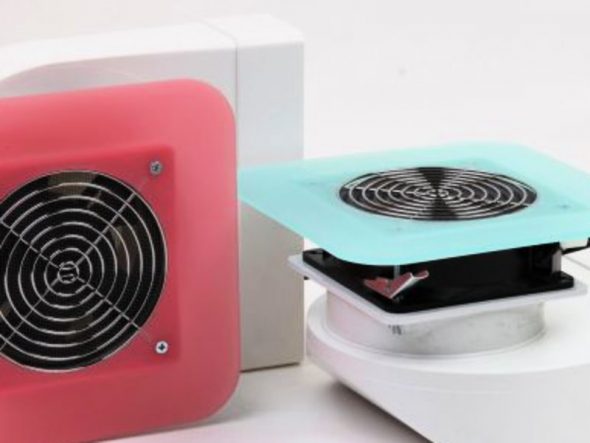
When making an exhaust vacuum cleaner from a computer cooler, a power supply unit with correct polarity is required. Units with a voltage of 5 to 12 W are suitable for such equipment.
Having decided on the basis for the working part, think about the methods of dust removal and air intake. They must be reliable. If you are planning to make a portable hood, then such material as plastic is very suitable for its body. It is easy to process and does not have much weight during transportation.
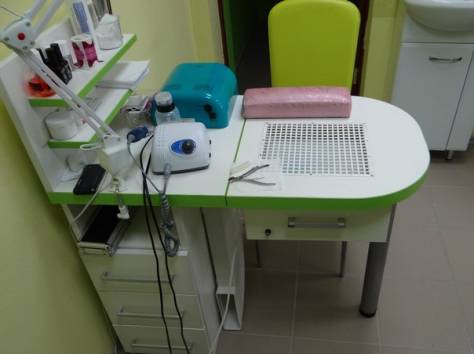
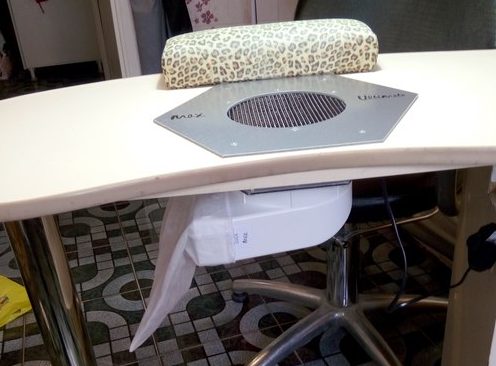
It is important to cut the hole correctly, into which the fan housing will fit, and it is also important to secure it well. Plastic is also very good as a base for the housing for securing the protective grille.

To remove dust into a special dust bag, a flexible plastic hose is attached to the back, it is important to select it exactly according to the diameter. The material at hand can become an excellent basis for the dust bag.
When making a stationary hood that will be located in one place, flexible hoses should be used for the hood. They are made of materials such as plastic and acrylic, which have a corrugated appearance. Such hoses can be easily found in any hardware store. It is better to lead this type of hood out a window or a common exhaust system. This will save you from frequent cleaning of the dust bag.
Video: Folding Manicure Table
https://www.youtube.com/watch?v=1vgr8smwQFw