Such a piece of furniture as a kitchen (or as it is also called a dining) table is the main component of the kitchen interior. Its shape and size should correspond to the size of the room so that all family members can freely sit around it. It is also important that the kitchen table does not hinder free passage.
Currently, shops offer a wide range of kitchen furniture, of various shapes and sizes, made from a variety of materials. The market offers tables of both Russian and foreign manufacture.
When choosing a table for a small kitchen, you have to make a choice - do you like it when there is a lot of free space, or is it important for you that the furniture is comfortable and roomy. If you can’t decide on a suitable table for the kitchen, try making it yourself. Anyone who has a certain skill can do this.
Content
The benefits of DIY

Many men who like to do things with their own hands can save a lot of money on their family budget, because finished products are not cheap. Accordingly, you independently select the material for making a high-quality dining table and the necessary fastening. Having demonstrated design skills, you will assemble an original piece of furniture that perfectly matches the kitchen interior.
Don't think that this is a difficult task. It won't take much time to assemble a dining table - just a few days. It's a bit more difficult to make a tabletop. It's better to consult with friends who are engaged in such things or read information on the Internet.
Assembling a table with your own hands, you will create a unique thing, bring to life a long-standing idea. Perhaps, with your light hand, you will organize the production of kitchen tables, and this will grow into a profitable business.
We decide on the design and construction
The design and shape of a dining table can be very diverse. Designers, using their imagination, bring to life the most unusual ideas.
Let's look at the design of this piece of furniture.
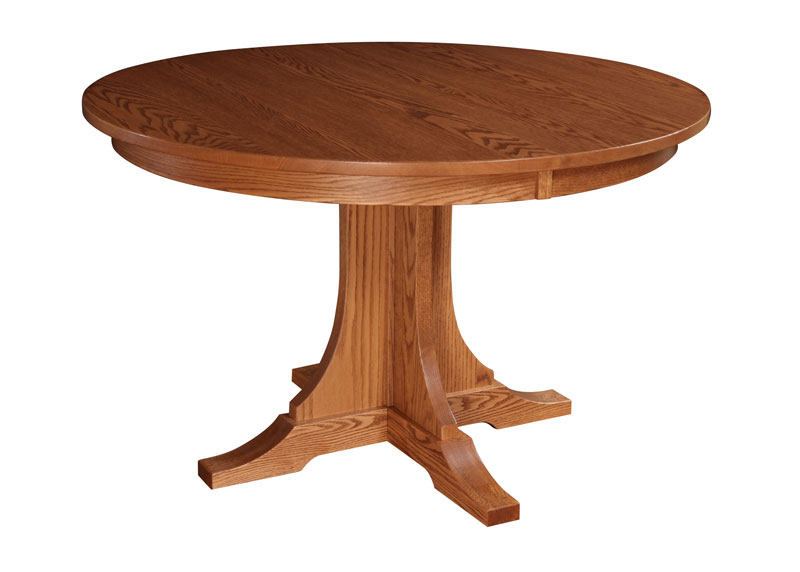
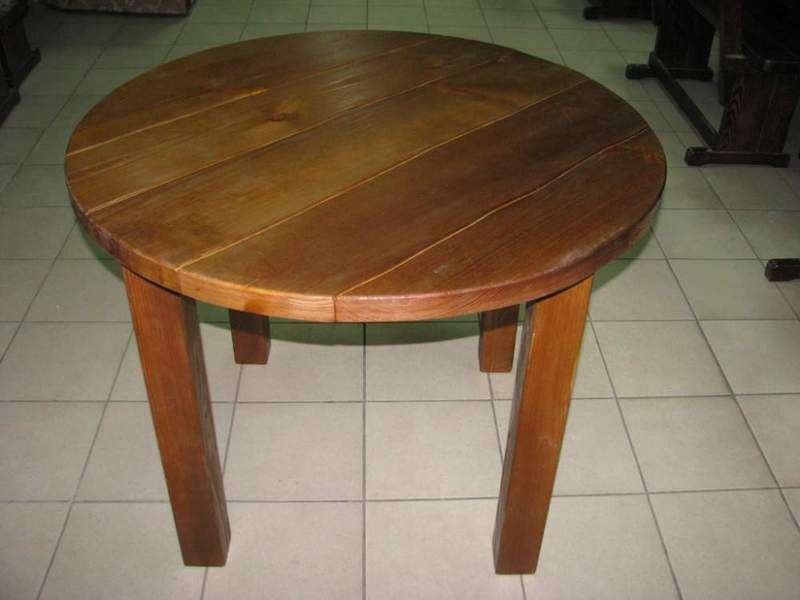
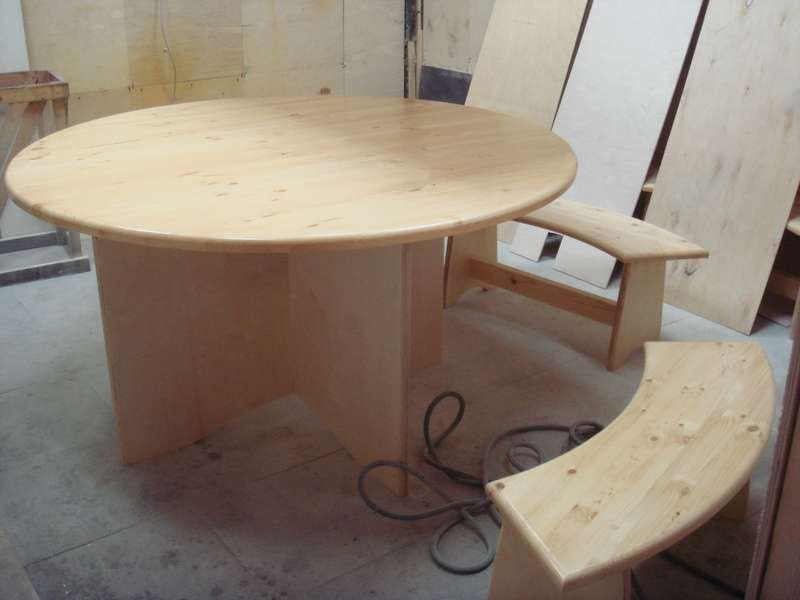
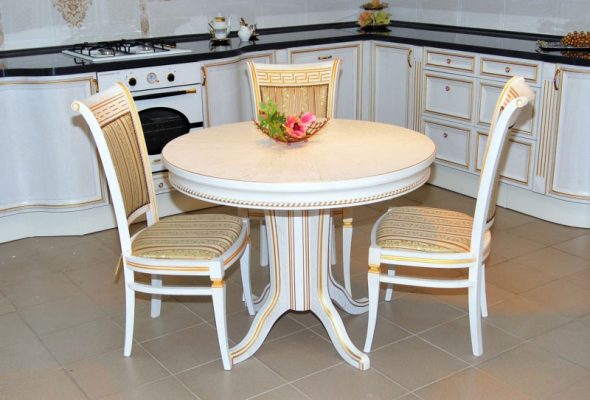
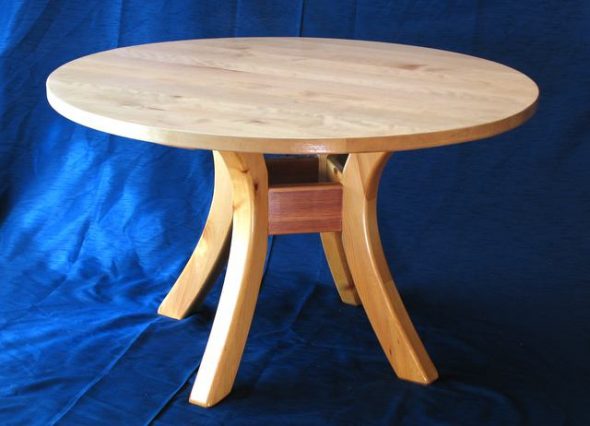
| Round table | It has smooth lines, as if uniting those who sit at such a table. It has several legs or one large one. It is comfortable to sit at it, you will not have an association with the place of work or study. There is one drawback - it cannot be placed tightly against the wall |
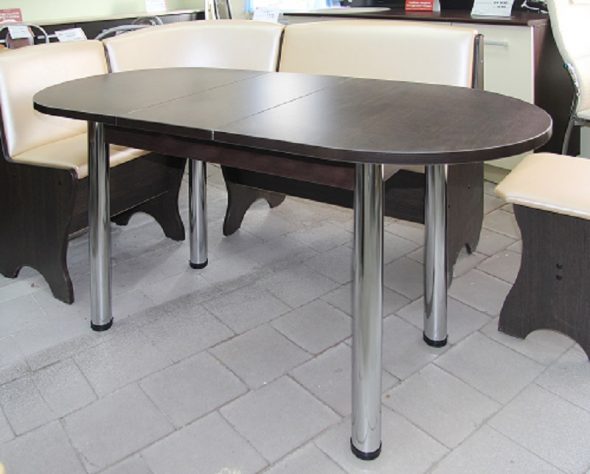
| Oval | A great option for those with a large kitchen that is divided into work and dining areas. An ideal choice for a large family, quite strong |
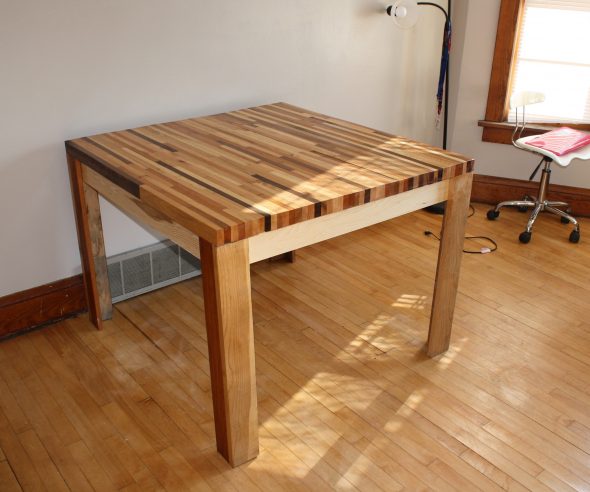
| Square | The embodiment of rigor, but at the same time it is simple and multifunctional. Suitable for small spaces, saves space well |
| Rectangular | A common option. It can accommodate many people. It can be placed anywhere - in the center, near the wall, near the window |
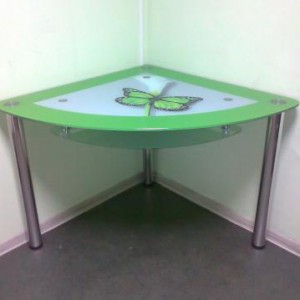
| Triangular | This type of table is quite rare in the kitchen. It is used as an unusual decorative element, for example, as a coffee table. |
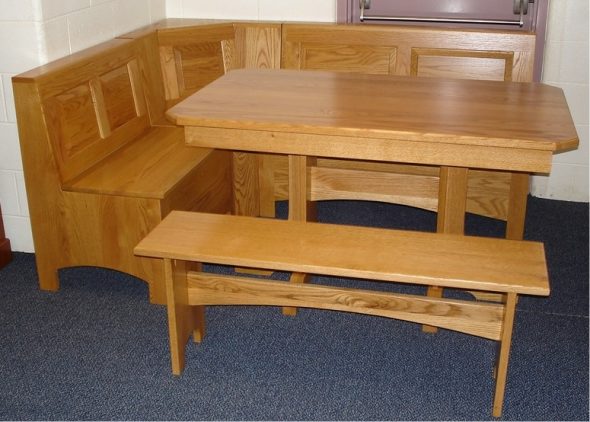
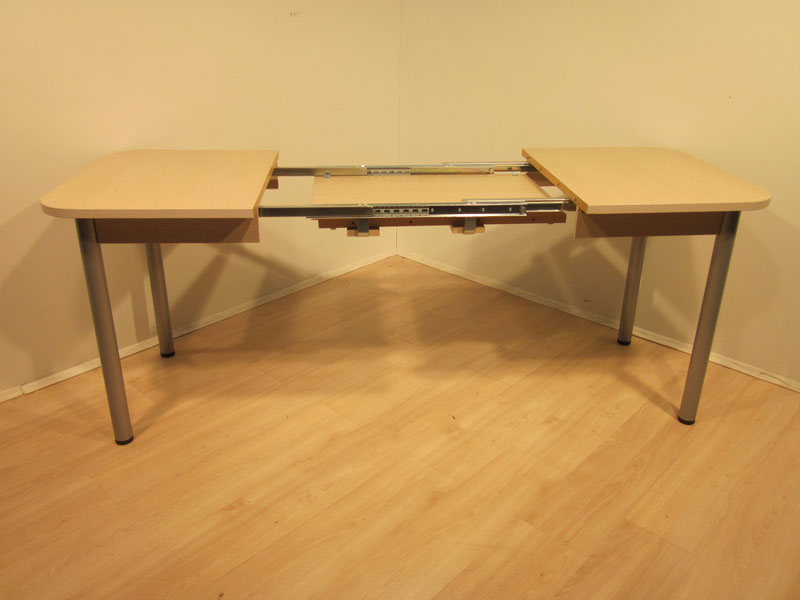
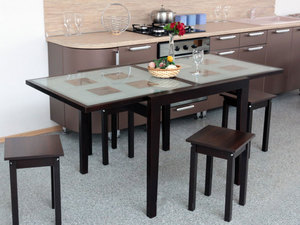
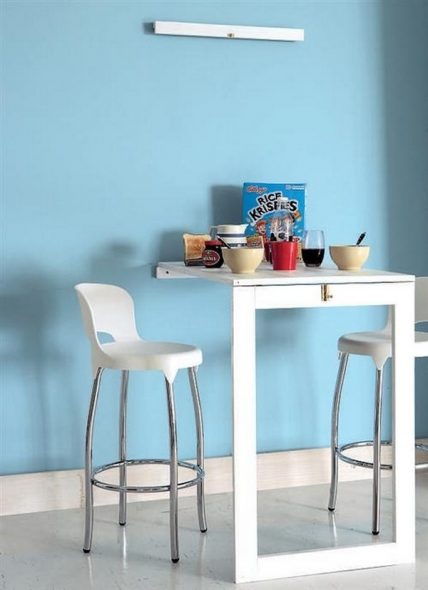
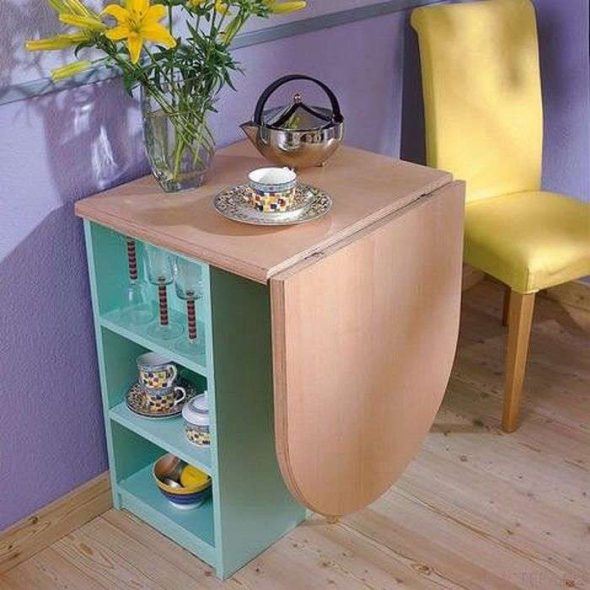
Owners of a small kitchen prefer to use a folding table or an extendable one. Since when assembled, they save a lot of space. Other table shapes are rarely seen. If you prefer products of an original shape, it is better to make them to order.
A kitchen table, like any other furniture, is selected for a certain interior style. For example, a regular wooden table will suit a classic style. High-tech is characterized by right angles and lines, so tables made of plastic, metal, glass are chosen, with an emphasis on white and gray shades. For the modern style, unusual furniture with ornate lines is used. Eco-style implies products made of natural material.
Designer's advice: Whatever table you choose, the main thing is that it matches the interior and complements the overall look.
Necessary materials
The materials for the dining table can be different. Here are the most commonly used ones:
- chipboard;
- chipboard;
- glued laminated board, edged;
- timber.
If desired, they can be combined. You will also need: corners, hinges (for folding models), rollers, confirmats, corner fasteners, eccentric bolts, leg pads, tape for edging, plastic profile for the tabletop, plugs.
Necessary tools
You can’t do without a standard set of tools:
- jigsaw;
- drill;
- hacksaw;
- screwdriver;
- drills;
- screwdrivers;
- electric plane;
- grinding machine;
- hexagons;
- hair dryer (can be replaced with an iron);
- tape measure (ruler), pencil.
When making complex models, you cannot do without additional tools.
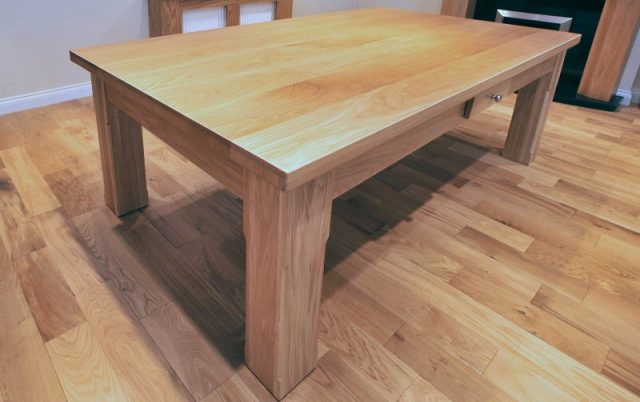
Manufacturing process: step-by-step instructions

How to make a kitchen table with your own hands? Let's consider this using an ordinary dining table as an example. First of all, prepare the tools and materials that will be needed for the work.
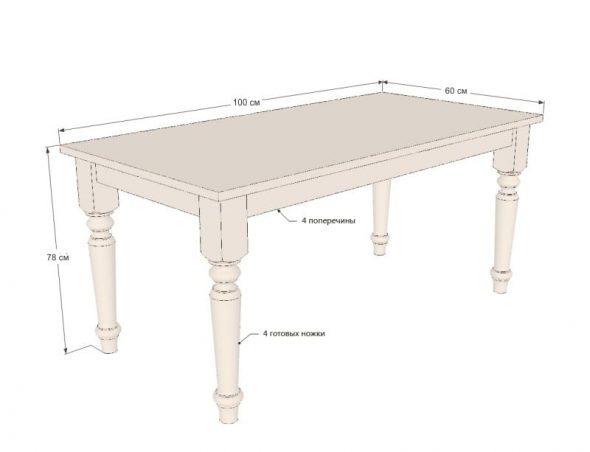
Then we mark the furniture elements. We start with the tabletop, as this is the largest part of the table. Its shape can be rectangular, round, square or oval. If you are planning to make a table of an unusual shape, mark it according to the sketches.


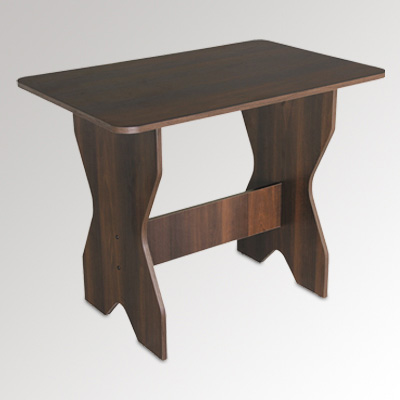
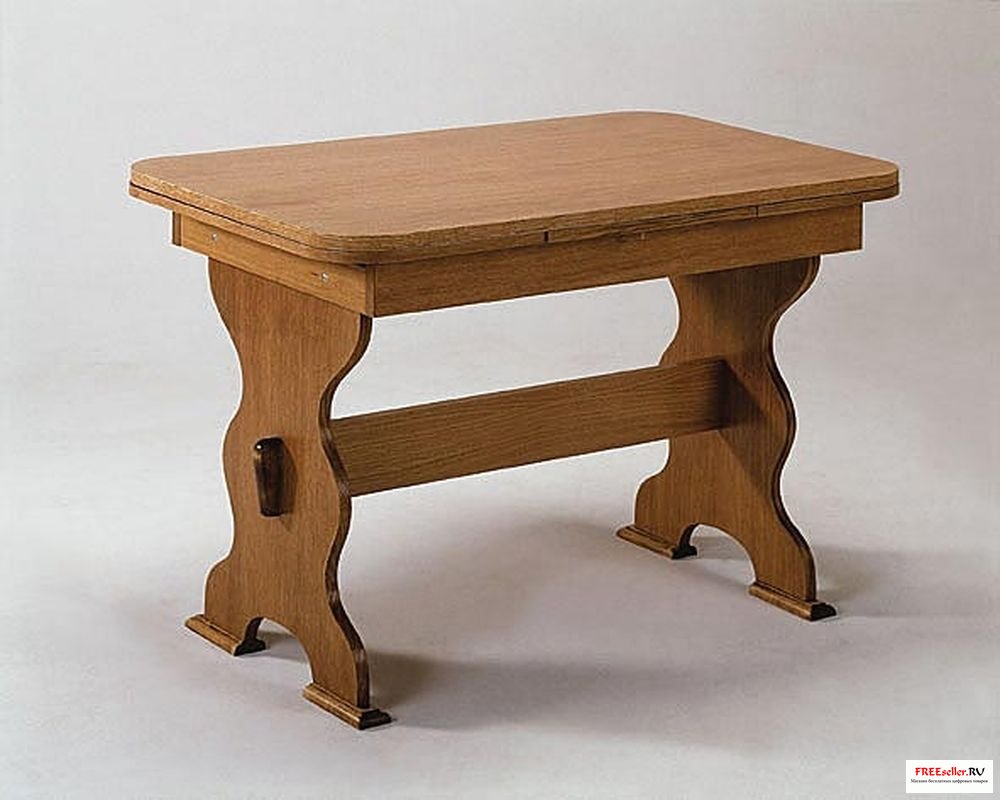
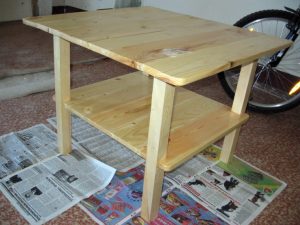
Then we apply a drawing of the side posts to the material - these will be the legs of the future table. Most often, they imitate a chess piece in shape. If you want, you can make a different shape at your discretion. The main thing is that the structure is stable.
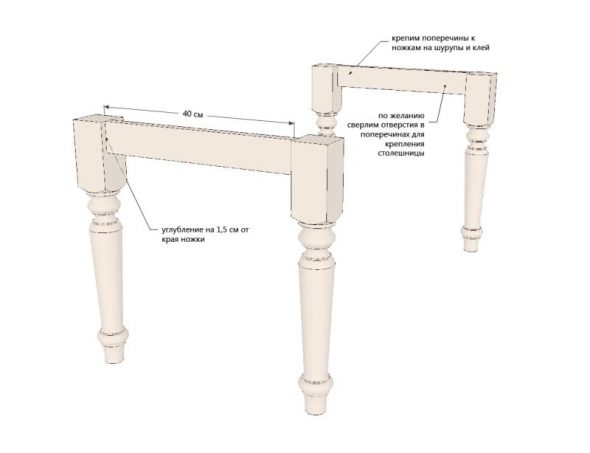
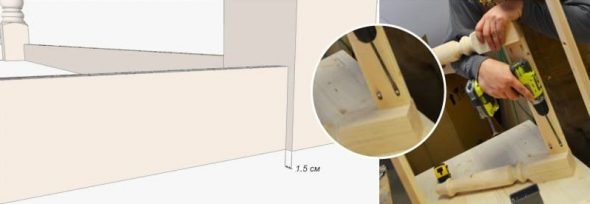
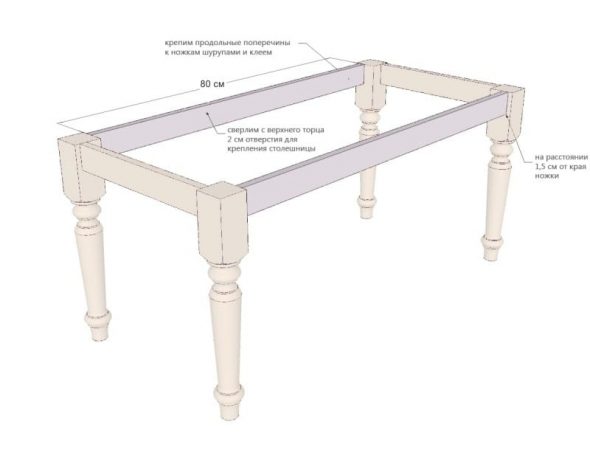
Then we mark the upper and lower crossbars that will connect the posts and thus ensure the reliability of the structure. Remember that the lower crossbar is always almost twice as wide as the upper one. Its shape is varied. Usually the legs are located 15-20 cm from the edge of the table surface.
The next stage of work involves cutting out the elements. Place the material on the table. Cut out the tabletop using a jigsaw. To avoid chipping, place plywood underneath. Cut out the remaining parts in the same way. Do not allow the material to sag. This may cause the tool to break or the element being cut to break. After cutting out the edges of the parts, sand them with a special machine or go over them with sandpaper.
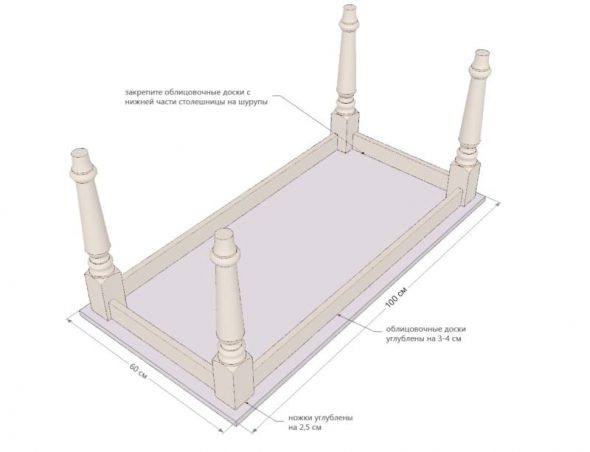
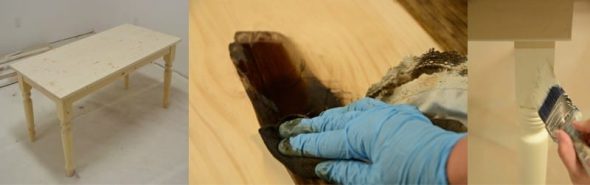
Using the tape for edging and the plastic profile, we perform the end cutting. First, we put the profile on the edge of the surface. At the place of the angular bend, the profile must be heated with a hair dryer and then rotated. For high-quality fastening, use universal glue.
Then we trim the legs and crossbars using tape to finish the edges. Before this, we prepare the surface by cleaning it from dirt and grease. We press the tape onto the edge with a hot iron and glue it. We cut off the excess with a sharp knife. We carefully remove the resulting unevenness with sandpaper. We process the edges of the remaining elements in the same way.
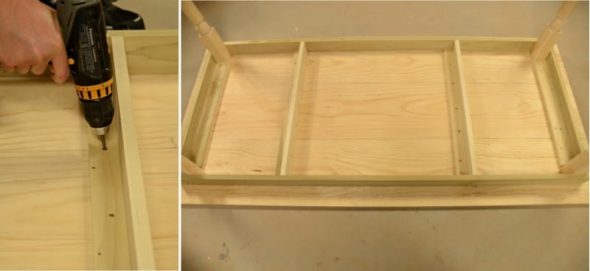
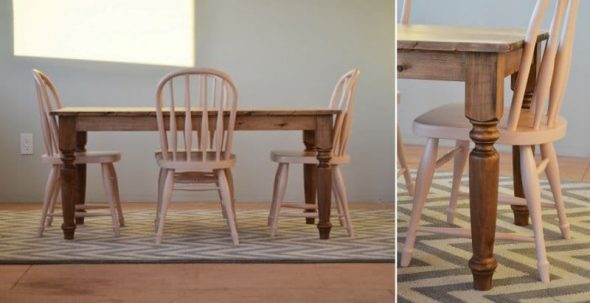
We assemble the table in the following order. Using confirmats, we connect the legs to the crossbars, placing the upper one so as not to allow the tabletop to sag. We fasten the lower one at a height of 20-25 cm from the floor.
We put the tabletop on the finished base and fix it with corners. We attach the legs-pads to the stands. We decorate the furniture screws with plugs. That's it, the dining table is ready!
Video: Making a table
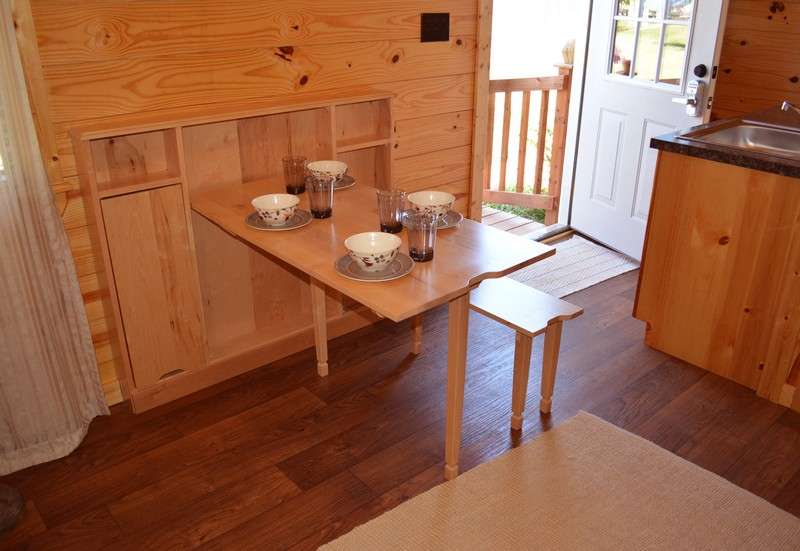
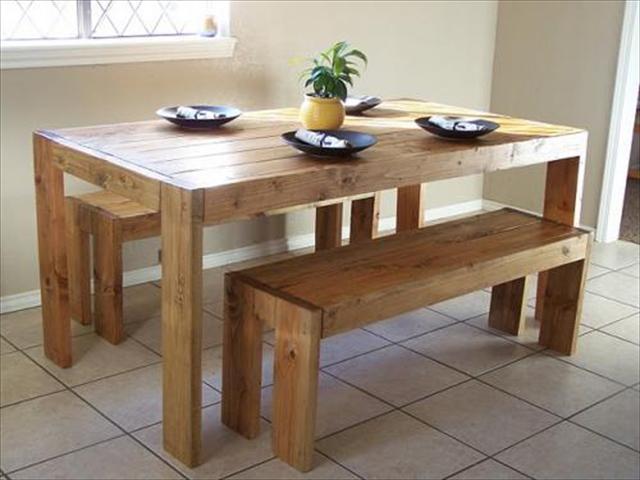
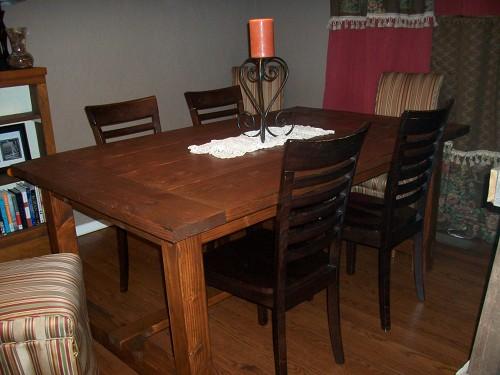
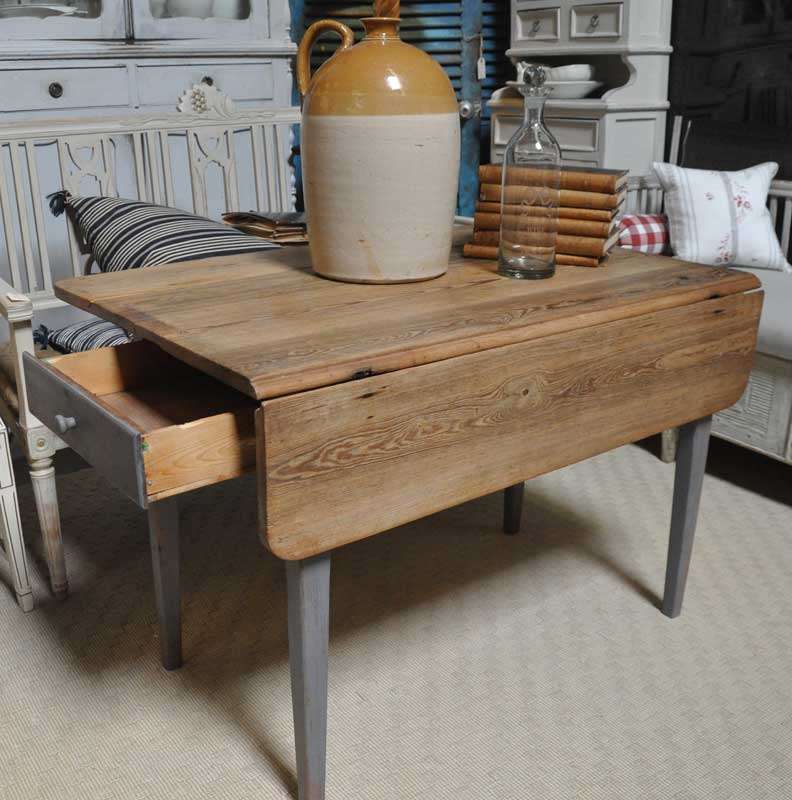
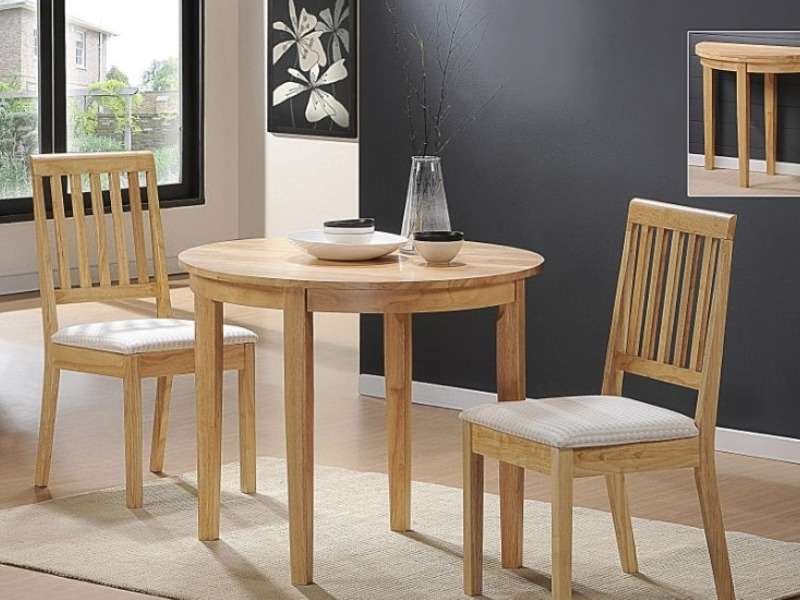
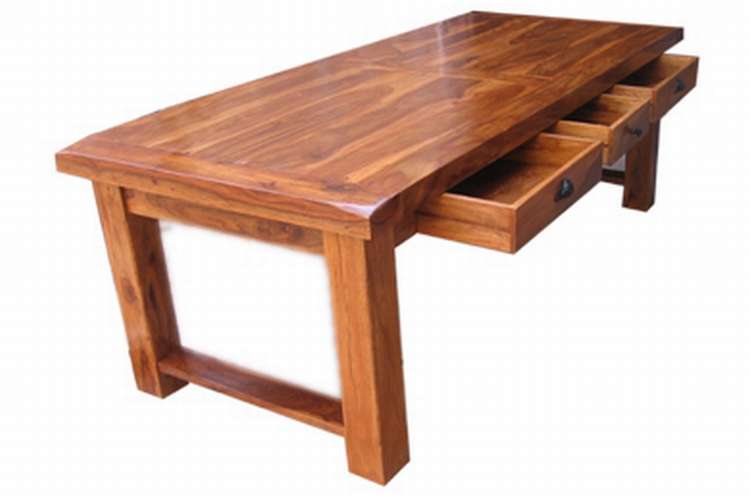
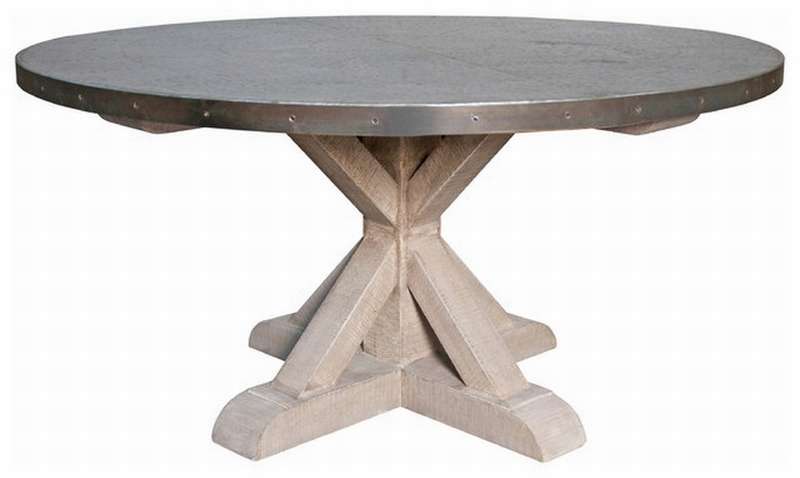
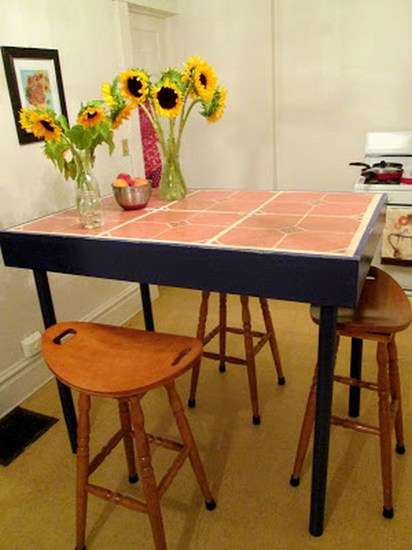
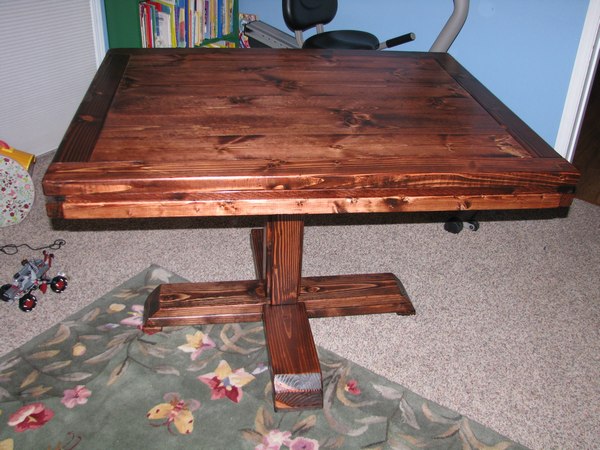
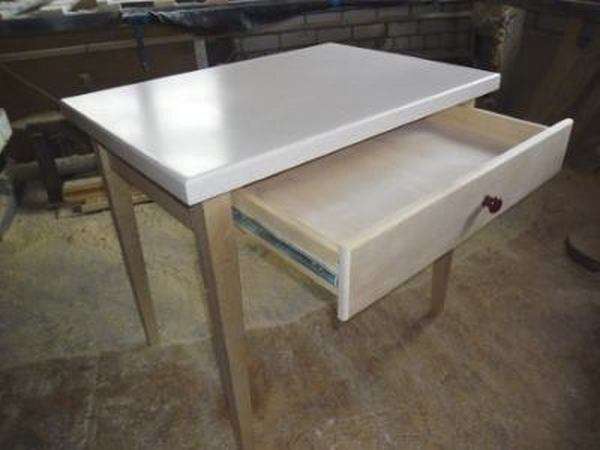
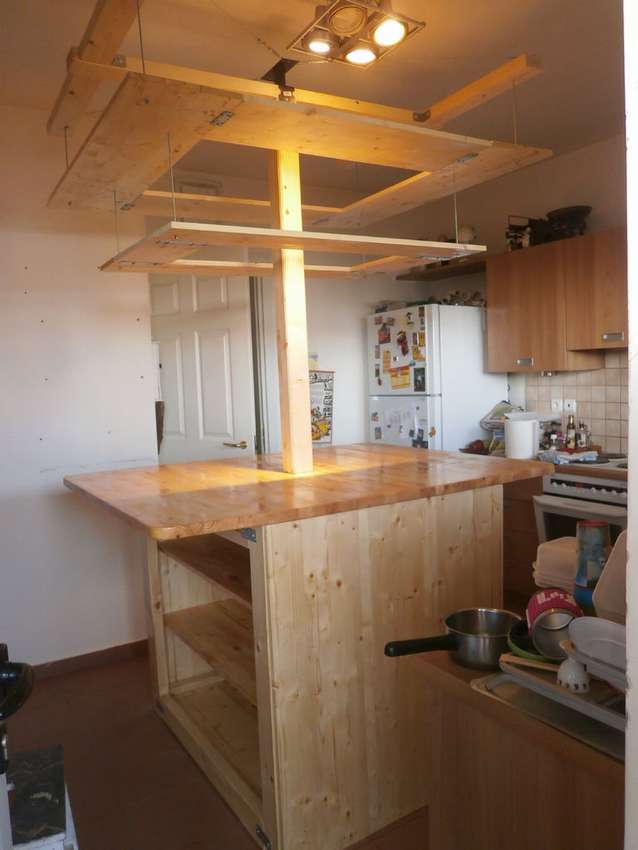
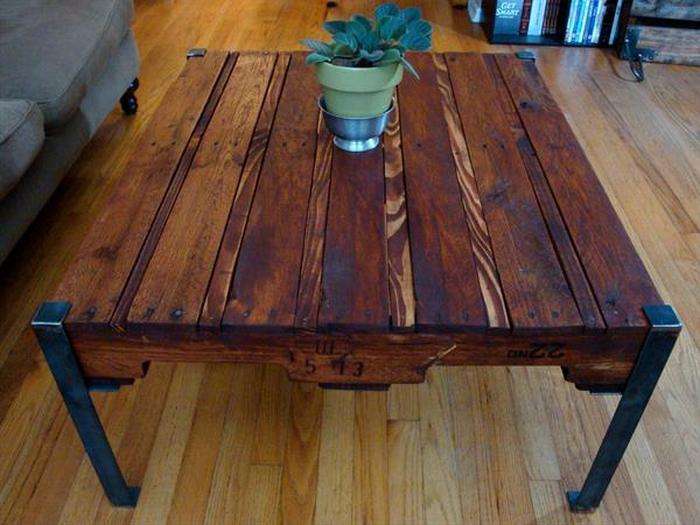
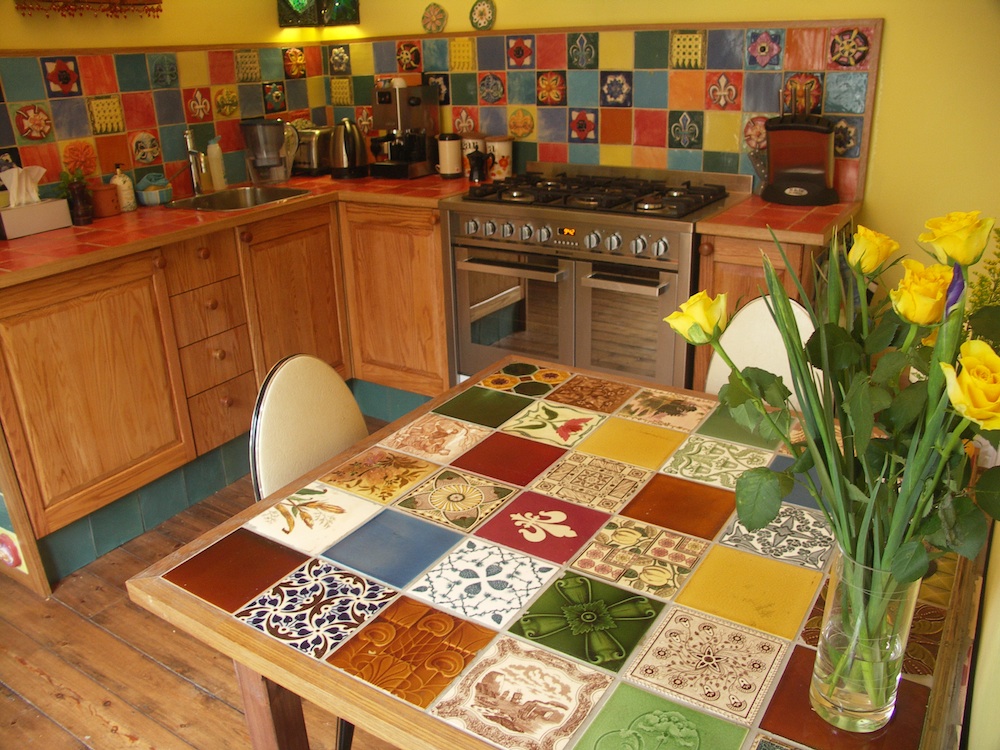
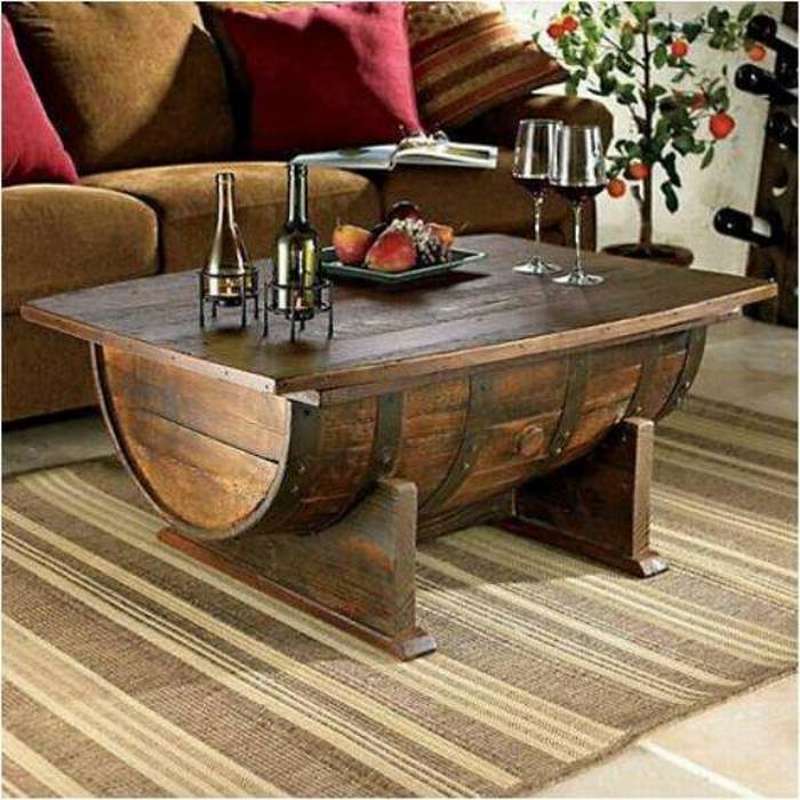
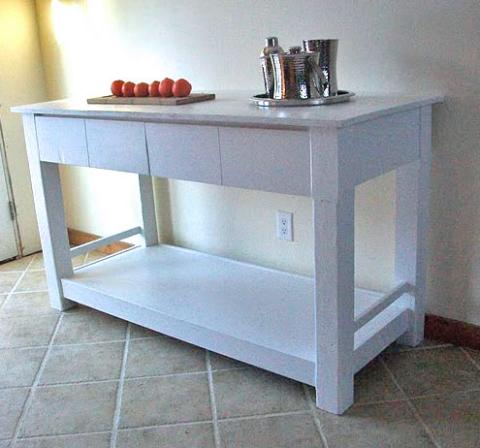
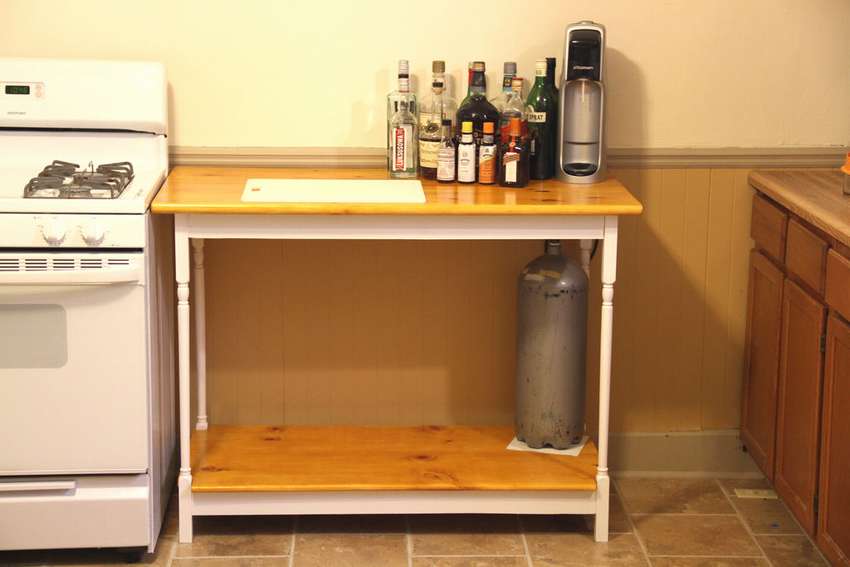
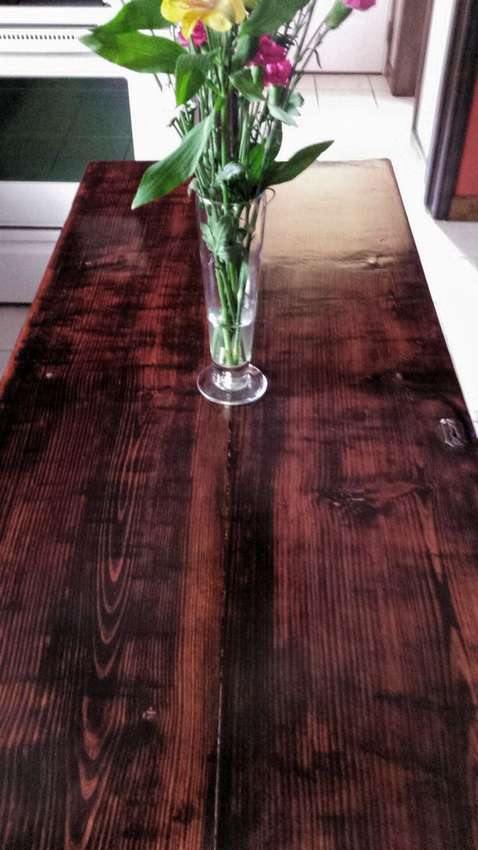
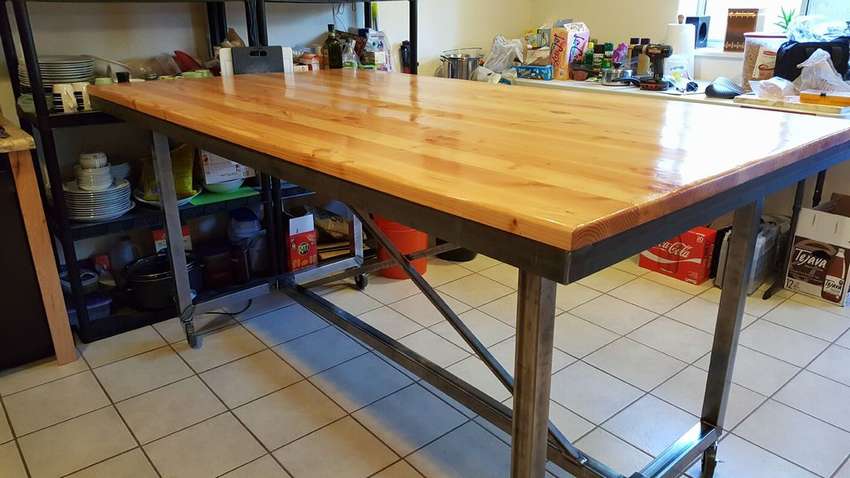
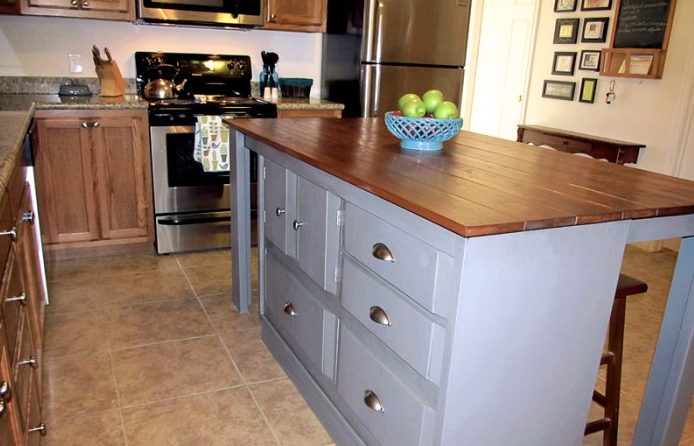
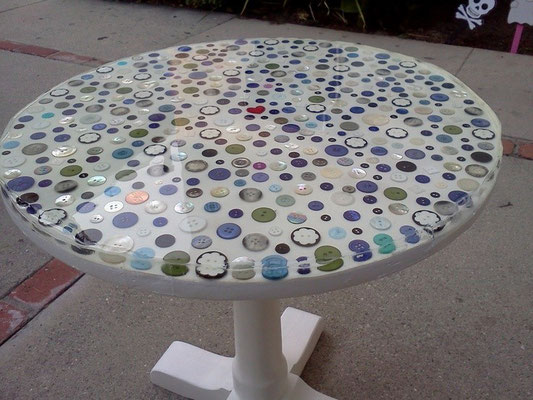
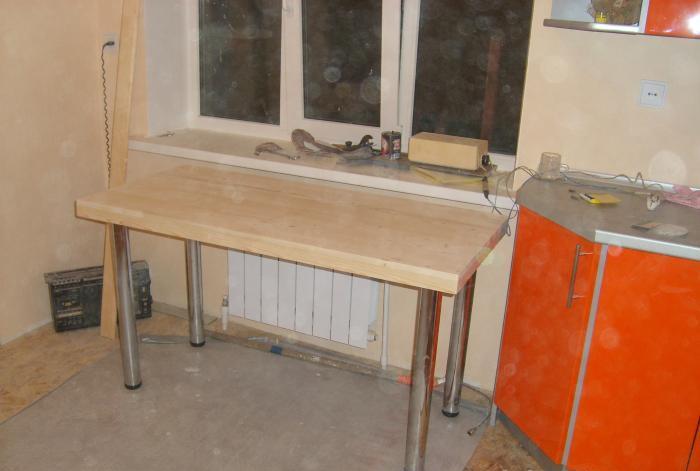
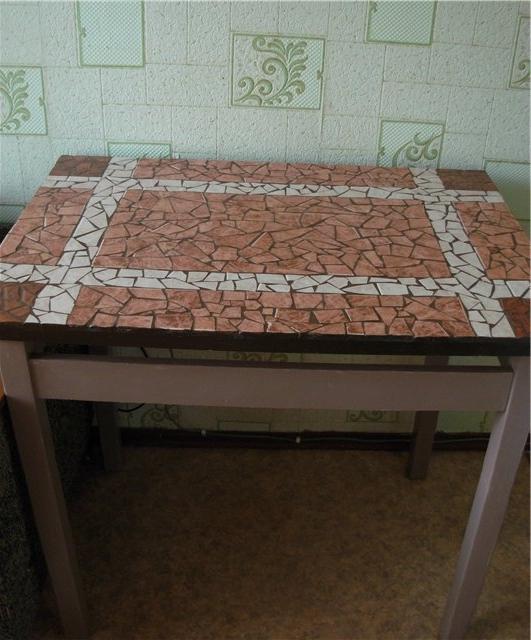
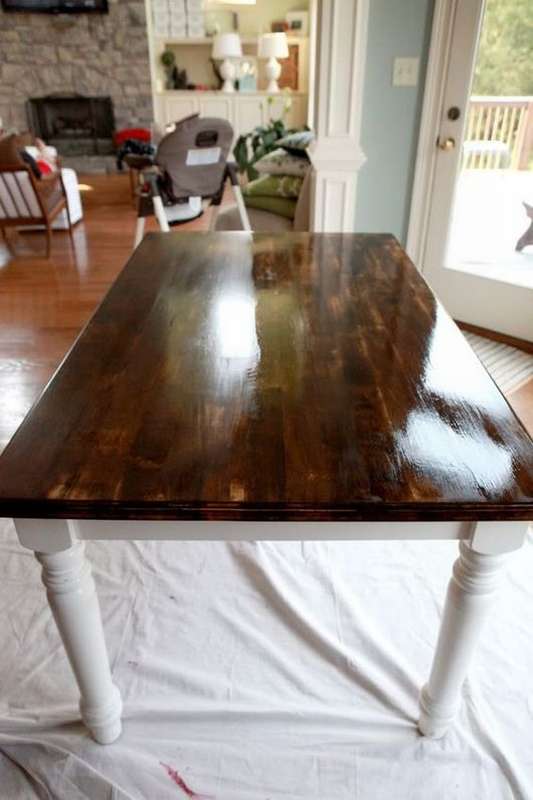
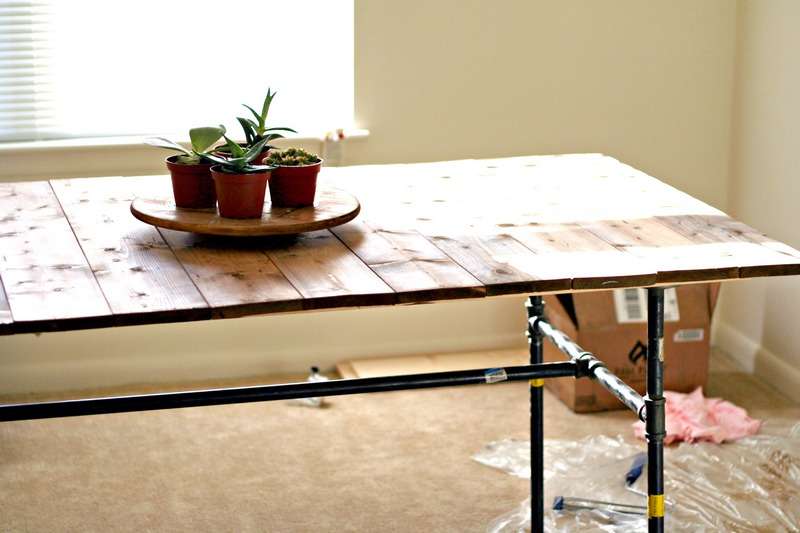
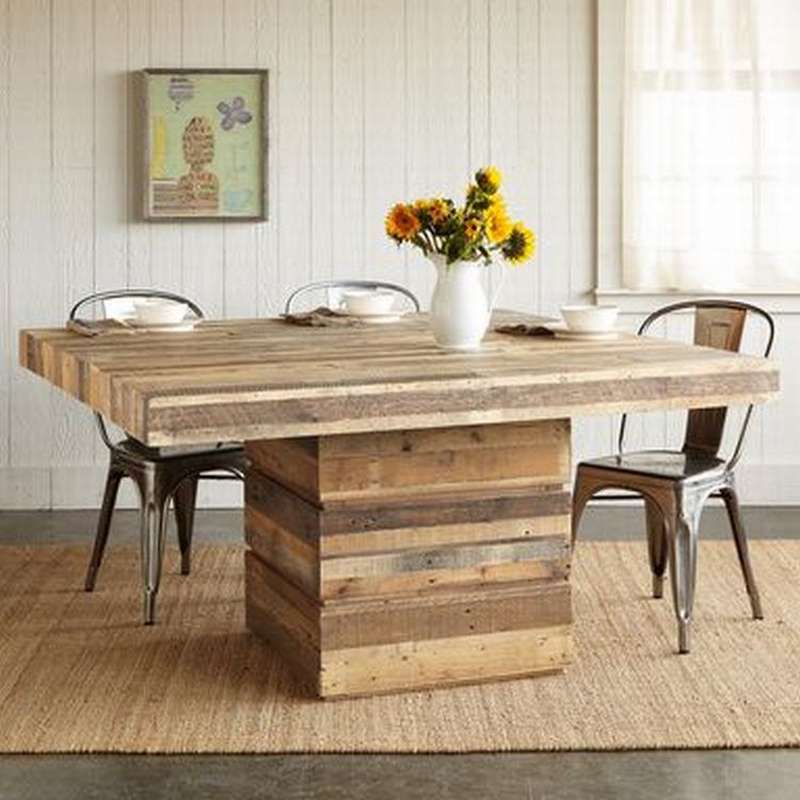
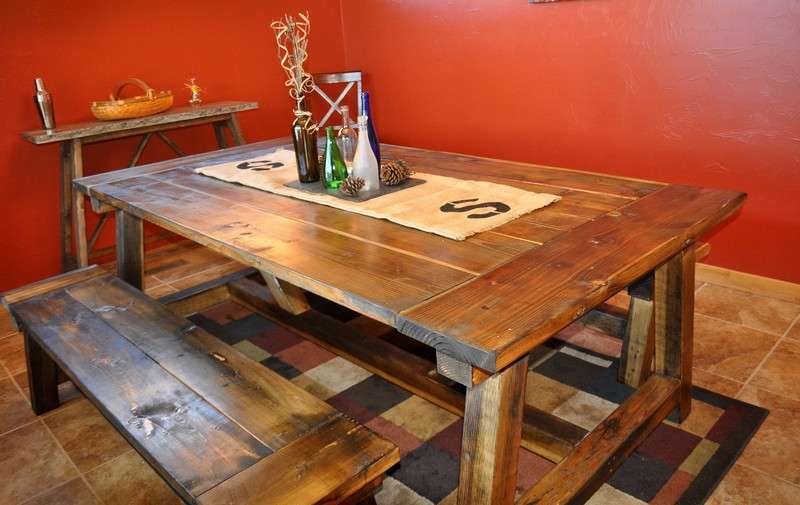
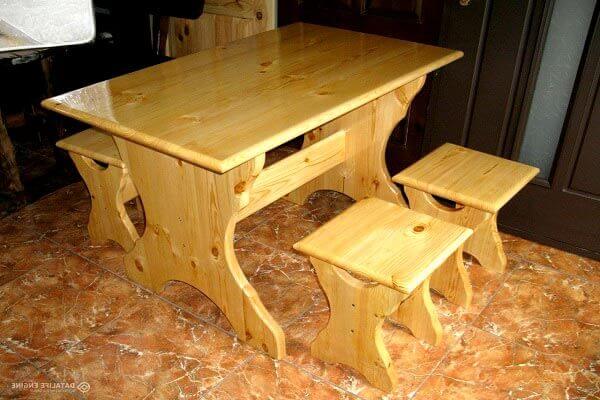
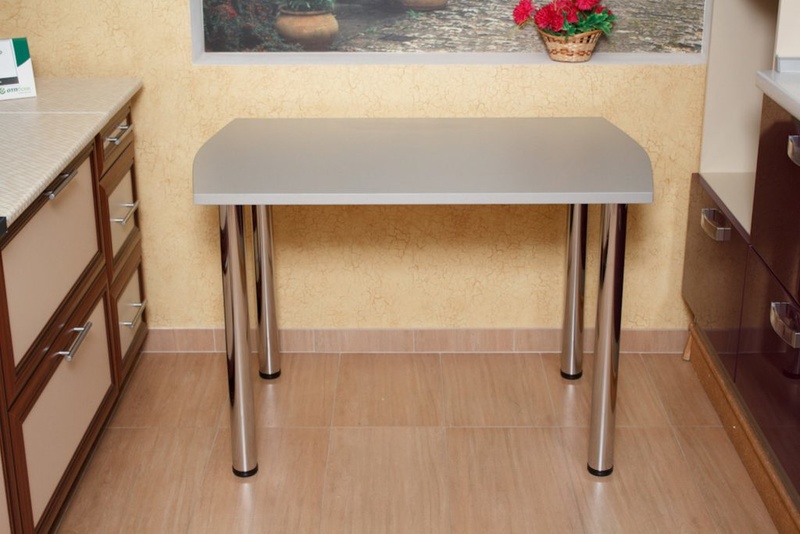
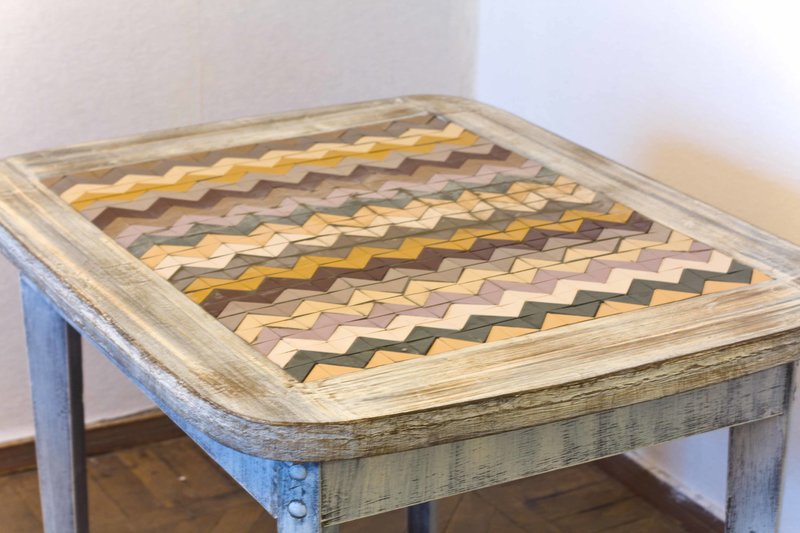
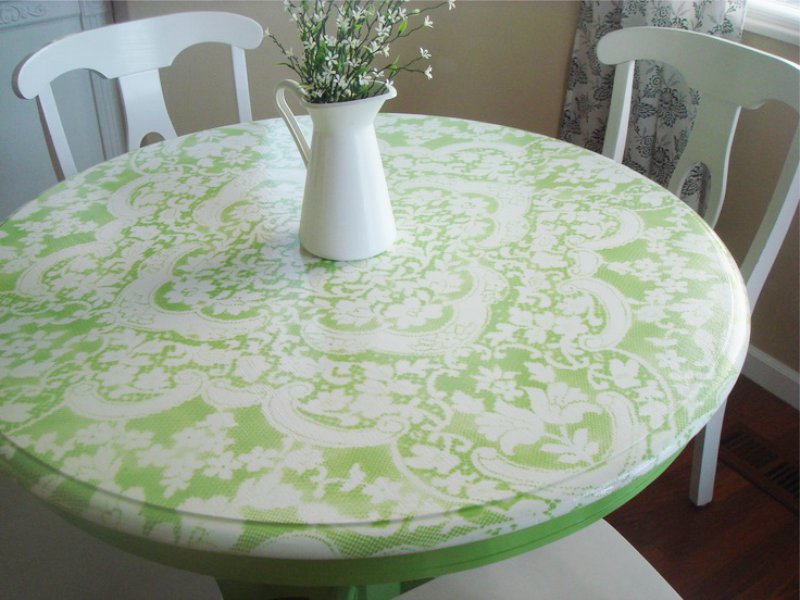
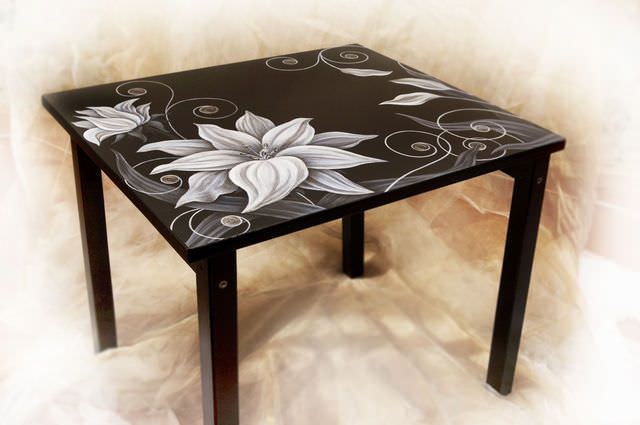
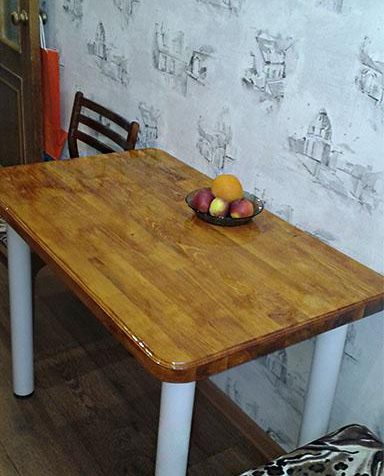
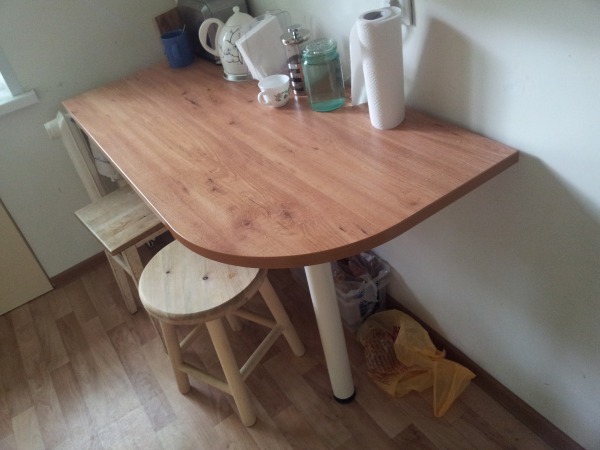
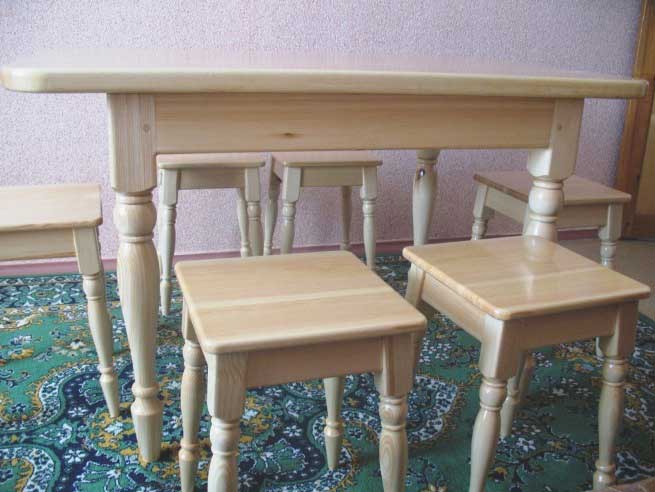
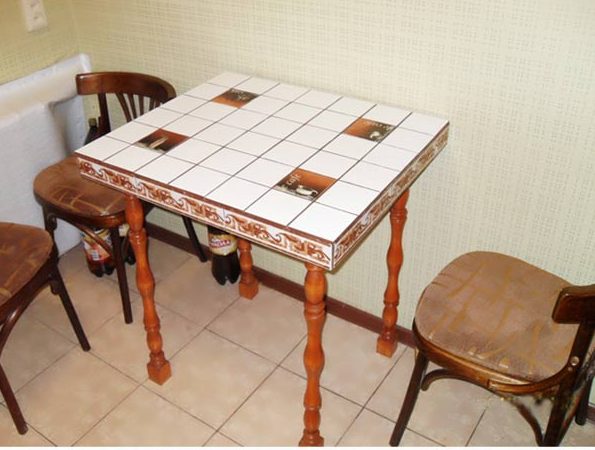
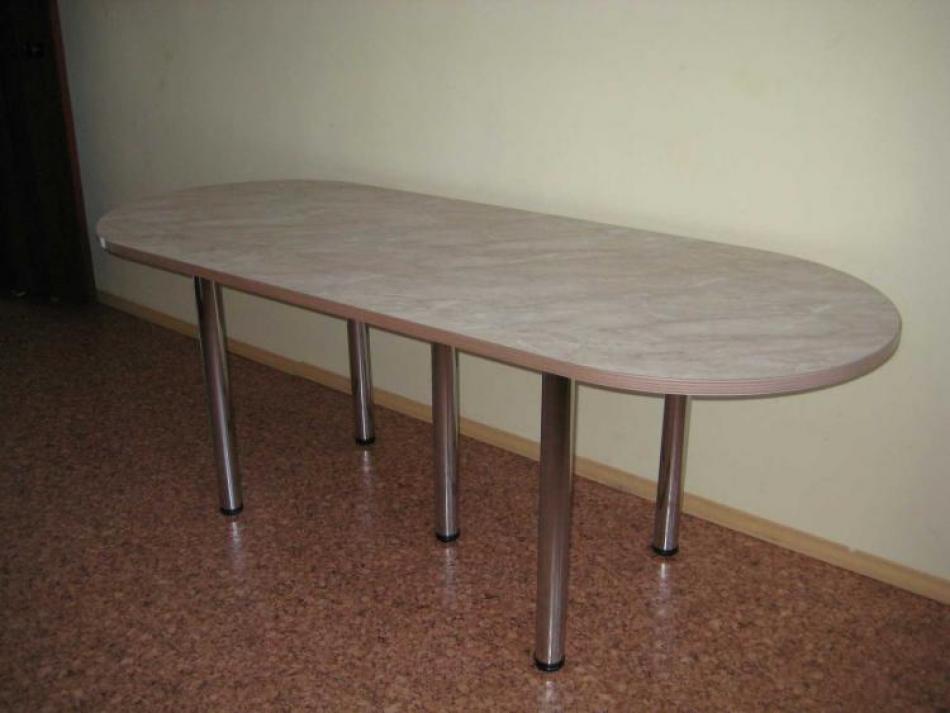
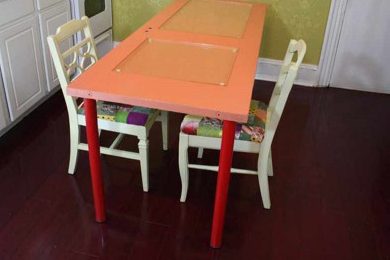
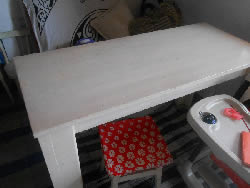
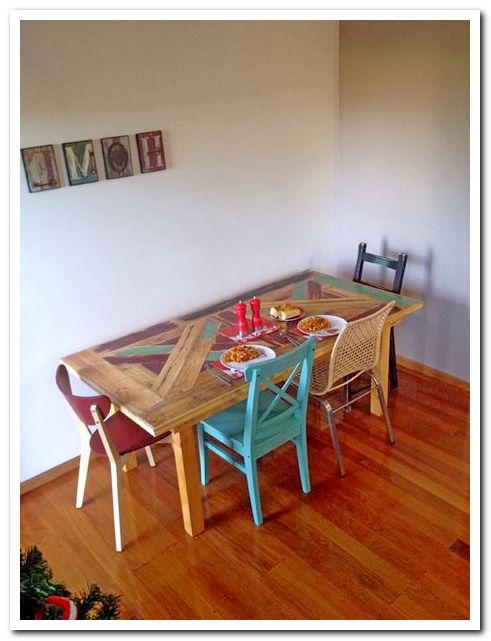
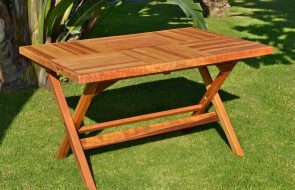
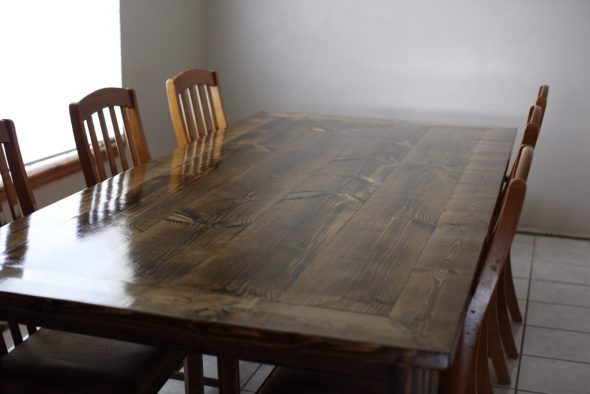
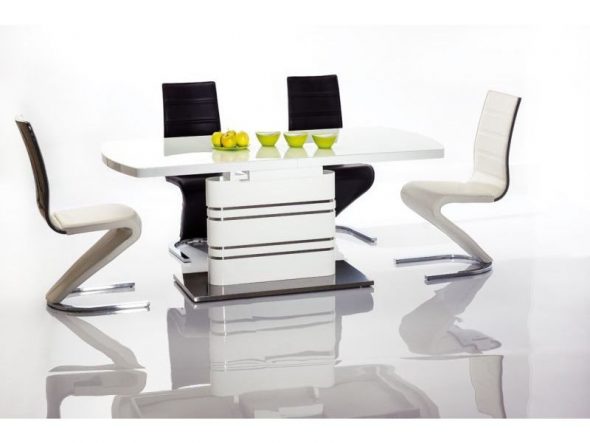
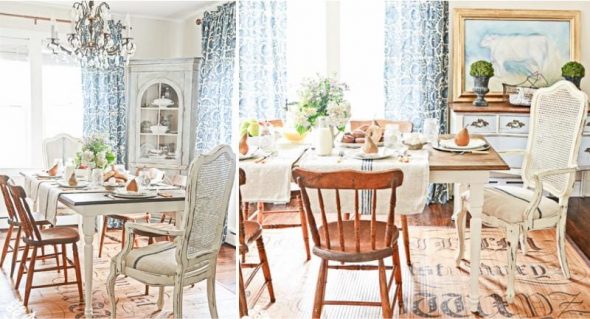
50 photos of tables made for the kitchen and dining room with your own hands: