Every owner wants to show off their possessions to guests. It is especially pleasant to point out things made with your own hands. This adds special coziness to the area and special pride to the owner. Increasingly, flowerpots, flower beds, swings, and decorations made by themselves are found in garden plots. But the owners do not limit themselves to this list and move on to creating more complex items. So, today we suggest making a round table with your own hands, surprising your family and friends.
Content
The Benefits of Making Furniture Yourself
Are you unsure whether to take on the job? Then let's talk about its advantages. I would like to note that this job is not difficult. We suggest making a simple model. Manufacturing will not take much time, effort, and will not require great carpentry skills. Now about the advantages. Making a table with your own hands, you get the following advantages.
- Save a significant amount of money. Store products that are widely offered by distributors are quite expensive. Sometimes the offered product is not worthy of the stated price. By selecting each part yourself, you will be able to make sure that it is worthy of the set price. And the whole product will cost significantly less.

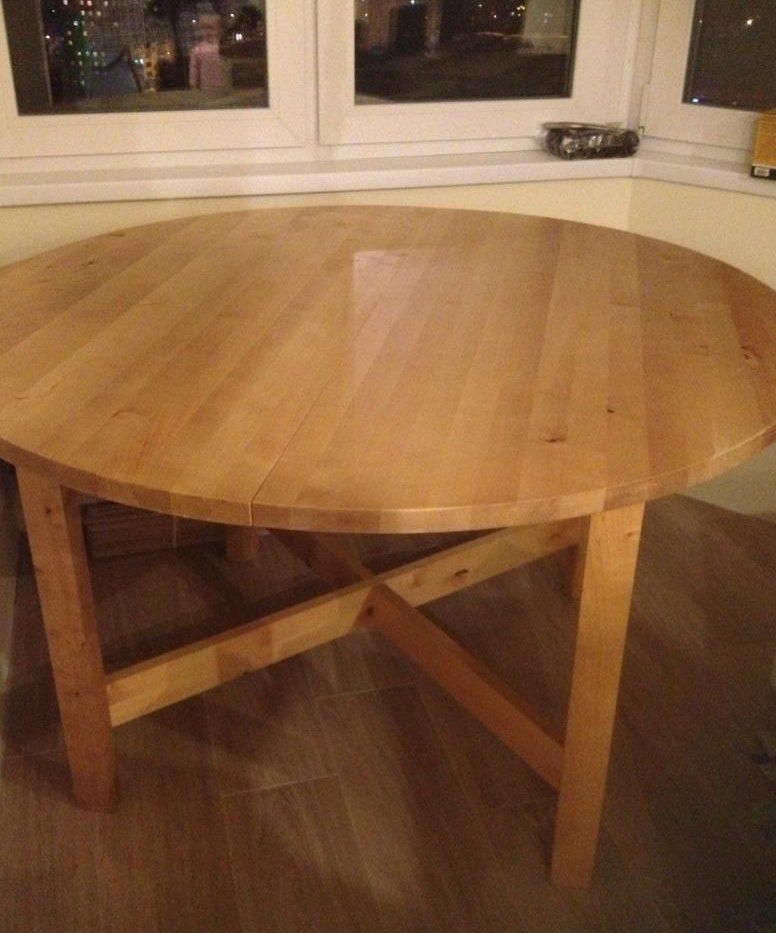
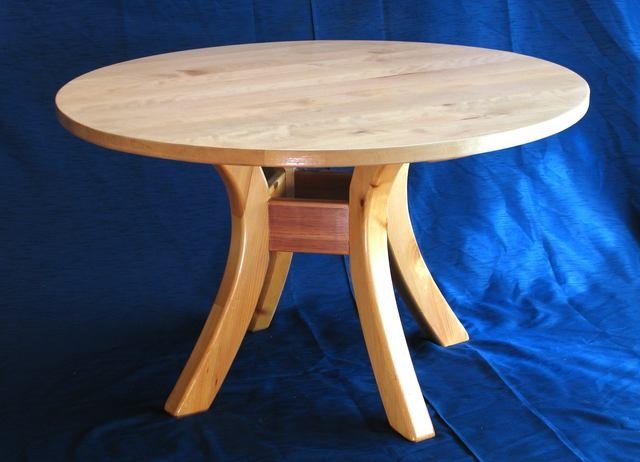
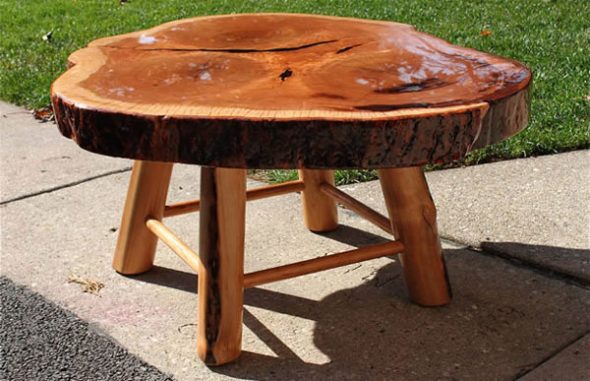
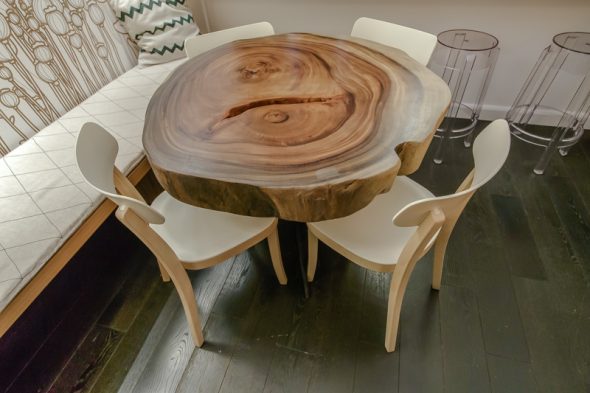
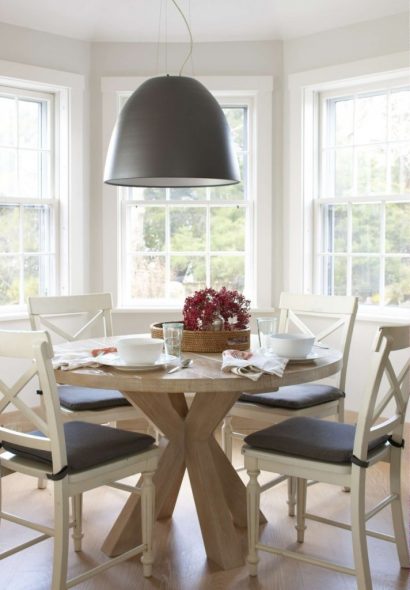
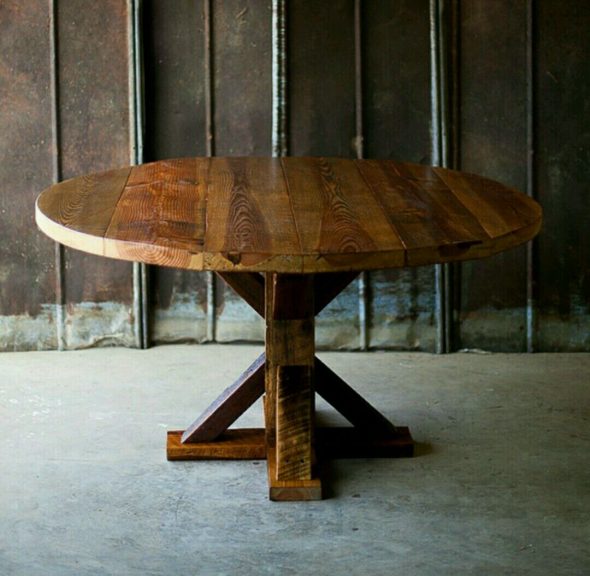
Massive wooden table, made by hand - You can choose any model. Stores will not always be able to offer a table that meets all your needs. When making furniture with your own hands, you can compile elements of different models, create your own innovation.

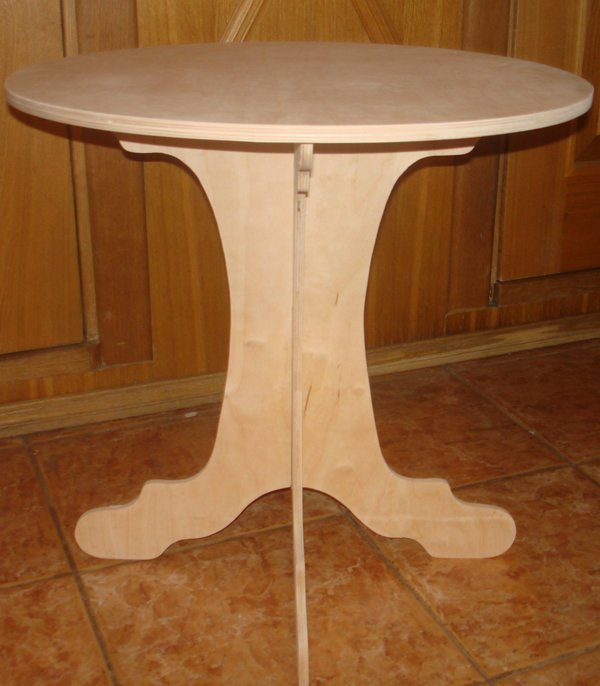
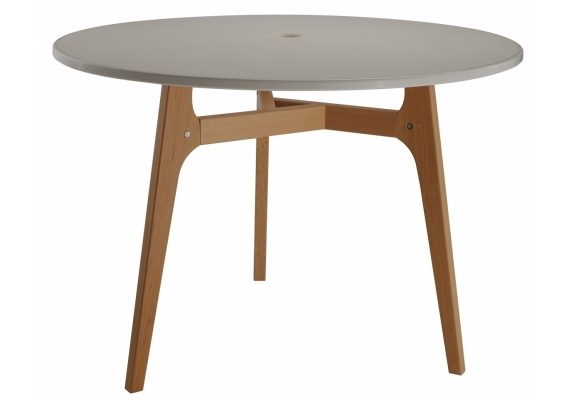
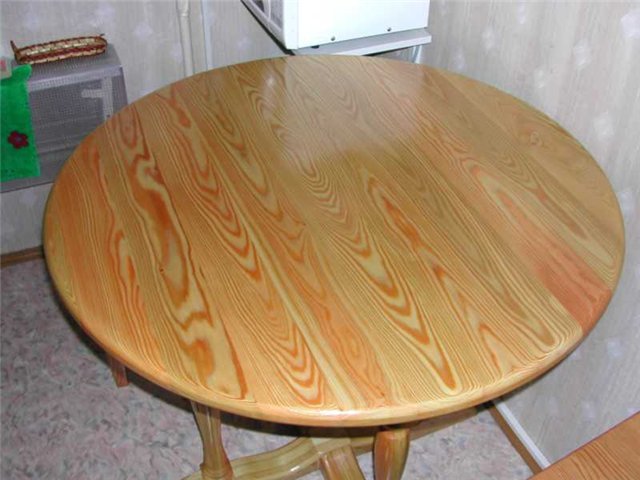
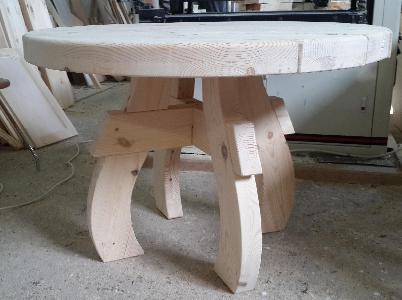
A simple model of a wooden table with a durable smooth tabletop and a reliable base - You have the opportunity to choose a design. In this case, history repeats itself. You will not always find the right product with the desired design in the store. Sometimes the appearance of the table may not fit into the overall interior. So, you can choose any design, doing all the work yourself.

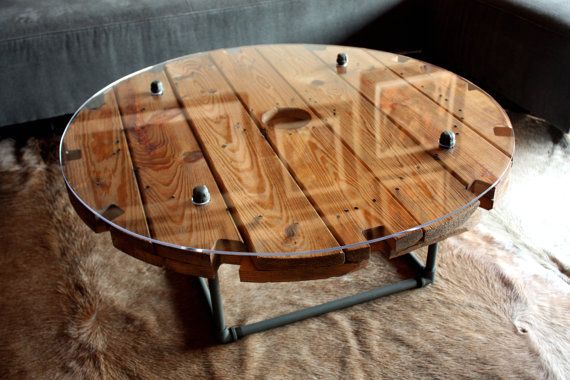
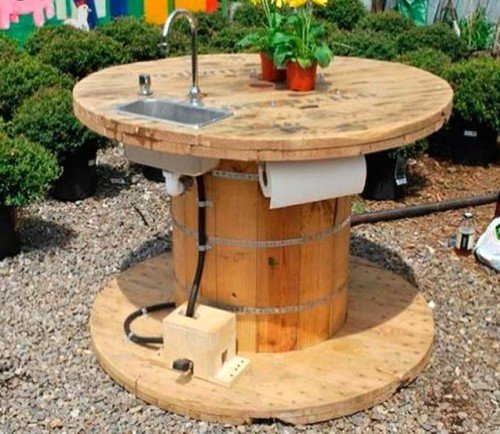
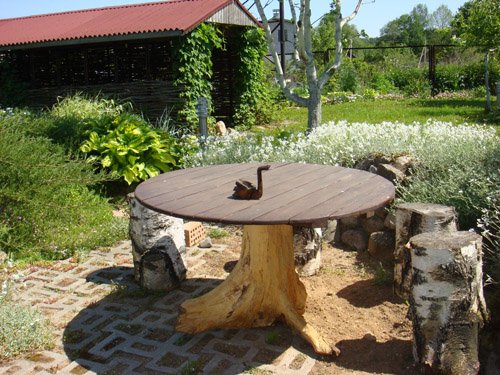
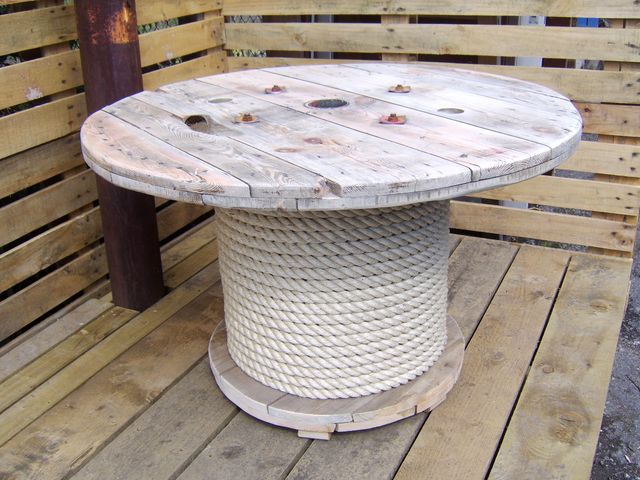
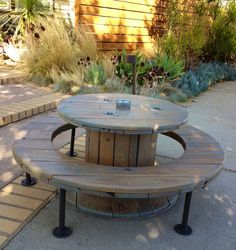
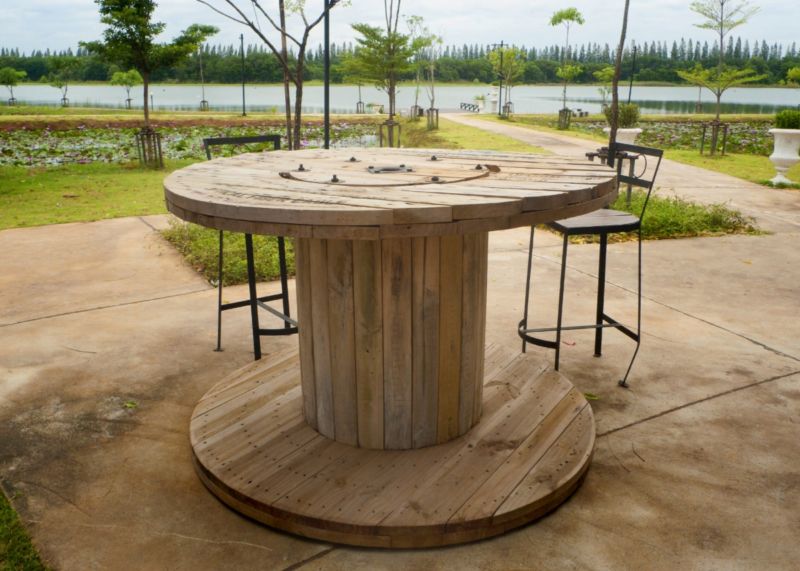
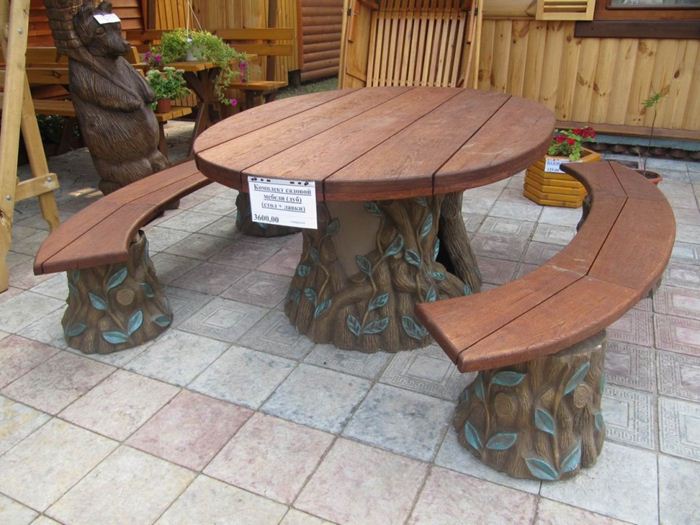
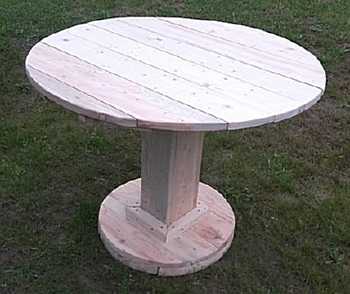
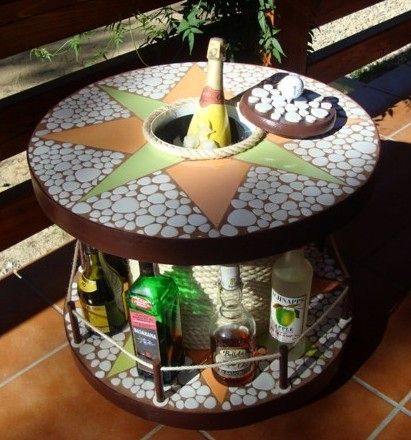
Round table made from a cable reel with an unusual design - You are investing in your own home. As a homeowner, you will experience a bit of pride in modernizing your property or home without outside help.
We think that now you have no doubts that the furniture you have created will be useful, and now you are asking yourself another question, how to make a round table with your own hands. Let's start looking for an answer!
Deciding on the appearance
Before we move on to detailed instructions, let's decide what we want. The concept of "appearance" includes several points that have a number of options. Let's look at them and we'll be able to determine the appearance of the future table. And at the same time, we'll decide what needs to be done and build an action plan.
| Criterion | Implementation options |
| Purpose | · indoor;
· street. |
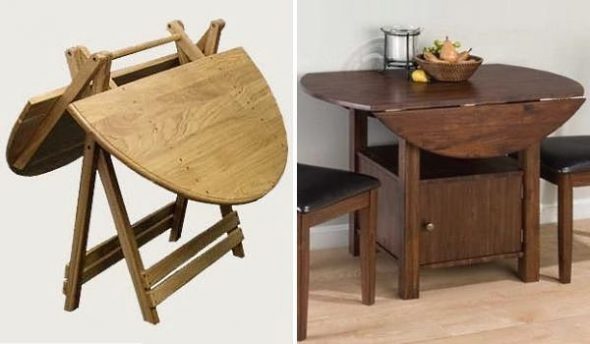
| Type of construction | · folding;
· ordinary; · with one leg; · with two or more legs. |
| Additional elements | · with or without drawers;
· with a footrest; · other additional elements. |
| Material | · natural wood;
· Chipboard; · metal; · plastic. |
Now let's take a detailed look at how the above criteria influence our choice, decide on the appearance of our brainchild and get down to business.
Purpose
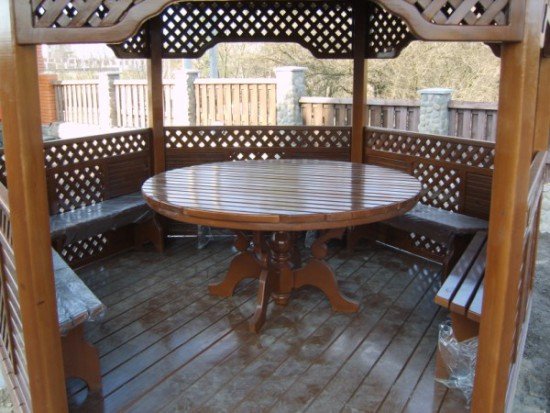
This factor is important, it affects further actions. The table will be outside - then it needs to be treated with special means to prevent its damage. It will be indoors - the conditions are significantly simplified.
This factor also influences others: the type of construction, the presence of additional elements and design. Depending on the location and its further functions, the model will be built. When it is an outdoor option, additional boxes are needed. If the creation is intended for barbecue, it can be made without additions. In the case when the product is intended for a child, it must have the appropriate parameters and additions.
So, the remaining criteria depend on the functions assigned to the future creation. Therefore, determine in advance what is necessary for the full implementation of the proposed functions.
Type of construction
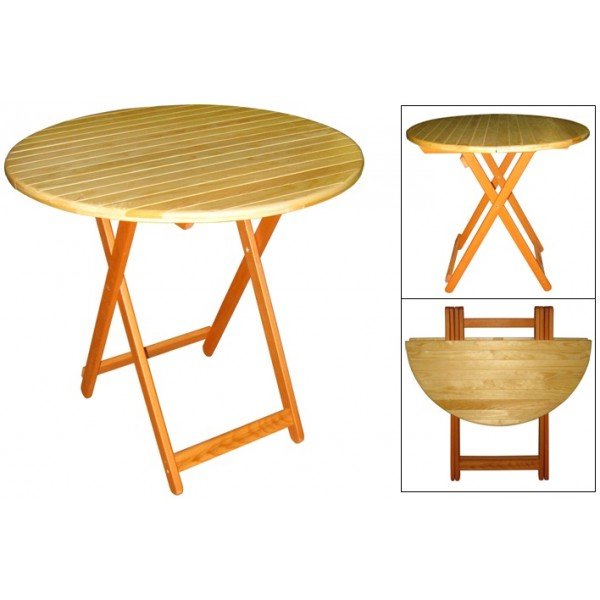
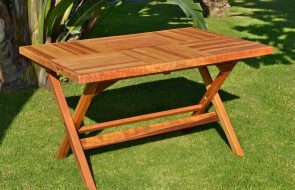
Let's divide the types of tables into folding and regular. Depending on the choice, you will need different tools and the assembly process will differ. Determine this criterion in advance.
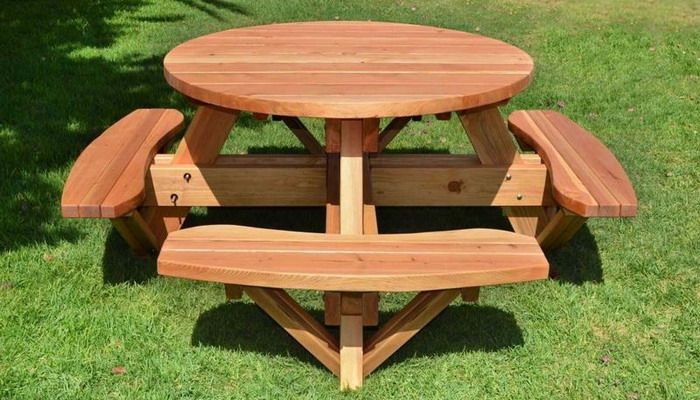
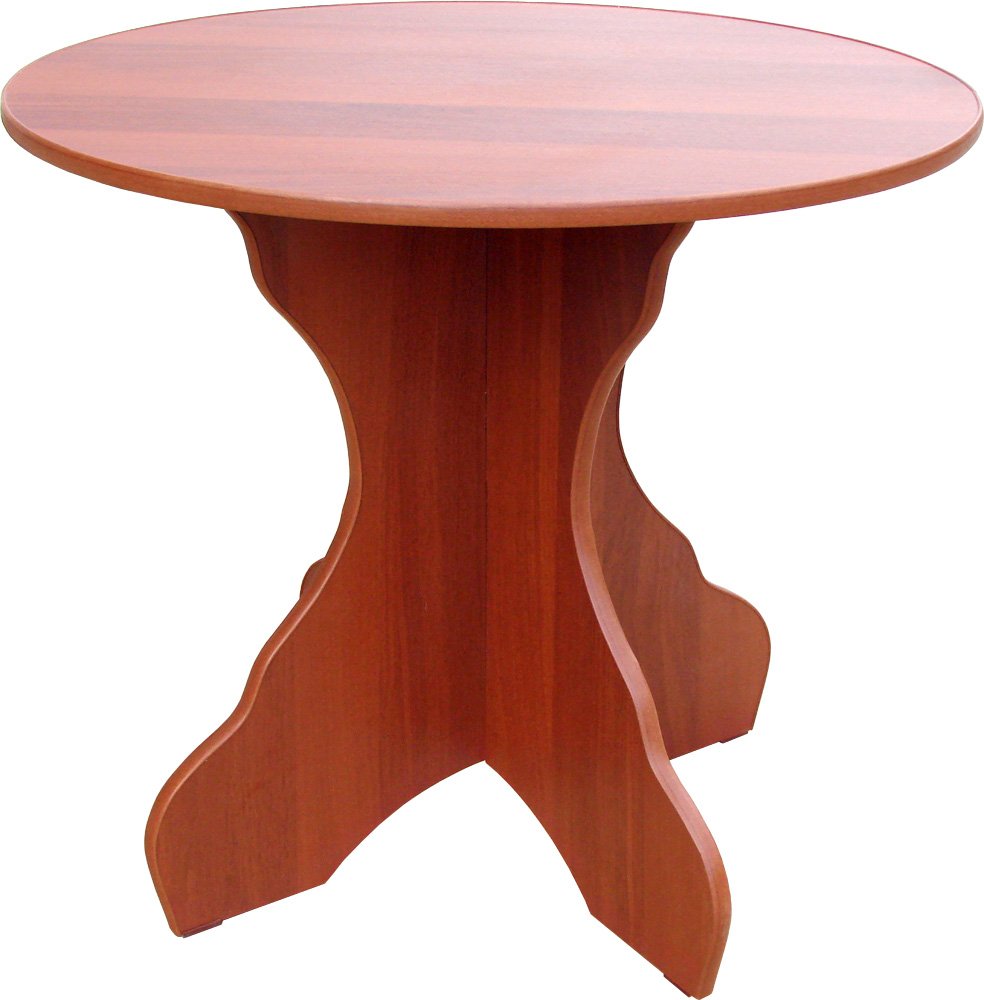
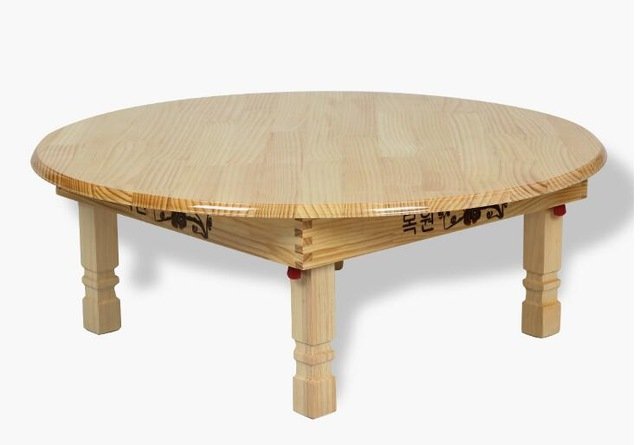
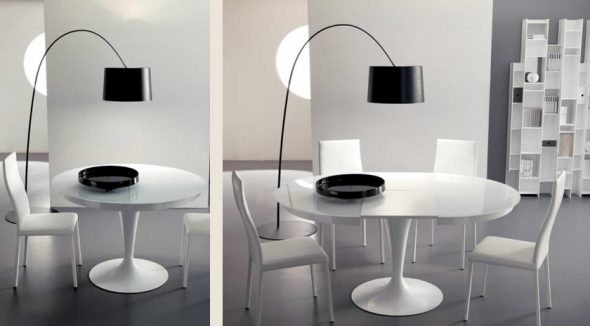
Next, we find out the number of legs. We can make a table with our own hands on one leg, two, three and four. All these models are stable (if designed and assembled correctly) and have a beautiful appearance. Here, everything depends on your own preferences and the functions of the product.
The type of construction also includes additional elements. Find out whether you need a drawer inside or a footrest, it may be enough to make one shelf under the lid of the product. In this case, the determining factor is the purpose.
In general, think everything through in advance, and start creating the drawing. It is at this stage that you can make adjustments or allow errors (they must be corrected on paper later!).
Important!
To avoid mistakes when designing a table, take the drawing seriously.
This stage is very important. If you cannot do it yourself, find a ready-made drawing on the Internet, adjusting the dimensions, or entrust this matter to a master.
Selecting the material
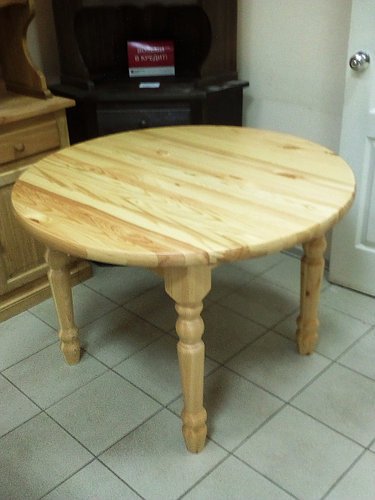
The most common material for making a table with your own hands is solid wood. That is, natural wood. The base can be pine, beech, oak, ash. Pine is most often used. It is easy to process and does not require special skills.
The next option is chipboard (chipboard). It can be used, but not for the entire table, only for some parts, such as the lid, drawers or shelf. The legs should be made of solid wood for stability and strength of the product.
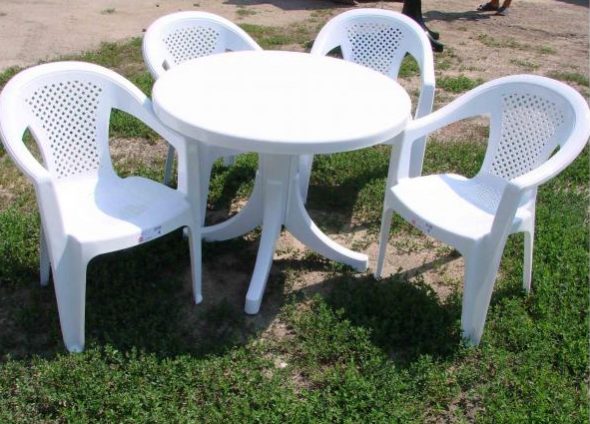
On summer playgrounds you can see plastic tables and chairs. They can be made with your own hands, but for this you need to buy the elements. And the creation of the table comes down to assembling the received parts.
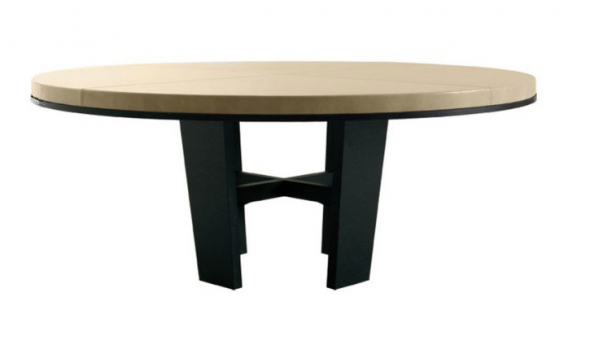
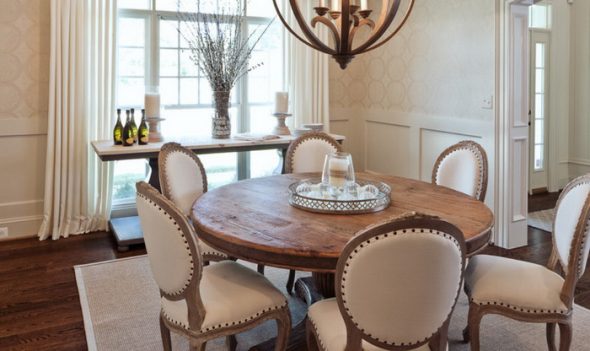
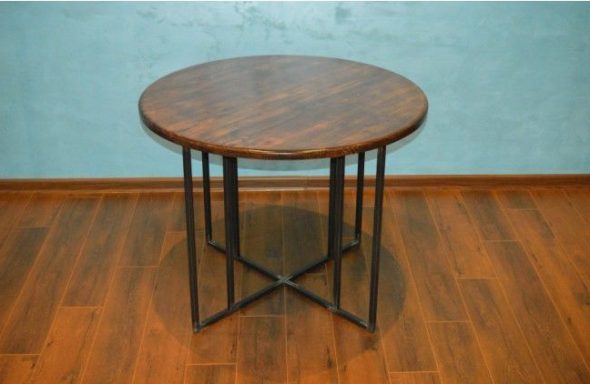
Metal is a common material among people who have welding skills and the appropriate tools. This base is strong, durable, and well suited for products located outdoors. But if you do not have the necessary skills, it is better to give preference to wood. A round table made of wood with your own hands will suit any design and does not require special skills to create.
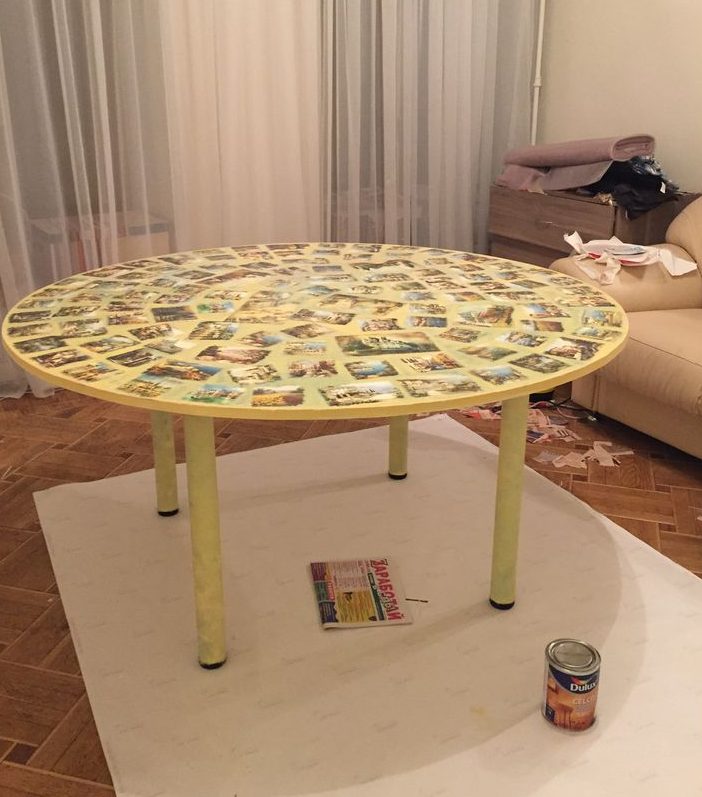
Selecting decor
This is also an important part and should be thought out in advance. Some types of decoration, such as burning, should be included in the action plan in advance, since the product should be varnished only after the decoration has been displayed.
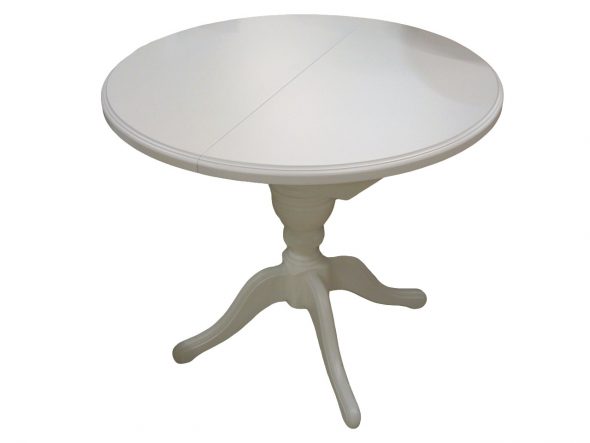
Choose a design depending on the purpose and location of the table. If it is a children's work area, make it bright, and it is better to refuse white. If it is intended for an outdoor gazebo, leave the color of natural wood, covering the product with varnish.
In general, the choice is yours. But do not forget that the decor should not interfere with the main function and should be in harmony with the surrounding environment.
Let's start making
We have decided on the main criteria and can proceed to a step-by-step analysis of the creation of the table. We will make a table from pine, as this is the simplest and most common option. But before assembly, there are still a few preparatory steps left to do.
Let's prepare materials and tools
Assembling the table will not be difficult if you do all the preparatory work correctly. First, you need to prepare the tools so you don’t have to look for them during the work process. The arsenal should include:
- roulette;
- pencil;
- jigsaw;
- a screwdriver or a drill with a set of drill bits;
- construction compass;
- clamps;
- grinding machine.
If you are missing any tool, be sure to buy it or borrow it from a neighbor, because without proper preparation you will not get a good product.
You will also need the following materials:
- pine boards (for the lid);
- pine blocks (for legs);
- self-tapping screws;
- wood glue;
- metal corners;
- wood varnish;
- wood treatment agent;
- paint (if the design involves it).
Now that all the preparations are complete, we can proceed to the main stage of the work.
Assembly process
For a simpler and quicker explanation, we will describe the work step by step.
Important!
The table elements are coated with a water-repellent agent before installation.
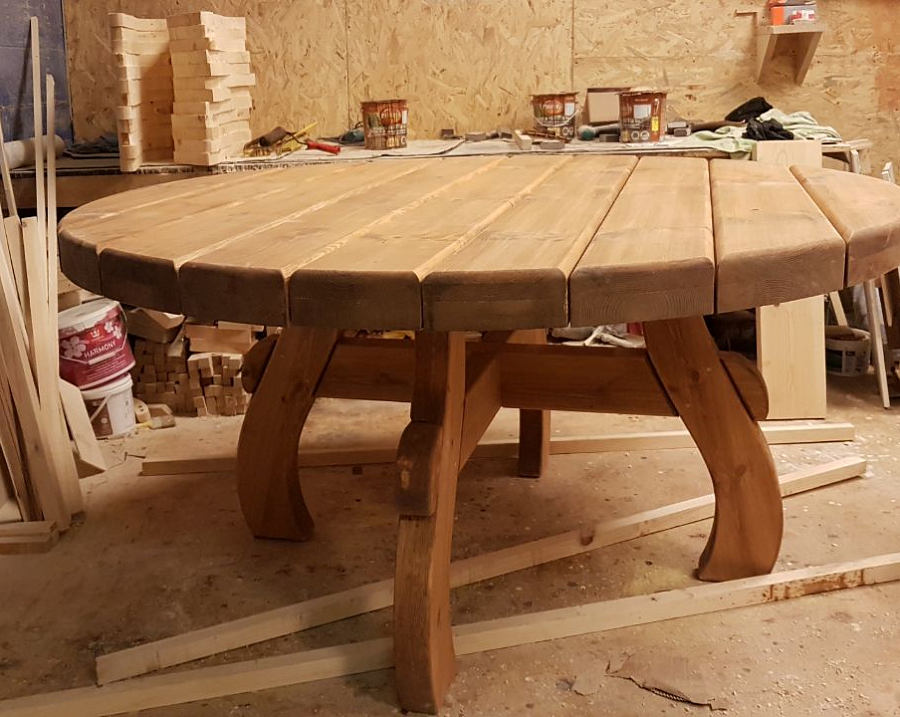
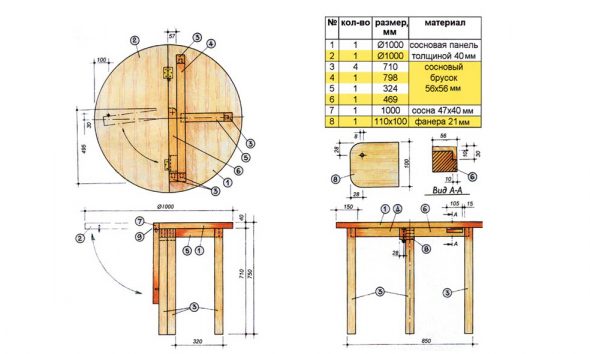
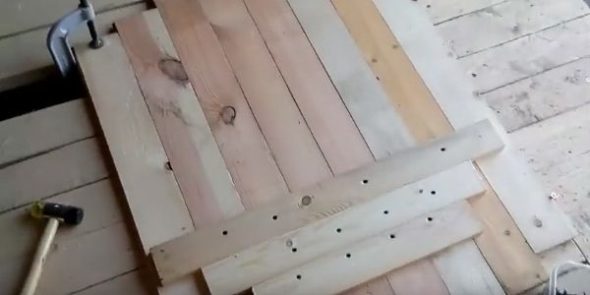
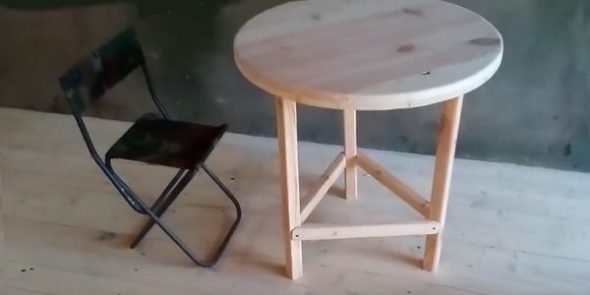
- Make a lid. To do this, glue the required number of pine boards together with wood glue and secure them with clamps. After the glue dries, draw a circle on the resulting square. Cut the circle along the outline. Here is the base for our table.

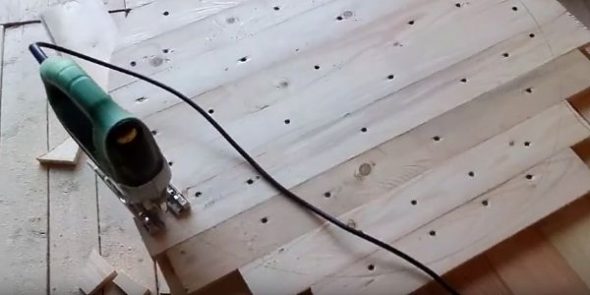
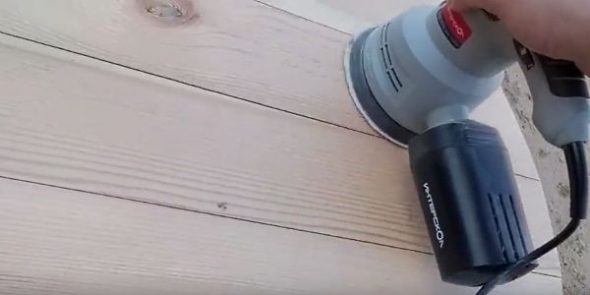
We coat the sides of the boards with wood glue and place them next to each other, fastening the structure with clamps. We draw a circle of the table top using a construction compass - Sand all edges of the lid and its surface. If necessary, start sanding the edges with sandpaper.
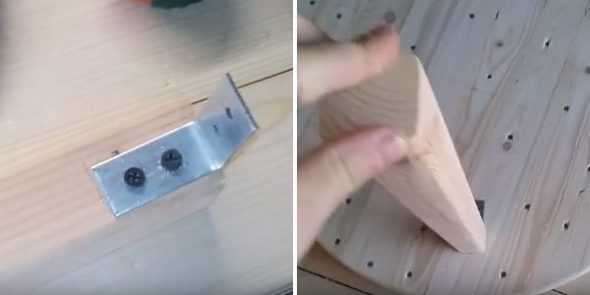
We process all surfaces of the tabletop with a grinding machine - Take 3 bars of the same length and secure them with corners and screws on the back of the lid at the same distance from each other.
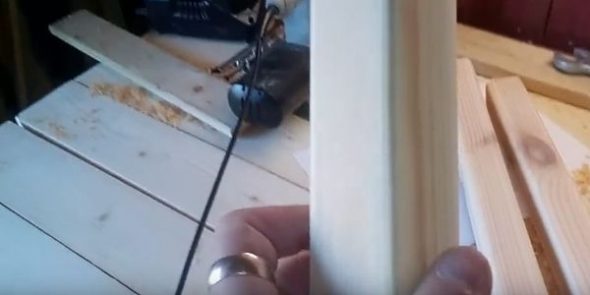
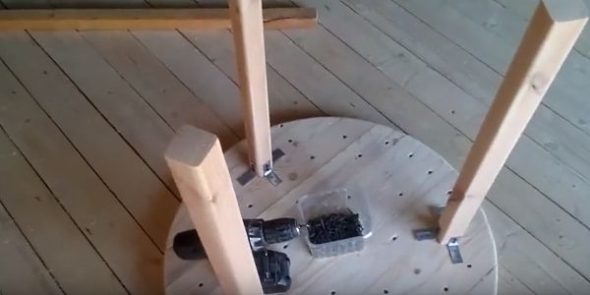
We cut the required length of the timber for the legs and round off all the corners. We attach a metal corner to each leg on three sides, necessarily in the same plane We attach the legs to the tabletop with screws - We attach crossbars between the legs to ensure the strength of the product.
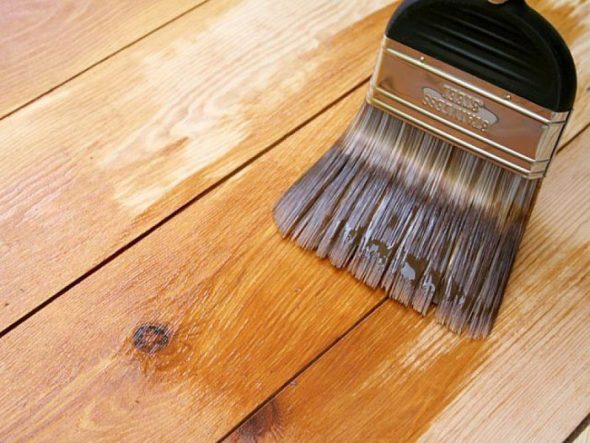
We make crossbars from bars of the same or smaller size and attach them to the legs with self-tapping screws. - Cover the surface with 1-2 layers of varnish.

We treat the table surface with varnish
We hope that now you have no questions left about how to make a round table. As you can see, it is quite simple. All that is left is to apply the final touch by choosing any design. Leaving the product unpainted will highlight its natural beauty. This option will be better than the others, and it has recently become increasingly popular. Do not forget that the design should be written down in the preliminary work plan. This will help to avoid surprises and will make the process much easier.
Video: How to make a round table.
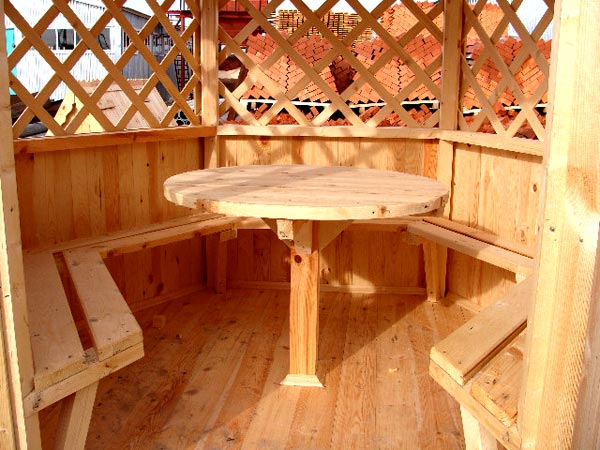
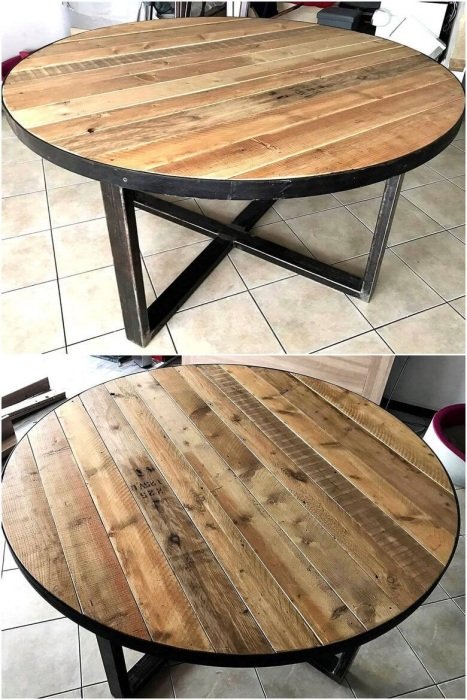
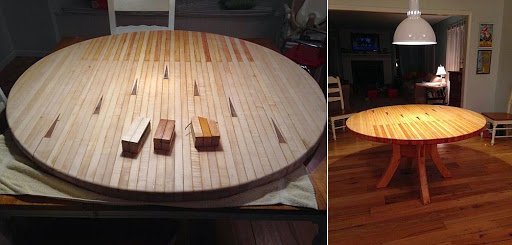
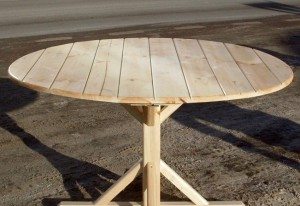
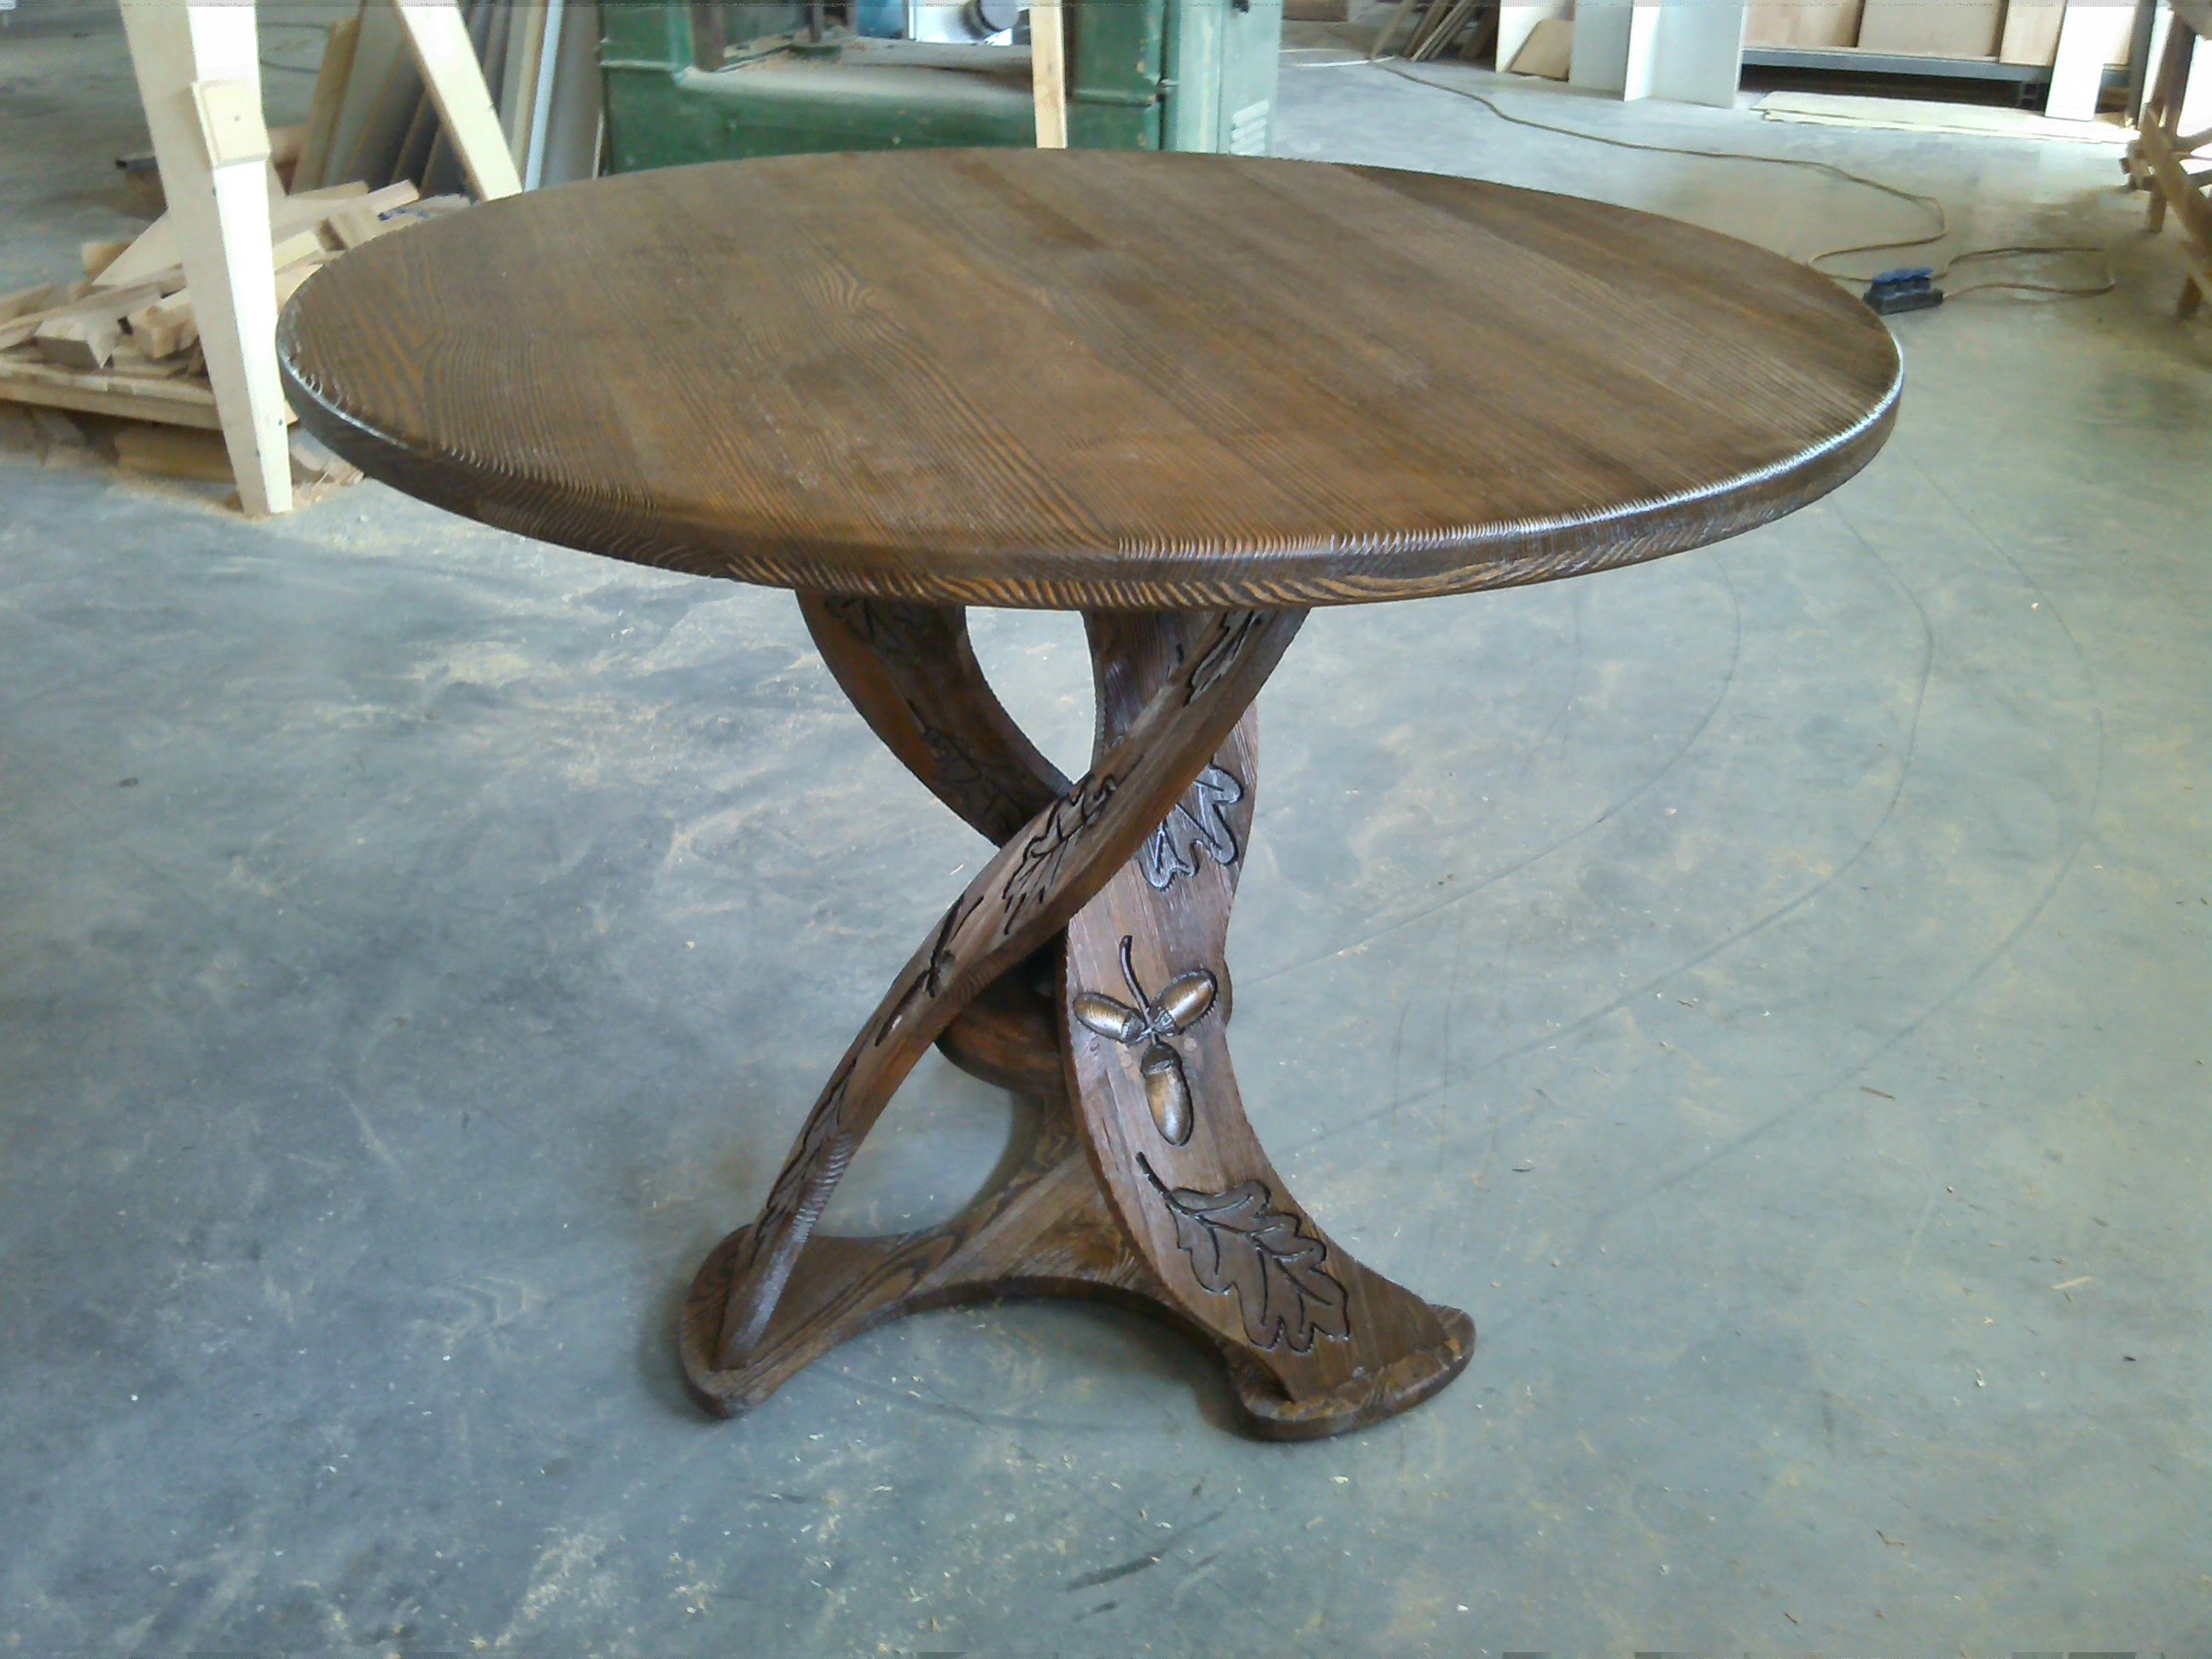
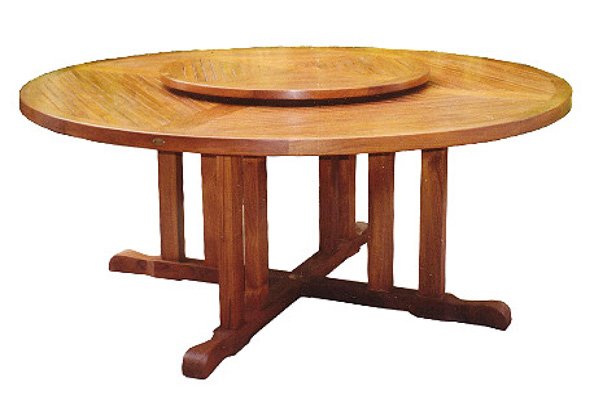
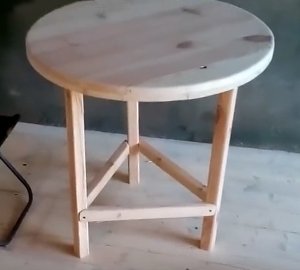
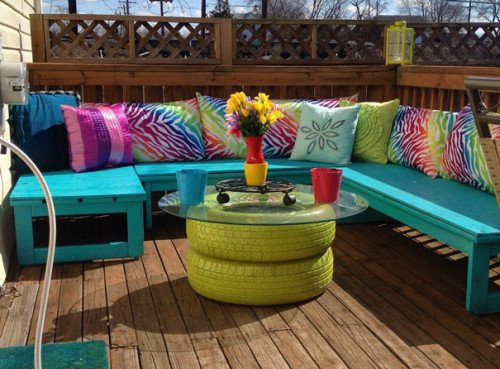
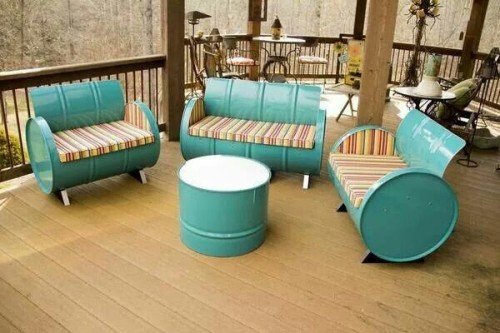
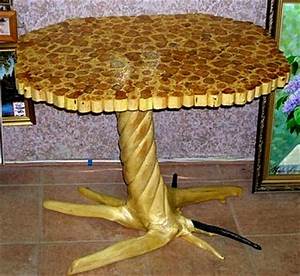
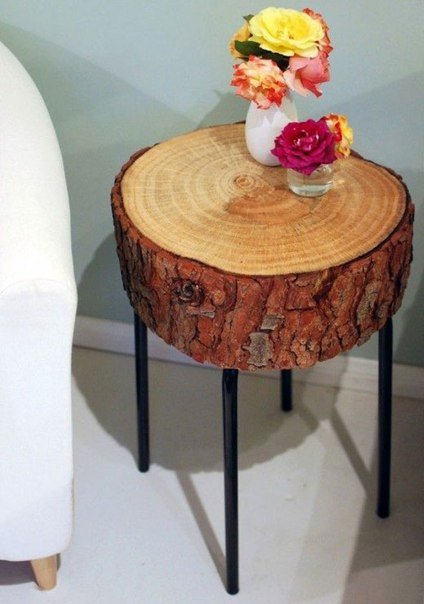
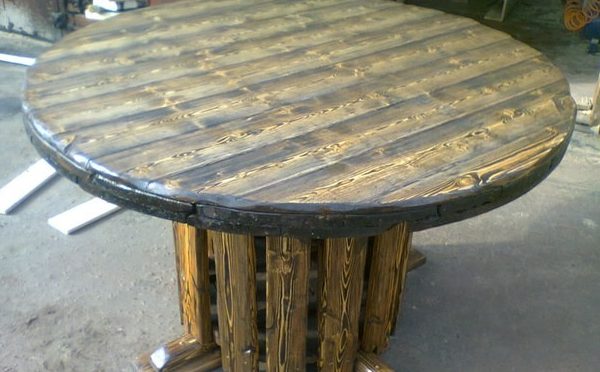
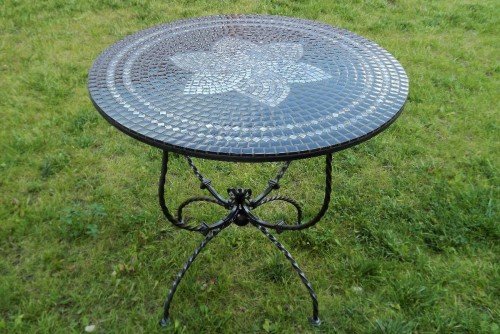
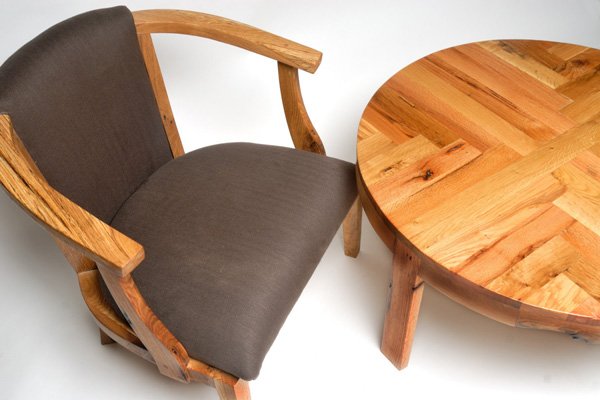
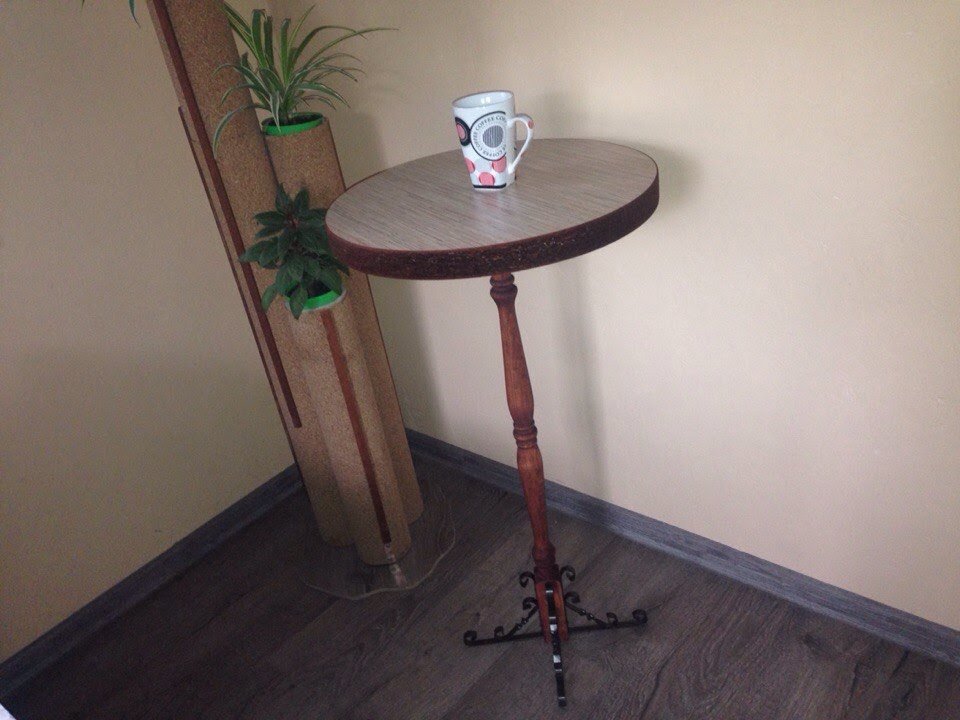
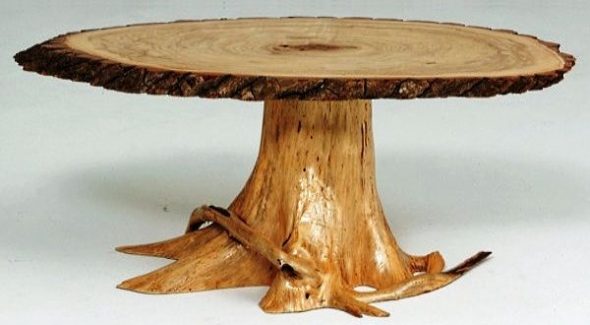
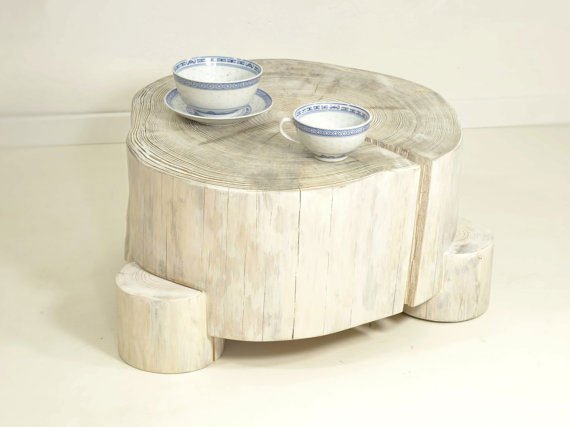
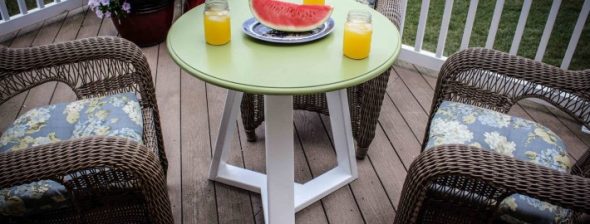
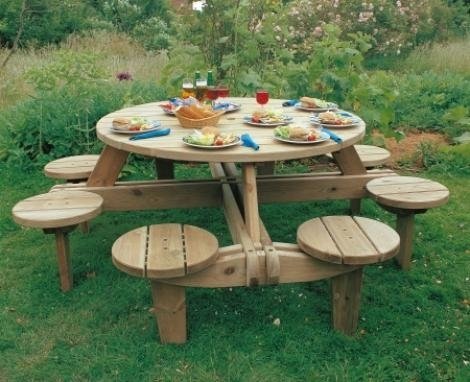
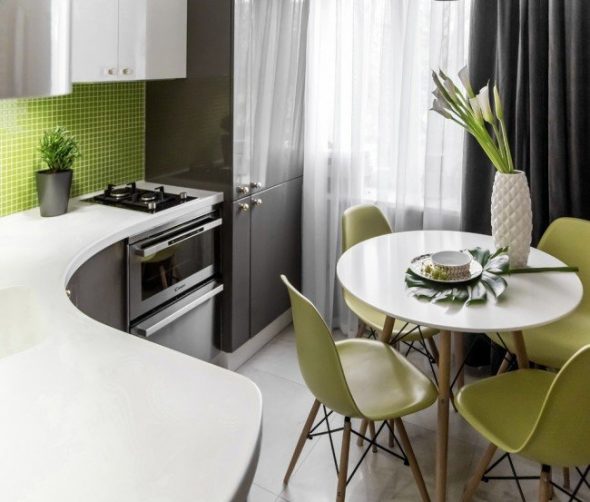
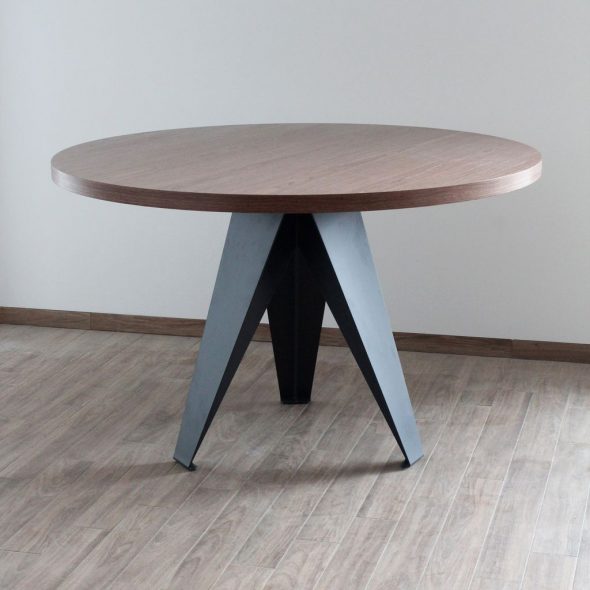
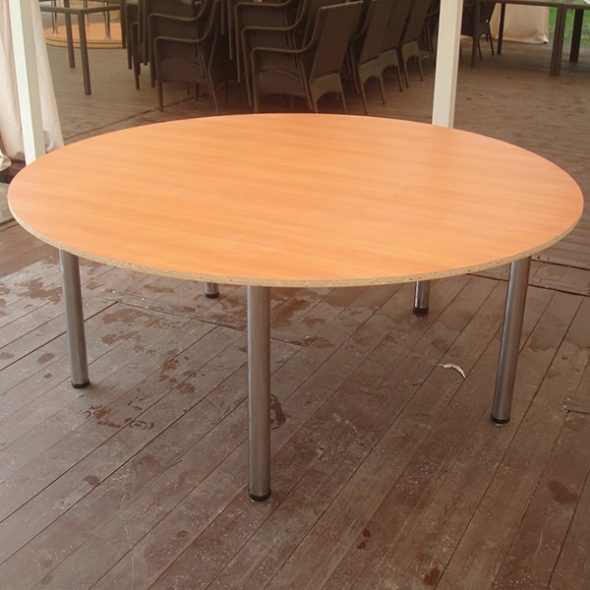
Ideas for making round tables and using them in the interior of the house and outdoors: