You can make a folding table with your own hands, designing and implementing its appearance yourself, while saving a significant amount of money. However, you should not stop at a standard model, you should select a table design for your home, modify and improve it, thereby developing your skills.

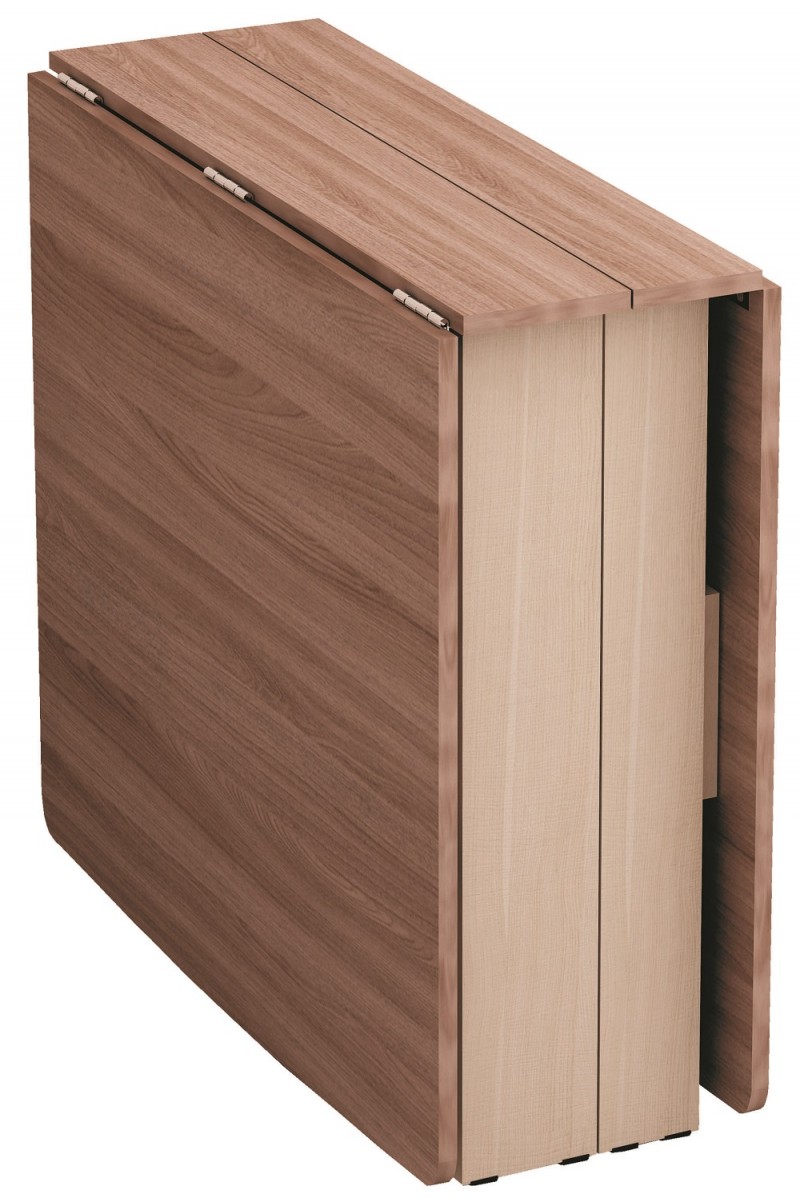
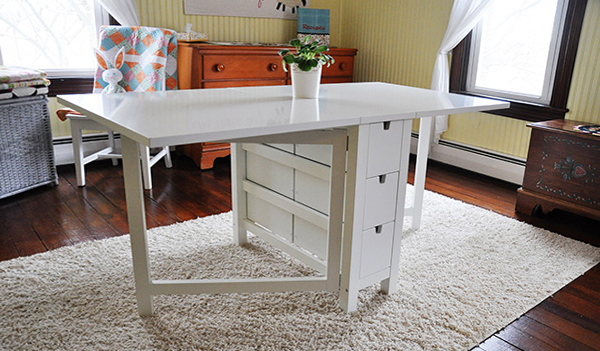
A folding table is a portable compact piece of furniture that can be transformed into a standard-sized table with a few simple operations. This type of furniture is perfect for studios, lofts, and simply small apartments whose owners try to organize the space around them as compactly as possible.
Nowadays, furniture stores offer a huge selection of different folding tables. However, there are reasons why people prefer to make furniture with their own hands rather than buy it.
- Furniture quality. Not everything that comes off the conveyor belt is of high quality. Material, coating, fittings, fasteners – all of this should be paid attention to when buying a table, so as not to regret the money spent later;
- Price. The second reason follows from the first. As a rule, high-quality, well-made furniture has a corresponding price. Between the factors influencing the purchase of "price-quality", people often choose "price", due to their wealth, buying a lower-quality, but cheaper product.
- Appearance. Despite the wide range of folding tables in stores, choosing the right one for a particular apartment can be a big problem. Size, shape, color, fittings - many find it easier to make their dream come true, to do everything with their own hands, rather than continue to look for the ideal piece of furniture.
And you can make a folding table yourself without having any special skills. However, before you start making it, you should think through everything down to the last detail.
Content
Design
There are many types of folding tables.
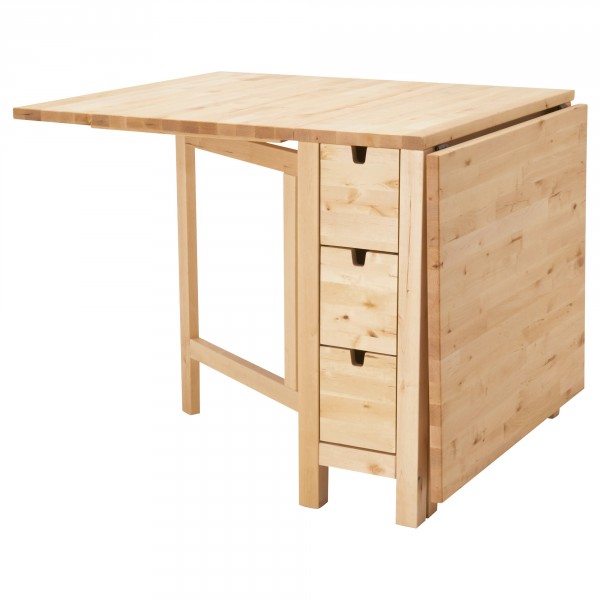
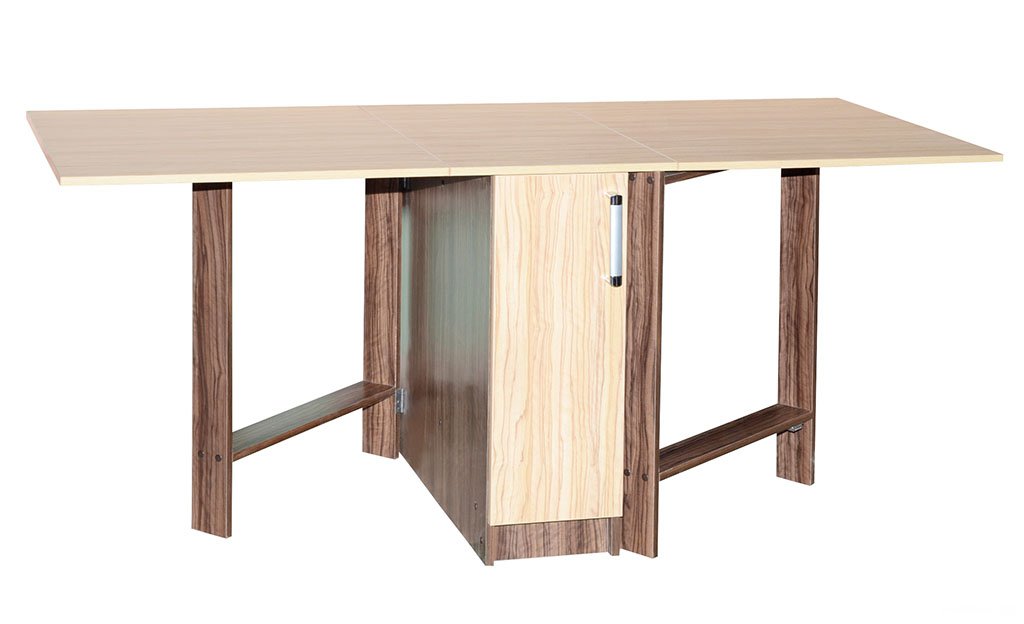
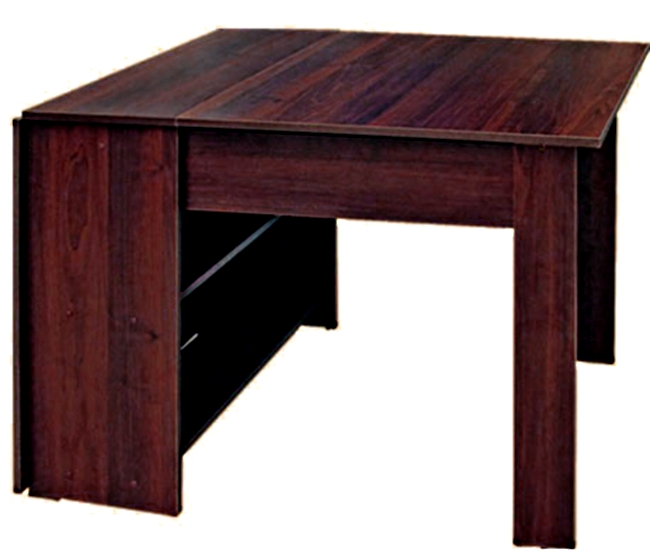
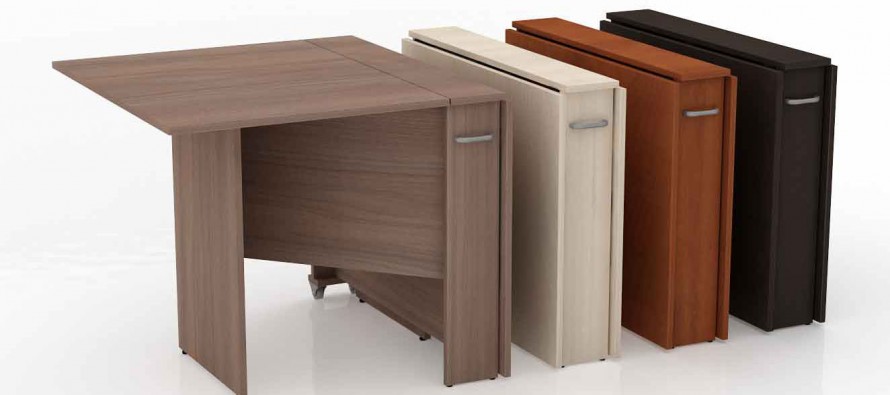
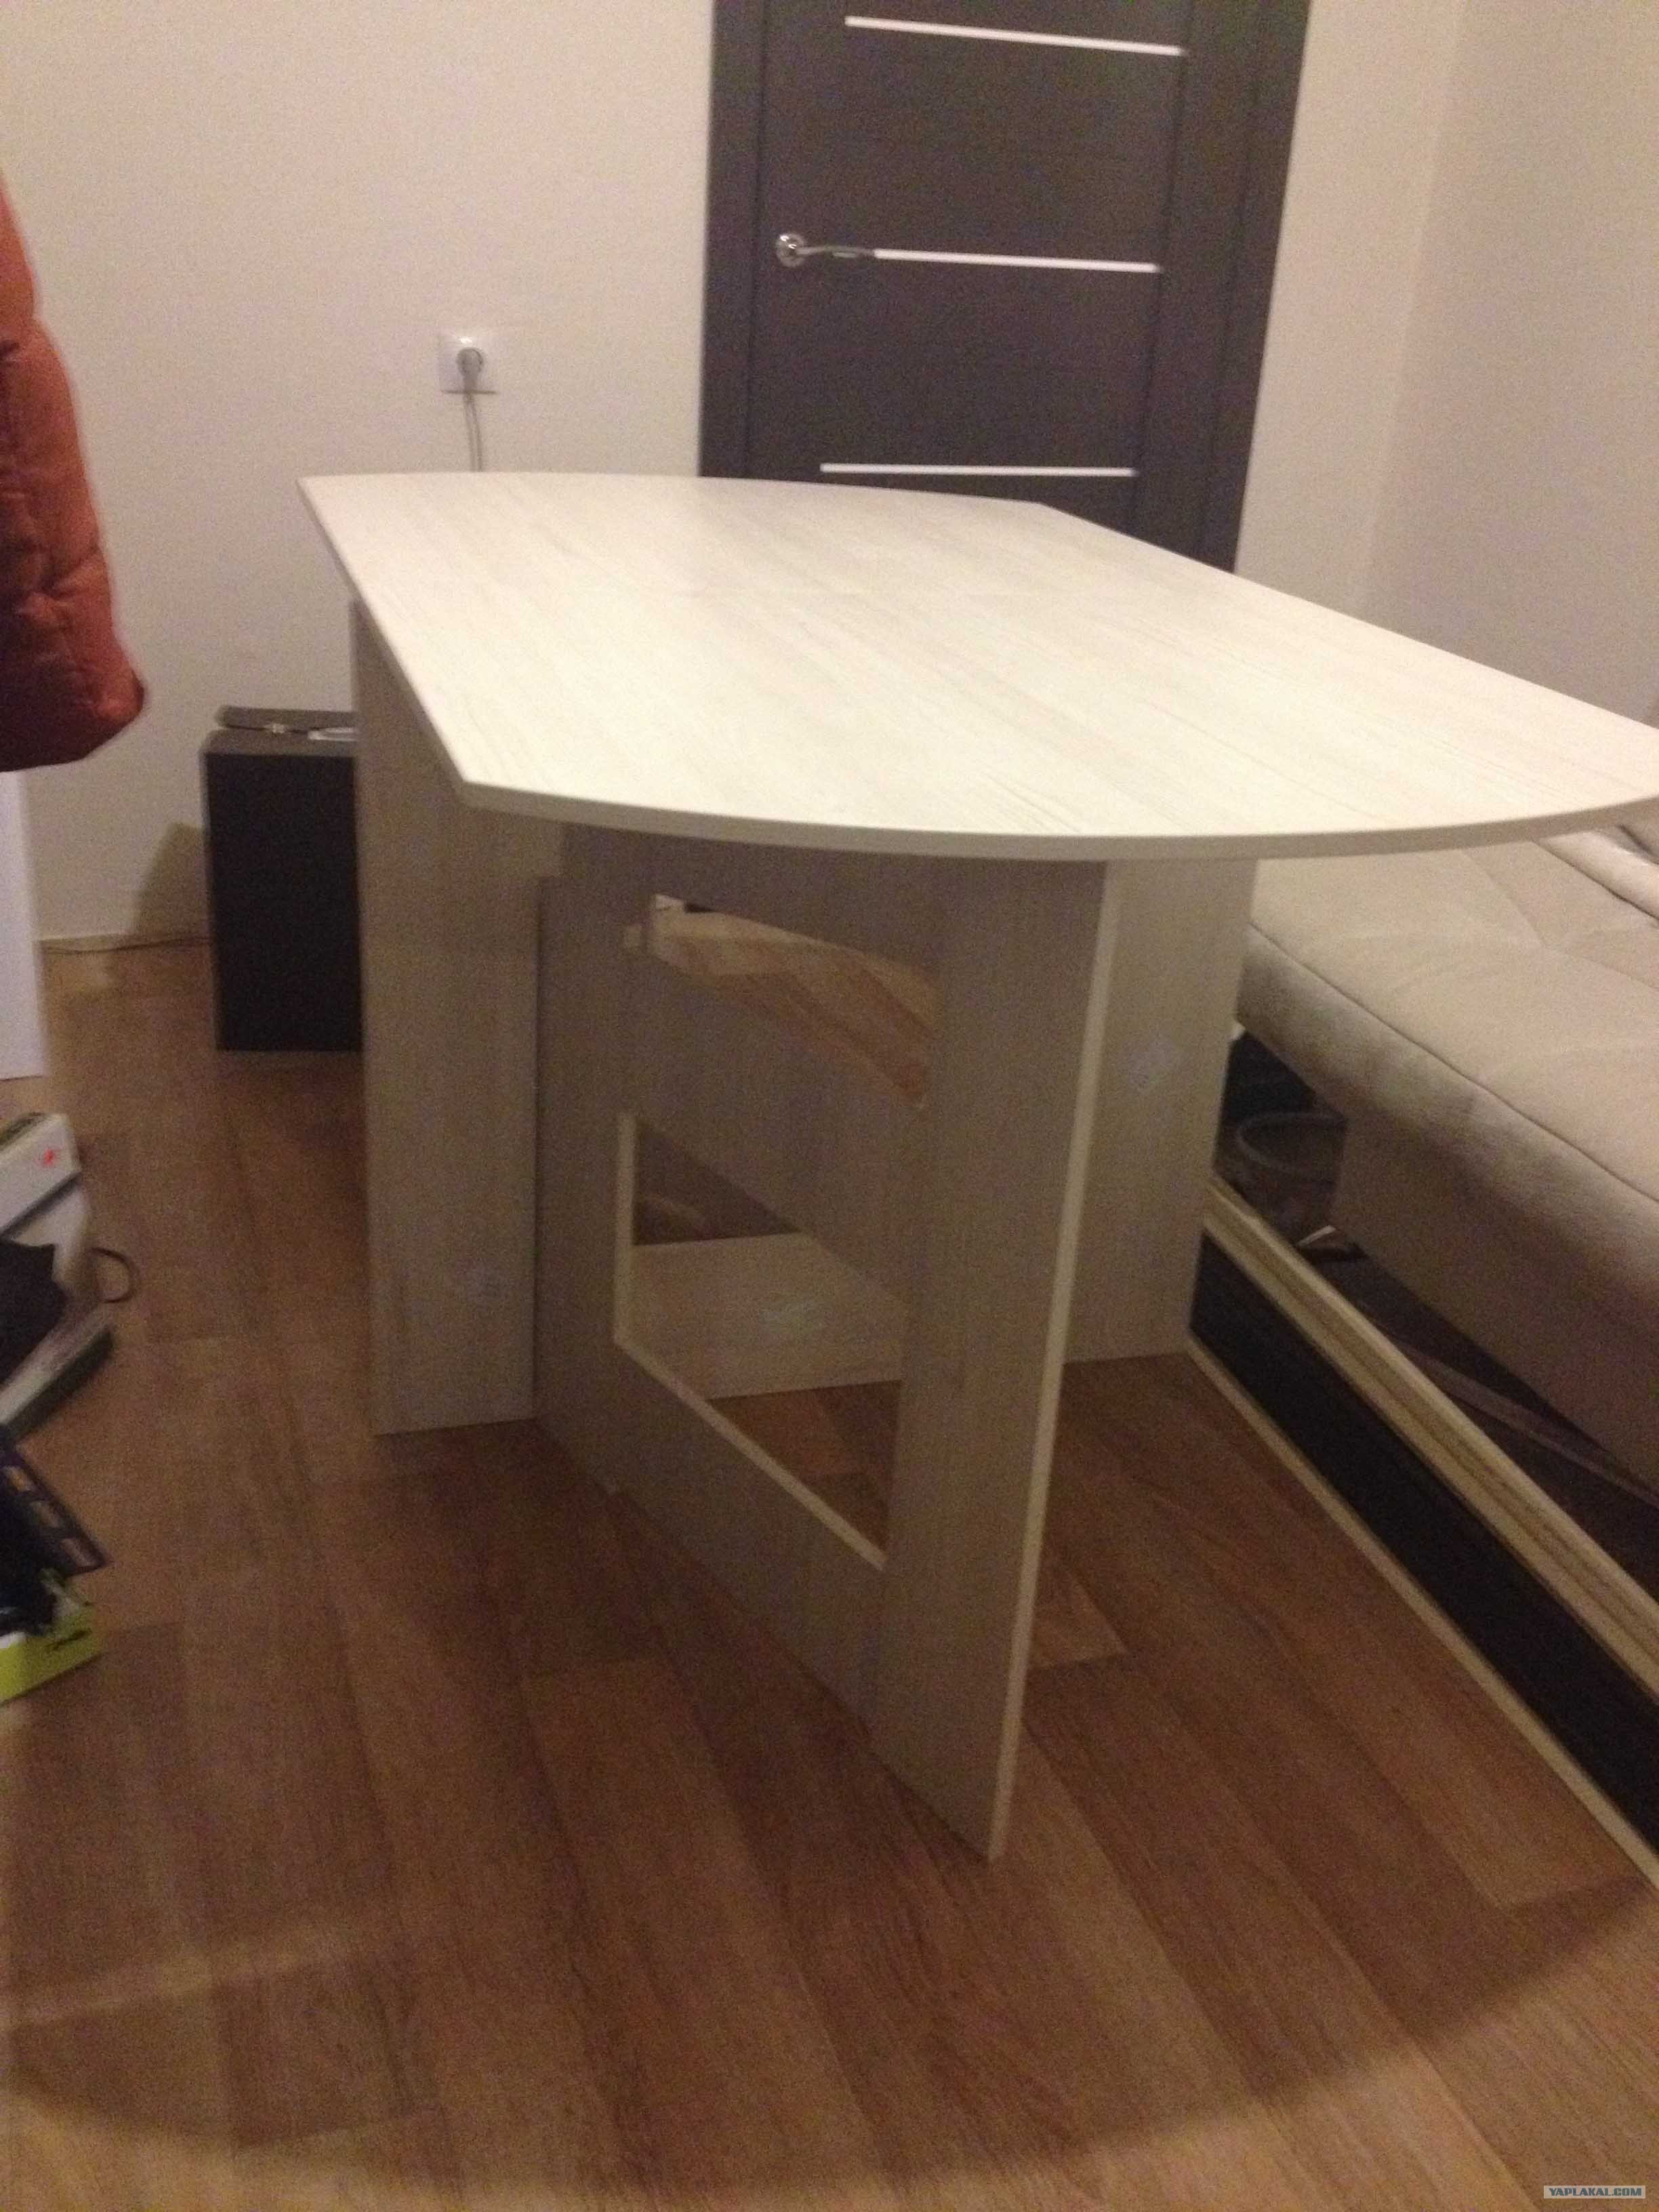
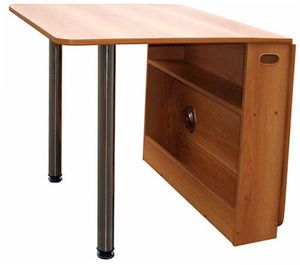
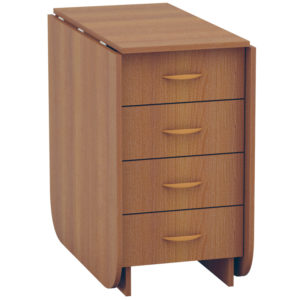
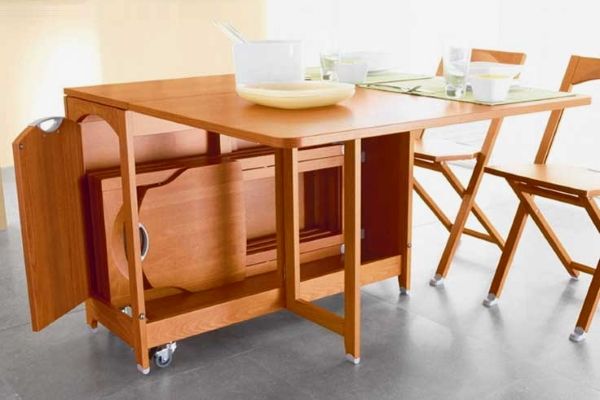
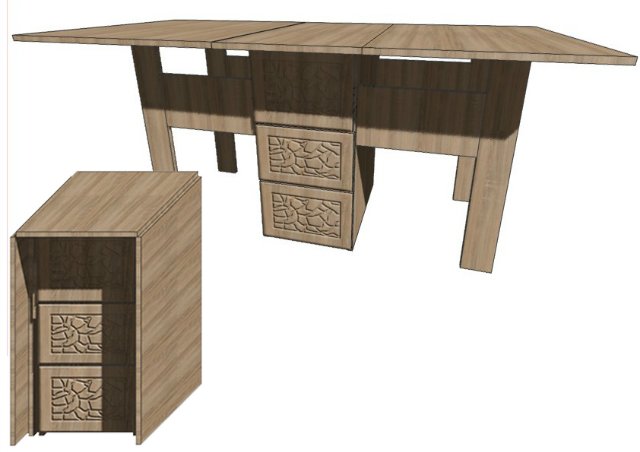
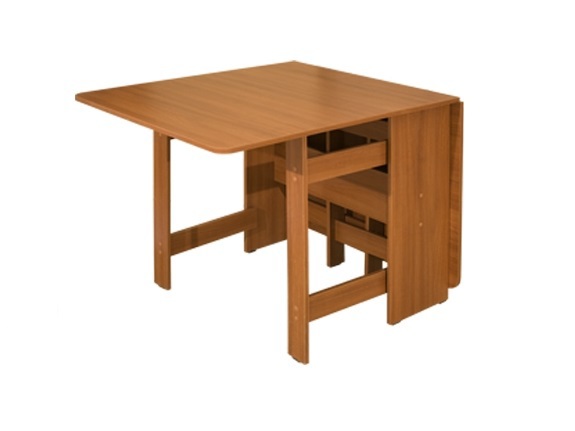
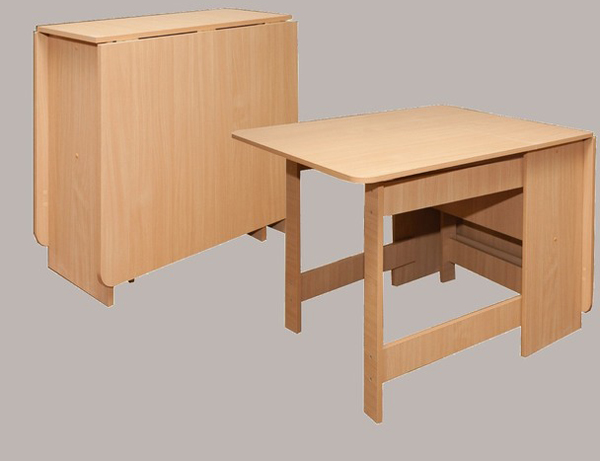
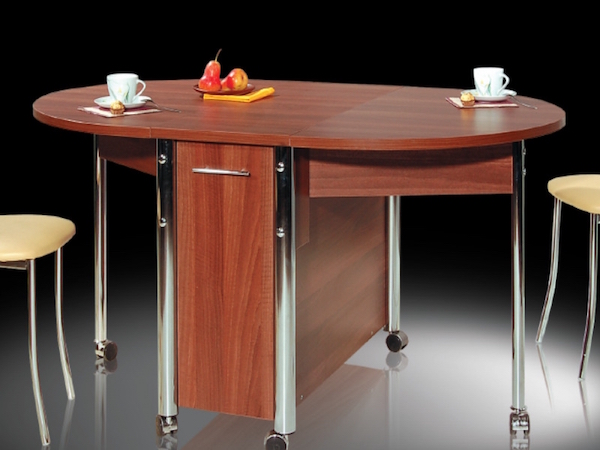
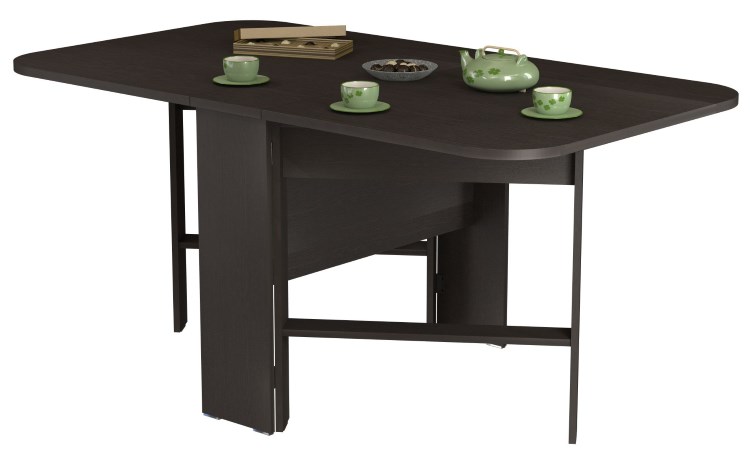
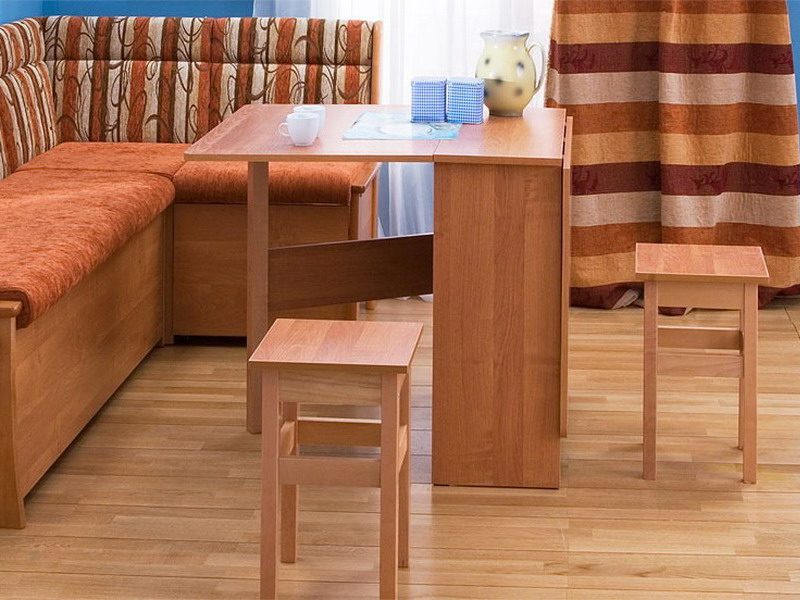
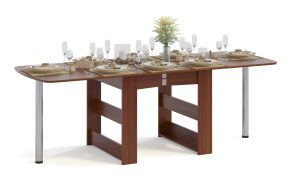
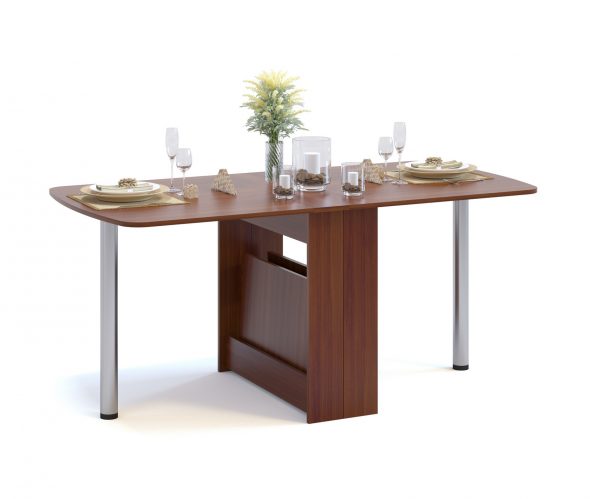
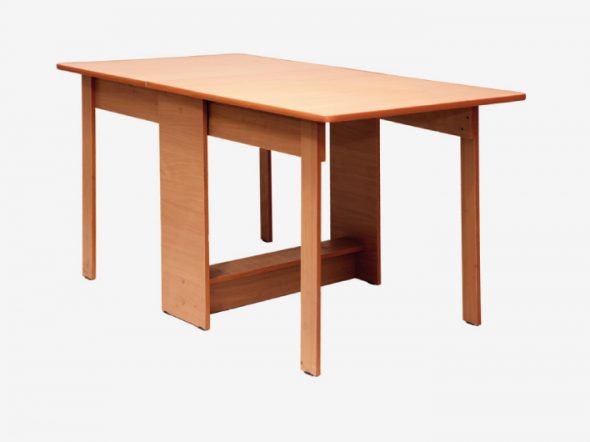
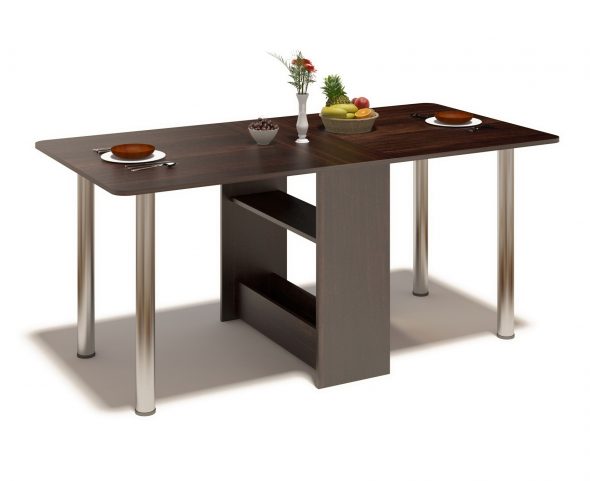
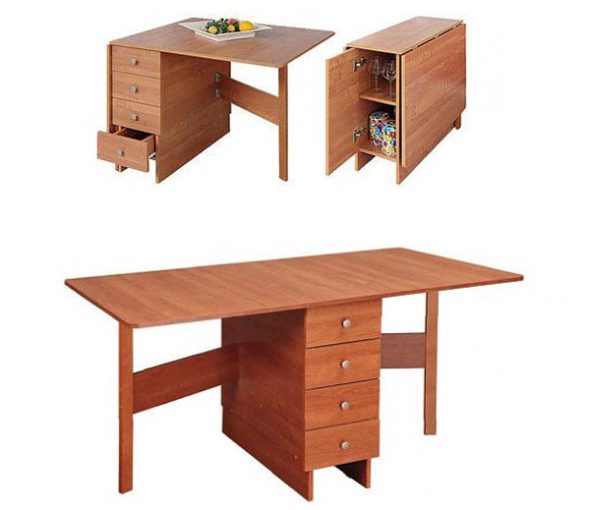
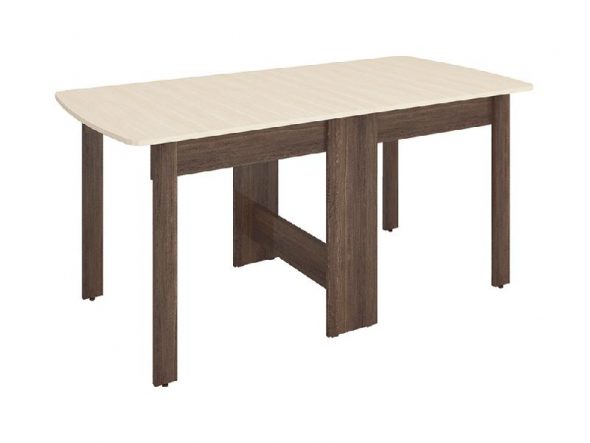
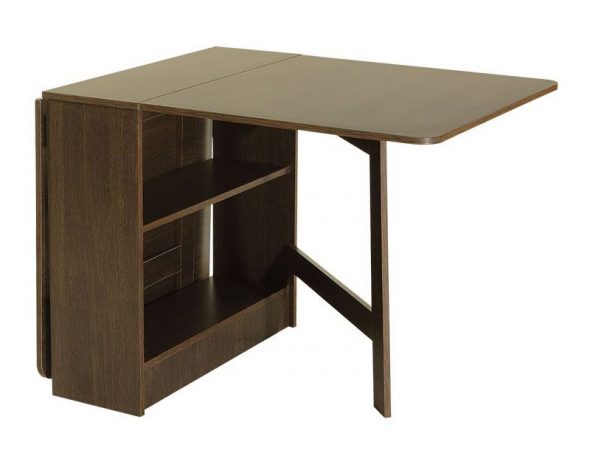
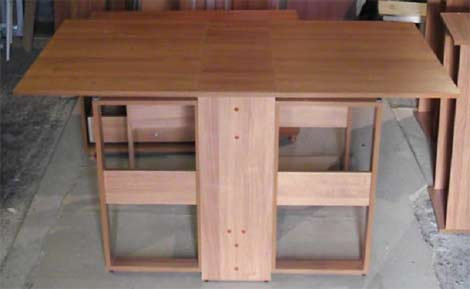
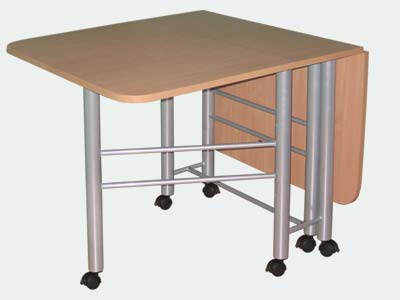
- The simplest one consists of a central part, a tabletop – one or two, and legs. Usually, when folded, the legs are hidden under the central part, and parts of the tabletop cover them from the side. At the right moment, the lid unfolds and rests on the extended legs.
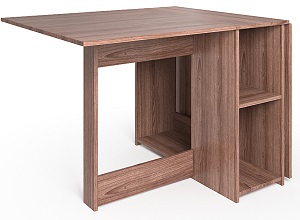
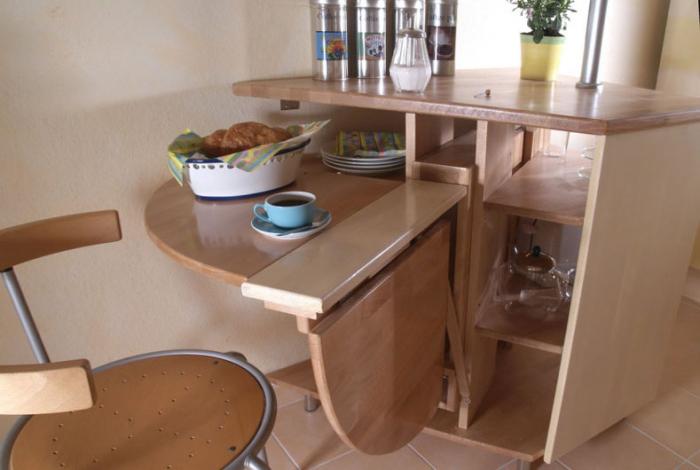
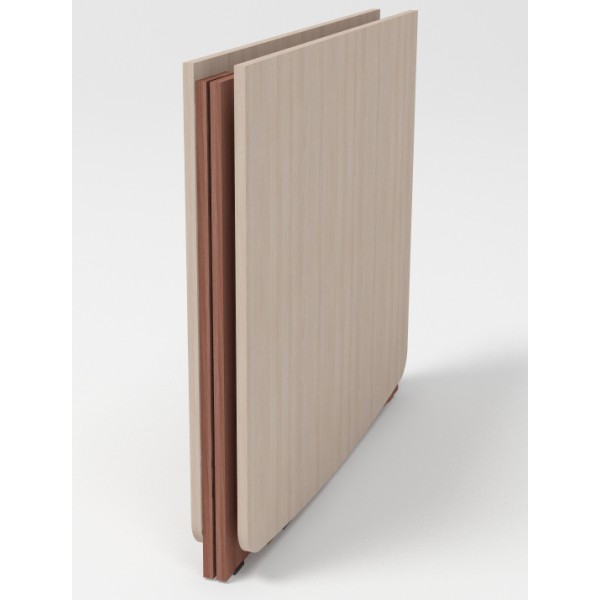
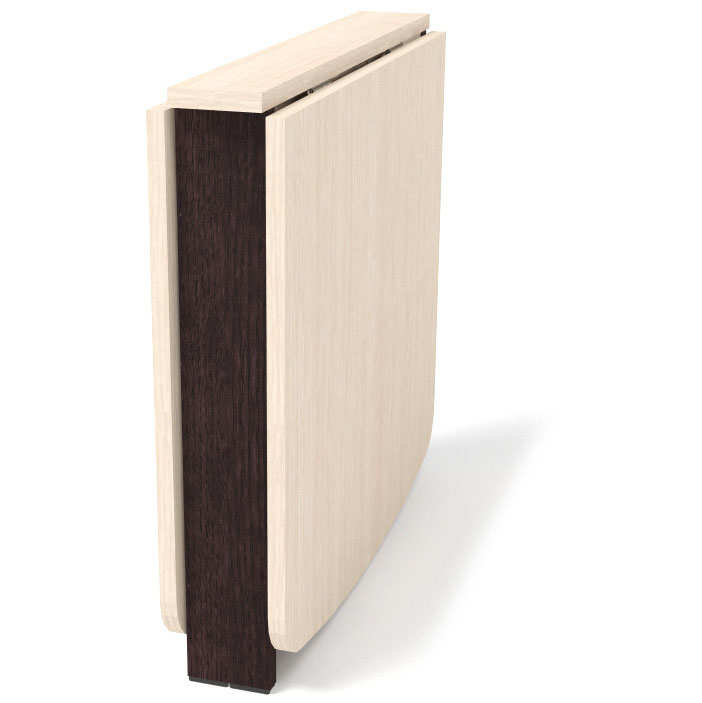
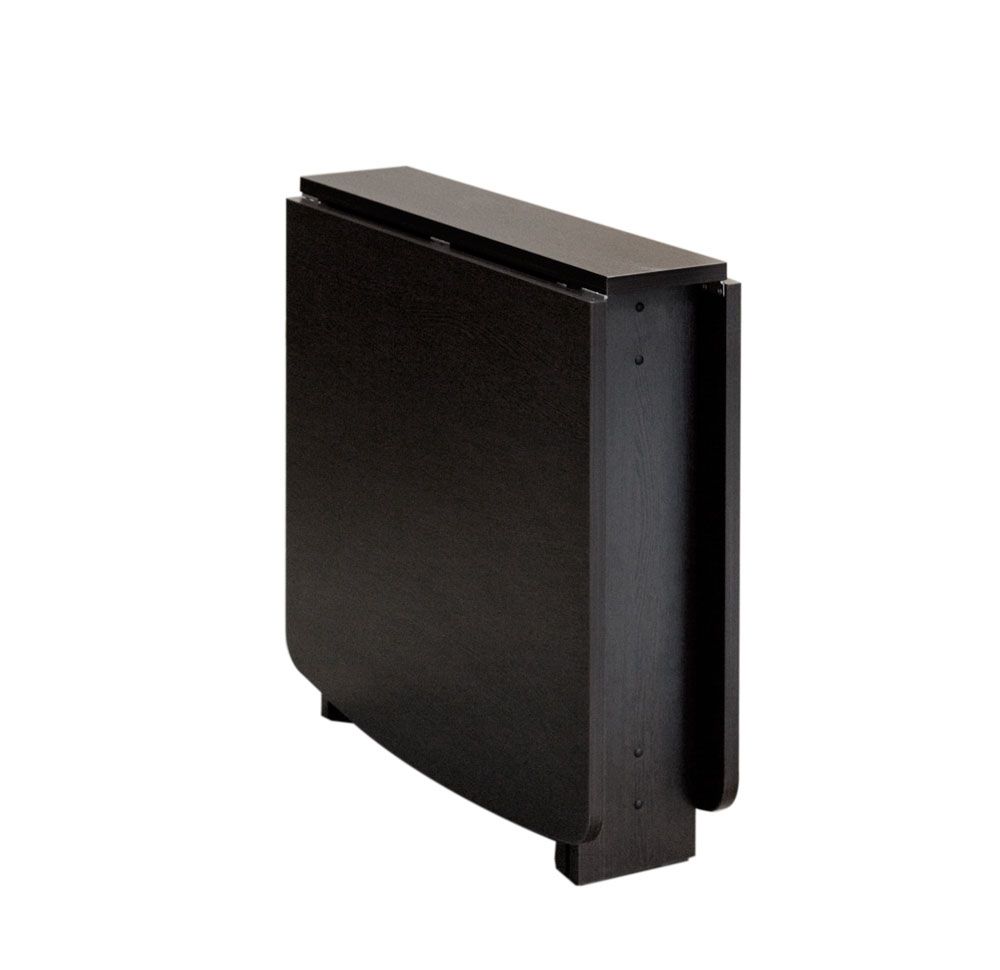
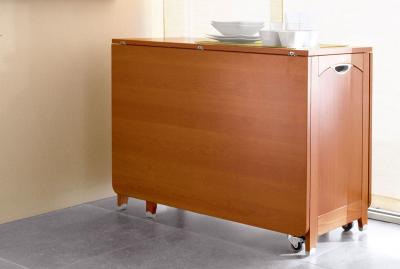
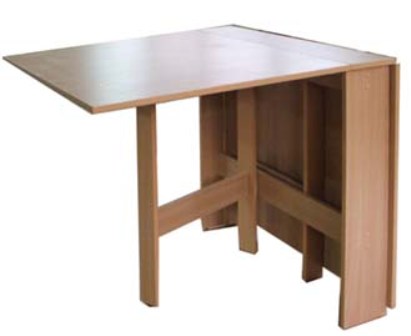
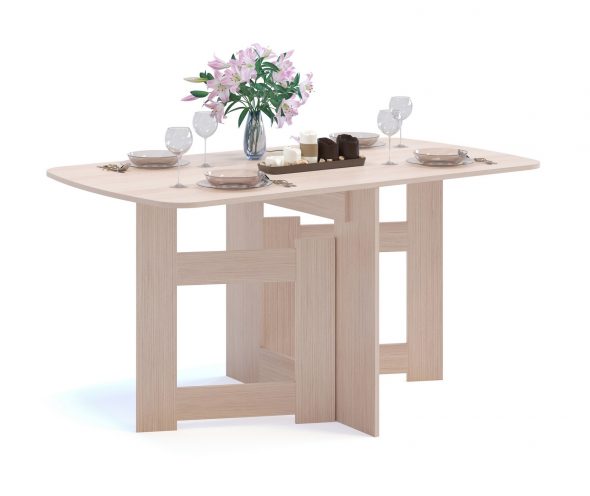
- Folding tables without a central part are smaller in size, but more compact when folded. Such tables take up little space, require little material, and can be made by hand.
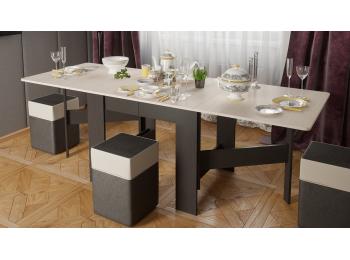
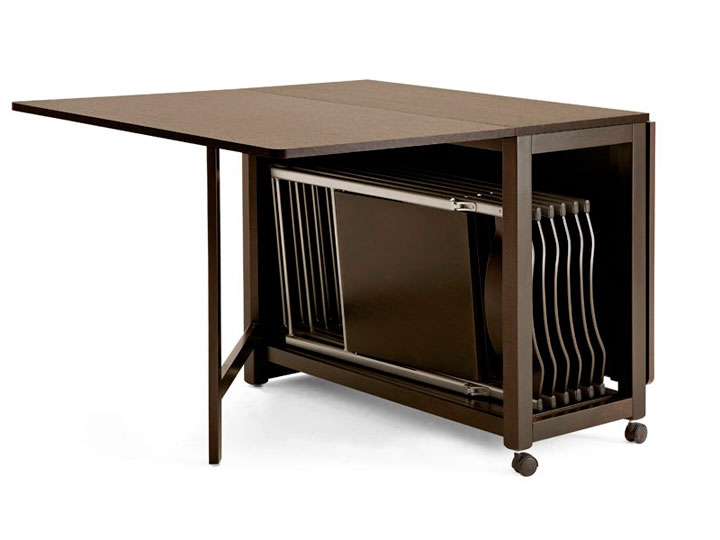
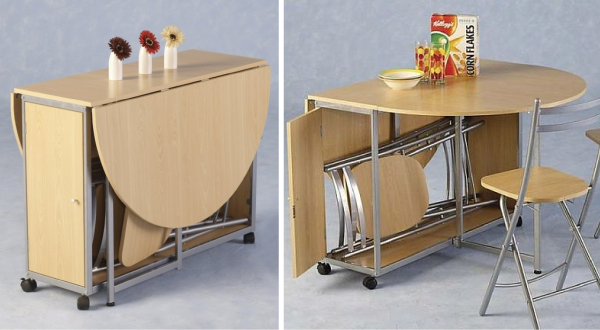
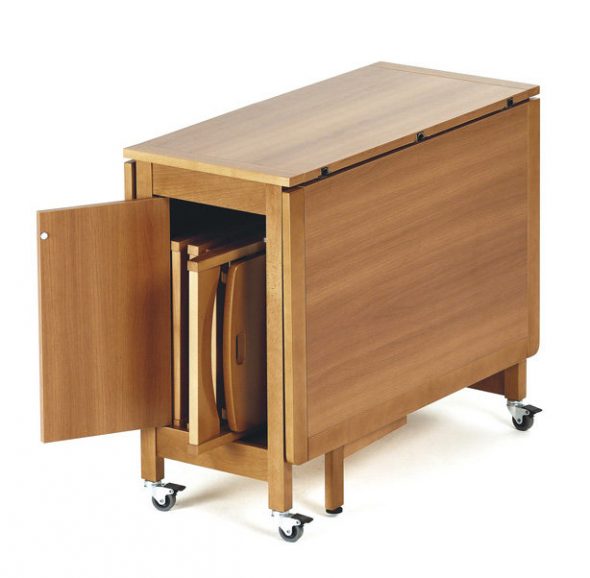
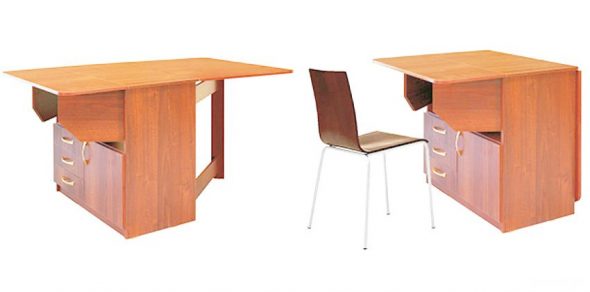
- Tables with folding chairs hidden under the tabletop. This set is a great solution for a studio apartment. Similar, more intricate furniture elements require more material to create, certain skills, and a larger area of the room.
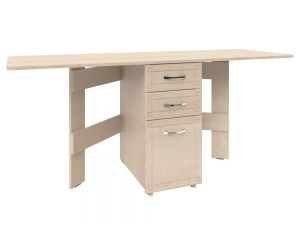
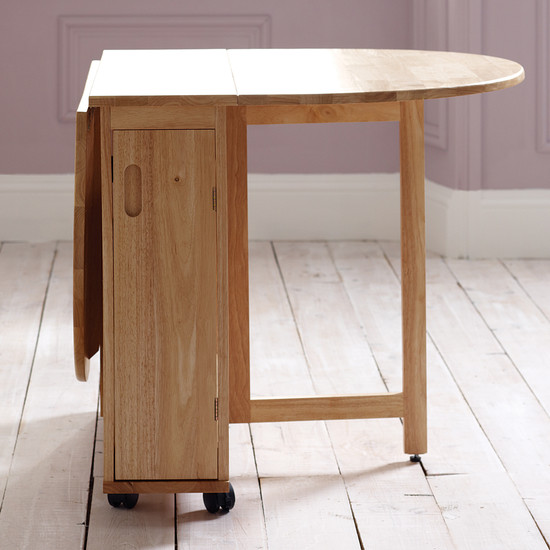
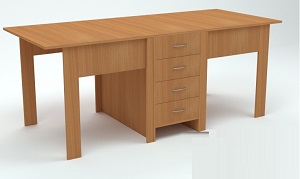
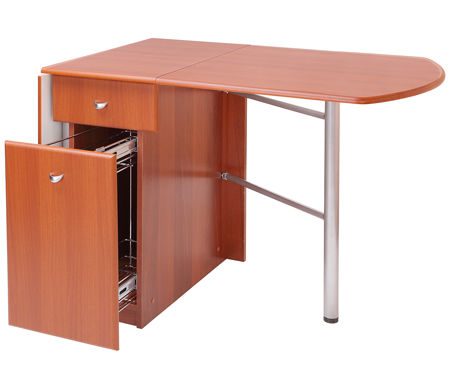
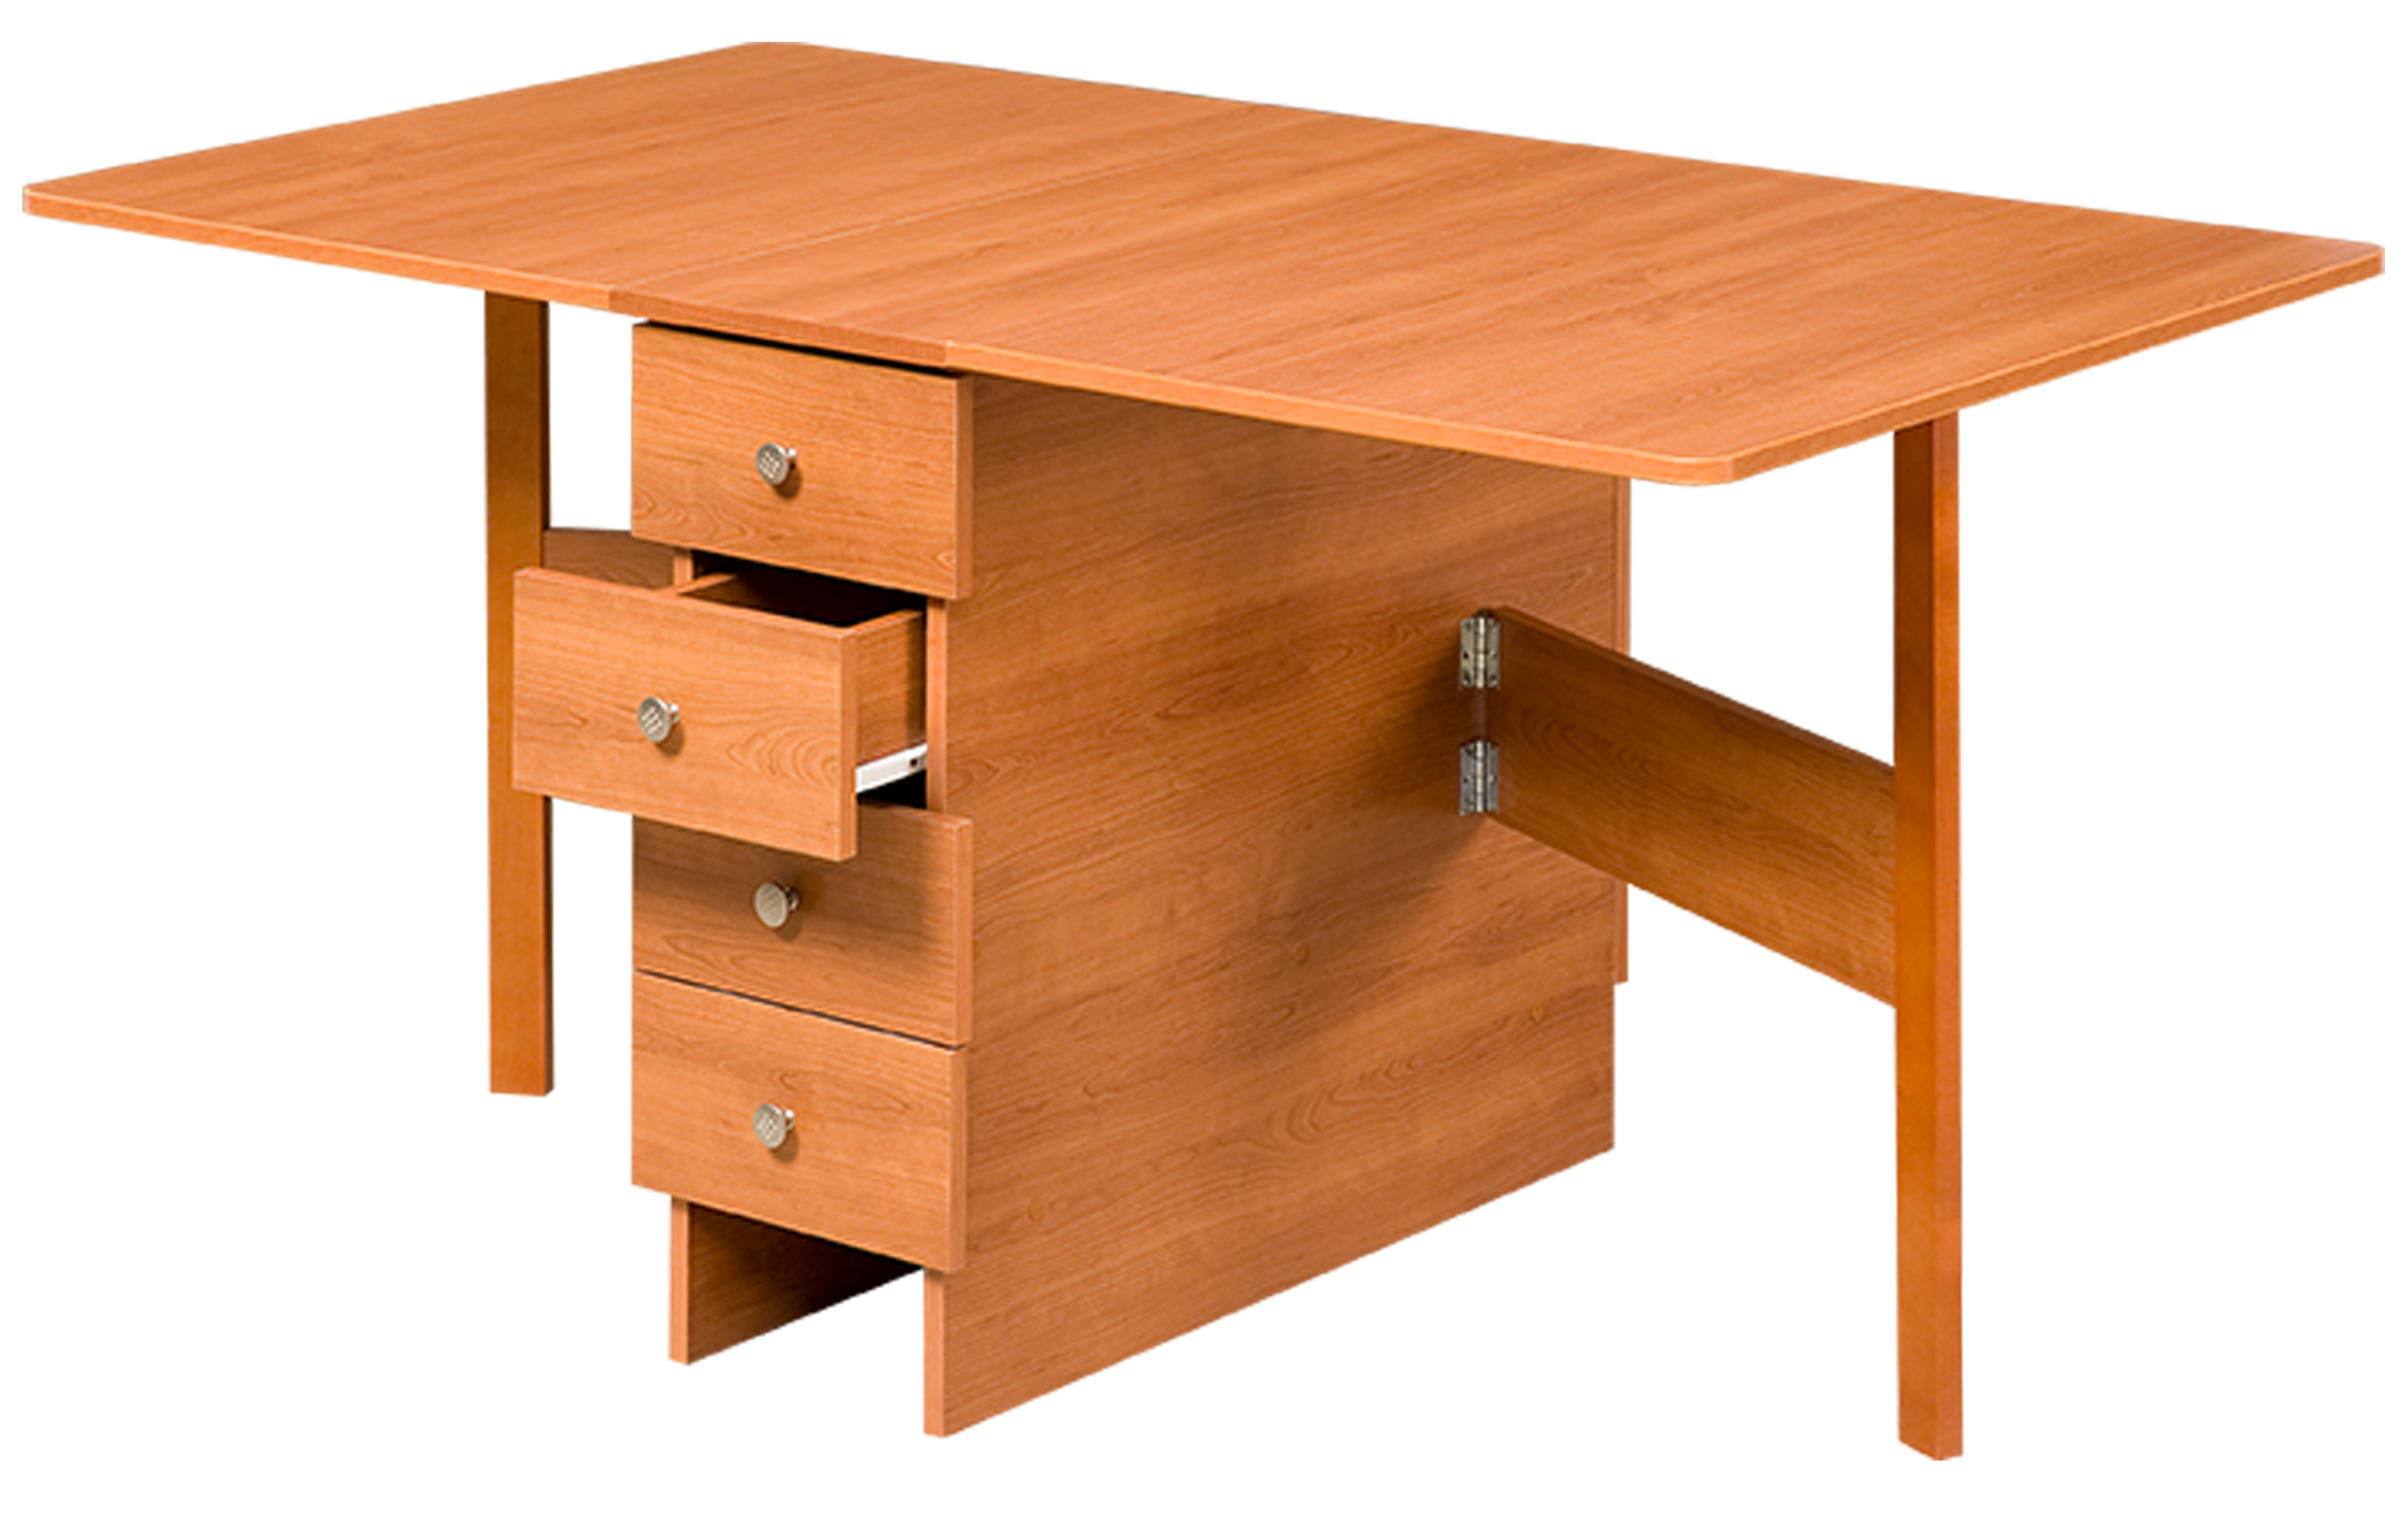
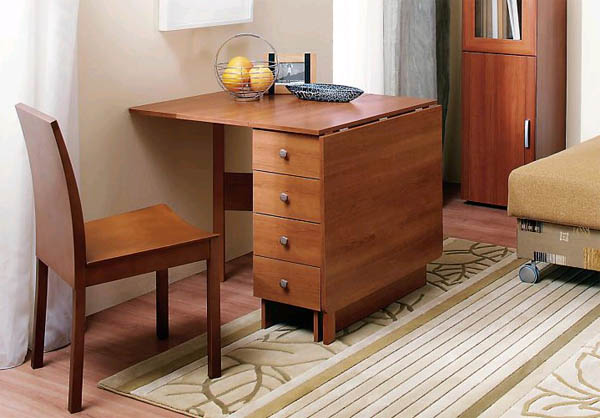
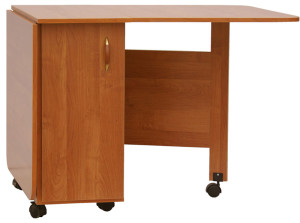
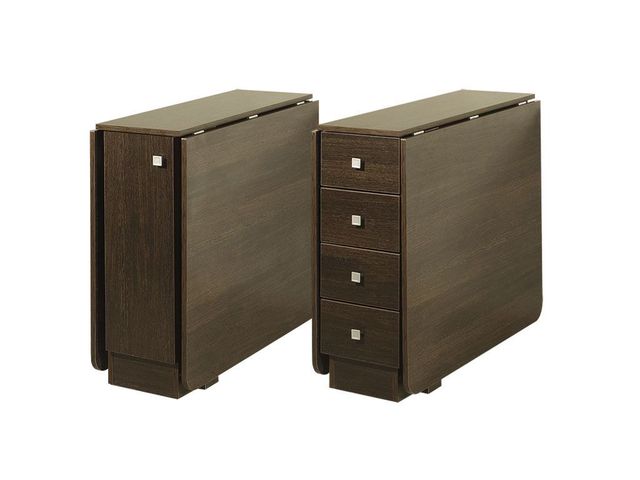
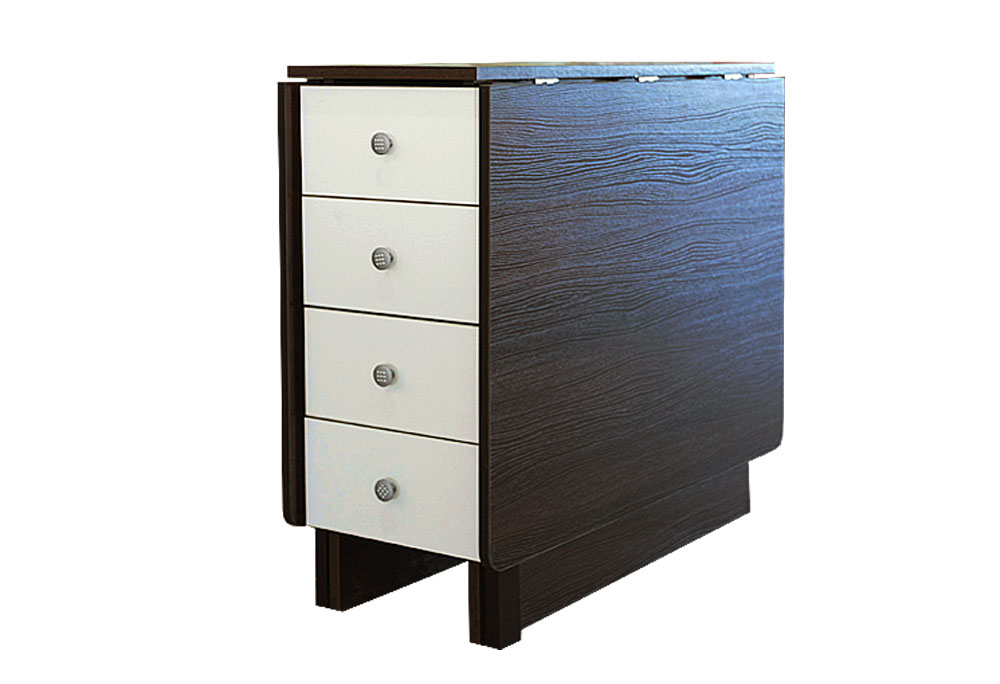
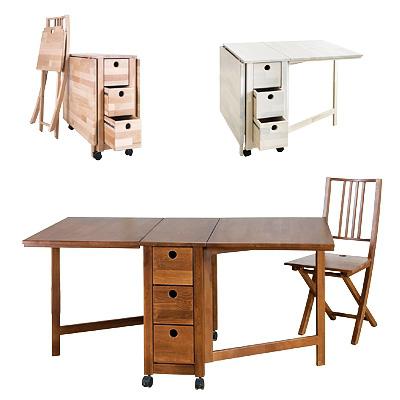
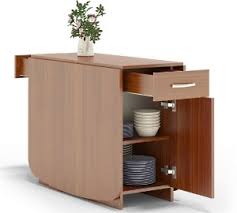
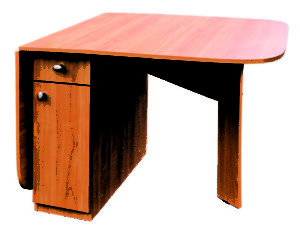
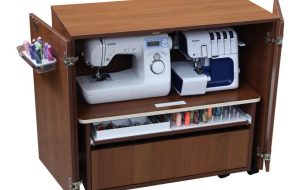
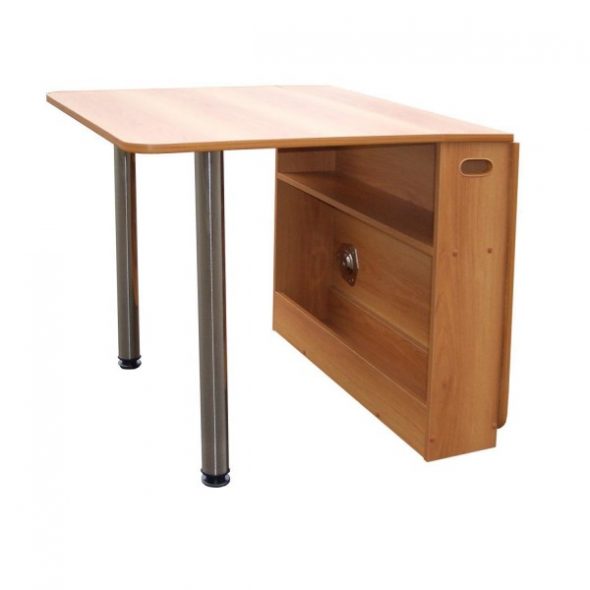
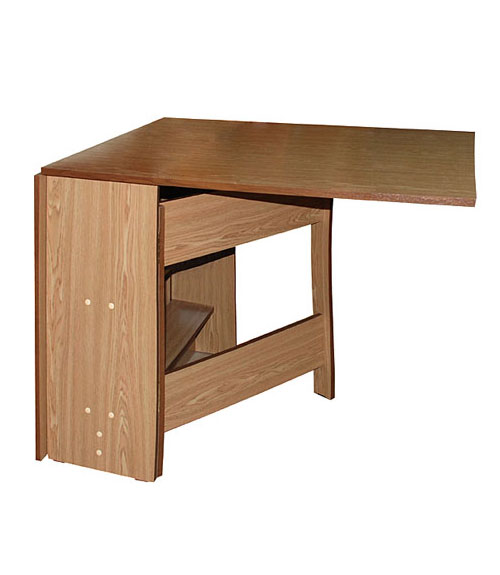
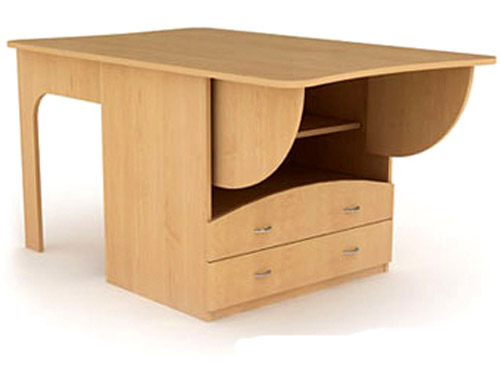
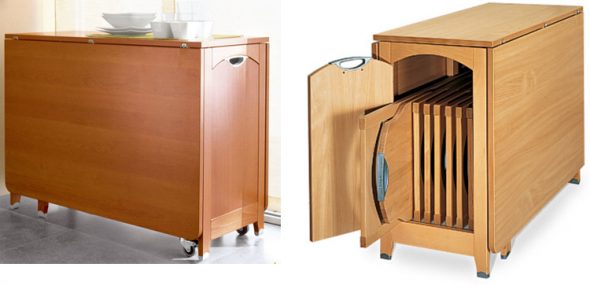
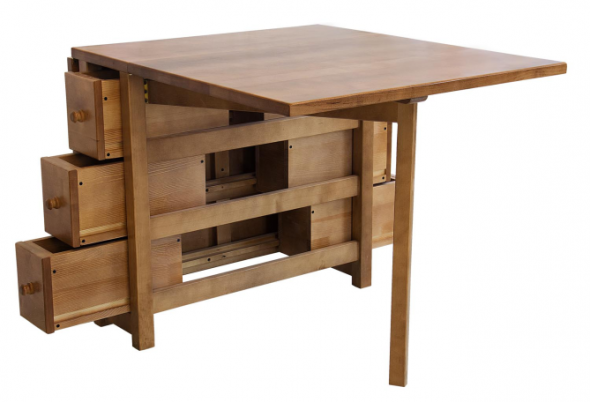
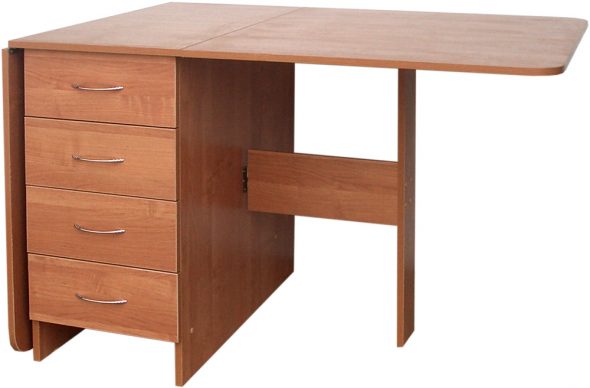
- With shelves or drawers. Combines a place for eating and a cabinet.
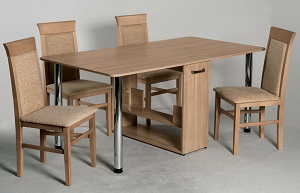
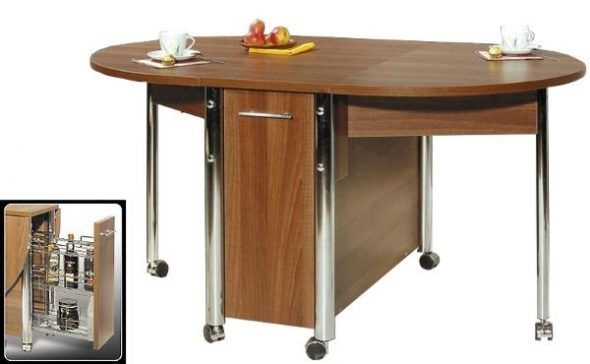
- Transformer table. If desired, the folding table can become a transforming table and accommodate additional chairs, a minibar, and even drawers for dishes.

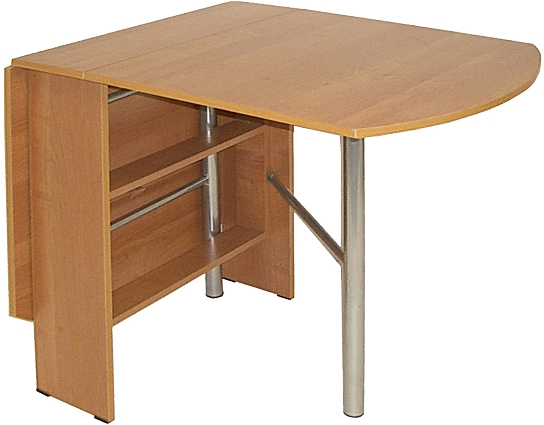
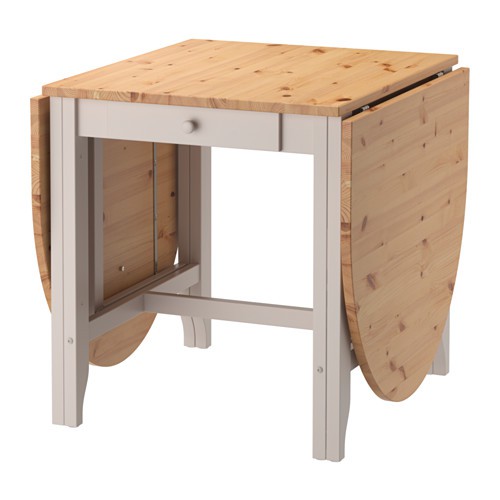
The tabletop shape can be square, rectangular or rounded. The legs can be on wheels for better unfolding. The table can have several legs or another design that allows it to remain stable.

When choosing a design for a future product, you need to consider your personal characteristics, as well as the characteristics of your family and home. Large families or lovers of noisy gatherings will need a large table with several folding chairs. Families with small children should first of all pay attention to the most stable models that a small child cannot independently unfold and drop on themselves. For such families, a rounded tabletop is also suitable.
Materials and tools needed for manufacturing
When choosing materials, it is necessary to rely, first of all, on the calculated amount and the planned durability of the product.
DIY folding table – what do you need for this? As an example, we use the simplest folding table, consisting of a central part, two tabletops and four legs. To create it, you will need:
| Name | Quantity |
| laminated chipboard sheet | the size of the sheet depends on the size of the selected table |
| loops | 10 > |
| self-tapping screws | 100 |
| edge | 1 |
| sandpaper | 1 |
| hammer | 1 |
| screwdriver | 1 |
| pencil | 1 |
| ruler | 1 |
Manufacturing sequence
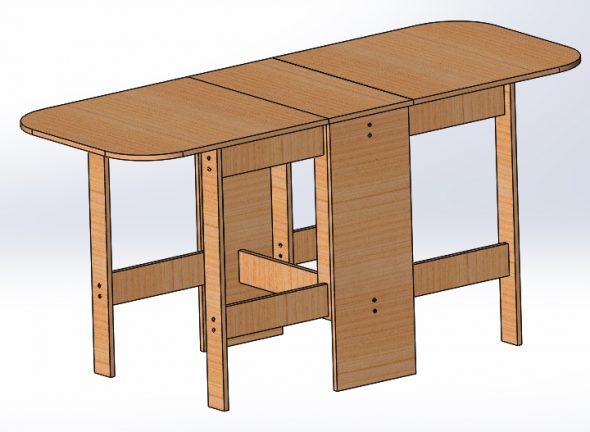
- The first stage is creating a sketch. It is impossible to start drawing and subsequent work without having an idea of what the result should be.
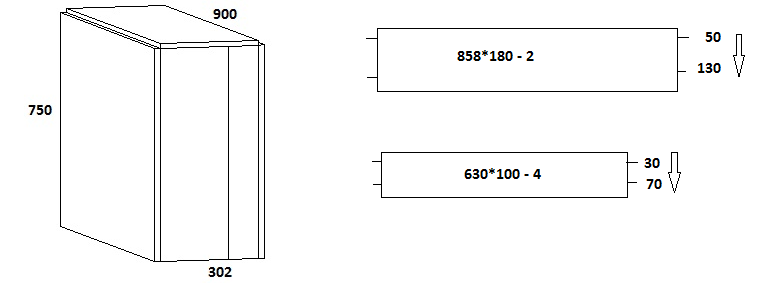
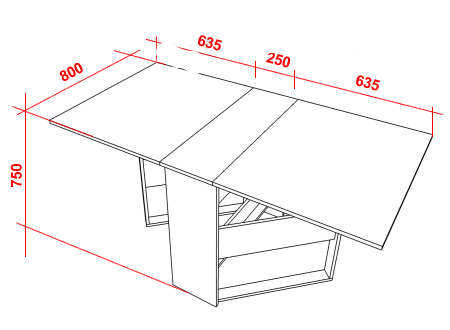
- Drawing. A drawing is created based on the completed sketch. It, like the sketch, should show the product assembled and unassembled, as well as individual parts. The drawing indicates the number of necessary parts and dimensions.
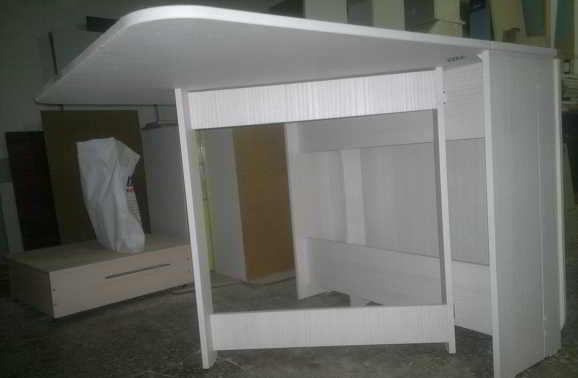
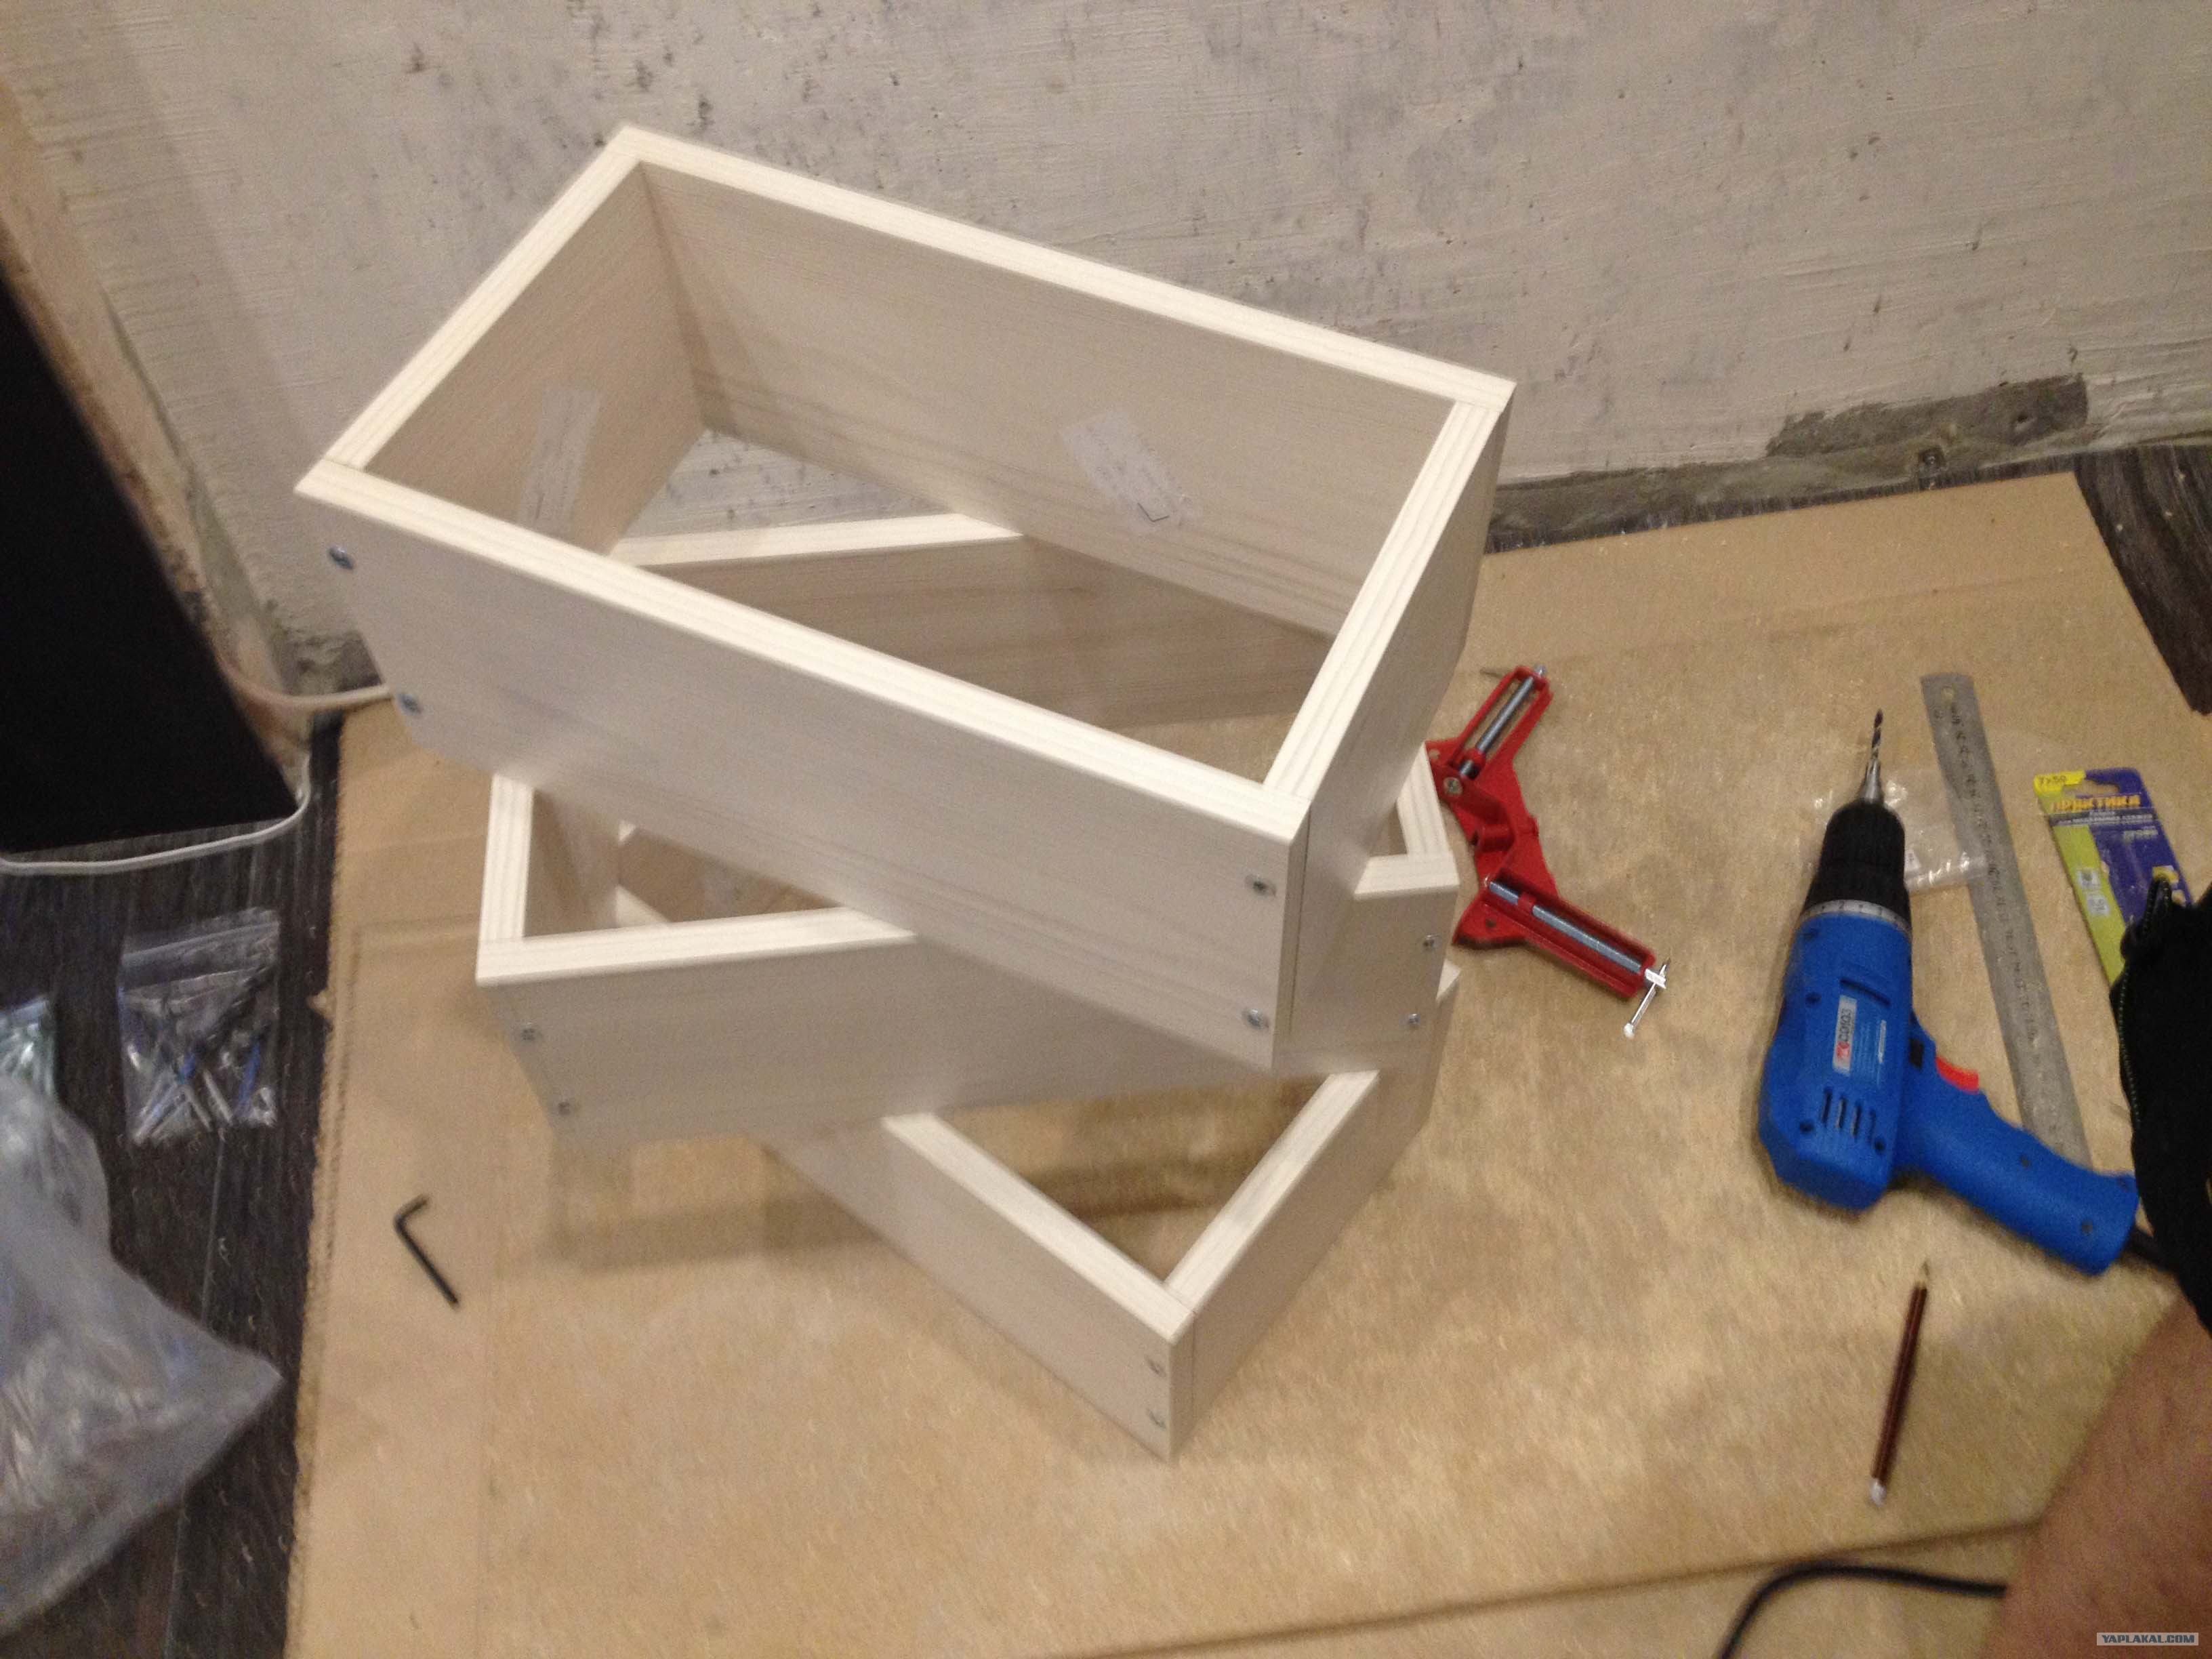
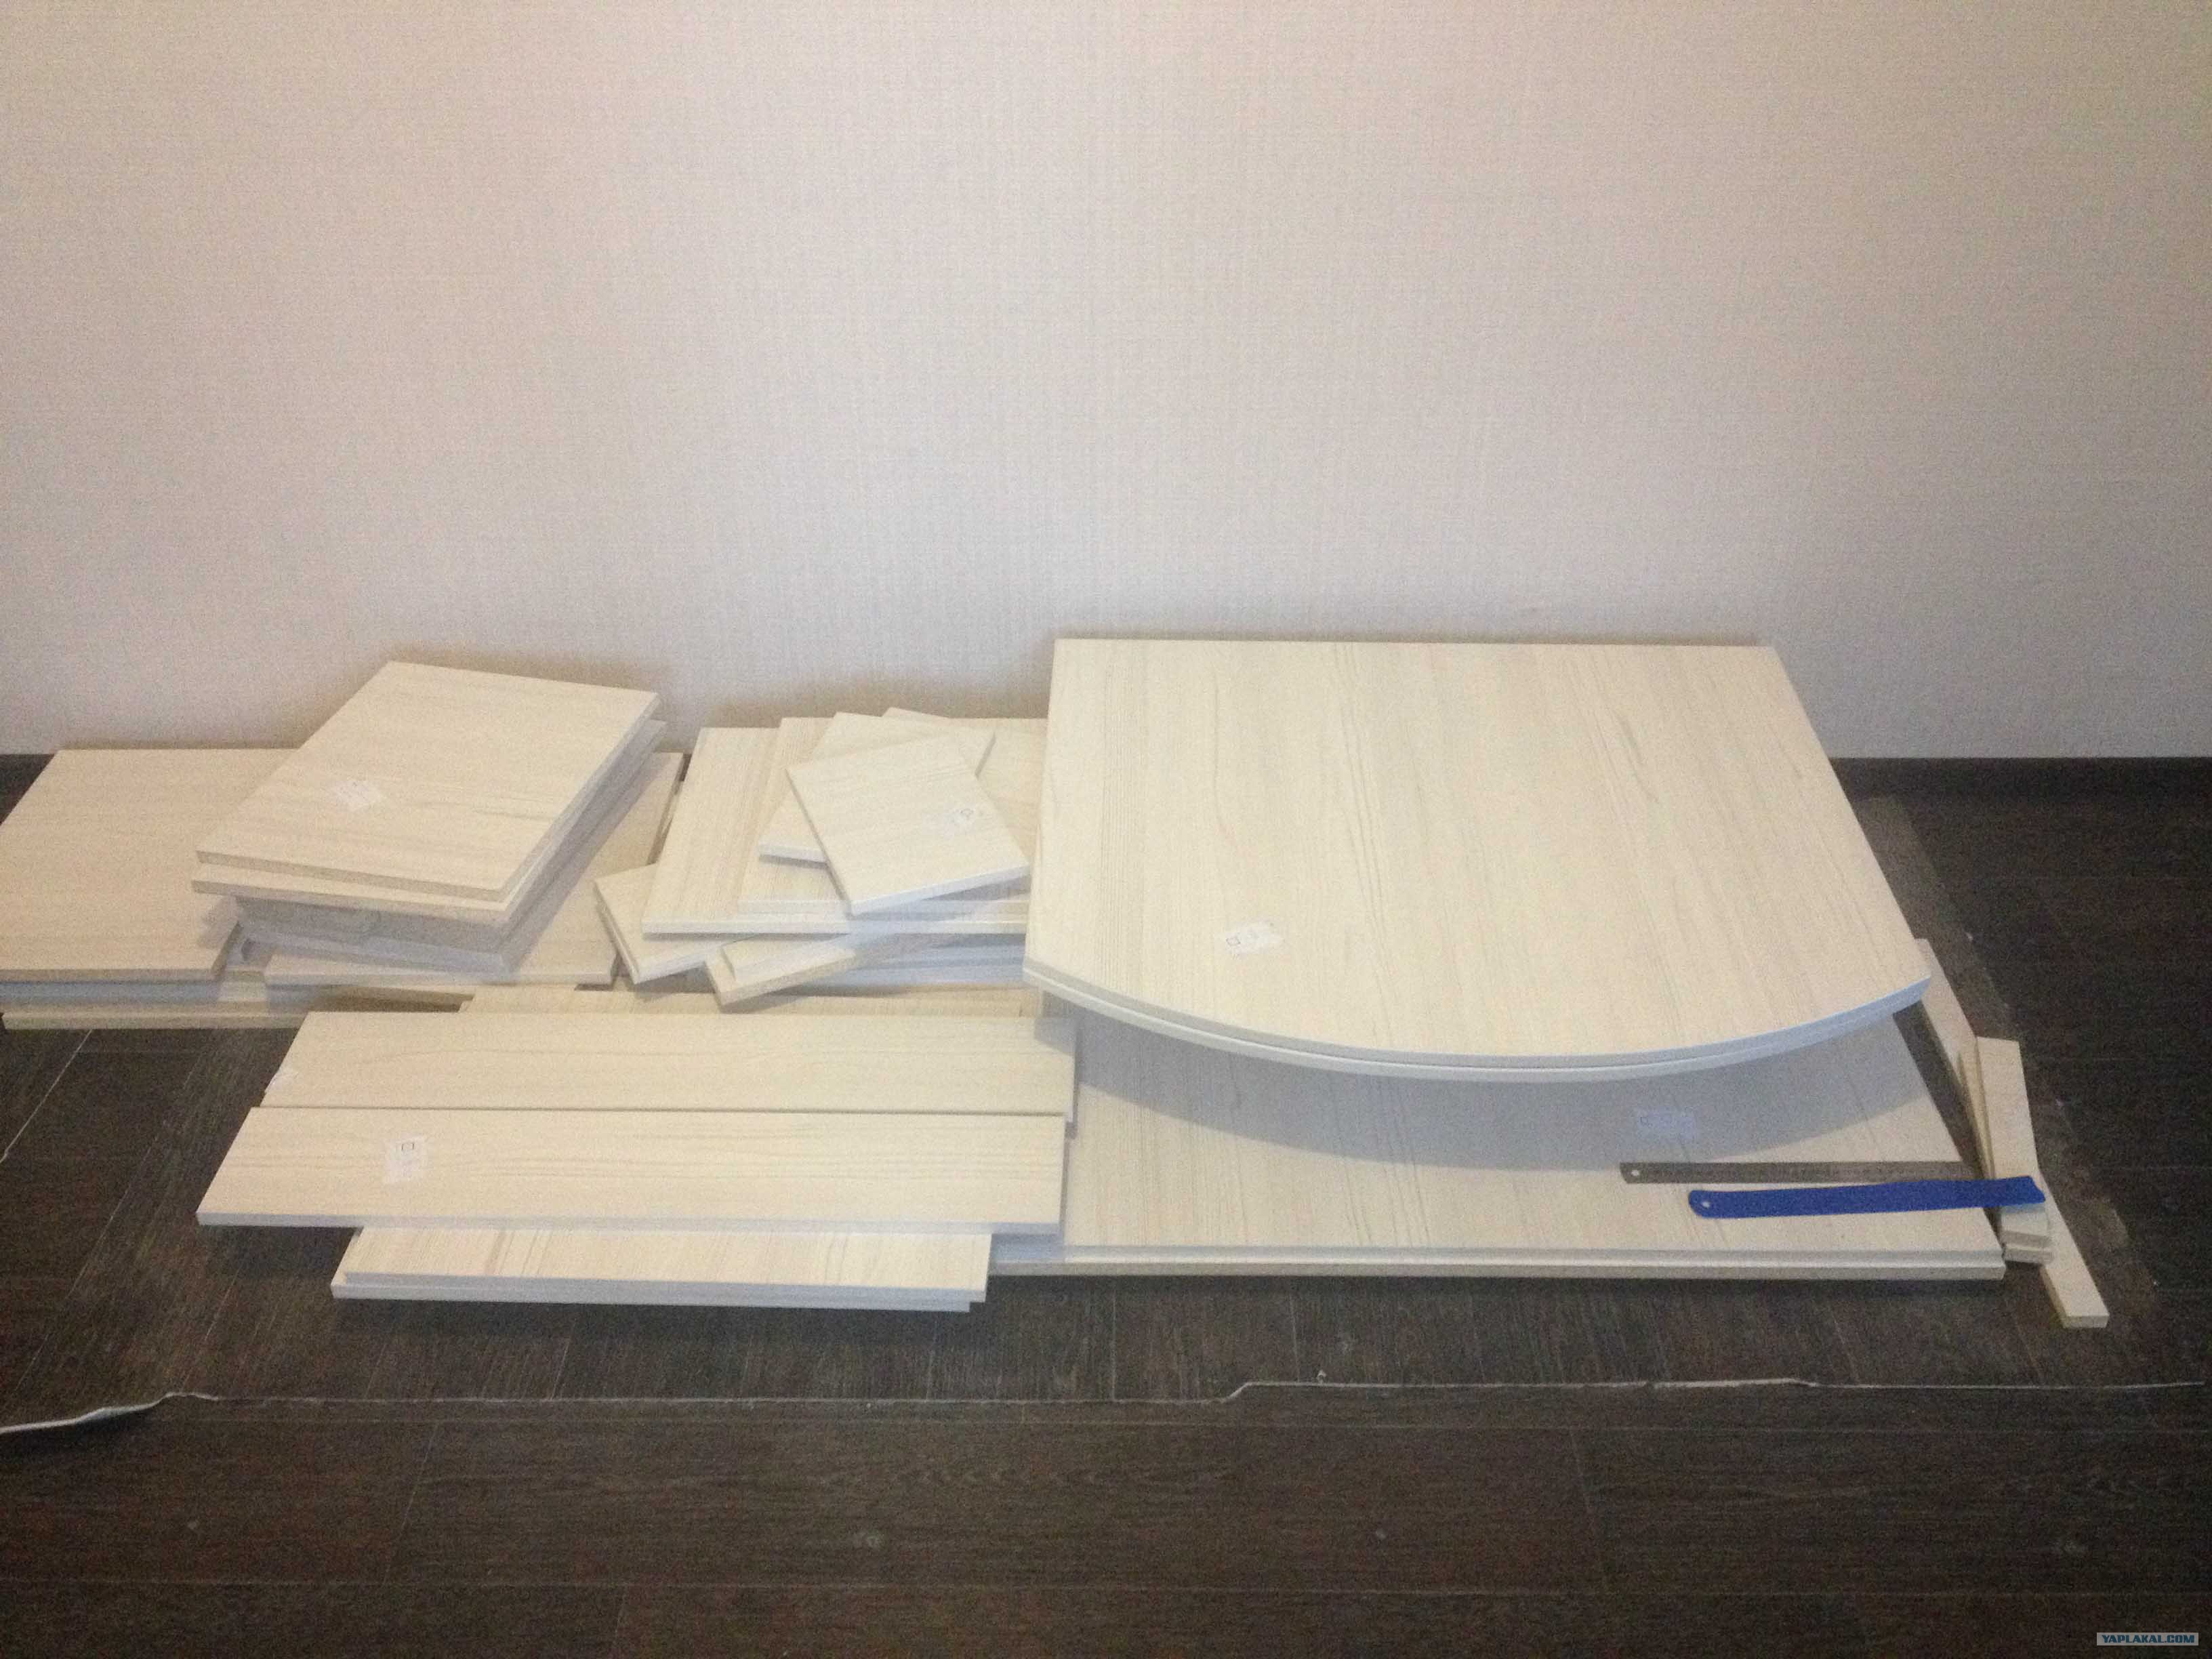
- Assembling the central part. It consists of a central tabletop, two side panels or posts, and three stiffening ribs. First, the side panels, central tabletop or top, and stiffening ribs are cut out of a laminated chipboard sheet. To attach the ribs, holes are drilled in the sides of the future table. The sides and ribs are connected, and now the center is secured.
- Legs – cutting and assembly of all elements.
- The central part needs to be turned over in order to attach the right and left covers to it using hinges.
- Fastening the legs to the central part - holes are drilled and hinges are attached.
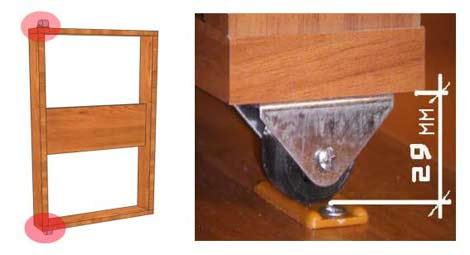
When assembling, it is important not to forget about sanding the parts to maintain a neat, tidy appearance. The edges are decorated with edging. The sides and legs can be equipped with rubber or felt pads for more convenient unfolding, as well as to prevent damage to the floor covering.
VIDEO: DIY Book Table
50 photo ideas: how to make a folding table with your own hands