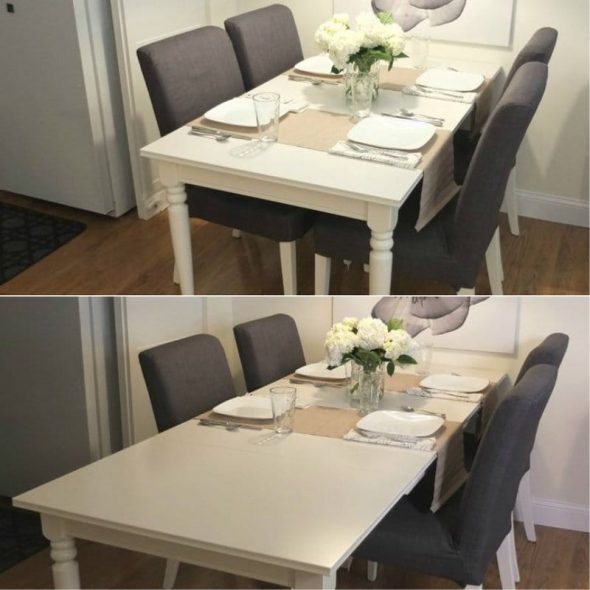
Tiny Soviet-style kitchens are unable to accommodate the furniture and household appliances needed in this room. Putting a regular kitchen table is already a problem, it will clutter up all the space there. The only way to somehow solve this problem is to use an extendable table instead of a regular one.
Usually furniture is bought in a store, but our people have long ago found another way out of the situation - to make it with their own hands. Indeed, spending about twenty thousand rubles for, in general, a simple thing is somehow stupid if you can make it yourself.
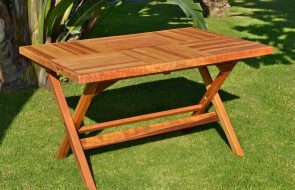
The desire to make an extendable table gives rise to many problems and the first of them prompts the master to decide what kind of table he needs? If we do not take into account the very exotic models, then all the tables known to us are divided into two types: round and rectangular.

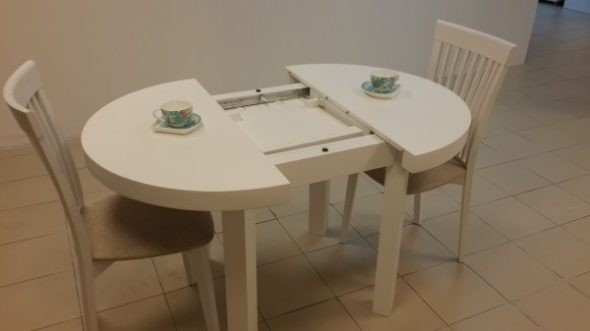
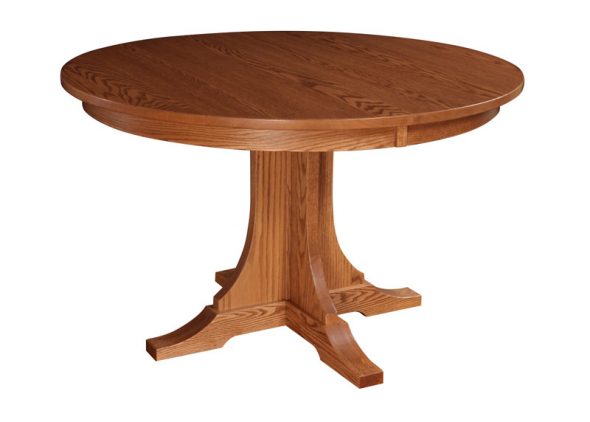
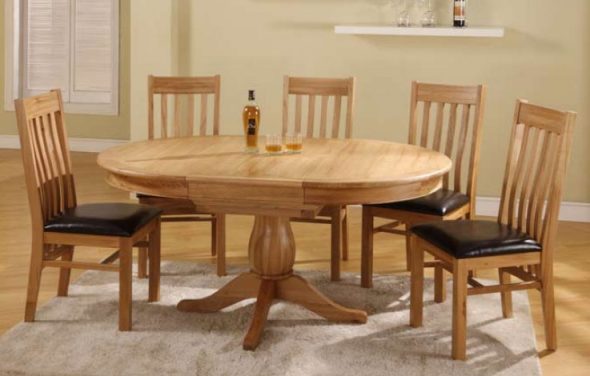
A round, or more precisely an extendable oval table is a reality of everyday life for modern people; making this oval is no more difficult than making a rectangle.

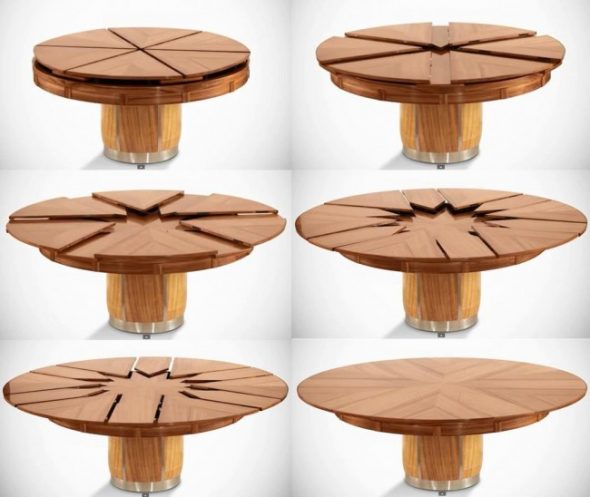
It's a different matter when you set yourself the task of making an extendable table of the correct round shape, including in the extended state. Assembling such a piece of furniture is difficult, the number of its constituent parts is too large and this will require solving a number of engineering issues or using other people's solutions, which will not lead to a significant simplification of the upcoming work. Such super-tasks are not typical for a practical person, he follows the path of least resistance.
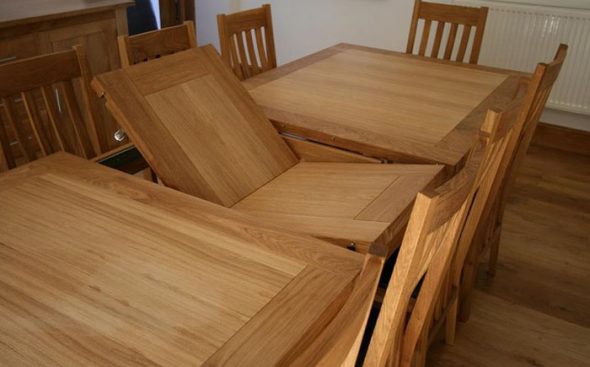
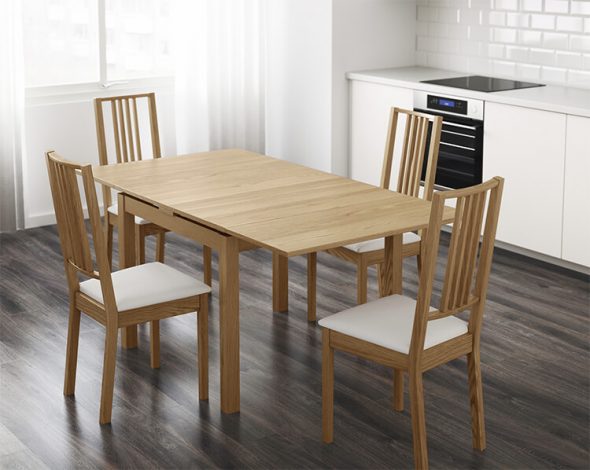
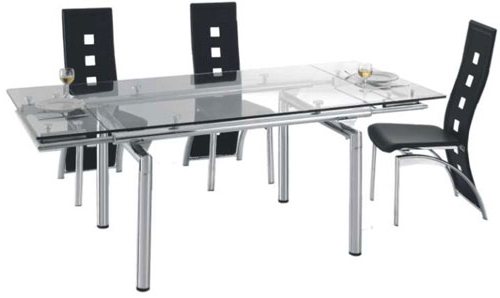
The path of least resistance, in this case, is to make a rectangular or oval (in the form of an irregular circle) extendable table. A round table will take up too much precious space in the room, so most craftsmen prefer a rectangle, and it is easier to find suitable materials for it.
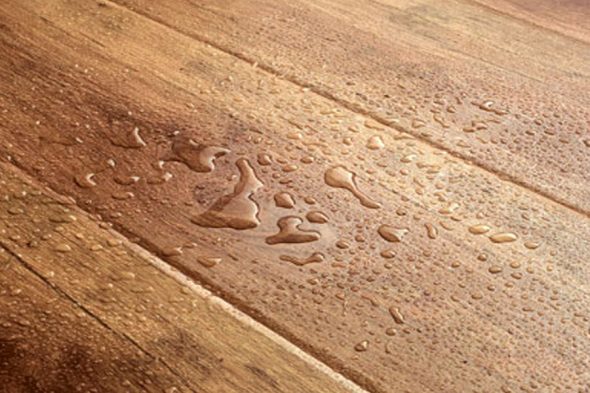
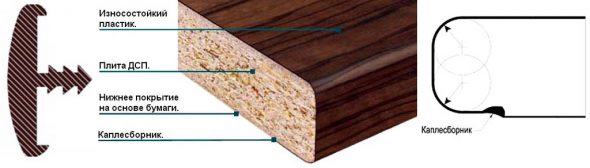
Next, you need to decide on the material. Due to the high cost and complexity of processing solid wood, you will have to abandon the oak tabletop and legs. We will make the tabletop from laminated chipboard, and metal legs can be purchased in the store. Laminate is the best choice for the tabletop, since it looks stylish and beautiful, and the laminated surface of the table repels moisture.
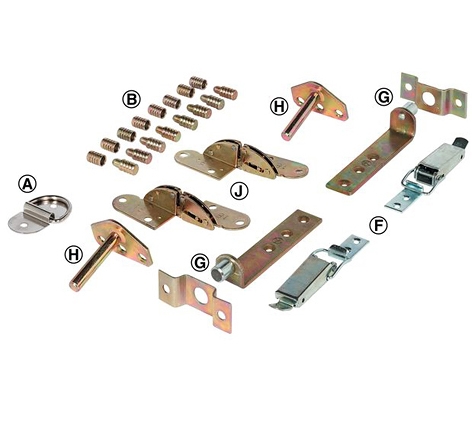
In addition to pieces of laminate and metal legs, you will need many other parts, including:
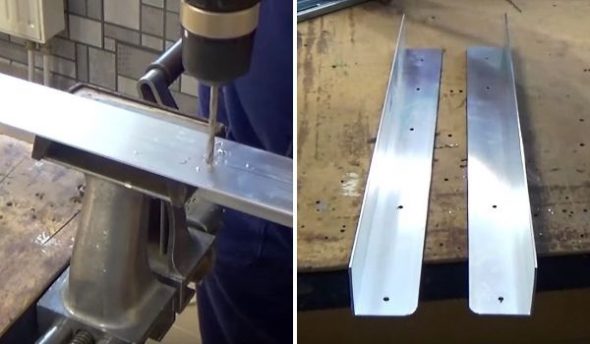
- four aluminum corners, each at least fifty centimeters long;
- a pair of telescopic guides, the length of which matches the corners;
- dowels with a diameter of 8 mm and a length of 40 mm;
- self-tapping screws with a diameter of 4 mm and a length of 20 mm,
- bolts, nuts, glue and material for finishing the edge of the table top.
The screws should be significantly shorter than the thickness of the future tabletop. The main tools for assembling the table will be a drill and a screwdriver. However, the screwdriver can also be replaced with a screwdriver. The process will be more labor-intensive, but the satisfaction from the work done at the finish will be no less.
Content
Step-by-step instructions for making an extendable table
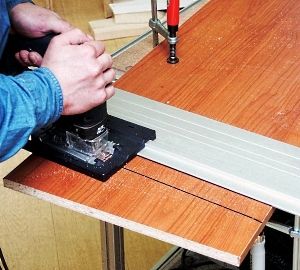
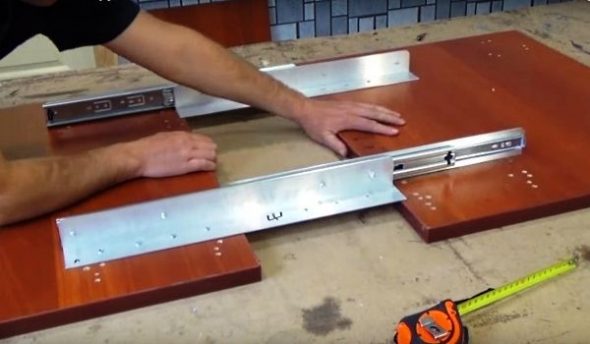
- The process of assembling an extendable table should begin with measurements. The first thing to measure is the pieces of laminate. There should be three pieces of equal width. Two of them should be the same length, the third one is shorter. They should be laid out on a flat surface so that the short piece is between two identical ones, aligned and measured in place. Their total length will be the length of the extended table, it is important that it fits in the kitchen or room.

We cut out the details of the future tabletop according to the drawing 
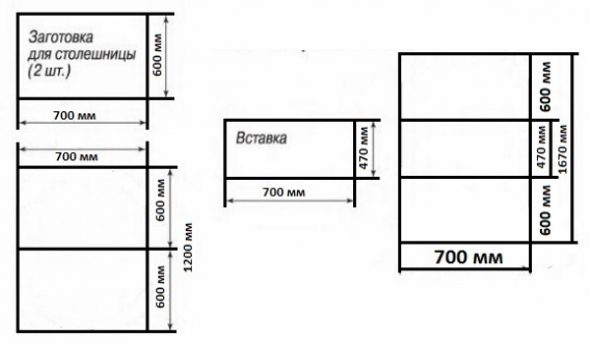
Drawing of a sliding table top - In order for the table structure to be integral, both when extended and when closed, at least two holes 8 mm in diameter and 20 mm deep must be drilled in the end of each piece of laminate from the inside. The holes on the insert must be drilled on both sides. The holes on one board must completely match the holes on the other two when they are connected to each other. Then, forty-millimeter dowels must be glued into the holes of the first board so that they are firmly seated there. The same should be done with the holes on one side of the insert. Now you can connect the pieces of laminate together. The dowels sticking out of the end of one board will freely enter the holes of the other.
- Then you need to measure the length of the corners and mark the middle and the points of the future holes that need to be drilled on one side of each of them. The holes should be located to the left of the middle for two corners, and to the right for the other two.
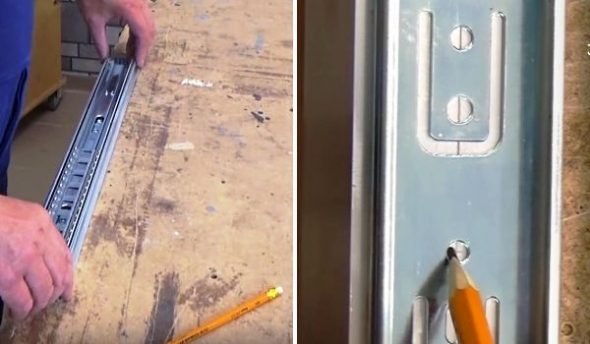
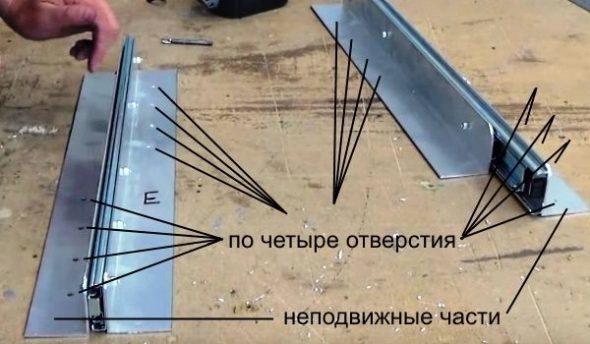
We drill holes in the corners - The telescopic guides consist of two parts, one of which fits inside the other and moves freely inside it. They need to be separated and bolted to the aluminum corner so that the wide, fixed part of the guides is attached to the corner with holes on the right, and the narrow part is attached to the corner with holes on the left.
We apply the guide parts to the corners, mark the holes and drill them - The second telescopic guide should be connected to the second pair of corners in exactly the same way. All that remains is to screw the guides to the two main pieces of laminate with screws. In this case, the wide parts of the guides should be attached to one part of the tabletop, and the narrow ones to the other. Thus, a sliding mechanism is obtained, allowing you to significantly increase the area of the table when needed and return it to its normal state if the need for a large table has disappeared.
Constructions from corners with movable and fixed guides We screw the movable side to the right part, the fixed one to the left part of the table top. - A freely extending table is convenient only in cases where it increases in size at the request of the owners. You can avoid spontaneous extension if you install simple locks on all parts of the tabletop that hold the halves of the table together. The additional insert is held between the left and right halves of the tabletop not only by four dowels, but also by a sliding mechanism (on which it lies) tightly screwed to the tabletop.
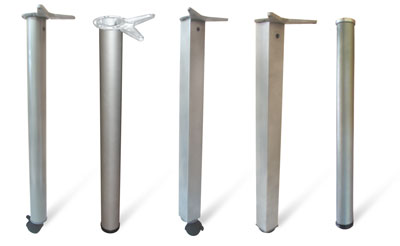
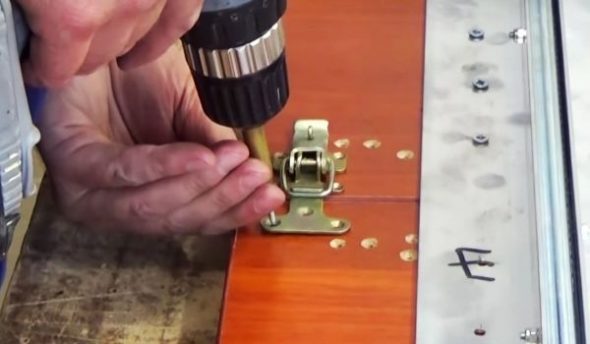
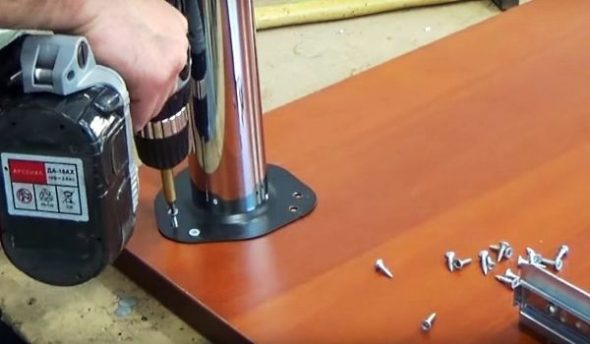
On each side of the table we attach a lock using self-tapping screws - In order to attach legs to the table, you first need to attach the so-called heels to its inner surface, to which the legs are then simply screwed. The heels are attached to the tabletop with twenty-millimeter self-tapping screws.
We attach the legs to the tabletop with screws 
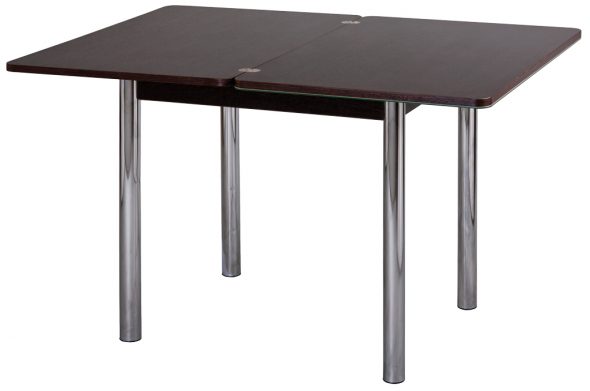
Kitchen table on purchased metal legs

The final touches
A kitchen table of this design can become a gathering place for a large family in the evenings or the center of a festive event (birthday, wedding anniversary, etc.). However, old laminate flooring itself is unlikely to inspire people to a long feast. It is a different matter if it is slightly decorated. It turns out that laminated surfaces can be painted and even painted on after some processing. In order to achieve the desired effect, you need very little. Seal the end of the tabletop with edge tape, no matter what color, as long as it covers the unsightly end. Sand the surface with sandpaper, treat the dents with putty and cover with acrylic paint. The paint can be any color: from white to black. An image of flowers in the style of Zhostovo trays is applied to the black background of the table, turning an extendable table, an ordinary utilitarian thing, into a work of art. Handicraft always risks becoming art, the master who creates it is always a creator.