Glass products have always had a special sophistication, beauty, refreshing any interior with shine and lightness. A glass table with a properly selected base has weightlessness, this is especially important in small rooms. However, the high price of glass furniture often stops the consumer from purchasing it. You can solve this problem by making a glass table with your own hands. If you approach the process with care and responsibility, strictly following the instructions and advice of specialists, the result will be a beautiful and unique piece of furniture.
Content
We define the design
Before you start the process of making a glass table and buying the necessary materials, you need to carefully think about how it should look, decide where in the room it will stand, and how exactly it will be used.
According to its functional characteristics, it can be:
- magazine,
- written,
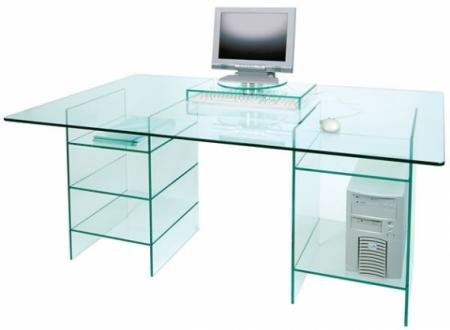
- kitchen,
- and even computer.
According to their design, they are divided into:
- mobile,
- transformers,
- sliding,
- with an additional shelf.
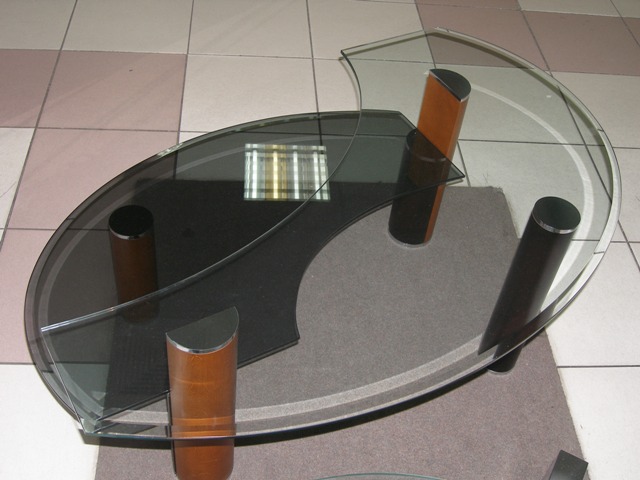
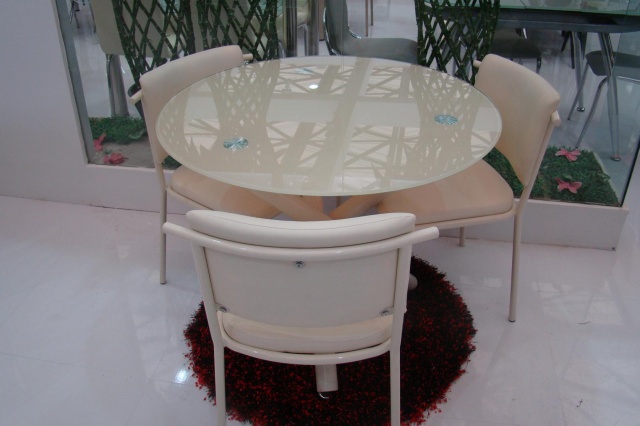
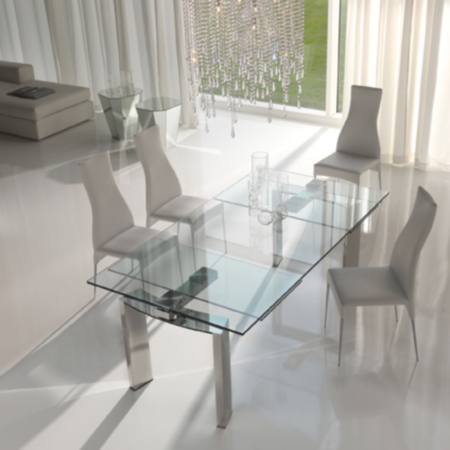
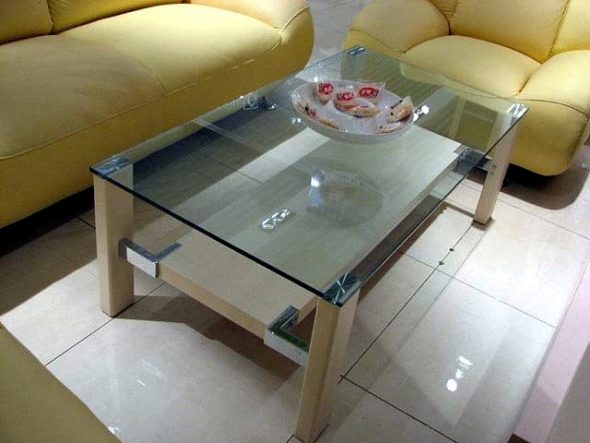
Depending on the shape of the glass tabletop, they can be:
- rectangular and square,
- round and oval,
- segmental (angular),
- non-standard.
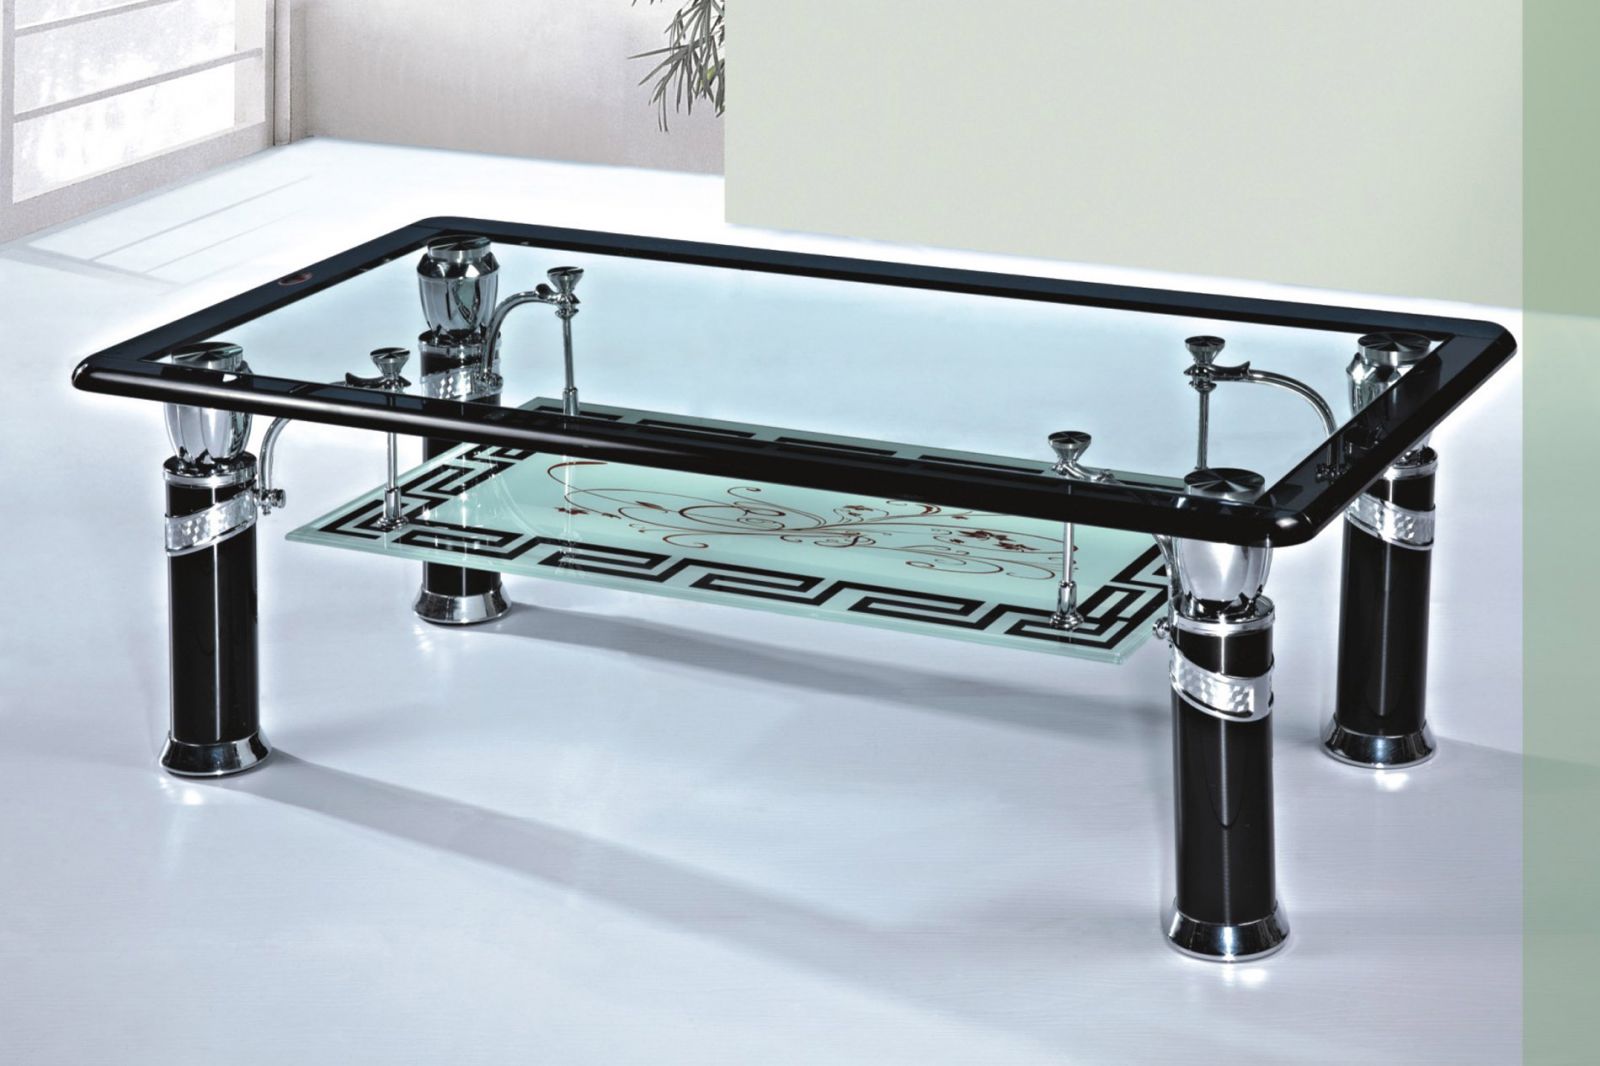
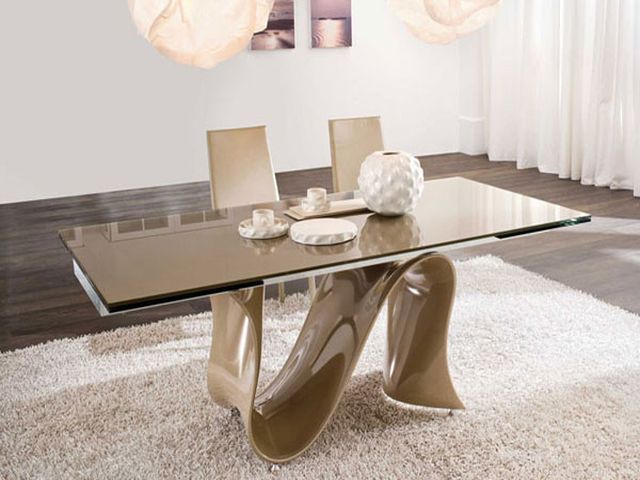
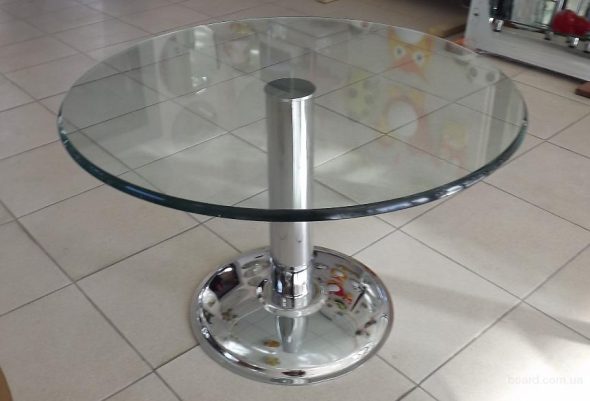
When choosing a table base (whether it is just legs or a ready-made structure with a frame for a glass surface), special attention should be paid to the overall interior of the room in which the table will stand:
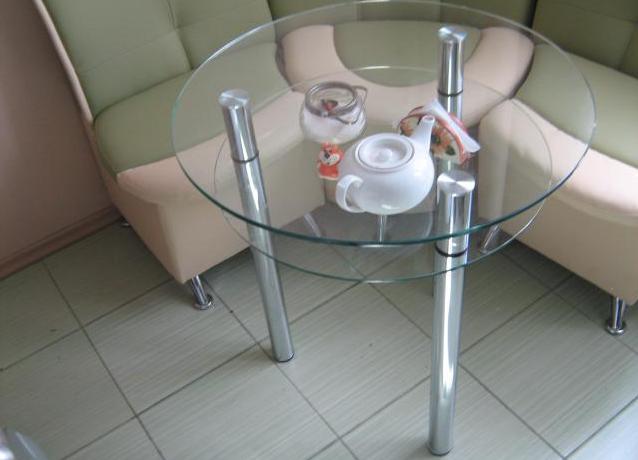
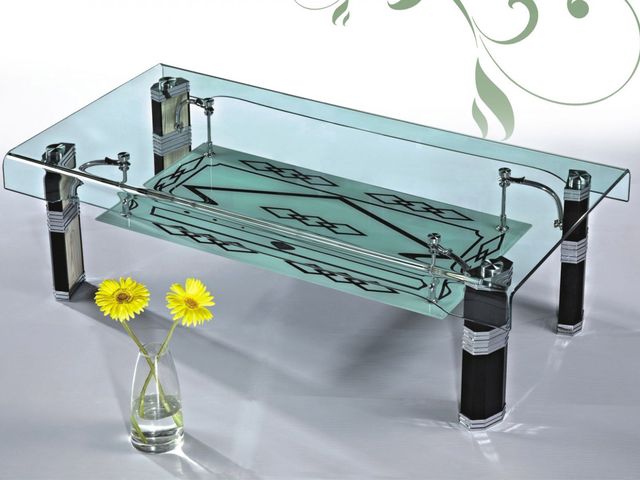
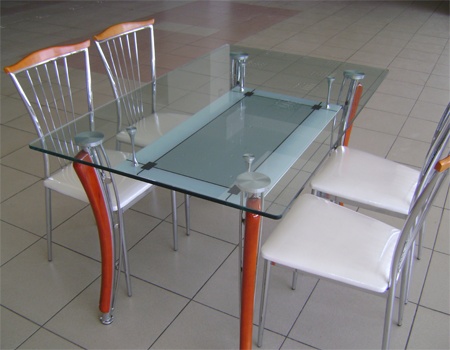
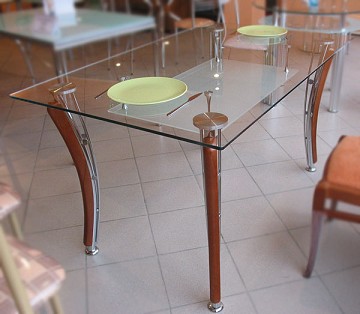
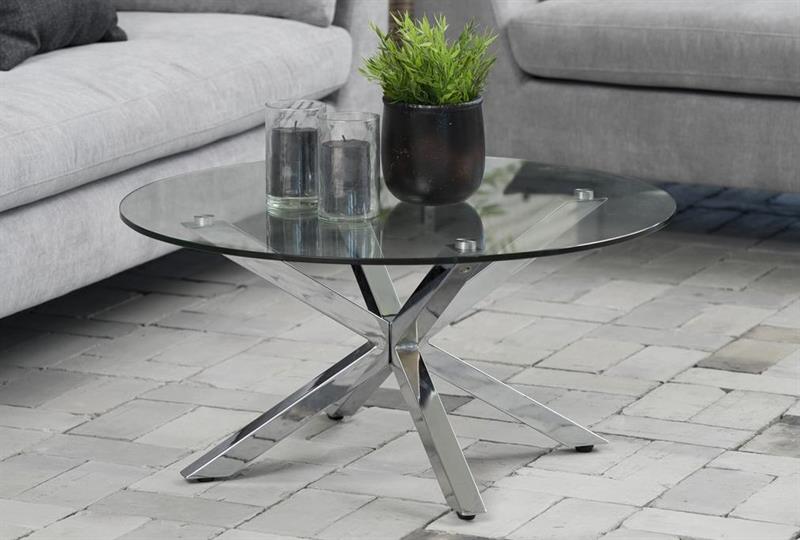
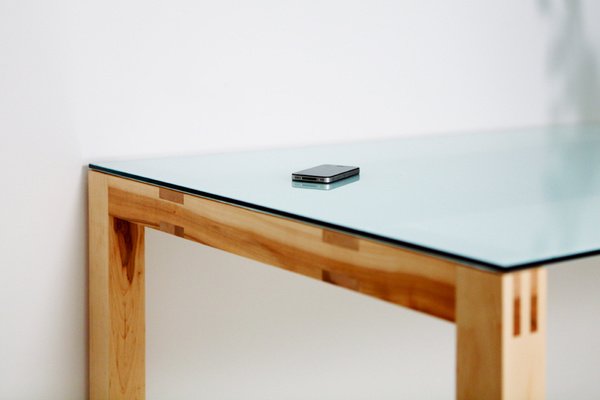
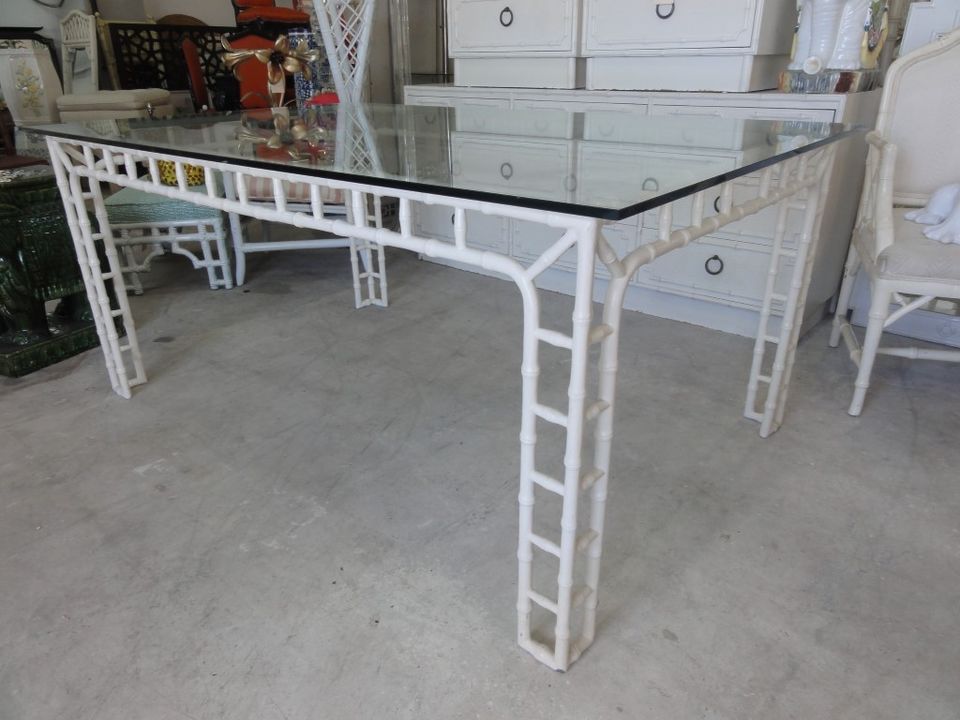
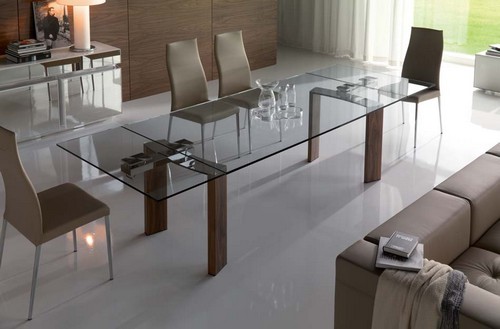
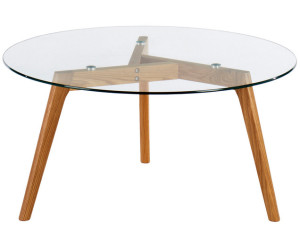
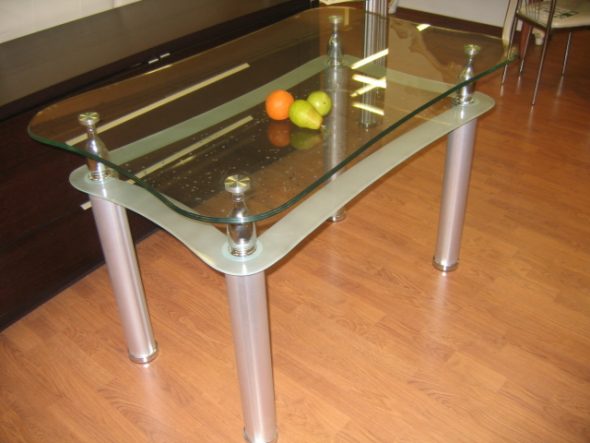
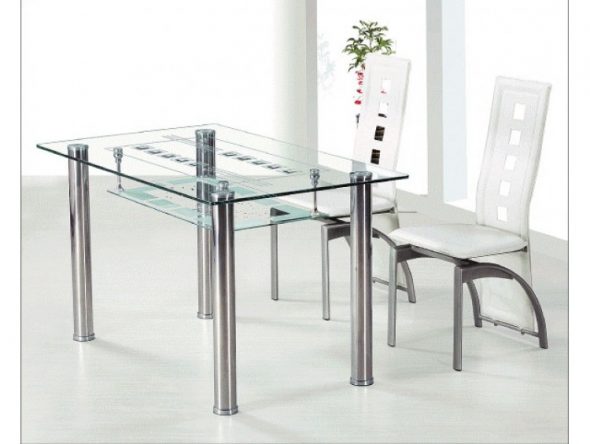
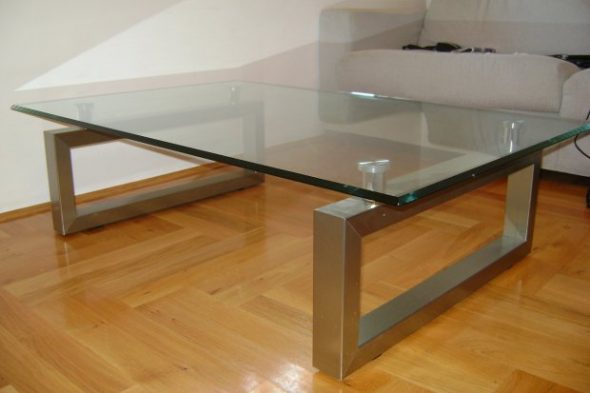
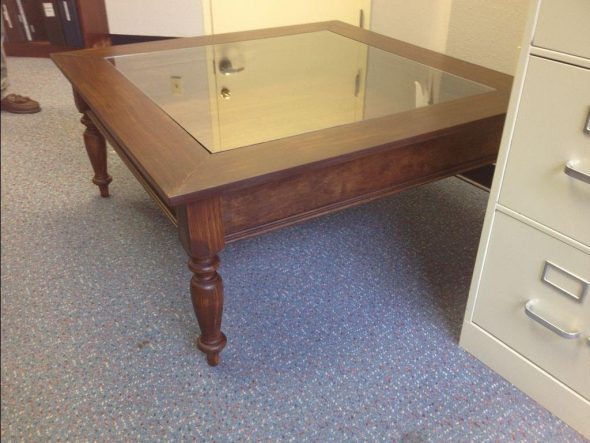
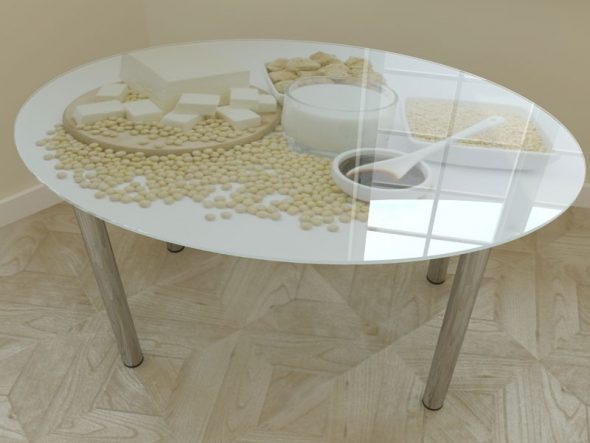
- metal legs are ideal for high-tech style;
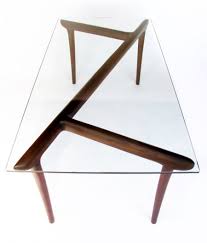
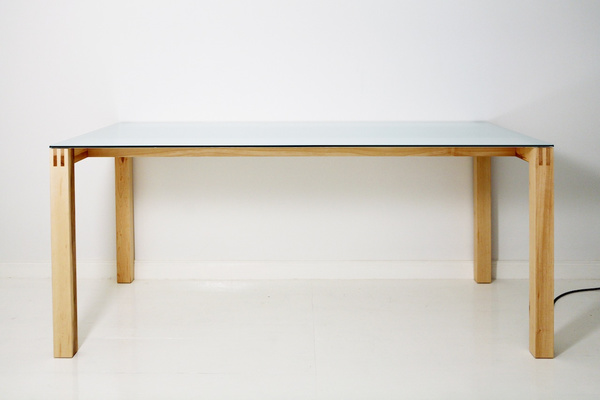
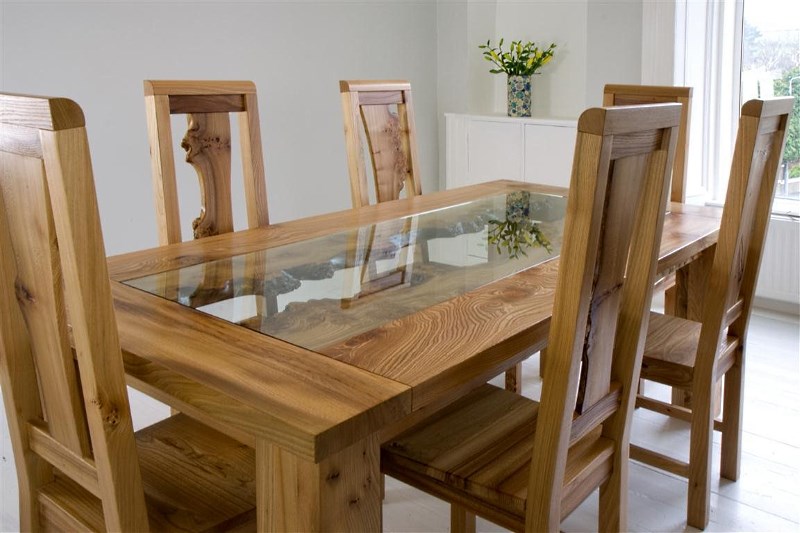
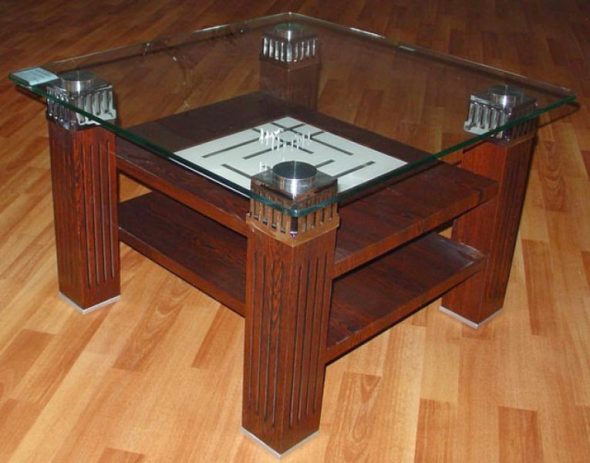
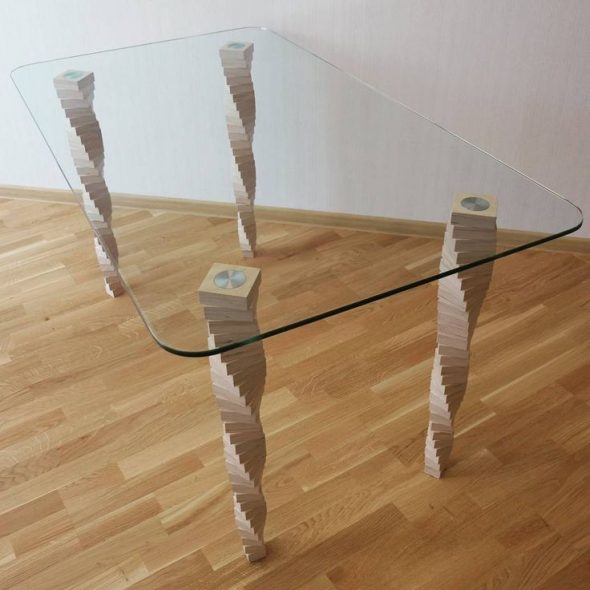
- forged or wooden legs paired with glass belong to the classic or loft style, while they suit any color scheme of the interior;
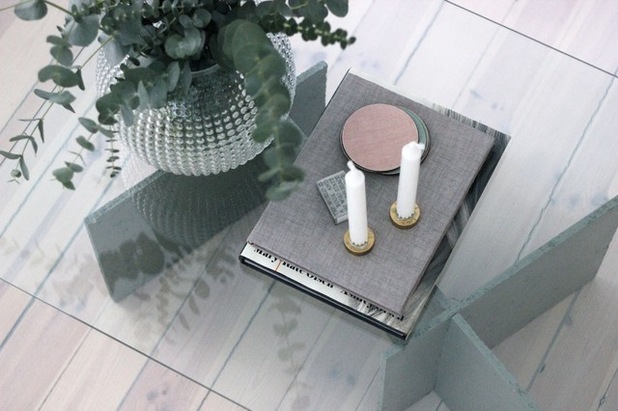
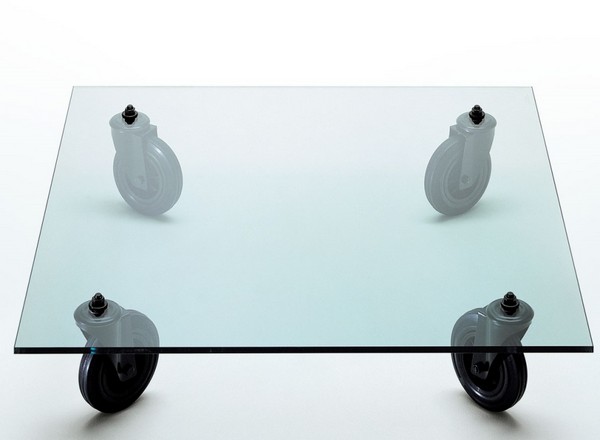
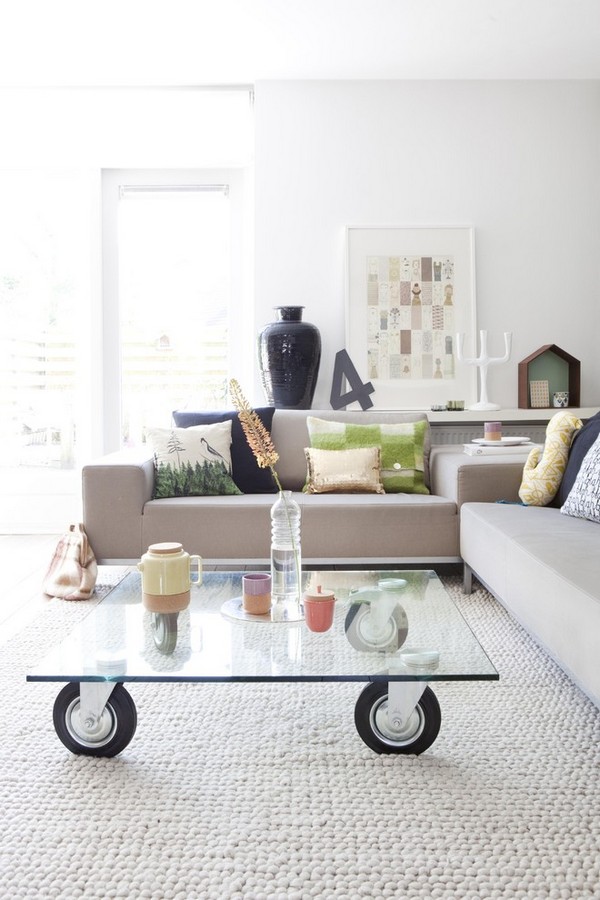
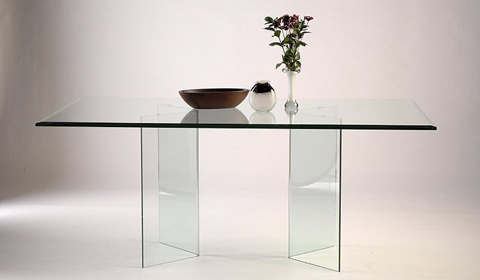
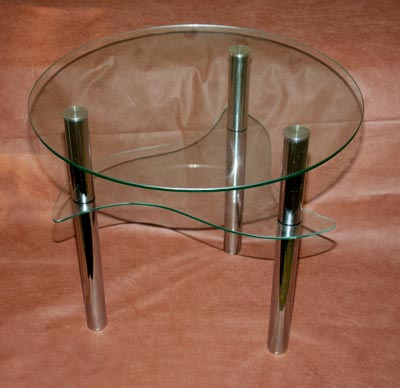
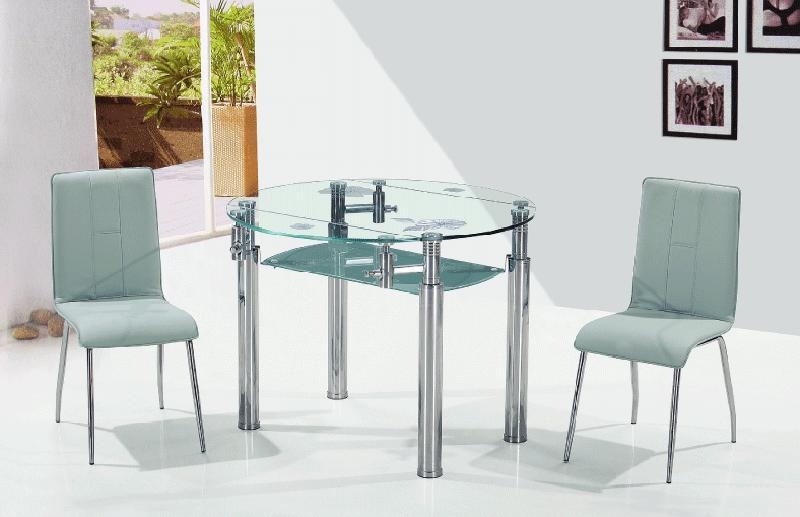
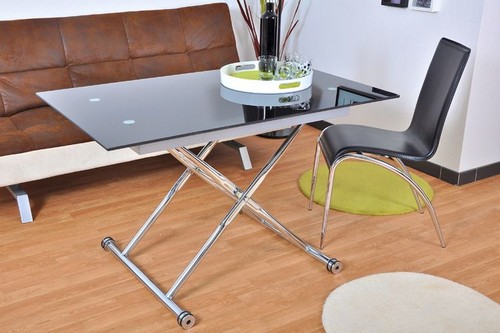
- if the main idea of the room is done in a minimalist style, you can choose a base made of glass or thin metal, while the table itself is better equipped with wheels so that it can be moved to the desired location at any time;
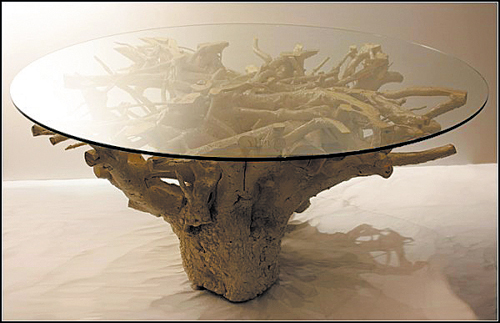
- in the case of a rustic interior, you can use rough wooden materials (logs, untreated beams), and oval or round tabletops will look best in such a pair.
Advantages, disadvantages
A glass table has many positive qualities.
- High aesthetics and versatility allow using such an interior item in almost any room with different design solutions. In addition, a wide range of glass products allows you to choose the ideal countertop option (whether it is simple transparent glass or matte, white or colored).
- Glass products are environmentally friendly, do not absorb odors, fats, paints, and are resistant to chemicals. These characteristics are ideal for the kitchen.
- It is very practical: glass care involves regular washing or wiping, even without the use of detergents.
- The technology used in the production of glass makes this piece of furniture very resistant to impacts, chips, scratches, and a special film will hold all the fragments even after breaking, eliminating the risk of injury.
Along with many positive qualities, there are also negative aspects of glass table tops:
- Glass is not able to absorb sounds, so when it comes into contact with other objects, it produces a lot of noise. To solve this problem, you can use special stands. But in no case should you cover a glass table, as it will completely lose its main role - transparency and weightlessness.
- Glass, with its high reflective properties, shows any, even the most insignificant marks and stains. To solve this problem, it is enough to choose the right cloth napkins for polishing the tabletop and cleaning agents, place the table away from light sources or choose a matte type of glass.
- If more affordable plain glass was used in production, there is a risk of scratches, such a surface can easily break.
Tools and materials
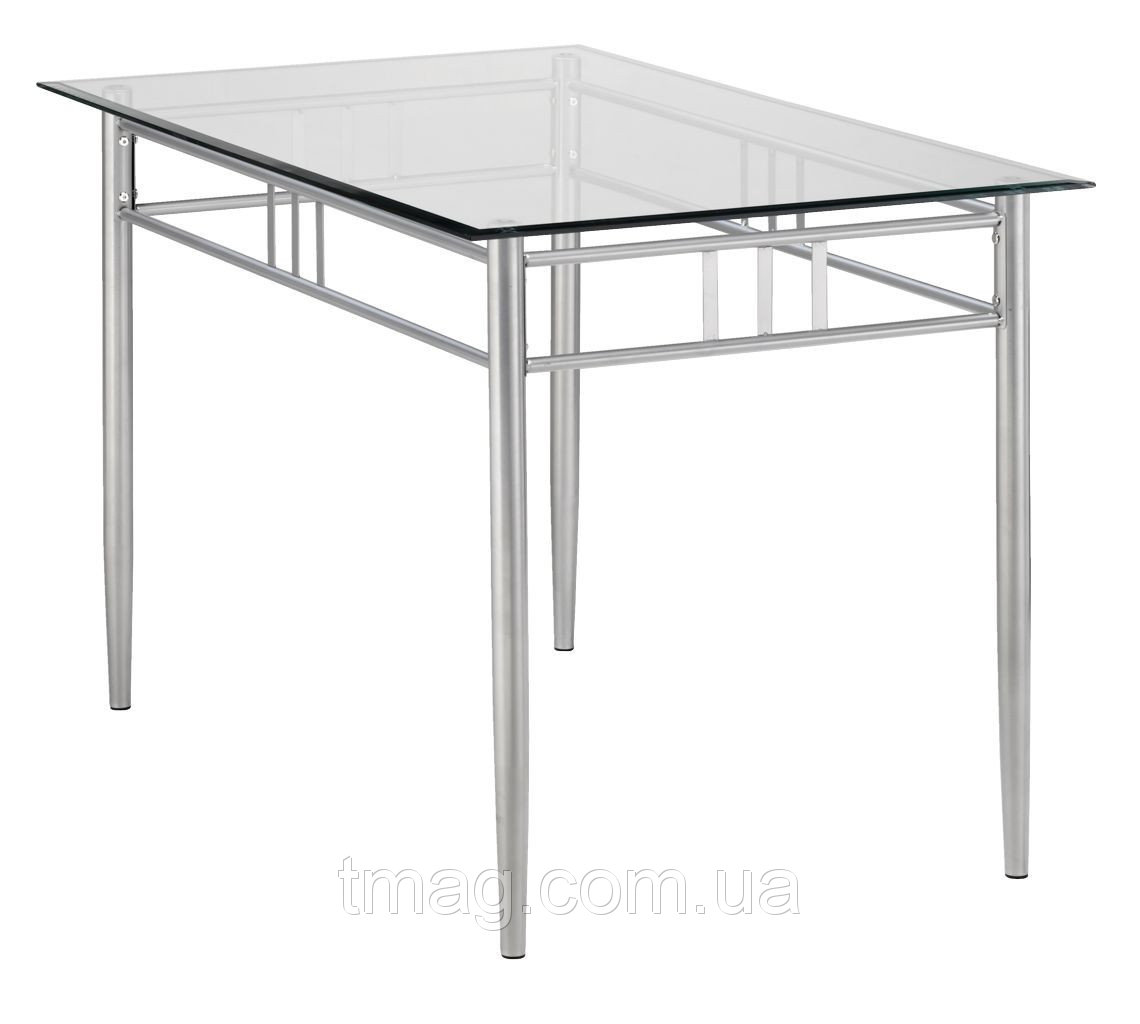
The main stage of preparation involves choosing what to make a glass table with your own hands. An important role in this is played not only by the desired result, but also by the material that is easiest to work with. For a novice craftsman, metal chrome legs are best suited.
To make a glass table with your own hands you will need:
- a sheet of ordinary or special glass, the thickness of which will be at least 6 mm.;
- 4 legs;
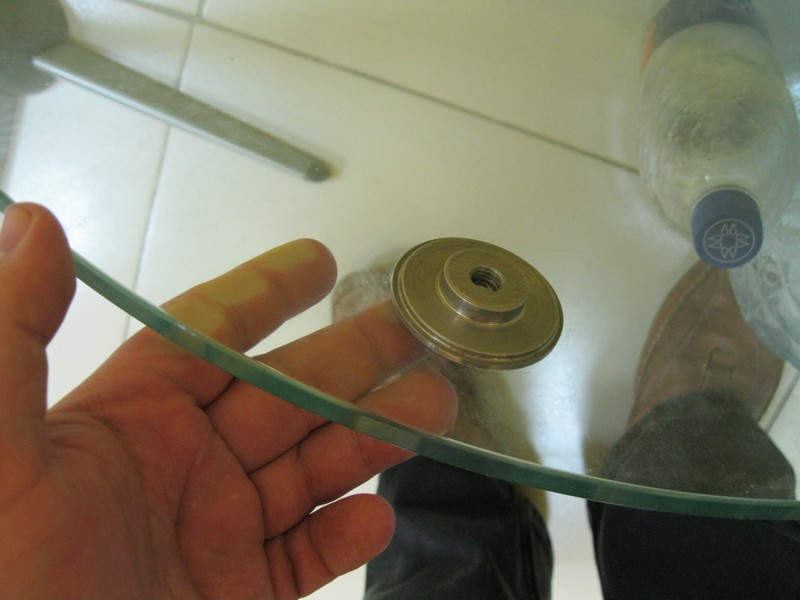
- 4 suction cups for legs;
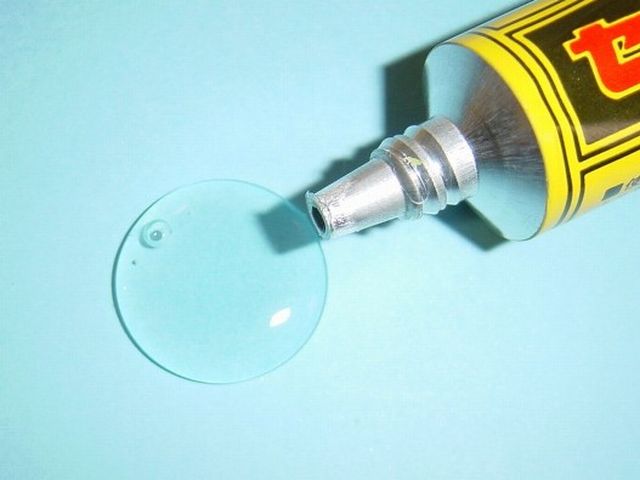
- construction adhesive for bonding glass to metal, which is transparent after drying;
- sandpaper and glass polishing paste;
- vegetable oil and gasoline (acetone);
- Chipboard or plywood to ensure even laying of the glass sheet.
To work you will need the following tools and materials:
- metal ruler,
- marker or pencil,
- glass cutter (diamond or roller),
- glasses and gloves for protection during work,
- rubber mallet,
- drill and grinder,
- file or sanding block,
- felt wheel (for polishing the edge with paste).
Glass cutting and processing
Making a table with a glass top with your own hands is not that difficult, the main stage of this process is cutting the table top from a sheet of glass of the desired shape and processing its edges.
To ensure a high-quality result, the glass sheet must lie on a flat surface (chipboard, plywood), and it must also be thoroughly washed and polished. The presence of even the smallest particles of dirt can lead to chipping and uneven cutting.
Using a pencil, make a mark on the underside of the glass, and place a thin metal ruler on top along the line. When using a glass cutter, keep in mind that the roller cutter, unlike the diamond cutter, must be pressed harder against the glass, lubricating it with vegetable oil. For people who are not familiar with such a tool as a glass cutter, it is better to practice on a similar material first, make several trial cuts, using cheaper materials.
The technique of working with a glass cutter differs depending on the type of glass cutter available:
- When using a diamond glass cutter, you need to make one correct and sharp movement, excluding stops and repetitions, without applying special pressing pressure;
- If a roller glass cutter is used, the pressure should be at least 2 kg. The cut can be made several times on the same section of glass if the result was previously unsatisfactory.
Next, you need to carefully tap the cutting line with a rubber hammer and separate the cut edges of the glass. To avoid injury, all manipulations should be done with gloves.
The next stage is processing the edges of the glass blank. To do this, first use a file (remove the largest irregularities), a grinder and sandpaper, to protect the eyes from glass dust, put on construction glasses. It is necessary to clean off the sharp edges step by step, starting with the largest, ending with the smallest sandpaper. At this stage, you can not only protect the edges of the glass, but also give them the desired shape:
| Name | Glass thickness (mm) | View of the edge |
| Euro | 6-19 | Three even trapezoidal cuts |
| Pencil | 6-19 | Smooth rounding |
| Double Cascade | 15 | Two rounded cuts of different heights |
| Triple Cascade | 19 | Three rounded cuts of different heights |
At the very end, the edges of the glass are polished using paste and a felt circle.
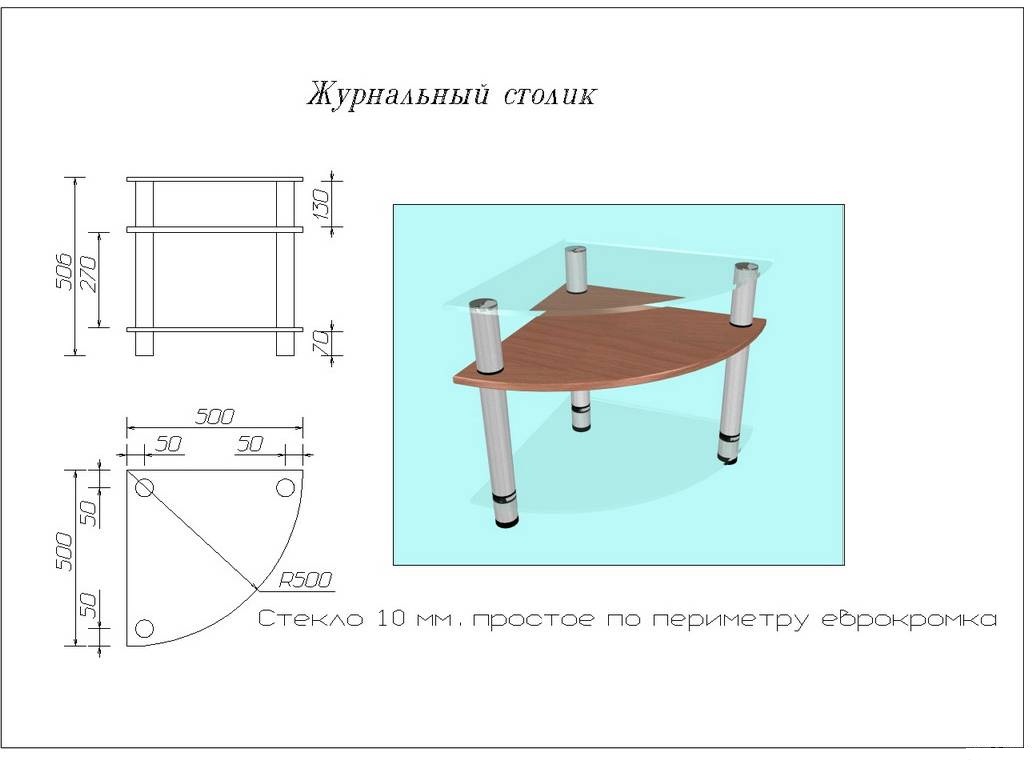
The easiest way to make a rectangular or square surface. To make an oval or non-standard glass tabletop, you first need to prepare a model (template), and to cut out a round tabletop, there is a special compass-shaped glass cutter.
Assembly, decoration and defect elimination
In order for a glass table made by hand to be neat and meet the basic requirements, the assembly process must be approached very responsibly.
The finished part is turned over and markings are made of the places where the legs will be (7-10 cm from the edge and about 13 cm from the corner). Then holes are made in the upper part of the legs for the suction cups, glue is applied and they are secured. Often the action of the suction cups is enough to securely hold the tabletop, but it is better to secure the fasteners by applying glue to them.
To make the finished table look neat, it is important to choose the right glue and not to overdo it with its quantity. After drying, it should become completely transparent and not be visible through the glass surface.
After the glue dries, the DIY glass table is ready, you just need to wipe it and install it in the place intended for it.
However, at this stage, many people wonder how to make a glass table with their own hands the most unique, what methods of decoration and embellishment exist?
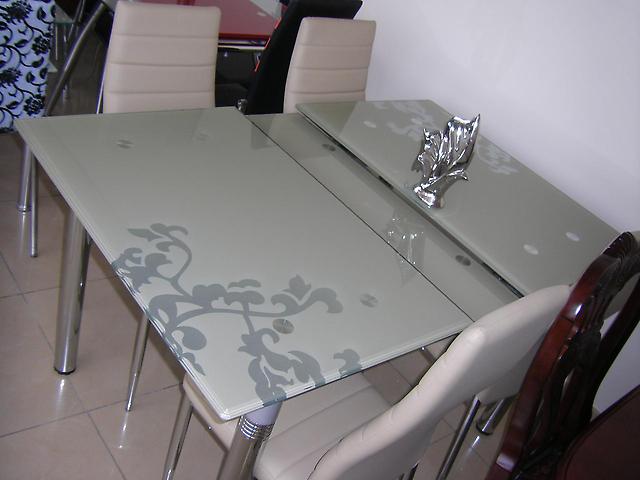
The easiest way to decorate the surface of the tabletop is to attach a special adhesive film with various designs to its lower part. For creative people, a great solution would be to use stained glass technology, which allows you to apply the desired images to the surface using stencils and paints.
Using glue and various glass and plastic stones and rhinestones, fixing them to the surface, you can get a bright and glamorous interior item.
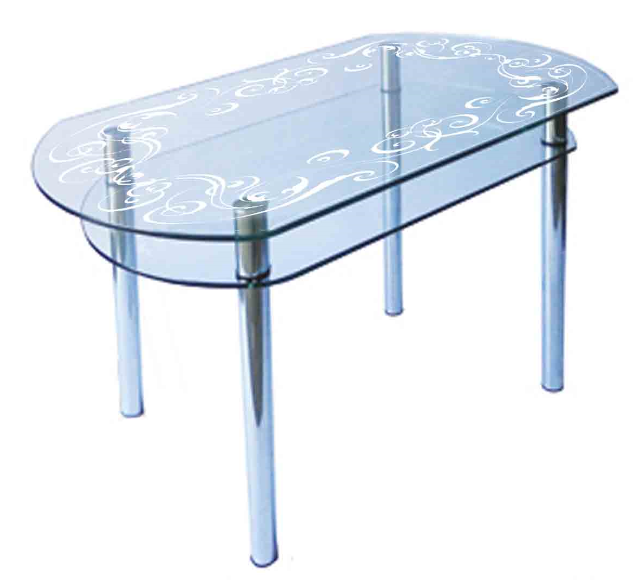
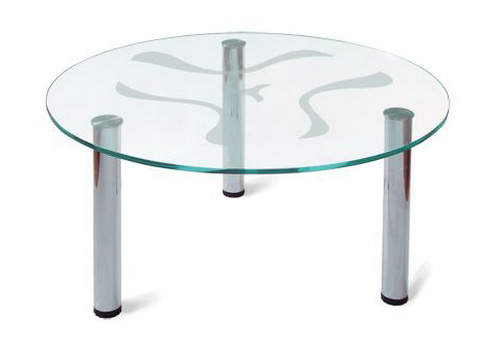
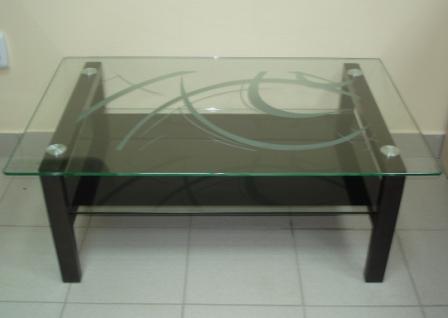
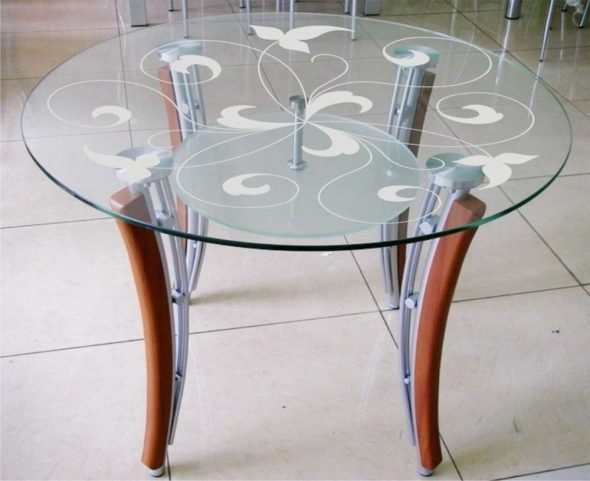
Matte patterns on the glass surface are very popular in any interior. They are applied using sandblasting or etching technology. Both methods involve the use of a stencil and the creation of a matte pattern on the surface of the tabletop mechanically or chemically.
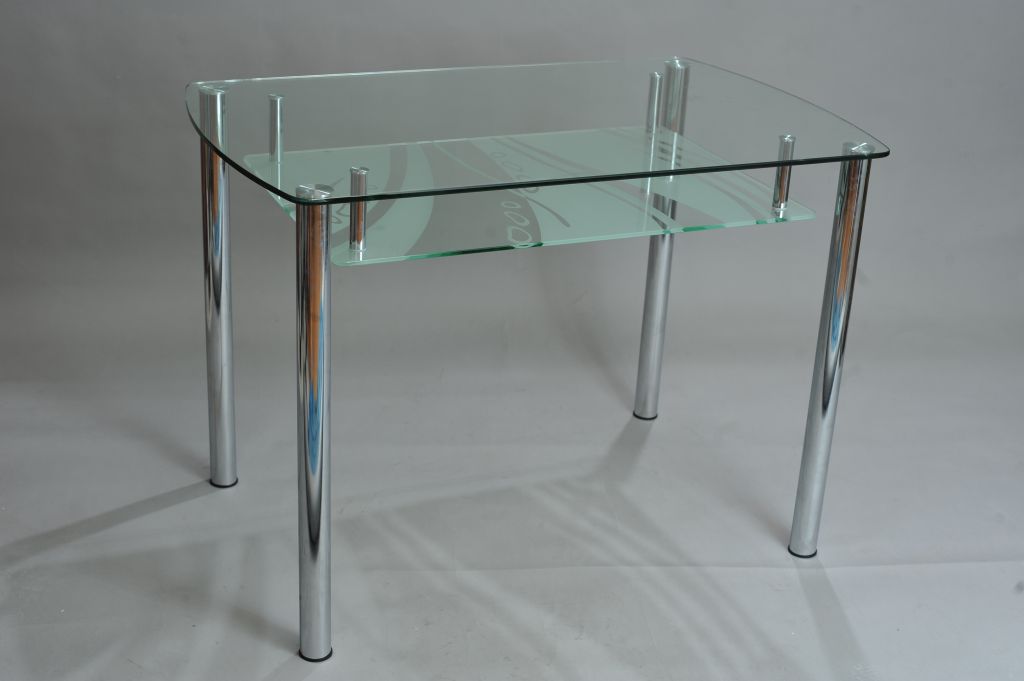
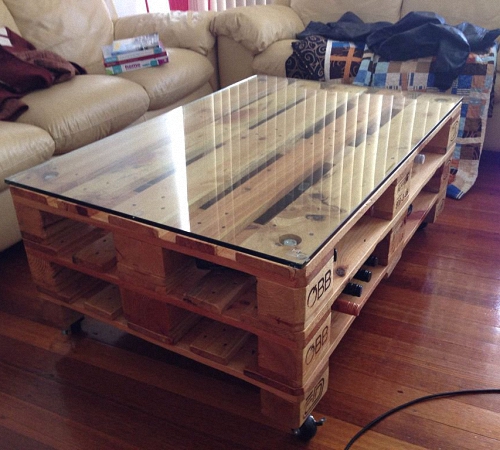
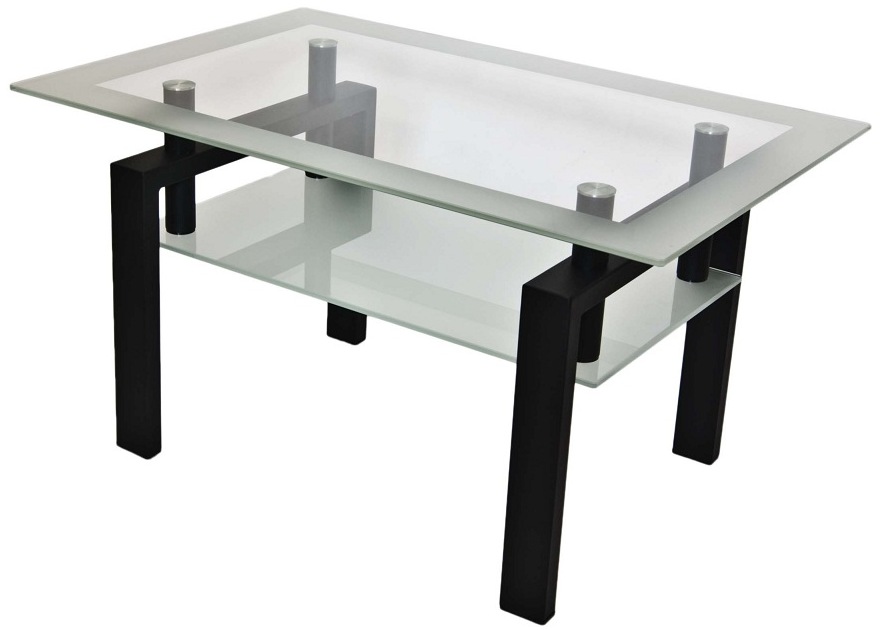
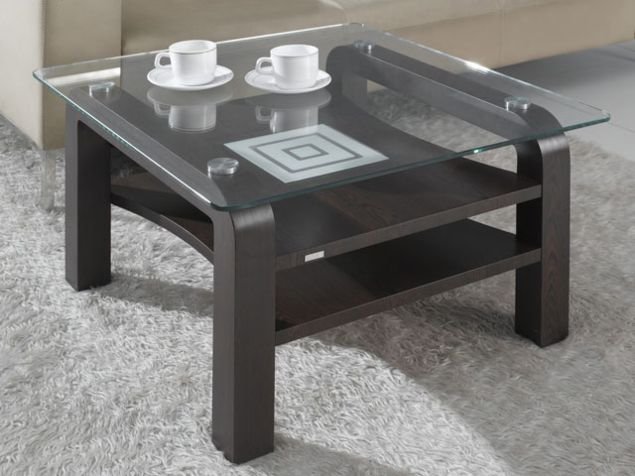
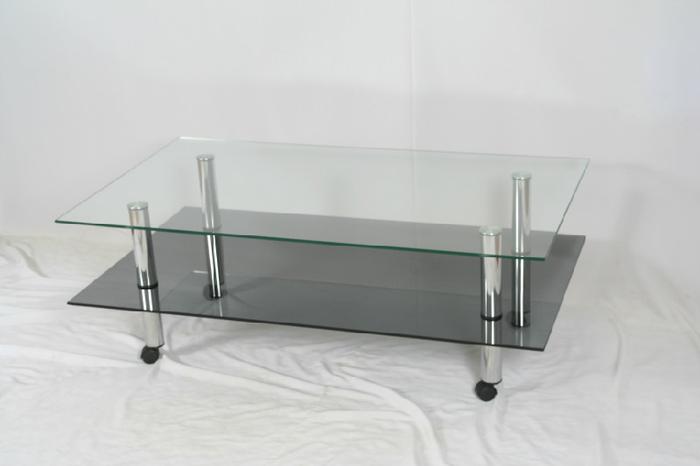
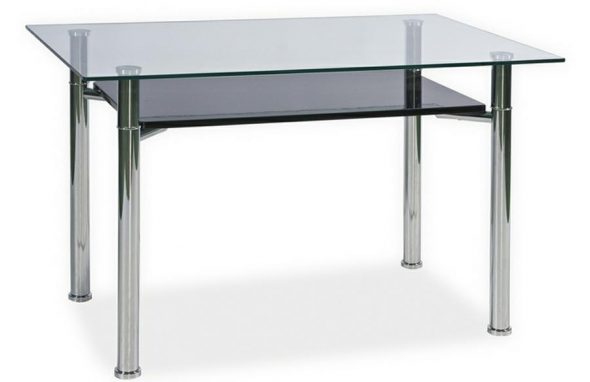
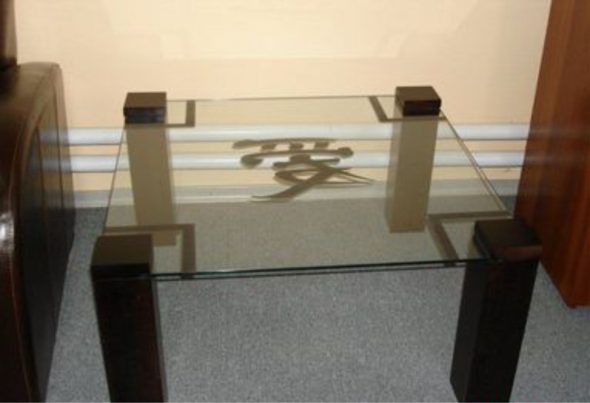
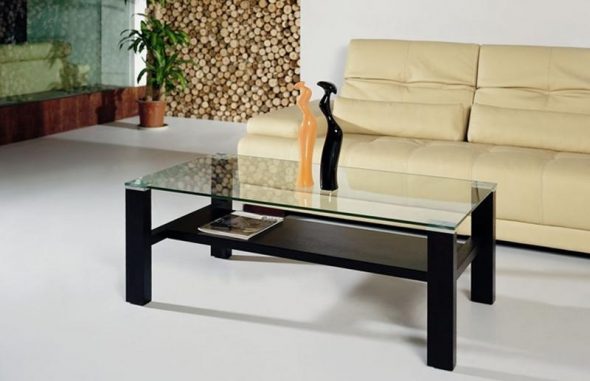
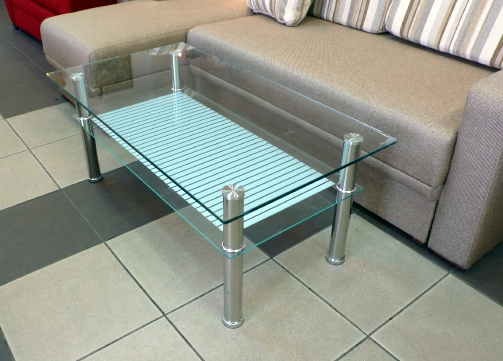
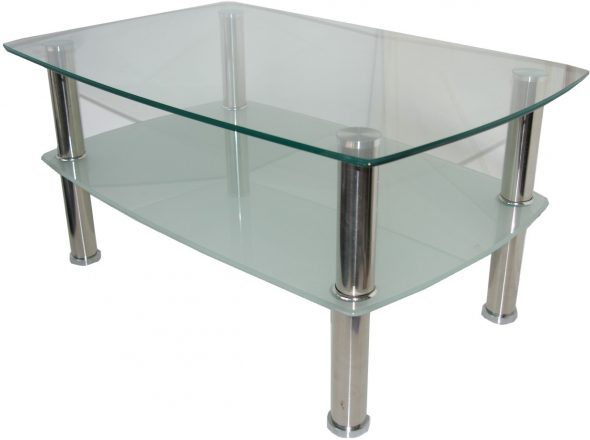
If you want to make a glass table with your own hands with a simple transparent surface, without additional decorations and drawings, you can improve it by installing an additional shelf. The process of making such a piece of furniture is similar to the one described, only instead of ordinary legs, you need special ones - with a pin, on which pre-drilled holes in the glass shelf will be put on, and intermediate washers. For reliable fastening, use transparent construction glue.
It is important to maintain the new appearance, which can be quite difficult if the surface is glossy. During operation, small abrasions and scratches appear on it, which can be eliminated using GOI paste. It must be crushed and used as a polish, cleaning the unevenness of the glass. In addition to such paste, you can find polishes with diamond particles.
By following the sequence of actions, using high-quality materials and taking into account technological advice, anyone can make a glass table with their own hands, and by using imagination, this piece of furniture can be turned into a work of art.
VIDEO: DIY glass table.
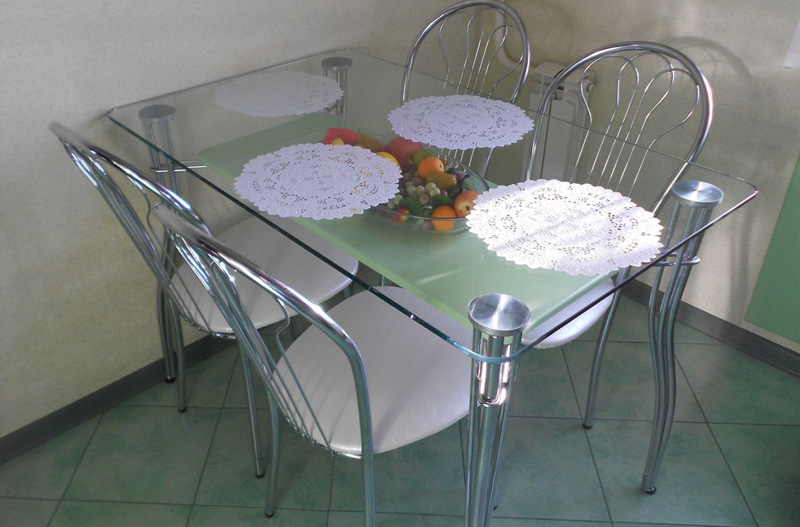
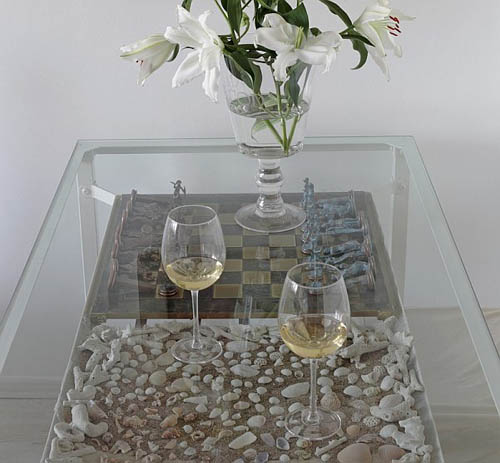
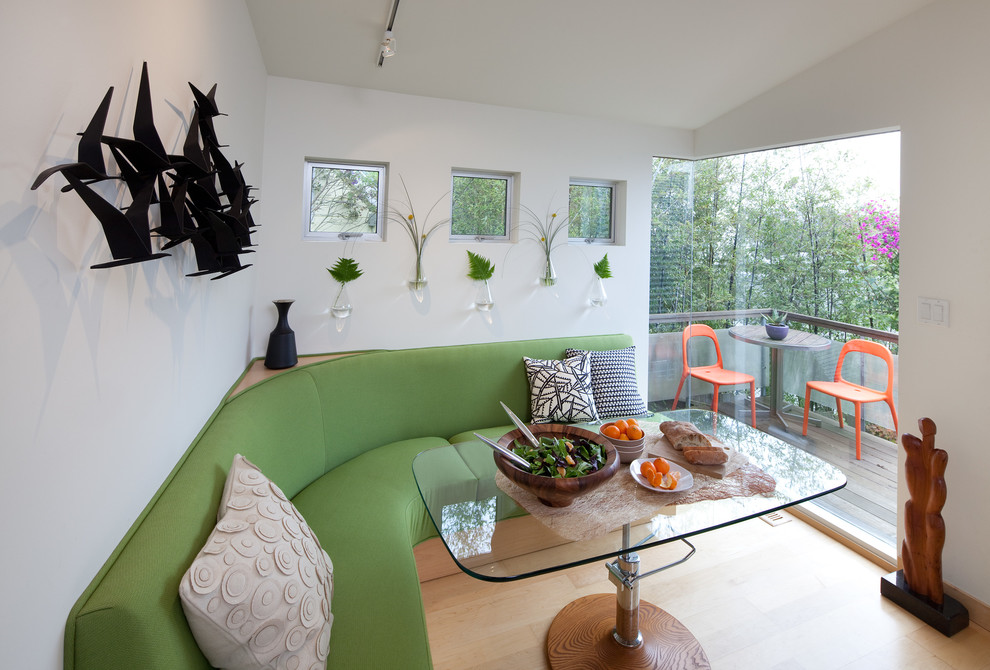
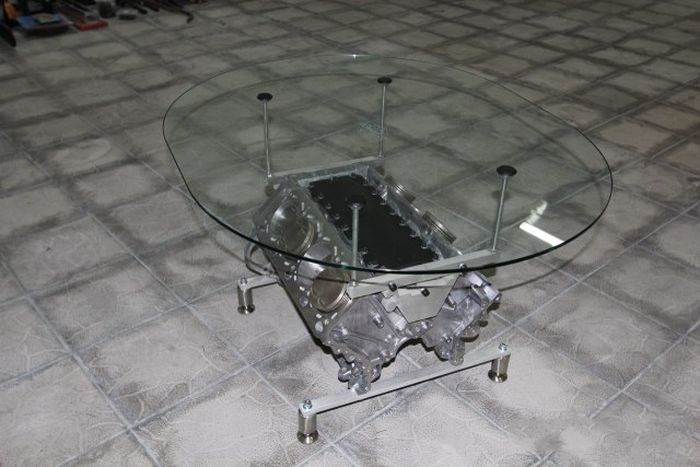
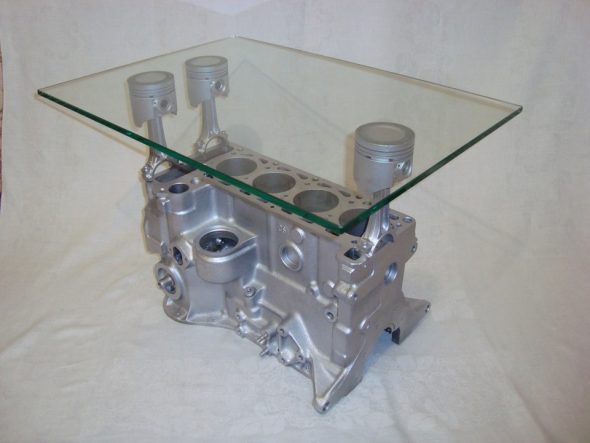
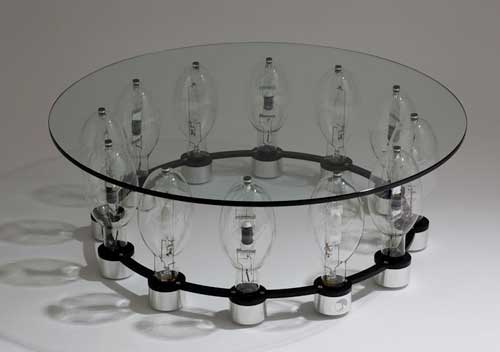
50 DIY Glass Table Design Photo Ideas