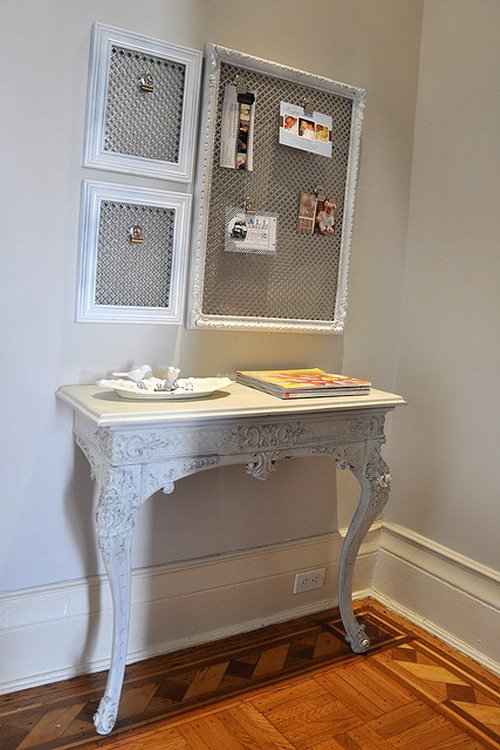
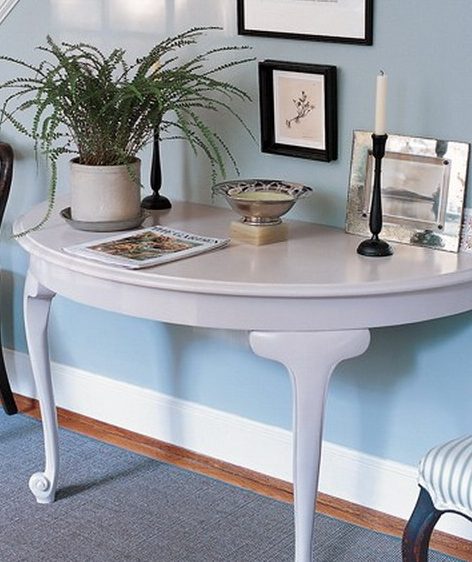
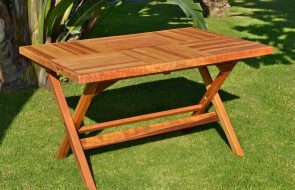
The concept of a console table appeared during the reign of Louis XIV. In those distant times, these interior items were very popular, and they are no less in demand today. Console tables have a variety of design options, but they have one thing in common: console, which means narrow. Such furniture is very convenient to use in small rooms, it does not take up much space and is not far from the wall.
Content
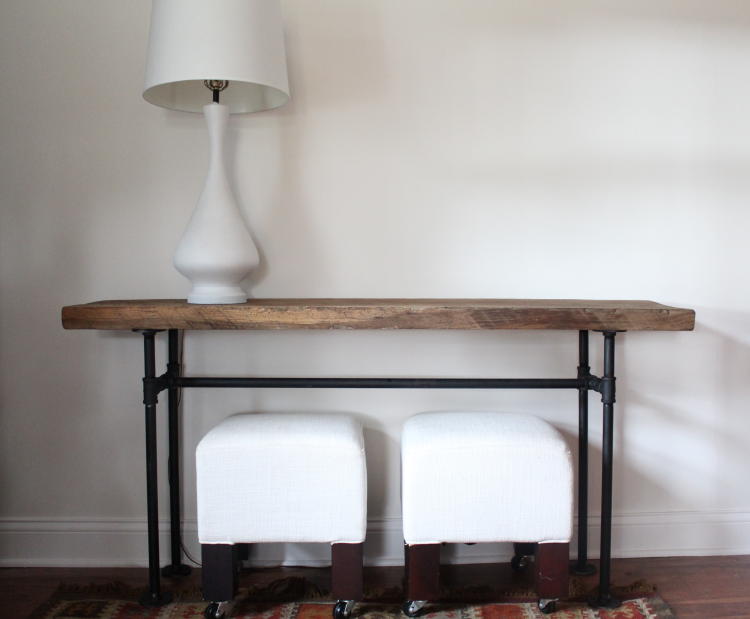
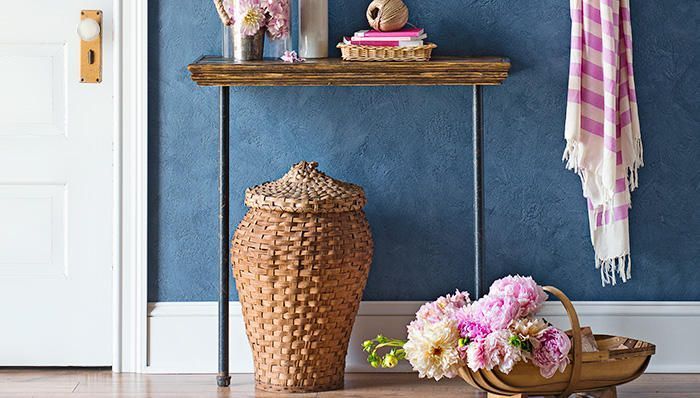
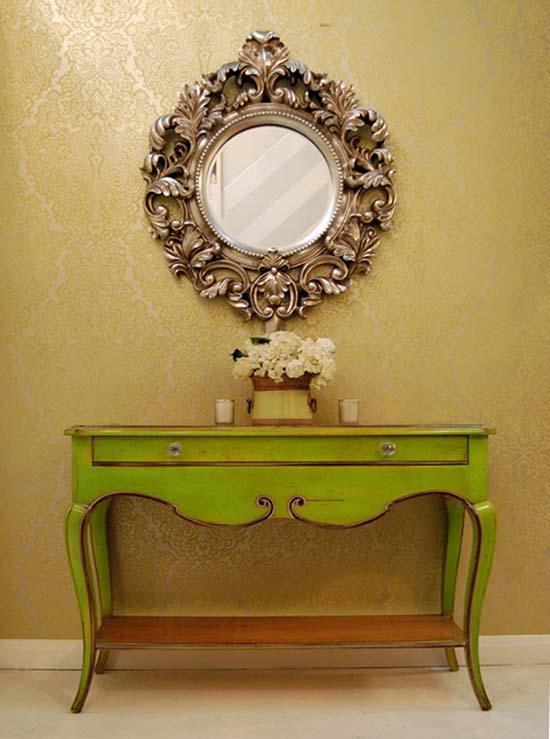
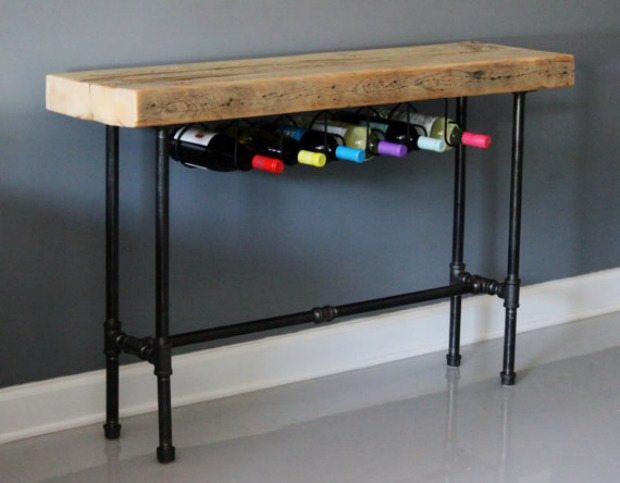
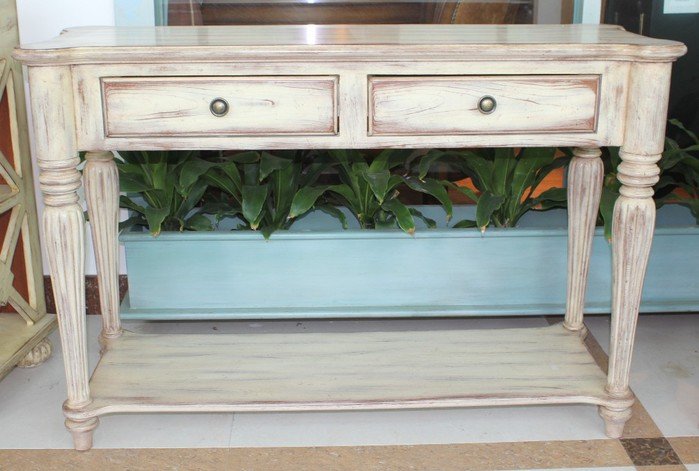
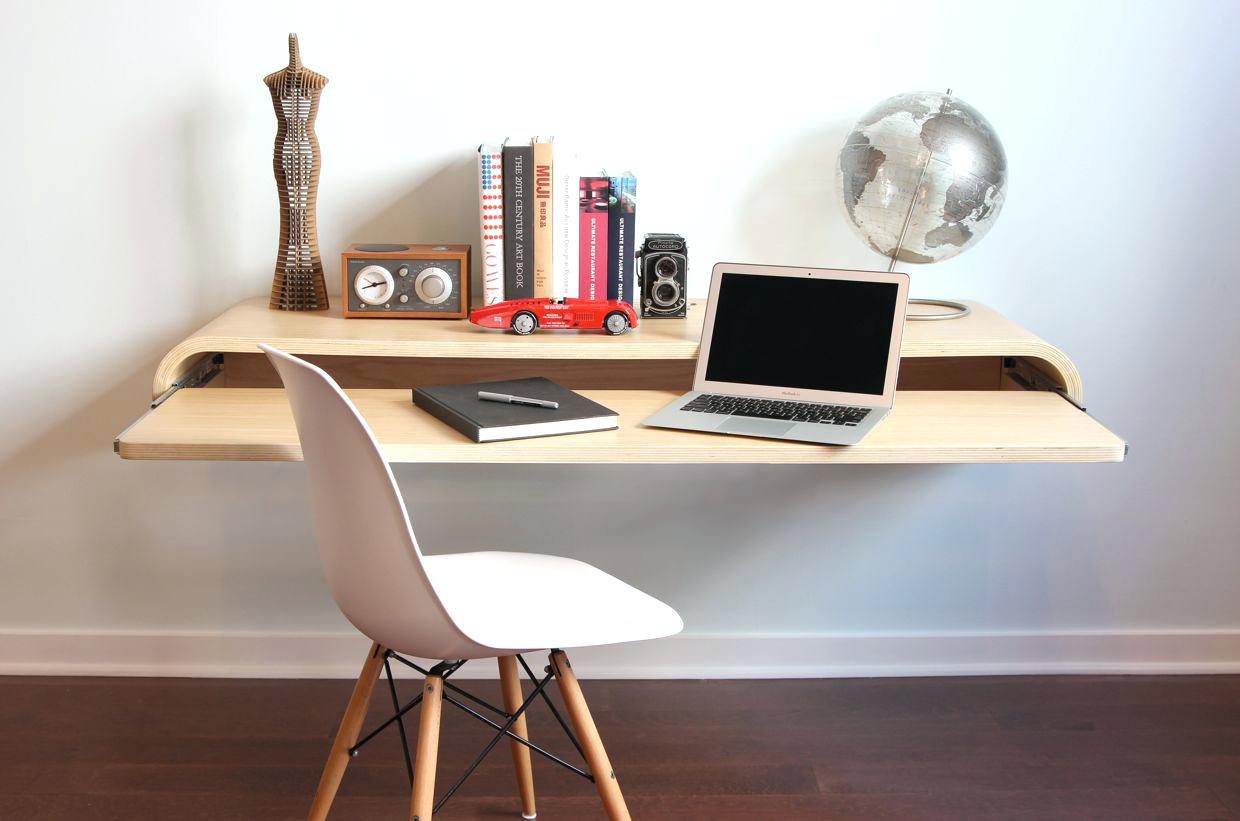
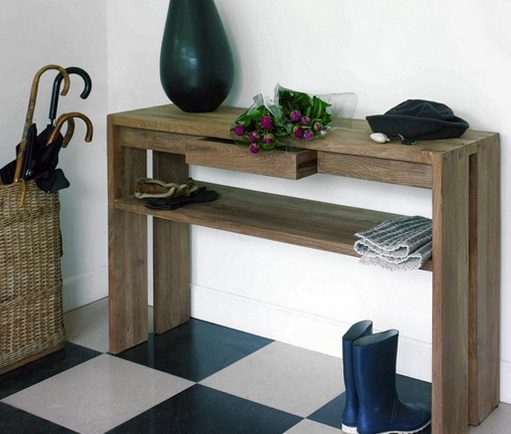
Such different tables
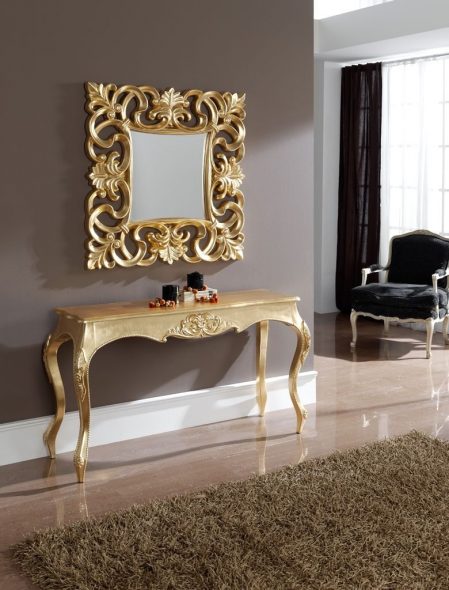
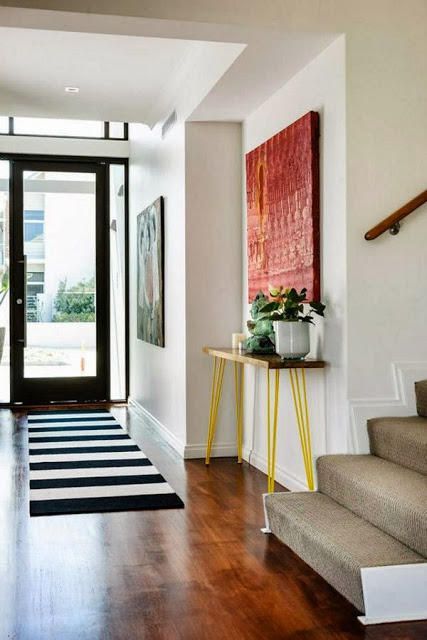
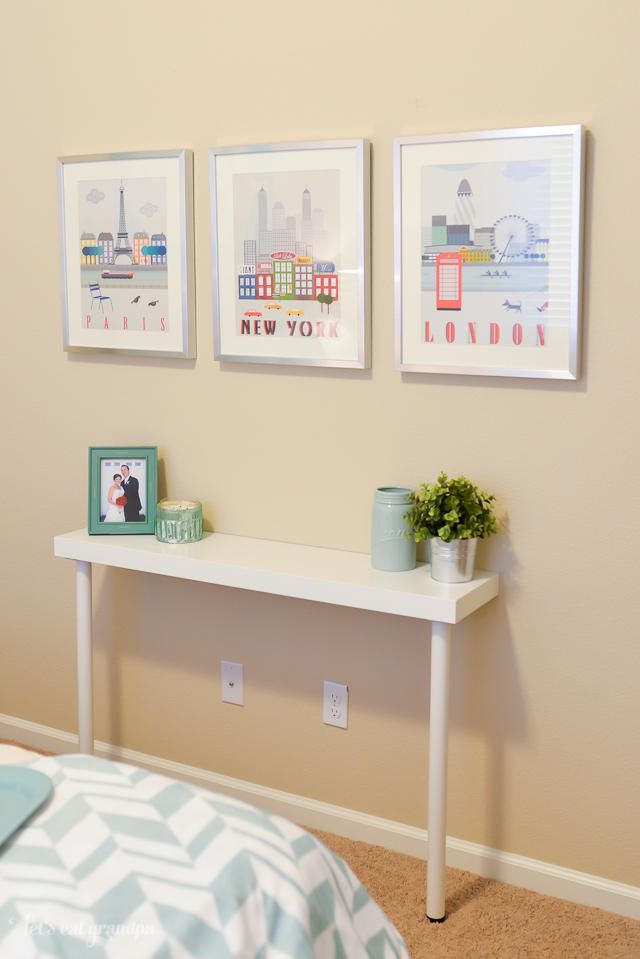
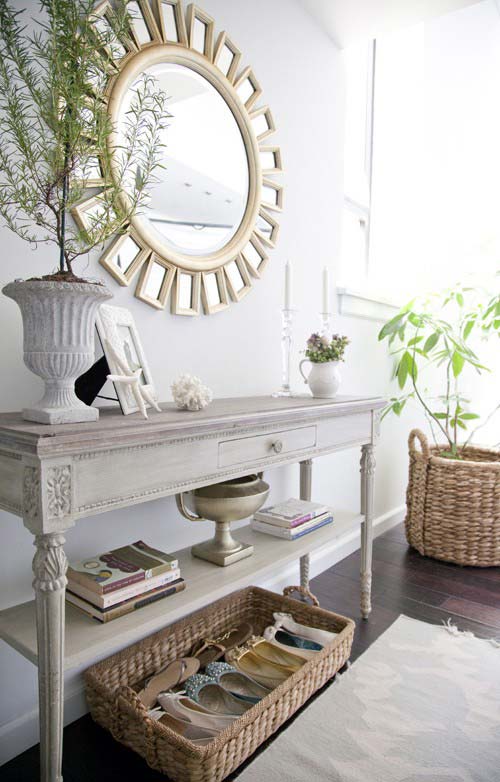
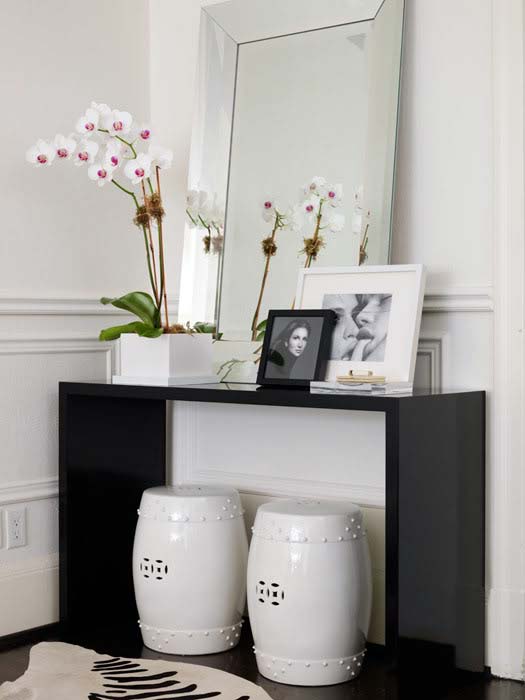
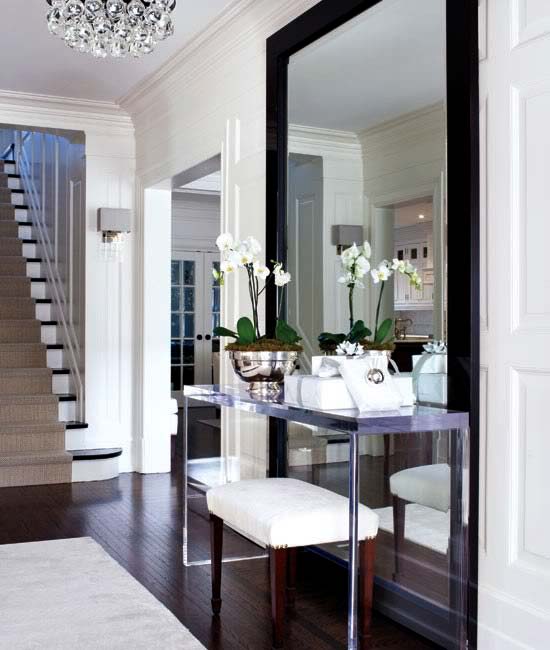
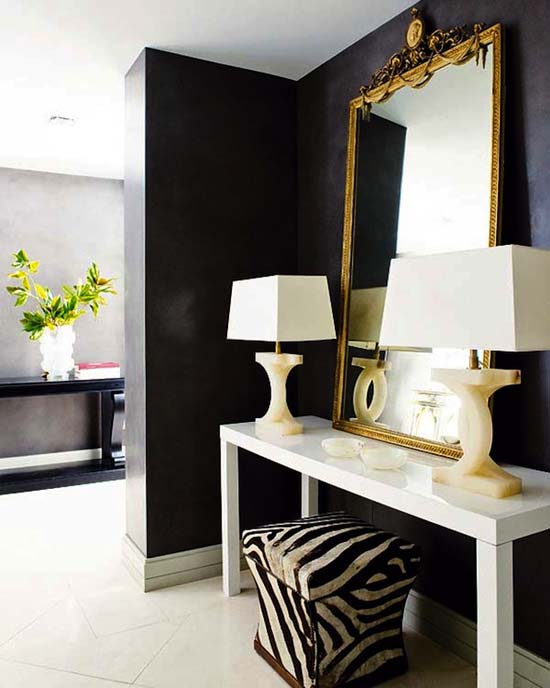
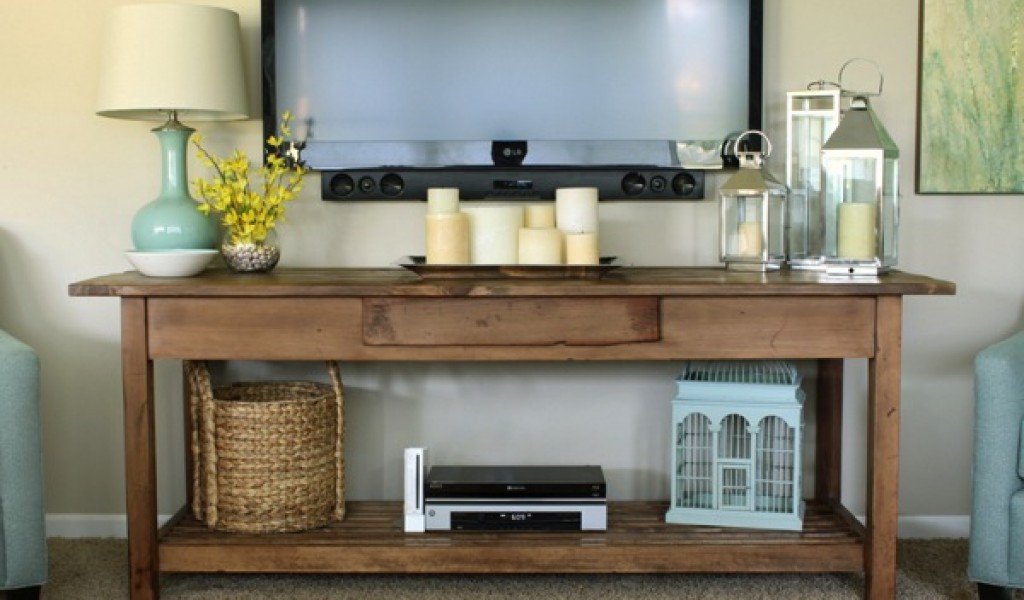
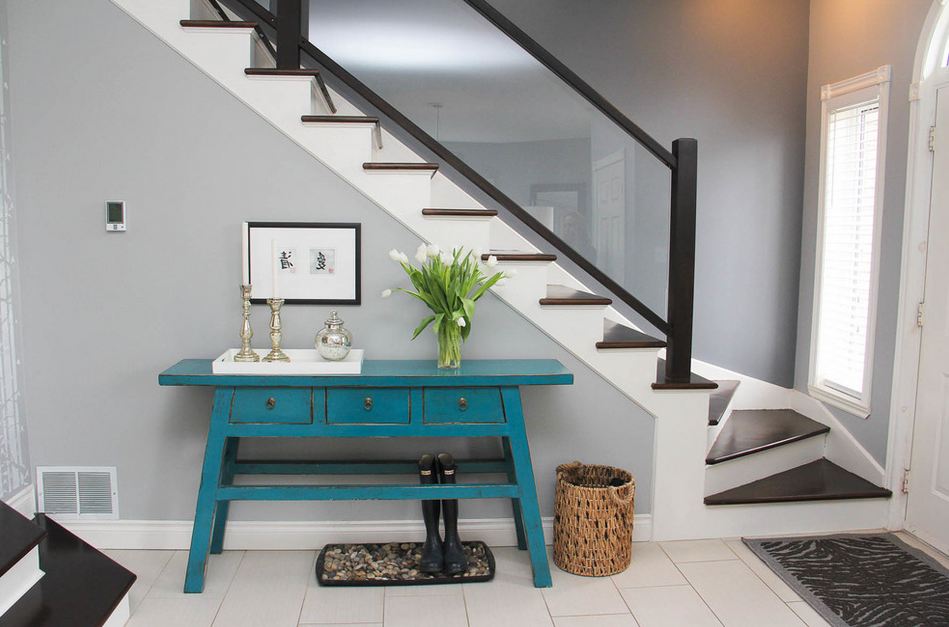
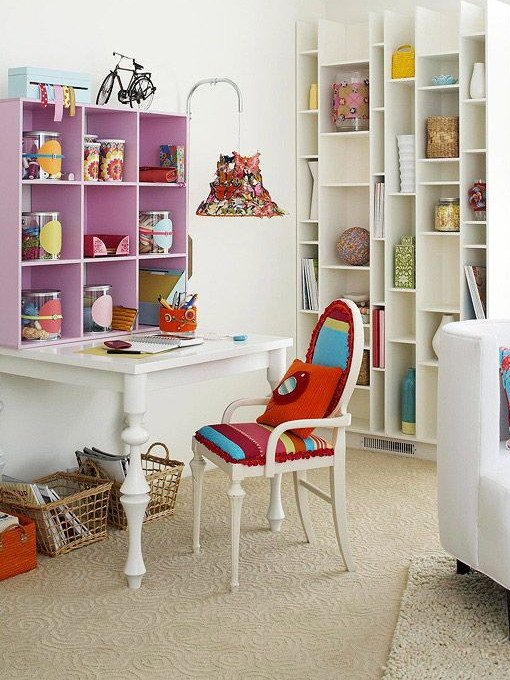
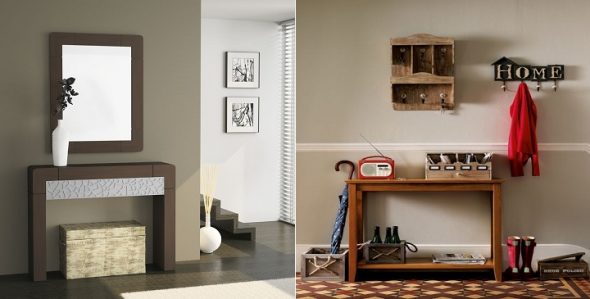
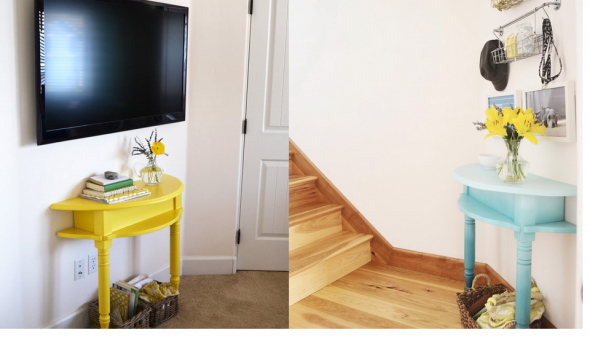
We will not discuss the variations of console table models, because there are countless of them. Let's talk about the scope of application of this interior item. The furniture looks great in hallways and living rooms, acting as an alternative to a buffet.
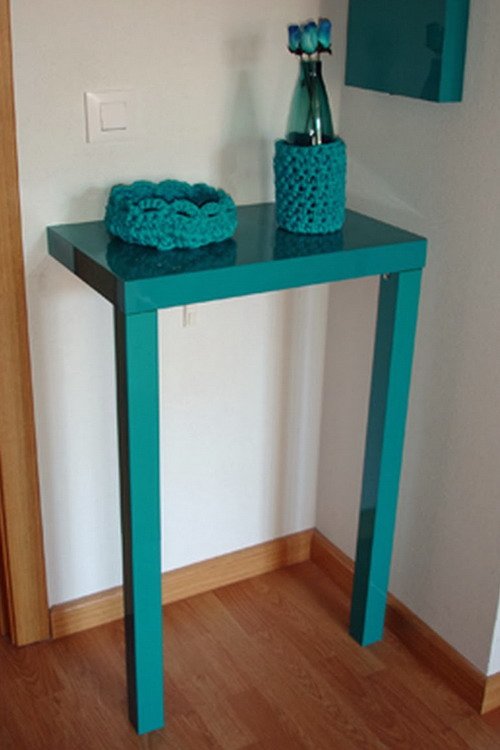
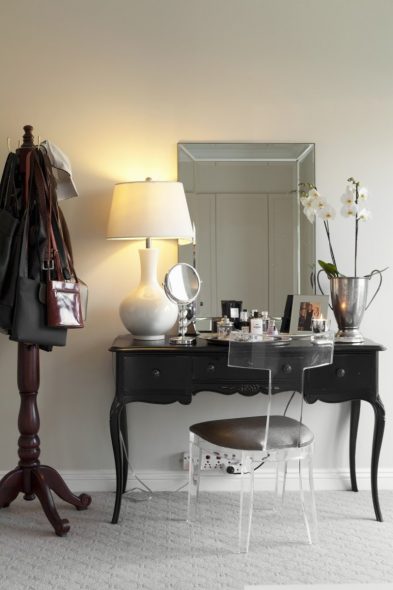
You can turn this furniture into something like a mini bar, or place framed photos on it. An original idea is to use a console table in a boudoir or for storing cosmetics.
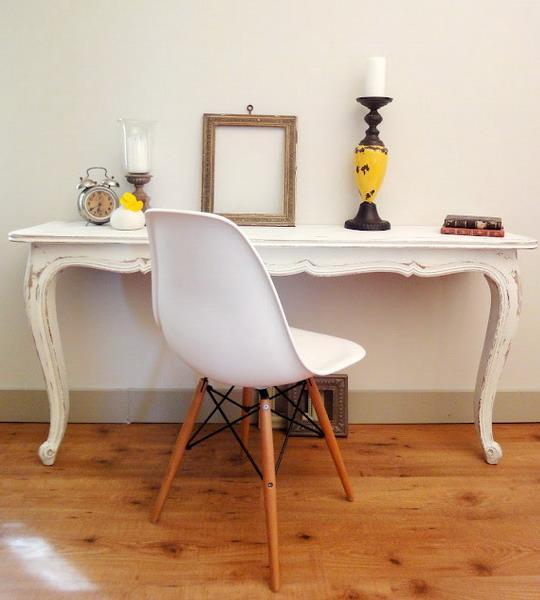
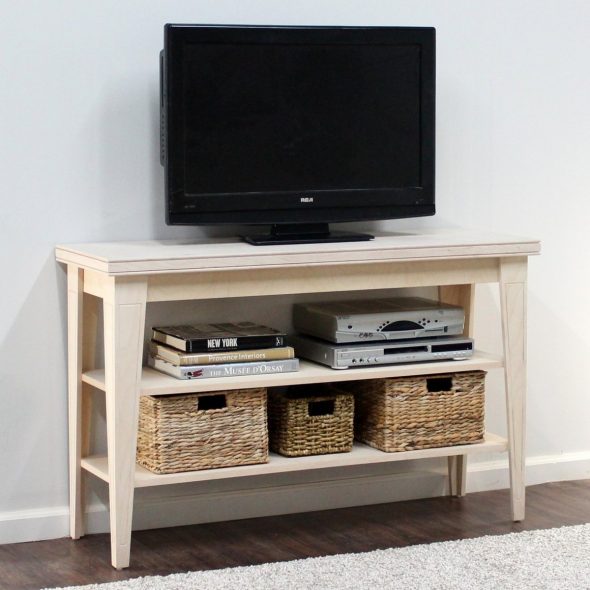
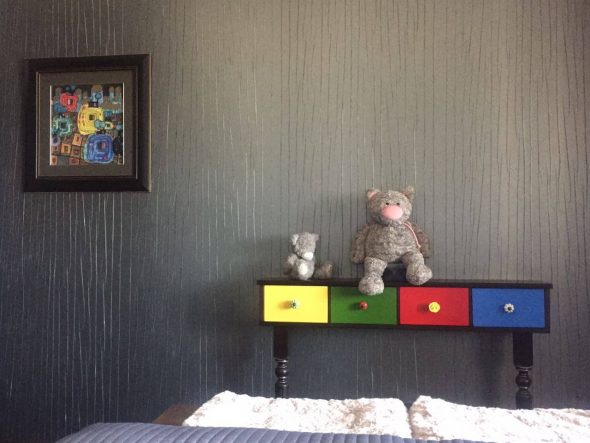
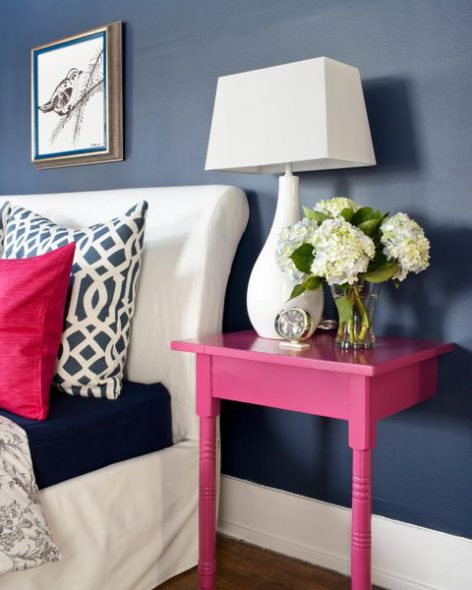
In the hallway, keep your keys on the table, put a candlestick or a picture on it. And in the bedroom space, you can put a DVD player or a TV on the console.
If you have your own office, store cigars or beautiful figurines on the table. And in the children's room, put toys, markers or boxes with construction sets on this piece of furniture.
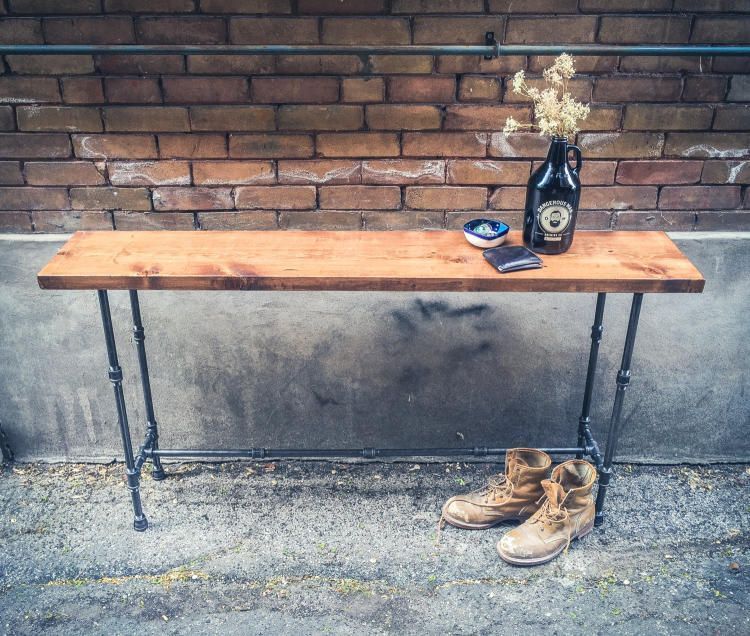
We will tell you how to create a console table with your own hands - it is a simple, exciting activity, it will help you save a lot. To do this, you will need to buy some tools and stock up on accuracy and patience.
How to Make a Console Table with Your Own Hands from an Old Table
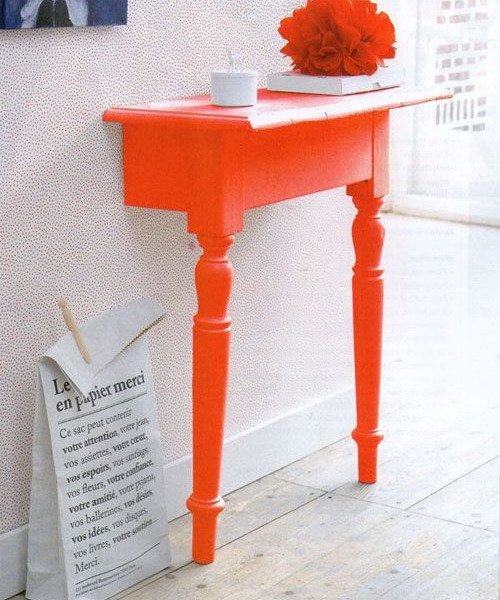
You can use an ordinary old table that has served its time to create your masterpiece.
| Old table | Main detail |
| Saw | Cut off the required part |
| Sandpaper | Clean it up |
| Dye | Paint it |

Cut the required part from the table and process it. The photo shows examples of such creations. If you want to create a masterpiece "from scratch", read on for a step-by-step guide to action.
Steps to Building a Console Table
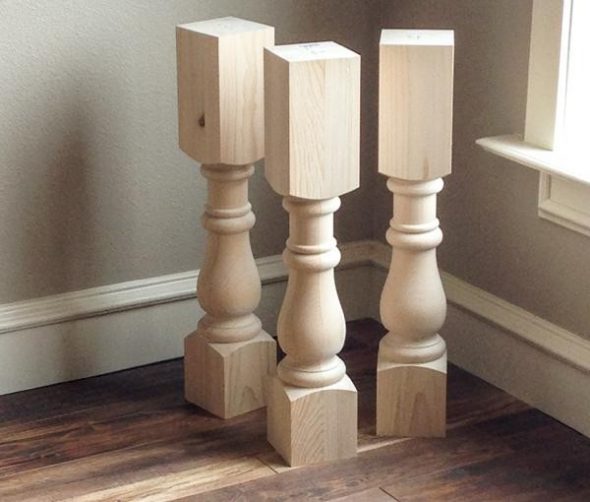
Step 1. Make or buy legs. The console table has beautiful legs. You probably don’t have a suitable machine for turning curved balusters for the legs: no problem. Visit a hardware store: you will find a variety of table leg models, and choose the right part.
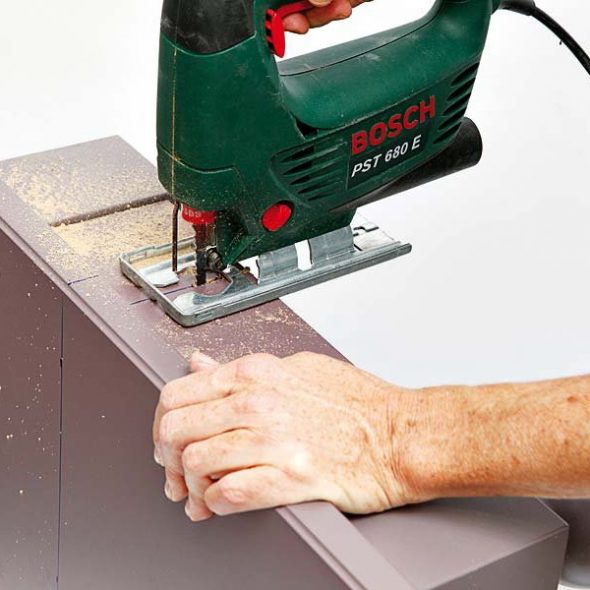
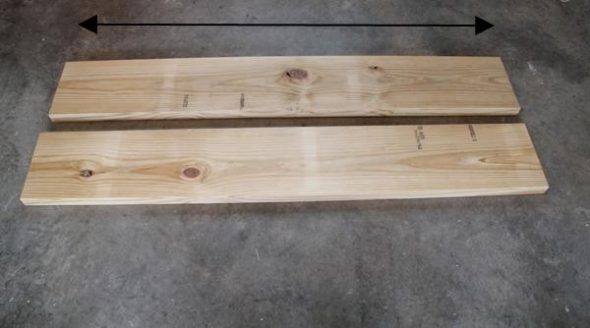
Step 2. Cut the board. To create the top and bottom of the table, use a three-meter board, ten centimeters thick, 20 wide. Cut the board with a saw. You will need four boards, each 150 centimeters long. Cut the pieces with a saw.
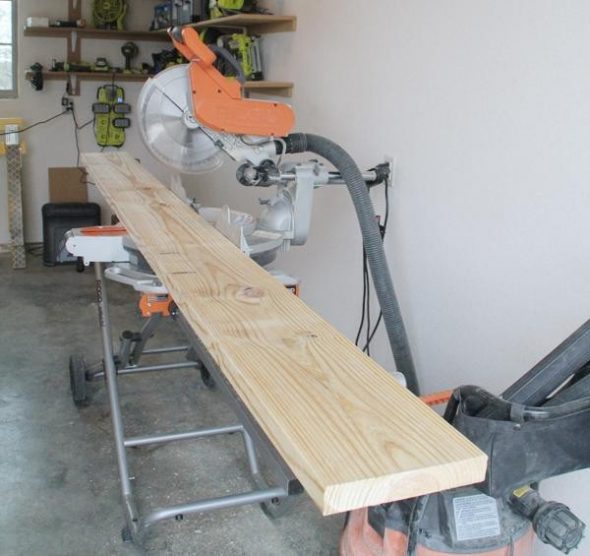
The table will require four planks, each ten centimeters thick and 145 centimeters long. You will place them vertically, attaching them to the previously cut planks. Four squares will be placed at the edges, as you will see in the picture.
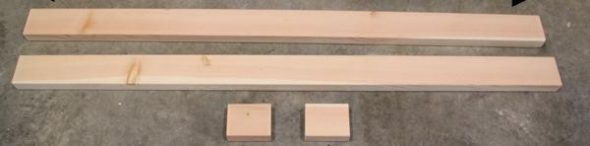
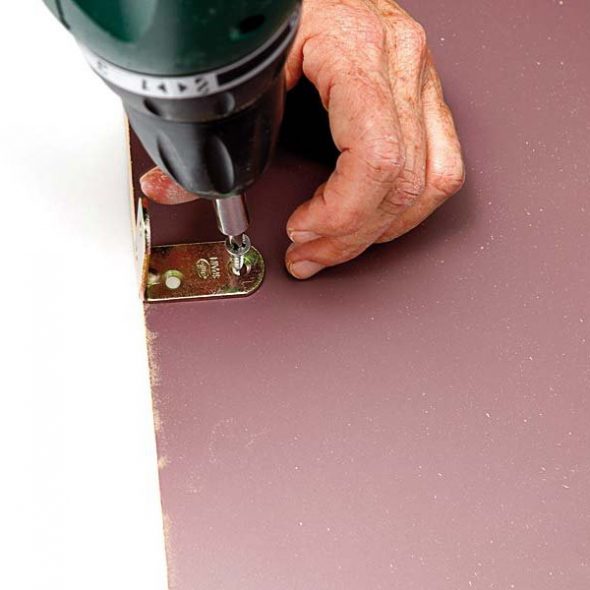
Step 3. Connecting work. Take square parts that are ten centimeters wide and place a board one hundred and forty-five centimeters long on their end part. Screw the structure together using screws. In the same way, repeating your actions, make the lower and upper blanks for the future table.

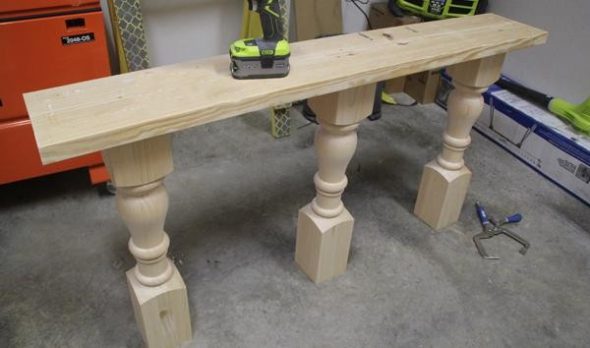
Step 4. Don't forget about the legs. Take the legs you bought in advance and screw them to a board that is one hundred and fifty centimeters long. Before doing this, don't forget to mark the places where you plan to install the legs. Close the holes with plugs.
Step 5. Make the top of the table. Step back two and a half centimeters from the edge and place the blank structure created earlier. Grease both sides with wood glue. Place a board on the blank, you will get something like a rectangular pie.
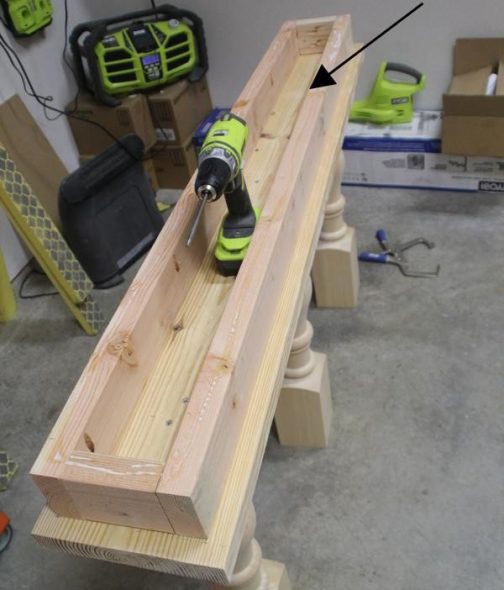
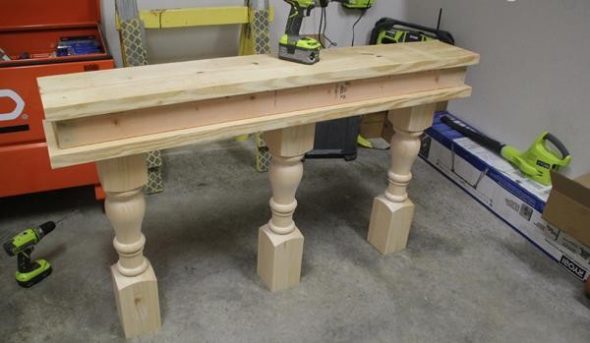
Step 6. The bottom of the table. Since our table will have the same top and bottom, we will need to repeat step 5, applied to the manufacture of the bottom of the future table. When you have completed all the work, you will have a real masterpiece, which should be cleaned with sandpaper.

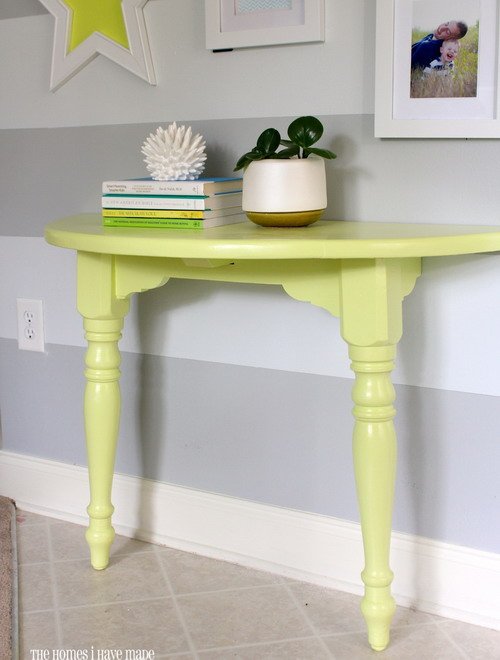
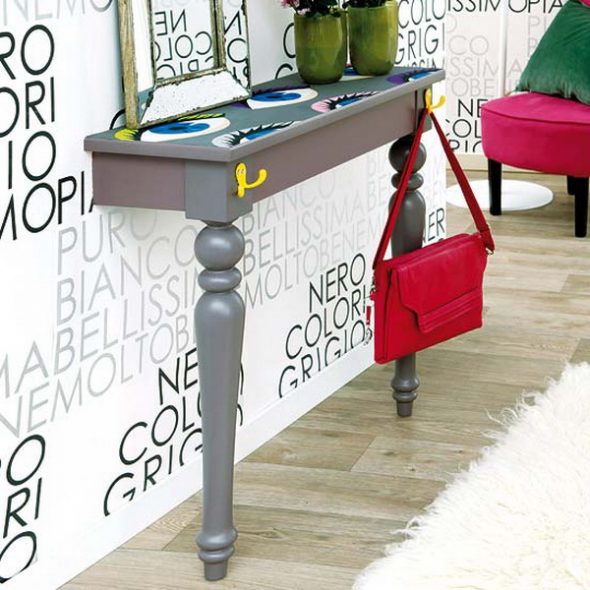
Let's decorate
We recommend simply painting the resulting table. There is a wide range of different wood varnishes available now. For example, apply a walnut-colored coating to the table and use Vaseline to lubricate the structure after the paint dries. Apply the last layer of gray paint (when this coating dries, sand the end elements). As a result, you will get a shabby table with beautiful legs. Such a work of art will perfectly suit any living room or hallway. As you understand, making a table is very simple.
Video: DIY Making a Console Table
https://www.youtube.com/watch?v=qdaiI_2Cq80
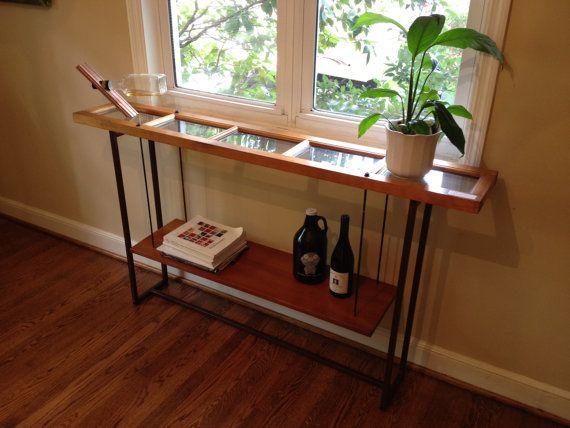
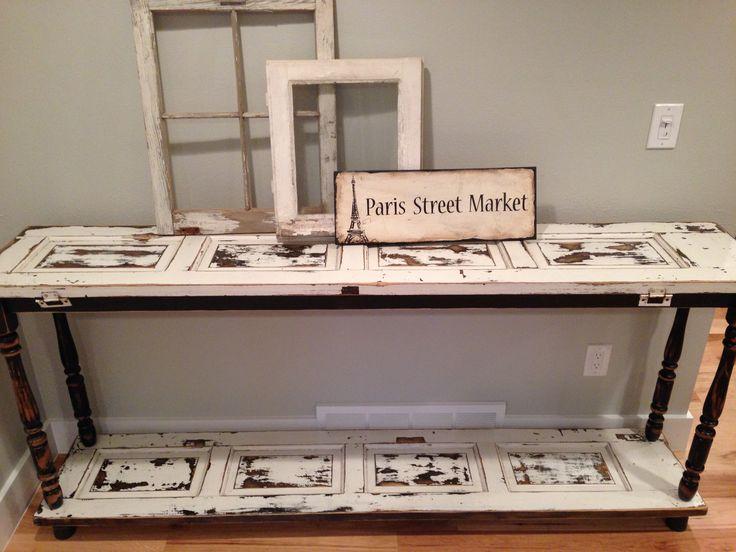
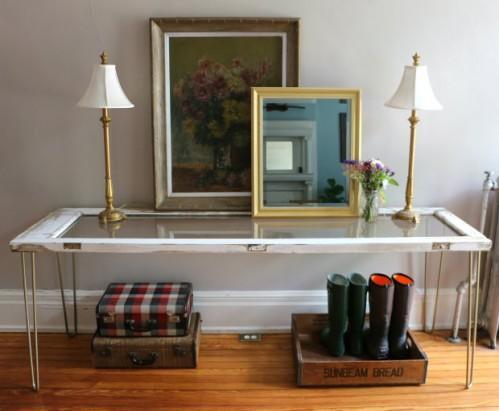
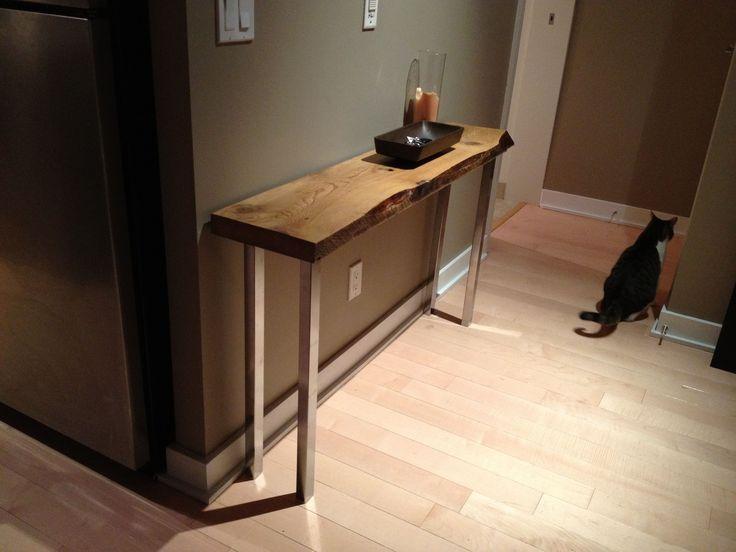
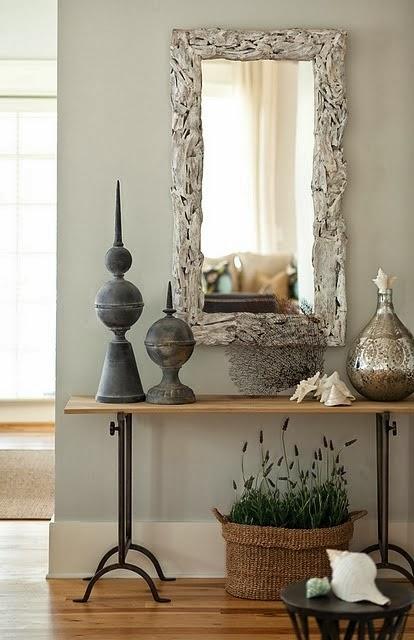
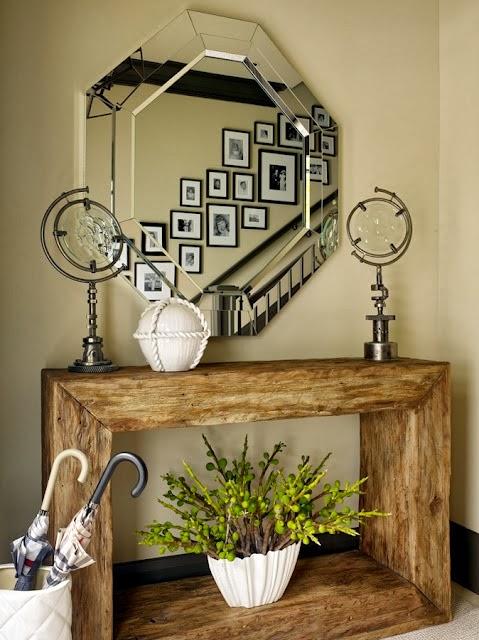
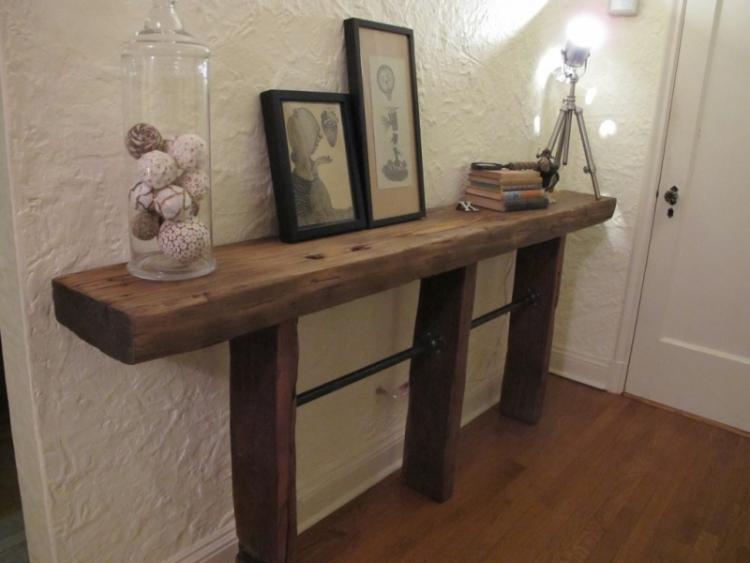
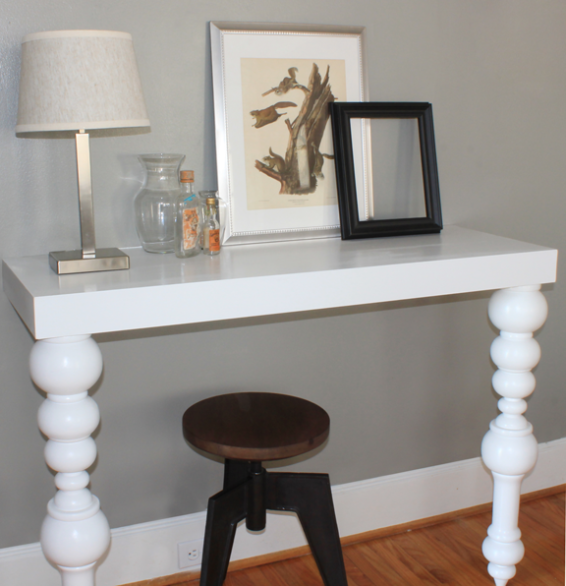
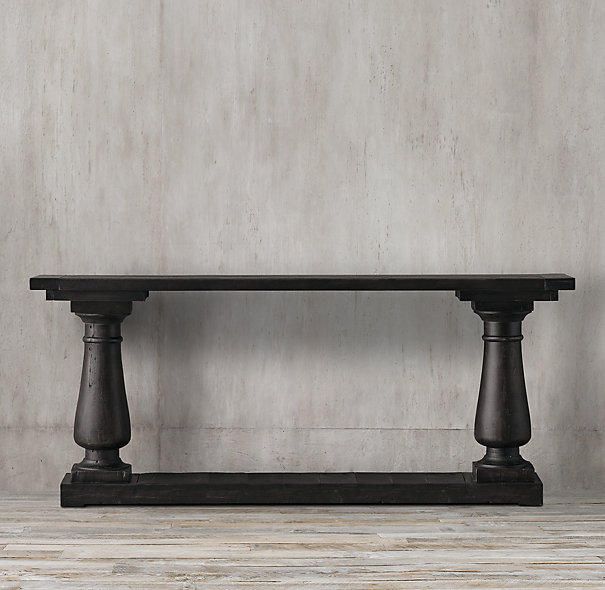
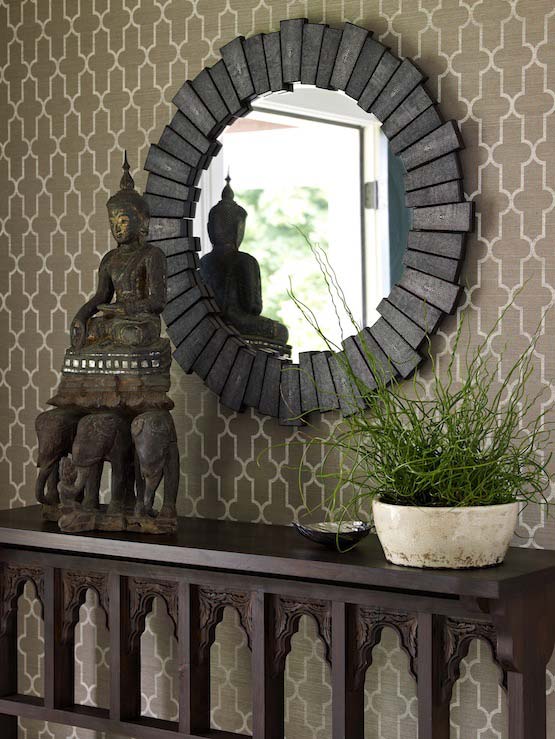
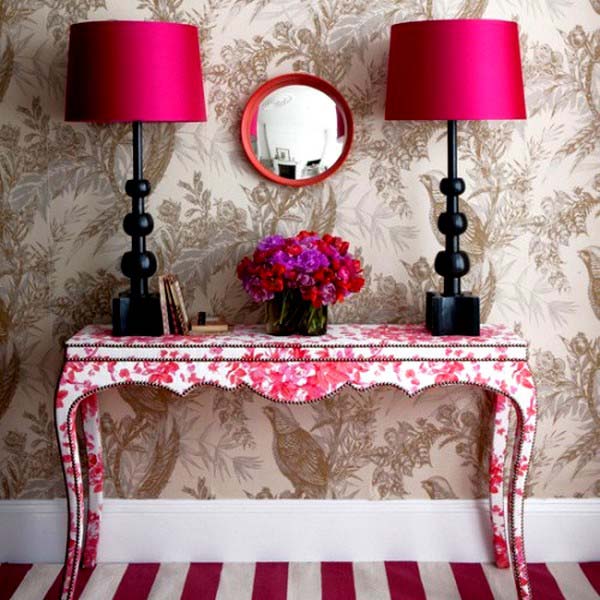
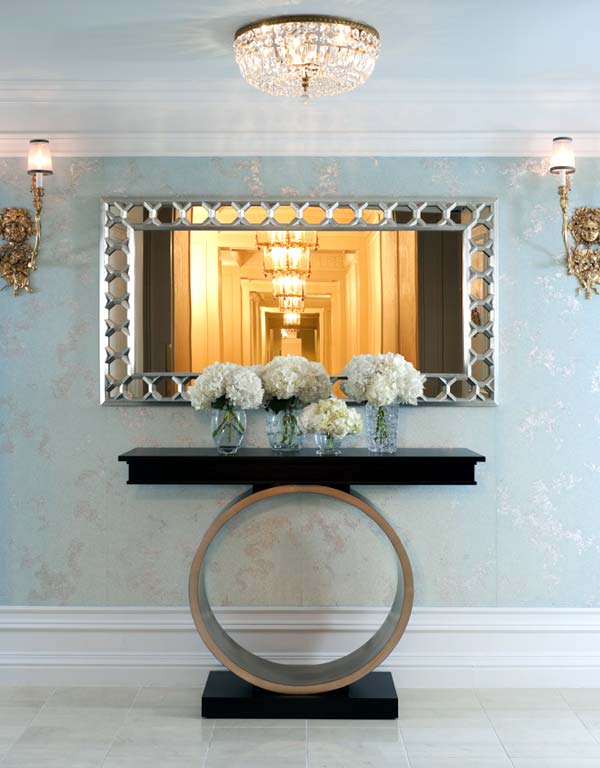
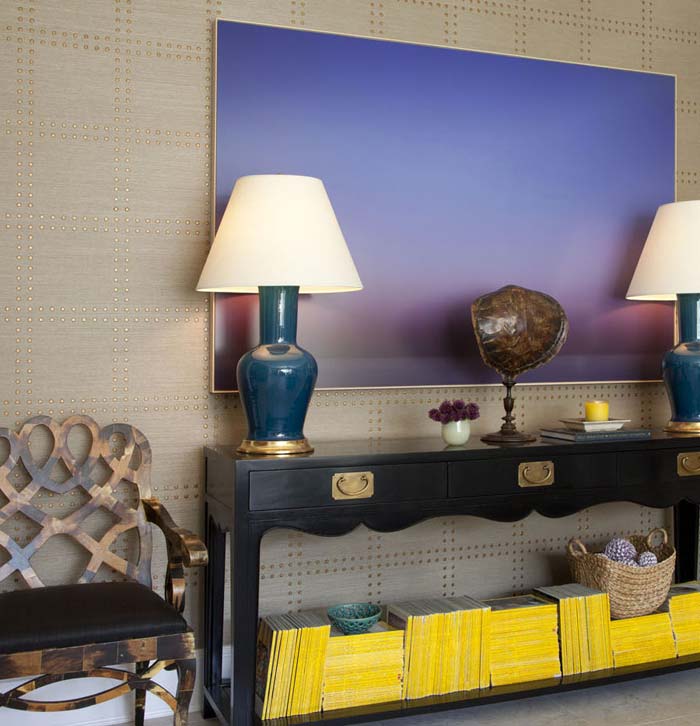
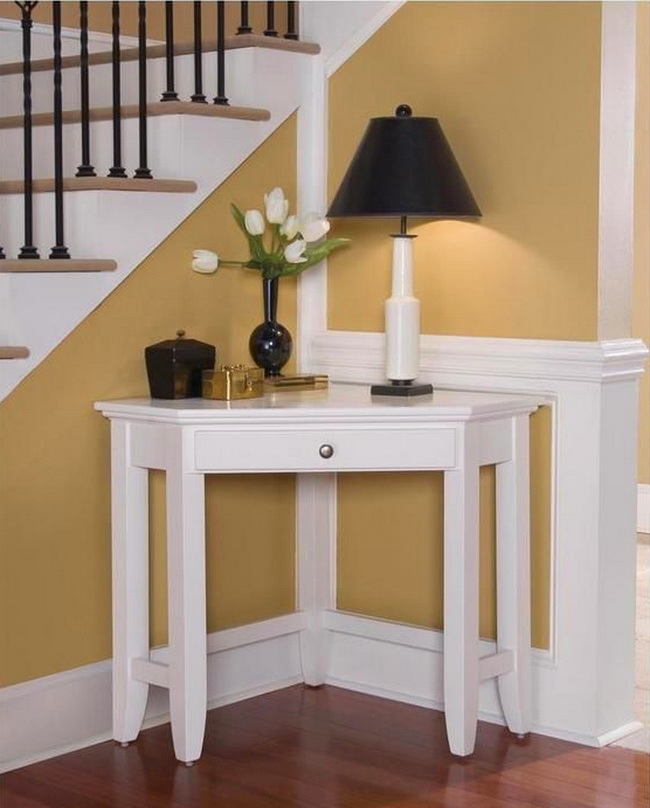
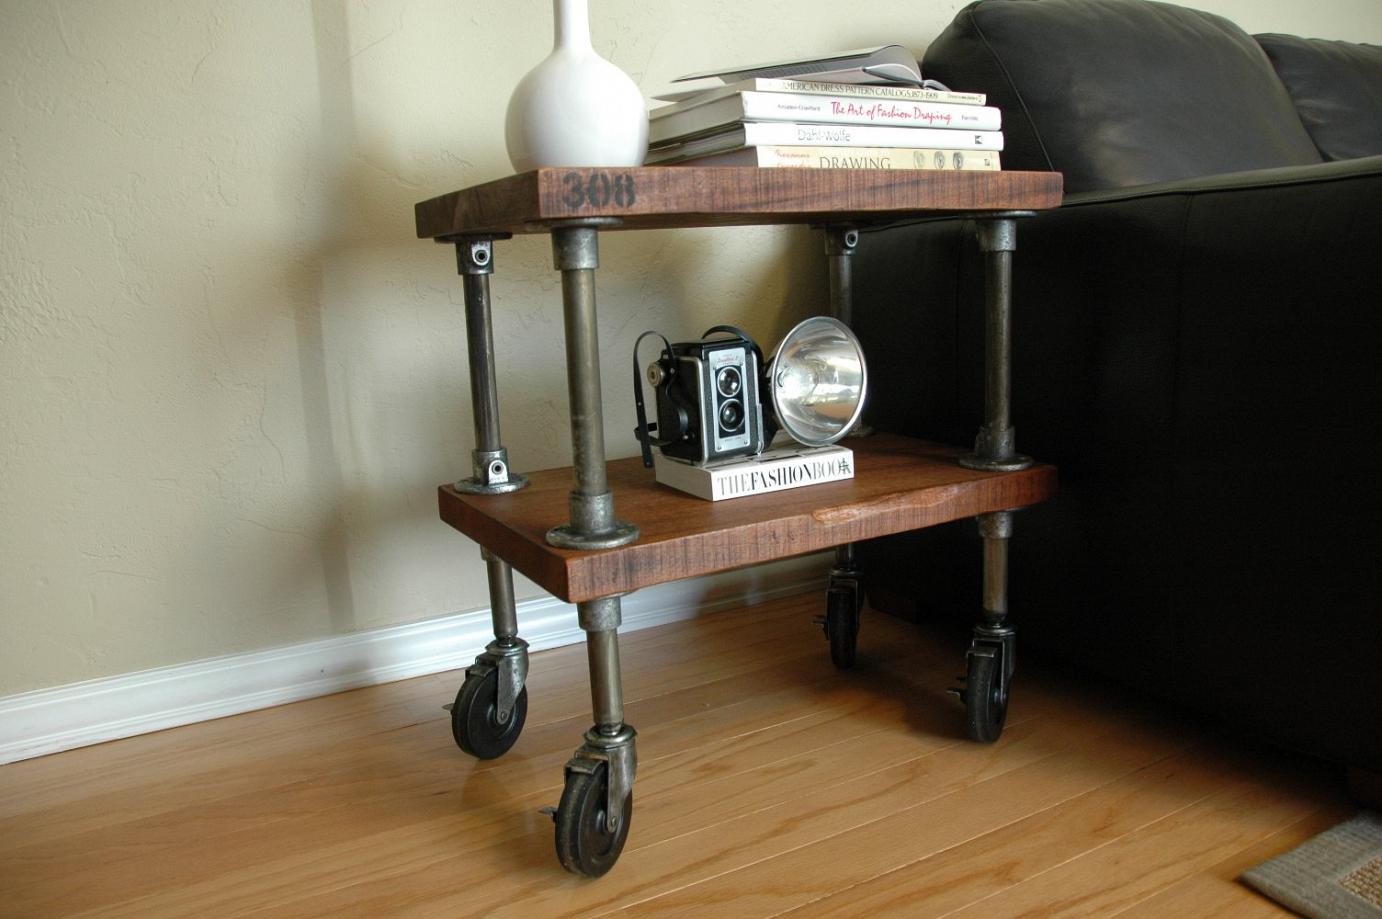
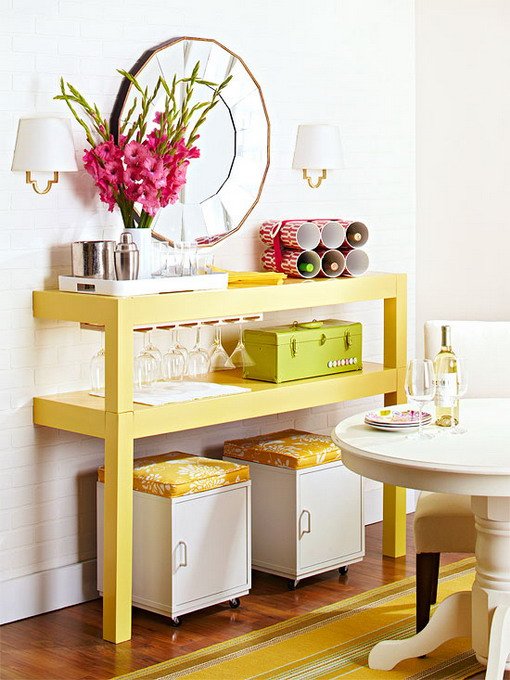
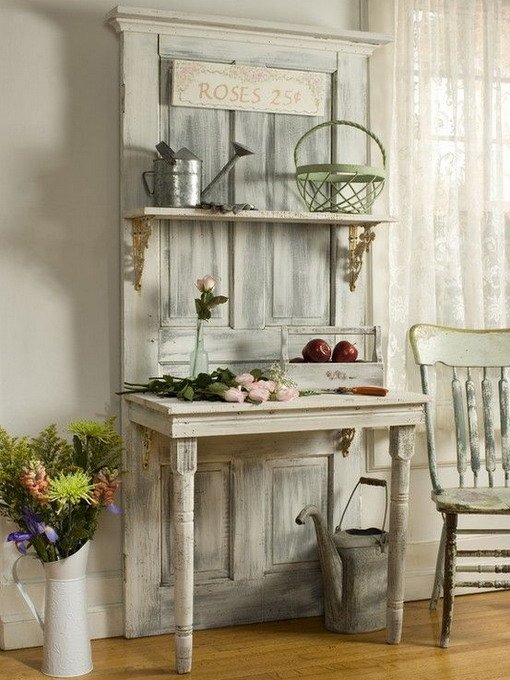
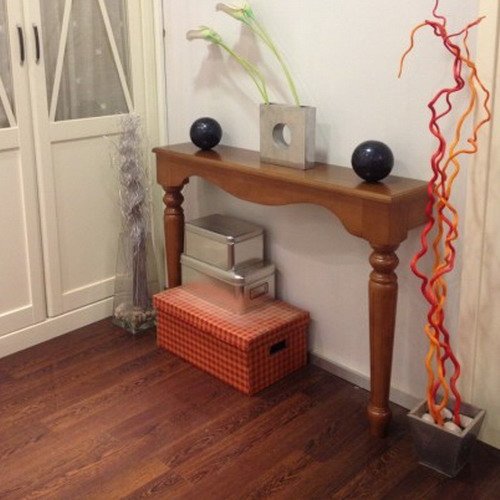
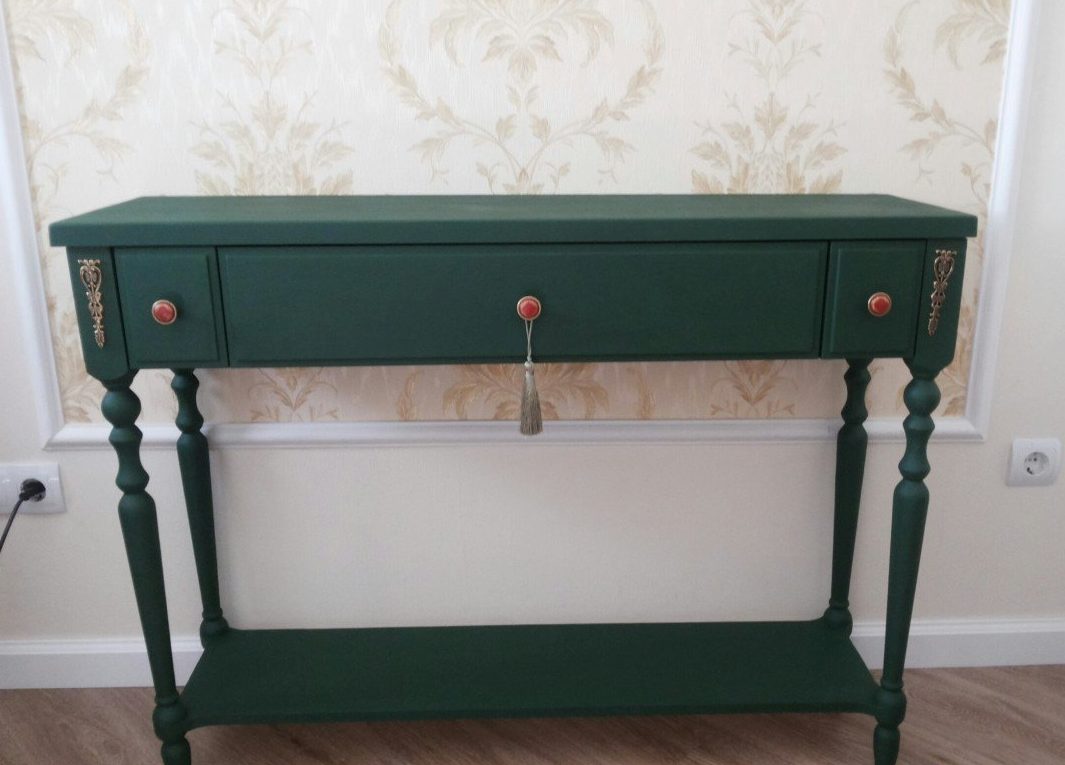
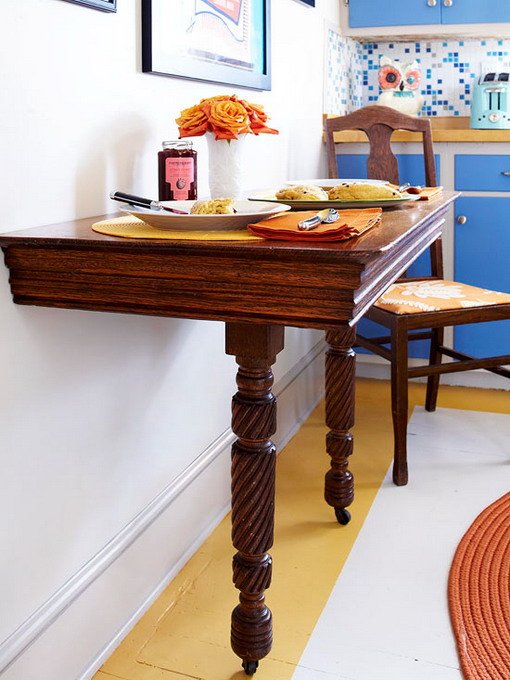
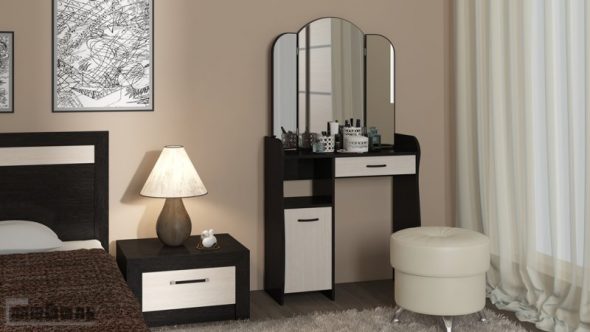
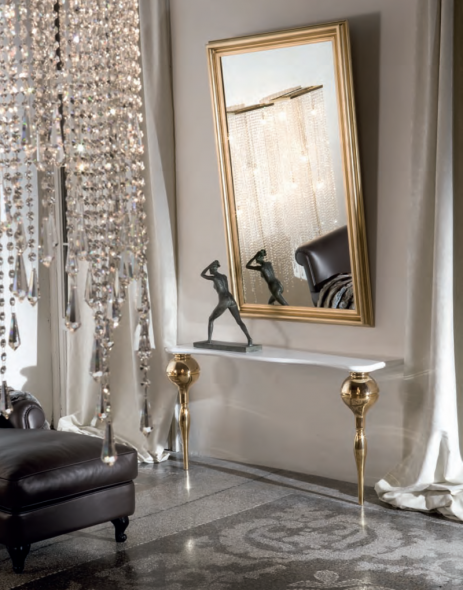
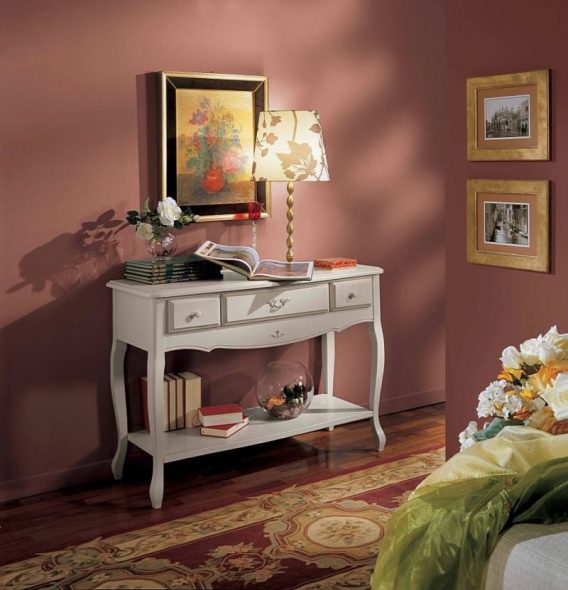
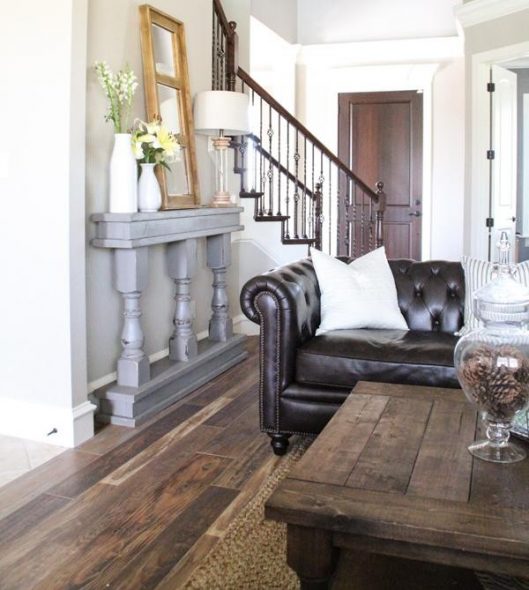
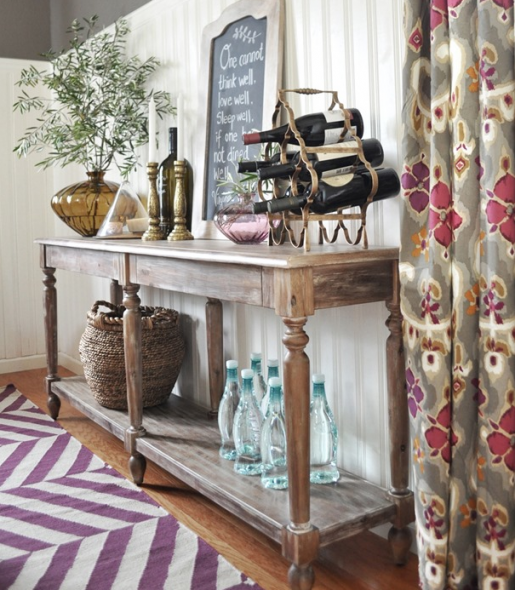
Photo gallery of console tables in various rooms and styles: