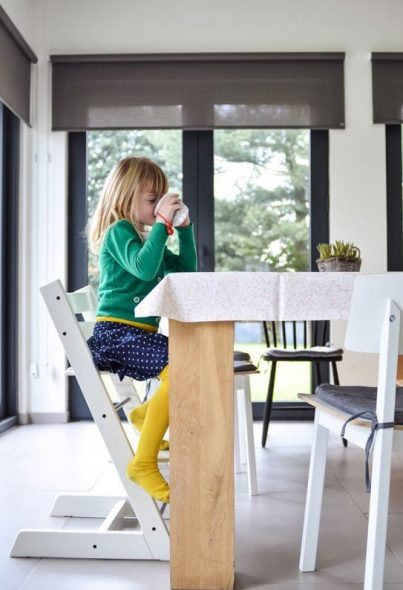
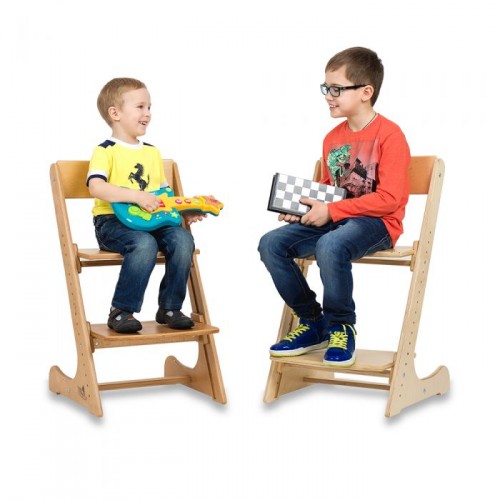
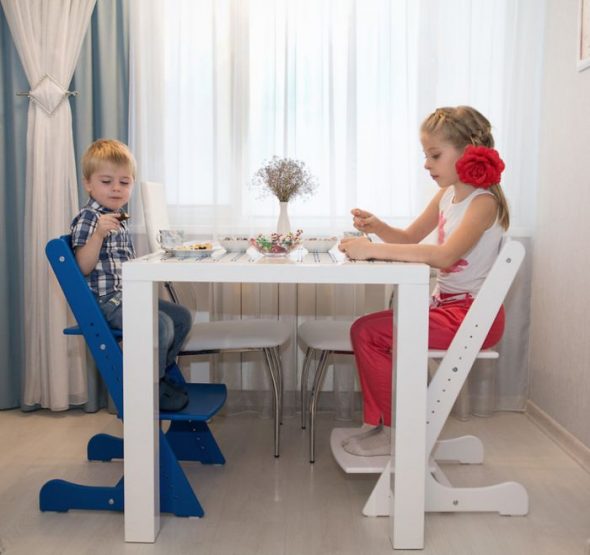
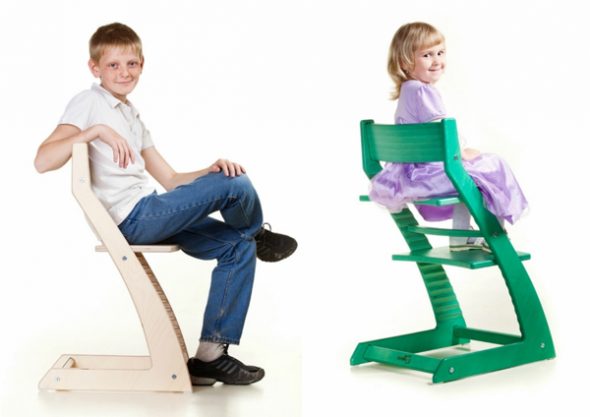
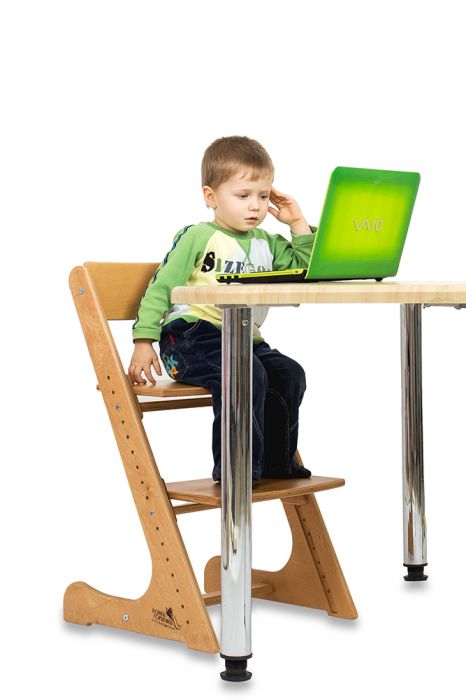
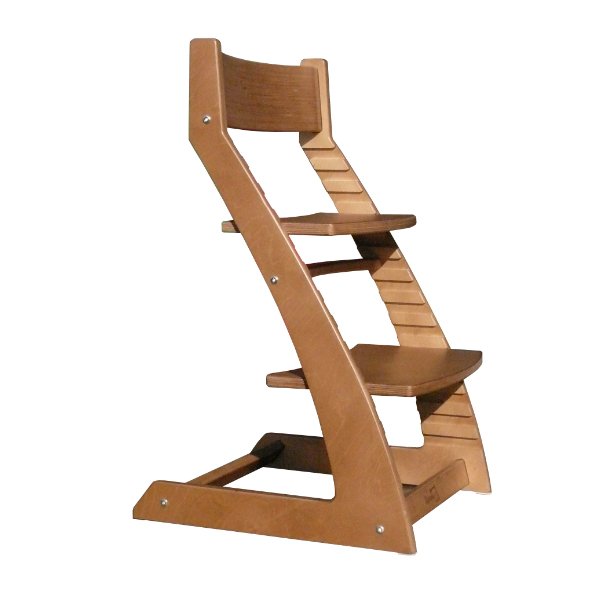
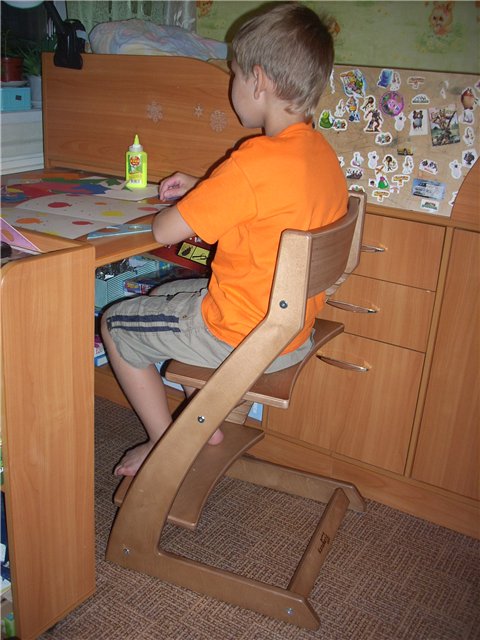
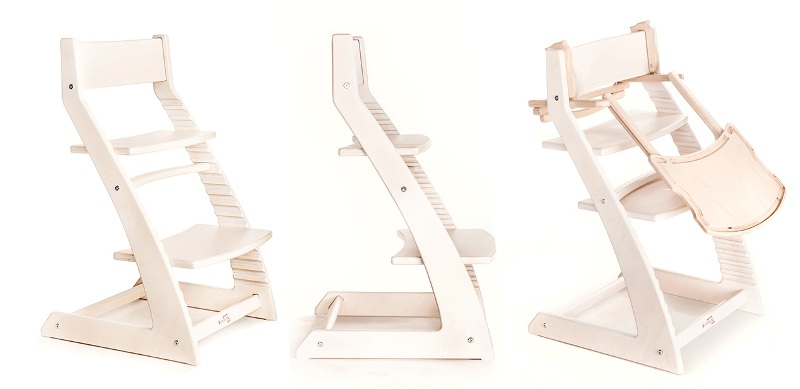
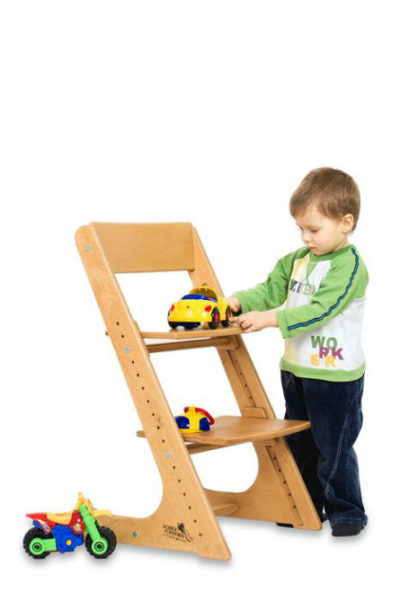
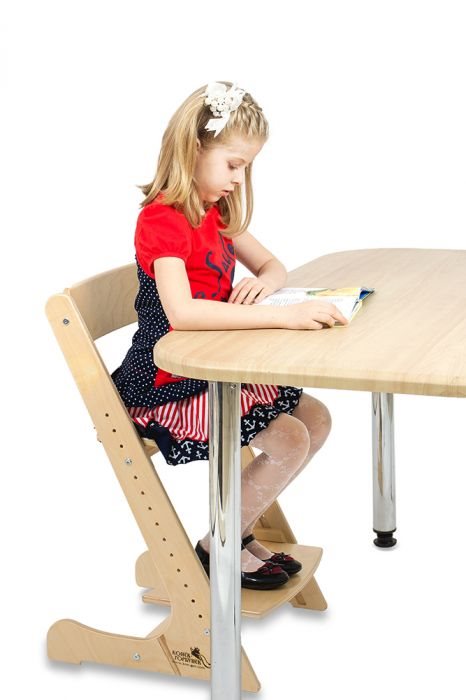
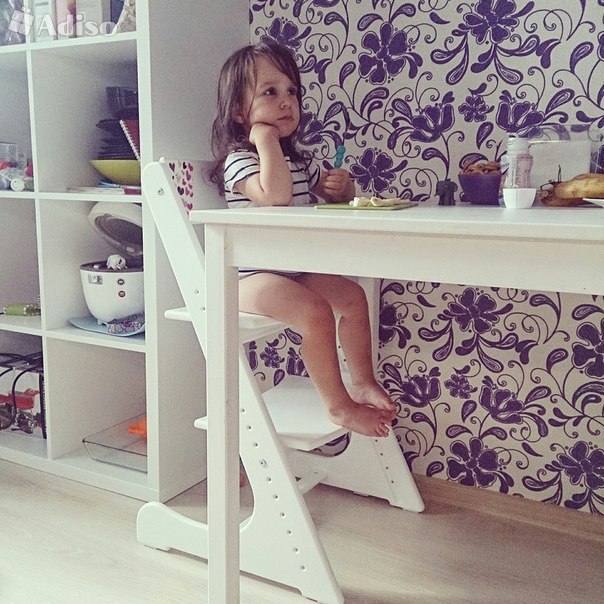
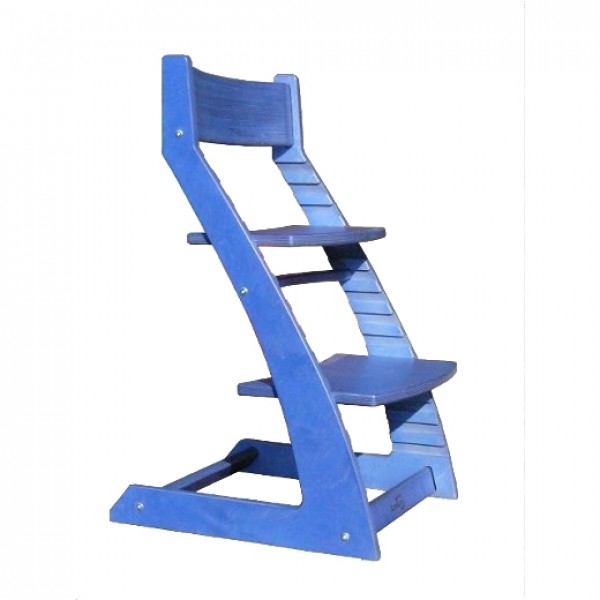
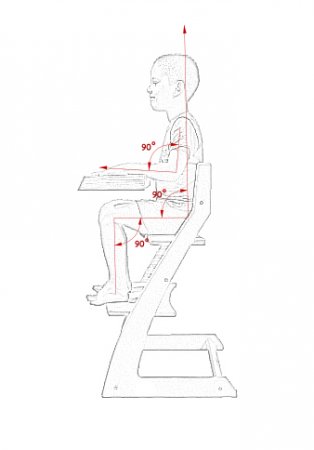
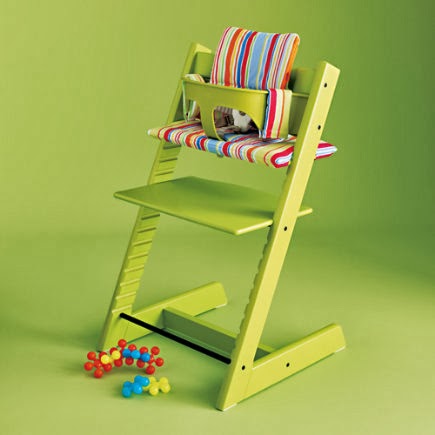
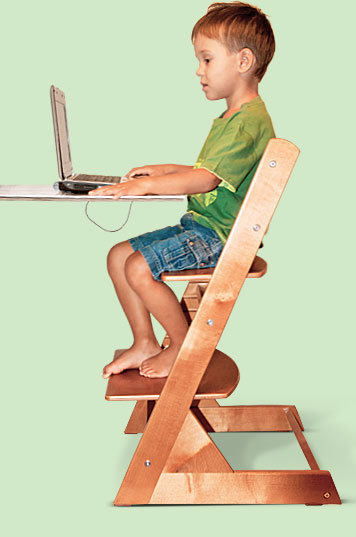
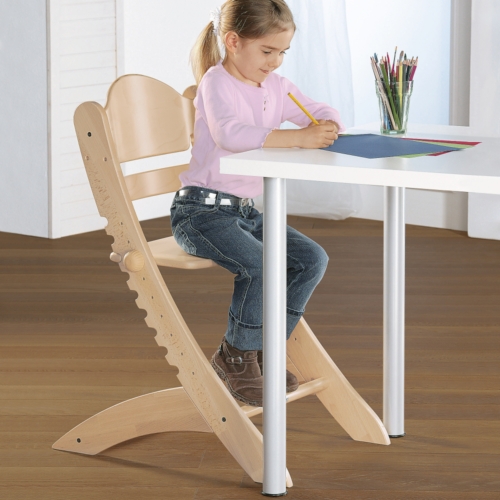
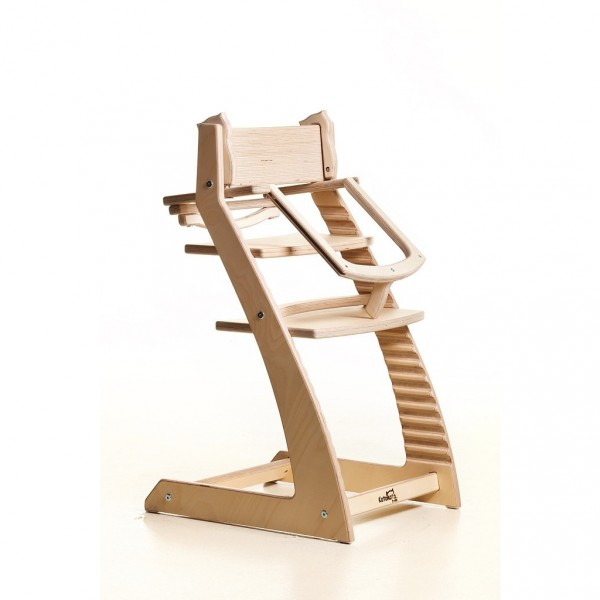
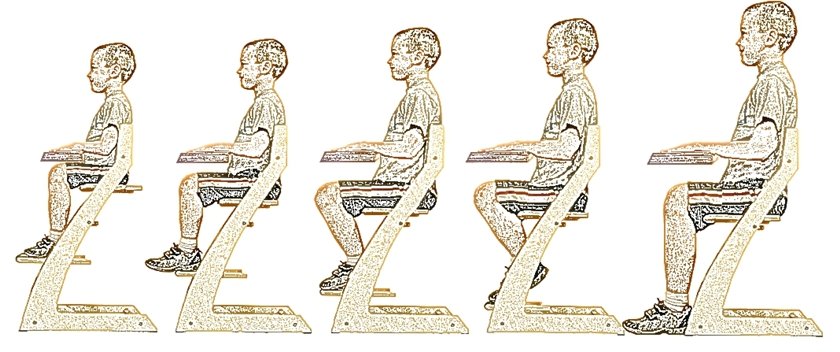
Children's health depends on many different factors. It is important for the younger generation to have not only proper nutrition, exercise and develop their thinking. An important factor is also the correct posture when sitting at the table. Correct posture forms the child's skeleton and provides balanced development for the entire body.
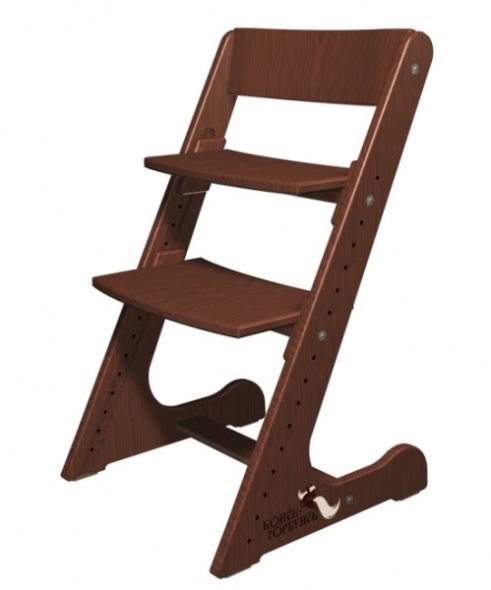
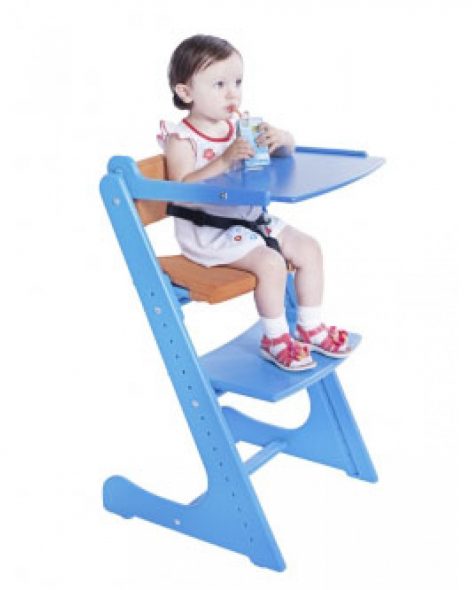
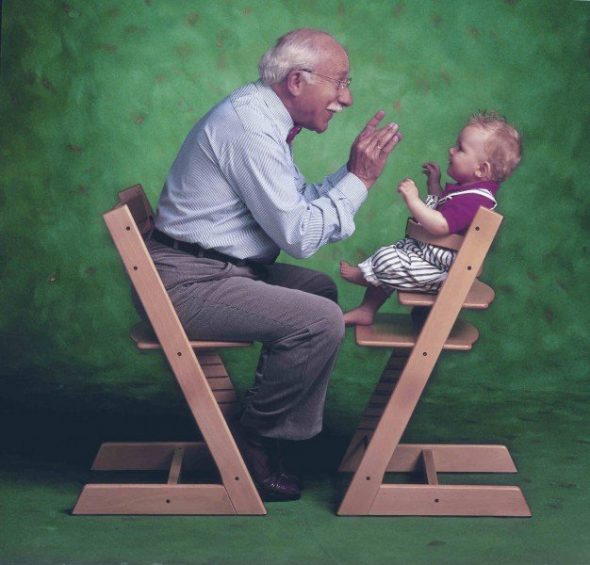
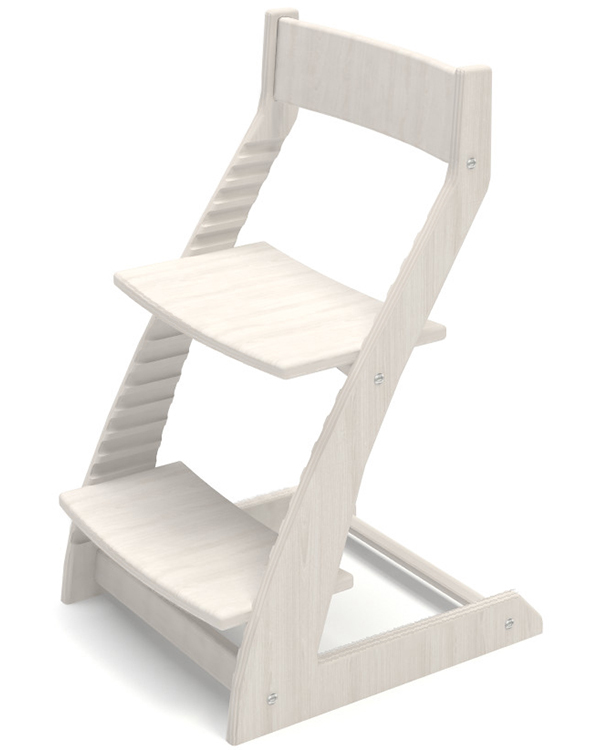
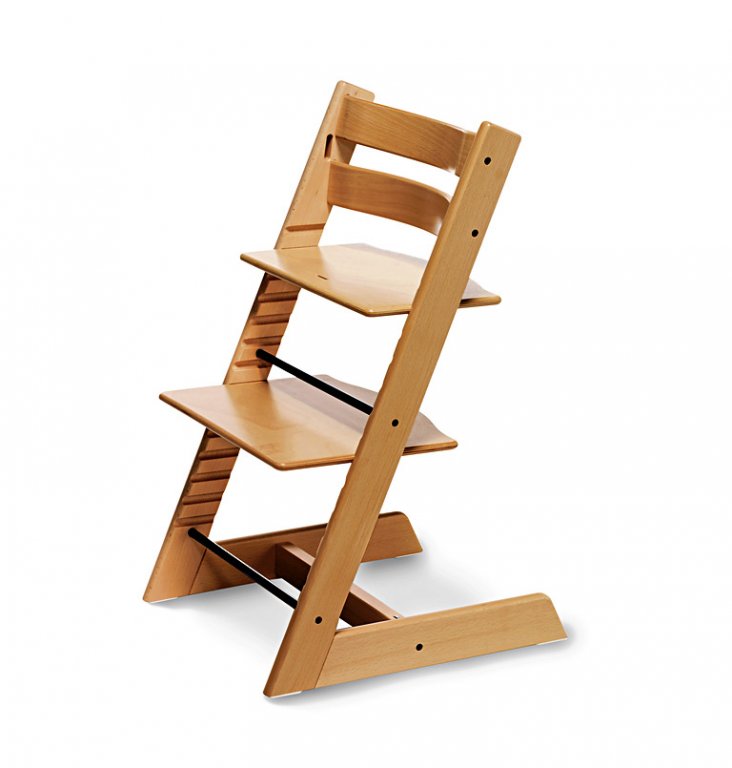
The growing chair copes with several tasks at once.
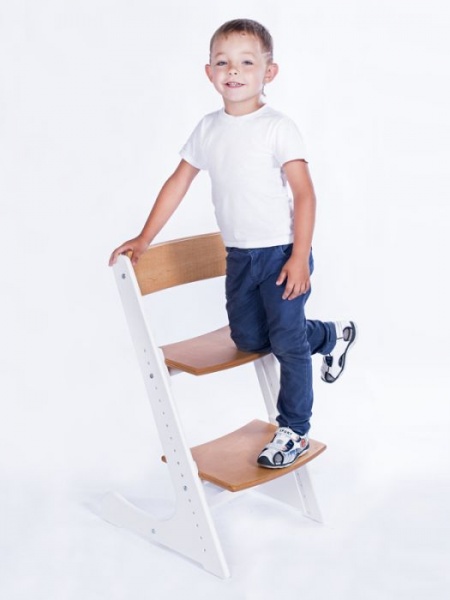
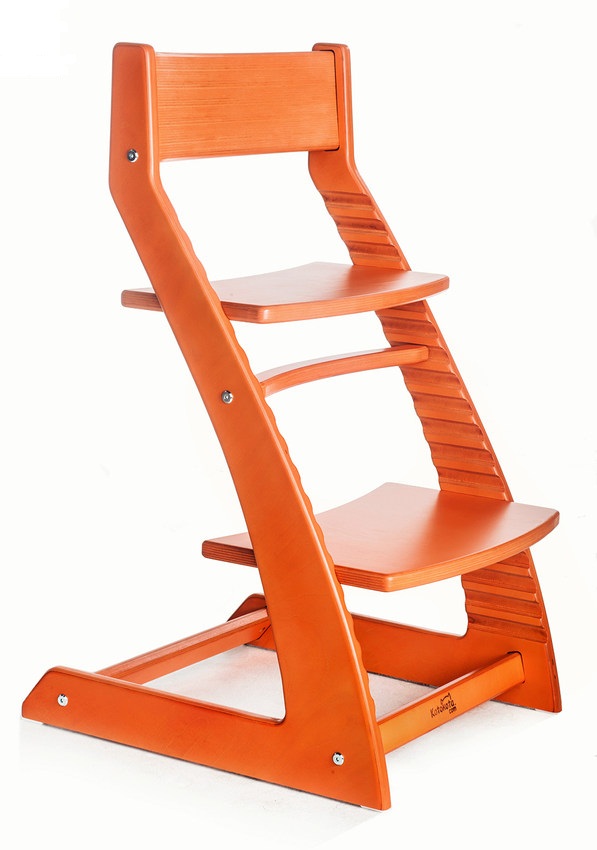
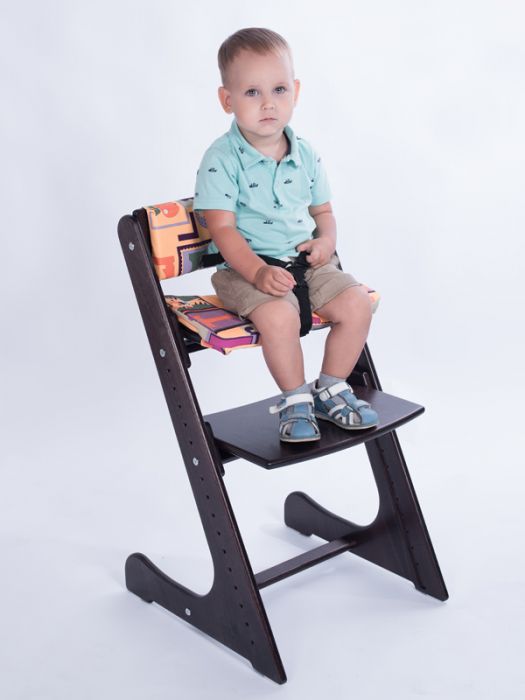
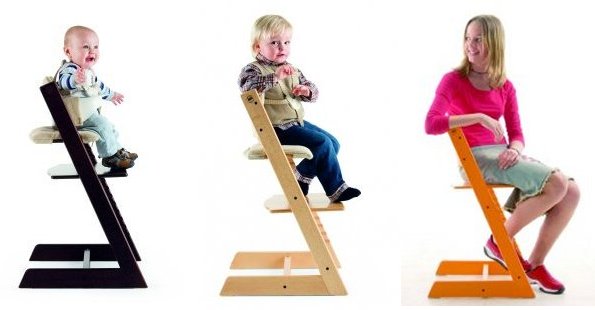
- It is orthopedic furniture.
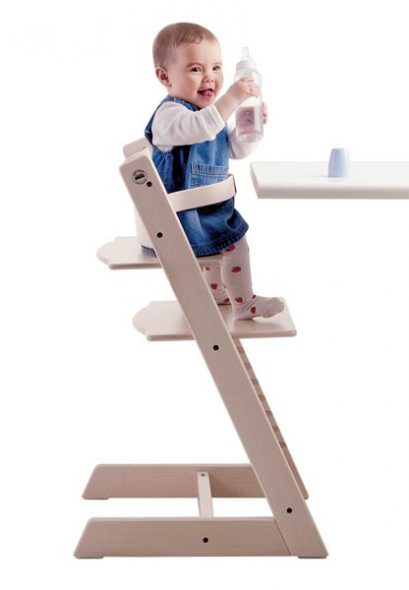
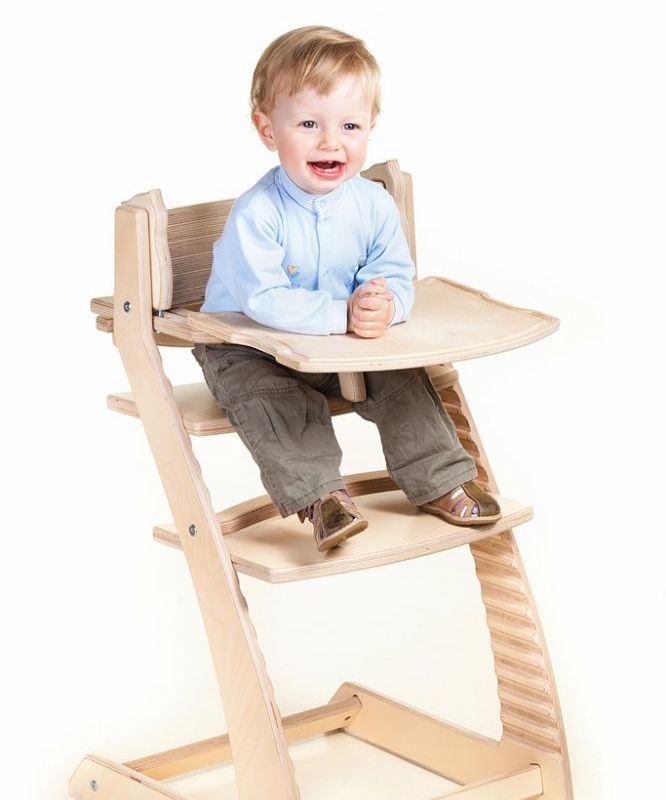
- Allows use from 6 months.
- Saves the family budget.
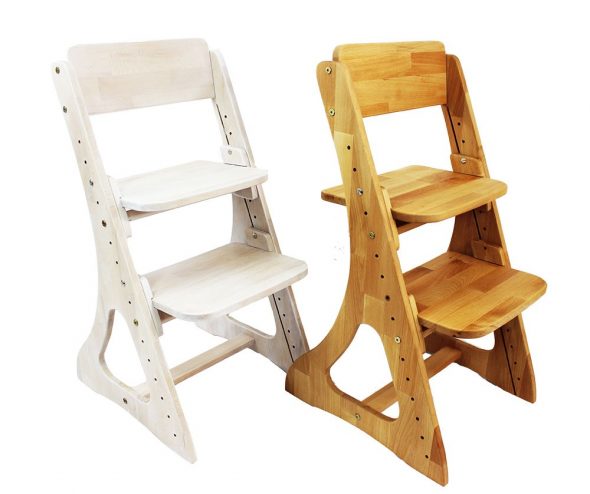
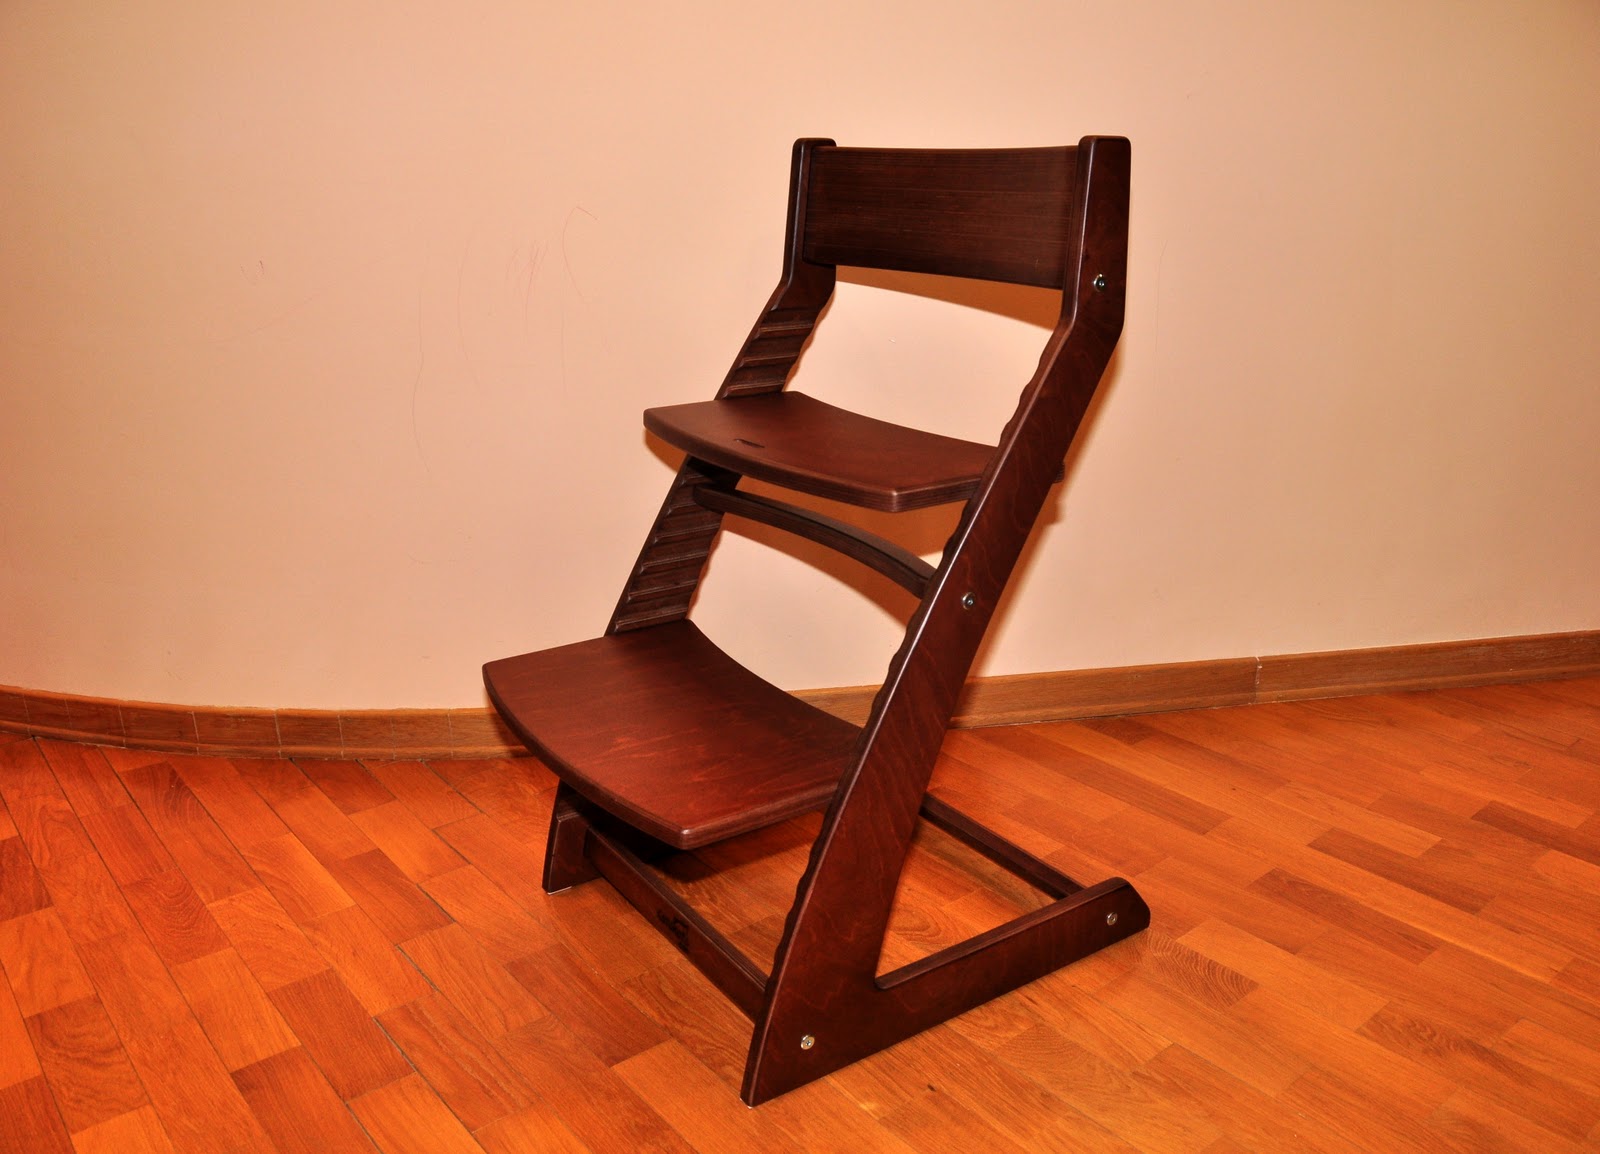
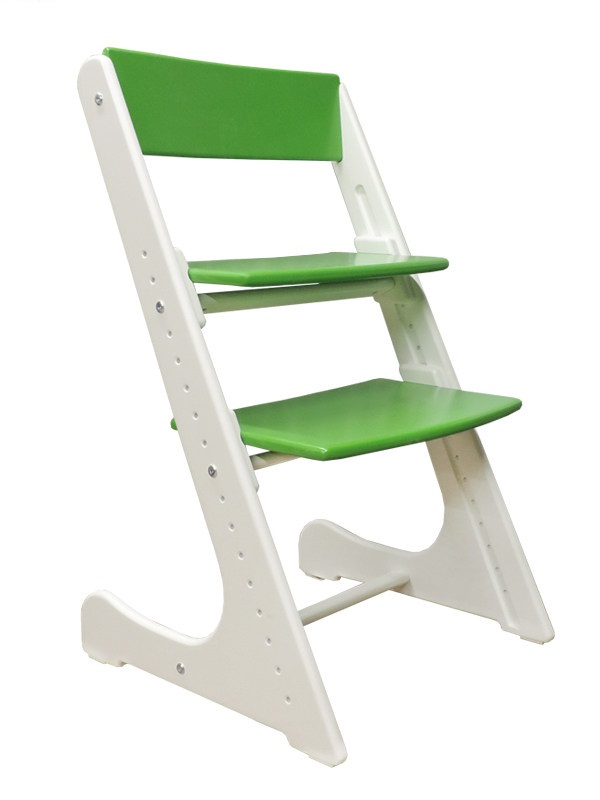
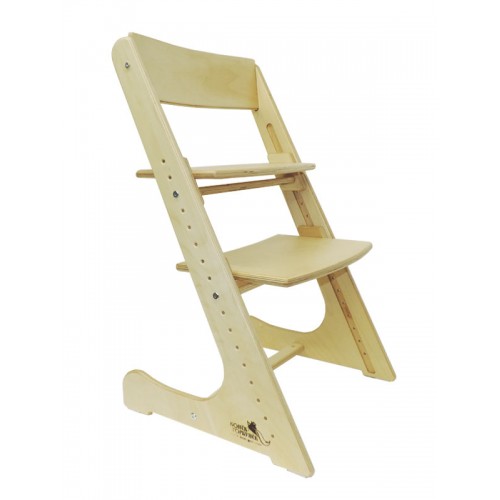
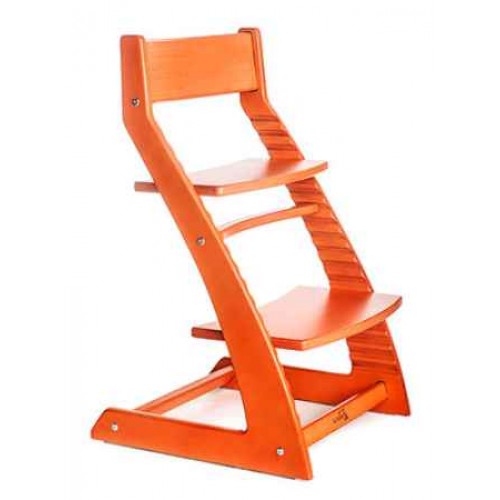
The Little Humpbacked Horse chair has only one significant defect – the high cost when purchasing a finished product.
Experienced craftsmen who have some experience in assembling furniture with their own hands will have no trouble making this model themselves. For those for whom the growing chair will be the first independent product, we advise you to carefully read the instructions. It is also necessary to preliminarily assess not only your capabilities, but also the availability of tools, which you cannot do without in the process of work.

Content
Materials and tools
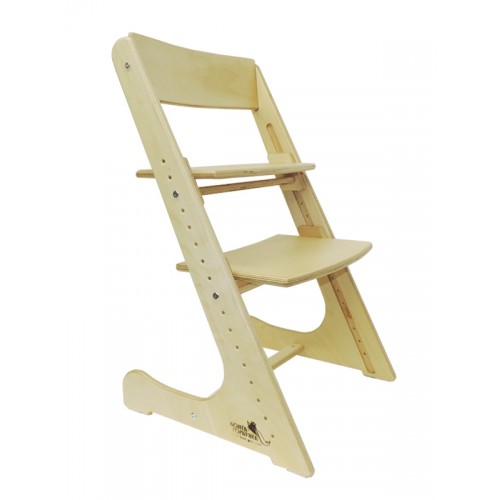
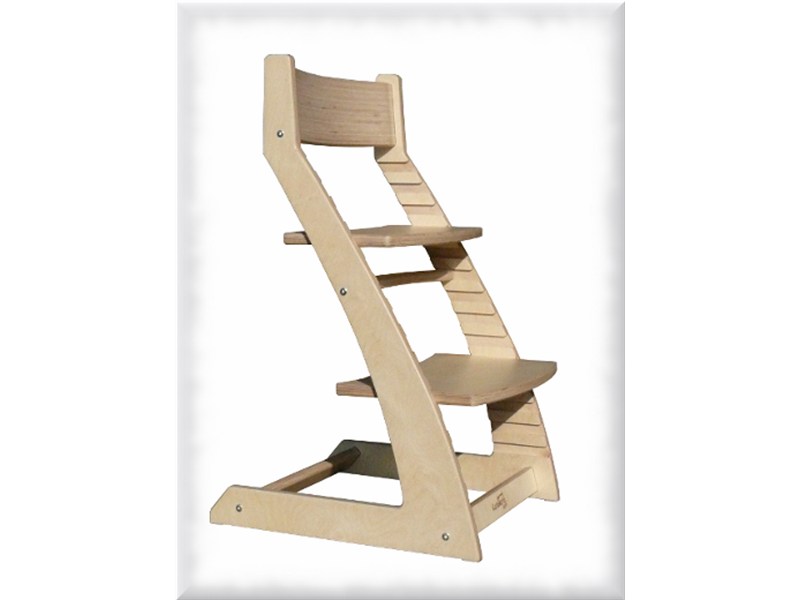
Not all materials are suitable for making a folding chair that grows with the child. The product can be made either from plywood or from processed wood. It is also possible to make a chair from solid wood, but it will be very bulky and heavy, which is inconvenient for the child. Therefore, plywood is still considered the best material.
For the racks you will need at least 22 mm plywood, based on the calculation that each rack will require two blanks, which will then be glued together. The seats, footrest and backrest can be made of 22 or 16 mm plywood.
The parts of the child's chair are fastened using hex bolts and furniture countersunk nuts.
Tools, hardware and materials
- Hexagon bolts;
– 2 pieces of size 6x70 mm,
– 2 pcs., size 6x50 mm.
- Countersunk nuts;
– 2 pcs. 10x20 mm,
– 2 pcs. 10x12 mm.
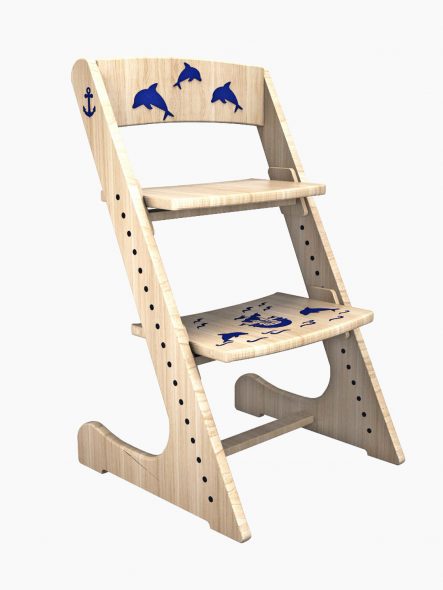
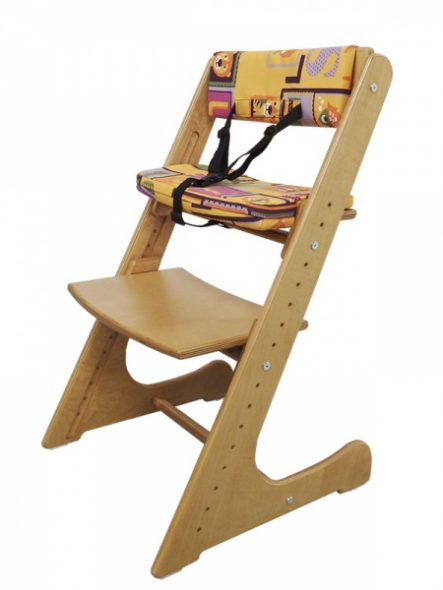
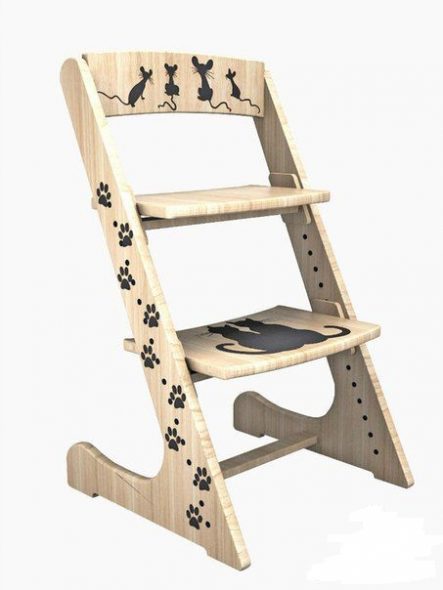
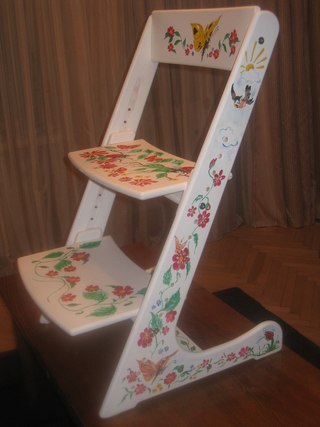
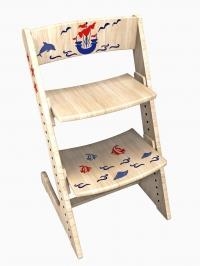
To decorate the finished product, you will need putty, primer, varnish or stain, paint of the required color. Decorative elements are selected at the discretion of the master. You can make the seat soft by upholstering it with foam rubber and decorating it with upholstery material on top. For very small children, it is better to upholster with leatherette or oilcloth to be able to clean the surfaces.
To make a growing chair for children, you will need the following tools.
- Paper or cardboard for drawings.
- Pencil.
- A centimeter or tape measure.
- Wood glue.
- Electric jigsaw with saw blades.
- Copying cutter.
- Milling cutter.
- Sandpaper.
- Paint brushes.

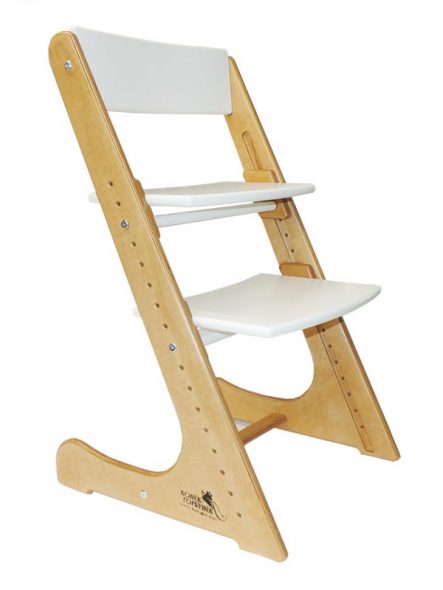
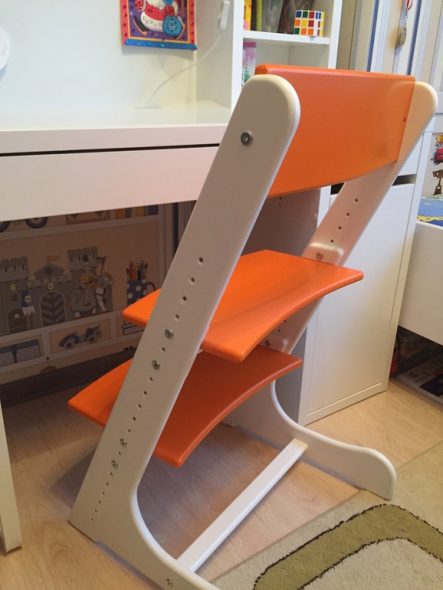
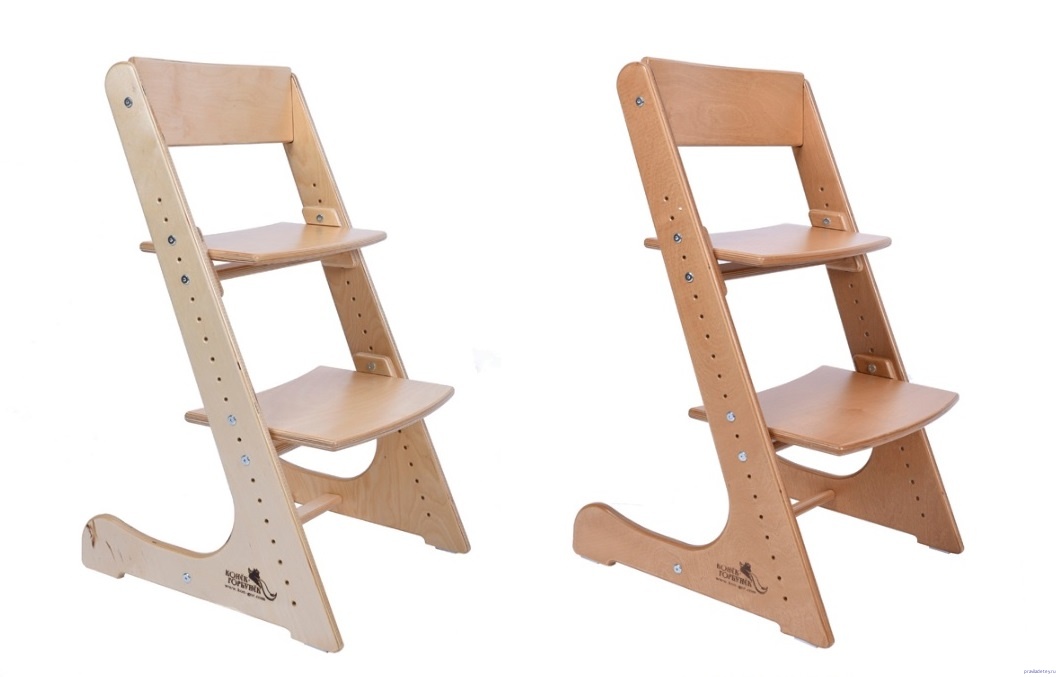
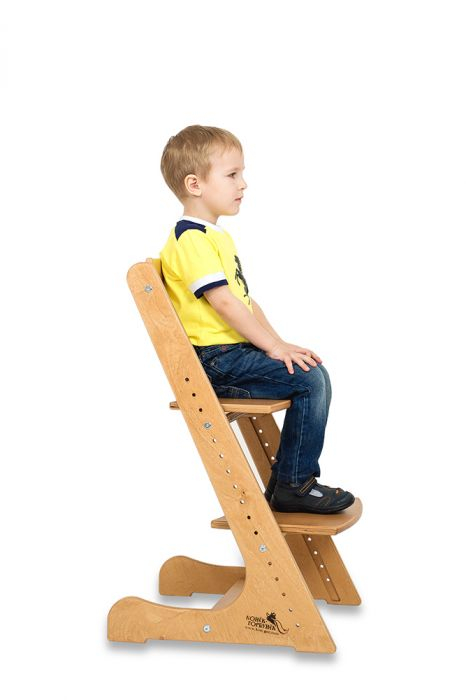
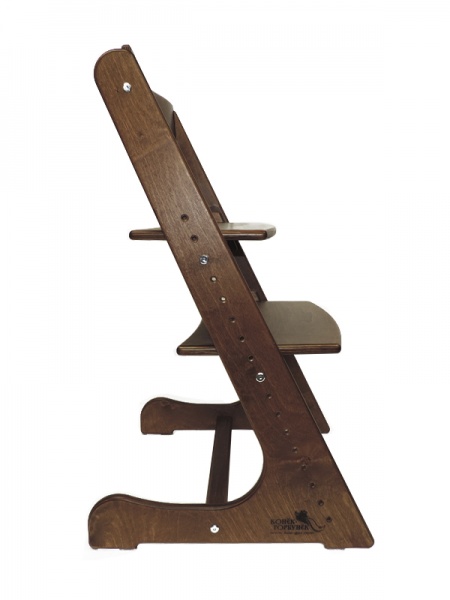
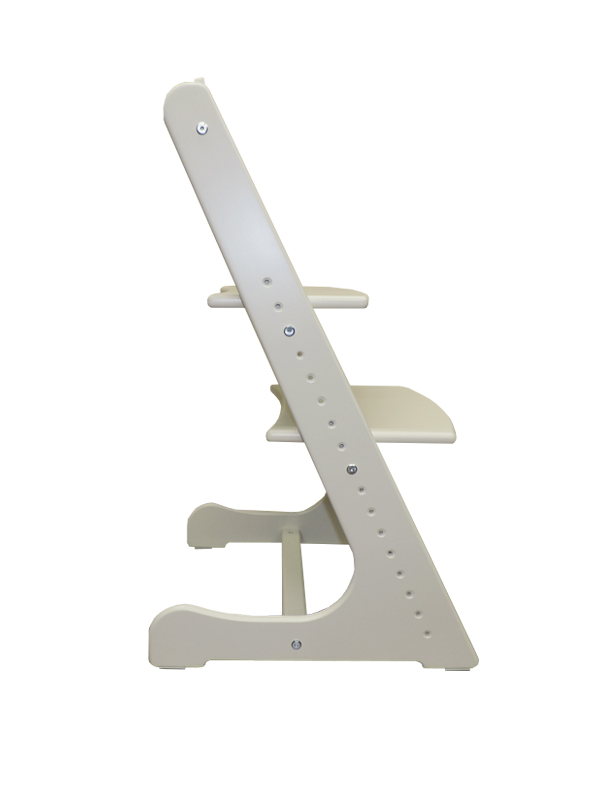
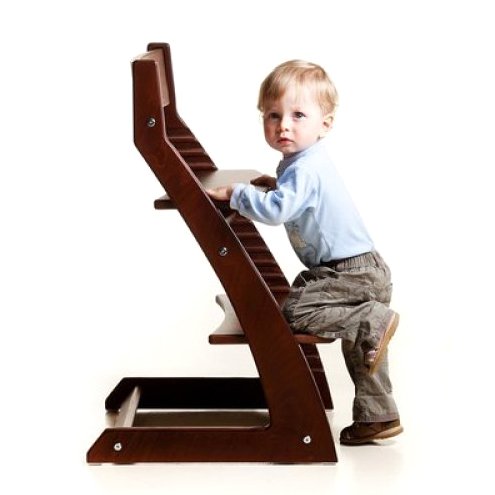
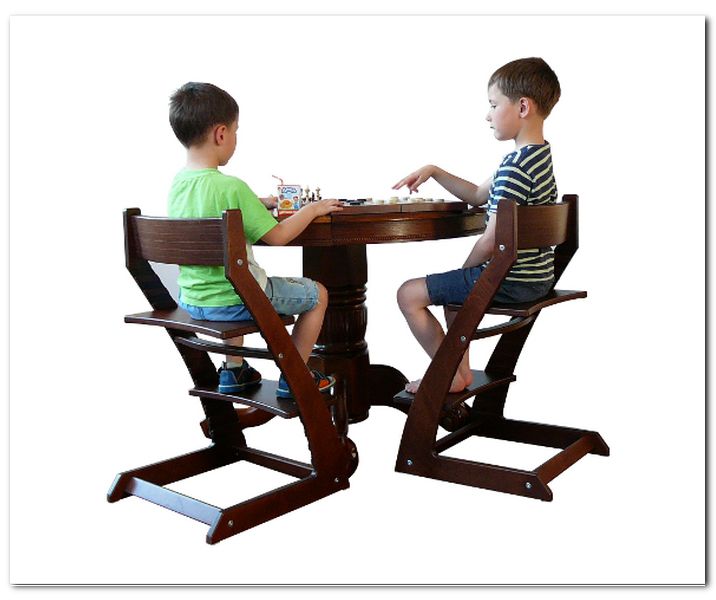
A properly made chair allows you to adjust the stand, seat and back in various combinations. Furniture manufacturers include at least 10-15 positions in a growing chair. In independent work, you should also focus on this figure.
We are preparing a product design
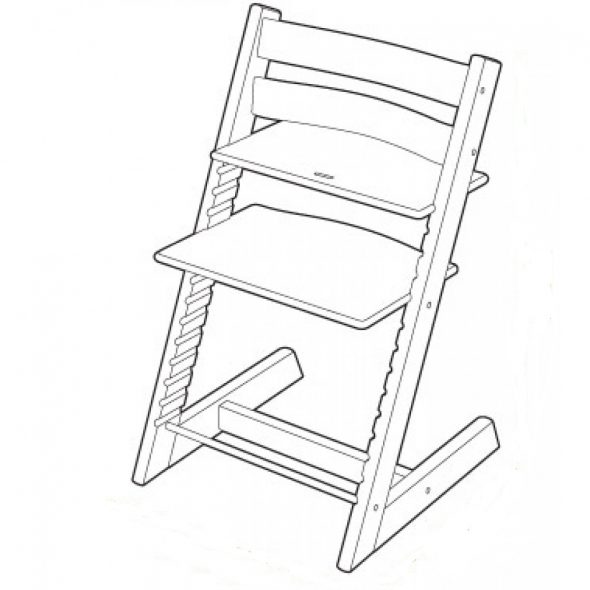
Preparation for work begins with the creation of a drawing of the chair. You can make a product for a child with your own hands only by correctly calculating not only the dimensions, but also the angles of the parts.
You can easily download a ready-made project on the Internet, or, based on GOST 19301.2-94, which describes the parameters that tables and chairs for children should have, you can make a template yourself.
Regardless of the source of the drawing, the pattern should be made only in natural size. A preliminary pattern of all elements is made on paper or thick cardboard. It is important to consider that some elements of the child's chair should be right and left, that is, "mirror" each other.
Step-by-step assembly instructions
Having prepared the template, materials and tools, you can safely begin work. Remember - work does not tolerate haste and fuss. An experienced craftsman knows that it is necessary to measure several times, weigh everything and only then cut.
Stages of work.
- We apply the template made according to the drawing to the plywood and cut out the first part of the side legs. It is necessary to make the blank with a small reserve of several millimeters. This reserve will allow to avoid errors during cutting.
- Using a copy cutter, we bring the workpiece to ideal dimensions.
- We cut out three more legs with some extra space.
- We put all four legs in a stack.
- Using the first ideal piece, we turn the remaining three legs. This approach will save time on turning.
- We glue two blanks together and let them dry.
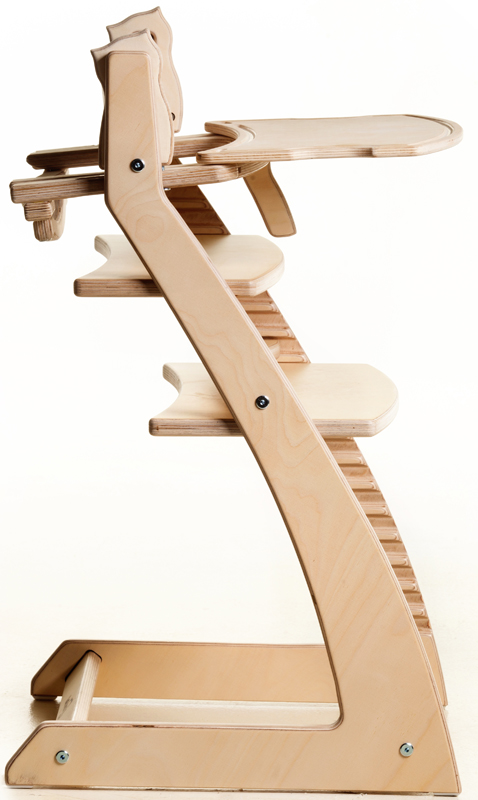
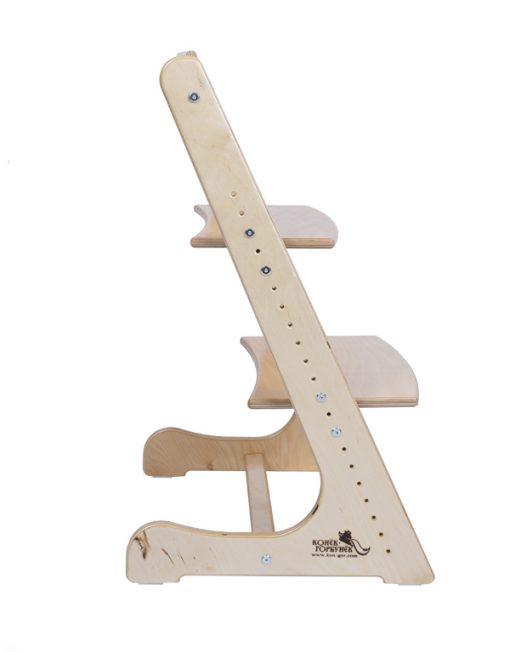
- Using a router, we make grooves on the inside of the legs. The groove dimensions should be 10 mm deep and 24 mm wide. This groove plays a key role in further adjustment of the positions of all elements.
- Exactly in the middle of the groove, it is necessary to make through holes in which the seat and footrest will be fixed. The holes must be made at equal distances from each other. It is important to put a block under the leg when drilling to avoid chips and deformations on the outside.
- Prepare the runners. The runner allows you to fix the seat or footrest in the desired position. You will need 4 of them - two on each side. The runners should match the size of the foot and not protrude beyond it - height 20 mm, width 24 mm.
- All corners and edges of the runner are rounded, and a groove is made in the center. The groove is intended for subsequent gluing of the strip into it, which will be inserted into the groove of the leg.
- The batten should be made taking into account the width of the groove into which it will be inserted on one side and the groove on the other side.
- The runner and the rail are glued together and dried.
- A hole is made in the runner for a bolt that will secure the selected position.
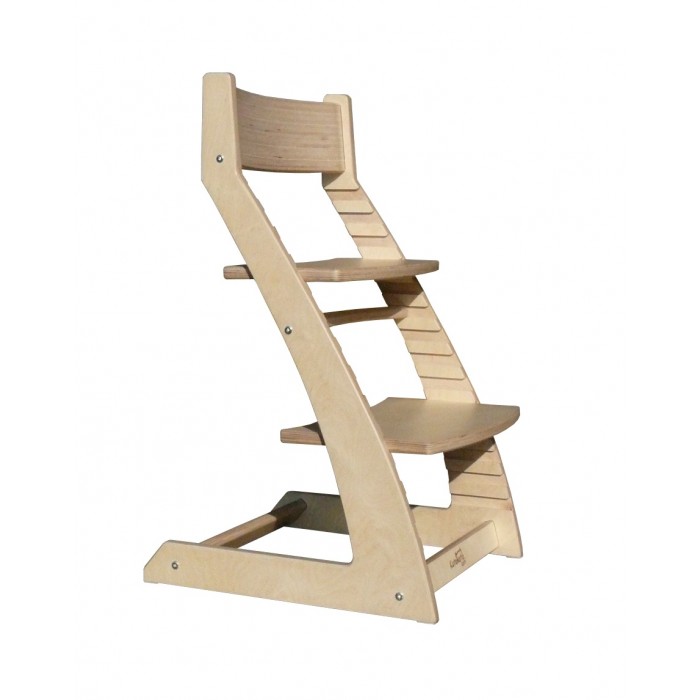
- Next, the backrest and footrest are cut out. The dimensions of the seat for the child are chosen independently and depend on his age and the calculated stock. The shape of the parts can also be arbitrary - square, semicircular or oval.
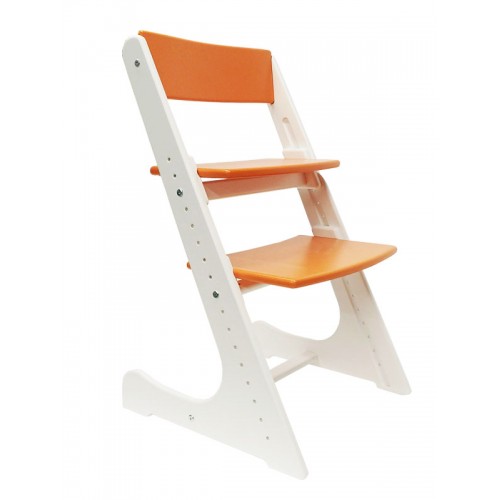
- The next step is to make the back of the chair. The back can have a wide solid surface or be made from several slats of different sizes.
- Let's not forget about the crossbar that secures the legs at their bottom.
- The finished parts are assembled not by the final method, but rather by the baiting method. This will help evaluate the final result and identify flaws that need to be corrected.
- If the child's chair corresponds to the initial plan and drawing, it is necessary to disassemble it and do the final processing with sandpaper. We clean the surfaces, preparing them for painting.
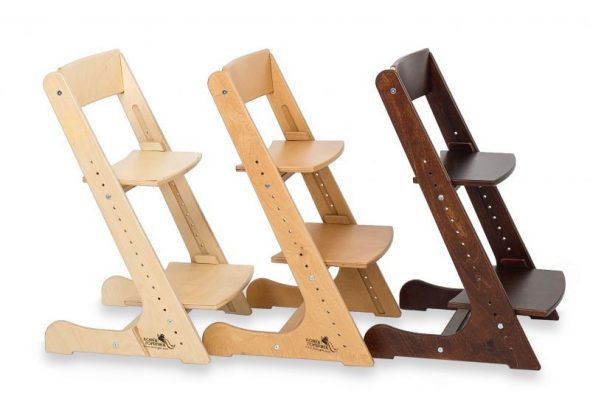
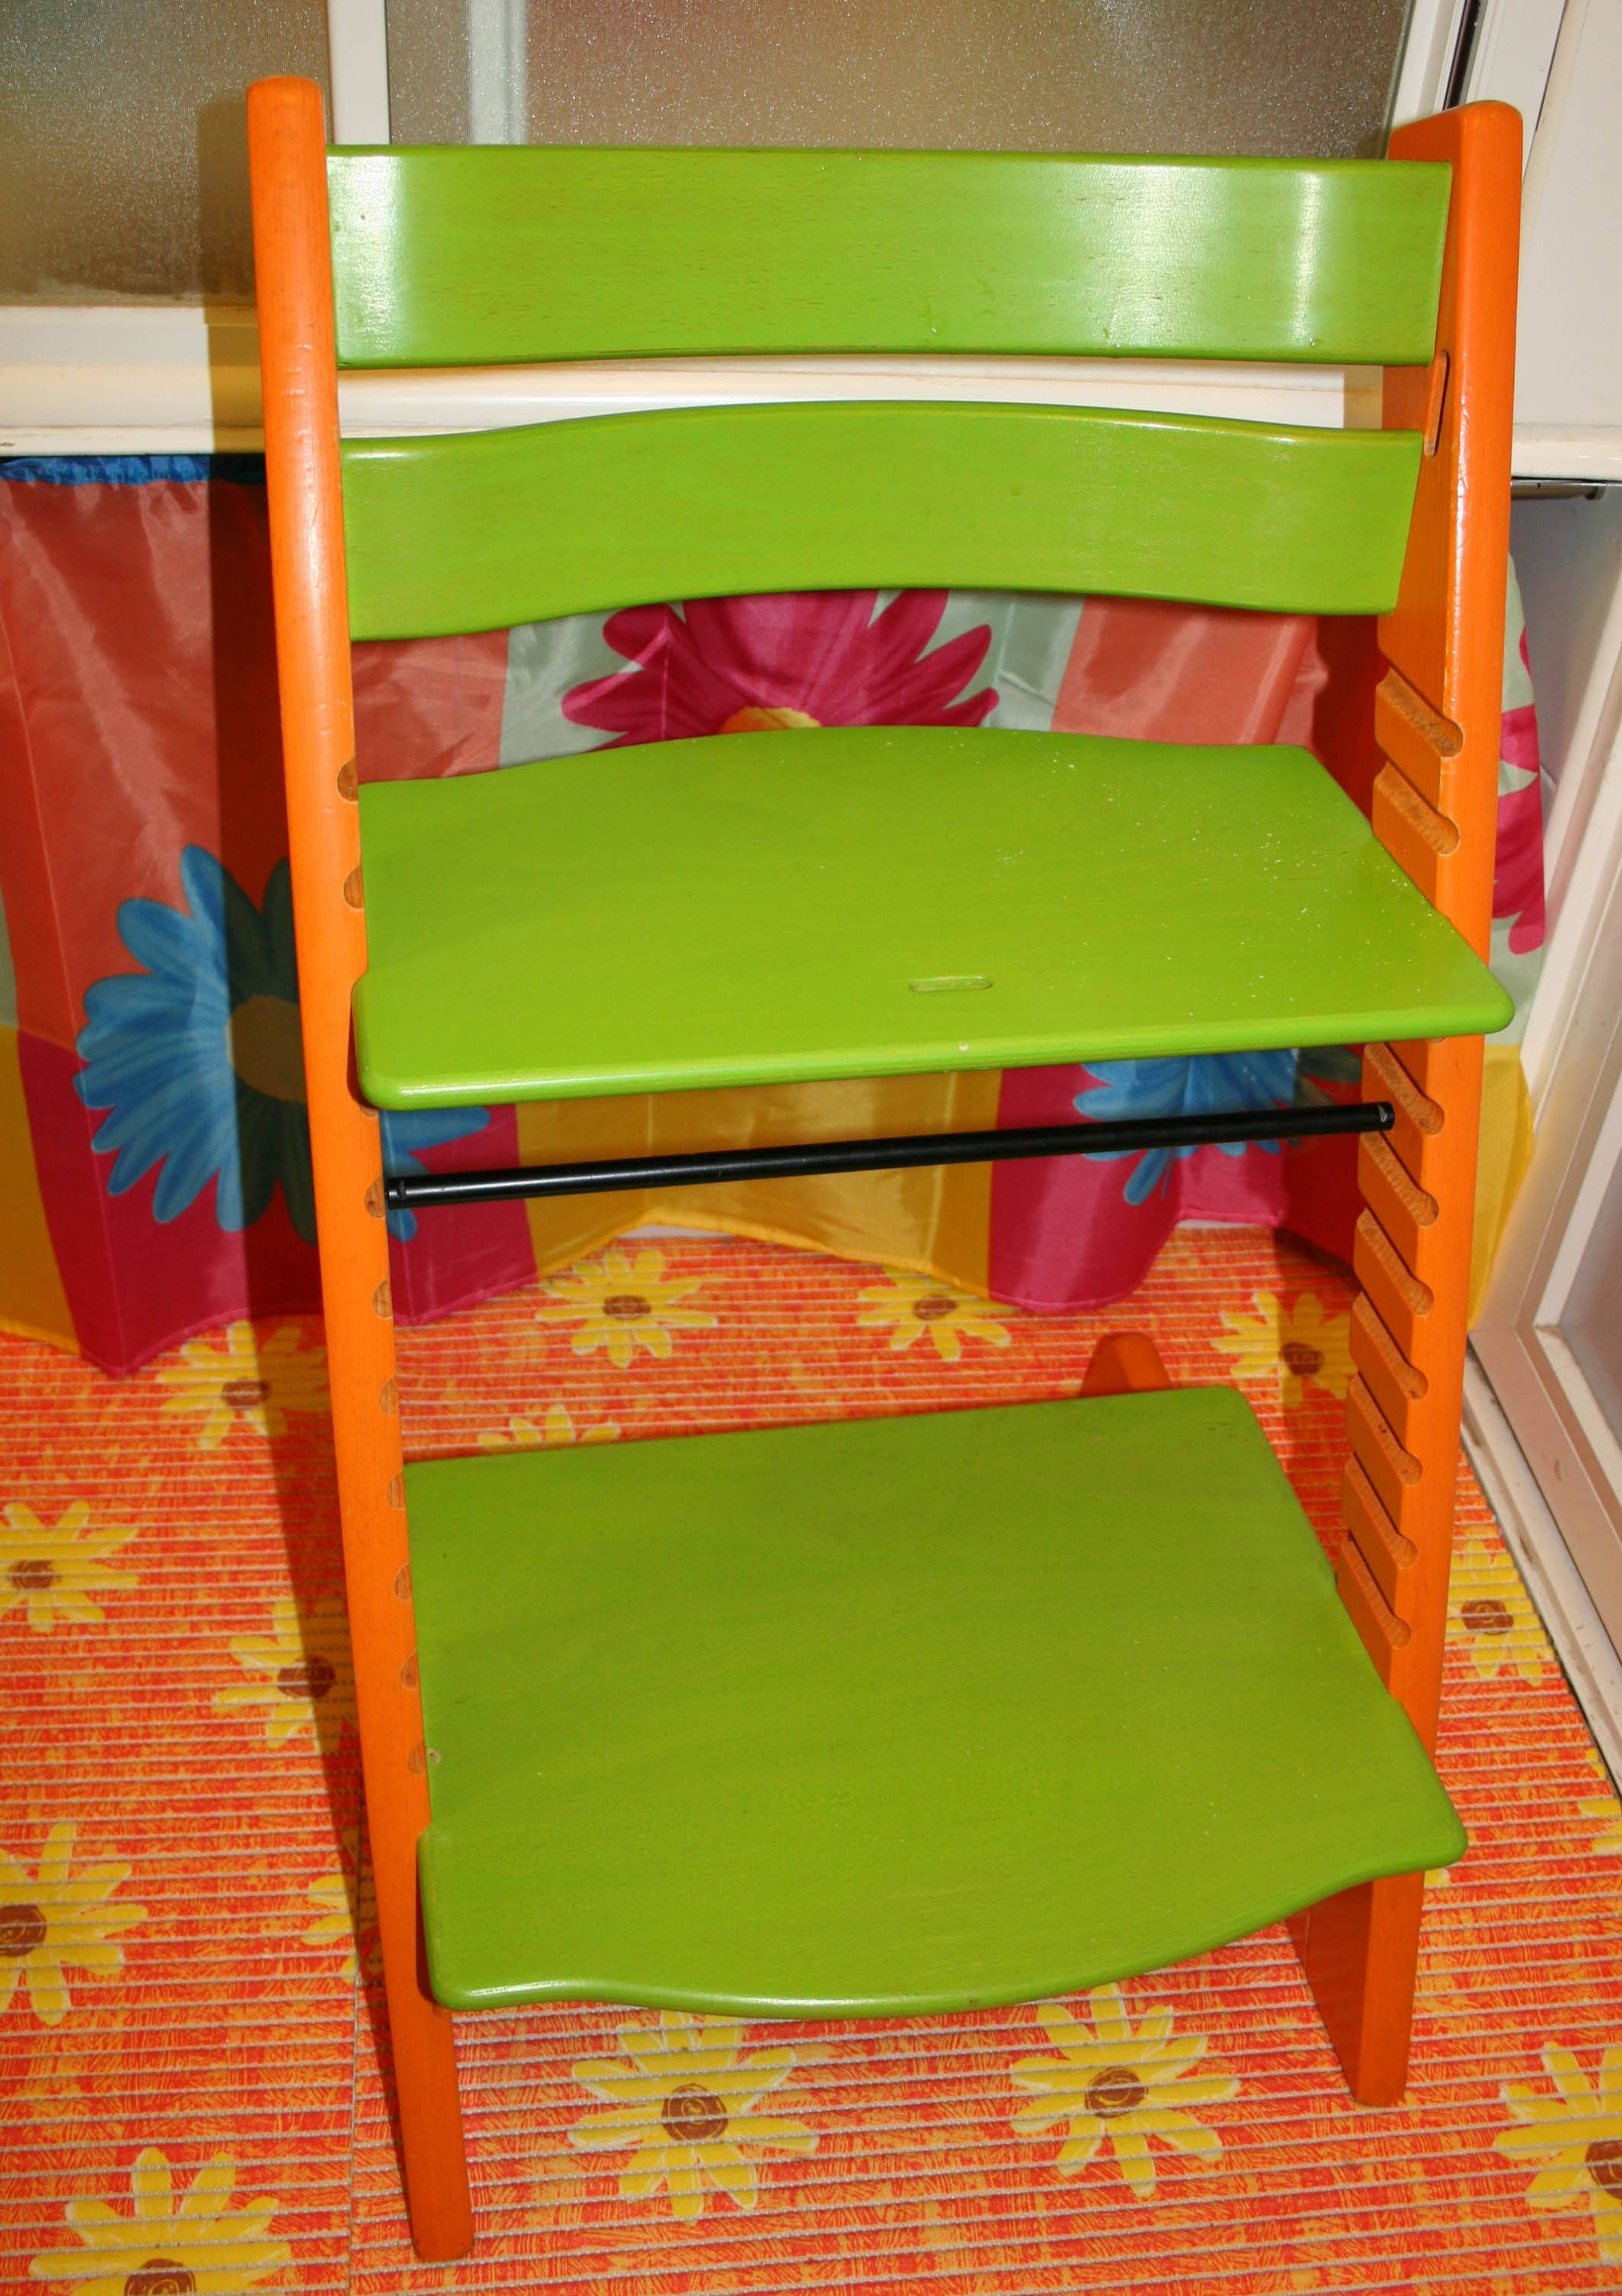
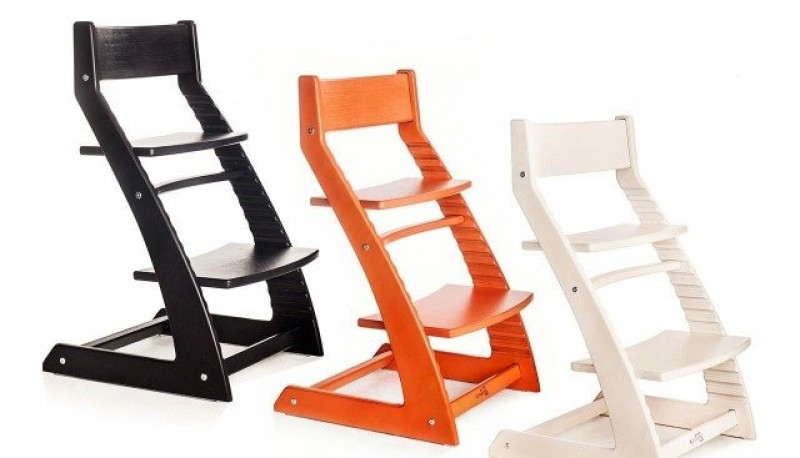
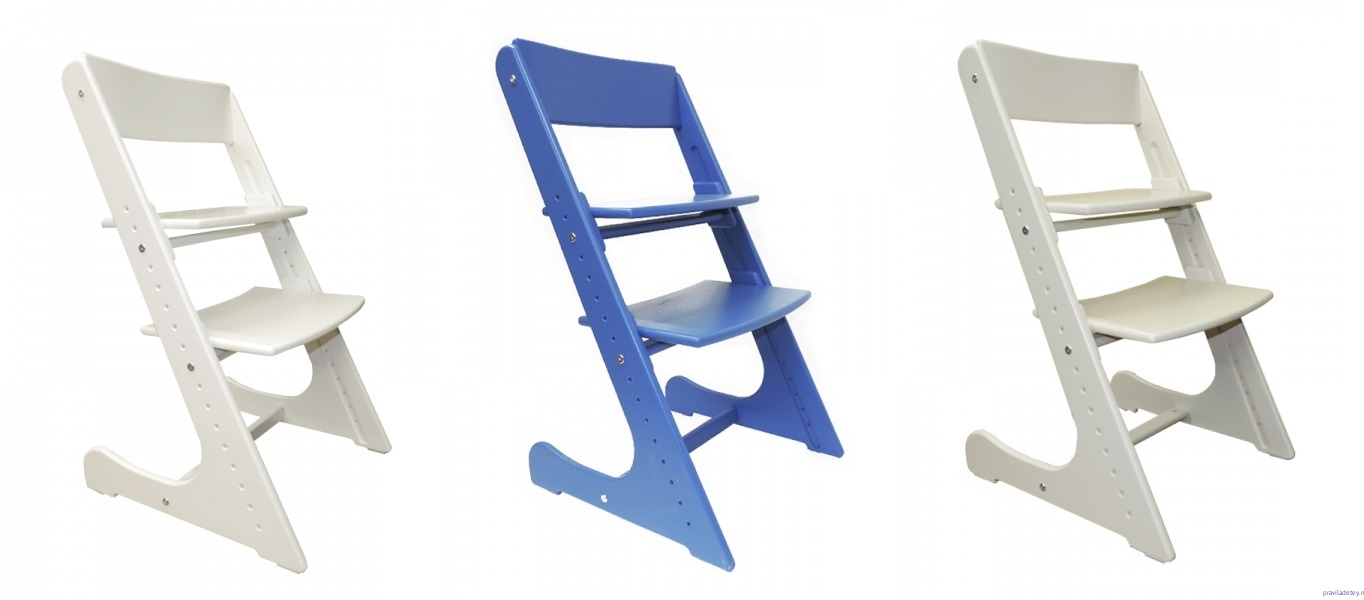
- The paint color is chosen independently. Some craftsmen prefer to apply a primer and then varnish, thereby emphasizing the existing wood pattern. However, it is better to paint plywood because it does not have a uniform external pattern.
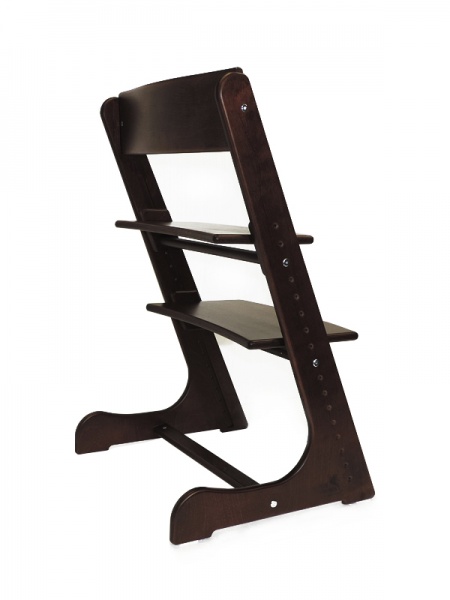
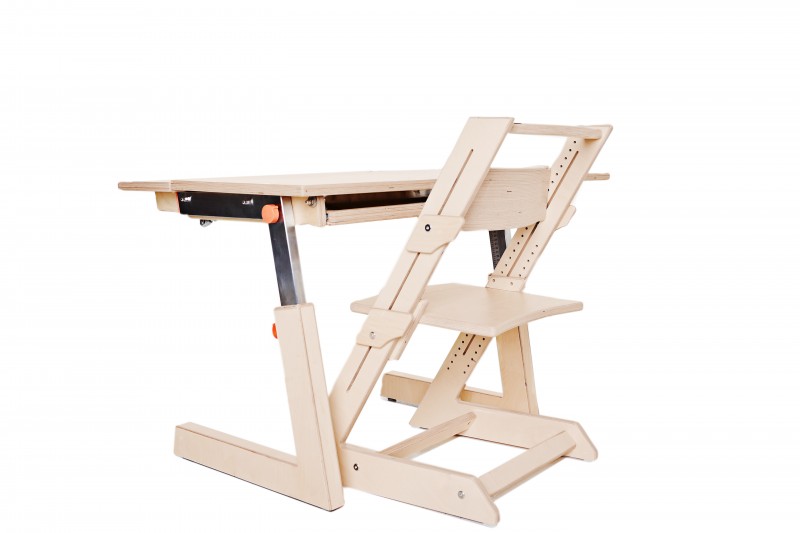
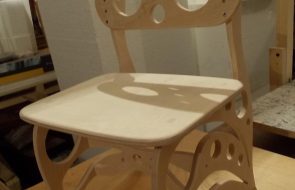
- The dried parts are assembled into a structure and are ready for use.
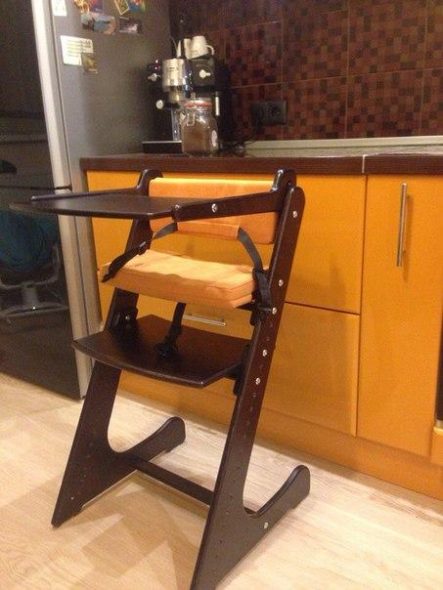
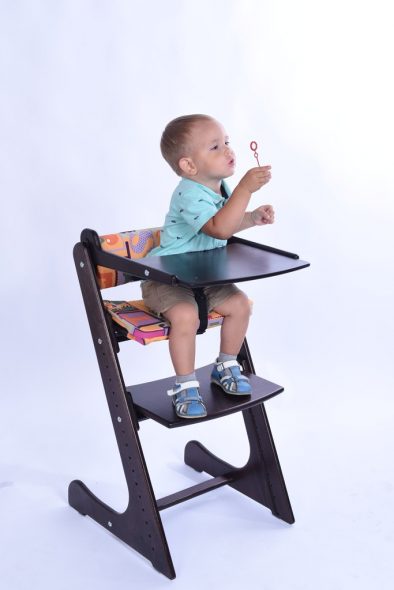
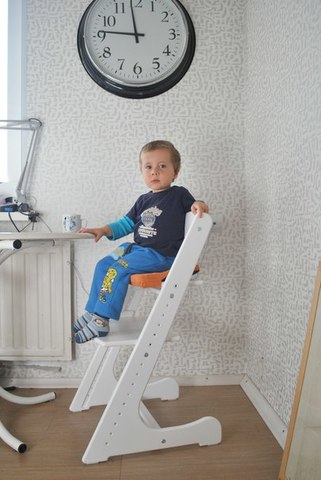
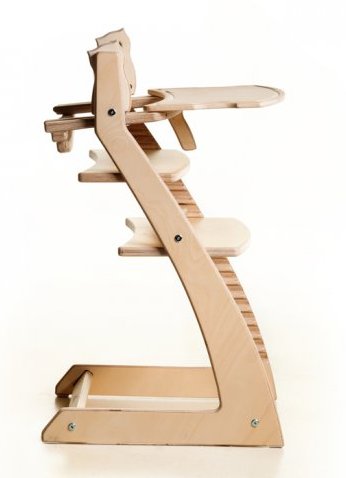
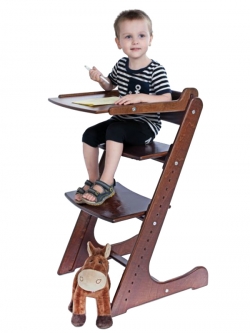
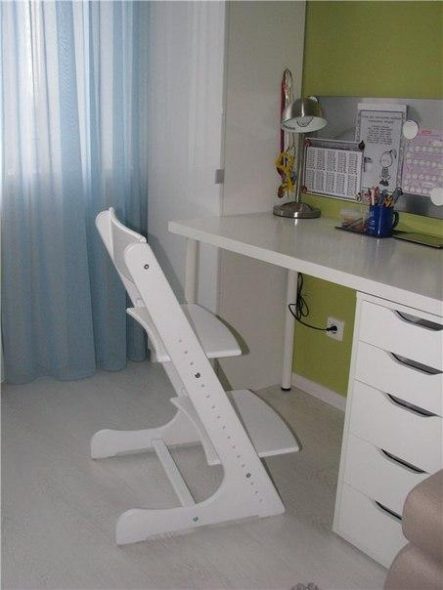
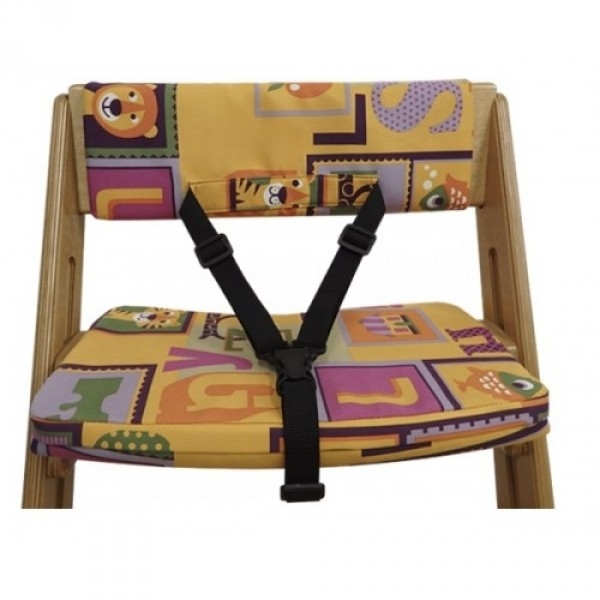
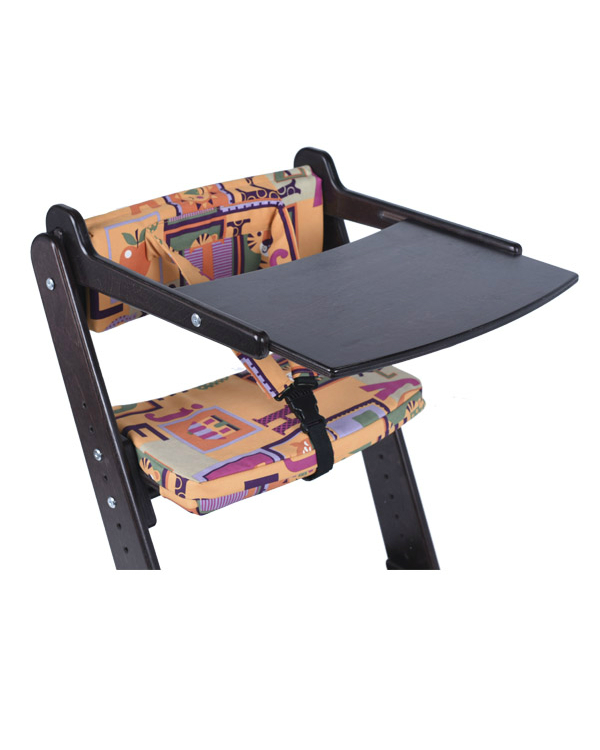
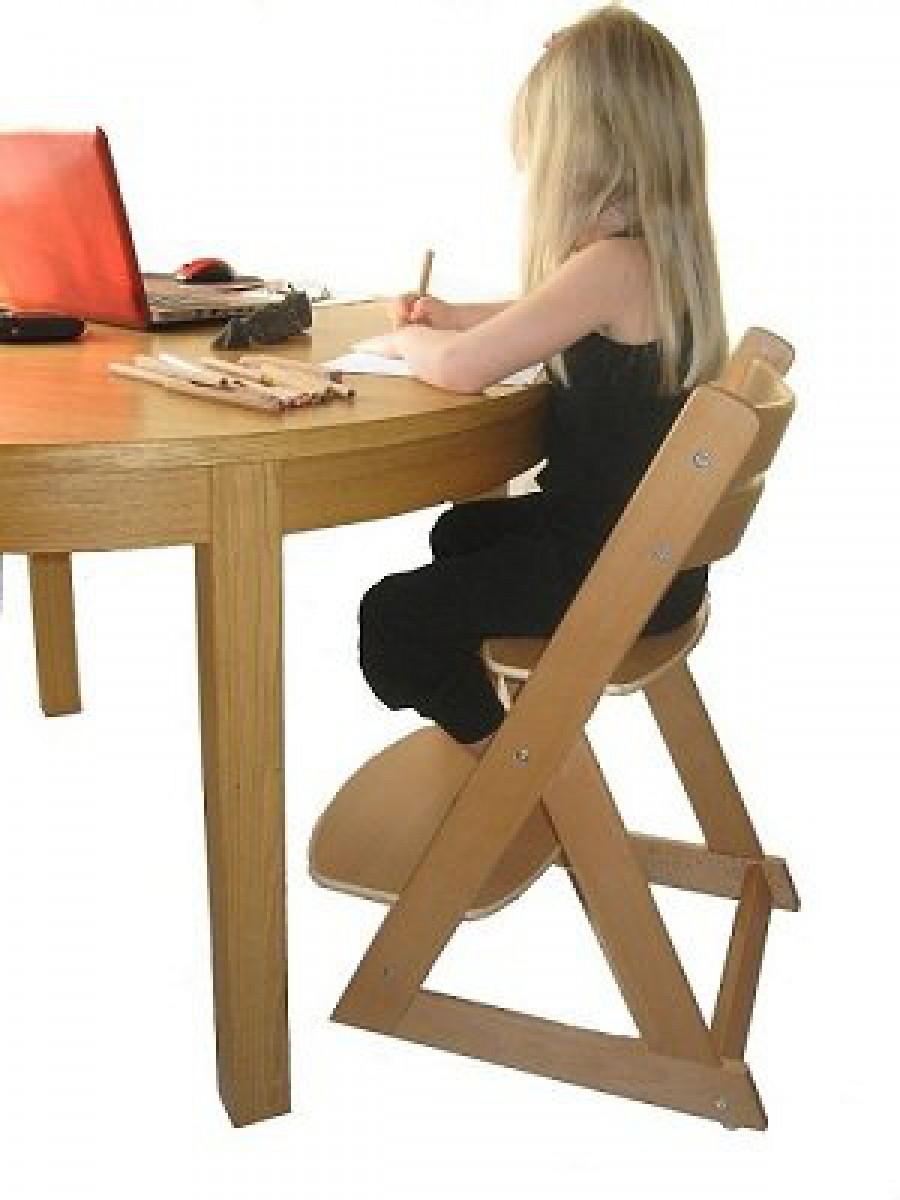
A growing chair for small children can be additionally equipped with armrests and a front safety bar so that the child cannot fall off it. These parts can be mounted using bolts and then removed from the chair. Armrests are not needed for studying at a school desk, since the hands are always on the table.
VIDEO: Growing Chair Little Humpbacked Horse
50 photo ideas on how to make a growing chair Little Humpbacked Horse with your own hands


Comments are closed