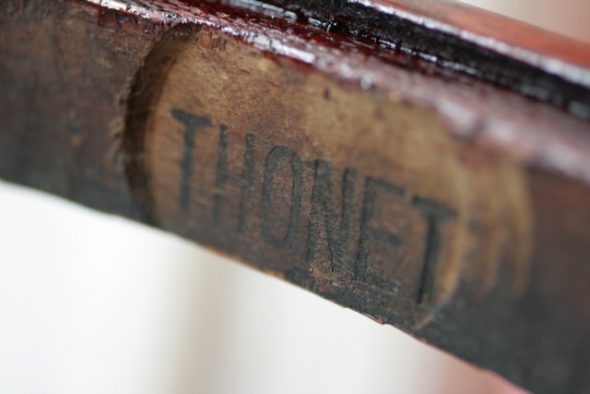
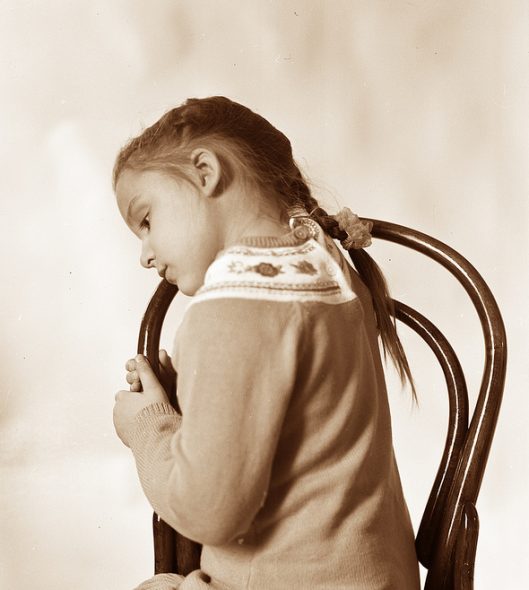
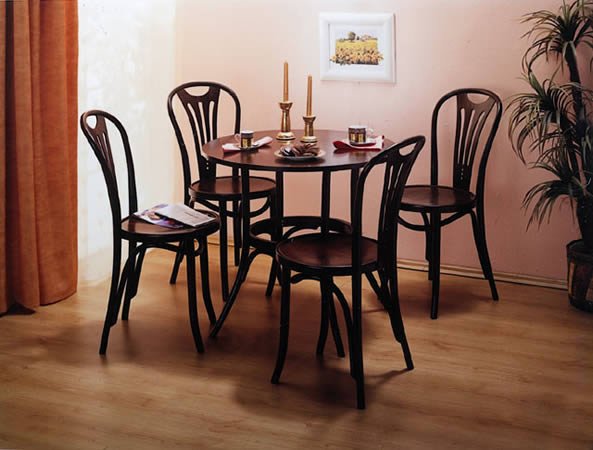
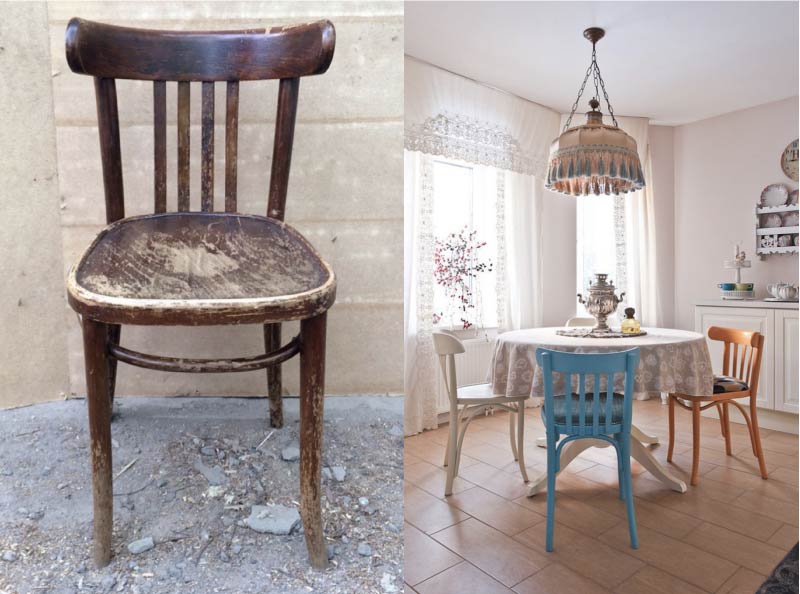
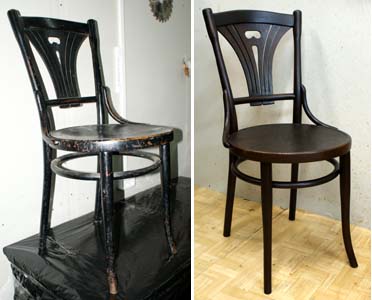
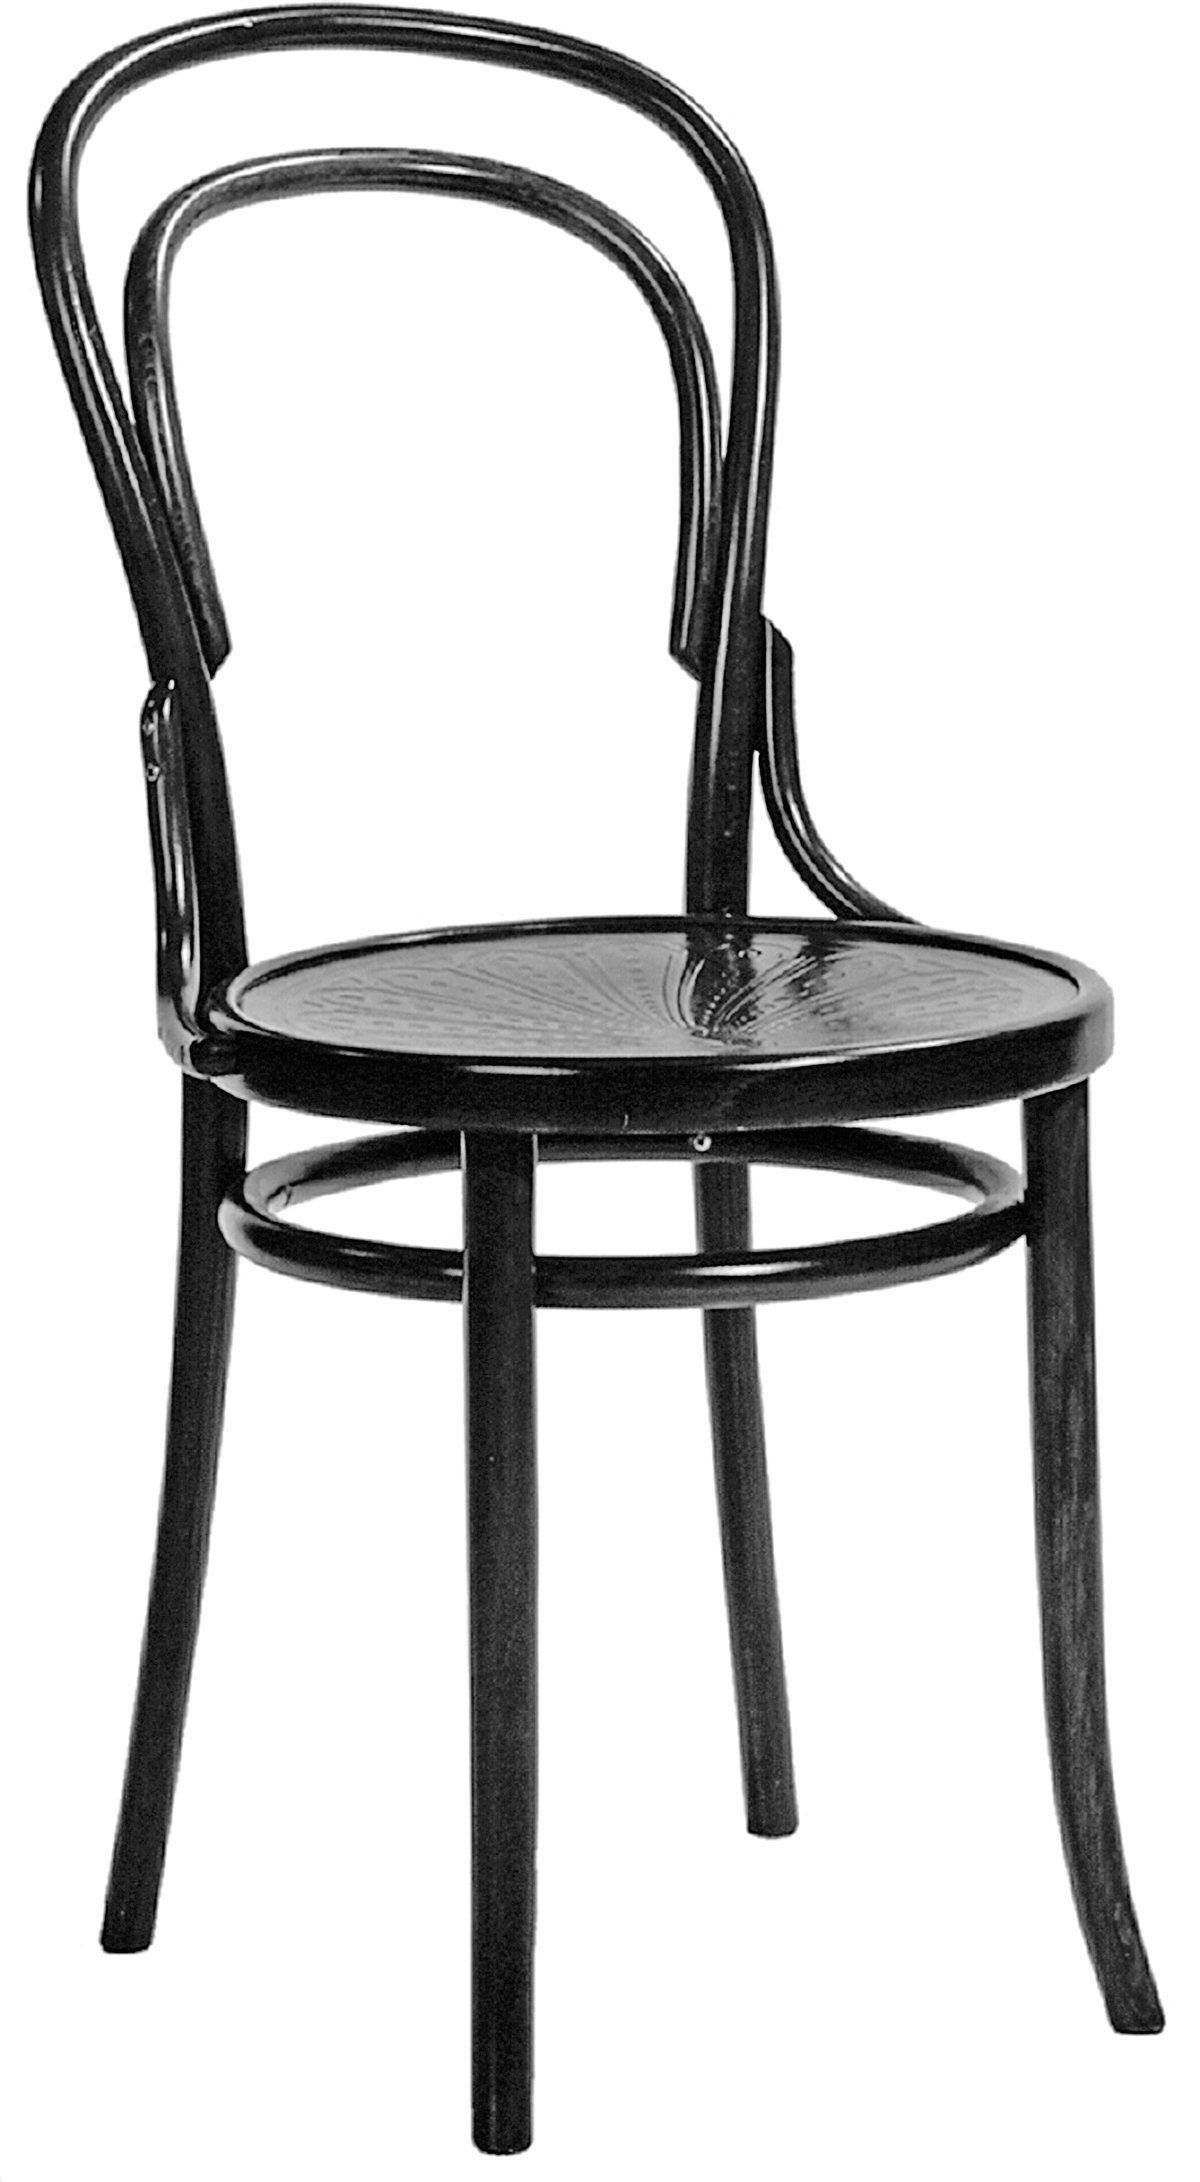
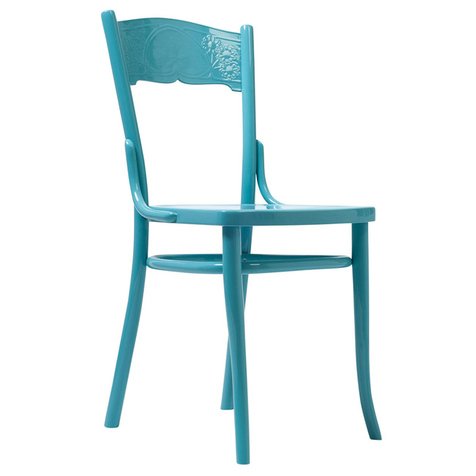
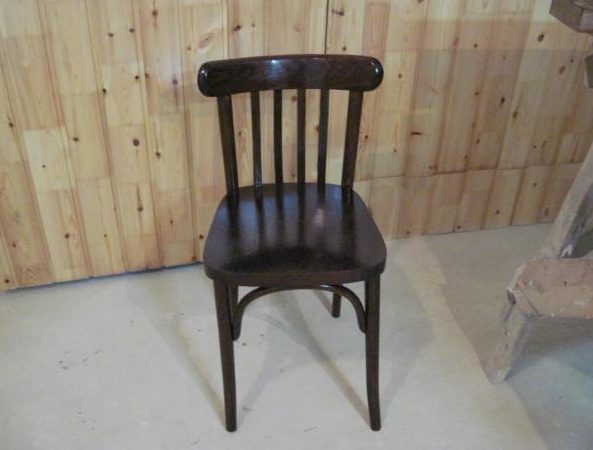
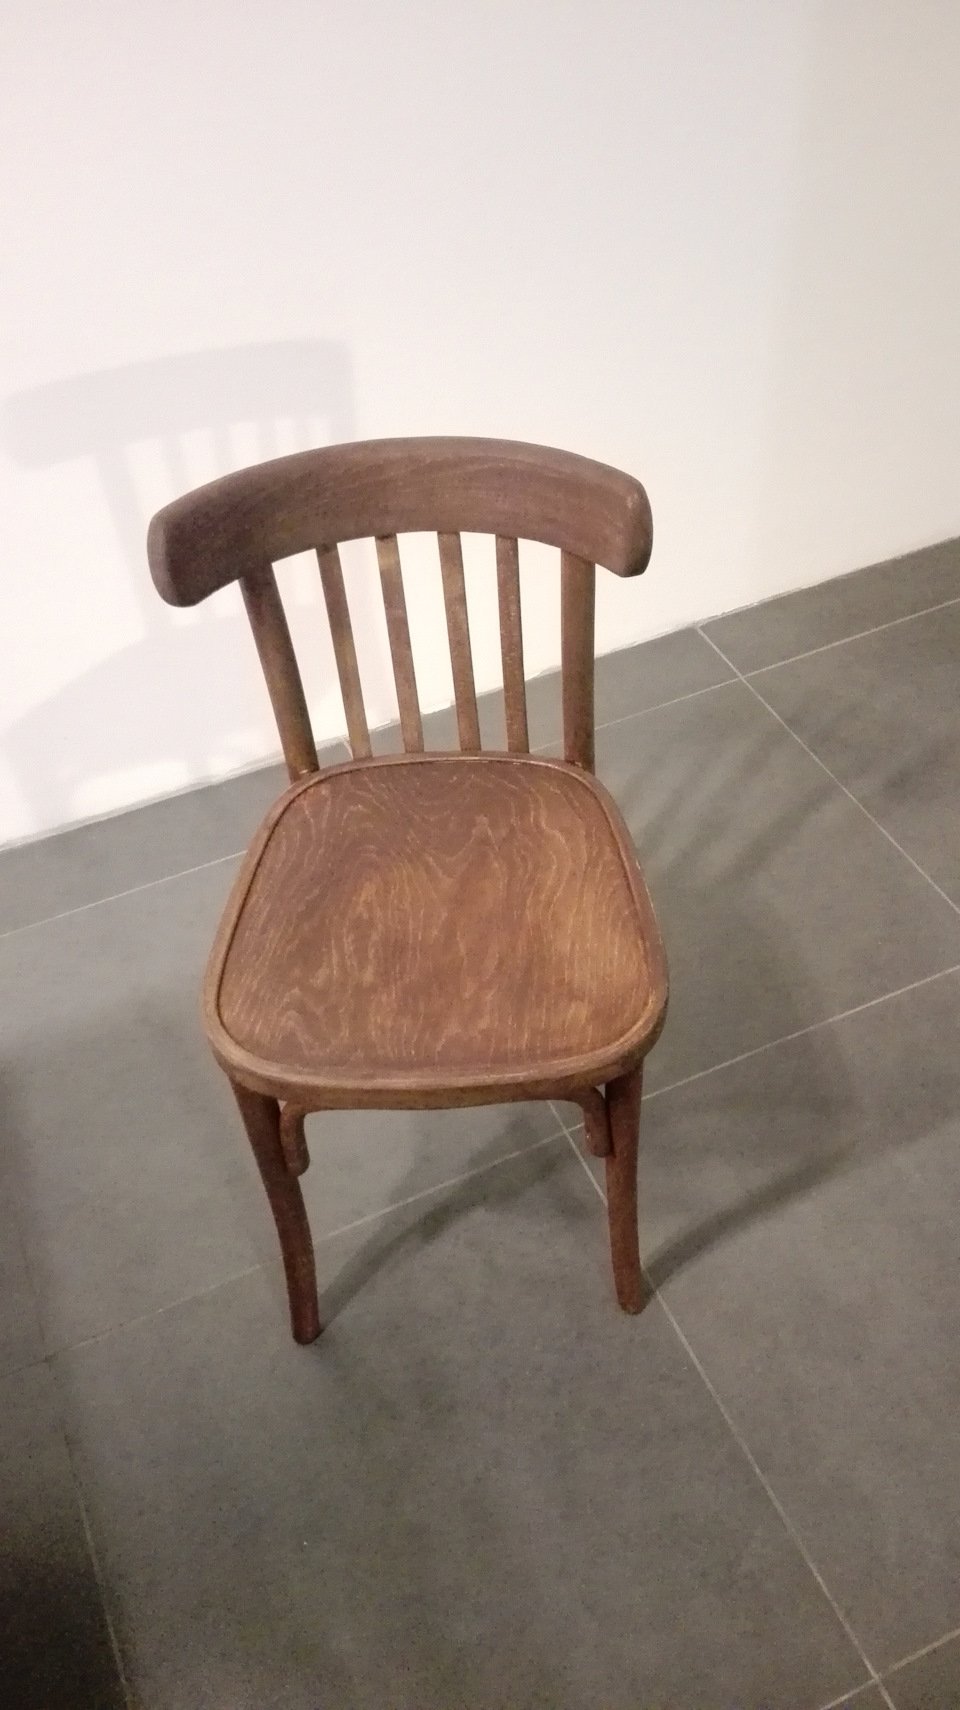
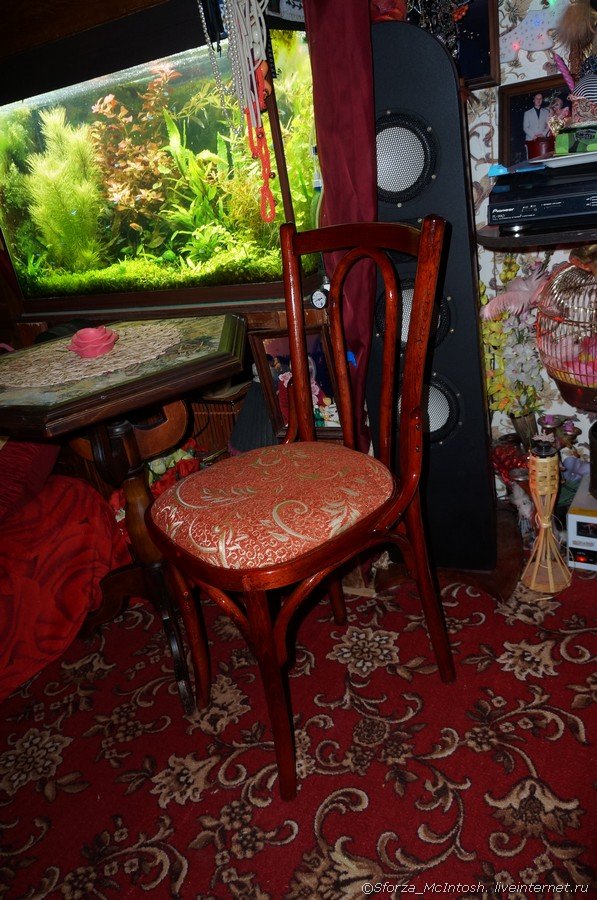
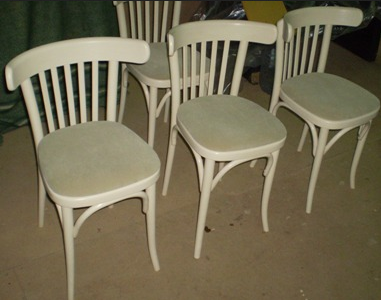
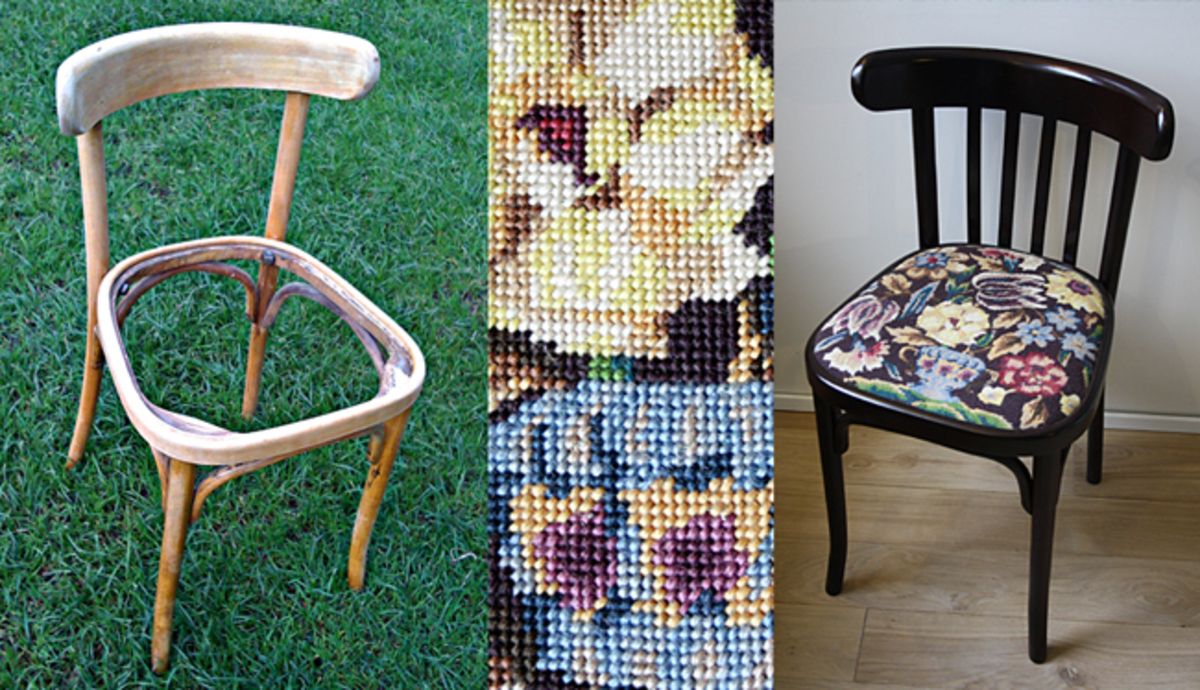
The Viennese chair is the simplest in design and quite convenient to use. The history of the Viennese chair begins in the middle of the nineteenth century. It was invented by the master from Vienna Michael Thonet.
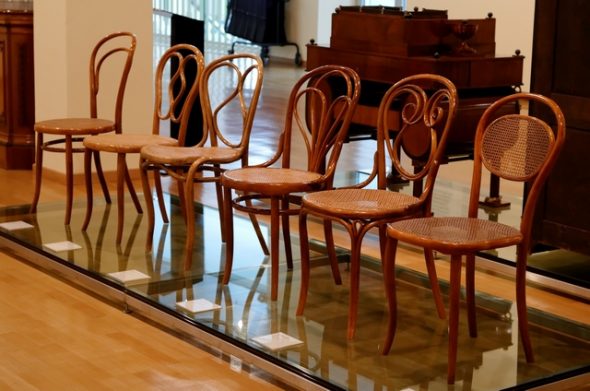
He introduced the technology of steam-bent wood into production. Already at that time, it gained enormous popularity among various social classes. The chairs were manufactured by Thonet, and were called chair No. 14. The popularity of this product at that time can be compared to the popularity of Ikea furniture today.
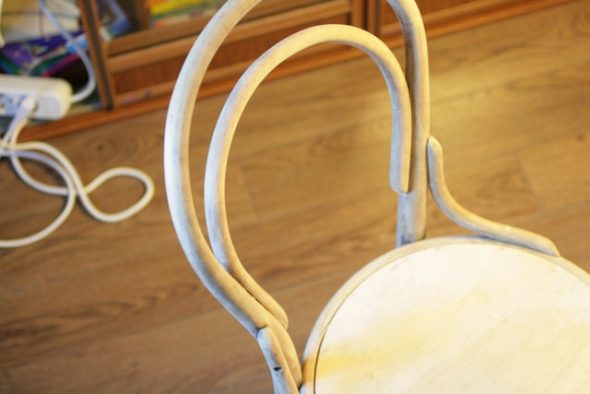
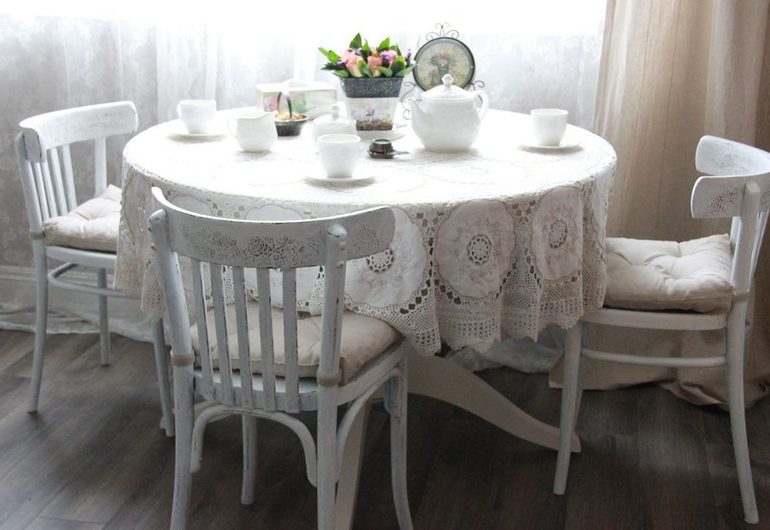
Restoring a Viennese chair with your own hands will not cause any particular problems because it is quite easy to make. The chair consists of two arcs that are combined with the back legs, the seat is made in the form of a circle, the front legs and a dozen screws. That is the entire design of the Viennese chair. The second reason for restoring a Viennese chair is that it is quite an old, and therefore quite durable thing. After it gets a second life, it will serve for quite a long time in the house or in the country. The third reason is purely practical. If you learn how to restore old furniture, you can organize master classes on restoring Viennese chairs with your own hands. This can become a job that will bring in significant income.

Before restoration, it is necessary to prepare the following tools for work.
- Hammer.
- Clamps.
- Staples, stapler.
- Screwdriver.
- Screwdriver.
- Wooden mallet.
- Sandpaper, solvent.
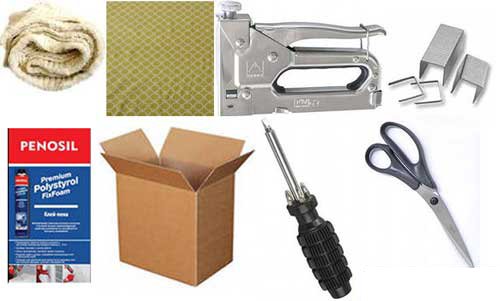
Materials required for work:
- nails;
- screws;
- foam rubber;
- glue;
- solvent;
- dye.
Content
Execution of work
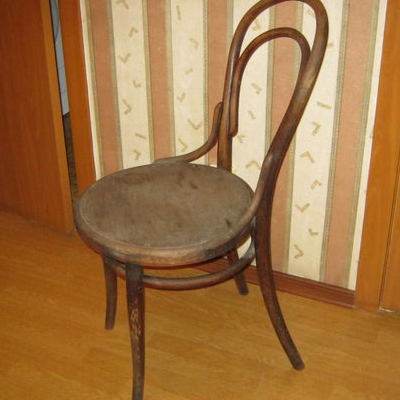
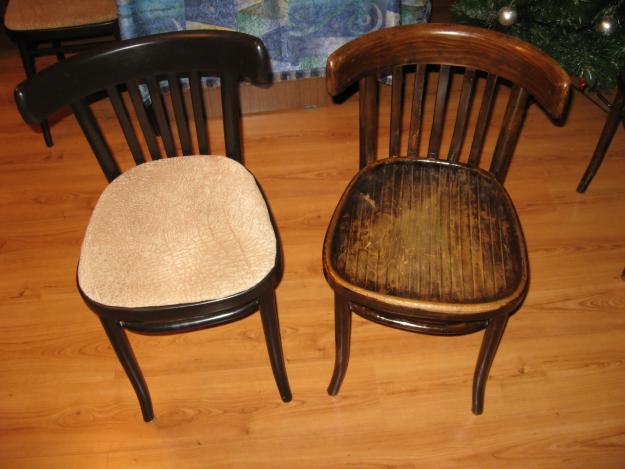
First, you need to wash the chair from dirt and dust. Even then, the paint coating may peel off. It is not recommended to keep the chair in water for too long, as wood tends to absorb water. After washing, the chair must be dried well.
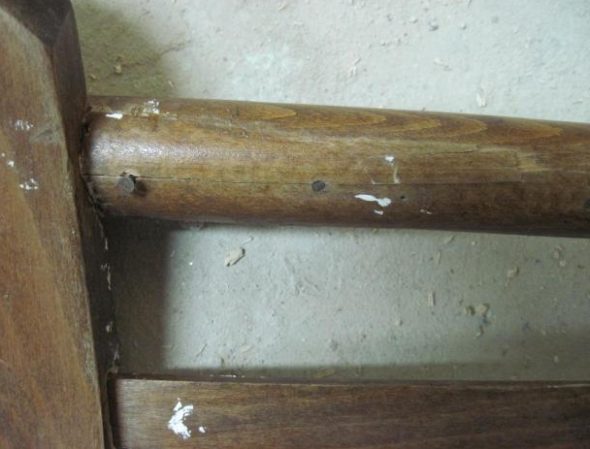
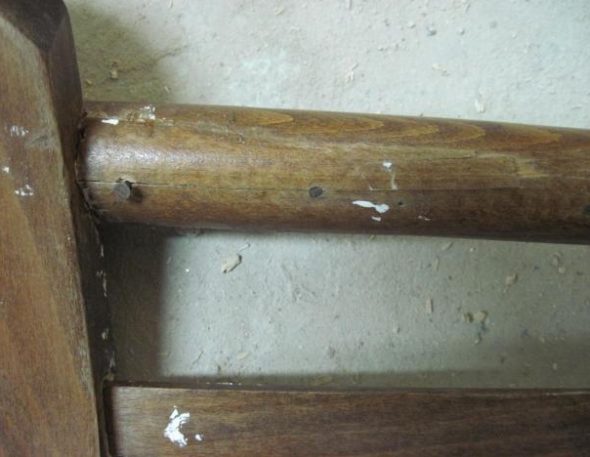
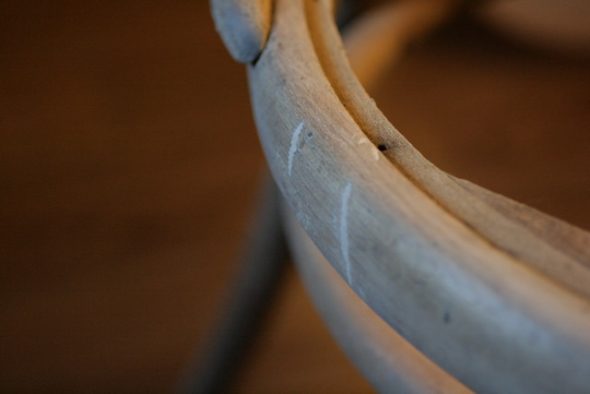
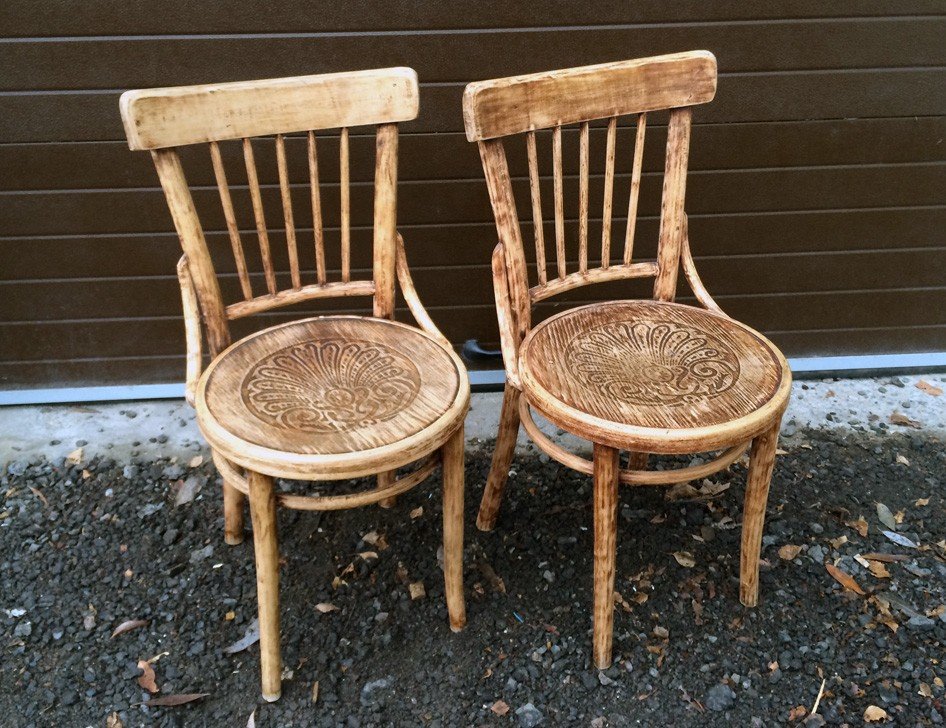
Restoration of a Viennese chair begins with an external examination. During the examination, the following possible defects are identified:
- the chair legs are wobbly;

Bottom rung, cracked at the top - there are cracks or chips in the varnish coating of the chair;

Damage to the outer side of the seat frame - The seat material has become unusable.

To repair the legs of a chair, it must be completely disassembled. For successful and quick assembly of the chair, it is necessary to mark the disassembled parts so as not to forget the order of fastening the parts to each other. There are options here.
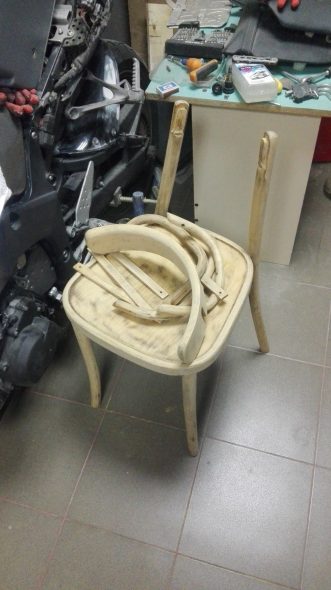
The legs are attached using the tongue and groove principle. In this case, it is necessary to carefully loosen the legs from the fasteners. The backrest and seat are removed in the same way.
It is much easier and faster to disassemble a chair assembled with screws. We disassemble it with a screwdriver, using oil to lubricate the screws. Using oil, the screws will unscrew much easier and faster. Then you will not have to apply significant force to the screwdriver.
The chair parts can be glued together. The glue can be heated in two ways. Heat the glued parts with a hair dryer or a rag soaked in hot water. In either case, the glue will become softer. The chair parts will easily separate from each other.
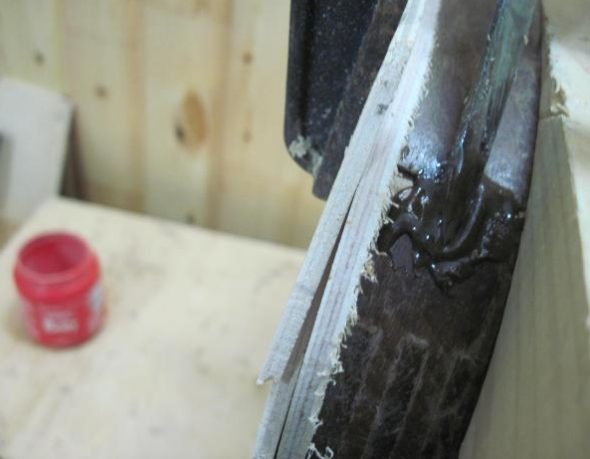
The next stage is restoration of the structural elements. It is necessary to remove deep cracks, chips, places that were badly damaged by insects. Deep cracks must be filled with glue and pulled together with clamps. Small chips or small cracks are filled with glue and pulled together with tape. A mixture of sawdust and glue can be used to remove very large chips or cracks. After this, the parts must dry.
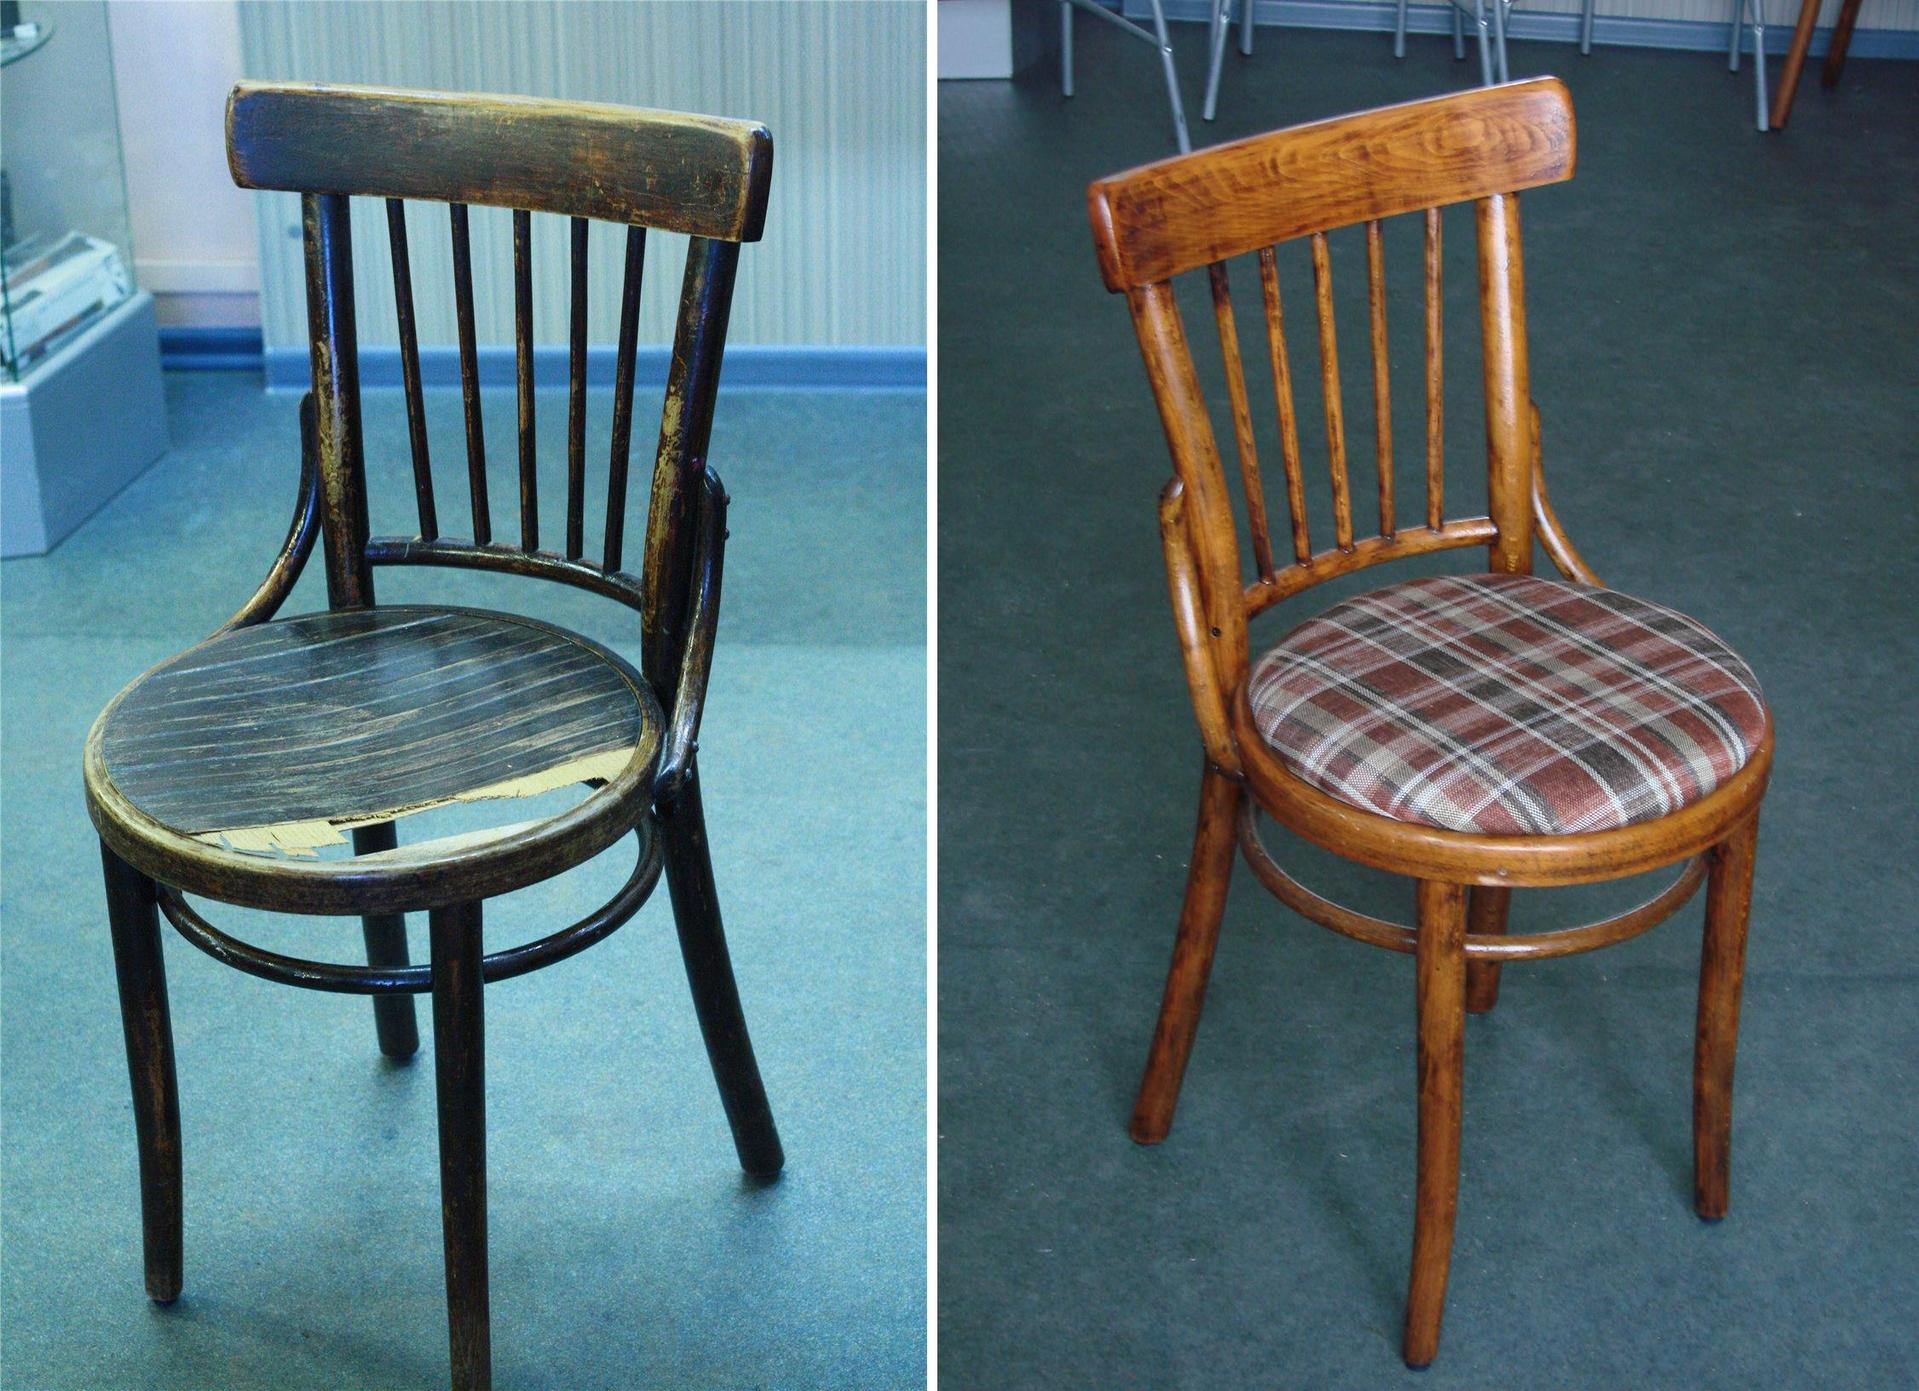
Grinding of parts
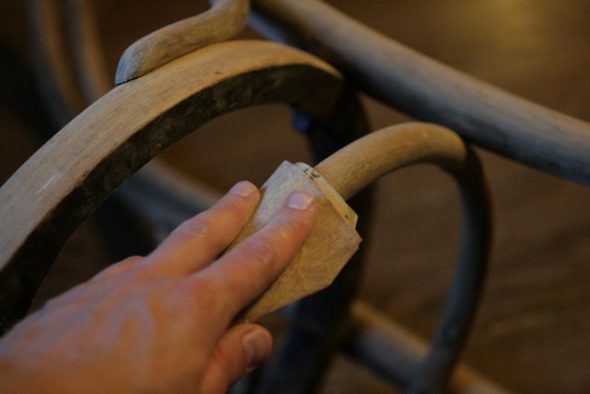
Sanding is done either with a sanding machine or by hand. First, the parts are sanded with coarse-grained sandpaper, then with fine-grained.
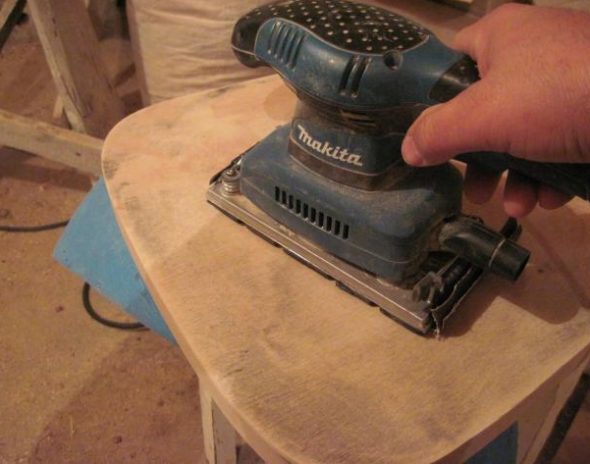
The process is considered complete when the surface of the parts becomes absolutely smooth and completely cleared of old varnish and paint.
Repair of chair fastenings
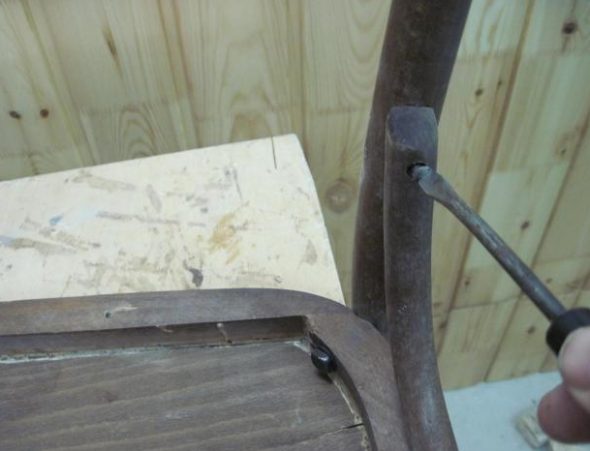
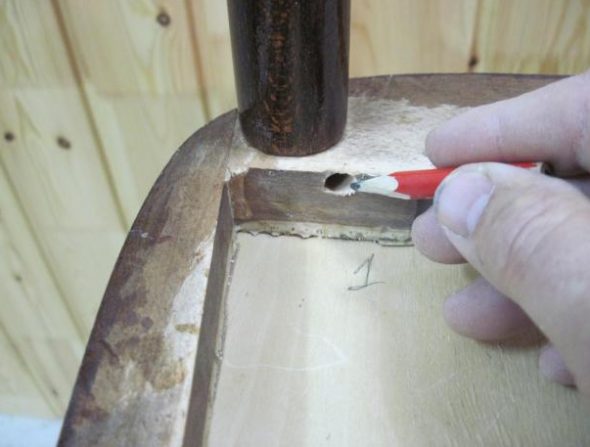
The ends of the worn parts that fit together in the joint are sawn through several centimeters deep. Then a wedge is driven in between them. Thus, the expanded part fits tightly into the seat.
When working with antiques, a thin hole is made in the joint seam. Then wood glue is introduced there. In case of severe wear of the tenon, a wedge is made. The wedge is made from a chip smeared with glue. It must be inserted into the hole together with the part during assembly.
Assembling the frame
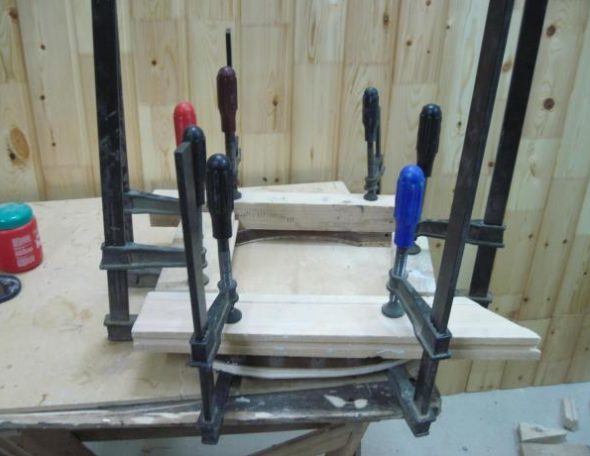
All parts are glued together. The gluing points are fixed.
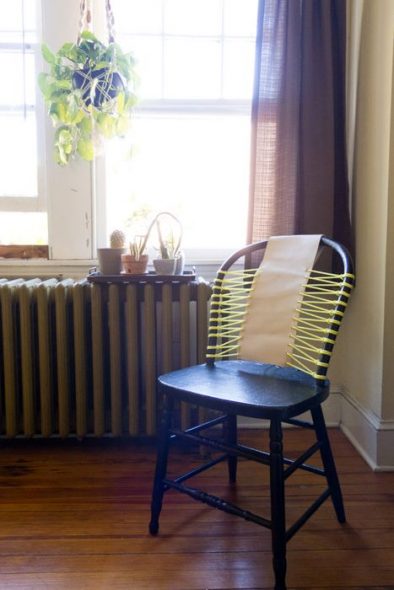
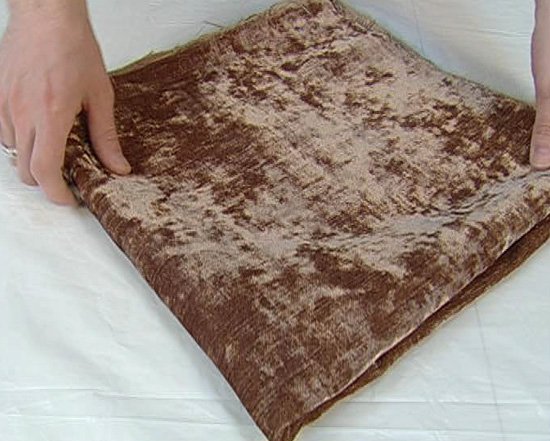
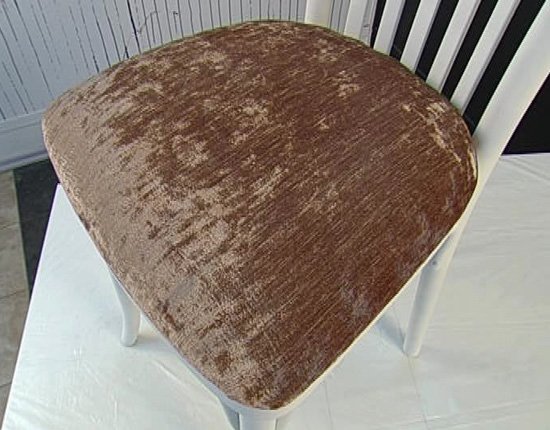
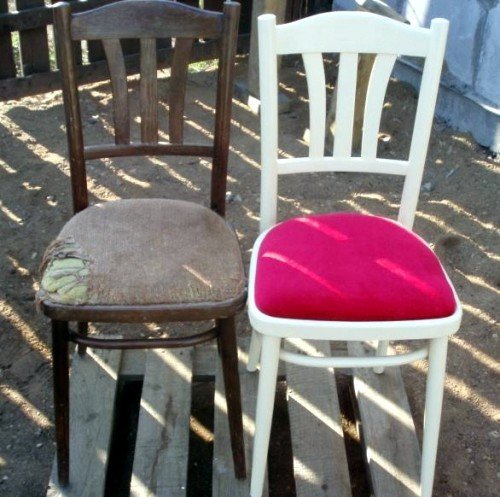
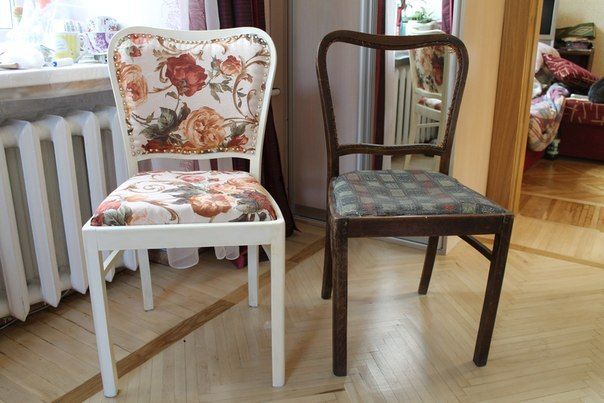
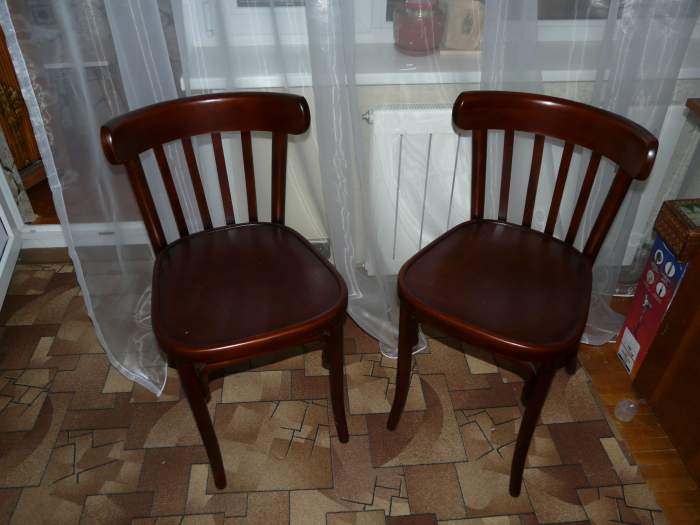
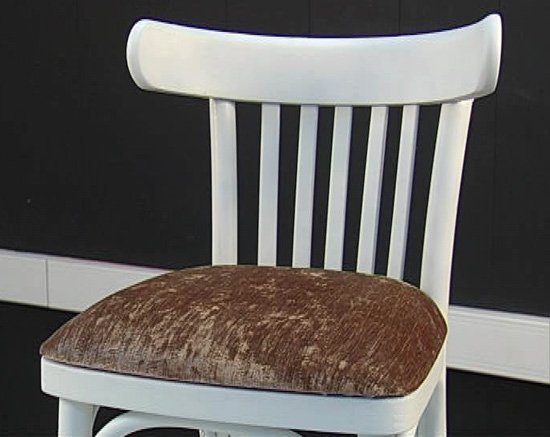
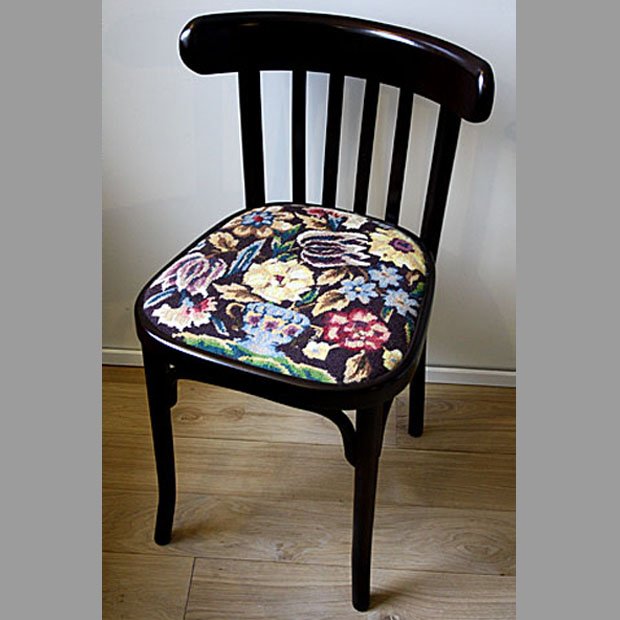
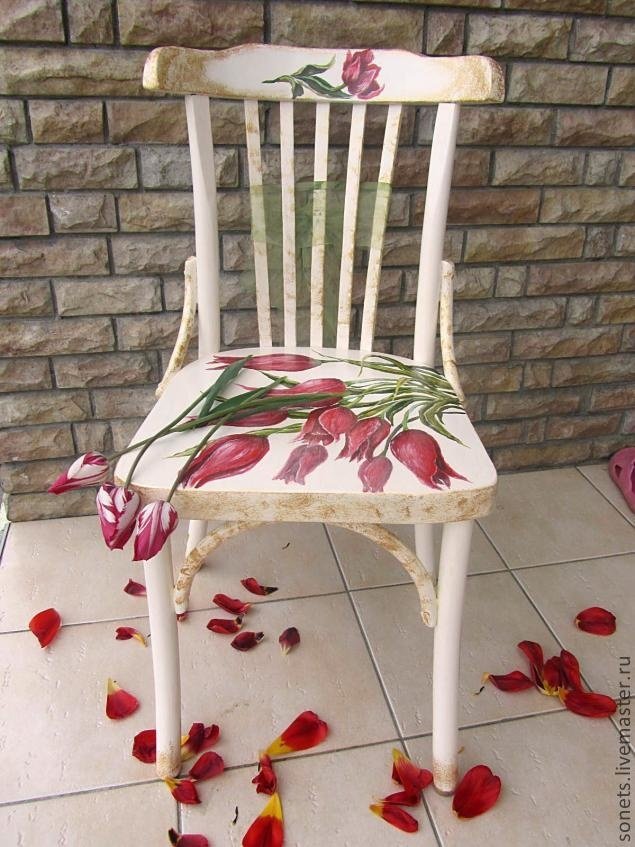
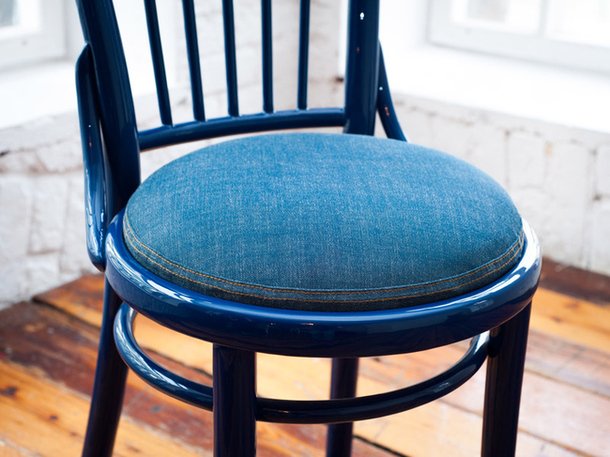
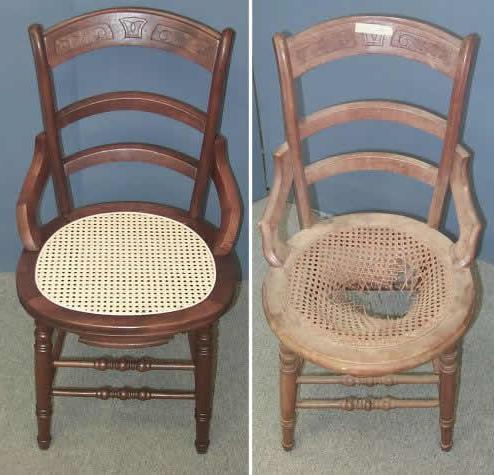
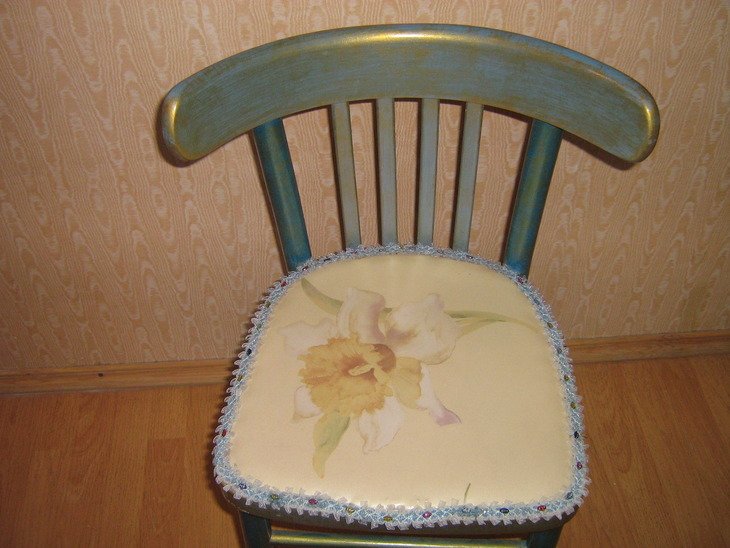
The old upholstery is removed so that it can be used as a pattern. New upholstery is made. The material is chosen to suit any taste or color. It can be fabric, leather or any other. It is important to consider the combination of the upholstery color and the color of the chair frame. If this is a problem, a color combination card is used.
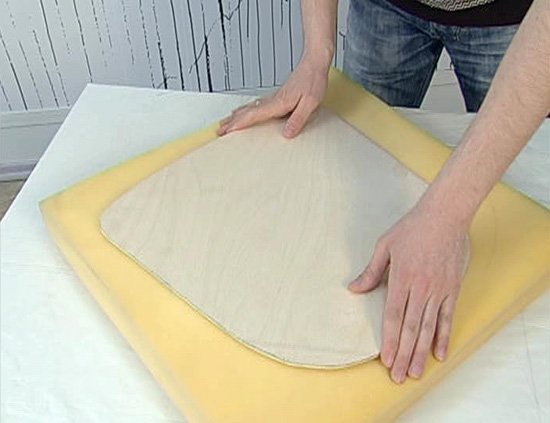
Then, the foam rubber needs to be cut out according to the shape of the seat. The foam rubber is placed on the seat, the material is stretched on top and secured with a stapler or other method.
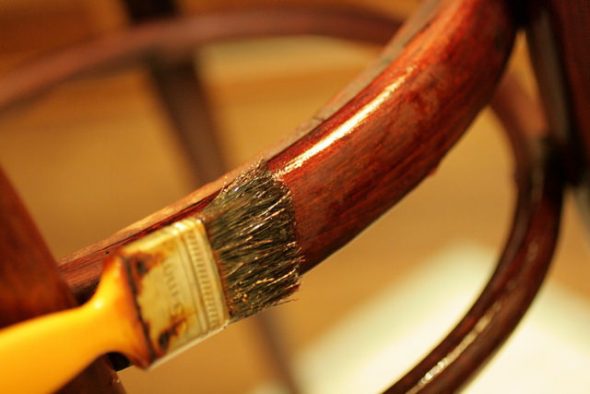
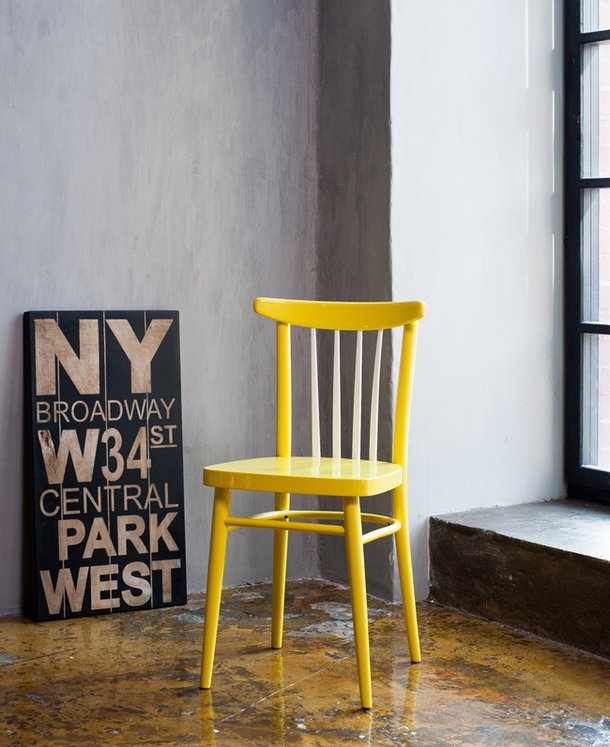
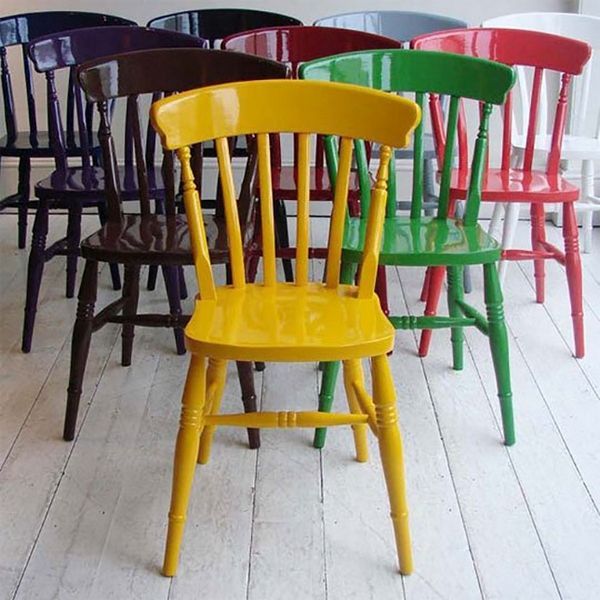
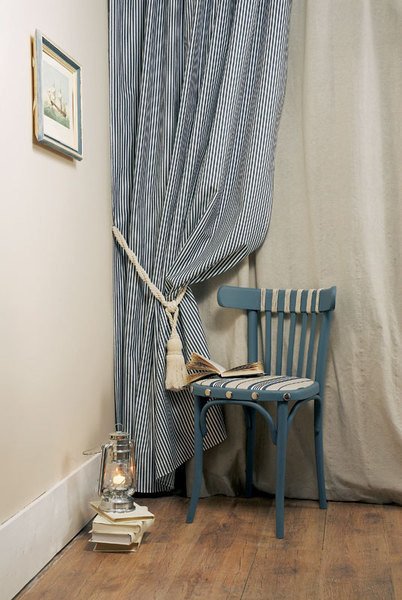
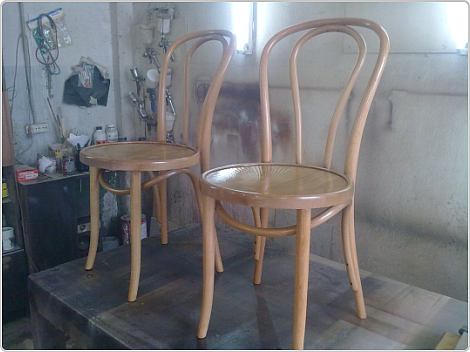
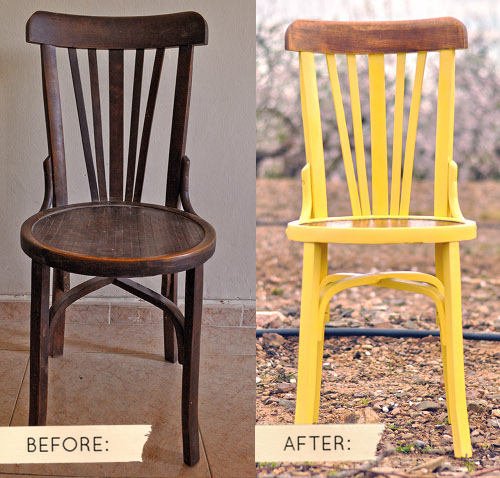
Painting the frame (decoration)
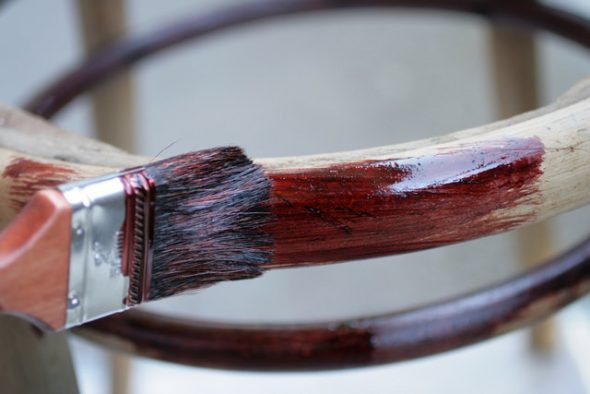
All dried frame products can be processed in any way. This can be paint, stain, varnish, gold leaf.
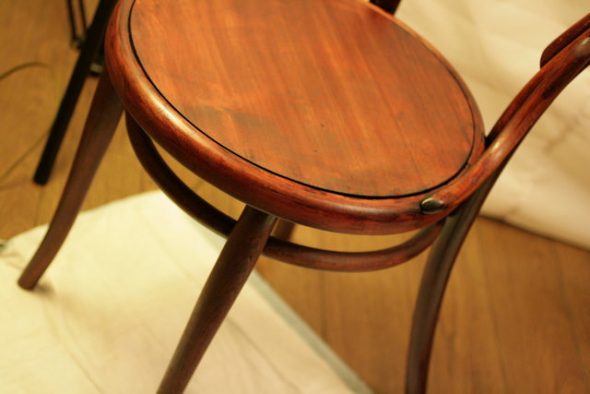
The seat is attached to the dried frame with screws or metal corners. Now the Viennese chair is ready for use for its intended purpose in a new form.
Video: Repairing a Viennese Chair
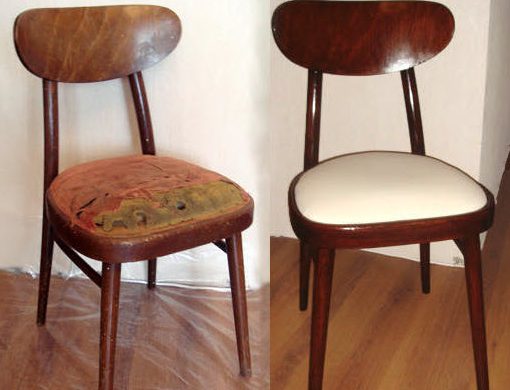
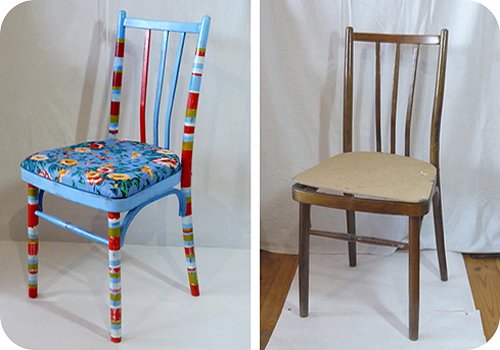
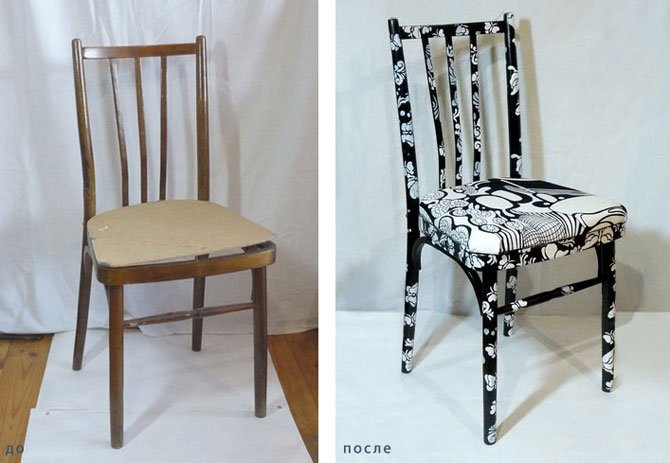
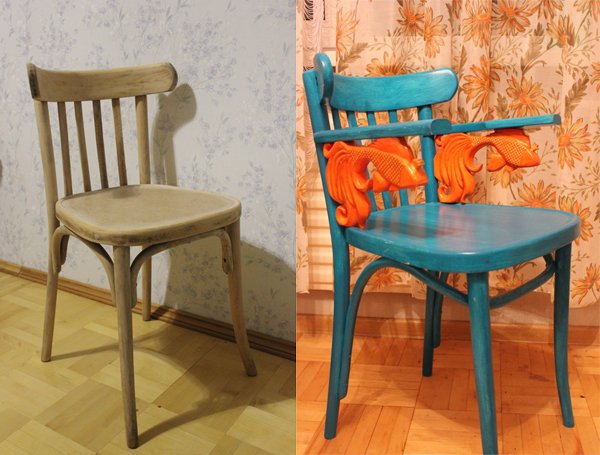
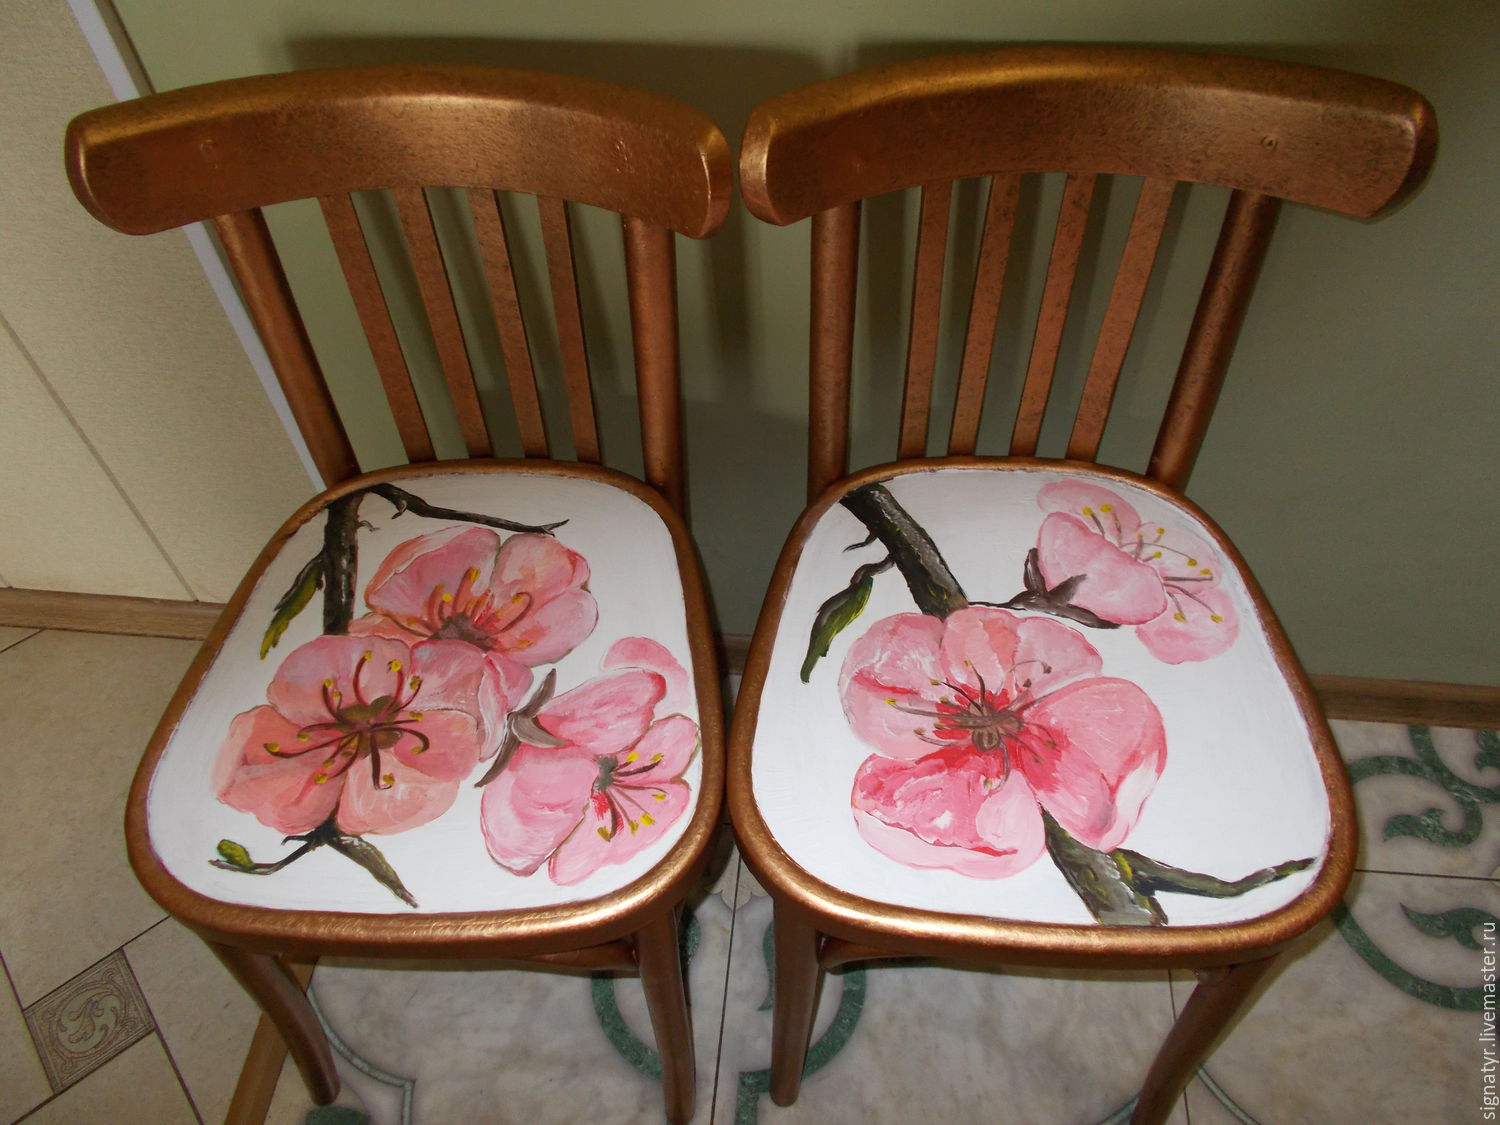
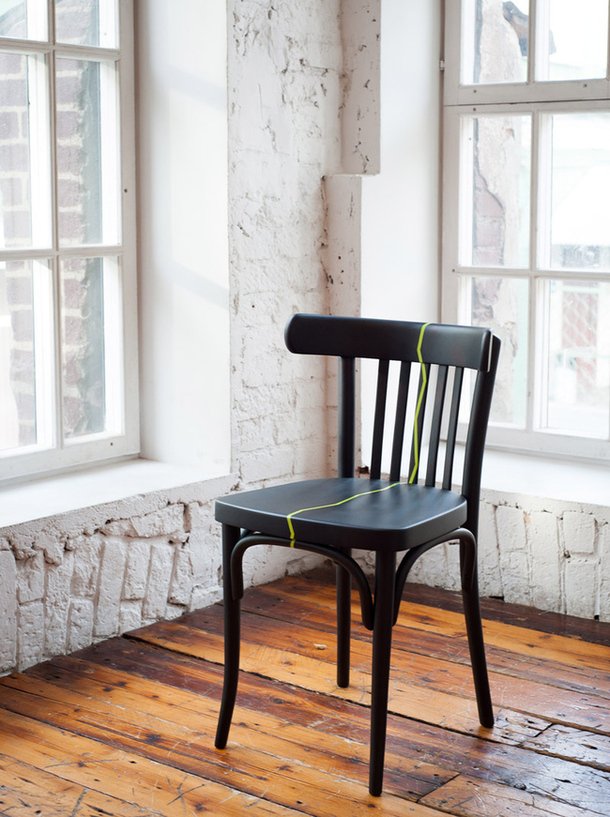
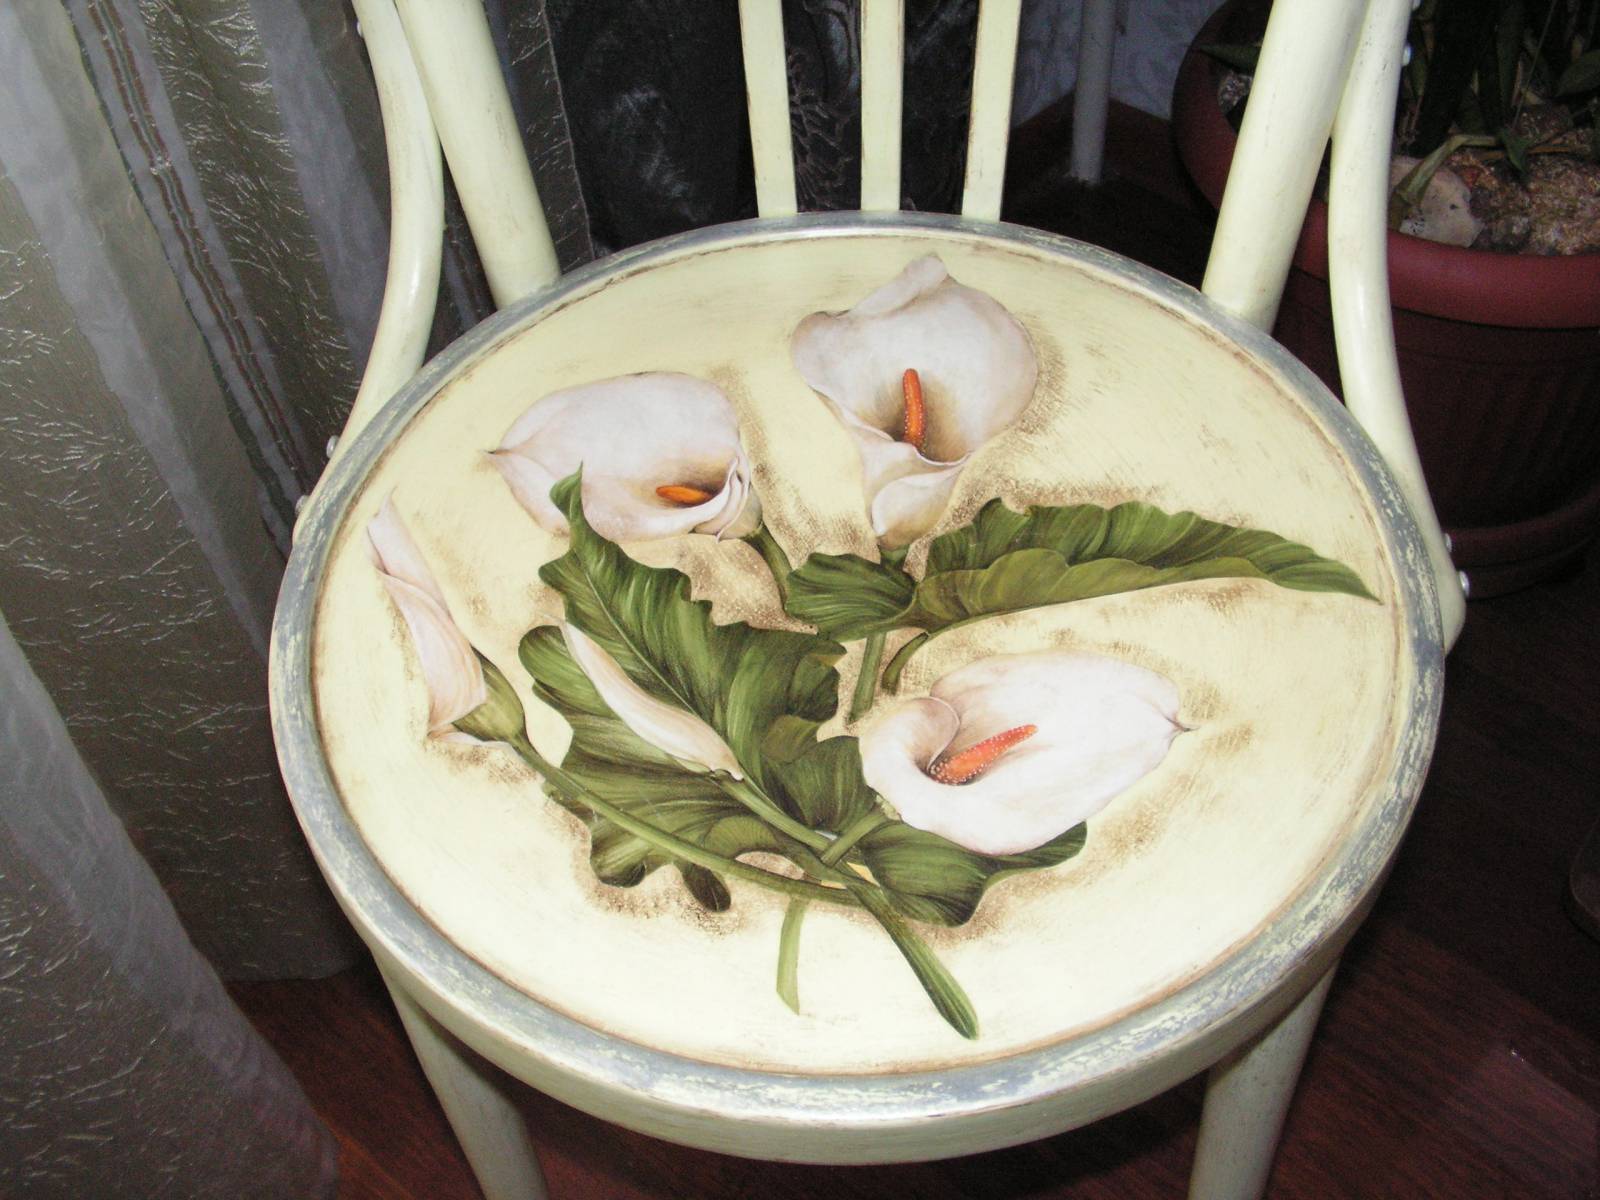
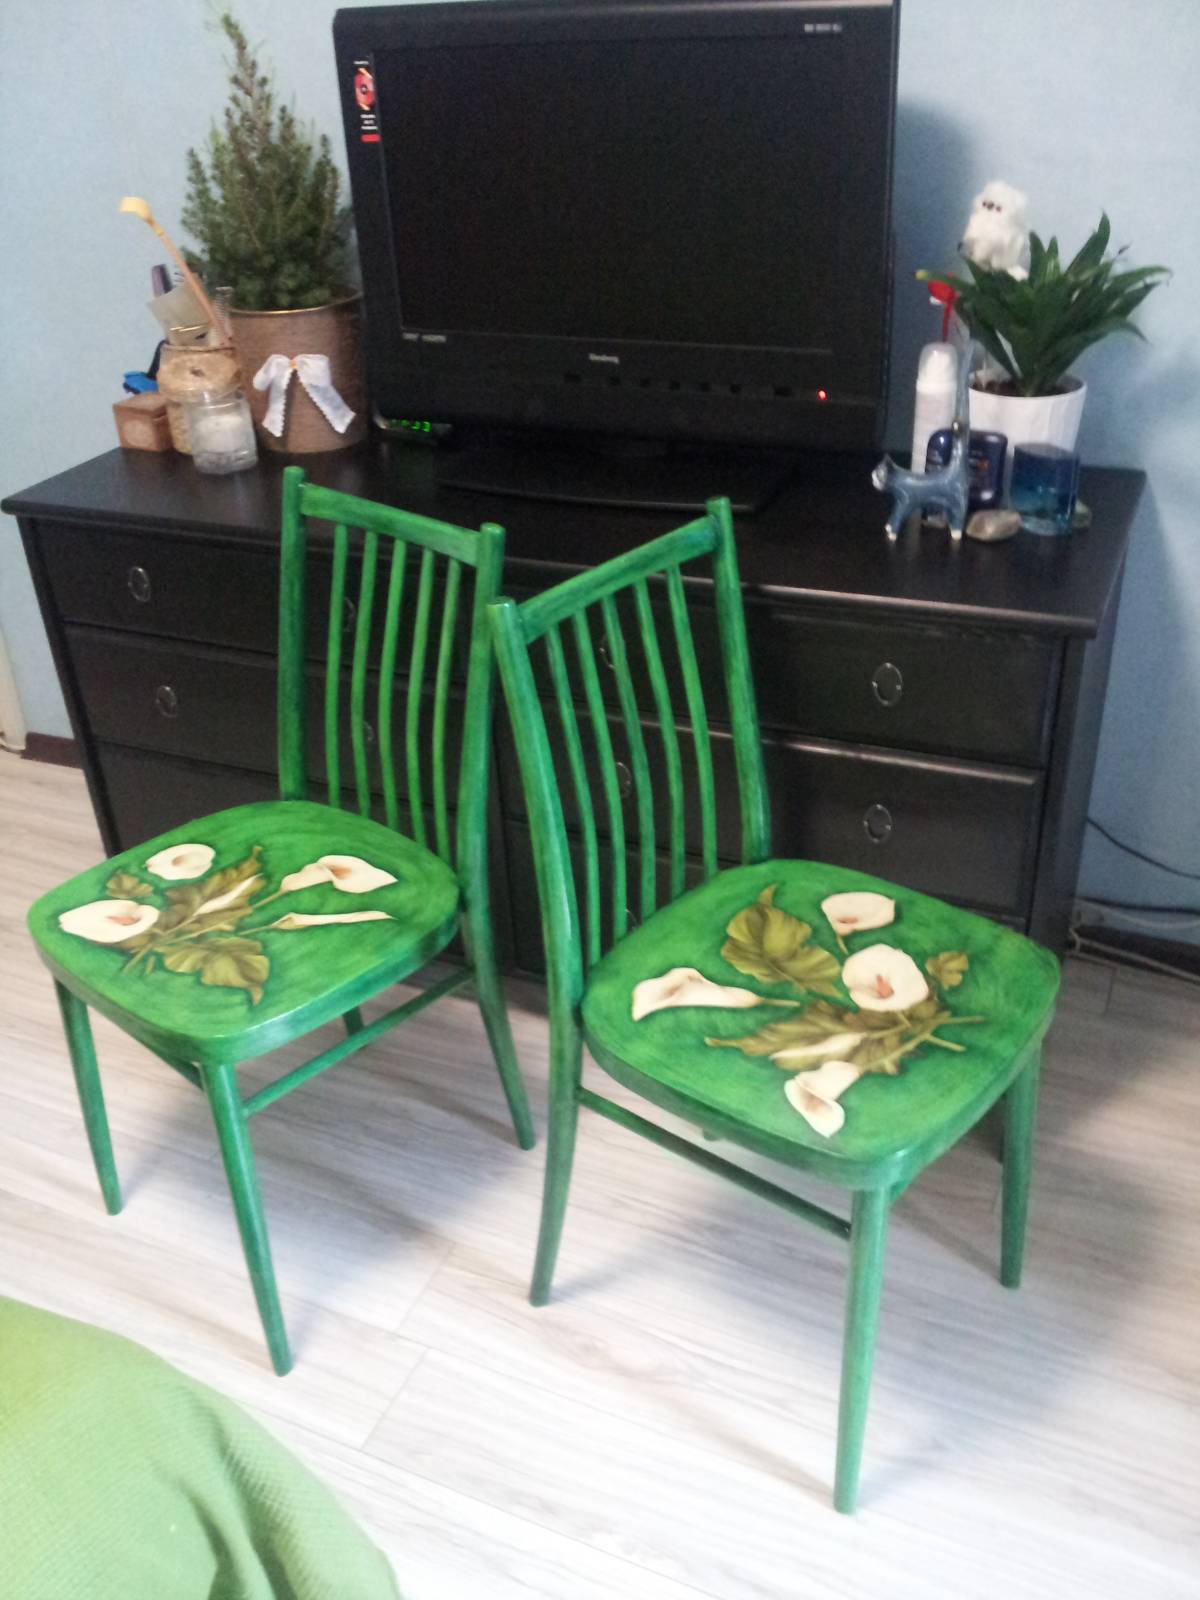
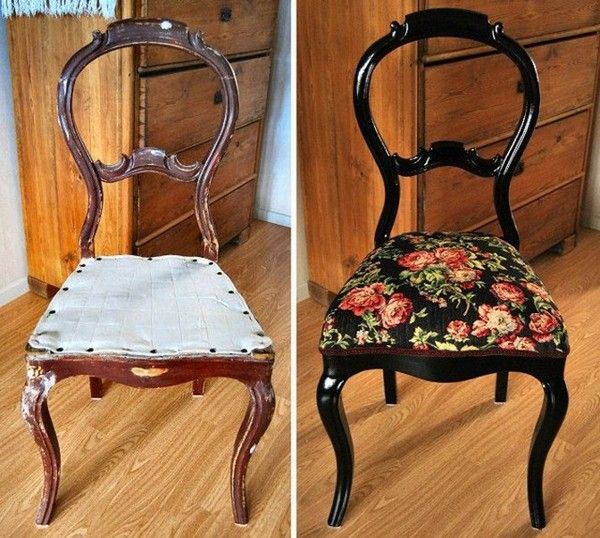
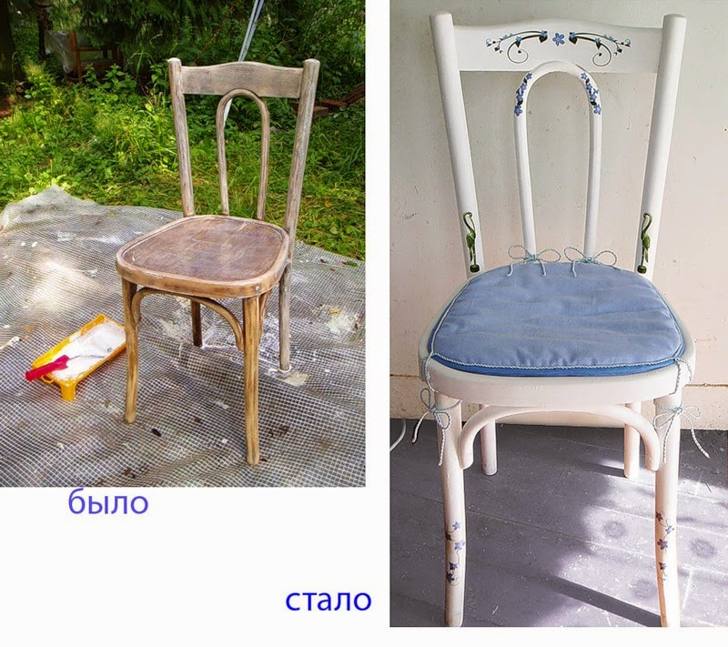
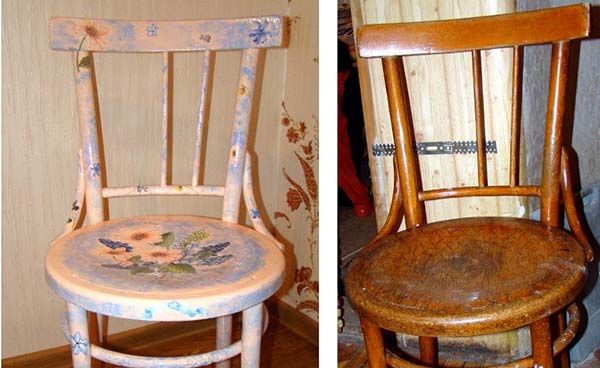
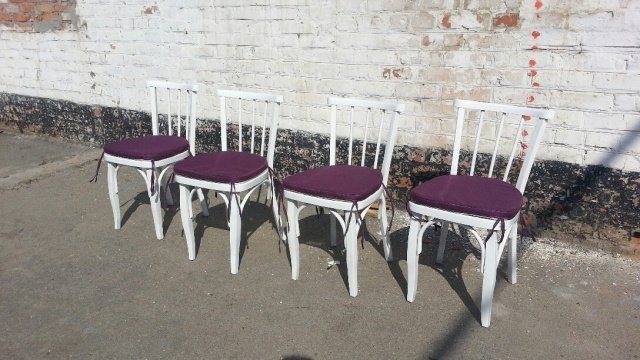
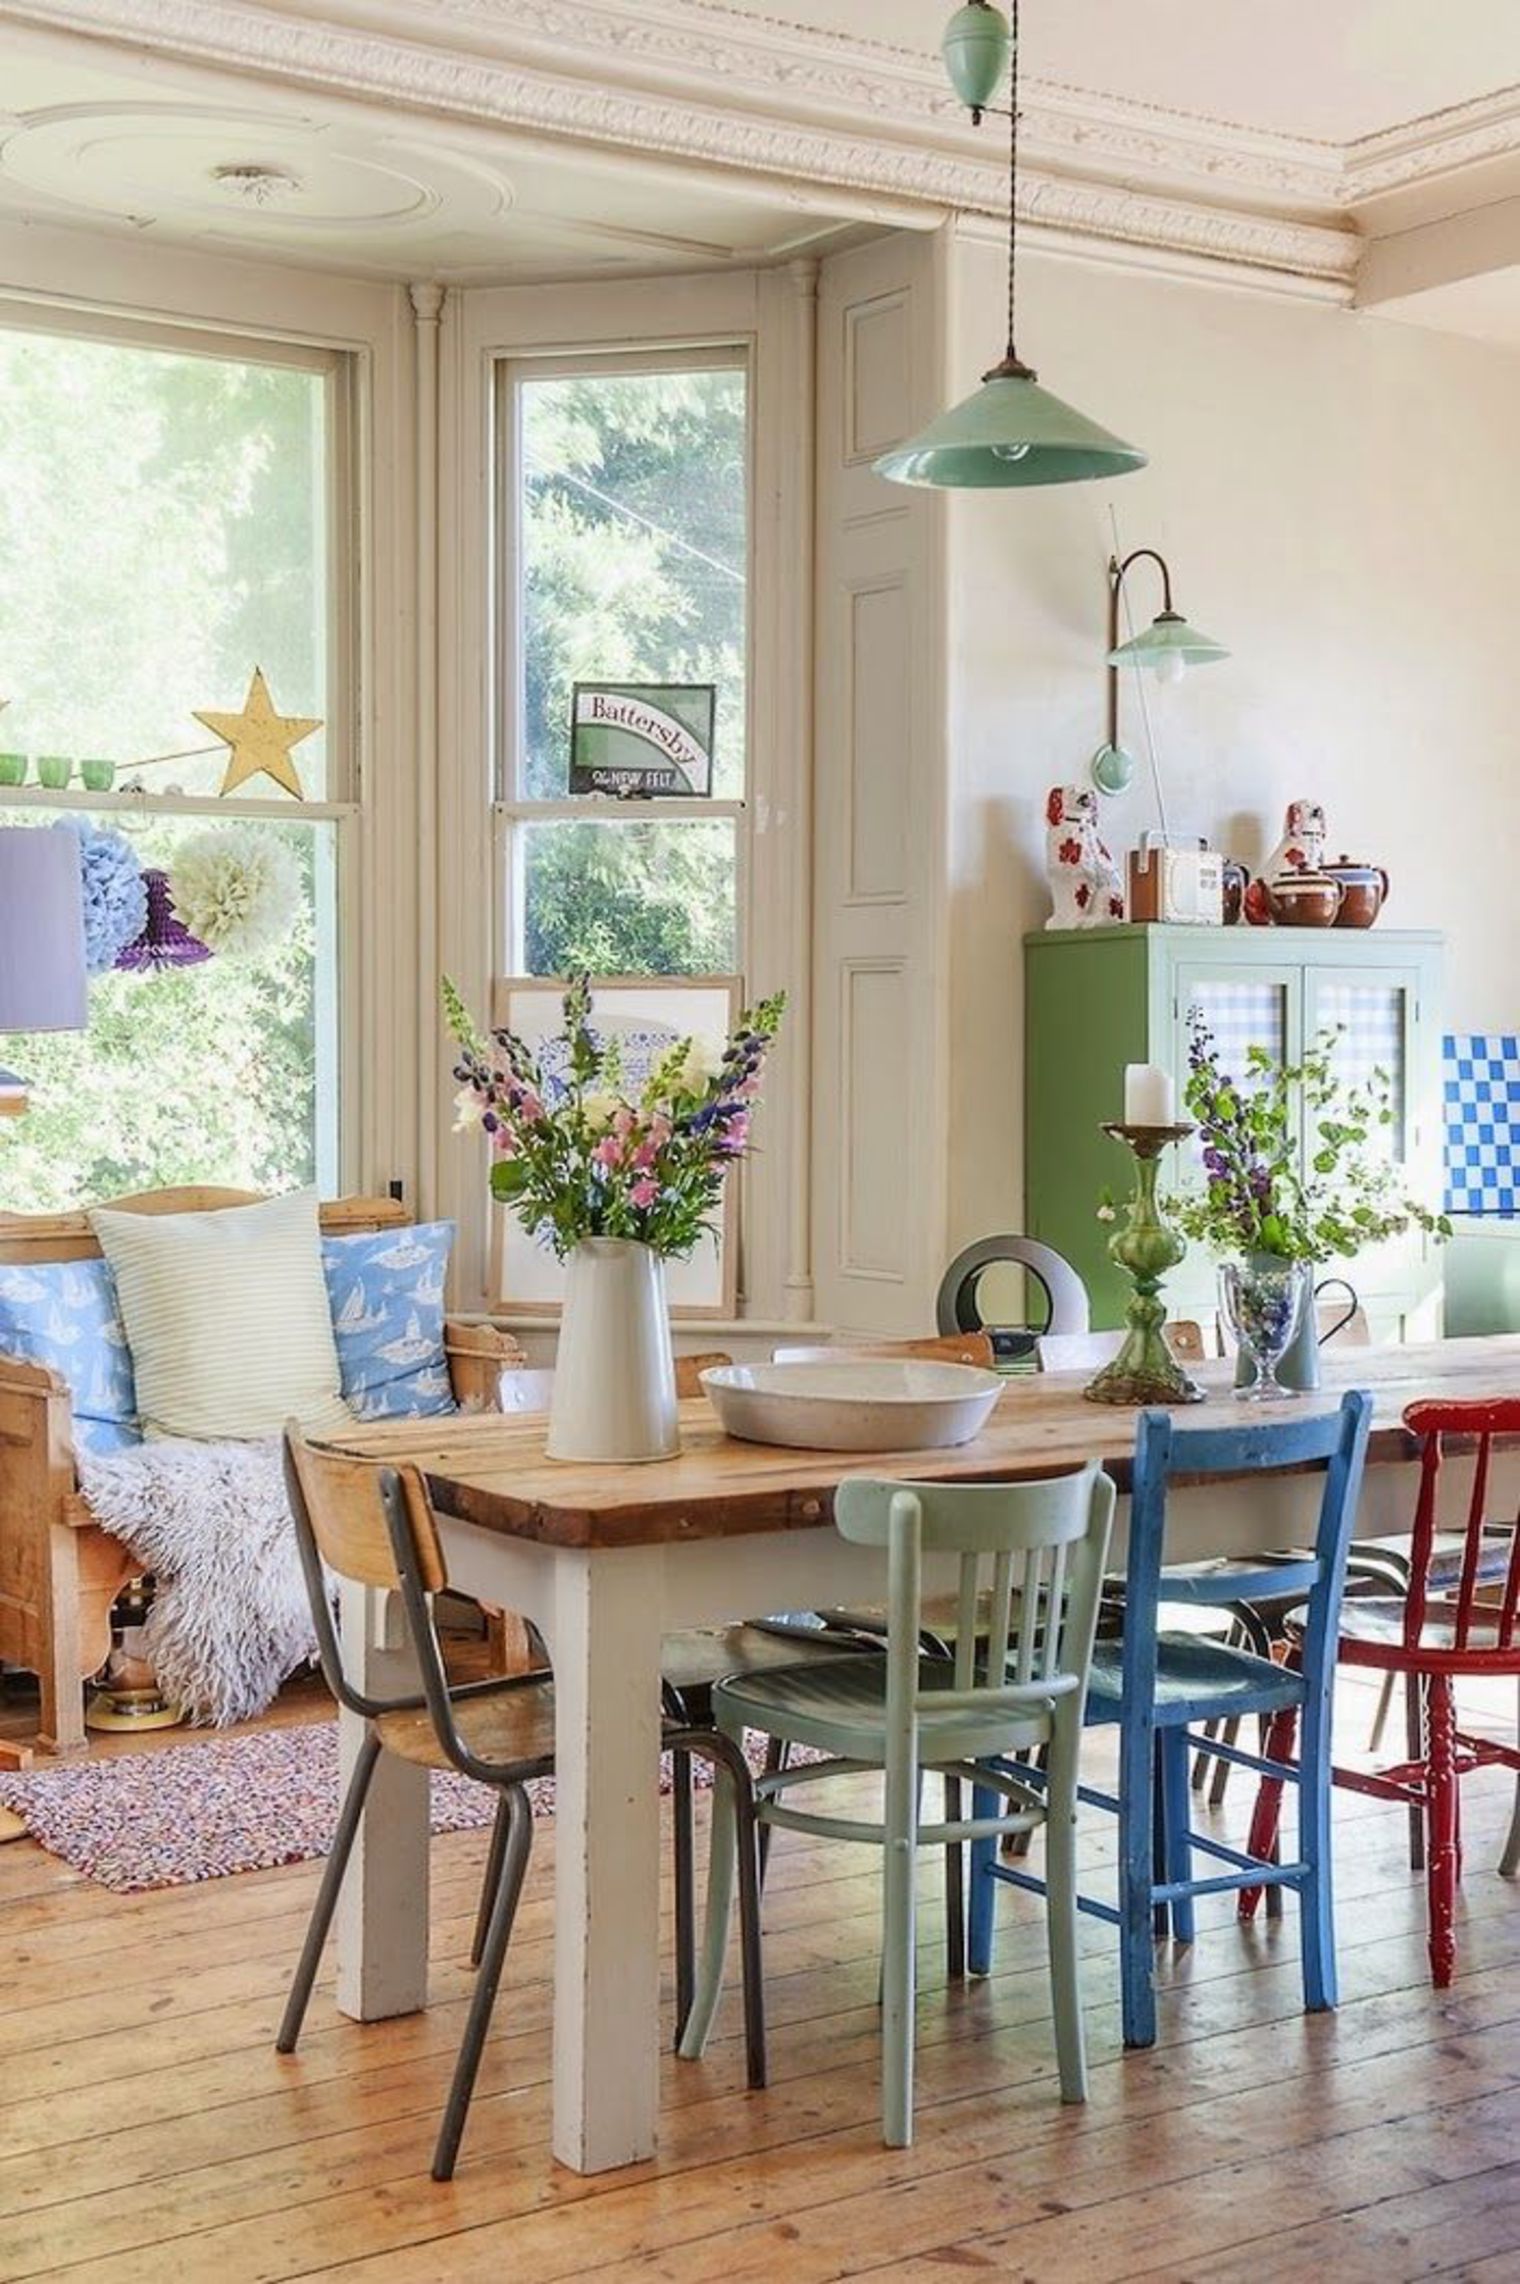
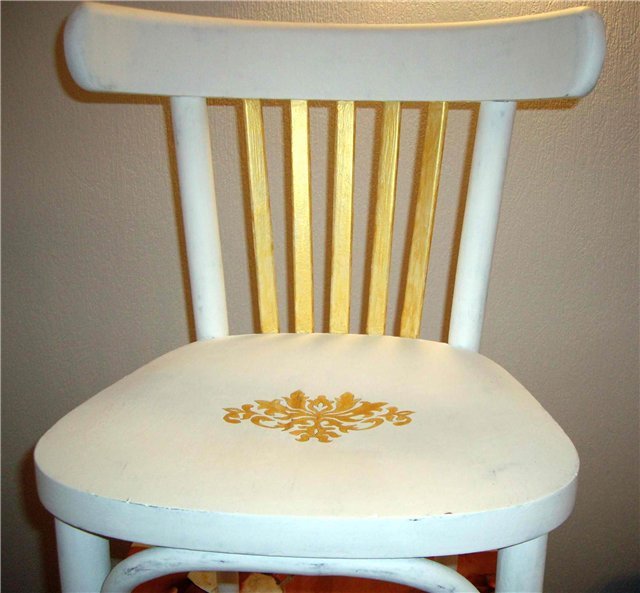
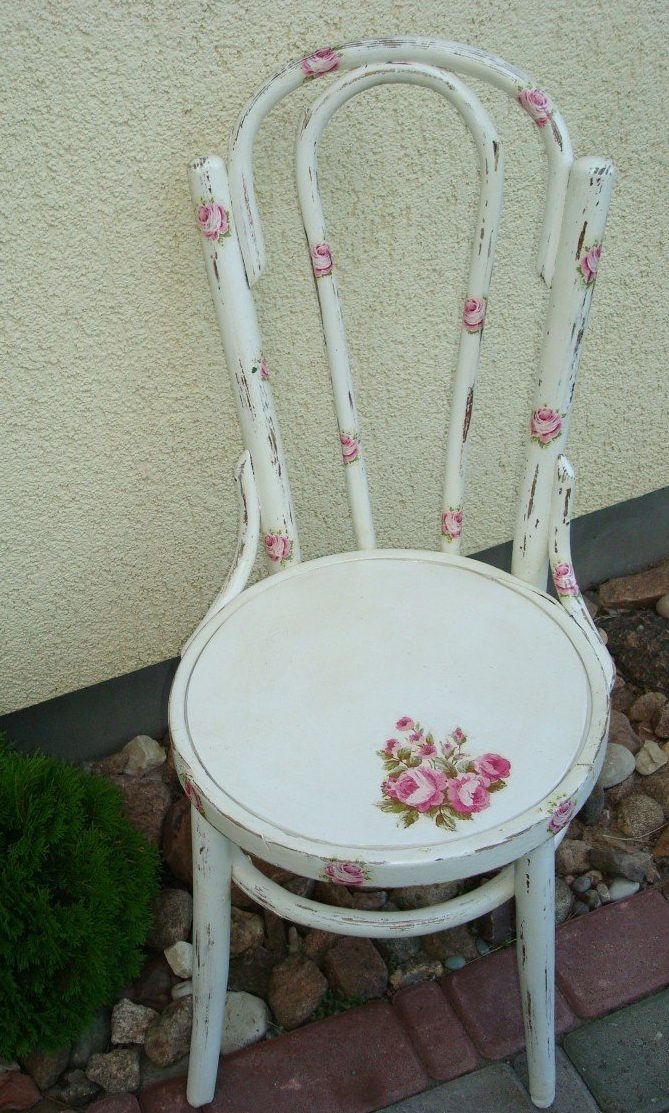
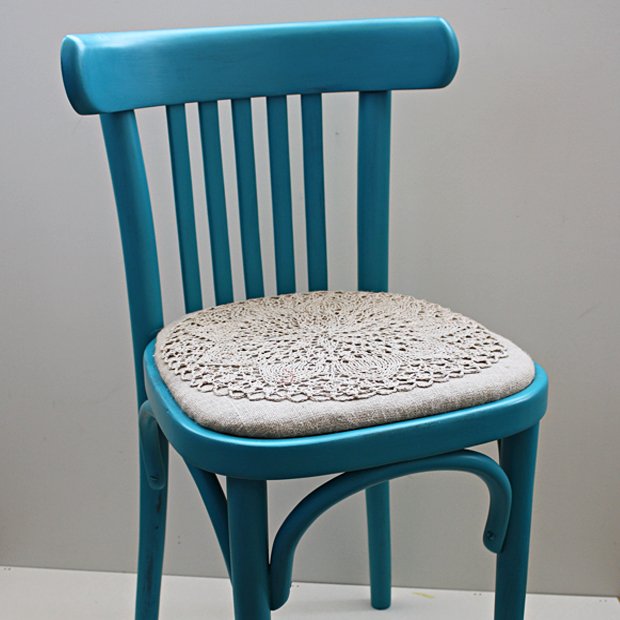
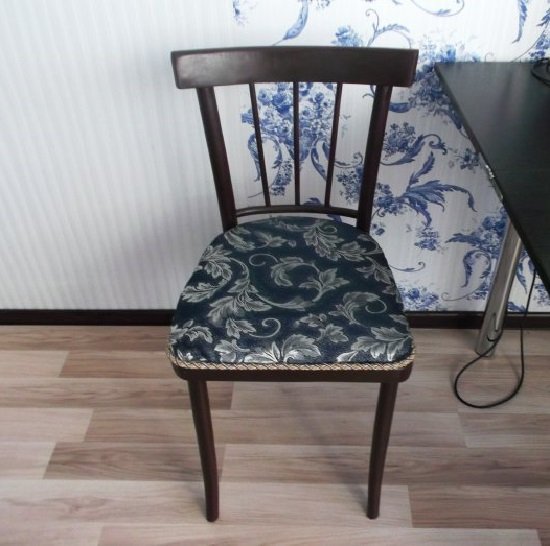
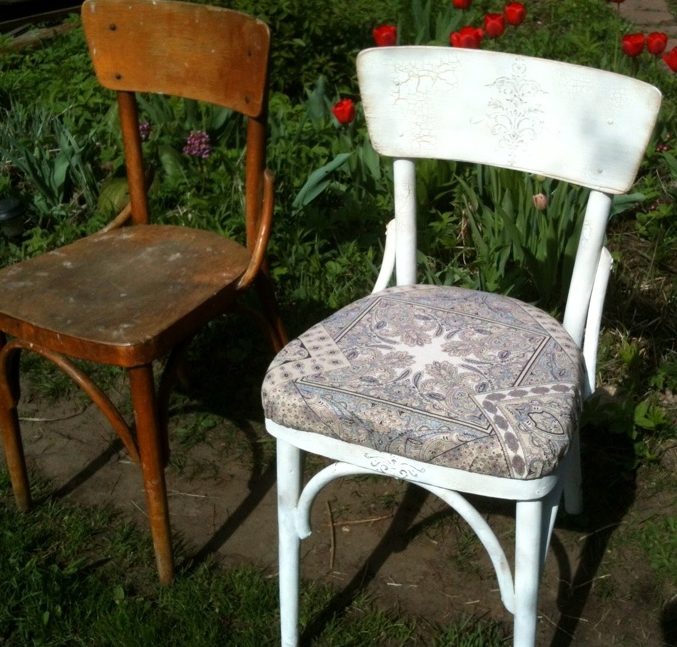
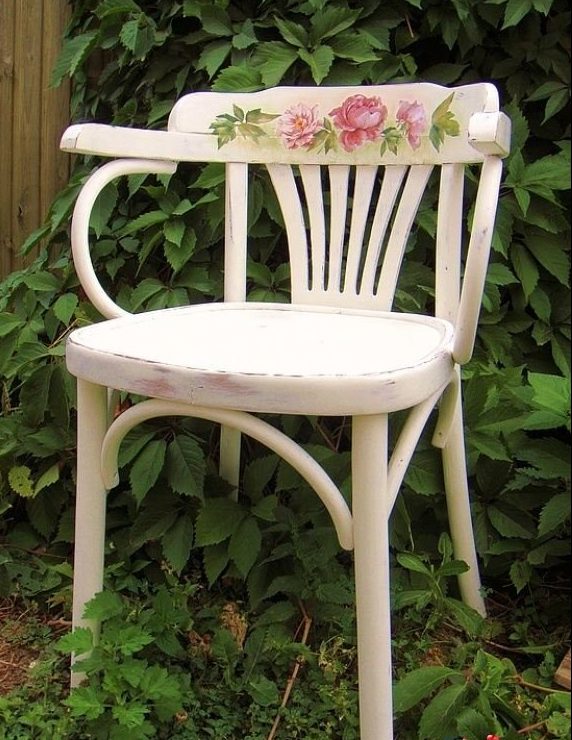
50 DIY ideas for restoring Viennese chairs:


Is it possible to make the missing curved parts of the Vienna Court at home, in particular the inner part of the back?
Is it possible to make the lost bent elements of the Viennese chair, in particular the inner part of the back, at home?
It's impossible to read, all content is blocked by advertising