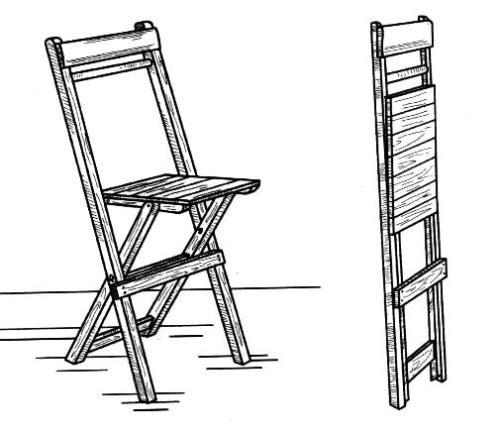
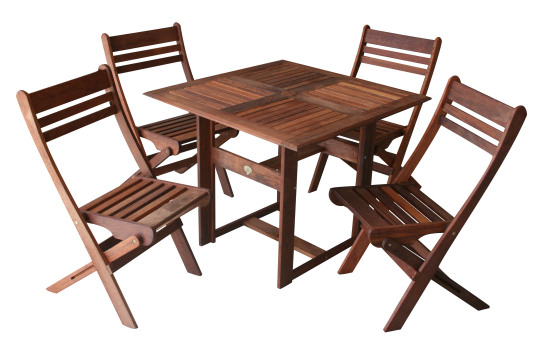
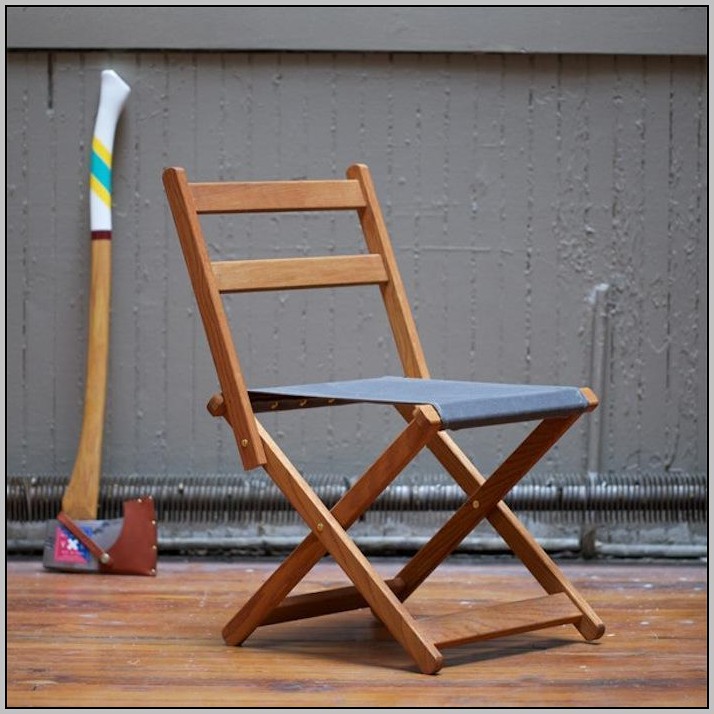
You can make comfortable furniture for your summer house or loggia yourself. A transformable chair is a pretty practical thing. If necessary, it can always be compactly folded and put away until needed.
Assembling a folding chair with your own hands is a matter of 2-3 hours. The cheapest materials are suitable for making this simple furniture - wooden blocks of different lengths, fasteners, etc. All this can be found both at home and in the nearest hardware store. The question of how to make a folding chair is usually relevant and easily resolved for skilled owners.
Content
The benefits of DIY
Making home or garden furniture with your own hands has a number of significant advantages over purchased products:
- cheapness;
- the opportunity to come up with a special design;
- no need to waste time searching for a suitable option.
A chair assembled by yourself can be much stronger and more comfortable, because you think through all the details. When making a sample, all the tools and materials are often at hand. You can also decorate a folding chair with the means at hand - thrifty owners will always have fabric or wallpaper scraps in their home supplies.
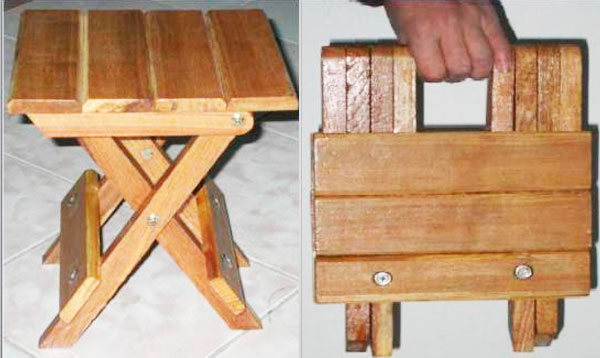
Furniture created by yourself is often more practical. To assemble a folding chair with your own hands, you can choose a durable type of wood, this will extend the life of the product. In addition, it can be made more compact, with precisely the right dimensions.
The created folding chair is more pleasant to use, because it is made with love.
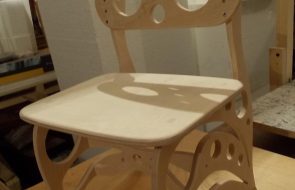
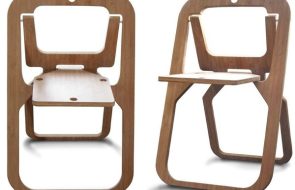
Design and construction: what to choose?
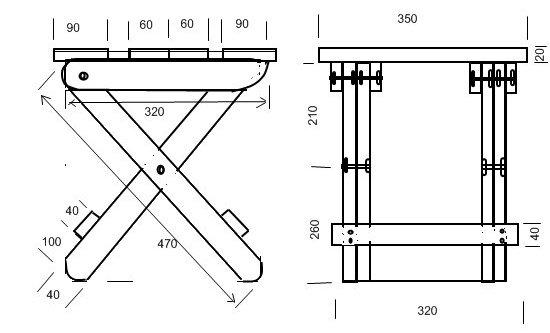
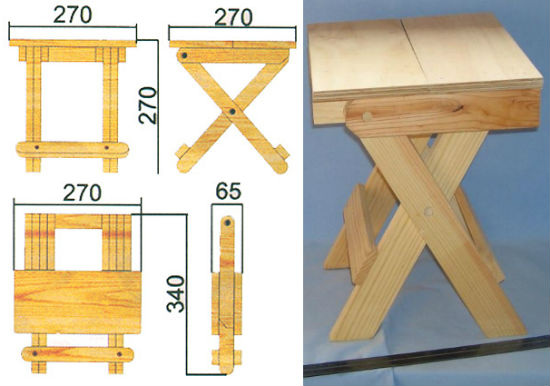
A chair assembled at home with your own hands can be made in several versions. For production, it is best to prepare a drawing with precise calculations. This way you will really see the future result and will be able to follow the plan.
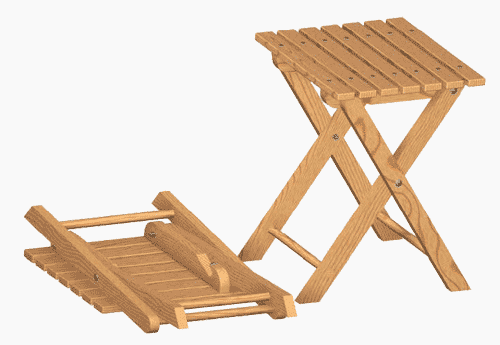
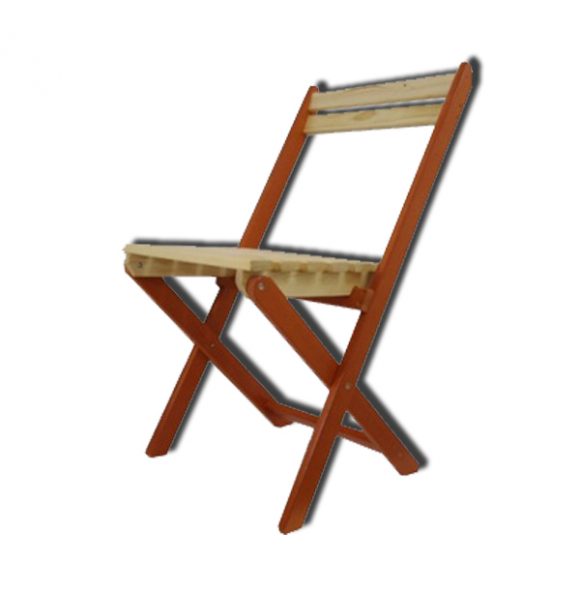
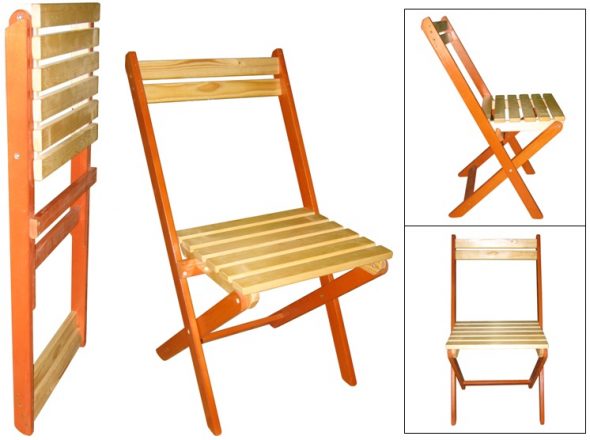
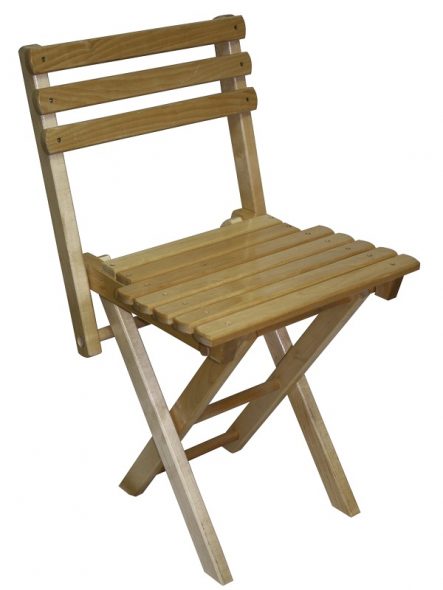
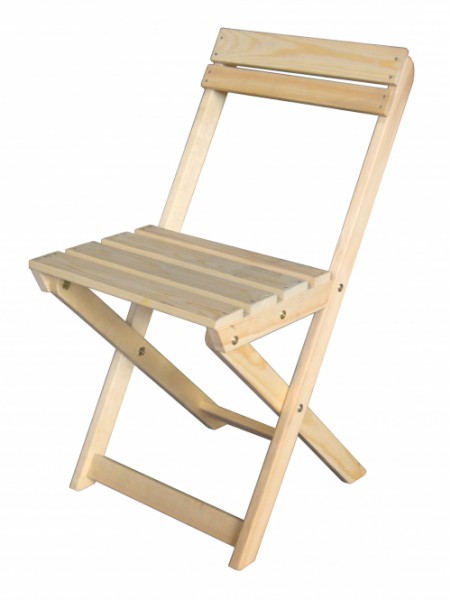
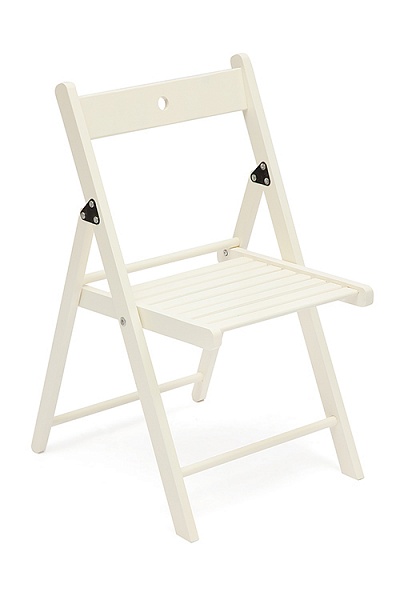
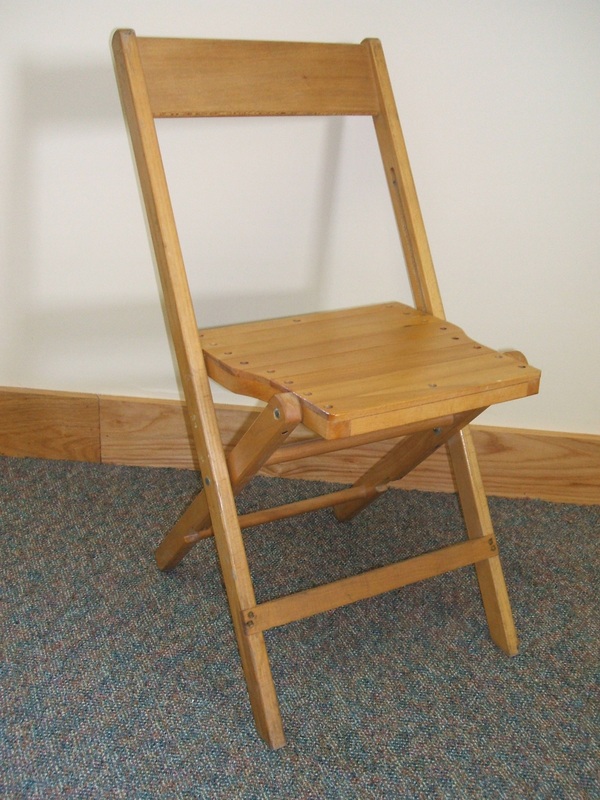
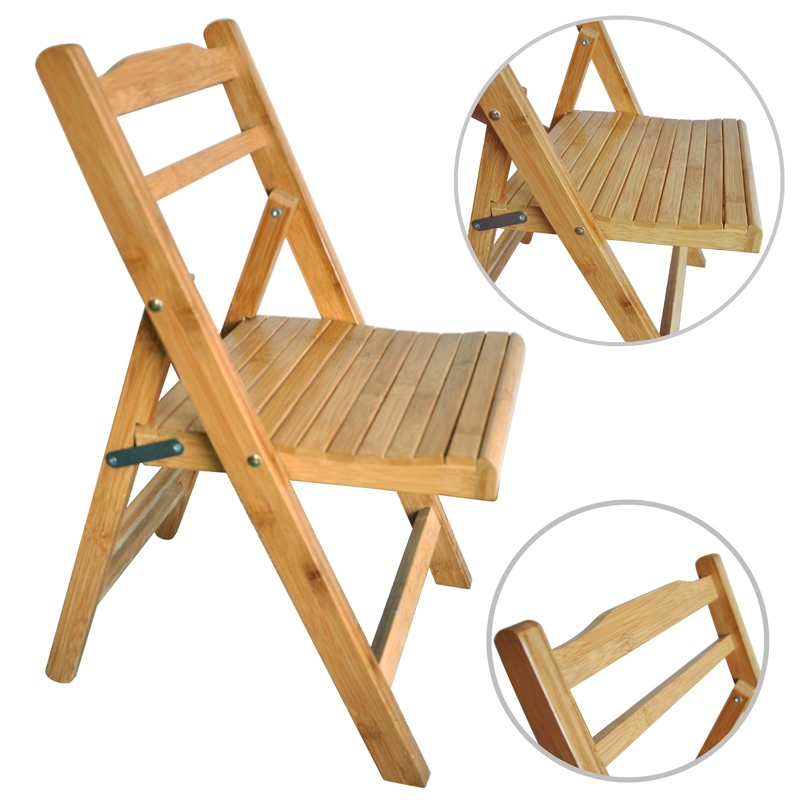
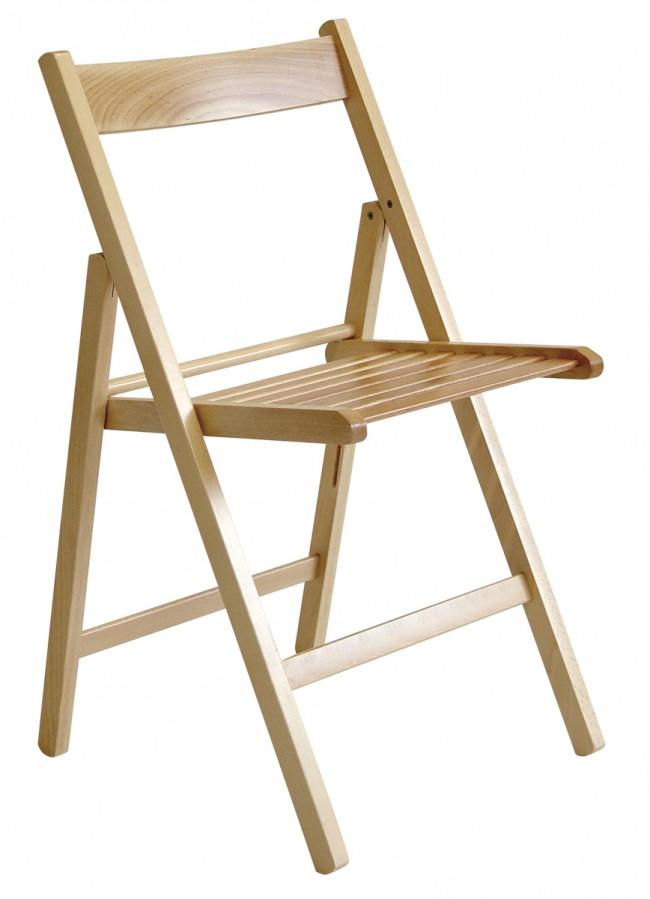
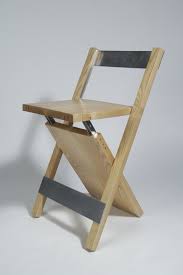
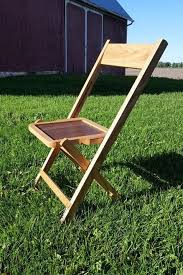
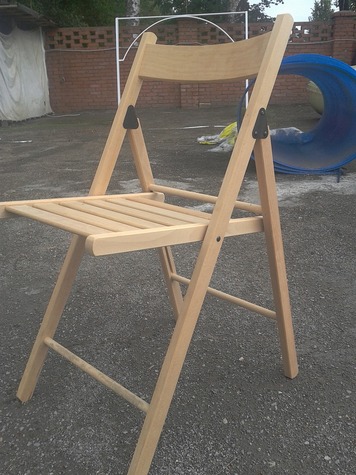
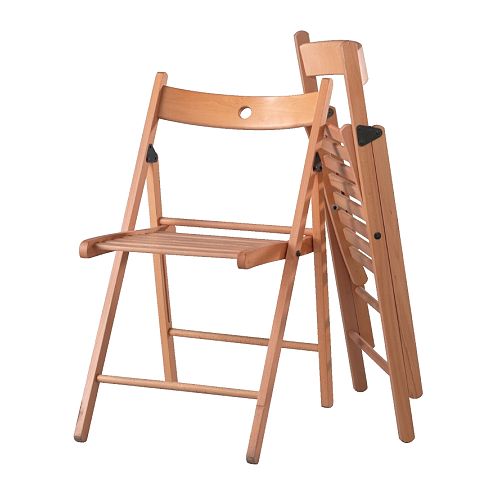
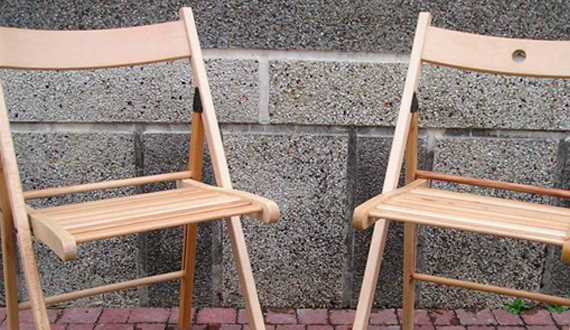
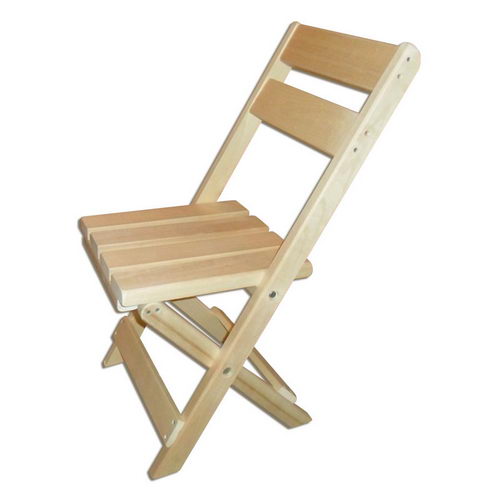
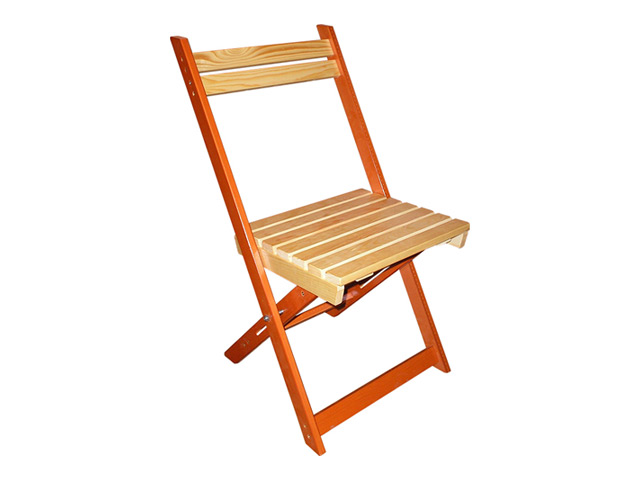
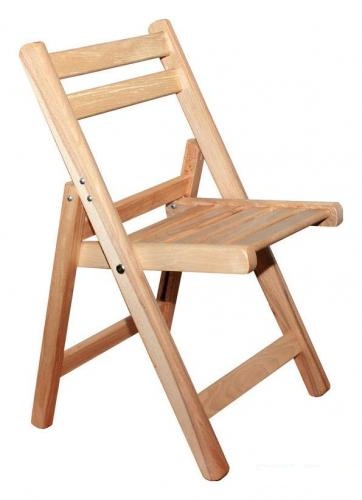
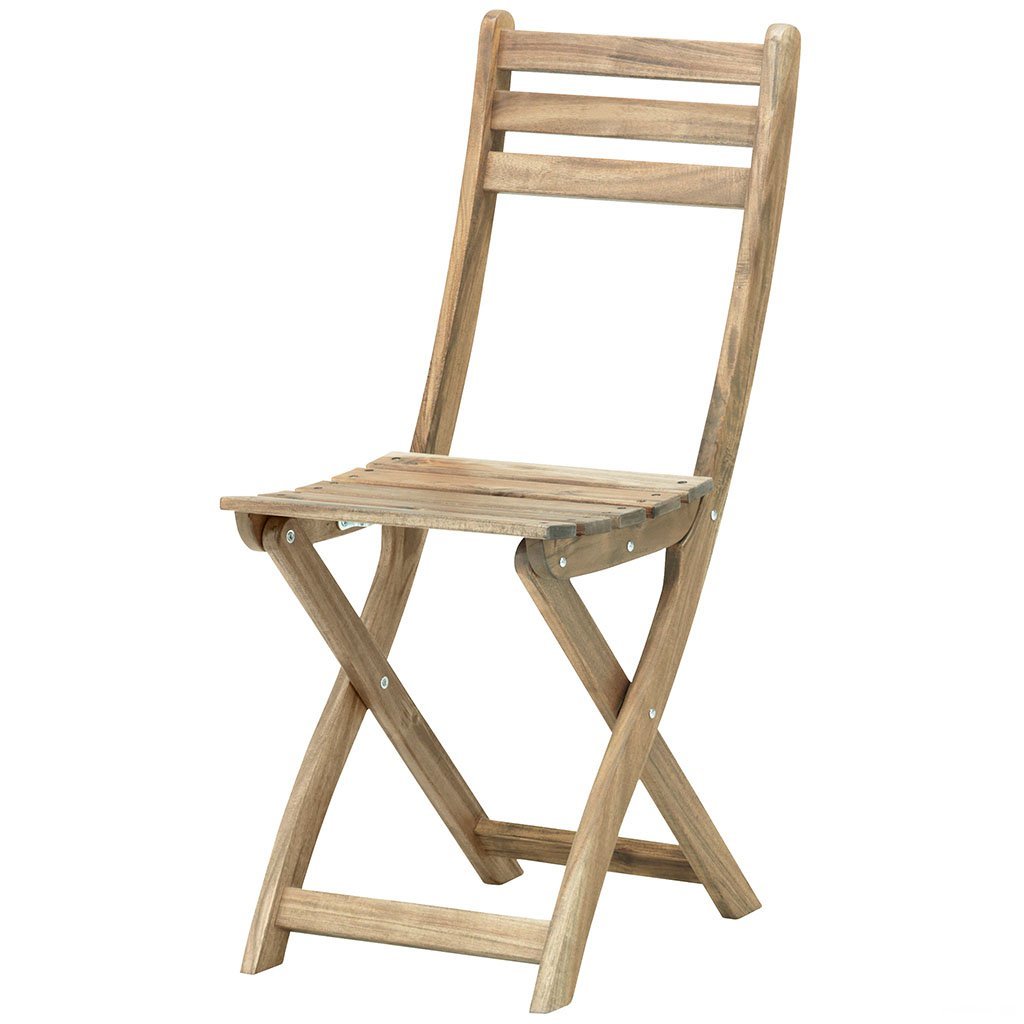
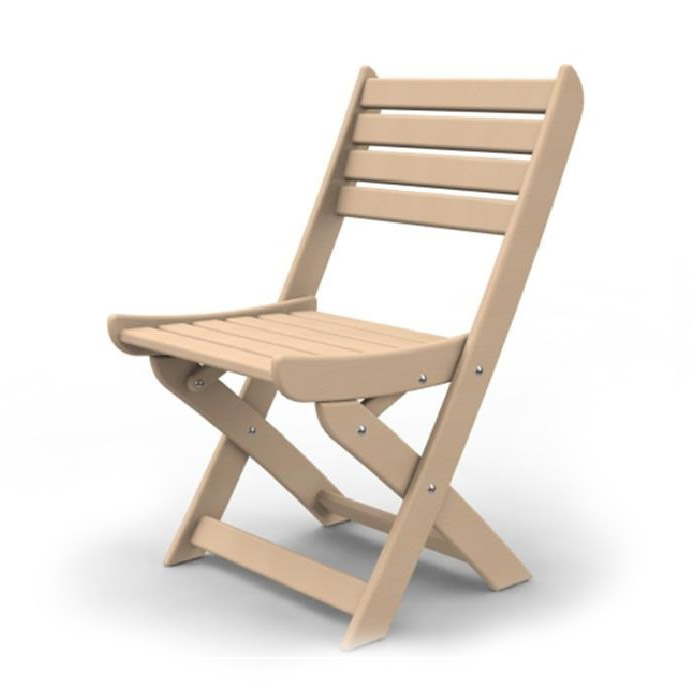
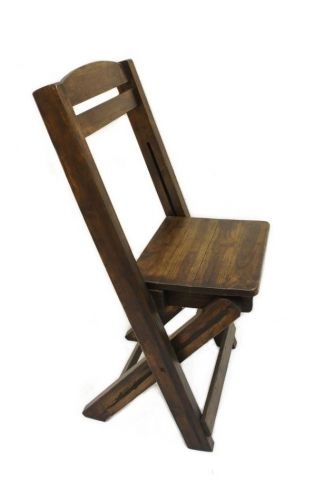
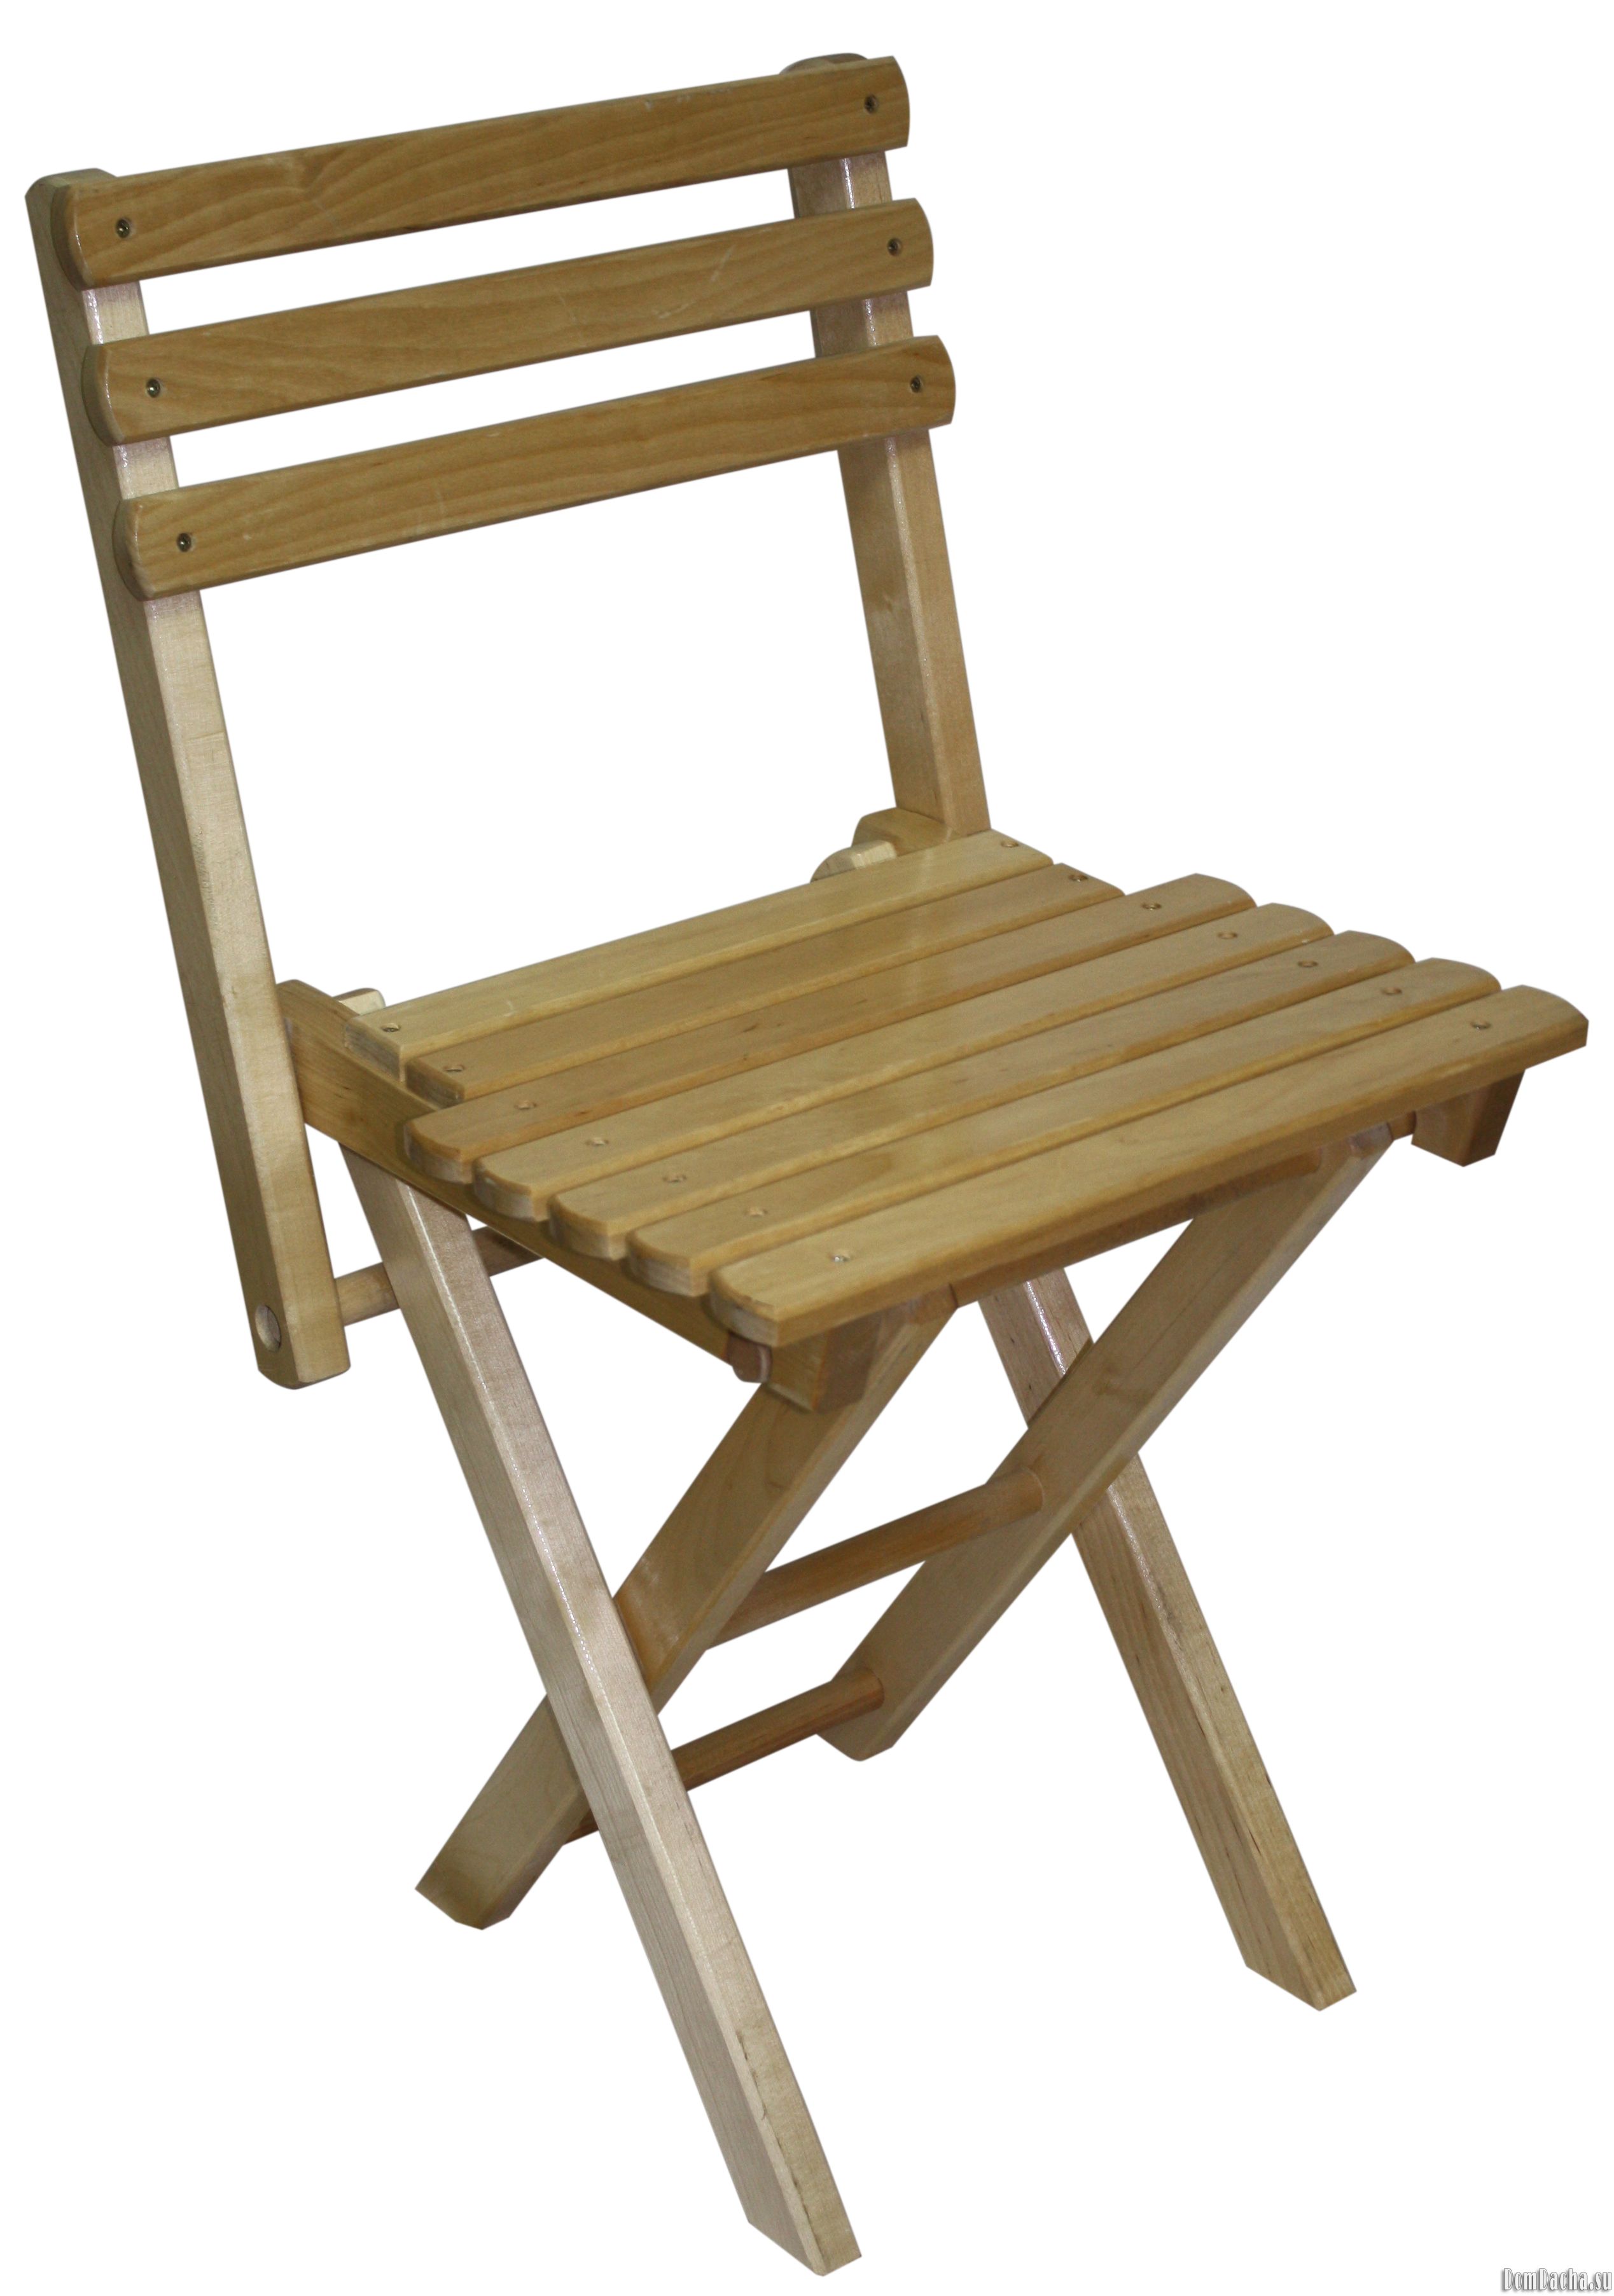
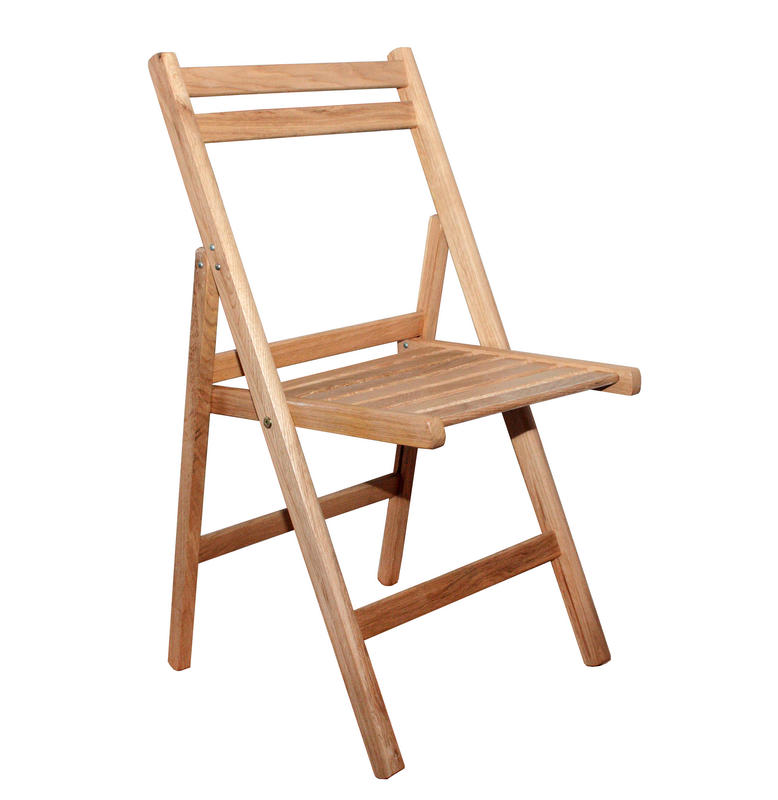
The folding chair can be made with either a rectangular or a rounded back. The seat can be made the same way.

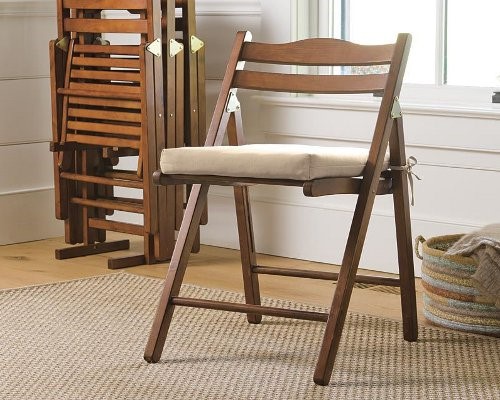
If you plan to use the folding chair regularly, you can make the seat and back with soft upholstery.

Necessary materials and tools
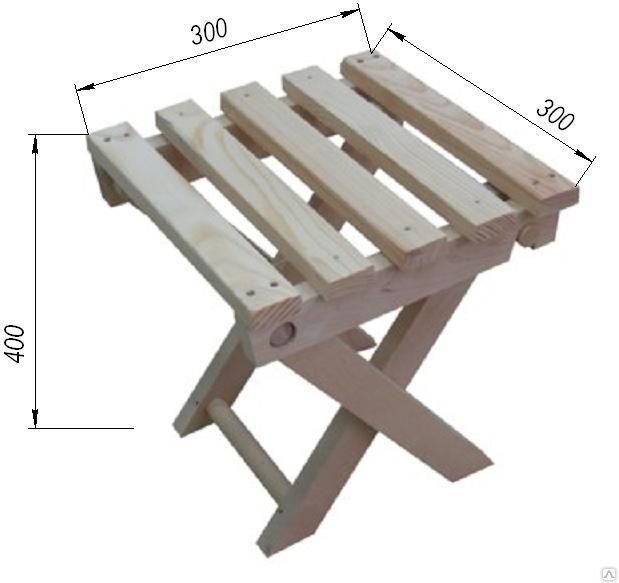
To make a piece of furniture, you will need wooden blocks. Choose hard wood species, such as birch or pear, so that the product will last longer. For a wide seat and backrest, you may need a solid board (or chipboard). For the first option, choose:
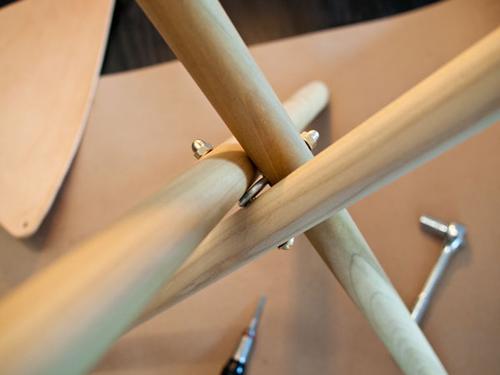
- fasteners – a set of bolts or screws, nuts for bolts, and washers;
- self-tapping screws;
- wood saw;
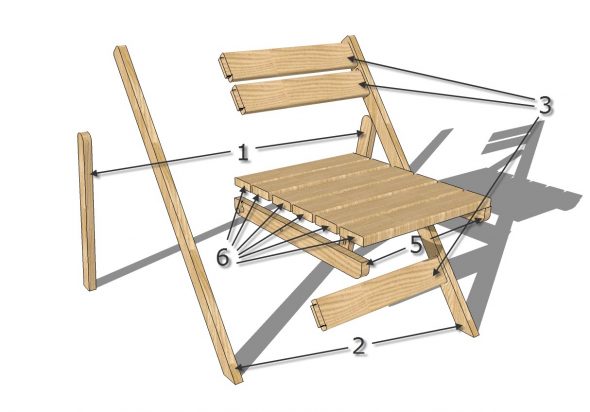
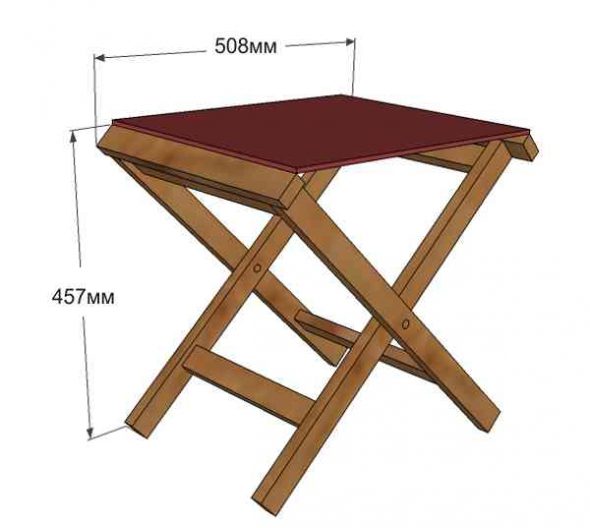
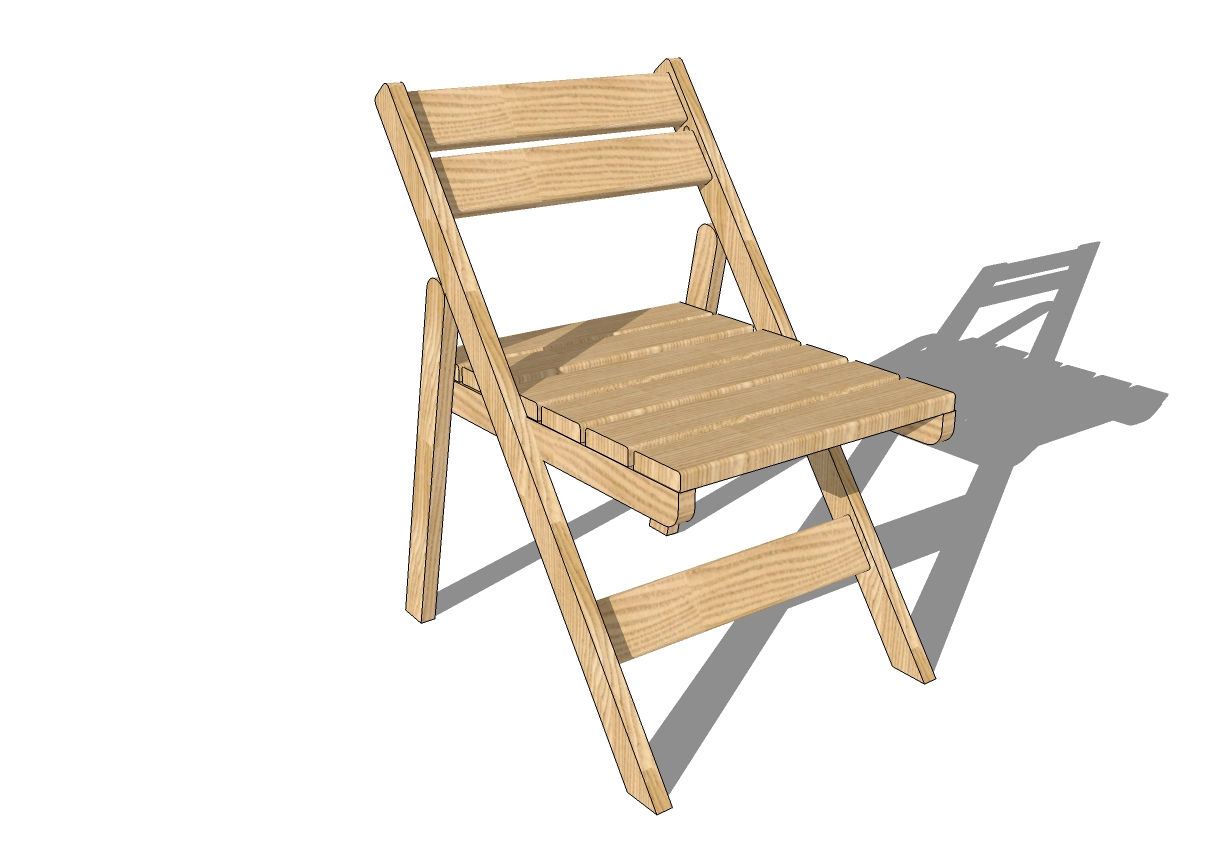
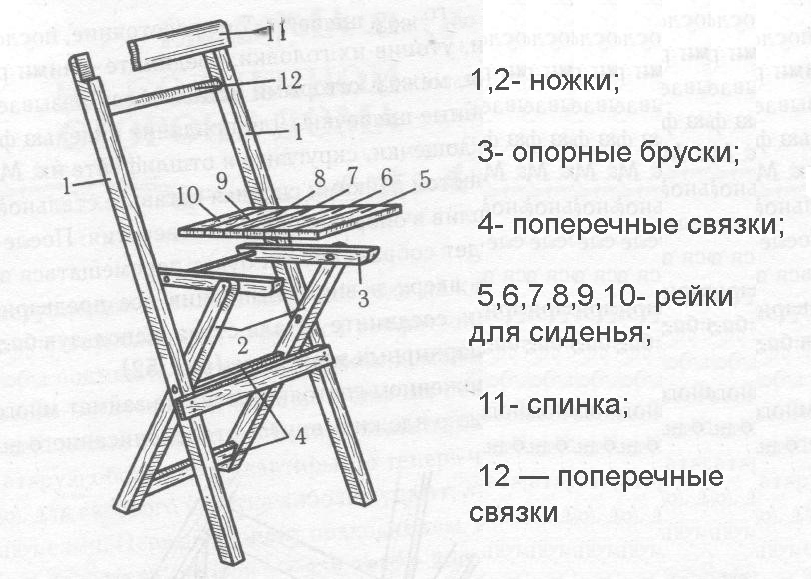
- for the front legs – bars 740 mm long (2 pcs.);
- for the rear legs – 470 mm long bars (2 pcs.);
- for the back and seat slats – bars 320 mm long (5–8 pcs.);
- for frame crossbars – bars 430 mm long (3 pcs.);
- sandpaper.
To assemble the chair quickly and without much effort, use the following tools:
- screwdriver;
- screwdriver.
If you are going to upholster a folding chair, then stock up on foam rubber and fabric for covering the back and seat, as well as a construction stapler and staples.
If you plan to make the chair yourself, then prepare a free space for the work and put oilcloth or thick paper underneath so that the process goes smoothly.
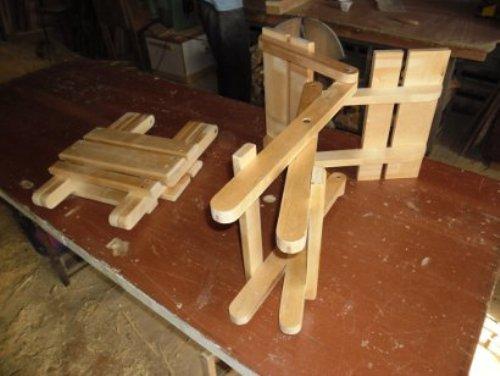
Manufacturing process: step-by-step instructions
Before making the product, wooden parts must be measured, cut to size and sanded so that they are smooth and free of burrs.
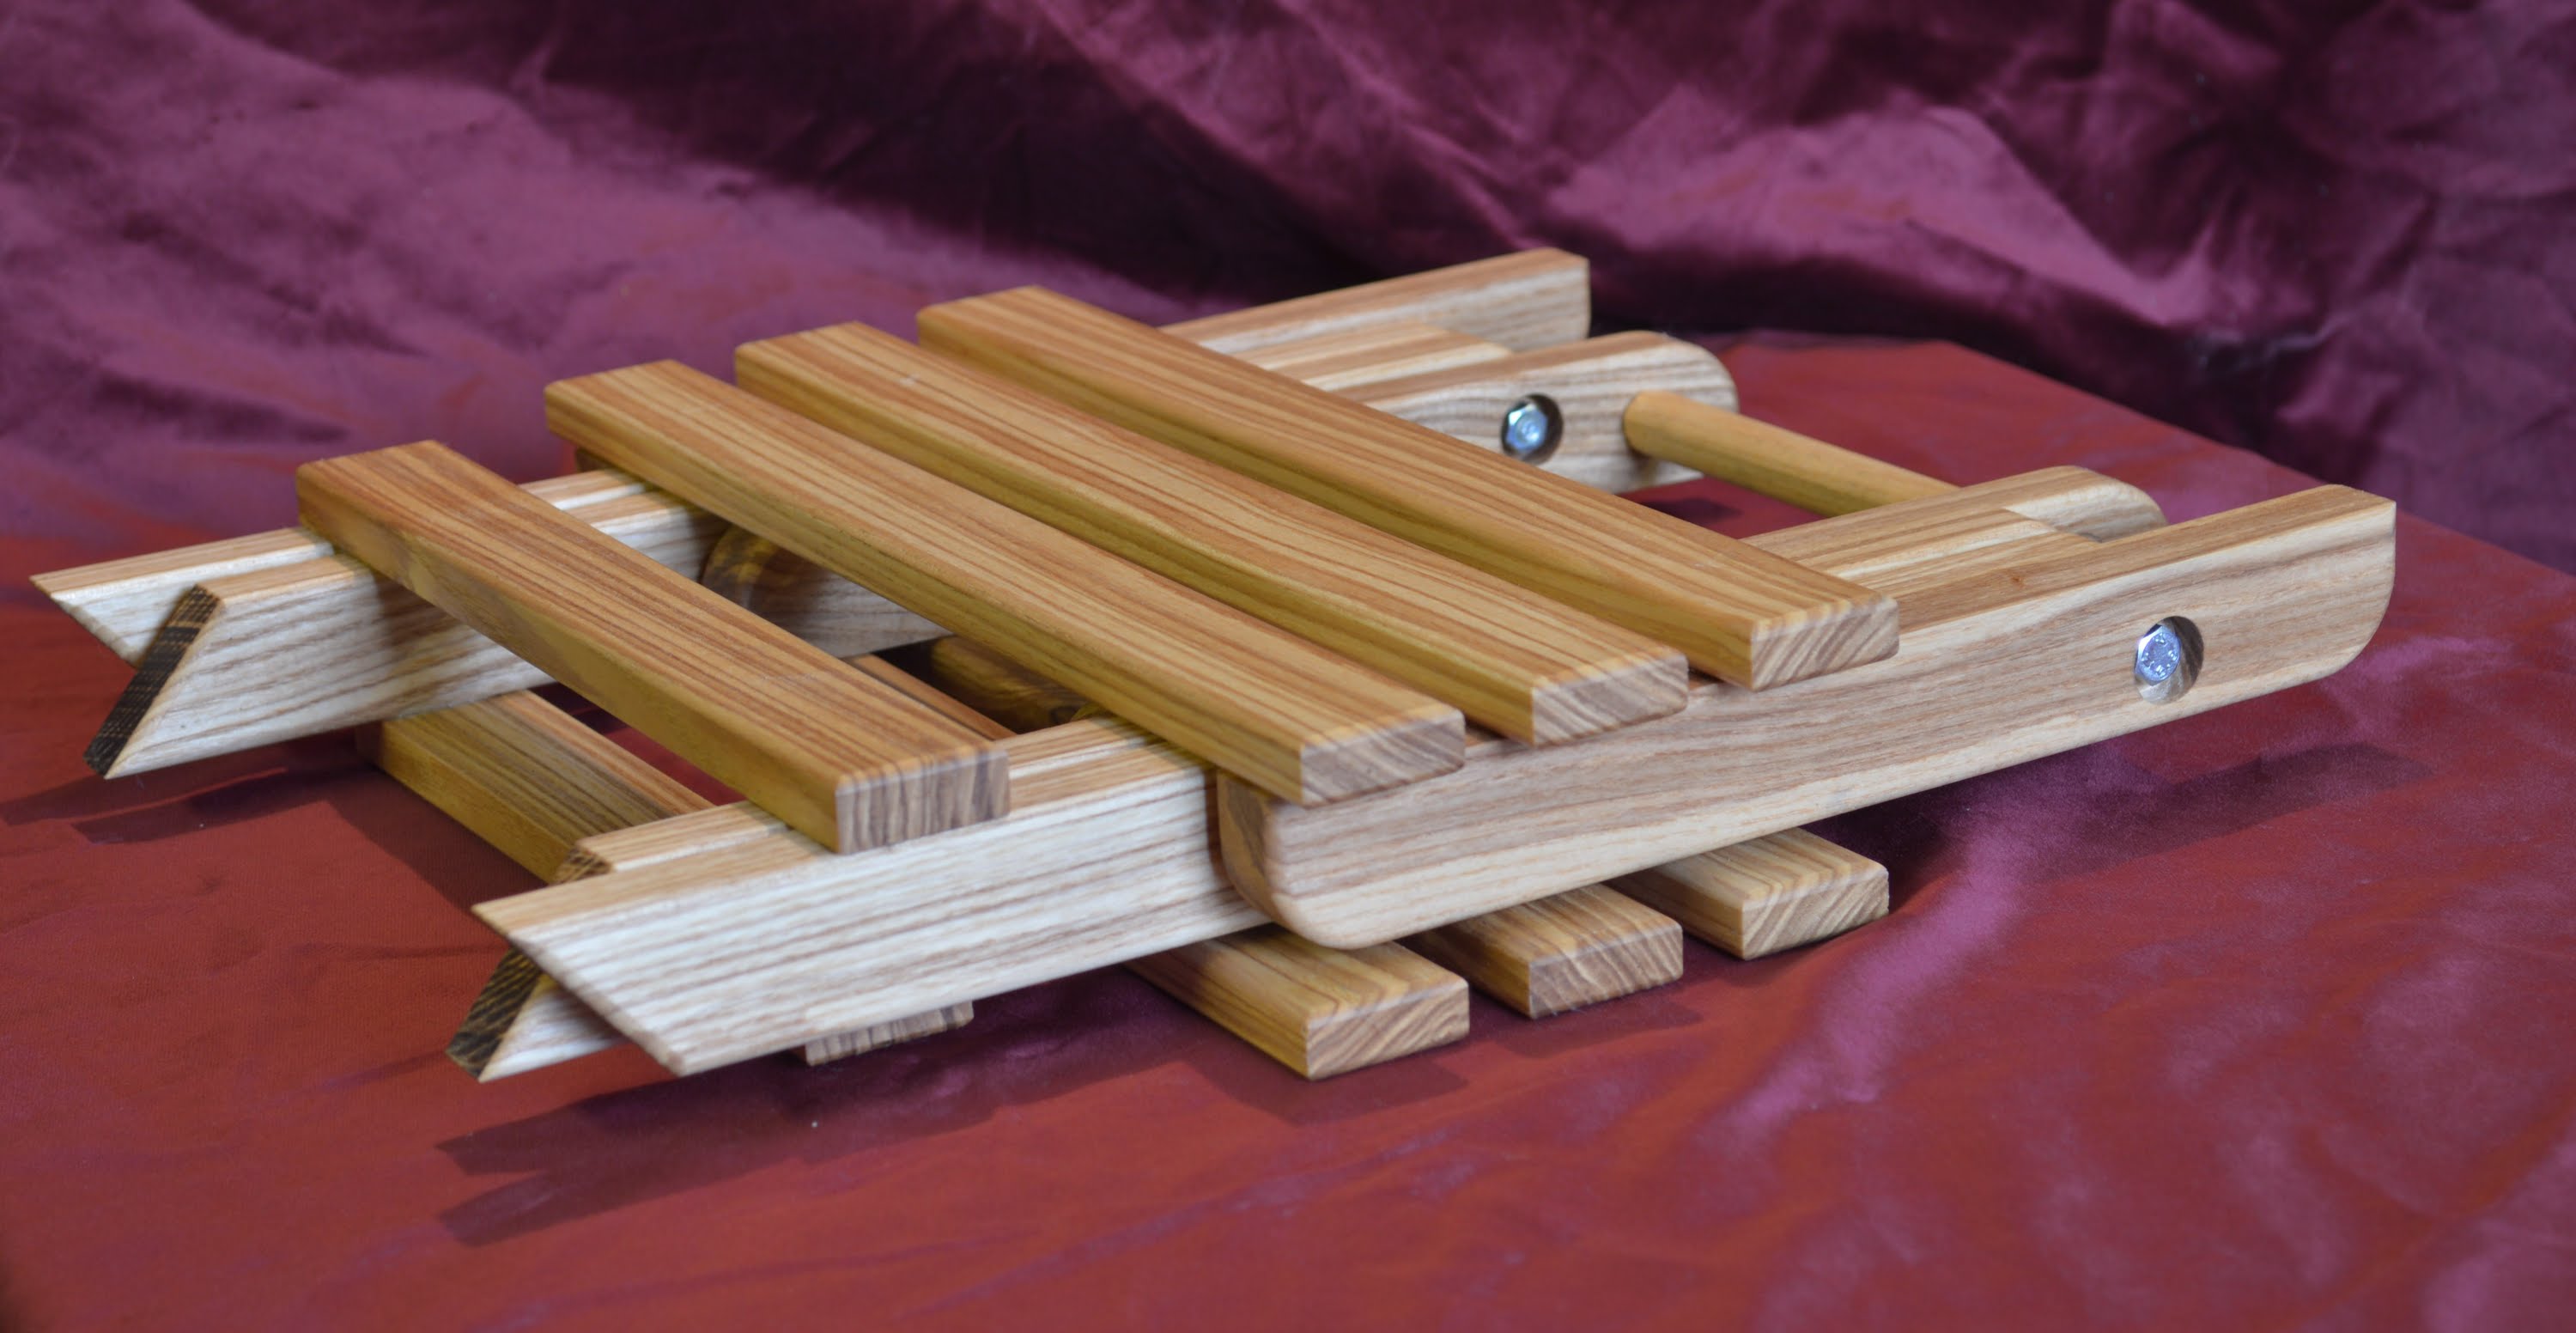
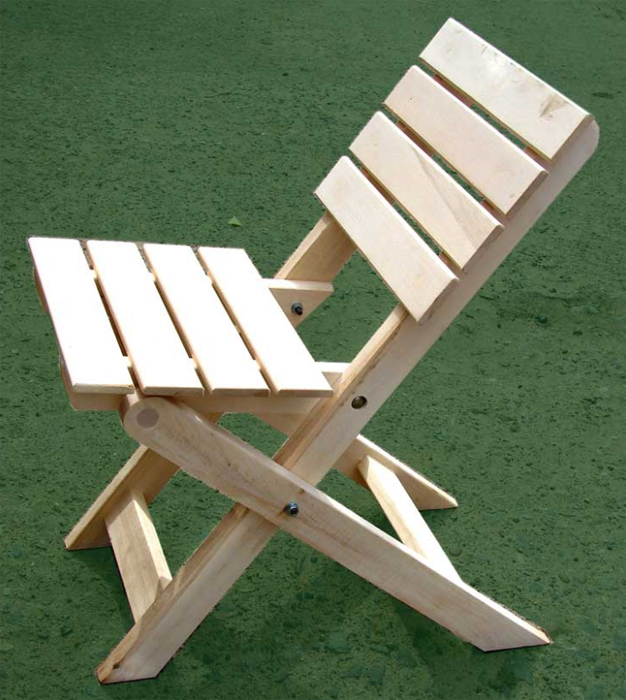
Let's look at an example of the implementation of the simplest design option - making a chair with a back and seat from slats.

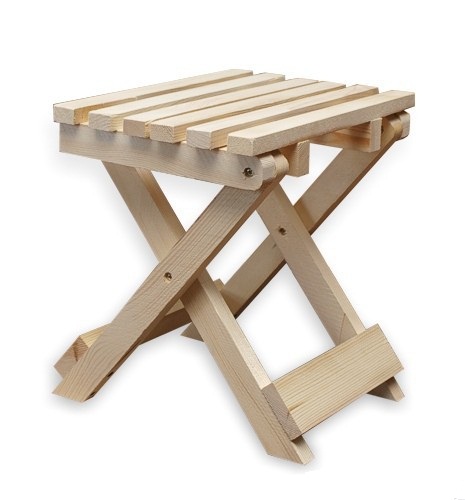
The folding chair starts with making the seat. The slats selected by size are connected to the support bars using self-tapping screws.

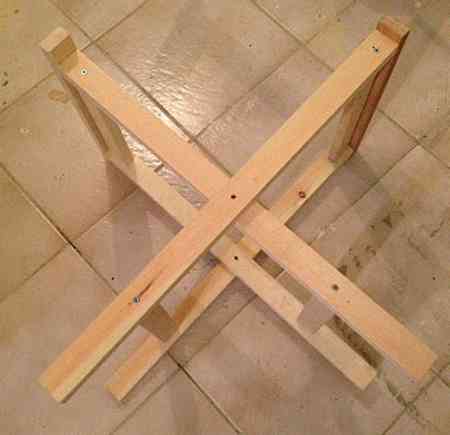
Then you need to make a support structure from the front legs and the back. Attach the slats for the back to the legs on top, and the crossbar at the bottom.
After that, make the rear supports. Two crossbars need to be attached to them – the lower and the upper ones.
Connect both resulting frames – rear and front – using nuts and bolts.
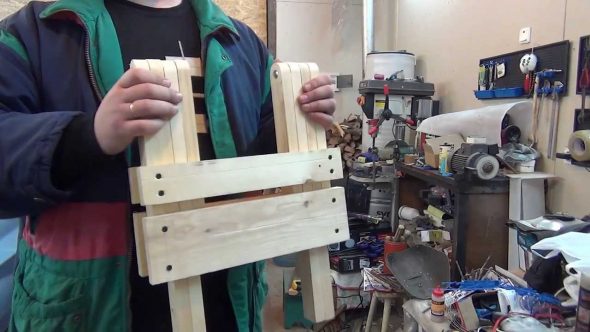
Attach the seat to the front frame. Drill through holes in it and the seat supports. Connect the structure with bolts. All fasteners that come out to the surface of the back or seat must be "sunk" so that they do not stick out from the outside.
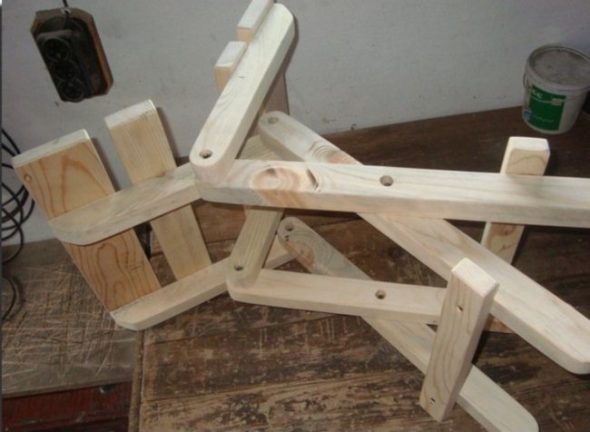
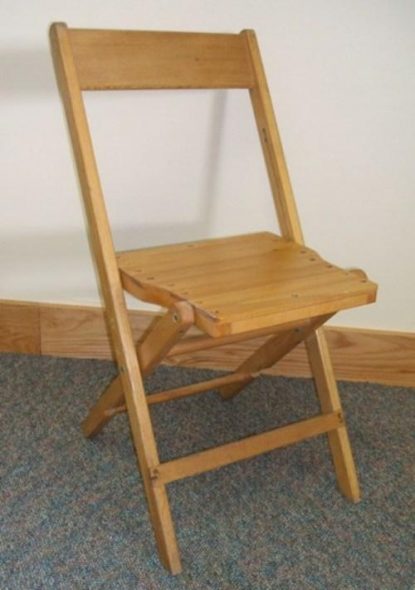
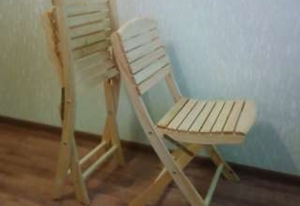
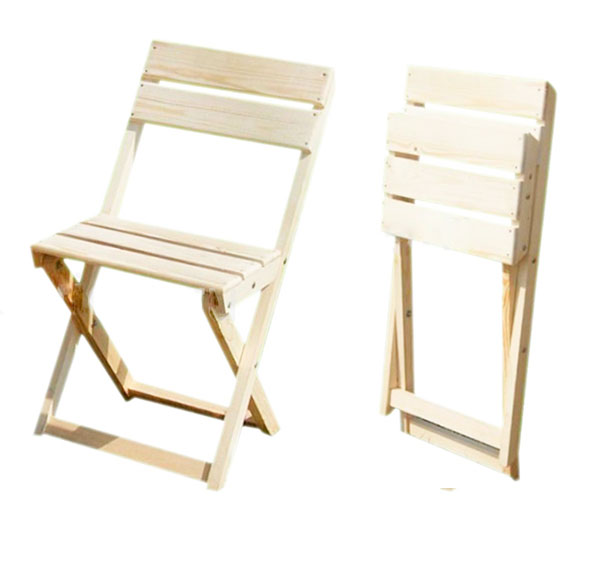
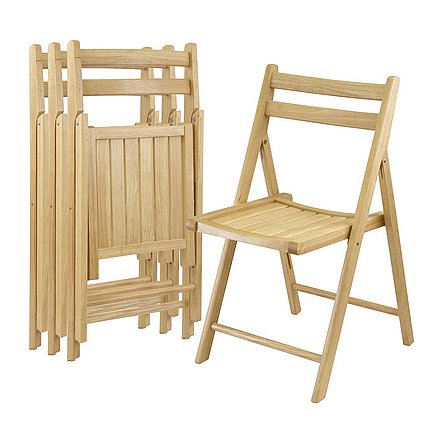
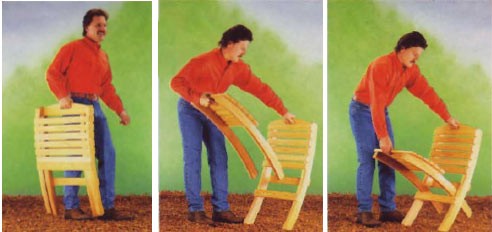
If the process is done correctly, the seat will move freely in the frame. When unfolded, the back of the seat will rest against the crossbar of the rear frame. This will create a full-fledged chair that can be easily returned to its original position.
The reverse order of folding the chair is to raise the seat a little and assemble the front and back frames.
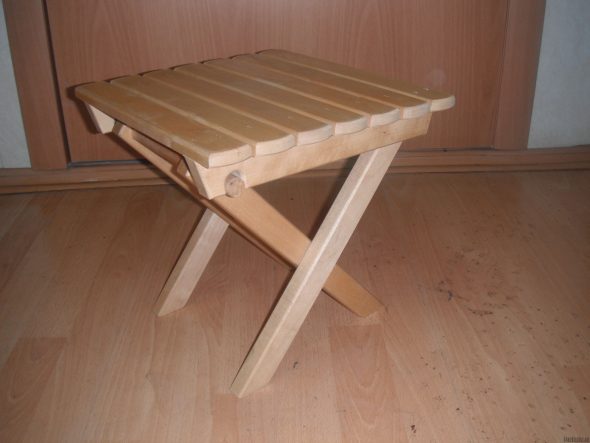
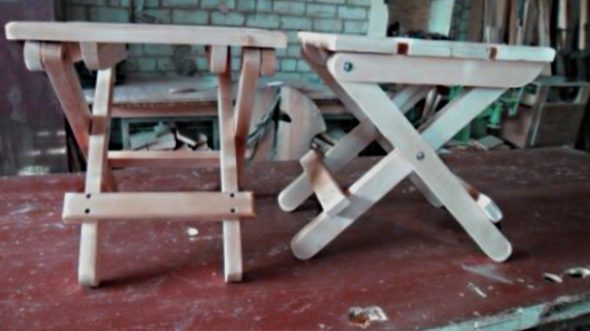
After work, check the product for stability. You can place the furniture on the balcony or in a large kitchen. The chair is convenient to take with you on a trip to a picnic or to the country.

Decorating
A folding chair can be beautifully decorated to give it a personalized look. Upholstery fabric is suitable as a finish. To make the seat and/or back soft, use a small foam rubber (4-5 cm) for filling, and stretch the facing fabric on top. Tapestry or any other dense material will do. Fold the fabric along the edges and carefully fasten it with staples using a stapler.

A chair made by yourself can be decorated using decoupage technique. Take old wallpaper or pieces of tapestry and stick them on the seat and backrest slats. A plant (floral) pattern in fairly bright shades looks interesting. The legs and supports along the perimeter can be painted in a single color, close in shade to the decor.

The easiest way to decorate is to apply a pattern to the surface of the seat and back. To do this, use durable, water-resistant paints.
For variety, you can decorate the back with carvings if you choose the option with a solid board. A chair covered with matte varnish with a wood shade looks good.
VIDEO:How to make a folding chair with your own hands
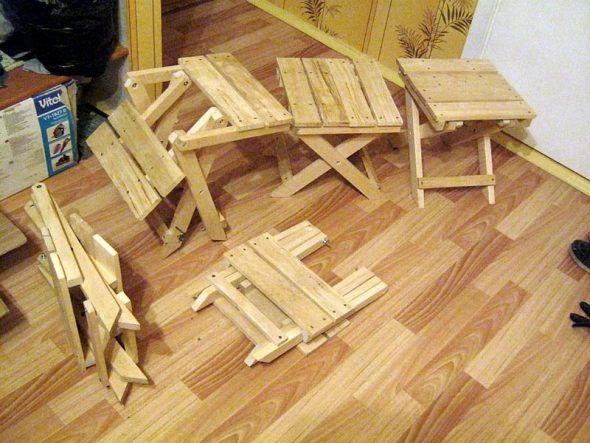
50 photo ideas on how to make a folding chair with your own hands


You can send the dimensions and diagrams with drawings to my email.